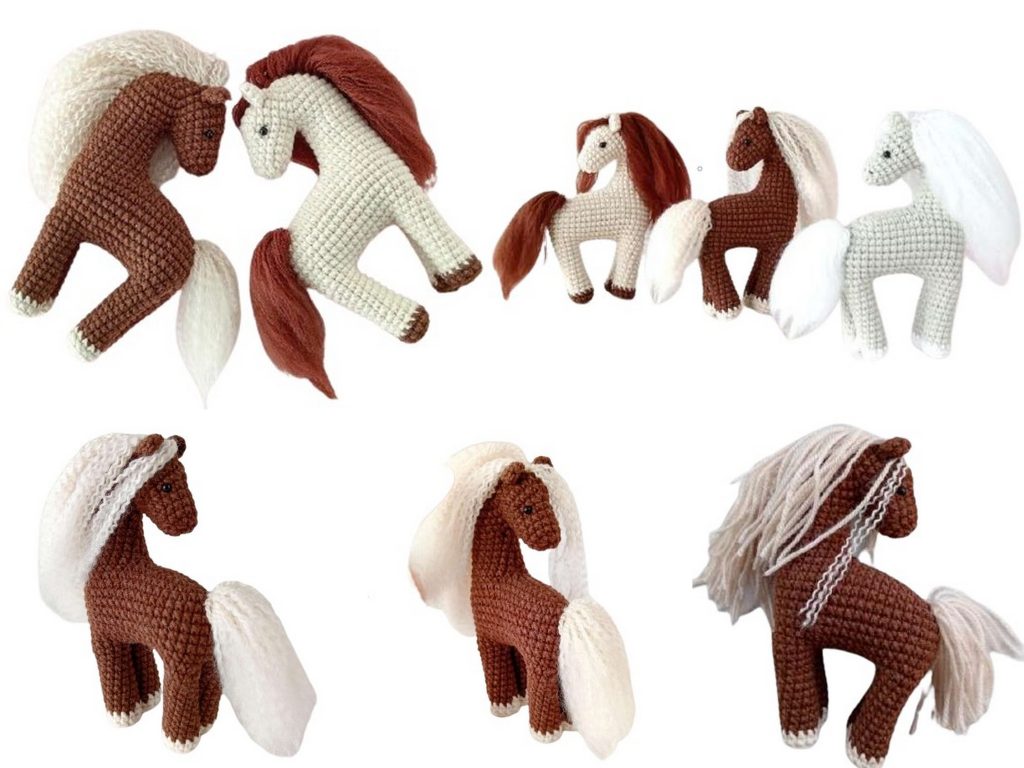
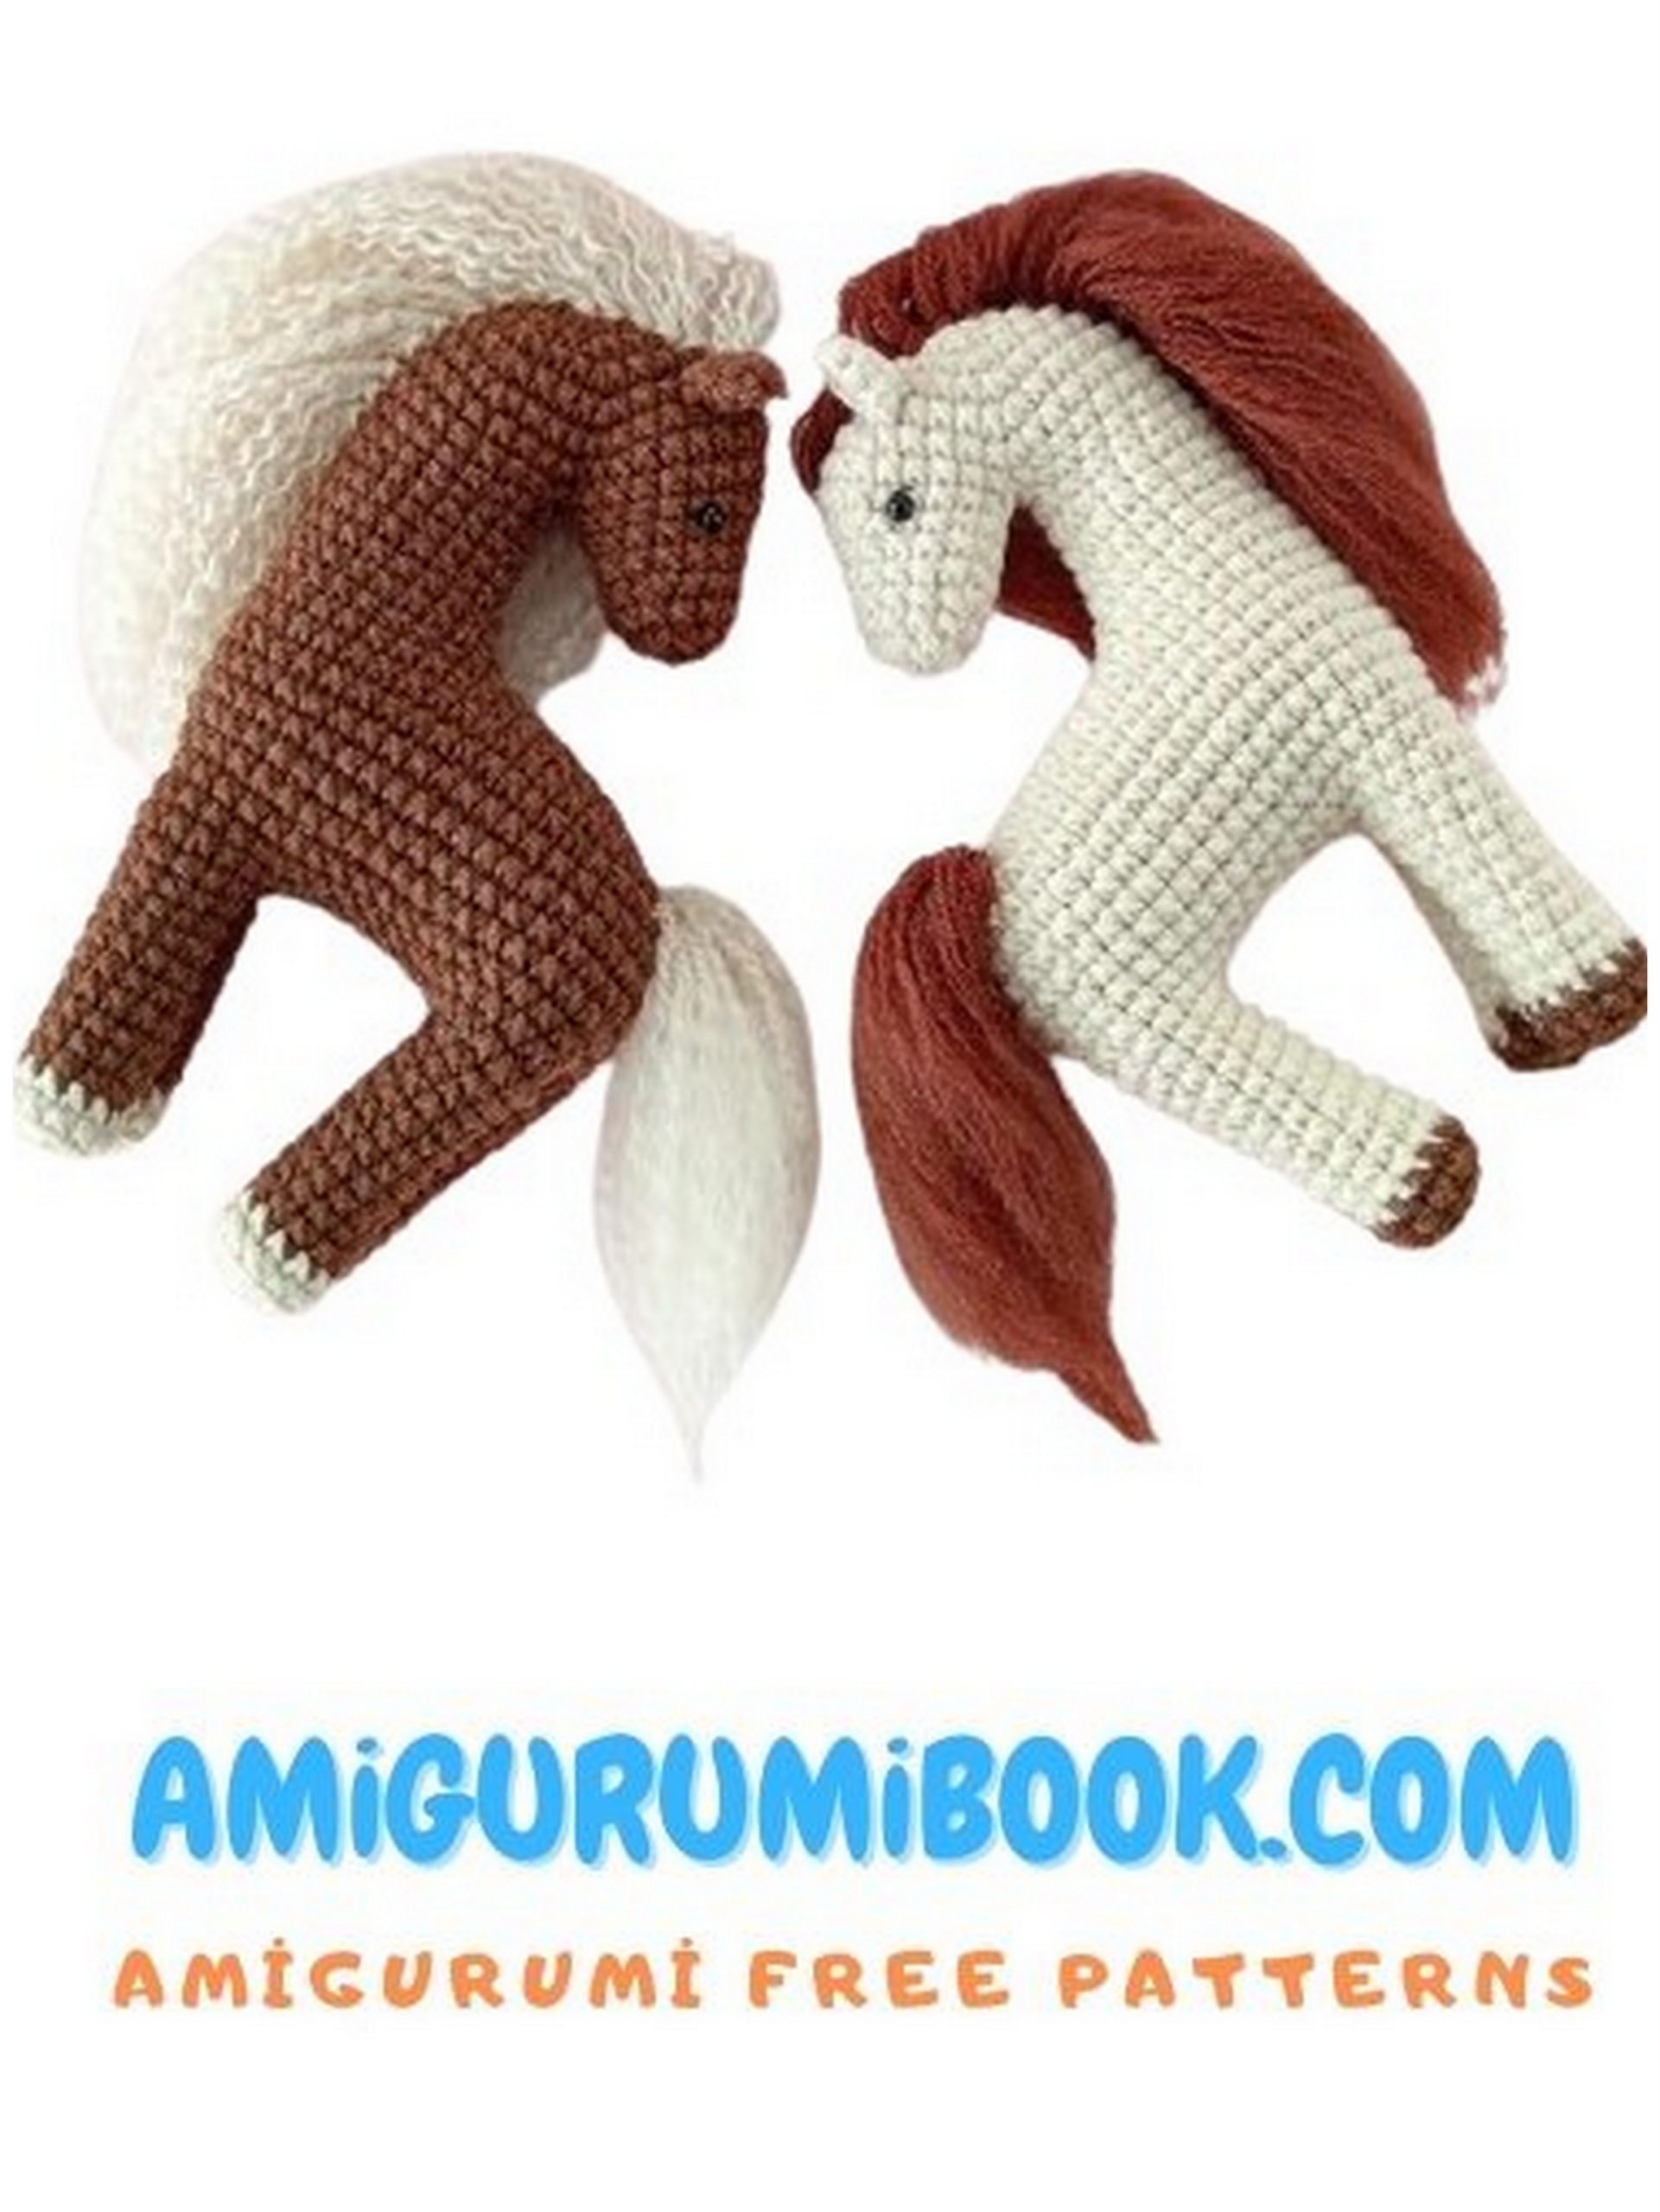
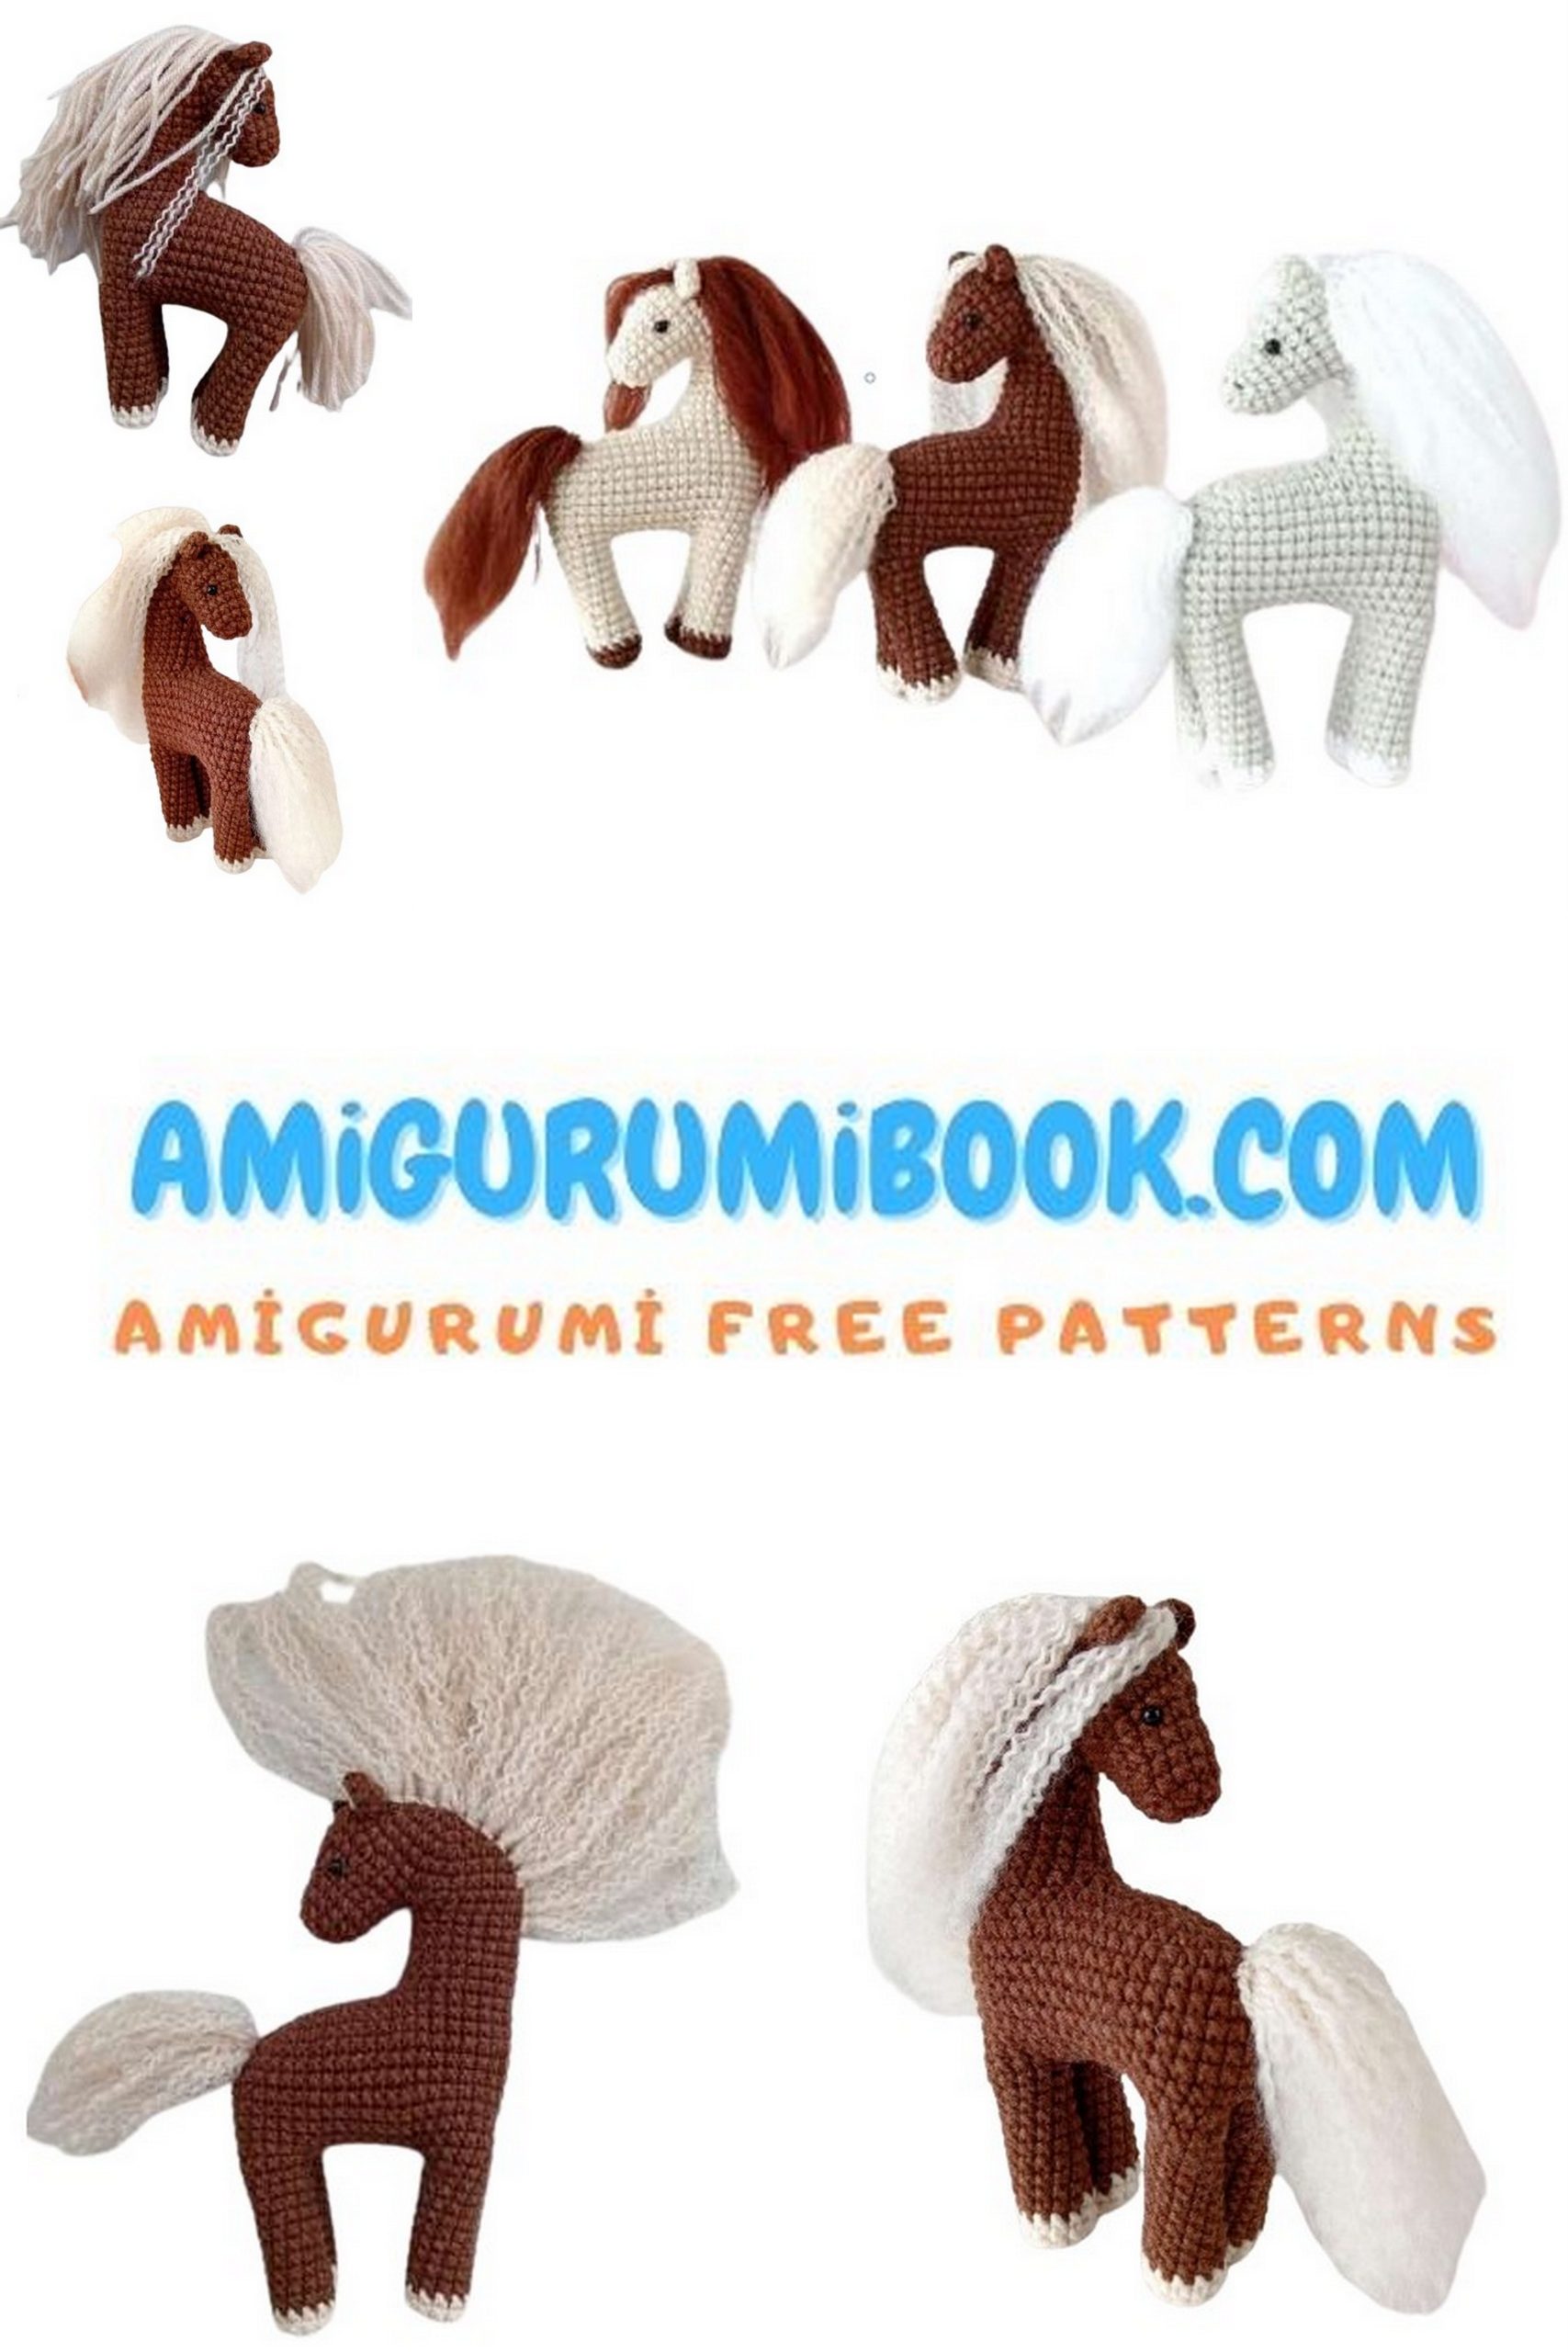
Are you ready to embark on a charming crochet journey? Look no further than this delightful free pattern for crafting your very own little horse amigurumi. Whether you’re a crochet novice eager to learn or an experienced crafter seeking a new project, this tutorial has something special in store for you. With clear instructions and helpful tips, you’ll soon find yourself immersed in creating a cuddly companion that’s sure to bring joy to all who behold it. So grab your yarn and hook, and let’s crochet our way to cuteness overload!
I have a very nice friend suggestion for this wonderful amigurumi horse toy, amigurumi donkey eyore.
If you want to access 1000+ free amigurumi patterns, you can download our application from this link!
Materials and Tools
This tutorial does not include crochet lessons.
Basic crochet skills are assumed.
Difficulty level – intermediate.
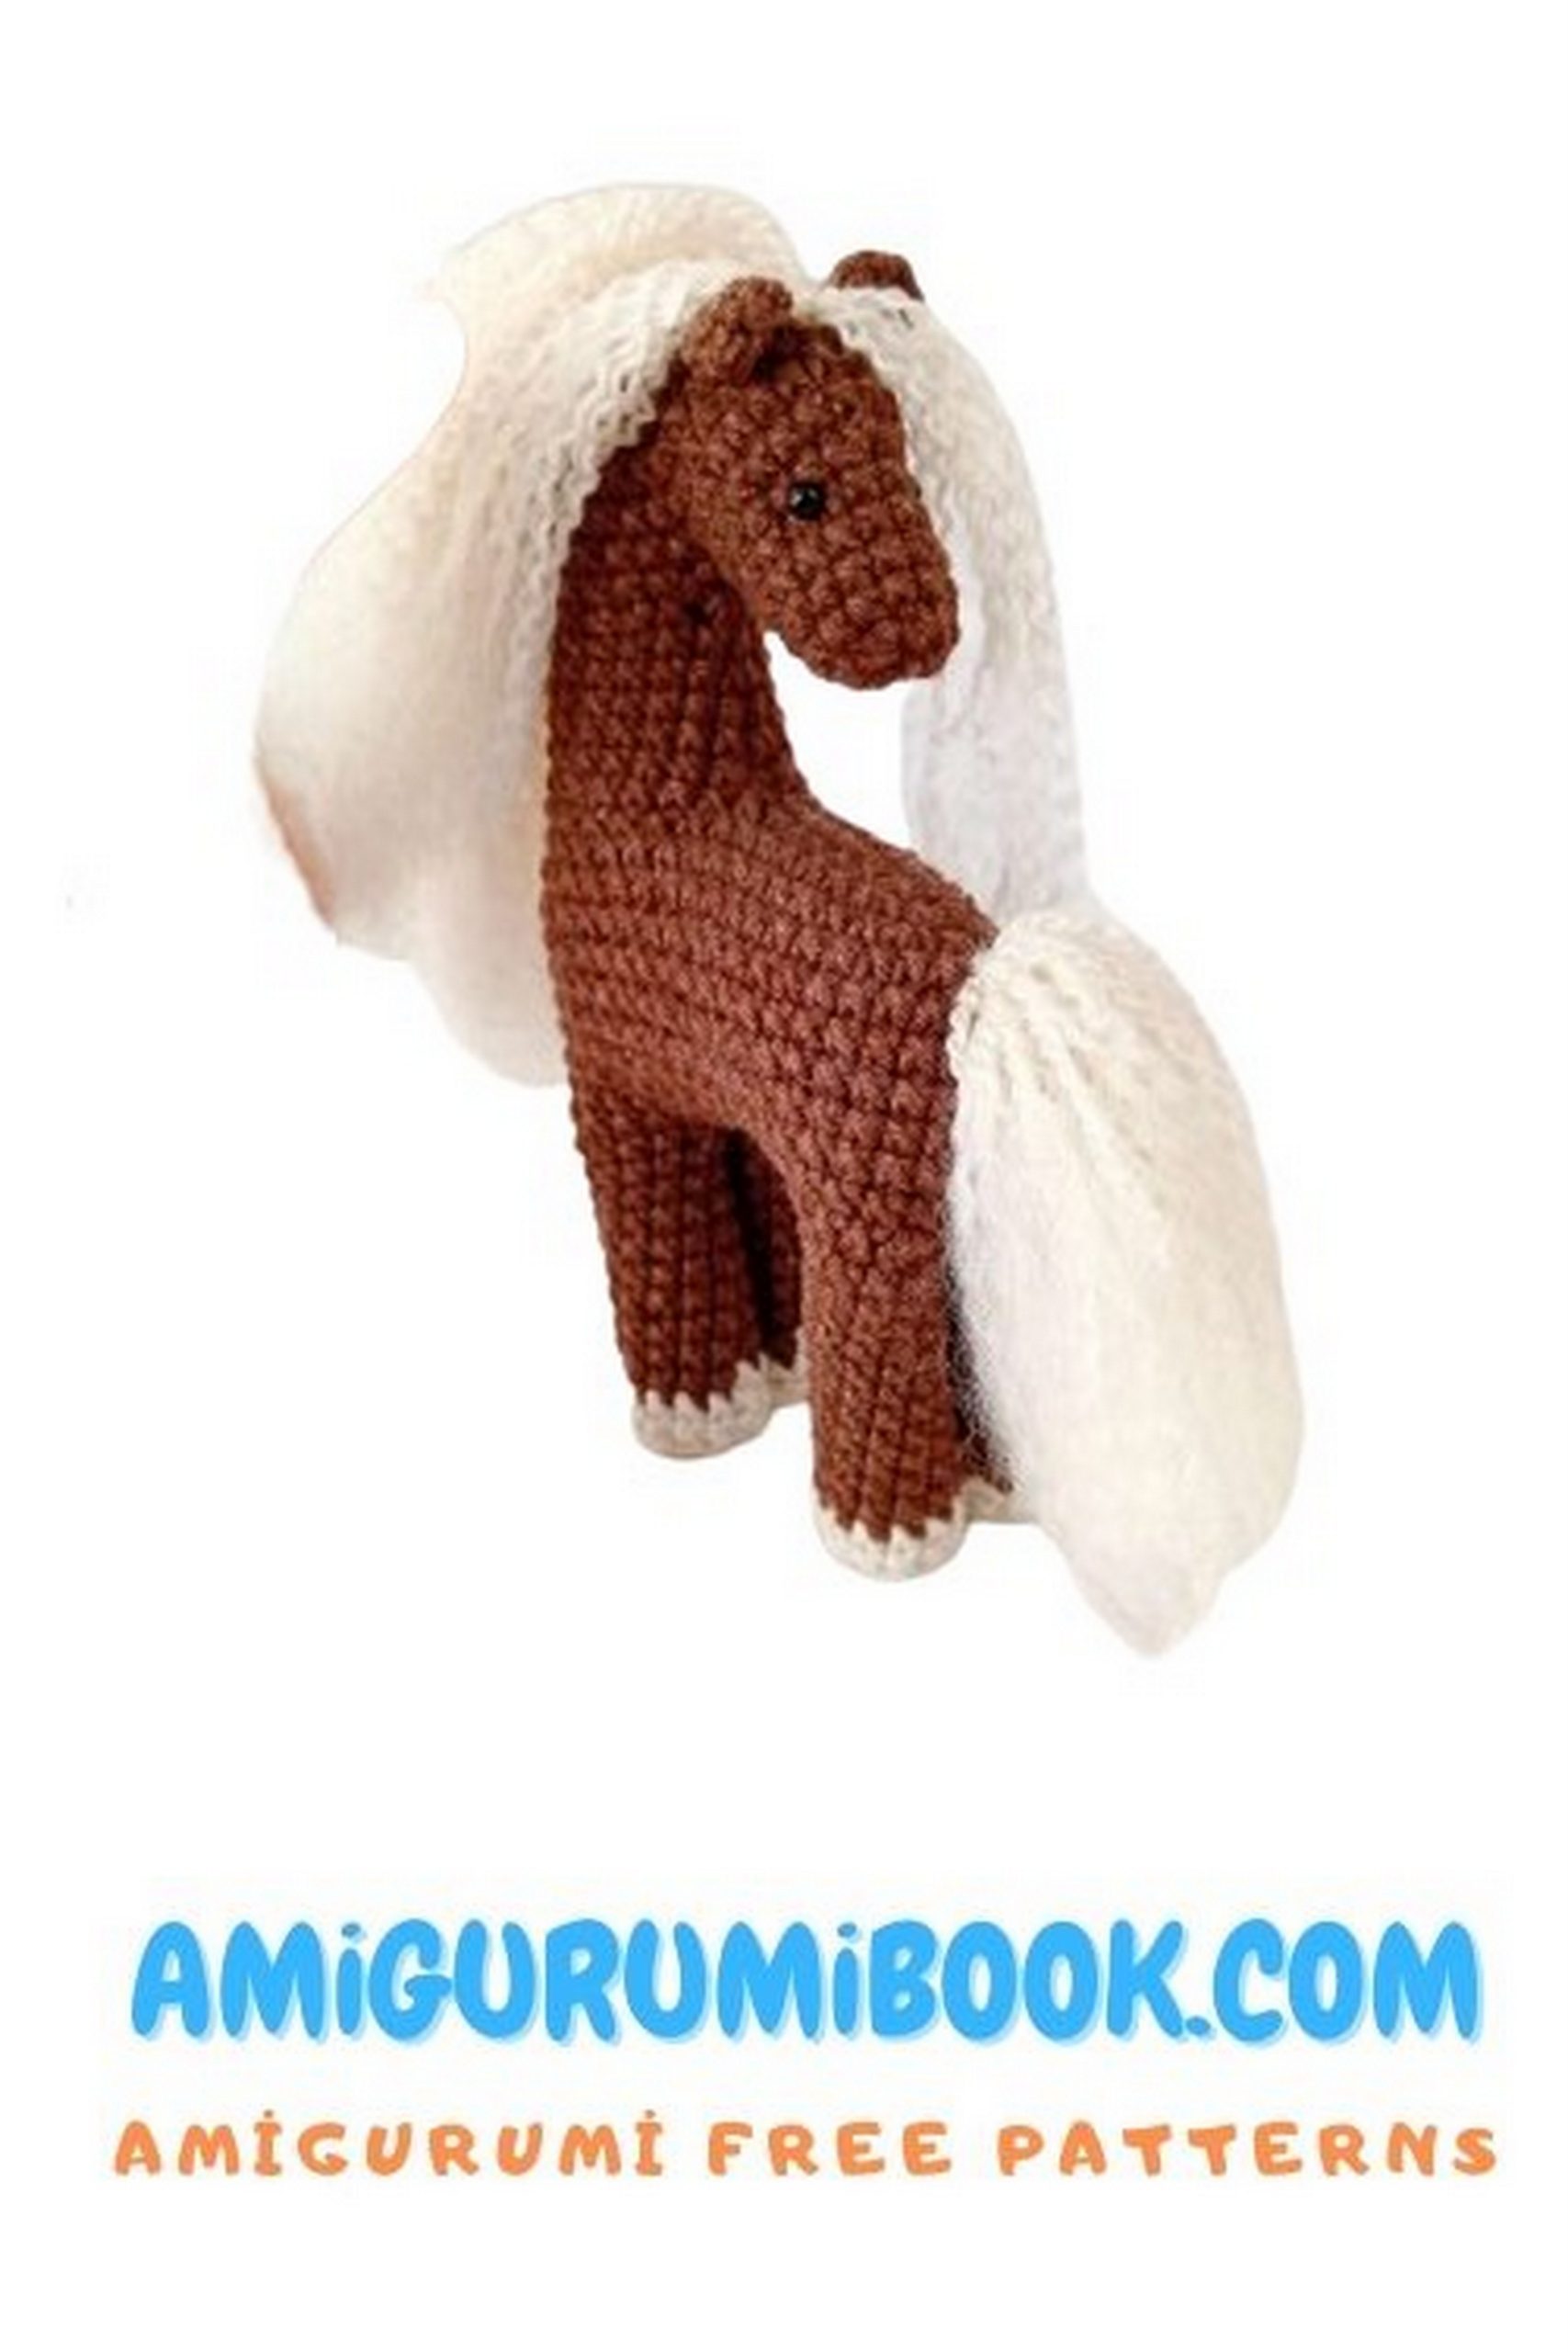
Toy height is about 14 cm.
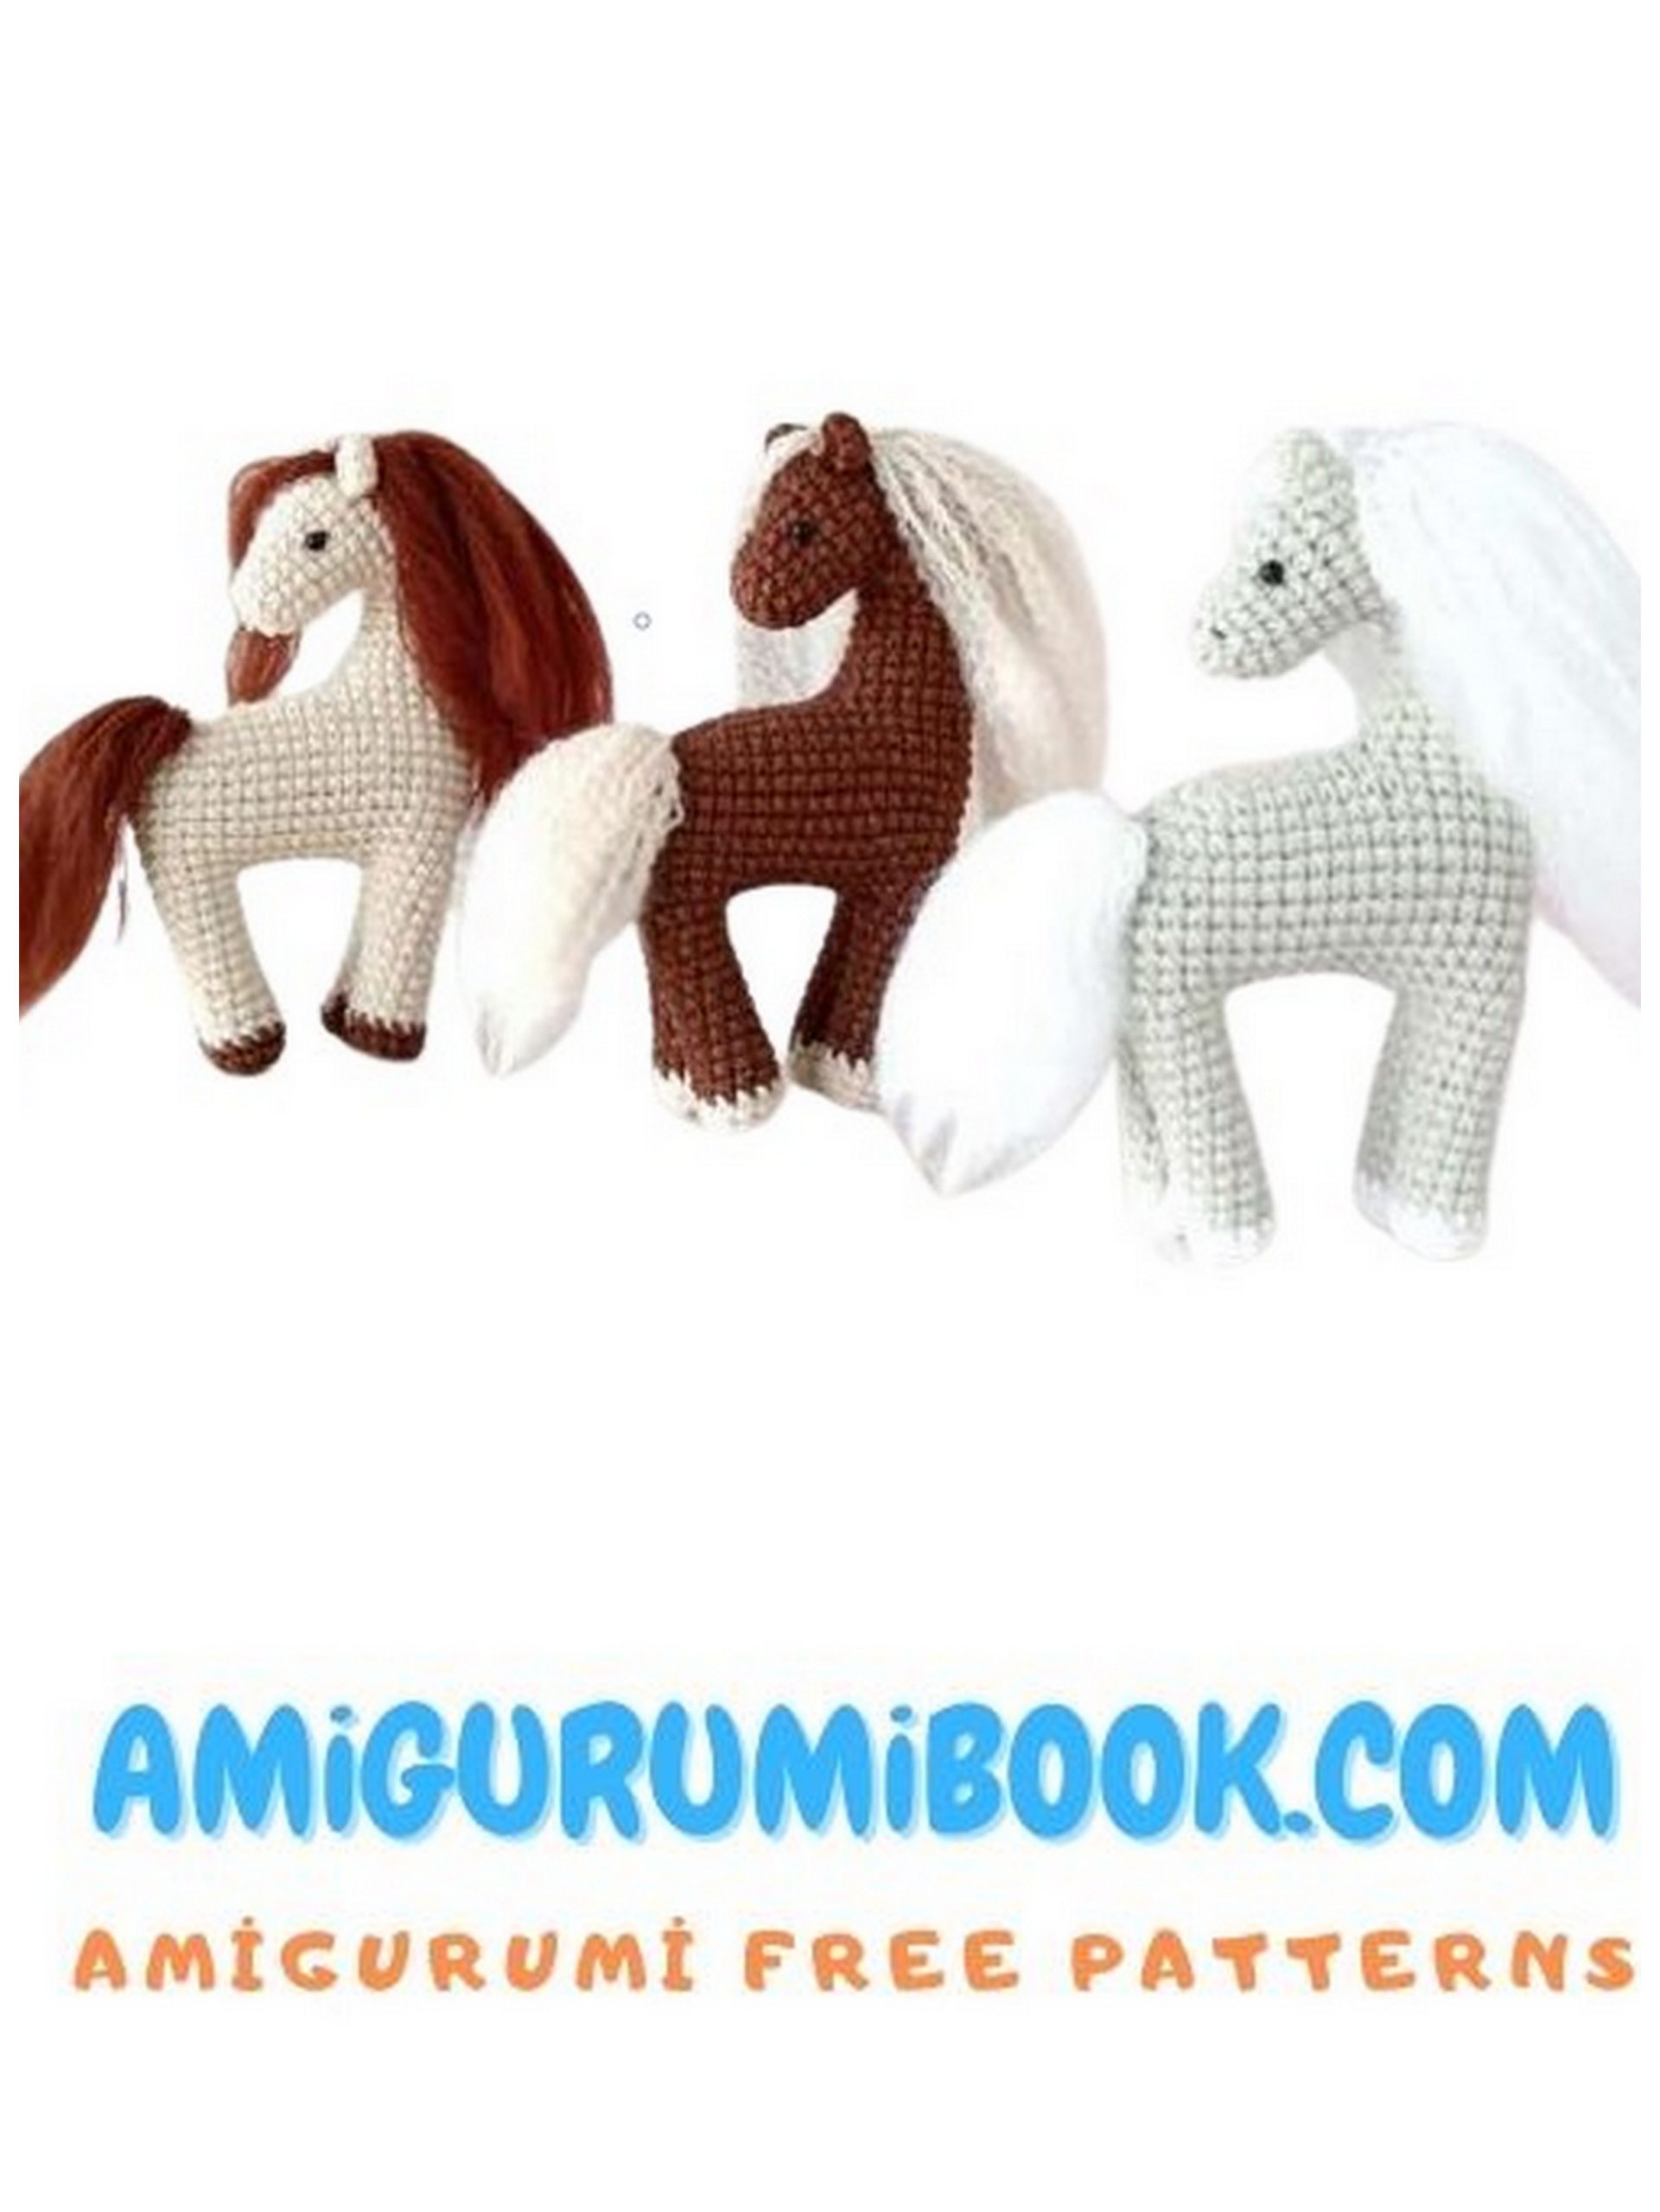
Yarn: Yarnart Jeans – “grey 49”, “white 62”, “brown 70”, “beige 05”, etc. Color can be chosen differently at your discretion.
Cotton or semi-cotton yarn from other brands can also be used. Less than half a skein will be needed for the toy, plus a small amount of contrasting color for the hooves.
Acrylic yarn is best suited for the mane and tail, as it fluffs up well, which is exactly what I use. I have Pehorka “children’s novelty” yarn in “white 01”, “fraise 89”, “grill 173” colors. Any other brand of acrylic yarn will also work.
Crochet hook – 2 mm.
Stuffing – polyester fiberfill, synthetic stuffing, holofiber, etc.
Bead eyes – 3-4 mm.
Thread and needle for sewing on eyes.
Stitch markers or yarn for marking the beginning of rows and stitches.
Tailor’s pins – for preliminary fastening of parts.
Scissors.
Fur comb – for fluffing up the mane and tail.
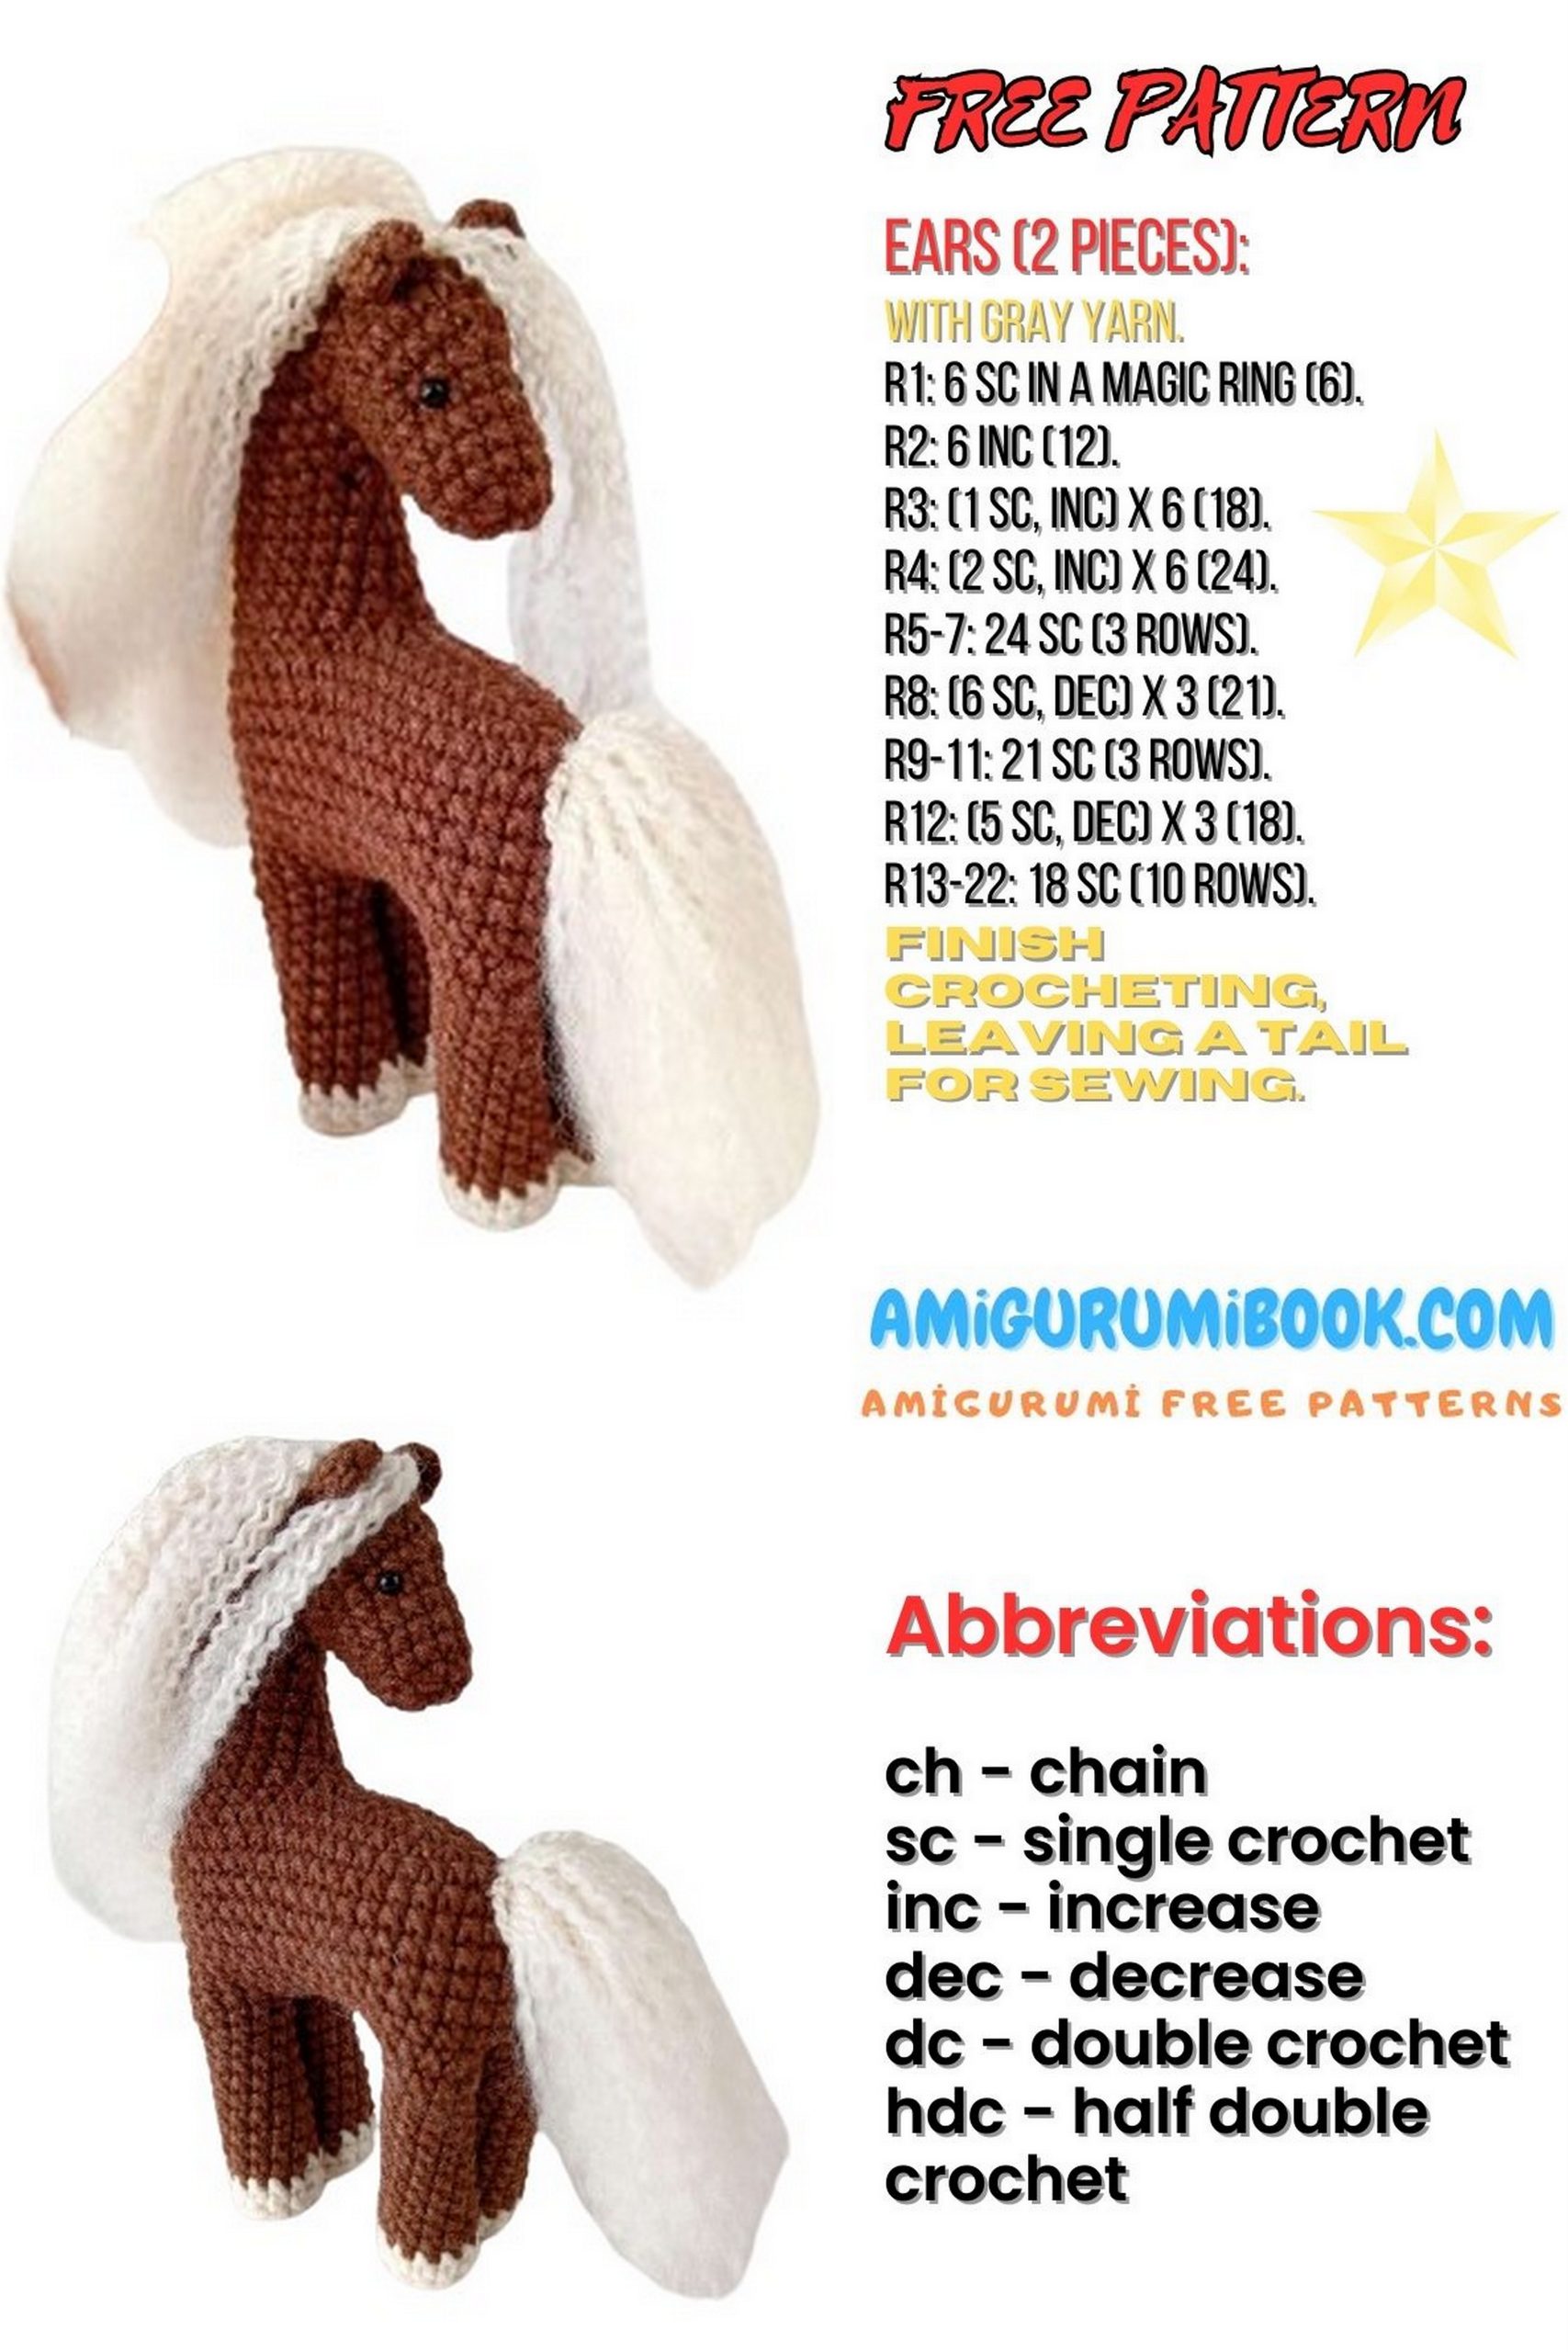
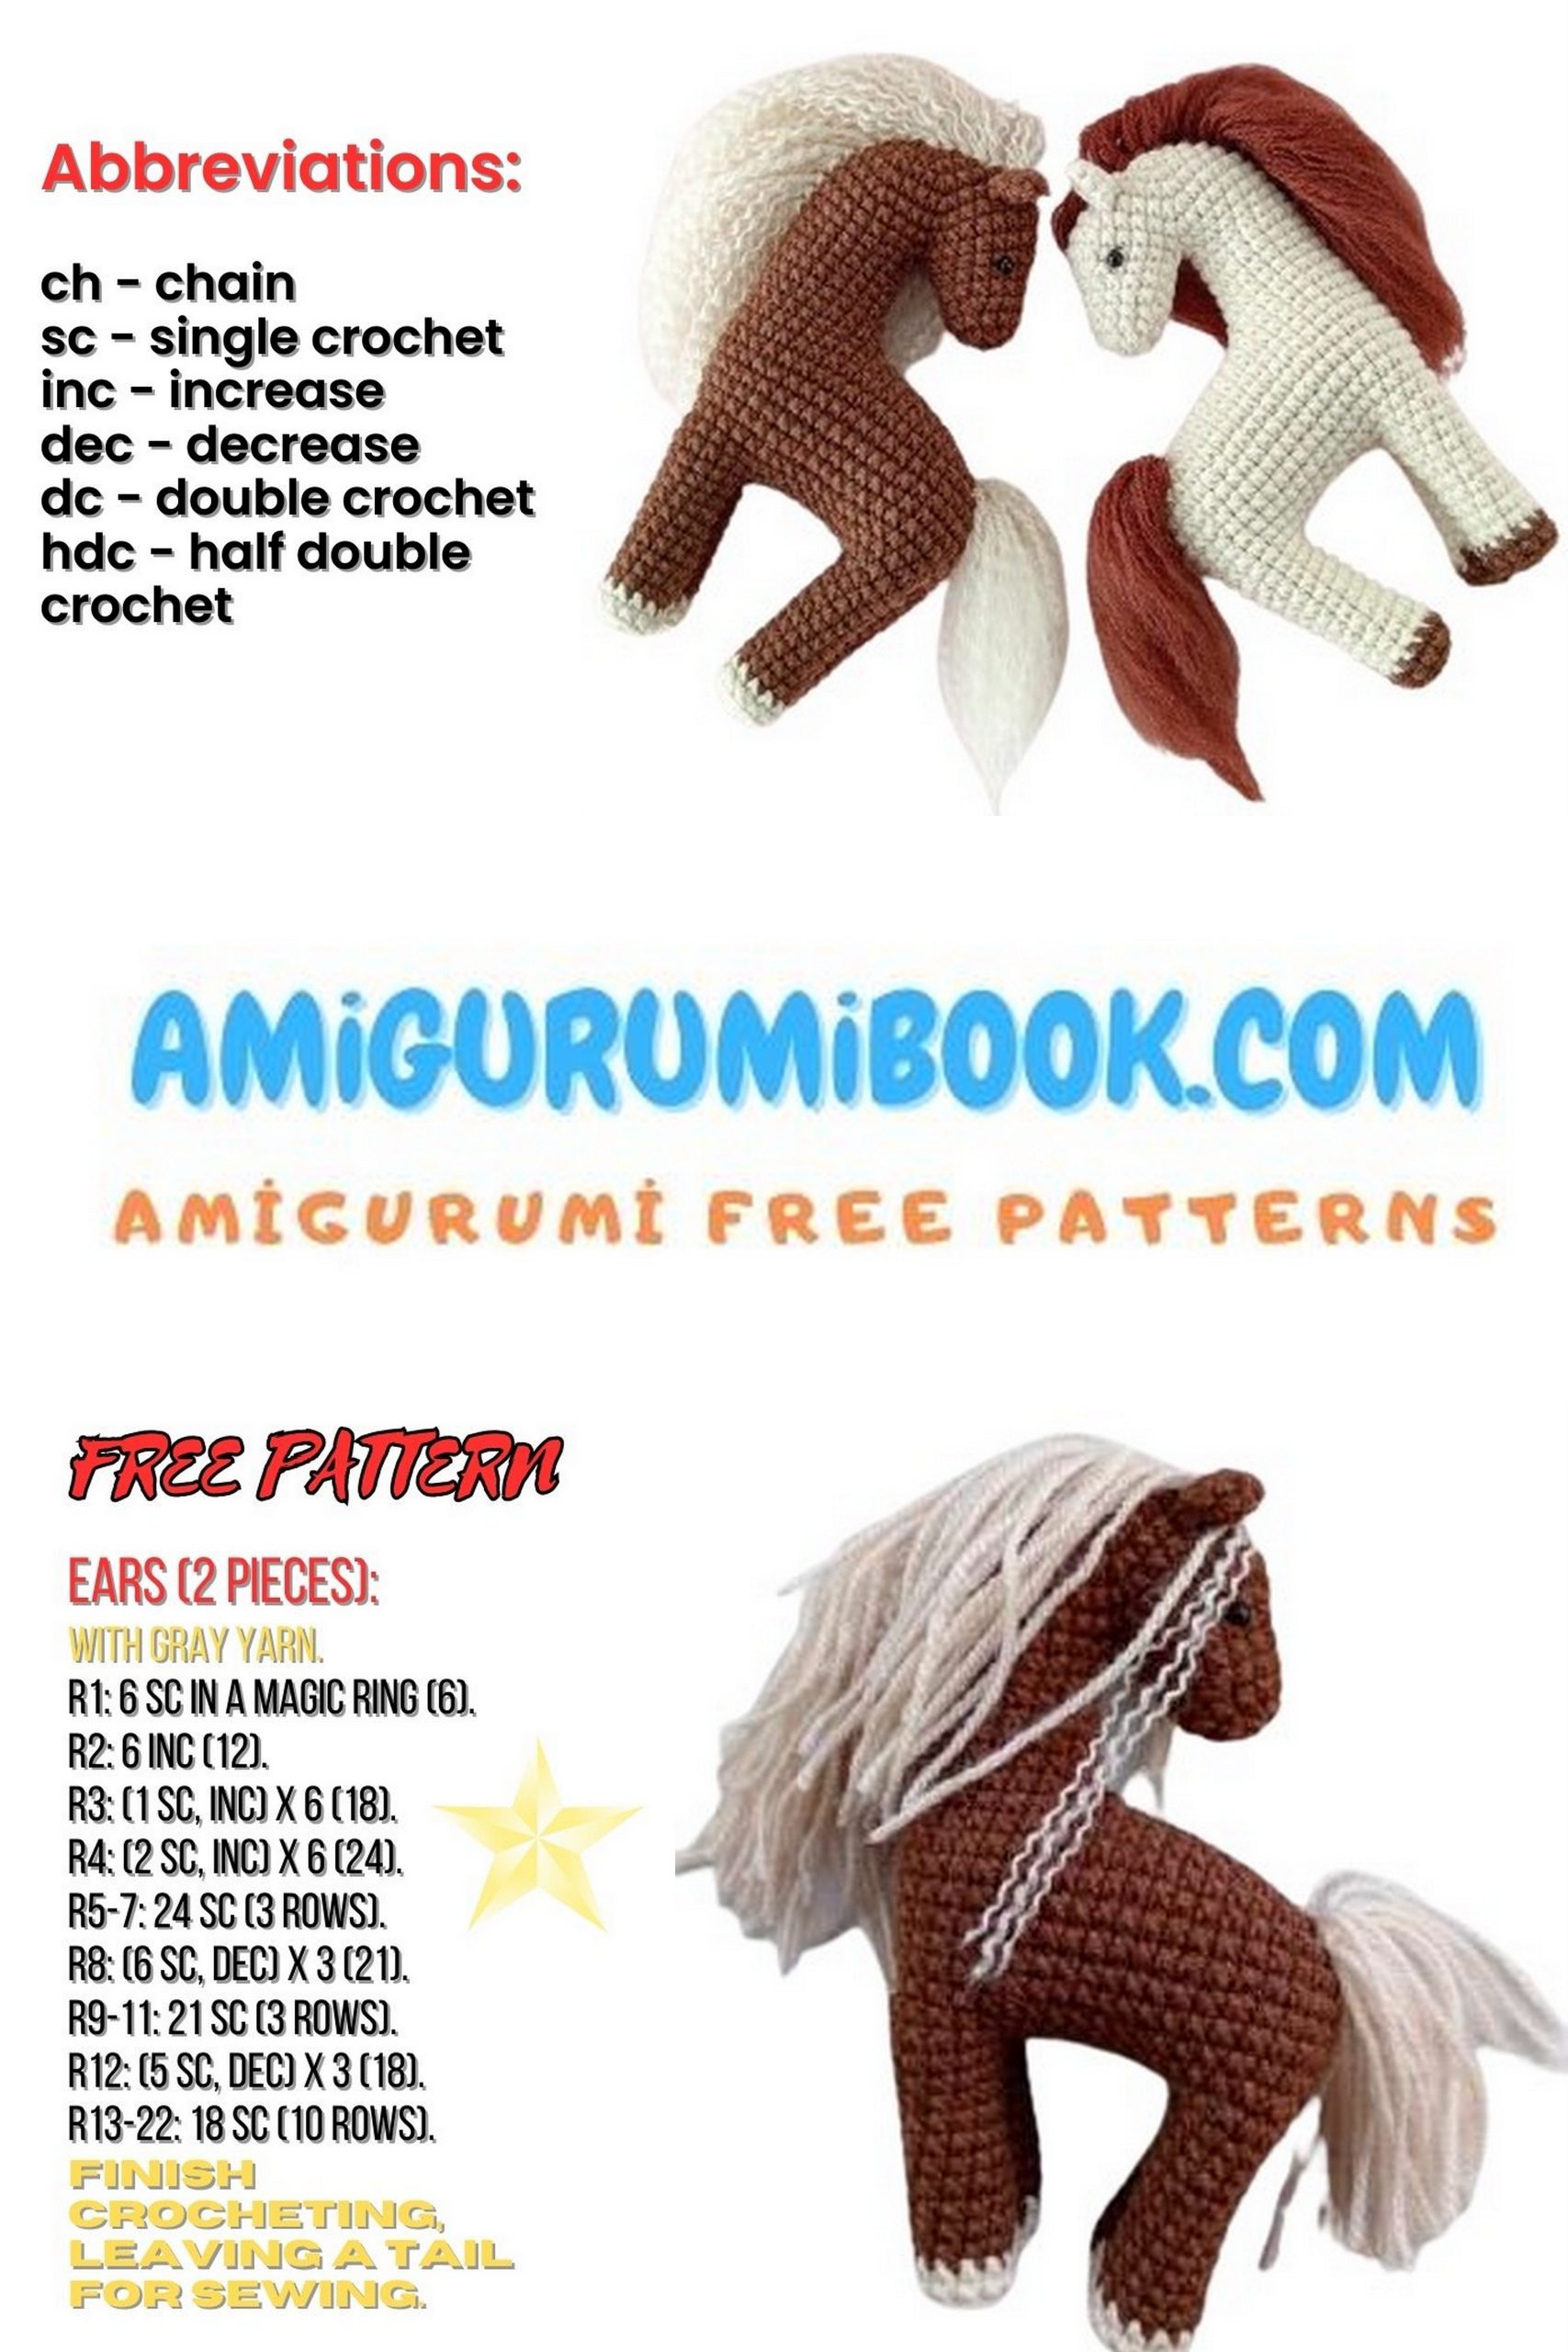
Abbreviations
SC – single crochet
DEC – (decrease) single crochet decrease
INC – (increase) 2 single crochets in one stitch
(12) – the number in parentheses indicates the final number of stitches in the row
PATTERN

Toy Making Process – Little Horse
In this example, we start with brown yarn and a 2 mm crochet hook.
1: 6 SC in magic ring (6)
2: INC in each stitch (12)
3: 1 SC, INC – repeat 6 times (18)
4: 2 SC, INC – repeat 6 times (24)
5: 3 SC, INC – repeat 6 times (30)
6: 4 SC, INC – repeat 6 times (36)
7: SC without changes (36)
Do not cut the yarn. Divide the piece in half, 18 stitches each. Fold and close in a “figure eight” with the right side out. Crochet each part separately. Count the beginning of the row from the center fold.
Muzzle: Little Horse
Continue crocheting in the round from the same yarn:
1: SC without changes (18)
2: 6 SC; (DEC – repeat 3 times); 6 SC (15)
3-4: crochet 2 rows of SC without changes (15)
5: 3 SC, DEC – repeat 3 times (12)
6: SC without changes (12)
7: DEC – repeat 6 times (6)
Cut the yarn. Draw the opening closed with a needle or hook.
Hide the threads.
Neck: Little Horse
Crochet the second part of the “eight”.
Attach the yarn and start crocheting from the center, counting the beginning of the row from the fold:
1-2: crochet 2 rows of SC without changes (18)
3: 17 SC, INC (19)
4: SC without changes (19)
5: 18 SC, INC (20)
6: SC without changes (20)
7: 19 SC, INC (21)
Next, crochet 8 chain stitches for the back. You can direct the chain from where we stopped (this is the option we will use) or crochet forward 10 stitches so that the horse’s face looks forward.
Body: Little Horse
Crochet 8 chain stitches:
1: crochet single crochets along one side of the chain (insert the hook into the next stitch from the loop on the hook), after the chain, move to the neck, crochet around it, and move on to crochet along the other side of the chain (35)
2: INC, 32 SC, INC, INC (38)
3: INC, 35 SC, INC, INC (41)
4: INC, 38 SC, INC, INC (44)
5: INC, 41 SC, INC, INC (47)
6-10: crochet 5 rows of SC without changes (47)
11: 19 SC; (INC – repeat 6 times); 17 SC; (INC – repeat 5 times) (58)
12: INC, INC, 56 SC (60)
Do not cut the yarn, we will use it for the right hind leg. But first, divide the stitches, orienting from the center, place markers. Allocate 12 stitches for each leg (see photo).
Legs: Little Horse
Once the stitches for the legs are distributed, crochet until reaching the point counted to 12 stitches, then connect it to the center. Close and crochet the right hind leg in the round:
1-10: crochet 10 rows of 12 SC (12)
Cut the thread, switch to light beige yarn:
11-12: crochet 2 rows of SC without changes (12)
Then decrease all stitches through the back loop:
13: DEC – repeat 6 times (6)
Cut the thread with a margin, sew the opening, hide the thread.
Crochet the remaining legs in the same way.
Left hind leg:
Right front leg:
Left front leg:
Stuff the body and legs well.
Sew the remaining opening on the belly, hide the remaining threads.
Ears:
1: 6 SC in magic ring (6)
3: 1 SC, INC – repeat 3 times (9)
Hide the remaining yarn from the beginning of the row inside the fabric.
Fold the ears, pinch and sew from the bottom, see photo.
Decoration and Assembly:
Sew on the ears, first securing them with pins.
Sew on the bead eyes. The distance between the eyes is approximately 4 stitches. When sewing on the eyes, slightly sink them, pulling the thread a little.
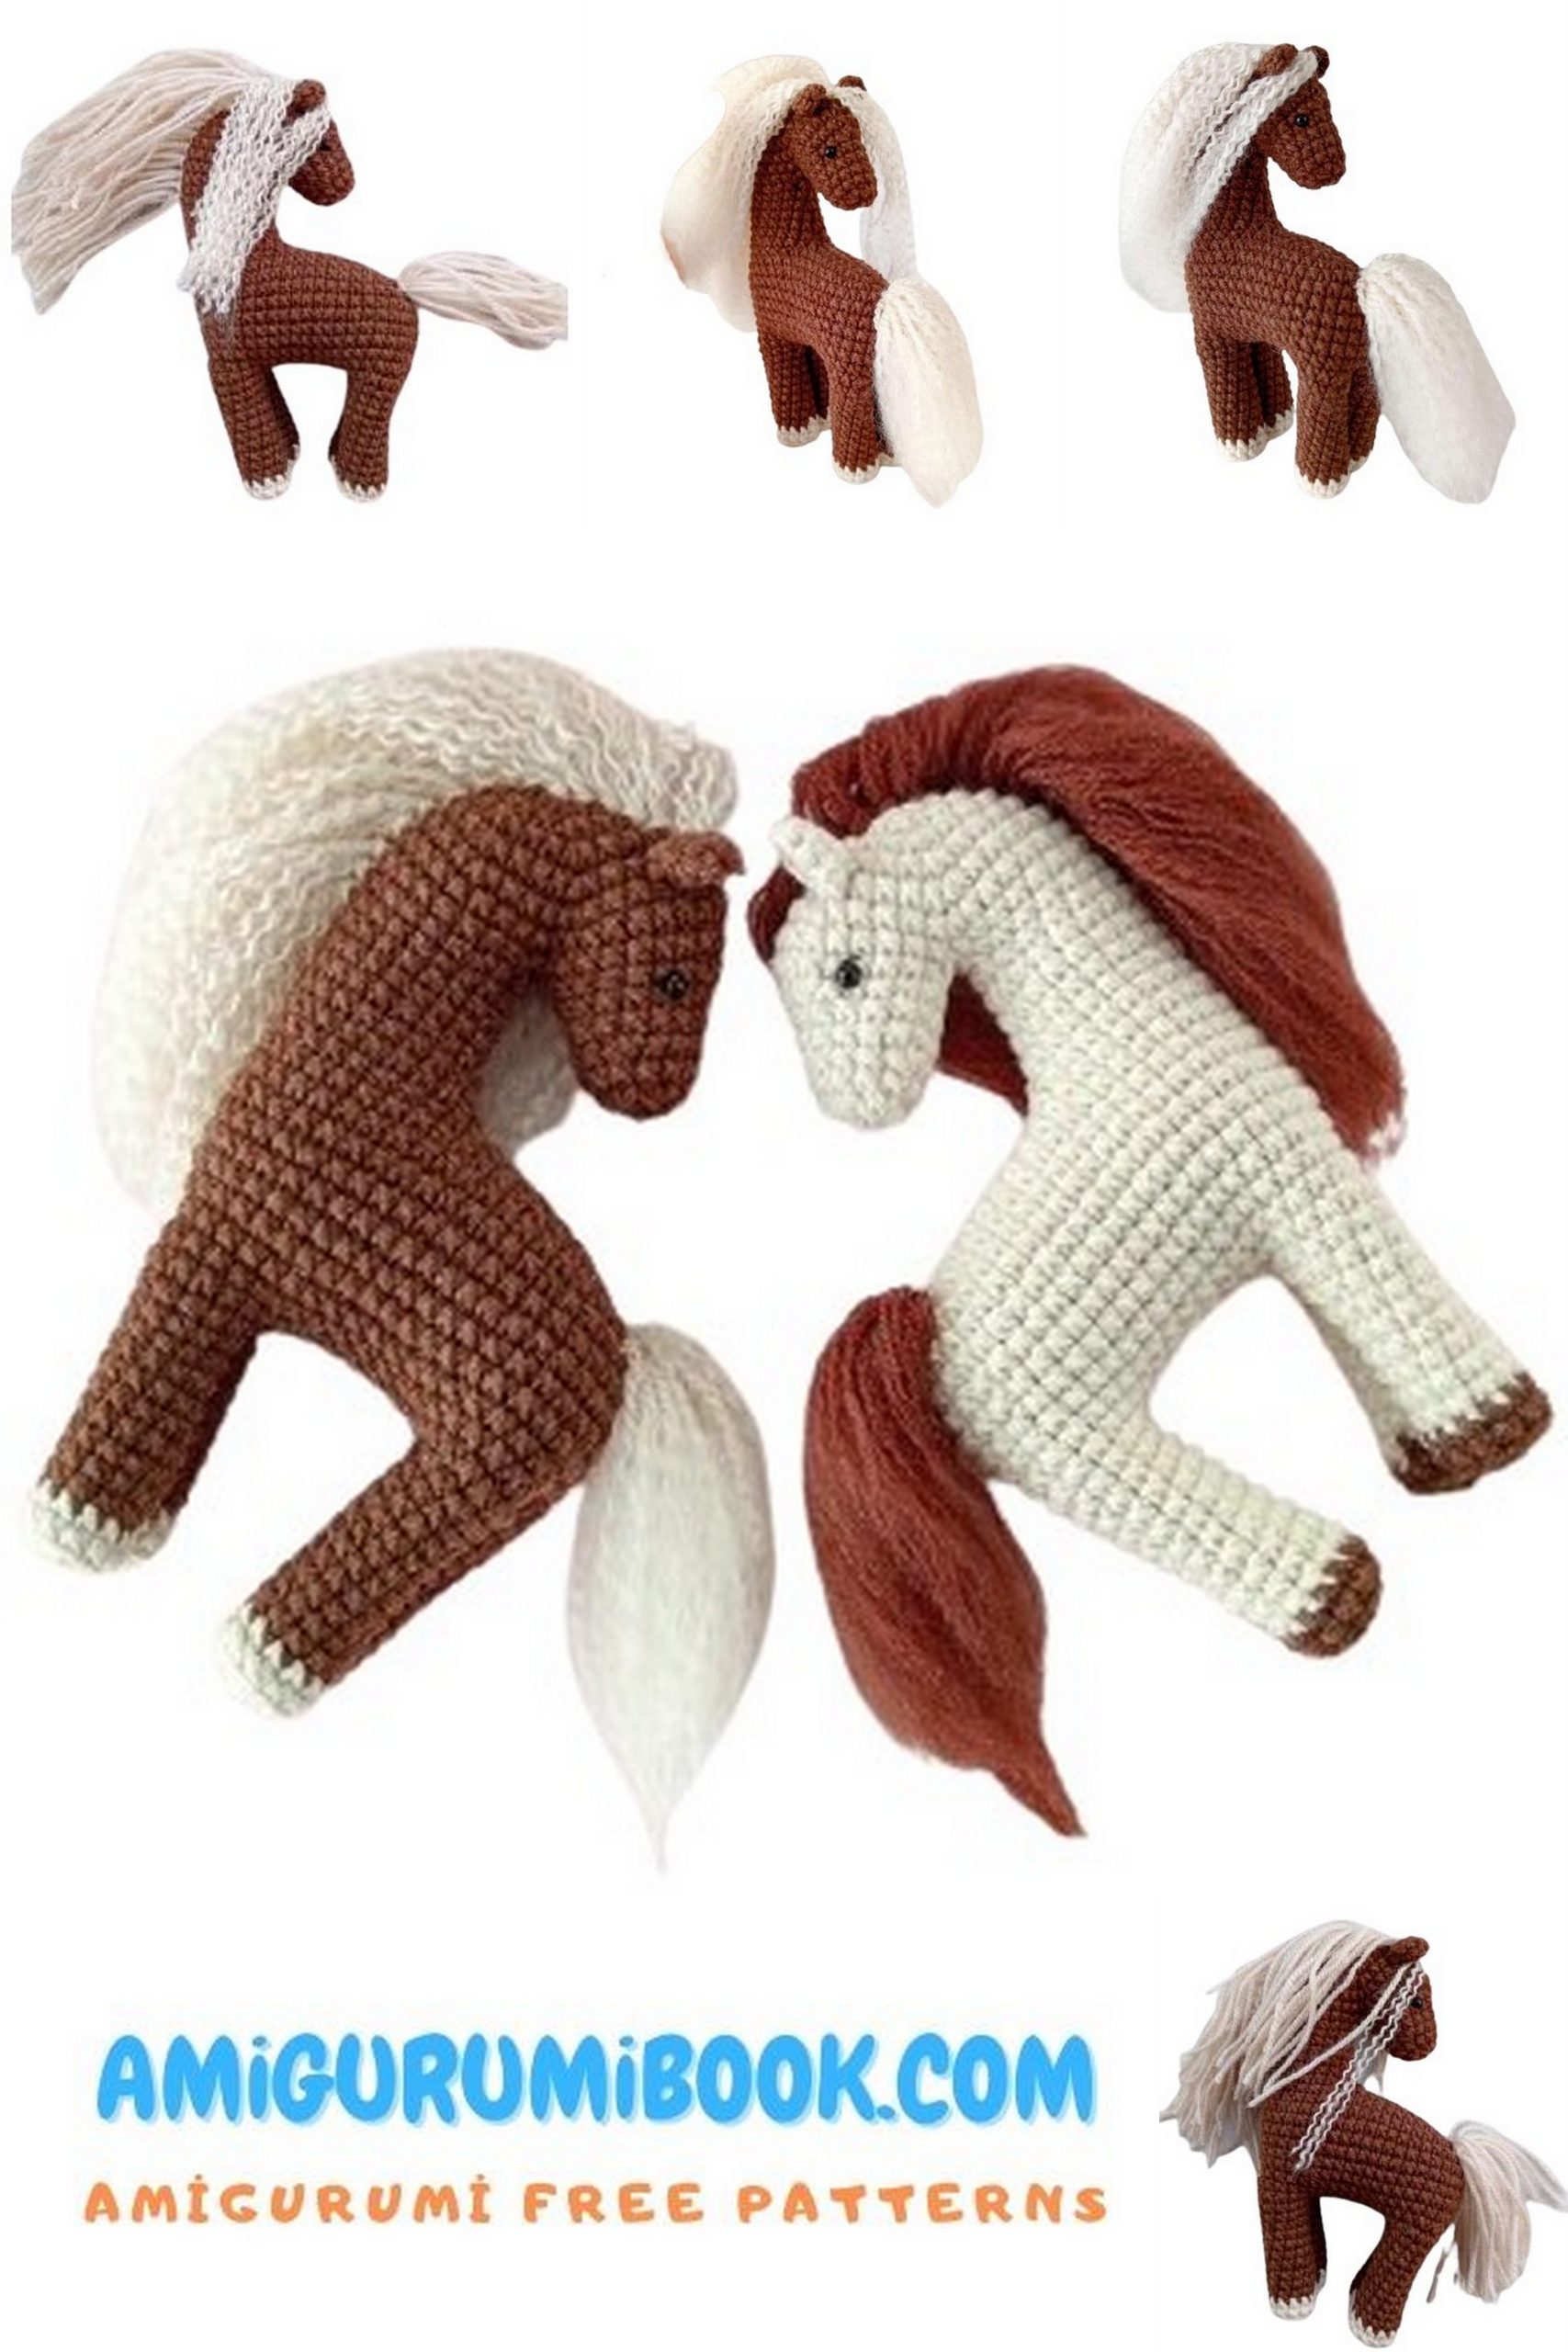
For the mane, cut threads approximately 15 cm long, for the tail about 12 cm. The thickness is according to your desire; I don’t make it too thick because after dividing the thread, the mane and tail will become very fluffy.
Tie the threads for the tail in the center with a longer thread. This same thread will be used to sew on the tail.
Try on and sew on the tail. Trim the length with scissors if necessary.
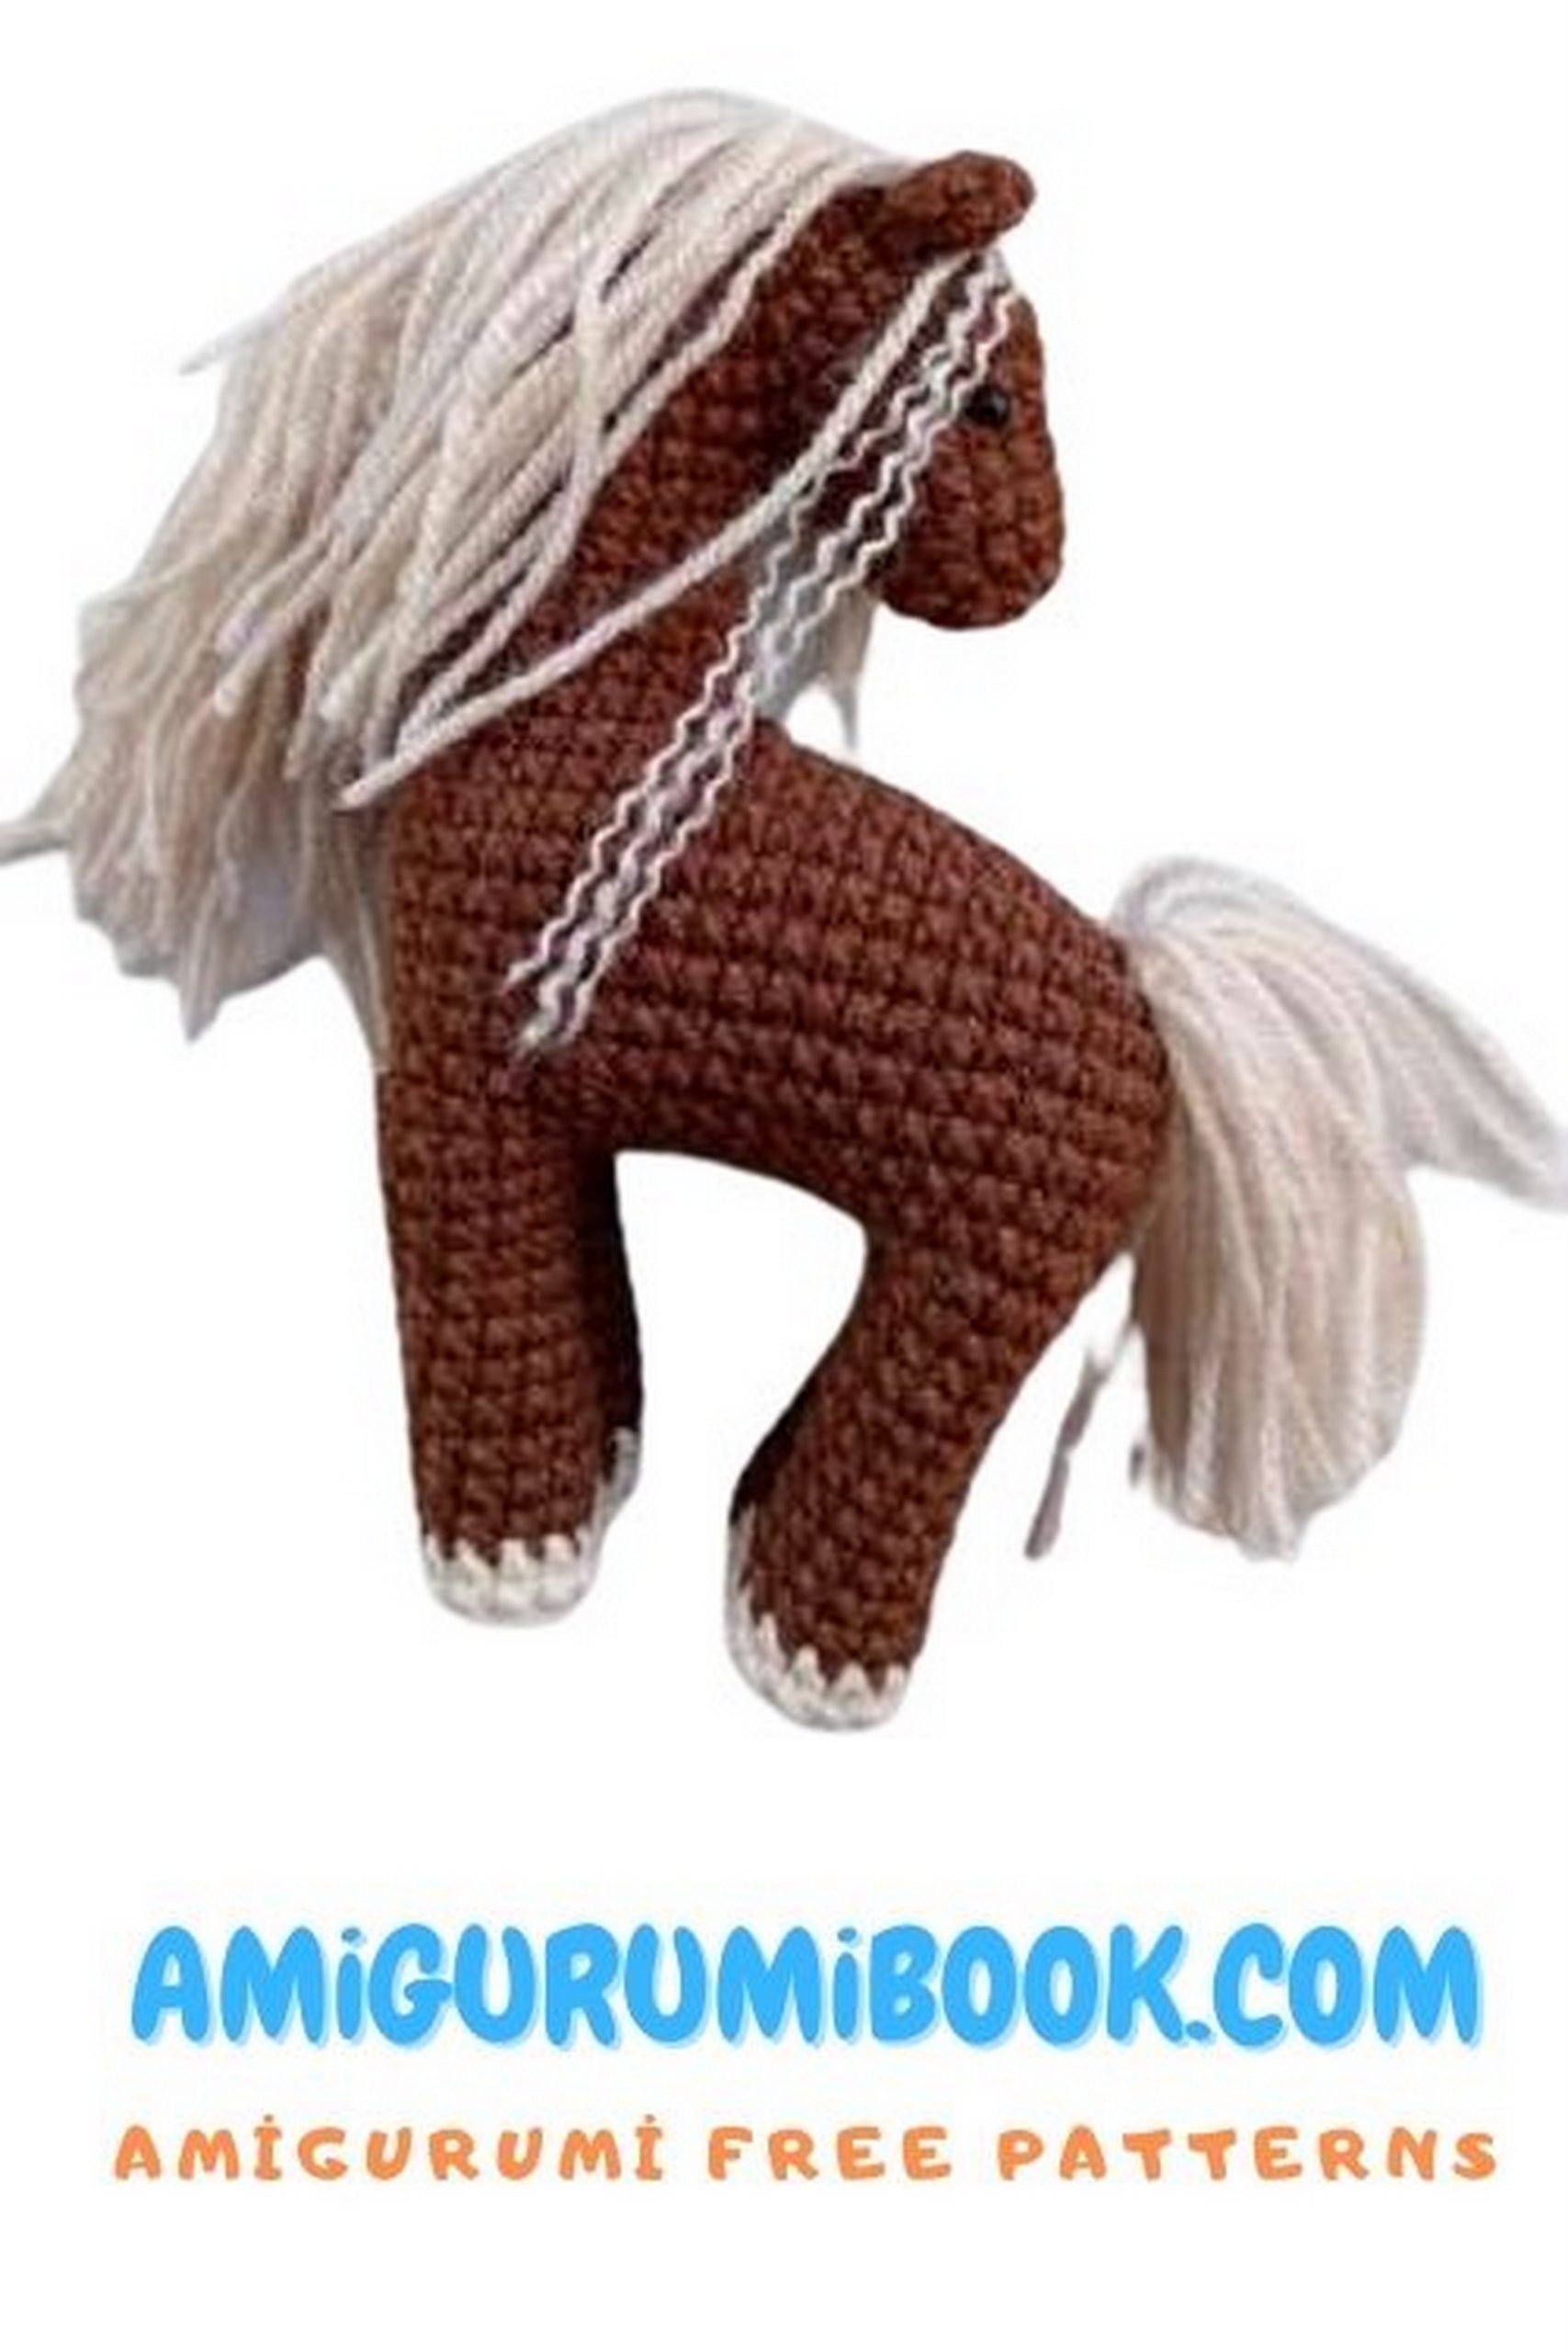
Attach the mane with a hook. To do this, fold the thread in half and pull it through the loops in the center of the head and neck with a hook. Thread the free ends of the thread into the loop formed, tighten well (see photo).
Three attachment points in a row are enough. Start from the ears and end approximately in the middle of the neck, making sure the mane goes symmetrically down the center.
Next, if you have the patience, you need to divide each thread of the mane and tail into three strands. To do this, unravel the yarn, insert a needle and divide the main thread. You will get a wavy, airy, and voluminous mane. However, keep in mind that the yarn in this form easily breaks, and the toy will require careful handling.
Carefully comb the ends with a fur comb, the mane and tail will become fluffy like a cloud.
The little horse is ready! Thank you for your attention.