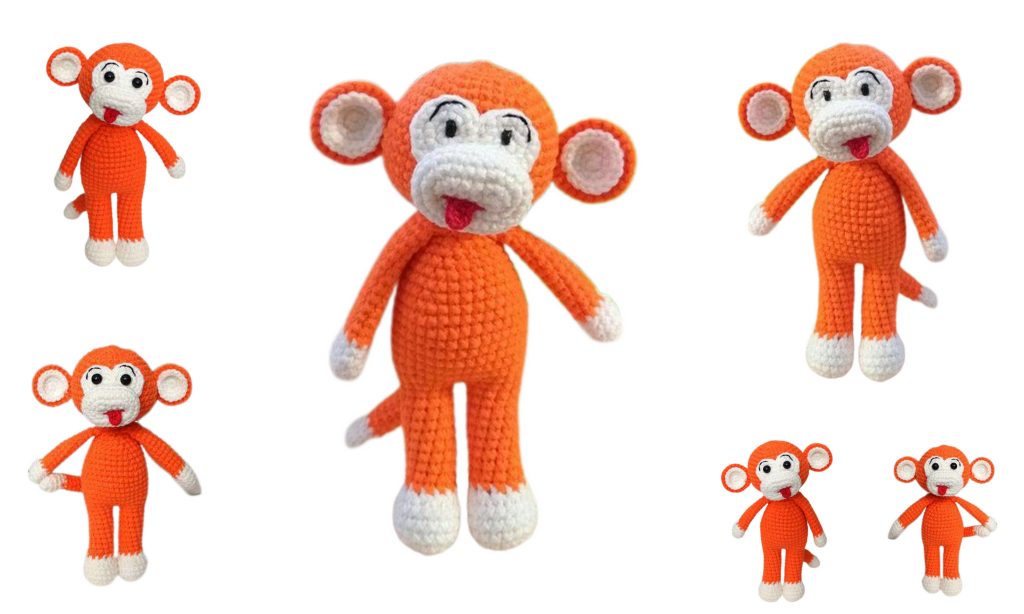
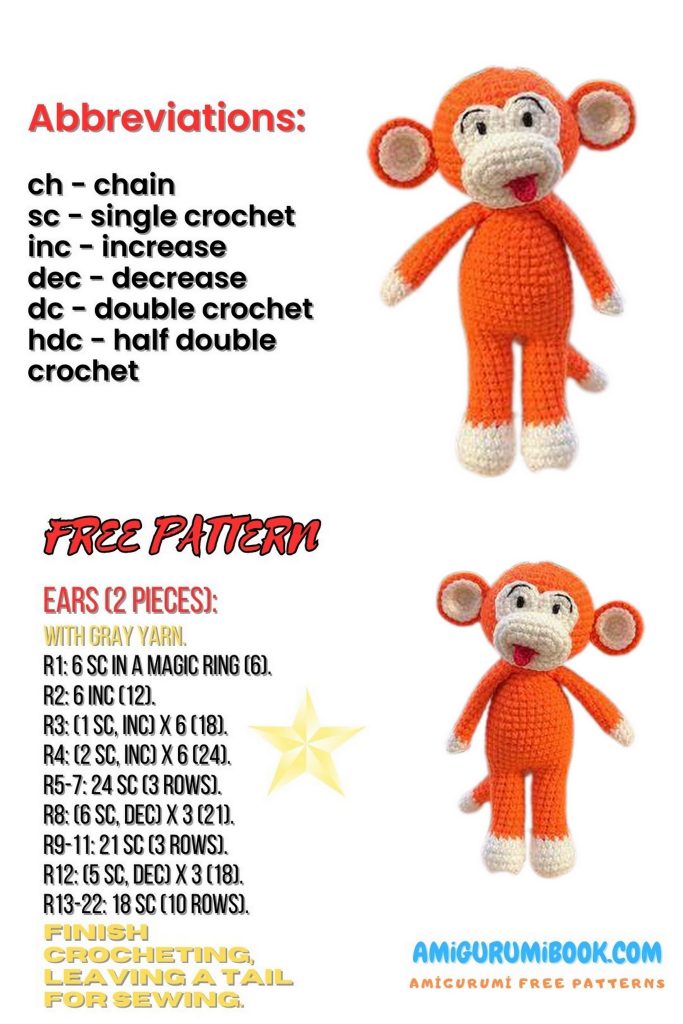
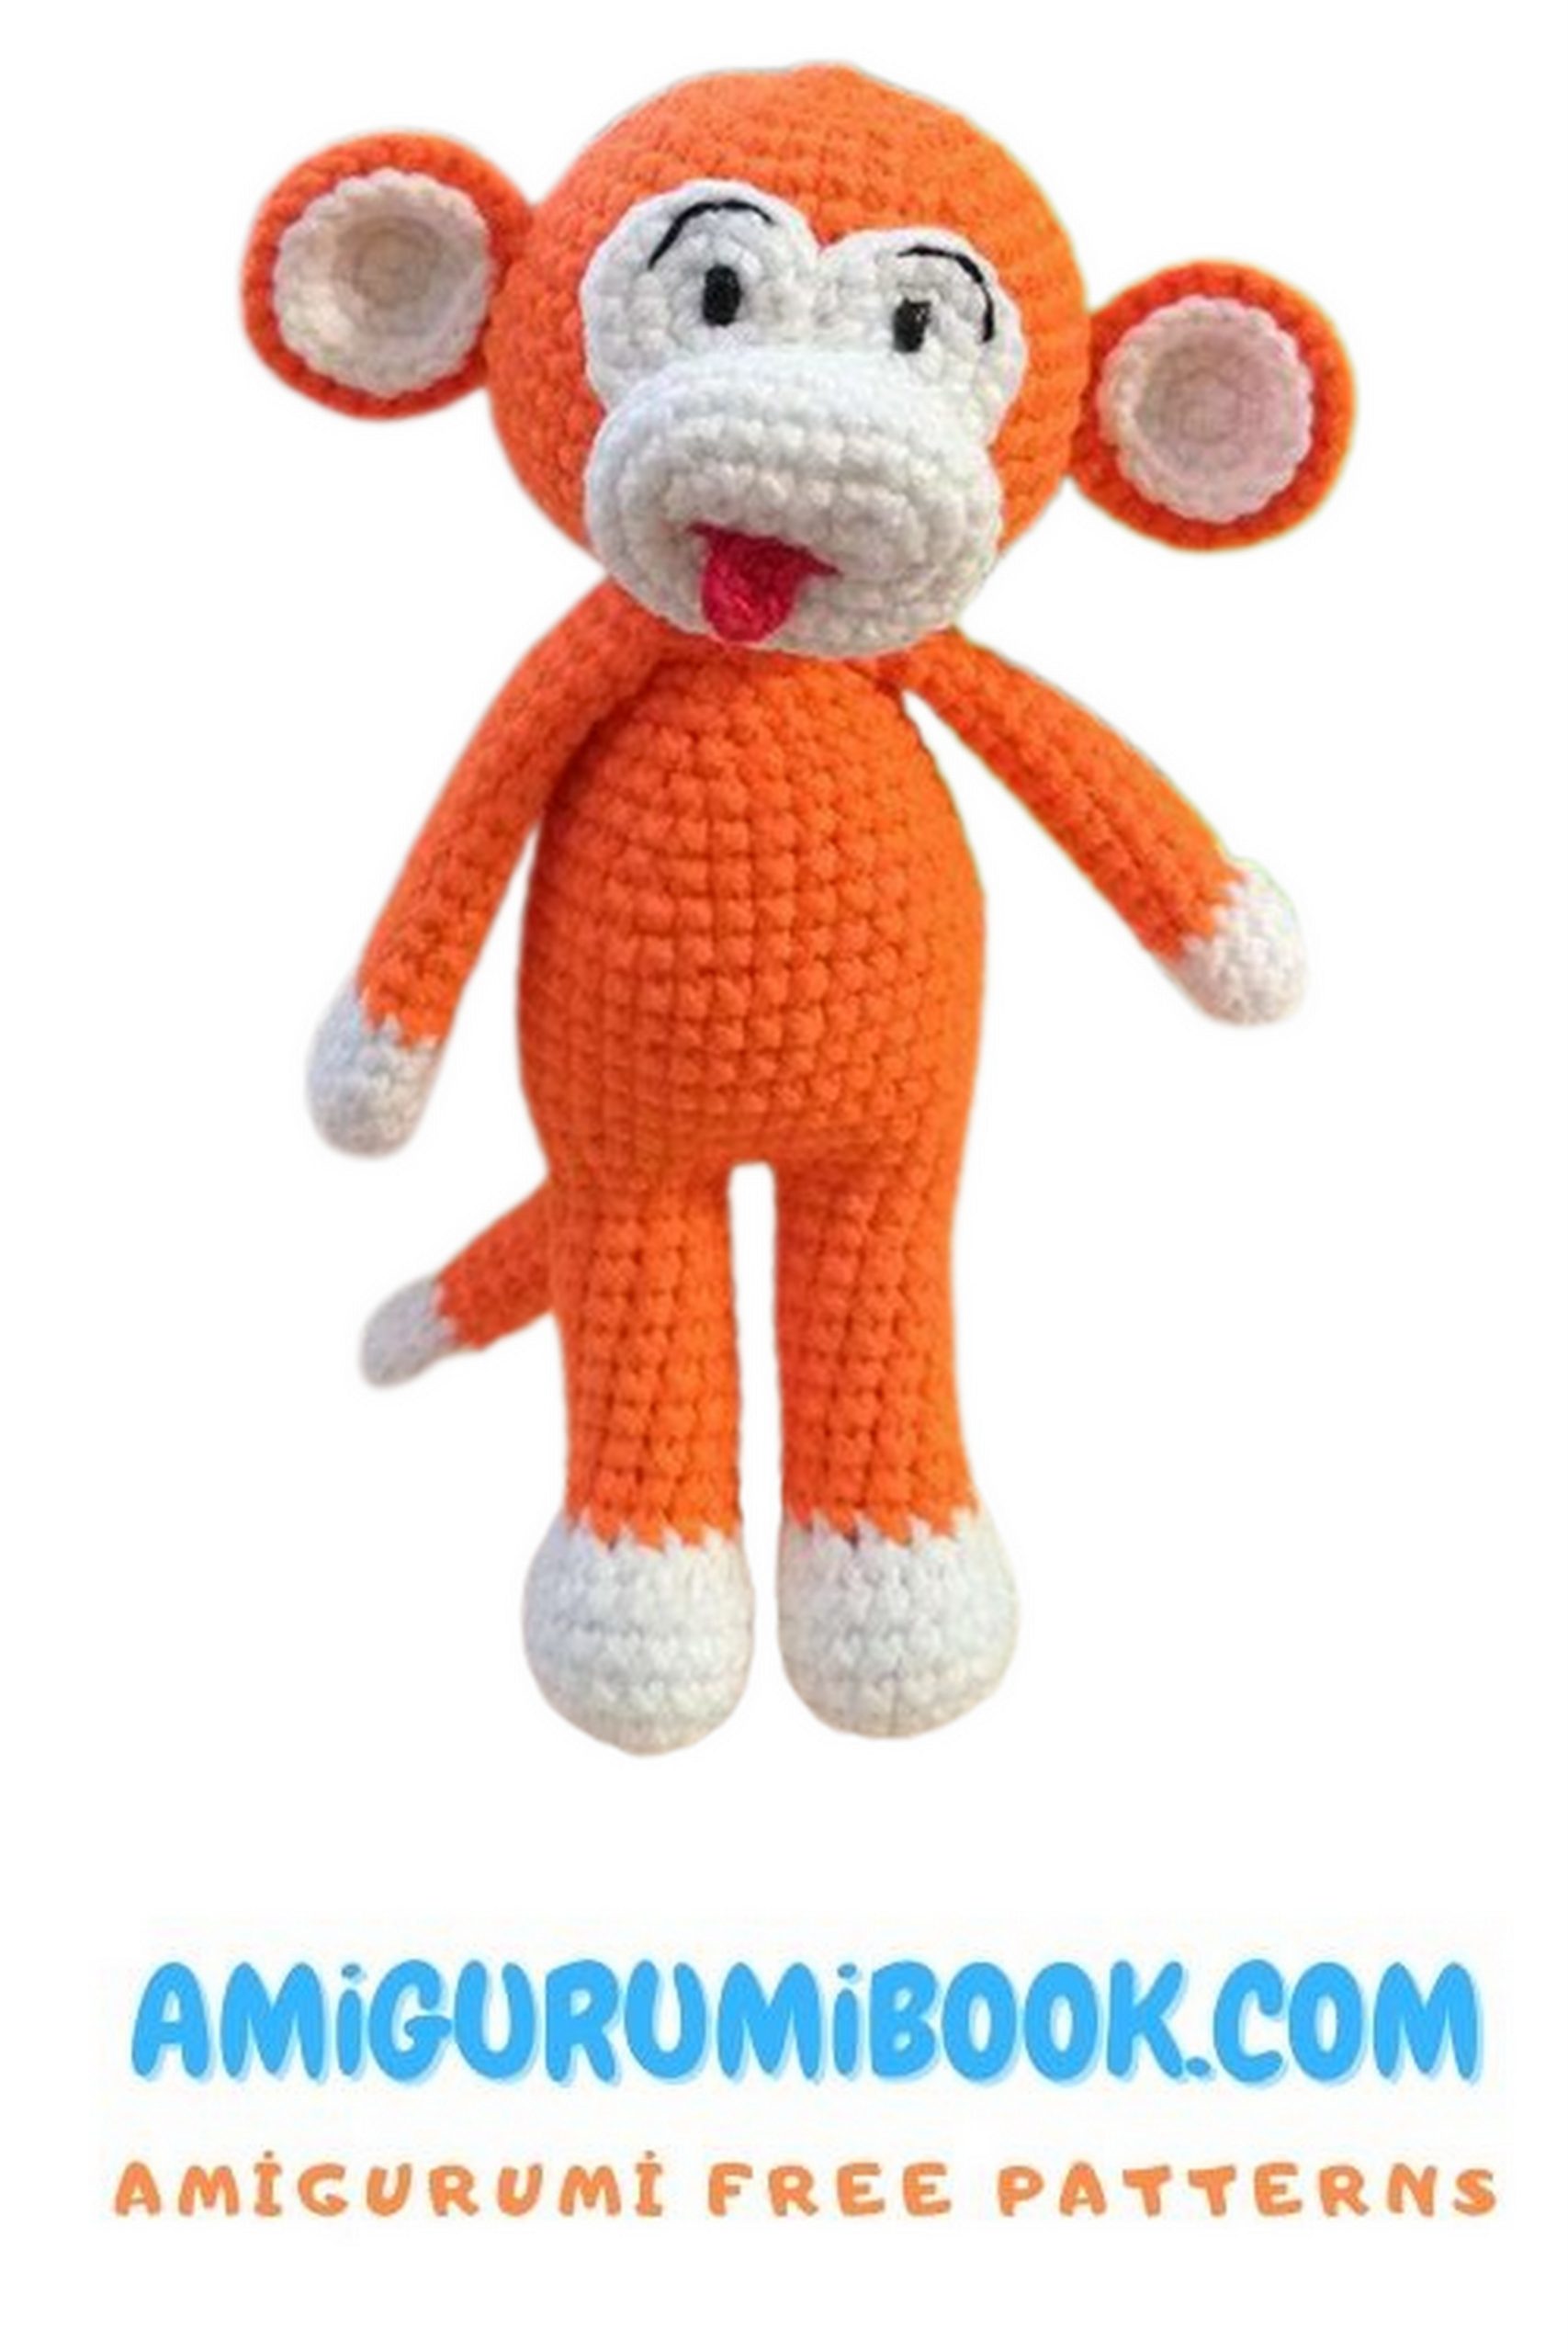
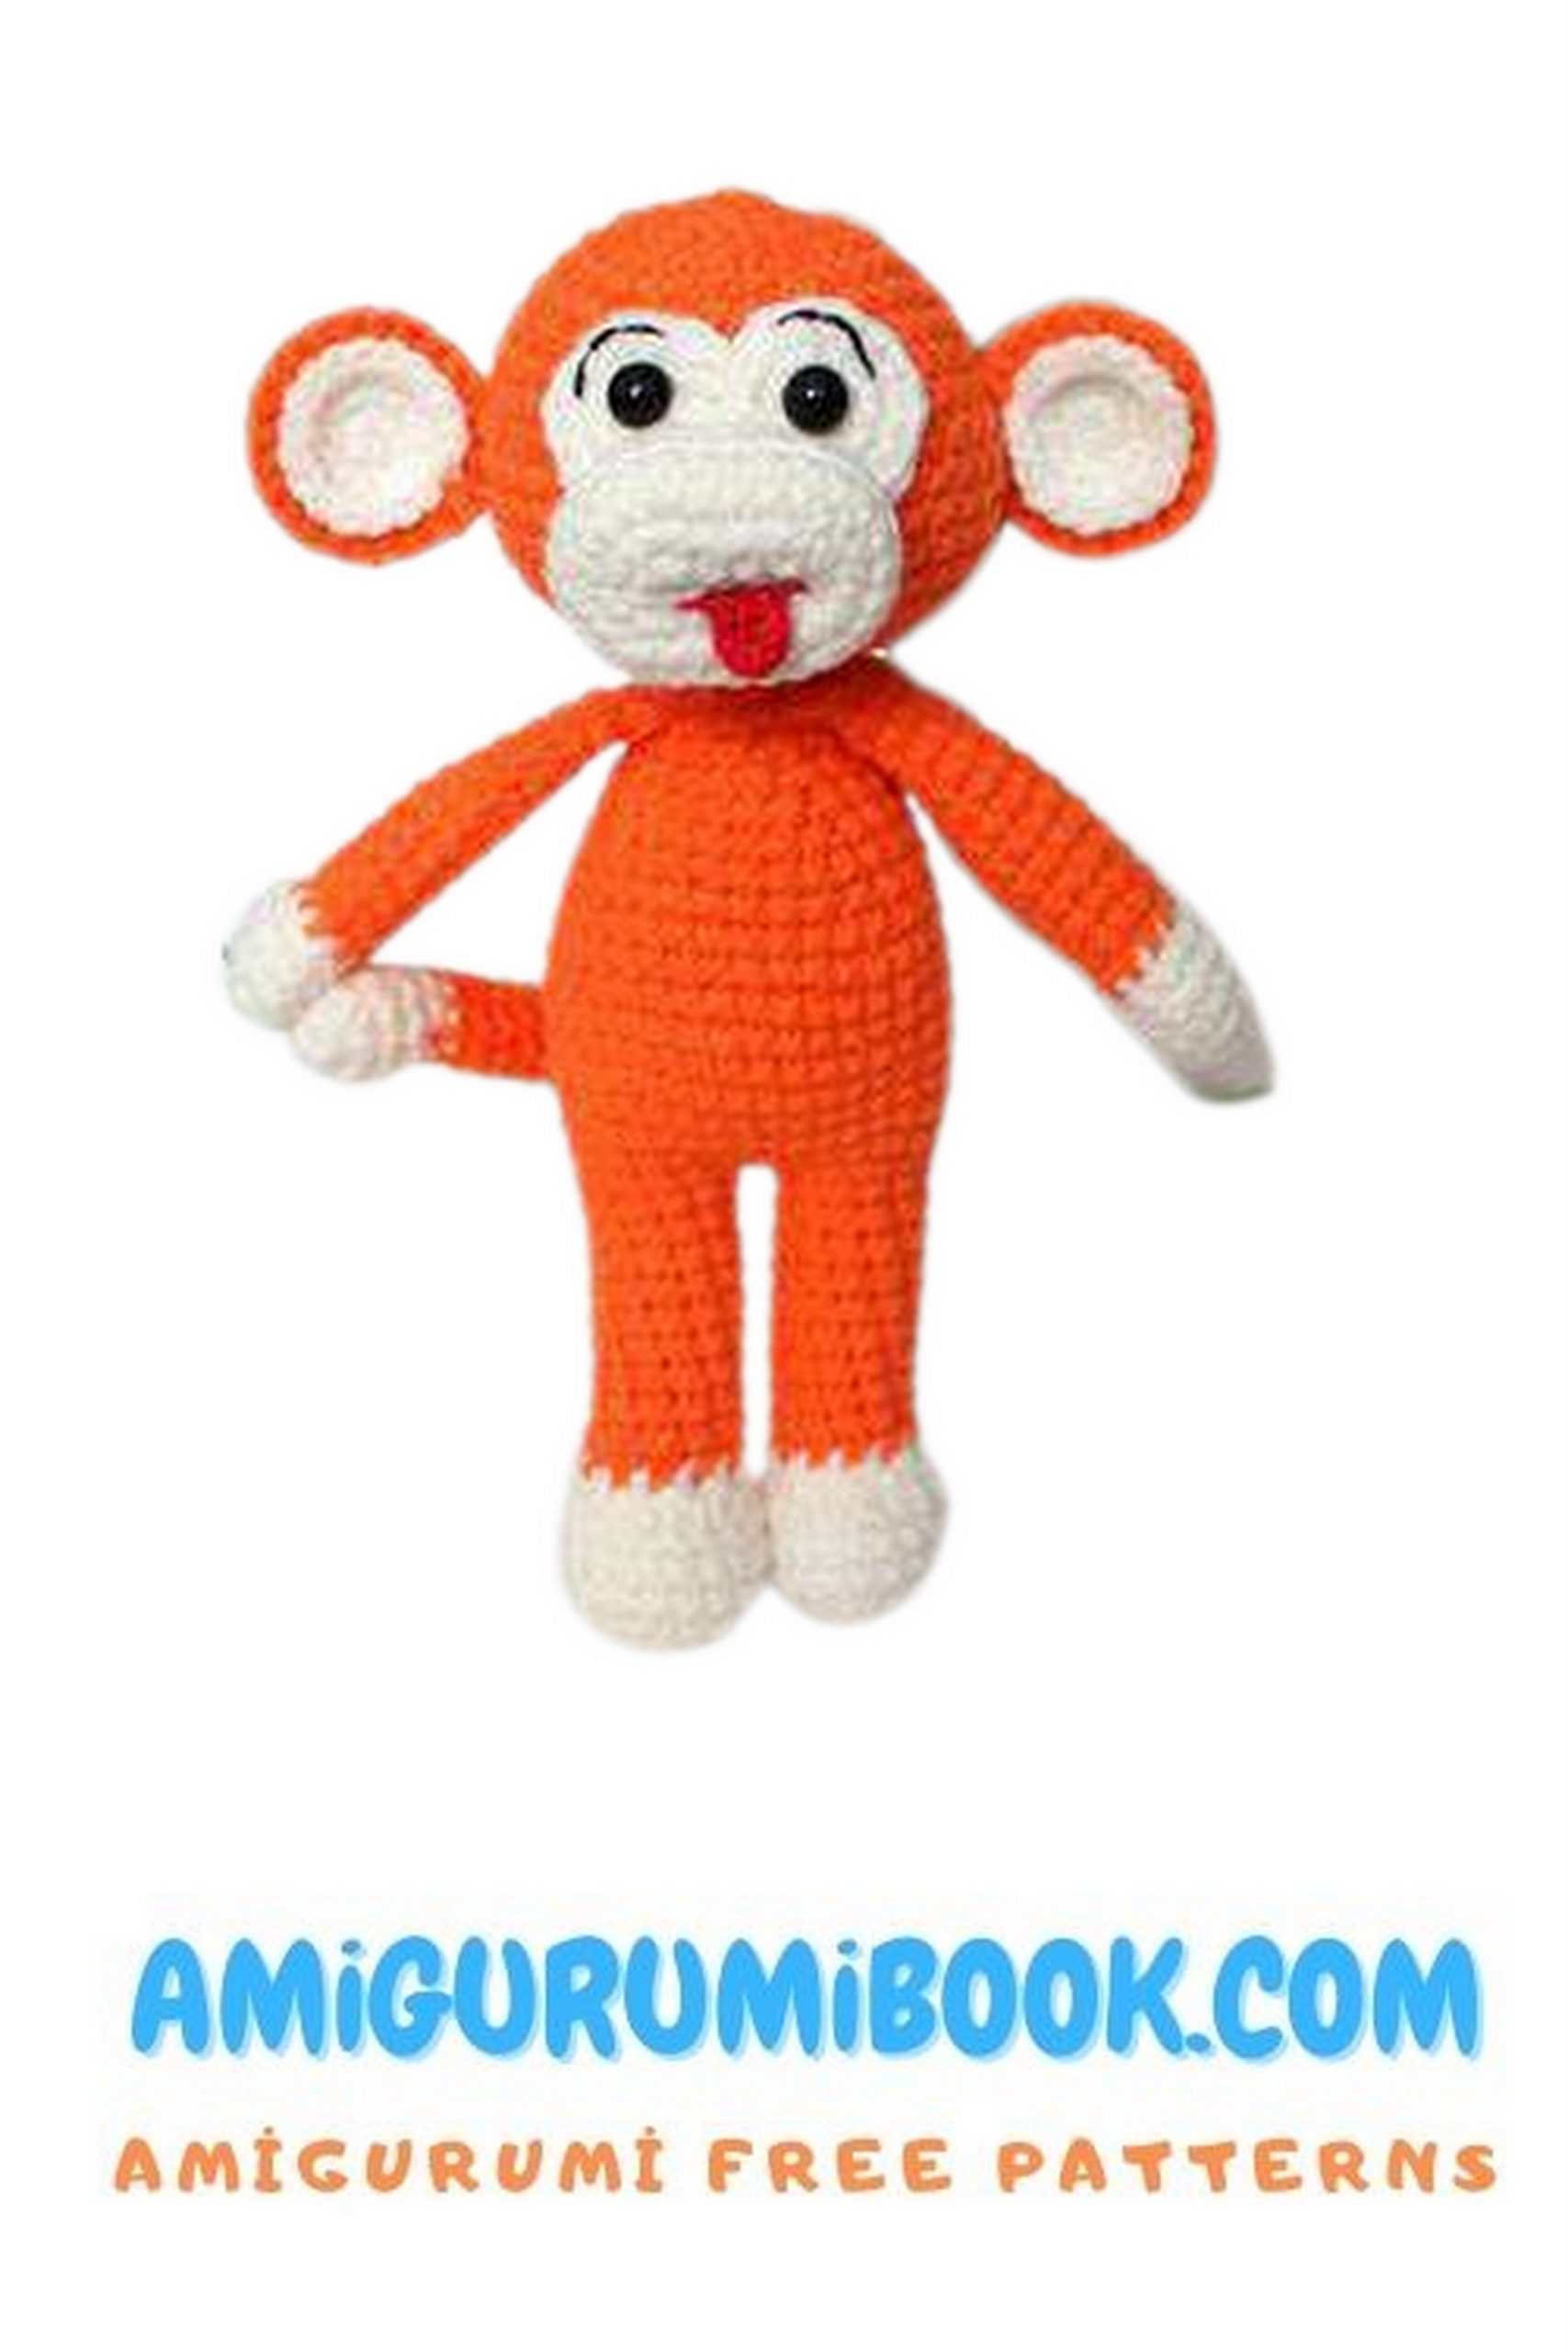
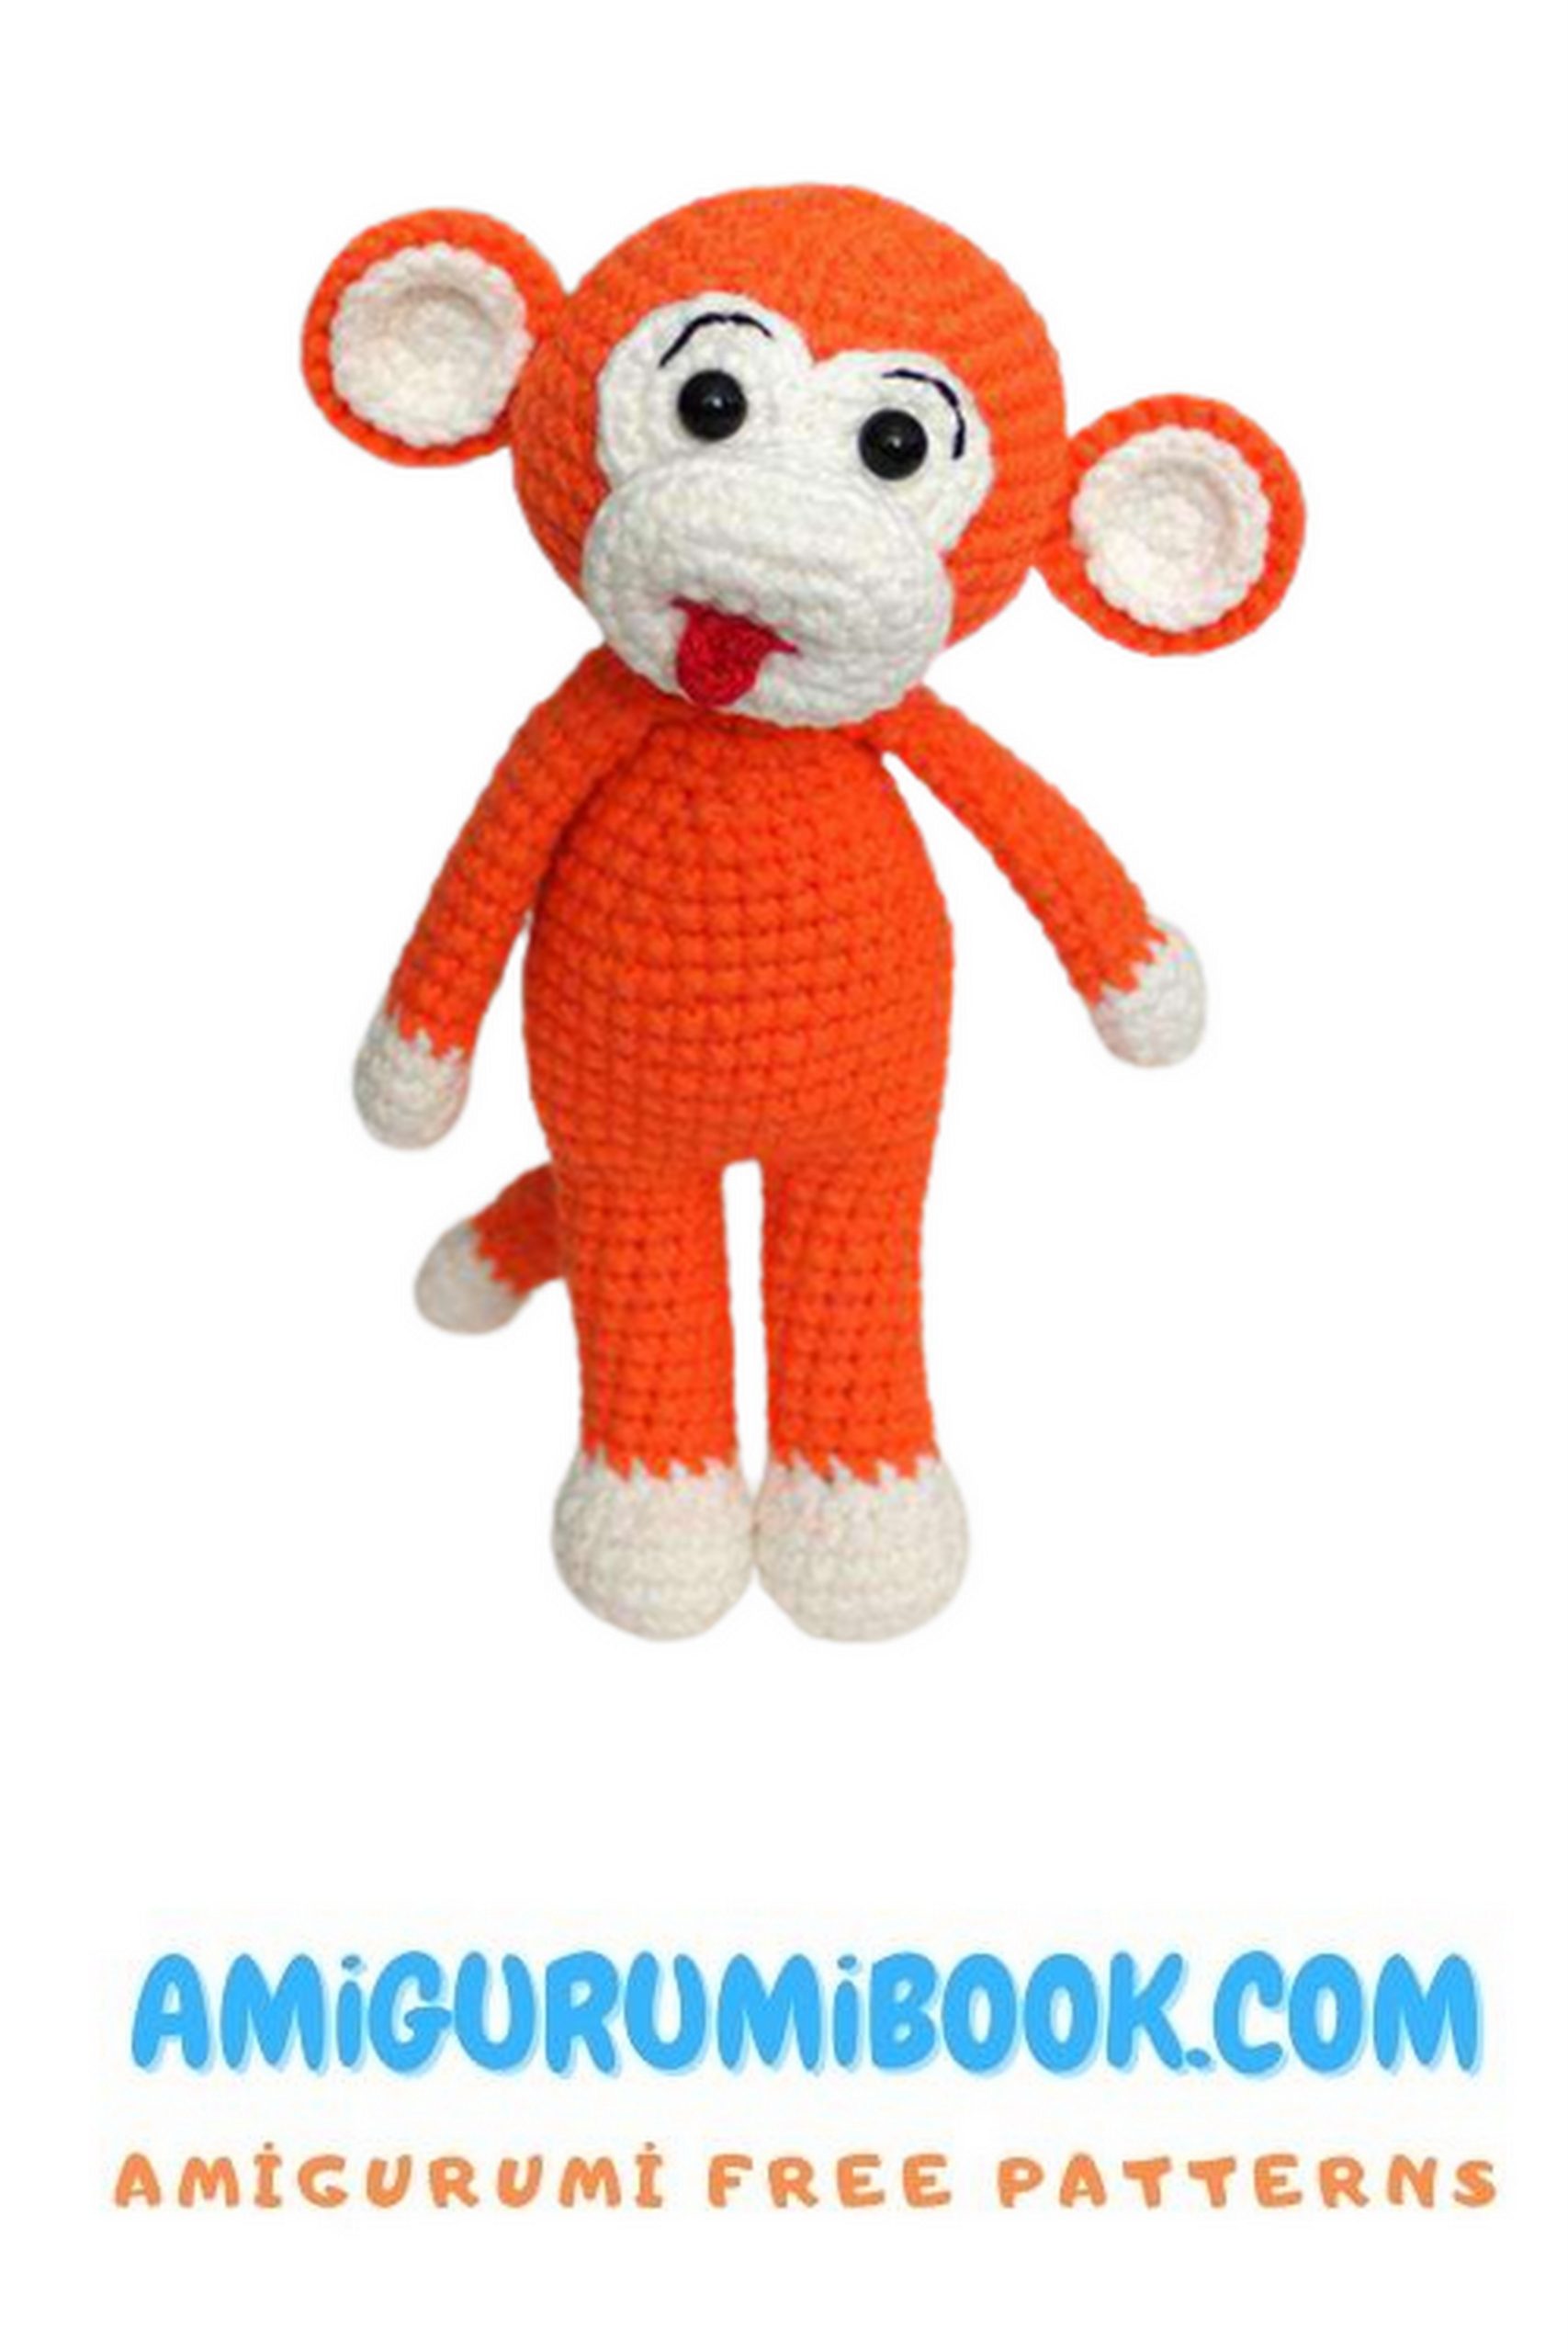
Discover the joy of creating your own adorable amigurumi orange monkey with this free crochet pattern. Perfect for beginners and experienced crafters alike, this fun project brings a charming handmade friend to life in no time. free crochet patterns
You may also like more amigurumi patterns.
Amigurumi crocheting is not only a delightful hobby but also a fantastic way to craft cute and cuddly creations. If you’re looking for your next crochet project, we’ve got just the thing for you! Introducing our Amigurumi Orange Monkey Free Pattern, a delightful and engaging project that will bring a smile to your face.
Crocheting your own amigurumi monkey is not only a fun and creative experience but also a rewarding one. These little creatures make fantastic gifts for friends and family, or you can keep them as charming decorations in your own home. Plus, this pattern is completely free, so you can enjoy the satisfaction of creating something special without breaking the bank.
Our easy-to-follow pattern will guide you through each step, from selecting the perfect yarn to stitching up the final details. Whether you’re an experienced crocheter or a beginner, this project is suitable for all skill levels.
So, grab your crochet hooks and let’s embark on a journey to create an adorable amigurumi orange monkey. Follow our pattern, and in no time, you’ll have a delightful little friend to call your own. Happy crocheting!
If you want to access 1000+ free amigurumi patterns, you can download our application from this link!
Materials
- YarnArt Jeans yarn (160 m / 50 g):
any color scraps + small amount of white - Toy stuffing
- Crochet hook 1.75 mm
- Thin red yarn for tongue (e.g. Iris)
- Black thread for eye embroidery or 6 mm black half-beads
- Craft glue
- Scissors
- Needle
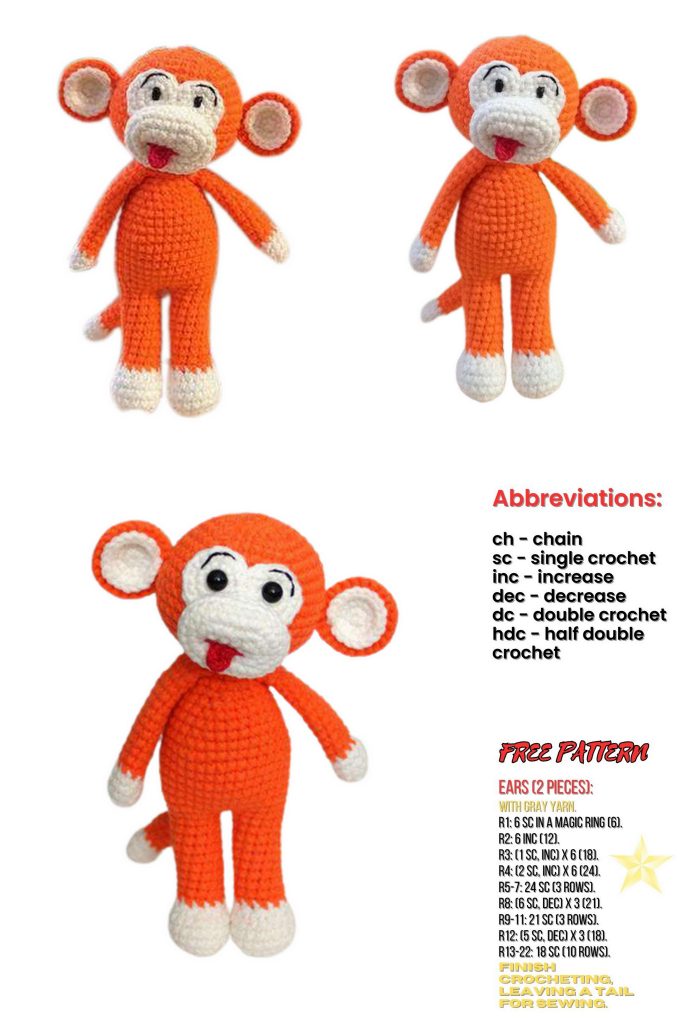
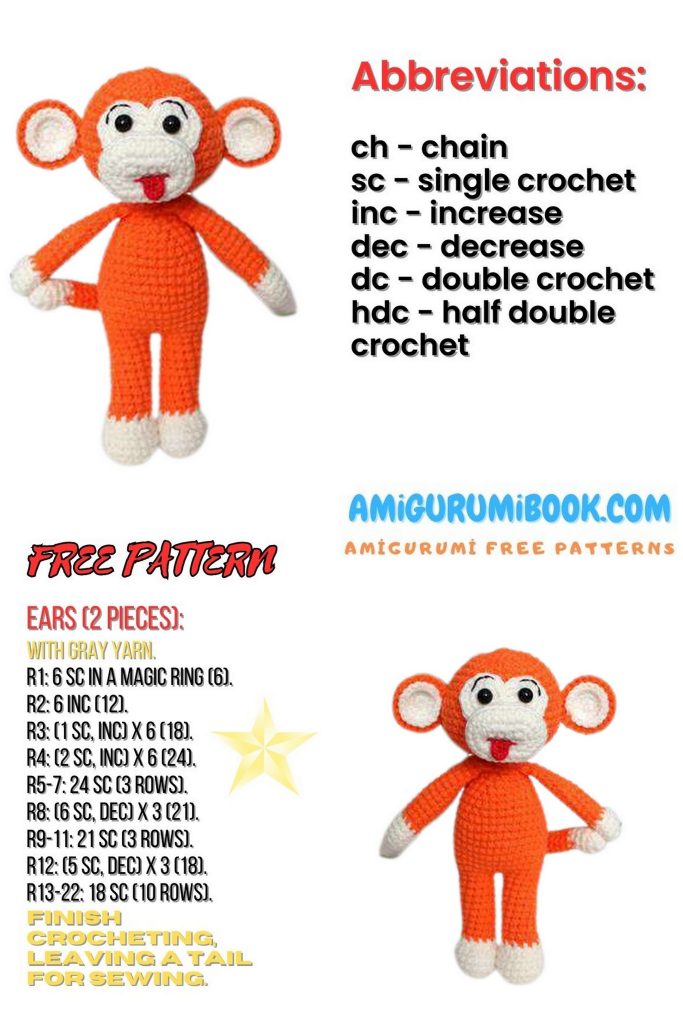
Abbreviations (US Terms)
- SC – single crochet
- CH – chain
- INC – increase
- DEC – decrease
- HDC – half double crochet
- DC – double crochet
- SL ST – slip stitch
- FPSC – front post single crochet
All parts are crocheted in a continuous spiral, without turning chains.
PATTERN
HEAD
(Main color)
1: 6 SC in magic ring
2: INC in each stitch (12)
3: (SC, INC) × 6 (18)
4: (2 SC, INC) × 6 (24)
5: (3 SC, INC) × 6 (30)
6: (4 SC, INC) × 6 (36)
7: (5 SC, INC) × 6 (42)
8–15: 42 SC
16: (5 SC, DEC) × 6 (36)
17: (4 SC, DEC) × 6 (30)
18: (3 SC, DEC) × 6 (24)
19: (2 SC, DEC) × 6 (18)
→ Stuff the head
20: (SC, DEC) × 6 (12)
21: 6 DEC
Fasten off, leave a long tail for sewing.

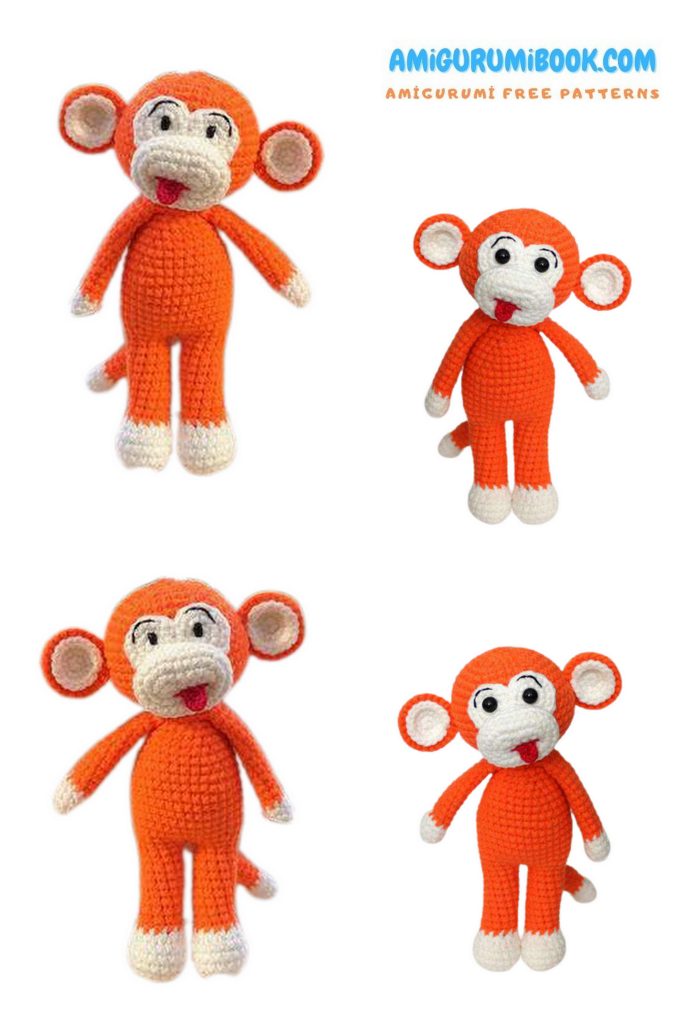
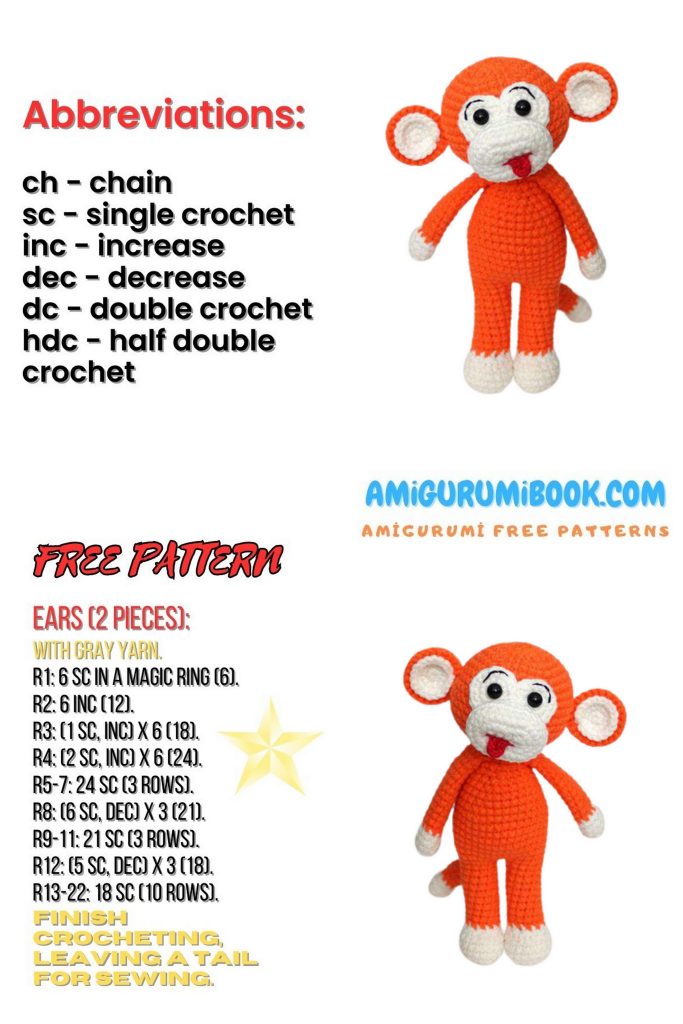
EARS (make 2)
Each ear consists of two pieces:
one white (inner) and one in the main color (outer).
Inner Ear (White)
1: 6 SC in magic ring
2: INC in each stitch (12)
3: (SC, INC) × 6 (18)
Outer Ear (Main Color)
4: (2 SC, INC) × 6 (24)
Leave a long tail for sewing.
Insert the white inner ear into the outer ear and glue them together using craft glue.
EYES (make 2)
(White yarn)
1: 6 SC in magic ring
2: INC in each stitch (12)
For the second eye, connect it to the first eye as follows:
3 (second eye):
2 INC, 3 SC, (INC, SC) × 2, 2 SC, 2 INC, SL ST
MUZZLE
(White yarn)
1: CH 5, starting from the 2nd chain from hook:
INC, 2 SC, 4 SC in next chain, 2 SC, INC (12)
2: (2 INC, 2 SC) × 3 (18)
3–5: 18 SC
6: (SC, DEC) × 6 (12)
7: 6 DEC (6)
Stuff the muzzle lightly.
Fasten off, leave a long tail for sewing.
ASSEMBLY
Tongue
Using red yarn:
- CH 4, starting from the 2nd chain from hook:
2 SC, 4 SC in next chain, 2 SC (8) - Leave a long tail
Final Assembly Steps
- Sew the eyes onto the head
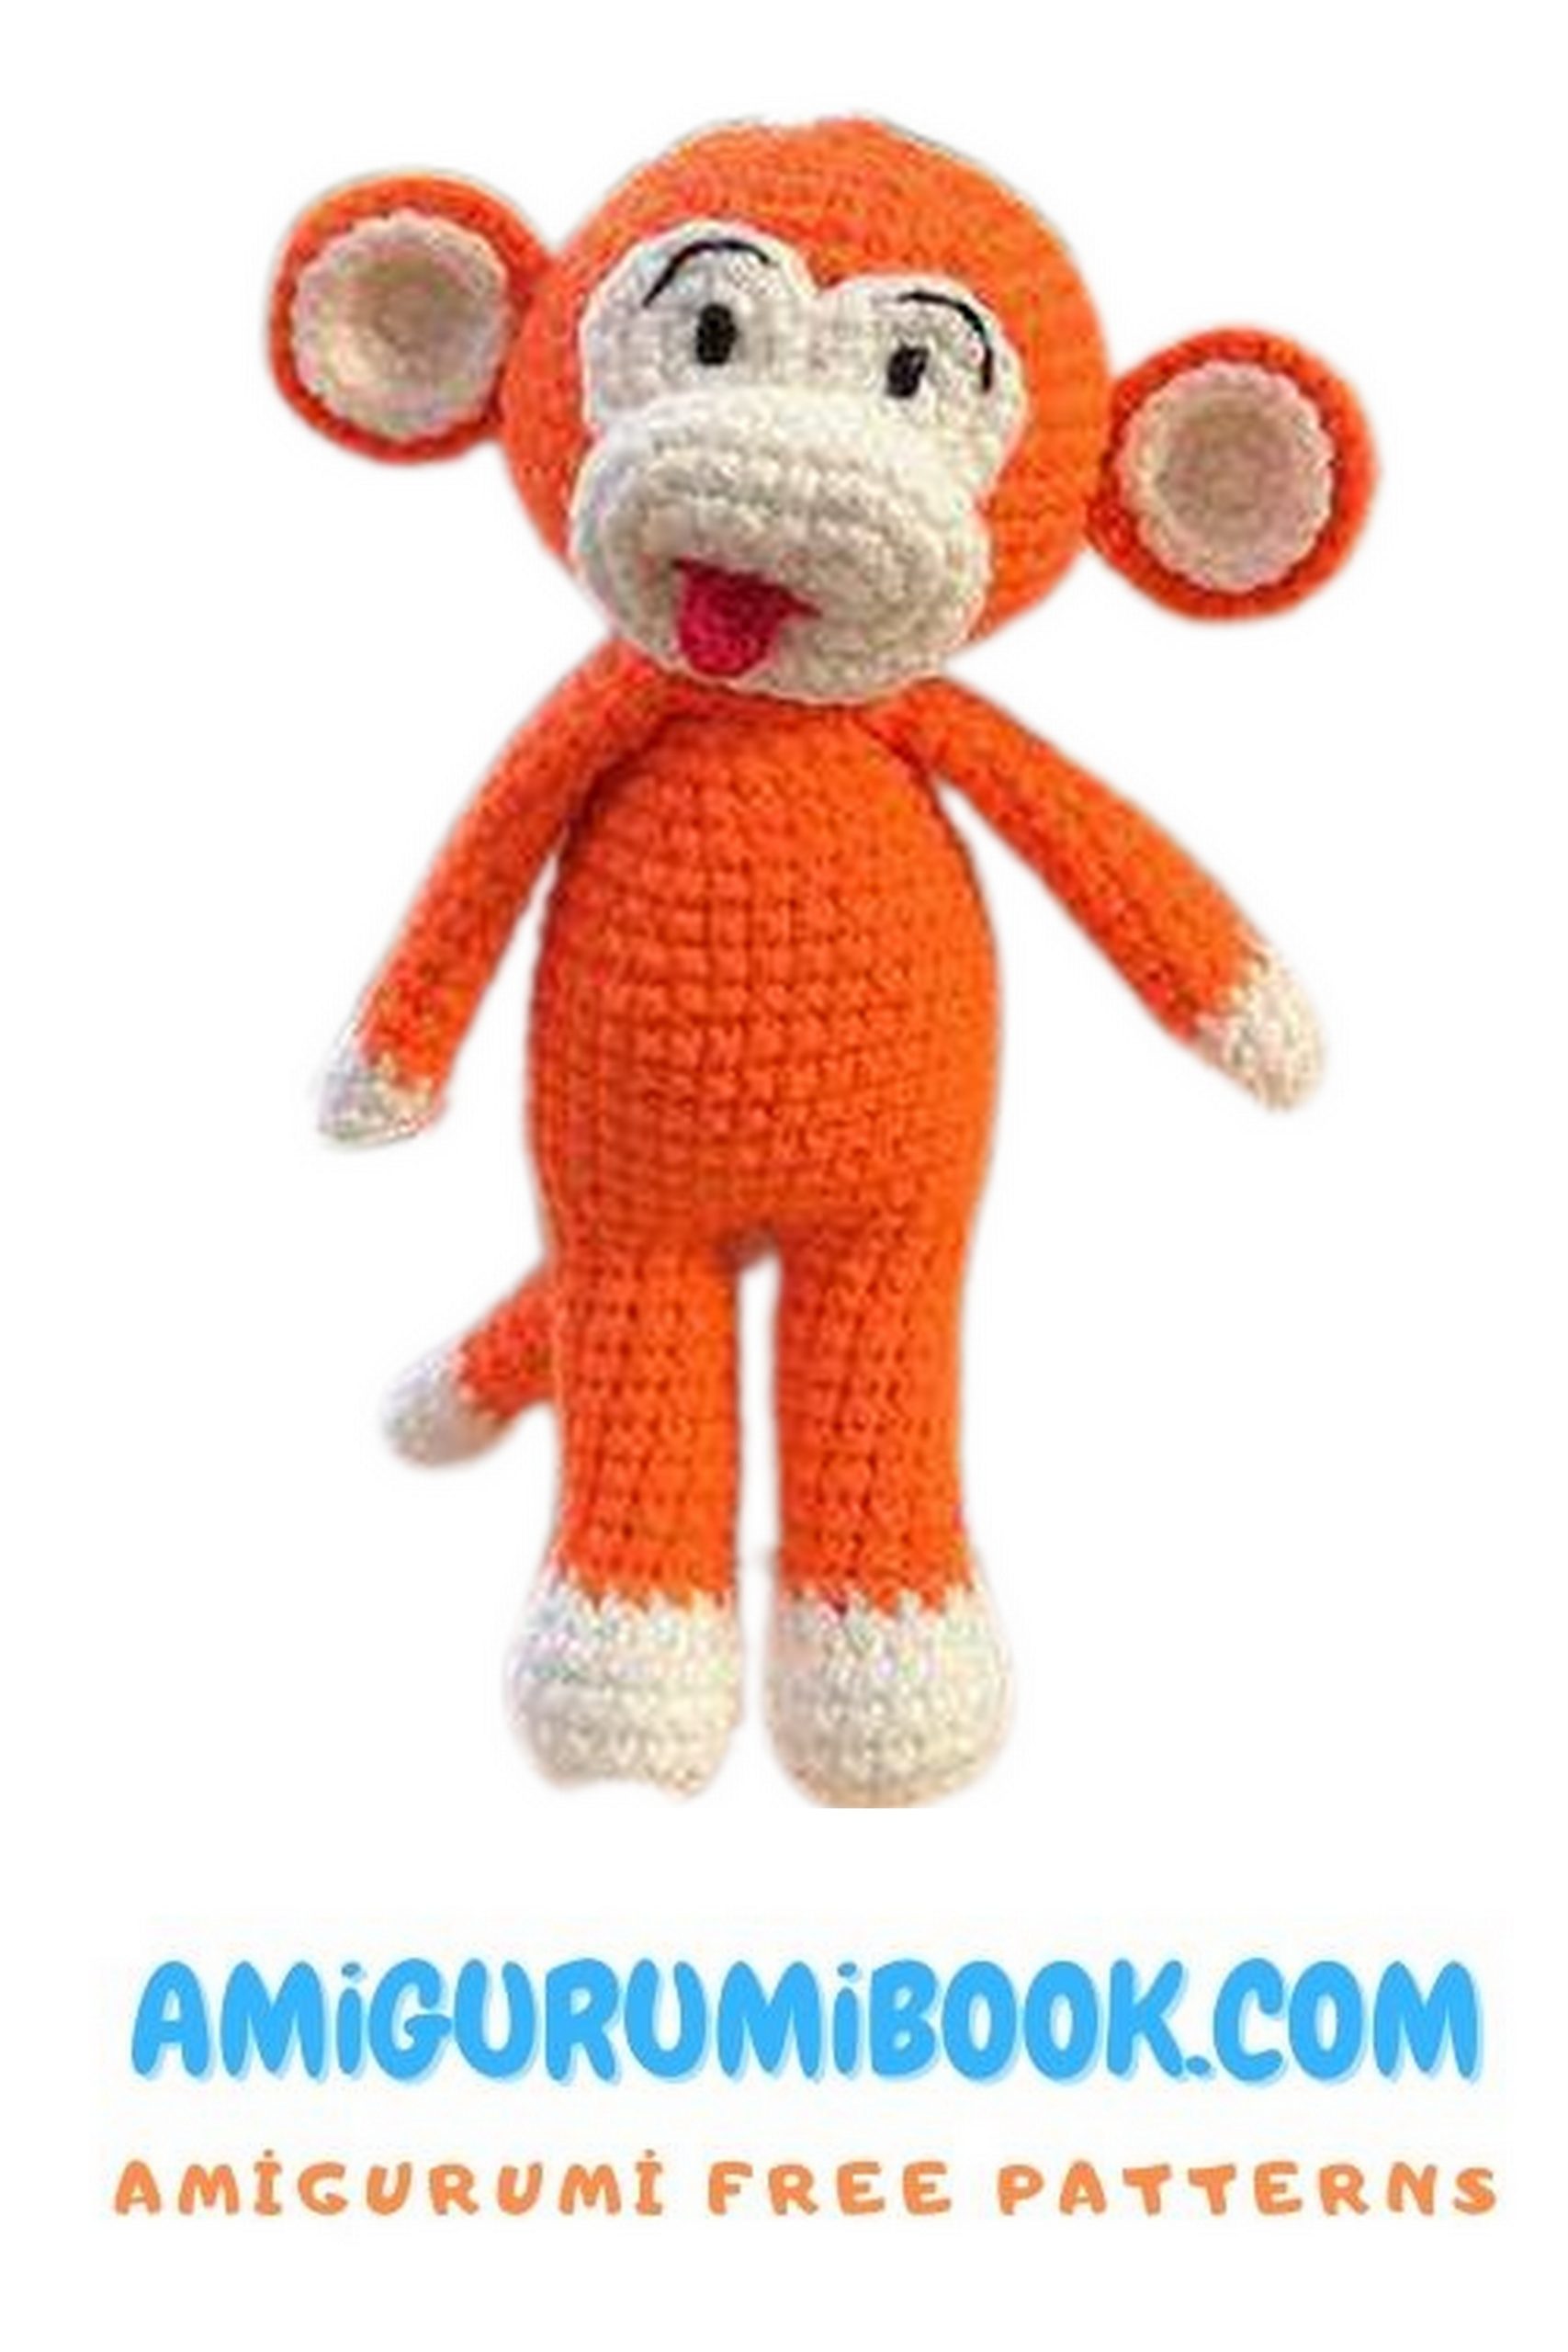
- Embroider the mouth as shown in reference photos
- Sew the ears to the head
- Embroider eyes with black thread or glue on 6 mm half-beads
For the tongue:
- Insert one end of the tongue yarn into a needle
- Pull it through the head between stitches
- Do the same with the other end so both ends exit the same hole
- Tie the ends and hide them inside the head
- Sew the muzzle and head
- Sew on the tail
🎉 Your Orange Monkey Amigurumi is finished!
Thank you for choosing this crochet pattern 🧡🐒