
Welcome to the world of amigurumi crafting, where creativity and cuteness collide! If you’re a fan of feline friends and enjoy the art of crocheting, you’re in for a treat. Our amigurumi free pattern for a charming black cat amigurumi is sure to capture your heart and spark your creativity.
With this pattern, you’ll embark on a delightful journey of crafting as you bring this adorable black cat to life stitch by stitch. Whether you’re a seasoned crocheter or just starting out, our step-by-step instructions will guide you through the process with ease.
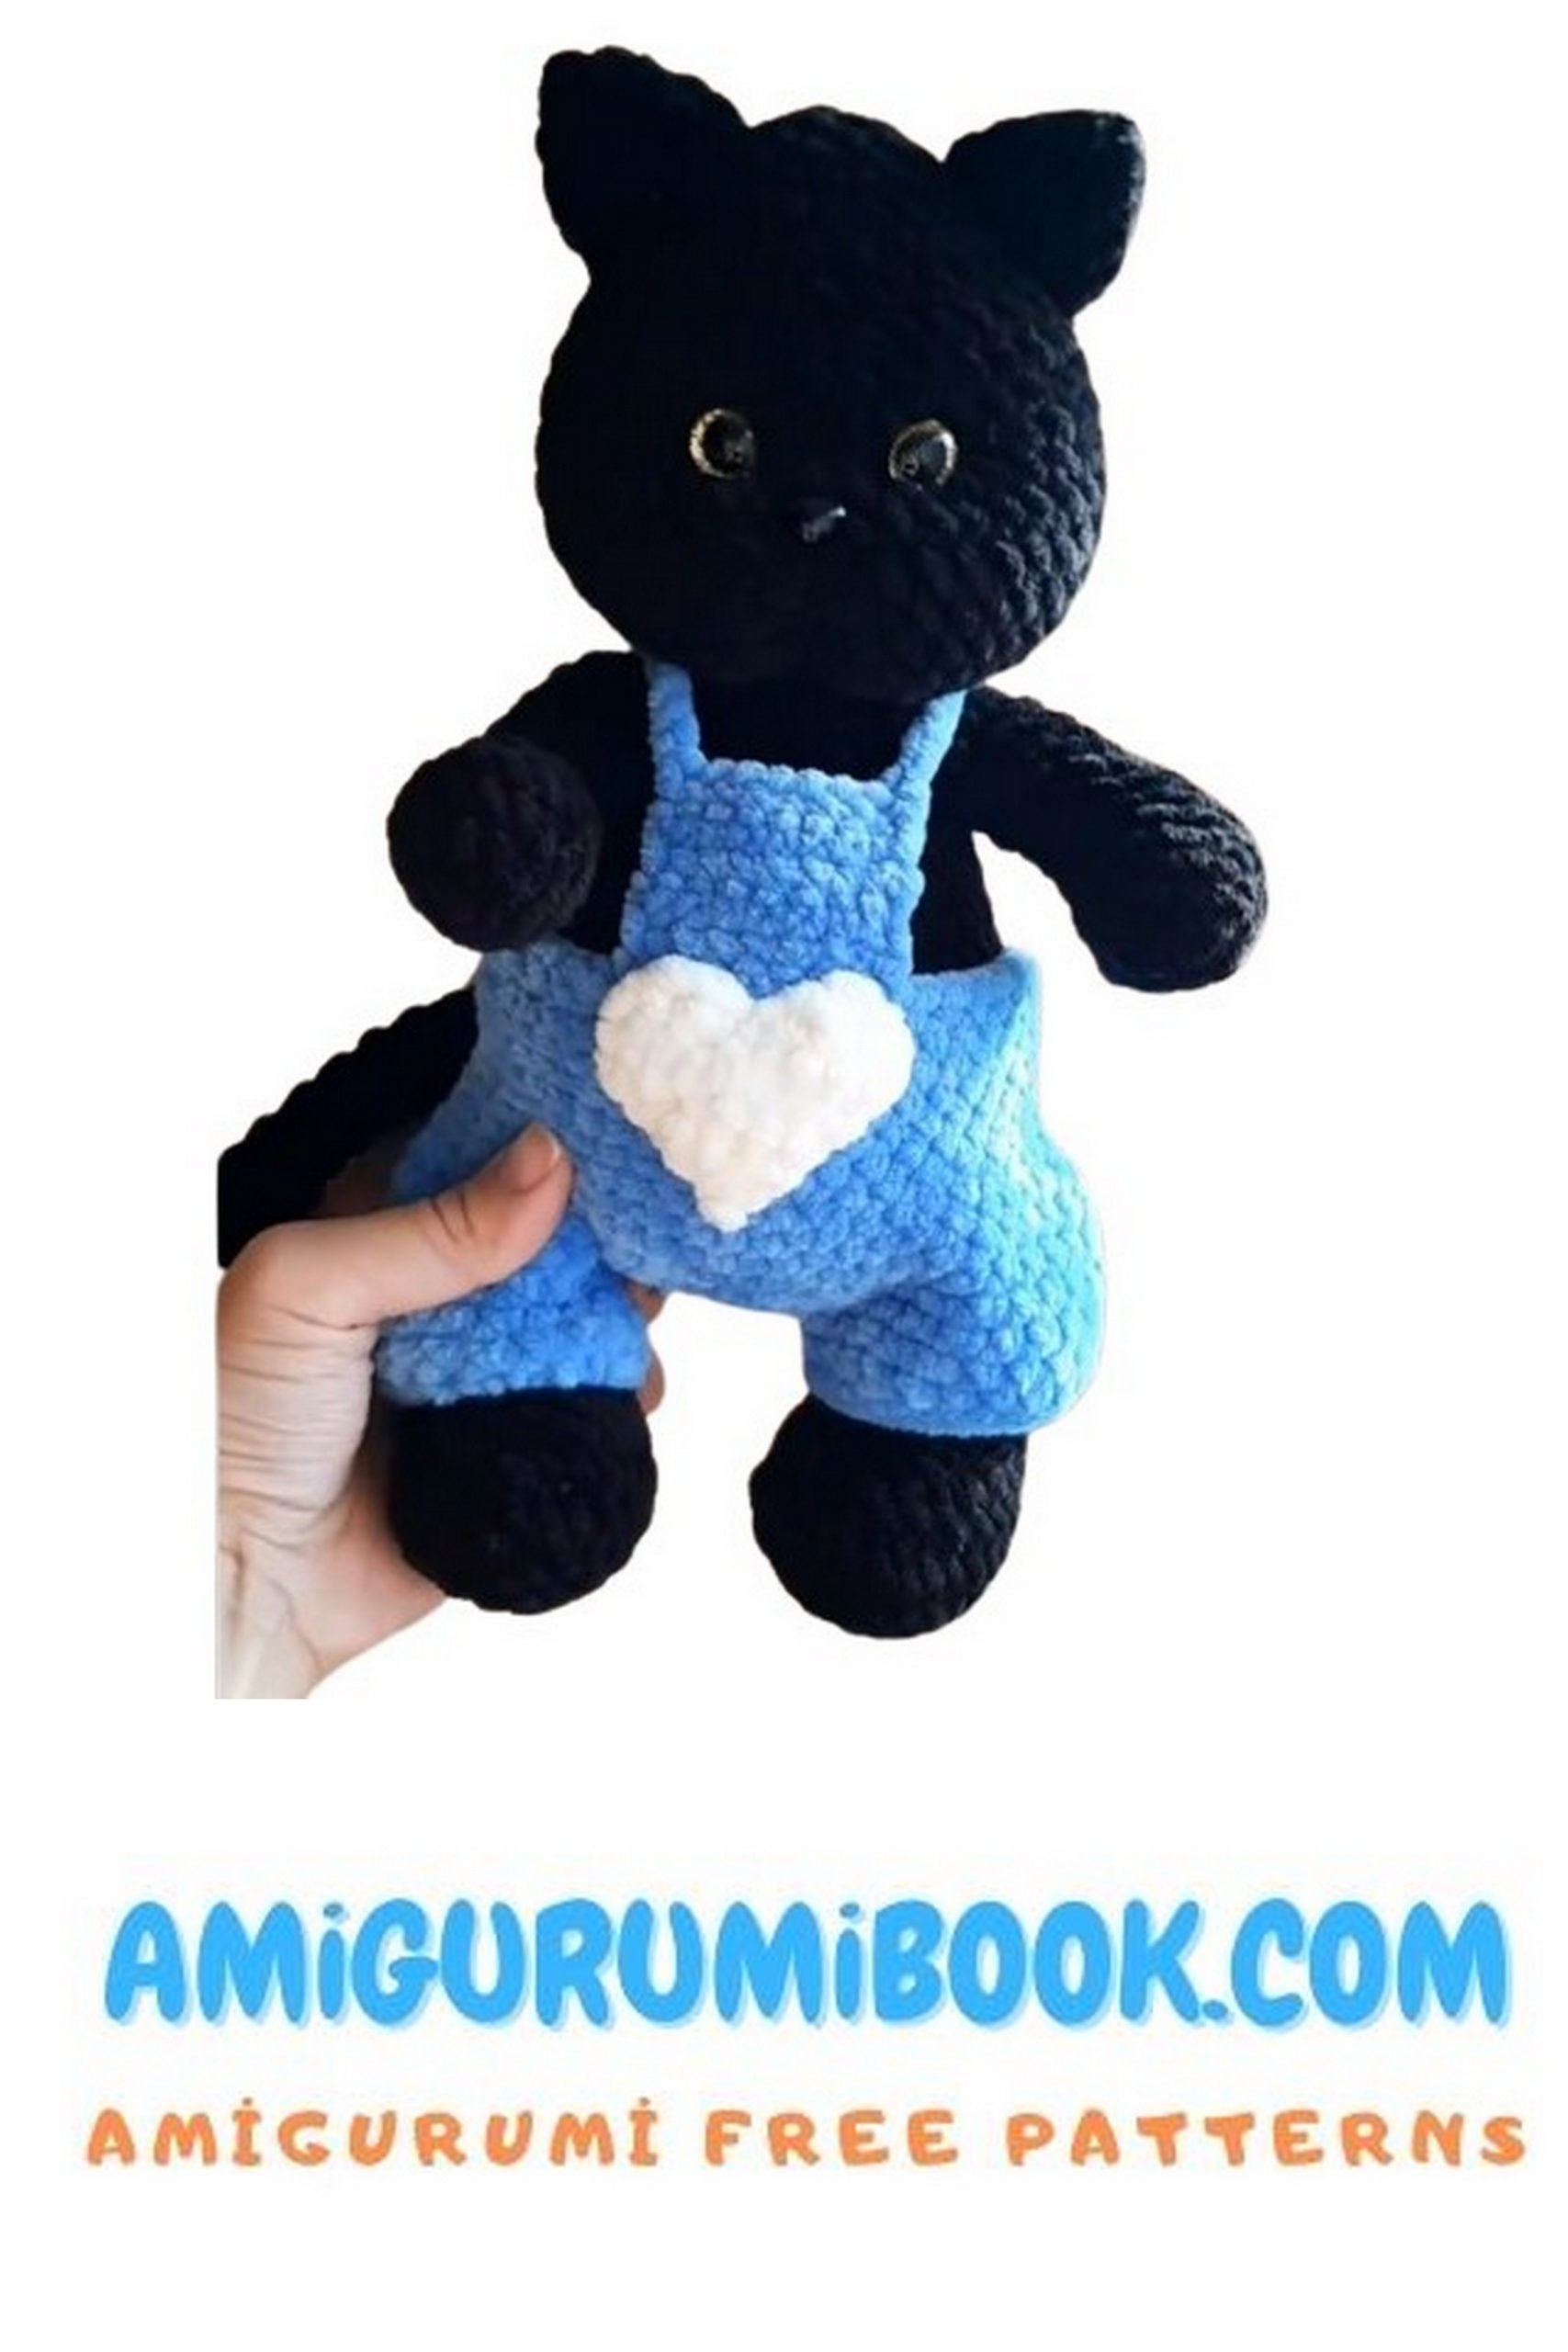
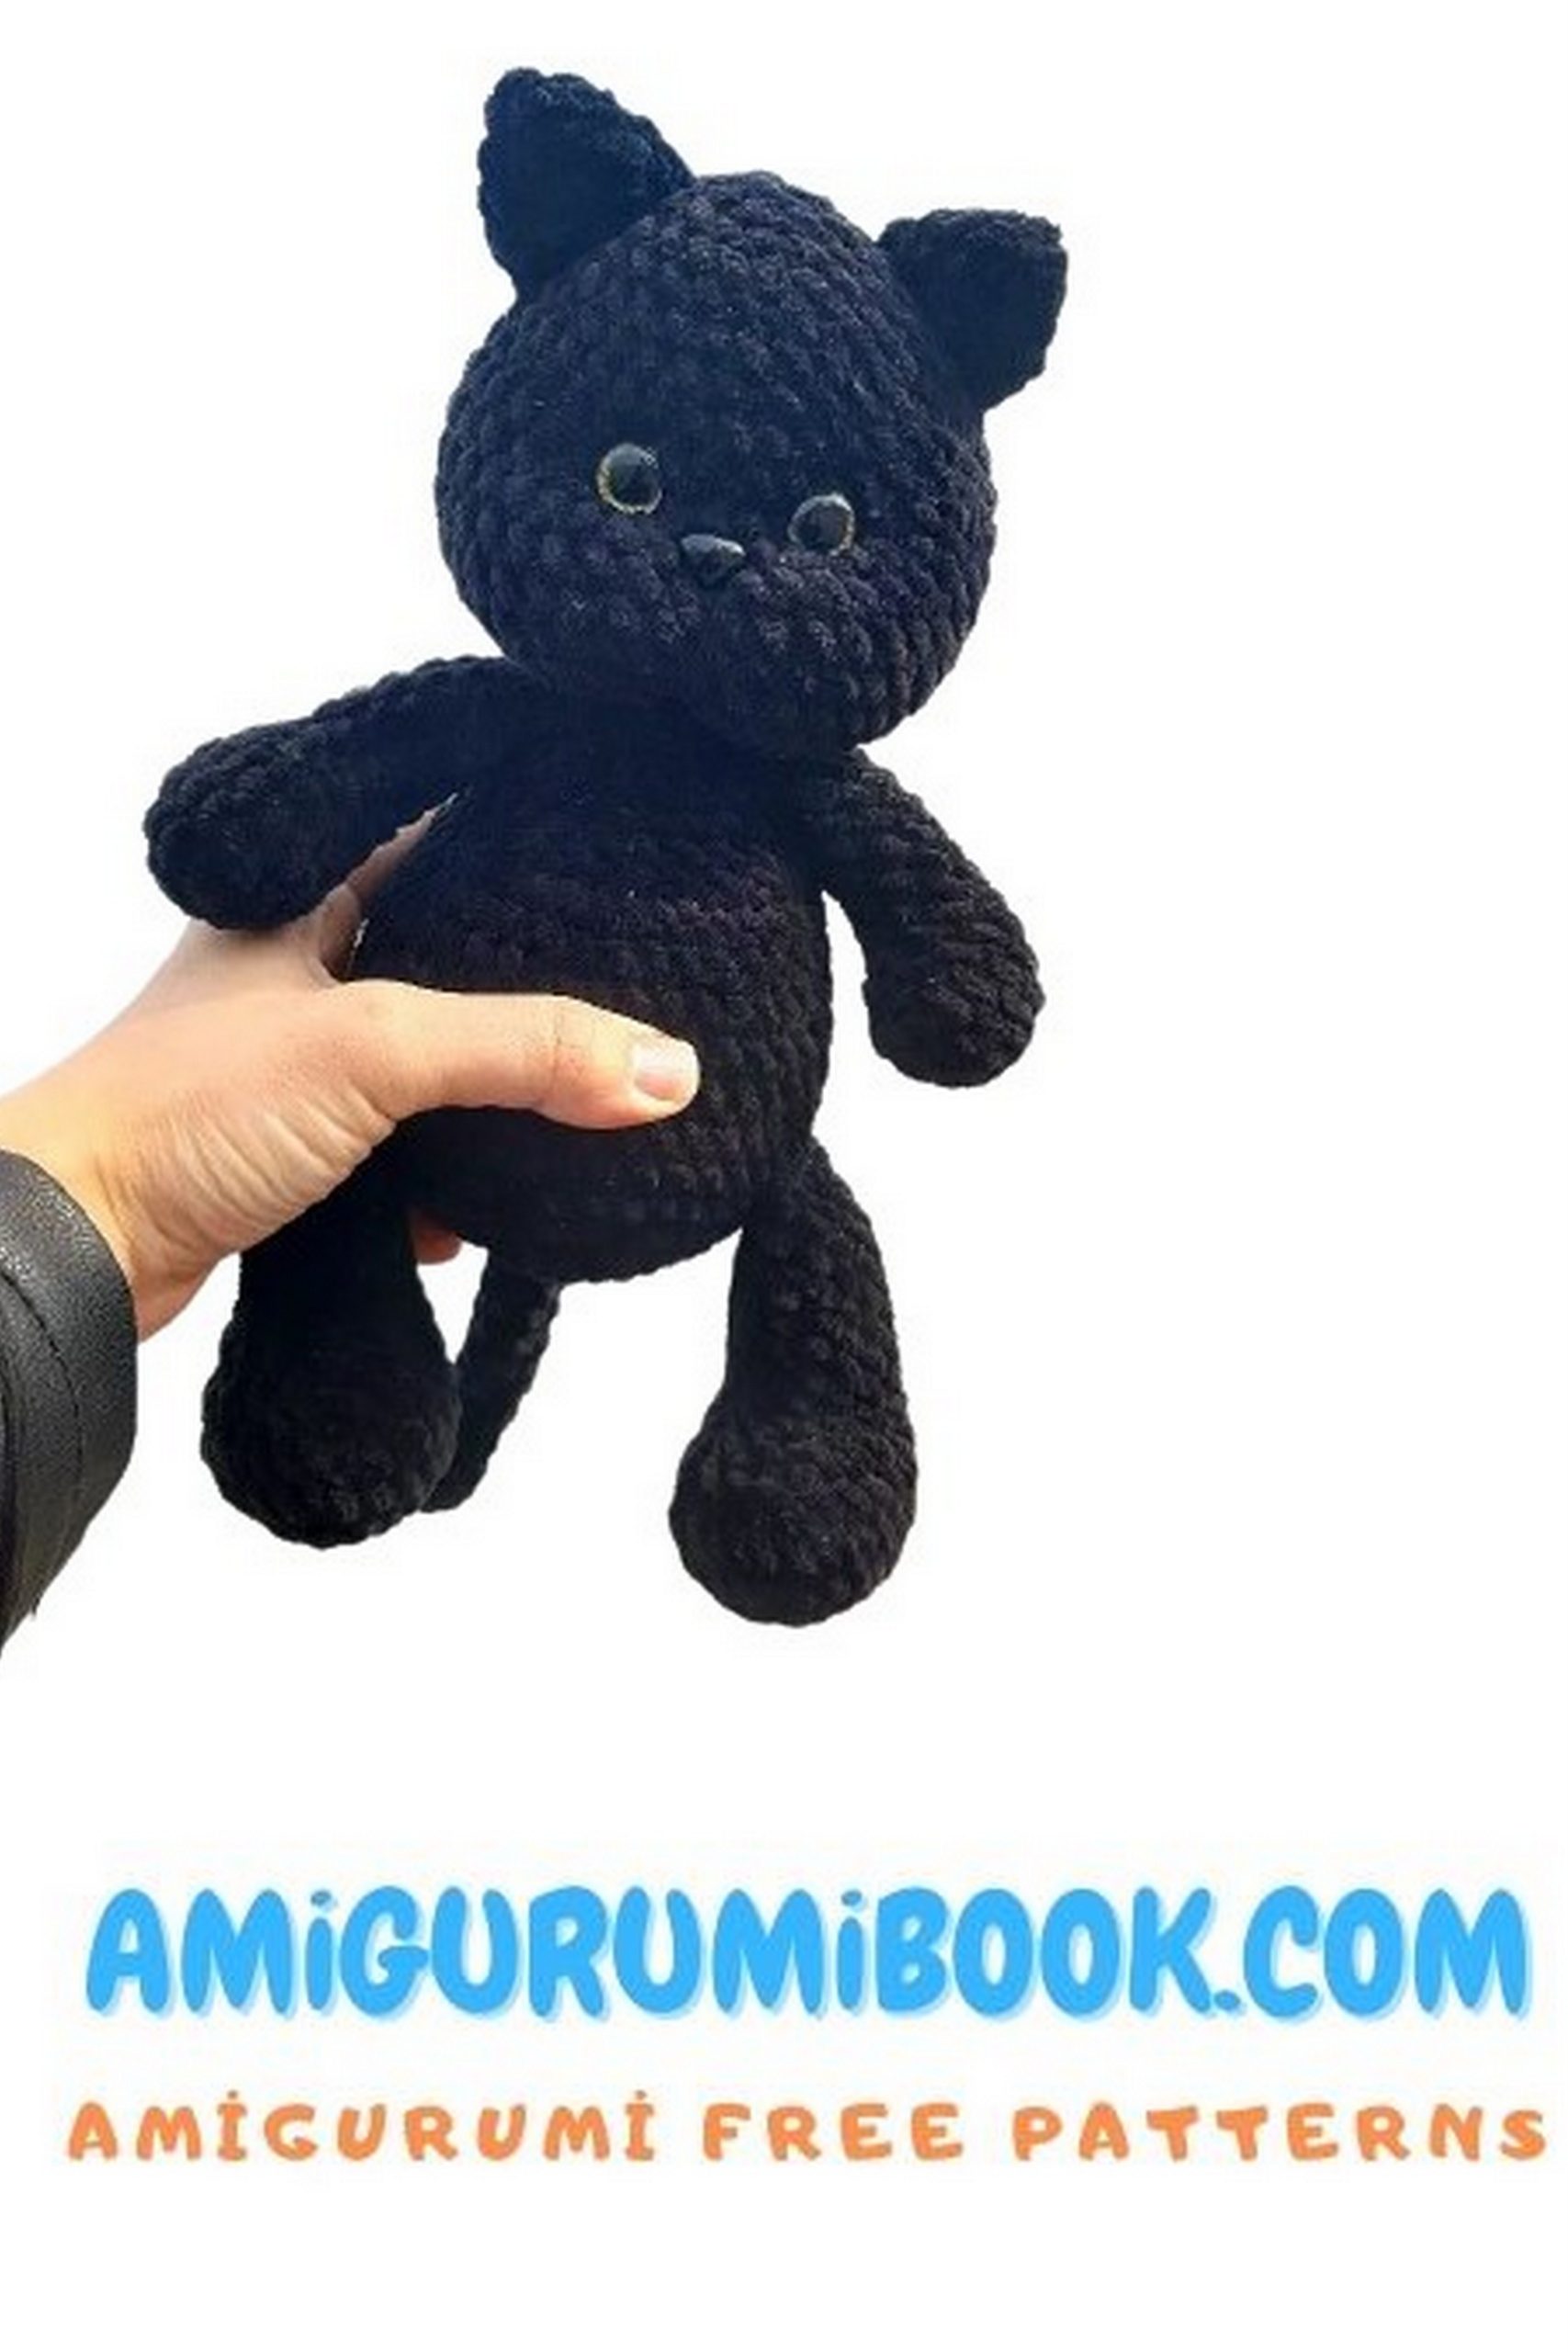
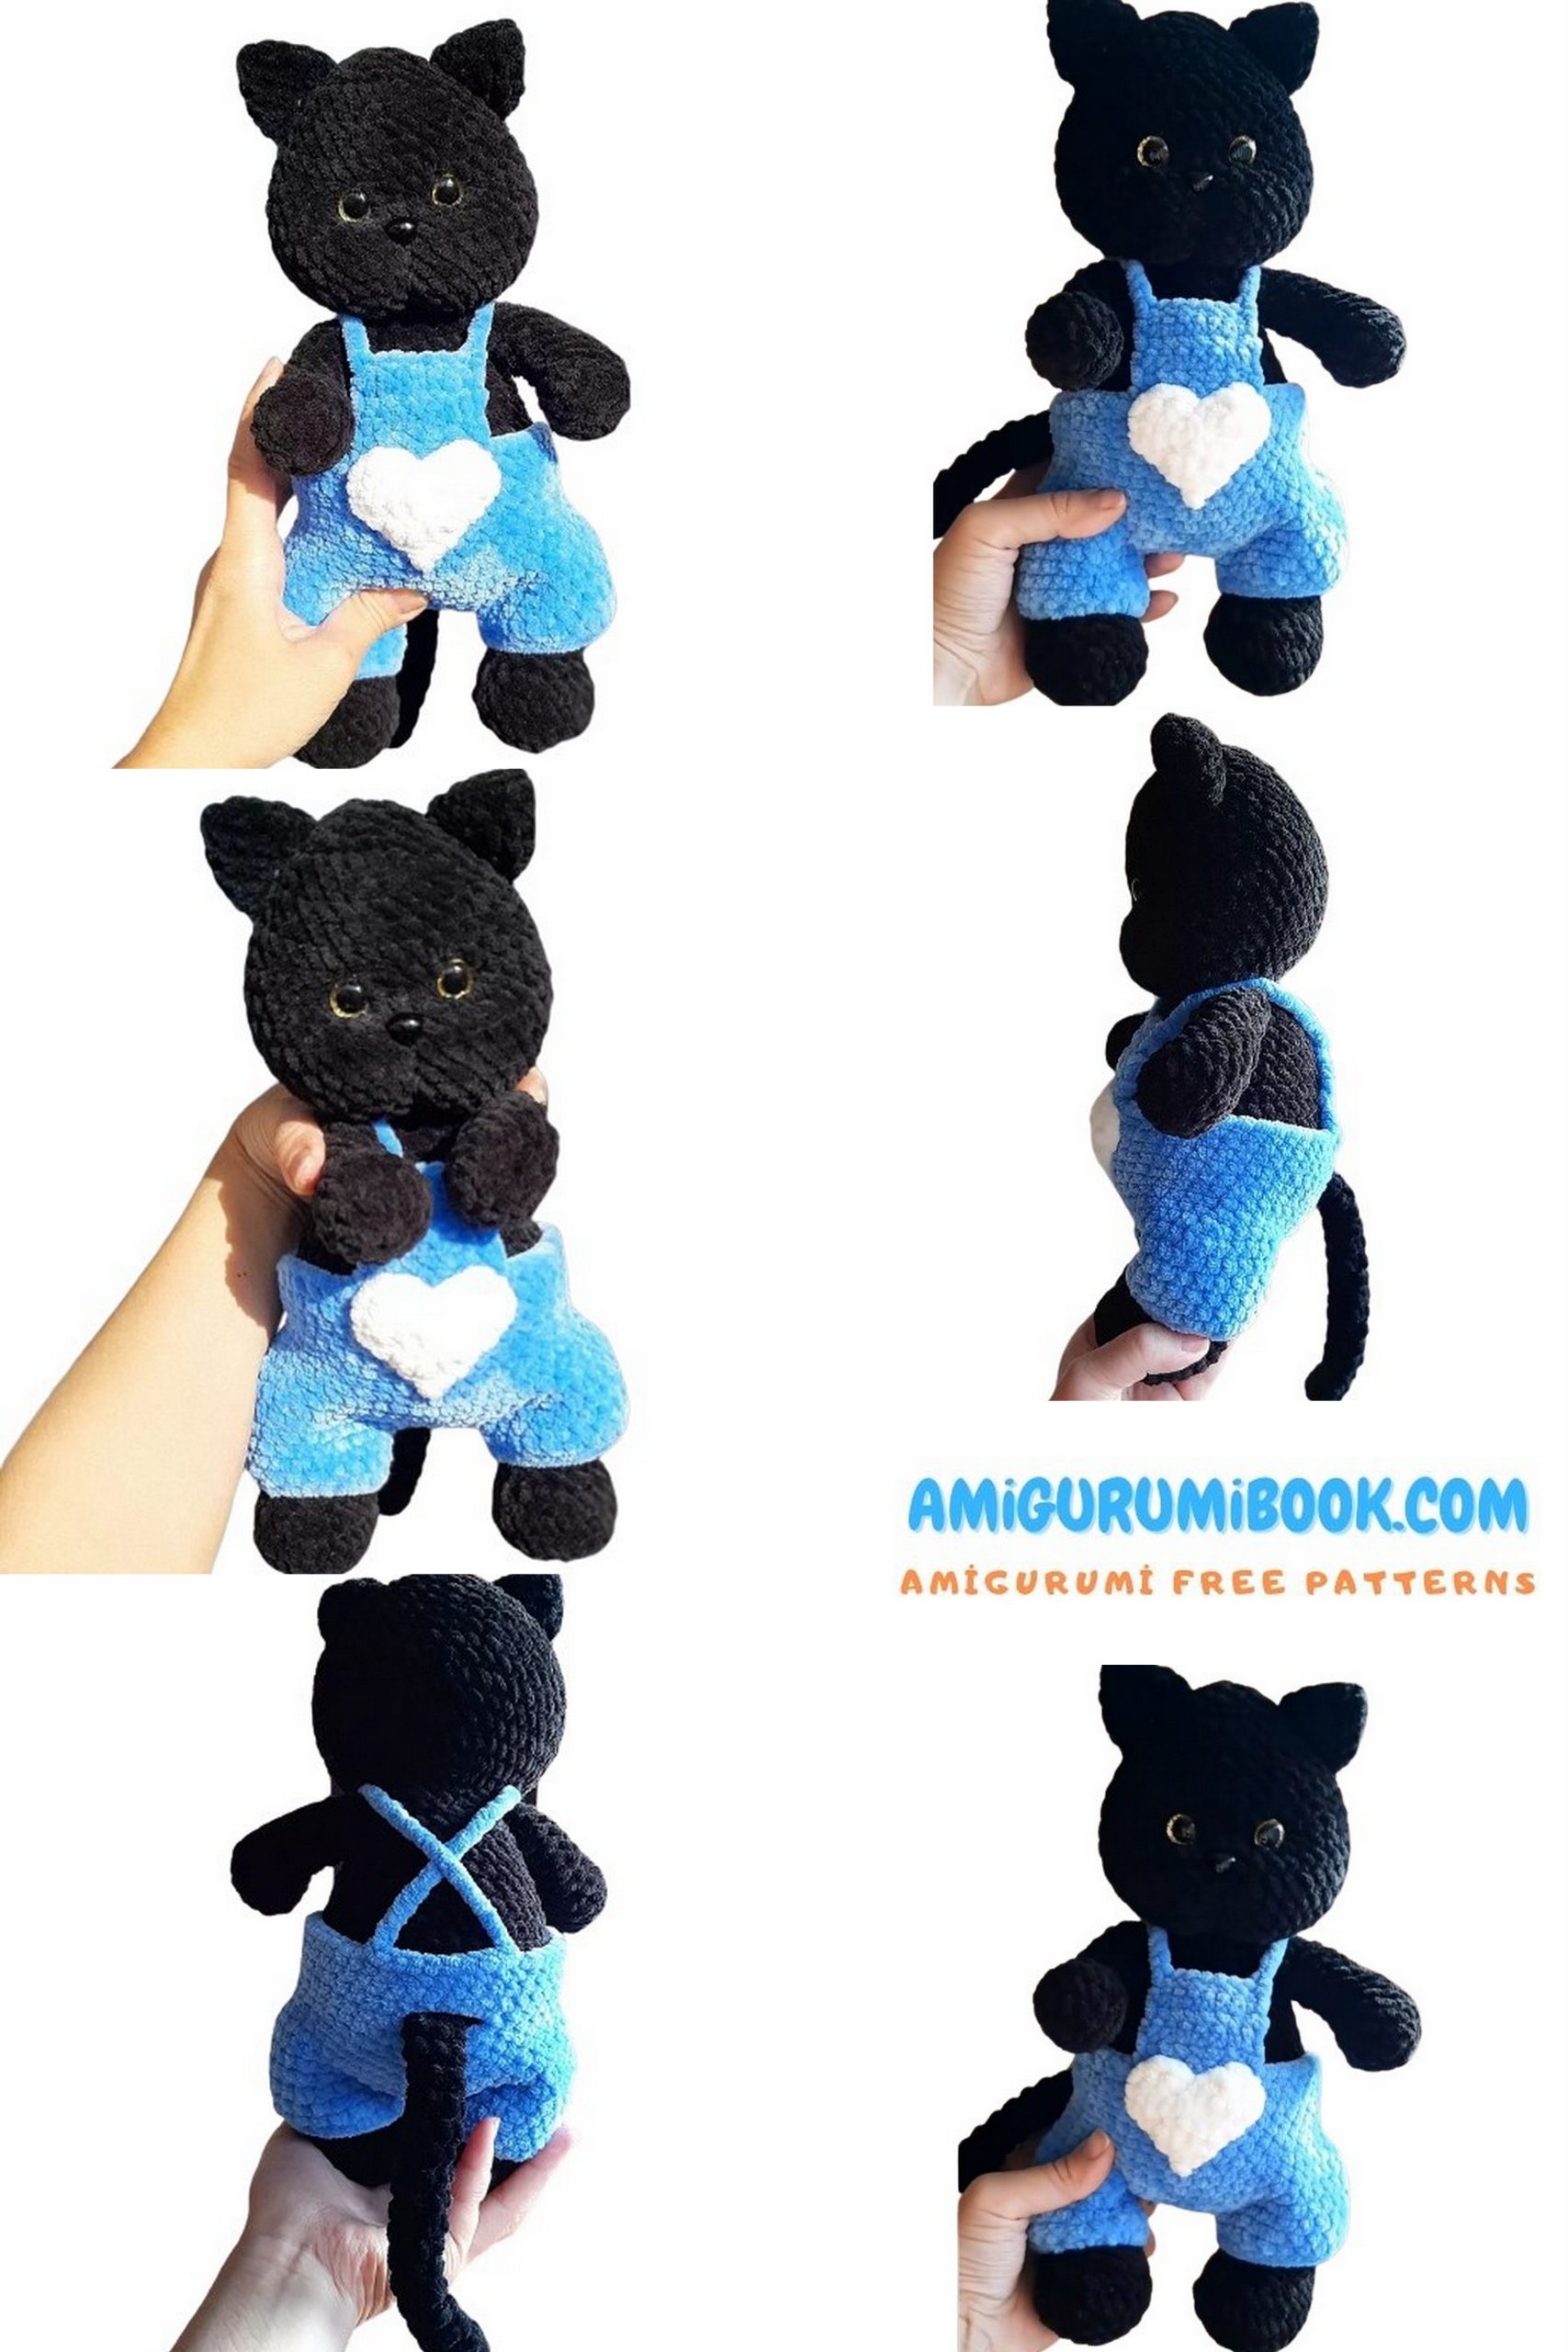
Imagine the joy of holding your own handmade black cat, perfect for cuddling or displaying as a decorative piece. Plus, with our pattern being free, the only limit is your imagination!
So, gather your yarn and crochet hooks, and let’s embark on a purr-fectly wonderful crafting adventure together. Get ready to create a new furry friend that will bring smiles and warmth to your home. Let’s crochet away!
Apparently you like amigurumi cats. I think you should also see amigurumi cat amineko, you will like it very much.
If you want to access 1000+ free amigurumi patterns, you can download our application from this link!
Materials used:
Yarn: Himalaya Dolfin Baby (I almost ran out with one skein, better to take 2, color 80311).
Crochet hook size 4.
Safety eyes with rainbow colors, 12mm.
Safety nose, 13×12mm.
Sewing needle.
Yarn for tightening (I used YarnArt Jeans).
Polyester fiberfill.
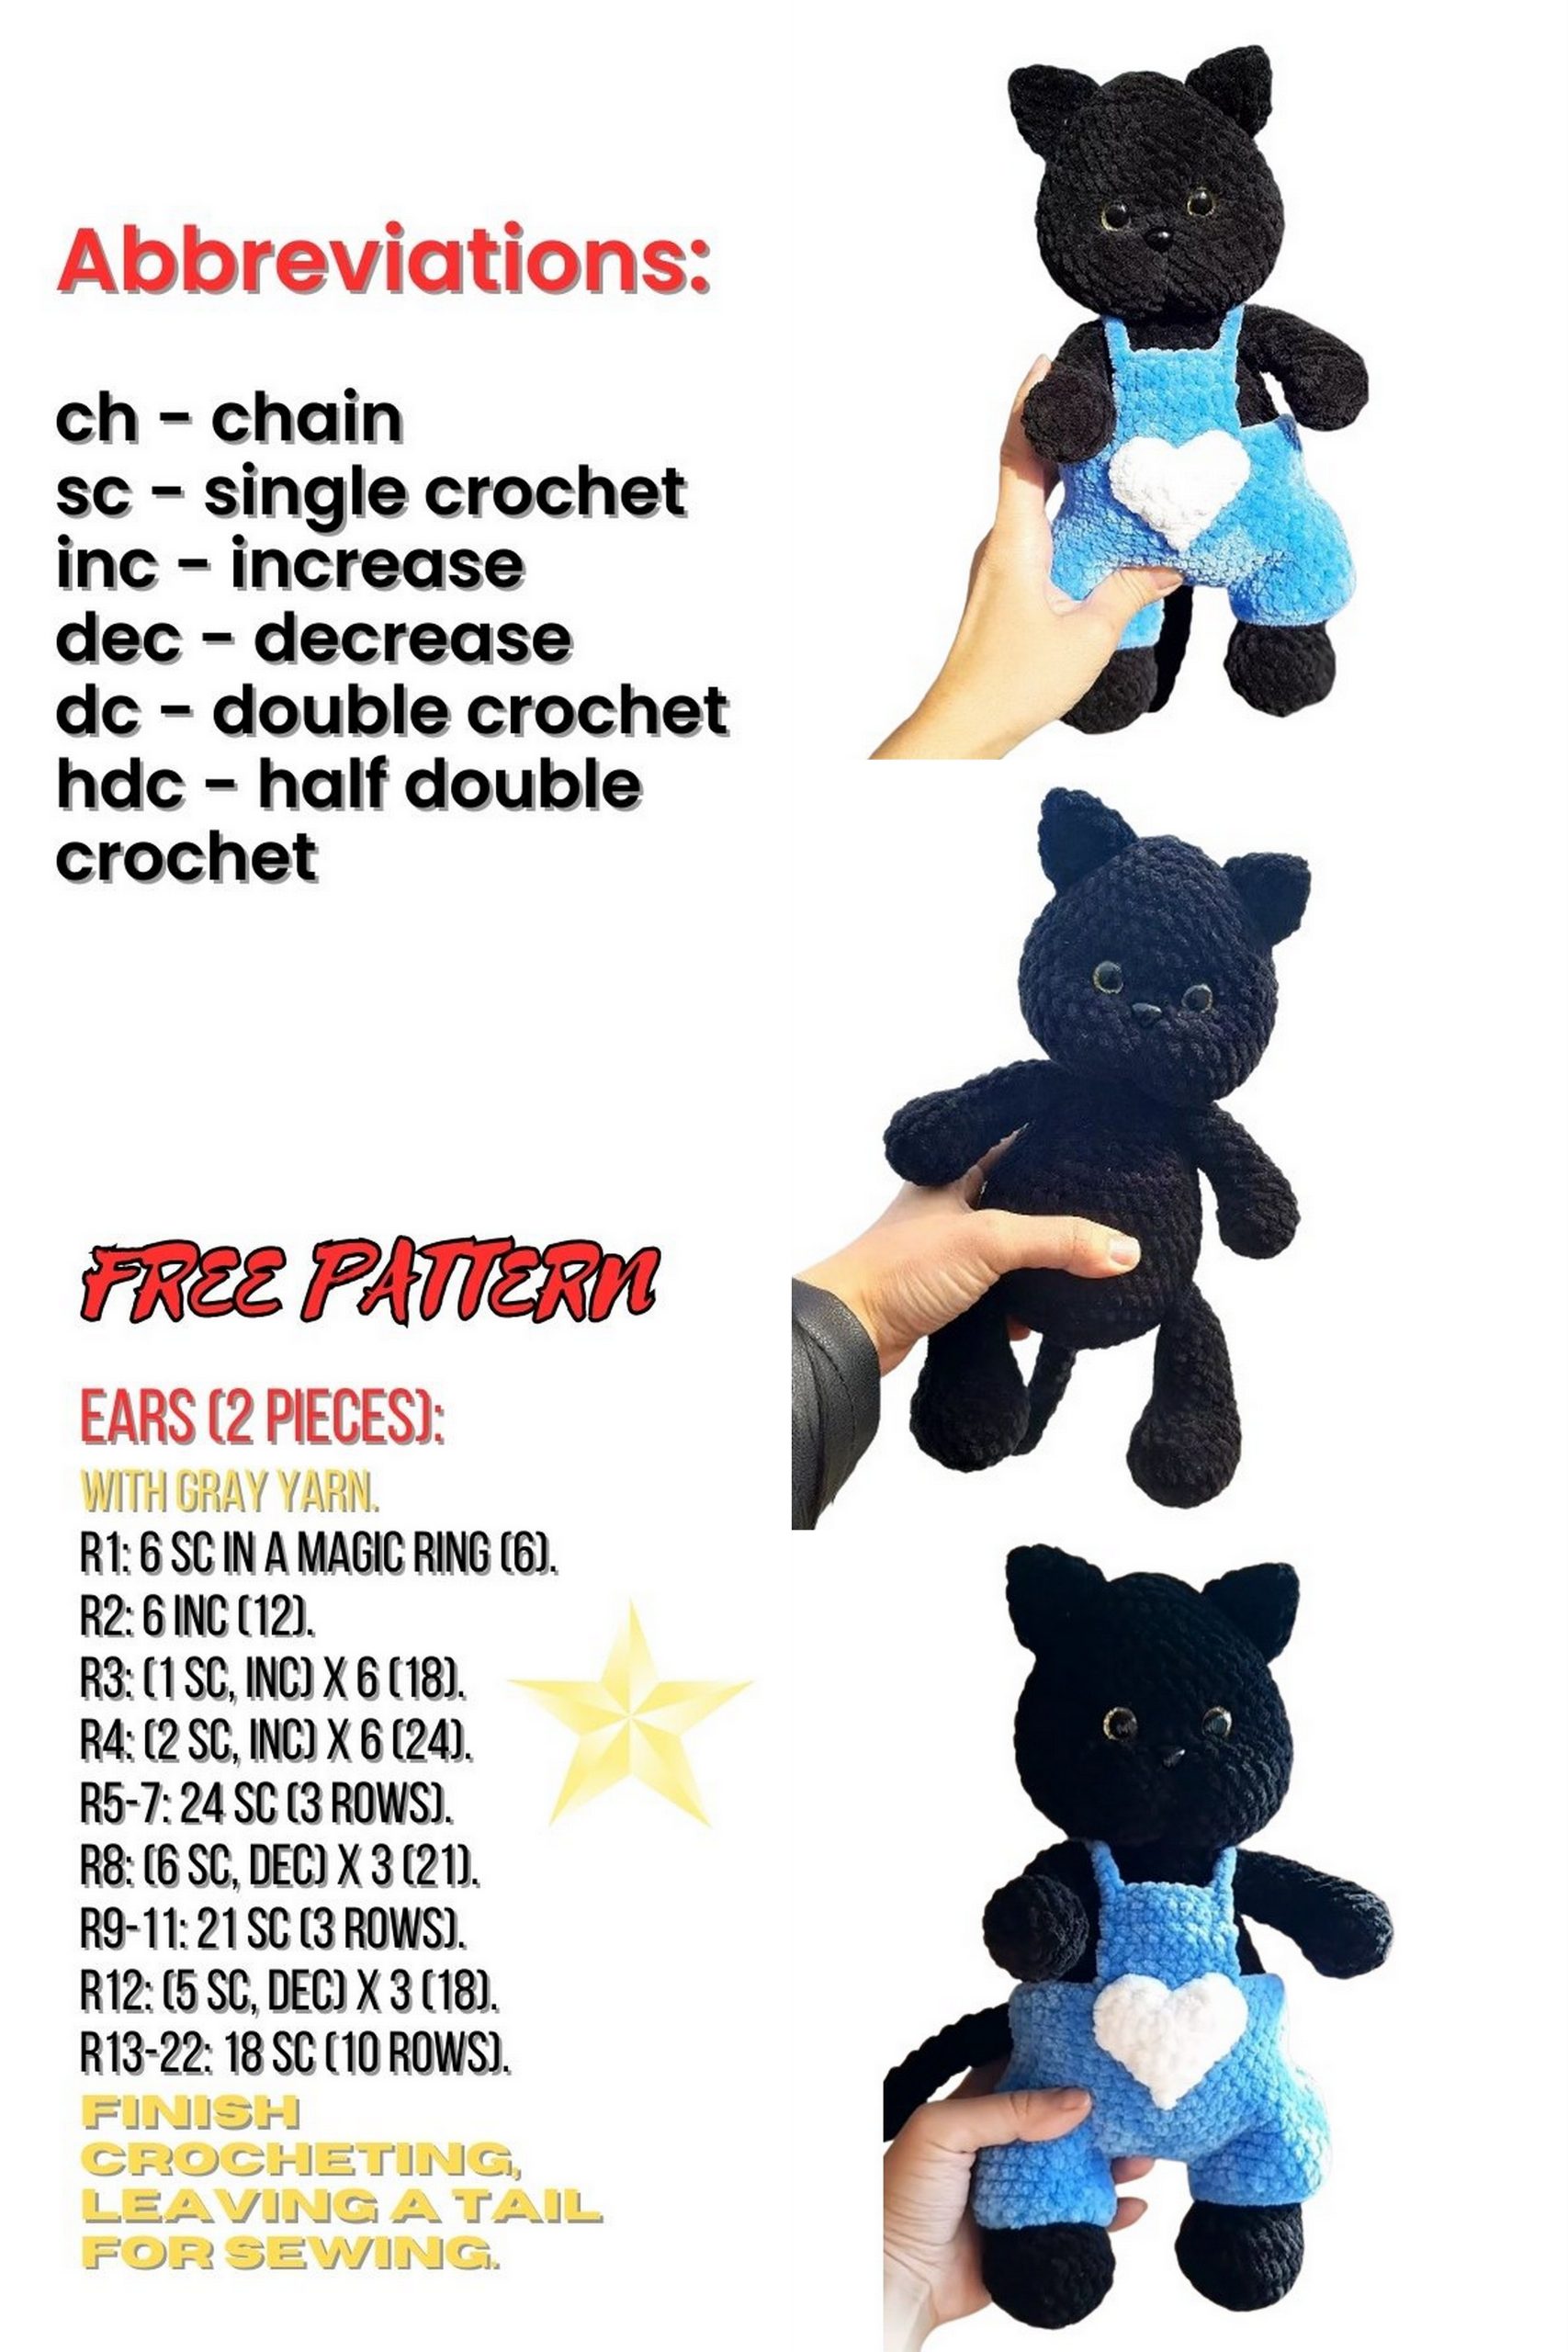
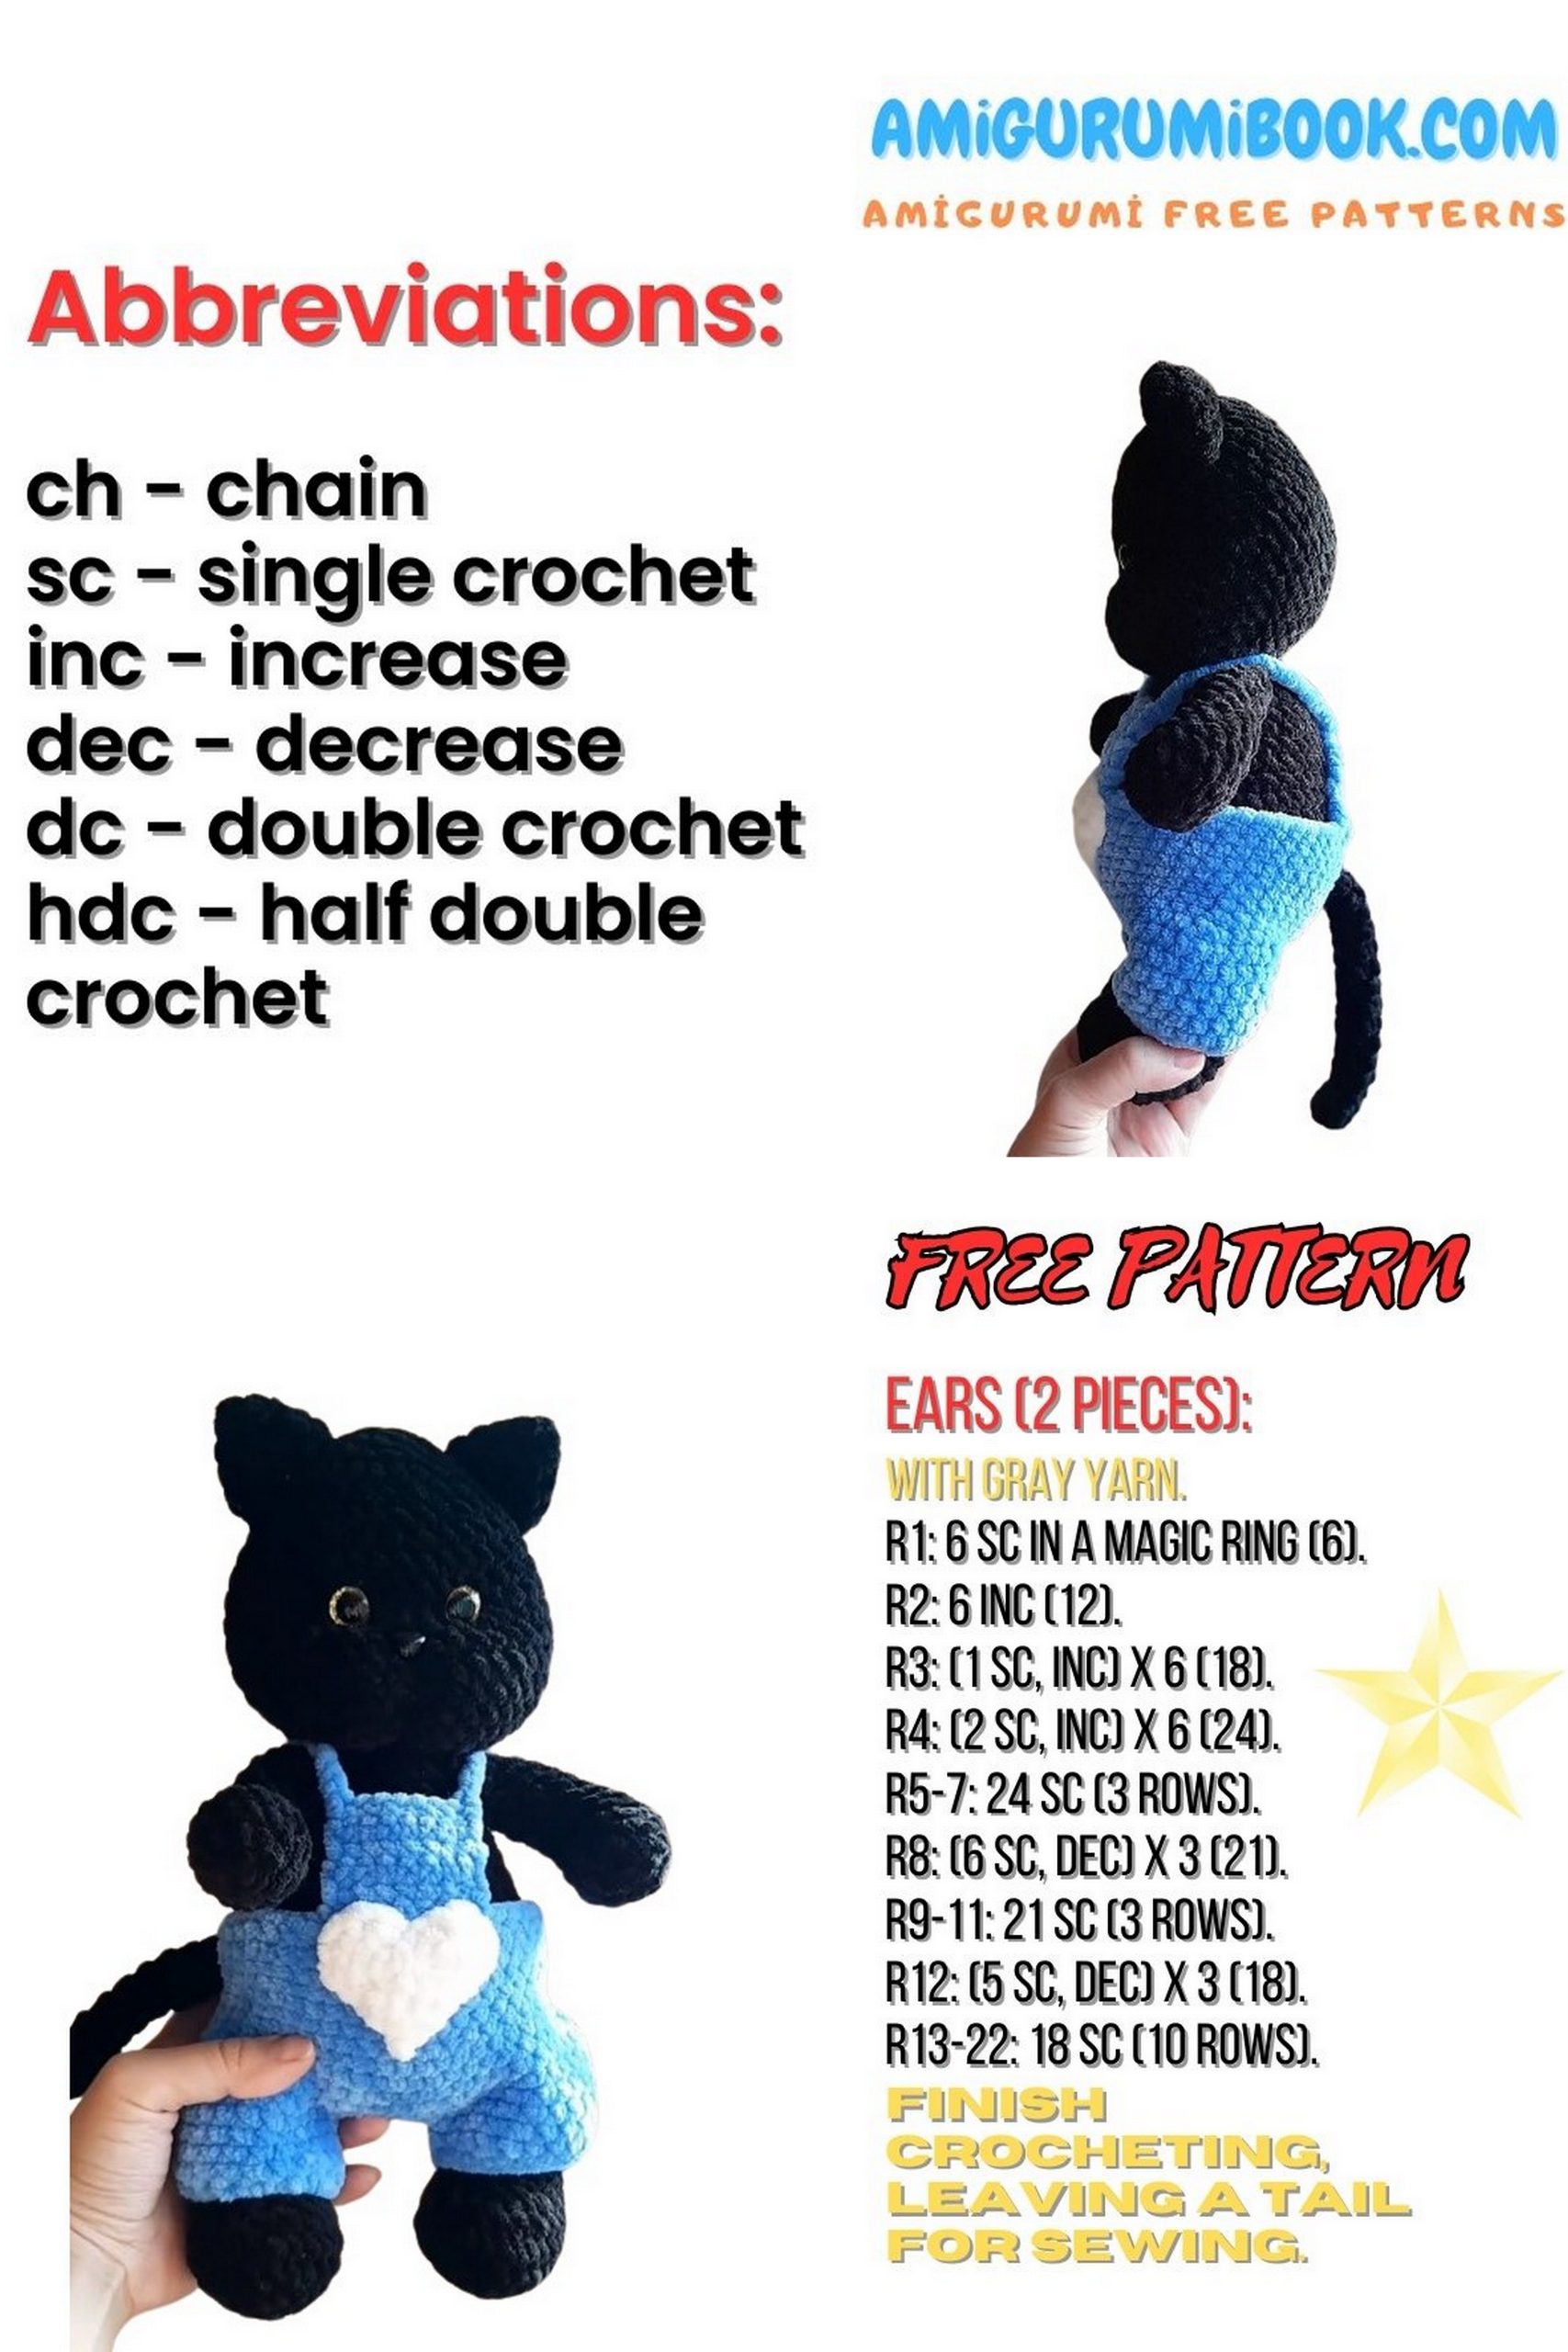
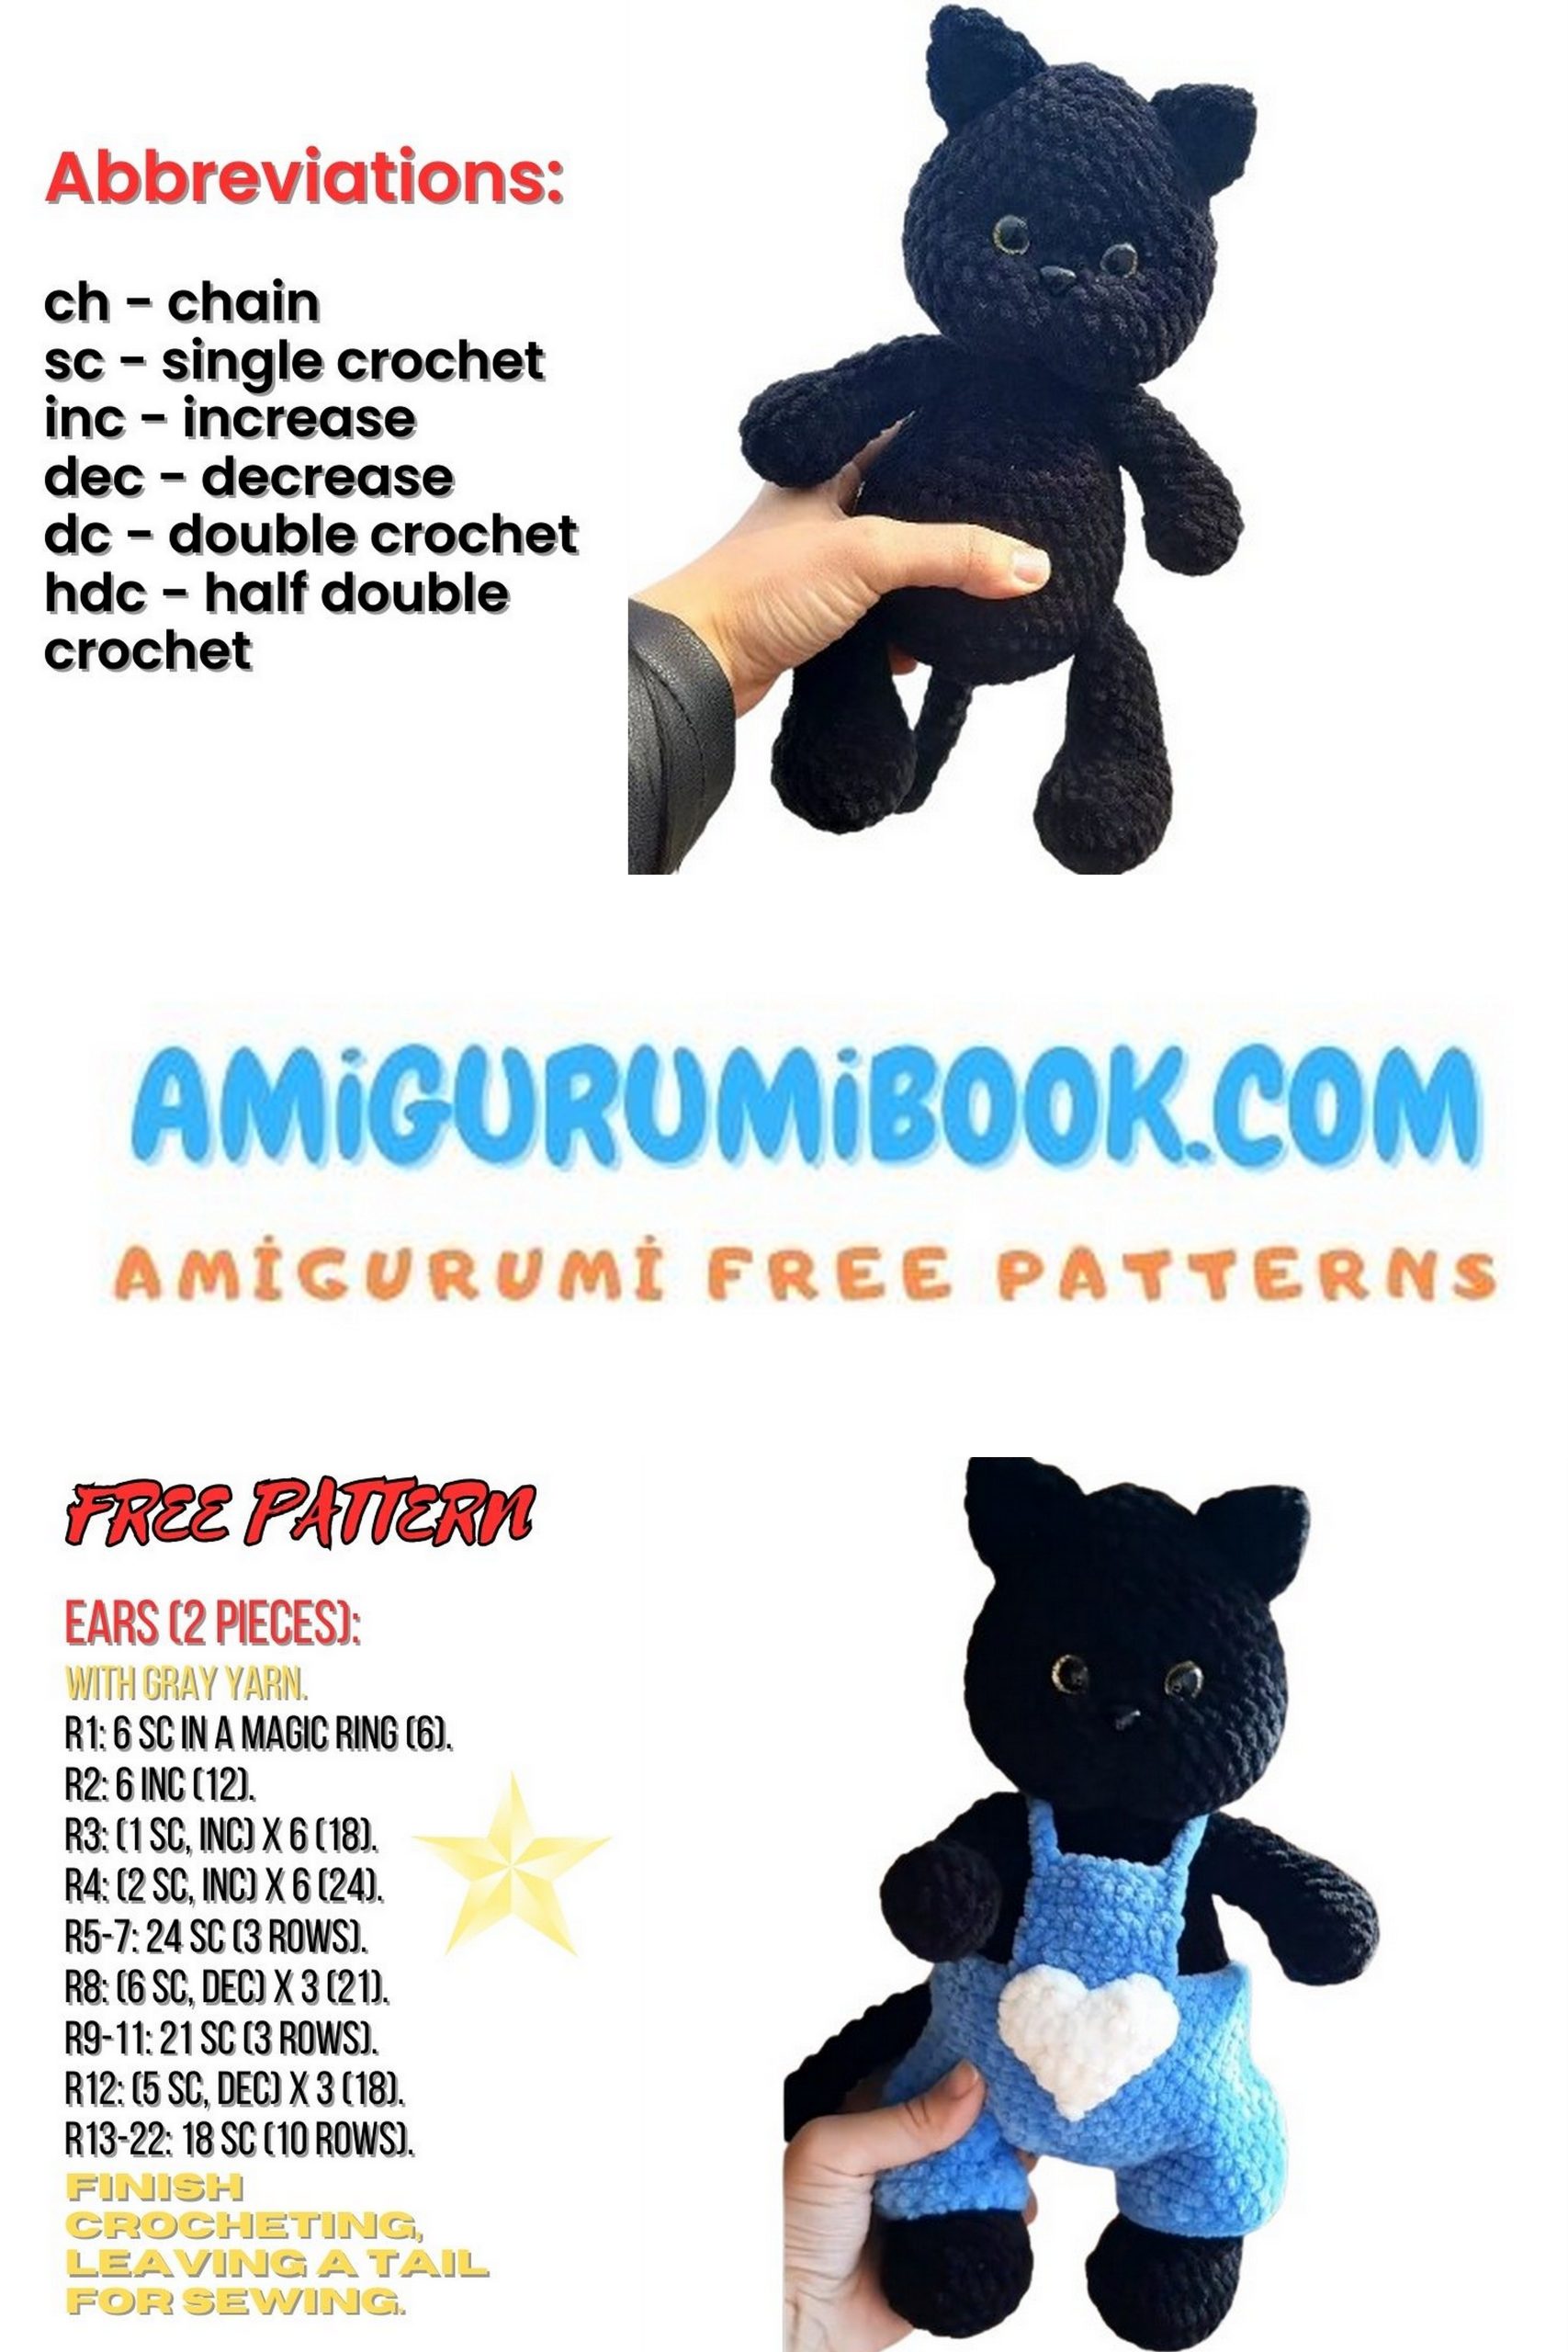
Abbreviations:
MR – Magic Ring (Magic Circle).
inc – increase.
dec – decrease.
Crochet using single crochet stitches. Upper and lower paws are crocheted in. The toy’s height is approximately 27 cm.

PATTERN
Head: Black Cat
1: 6 sc in MR.
2: inc in each stitch around (12).
3: [inc, 1]*6 (18).
4: [inc, 2]*6 (24).
5: [inc, 3]*6 (30).
6: [inc, 4]*6 (36).
7: [inc, 8]*4 (40).
8: [inc, 9]*4 (44).
9 – 12: (44).
13: 17, dec, 6, dec, 17 (42).
14: [dec, 5]*6 (36).
15: (36).
16: [dec, 4]*6 (30).
17: (30).
Insert safety eyes in the decreases. Mark their positions if necessary.
14: [dec, 5]*6 (36).
15: (36).
16: [dec, 4]*6 (30).
17: (30).
Insert the safety nose. A couple of rows below, in the middle, insert the nose. You can glue it when the head is finished. Stuff the head as much as possible.
18: [dec, 3]*6 (24).
19: (24).
20: [dec, 2]*6 (18).
Stuff the head as much as possible.
21: [dec, 1]*6 (12). Finish stuffing the head.
22: dec 6 (6).
Attention
Close the hole, secure the yarn, and hide it.
Shape the muzzle using yarn tightening.
Approximately mark where the neck will be.
Find the middle and insert the needle into the stitch to the left, bringing it out at the left edge of the left eye (right and left sides relative to me).
Then insert it at the right edge of the left eye and bring it out below, in the neck area, where you initially inserted, but one stitch to the right.
Pull the yarn to sink the eye deeper. Tie it with two knots. Insert the needle where you previously brought it out, bringing it out at the left edge of the right eye. Then insert it into the right corner of the right eye and bring it out below at the neck, one stitch to the right. Tie the yarn with two knots. Insert the needle under the nose and bring it out in the same place, pull tight, tie two knots, and hide the yarn.
EARS: Black Cat
Crochet 2 identical pieces.
1: 3 sc in MR.
2: inc in each stitch around (6).
3: [inc, 1]*3 (9).
4: [inc, 2]*3 (12).
5: (12).
Fasten off, leaving a tail for sewing. Sew the ears as desired.


LOWER PAWS: Black Cat
1: 6 sc in MR.
2: inc in each stitch around (12).
3: [inc, 1]*6 (18).
4: [inc, 2]*6 (24).
5: [inc, 5]*4 (28).
6: 7, dec, 7 (21).
Stuff as much as possible.
7: 6, dec, 1, dec, 6 (17).
8: 4, dec, 1, dec, 4 (13).
9-13: (13).
14: [dec, 4]*2, 1 (11).
15: (11). Finish stuffing. Fold in half and sc 6 stitches. Fasten off, secure yarn, and cut.
UPPER PAWS: Black Cat
1: 6 sc in MR.
2: inc in each stitch around (12).
3: [inc, 2]*4 (16).
4: (16).
5: 4, dec, 4 (12).
Stuff as much as possible.
6: 3, dec, 3 (9).
7-12: (9). Finish stuffing. Fold in half, sc 5 stitches. Fasten off, secure yarn, and cut.
BODY: Black Cat
1: 6 sc in MR.
2: inc in each stitch around (12).
3: [inc, 1]*6 (18).
4: [inc, 2]*6 (24).
5: [inc, 3]*6 (30).
6: [inc, 4]*6 (36).
7: [inc, 5]*6 (42).
Crochet legs, place a marker at the back.
8: 8, sc 6 together with a leg, 14, sc 6 together with a leg, 8 (42).
9-13: (42).
14: [dec, 5]*6 (36).
15: (36).
16: 10, dec, 10 (28).
Stuff the body as much as possible, shaping the belly.
17: (28).
18: [dec, 5]*4 (24).
19: (24).
20: [dec, 4]*4 (20).
Crochet arms. Check that the marker is in the middle to avoid skewing. If needed, crochet 1-2 more stitches (or undo some). Before crocheting the arms, see how they will look; you might need more/less stitches between them.
21: 3, sc 5 with an arm, 4, sc 5 with an arm, 3 (20). Finish stuffing the body.
Hope it all turned out well for you! And the pattern was helpful! You can always message me. I’ll be glad to see your marks! Happy crocheting!

TAIL:
1: 6 sc in MR.
2-18: (6).
Fold in half, sc 3 stitches. Fasten off, secure yarn, and cut, leaving a tip for sewing.
Attach at the level of the lower paws (8th row).
Sew on the head. Your kitten is ready!
Materials used:
Yarn: Himalaya Dolfin Baby (color 80327).
Crochet hook size 4.

Abbreviations:
MR – Magic Ring (Magic Circle).
inc – increase.
dec – decrease.
hdc – half double crochet.
sc – single crochet.
ch – chain stitch.
Crochet using single crochet stitches.
Start with the first leg. Chain 21, join in a circle. Crochet 3 rows of sc, 21 stitches each. At the end of the 3rd row, make a slip stitch and cut the yarn. Make the same second leg, at the end of the 3rd row, chain 4 (turning chain). Take the first leg, and in the next stitch after the last one (slip stitch), crochet a sc and mark it with a marker. Then crochet around in a circle for 3 rows, 50 sc in each.
Continue crocheting, starting to count rows from this point onwards.
1: 9, dec, 23, dec, 14 (48).
2: (48).
3: 9, dec, 22, dec, 13 (46).
Increase the height of the leg using hdc. Ensure that 3 hdc are in the middle, both front and back.
4: 18, 3 hdc, 20, 3 hdc, 2 (46).
5: 9, dec, 21, dec, 12 (44).
6: (44).
Create a back cutout for the tail. Ensure that the cutout is centered; you may need to add or subtract stitches before the cutout (everyone’s tension varies).
7: 19, ch 5, then from the 25th stitch, crochet 20 sc until the end of the row.
8-10: (44).
11: 1, sc, turn. Create the front part. Ensure everything is centered and of the desired width and height. For me, the width is 8 stitches and the height is 5 rows. Turn each row and make a ch increase. Start making the straps. Right where you stopped crocheting the front part, chain the desired length of the strap (it depends on how far apart you want to make the loops), attach it with a sc in the back towards the second loop. Crochet a few sc to where you want to start the second loop. Crochet the chain for the second loop and attach it with a sc.
That’s the translation of the pattern. Happy crocheting!