
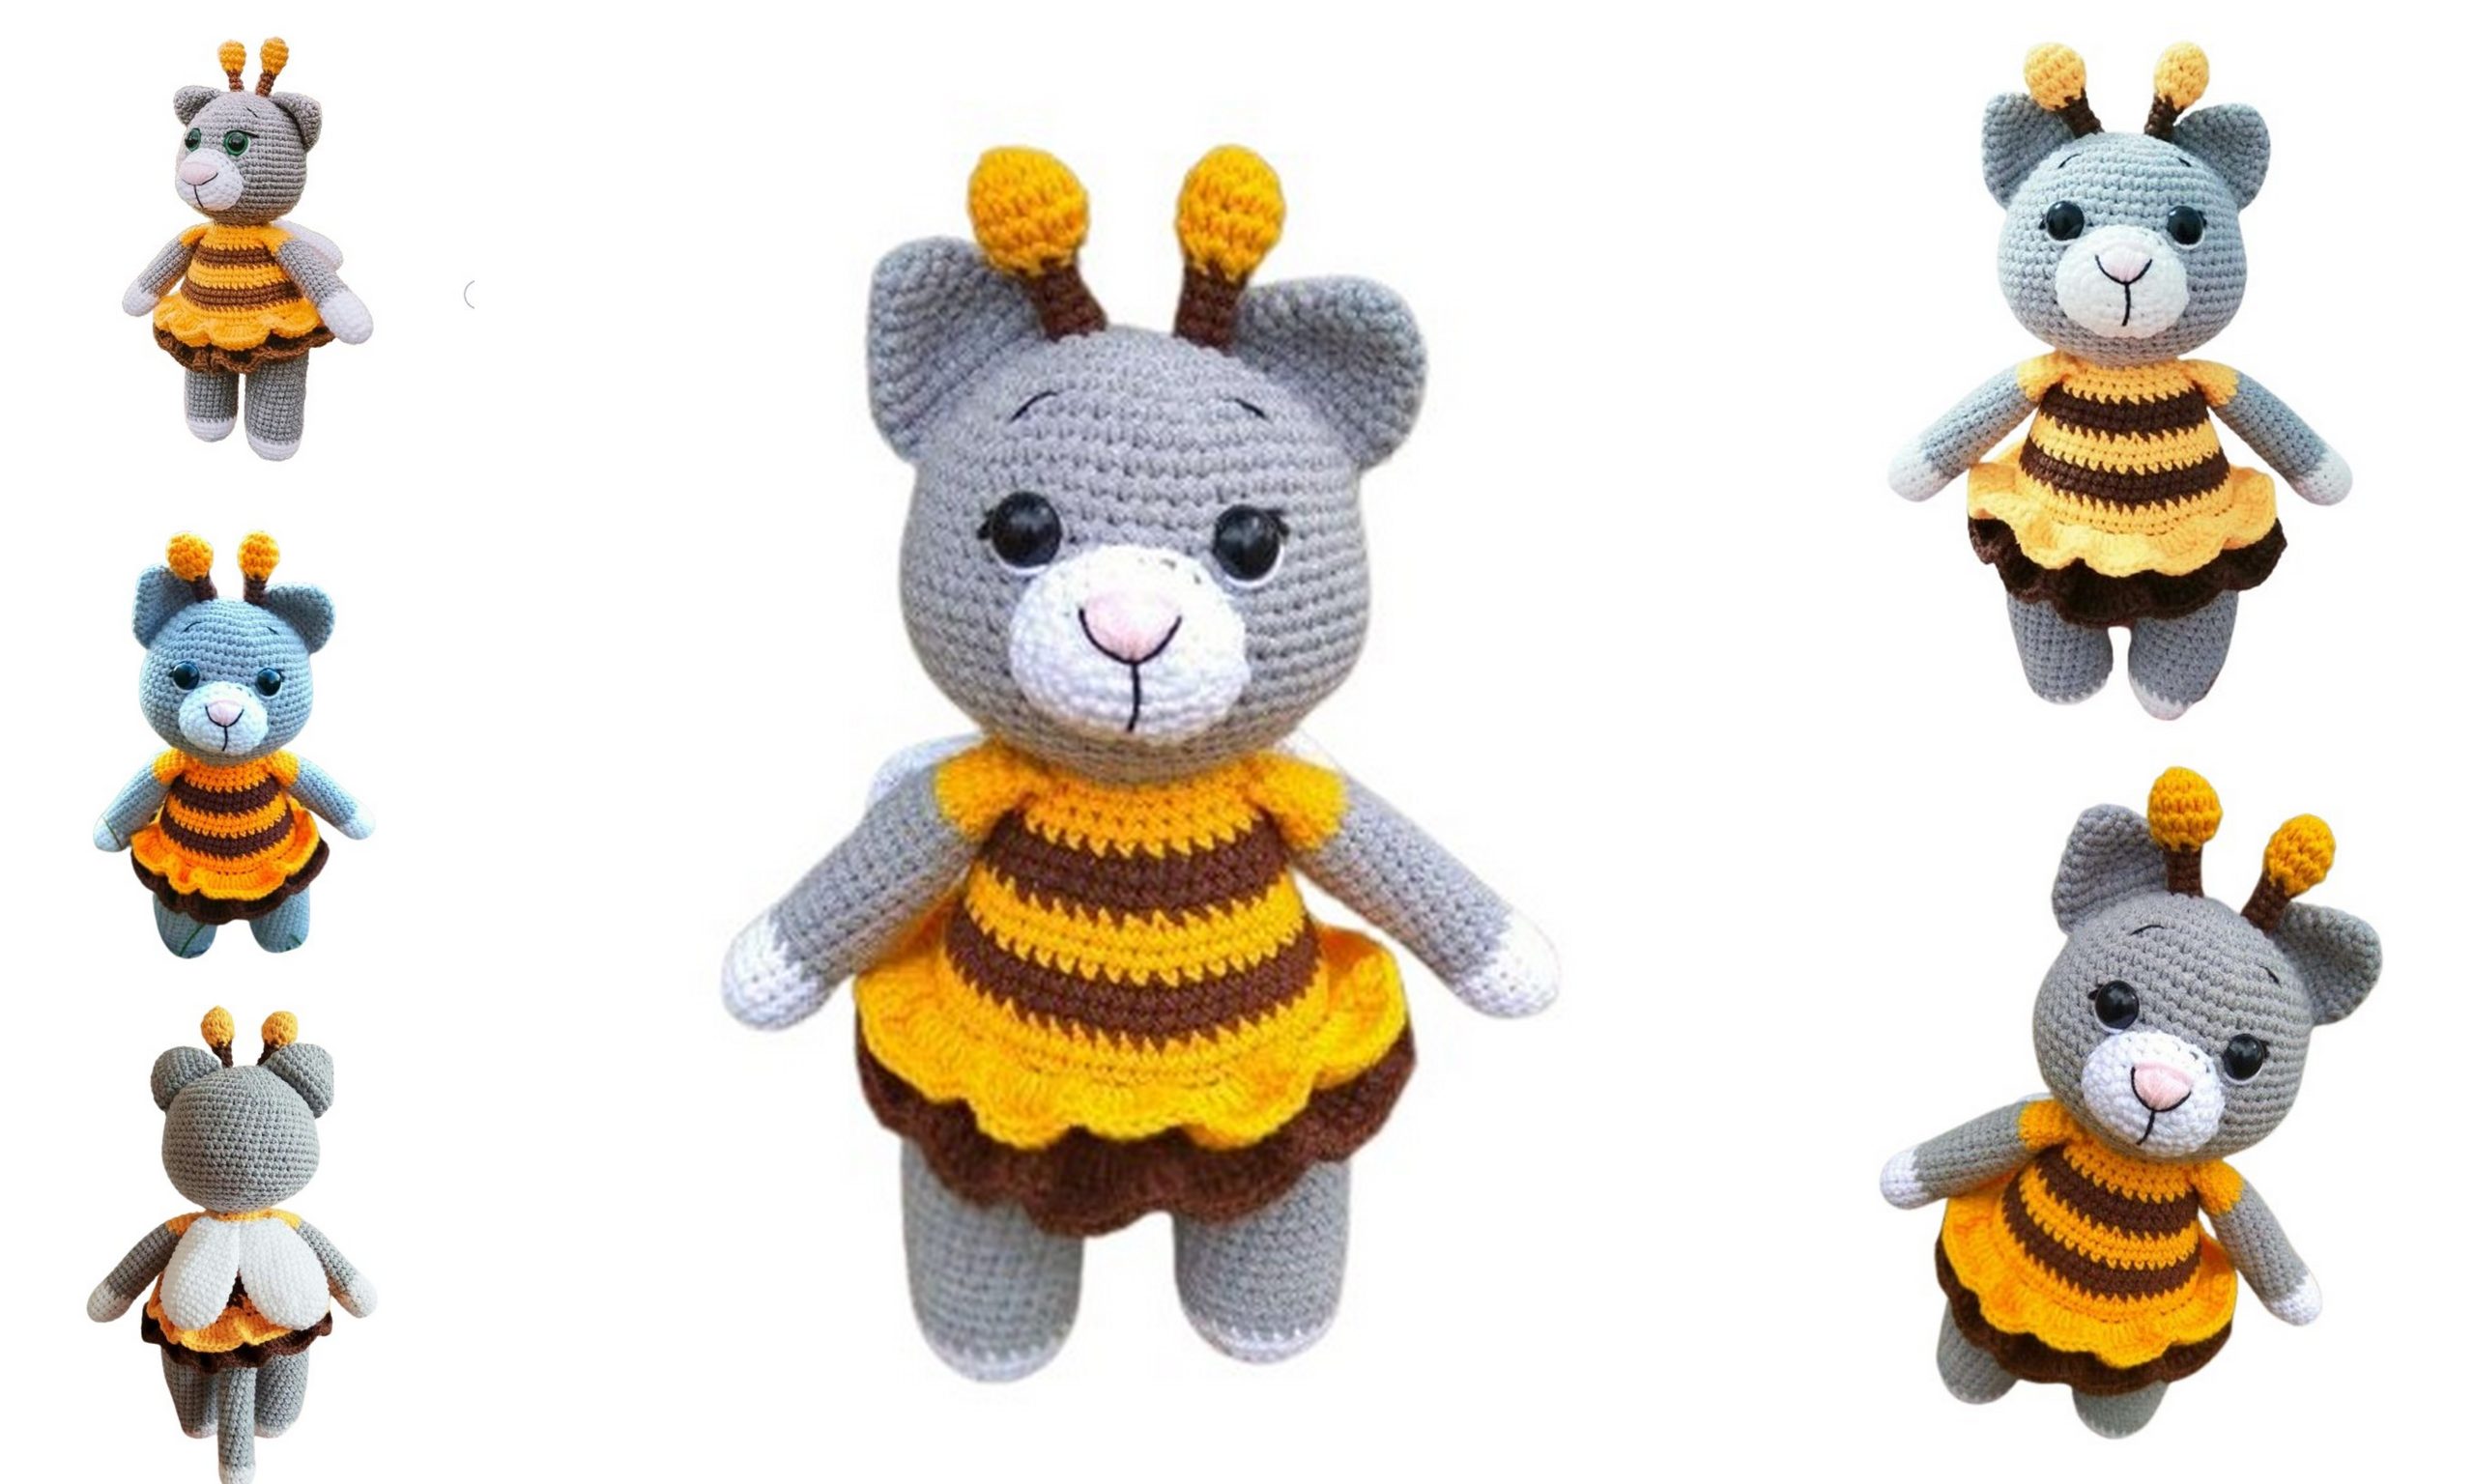
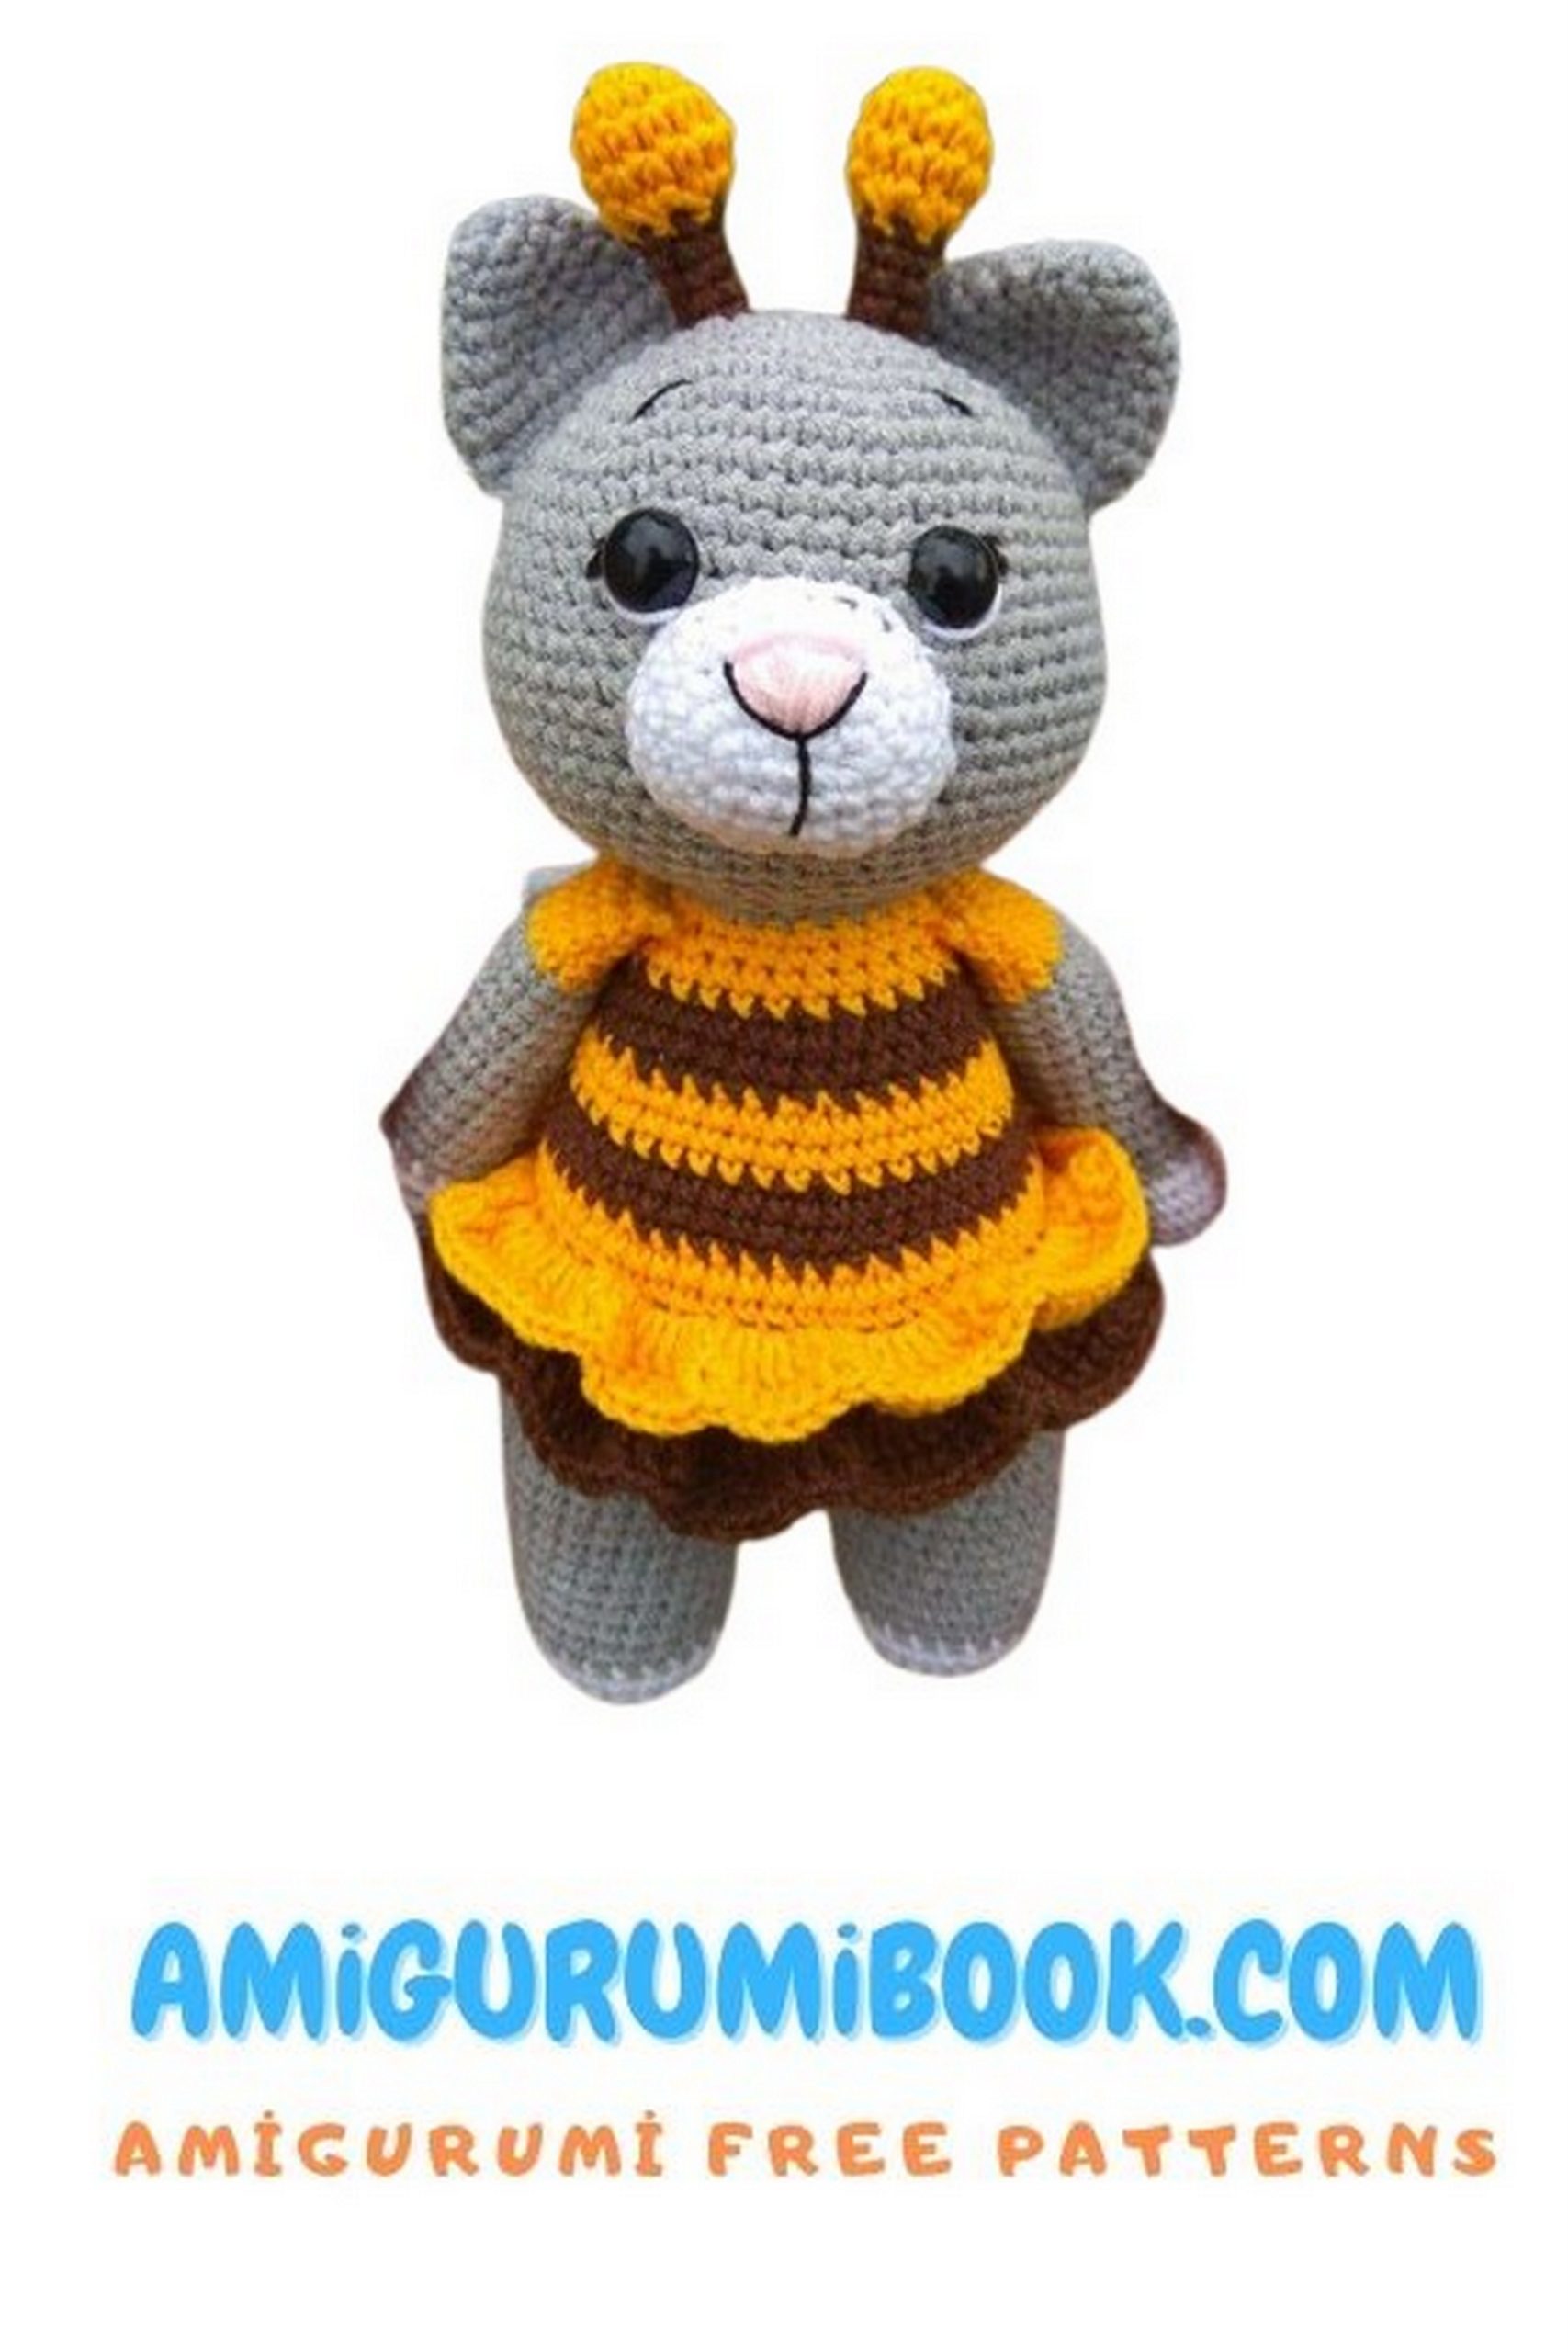
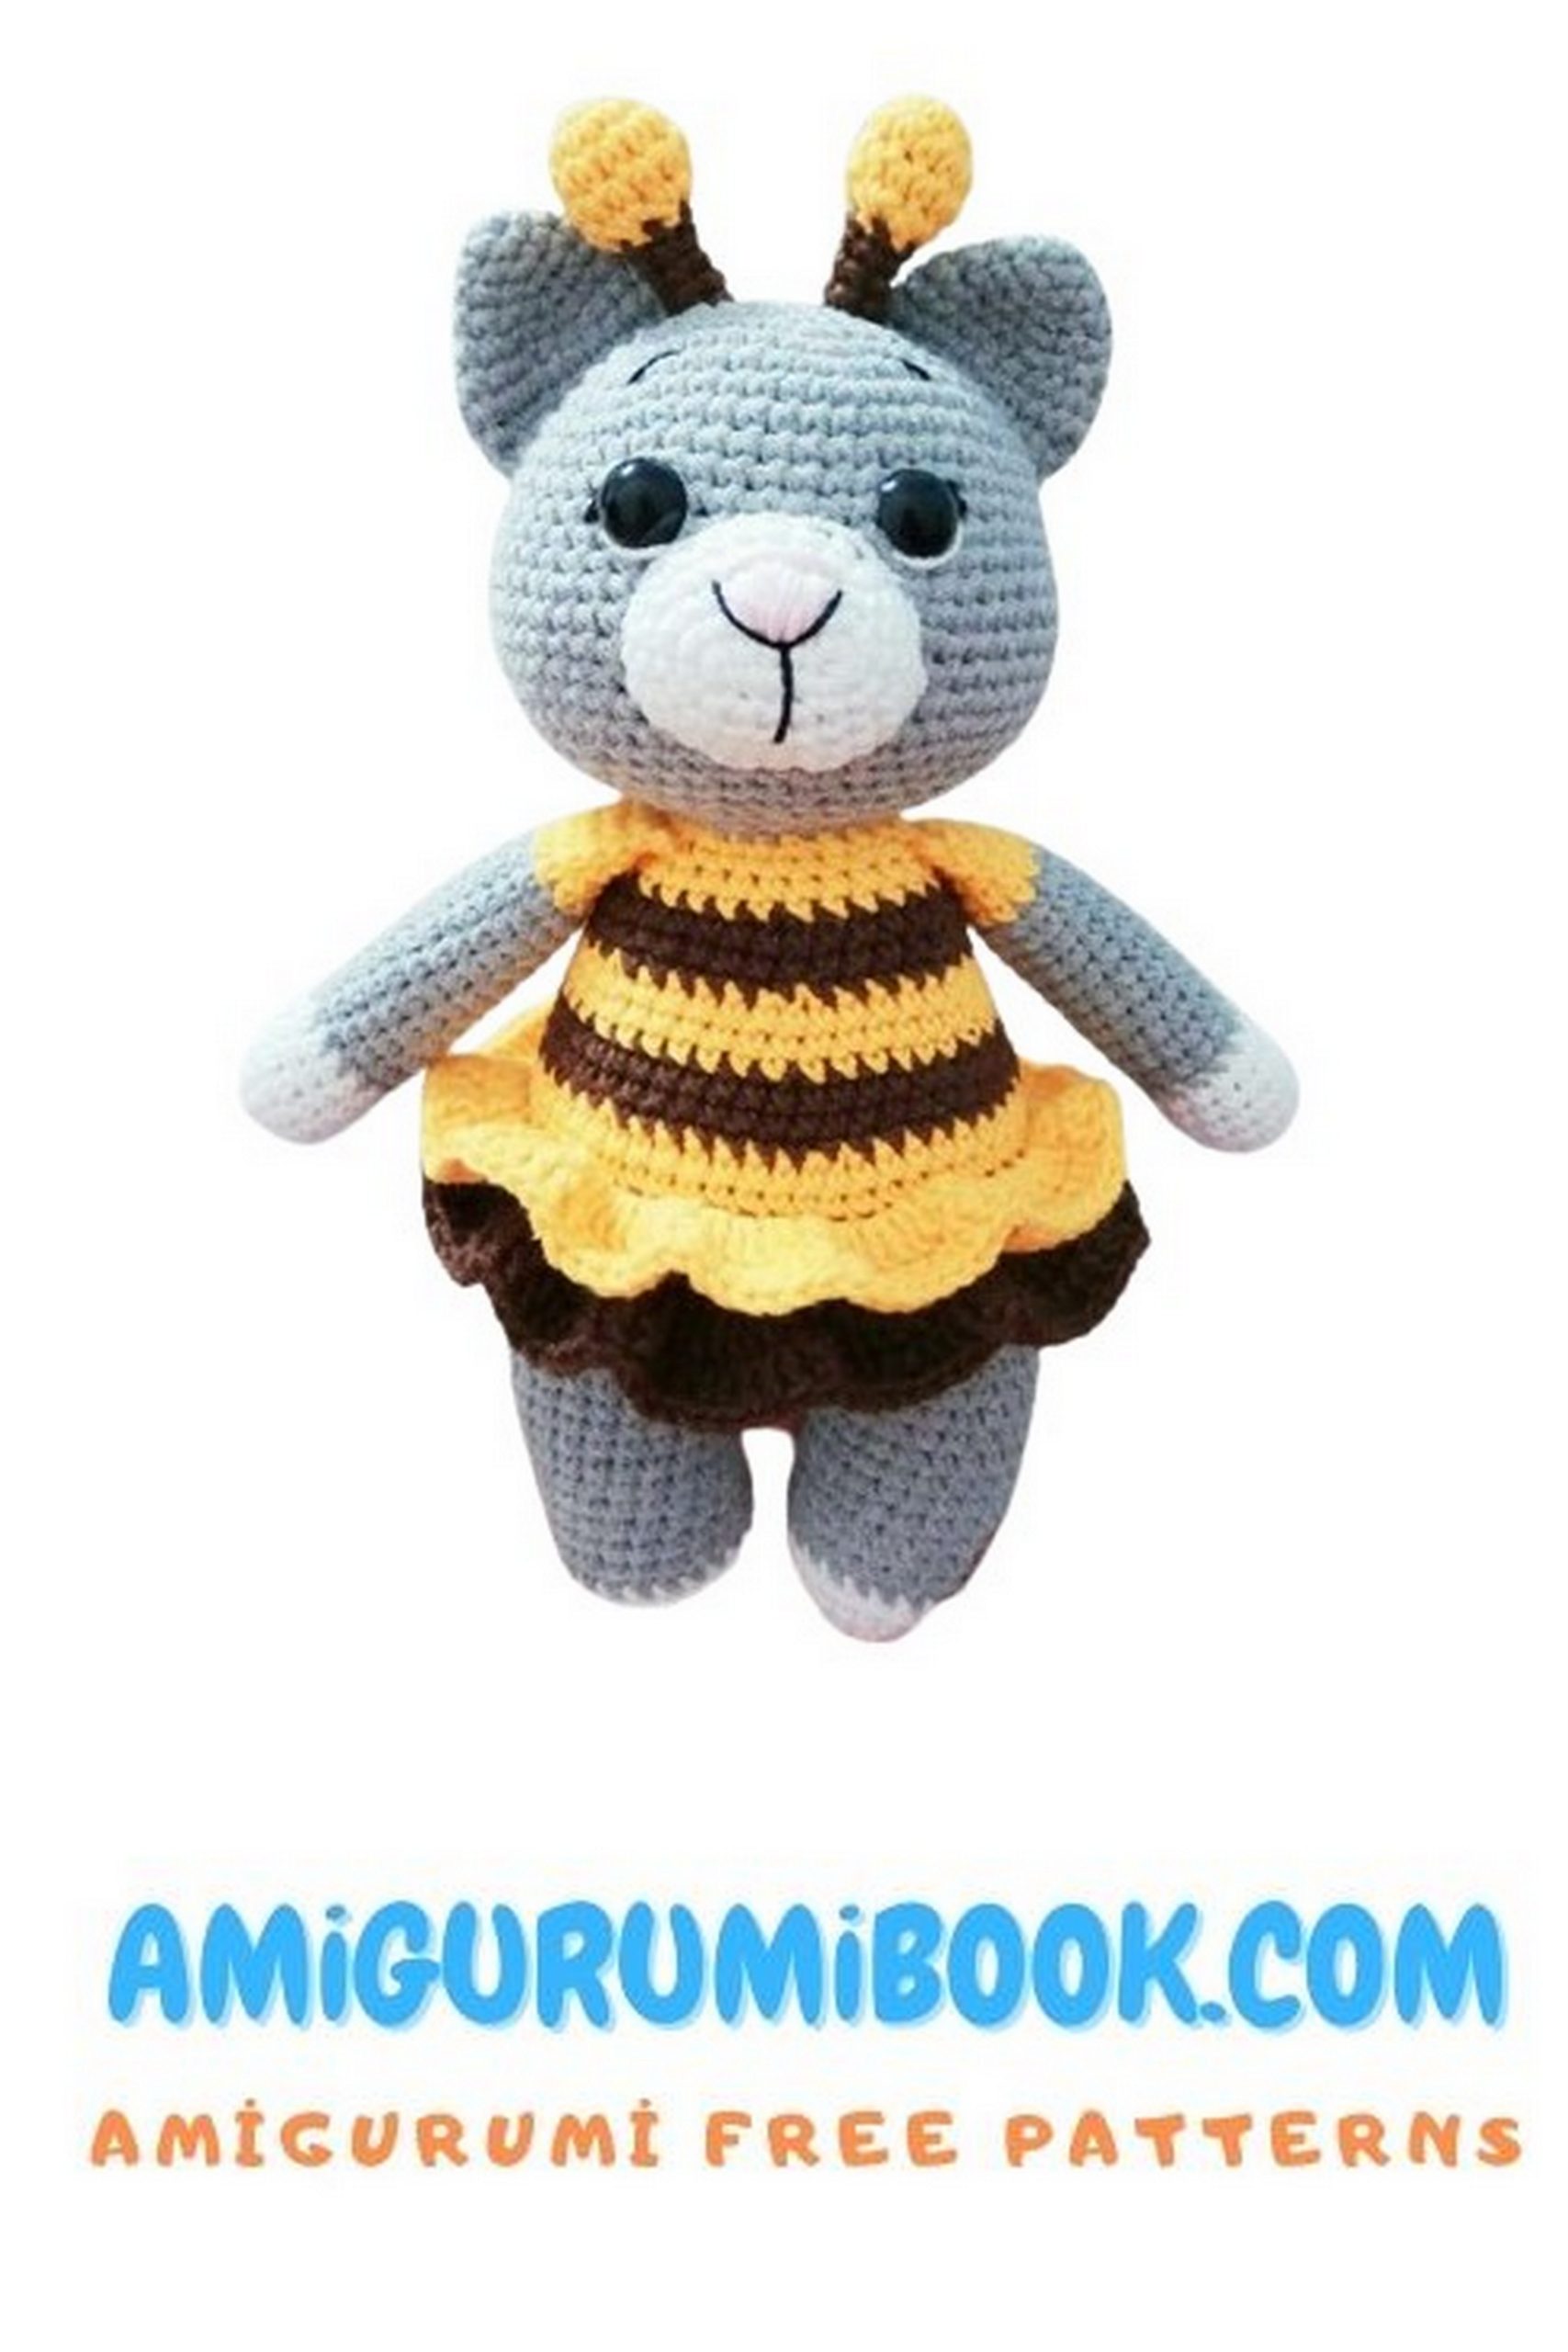
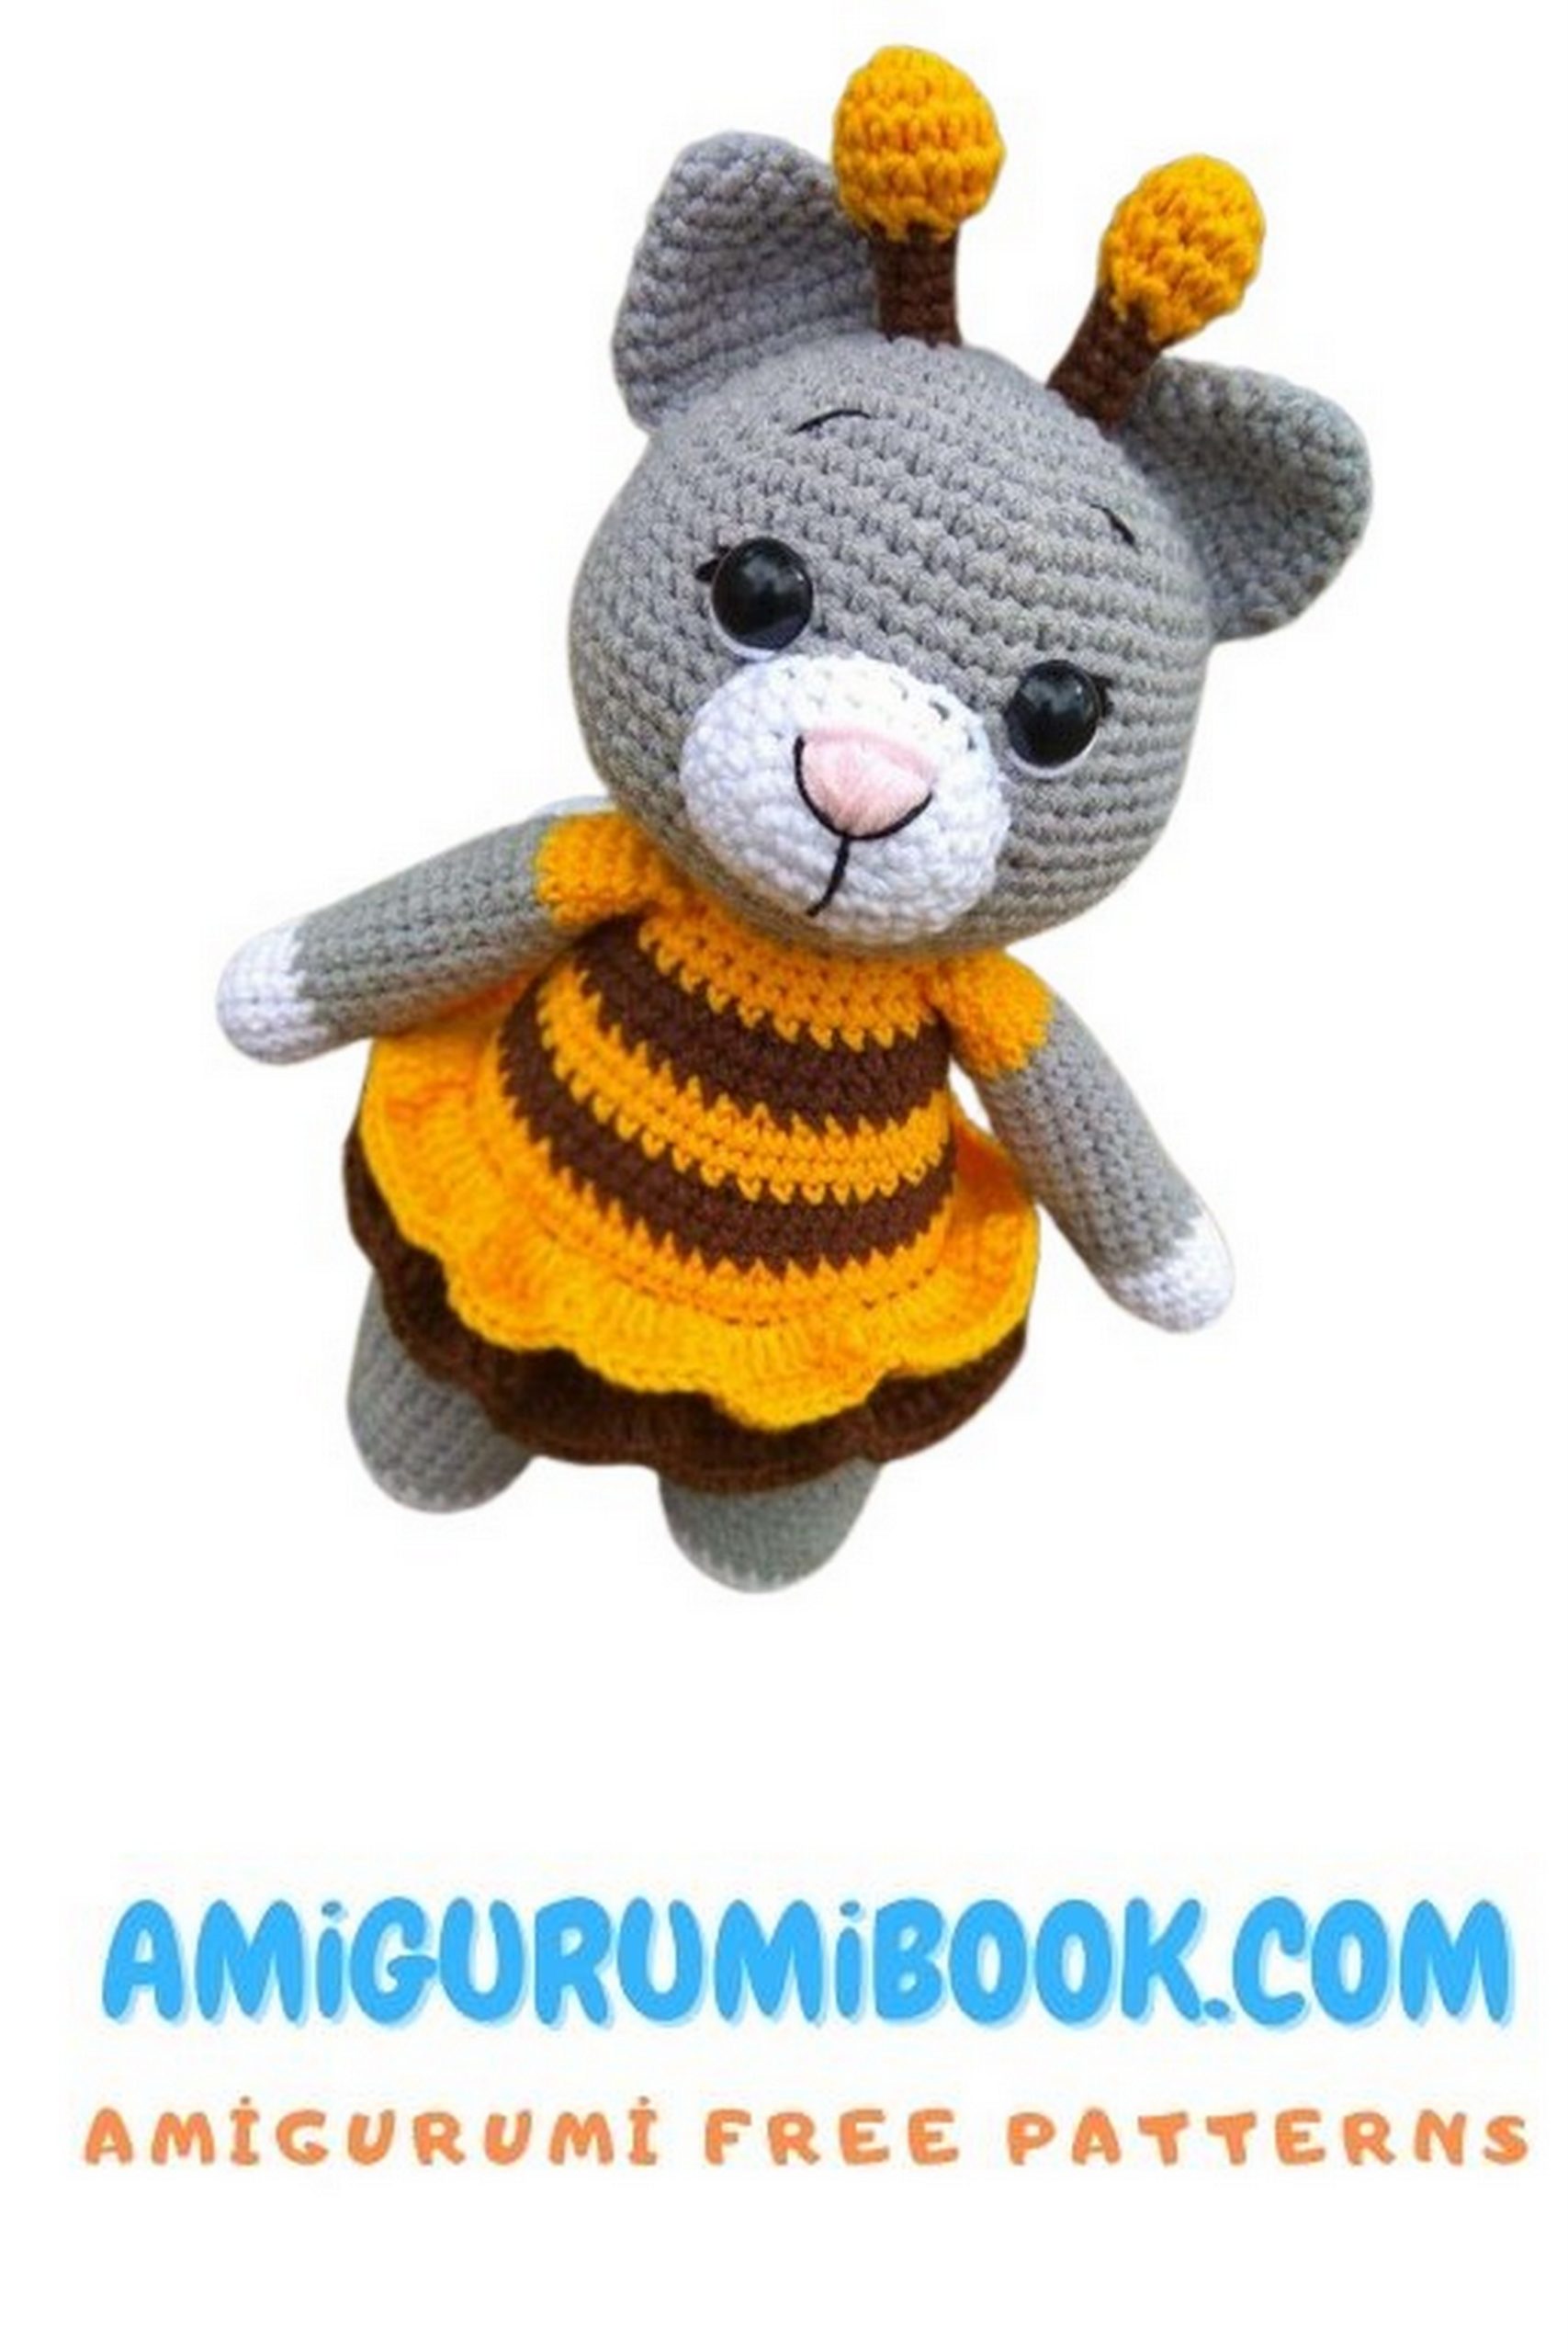
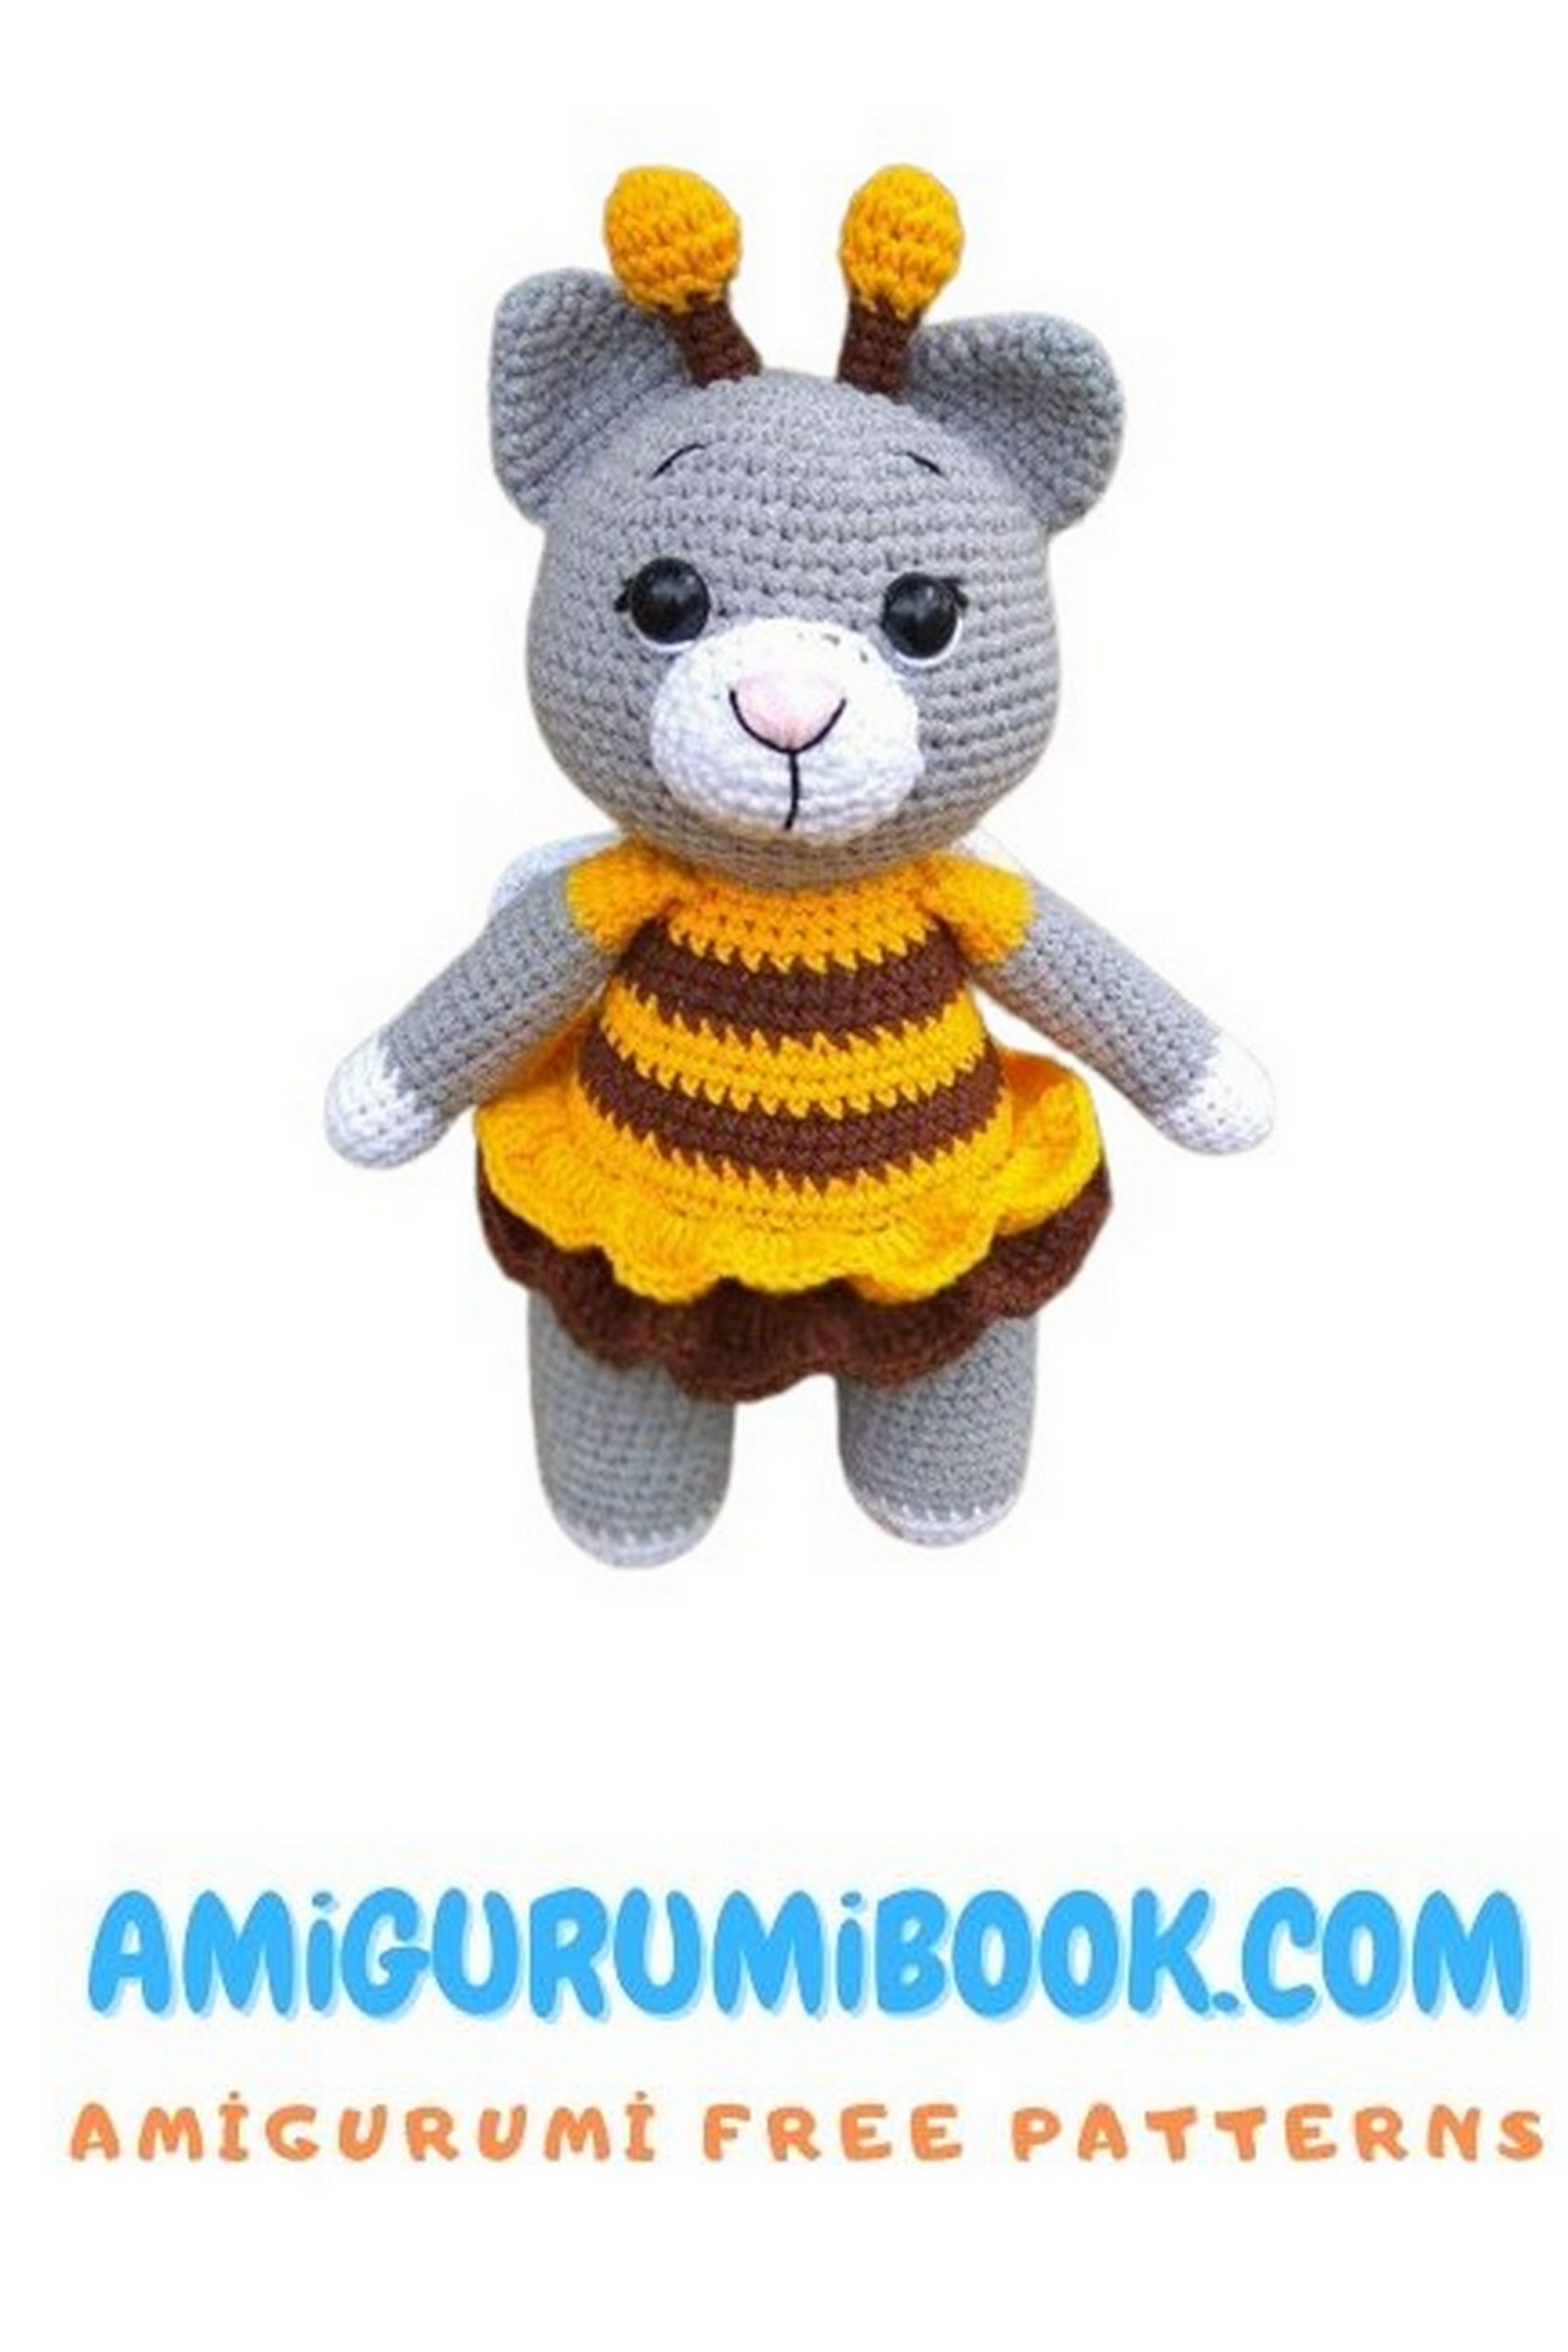
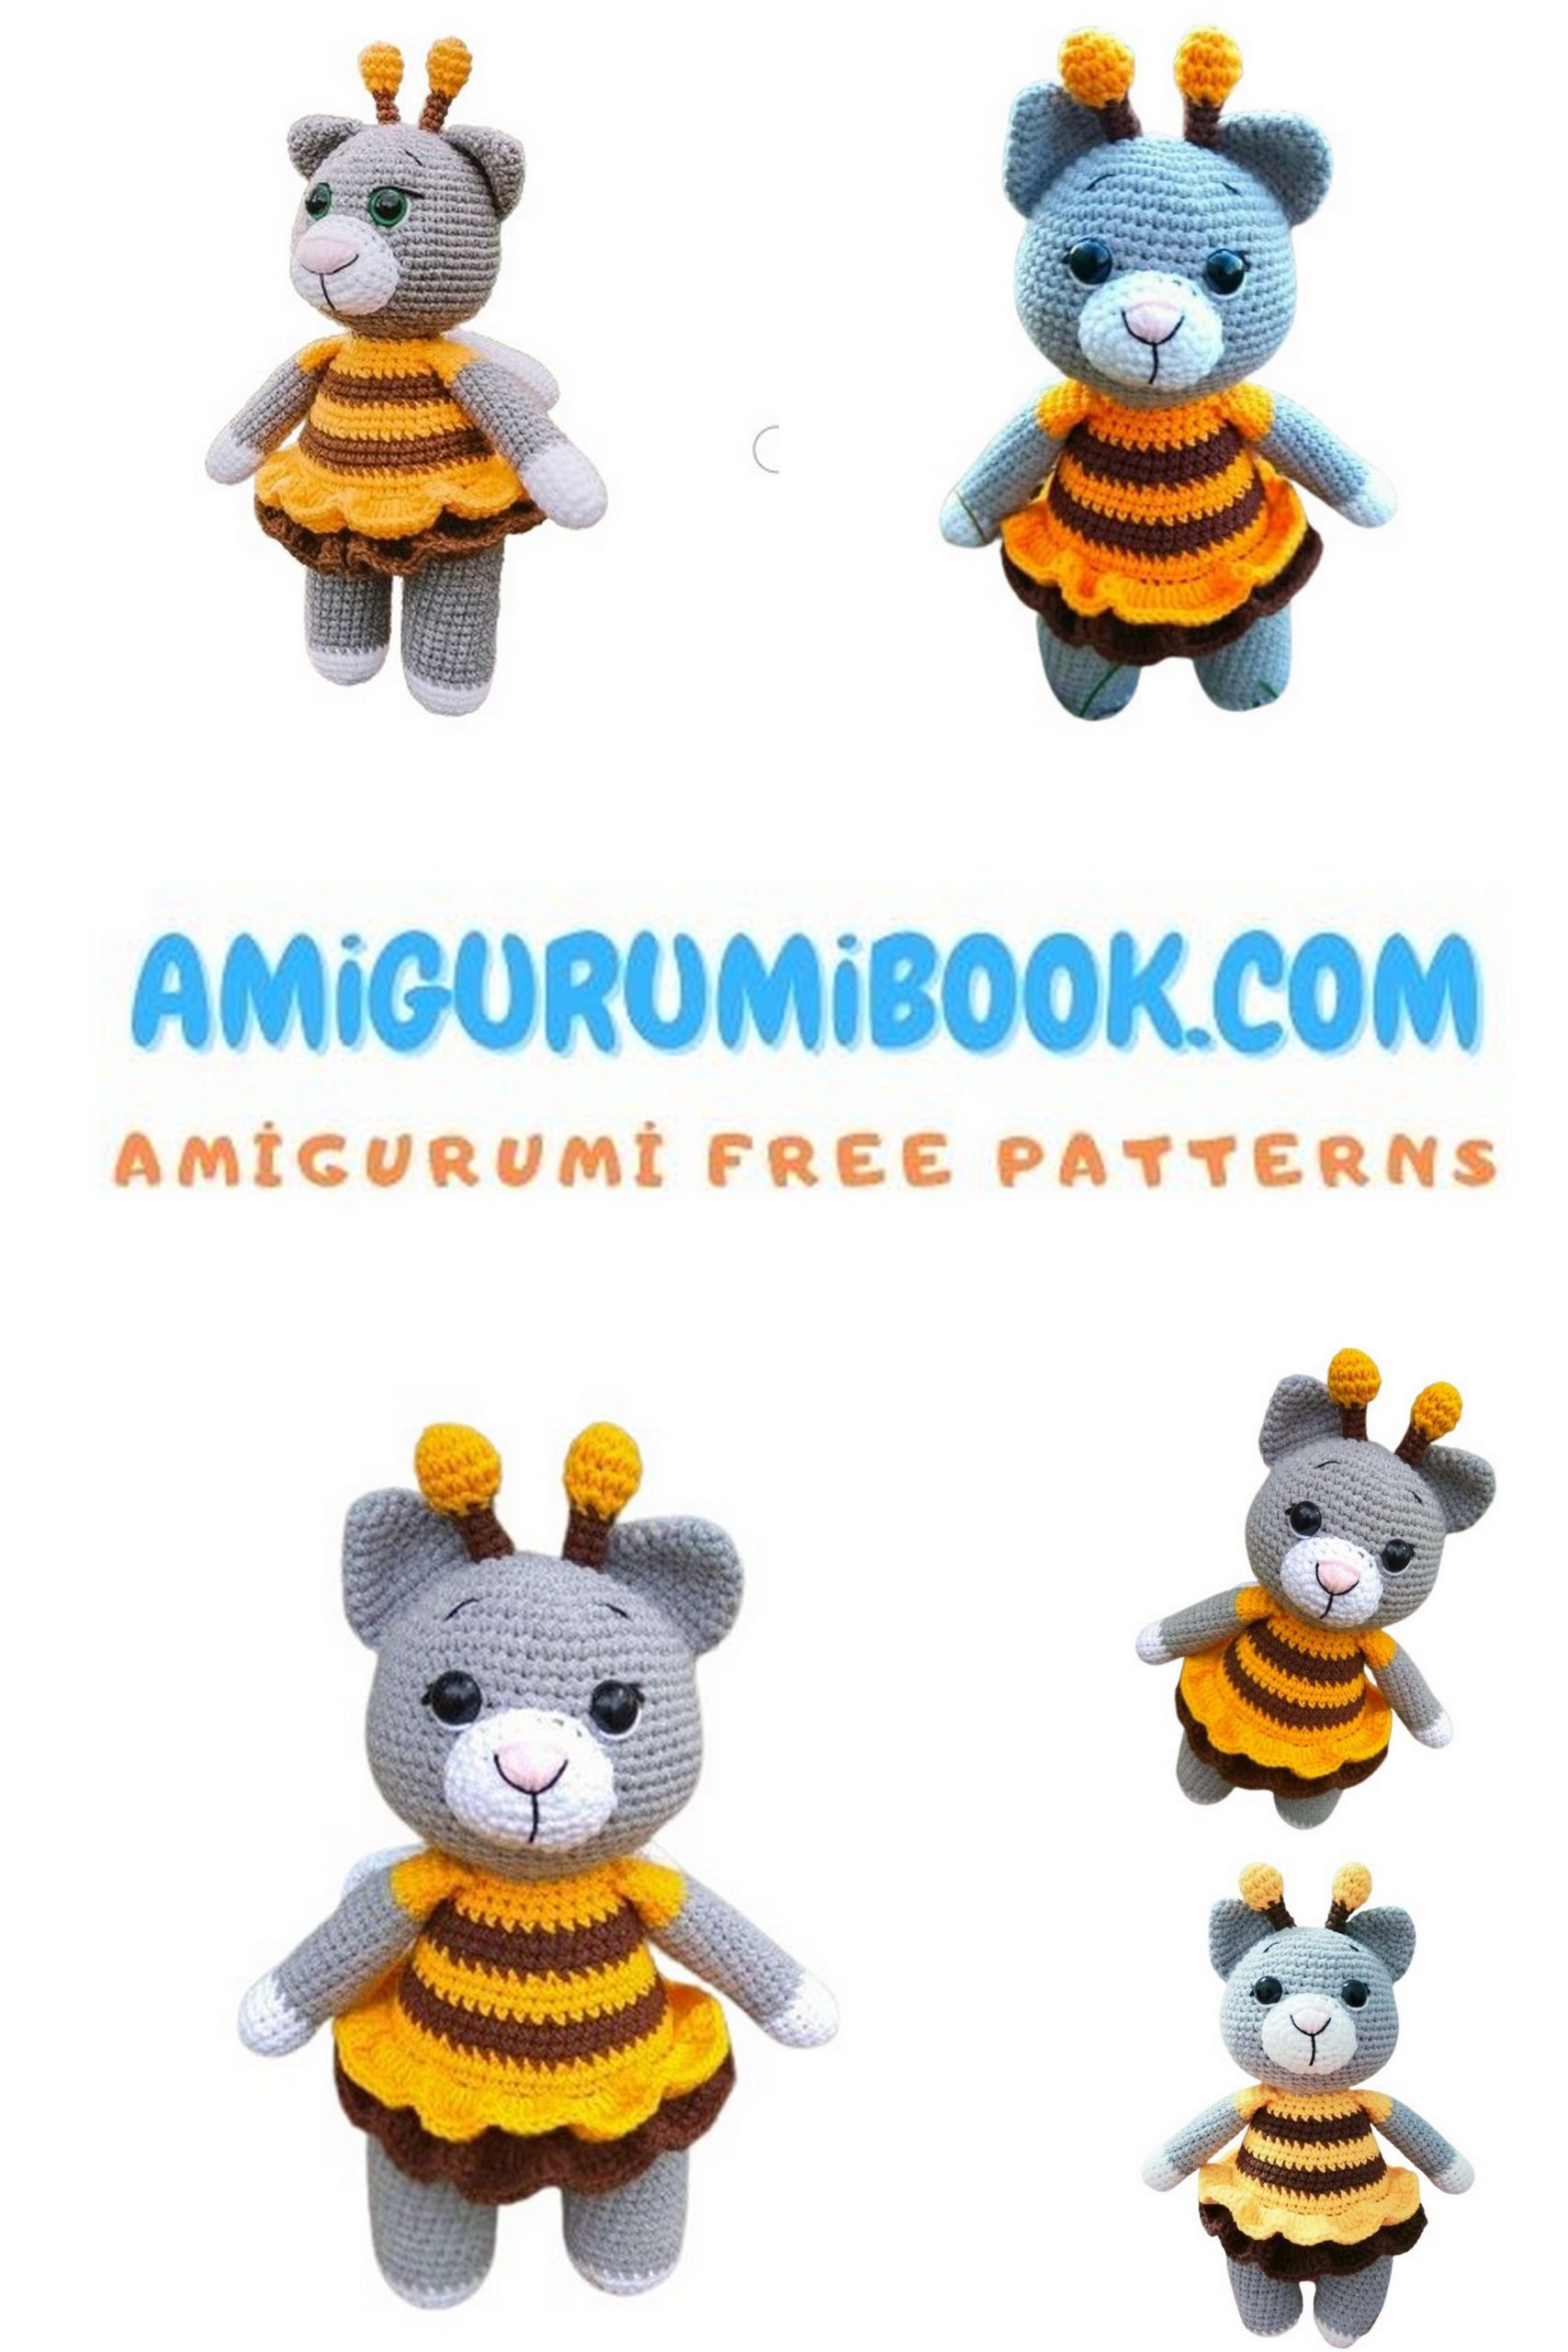
Welcome to our delightful world of amigurumi crafting! If you’re a crochet enthusiast looking for your next adorable project, you’re in the right place. Our free pattern introduces you to a charming cat character dressed in a delightful bee outfit, sure to bring joy to any household.
With our step-by-step instructions and detailed guide, even beginners can enjoy creating this lovable amigurumi. Whether you’re crafting it for yourself or as a heartfelt gift for a loved one, this cat in a bee dress is bound to become a treasured companion.
Get your crochet hooks ready, gather your yarn, and let’s embark on a wonderful journey of creativity and cuteness. Let’s bring this charming cat to life, one stitch at a time! Happy crocheting!
I have a great suggestion for your amigurumi cat collection. I hope you like it. amigurumi cute cat amineko.
If you want to access 1000+ free amigurumi patterns, you can download our application from this link!
Materials List:
Yarn “YarnArt Jeans” semi-cotton 50g / 160m, colors:
46 gray, 1 skein required
01 white, 0.5 skein required
70 milk chocolate, 0.5 skein required
35 yellow, 0.5 skein required
a small amount of black and pink yarn for decoration
Hook No. 2, sewing needle for assembling parts, scissors
Stuffing – polyester fiberfill
Safety eyes or half beads with a diameter of 10 mm
Finished toy height using the specified materials – about 23 cm.
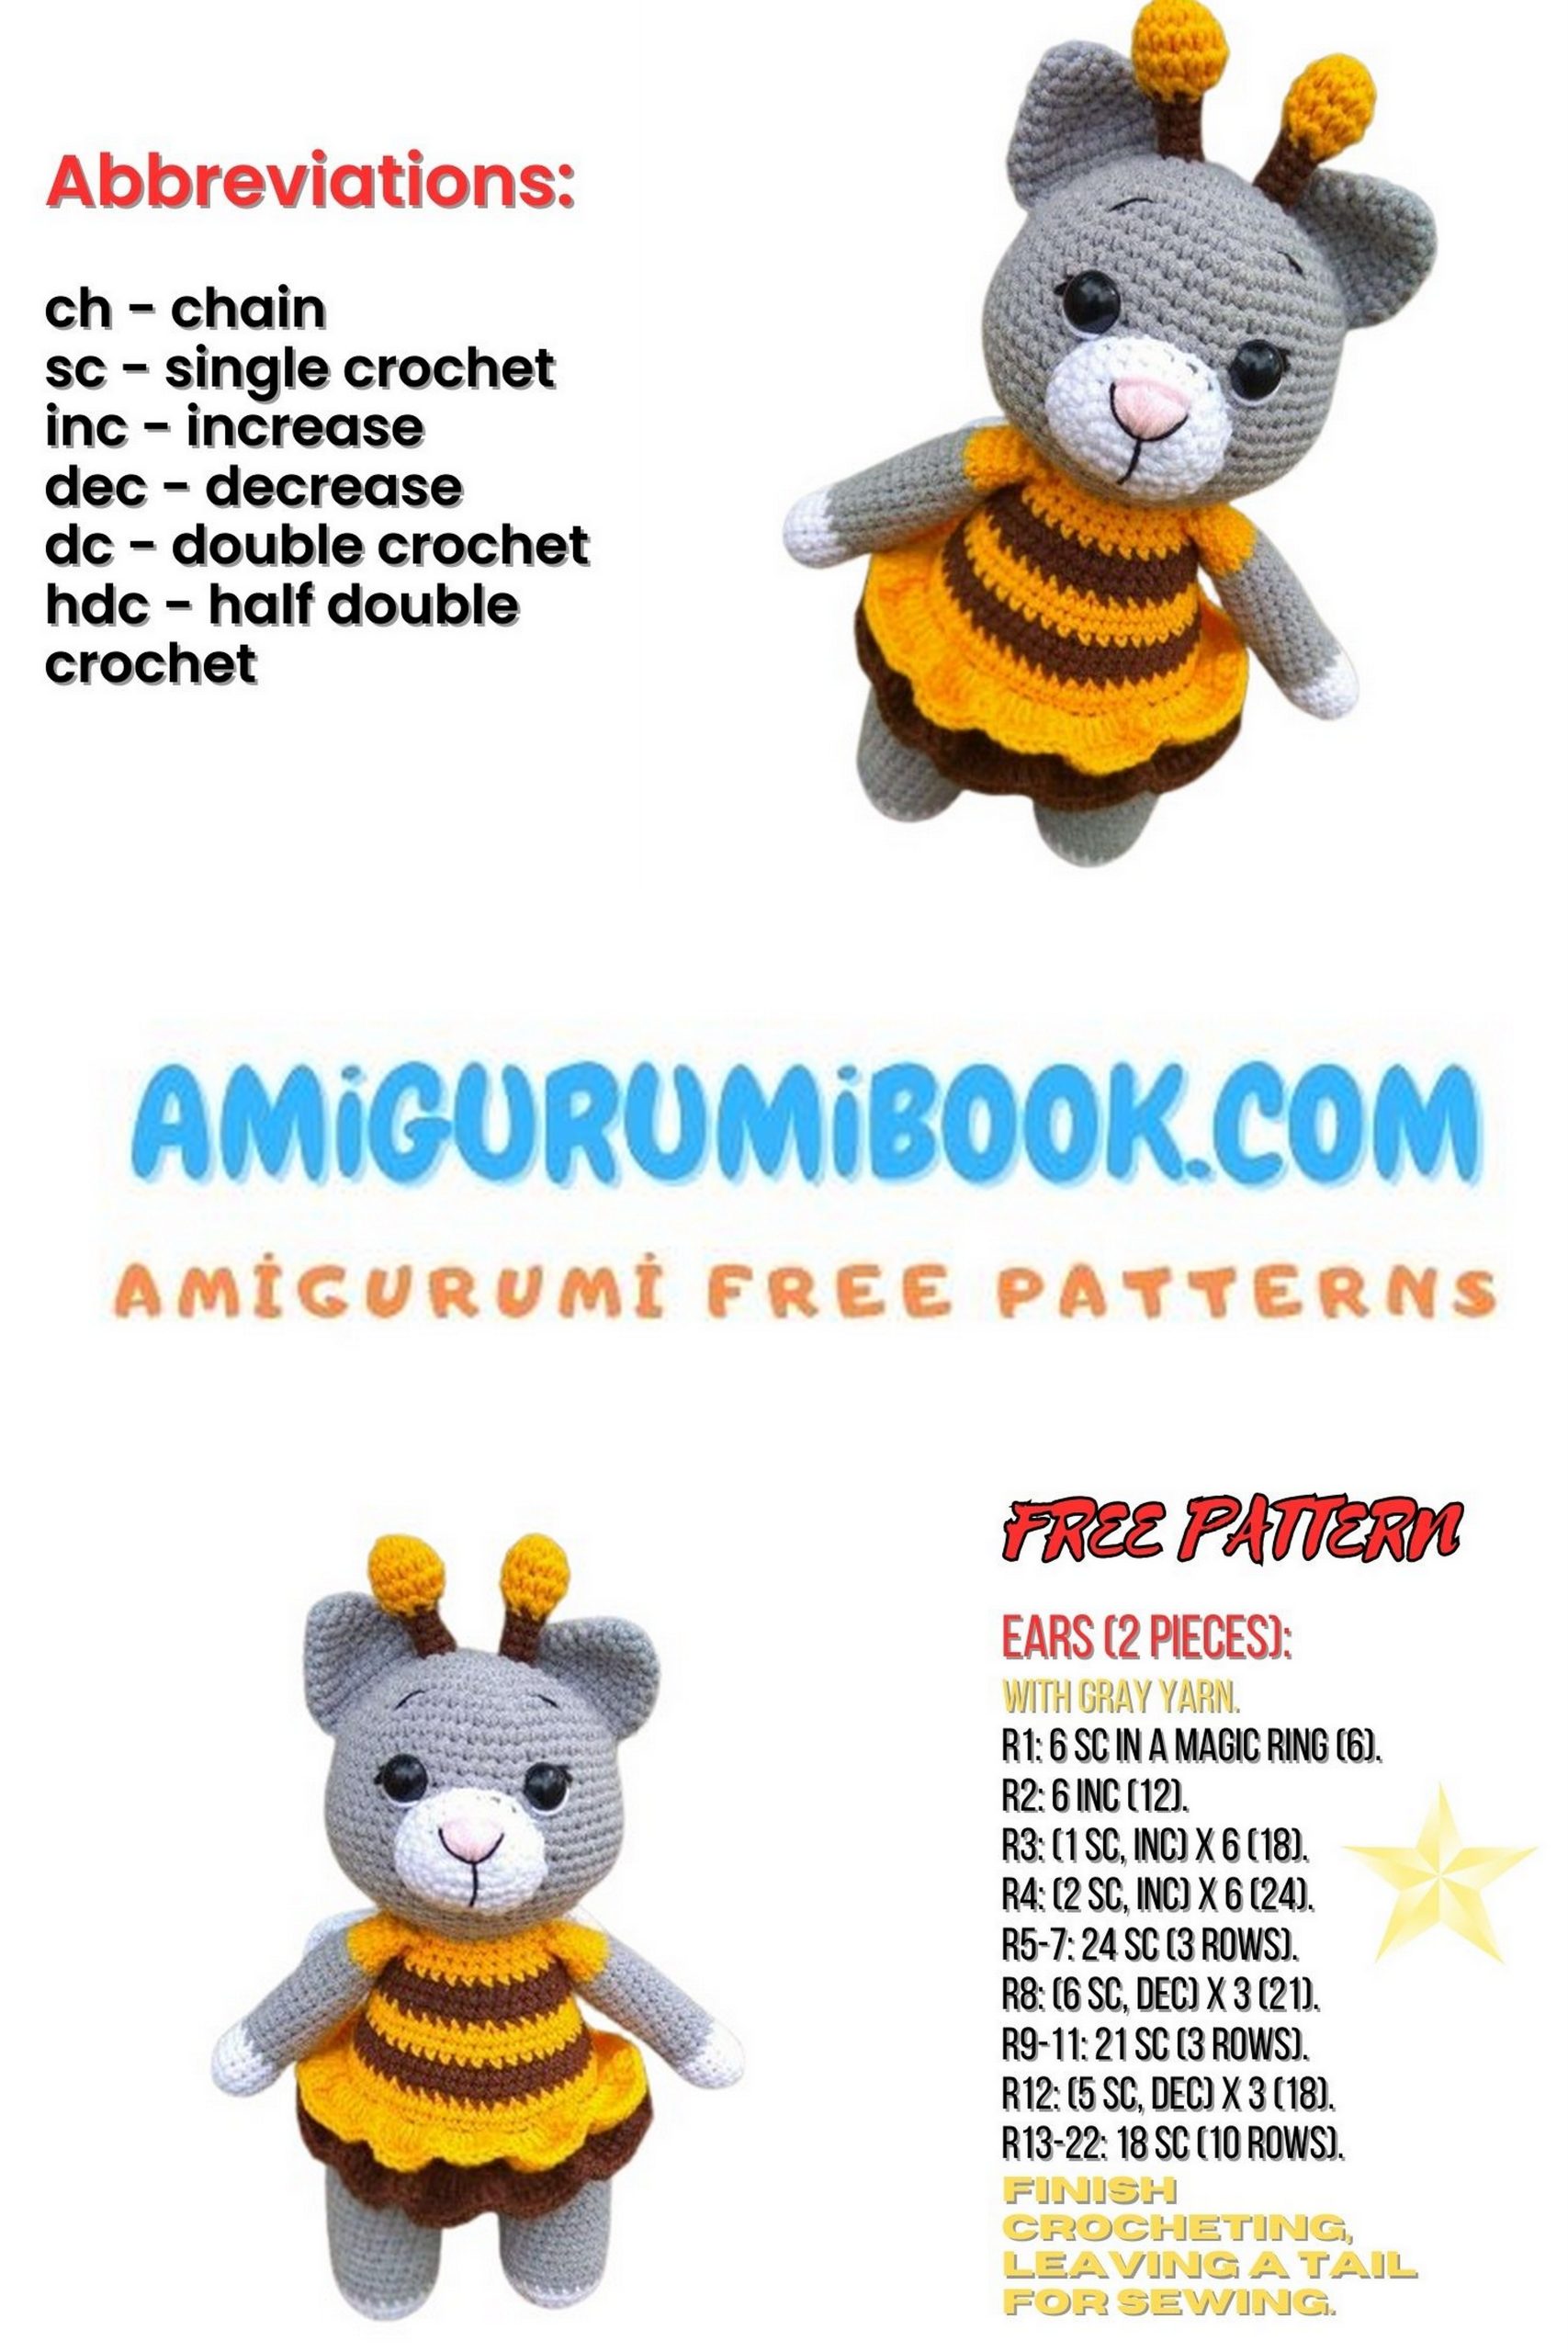
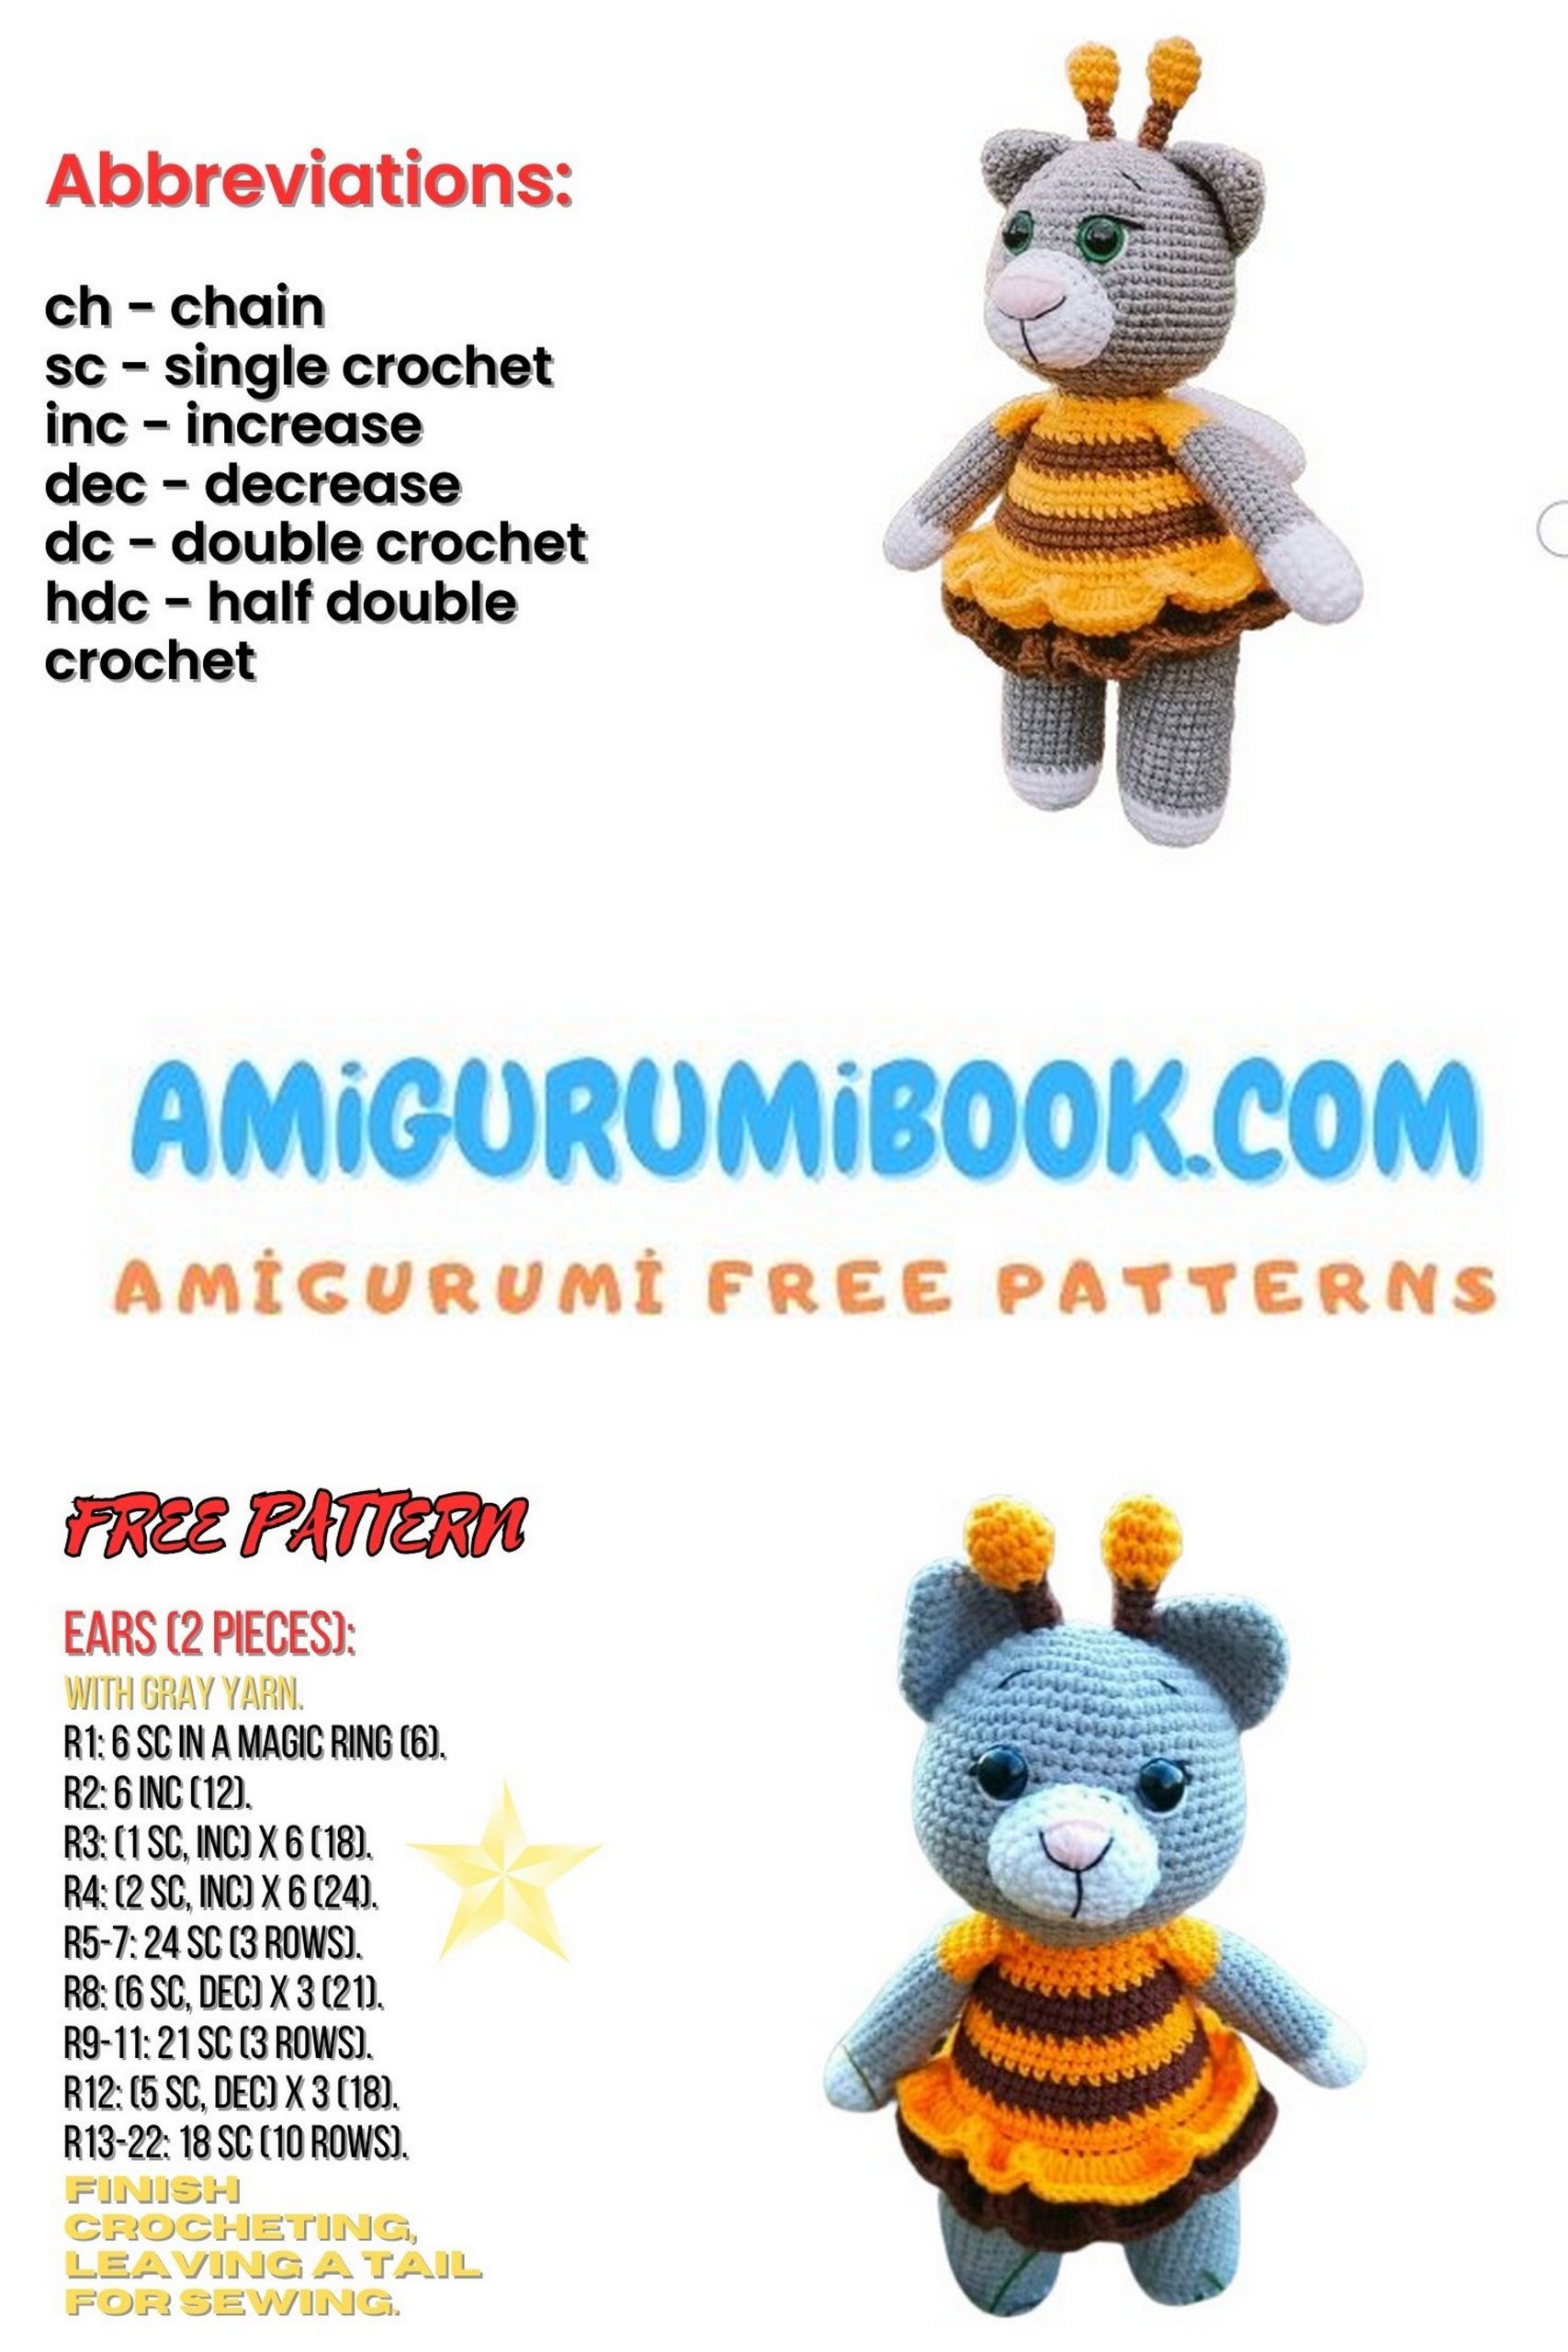
Abbreviations:
MC – magic circle
sc – single crochet
ch – chain
inc – increase
dec – decrease
sl st – slip stitch
(…) – the number in parentheses indicates the number of stitches in the row
(…) * X – repeat X times the instructions inside the parentheses
hdc – half double crochet
You can use completely different yarn, which will affect the size and quality of the product.
The toy is crocheted in spirals through both loops unless otherwise stated.
PATTERN
Head: Cat in Bee Dress
Crochet with gray yarn.
1: 6 in MC
2: inc in each st around (12)
3: (1 sc, inc) * 6 (18)
4: (2 sc, inc) * 6 (24)
5: (3 sc, inc) * 6 (30)
6: (4 sc, inc) * 6 (36)
7: (5 sc, inc) * 6 (42)
8: (6 sc, inc) * 6 (48)
9: (7 sc, inc) * 6 (54)
10-15: 54 sc (6 rows)
If using safety eyes, attach them between rows 13-14, approximately 8 stitches apart.
16: (8 sc, inc) * 6 (60)
17-21: 60 sc (5 rows)
22: (8 sc, dec) * 6 (54)
23: (7 sc, dec) * 6 (48)
24: (6 sc, dec) * 6 (42)
25: (5 sc, dec) * 6 (36)
26: (4 sc, dec) * 6 (30)
27: (3 sc, dec) * 6 (24)
Stuff the head firmly. Cut the yarn leaving a tail for sewing.
Top Paws: Cat in Bee Dress
Start with white yarn.
1: 6 sc in MC
2: inc in each st around (12)
3: (5 sc, inc) * 2 (14)
4-7: 14 sc (4 rows)
Switch to gray yarn.
8-19: 14 sc (12 rows)
Switch to yellow yarn.
20-23: 14 sc (4 rows)
Stuff the paw as you crochet: stuff the bottom tightly, the middle moderately, and the top (about 1-2 cm) may remain unstuffed. Fold it in half and crochet 7 sc through both loops. Cut the yarn, hide the end. The second paw is crocheted in the same way.
Tail: Cat in Bee Dress
Start with white yarn.
1: 6 sc in MC
2: inc in each st around (12)
3-5: 12 sc (3 rows)
Switch to gray yarn.
6-19: 12 sc (14 rows)
Stuff the tail as you crochet: stuff the bottom tightly, the middle moderately, and the top (about 1-2 cm) may remain unstuffed. Fold it in half and crochet 6 sc through both loops. Cut the yarn, hide the end.
Legs + Body: Cat in Bee Dress
Start with white yarn.
1: 6 in MC
2: inc in each st around (12)
3: (1 sc, inc) * 6 (18)
4: (2 sc, inc) * 6 (24)
5-6: 24 sc (2 rows)
Switch to gray yarn.
7-15: 24 sc (9 rows)
Crochet 7 more sc, join with sl st. Fasten off and cut the yarn.
Crochet the second leg in the same way, but after row 15, crochet an additional 18 sc. You may need a different number of stitches after row 15, adjust it accordingly. Do not cut the yarn, continue crocheting the body.
16: From the second leg, chain 3, and attach to the first leg with a sl st. Then crochet 24 sc around the first leg, 3 sc on the chain, 24 sc around the second leg, 3 sc on the other side of the chain (54 sc).
Place a marker at this point (the marker is in the front).
17-20: 54 sc (4 rows).
In the next row, crochet the tail, making sure it is positioned evenly in the middle.
21: 23 sc, 6 sc (crochet the tail), 25 sc (54).
Move the marker to the middle by crocheting 25 more sc (or as needed) so that it is exactly in the middle of the back. Now this is the beginning of the row.
Switch to milk chocolate yarn.
22: 54 sc
23: 54 sc through the back loop
24: 54 sc
Switch to yellow yarn.
25: 54 sc
26: 54 sc through the back loop
27: 54 sc
Switch to milk chocolate yarn.
28: (7 sc, dec) * 6 (48)
29-30: 48 sc (2 rows)
Switch to yellow yarn.
31: (6 sc, dec) * 6 (42)
32-33: 42 sc (2 rows)
Switch to milk chocolate yarn.
34: (5 sc, dec) * 6 (36)
35-36: 36 sc (2 rows)
Switch to yellow yarn.
37: (4 sc, dec) * 6 (30)
38: 30 sc
In the next row, crochet the arms. Make sure they are symmetrically positioned on the sides of the body.
39: 3 sc, 7 sc (crochet the arm), 8 sc, 7 sc (crochet the arm), 5 sc (30).
40: (3 sc, dec) * 6 (24)
Switch to gray yarn.
41: 24 sc
Stuff the body firmly. Leave a tail for sewing.
First Skirt: Cat in Bee Dress
Return to row 23 where we crocheted through the back loop and join milk chocolate yarn. Crochet hdc through the front loop in rounds.
1: Ch 2 (counts as first hdc), hdc twice in each st around, sl st to join (108).
2: Ch 2, hdc in each st around, sl st to join.
Finish off. Hide the yarn.
Second Skirt:
Return to row 26 where we crocheted through the back loop and join yellow yarn. Crochet hdc through the front loop in rounds.
1: Ch 2 (counts as first hdc), hdc twice in each st around, sl st to join (108).
2: Ch 2, hdc in each st around, sl st to join.
Finish off. Hide the yarn.
Ears: Cat in Bee Dress
Crochet with gray yarn.
1: 6 in MC
2: (1 sc, inc) * 3 (9)
3: (2 sc, inc) * 3 (12)
4: (3 sc, inc) * 3 (15)
5: (4 sc, inc) * 3 (18)
6: (5 sc, inc) * 3 (21)
7-8: 21 sc (2 rows)
Do not stuff the ears. Fold in half and crochet 10 sc through both loops. Leave a long tail for sewing.
Muzzle: Cat in Bee Dress
Crochet with white yarn.
1: Ch 6. Starting from the second chain from the hook: inc, 3 sc, 4 sc in the last chain, on the other side of the chain: 3 sc, inc (14).
2: inc, 5 sc, 2 inc, 5 sc, inc (18).
3: (2 sc, inc) * 6 (24).
4-5: 24 sc (2 rows).
Cut the yarn, leaving a long end for sewing.
Horns:
Start with yellow yarn.
1: 6 in MC
2: inc in each st around (12)
3-4: 12 sc
5: dec in each st around (6)
Switch to milk chocolate yarn.
6-9: 6 sc (4 rows)
Leave a tail for sewing. Lightly stuff the horns.
Wings (2 pieces):
Crochet with white yarn.
1: 6 in MC
2: inc in each st around (12)
3: (1 sc, inc) * 6 (18)
4: (2 sc, inc) * 6 (24)
5-13: 24 sc (9 rows)
14: (2 sc, dec) * 6 (18)
15-16: 18 sc (2 rows)
17: (1 sc, dec) * 6 (12)
Do not stuff the wings. Fold in half and crochet 10 sc through both loops. Leave a long tail for sewing.
Assembly and Decoration:
First, attach the muzzle to the head. Sew it centered on the bottom part of the head, below the eyes, approximately between rows 13-14 (upper edge) and 22-23 (lower edge). When sewing, leave a small opening, stuff the muzzle with polyester fiberfill, and sew it closed.
Then, sew on the ears, securing them with pins first. The ears should be positioned symmetrically, sewn approximately between rows 4-10 of the head.
1)Use pink yarn to embroider the nose.
2)Use black yarn to embroider the outline of the nose, eyelashes, and eyebrows.
3)Use white yarn to embroider highlights in the eyes to make them look more lively.
Next, sew on the horns, securing them with pins first. The horns should be positioned symmetrically, sewn approximately between rows 3 and 4 of the head.
Sew the head to the body, first securing them in place with pins all around. When there’s a small opening left, stuff the gap between the neck and head with polyester fiberfill. Stuff firmly to prevent the head from bending. Sew closed, hiding the end of the thread inside the piece.
Sew the wings to the back, approximately between rows 38 and 39.