
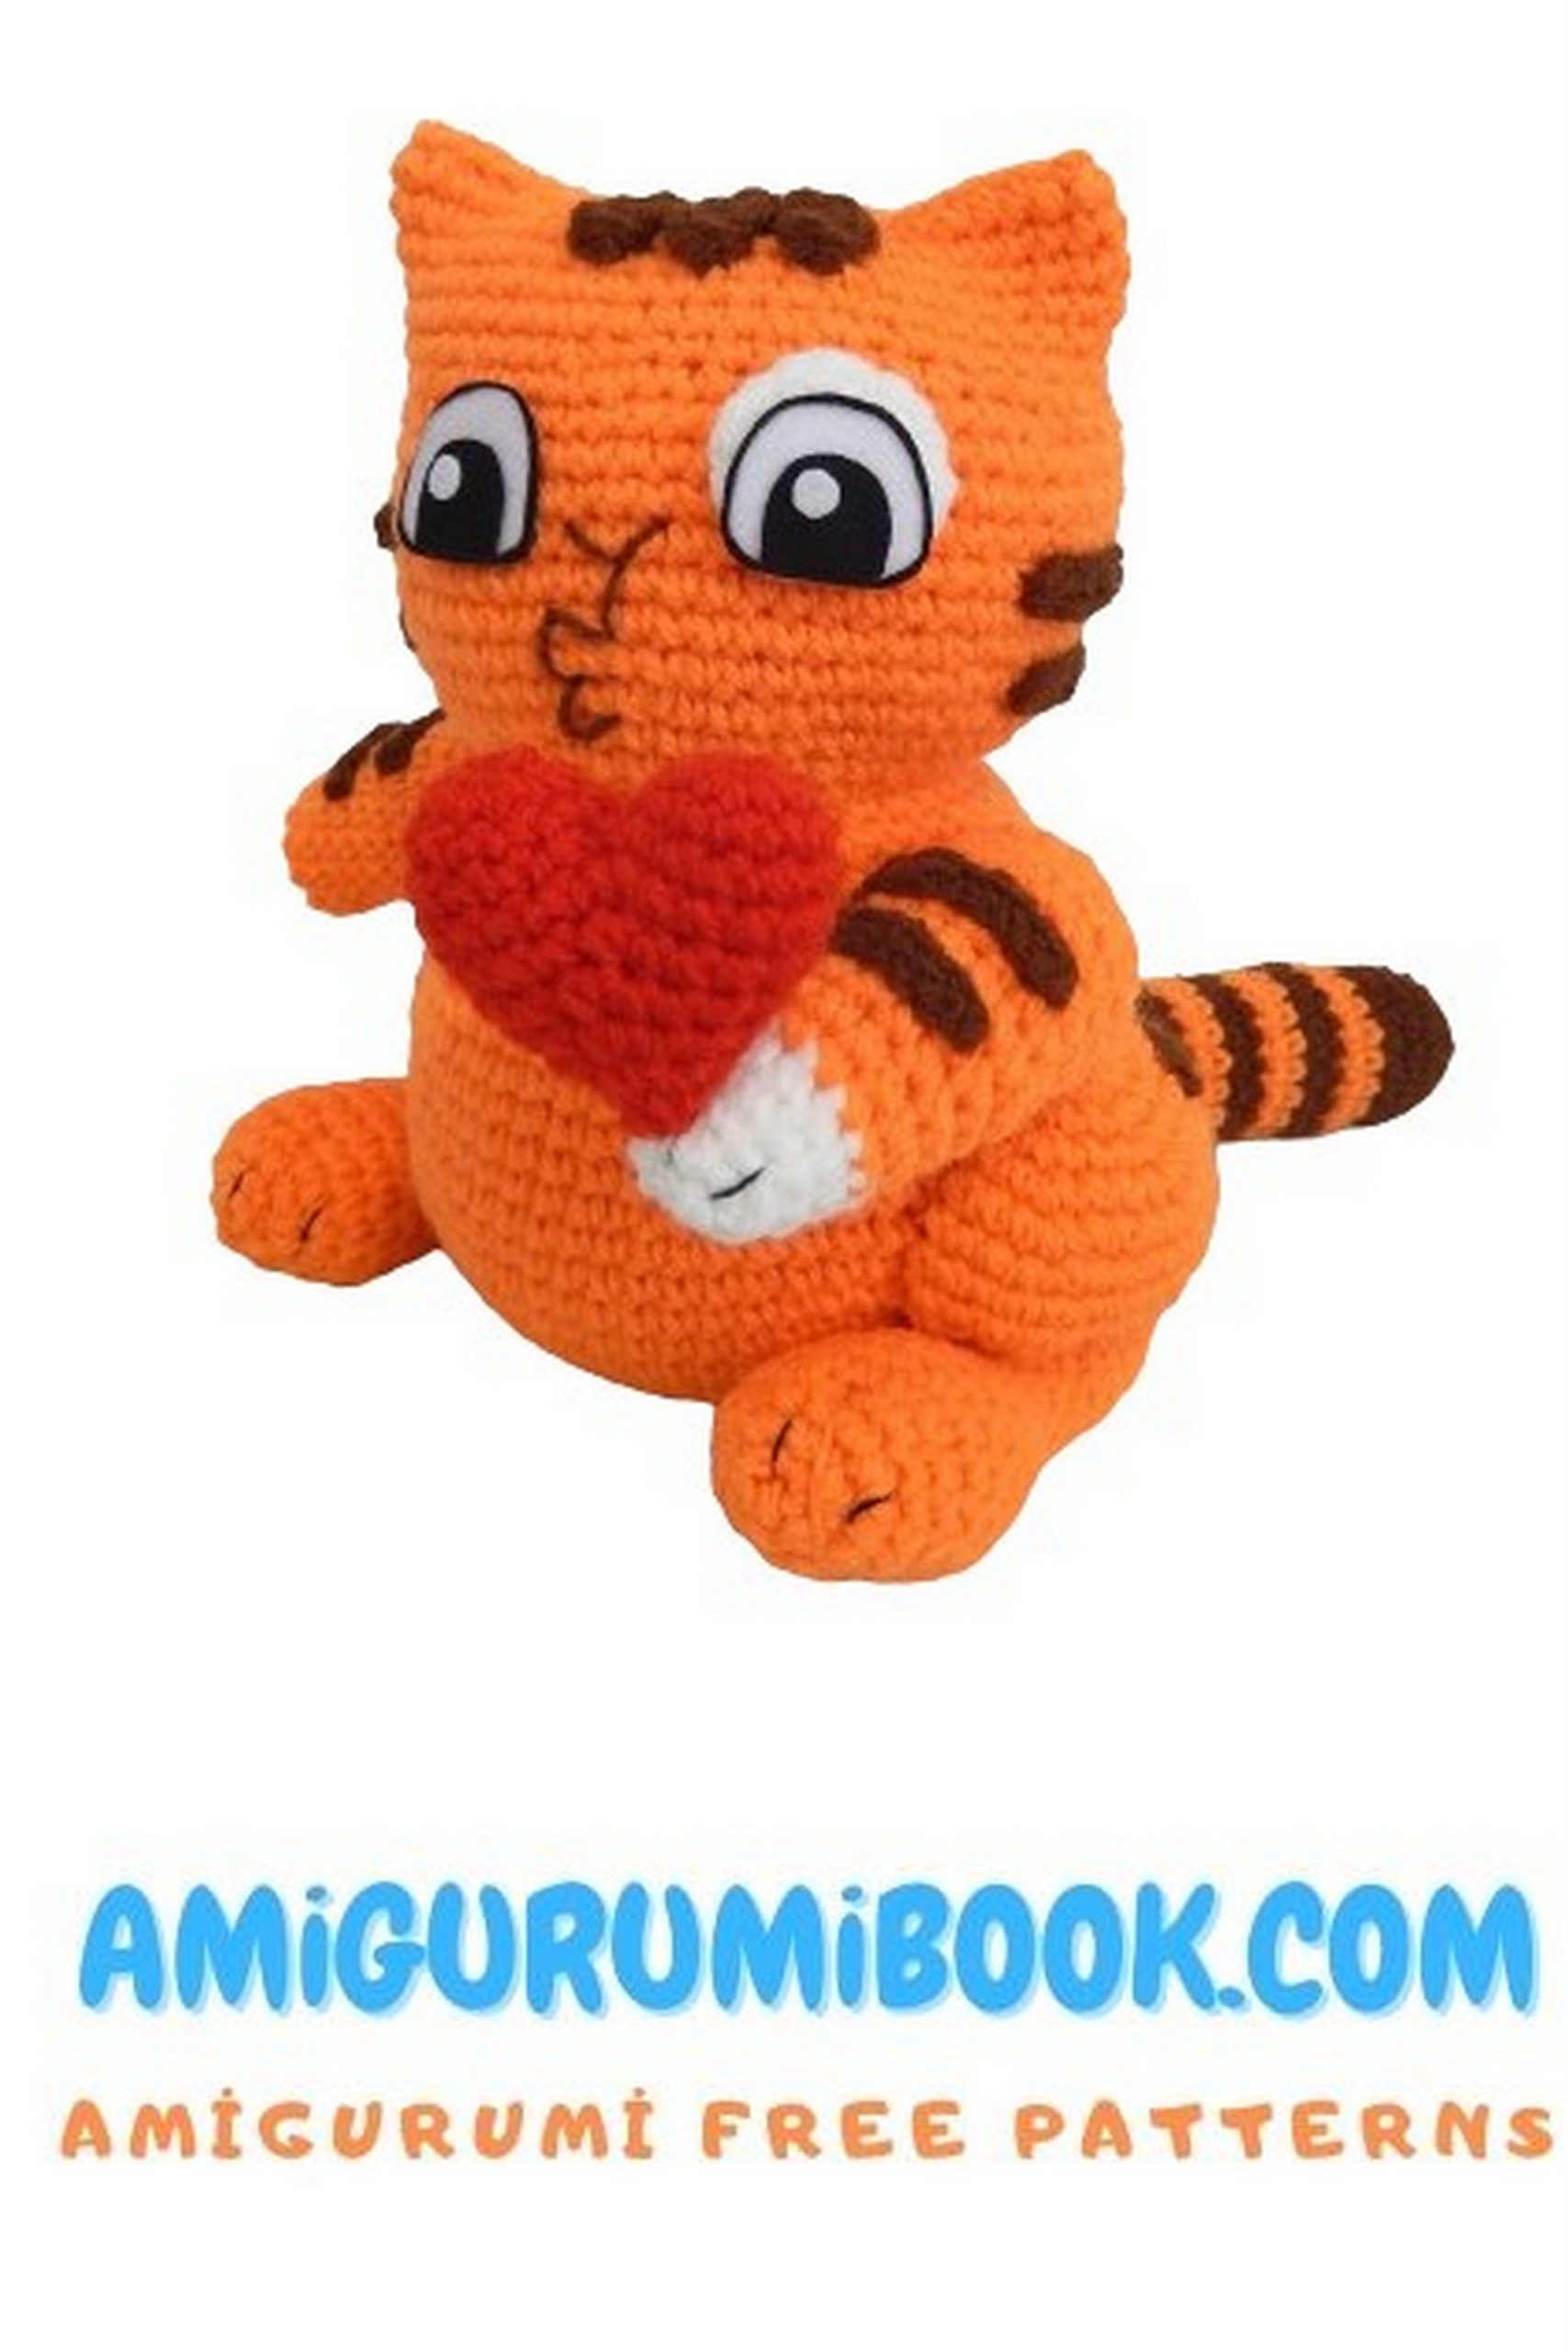
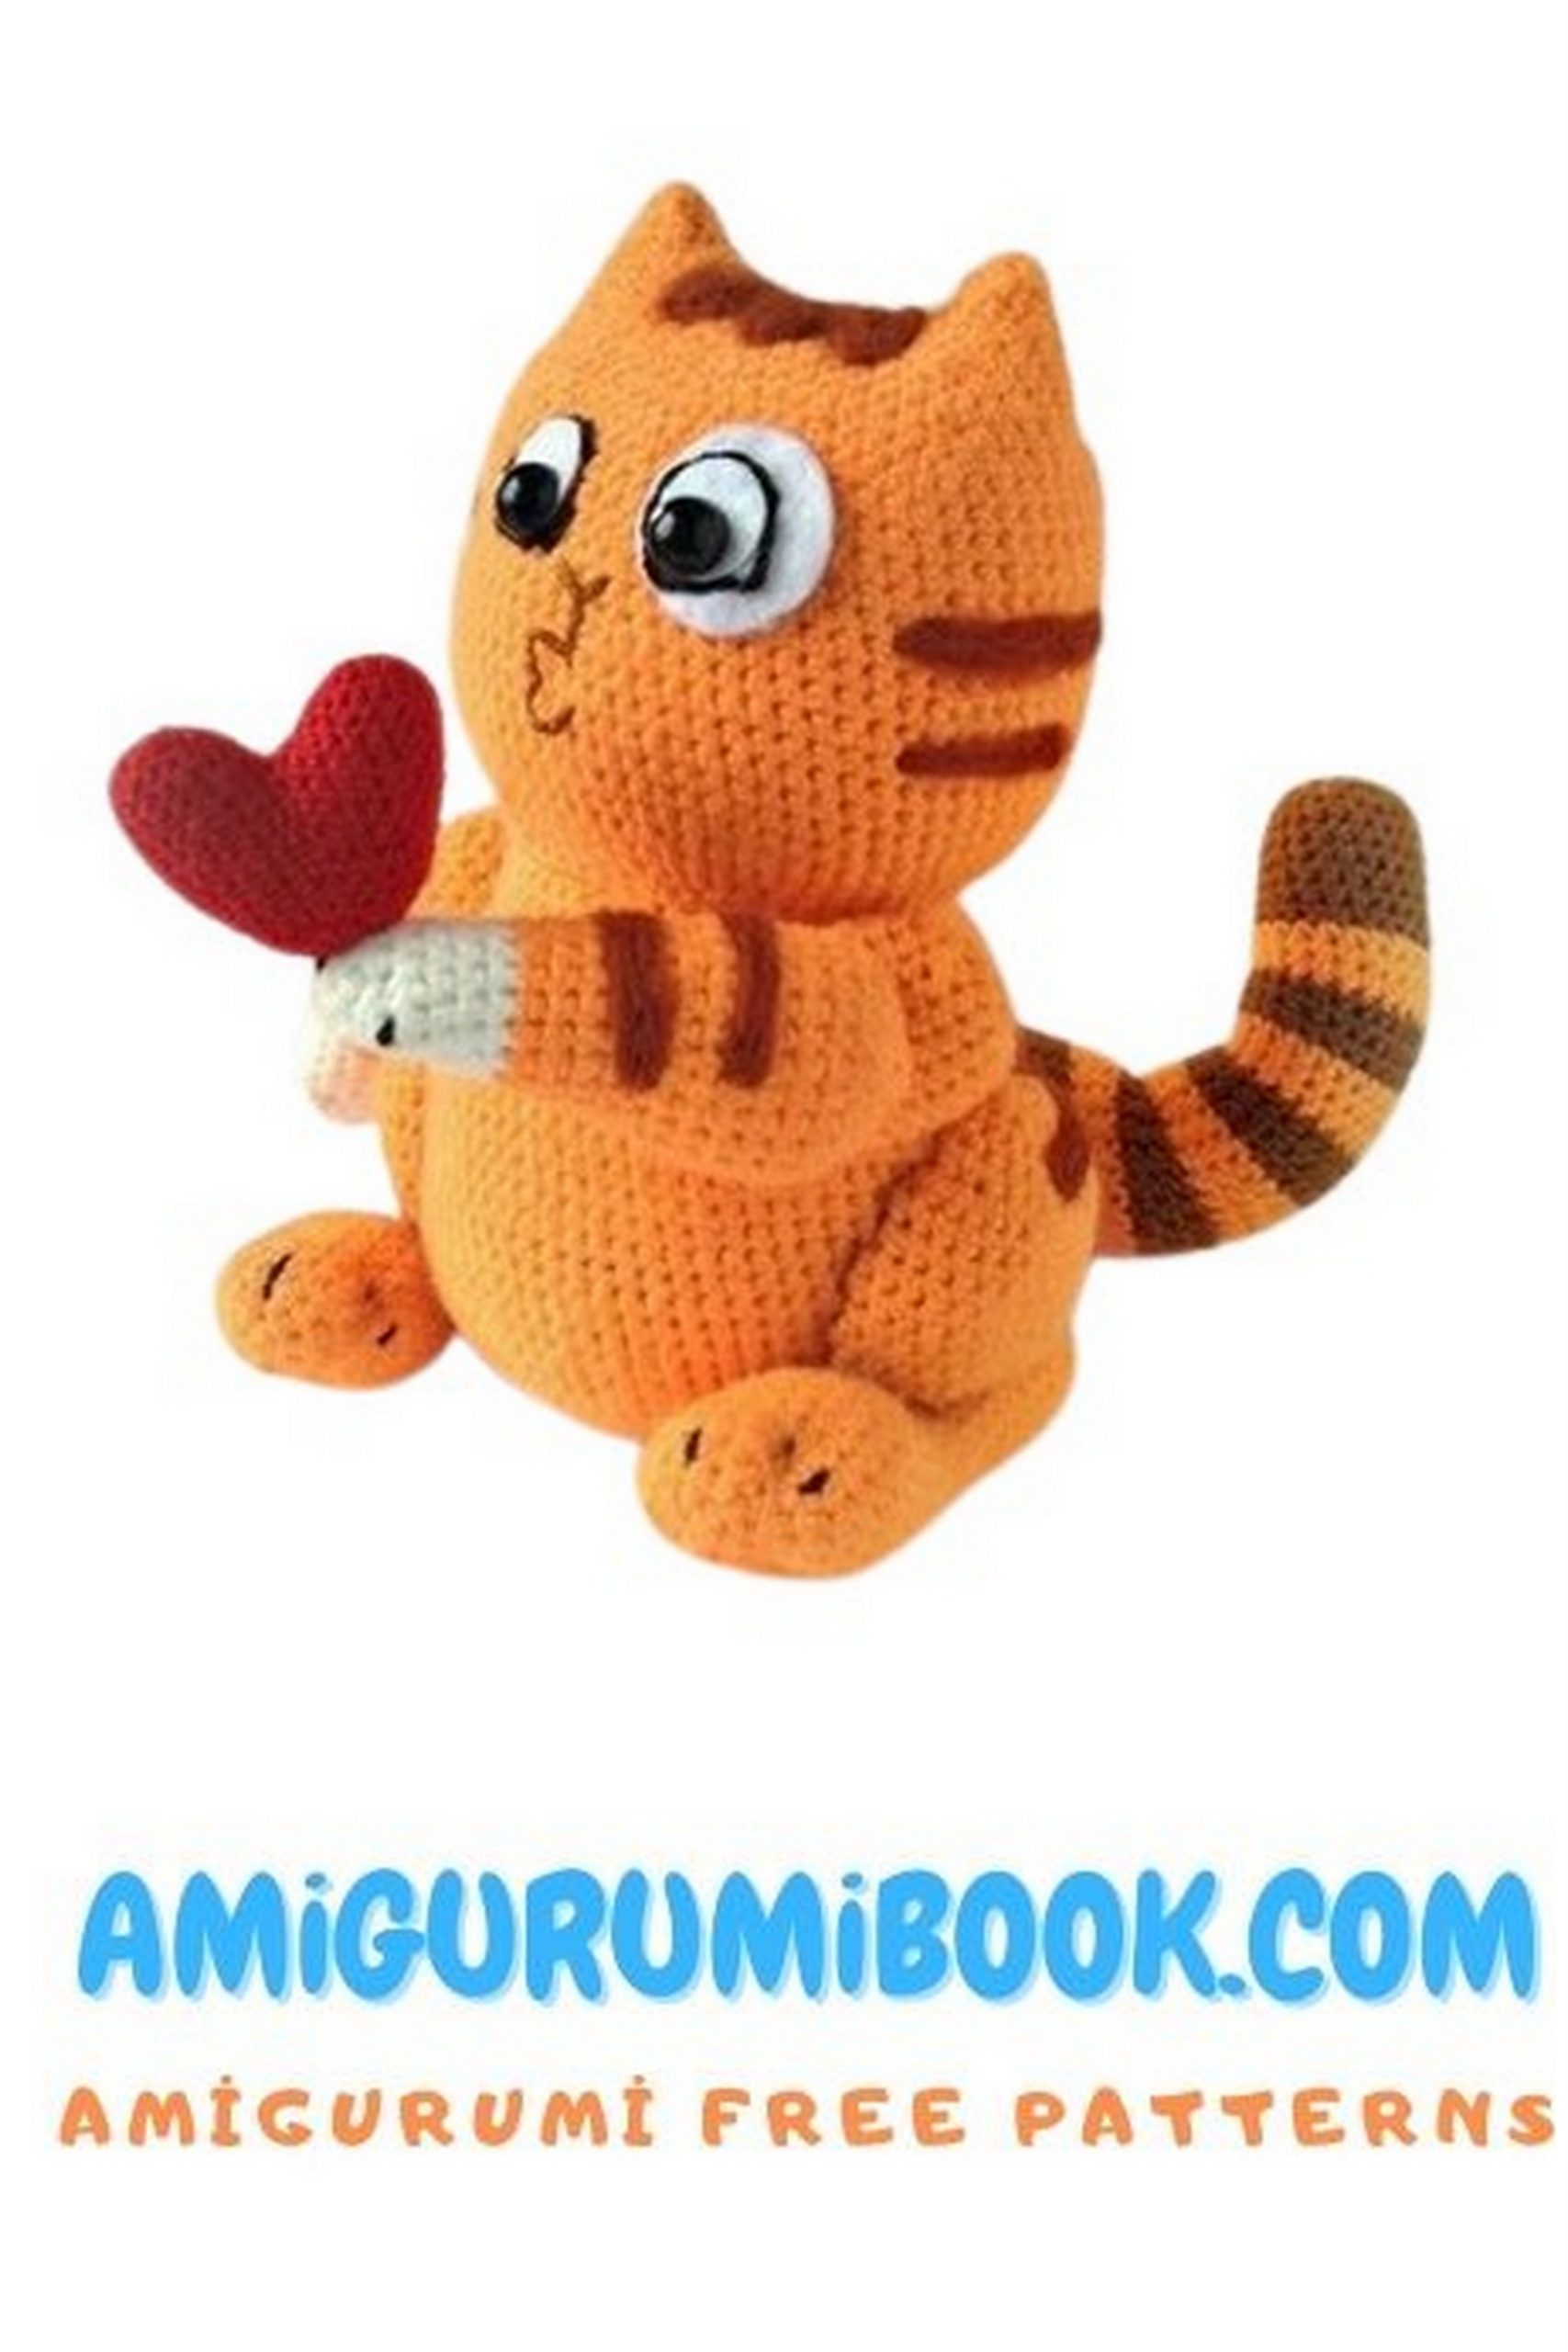
Welcome to our delightful crochet pattern for the Cat in Love Amigurumi! Whether you’re a seasoned crocheter or just starting out, this pattern is sure to bring joy to your crafting journey. With its sweet expression and lovable design, this amigurumi cat makes for a wonderful handmade gift or a cherished addition to your own collection. Join us as we embark on a crocheting adventure filled with love, creativity, and plenty of cuddles. Let’s dive into the world of crochet and create something truly special together!
It seems you like amigurumi cat toys. If you want to add a new one to your amigurumi cat collection, then you should definitely see the cat amineko amigurumi toy.
If you want to access 1000+ free amigurumi patterns, you can download our application from this link!
Abbreviations:
MC – Magic Circle
SC – Single Crochet
HDC – Half Double Crochet
DC – Double Crochet
SL ST – Slip Stitch
INC – Increase (2 SC in one stitch)
6 INC – Increase 6 times in total
DEC – Decrease (SC 2 together)
Materials:
Yarn – acrylic or semi-wool, 400-450m/100g, orange, approximately 50-70g,
A small amount of brown and white yarn of the same thickness as the main yarn
Crochet hook size N 1.75-1.9
Stuffing
Some white felt for the eyes: eye whites shaped like a curved drop, 20mm in length, the height of the wide part equals the size of half beads for pupils (approximately 8mm), for eye sockets (can be milk-colored) – 20-23mm; flat pupils made from moving eyes, with a diameter of 7-8mm or half beads of the same size.
A piece of wire – florist wire approximately 40cm long, and a piece of adhesive tape.
Moment Crystal Glue or similar.
With the specified materials, the toy’s size is approximately 17-18cm.
Note! I crochet my toys inside out – this is my personal style. In the world of amigurumi, this type of crocheting is considered incorrect, so I do not encourage anyone to follow my example. Consequently, crocheting on your toy will differ from what is shown in the photo. All instructions are given for the “correct” side.
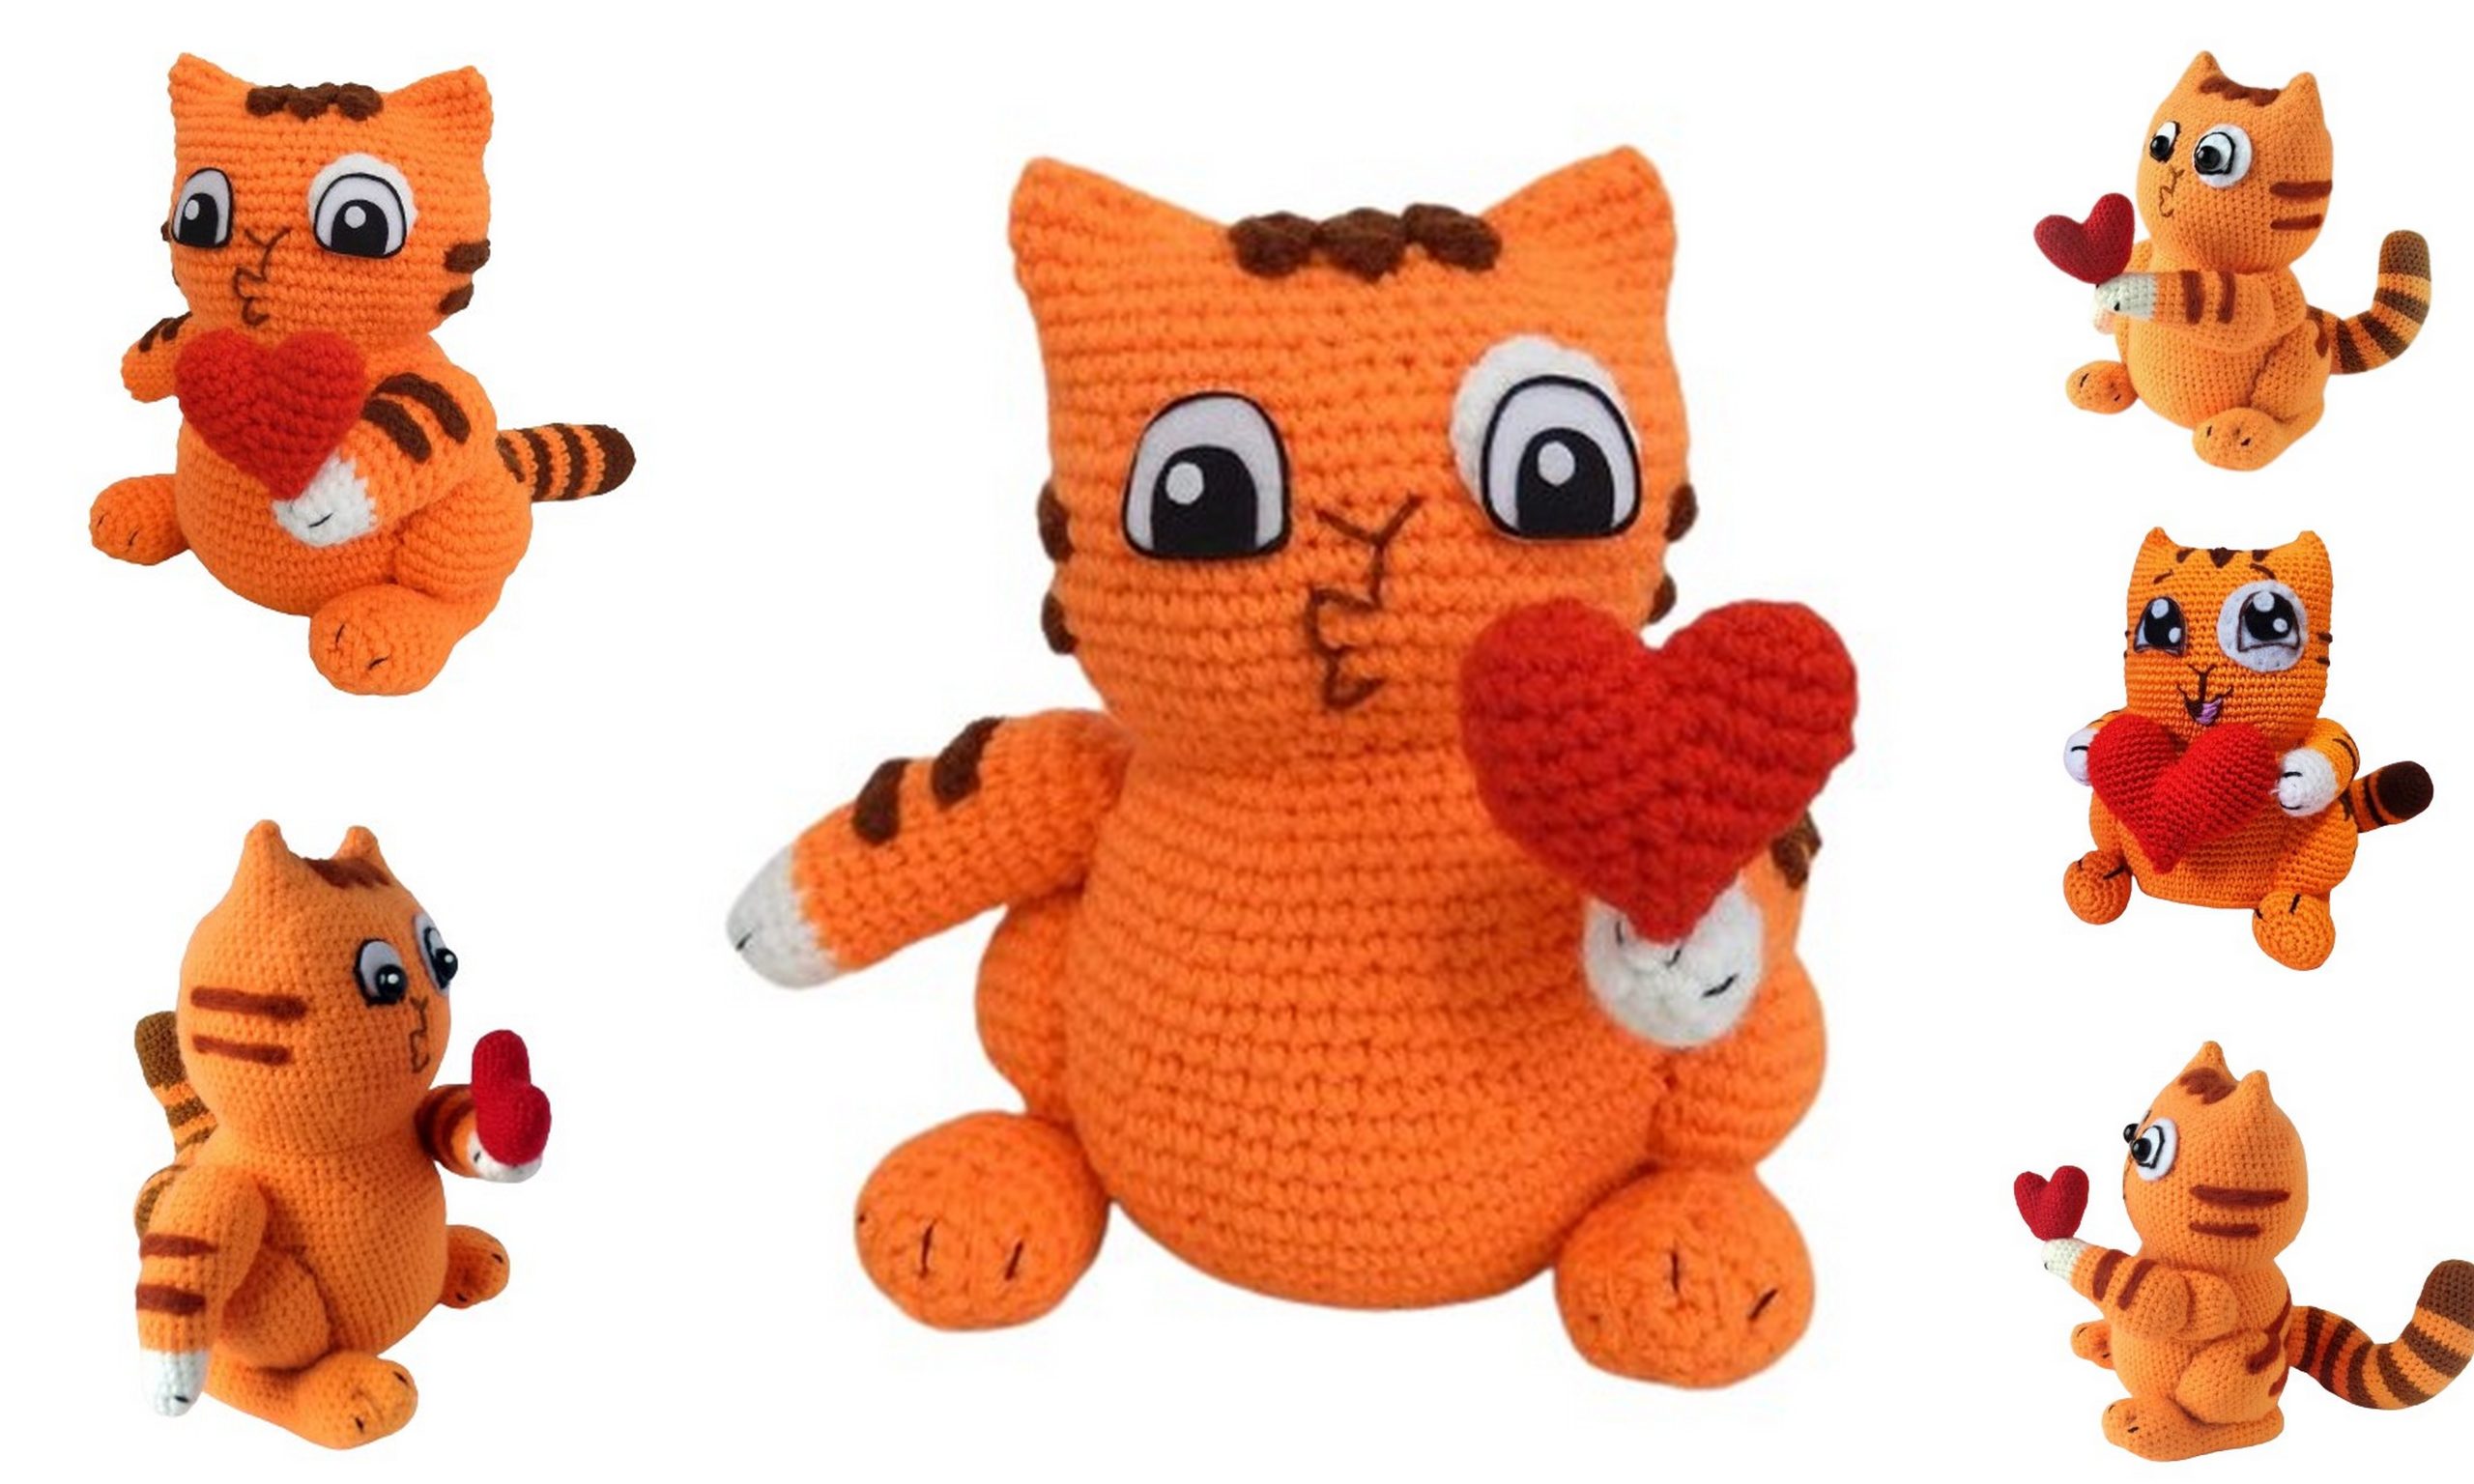
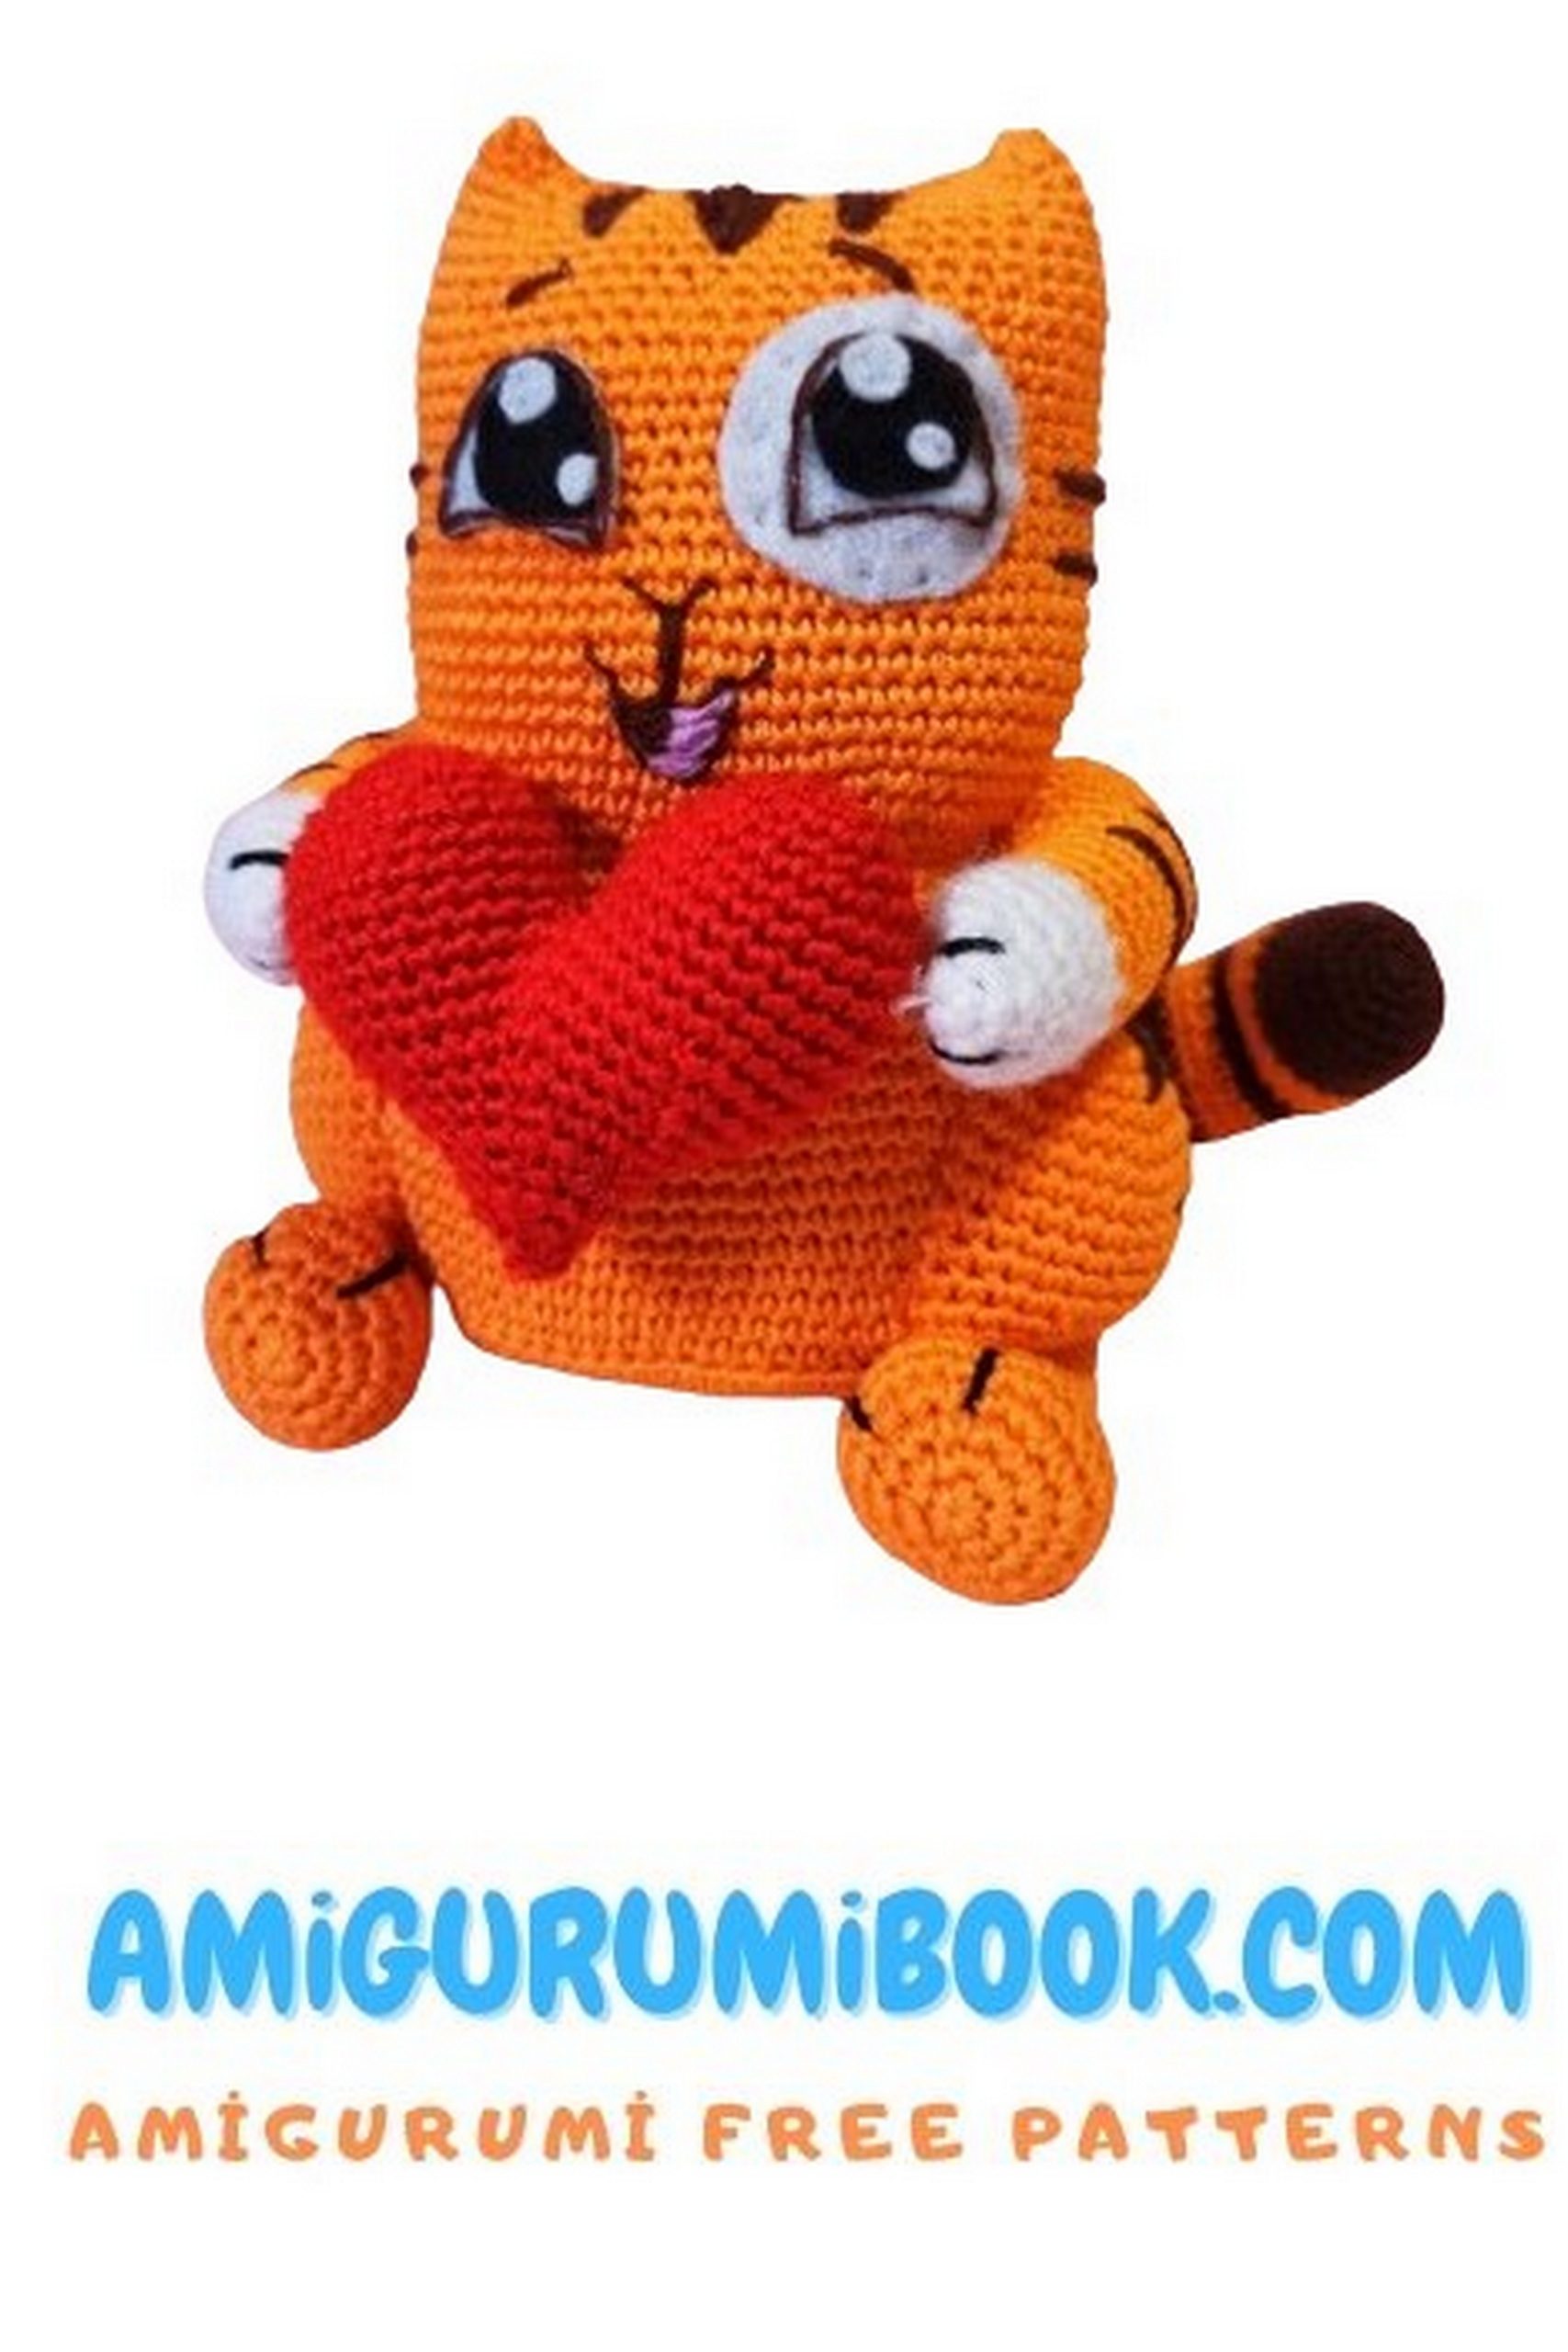
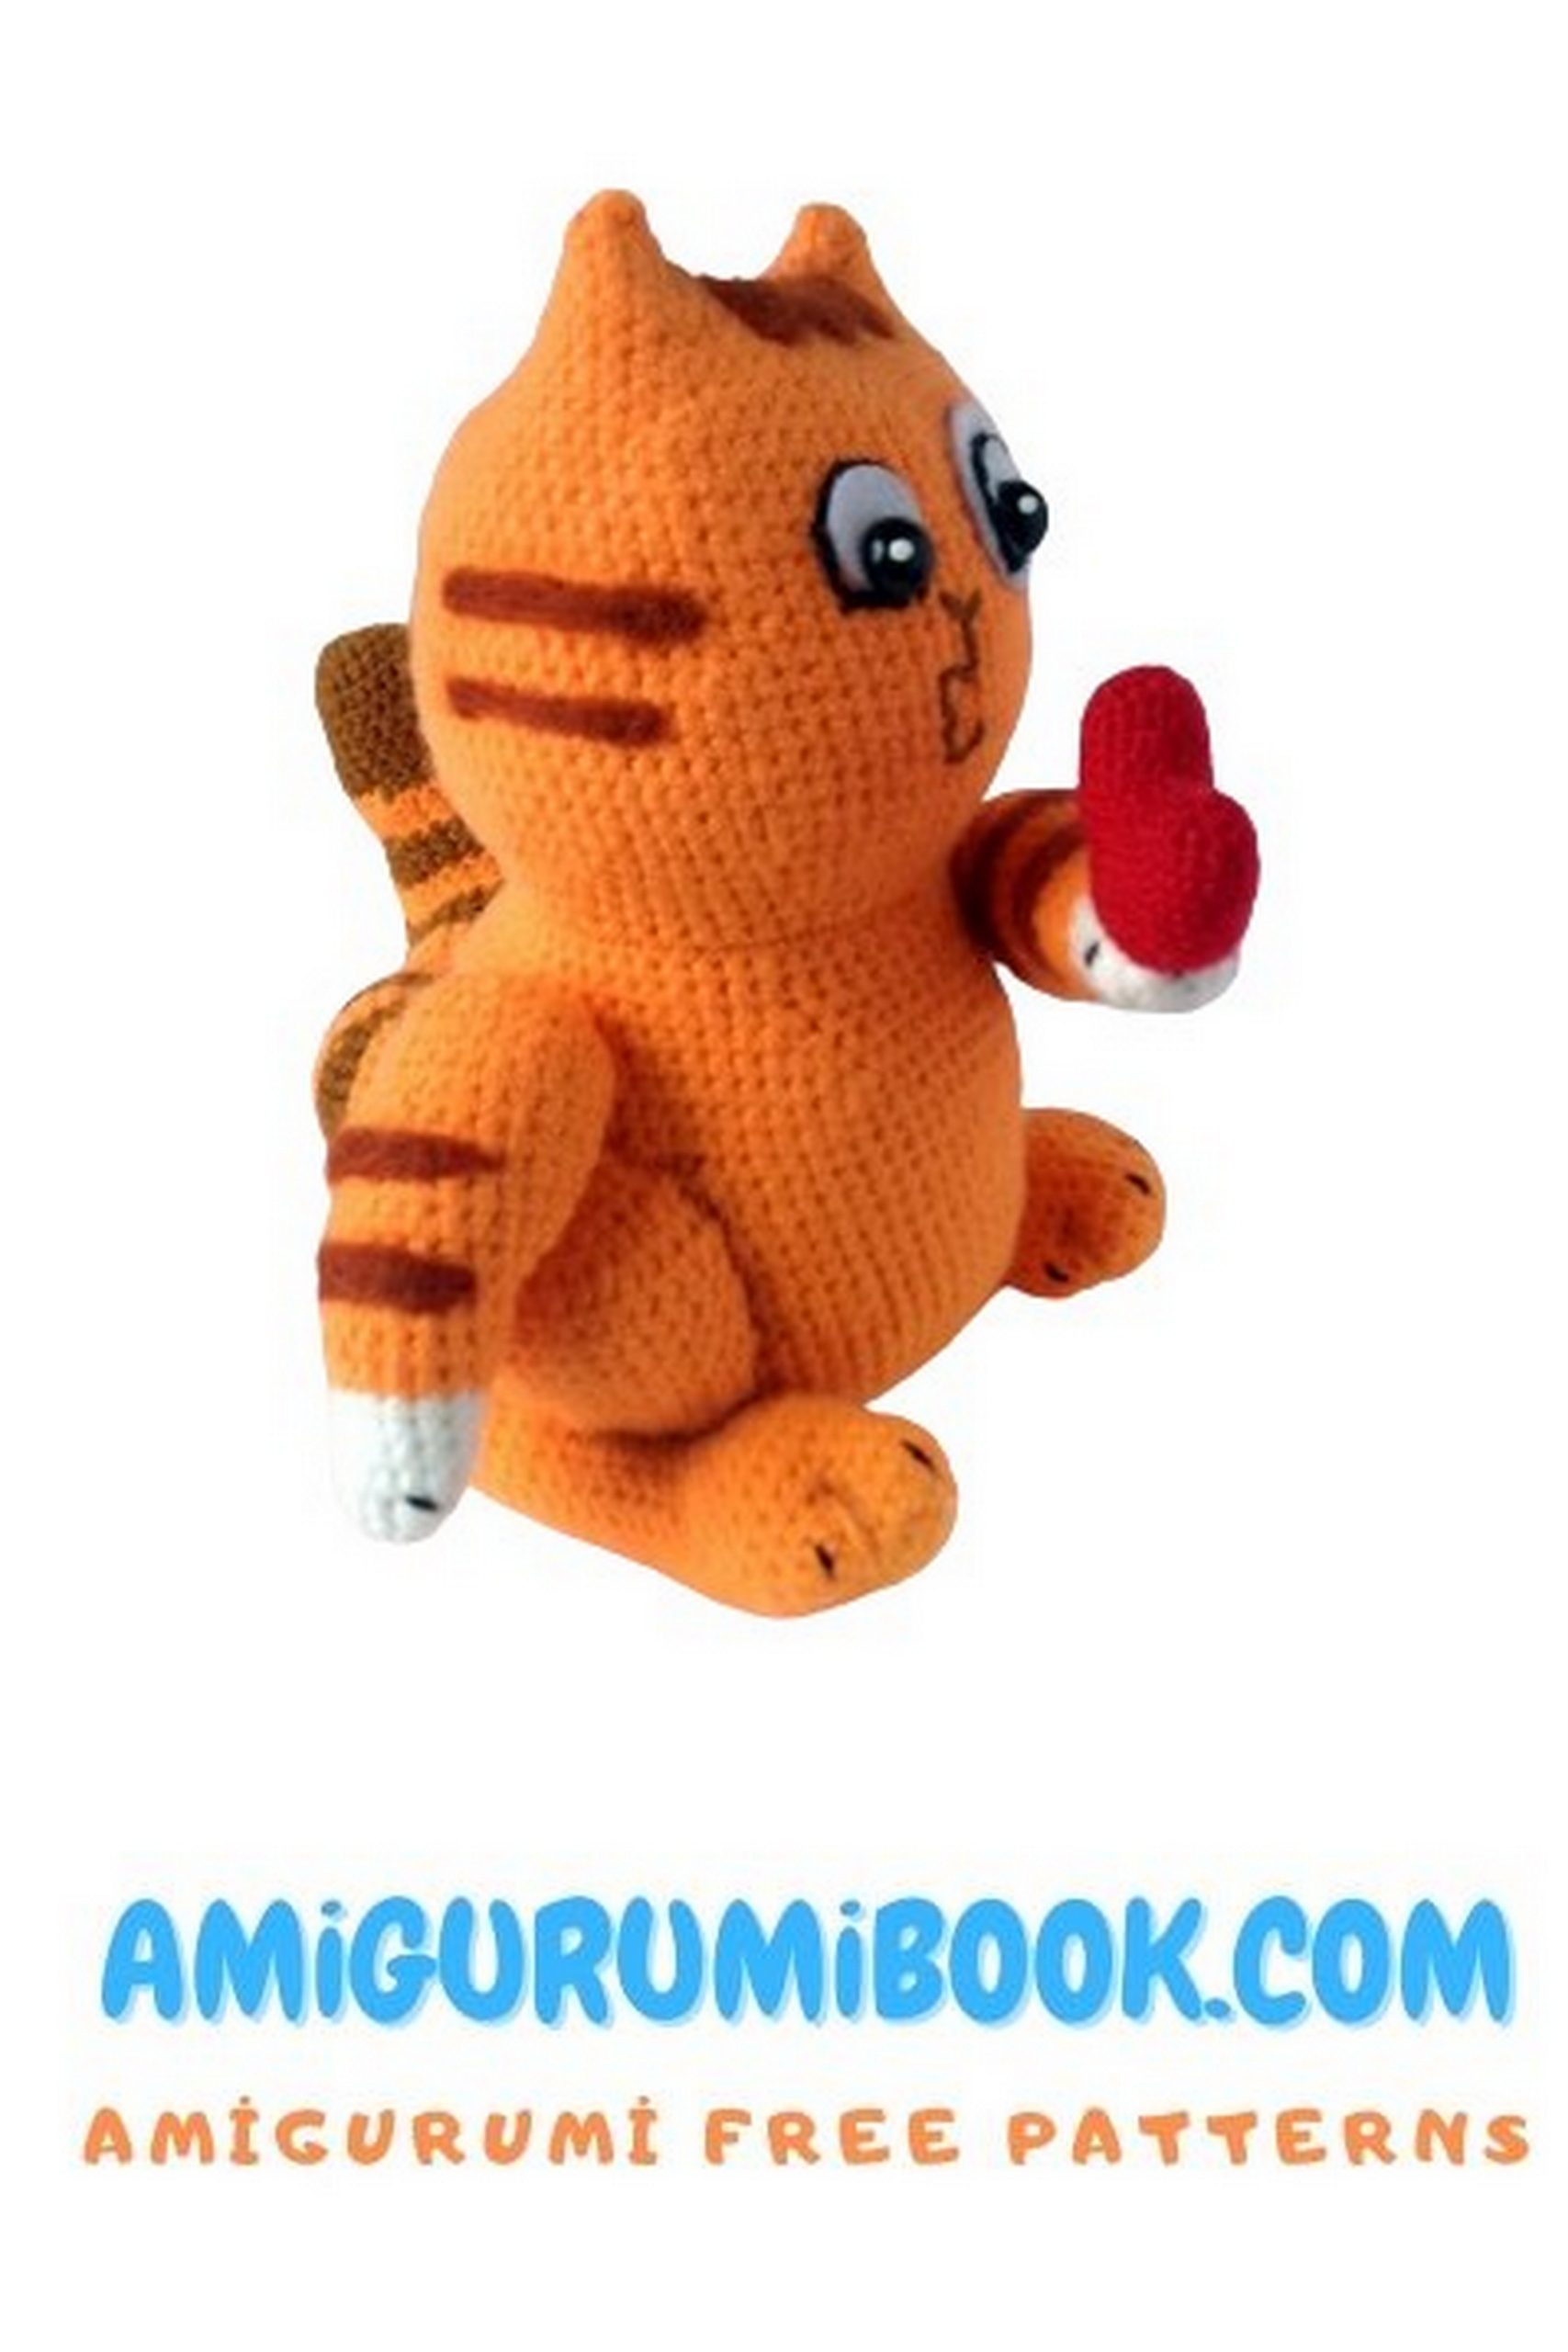
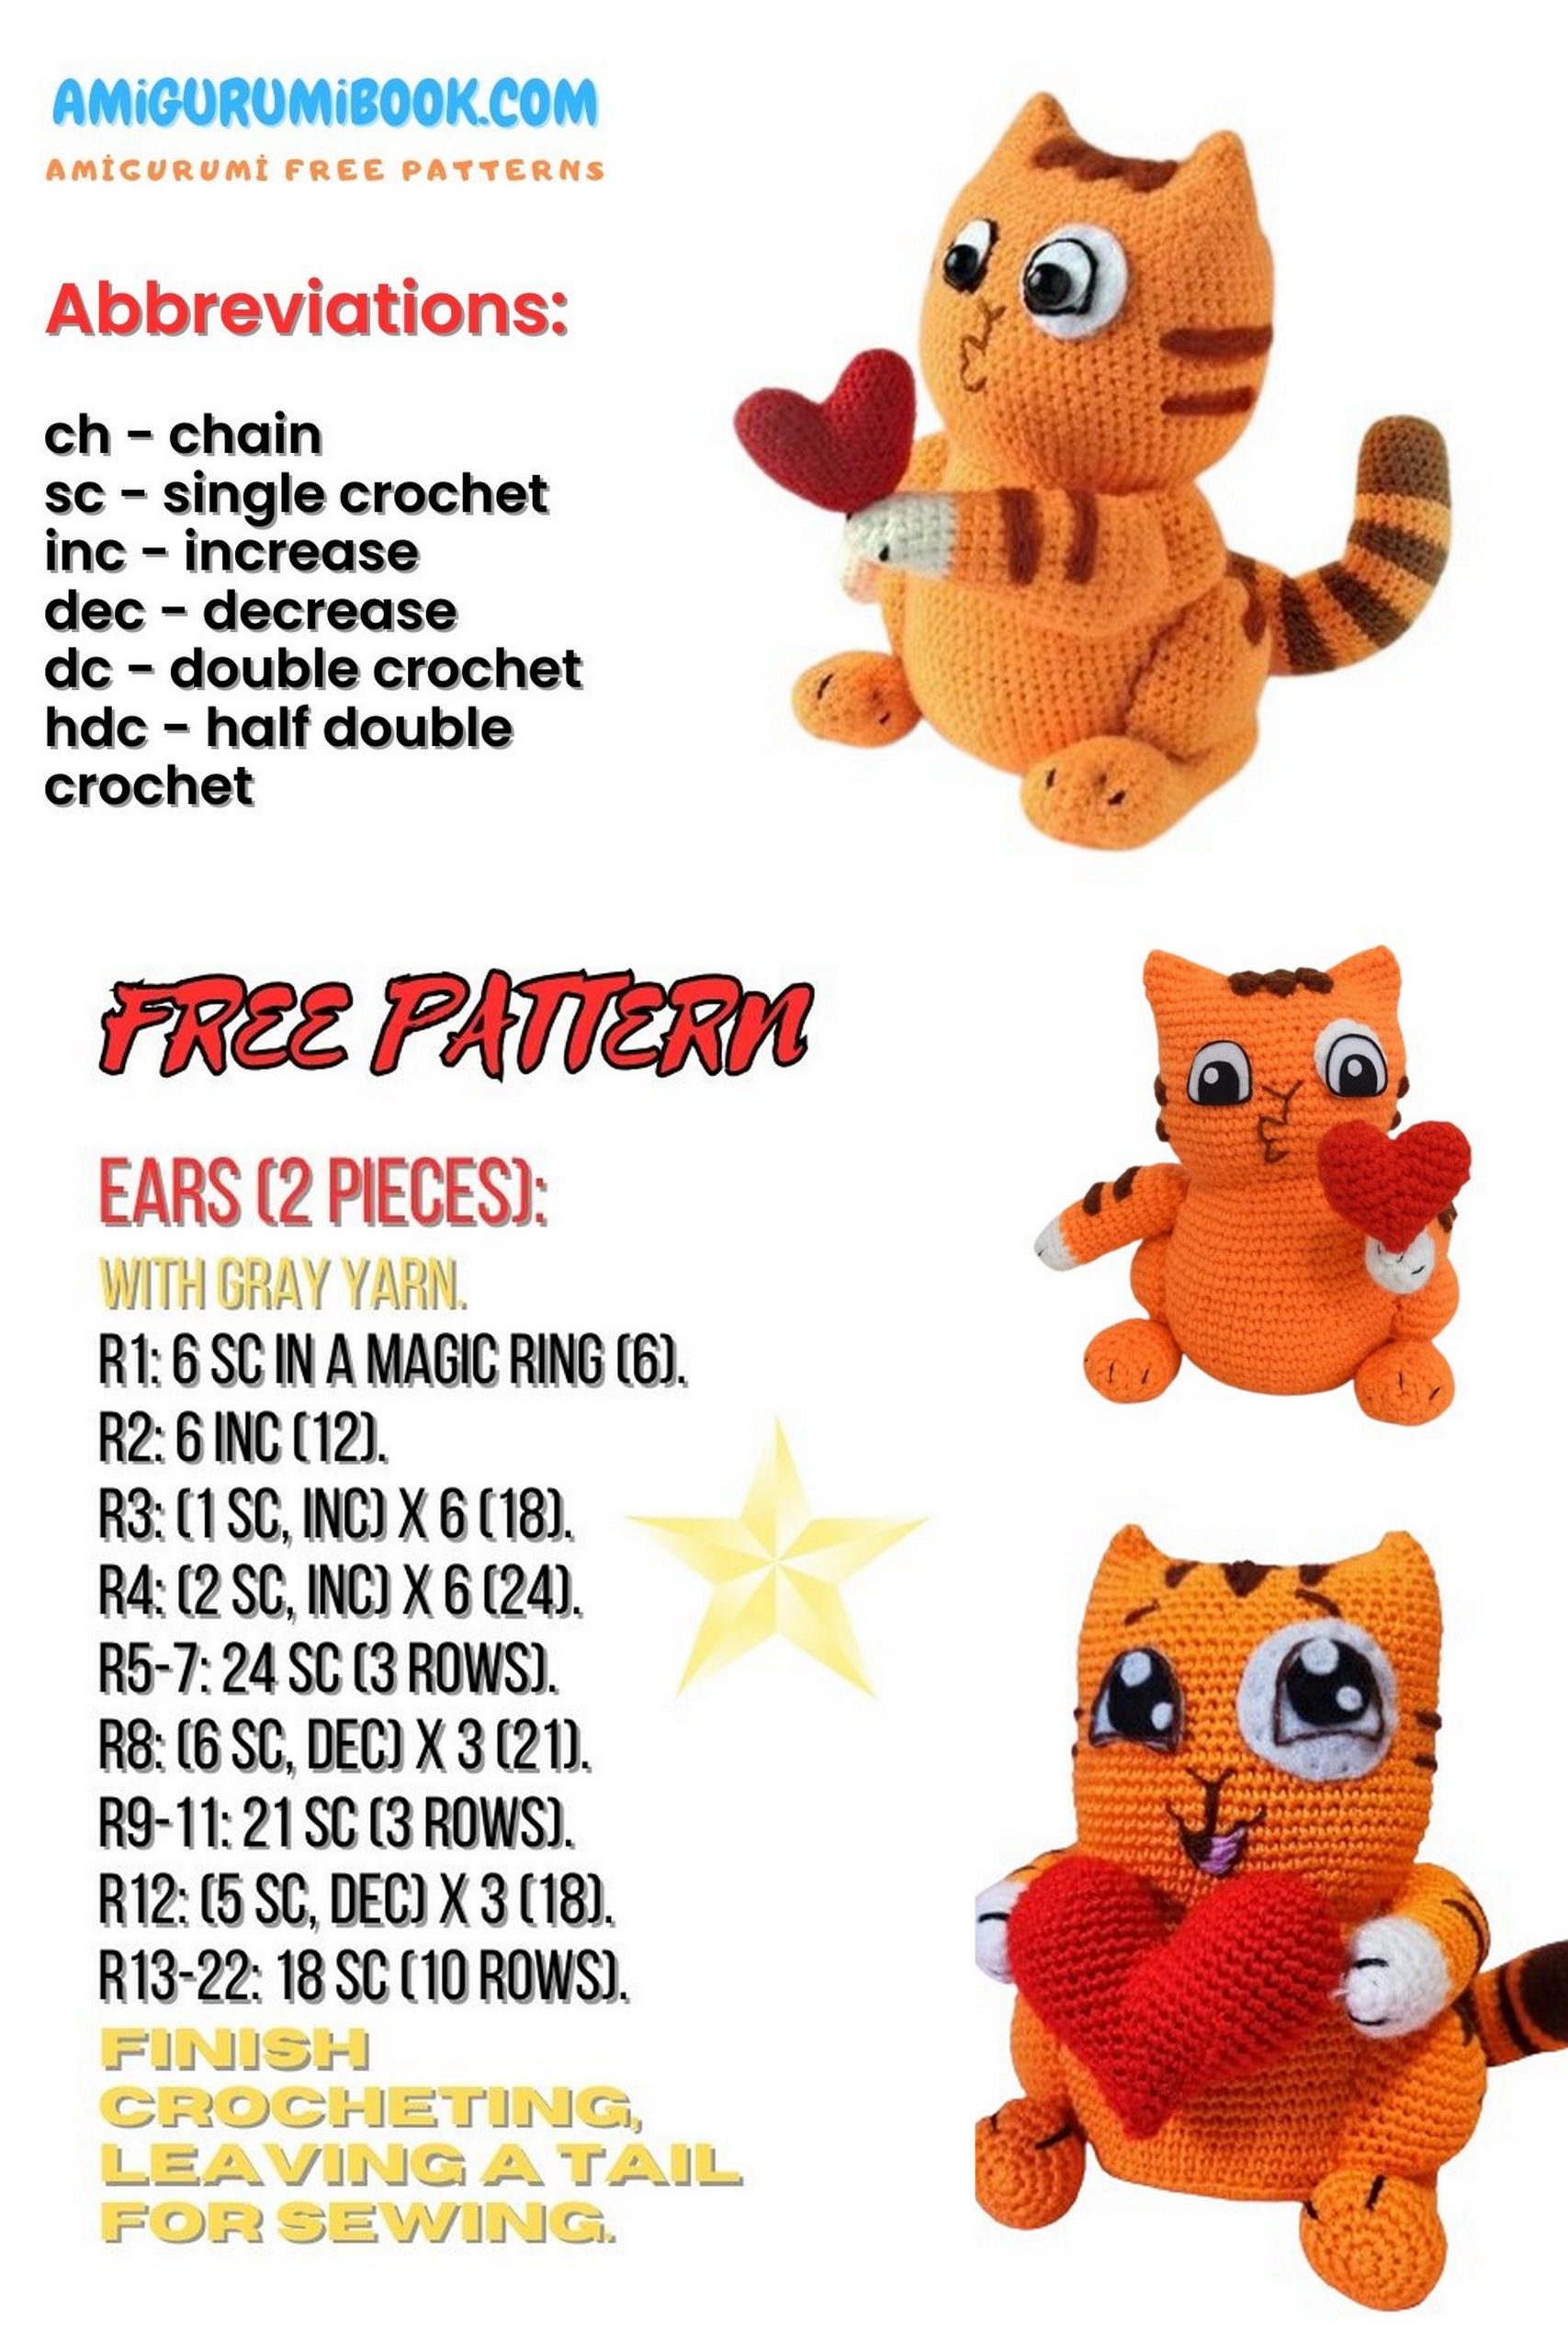
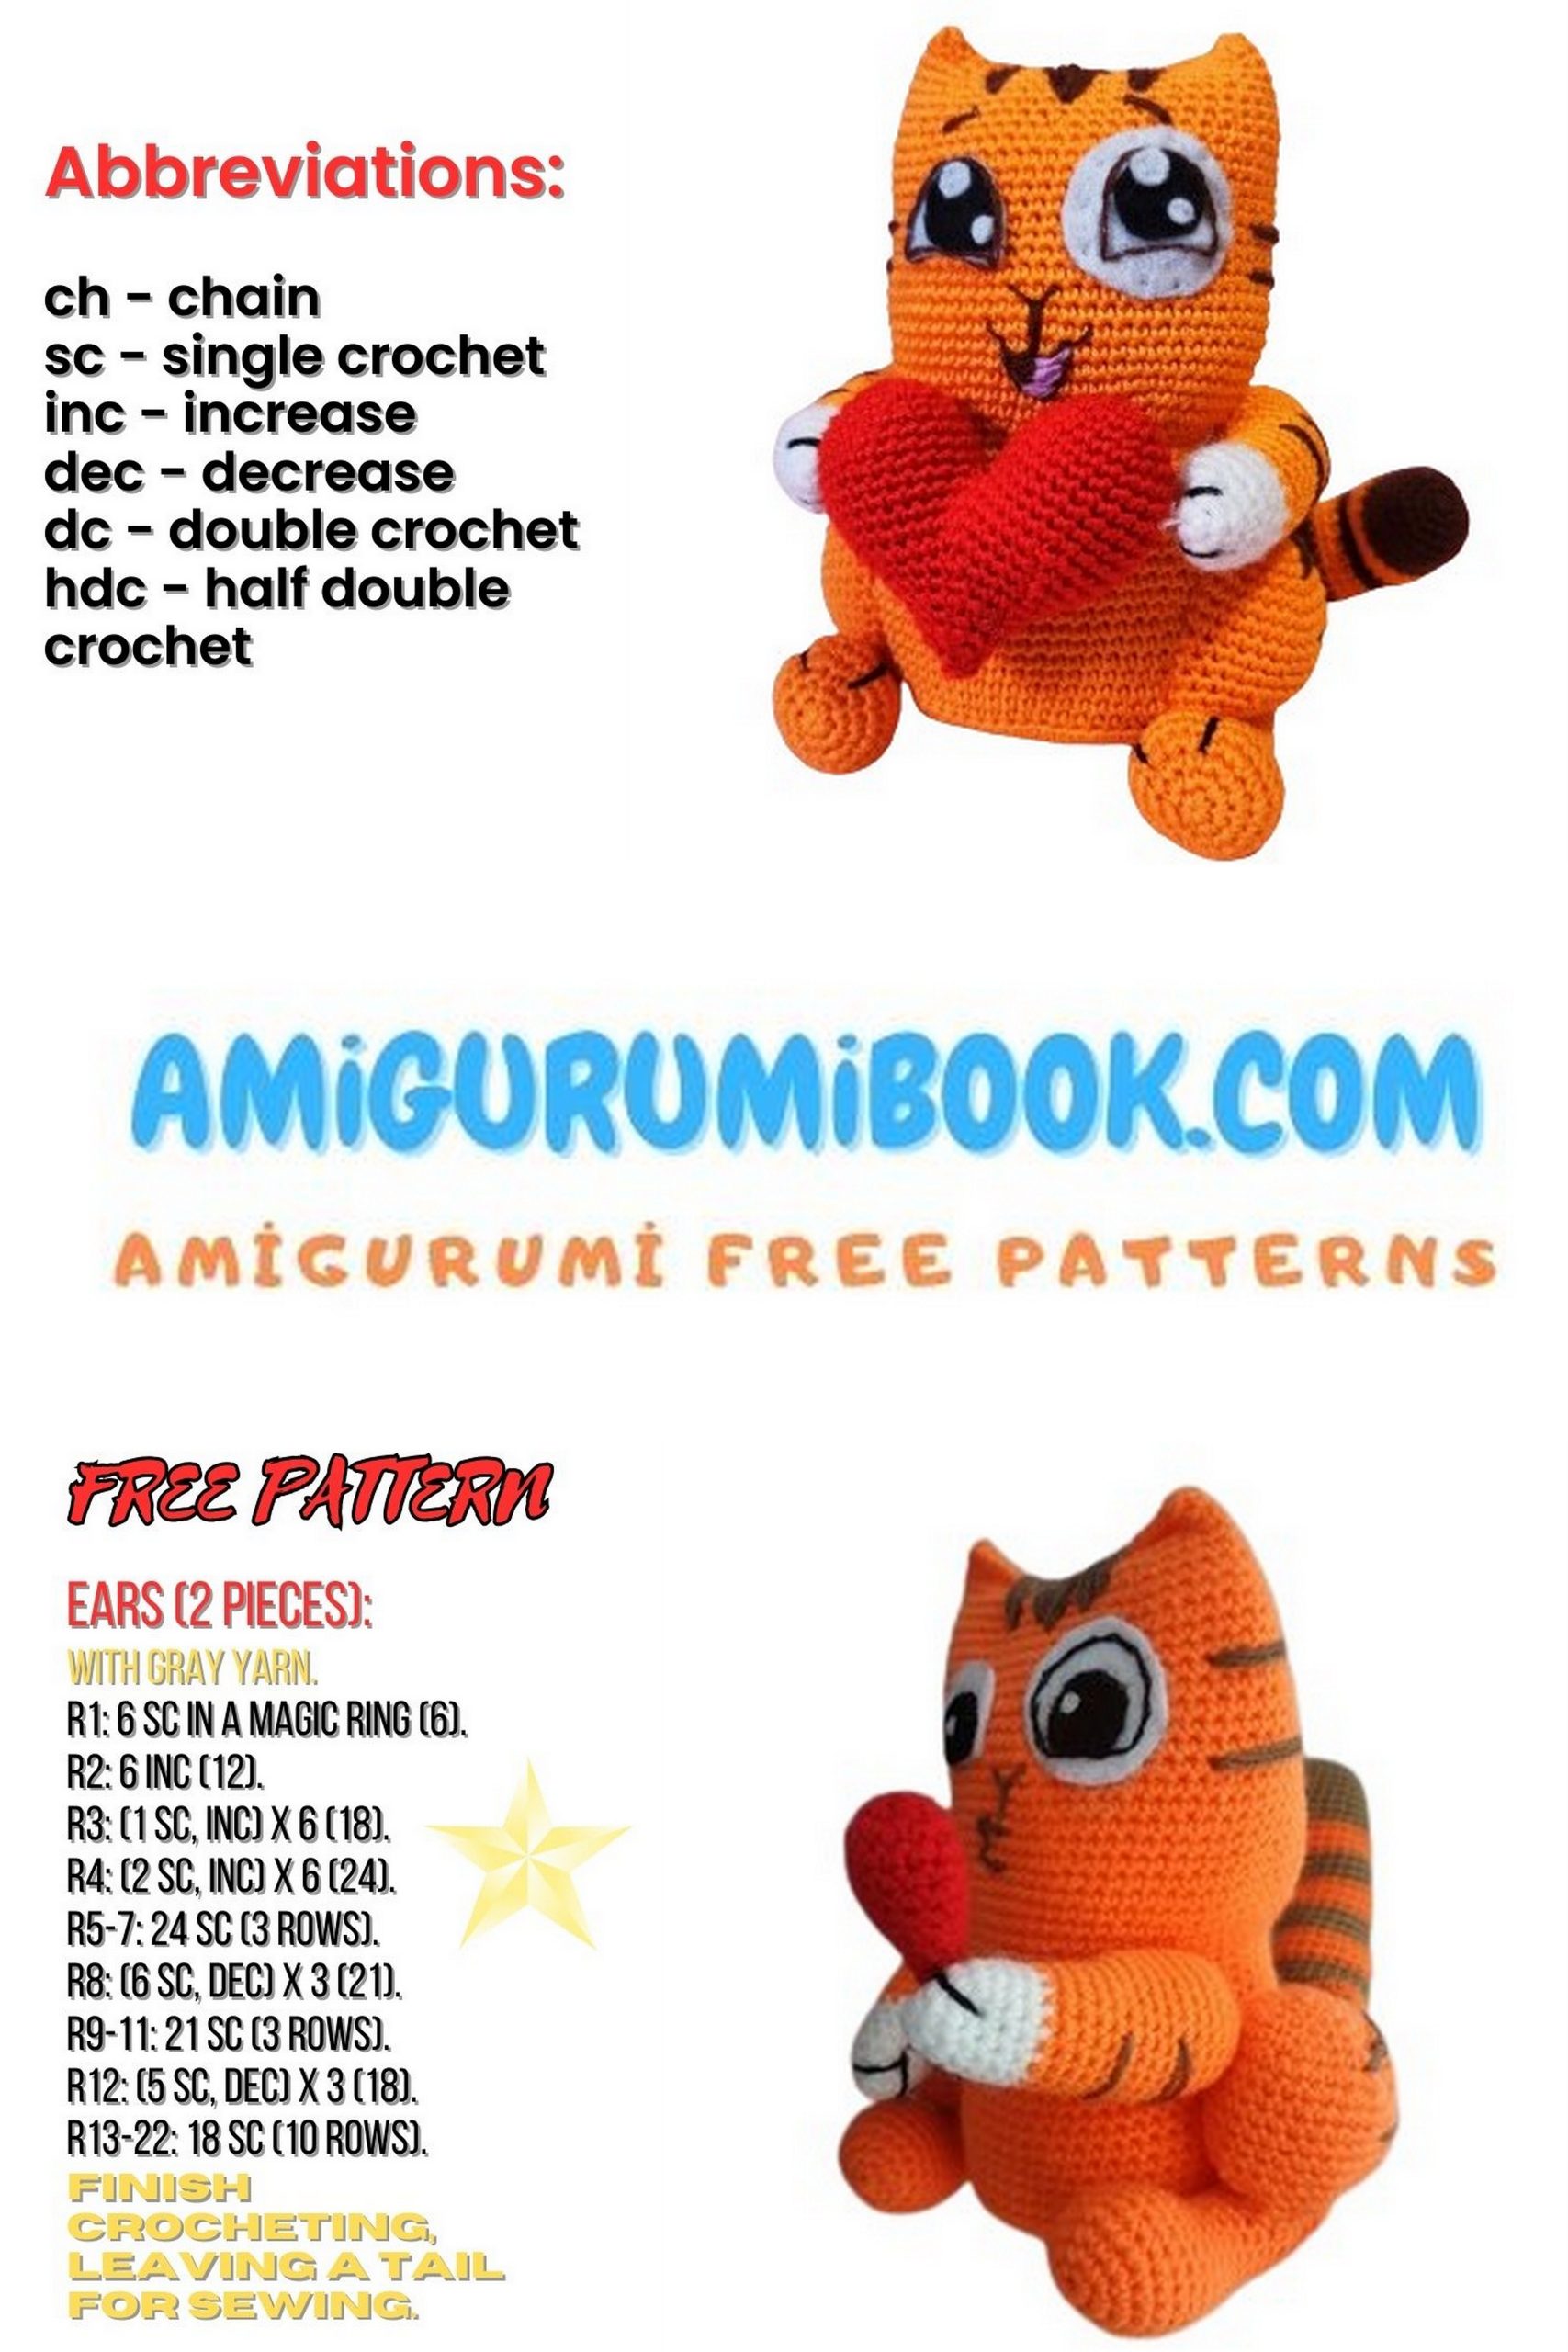
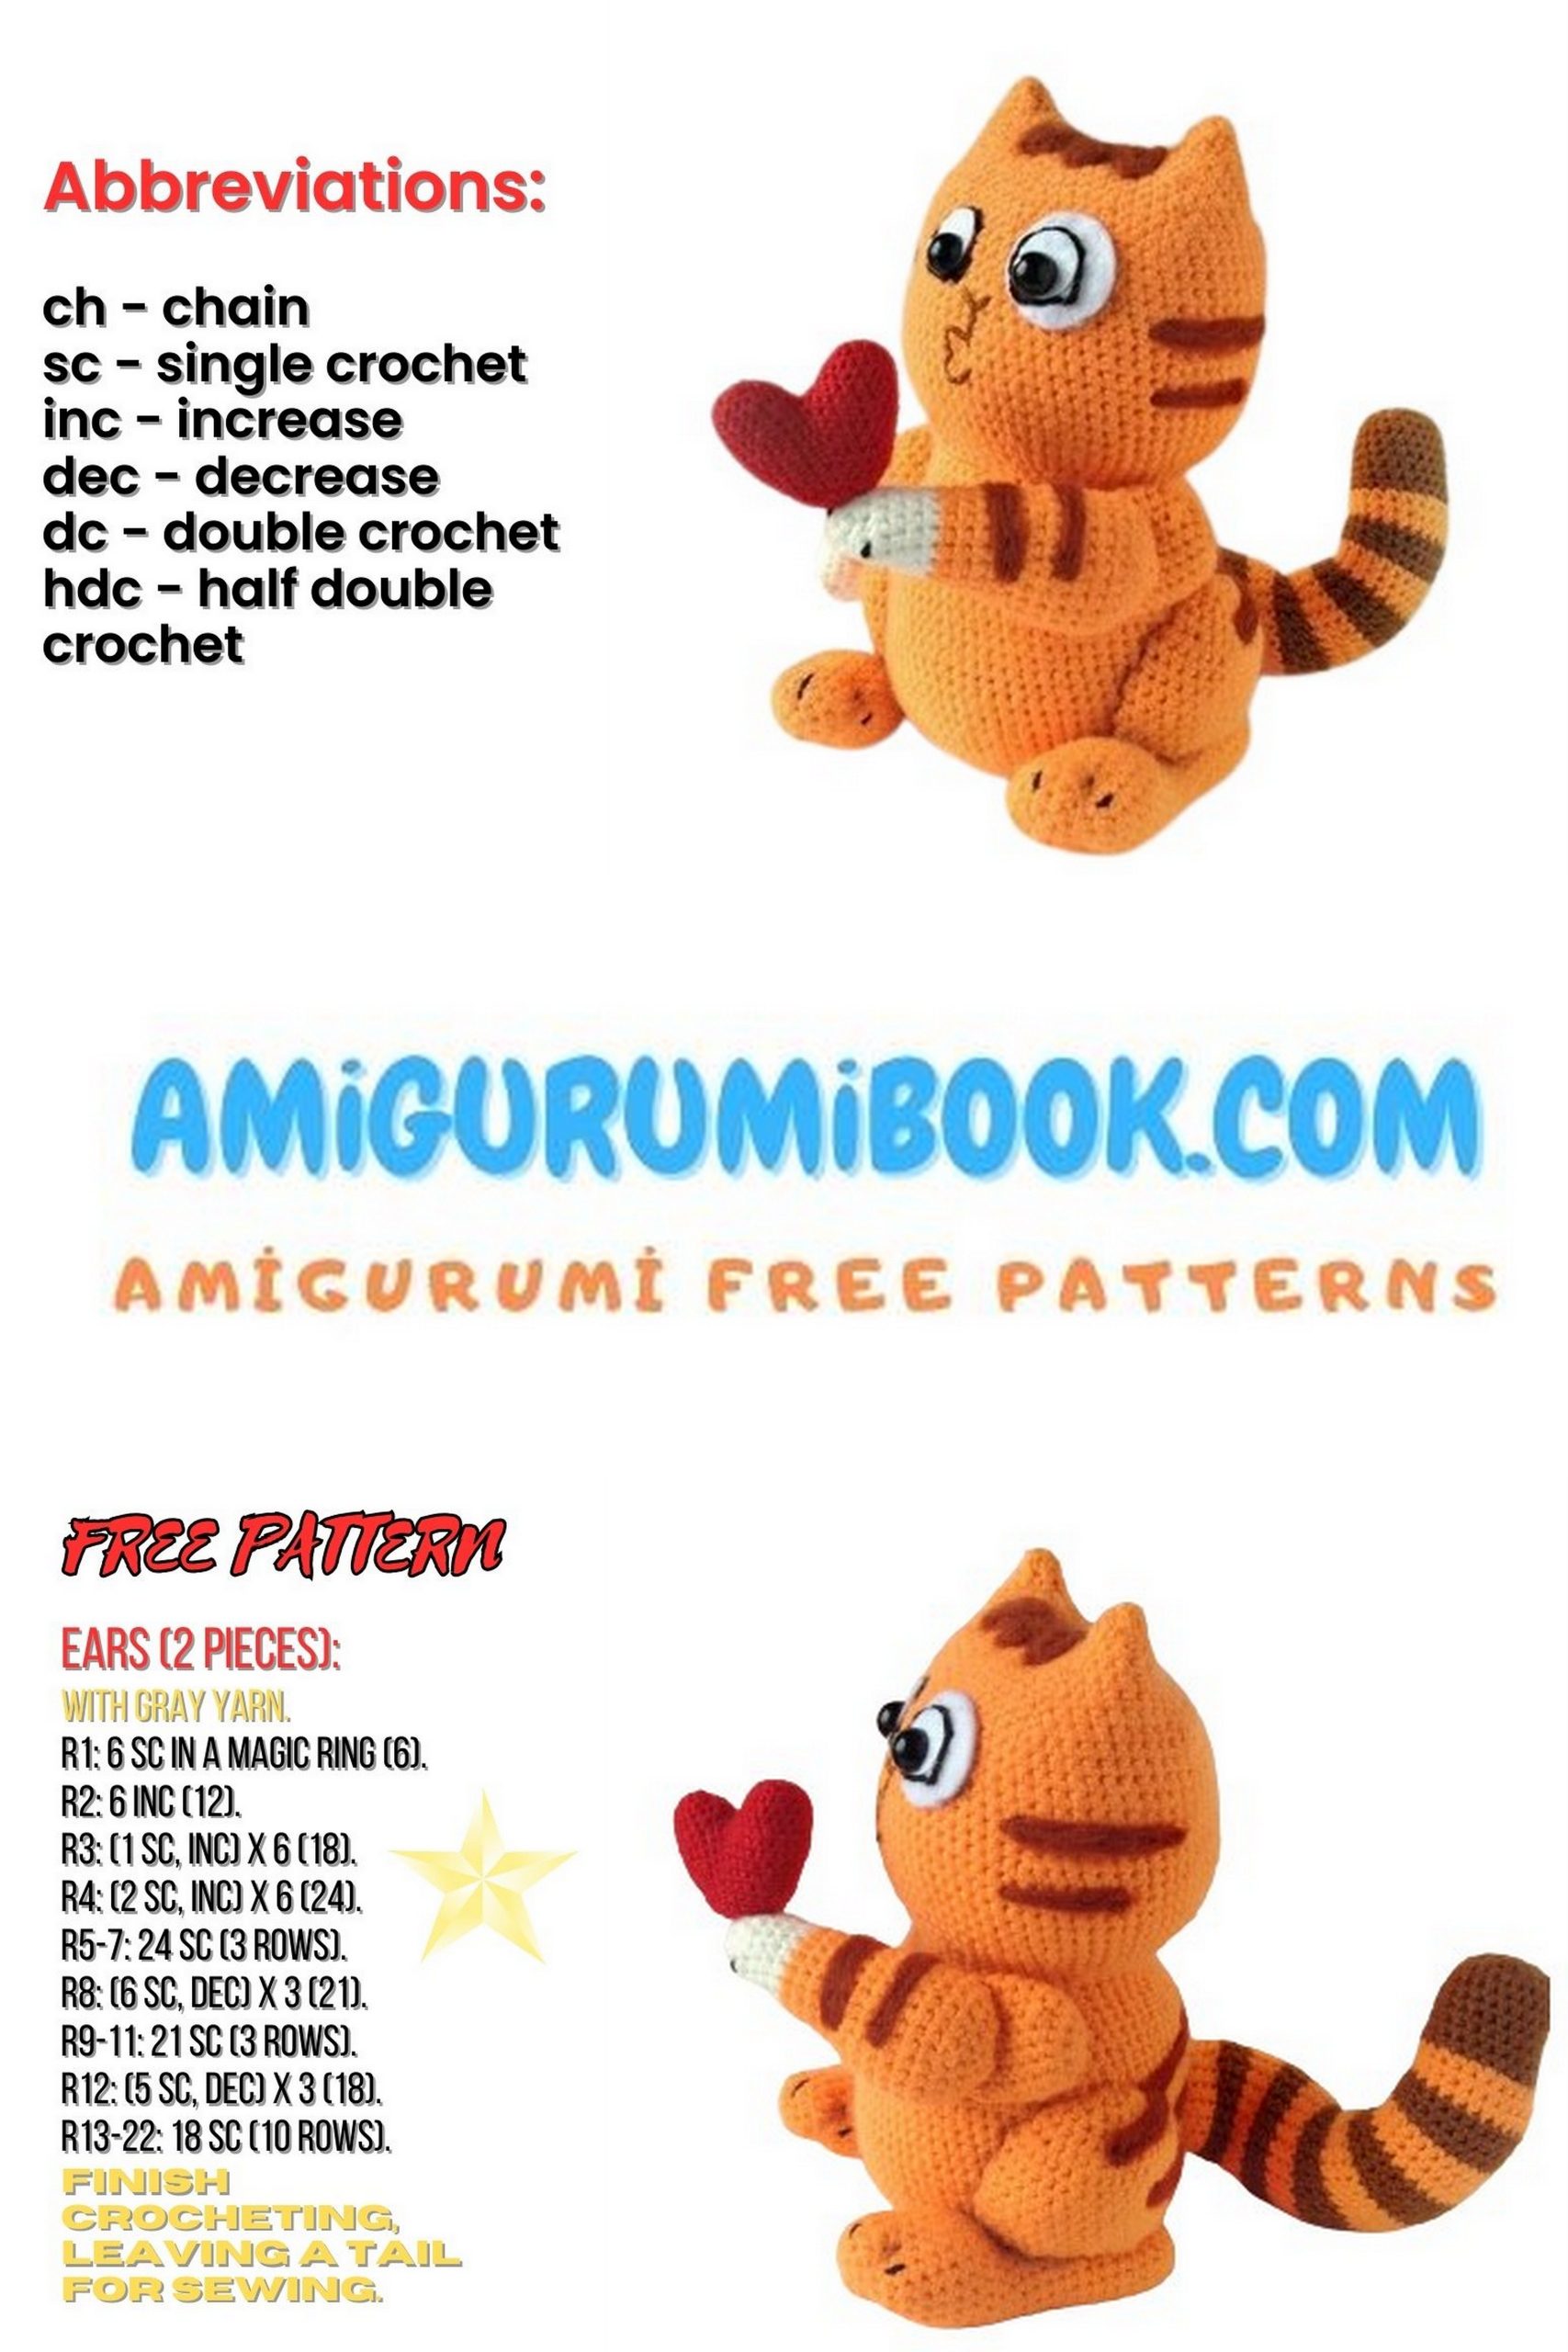
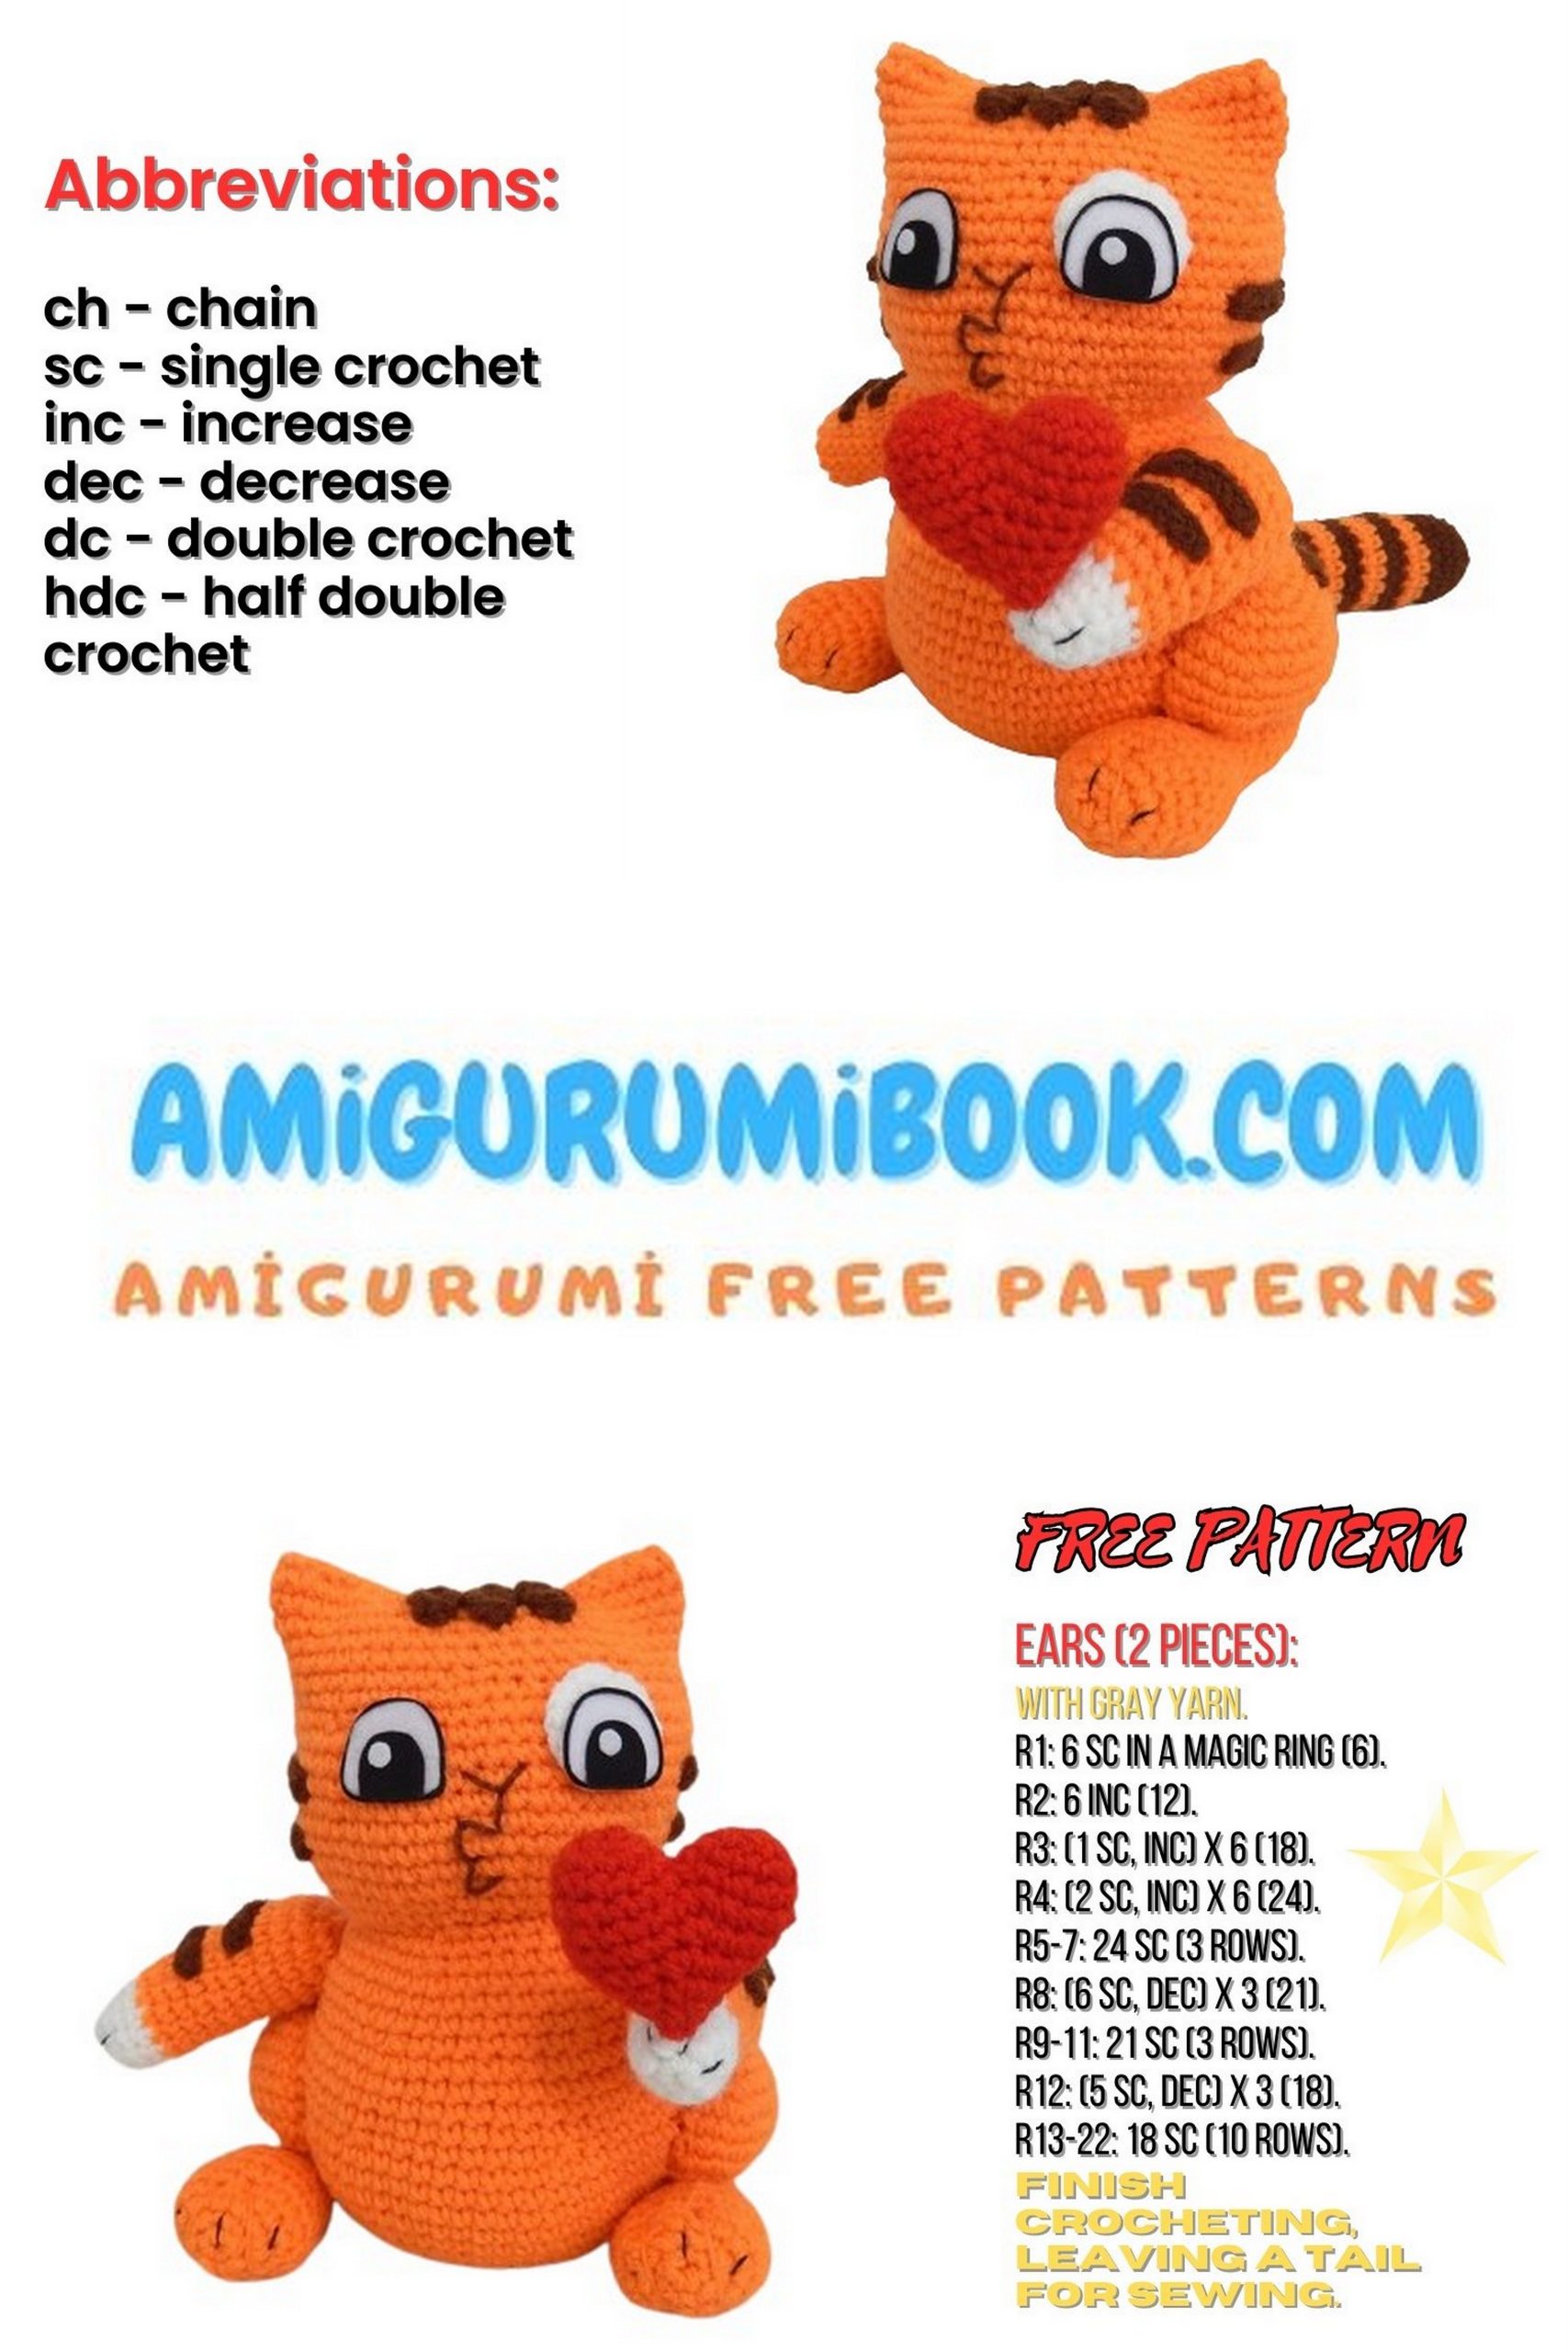
Pattern: Cat in Love Amigurumi
All parts are crocheted in a spiral.
Head and Body – crocheted as one piece, using orange yarn.
1: 6 SC in MC
2: 6 INC (12 SC)
3: (INC, 1 SC) x 6 times (18 SC)
4: (INC, 2 SC) x 6 times (24 SC)
5: (INC, 3 SC) x 6 times (30 SC)
6: (INC, 4 SC) x 6 times (36 SC)
7: (INC, 5 SC) x 6 times (42 SC)
8: (INC, 6 SC) x 6 times (48 SC)
9: (INC, 7 SC) x 6 times (54 SC)
10: (INC, 8 SC) x 6 times (60 SC)
11: (INC, 9 SC) x 6 times (66 SC)
At this stage, the diameter of the circle is 7.5 cm.
12: 66 SC through the back loop of each stitch.
13-27 (15 rounds): Continue without changes (66 SC)
It’s recommended to cut a circle from plastic or foam material with the same diameter as the bottom and sew it on for greater stability and to prevent the bottom from bulging.
28: (9 SC, DEC) x 6 times (60 SC)
29: (8 SC, DEC) x 6 times (54 SC)
30: (7 SC, DEC) x 6 times (48 SC)
31: 6 INC, (6 SC, INC) x 6 times (60 SC)
32: (INC, 9 SC) x 6 times (66 SC)
33-41 (9 rounds): Continue without changes (66 SC)
Now the piece resembles a pitcher.
42: (DEC, 9 SC) x 6 times (60 SC)
43-49 (7 rounds): Continue without changes (60 SC)
50: (8 SC, DEC) x 6 times (54 SC)
51-52: Continue without changes, 54 SC
53: (7 SC, DEC) x 6 times (48 SC)
54: Continue without changes, 48 SC
55: (6 SC, DEC) x 6 times (42 SC)
Attention
Crochet approximately 3 offset stitches to align the row. To determine the number of offset stitches, fold the piece in half. The bend divides the place in round 31 where we made 6 increases in a row. This is the place of the head tilt; it should be located at the edge, not in the middle. Count how many stitches need to be crocheted before this bend. This will be the start of the next round, which is the midpoint of the ear.
56: 2 HDC, 2 HDC, 13 SC, 2 HDC, 4 SL ST, 2 HDC, 13 SC, 2 HDC, 2 HDC, SL ST to join. Secure the thread, but do not cut. This combination of HDC and SL ST forms solid crocheted ears. Stuff the toy quite tightly. The finished piece should not be elongated but should consist of almost identical spherical head and body. Stuff the ears loosely, but make sure they are not empty. Remember to shape the piece in your hands to give it the desired shape. Fold the head flat and sew it with a needle (you can crochet, but the needle seam is less visible).
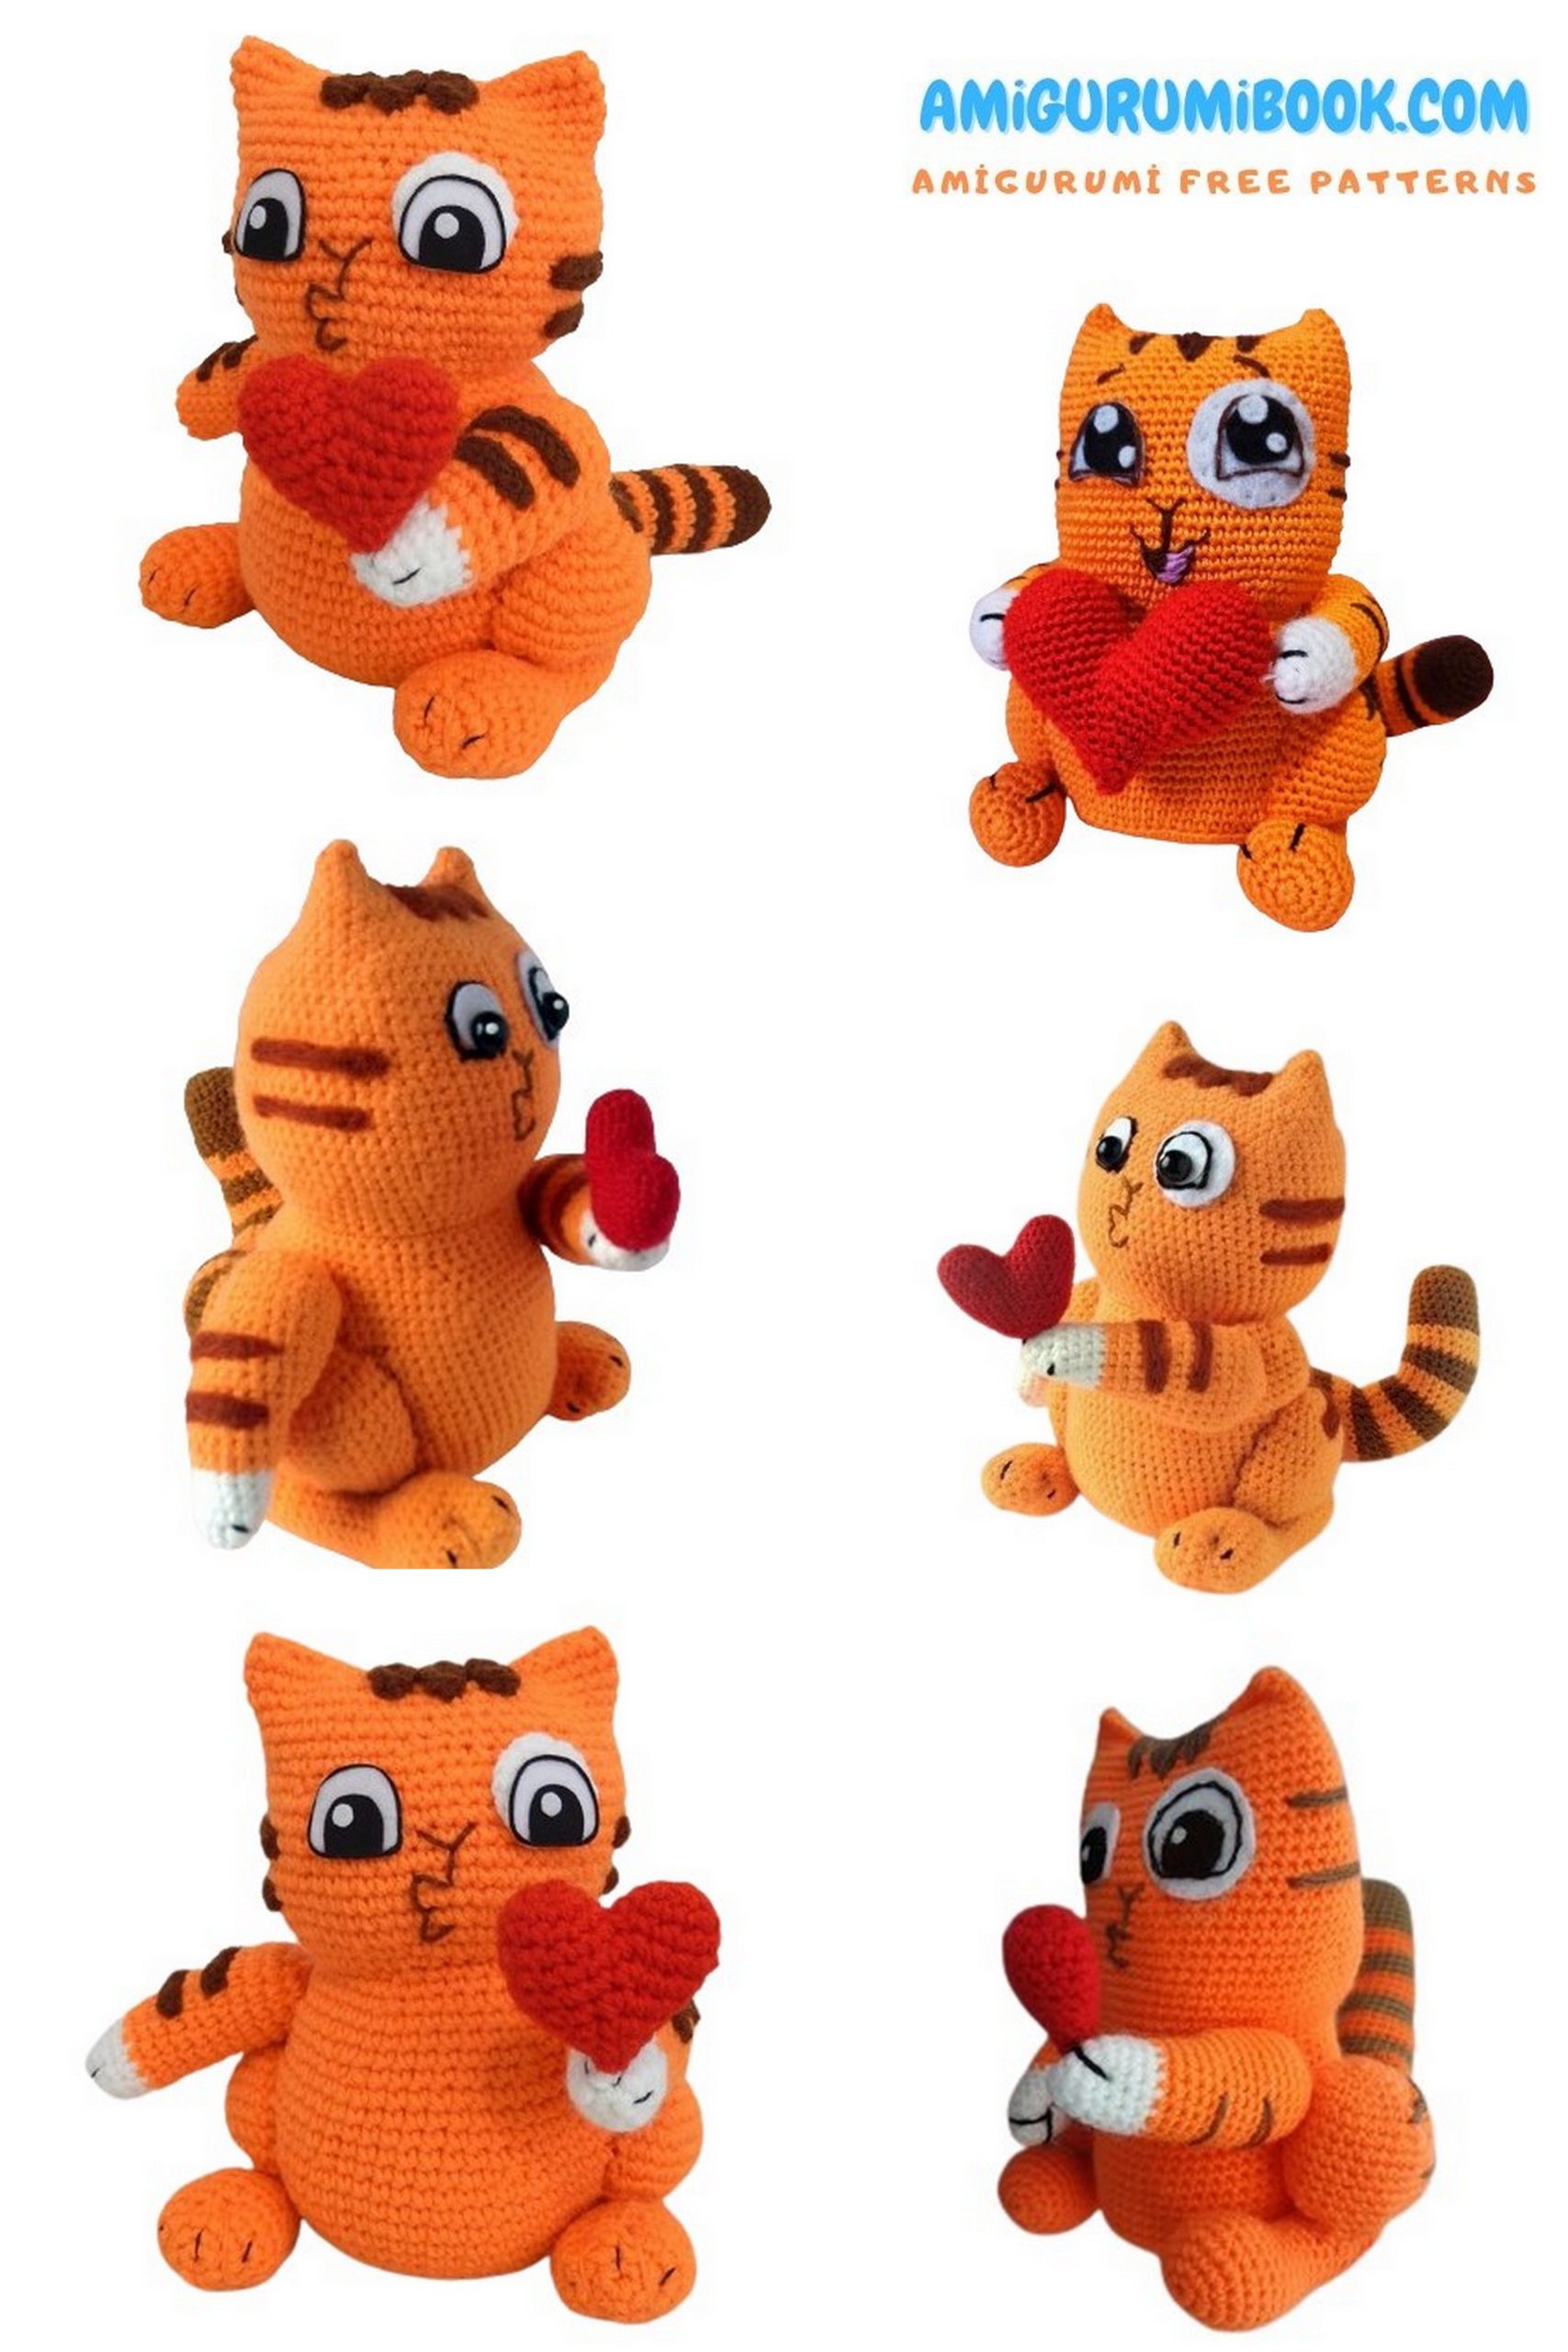
The finished piece should look like this:

Front Paws (2 pieces): Cat in Love Amigurumi
Start with white yarn.
1: 5 SC in MC
2: 5 INC (10 SC)
3: (INC, 1 SC) x 5 times (15 SC)
4-7: 15 SC
8: Switch to orange yarn, (4 SC, INC) x 3 times (18 SC)
9-13: Continue without changes (18 SC)
14: (INC) x 6 times, 12 SC (24 SC) – shaping the front paw
15-21: 24 SC
22: (2 SC, DEC) x 6 times (18 SC)
23: (1 SC, DEC) x 6 times (12 SC)
24: DEC 6 times (6 SC)
Close the opening tightly, making sure to stuff the paw. Do not overstuff the shoulder. Similarly, crochet the second paw. Add finger weights and embroider claws with black thread. You can add weights with black thread immediately and then not embroider the claws separately – there are various options according to your preference.
Back Legs, Thigh – Cat in Love Amigurumi
Orange yarn, 2 pieces:
1: 6 SC in MC
2: (INC) x 6 times (12 SC)
3: (INC, 1 SC) x 6 times (18 SC)
4: (INC, 2 SC) x 6 times (24 SC)
5: (INC, 3 SC) x 6 times (30 SC)
6: (INC, 4 SC) x 6 times (36 SC)
7-13: Continue without changes (36 SC)
14: (4 SC, DEC) x 6 times (30 SC)
15: (3 SC, DEC) x 6 times (24 SC)
Leave a long tail for sewing. Crochet the second thigh.
Back Legs, Foot – Cat in Love Amigurumi
Orange yarn, 2 pieces:
1: 6 SC in MC
2: (INC) x 6 times (12 SC)
3: (INC, 1 SC) x 6 times (18 SC)
4: (INC, 2 SC) x 6 times (24 SC)
5-8: 24 SC
9: 12 SC, (DEC) x 6 times (18 SC)
10: 12 SC, (DEC) x 3 times (15 SC)
11-22: 15 SC
Stuff the foot, crochet together two stitches at a time until closed. Leave a long tail for sewing. Crochet the second foot. If desired, add finger weights and embroider claws, or add weights with black yarn immediately, like on the front paws, and then not embroider the claws separately.
Tail, orange and brown colors, 1 piece:
Start with brown yarn.
1: 6 SC in MC
2: (INC) x 6 times (12 SC)
3: (INC, 1 SC) x 6 times (18 SC)
4: (INC, 2 SC) x 6 times (24 SC)
Continue crocheting without changes for 6 more rows. Attach orange yarn and alternate crocheting with one color, then the other, for 3 rows each. In total, crochet 5 brown stripes (excluding the tip of the tail) and 5 orange stripes. Finish crocheting with orange yarn for 6 rows.
Assembly and Decoration:
Make markings. Turn the head and body piece to the side facing you and mark the side line with pins. Do the same on the other side. Also mark where the face and back of the head will be.
Fold the thigh in half with the opening facing down and mark its middle (the magic circle, top). Attach this piece to the body, aligning the thigh’s middle with the side seam. Then shift the thigh 2 stitches towards the face. The bottom line of the thigh should touch the row where we crocheted through the back loop.
Sew the thigh piece along the contour. It should look like a pocket with the opening down. Sew the second thigh piece in the same way. Stuff them, but not too much, refer to the photo. The thighs should not bulge too much.
Sew on the feet. The seams go along these lines: along the narrow part of the piece, in the middle + the unattached edge of the thigh; along the narrow part of the piece, edge + row where we crocheted through the back loop (and to which the thigh is attached).
Stripes:
There are many options. You can felt stripes, embroider them with stem or loop stitches, crochet them directly onto the finished toy, or even paint them with oil or acrylic paints. Sometimes I felt them, sometimes I embroider. The easiest way is to thread a thicker thread into a needle and simply embroider the stripe. First, mark the beginning and end of the stripe with pins, then embroider.
On the head:
Mark the center between the ears, then down 5 rows. This is the central stripe. From the central stripe, move 3 stitches to the right and left; these will be two more stripes, each 4 rows long. Side stripes on the head: approximately at rows 11 and 16 below the seam connecting the ears. The length of the stripes is 10 stitches.
Mark the side stripes on the head in row 11 from the top – count not from the tips of the ears, but from the row connecting the ears. Another stripe is below 5 rows. The length of the stripes is 10 stitches.
On the thighs:
From the start of crocheting the thigh (magic circle), move down about 4 rows in the center. The second one is below the first one by 3 rows; it should be shifted 1-2 stitches towards the tail. The stripes can be continued onto the body or not.
On the front paws:
In rows 11 and 14 of the description (or rows 4 and 7 when you switched to orange yarn).
Face: Cat in Love Amigurumi
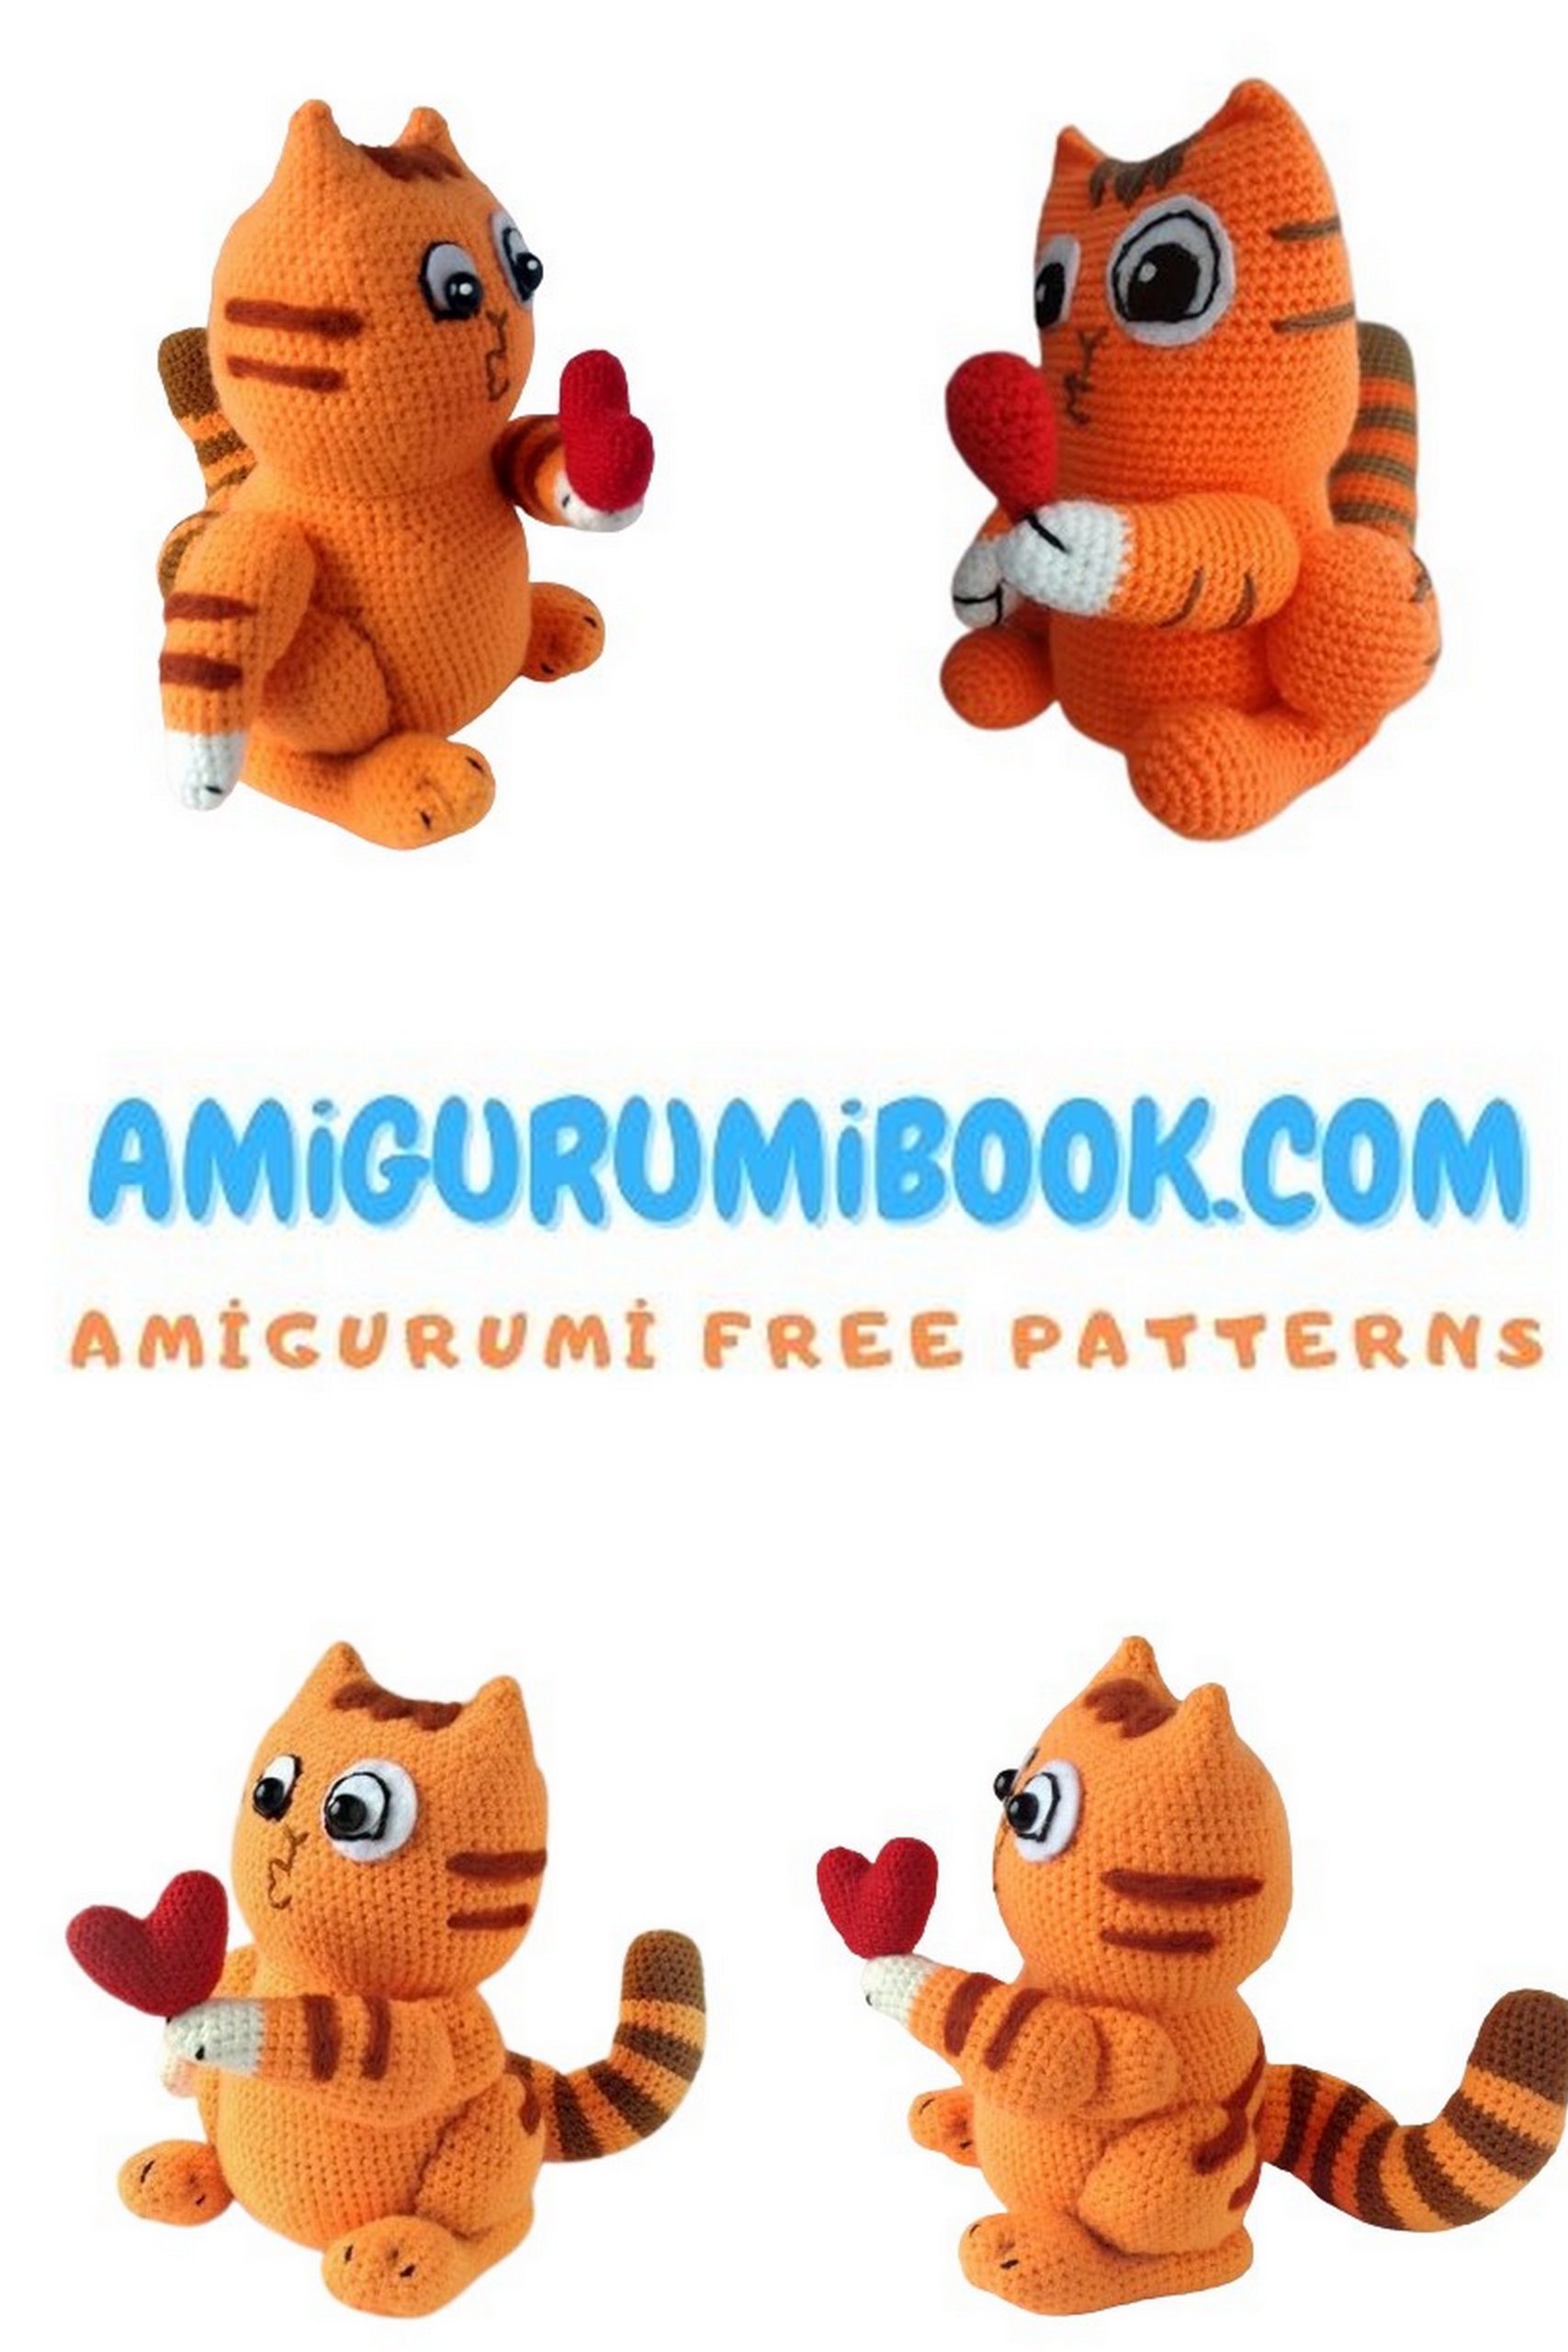
Attention! The sizes of the eye socket, whites, and pupils are given for a toy measuring 17-18 cm. If your hook size or yarn is thicker, resulting in a looser crochet, please adjust the eye sizes proportionally to your item. For the eye spot, cut out a circle from white or milk-colored felt with a diameter of 20-23 mm. Cut out eye whites in the shape of curved drops from white felt. Attach the pupils to the eye whites; additionally, attach the left eye to a circle and outline it with black or brown thread. Using the photo and the stripes on the head as a guide, glue the eyes in place and outline the second eye. You can simply glue on the eye outline. Embroider the nose, smile. Don’t forget to add highlights to the pupils. Draw the chin with pastel chalk.
Sew on the front paws, referring to the photo of the finished cat.
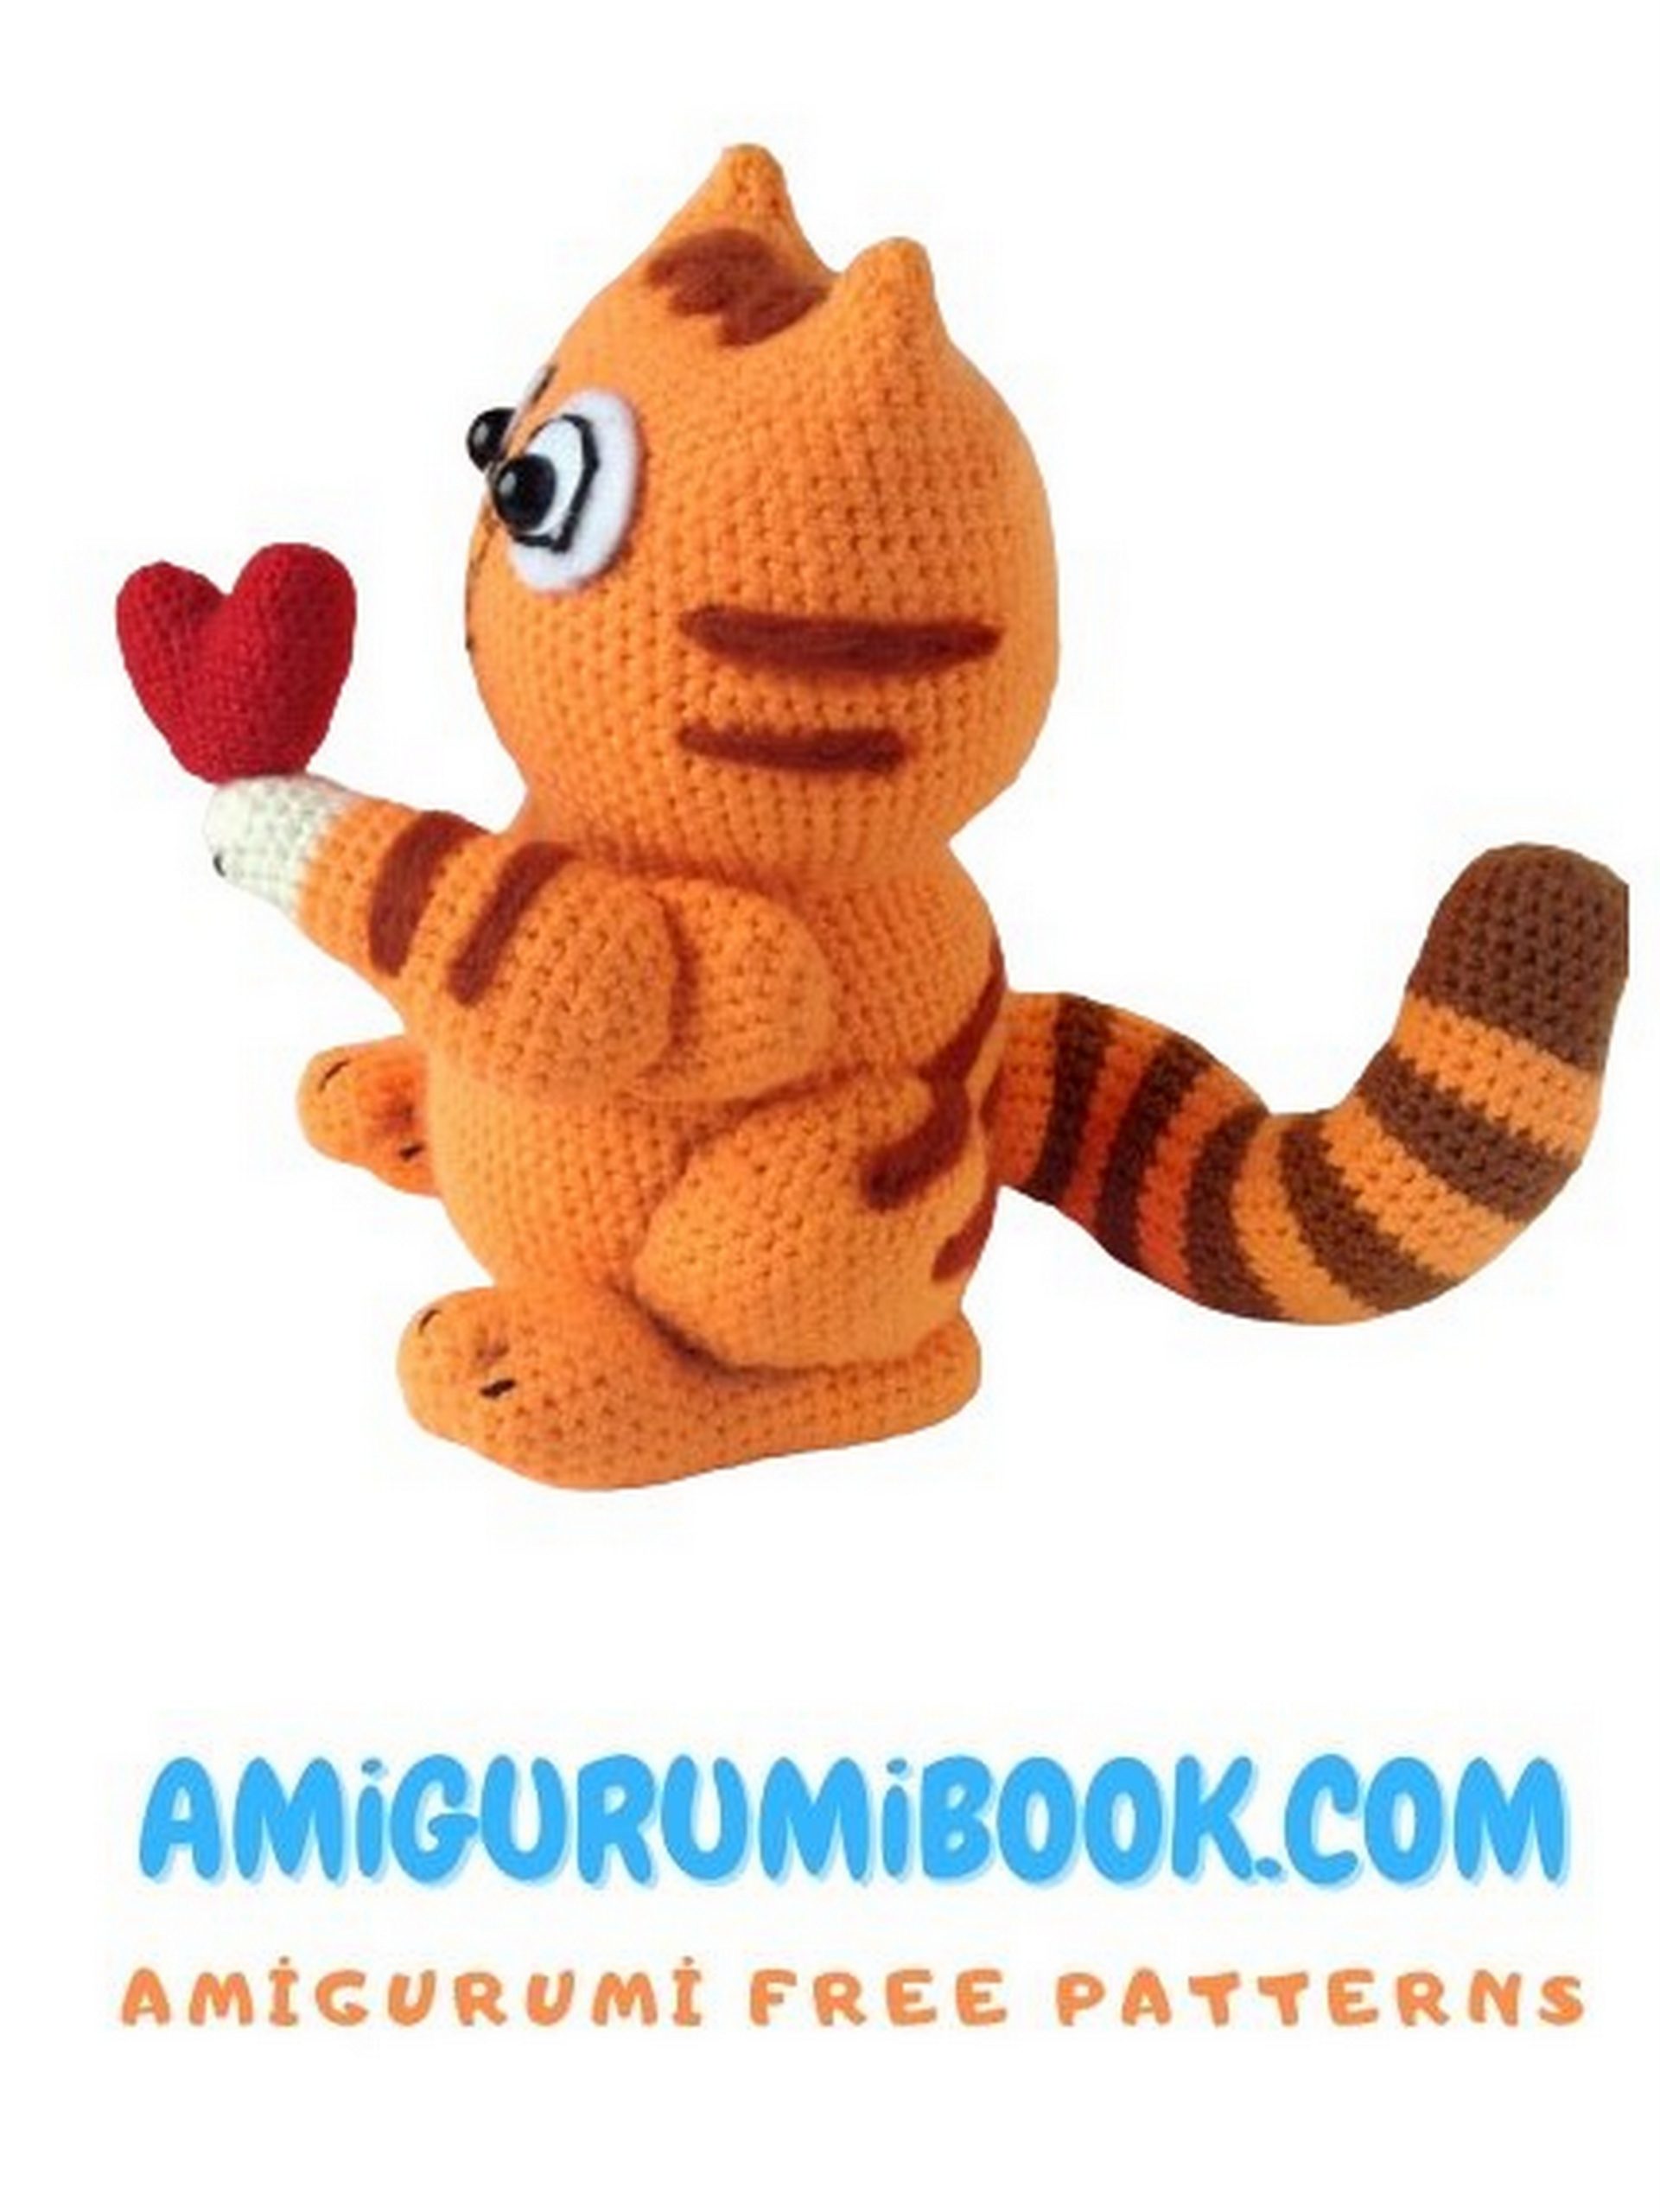
Tail: Cat in Love Amigurumi
Mark the middle of the back and the tail location (approximately 4 rows above the row crocheted through the back loop). Thread wire next to this point, pulling it out through a couple of stitches. Twist and bend the ends to match the size of the crocheted tail. Wrap the wire with a piece of adhesive tape. Insert the wire into the tail, stuff it (do not stuff the base of the tail too tightly), and sew it on, slightly tightening the last row. Fold it as shown in the photo. Additionally, you can sew the tail to the body with a few stitches to prevent it from sagging to the side.
That’s it, your Peachy Smiler is ready!