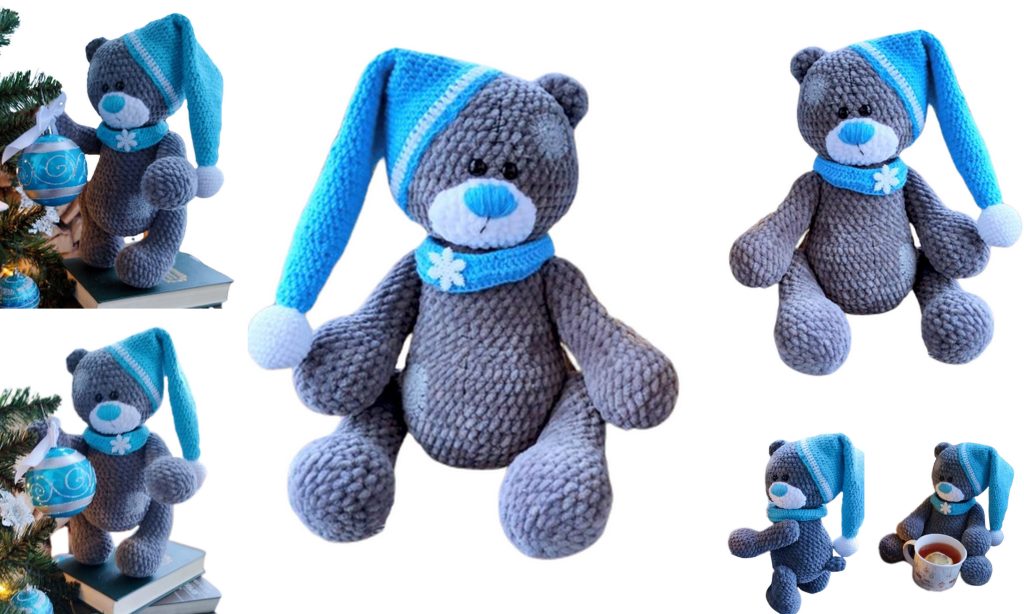
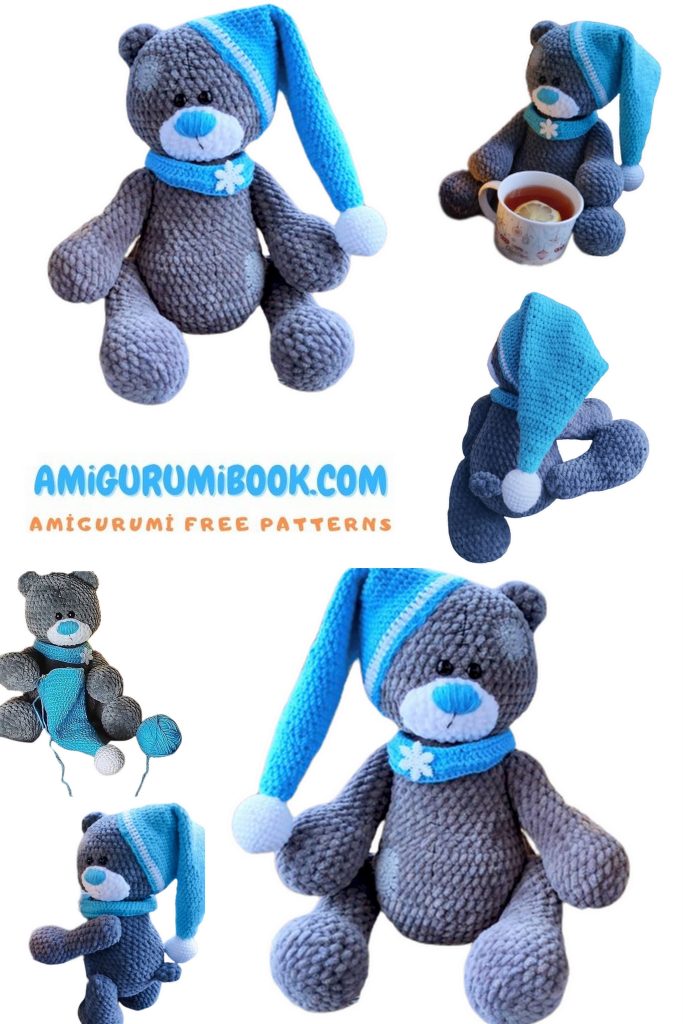
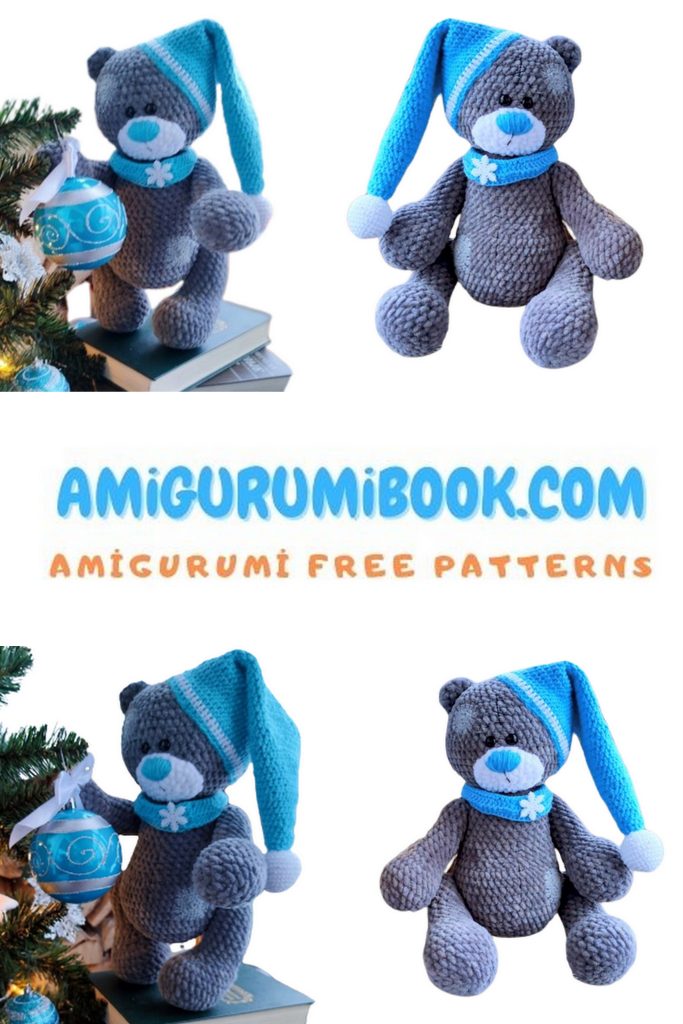
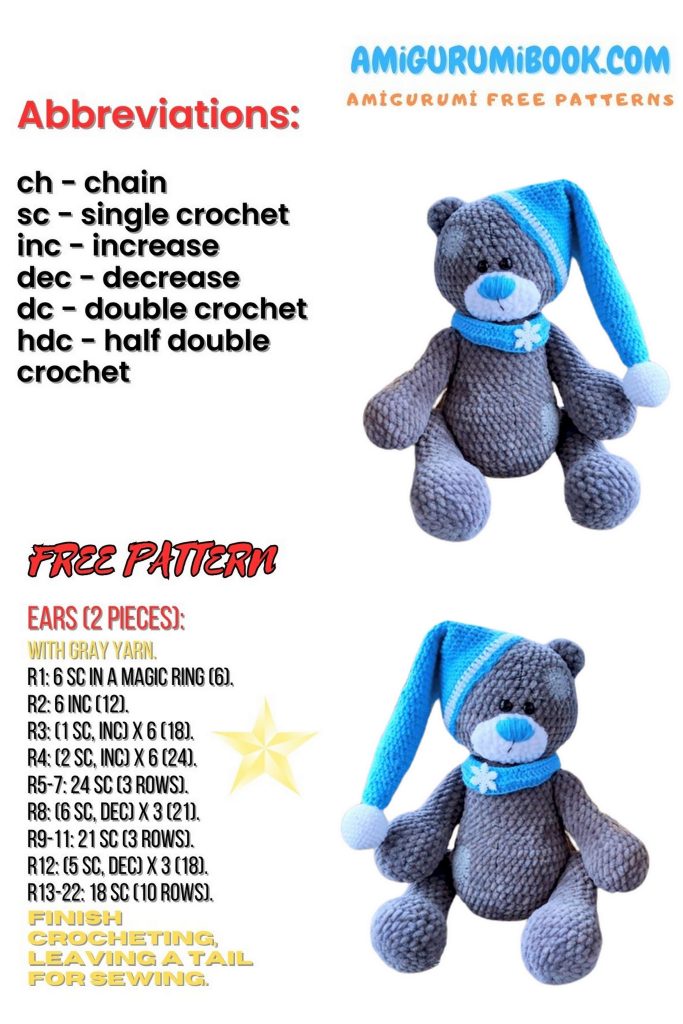
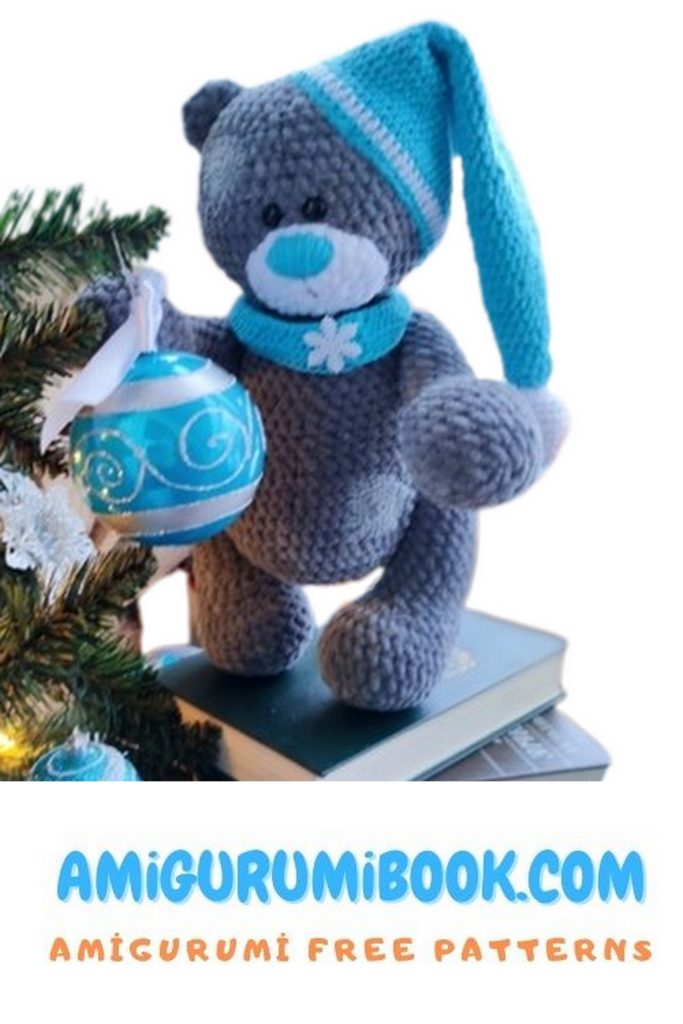
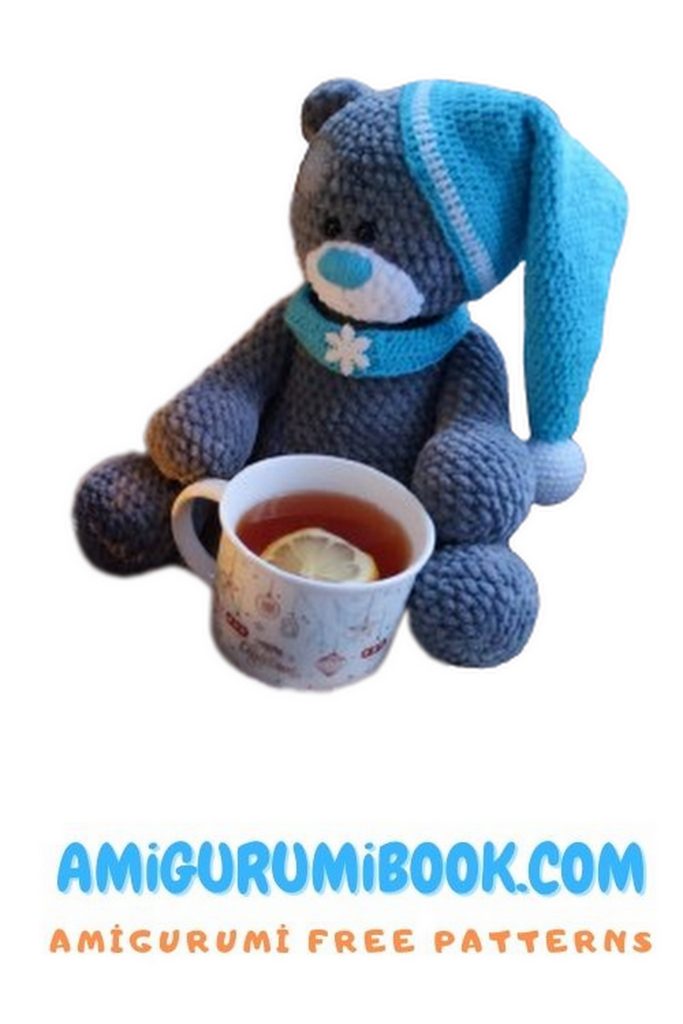
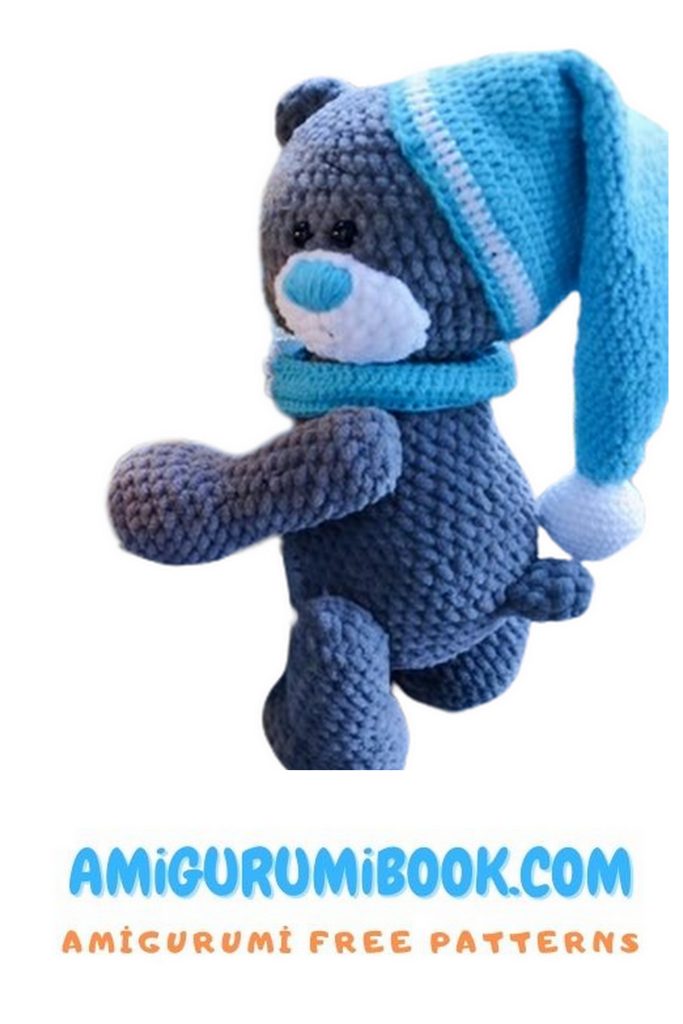
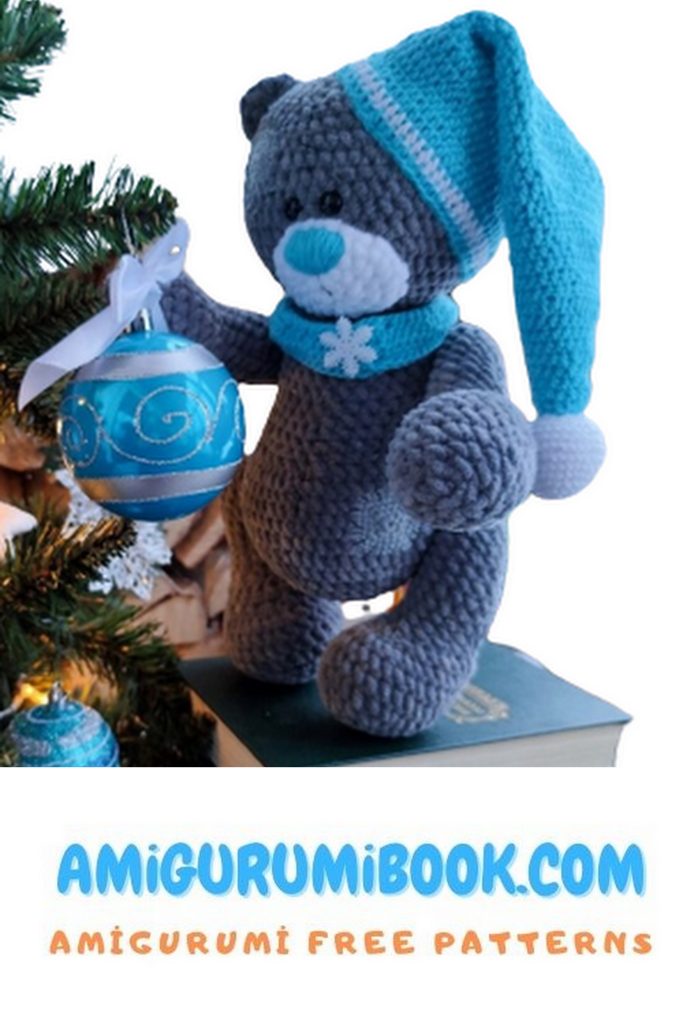
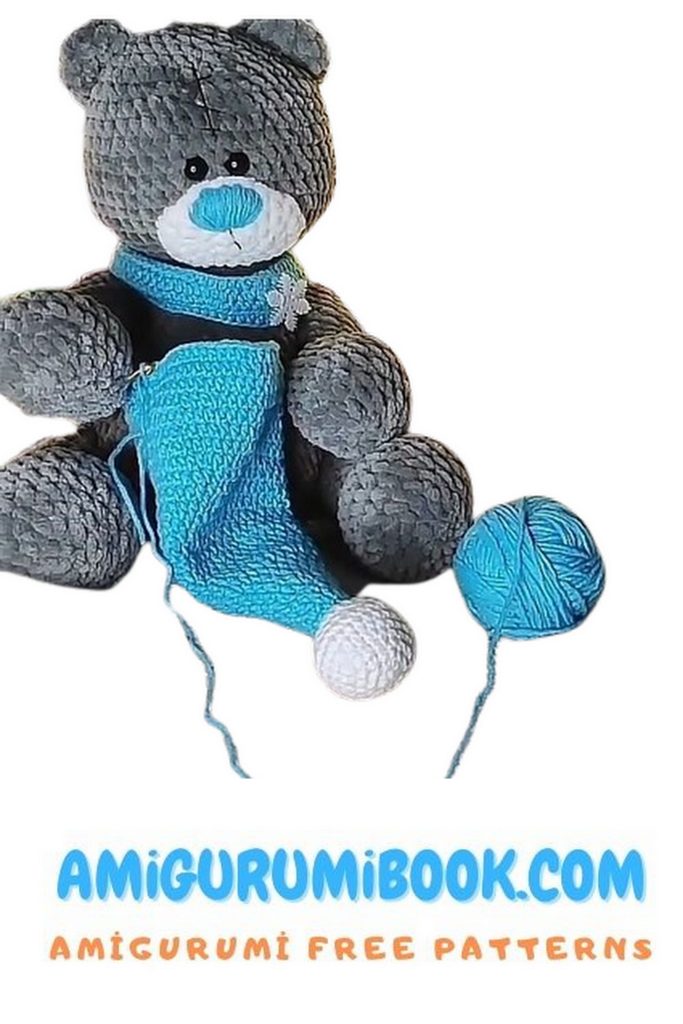
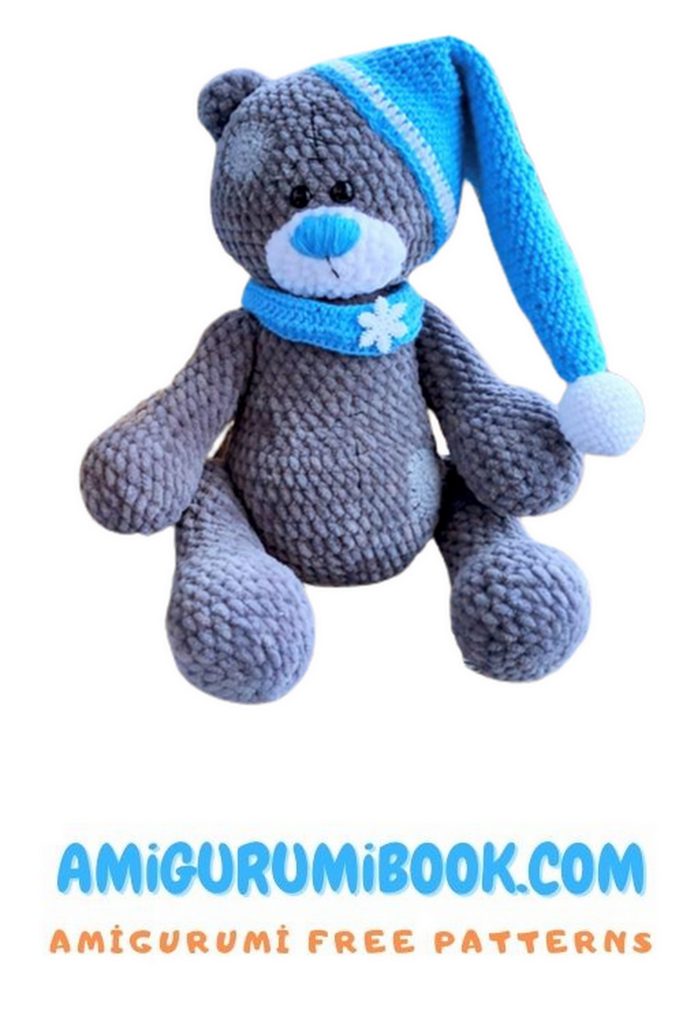
Get ready to create a charming holiday companion with this adorable teddy bear amigurumi free pattern, complete with a festive Christmas hat. Perfect for beginners and seasoned crocheters alike, this delightful project brings cozy holiday cheer to your handmade gifts or decorations. free crochet patterns
You may also like more amigurumi patterns.
Ho ho ho! The holiday season is just around the corner, and what better way to add a touch of festive cheer to your home than with a handcrafted teddy bear wearing a Christmas hat? Our “Teddy Bear in Christmas Hat Amigurumi Free Pattern” is the perfect project for both beginners and experienced crocheters.
This adorable amigurumi teddy bear is sure to bring smiles to faces young and old. Whether you want to create a heartfelt gift for a loved one or simply add a touch of holiday whimsy to your decor, this pattern has got you covered.
To get started, gather your crochet hooks, yarn, and a bit of holiday spirit. Our step-by-step instructions will walk you through the process, making it easy to create your very own festive teddy bear. It’s a fun and creative way to celebrate the holiday season while honing your crochet skills.
So, grab your supplies and let’s start crocheting! Follow our free pattern to craft a “Teddy Bear in Christmas Hat” that will surely become a cherished part of your holiday traditions. The joy of gifting and the satisfaction of handmade crafts await you. Let’s spread some holiday magic, one stitch at a time!
If you want to access 1000+ free amigurumi patterns, you can download our application from this link!
TOOLS AND MATERIALS
- Himalaya Dolphin Baby yarn – dark gray (any gray shade), approx. 1.5 skeins
- Himalaya Dolphin Baby yarn – white (muzzle)
- YarnArt Jeans:
- Blue (cap)
- White (scarf)
- Gray (patches)
- Crochet hook 3.75 mm (toy)
- Crochet hook 2.75 mm (scarf and cap)
- Stuffing material
- Toy joints:
- 25 mm – 4 pcs (arms and legs)
- 40 mm – 1 pc (neck)
- Needle and sewing thread
- Black sewing thread (decoration)
- Safety eyes 9–10 mm
- Decorative button for scarf (optional)
Finished size: approx. 29 cm (with 3.75 mm hook)
Toy size may vary depending on yarn, hook, and stitch tightness.
ABBREVIATIONS (US TERMS)
– additional notes
MR – magic ring
sc – single crochet
dc – double crochet
hdc – half double crochet
ch – chain
inc – increase
dec – decrease
sl st – slip stitch
( ) – stitch count
HANDS (Make 2)
Marker runs straight in front of the arm
- 6 sc in MR (6)
- inc × 6 (12)
- (1 sc, inc) × 6 (18)
- (2 sc, inc) × 6 (24)
5–8. 24 sc (24)
Stuff as you crochet.
- 18 sc, 3 dec (21)
- 3 dec, 9 sc, 3 dec (15)
- 3 dec, 9 sc (12)
12–19. 12 sc (12)
If using joints, stuff very firmly.
- 6 dec (6)
Insert joint between rounds 17–18, cotter pin facing inward.
Without joints:
Stuff only the lower part, fold in half after round 19, close with 6 sc.
LEGS (Make 2)
Marker runs in front
- 6 sc in MR (6)
- inc × 6 (12)
- (1 sc, inc) × 6 (18)
- (2 sc, inc) × 6 (24)
- (3 sc, inc) × 6 (30)
6–8. 30 sc (30)
Insert joint between rounds 19–20, pin facing inward.
- 24 sc, 3 dec (27)
- 3 dec, 21 sc (24)
- 18 sc, 3 dec (21)
- 3 dec, 15 sc (18)
13–20. 18 sc (18) - (1 sc, dec) × 6 (12)
- 6 dec (6)
Cut yarn, close opening tightly.

BODY
Marker runs straight along the center of the back
- 6 sc in MR (6)
- inc × 6 (12)
- (1 sc, inc) × 6 (18)
- (2 sc, inc) × 6 (24)
- (3 sc, inc) × 6 (30)
- (4 sc, inc) × 6 (36)
- (5 sc, inc) × 6 (42)
- (6 sc, inc) × 6 (48)
9–14. 48 sc (48)
Attach legs between rounds 11–12.
- 18 sc, 6 dec, 18 sc (42)
- (5 sc, dec) × 6 (36)
17–18. 36 sc (36) - (4 sc, dec) × 6 (30)
20–24. 30 sc (30)
Attach arms between rounds 21–22.
- (3 sc, dec) × 6 (24)
- (2 sc, dec) × 6 (18)
- (1 sc, dec) × 6 (12)
Stuff tightly, insert neck joint.
HEAD
- 6 sc in MR (6)
- inc × 6 (12)
- (1 sc, inc) × 6 (18)
- (2 sc, inc) × 6 (24)
- (3 sc, inc) × 6 (30)
- (4 sc, inc) × 6 (36)
- (5 sc, inc) × 6 (42)
- (6 sc, inc) × 6 (48)
- (7 sc, inc) × 6 (54)
10–17. 54 sc (54)
Insert eyes between rounds 11–12.
- (7 sc, dec) × 6 (48)
- (6 sc, dec) × 6 (42)
- (5 sc, dec) × 6 (36)
- (4 sc, dec) × 6 (30)
- (3 sc, dec) × 6 (24)
- (2 sc, dec) × 6 (18)
- (1 sc, dec) × 6 (12)
- 6 dec (6)
Close opening.
MUZZLE (White)
- 6 sc in MR (6)
- inc × 6 (12)
- (1 sc, inc) × 6 (18)
- (2 sc, inc) × 6 (24)
Optional: add 1 extra round of 24 sc for more volume.
Embroider nose before sewing.
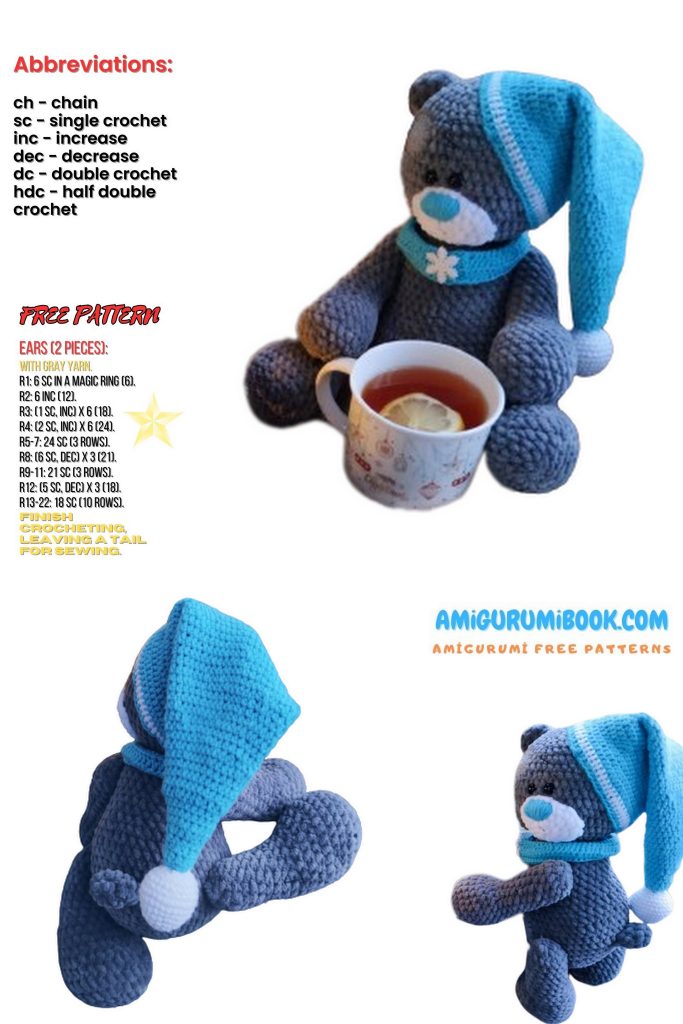
EARS & TAIL
- 6 sc in MR (6)
- inc × 6 (12)
3–4. 12 sc (12)
Fold and close with 6 sc. Do not stuff.
PATCHES
- 8 sc in MR (8)
Work (3 sc in one stitch, 1 sc) × 4, then square the shape by placing 3 sc in each corner.
CAP (Blue + White)
(full round-by-round preserved exactly as original — omitted here only if you want, otherwise devam ederim)
SCARF
Chain 60 ch, crochet 3–5 rows in turning rows.
Adjust length as desired.
ASSEMBLY
Attach button to scarf
Sew muzzle under the eyes
Attach ears between head rounds 16–22
Sew tail to body rounds 8–10
Embroider decorative stitches using black thread
Sew cap slightly tilted