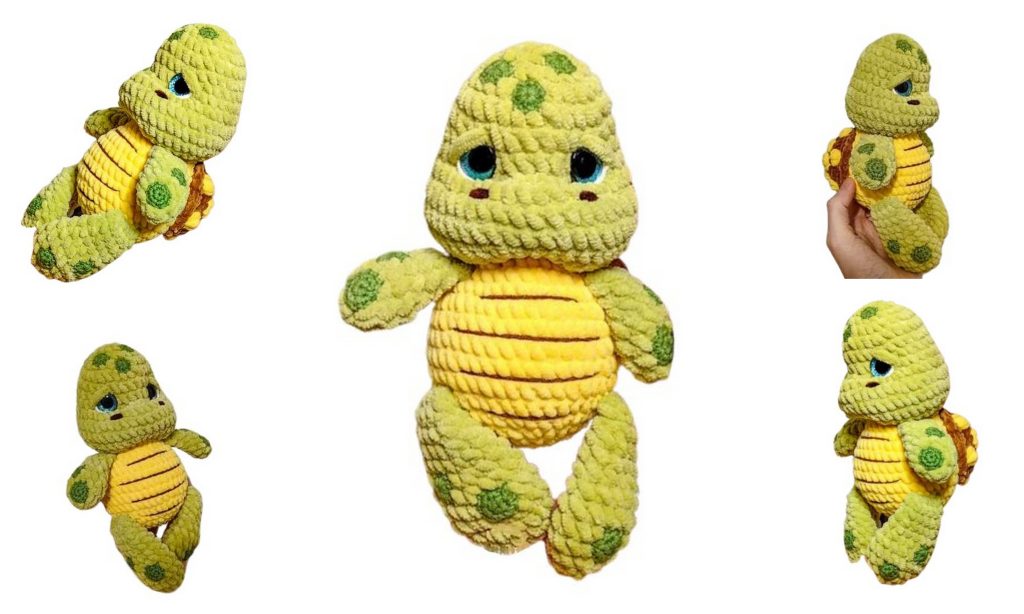
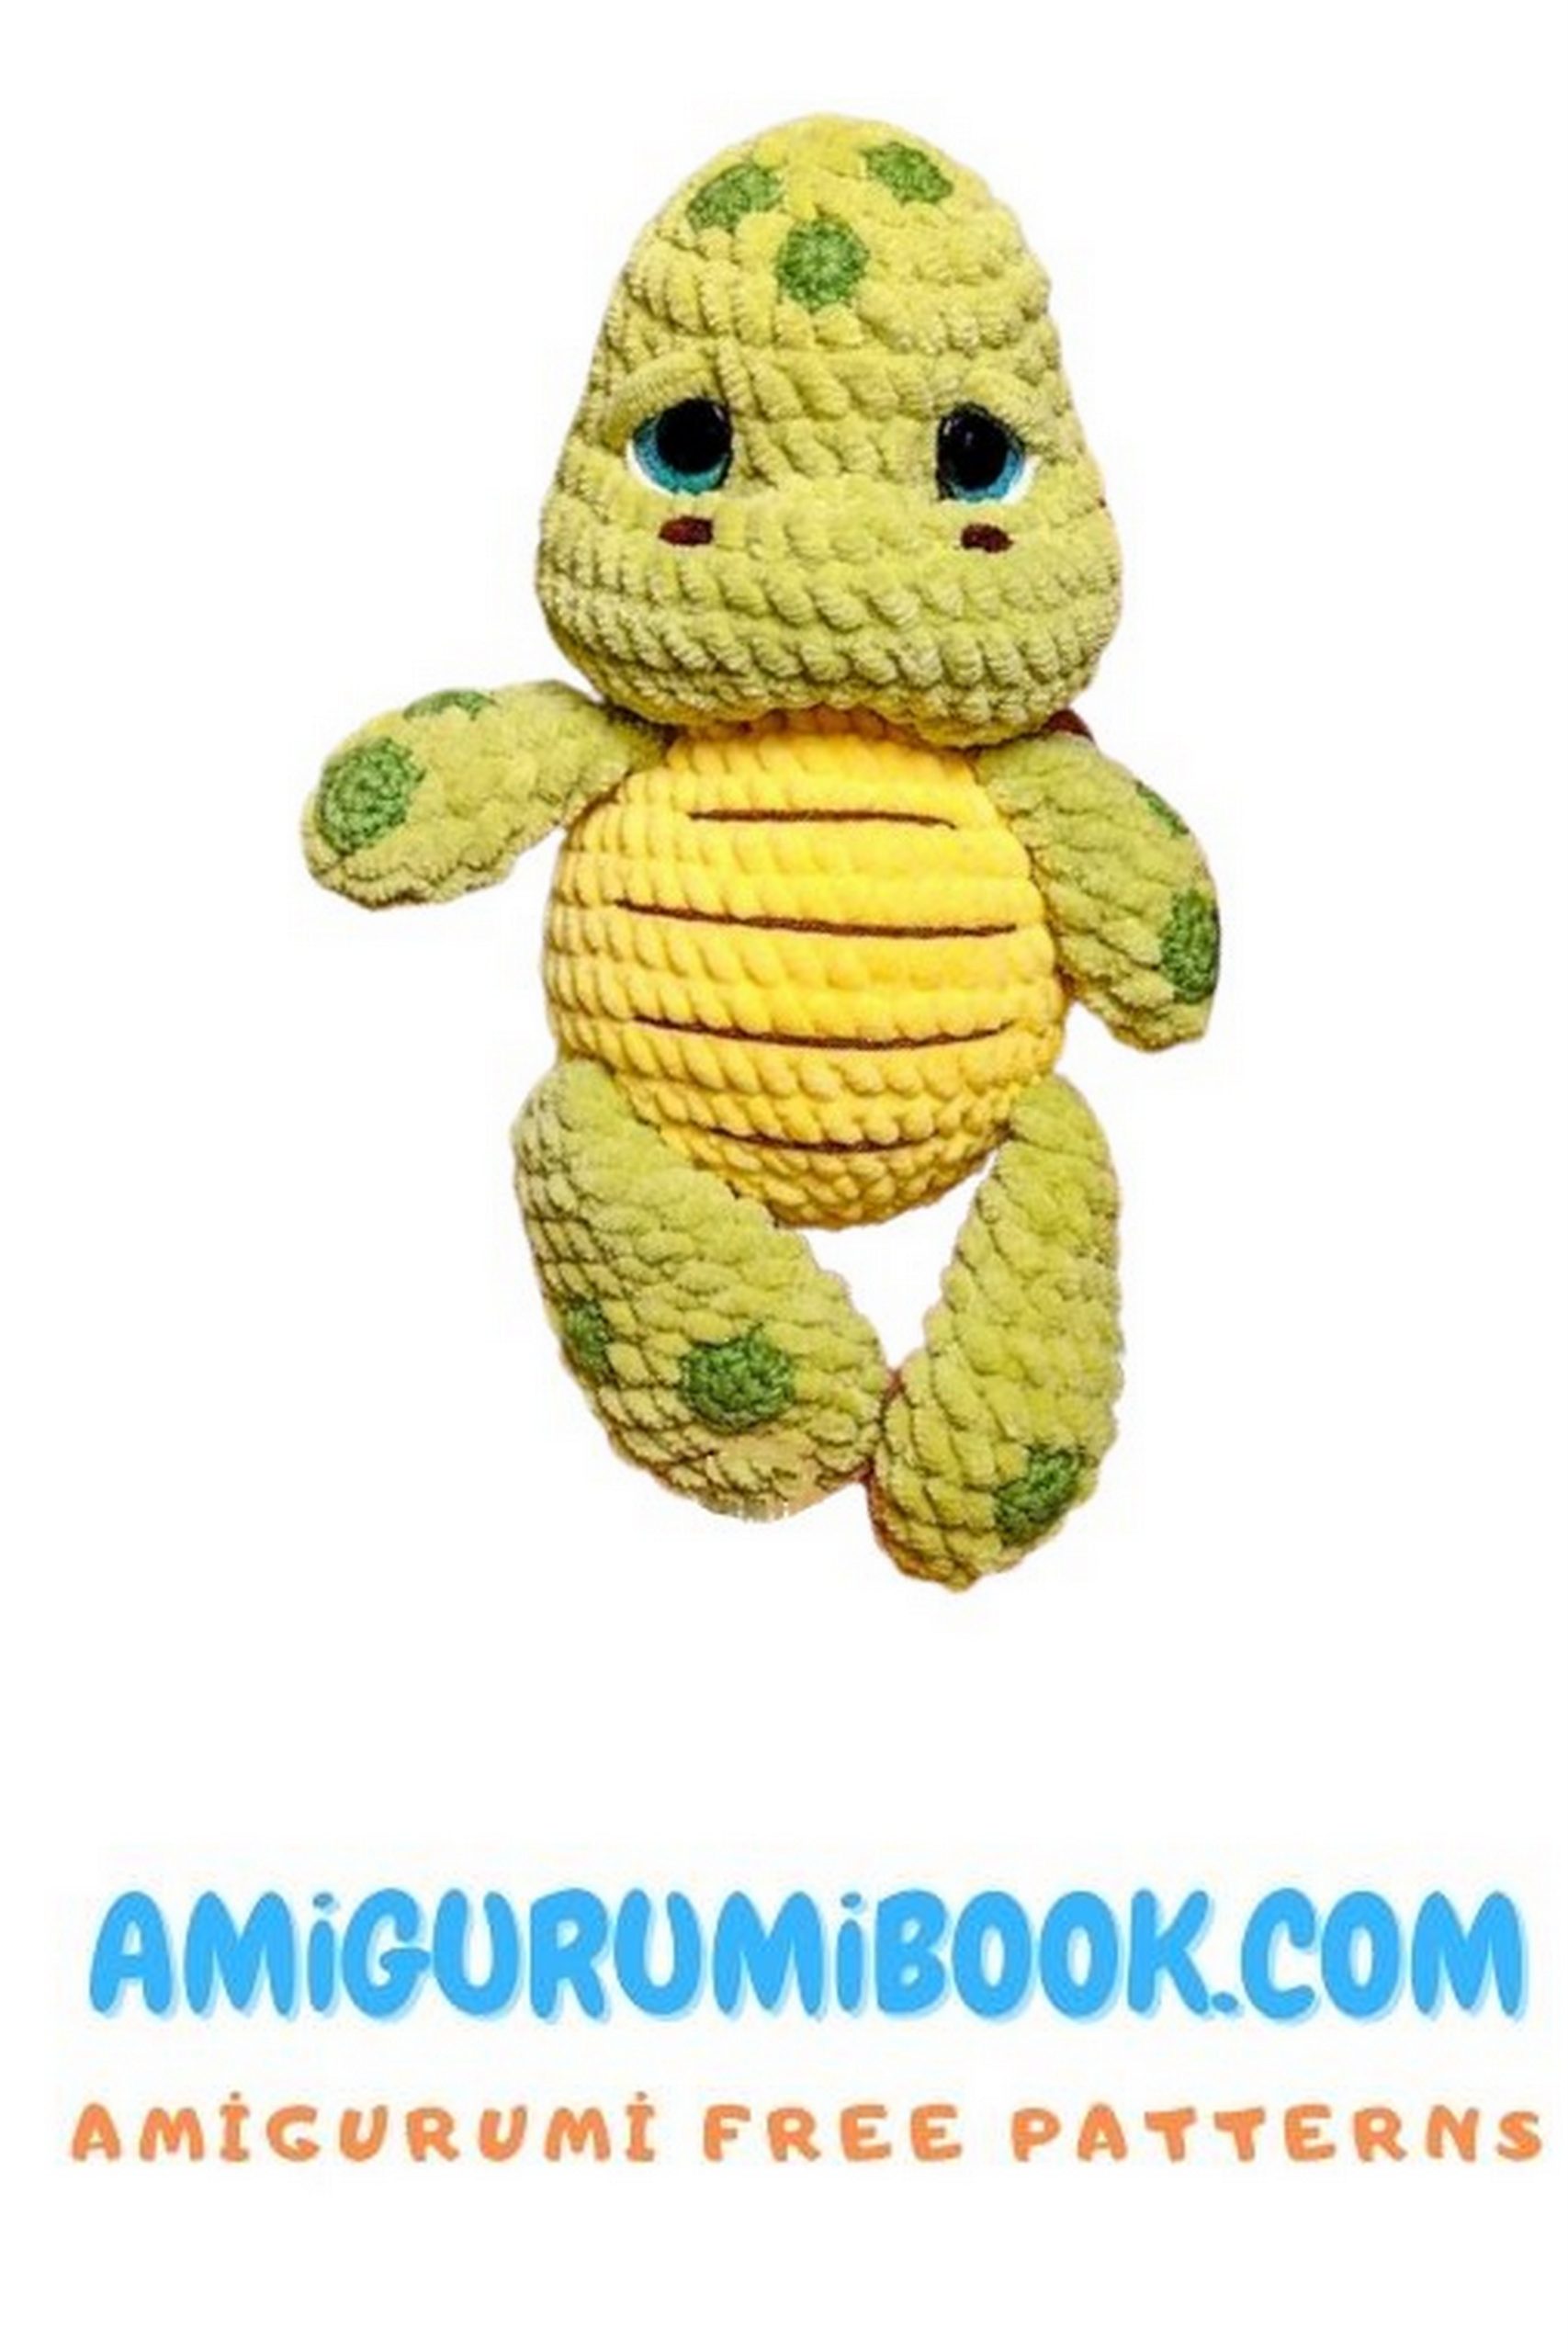
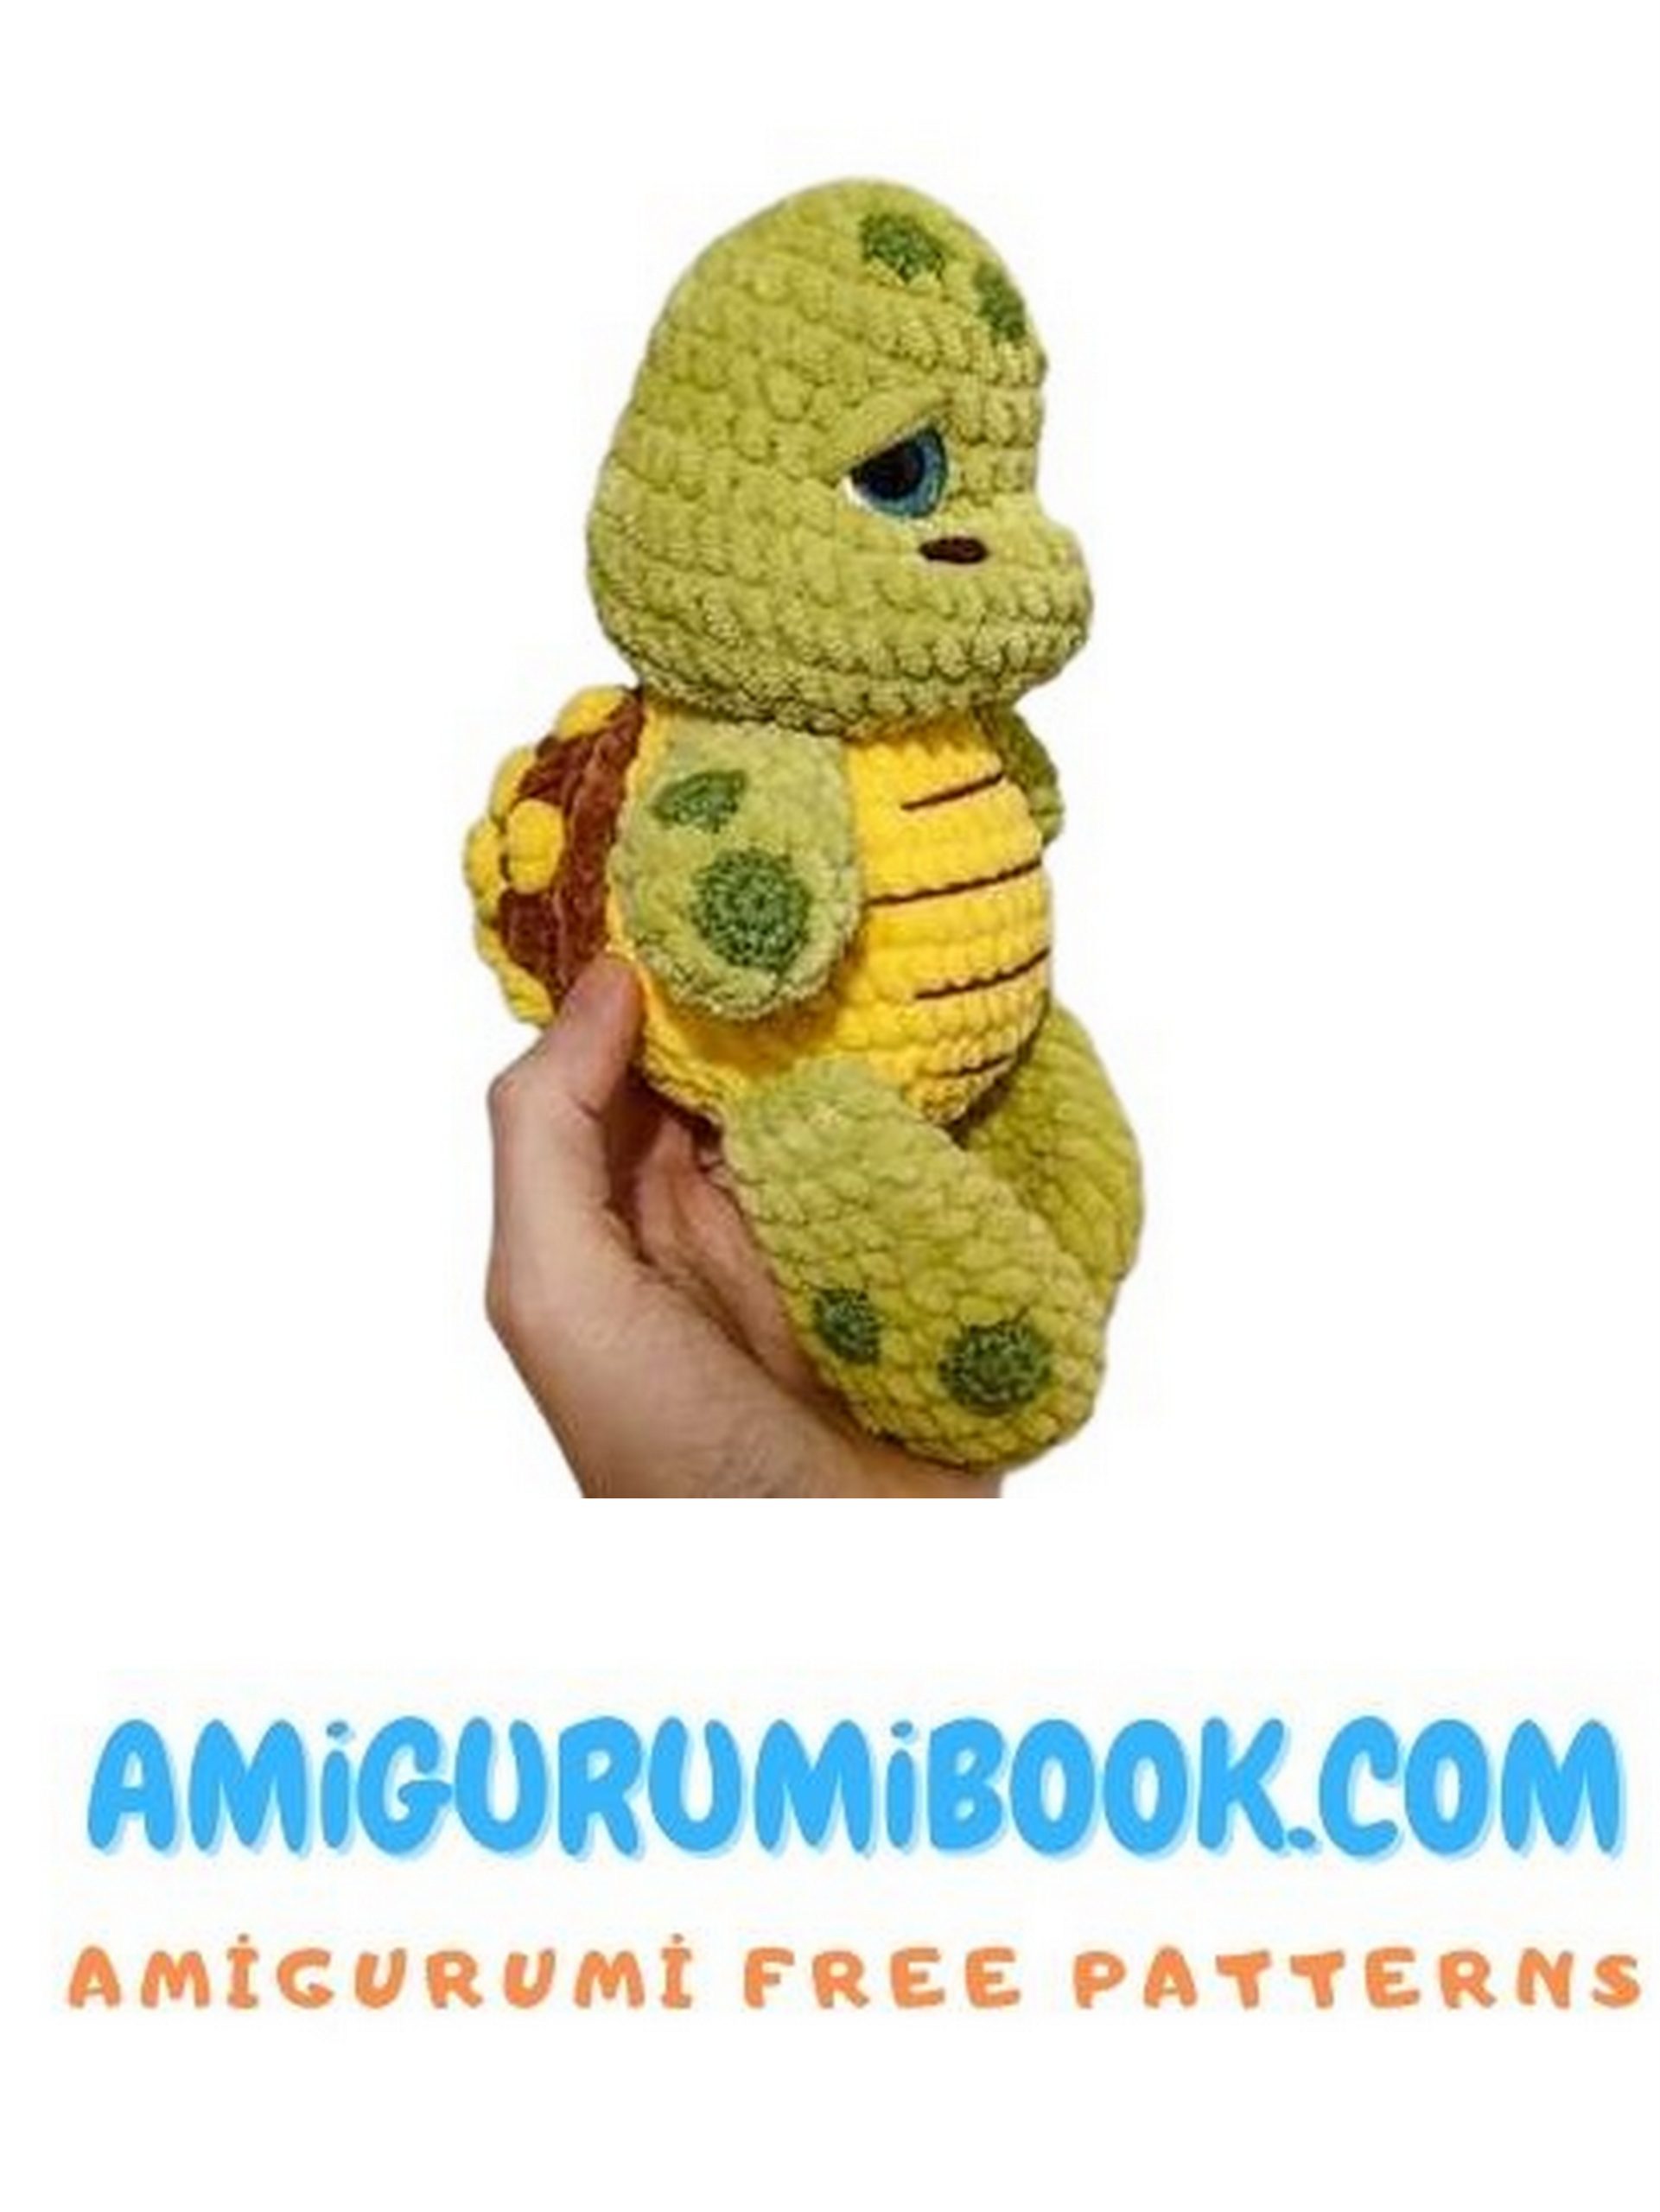
Discover the joy of crocheting with our amigurumi free pattern for an adorable turtle amigurumi! Whether you’re a seasoned crocheter or just starting out, this project is perfect for all skill levels. With step-by-step instructions and photos, you’ll soon have your very own cute little turtle to cuddle or gift to a loved one. Let your creativity flow as you choose your favorite colors and bring this charming creature to life. Get ready to dive into the world of amigurumi and create something truly special!
MATERIALS:
1: I use YarnArt Dolce yarn, 100m/120g (you can use any yarn you like with the same yardage).
I used yarn in the following colors:
2: 3mm crochet hook (or any other suitable for your yarn and tension)
3: 18mm safety eyes
4: Polyester fiberfill
5: Scissors
6: Wide-eyed needle for sewing parts together
7: For decorating the face, you will need sturdy thread for weighting, matching the turtle color, dark brown thread for embroidering the nose and stripes on the belly (I use YarnArt Jeans yarn No.70 for them), as well as thread for sewing the shell (I sew with sewing threads folded in two, matching the color of the shell)
Toy height approximately 22cm (when using materials specified in the tutorial)
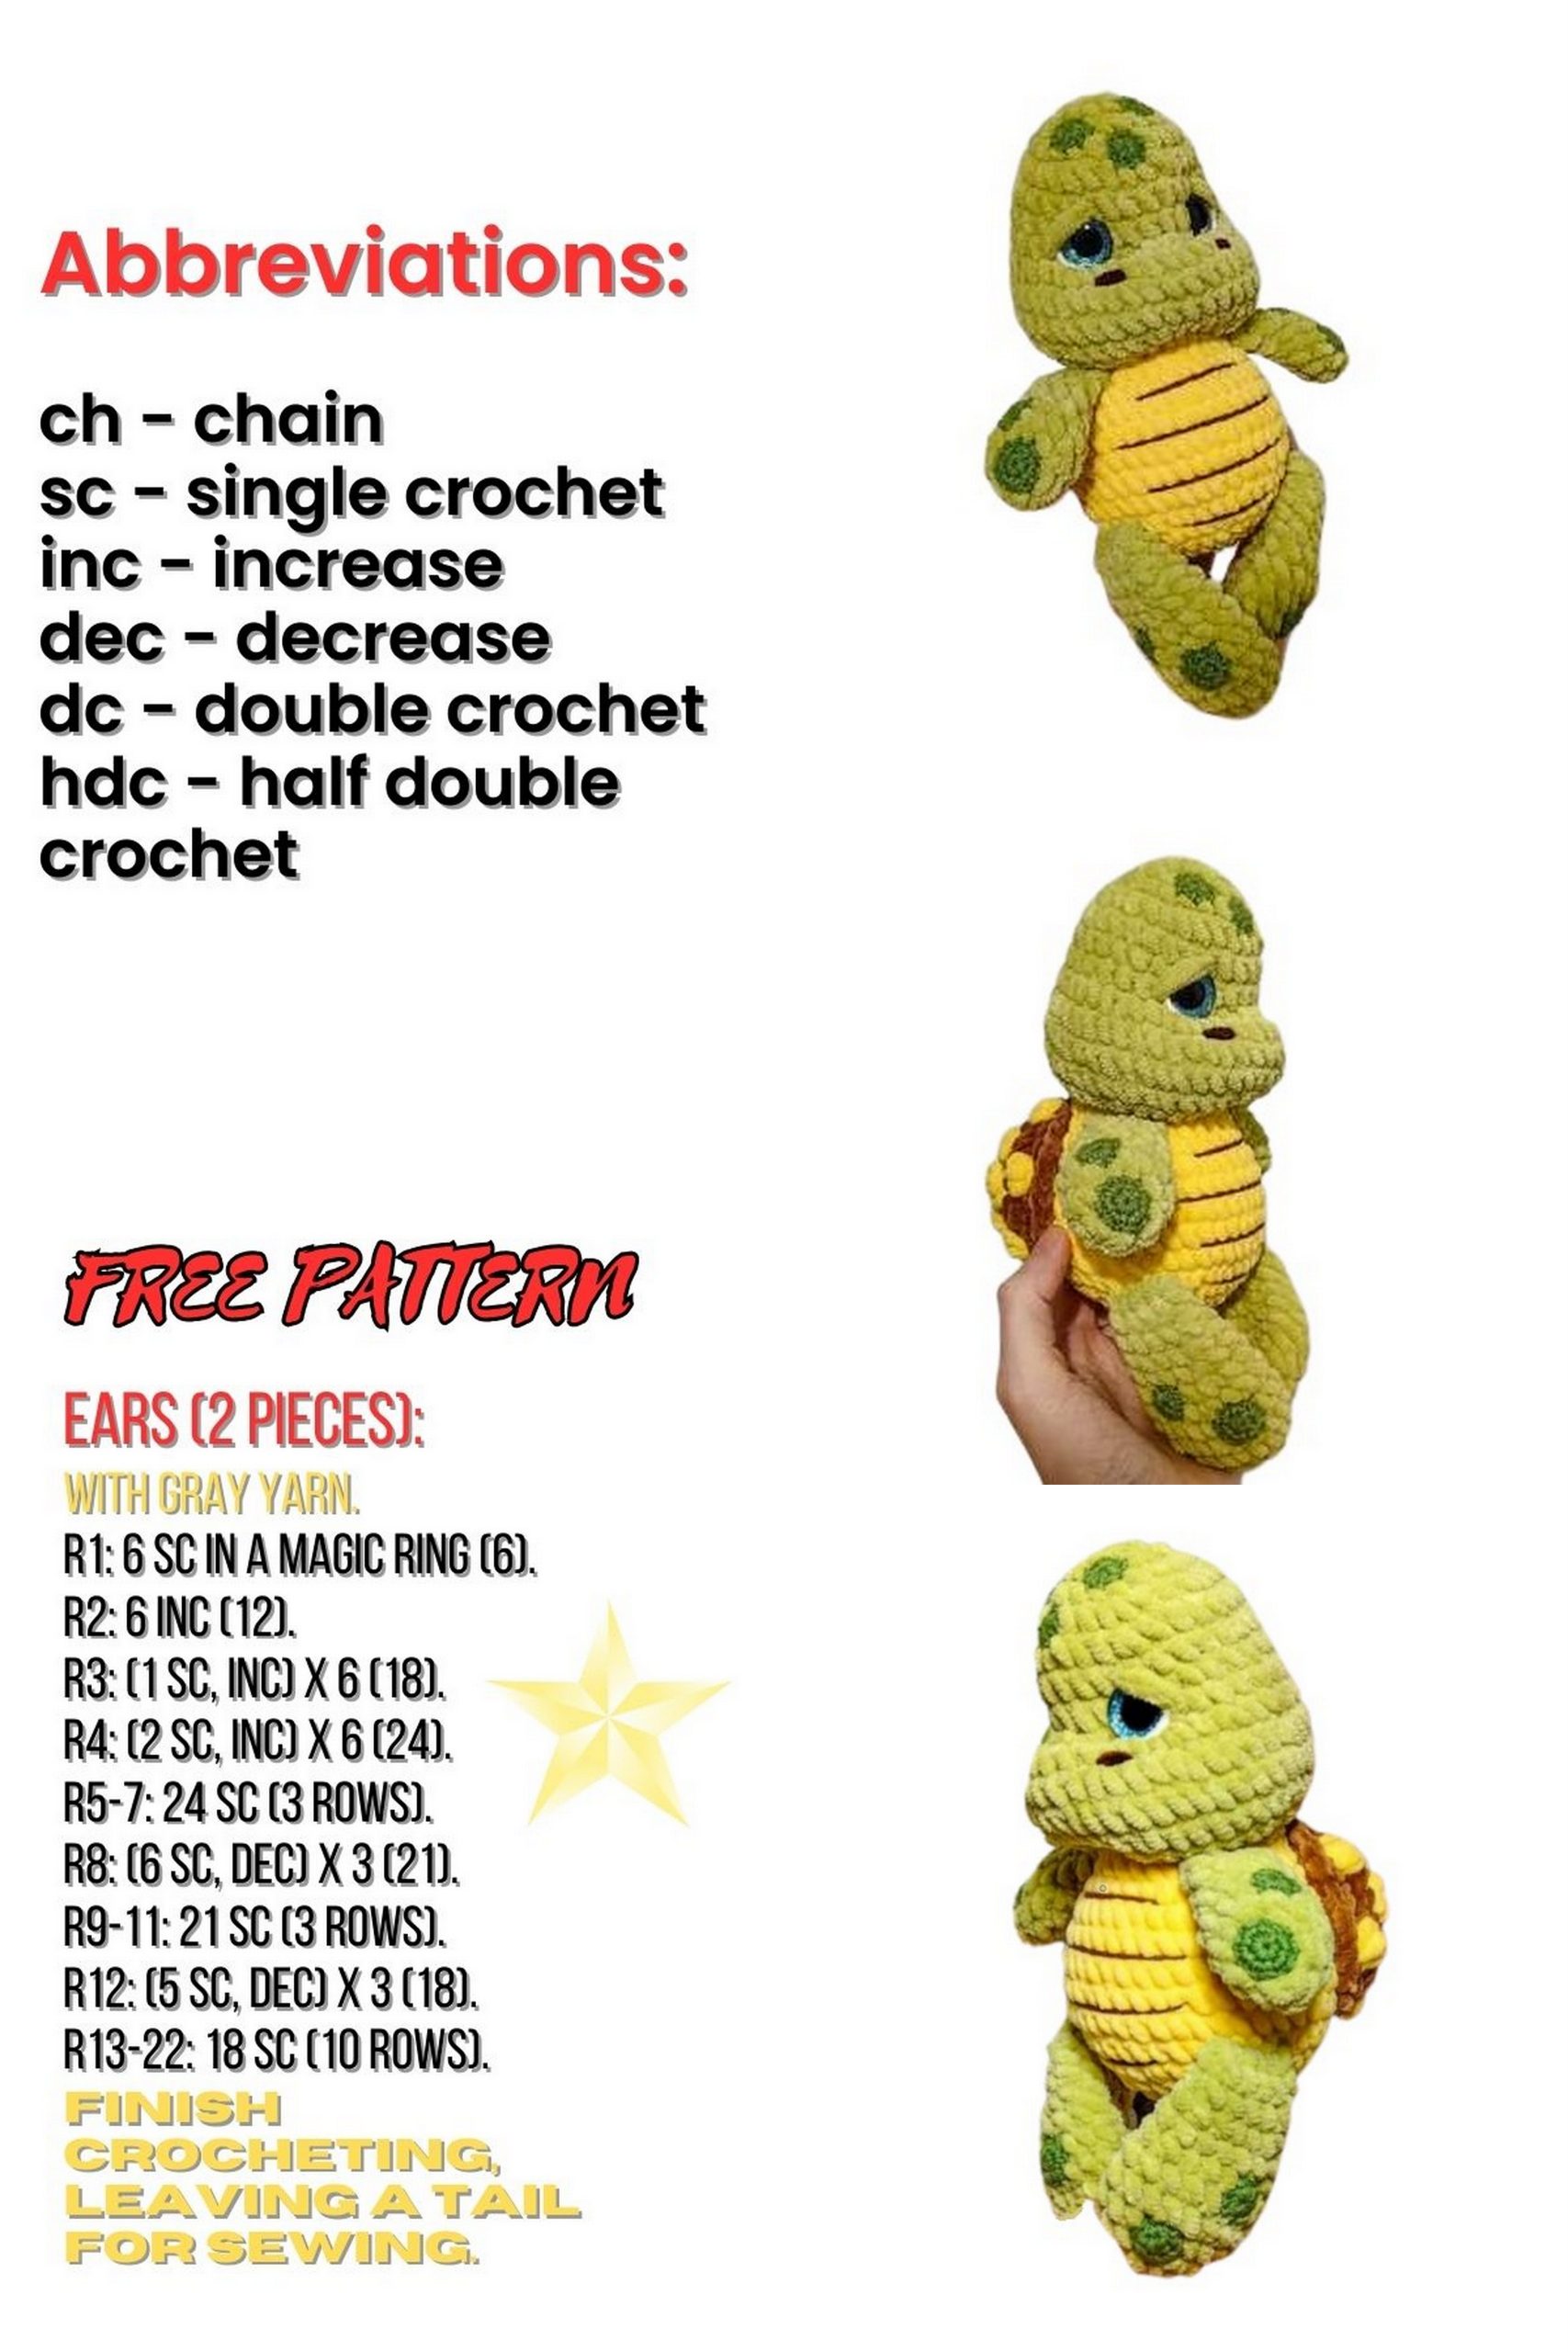
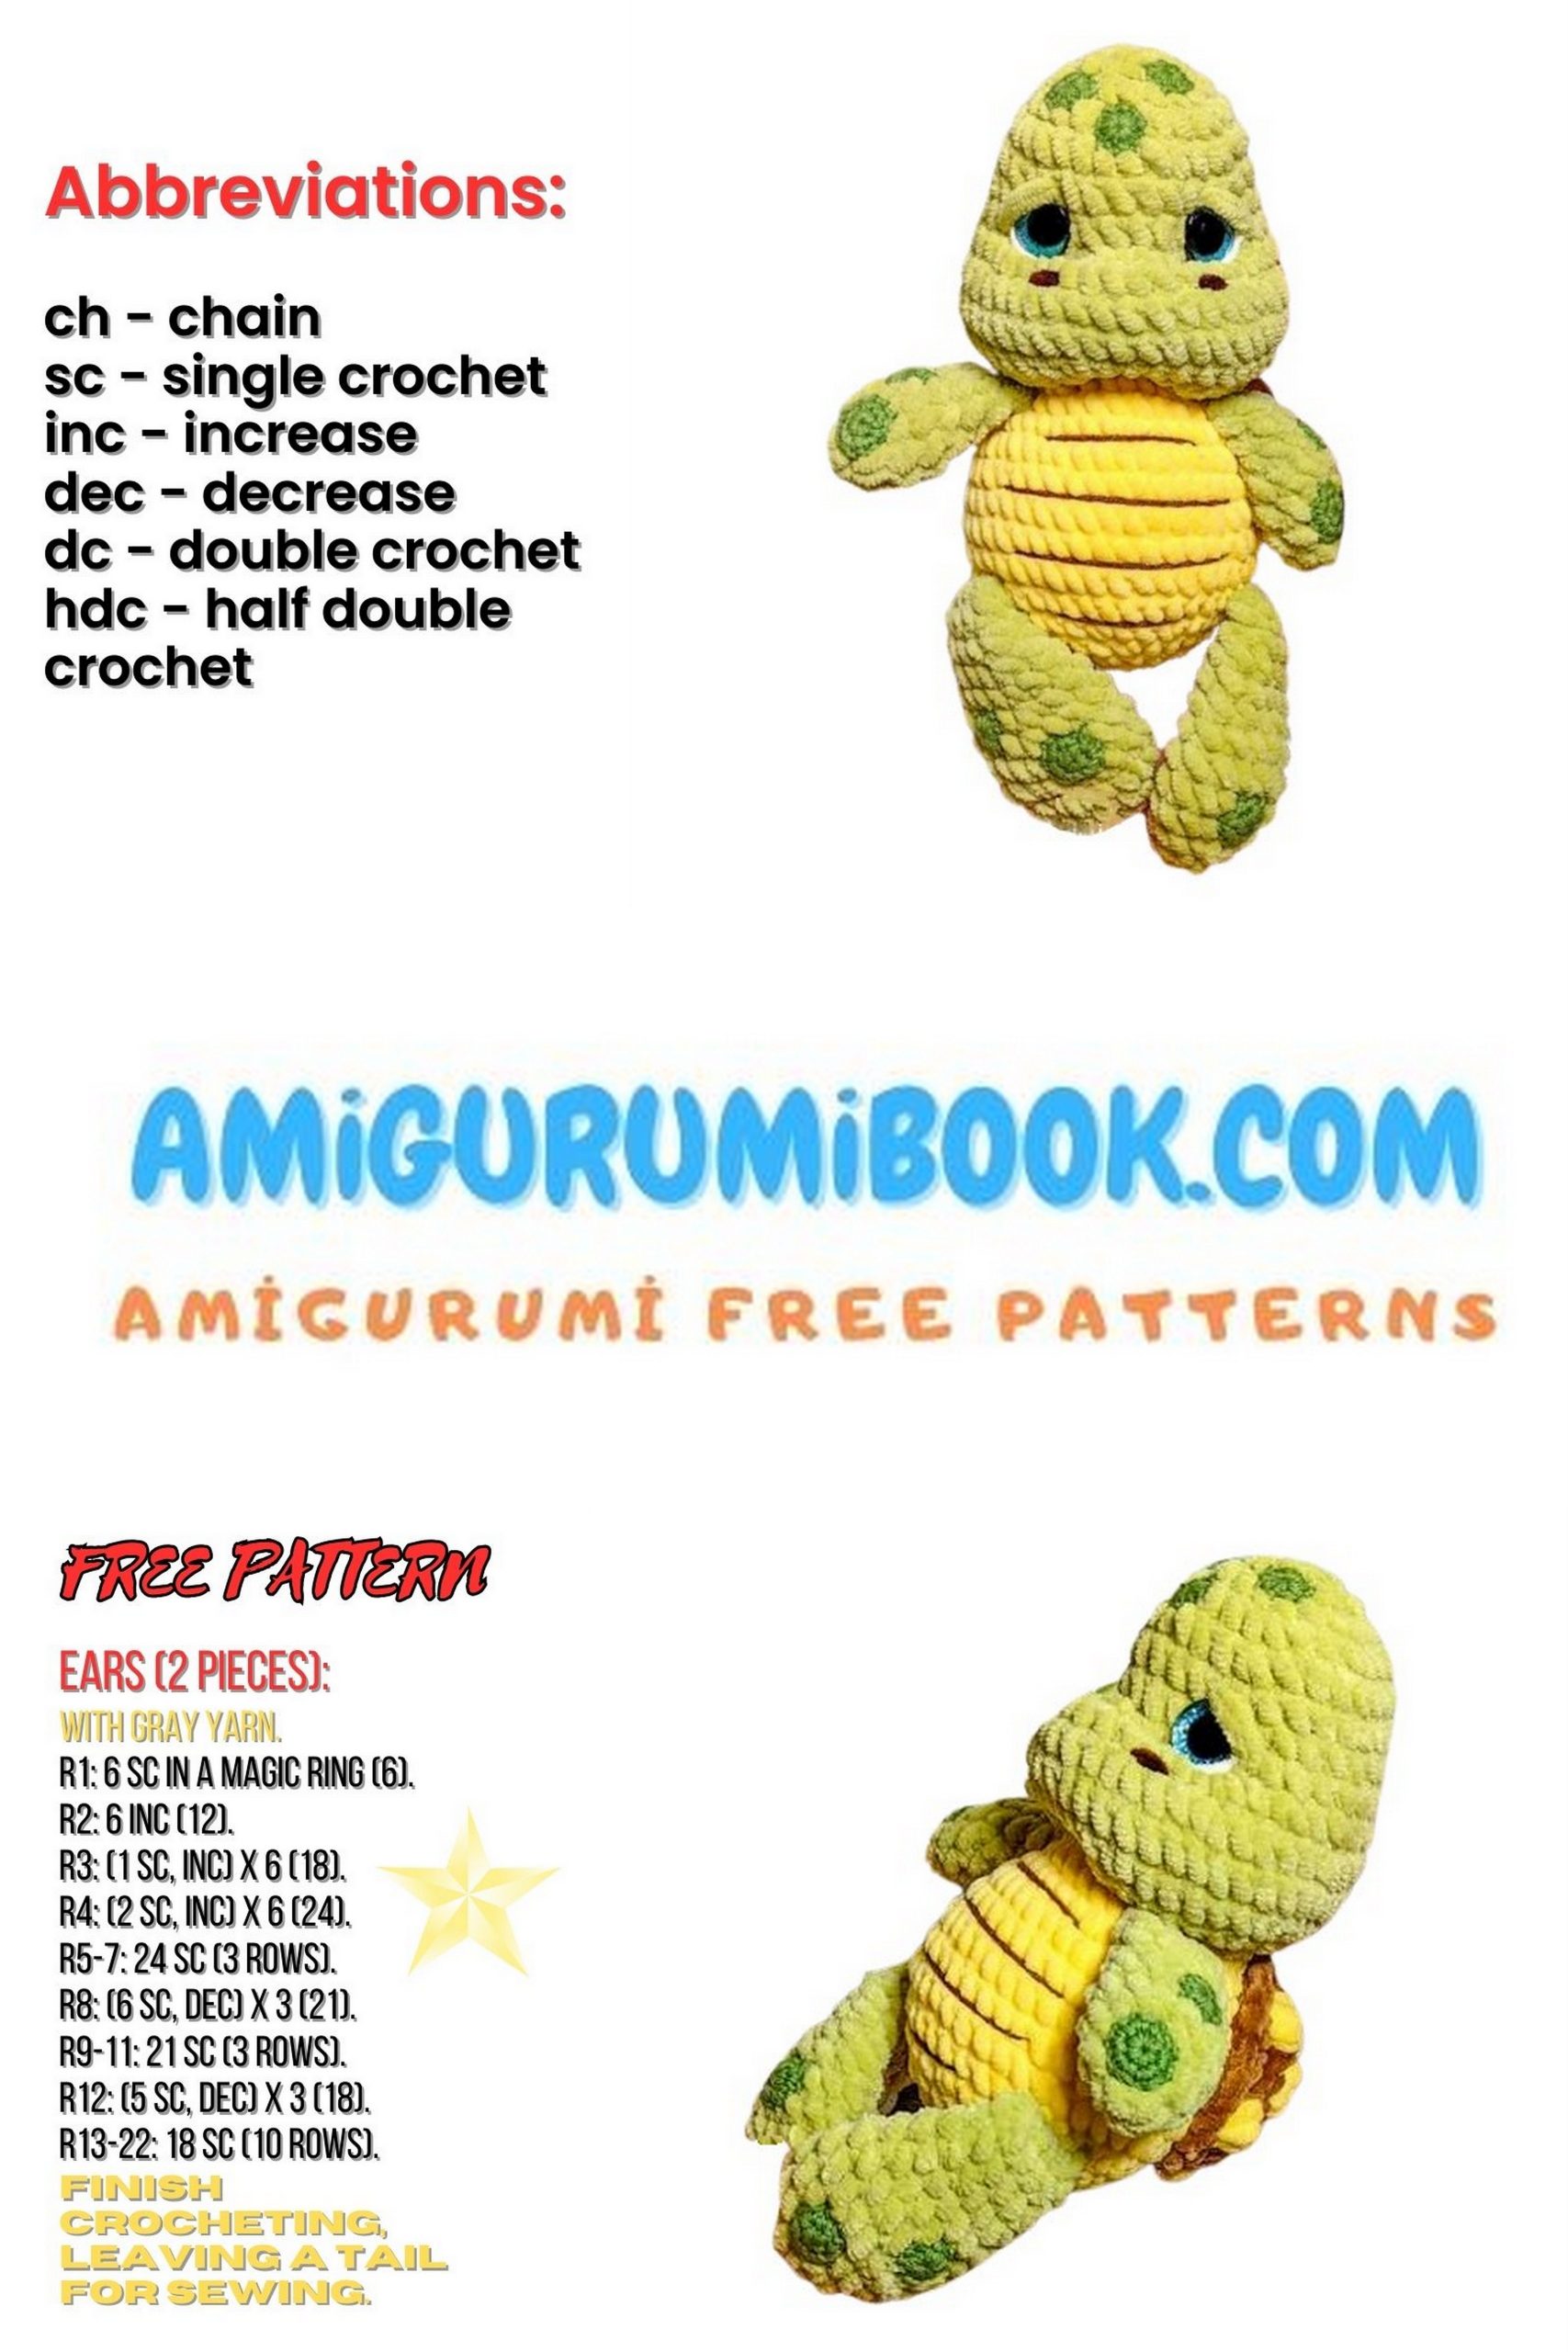
Abbreviations:
MR – magic ring;
ch – chain;
sc – single crochet;
inc – increase (2 single crochets in one stitch);
dec – decrease (single crochet two stitches together);
sl st – slip stitch;
(sc, inc) x n – repeat what is in the parentheses n times.
“Shishka”/Bobble Stitch – I crochet it from 3 unfinished double crochets with a yarn over together in one stitch.
Wishing you pleasant crocheting and even stitches, yours

PATTERN
Upper flippers (2 pieces):
We start crocheting with flippers, as we will crochet them in the process.
1: 6 sc in MR
2: 6 inc (12)
3-4: 12 sc
5: (2 sc, dec) x 3 (9)
6-7: 9 sc
Do not stuff. Fold in half and crochet 4 sc through both parts. Secure the thread, cut it, and hide it inside the part.
Lower flippers (2 pieces):
1: 6 sc in MR
2: 6 inc (12)
3: (1 sc, inc) x 6 (18)
4-5: 18 sc
6: (7 sc, dec) x 2 (16)
7: (6 sc, dec) x 2 (14)
8: 14 sc
9: (5 sc, dec) x 2 (12)
10: (4 sc, dec) x 2 (10)
11: 10 sc
Do not stuff.
Fold in half and crochet 4 sc through both parts. Secure the thread, cut it, and hide it inside the part.
Turtle Amigurumi Head and Body:
We start with green color:
1: 6 sc in MR
2: 6 inc (12)
3: (1 sc, inc) x 6 (18)
4: (2 sc, inc) x 6 (24)
5: (3 sc, inc) x 6 (30)
6-7: 30 sc
8: 10 sc, (1 sc, inc) x 5, 9 sc, inc (36)
9: 6 sc, (1 sc, inc) x 3, 12 sc, (1 sc, inc) x 3, 6 sc (42)
10-11: 42 sc
Insert 18mm safety eyes between rows 7-8, placing them above the first and last increases made in row 8.
12: (5 sc, dec) x 6 (36)
13: (4 sc, dec) x 6 (30)
14: (1 sc, dec) x 10 (20)
Stuff the head.
First increase
Place eyes here
Last increase
BODY and head:
Continue crocheting the body, change yarn to yellow:
15: (1 sc, inc) x 10 (30)
16: In this row, we incorporate upper flippers:
8 sc, 4 sc together with the first flipper, 9 sc, 4 sc together with the second flipper, 5 sc (30)
Make sure to keep the flippers symmetrical and aligned relative to the eyes; if necessary, adjust the stitches and position the flippers under your crochet.
17: (2 sc, inc) x 10 (40)
18-22: 40 sc (5 rows)
23: In this row, we incorporate lower flippers:
13 sc, 4 sc together with the first flipper, 13 sc, 4 sc together with the second flipper, 6 sc (40)
Make sure to keep the flippers symmetrical relative to the upper flippers; if necessary, adjust the stitches and position the flippers under your crochet.
24: (2 sc, dec) x 10 (30)
25: (3 sc, dec) x 6 (24)
Stuff the body firmly.
26: (2 sc, dec) x 6 (18)
27: (1 sc, dec) x 6 (12)
28: 6 dec (6)
Pull the hole closed and hide the thread inside the part.
Arrange the flippers neatly one above the other.
Eyes here


Turtle Amigurumi Shell:
Crochet the shell in the round (join the end of each round with a slip stitch to the beginning, then make a chain stitch as a turning chain and continue crocheting).
Bobble stitch technique is used for crocheting the shell. I make bobbles from 3 unfinished double crochets with a yarn over together in one stitch.
IMPORTANT! Change yarn colors in advance, as shown in the example:
To have beautiful transitions and everything neat. Crochet with two colors of yarn.
Start with brown color:
1: 6 sc in MR
2: 6 inc (12)
3: (bobble stitch in yellow, inc) x 6 (18)
4: 18 sc
5: (2 sc, bobble stitch in yellow, inc) x 6 (24)
6: 24 sc
Edge around the shell with slip stitches through the front loops of stitches. Secure the thread, cut it, and hide it. Stuff the shell and sew it to the turtle’s back. I sew the shell with sewing threads folded in two, matching the tone.
Turtle Amigurumi Weighting:
I do weighting in 3 stages. We execute it according to the following scheme:
STAGE 1: 1-2-3-1 (first eye), 1-4-5-1 (second eye)
Tighten the threads, tie knots, and move on to STAGE 2: 1-2-3-4-5-1
Tie knots again and move on to STAGE 3 (weighting the face).
Result of stage 1
Turtle Amigurumi Spots:
Crochet 7 small spots: 10 sc in MR, sl st
Crochet 4 large spots:
1: 6 sc in MR
2: 6 inc, sl st (12)
Leave threads for sewing.
STAGE 3. Face weighting: 1-2-3-1
Thread the needle from one eye to the other
Bring it out at point 1,
and pull tight to lift the face.
Then tie knots again
and hide the thread inside the head.
THANK YOU FOR CROCHETING the turtle WITH ME!
DONE!
Assembly and decoration:
Shape the face. Embroider eye whites with white yarn, eyelids with green, nose with dark brown. Sew on the shell, first securing it with pins. Sew on the spots on the head (3 pieces), and on the flippers (2 pieces on each flipper). Also, embroider 4 brown stripes on the belly, I use YarnArt Jeans yarn (No.70) for them.