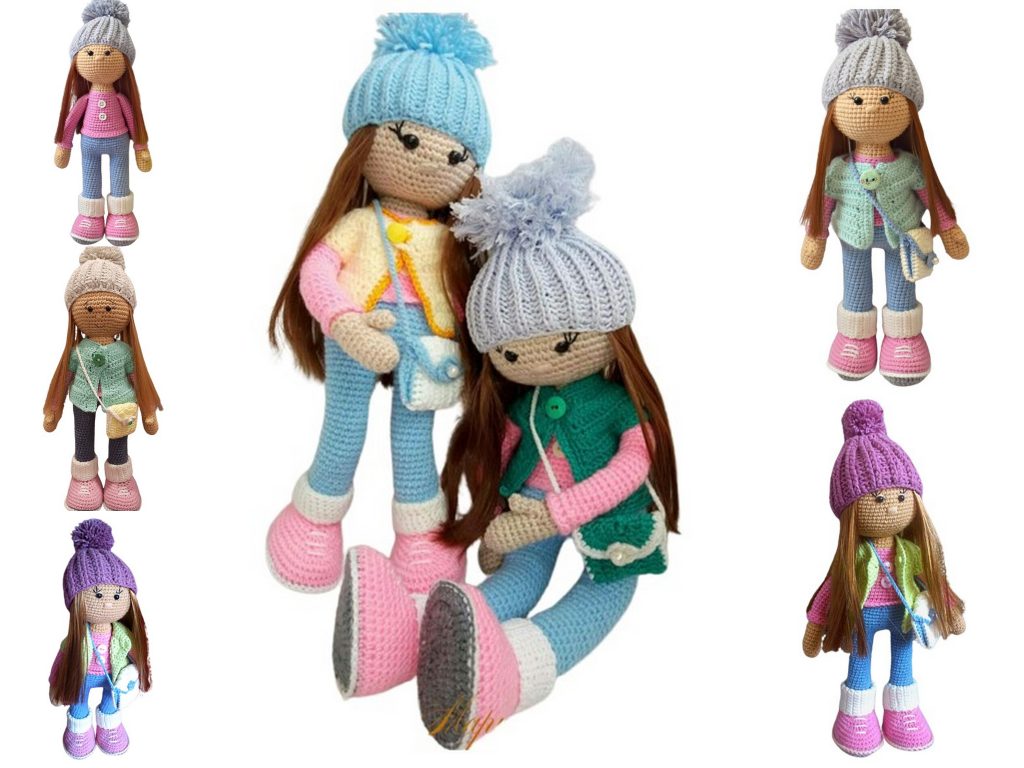
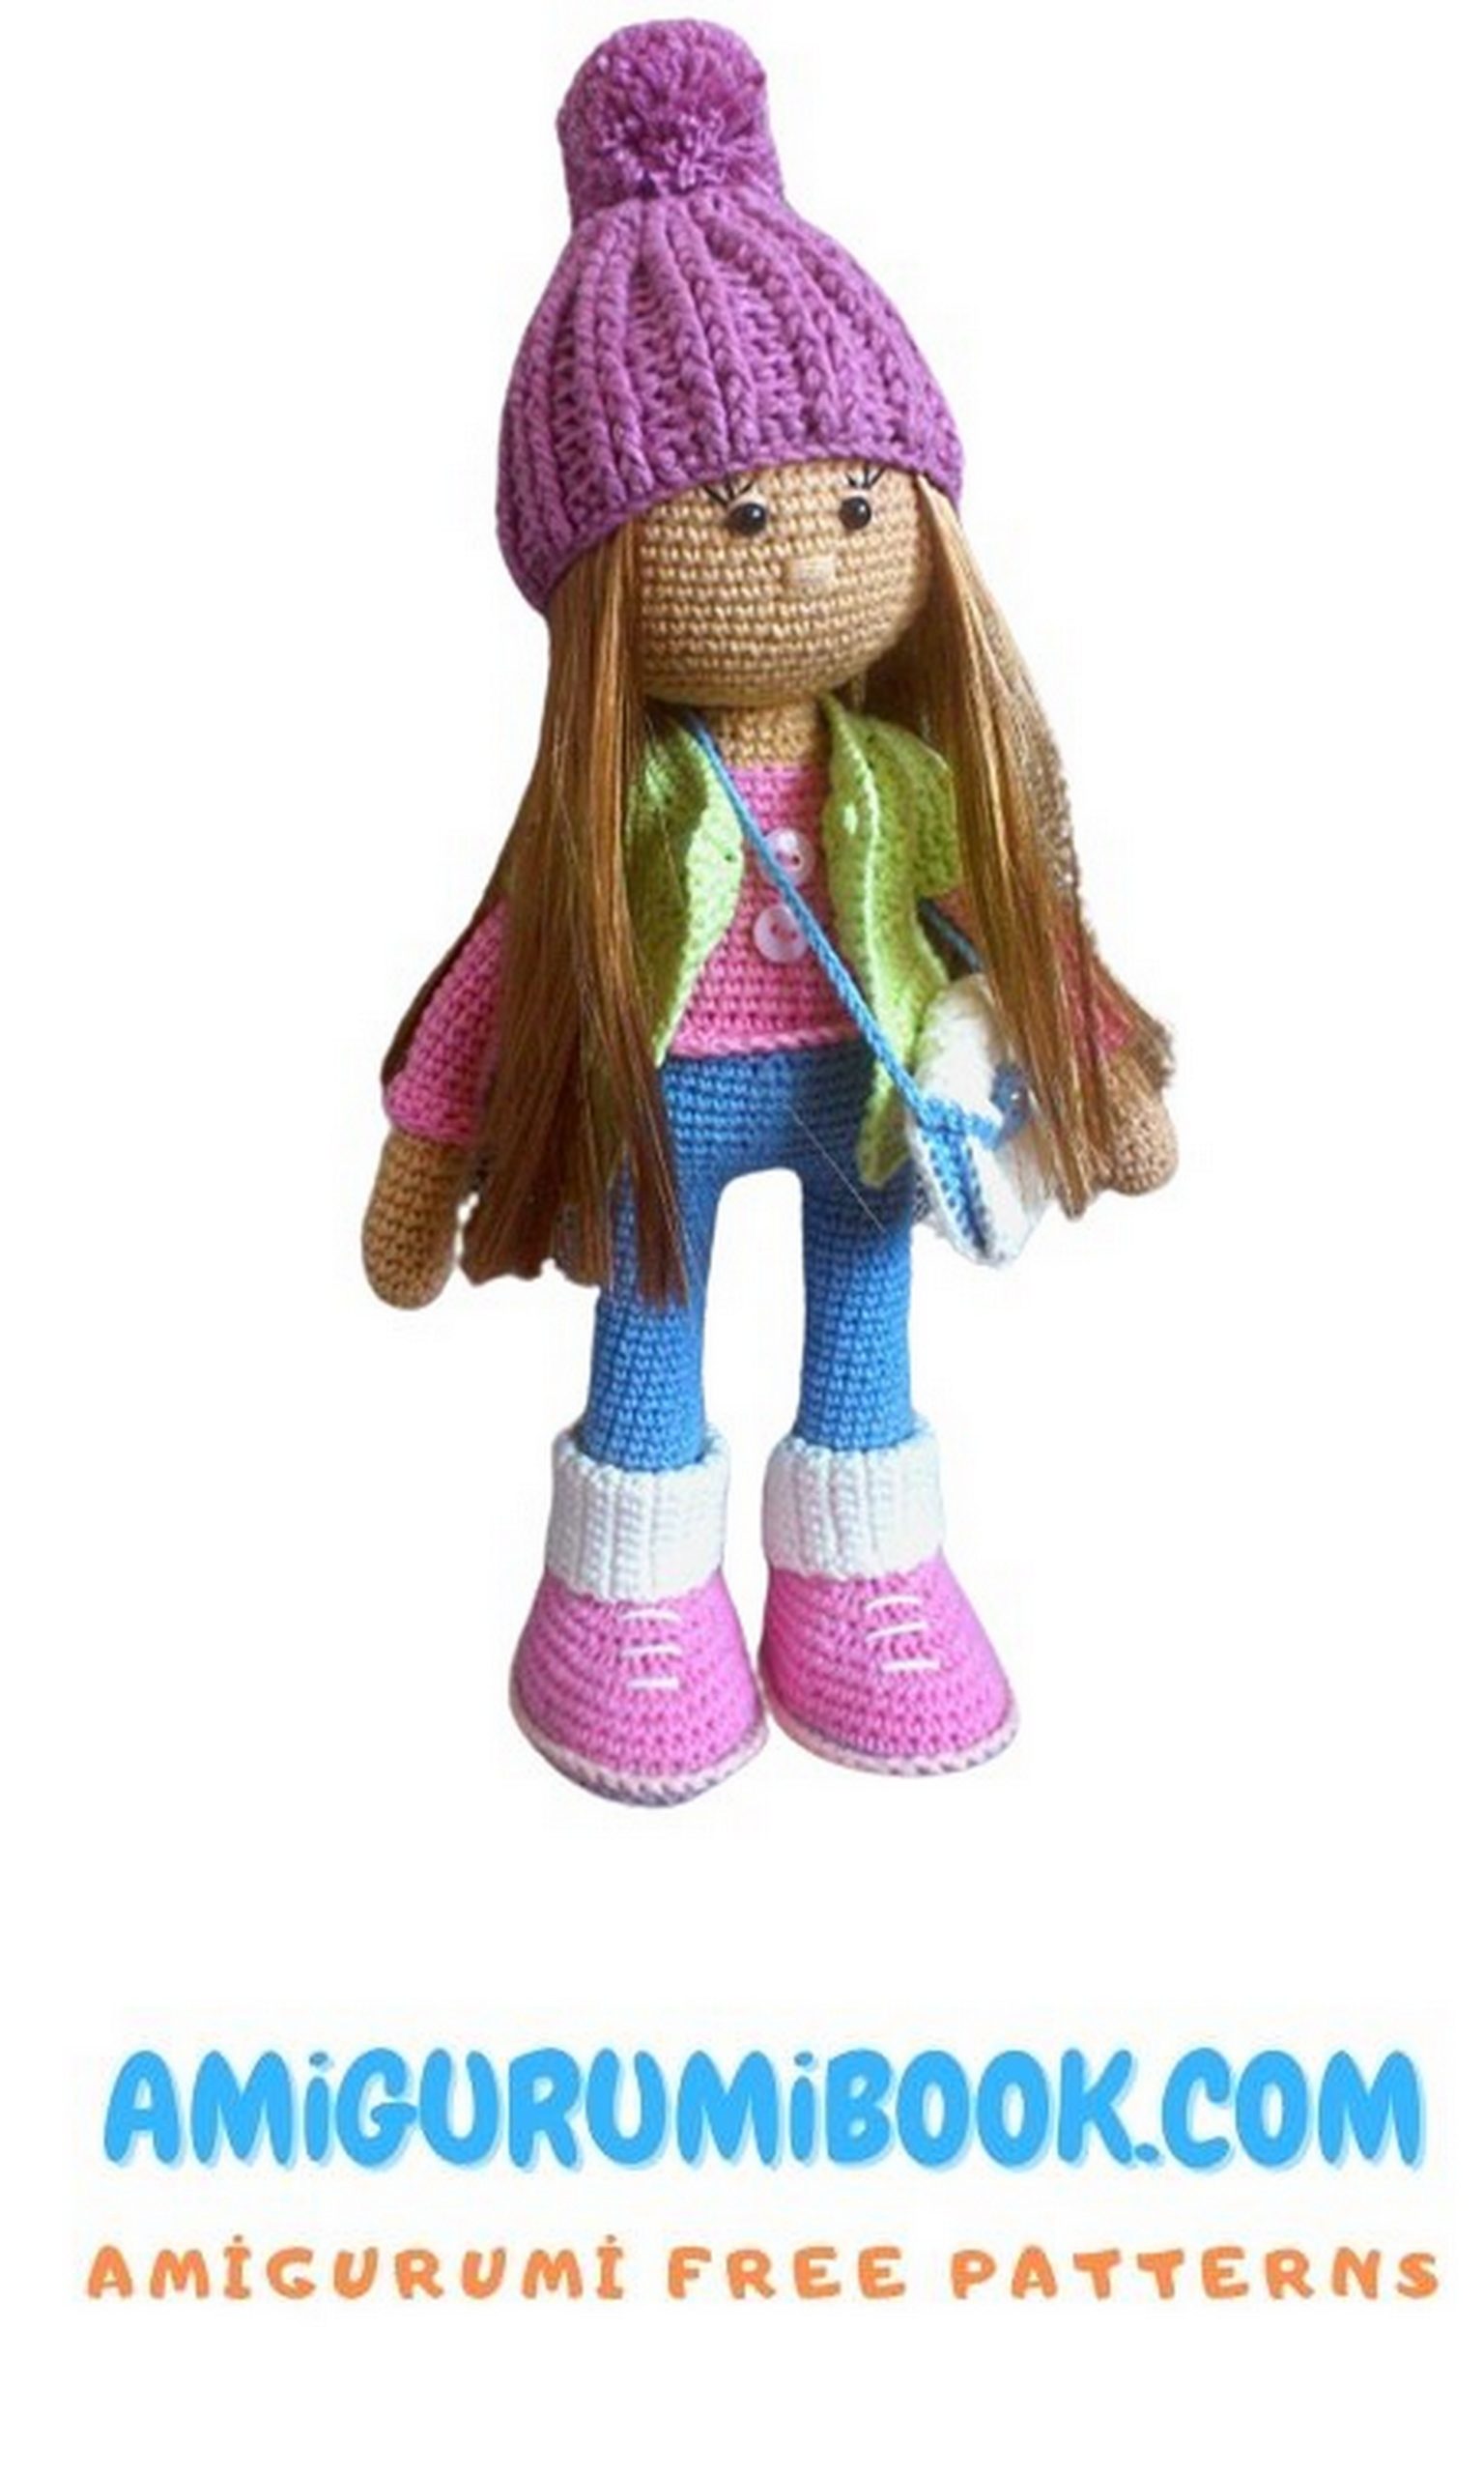
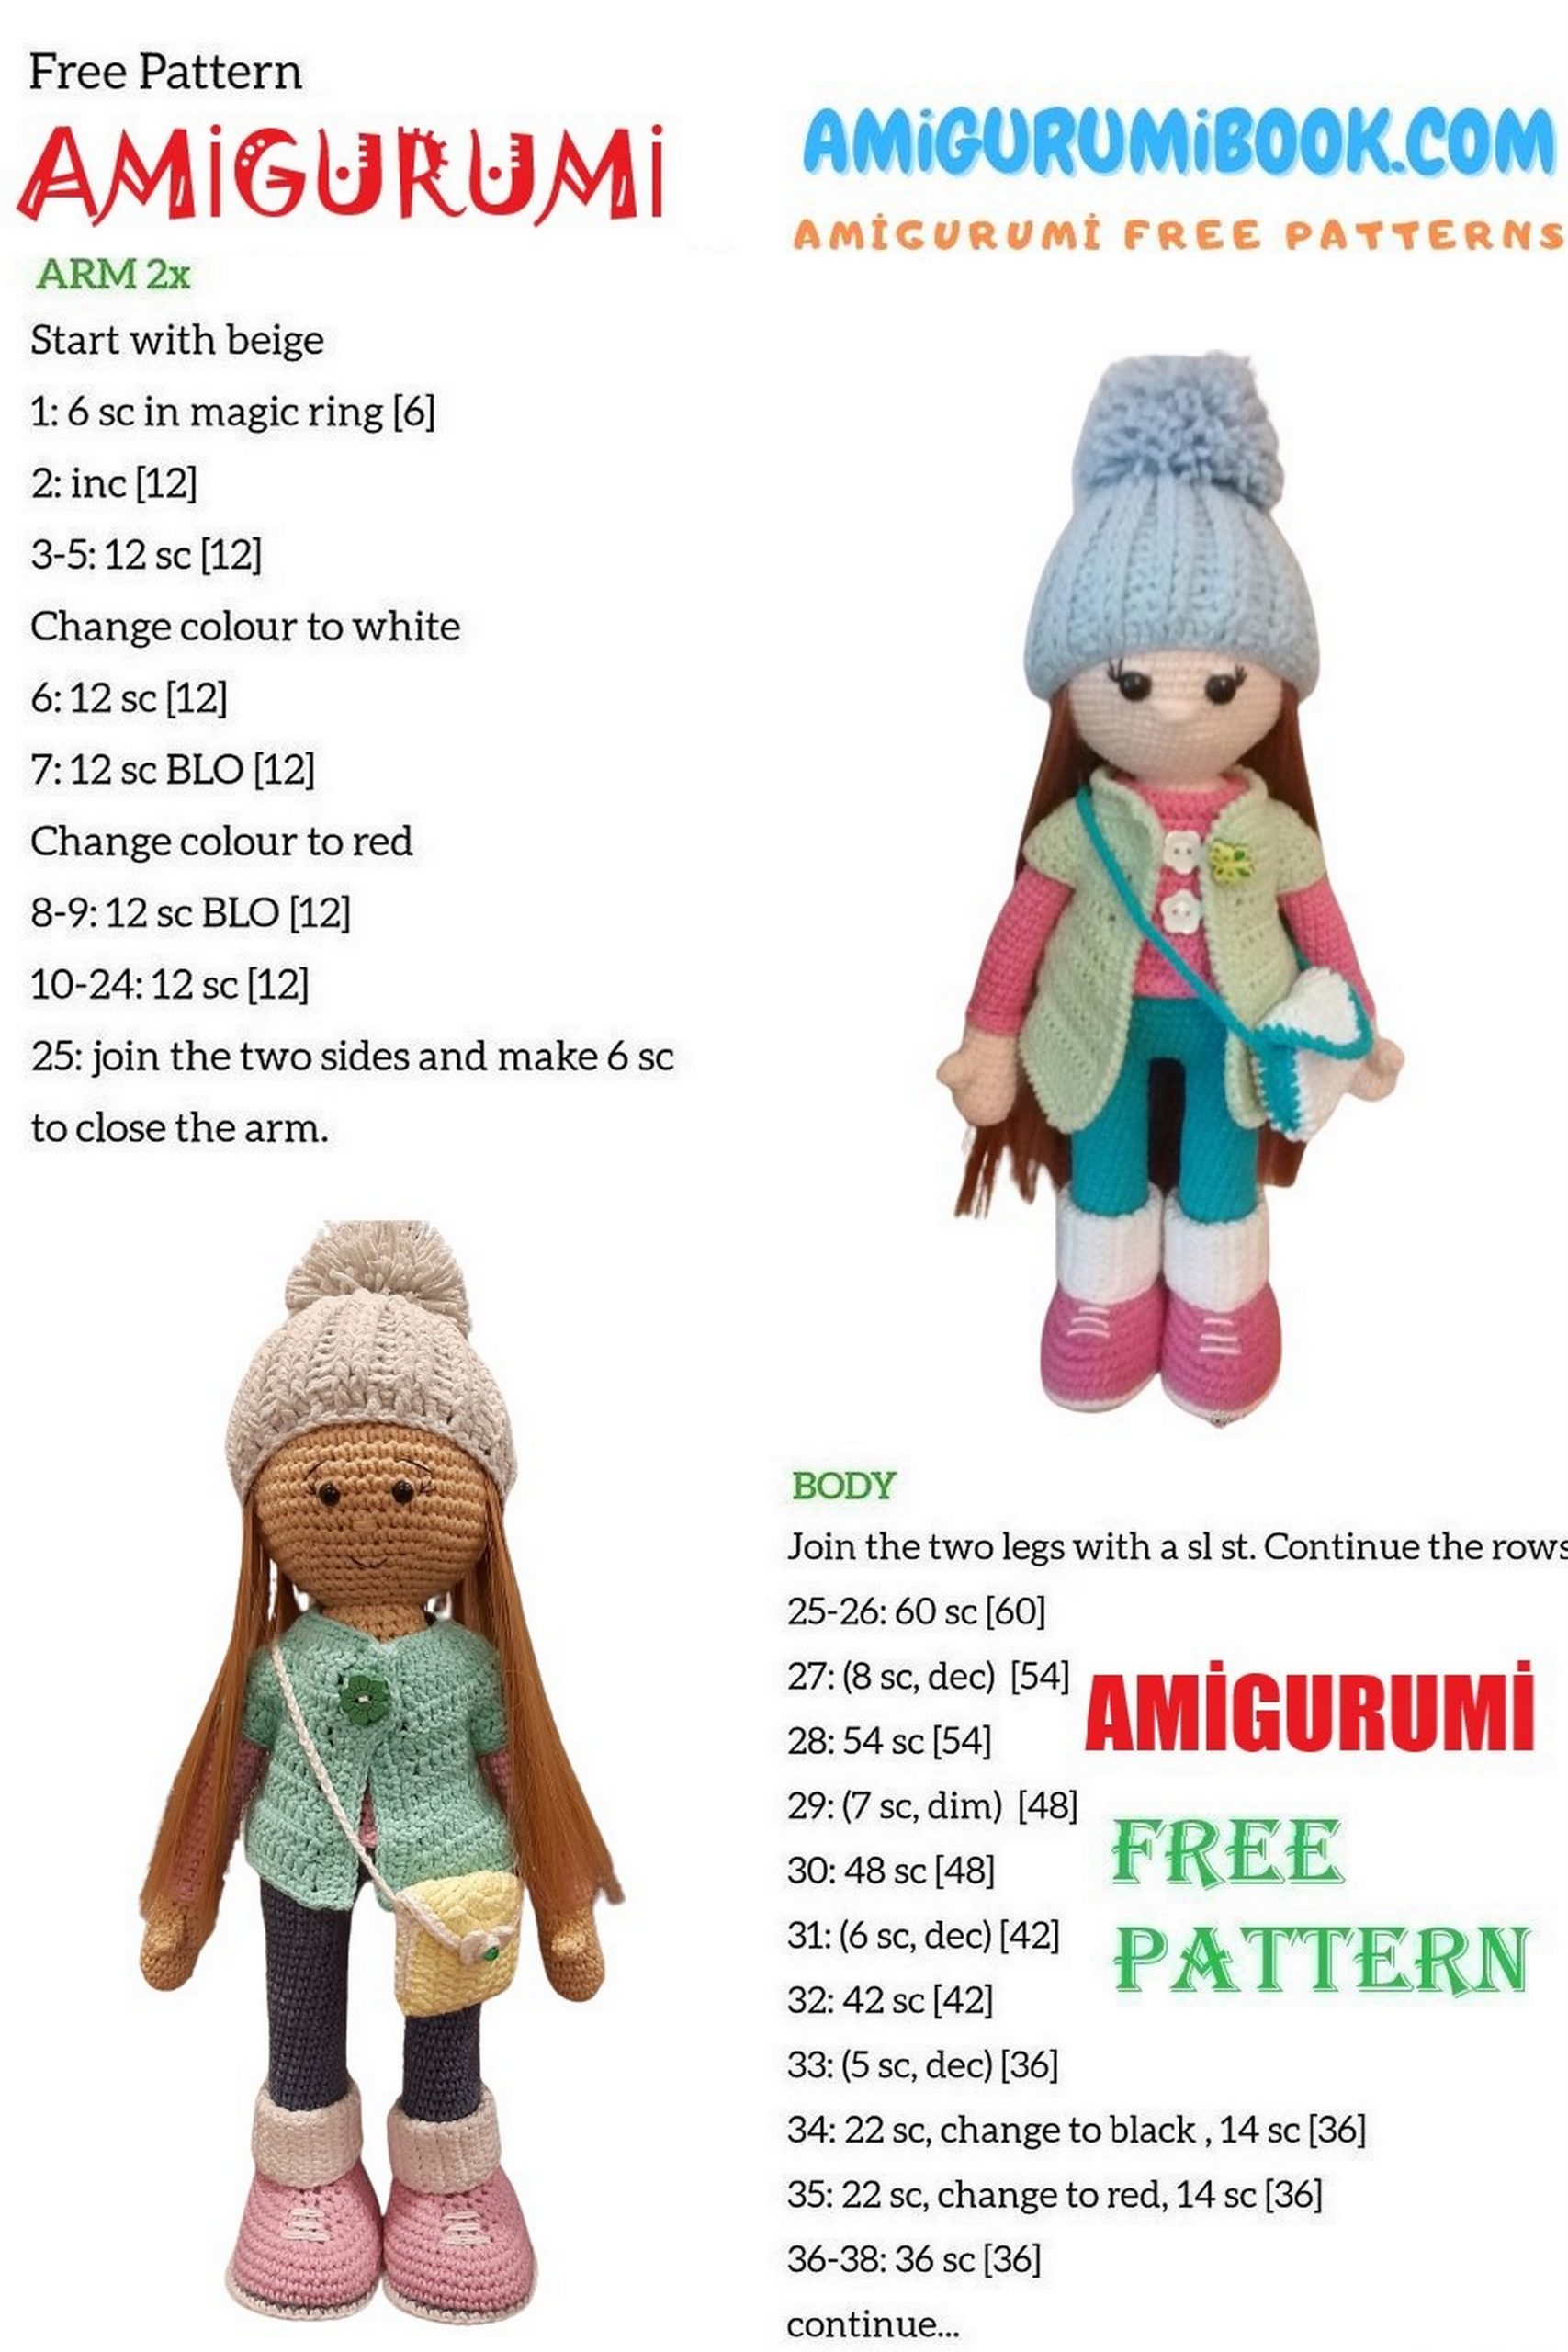
The Amigurumi Doll Tatiana free pattern offers a delightful and easy-to-follow guide for creating a charming handmade doll. Perfect for both beginners and experienced crafters, this pattern provides all the details needed to bring Tatiana to life with yarn and creativity. free crochet patterns
You may also like more amigurumi patterns.
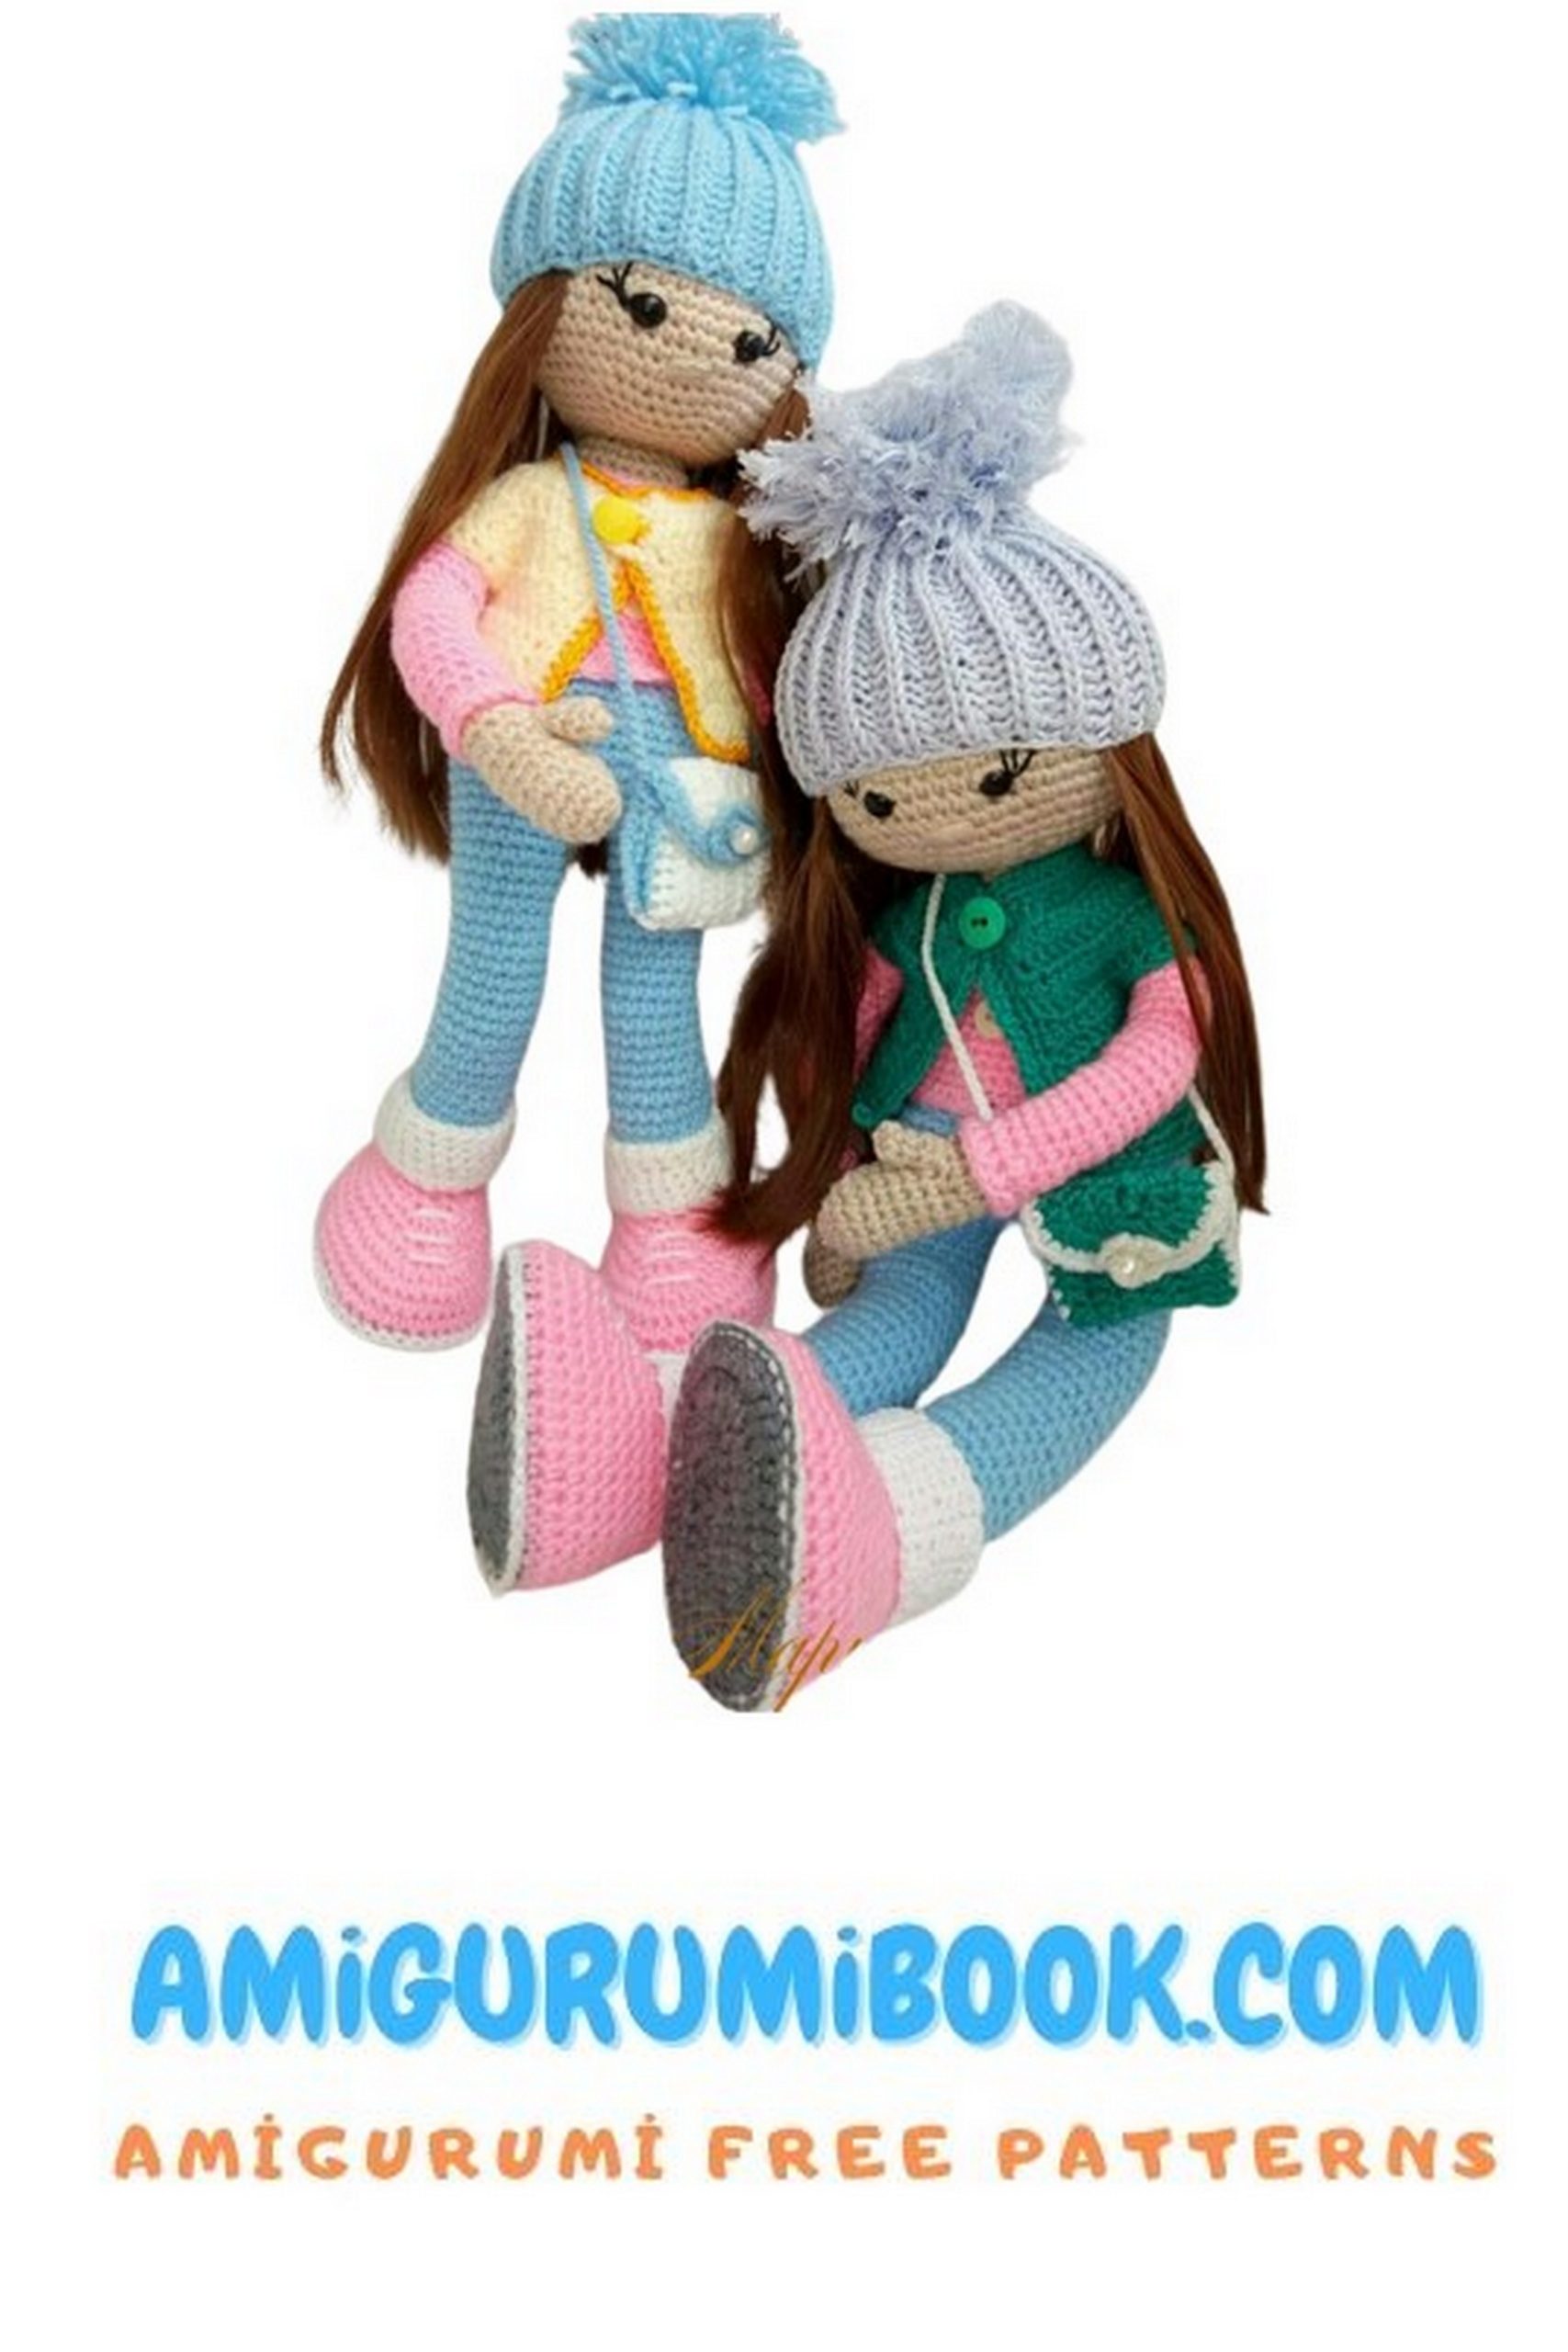
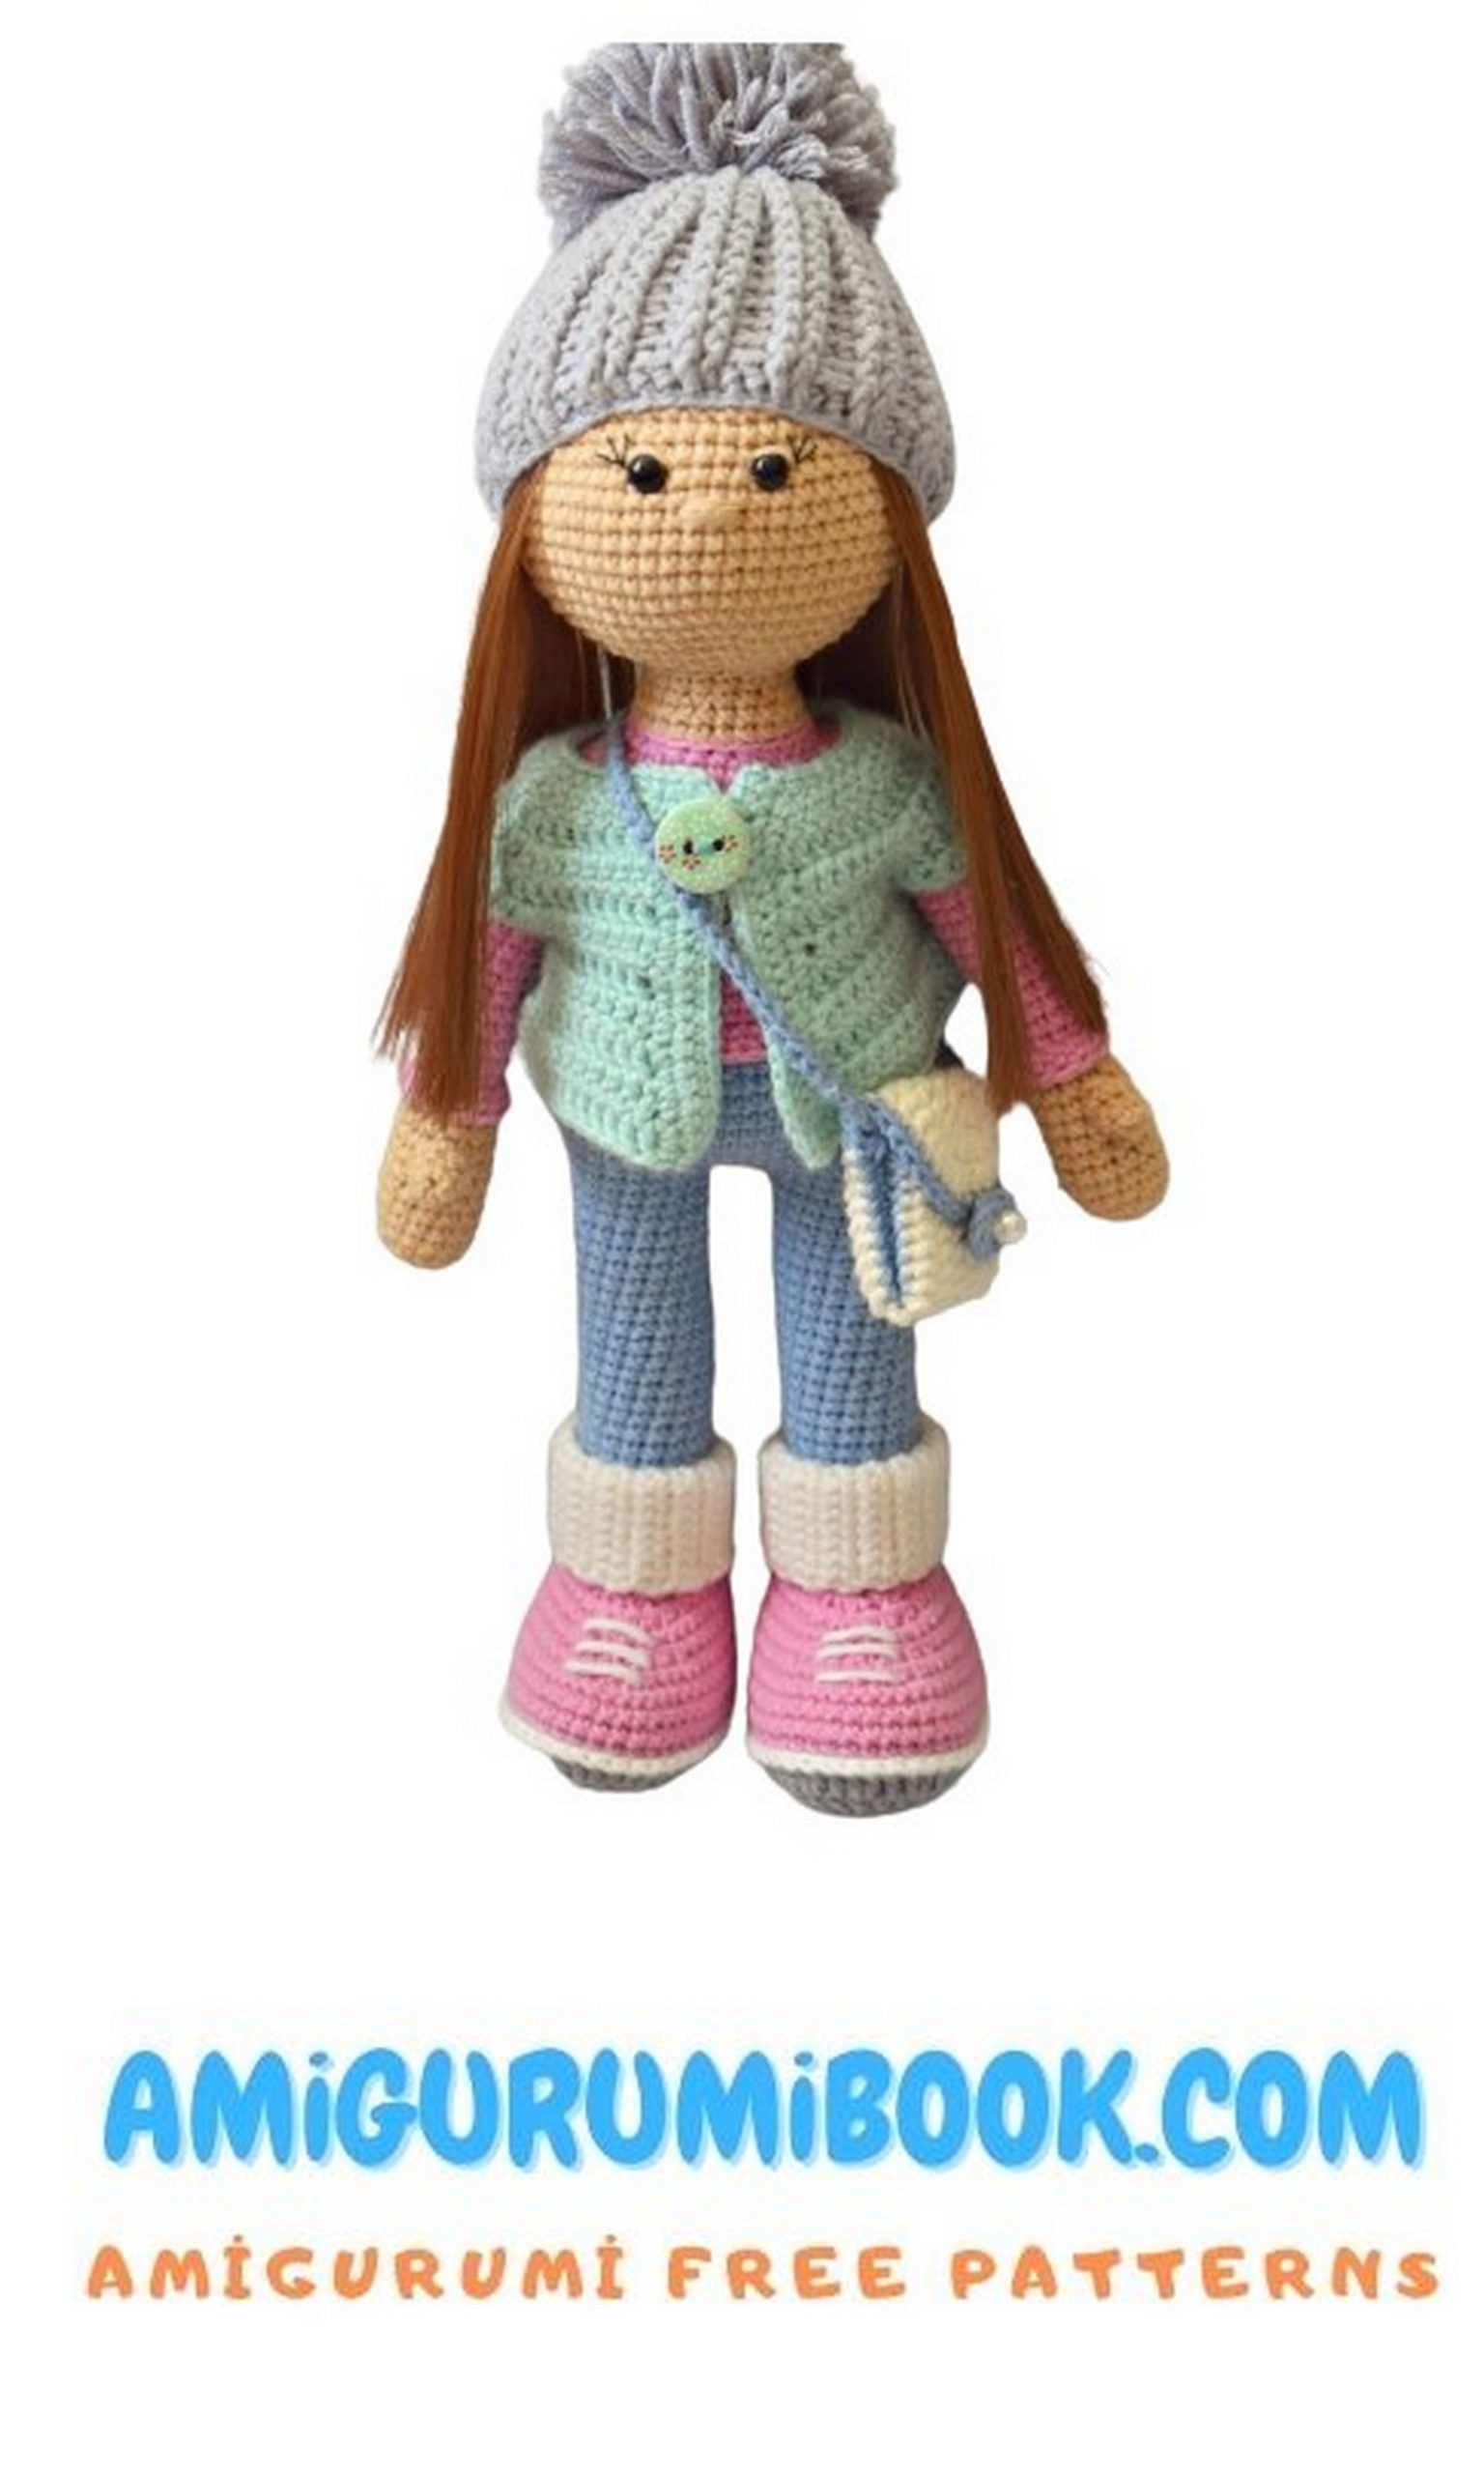
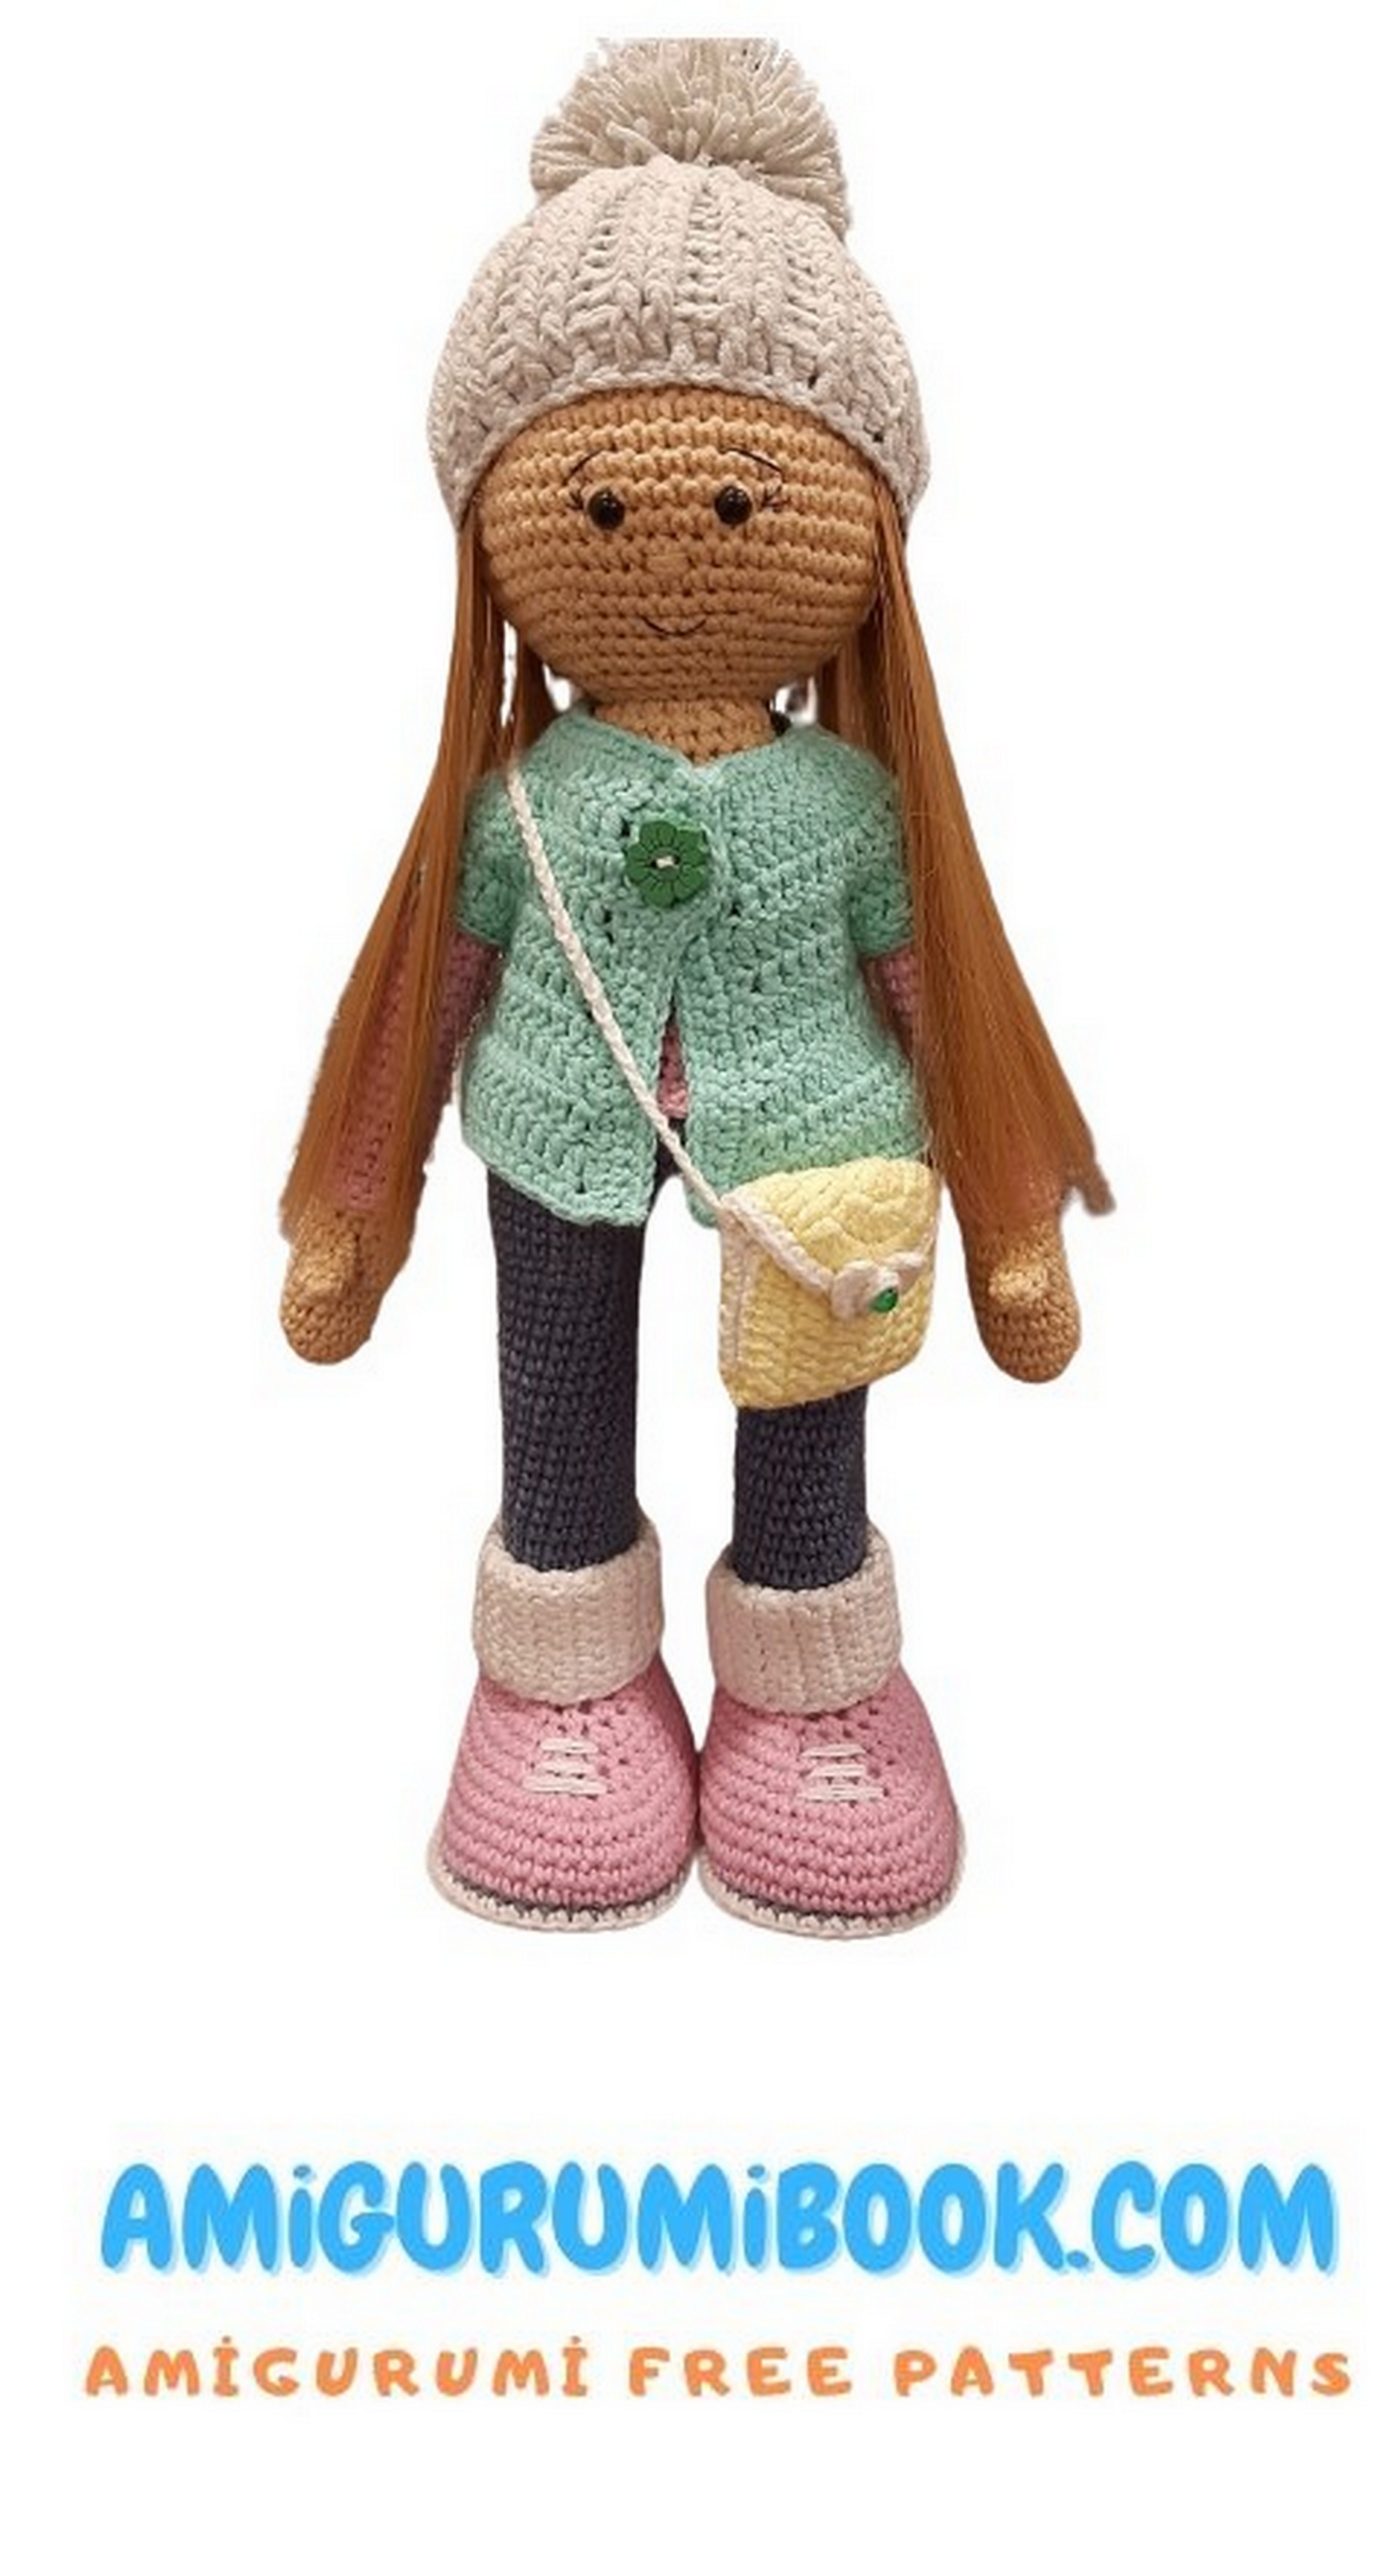
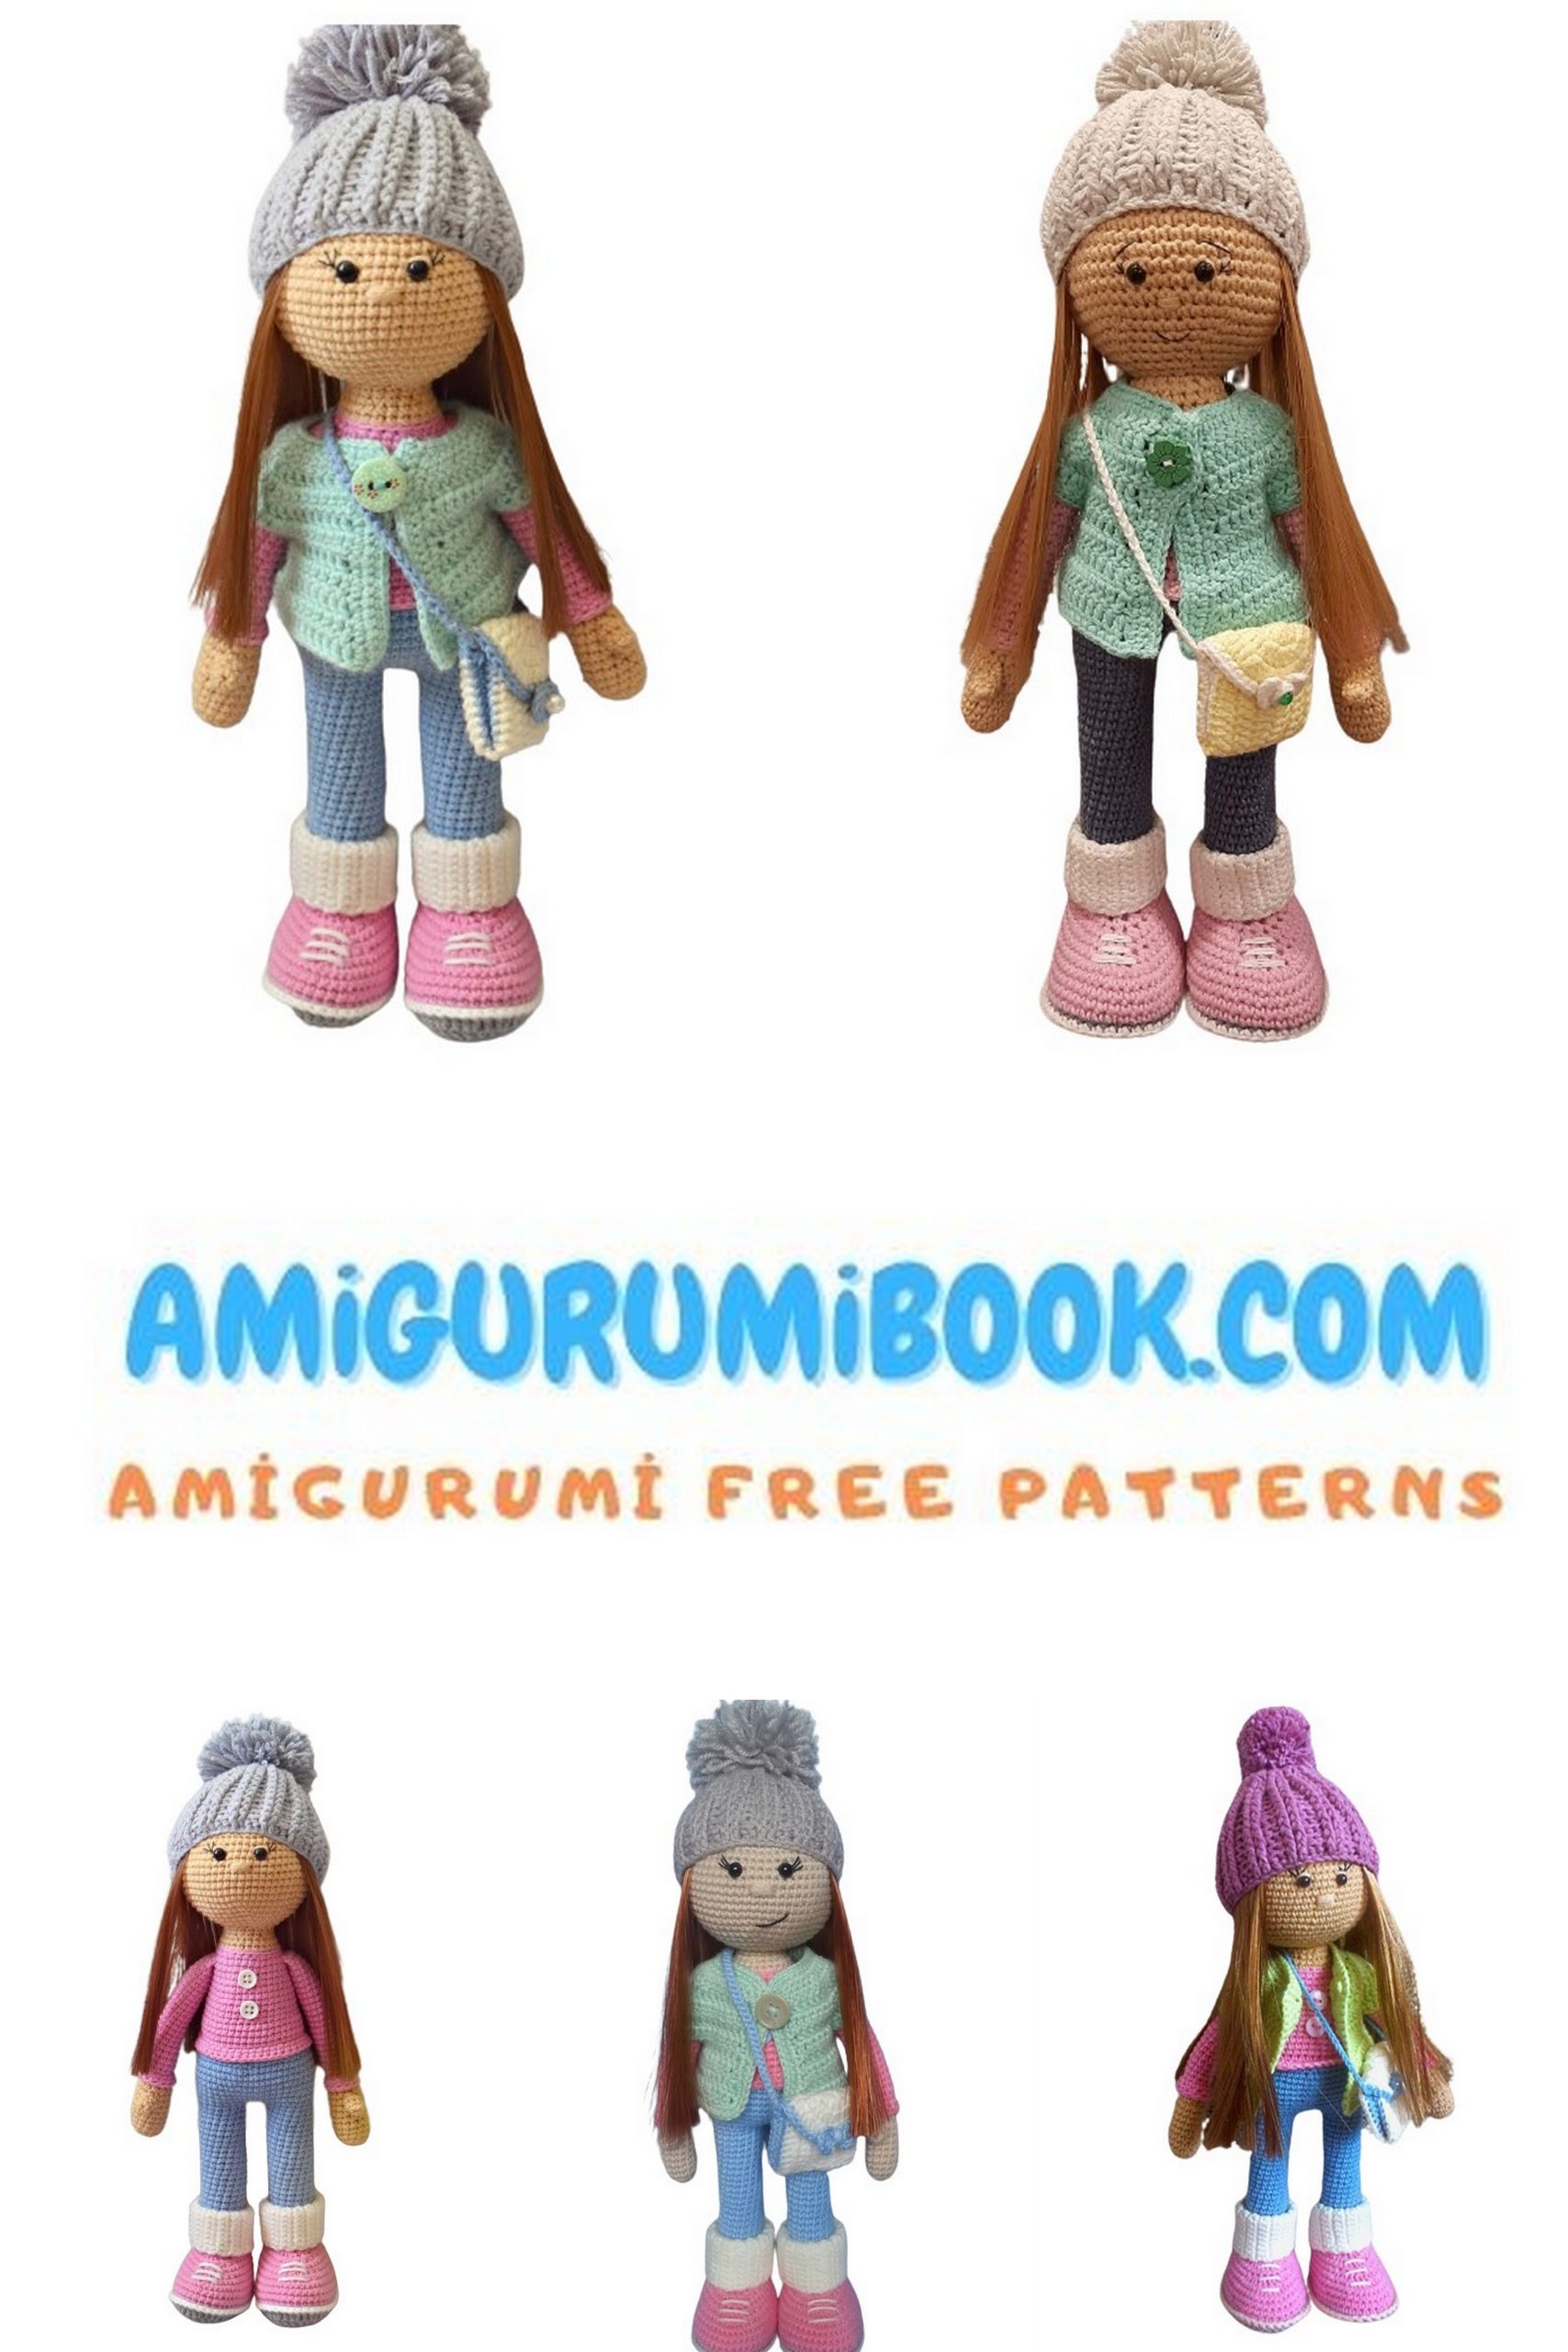
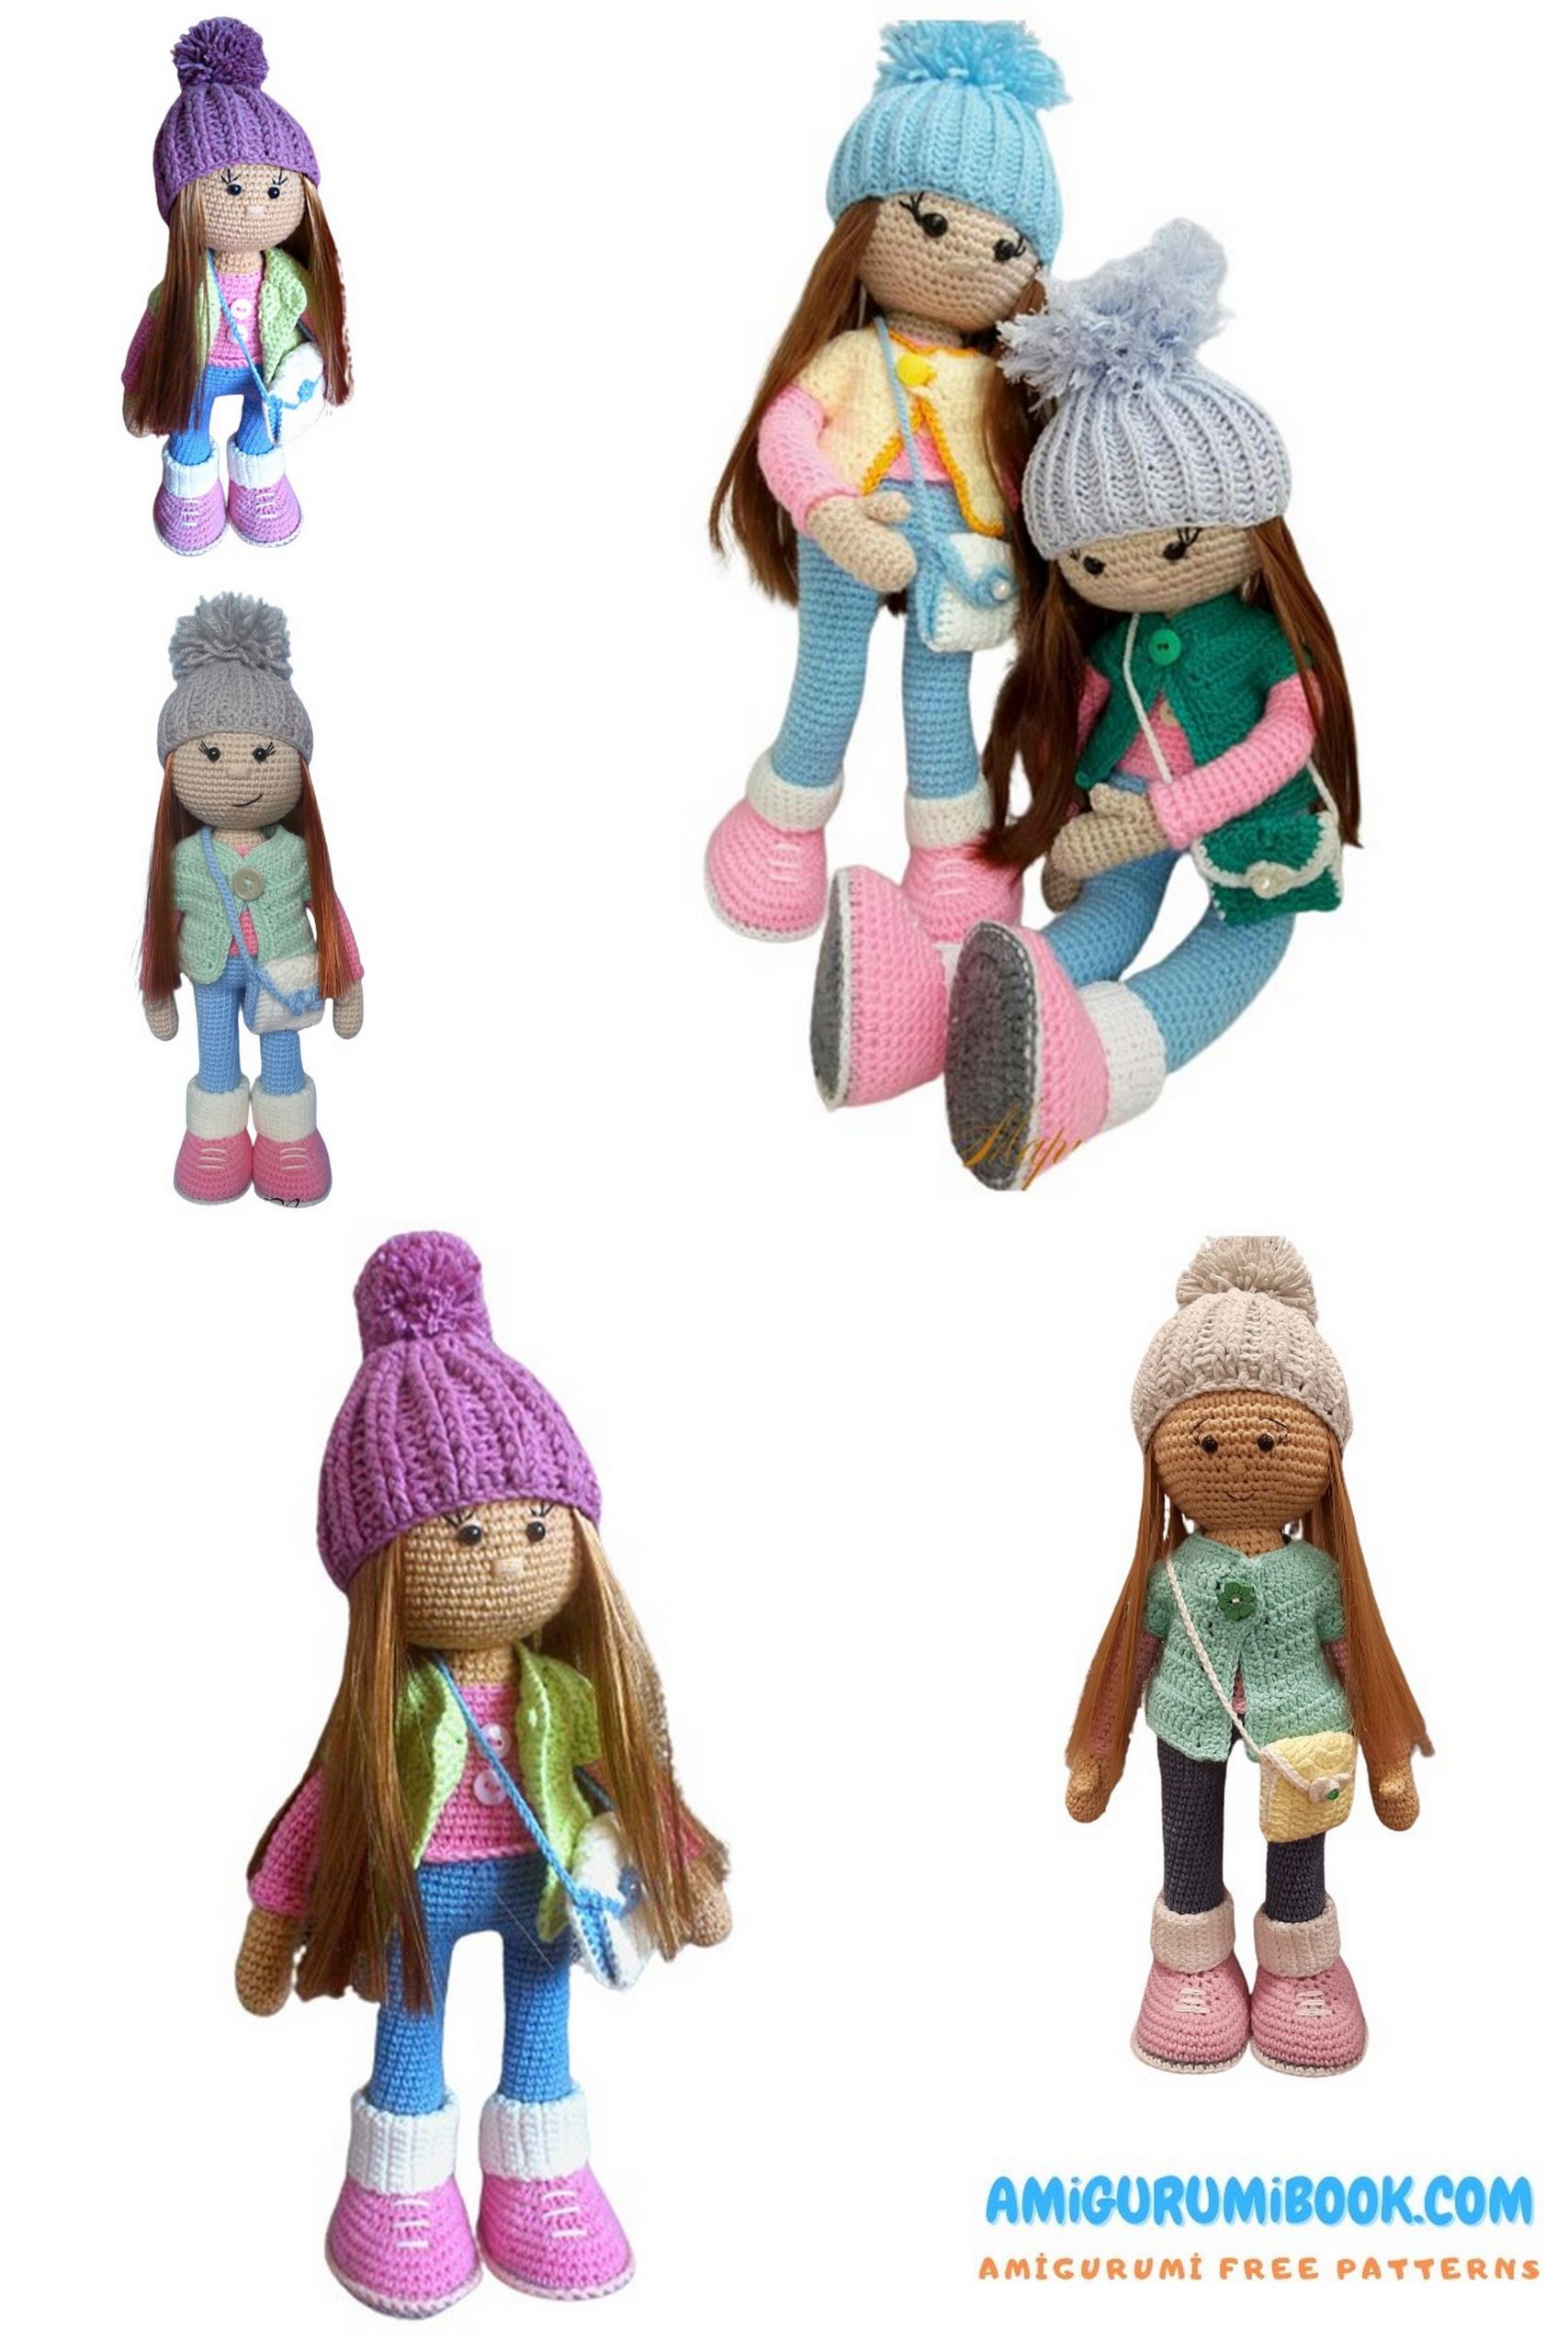
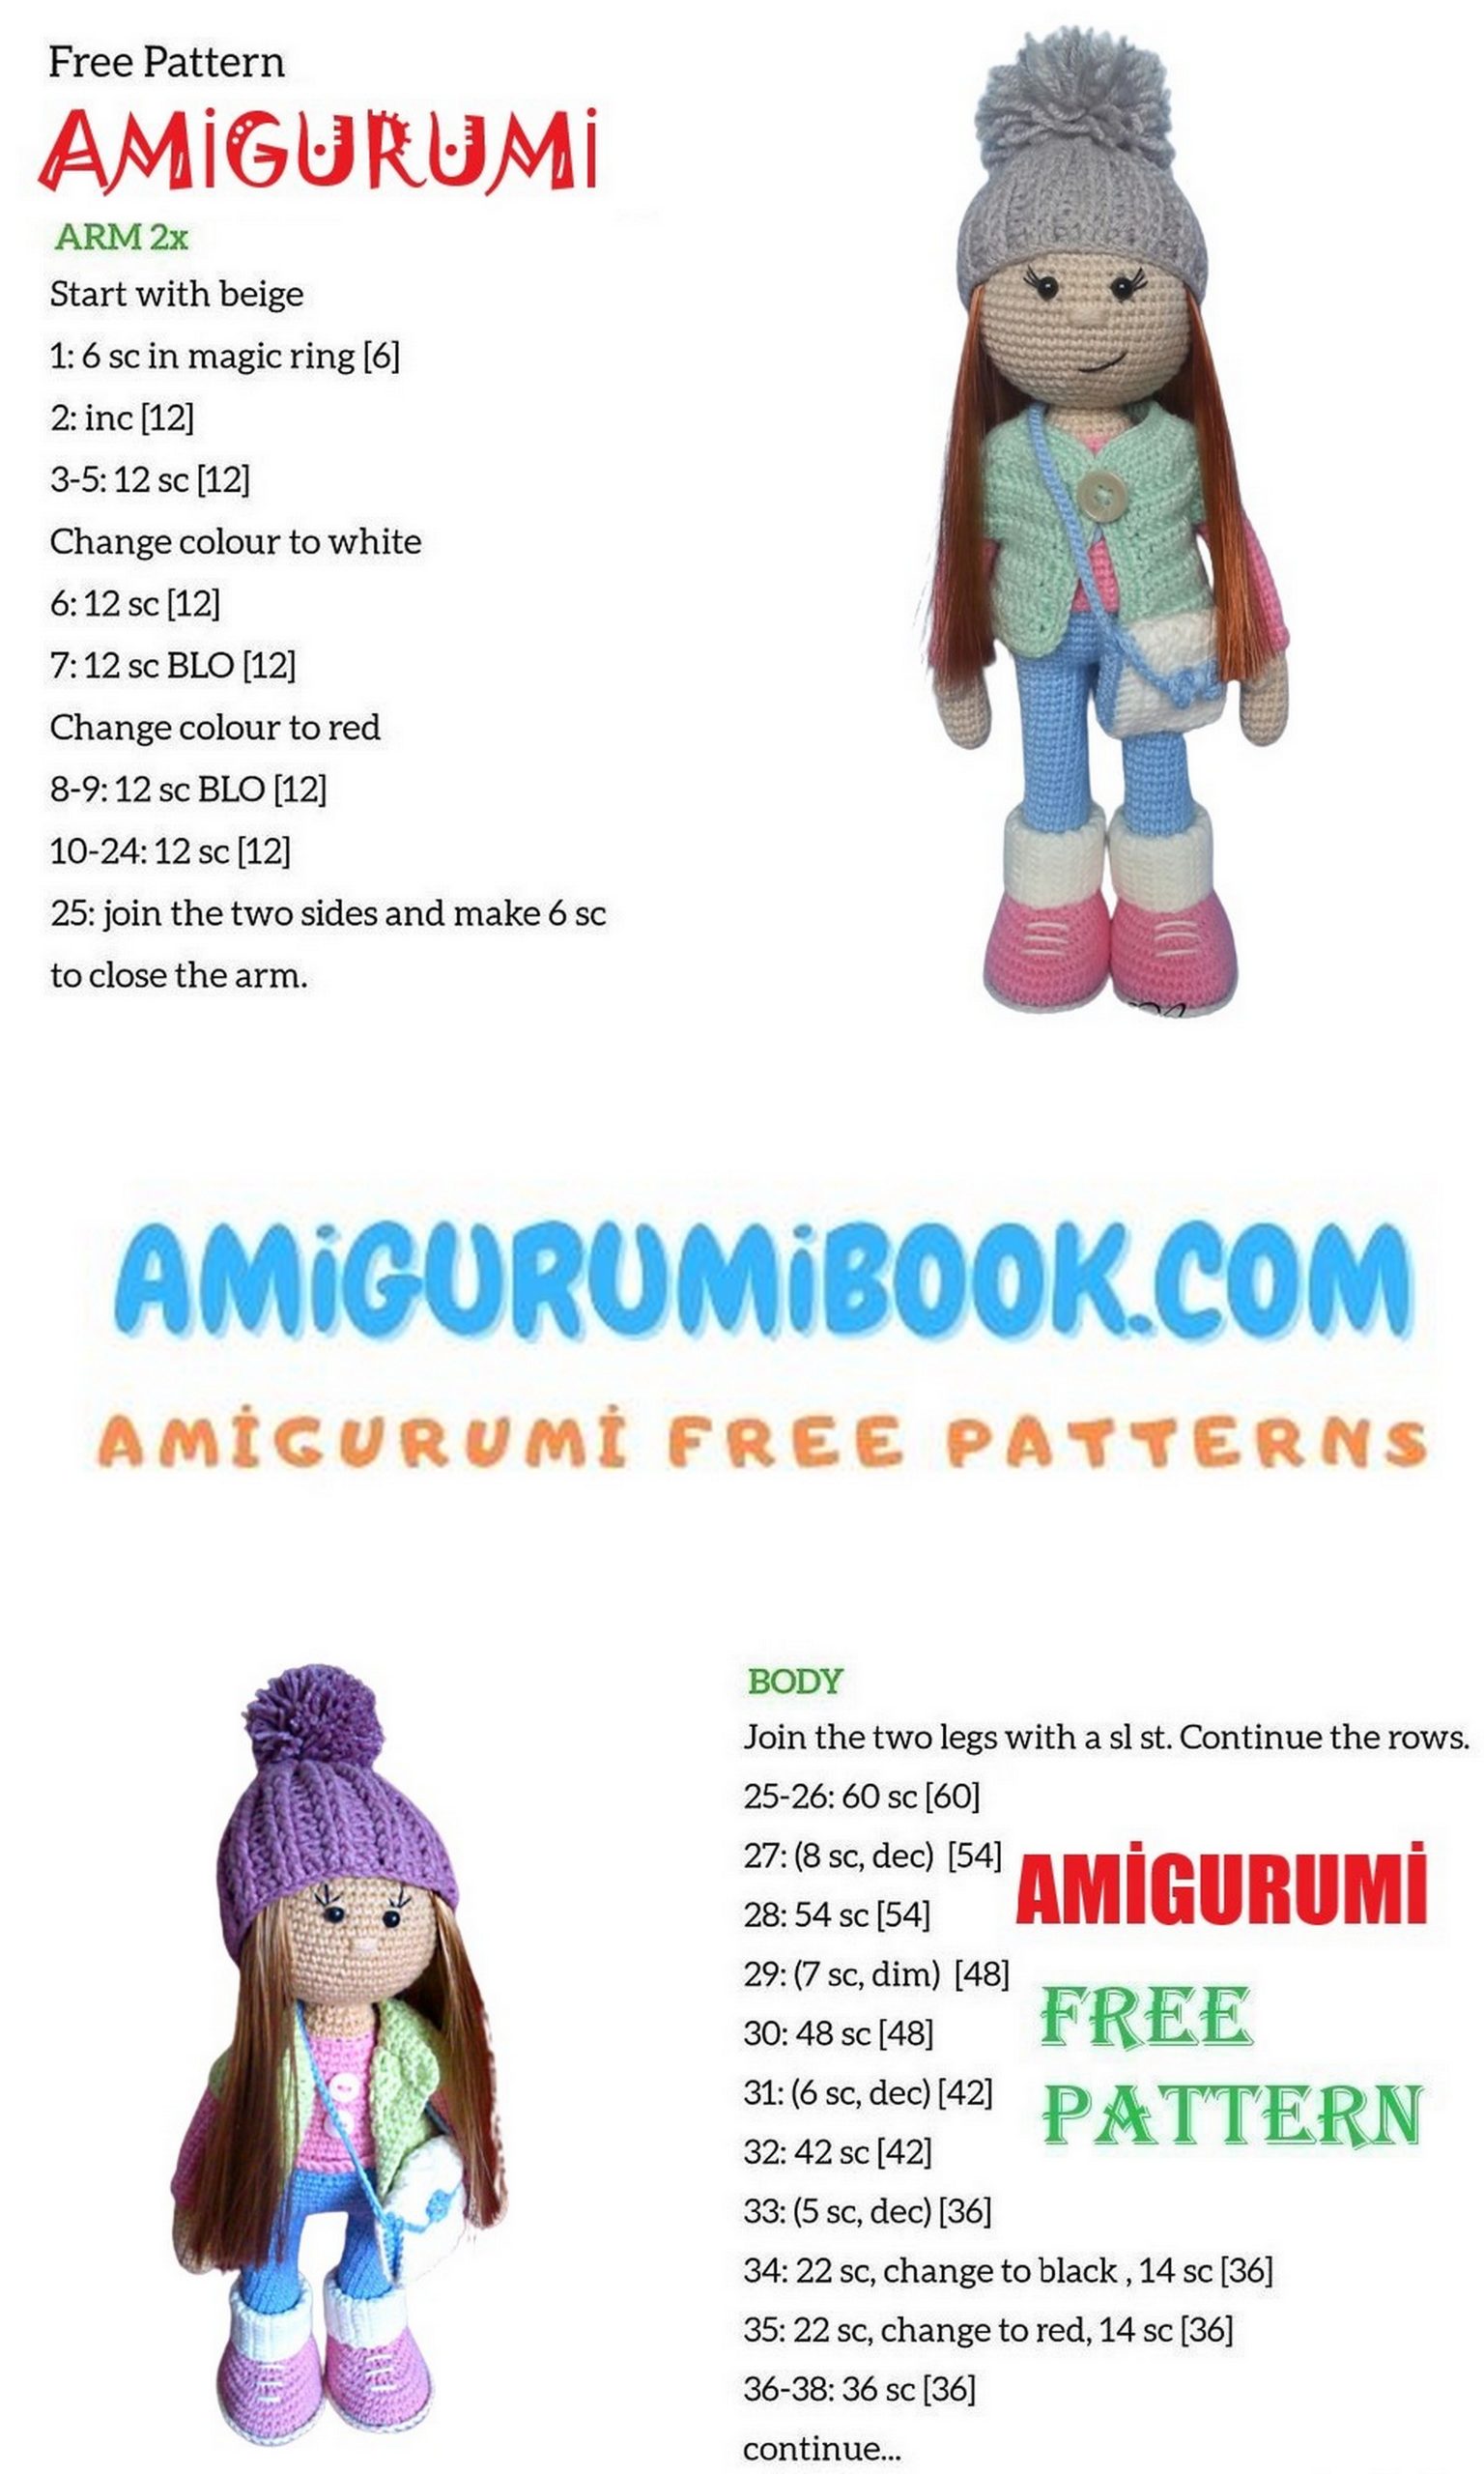
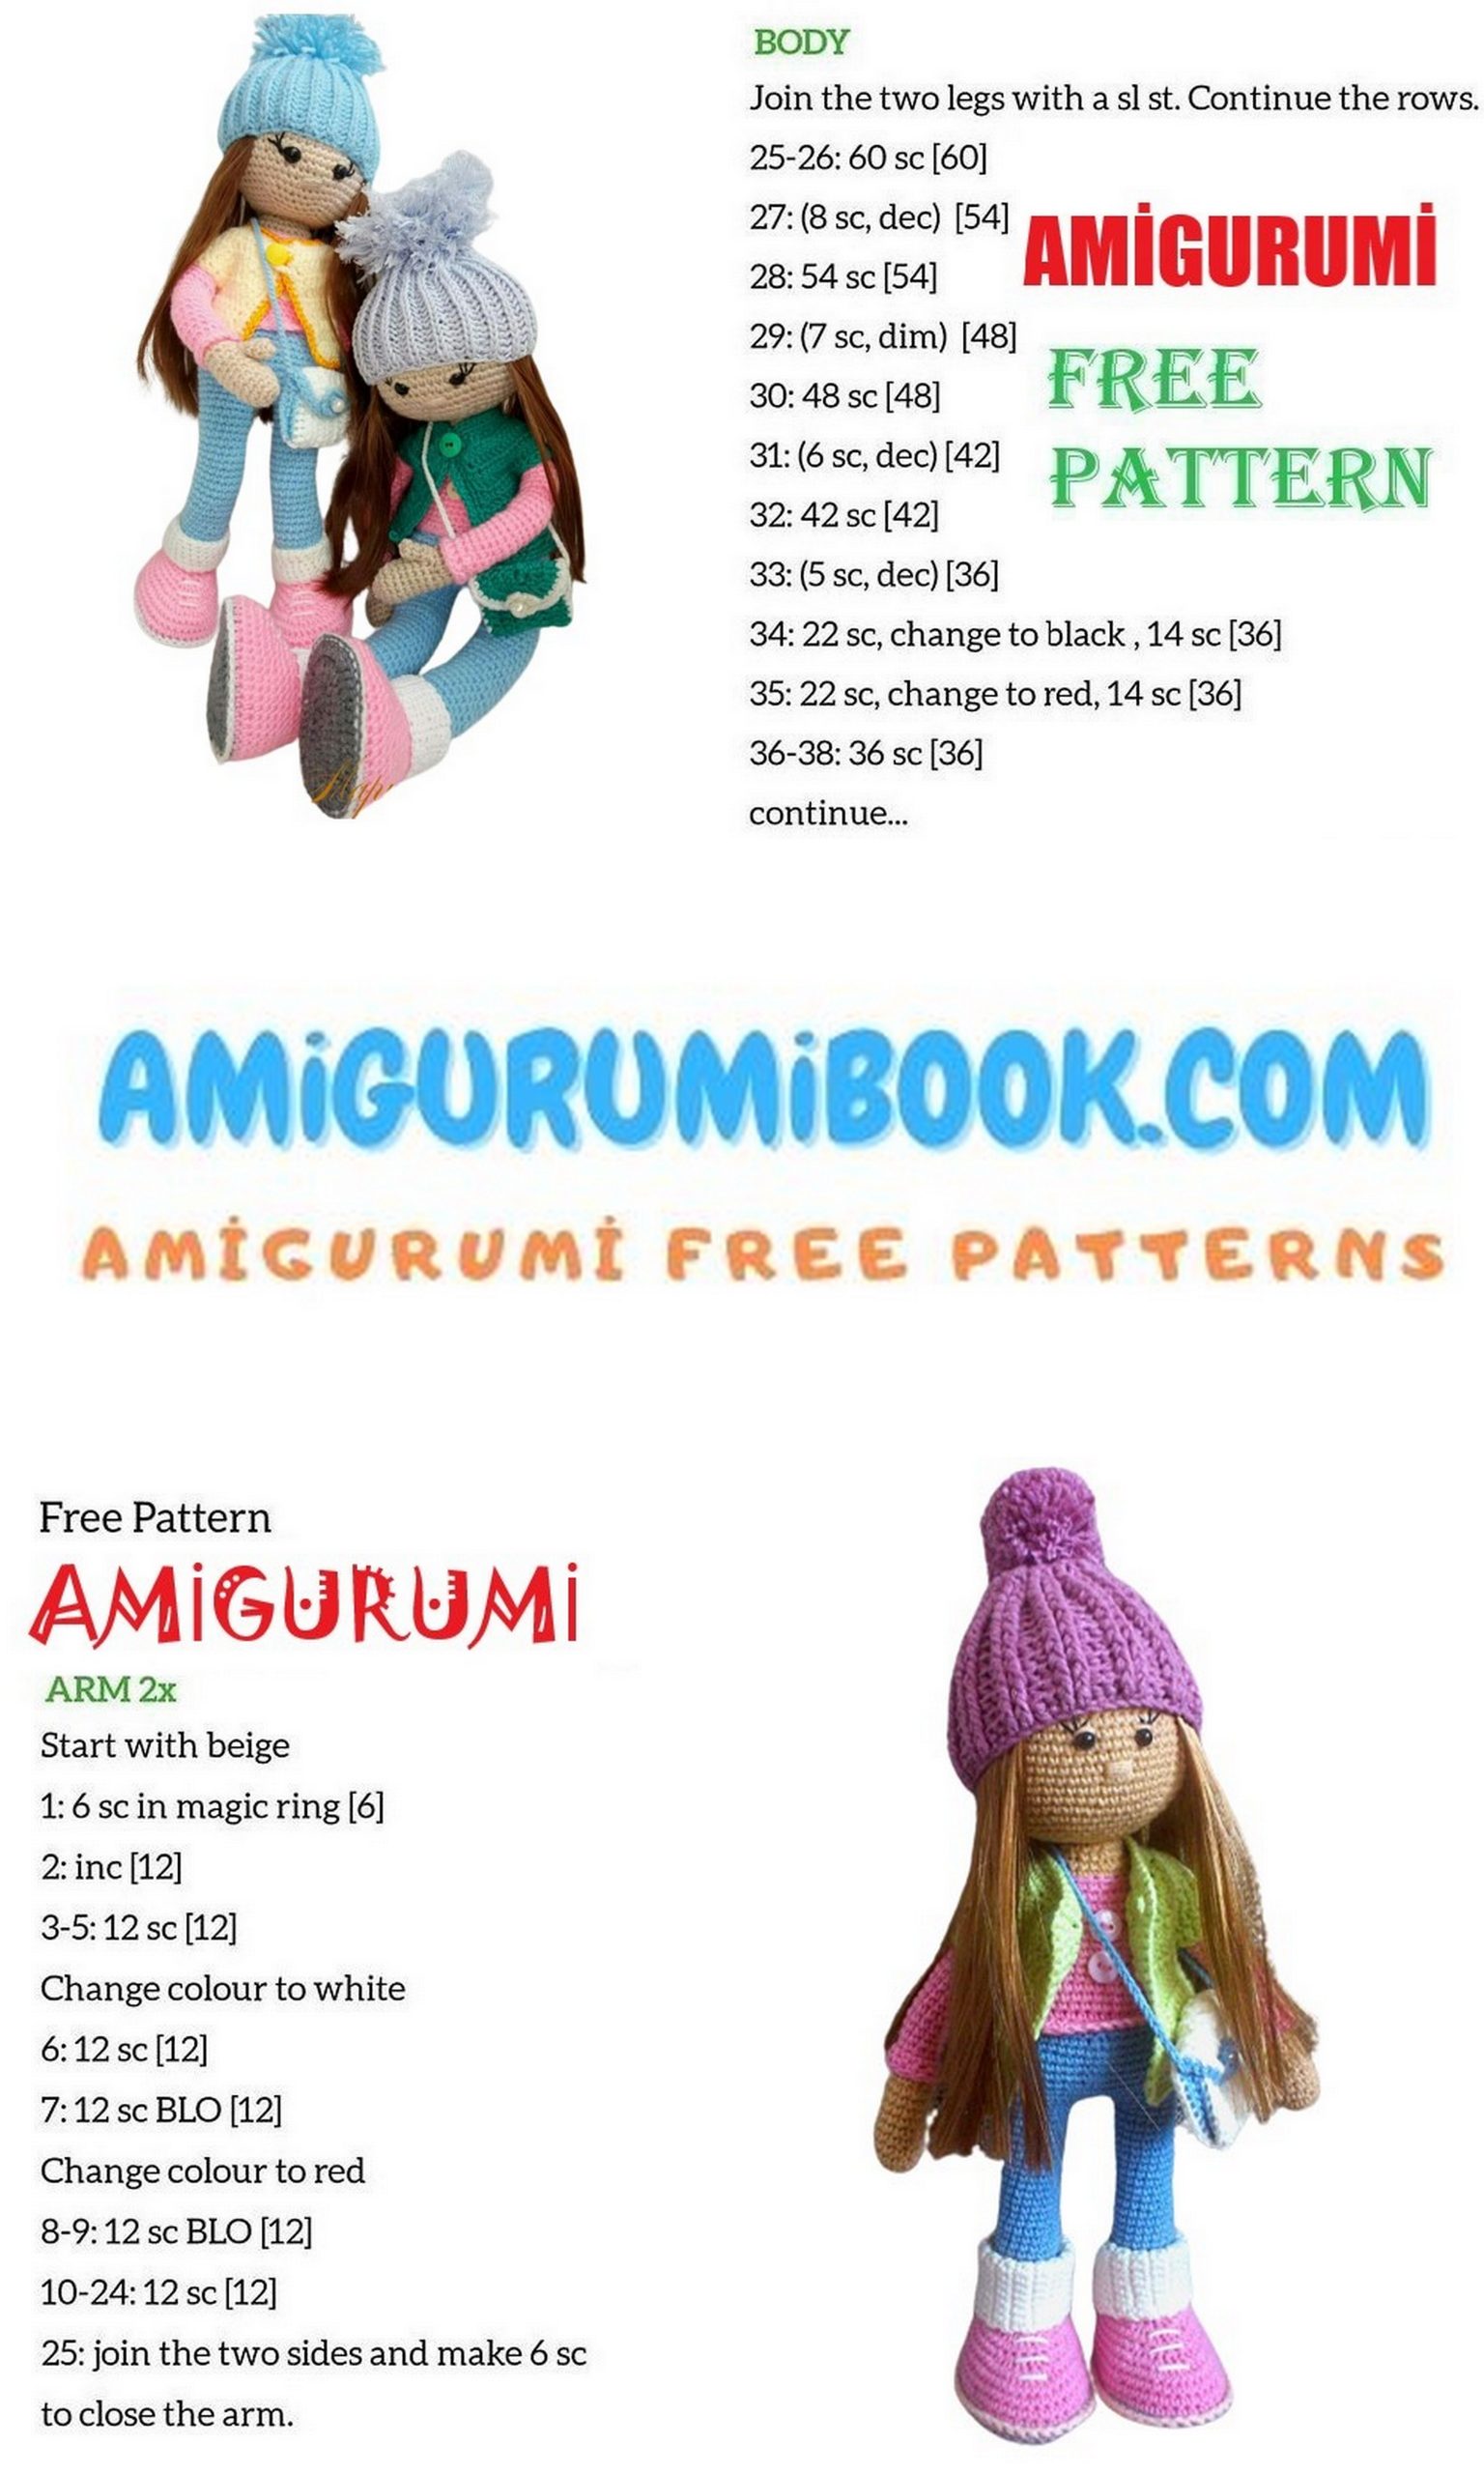
Discover the charm of creating your own adorable amigurumi doll with our Tatiana Free Pattern. This engaging amigurumi project is perfect for crafters of all levels and offers a delightful opportunity to crochet a lovable companion. With step-by-step instructions and a range of techniques, you can bring Tatiana to life with ease. This pattern allows you to customize the colors and details to your liking, making each doll unique. Whether you’re a seasoned amigurumi enthusiast or a beginner looking for a fun project, Tatiana is sure to bring joy and creativity to your crochet journey.
Create your own charming amigurumi doll with our Tatiana Free Pattern. This pattern provides step-by-step instructions for crocheting a lovable companion, suitable for crafters of all levels. Customize colors and details for a unique creation. Whether you’re an amigurumi pro or a beginner, Tatiana is a delightful crochet project waiting for you.
MATERIALS AND TOOLS NEEDED:
Yarn
Yarn Art Jeans:
03 – Milky
07 – Beige
20 – Pink
62 – White
68 – Denim
Alize Baby Wool:
19 – Water Lily
62 – Cream
Alize Cotton Gold:
87 – Charcoal Gray
Crochet hook size 2
Polyester fiberfill
Doll eyelashes
Safety eyes 5 mm
Cardboard (for insoles)
Buttons and beads for decoration
ABBREVIATIONS:
sc – single crochet
hdc – half double crochet
dc – double crochet
sl st – slip stitch
ch – chain
ch sp – chain space
inc – increase (2 sc in the same stitch)
dec – decrease (decrease 2 sc into 1 sc)
FLO – front loop only
BLO – back loop only
Doll height: 27 cm (approximately 10.6 inches)

PATTERN
HEAD
Row 1: 6 sc in magic ring. (6)
Row 2: 2 sc in each sc around. (12)
Row 3: (1 sc, inc) repeat 6 times. (18)
Row 4: (2 sc, inc) repeat 6 times. (24)
Row 5: (3 sc, inc) repeat 6 times. (30)
Row 6: (4 sc, inc) repeat 6 times. (36)
Row 7: (5 sc, inc) repeat 6 times. (42)
Row 8: (6 sc, inc) repeat 6 times. (48)
Row 9: (7 sc, inc) repeat 6 times. (54)
Row 10: (8 sc, inc) repeat 6 times. (60)
Rows 11-20: 60 sc
Insert the safety eyes between rows 17 and 18, leaving 6 sc between them.
Row 21: (8 sc, dec) repeat 6 times. (54)
Row 22: (7 sc, dec) repeat 6 times. (48)
Row 23: (6 sc, dec) repeat 6 times. (42)
Row 24: (5 sc, dec) repeat 6 times. (36)
Row 25: (4 sc, dec) repeat 6 times. (30)
Row 26: (3 sc, dec) repeat 6 times. (24)
Row 27: (2 sc, dec) repeat 6 times. (18)
Row 28: (1 sc, dec) repeat 6 times. (12)
Row 29: Dec in each sc around. (6)
Close the opening and hide the yarn tail. Embroider eyelids, eyelashes, and nose on the doll’s face.
LEGS + TORSO
Using gray yarn, create a chain and work in an oval shape, crocheting on both sides of the chain:
Row 1: 10 ch + 2 ch to turn.
Row 2: 4 hdc in the 3rd ch from the hook, 8 hdc, 5 hdc in the last ch, 8 hdc, sl st to join. (25)
Row 3: 2 ch, 1 hdc in the same st, 4 inc, 8 hdc, 5 inc, 8 hdc, sl st to join. (35)
Row 4: 2 ch, 1 hdc in the same st, 1 hdc, (1 inc, 1 hdc) repeat 4 times, 8 hdc, (1 inc, 1 hdc) repeat 5 times, 8 hdc, sl st to join. (45)
Cut out insoles following the shape of the foot.
Change yarn to pink.
Row 5: Crochet 46 sc in the back loop only (the 46th sc in the same sl st as the previous row).
Rows 6-8: 46 sc
Row 9: 24 sc, 4 dec, 14 sc (42)
Insert the insoles.
Row 10: 21 sc, 6 dec, 9 sc (36)
Row 11: 36 sc
Row 12: 18 sc, 6 dec, 6 sc (30)
Row 13: 15 sc, 6 dec, 3 sc (24)
Row 14: (2 sc, dec) repeat 6 times (18)
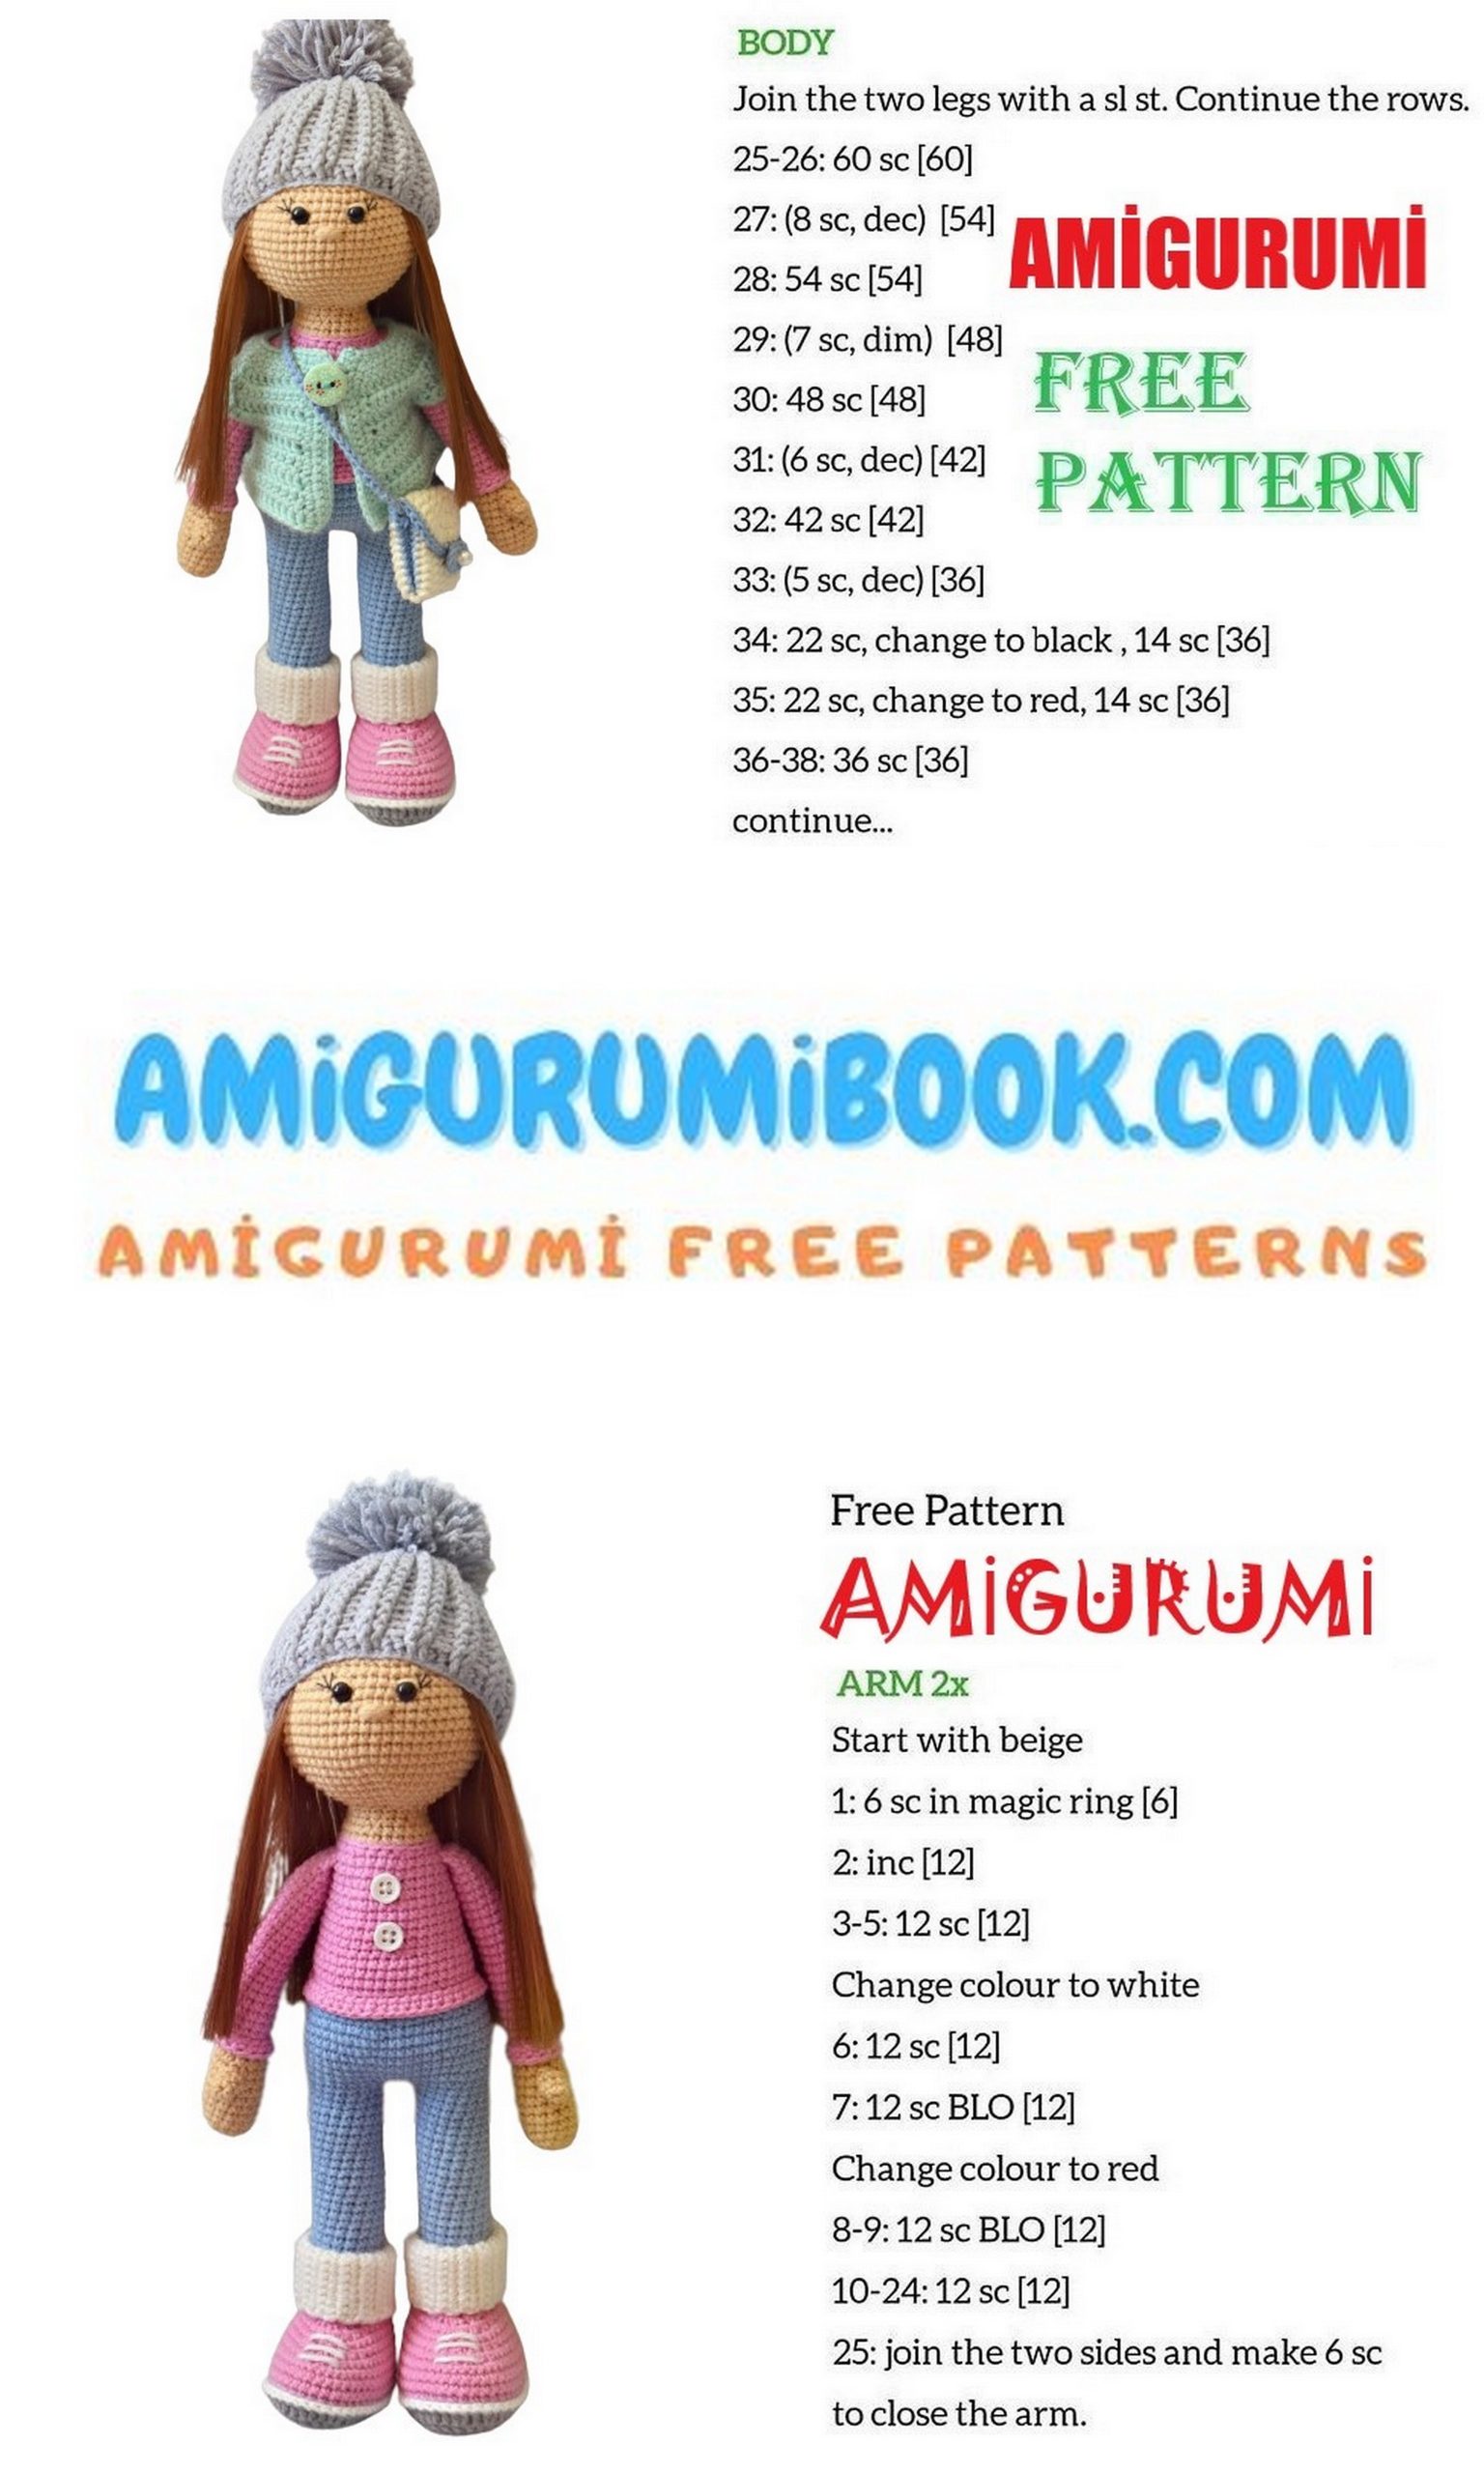
Stuff the legs and torso. Change yarn to blue.
Rows 15-39: 18 sc
Return to Row 5, which was crocheted in the back loop only. Use white yarn to crochet 46 slip stitches around the sole, embroider shoelaces, and hide the yarn tail.
SHOES
Crochet the shoe upper part using flesh-colored yarn (Alize Baby Wool).
Row 1: 15 ch + 1 ch to turn.
Rows 2-30: 15 sc.
Fold in half, sew the edges, and attach to the feet.
Crochet the second part similarly.
Connect the legs with 3 ch. Begin crocheting the torso.
Row 40: 42 sc (18 sc around the 1st leg, 3 sc over the chain, 18 sc around the 2nd leg, 3 sc over the other side of the chain.)
Row 41: (6 sc, inc) repeat 6 times. (48)
Rows 42-44: 48 sc
Row 45: (7 sc, inc) repeat 6 times. (54)
Rows 46-48: 54 sc
Row 49: (7 sc, dec) repeat 6 times. (48)
Row 50: (6 sc, dec) repeat 6 times. (42)
Complete the remaining stitches with sc, change yarn to pink.
Row 51: 42 sc
Row 52: 42 sc in the back loop only.
Rows 53-55: 42 sc
Row 56: (dec, 5 sc) repeat 6 times (36) – Make sure to start with a decrease to shape the side.
Rows 57-61: 36 sc
Row 62: (dec, 4 sc) repeat 6 times (30)
Rows 63-65: 30 sc
Row 66: (dec, 3 sc) repeat 6 times (24)
Change yarn to flesh-colored.
Row 67: 24 sc in the back loop only.
Row 68: 24 sc
Row 69: (dec, 2 sc) repeat 6 times (18)
Row 70: 18 sc
Cut the yarn, leaving a long tail for sewing.
Return to Row 52, which was crocheted in the back loop only.
Rows 1-2: 42 sc
Sew buttons.
ARMS
Start with flesh-colored yarn.
Row 1: 6 sc in magic ring.
Row 2: 2 sc in each sc around. (12)
Row 3: (5 sc, inc) repeat 2 times. (14)
Rows 4-10: 14 sc
Row 11: (5 sc, dec) repeat 2 times. (12)
Row 12: 12 sc
Change yarn to pink.
Row 13: 12 sc
Row 14: 12 sc in the back loop only.
Rows 15-35: 12 sc
Fold the arm in half and join with 6 sc.
Return to Row 14, which was crocheted in the back loop only. Crochet a cuff:
Rows 1-2: 12 sc
Crochet a finger:
Row 1: 6 sc in magic ring.
Rows 2-3: 6 sc
Sew the finger. Similarly, crochet the second arm and sew it.
HAT
Row 1: 60 ch + 2 ch to turn.
Row 2: 60 sc, sl st.
Rows 3-13: (2 sc in FLO, 2 sc in BLO) repeat 15 times (60)
Row 14: (2 sc in FLO together, 2 sc in BLO together) repeat 15 times (45)
Row 15: (2 sc in FLO together, 1 sc in BLO) repeat 15 times (30)
Row 16: (1 sc in FLO + 1 sc in BLO together) repeat 15 times (15)
Pull the opening closed, hide the yarn tail. Create a pompom and attach it.
VEST
Crochet in turning rows.
Row 1: 42 ch + 2 ch to turn.
Row 2: 6 sc, inc, 6 sc, inc, 14 sc, inc, 6 sc, inc, 6 sc
Row 3: 2 ch, 6 sc, inc, 7 sc, inc, 15 sc, inc, 7 sc, inc, 7 sc
Row 4: 2 ch, 7 sc, inc, 8 sc, inc, 16 sc, inc, 8 sc, inc, 7 sc
Row 5: 2 ch, 7 sc, inc, 9 sc, inc, 17 sc, inc, 9 sc, inc, 8 sc
Row 6: 2 ch, 8 sc, inc, 10 sc, inc, 18 sc, inc, 10 sc, inc, 8 sc
Row 7: 2 ch, 8 sc, 9 sc, crochet together, 18 sc, crochet together, 8 sc (36)
Row 8: 2 ch, (5 sc, inc) repeat 6 times (42)
Row 9: 2 ch, (6 sc, inc) repeat 6 times (48)
Row 10: 2 ch, (7 sc, inc) repeat 6 times (54)
Row 11: 2 ch, (8 sc, inc) repeat 6 times (60)
Finish the edges of the vest with three rows of sc. On the left side, create a loop where needed. Attach a button on the right.
BAG
Row 1: 25 ch + 2 ch to turn.
Row 2: 24 sc, 5 sc in one, 24 sc, sl st, in the joining place with the first sc, crochet 2 ch.
Row 3: 24 sc, 5 inc, 24 sc, sl st, in the joining place with the first sc, change the thread color to blue and crochet the edge with sc.
Fold the bag, crochet the sides from the inside with sl st, thus connecting the sides of the bag. Attach the thread to the sides and crochet it with sc to create a handle. Turn it inside out.
Crochet a bow: 3 ch in ch ring, 3 sc, 3 ch, sl st, 3 ch, 3 sc, 3 ch, sl st, tighten. Sew the bow to the bag. You can also sew a bead to the bow.
ASSEMBLING THE AMIGURUMI DOLL
Sew the head to the torso. Sew the hair, tresses, onto the head using three rows. Attach the hat on top.