
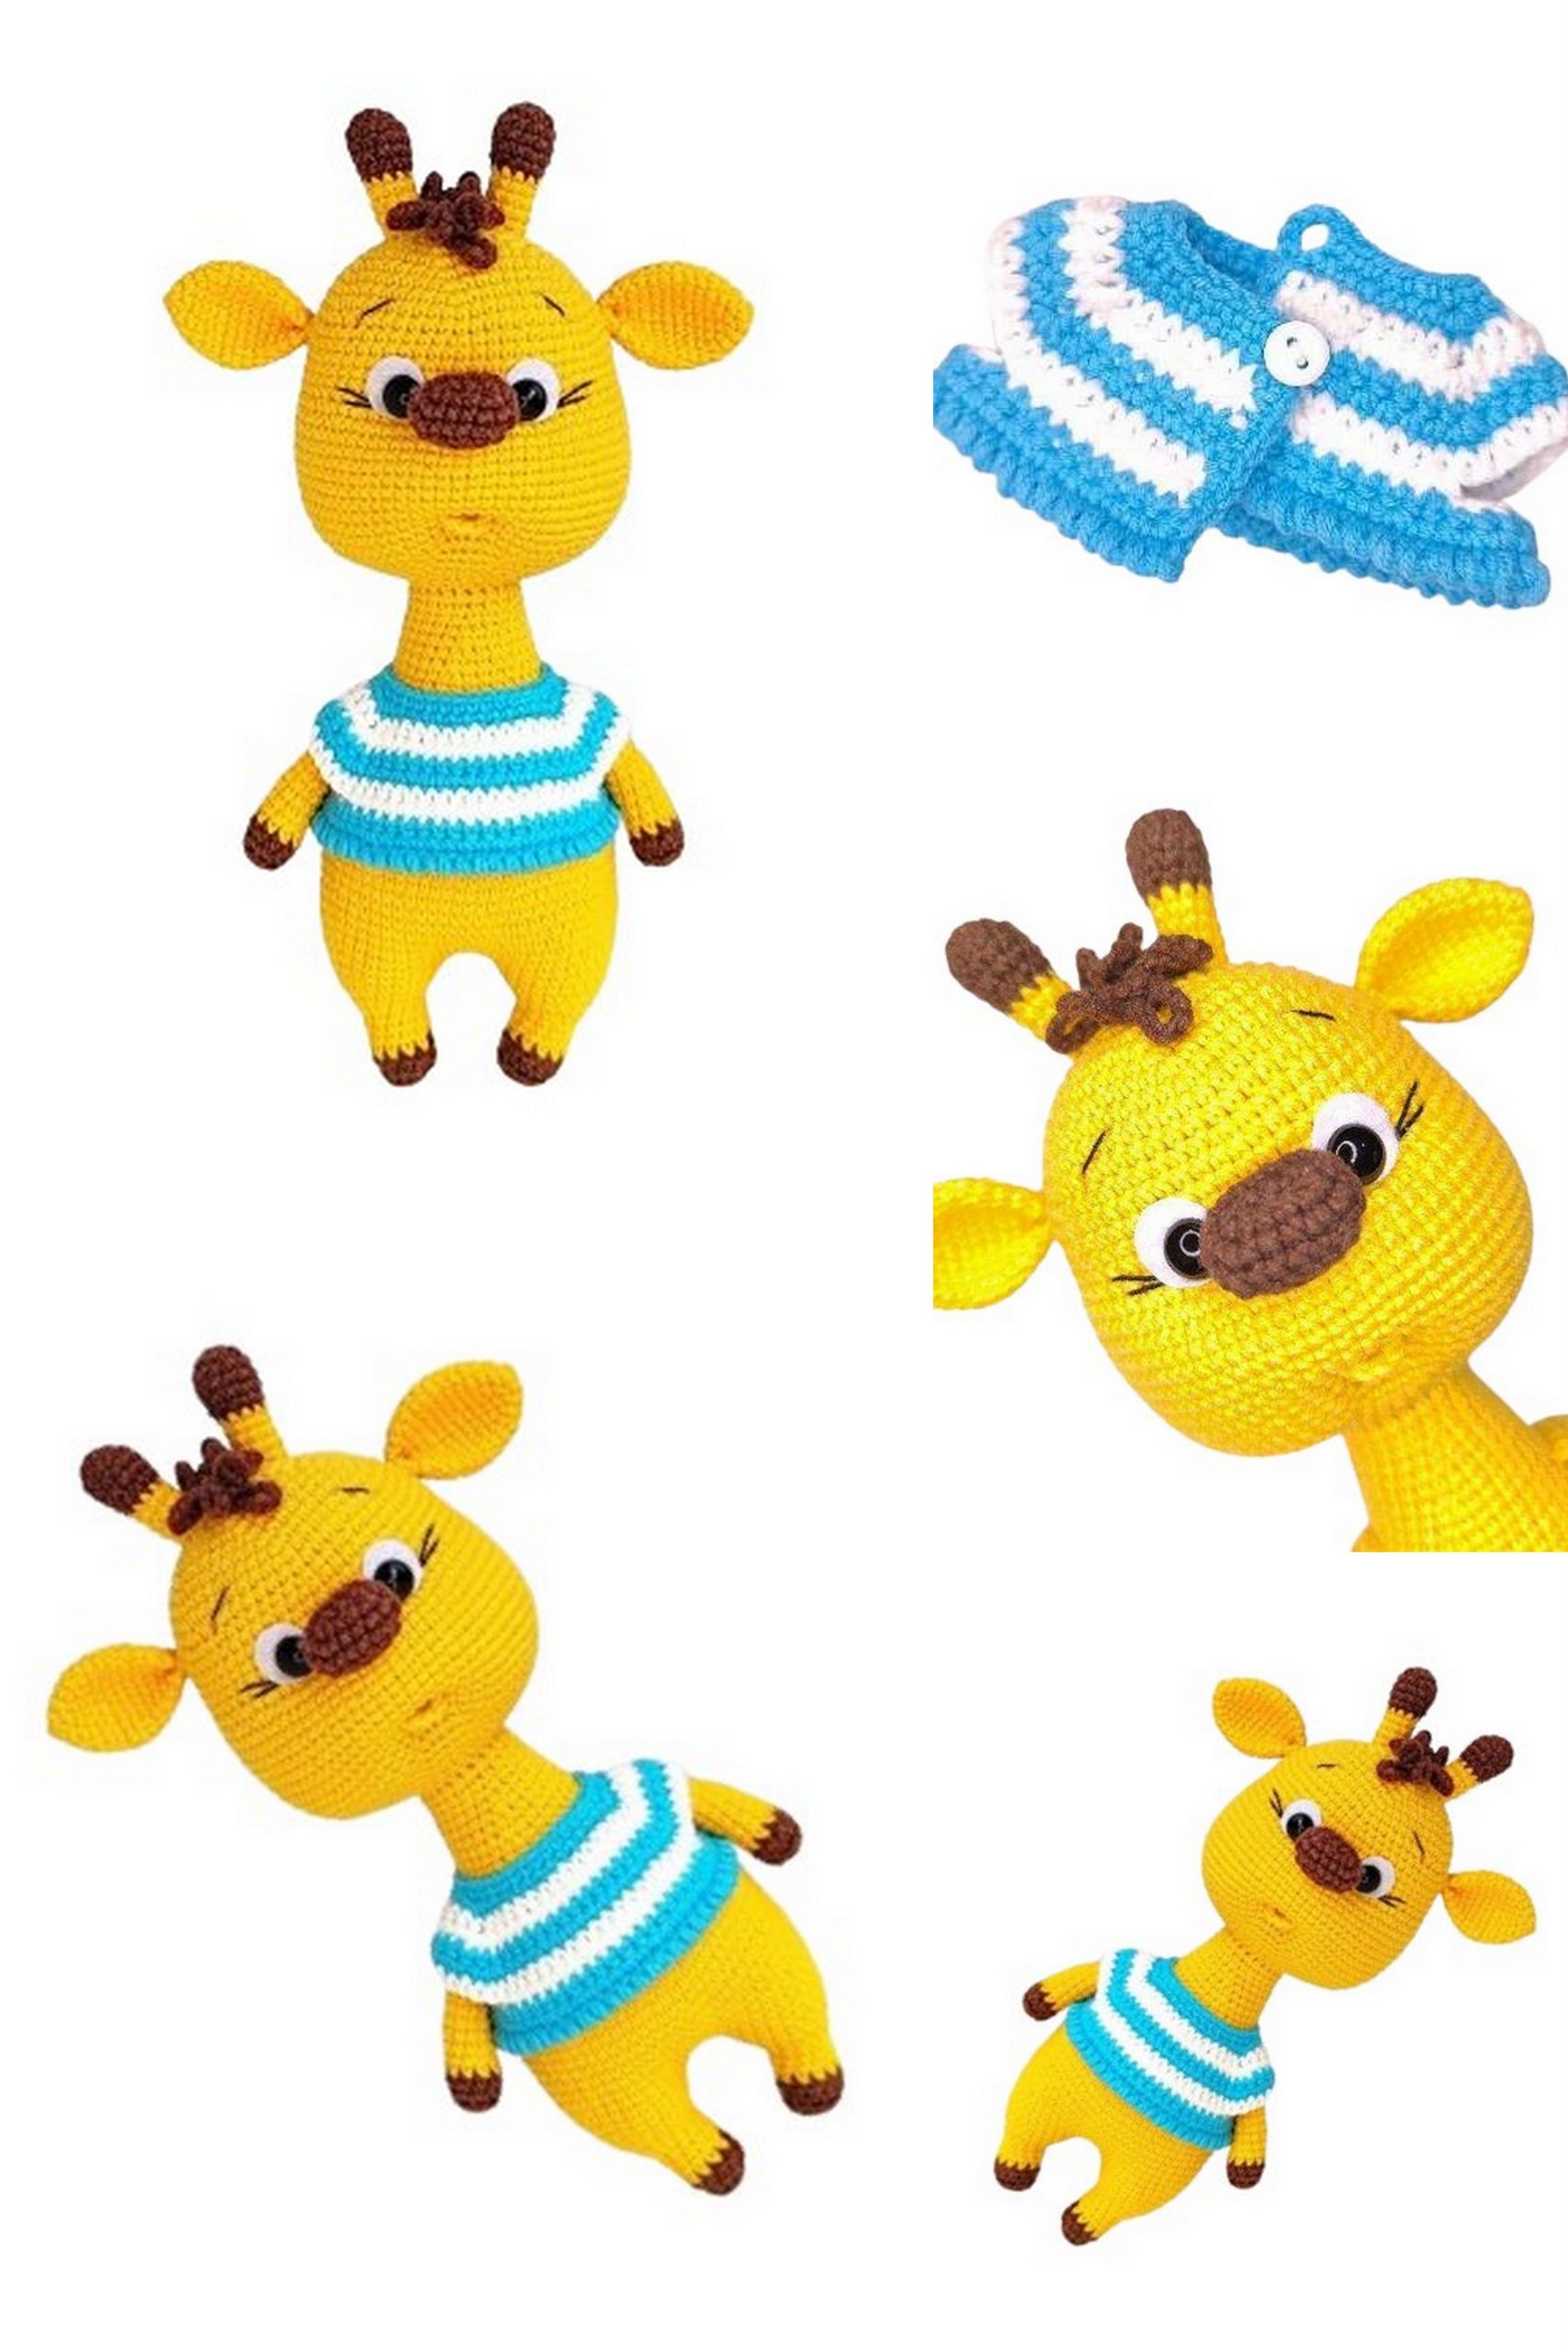
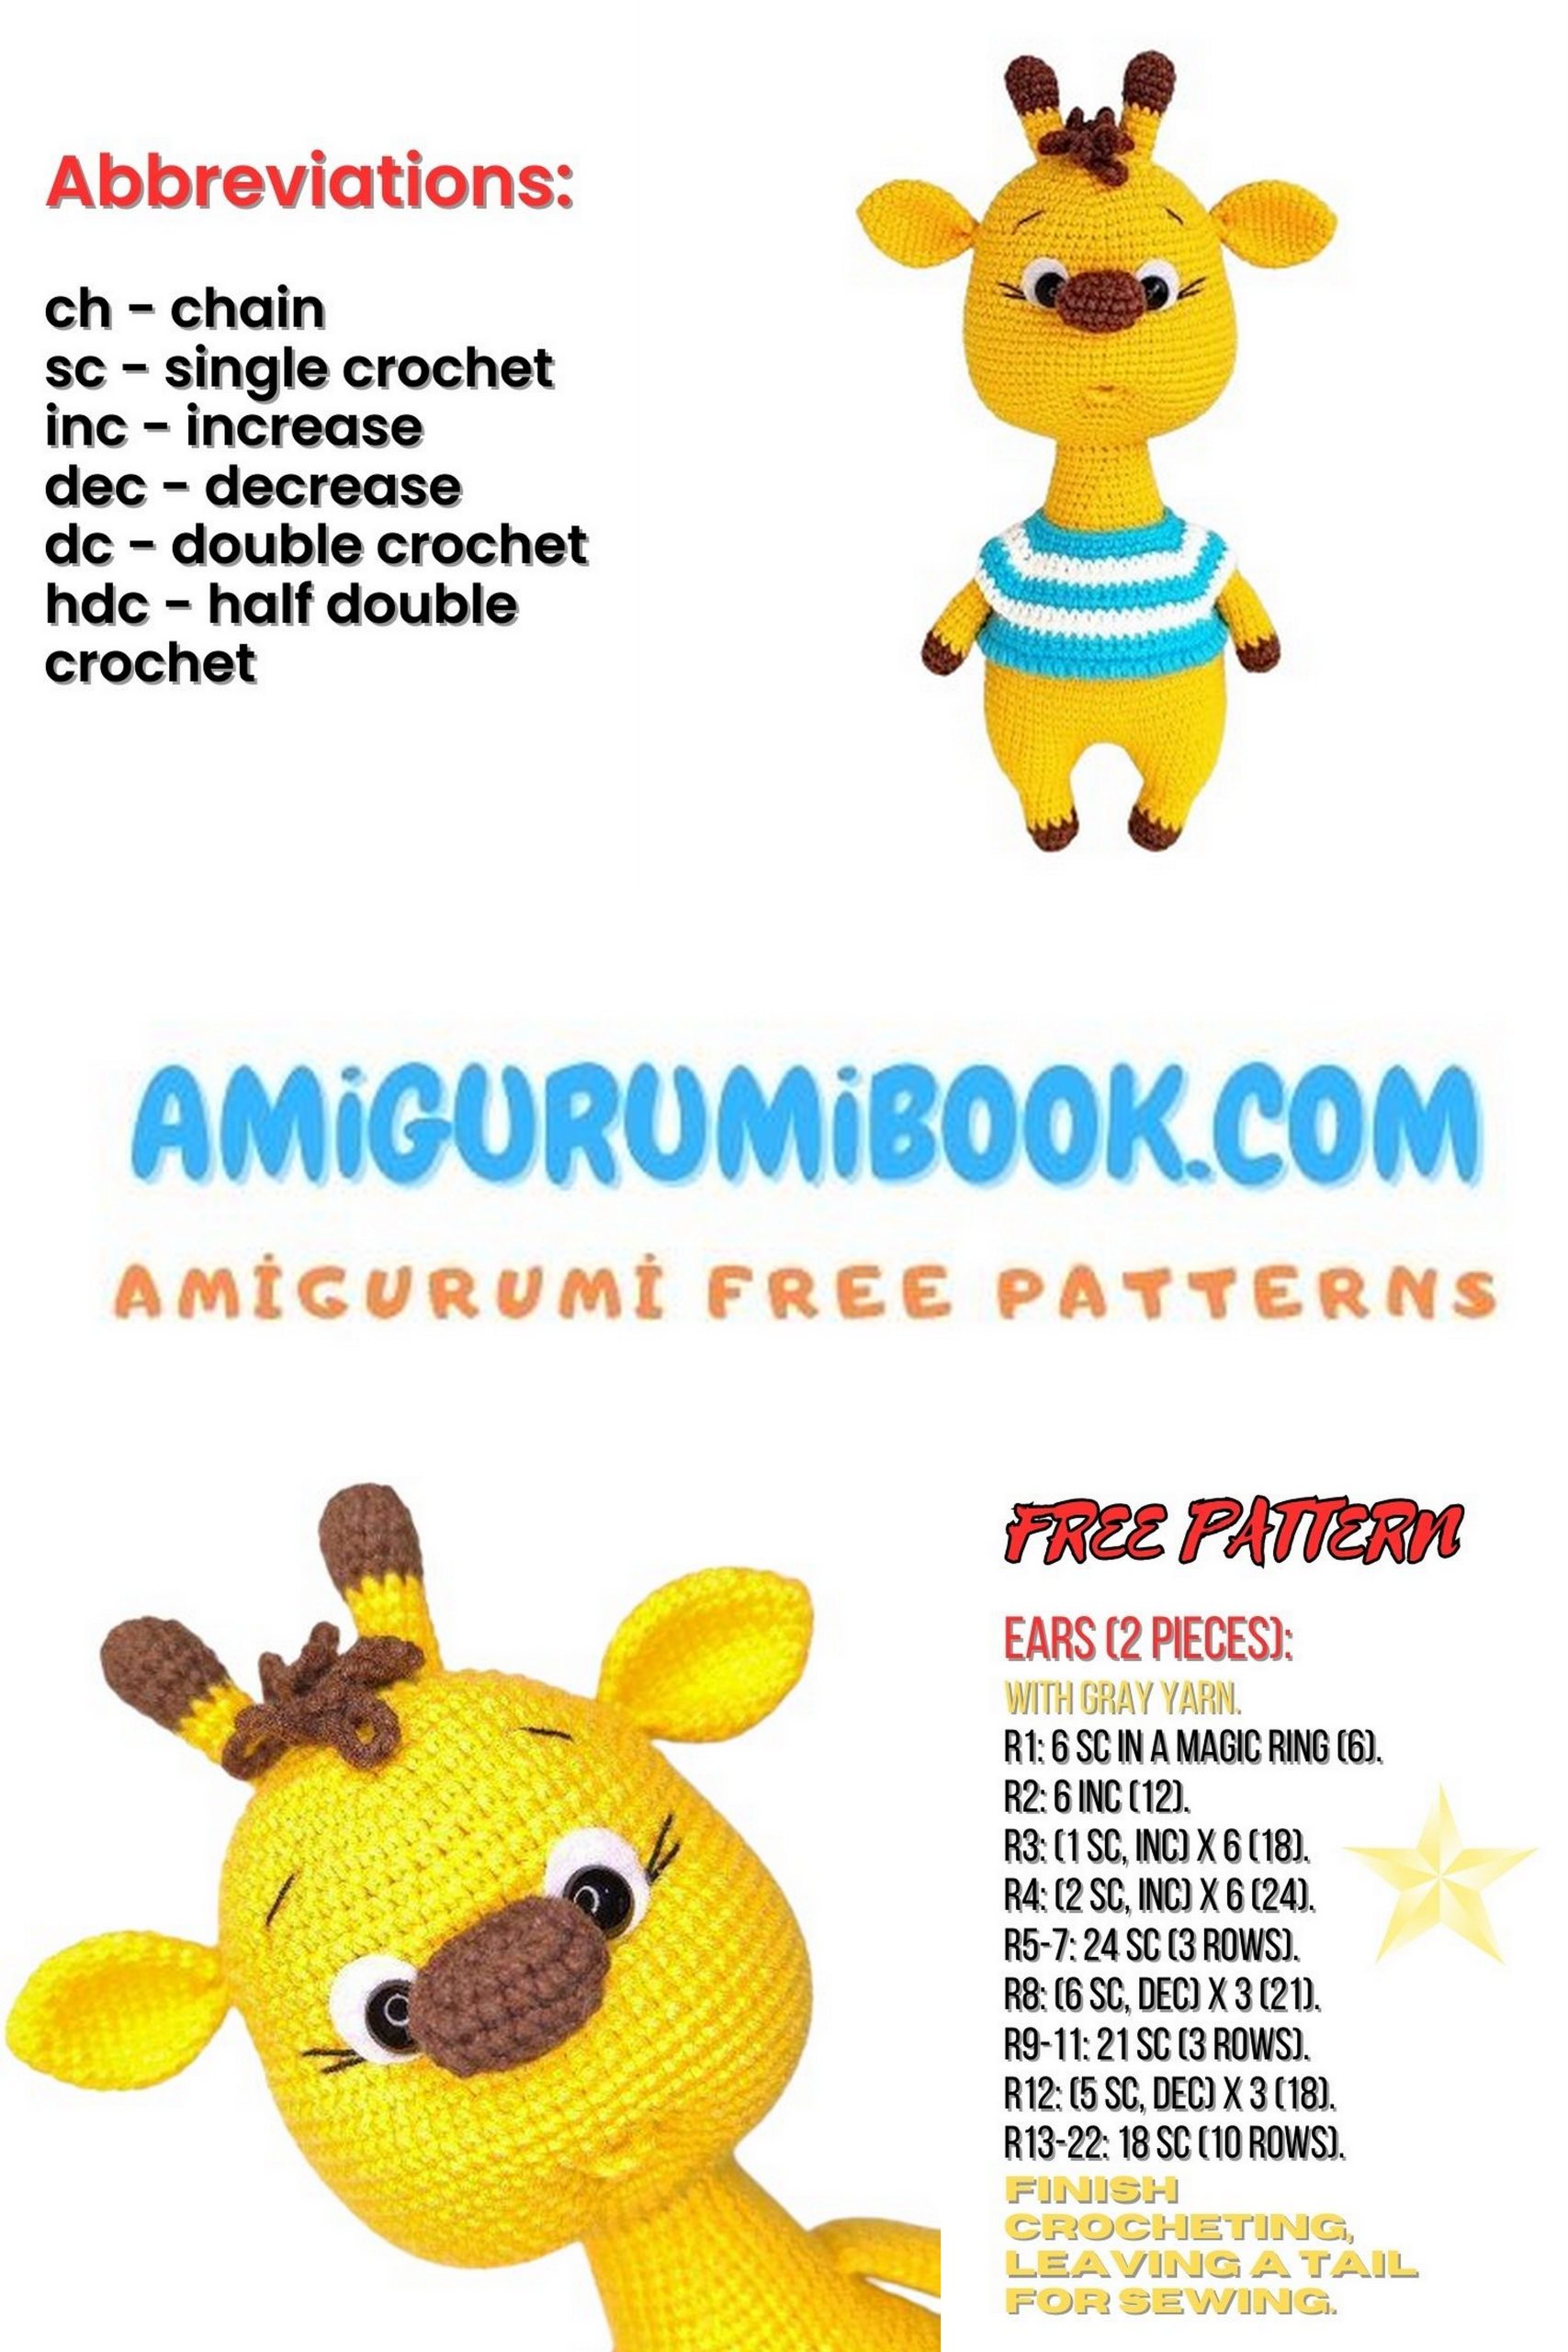
Welcome to our delightful Amigurumi Giraffe pattern tutorial! In this guide, you’ll learn how to crochet an adorable giraffe complete with a cute sweater.
Perfect for beginners and experienced crocheters alike, this amigurumi giraffe free pattern includes detailed instructions and helpful tips to make your crafting experience enjoyable and rewarding.
Whether you’re creating a charming gift or adding to your amigurumi collection, this amigurumi giraffe is sure to bring a smile to your face. Grab your crochet hooks, and let’s get started!
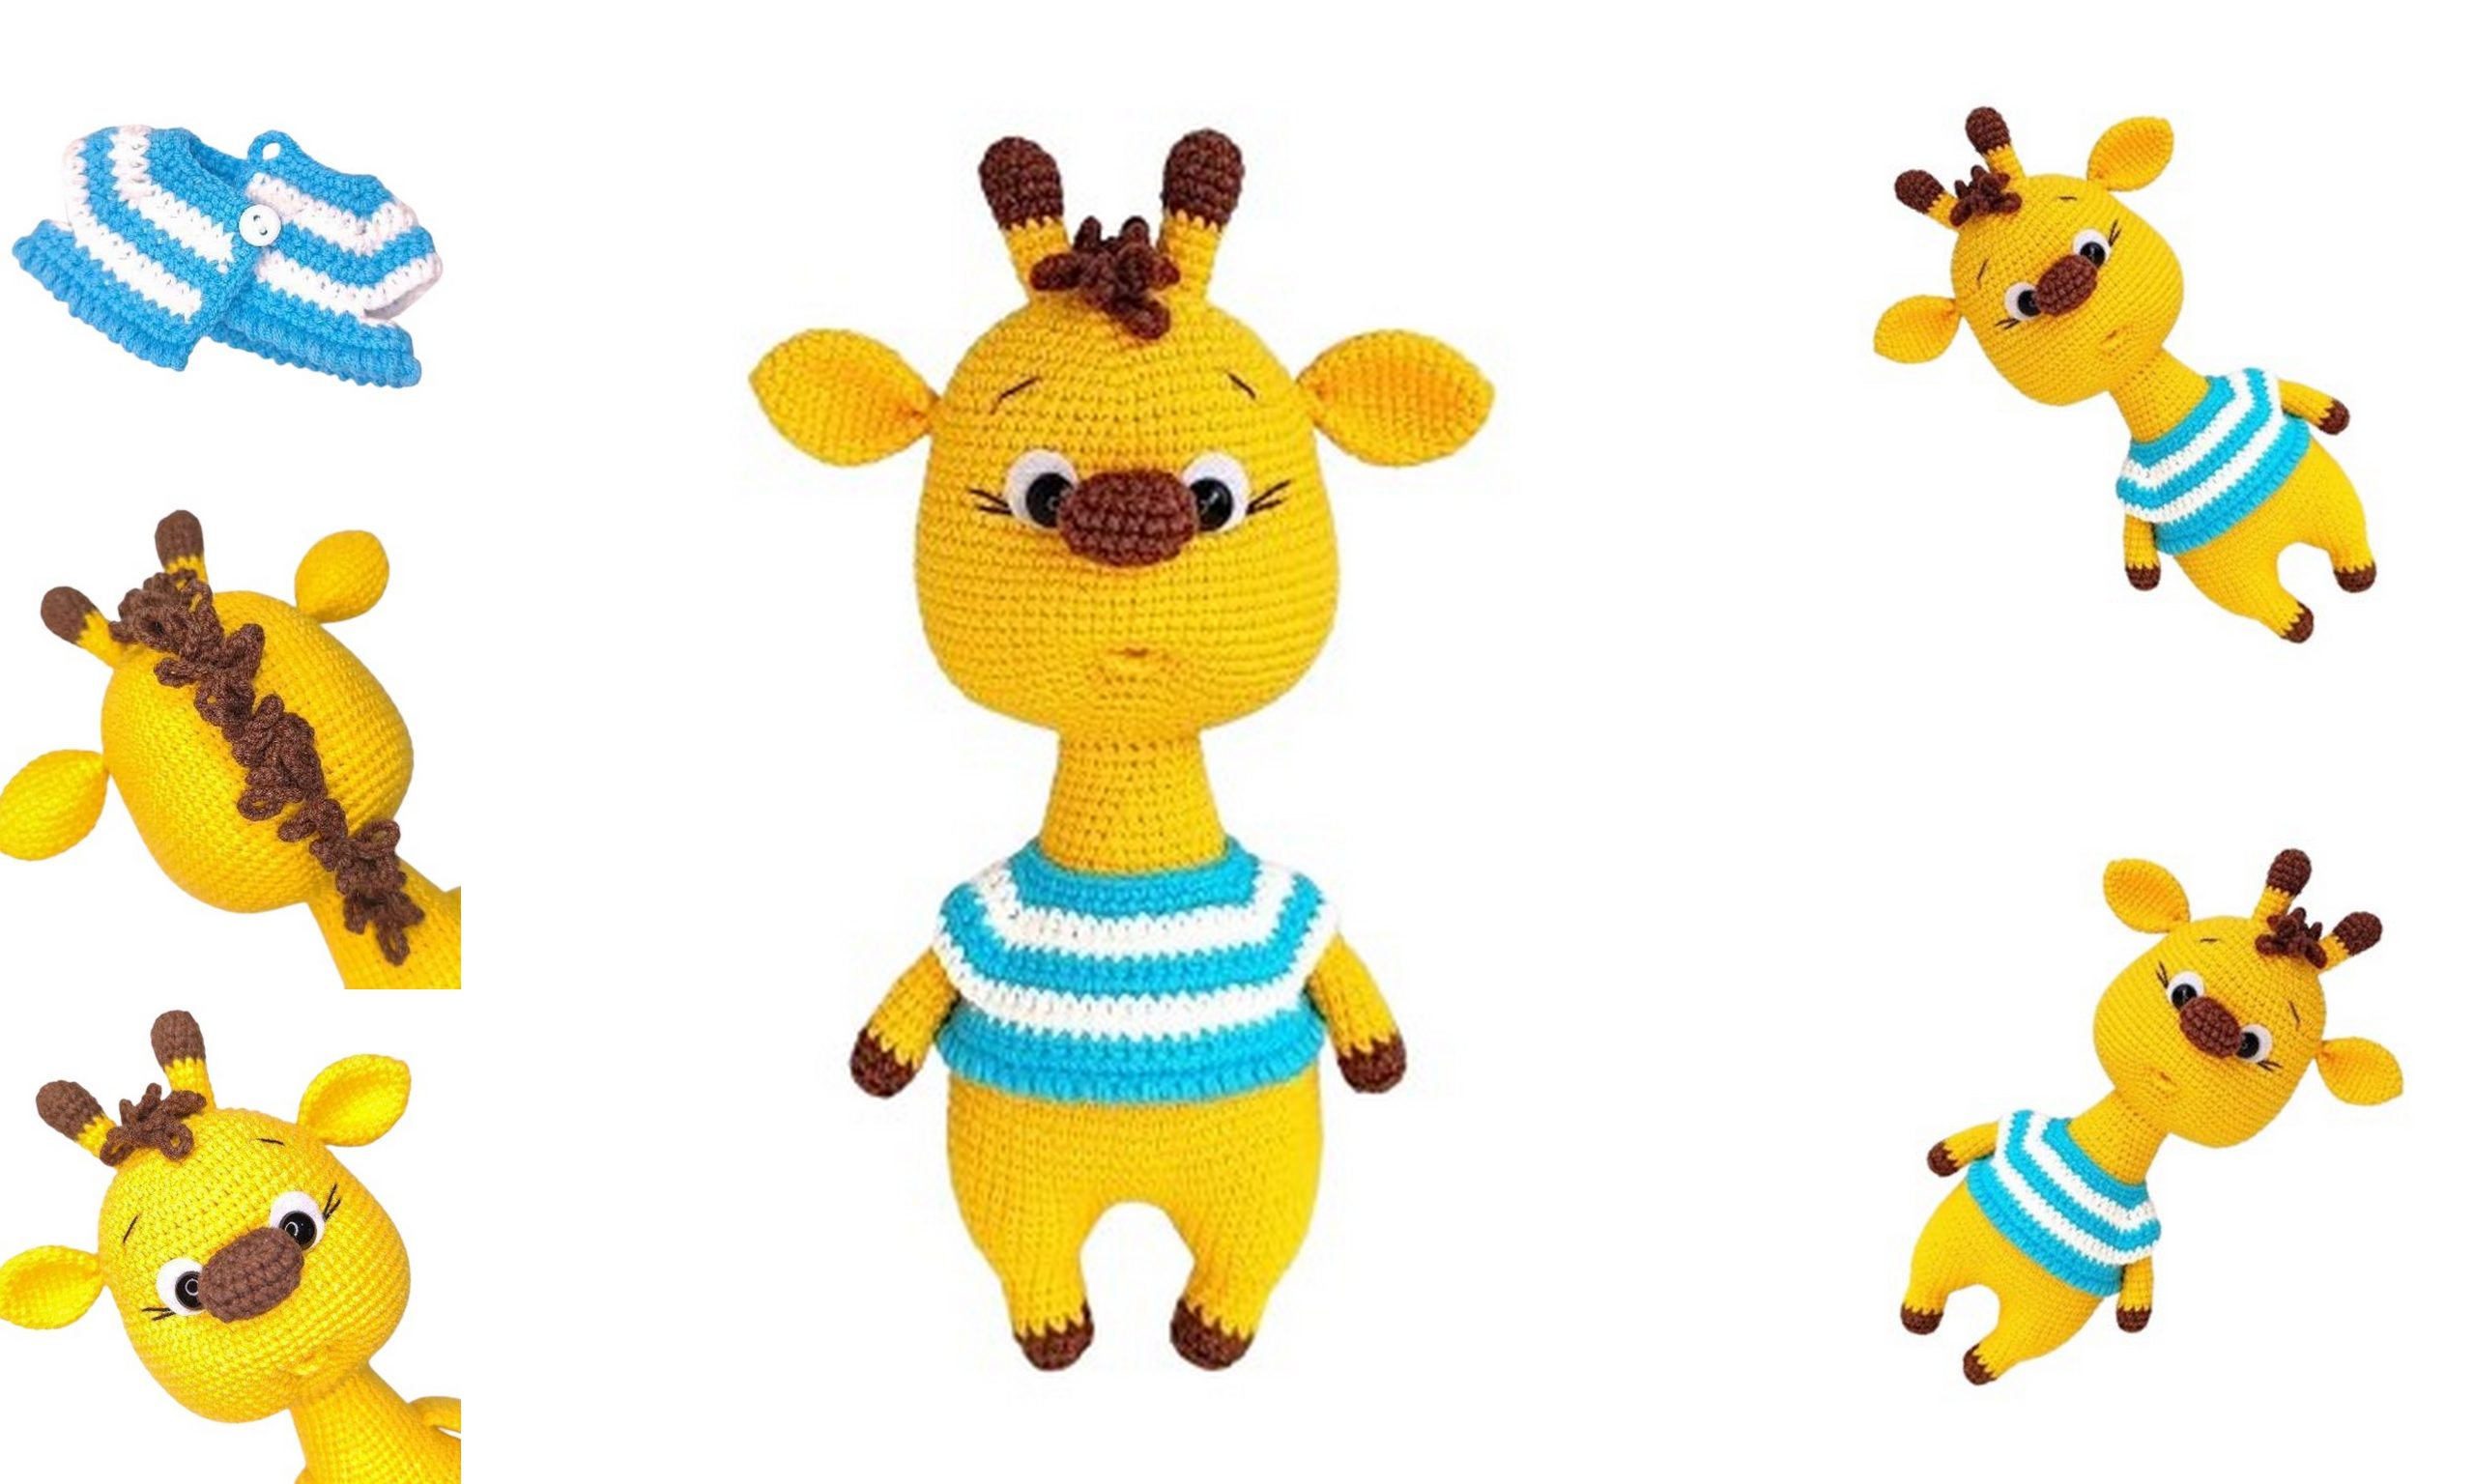
This tutorial includes a complete description of the process of crocheting the toy, intermediate photos of the parts. Additionally, the description of crocheting a shirt is provided.
The toy is crocheted from bottom to top, using “half-crosses,” in a spiral (unless otherwise specified). The shirt is crocheted with a hook, using “checkmarks,” in turning rows with a turning chain.
Arms and nose are crocheted in, ears and horns are sewn on. The tail and mane are crocheted from the body and head.
Using the specified materials, the height of the finished toy is approximately 24 cm.
Mark the beginning of each row with a contrasting thread, thinner than the one you are using for the toy.
The description does not contain instructional lessons and is intended for those who already have basic crochet skills.
This description is my original design and is absolutely FREE.
You can use the toys created according to this description at your discretion. When publishing photos of the finished works, I would appreciate it if you mention me as the author of the description.
Materials and Tools Required:
YarnArt JEANS yarn. I used No. 35 for the body, No. 70 for the nose, hooves, mane, and horn tips. For the shirt, I used No. 62 and 33. For decorating the eyebrows and eye creases, I used “Pekhorka” “Ajour” yarn No. 02, black color (280 m/50 g).
Crochet hook suitable for your yarn. I used Clover Soft Touch No. 2.
Stuffing.
Safety eyes 10 mm, or sew-on or glue-on eyes (beads, half-beads – your choice).
White felt circles 15 mm in diameter for the whites of the eyes.
Strong thread for tightening.
Button for the shirt. I used a white one, 9 mm in diameter.
Needle for sewing parts, scissors, pins, marking thread.
IMPORTANT! Your gauge may differ from mine. In this case, the amount of yarn needed will be different.
You can, of course, change the yarn colors to your liking.
Abbreviations:
MR – magic ring
sc – single crochet
sl st – slip stitch
inc – increase
dec – decrease
ch – chain
(…) * X – repeat the action in parentheses X times
The number after the = sign indicates the total number of stitches in the row.
PATTERN
Nose – Amigurumi Giraffe
Crochet with brown yarn No. 70
Ch 5, starting from the second chain from the hook:
1: inc, 2 sc, 4 sc in 1 stitch, 2 sc, inc = 12
2: 2 inc, 2 sc, 4 inc, 2 sc, 2 inc = 20
3-4: 20 sc
5: 10 dec = 10
Fasten and cut the yarn.
The nose can be slightly stuffed now or later. It will be crocheted in.
Arms (2 pieces) – Amigurumi Giraffe
Start with brown yarn No. 70
1: 5 sc in MR
2: 5 inc = 10
3: 10 sc in back loops only
4: 10 sc
Change to yellow yarn No. 35
5-17: 10 sc
Crochet 1-2 additional stitches for alignment and slightly stuff the lower part of the arms. Fold in half and crochet 5 sc through both layers.
Fasten and cut the yarn. The arms will be crocheted in.
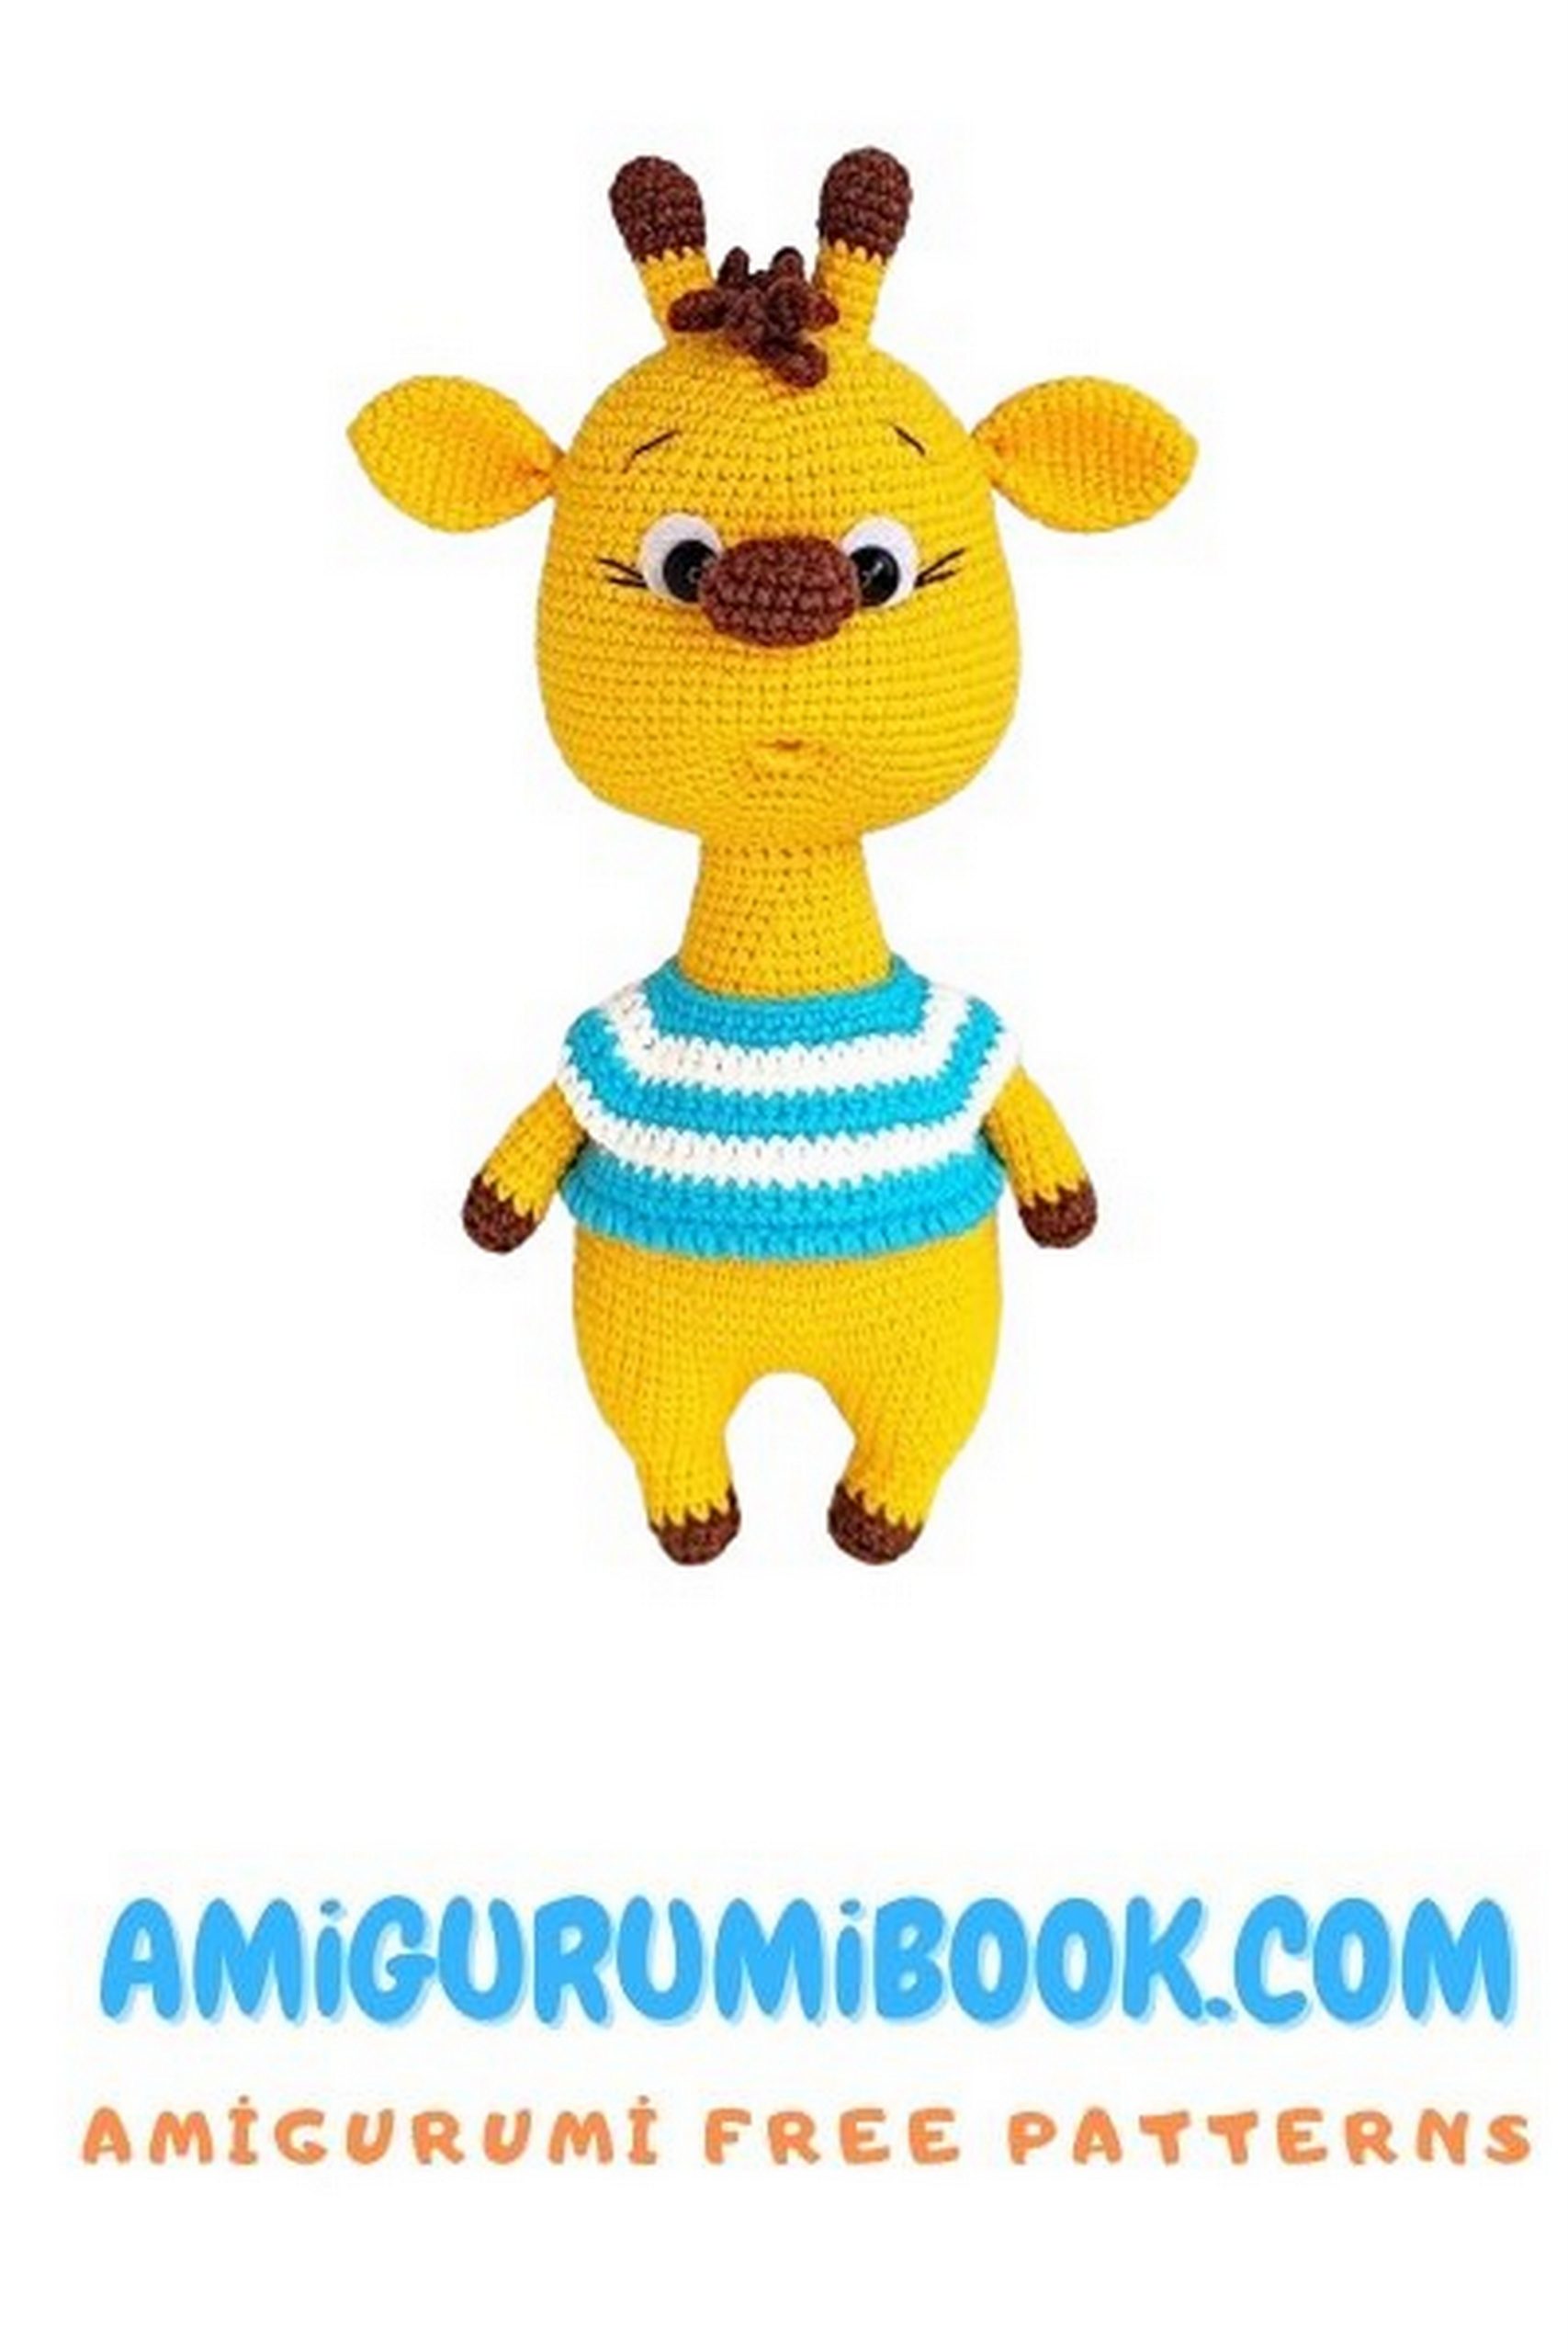
Head – Amigurumi Giraffe
Crochet with yellow yarn No. 35
1: 6 sc in MR
2: 6 inc = 12
3: (1 sc, inc) * 6 = 18
4: (2 sc, inc) * 6 = 24
5: (3 sc, inc) * 6 = 30
6: (4 sc, inc) * 6 = 36
7: (5 sc, inc) * 6 = 42
8: (6 sc, inc) * 6 = 48
9: (7 sc, inc) * 6 = 54
10: (8 sc, inc) * 6 = 60
11-12: 60 sc
13: (9 sc, inc) * 6 = 66
14-18: 66 sc
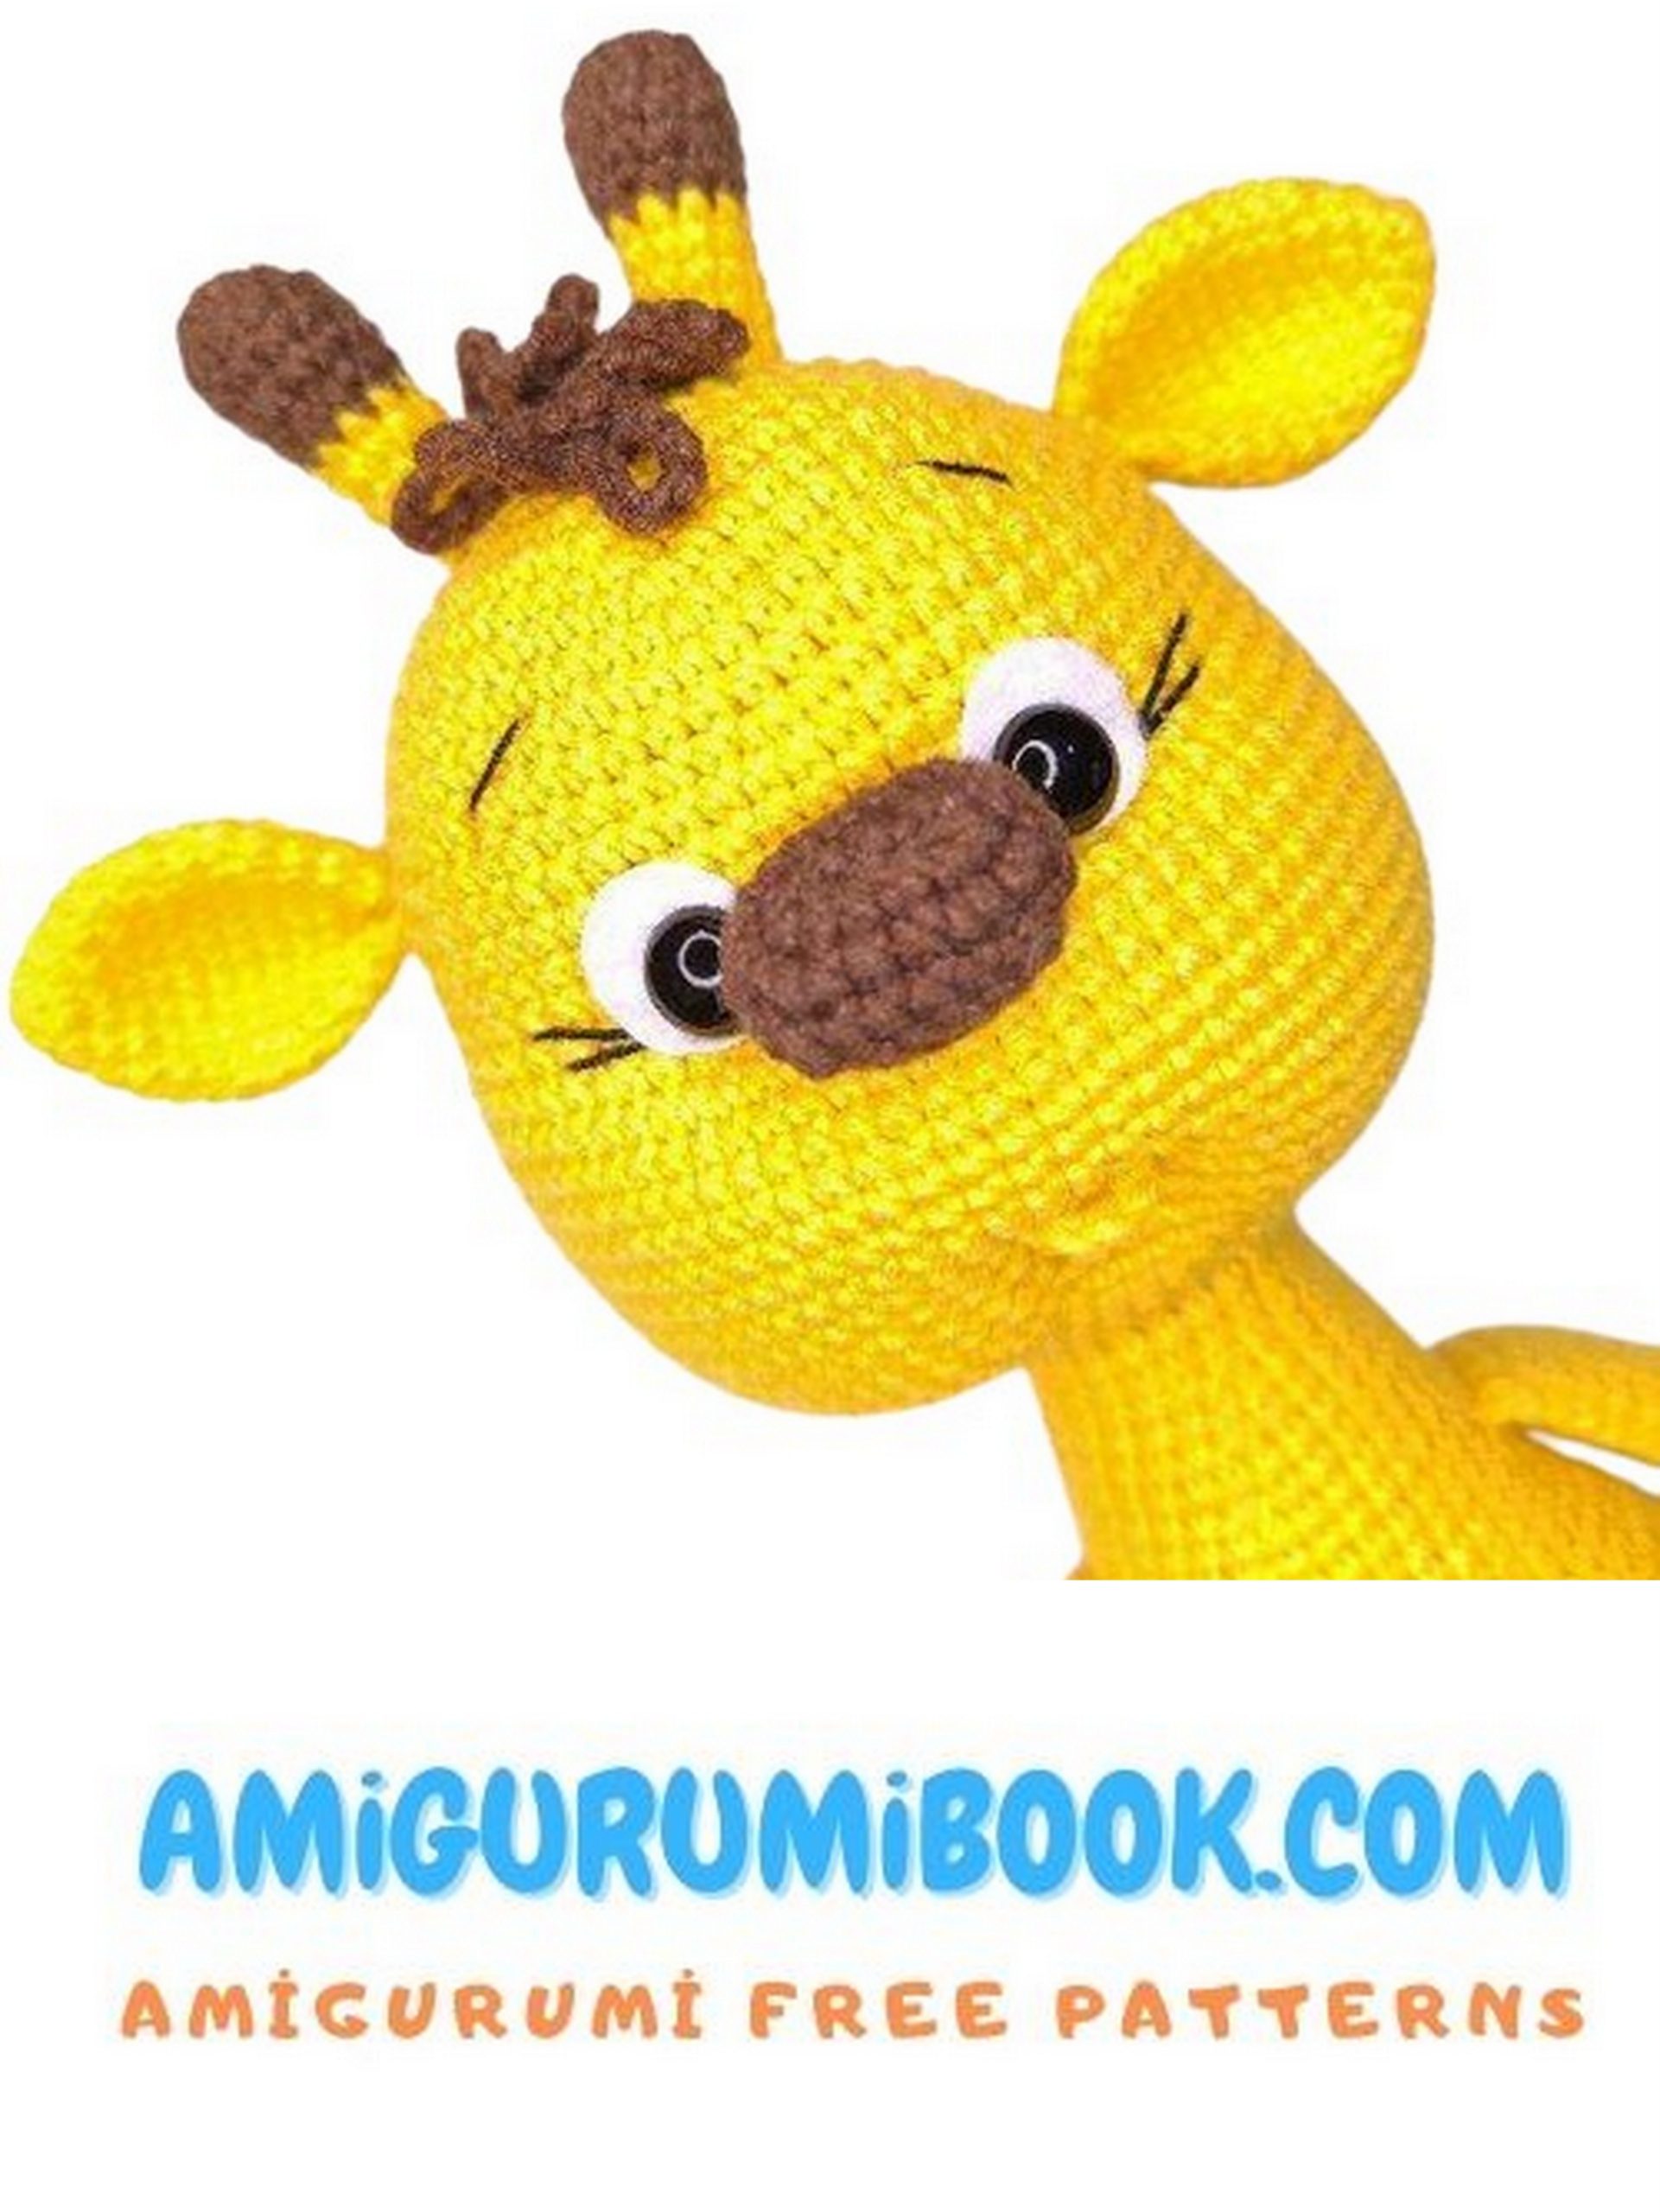
In the next row, cheeks will be crocheted and the nose will be incorporated (photo 4, 5).
19: 19 sc, (1 sc, inc) * 6, 5 sc with 5 stitches of the nose, (inc, 1 sc) * 6, 18 sc = 78
20: 37 sc, 5 sc in remaining stitches of the nose, 36 sc = 78
21-30: 78 sc
Stuff the nose slightly if not done earlier.
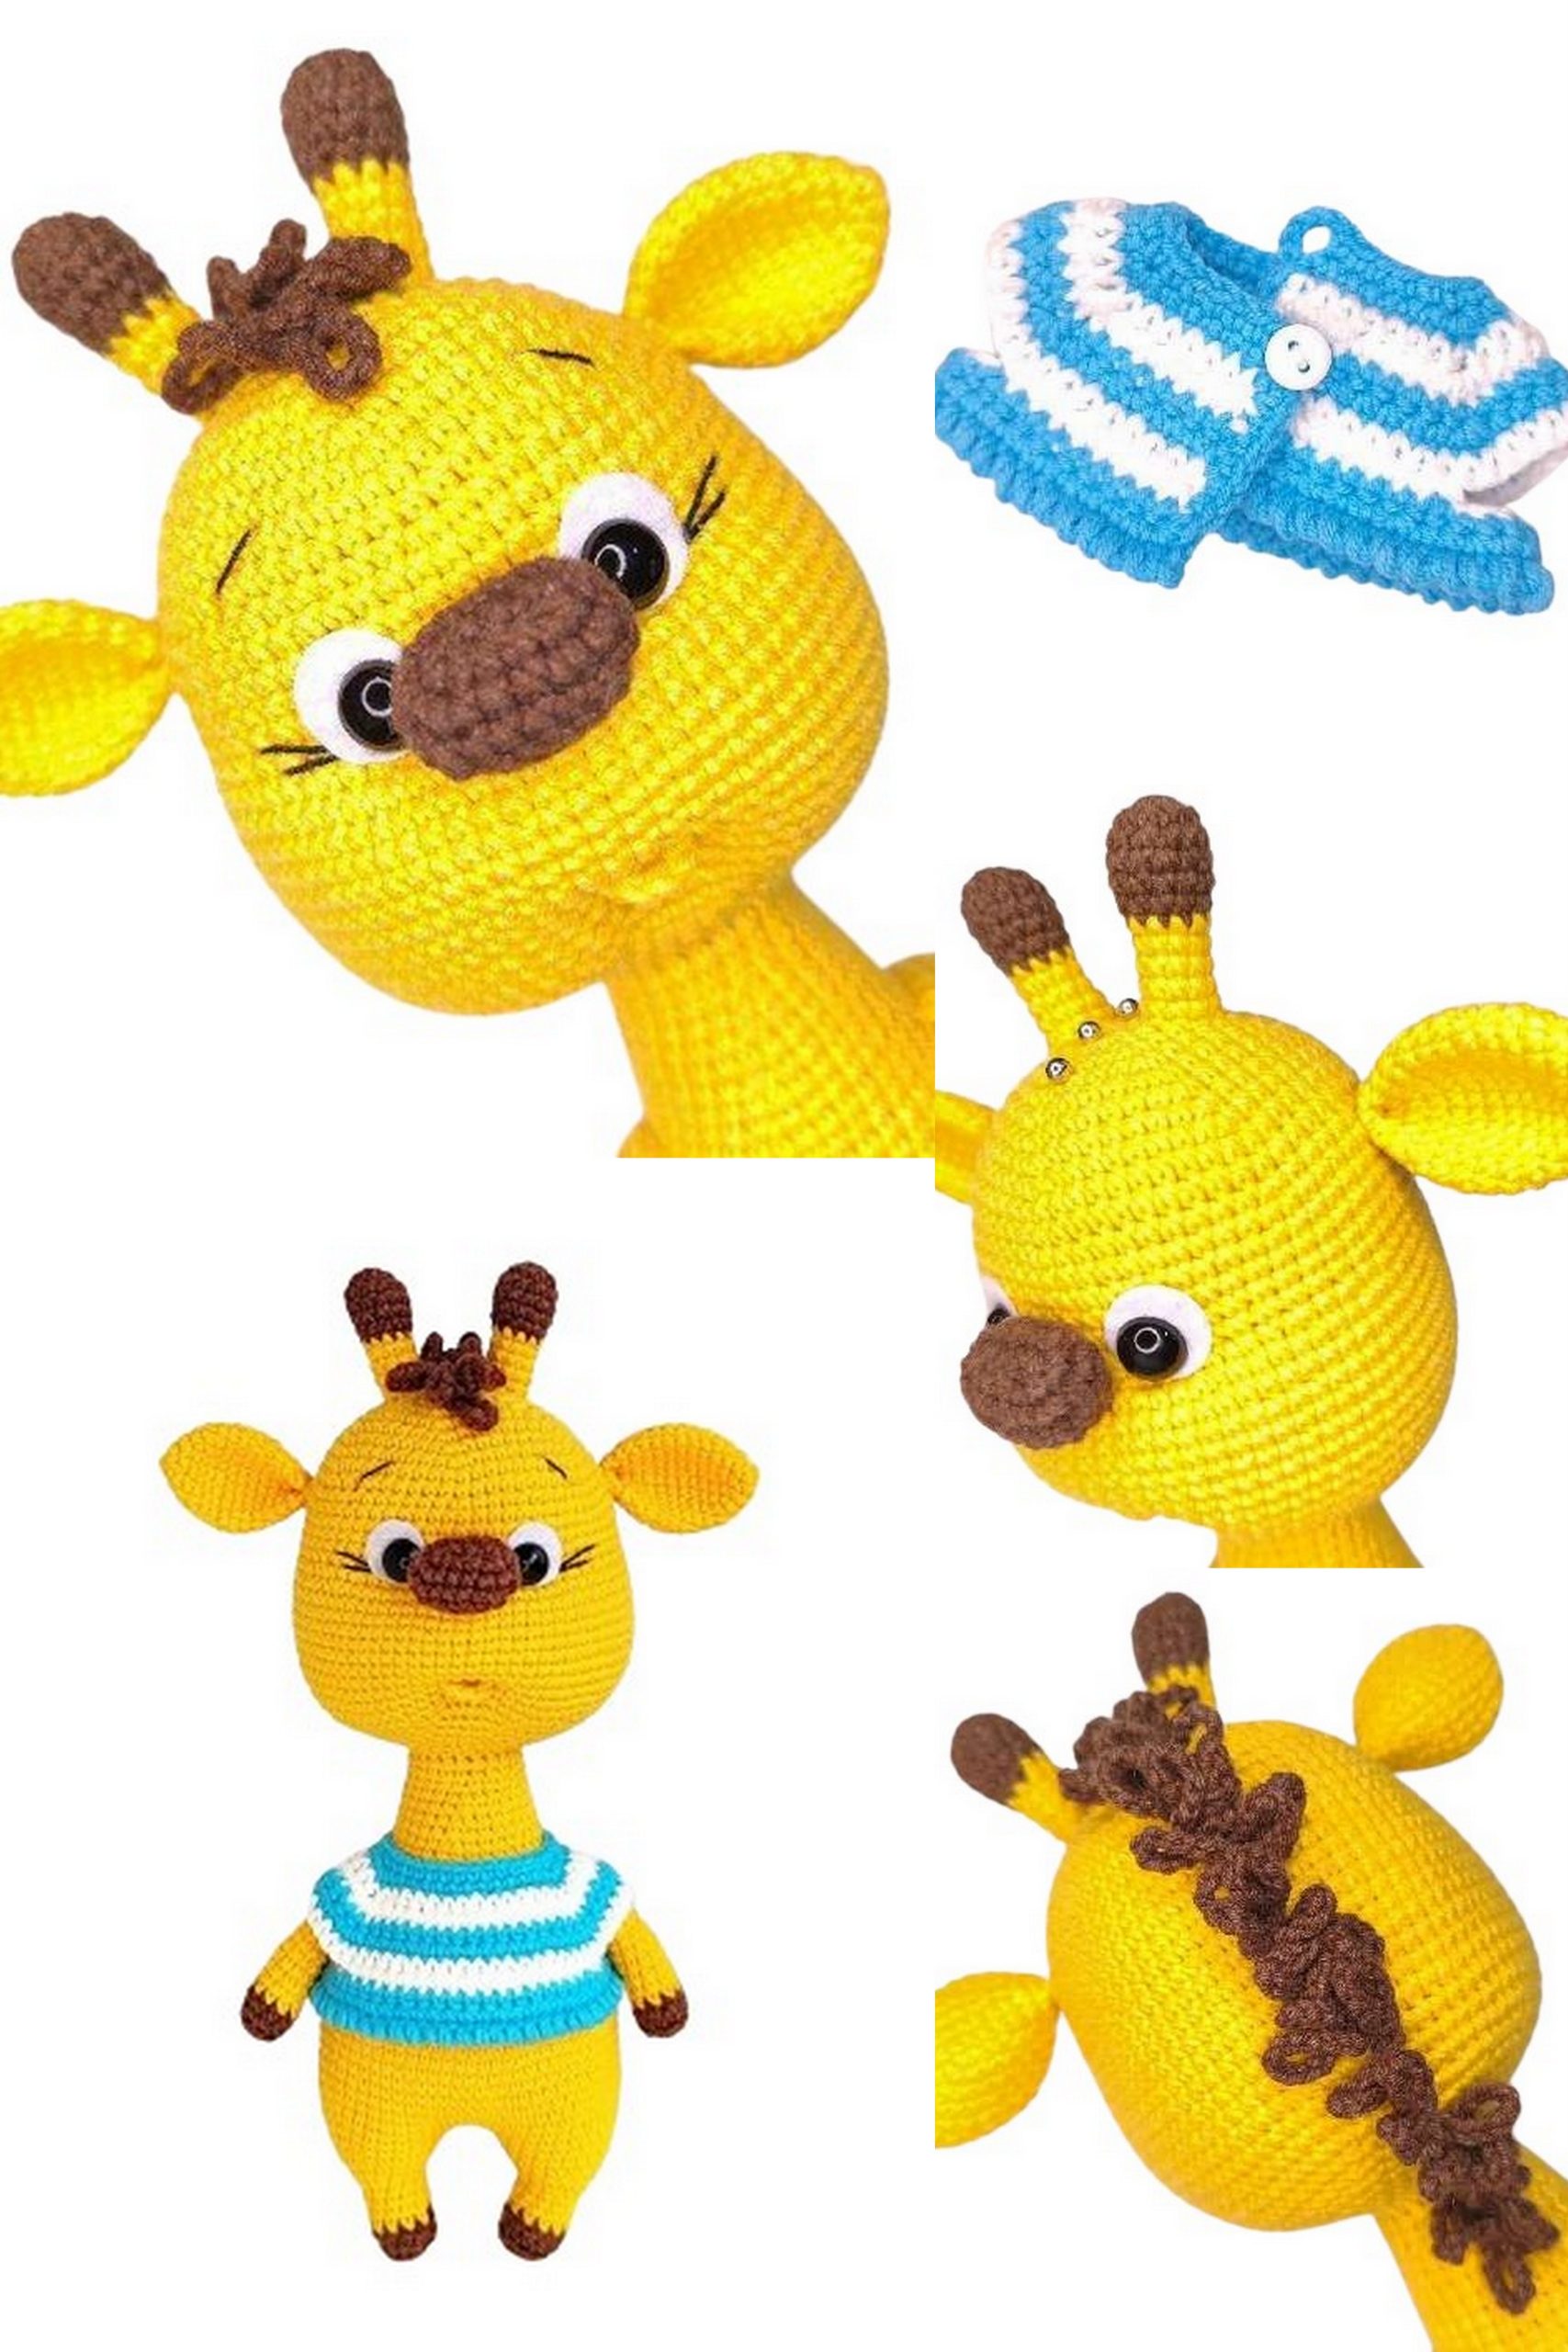
If you are using safety eyes, place them at this stage. Between rows 17 and 18. The distance between the eyes should be 6-8 sc. I have 8 sc. Center the eyes relative to the nose (photo 6).
Take the felt circles. Carefully fold in half to avoid creasing, and make small cuts, slightly offset from the center towards the edge. Turn the circles and make perpendicular cuts. You should get a cross-cut. Insert the eyes into them (photo 7) and secure them in the fabric (photo 8).
Later, after the tightening, the felt can be carefully fixed with glue.
31: (11 sc, dec) * 6 = 72
32: (7 sc, dec) * 8 = 64
33: (6 sc, dec) * 8 = 56
34: (5 sc, dec) * 8 = 48
35: (4 sc, dec) * 8 = 40
36: (3 sc, dec) * 8 = 32
37: (2 sc, dec) * 8 = 24
Stuff the head firmly but without overdoing it, considering that there will be tightenings. Fasten the yarn and hide it inside.
Horns (2 pieces) – Amigurumi Giraffe
Start with brown yarn No. 70
1: 6 sc in MR
2: 6 inc = 12
3-5: 12 sc
6: (5 sc, dec) * 2 = 10
Change to yellow yarn No. 35
7-11: 10 sc
Lightly stuff the upper part of the horns. Fasten the yarn, leaving a length for sewing.
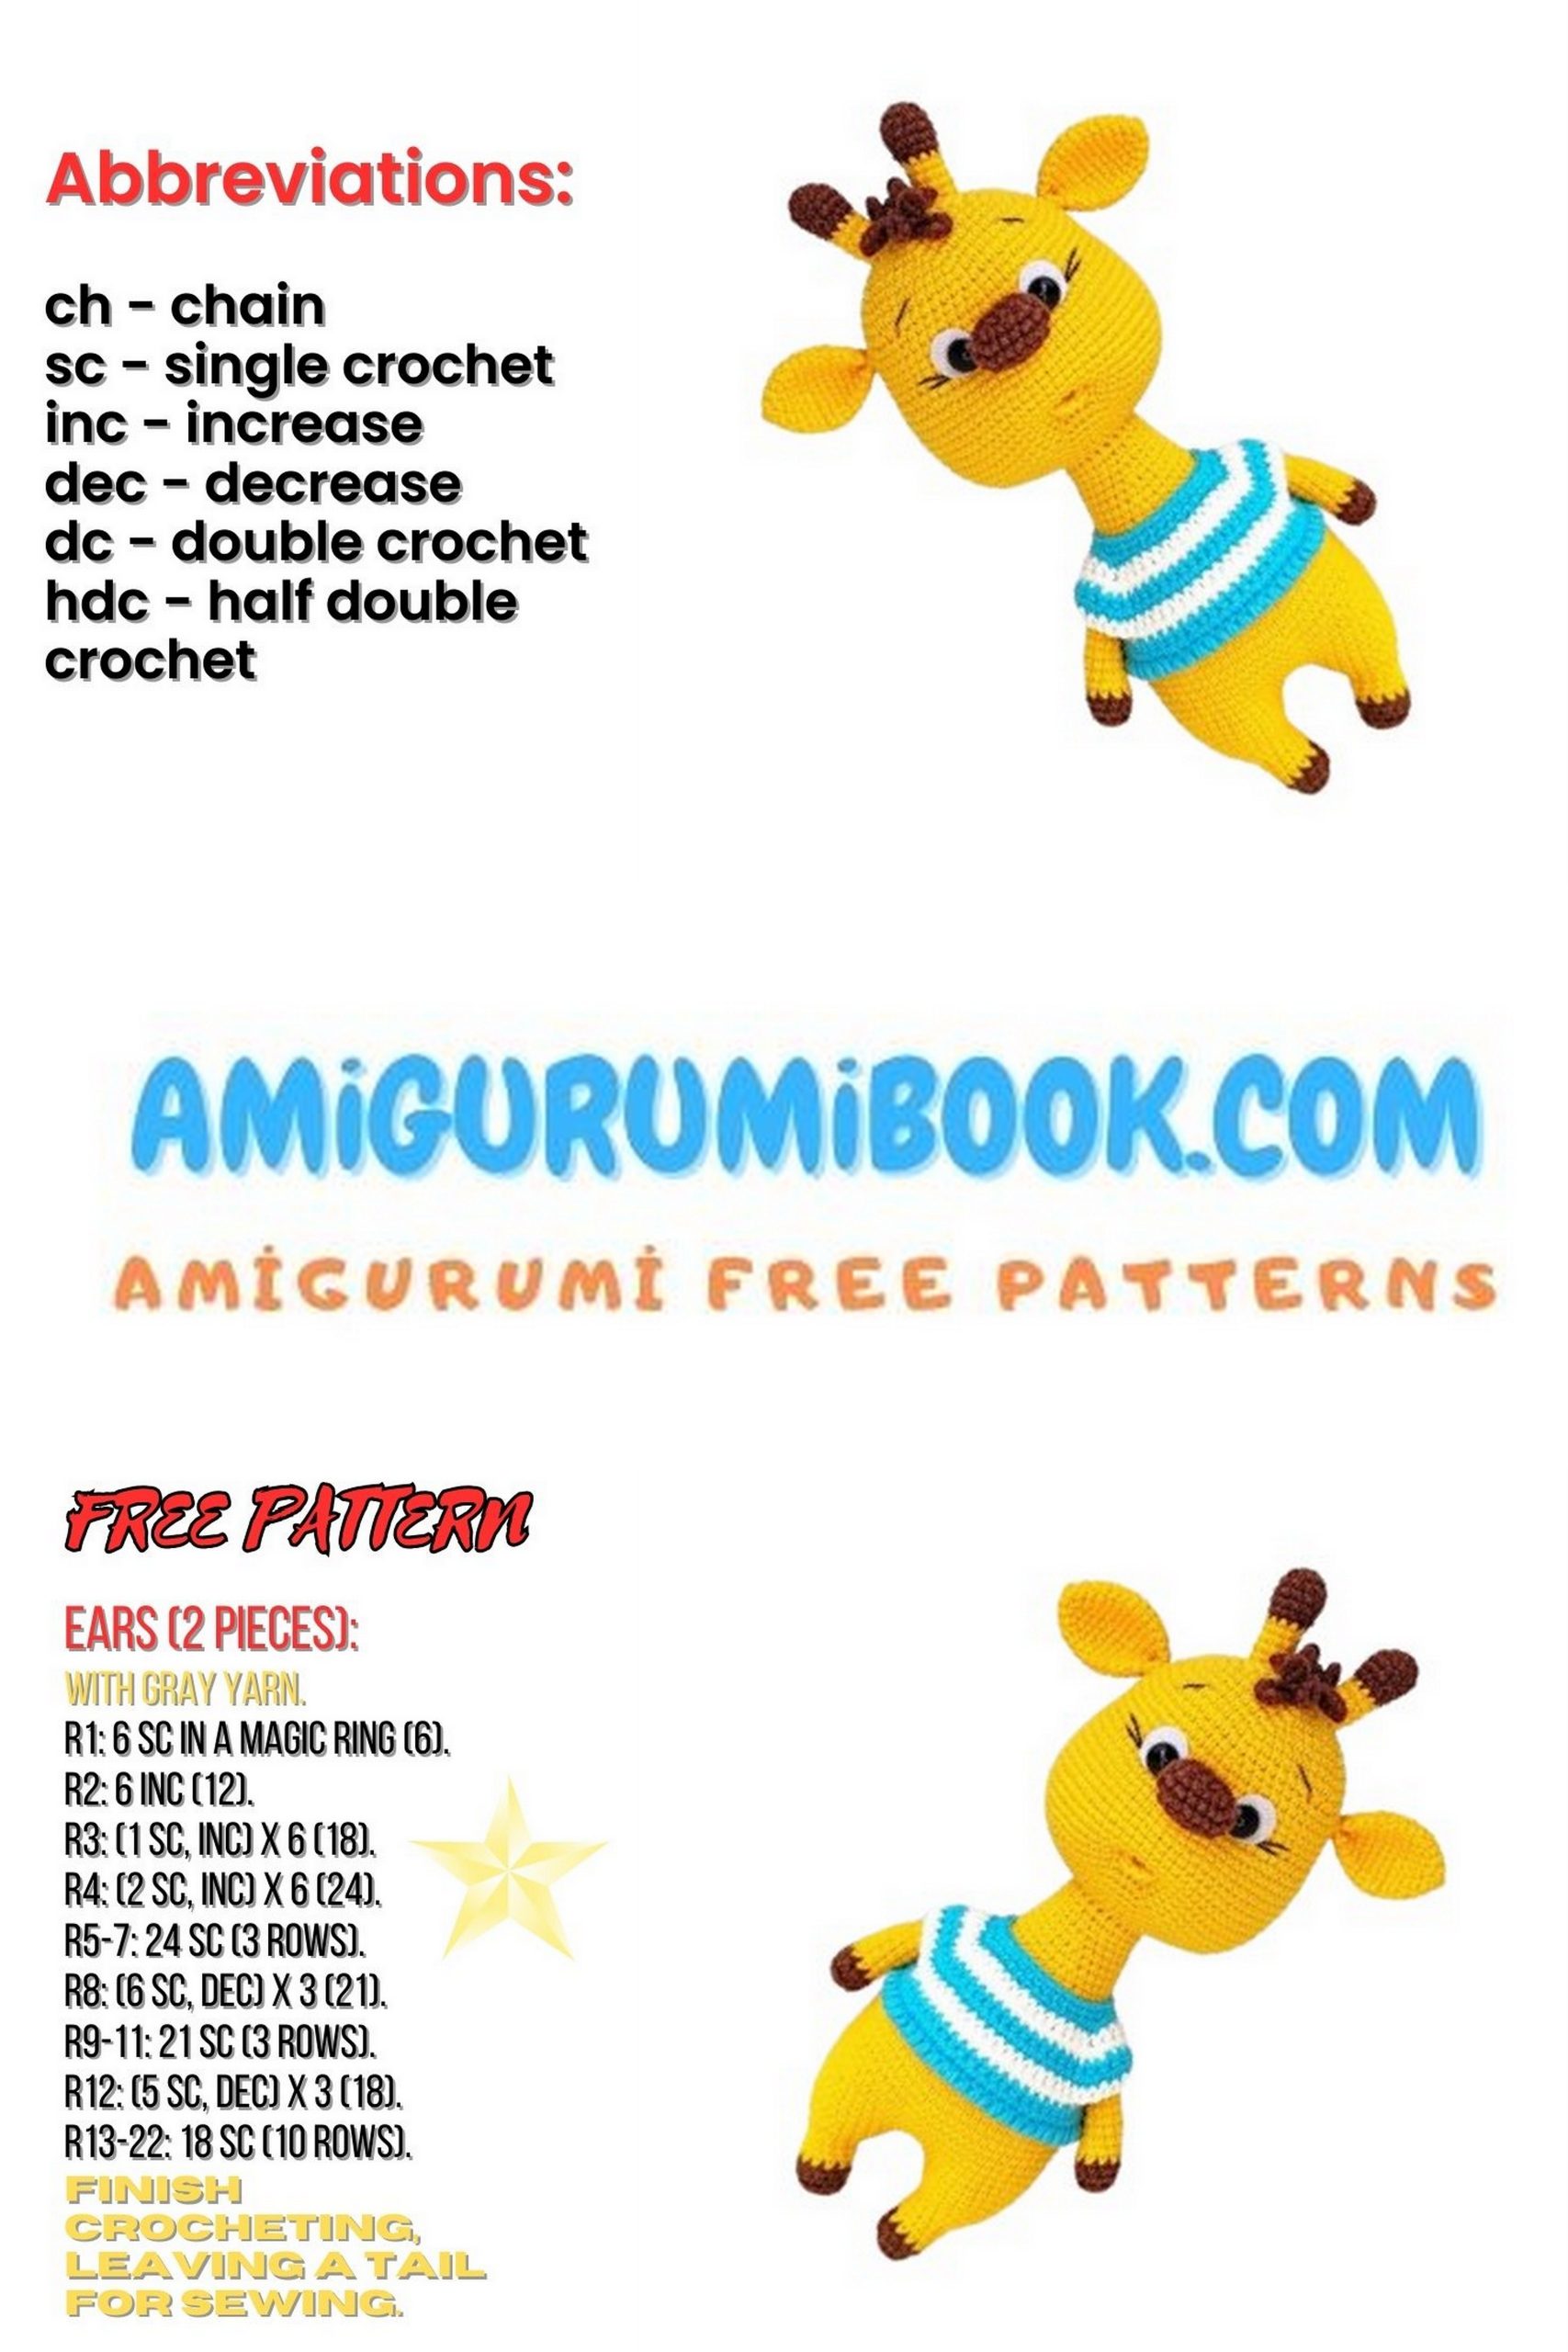
Ears (2 pieces) – Amigurumi Giraffe
Crochet with yellow yarn No. 35
1: 6 sc in MR
2: (1 sc, inc) * 3 = 9
3: (2 sc, inc) * 3 = 12
4: (1 sc, inc) * 6 = 18
5-6: 18 sc
7: (2 sc, inc) * 6 = 24
8-10: 24 sc
11: (2 sc, dec) * 6 = 18
12: 18 sc
13: (1 sc, dec) * 6 = 12
Fold the piece in half and crochet together through both layers, 6 sc. Fasten the yarn, leaving a length for sewing.
Legs (2 pieces) – Amigurumi Giraffe
Start with brown yarn No. 70
1: 6 sc in MR
2: 6 inc = 12
3: 12 sc in back loops only or using inverted single crochet
4: 12 sc
Change to yellow yarn No. 35
5-8: 12 sc
9: (1 sc, inc) * 6 = 18
10: 18 sc
11: (2 sc, inc) * 6 = 24
12: 24 sc
Crochet one more sc (alignment stitch).
For the first leg, fasten and cut the yarn. The last stitch will be the point of joining with the second leg.
Continue crocheting the second leg.
Body – Amigurumi Giraffe
Stuff firmly as you crochet.
Using yellow yarn, No. 35, crochet a chain of 3 ch and connect the legs.
1: 24 sc on the first leg, 3 sc along the chain of ch, 24 sc on the second leg, 3 sc along the chain of ch.
Total number of stitches in the row = 54.
Place a marker thread.
2: (8 sc, inc) * 6 = 60
3: 60 sc
4: (9 sc, inc) * 6 = 66
5-11: 66 sc
12: (9 sc, dec) * 6 = 60
13: 60 sc
14: (8 sc, dec) * 6 = 54
15: 54 sc
16: (7 sc, dec) * 6 = 48
17: 48 sc
18: (6 sc, dec) * 6 = 42
19: 42 sc
20: (5 sc, dec) * 6 = 36
21-23: 36 sc
In row 24, we will crochet the arms. Stuff the main part of the body fairly tightly but not completely. Leave about 1 cm to make it easier to attach the arms without the stuffing getting between the stitches.
Determine the attachment points strictly on the sides: 5 sc with the arms, with 13 sc between them.
Taking my shift into account, I got this:
24: 9 sc, 5 sc with the arm, 13 sc, 5 sc with the arm, 4 sc = 36
25: 36 sc
26: (10 sc, dec) * 3 = 33
27: 33 sc
28: (9 sc, dec) * 3 = 30
29: 30 sc
30: (8 sc, dec) * 3 = 27
31: 27 sc
32: (7 sc, dec) * 3 = 24
33-34: 24 sc
Crochet a few more stitches and secure the yarn at the back center of the back. Leave about 50 cm for attaching the head. Remove the marker thread.
If desired, you can strengthen the neck with wire. Take a piece about 15 cm long, bend the ends and insulate them with adhesive tape.
Instead of wire, you can use a glue gun stick or cotton swabs, fastening several together with adhesive tape.
Insert the wire inside the neck. Stuff the part tightly to the end. Attach and sew on the head.
While sewing, don’t forget to adjust the stuffing.
Shaping and finishing
Form the mouth and eye sockets by shaping. Mark 6 points on the muzzle with pins.
Determine the middle of the muzzle. It’s convenient to do this by placing a thread, needle, or knitting needle down from the center of the nose.
Mark between rows 29 and 30. There are 2-3 sc between the pins.
Between rows 18 and 19, mark 4 more points at the outer and inner corners of the eyes. At the inner corners, this is the start and end of the crocheted nose. There are 2-3 sc between the inner and outer points.
Leave a yarn end about 25-30 cm long and insert the needle into point 1, bringing it out at point 2. Then into point 3, bringing it out at point 6.
Adjust the thread so it is under the eye and felt circle. Without cutting the thread, insert it again into point 1, bring it out at point 4, then into point 5, and out at point 6. Similarly, adjust the thread under the eye and felt circle. Tighten, tie firmly in 2-3 knots, and hide the threads inside the head. You can carefully smear the knot and thread entry and exit points with a universal transparent glue. I use “Moment Crystal.”
Lower Lip
Using yellow yarn, No. 35, leave a yarn end about 30 cm, and crochet 6 sc in a magic ring, tightening it.
Leave a yarn end about 40-45 cm, and cut the thread.
We have a piece close to a semicircle in shape.
Try the piece on, and secure it 2-3 rows down from the mouth shaping.
Fix the middle of the lip a bit lower than the edges. When sewing, the thread tension should be moderate. Don’t pull too tight. Bring the middle thread to the back of the head (in the magic ring) and back through any adjacent stitch.
I passed a small stitch from the center of the ring through the row inside the head. You can repeat it again. Make the stitch tight but not pulling. Hide the thread inside the head with a few confusing stitches.
Fix both edges of the lip with the second thread end. Make stitches up and back. Bring it to the nose attachment point (between rows 18 and 19).
Thanks to the shaping, they will be unnoticed there.
Sew the horns between rows 2 and 6 of the head (from the crown). The number of stitches between the horns in front and back is approximately the same.
Fold the ear in half and make a few stitches through both layers.
Sew the ears to the head at row 14. The distance between them (in front) is 33 sc, counting along row 14.
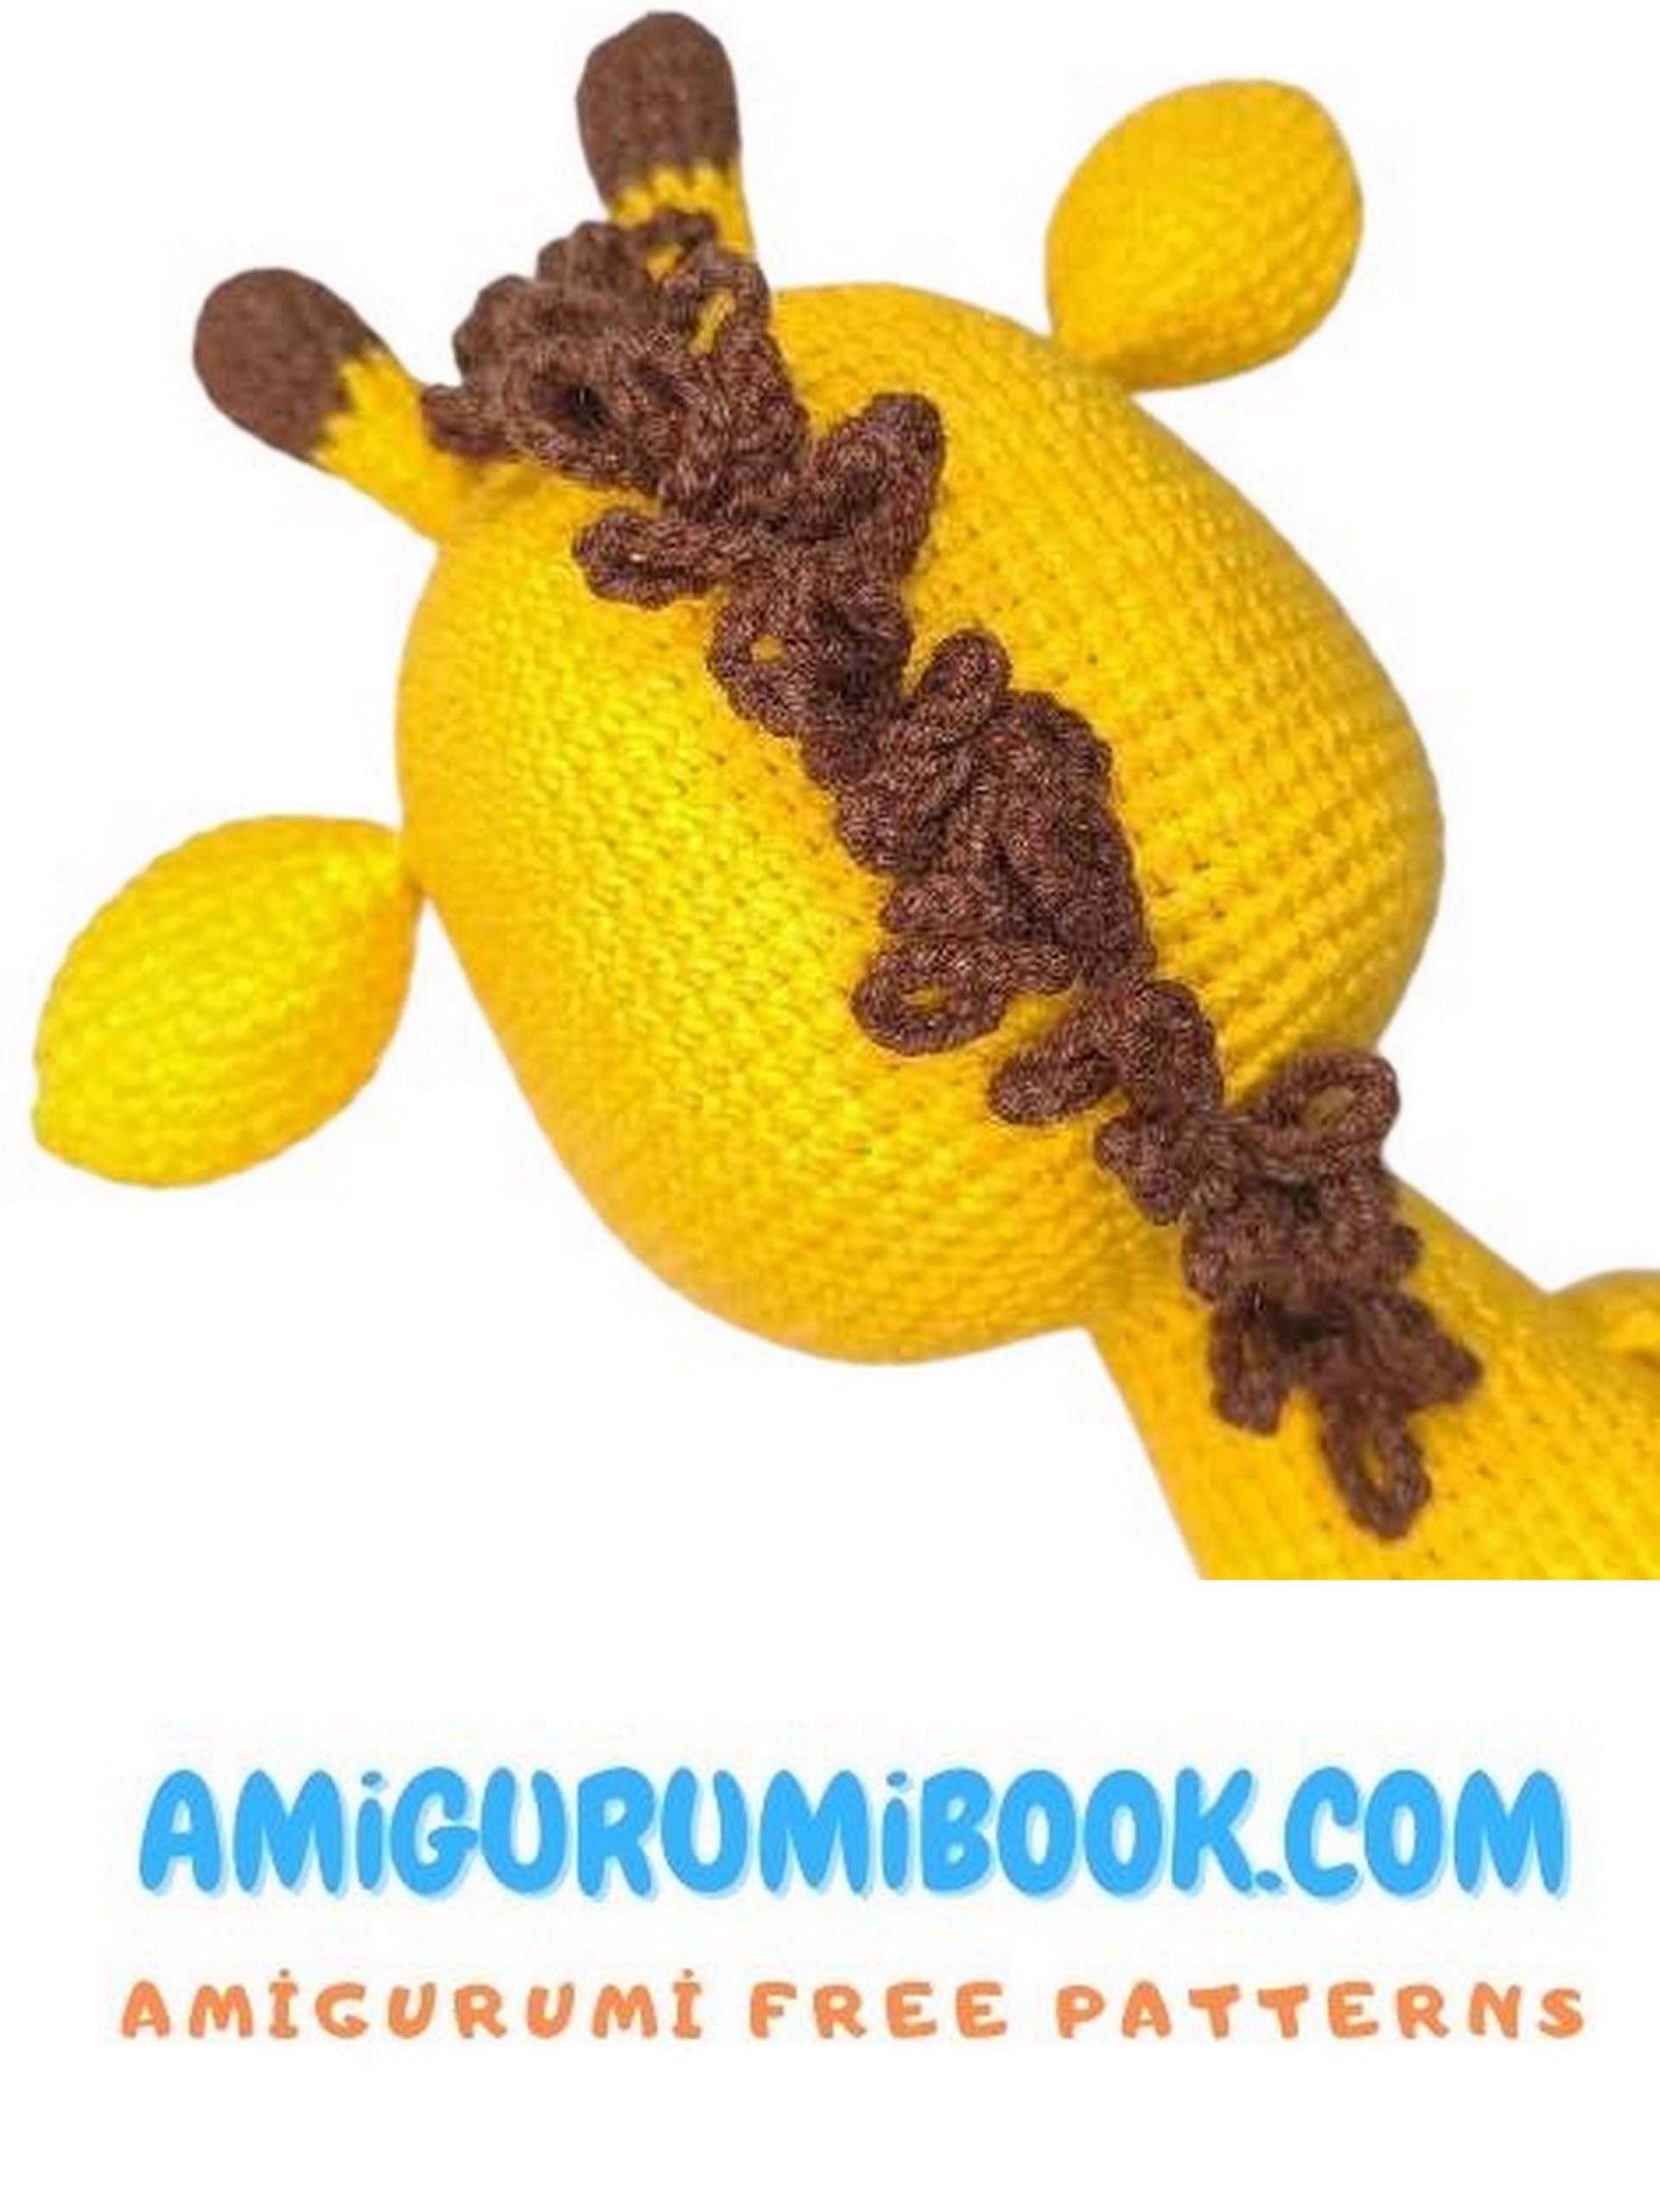
We will crochet the mane directly from the head.
Mark with pins (photos 27, 28) and crochet the strands with chains of 12 ch, attaching to each row directly behind the stitches of the head with slip stitches (photos 29, 30).
Start the mane from the 5th row (from the crown) in front. Finish at the back, covering 3-5 rows of the neck.
Both in front and back, you can make the mane longer or shorter or crochet only the forelock. But if you plan to dress the giraffe in a shirt, it is better not to crochet chains longer than 5 rows of the neck at the back.
For the mane, you can also use acrylic yarn (like “Baby Yarn” from “Pekhorka”), attach it in any way you find convenient, and brush it.
To crochet the tail, determine the place at your discretion. Leave a small piece of yarn, and crochet a chain of 5 ch from the body. In the last stitch, crochet 3 chains of 12 ch. Secure, hide, and cut the threads.
Optionally, embroider eyebrows, and wrinkles around the eyes. All that’s left is to crochet the shirt.
Crocheting the Shirt
Start with blue yarn, No. 33.
Chain 37 ch, turn, and in the second stitch from the hook:
1: 6 sc, 3 sc in 1 st, 4 sc, 3 sc in 1 st, 12 sc, 3 sc in 1 st, 4 sc, 3 sc in 1 st, 6 sc = 44; ch, turn
Change color to white, No. 62 (or No. 01).
2: 44 sc, ch, turn
3: 7 sc, 3 sc in 1 st, 6 sc, 3 sc in 1 st, 14 sc, 3 sc in 1 st, 6 sc, 3 sc in 1 st, 7 sc = 52; ch, turn
Change color to blue, No. 33.
4: 52 sc, ch, turn
5: 8 sc, 3 sc in 1 st, 8 sc, 3 sc in 1 st, 16 sc, 3 sc in 1 st, 8 sc, 3 sc in 1 st, 8 sc = 60; ch, turn
Change color to white, No. 62 (or No. 01).
6: 60 sc, ch, turn
7: 9 sc, chain of 6 ch, skip 12 sc, 18 sc, chain of 6 ch, skip 12 sc, 9 sc = 48; ch, turn
Change color to blue, No. 33.
8: 8 sc, inc, 6 sc along the chain, inc, 16 sc, inc, 6 sc along the chain, inc, 8 sc = 52; ch, turn
9: 52 sc
Don’t cut the thread, make an edging for the shirt around the perimeter with single crochets (3 sc in the corner stitches): up the edge, neckline, down the edge (don’t forget the loop of 4-5 ch, depending on the diameter of your button), and the bottom with a reverse single crochet stitch.
Your giraffe is ready! I hope you enjoyed both the process and the result.