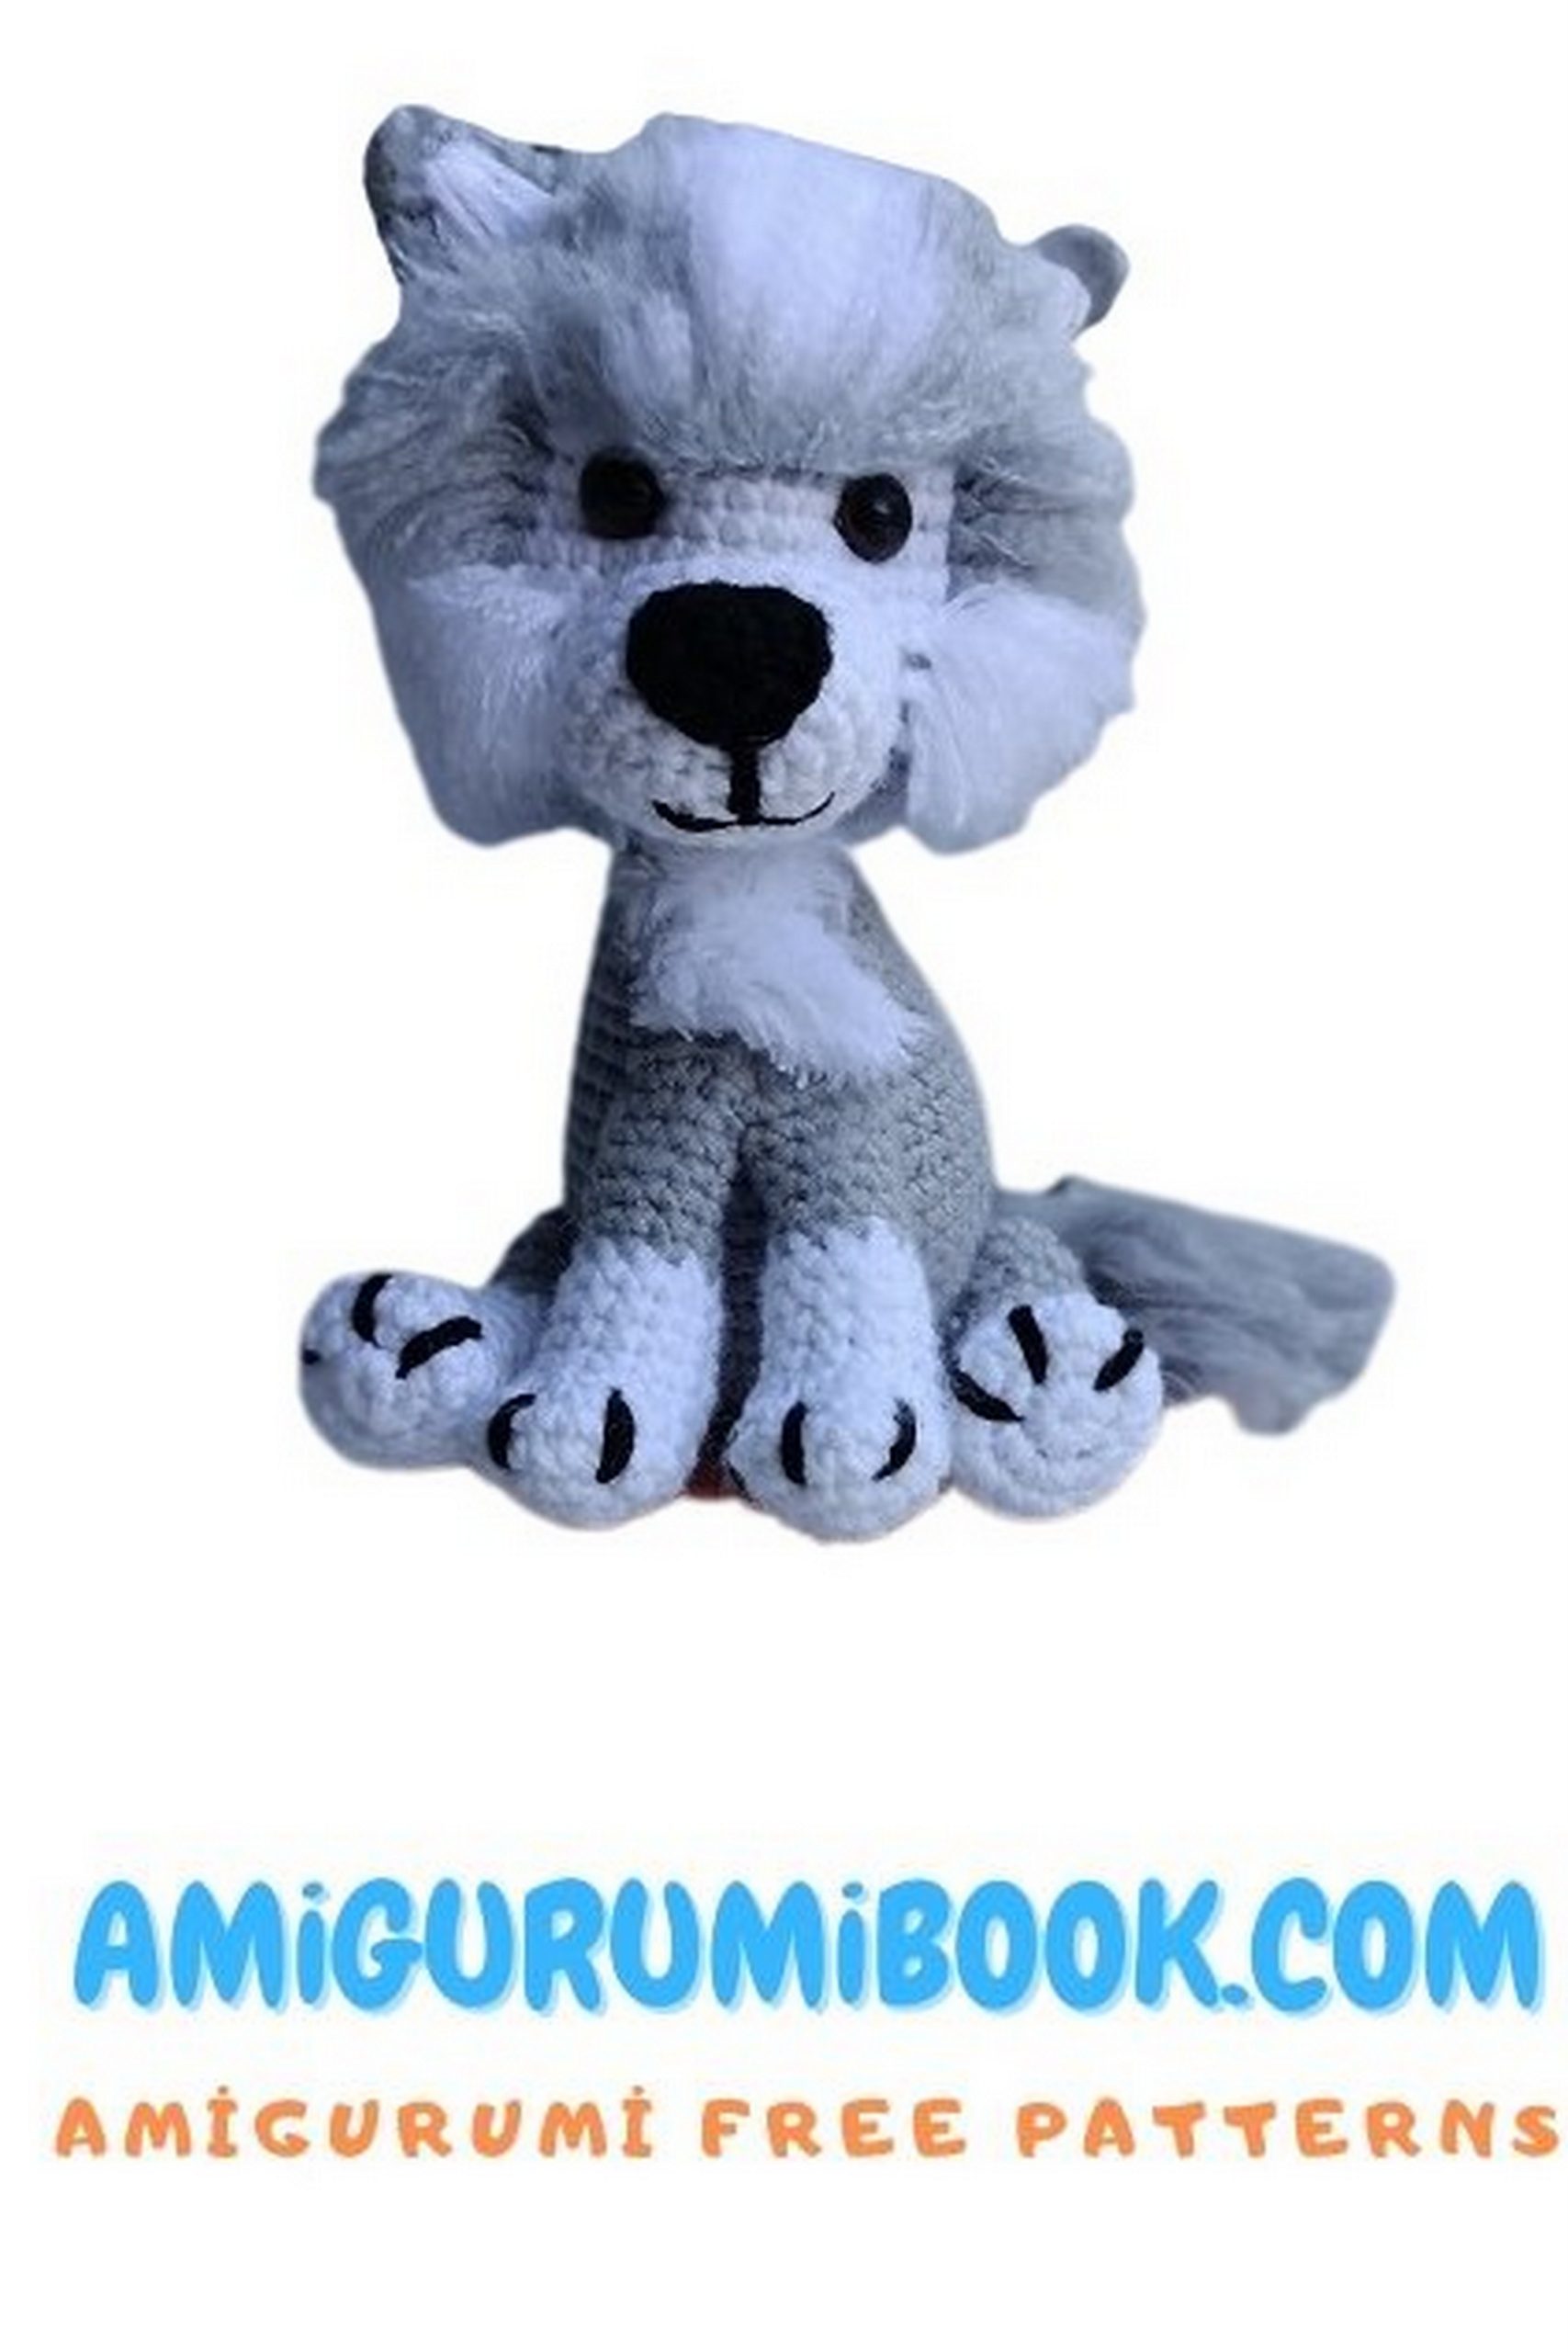
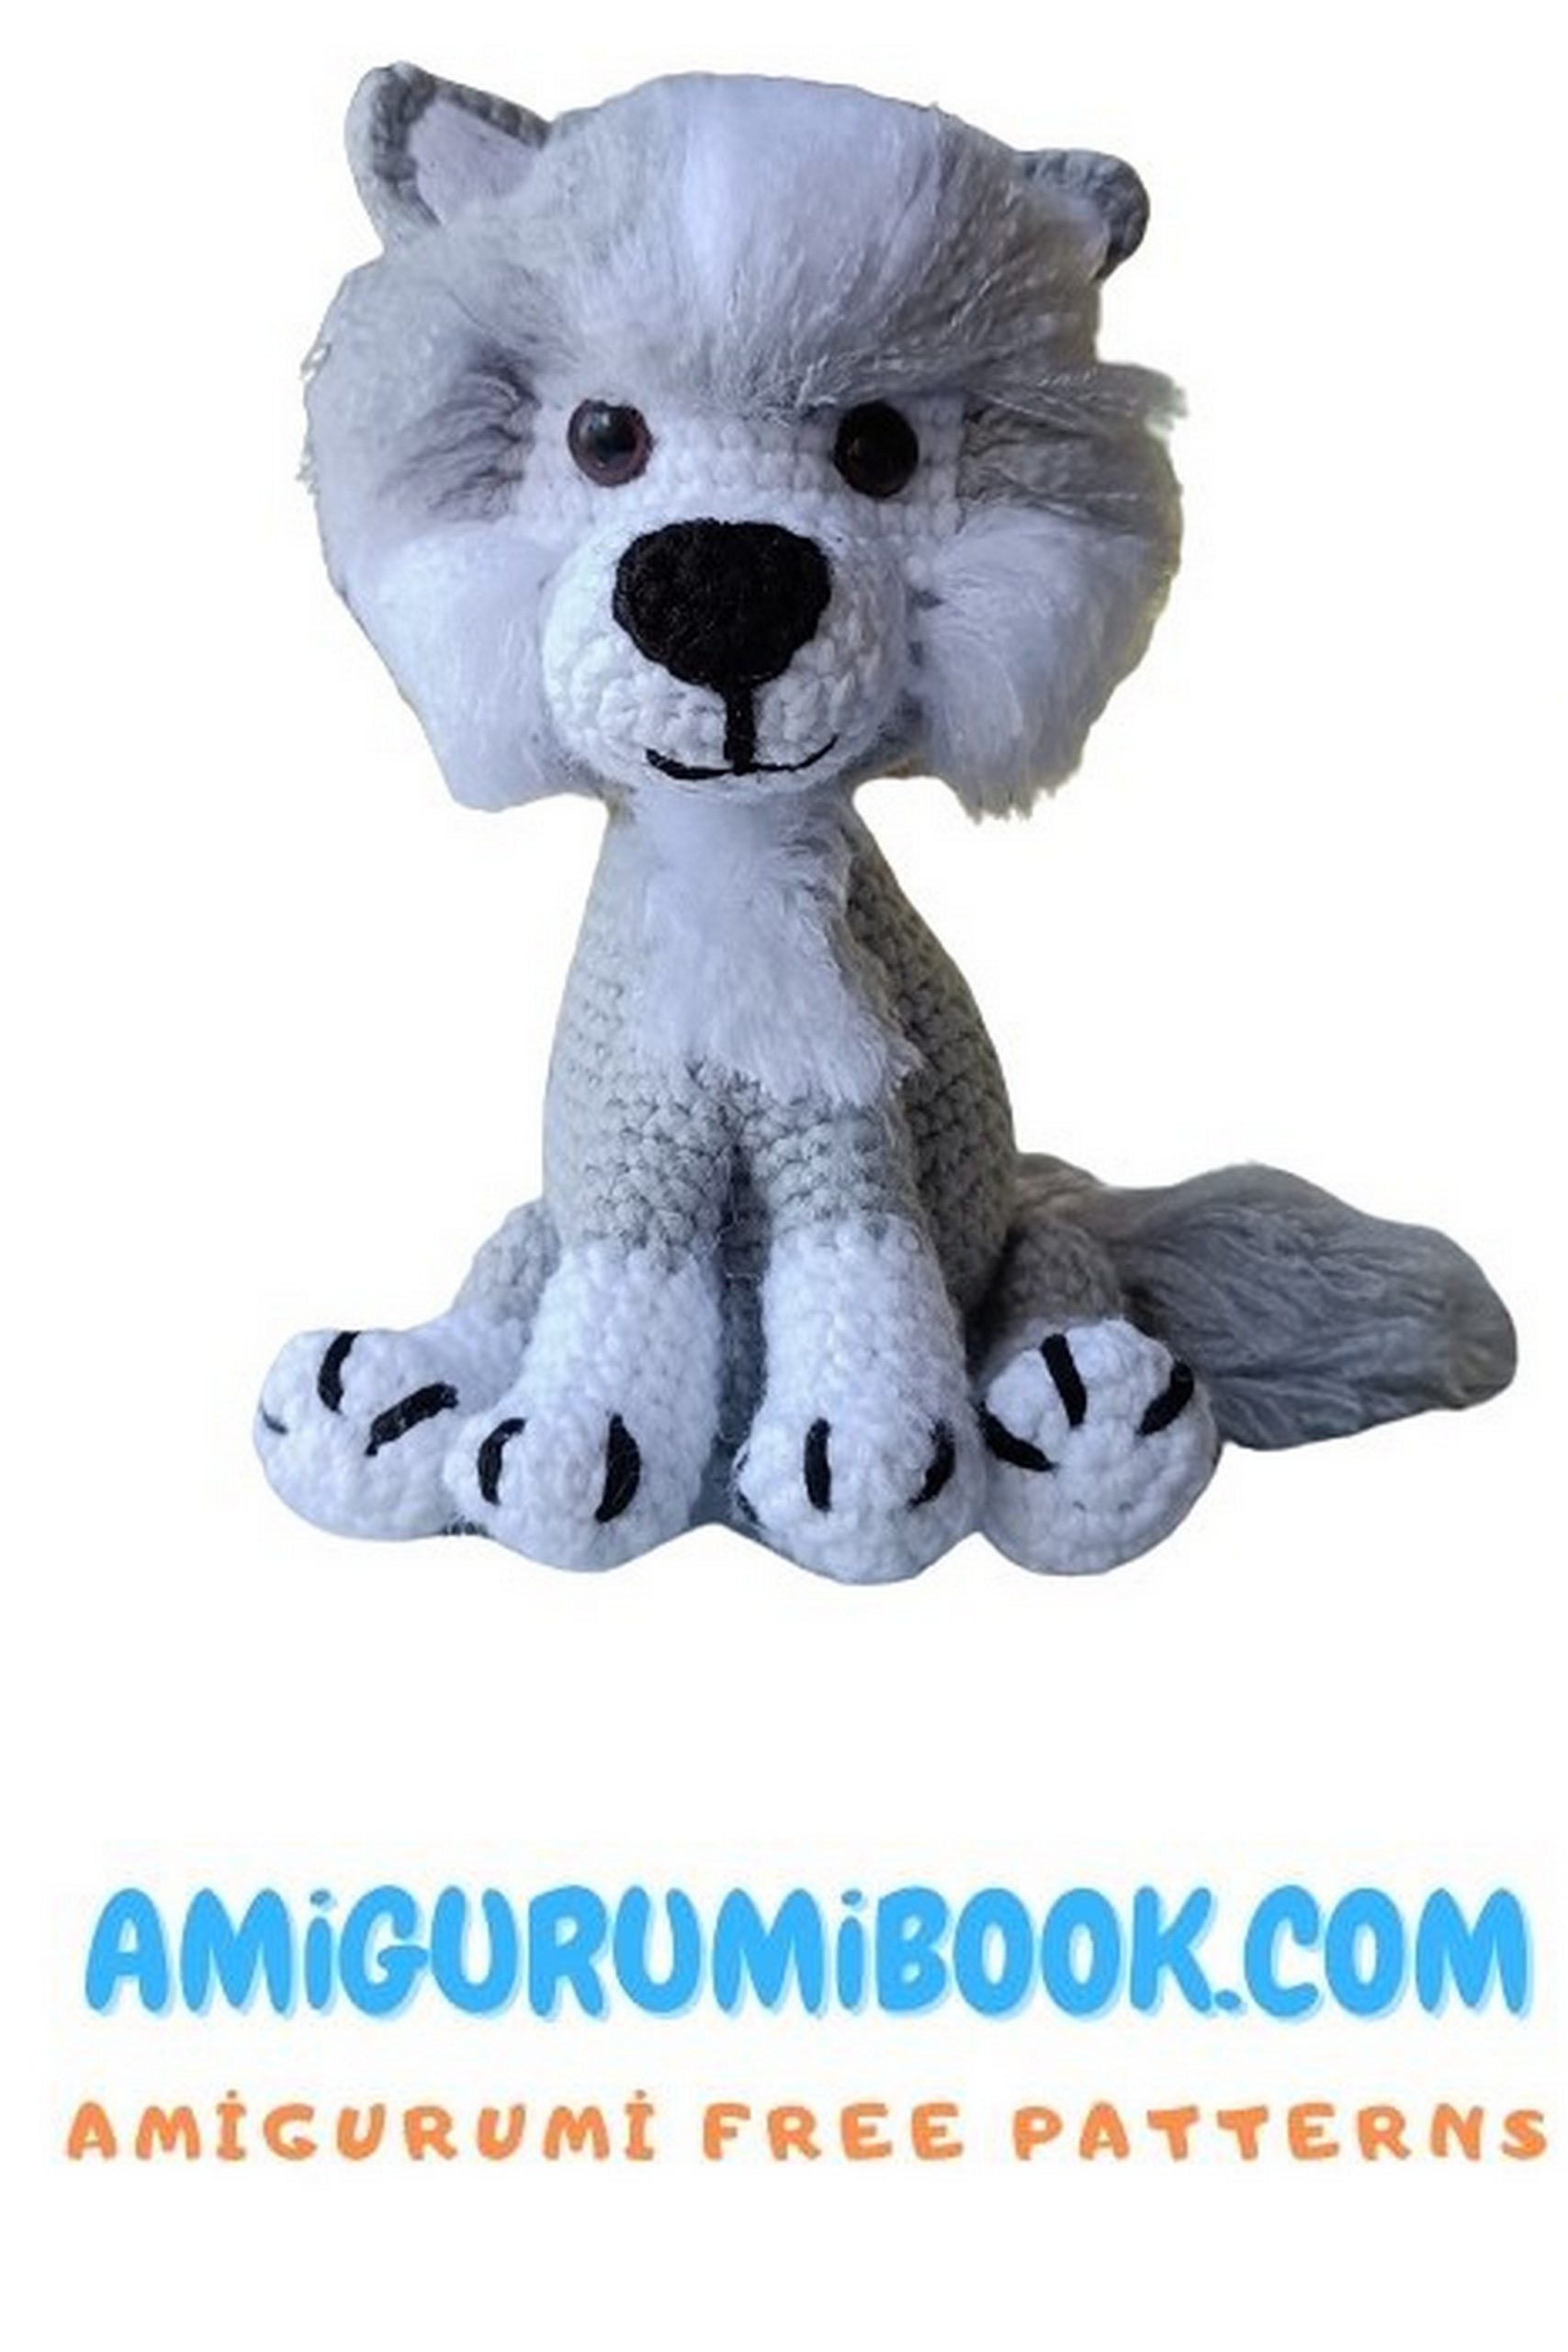
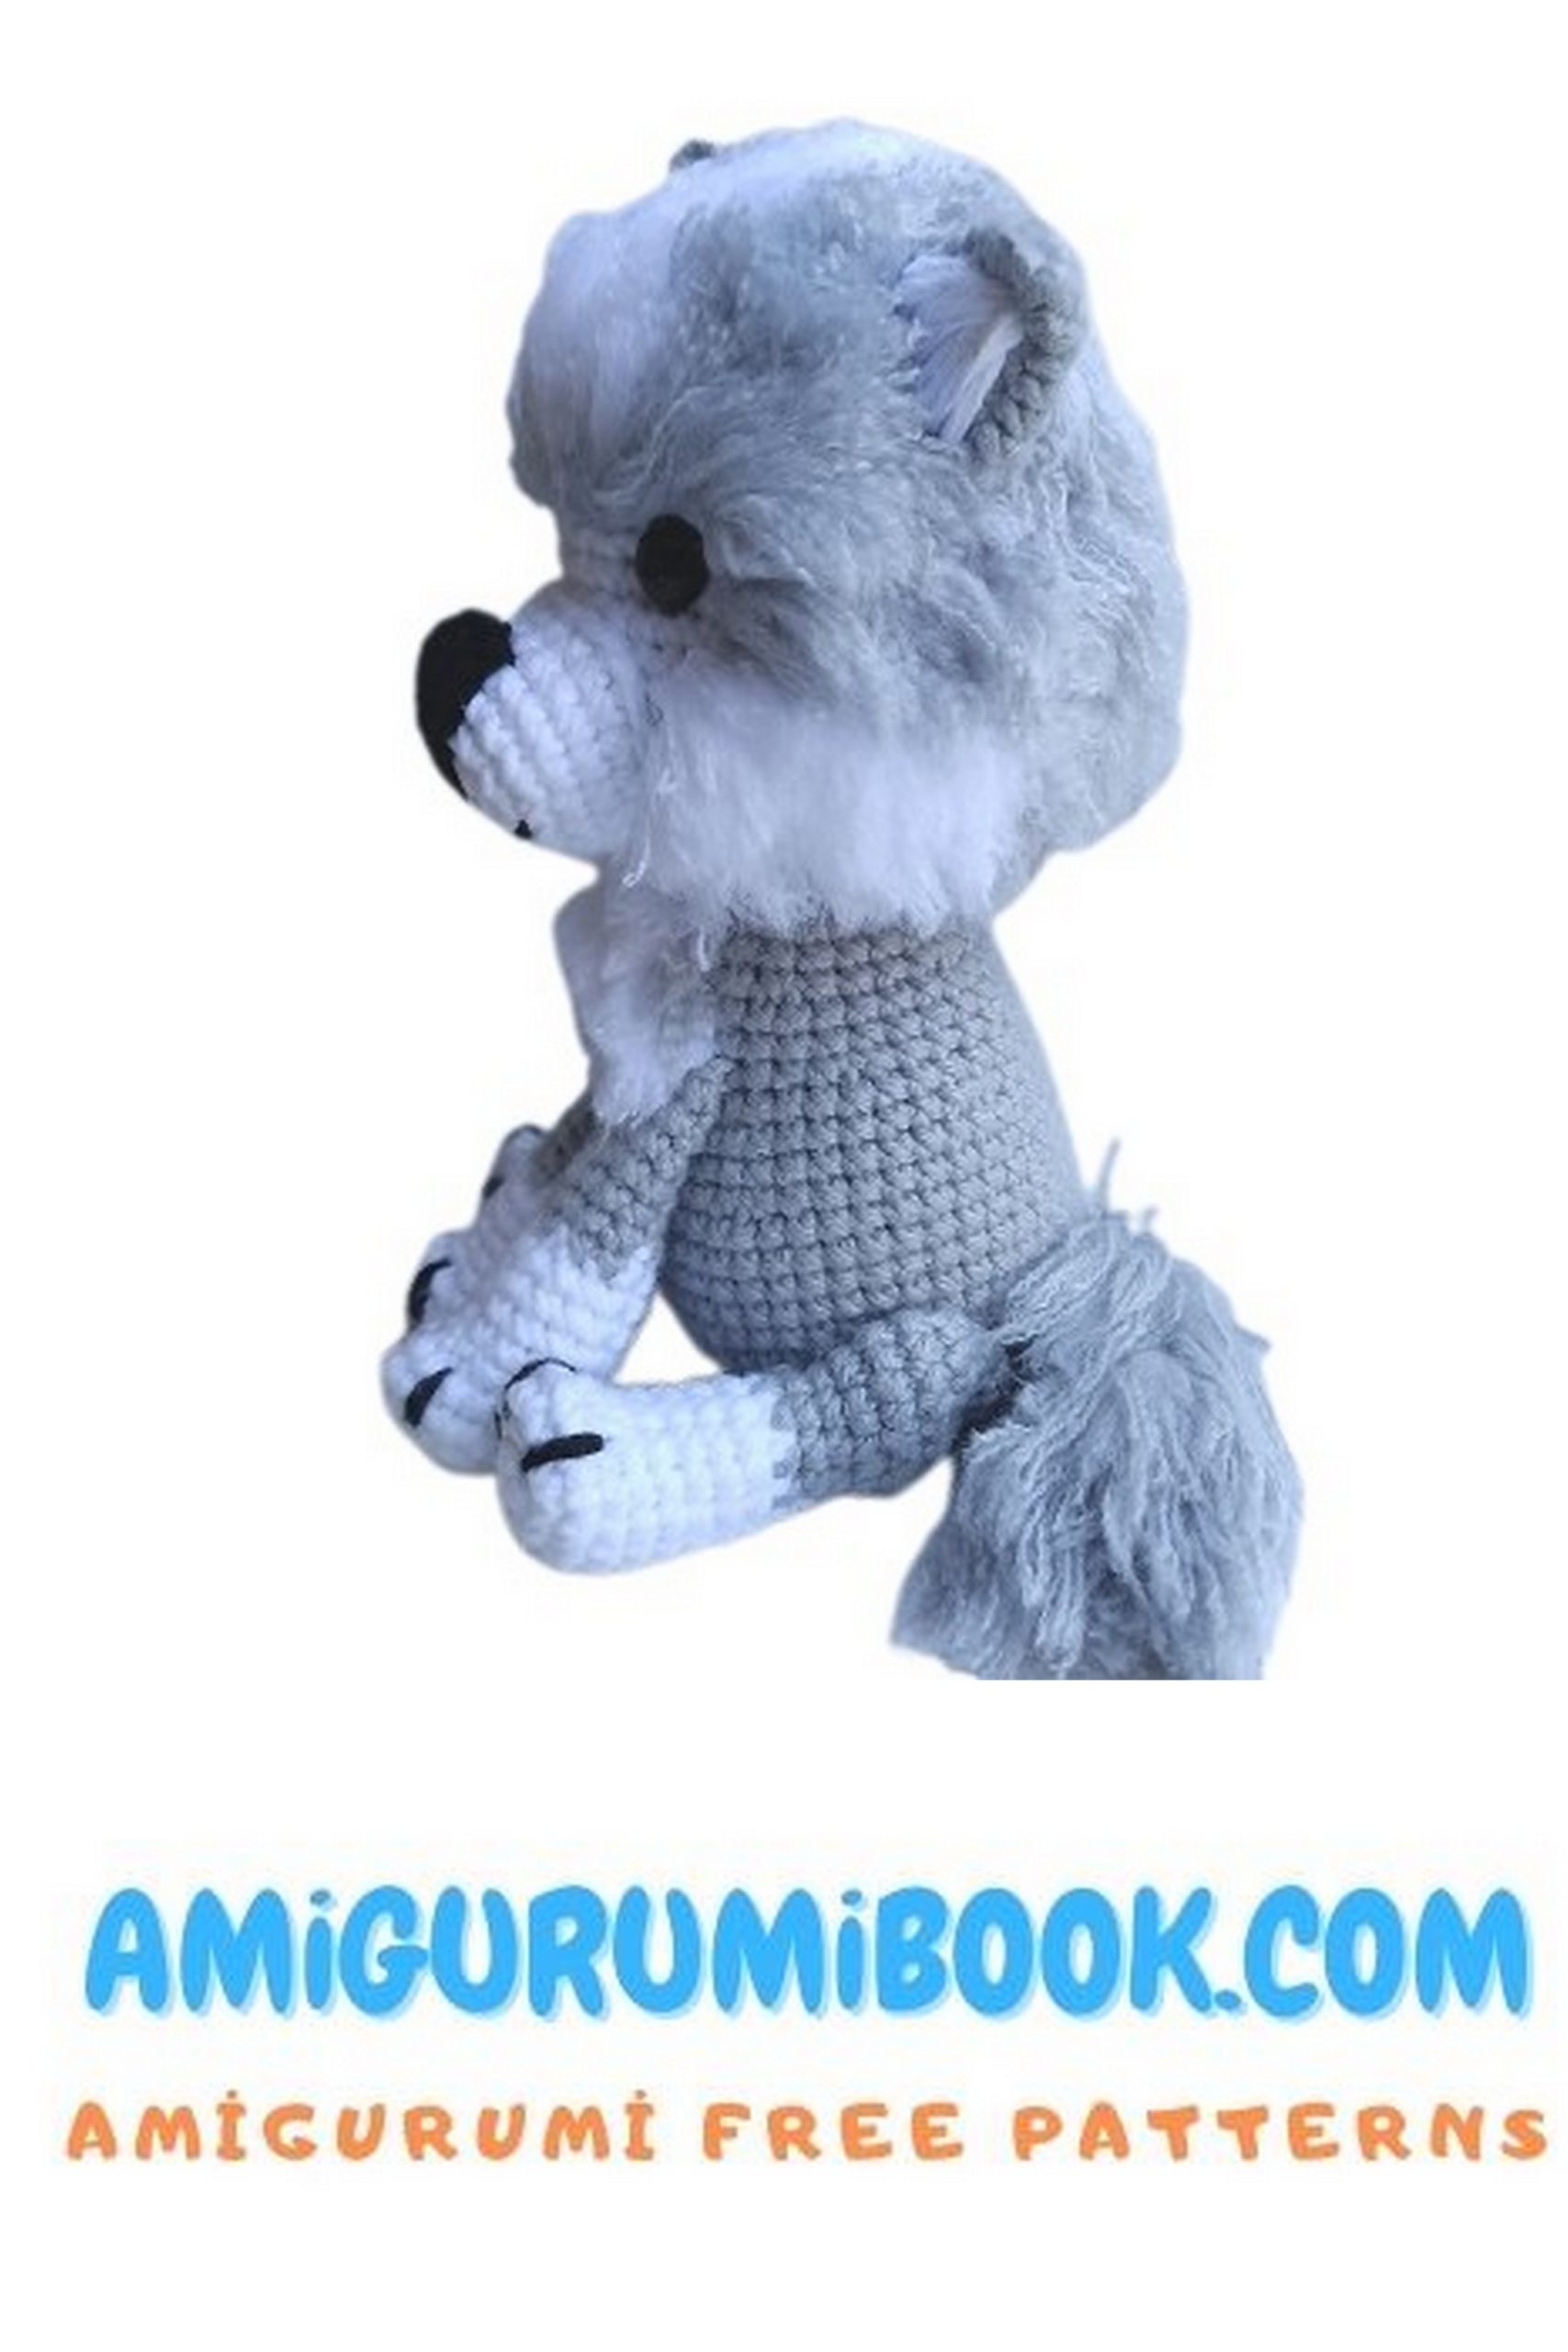
Discover the joy of crafting with this amigurumi gray wolf free pattern, perfect for creating your own adorable crochet wolf toy. Whether you’re a beginner or an experienced crocheter, this project offers a fun and rewarding way to bring a charming woodland creature to life. free crochet patterns
You may also like more amigurumi patterns.
Explore our delightful Amigurumi Gray Wolf Free Pattern and embark on a crochet adventure! Craft your very own cuddly wolf amigurumi toy with this step-by-step guide. Whether you’re a seasoned crocheter or a beginner, this amigurumi pattern will help you create a charming wolf plushie that’s perfect for gifting or keeping as a cute companion. Get ready to unleash your creativity and crochet skills in this fun project.
Materials:
- Crochet hook 3mm.
- Recommended yarn for this hook (I used Copito 100% acrylic):
- Gray: 33 grams
- White: 15 grams
- Black: 1 gram.
- Cotton or siliconized fiberfill.
- Tapestry needle or blunt-ended needle.
- Safety eyes.
- Brush or comb with hard bristles or wire, like the one used for grooming pets.
Specifications:
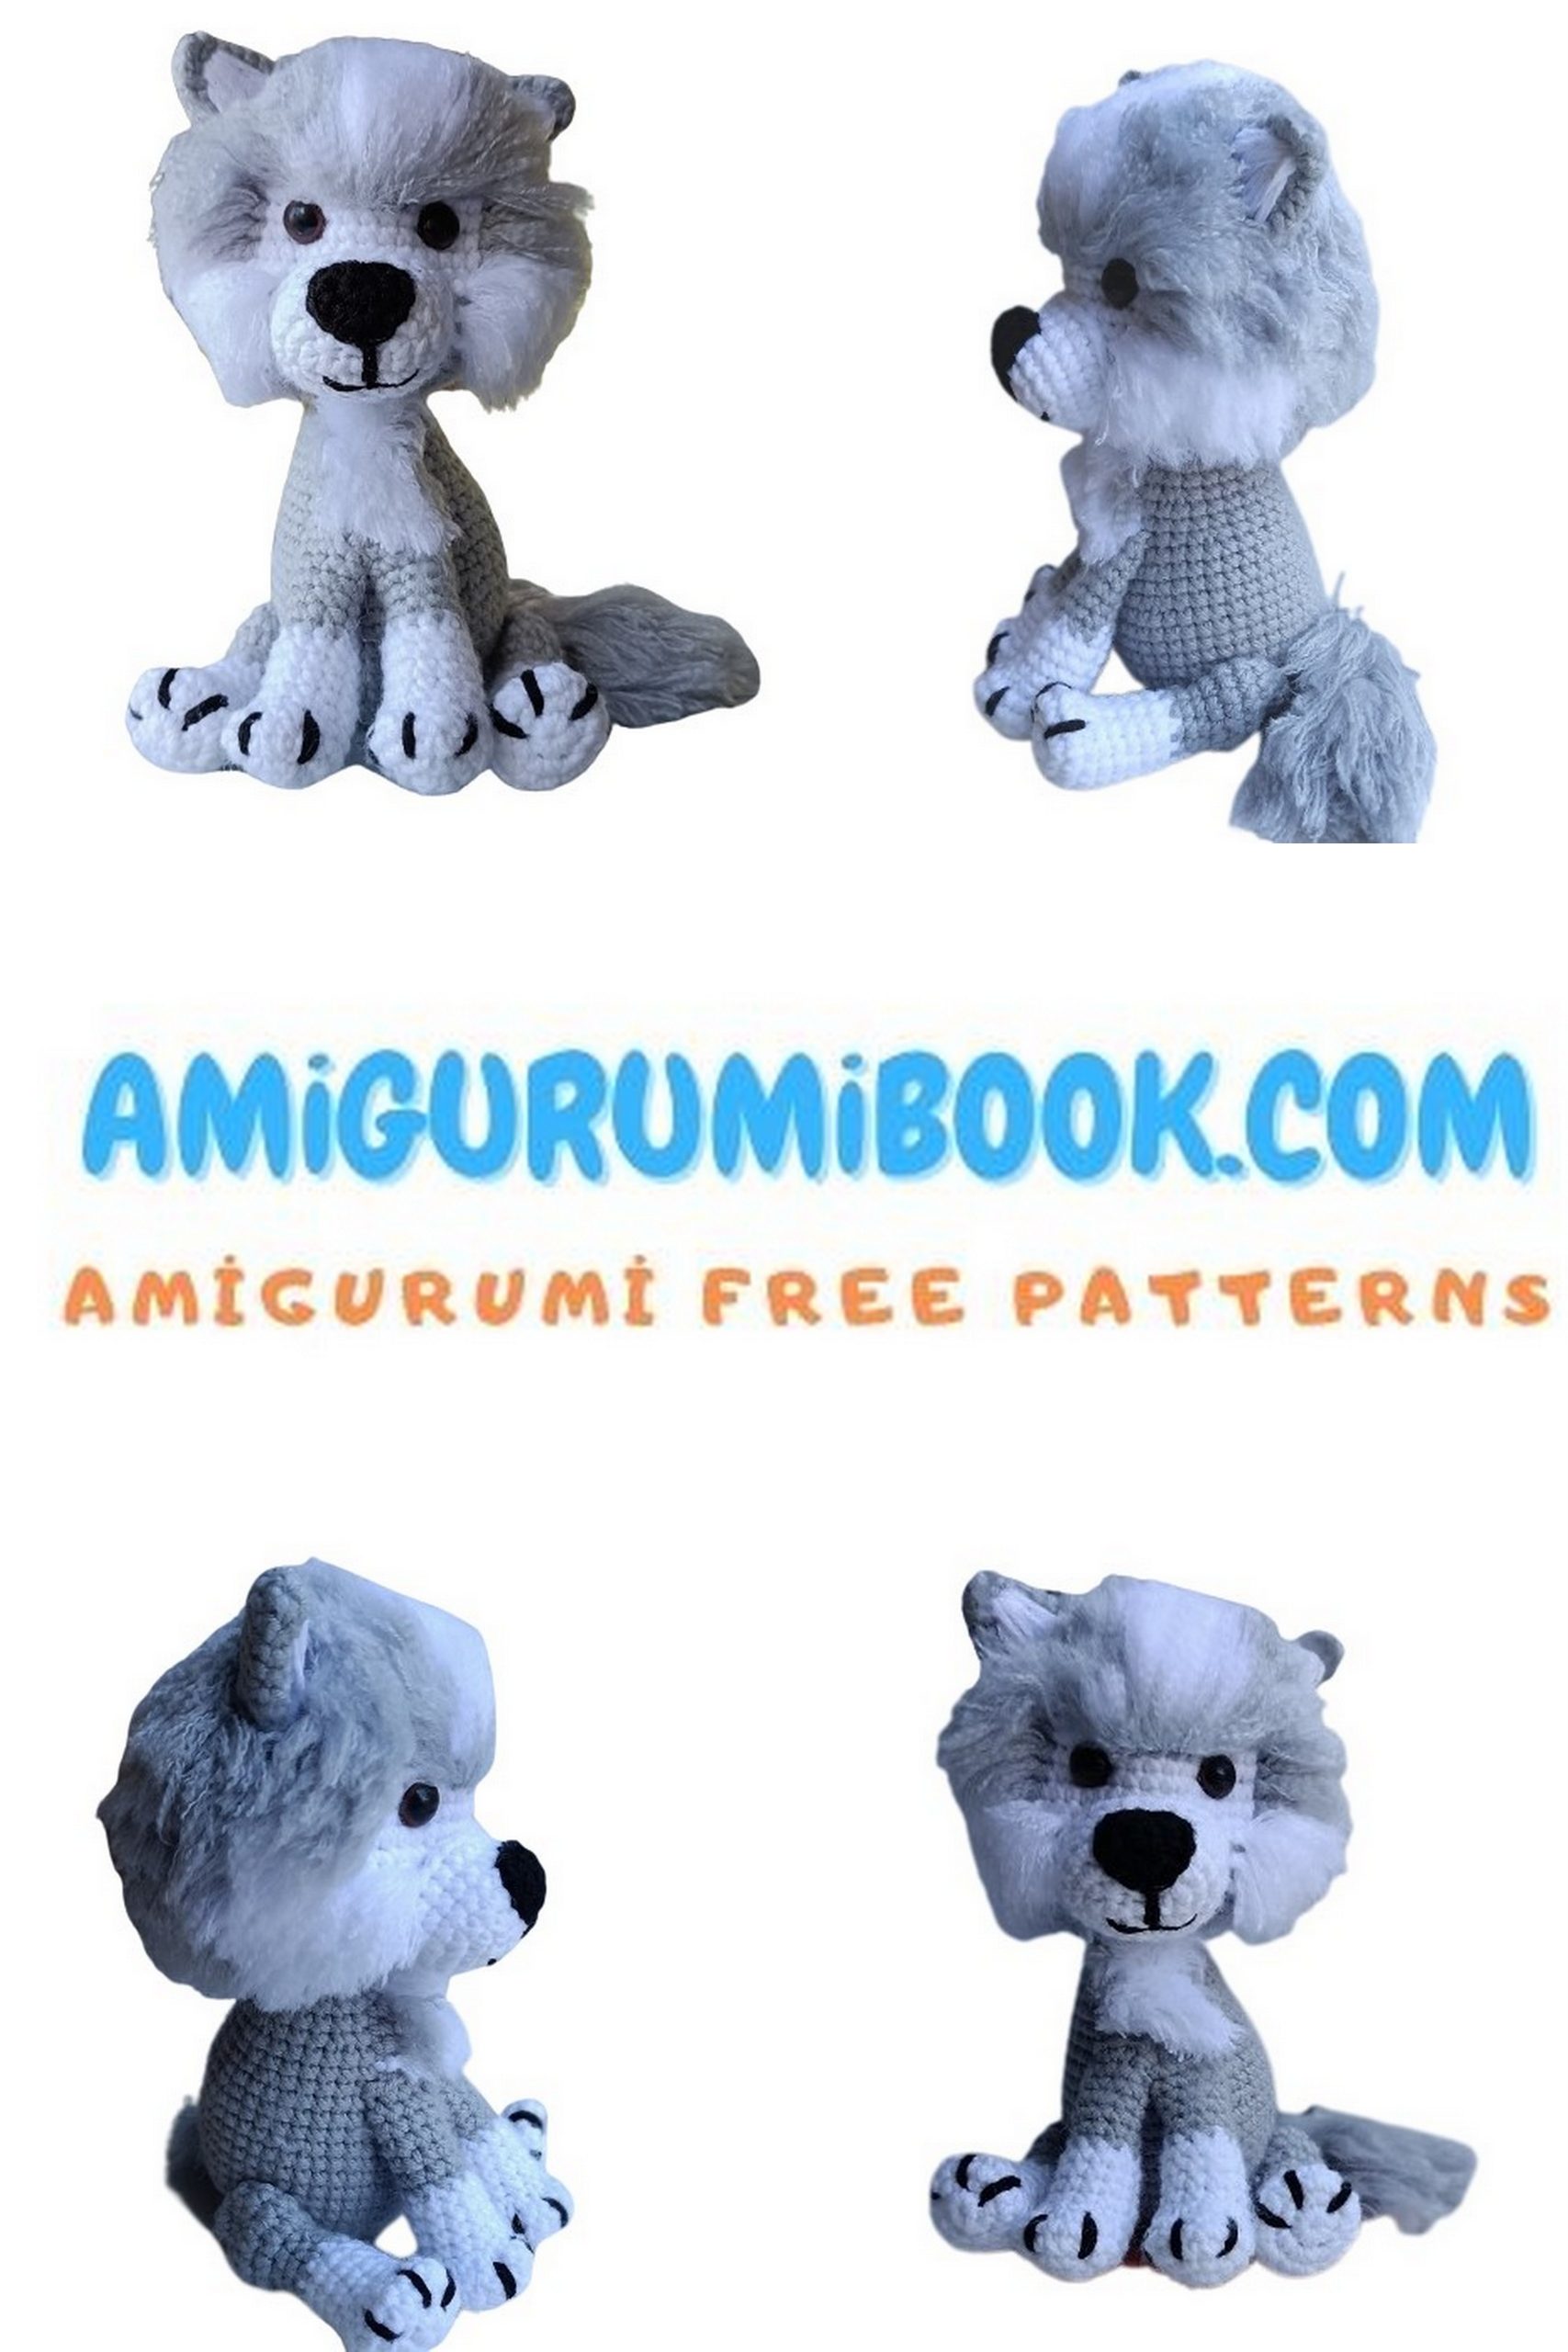
- Final size: 15 cm from paws to ears.
- Final weight: 82 grams
PATTERN

Head (Begin with gray):
Crochet in spirals
1 Row: Magic ring with 6 sc. (6)
2 Row: (Inc) x 6 (12)
3 Row: (1 sc, inc) x 6 (18)
4 Row: (2 sc, inc) x 6 (24)
5 Row: (3 sc, inc) x 6 (30)
6 Row: (4 sc, inc) x 6 (36)
7 Row: (5 sc, inc) x 6 (42)
8 Row: (6 sc, inc) x 6 (48)
Switch to white
9-14 Row: Six rounds of 48 sc each.
Place the safety eyes between rows 11 and 12 with a separation of 7 sc.
Switch to gray
15-16 Row: Two rounds of 48 sc each.
17 Row: (6 sc, dec) x 6 (42)
18 Row: (5 sc, dec) x 6 (36)
19 Row: (4 sc, dec) x 6 (30)
20 Row: (3 sc, dec) x 6 (24)
21 Row: (2 sc, dec) x 6 (18)
Fasten off and cut.
Body (With gray):
Crochet in spirals
1 Row: Magic ring with 6 sc. (6)
2 Row: (Inc) x 6 (12)
3 Row: (1 sc, inc) x 6 (18)
4 Row: (2 sc, inc) x 6 (24)
5 Row: (3 sc, inc) x 6 (30)
6 Row: (4 sc, inc) x 6 (36)
7 Row: (5 sc, inc) x 6 (42)
8-13 Row: Six rounds of 42 sc each.
14 Row: (12 sc, dec) x 3 (39)
15 Row: One round of 39 sc.
16 Row: (11 sc, dec) x 3 (36)
17 Row: One round of 36 sc.
18 Row: (4 sc, dec) x 6 (30)
19-20 Row: Two rounds of 30 sc each.
21 Row: (3 sc, dec) x 6 (24)
22-23 Row: Two rounds of 24 sc each.
24 Row: (2 sc, dec) x 6 (18)
25-24 Row: Two rounds of 18 sc each.
Fasten off and leave a long tail to sew the head to the body.
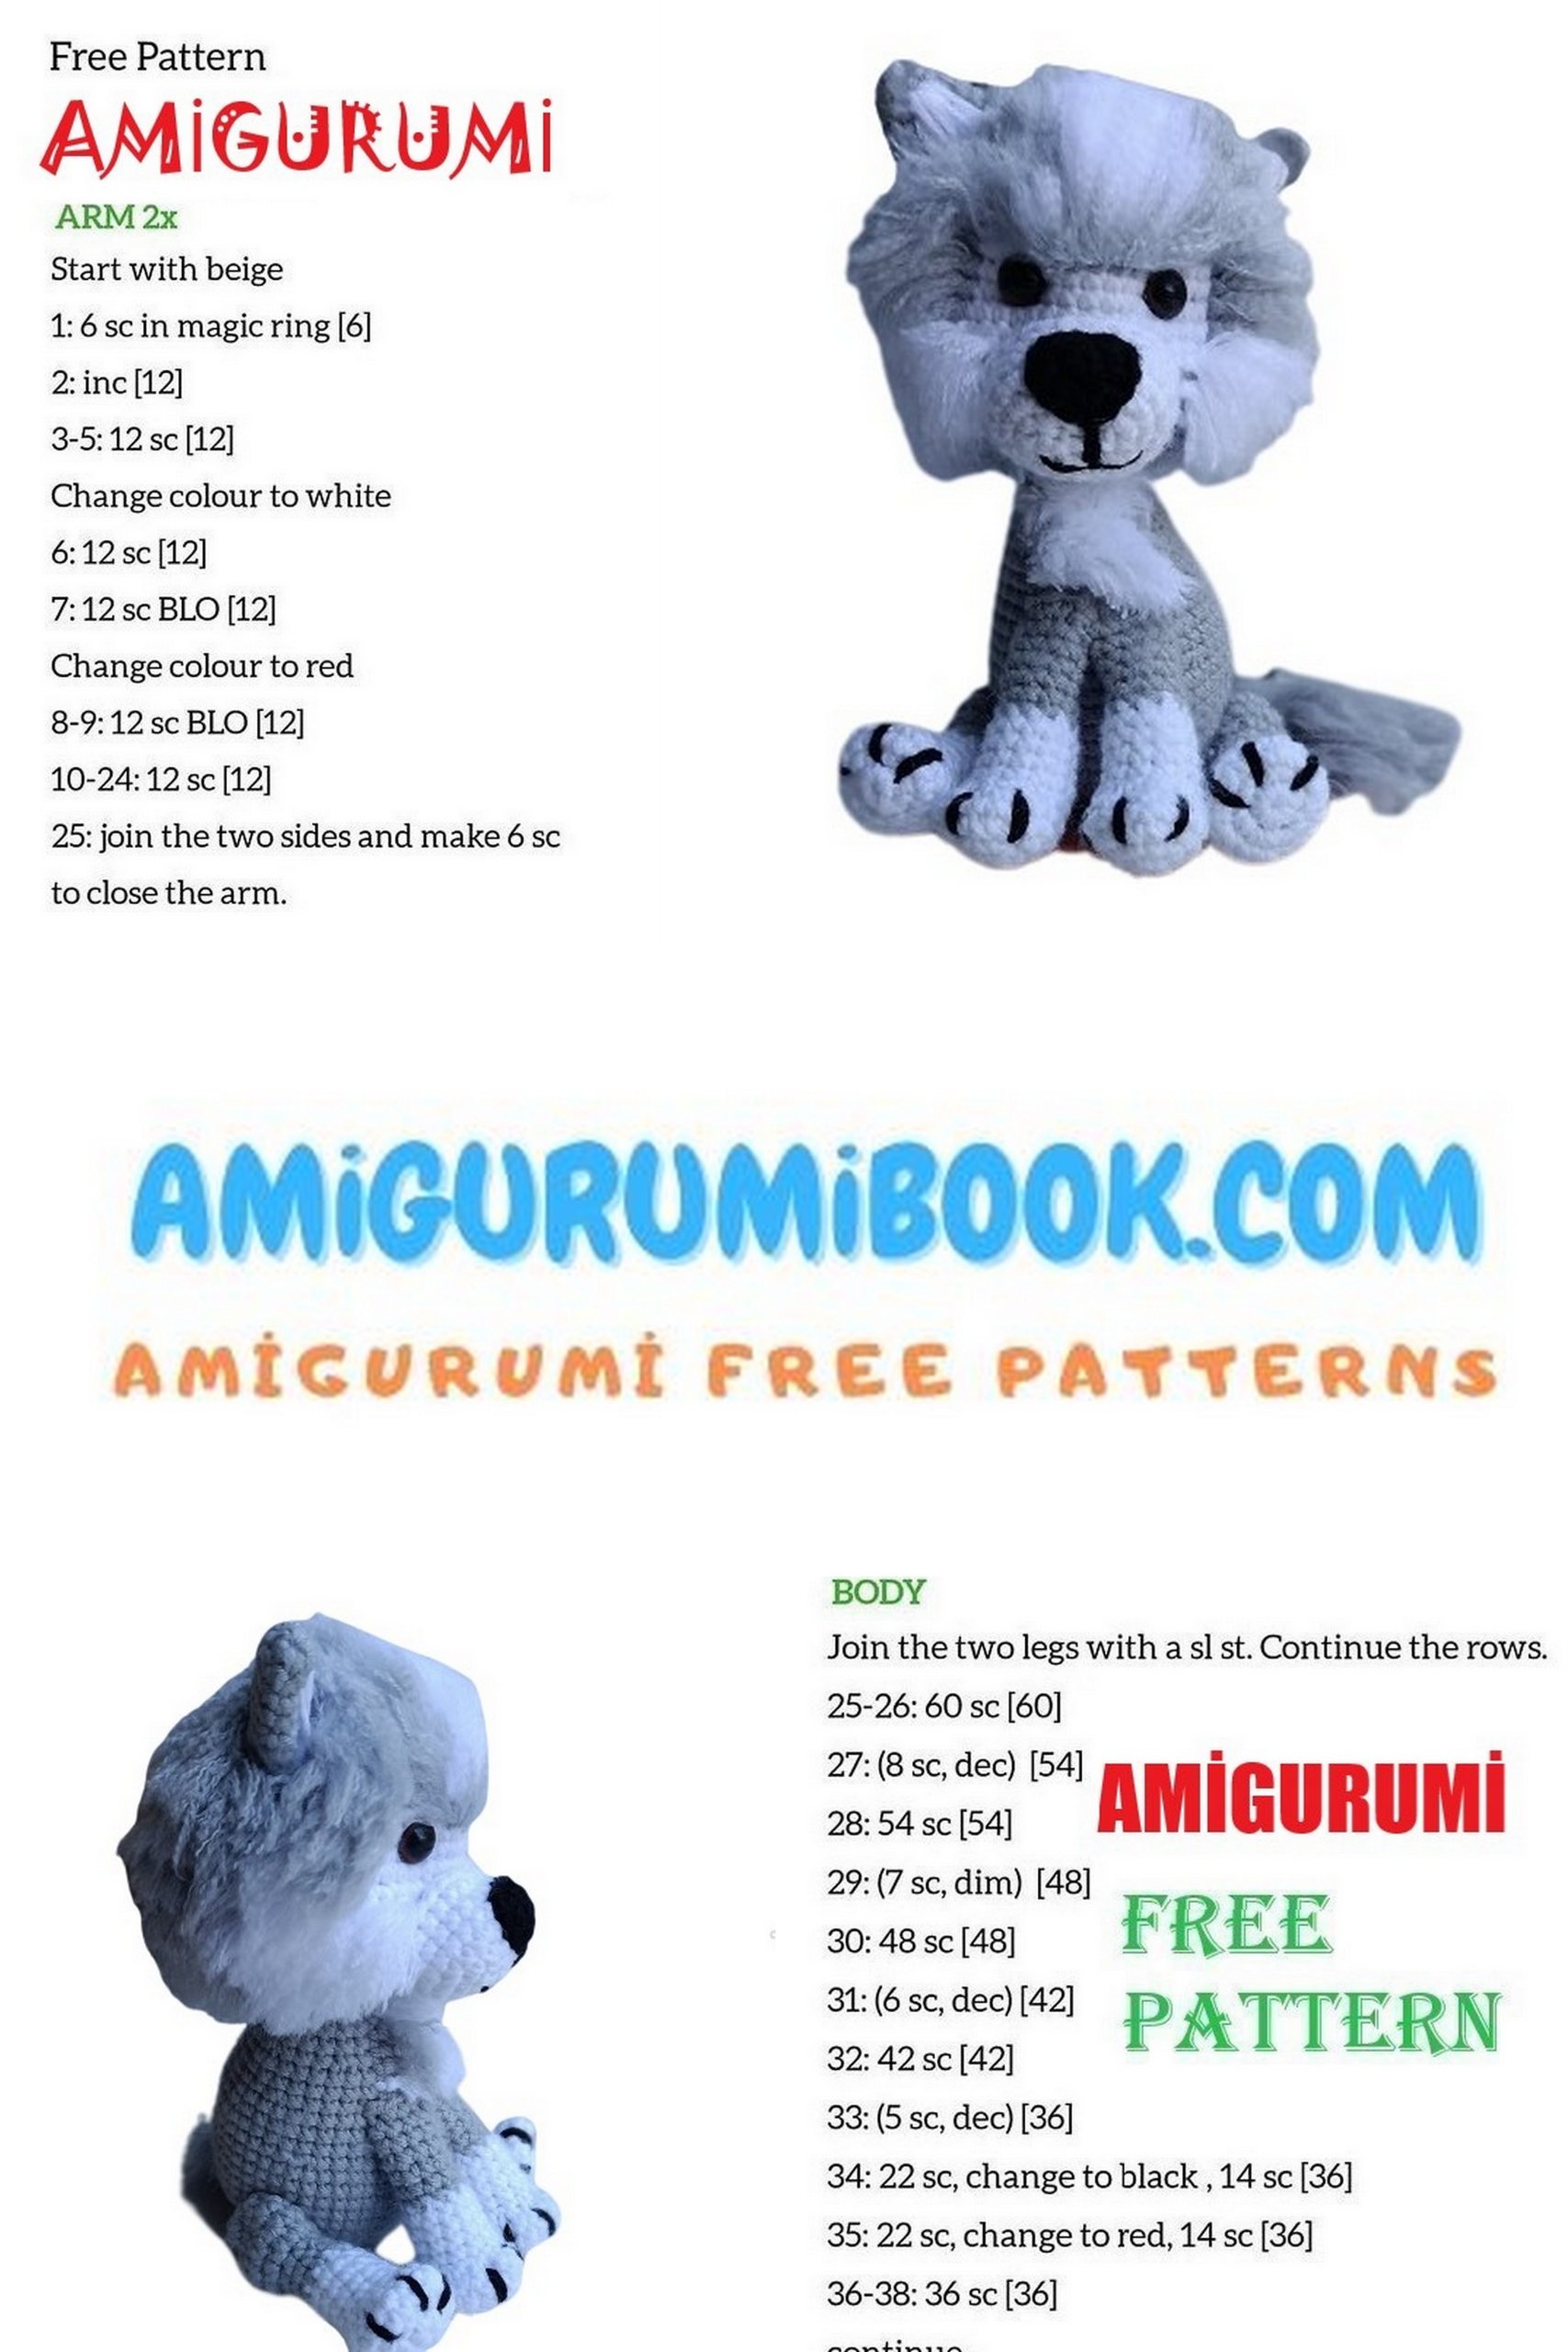
Arms x 2 (Start with white):
Crochet in spirals
1 Row: Magic ring with 6 sc. (6)
2 Row: (Inc) x 6 (12)
3 Row: (1 sc, inc) x 6 (18)
4-5 Row: Two rounds of 18 sc each
6 Row: (3 sc, (6 dec in a row), 3 sc) (12)
7-10 Row: Four rounds of 12 sc each.
Switch to gray
11 Row: (2 sc, dec) x 3 (9)
12-16 Row: Five rounds of 9 sc each.
Fill halfway only. Close the opening with 4 sc. Ensure that the 6 decreases from round six are in front before crocheting the 4 sc to close. If needed, crochet some stitches to make the piece flat with the 6 decreases in front. Then, with the hook, pass through both parts of the fabric as seen in the photo and make 4 sc. This will close it.
Legs x 2 (Start with white):
Crochet in spirals
1 Row: Magic ring with 6 sc.
2 Row: (Inc) x 6 (12)
3 Row: (1 sc, inc) x 6 (18)
4-5 Row: Two rounds of 18 sc each
6 Row: (3 sc, (6 dec in a row), 3 sc) (12)
7-10 Row: Four rounds of 12 sc each.
Switch to gray
11 Row: (2 sc, dec) x 3 (9)
12-13 Row: Two rounds of 9 sc each.
14 Row: (Inc) x 9 (18)
15-16 Row: Two rounds of 18 sc each.
17 Row: (1 sc, dec) x 6 (12)
18 Row: Decrease to close. Fill completely, but in the gray part, try to put little filling so the thigh doesn’t lose its flat shape. Leave a long tail to sew the legs to the body.
Muzzle (With white):
Crochet on both sides of the chain.
Chain 6. Starting in the second chain from the hook, crochet:
1 Row: (4 sc, triple inc, 3 sc, 1 inc) (12)
2 Row: (1 inc, 3 sc, 3 inc, 3 sc, 2 inc) (18)
3 Row: 1 sc, 1 inc, 3 sc, (1 sc, 1 inc) x 3, 3 sc, (1 sc, 1 inc) x 2 (24)
4-6 Row: Three rounds of 24 sc each.
Fasten off and cut, leaving a long tail to sew the muzzle to the head.
Nose (With black):
Crochet in spirals.
1 Row: Magic ring with 6 sc (6)
2 Row: (1 sc, triple inc) x 3
Close with slip stitch.
Cut, leaving a tail to sew it to the muzzle.
Ears (With gray):
Crochet in spirals.
1 Row: Magic ring with 6 sc (6)
2 Row: One round of 6 sc (6)
3 Row: (1 sc, inc) x 3 (9)
4 Row: One round of 9 sc (9)
5 Row: (2 sc, inc) x 3 (12)
6 Row: One round of 12 sc (12)
7 Row: (3 sc, inc) x 3 (15)
Close the opening with 7 sc. Fasten off, leaving a long tail to sew.
Close the opening in the same way as the arms. Do not fill.
Tail (With gray):
Crochet in spirals.
1 Row: Magic ring with 7 sc (7)
2-12 Row: Twelve rounds of 7 sc each.
Fill lightly. Close the opening with a tapestry needle, leaving a tail to sew it to the body.

Assembly and Details:
- Start by attaching the head to the body, doing it stitch by stitch to create a nice connection.
- Sew the muzzle to the head just below the eyes, leaving a row of separation. Before finishing sewing, don’t forget to fill. Use something to push the cotton and make the muzzle firm.
- Use pins to make it easier to sew the muzzle. I use the back of a needle to push the filling.
- Sew the ears on both sides of the head between rows 3 and 6. Edge the inner part with white yarn.
- Sew the nose in the middle of the muzzle and embroider a cute mouth.
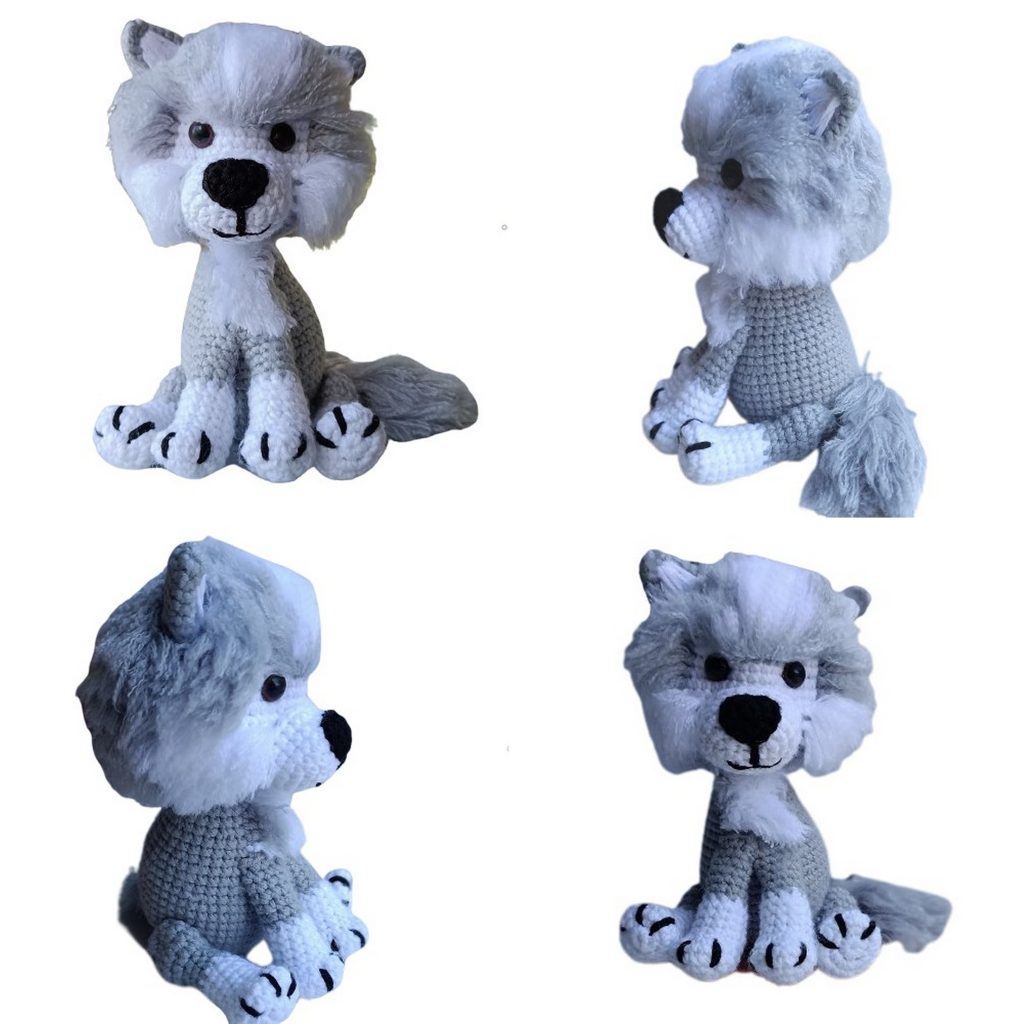
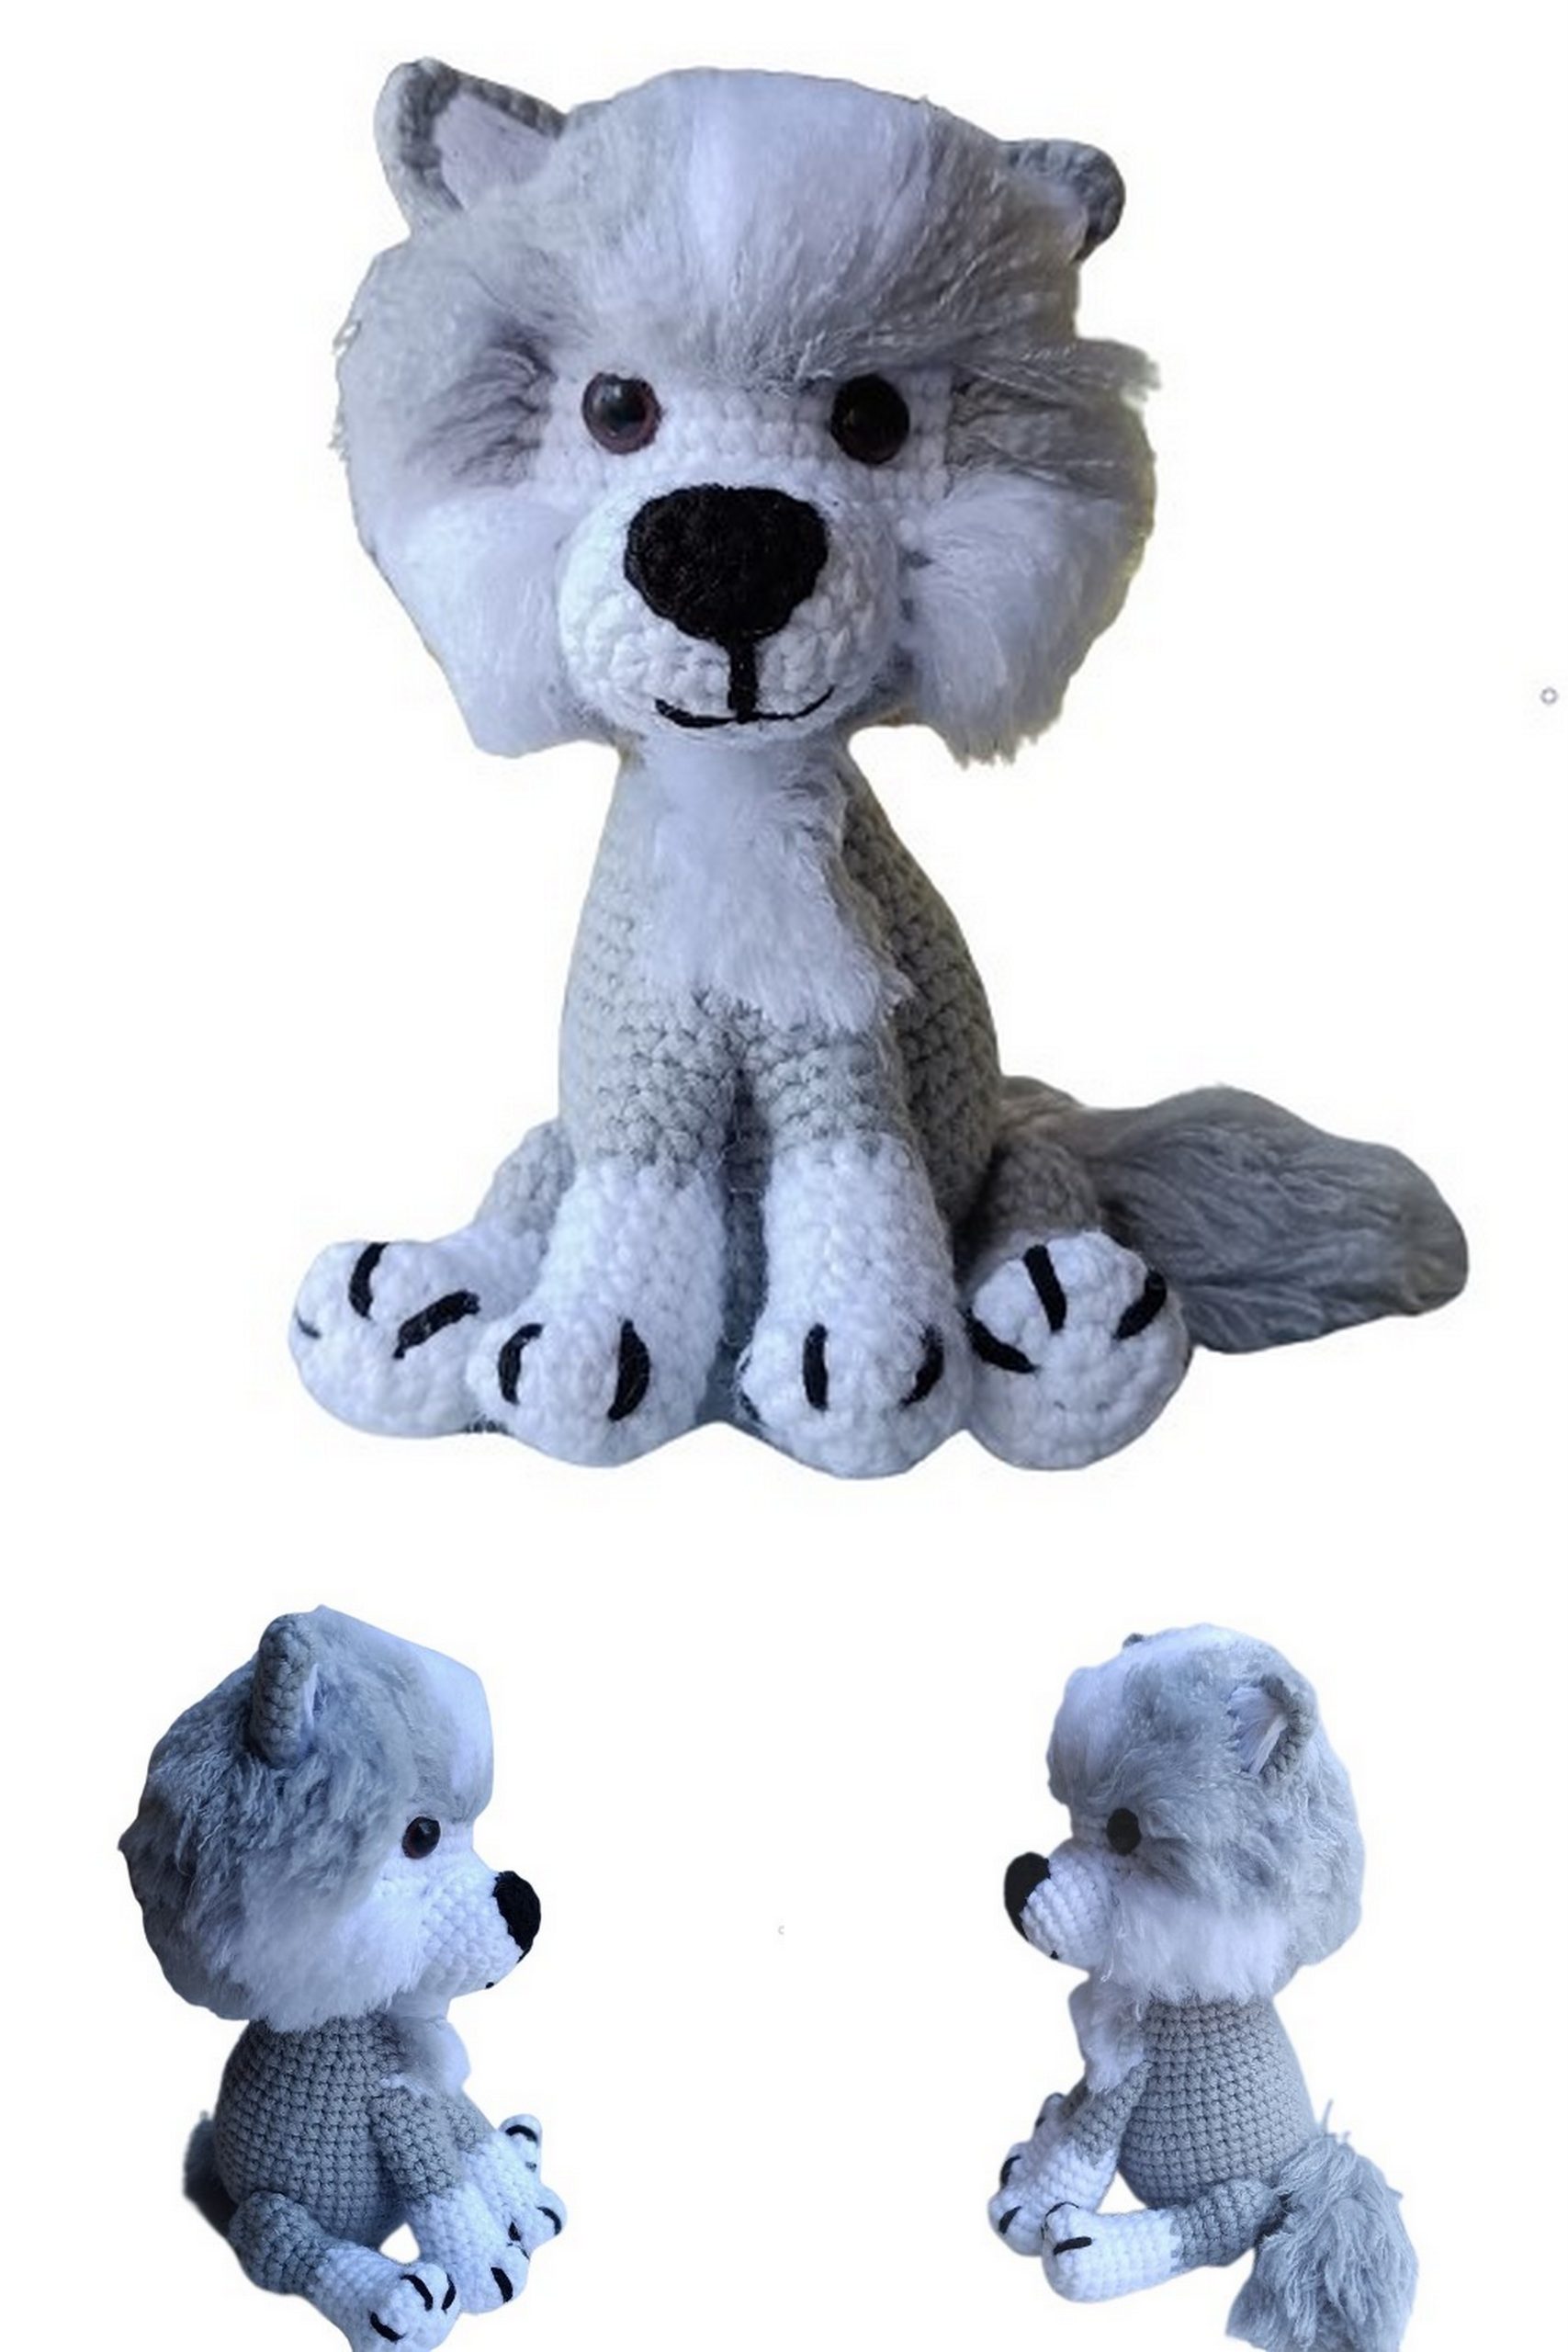
- Now, let’s add hair to our beautiful mane. Cut strips of white and gray yarn, each 7 cm long. You’ll put it on the entire head, tail, and chest of our wolf. Use a 2.0mm crochet hook to attach the hair. Observe the following photo to see how to add the hair to the face:
- Right in the middle of the eyes, a row of 5 gray hairs, going up from there, create a triangle of white hairs, starting from the row of 5 gray hairs. Add more gray hair around the eyes and on the back of the head.
- For the muzzle, use three rows of white hairs.
- See the reference image below. Do not add white hair to the back of the head; cover everything else with gray hair.
- The white hair on the muzzle should be parallel to the ear, as shown in the dotted line in the photo. Three rows of white hairs, one below the other, as indicated by the arrows. Transform your wolf from being messy to fluffy like the clouds.
- I used a brush like the one in the image to groom my Manuel Wolf. This brush is for pets, and its bristles are flexible wire.
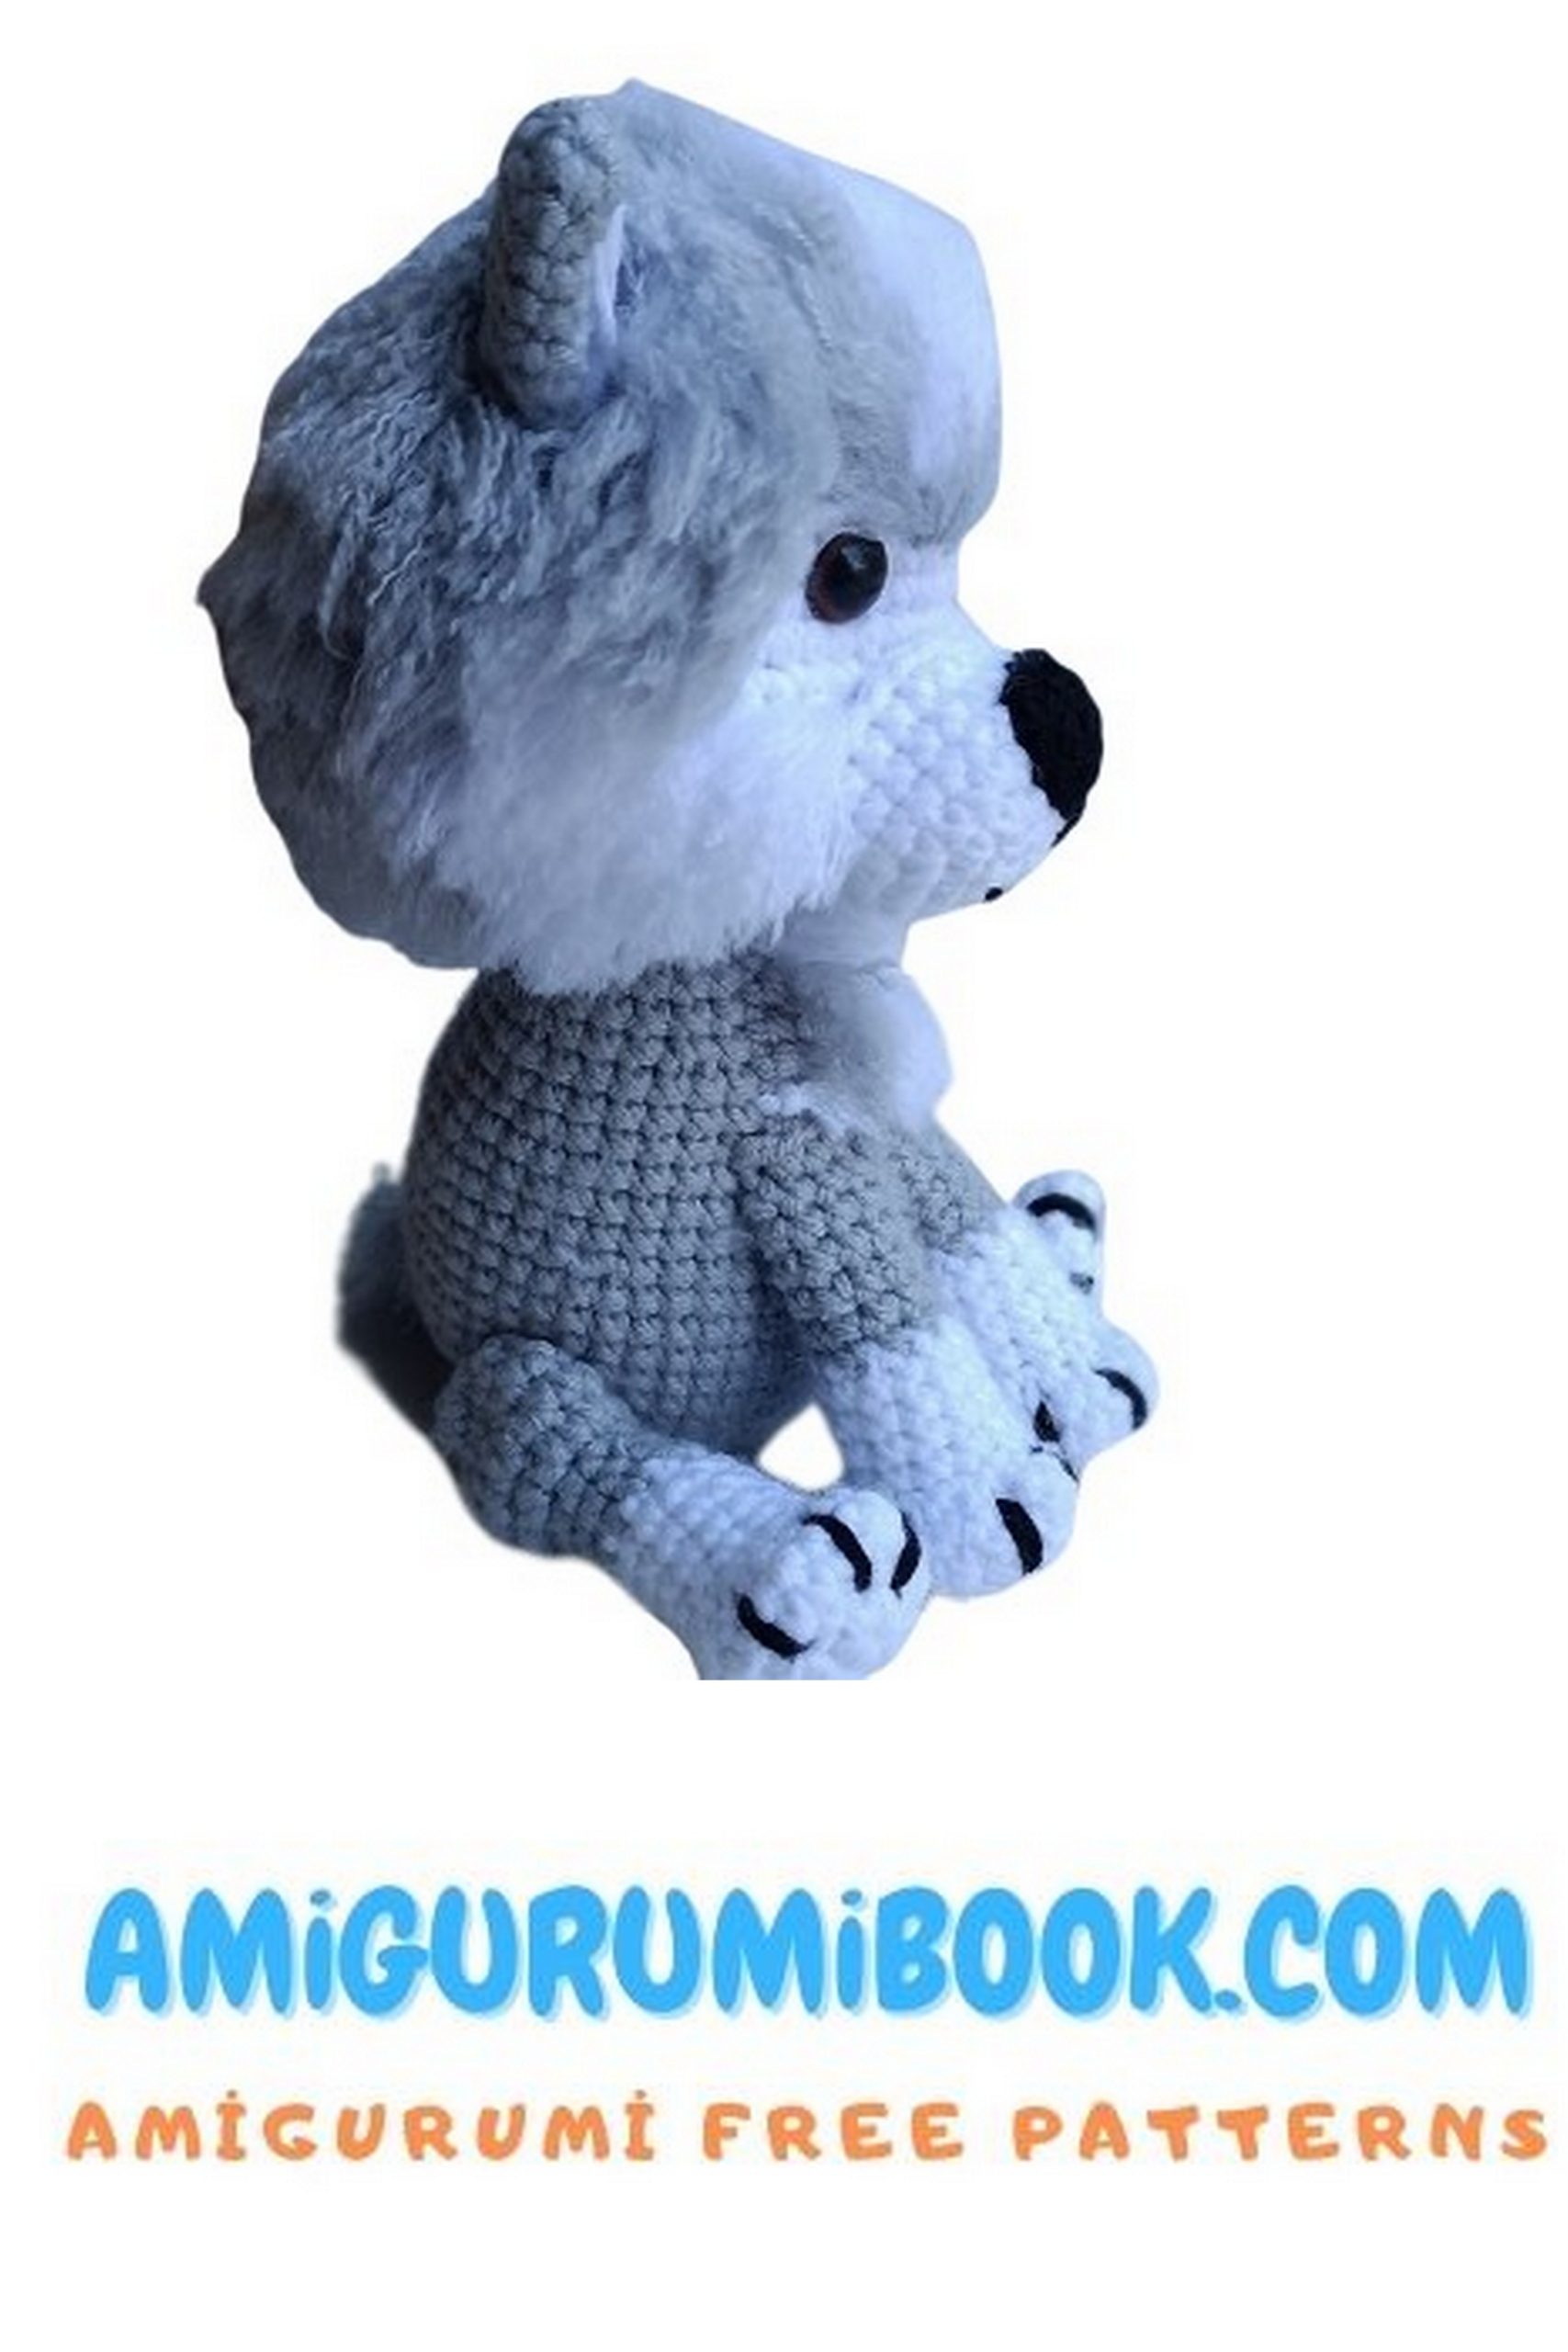
- Brush carefully, do it slowly so that the brush only combs the hair, not the other parts like ears and muzzle. Pass the brush over all the places where you added hair, namely the head, tail, and chest. You will soon see the results of brushing.
- Remember that the arms are sewn in front of the body between rows 19 and 16 of the body, and the little arms should touch the ground. The hind legs are sewn on the sides; you can go through from side to side to secure them. Embroider details with black yarn, and you’re done.
Enjoy your crocheted wolf!