
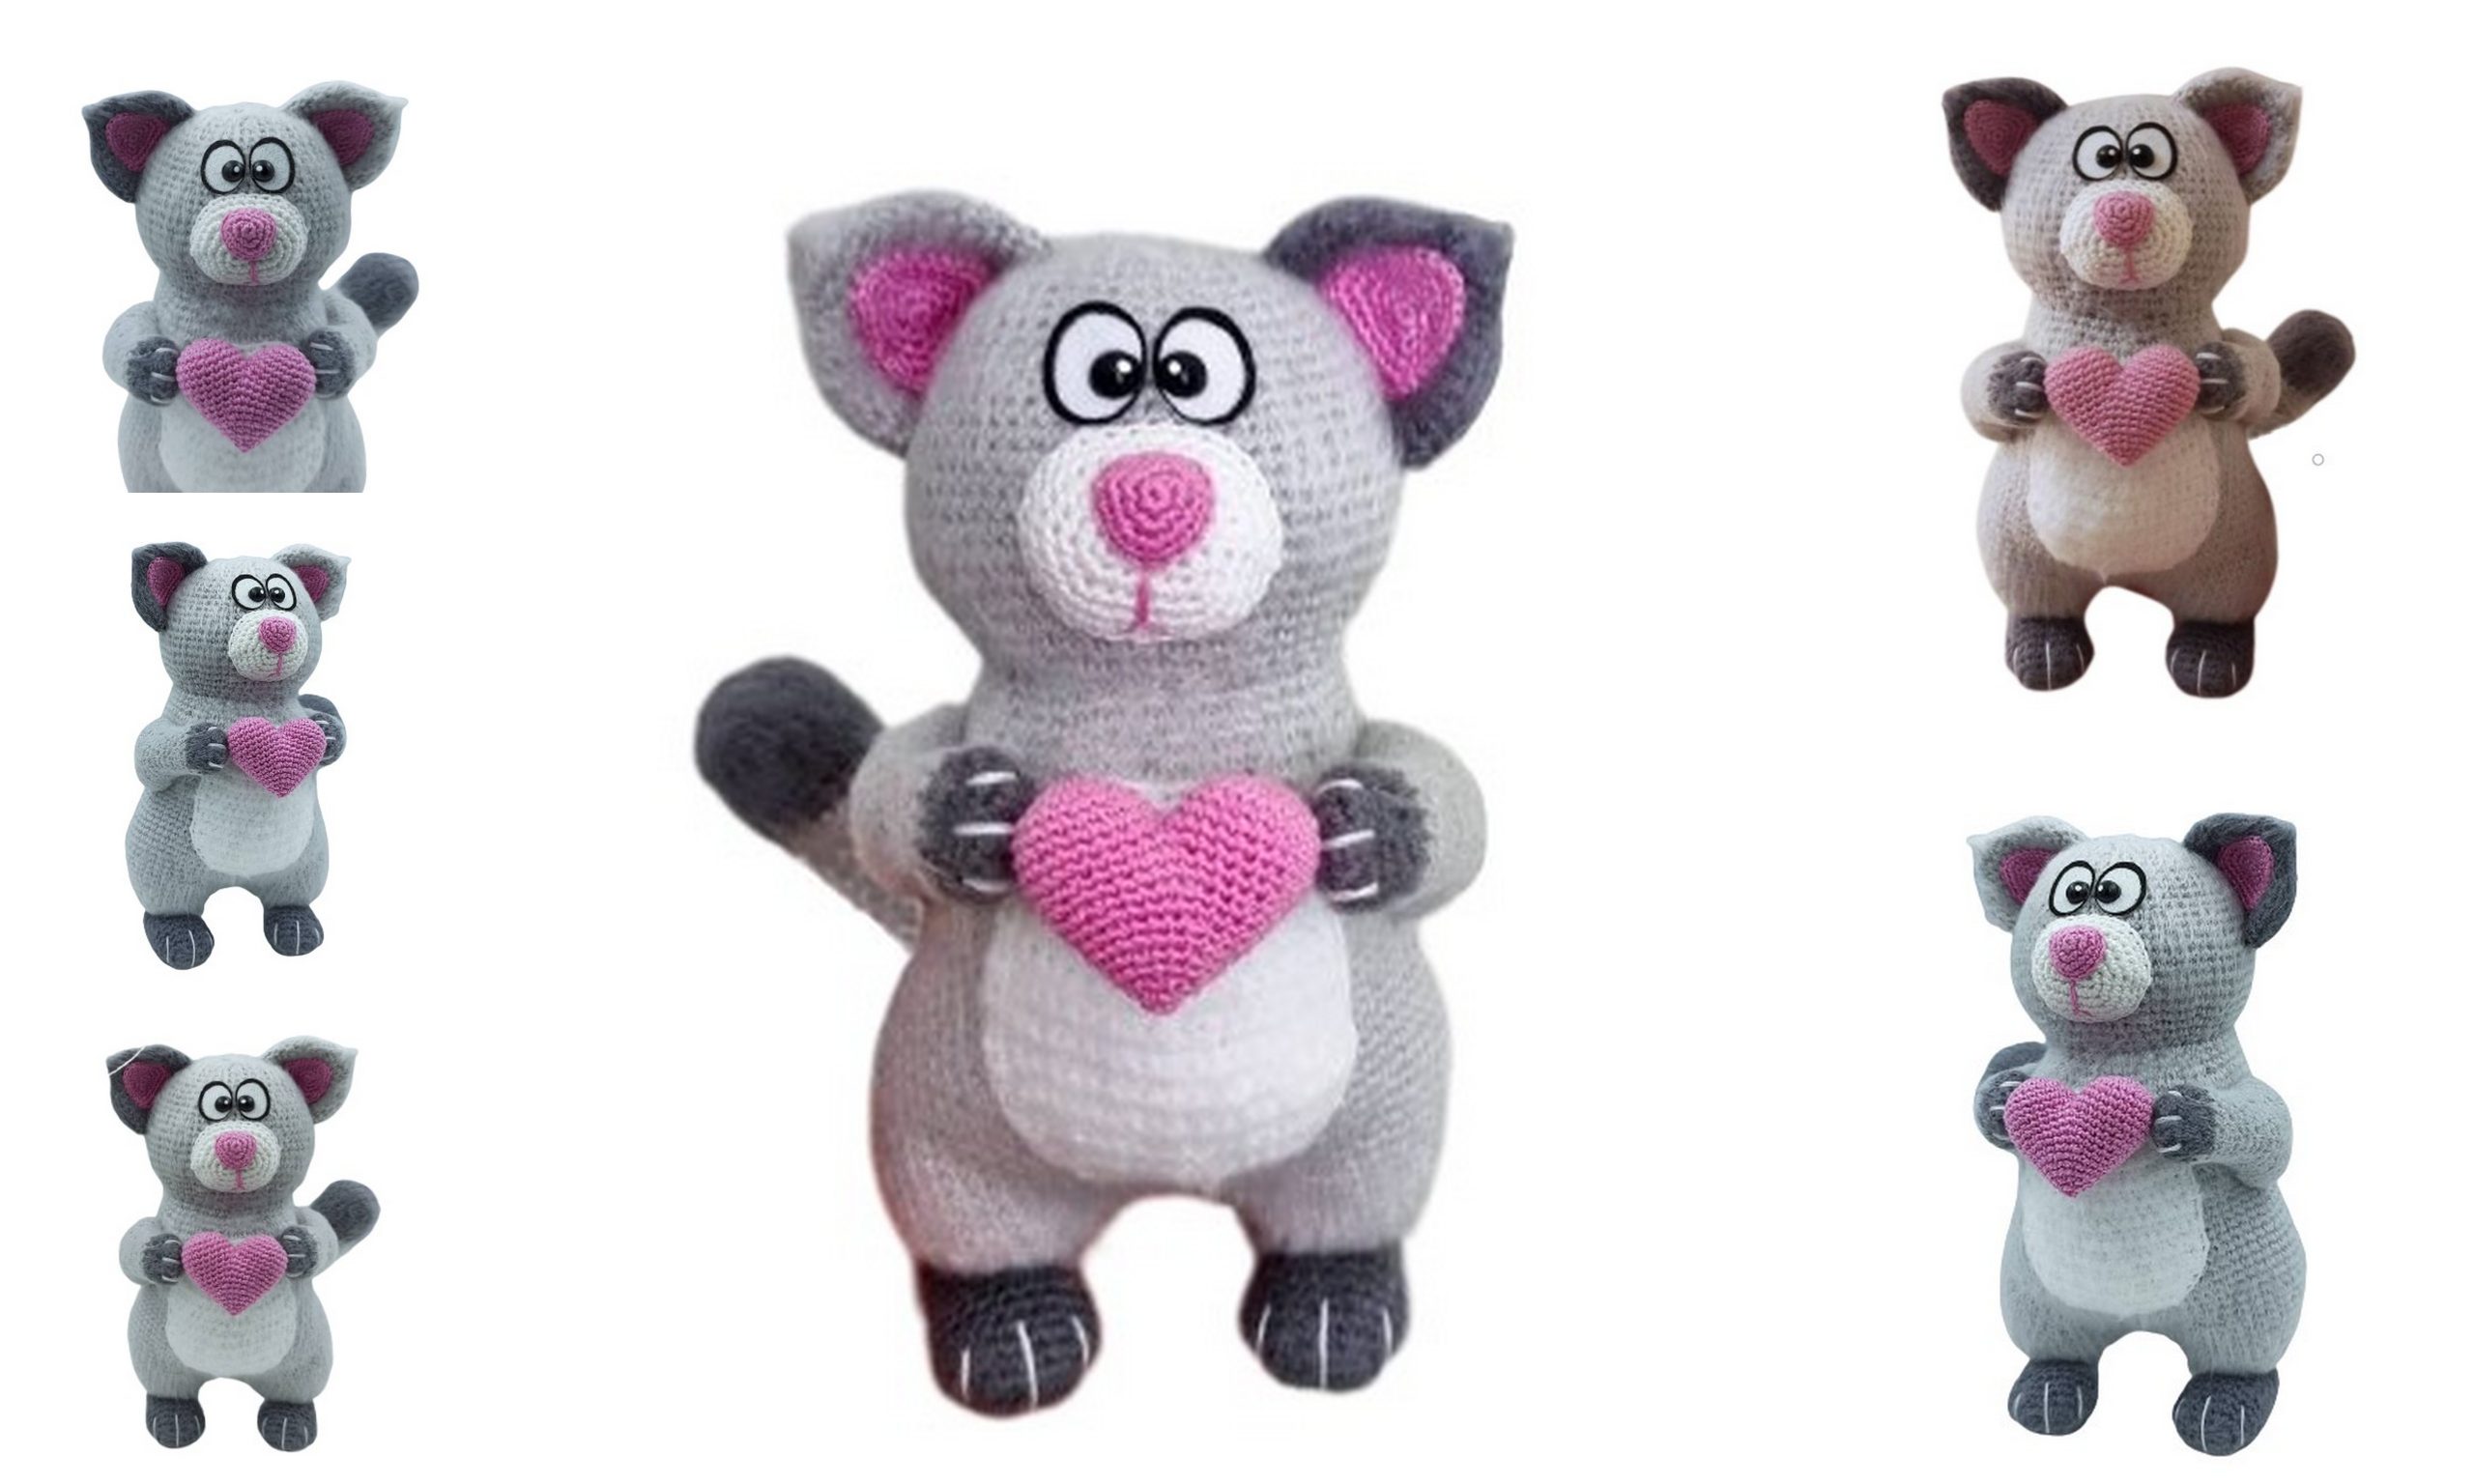
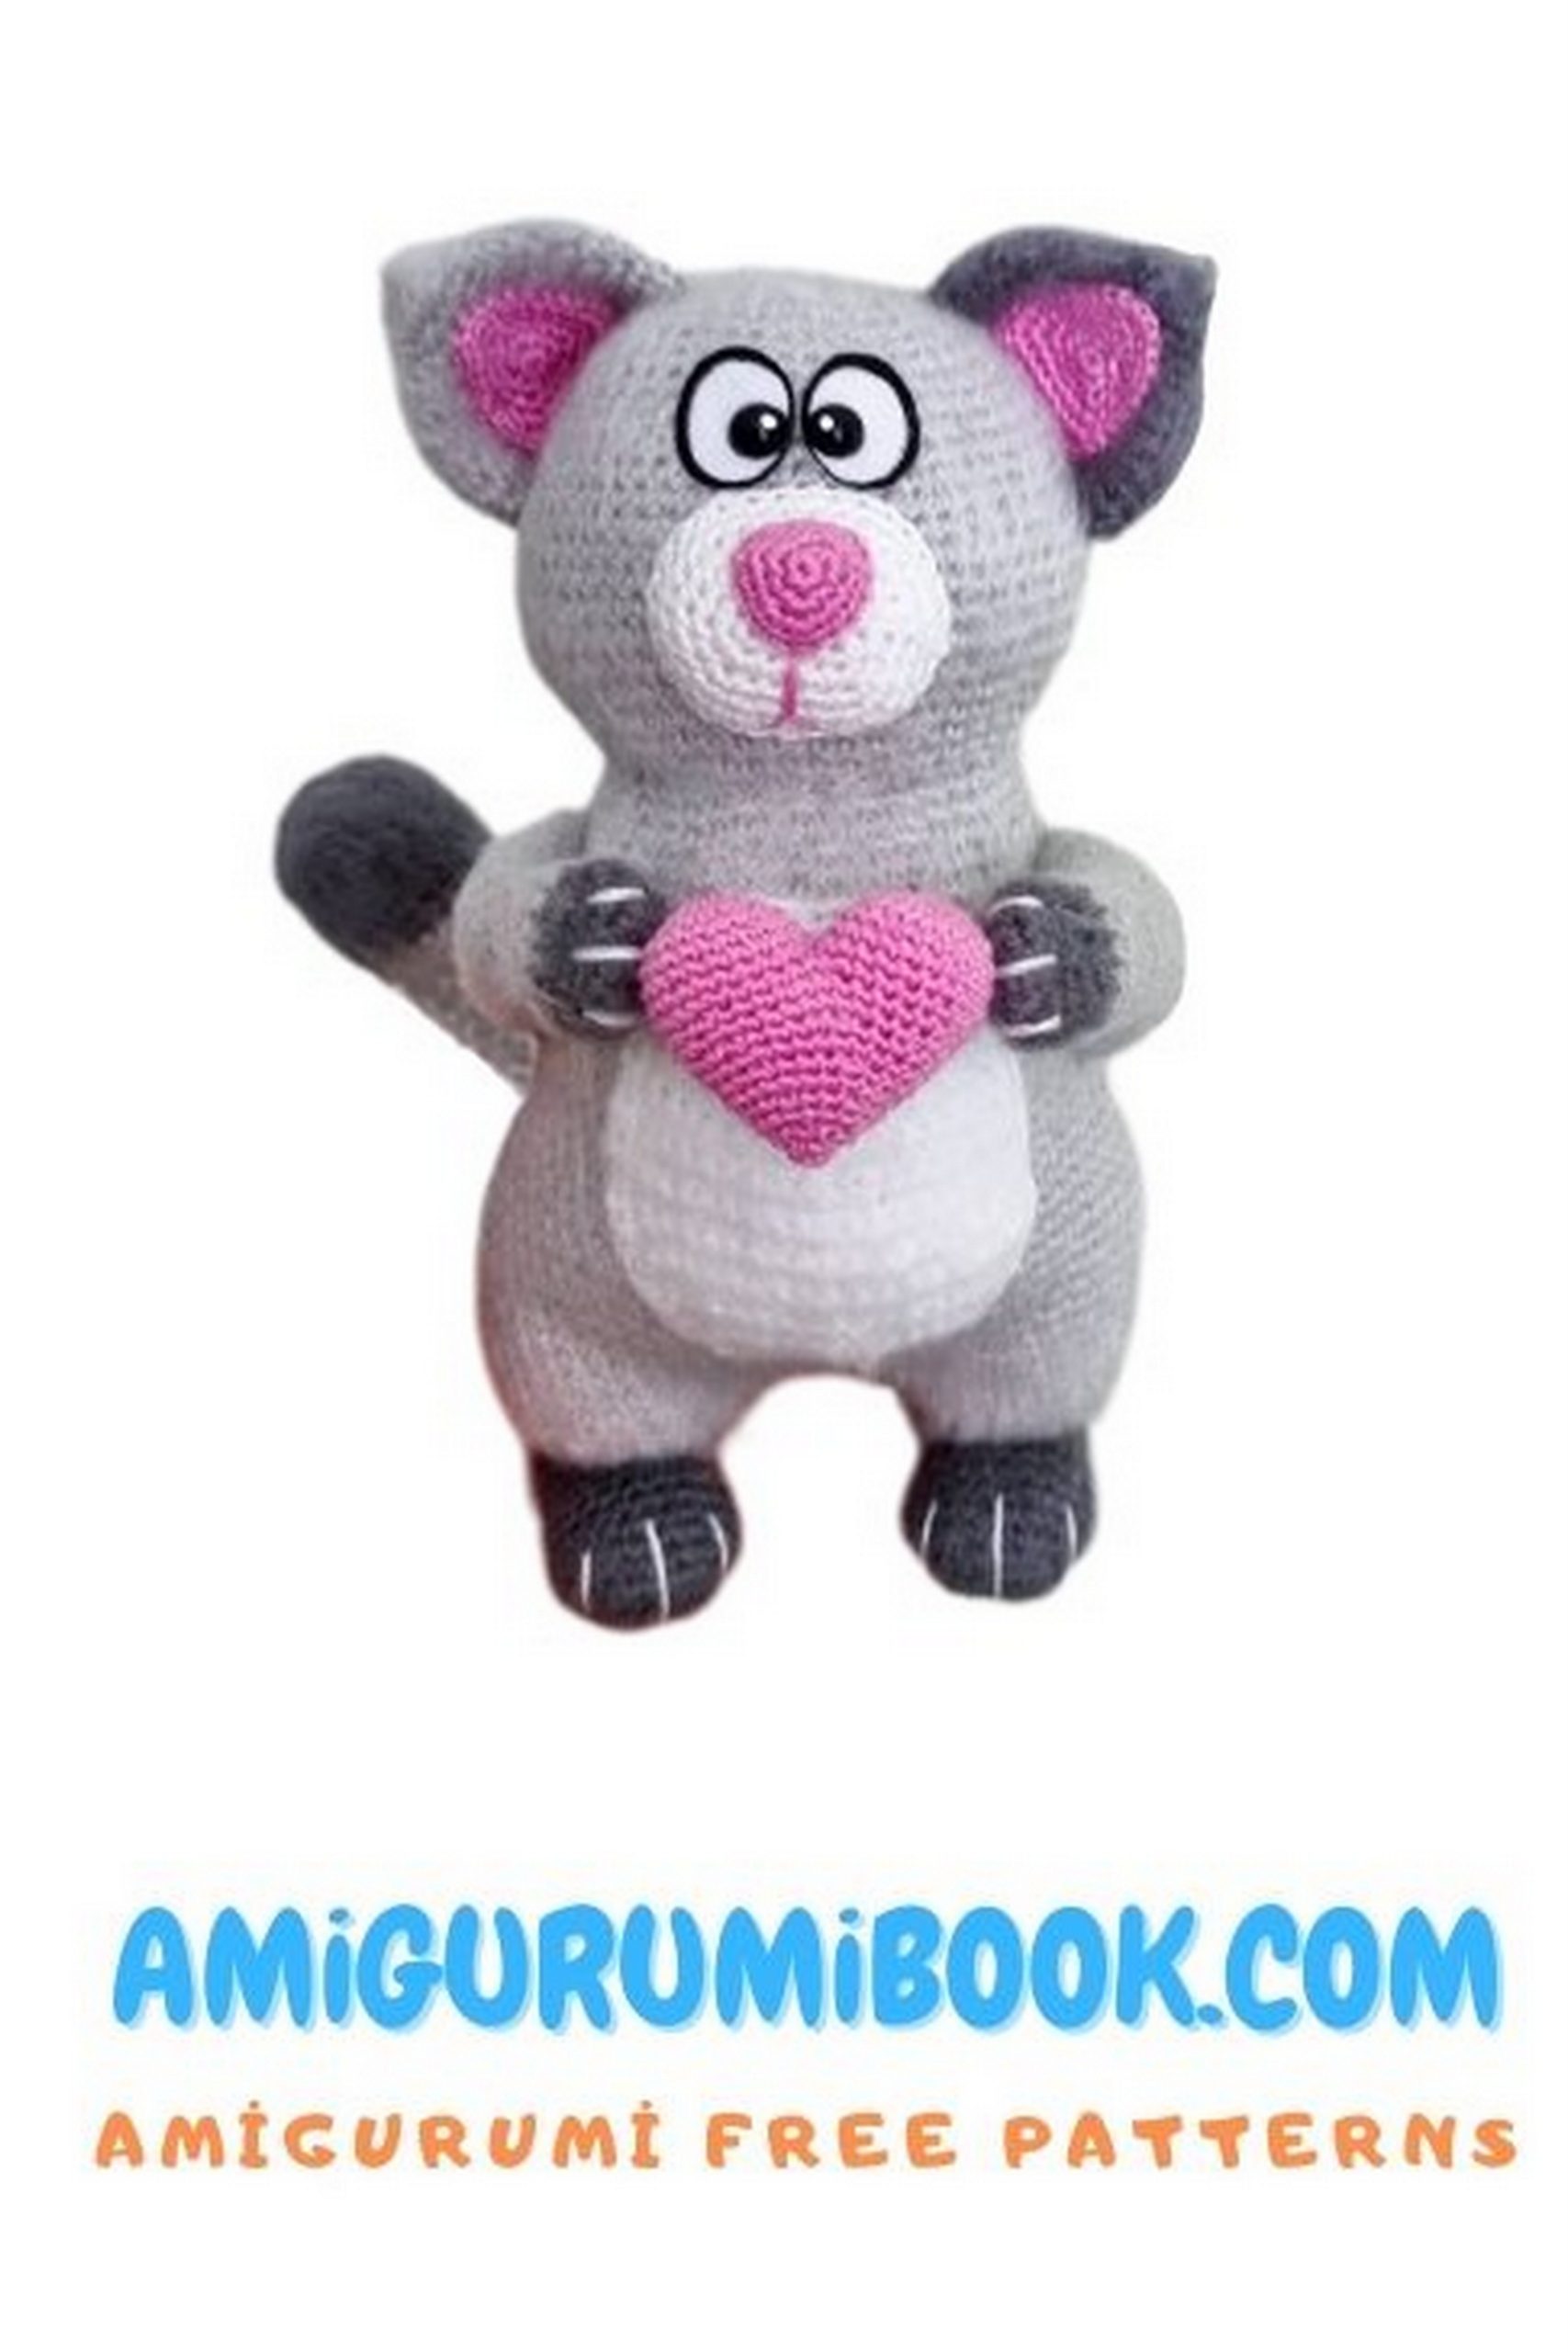
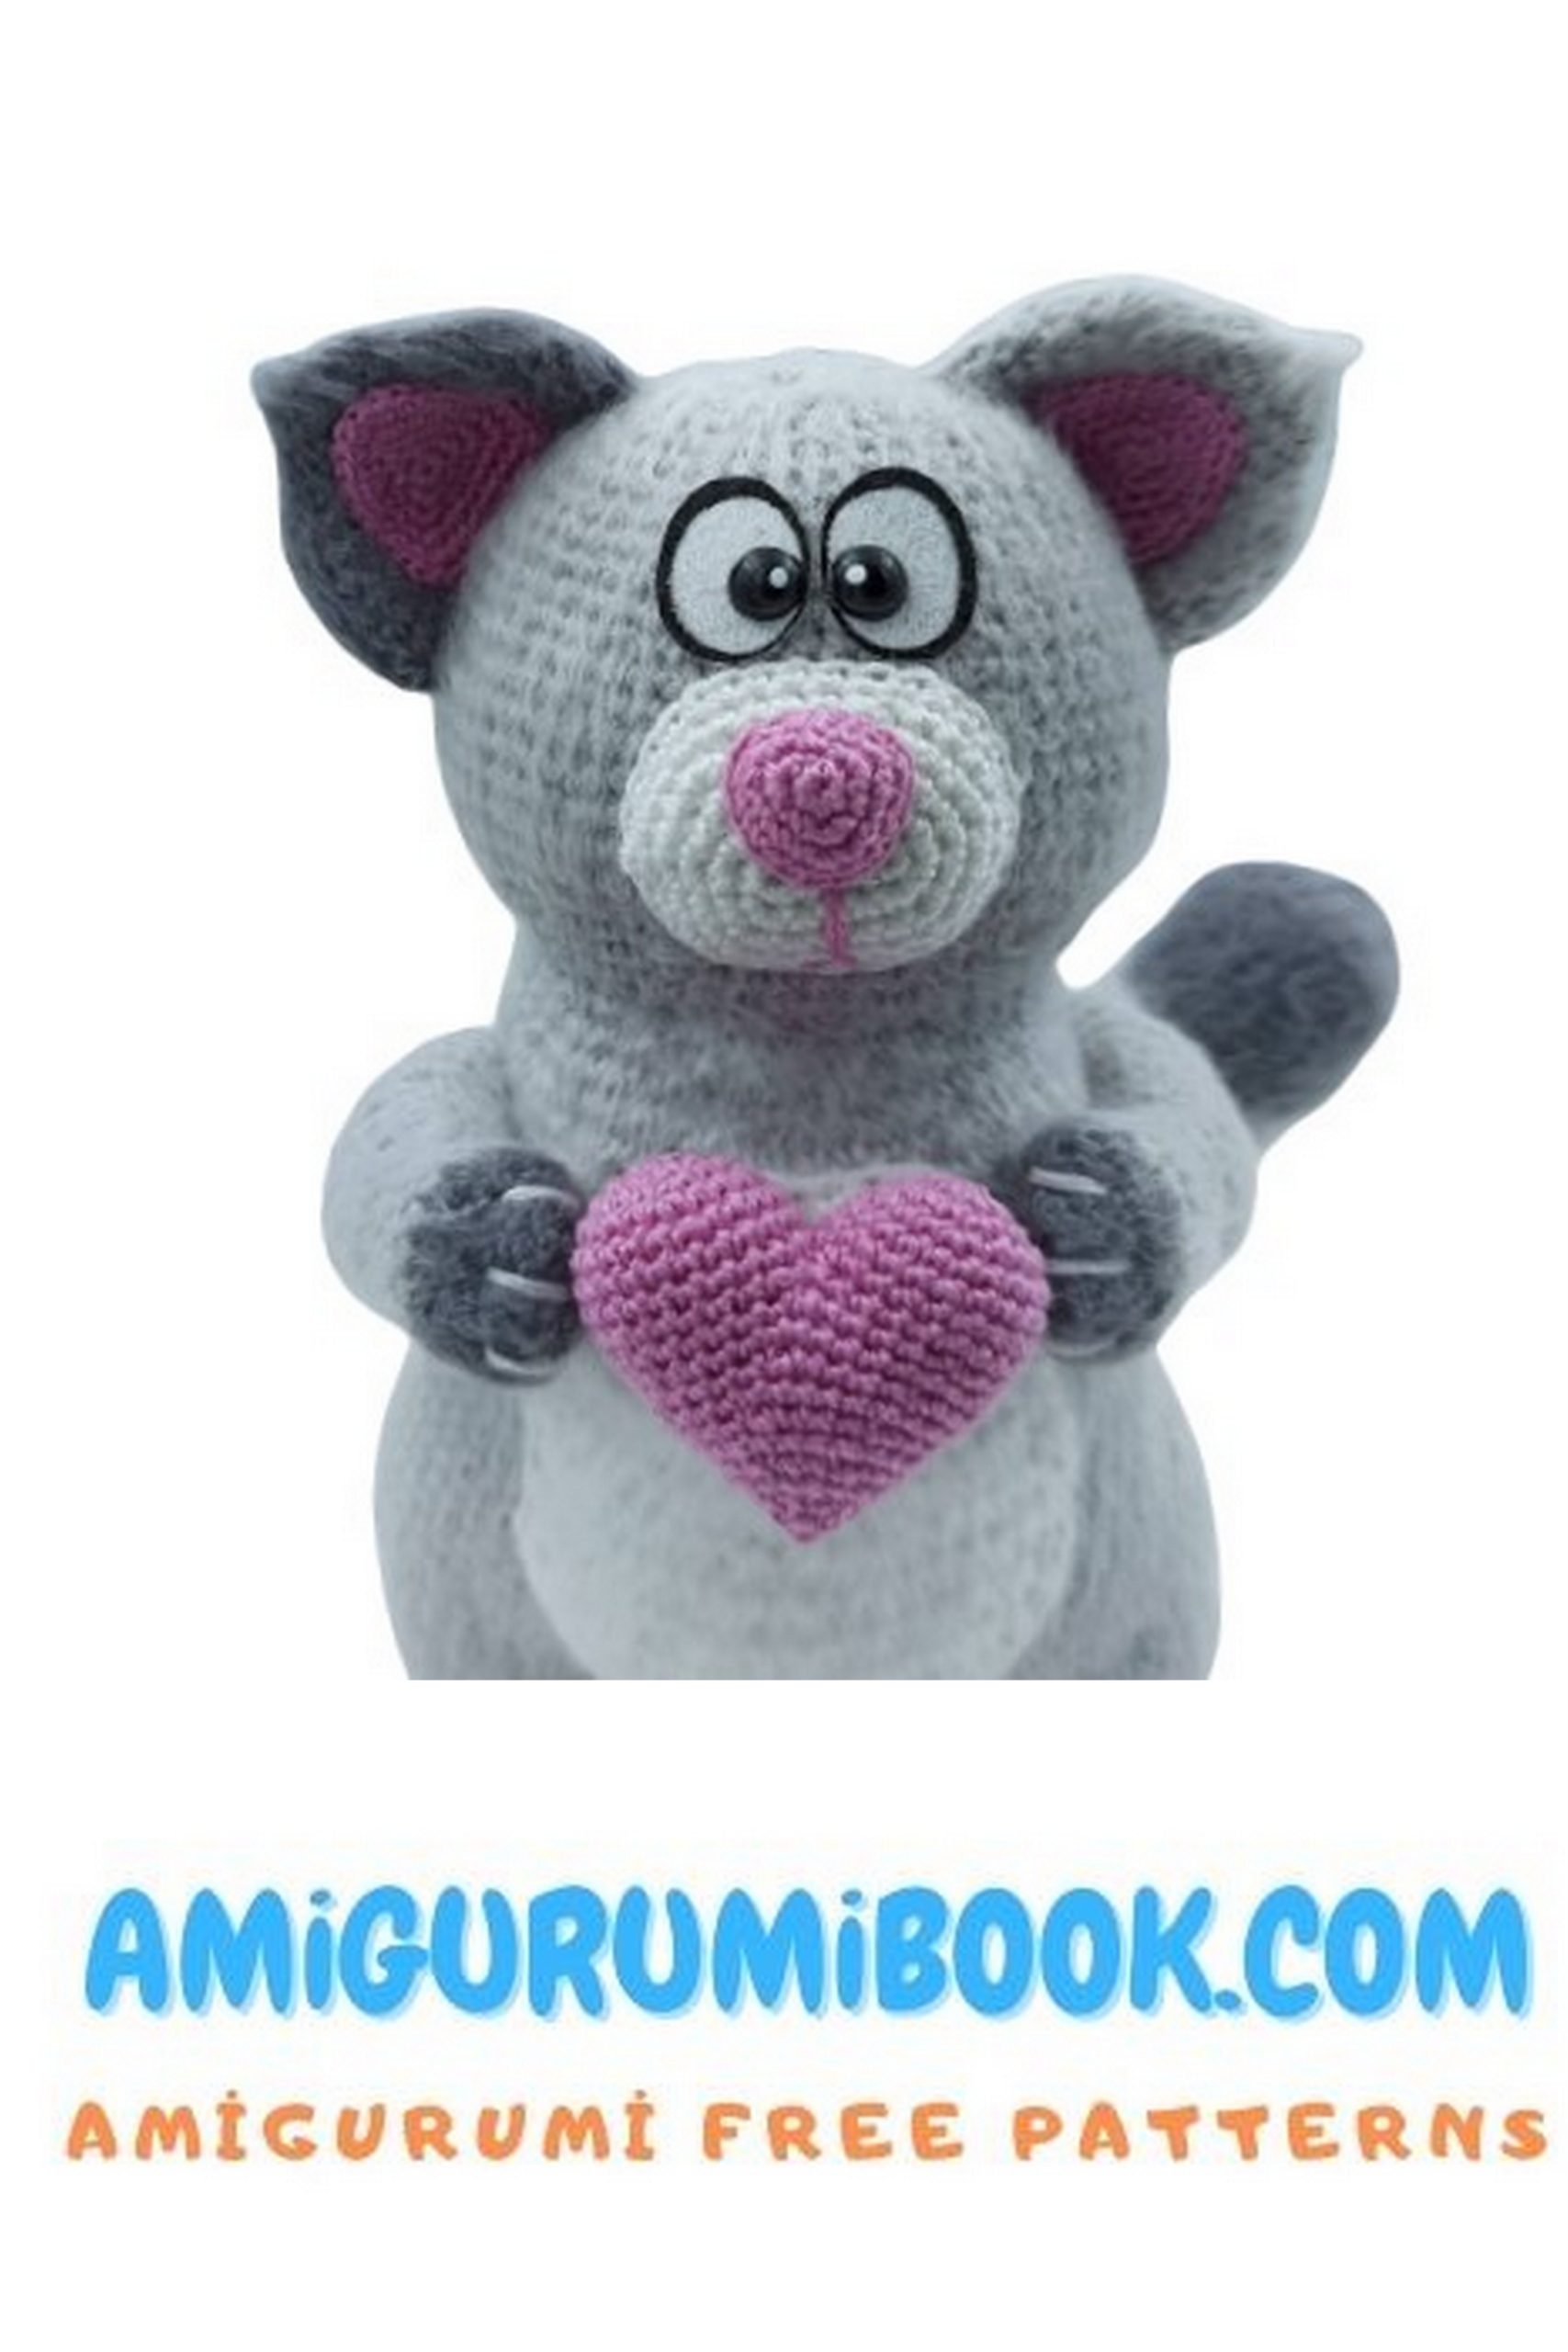
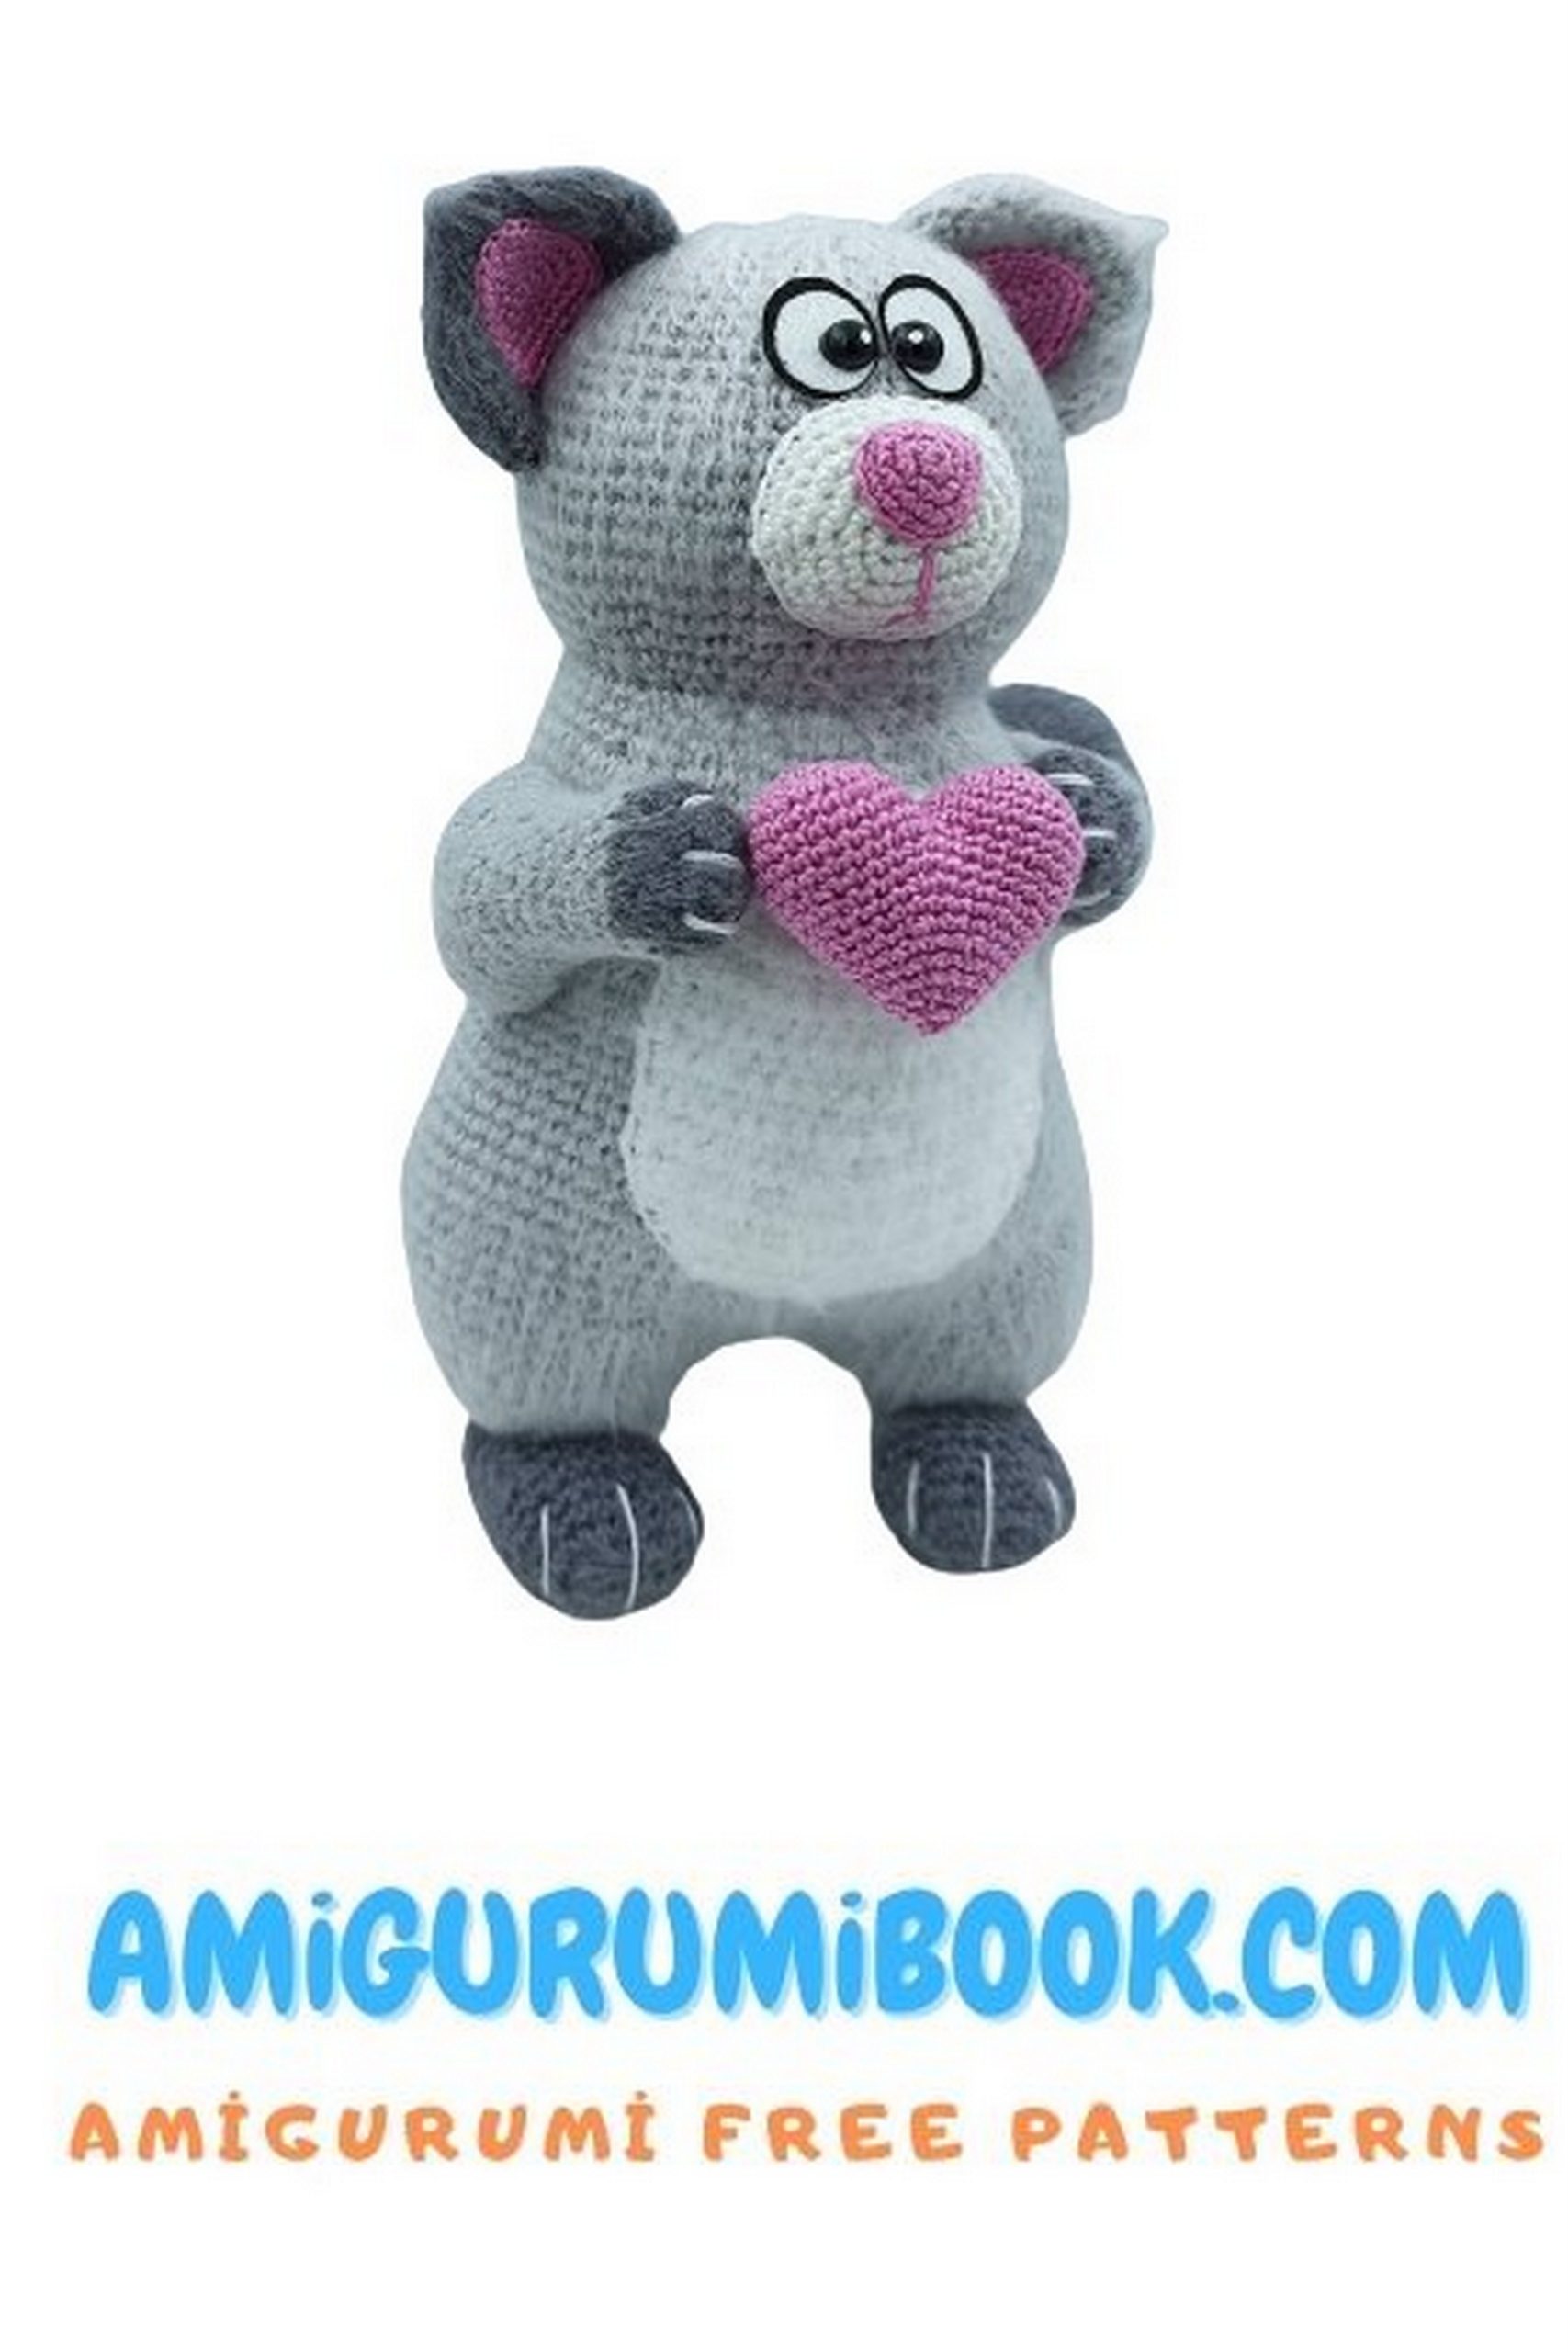
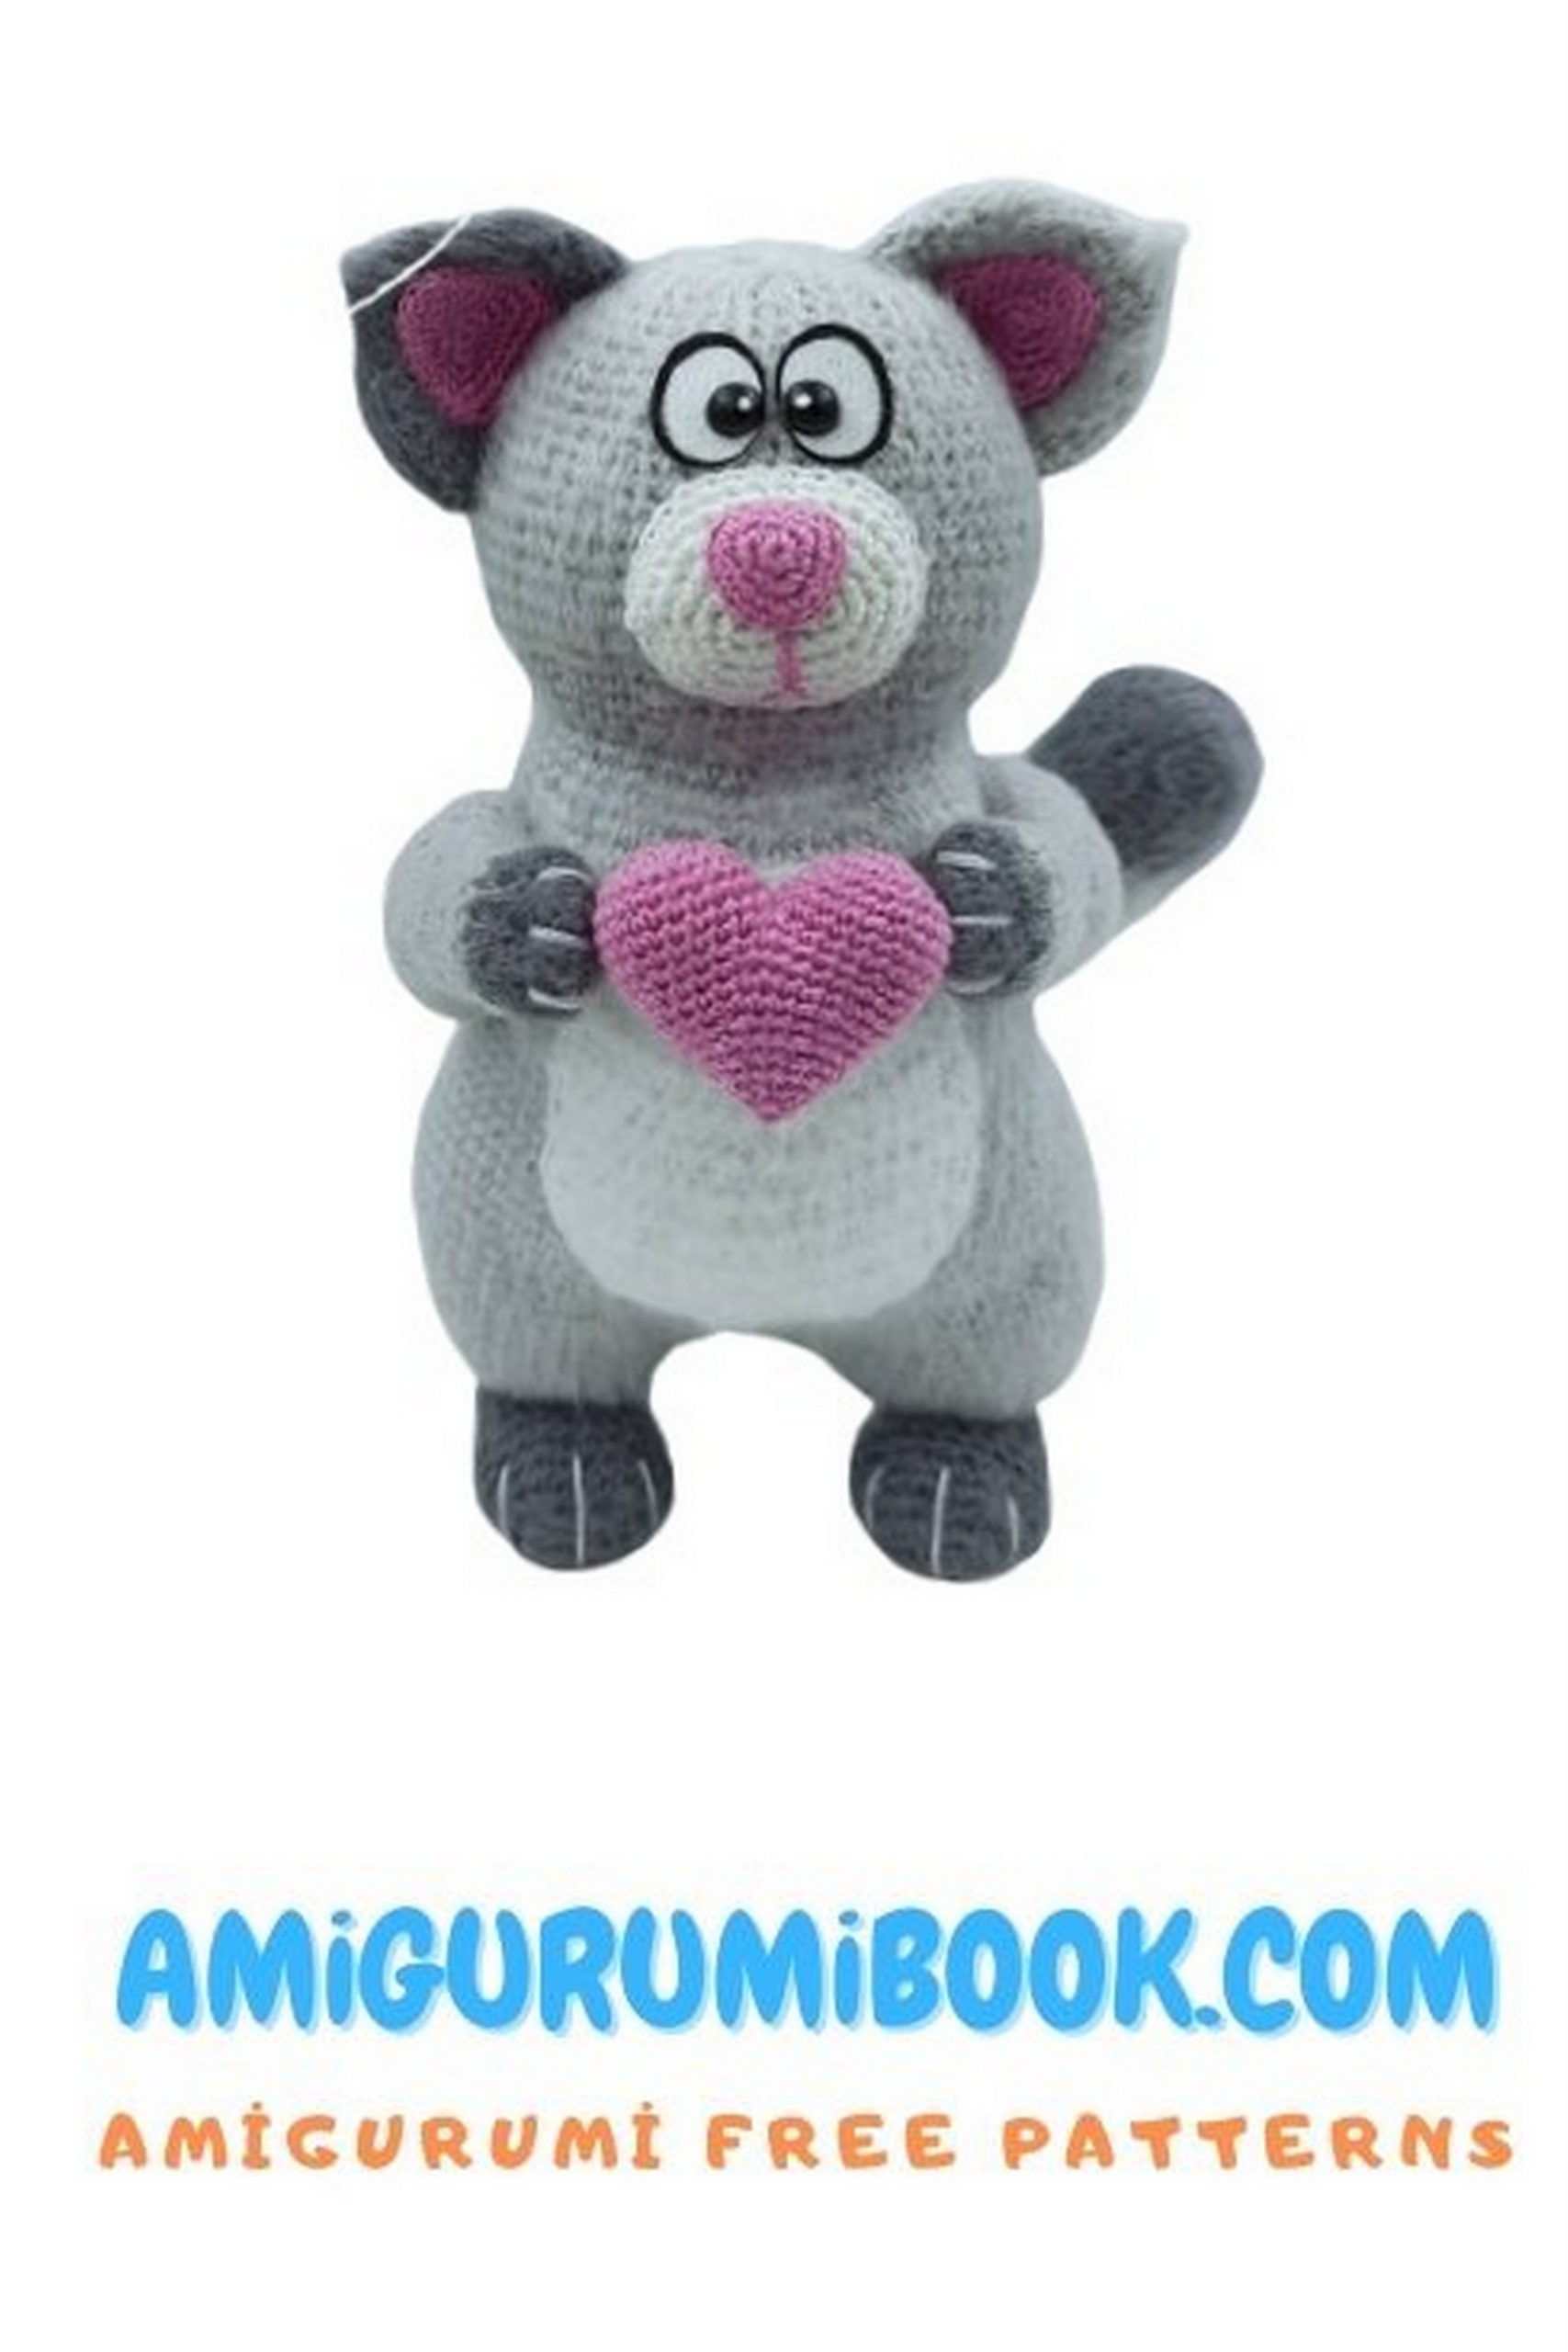
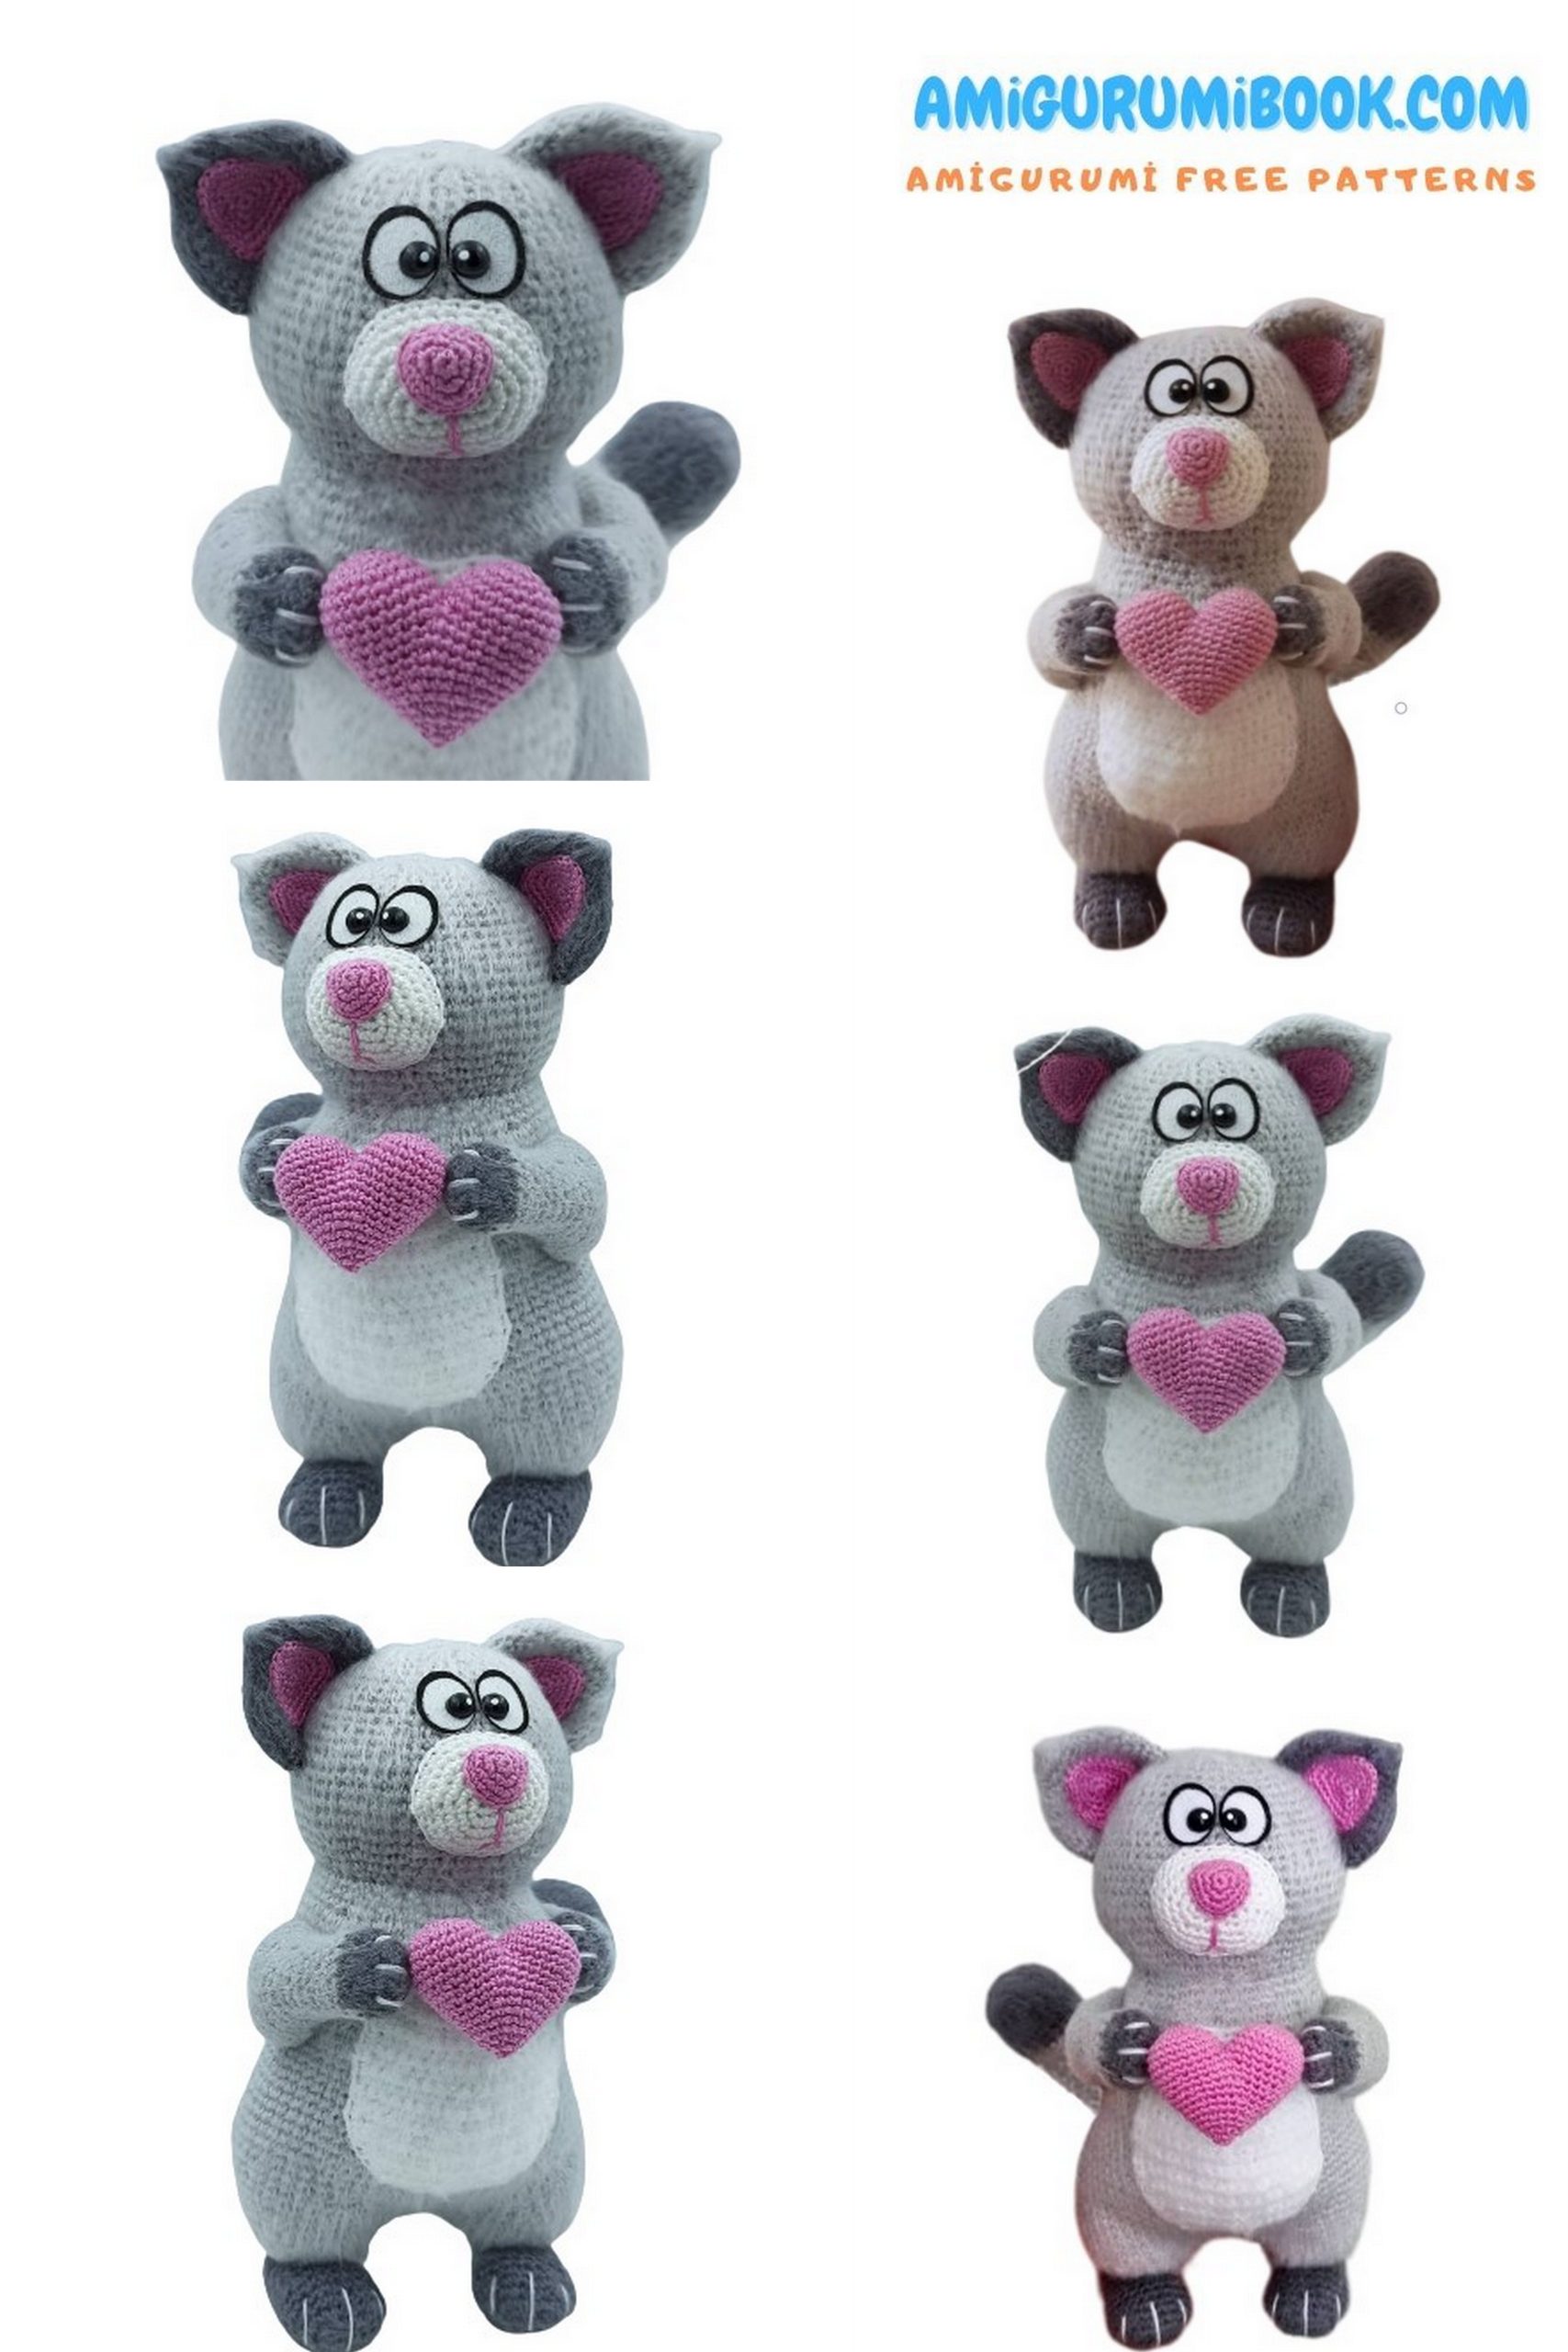
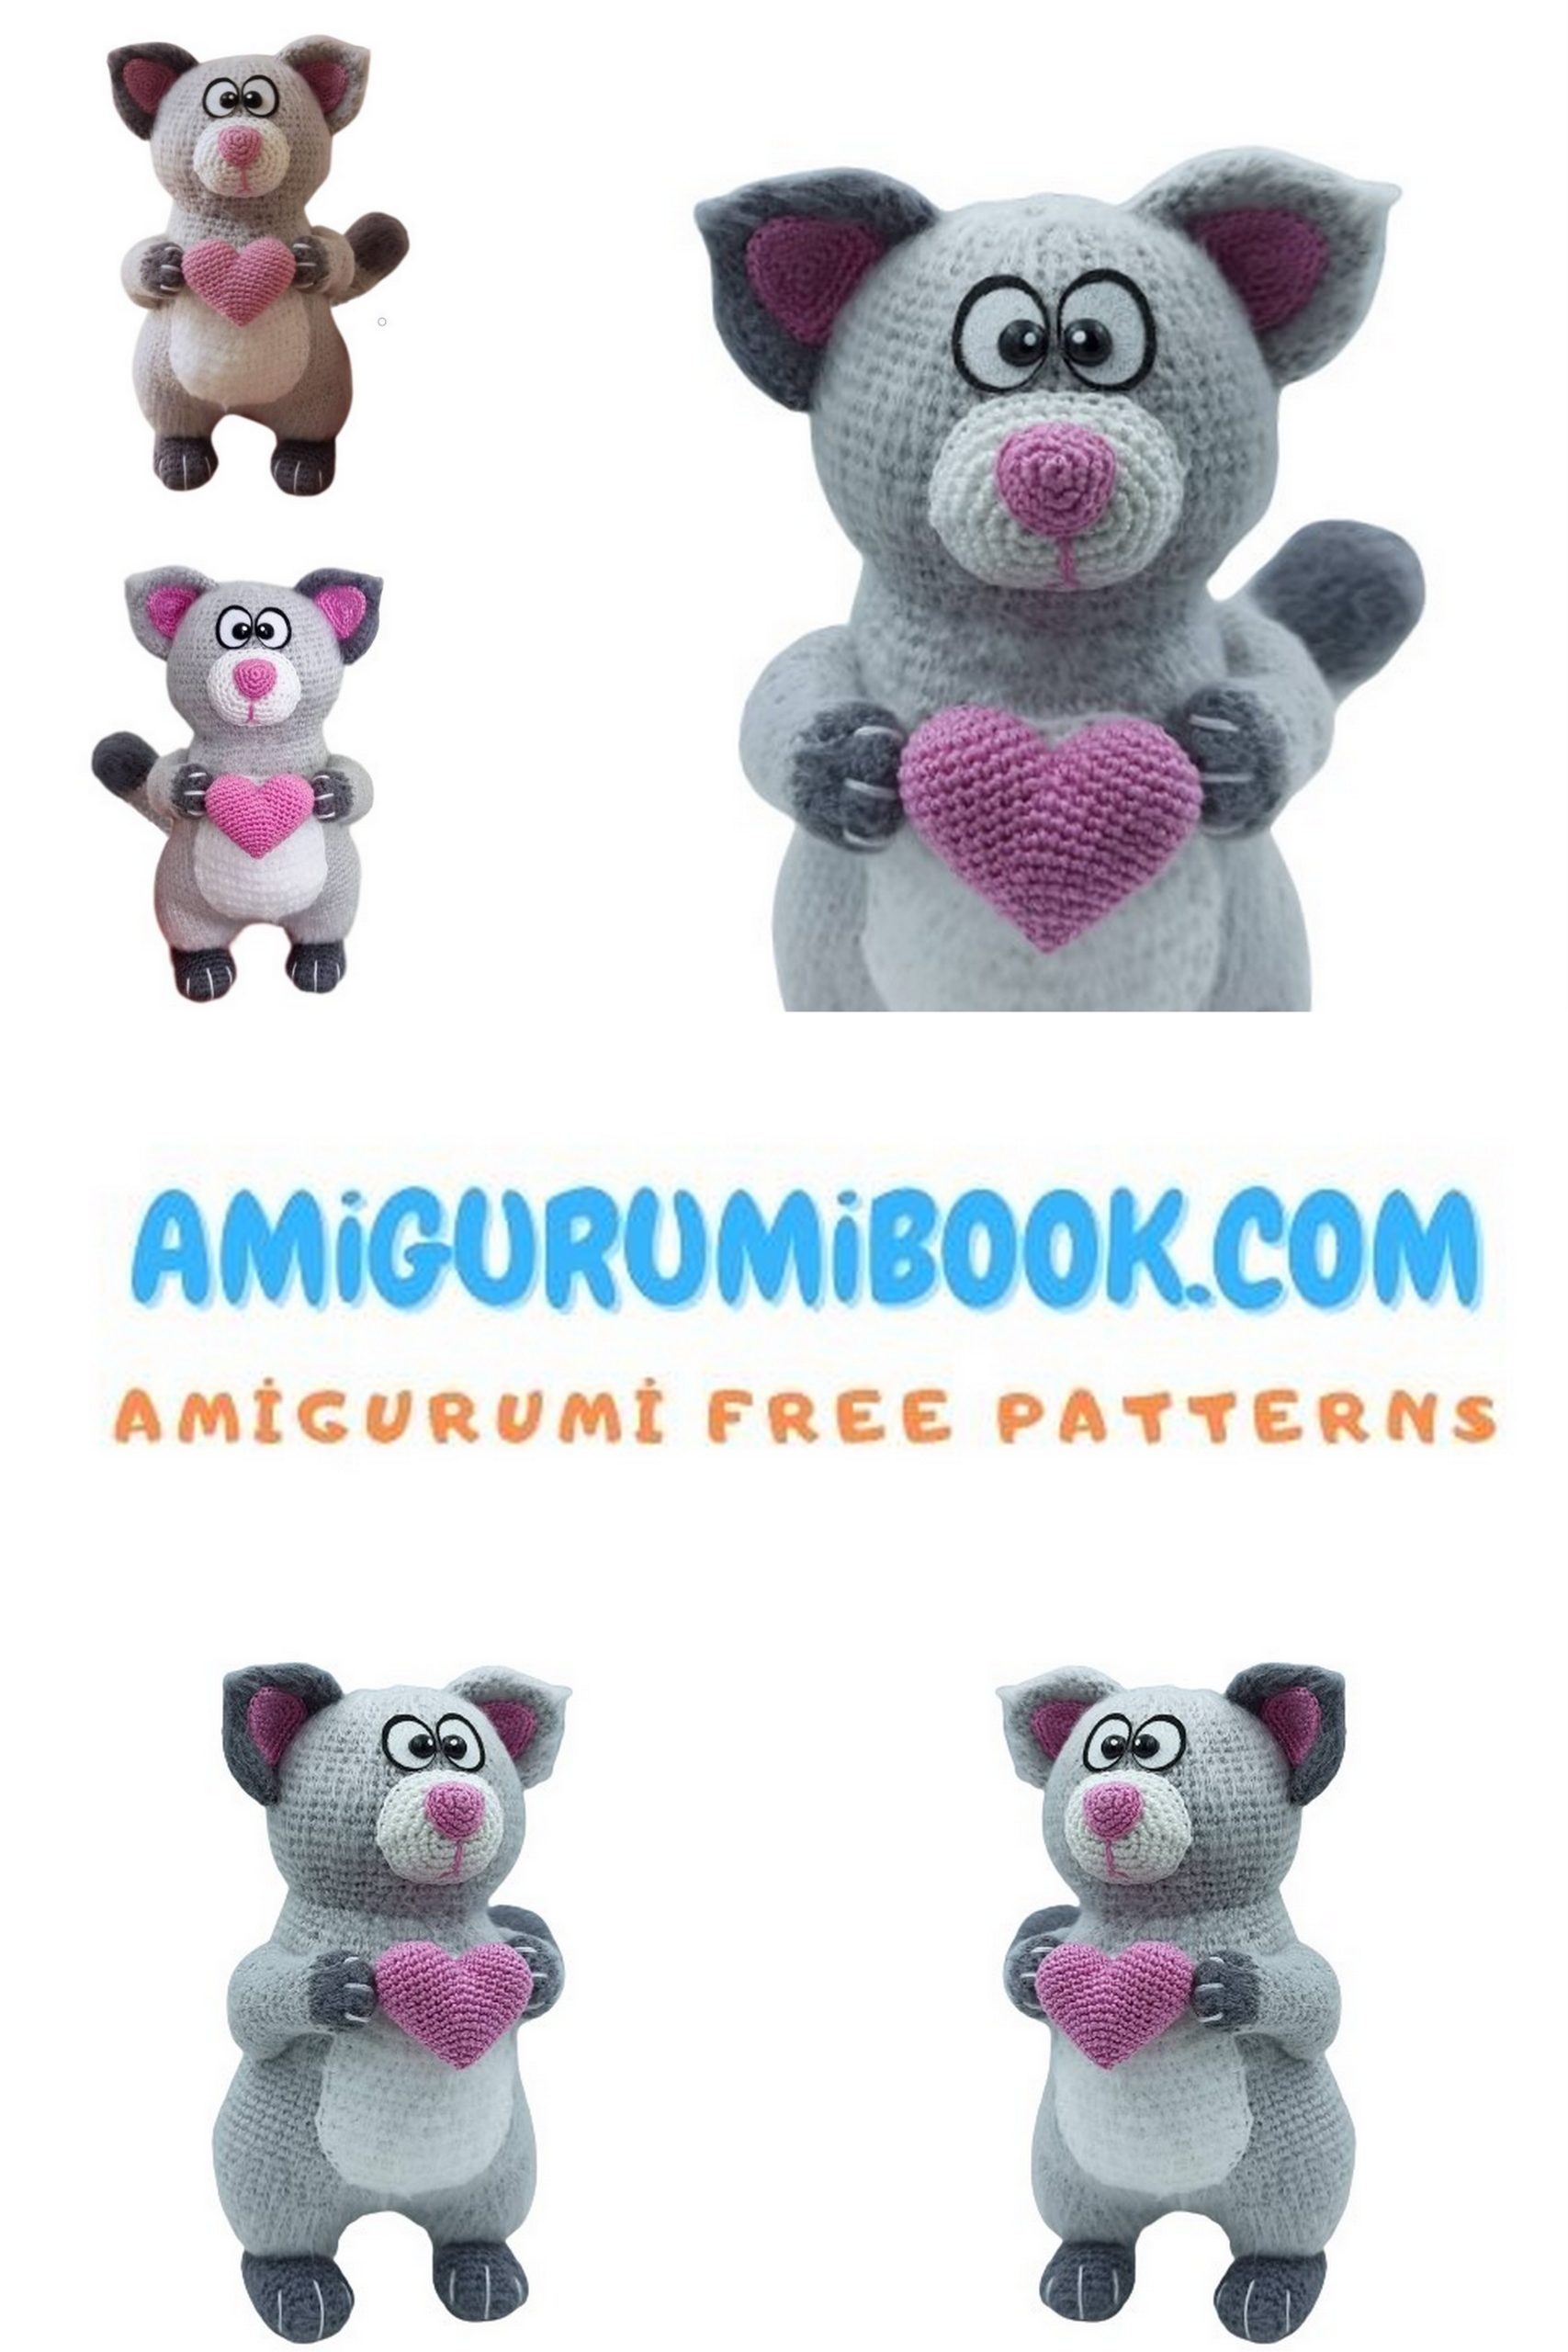
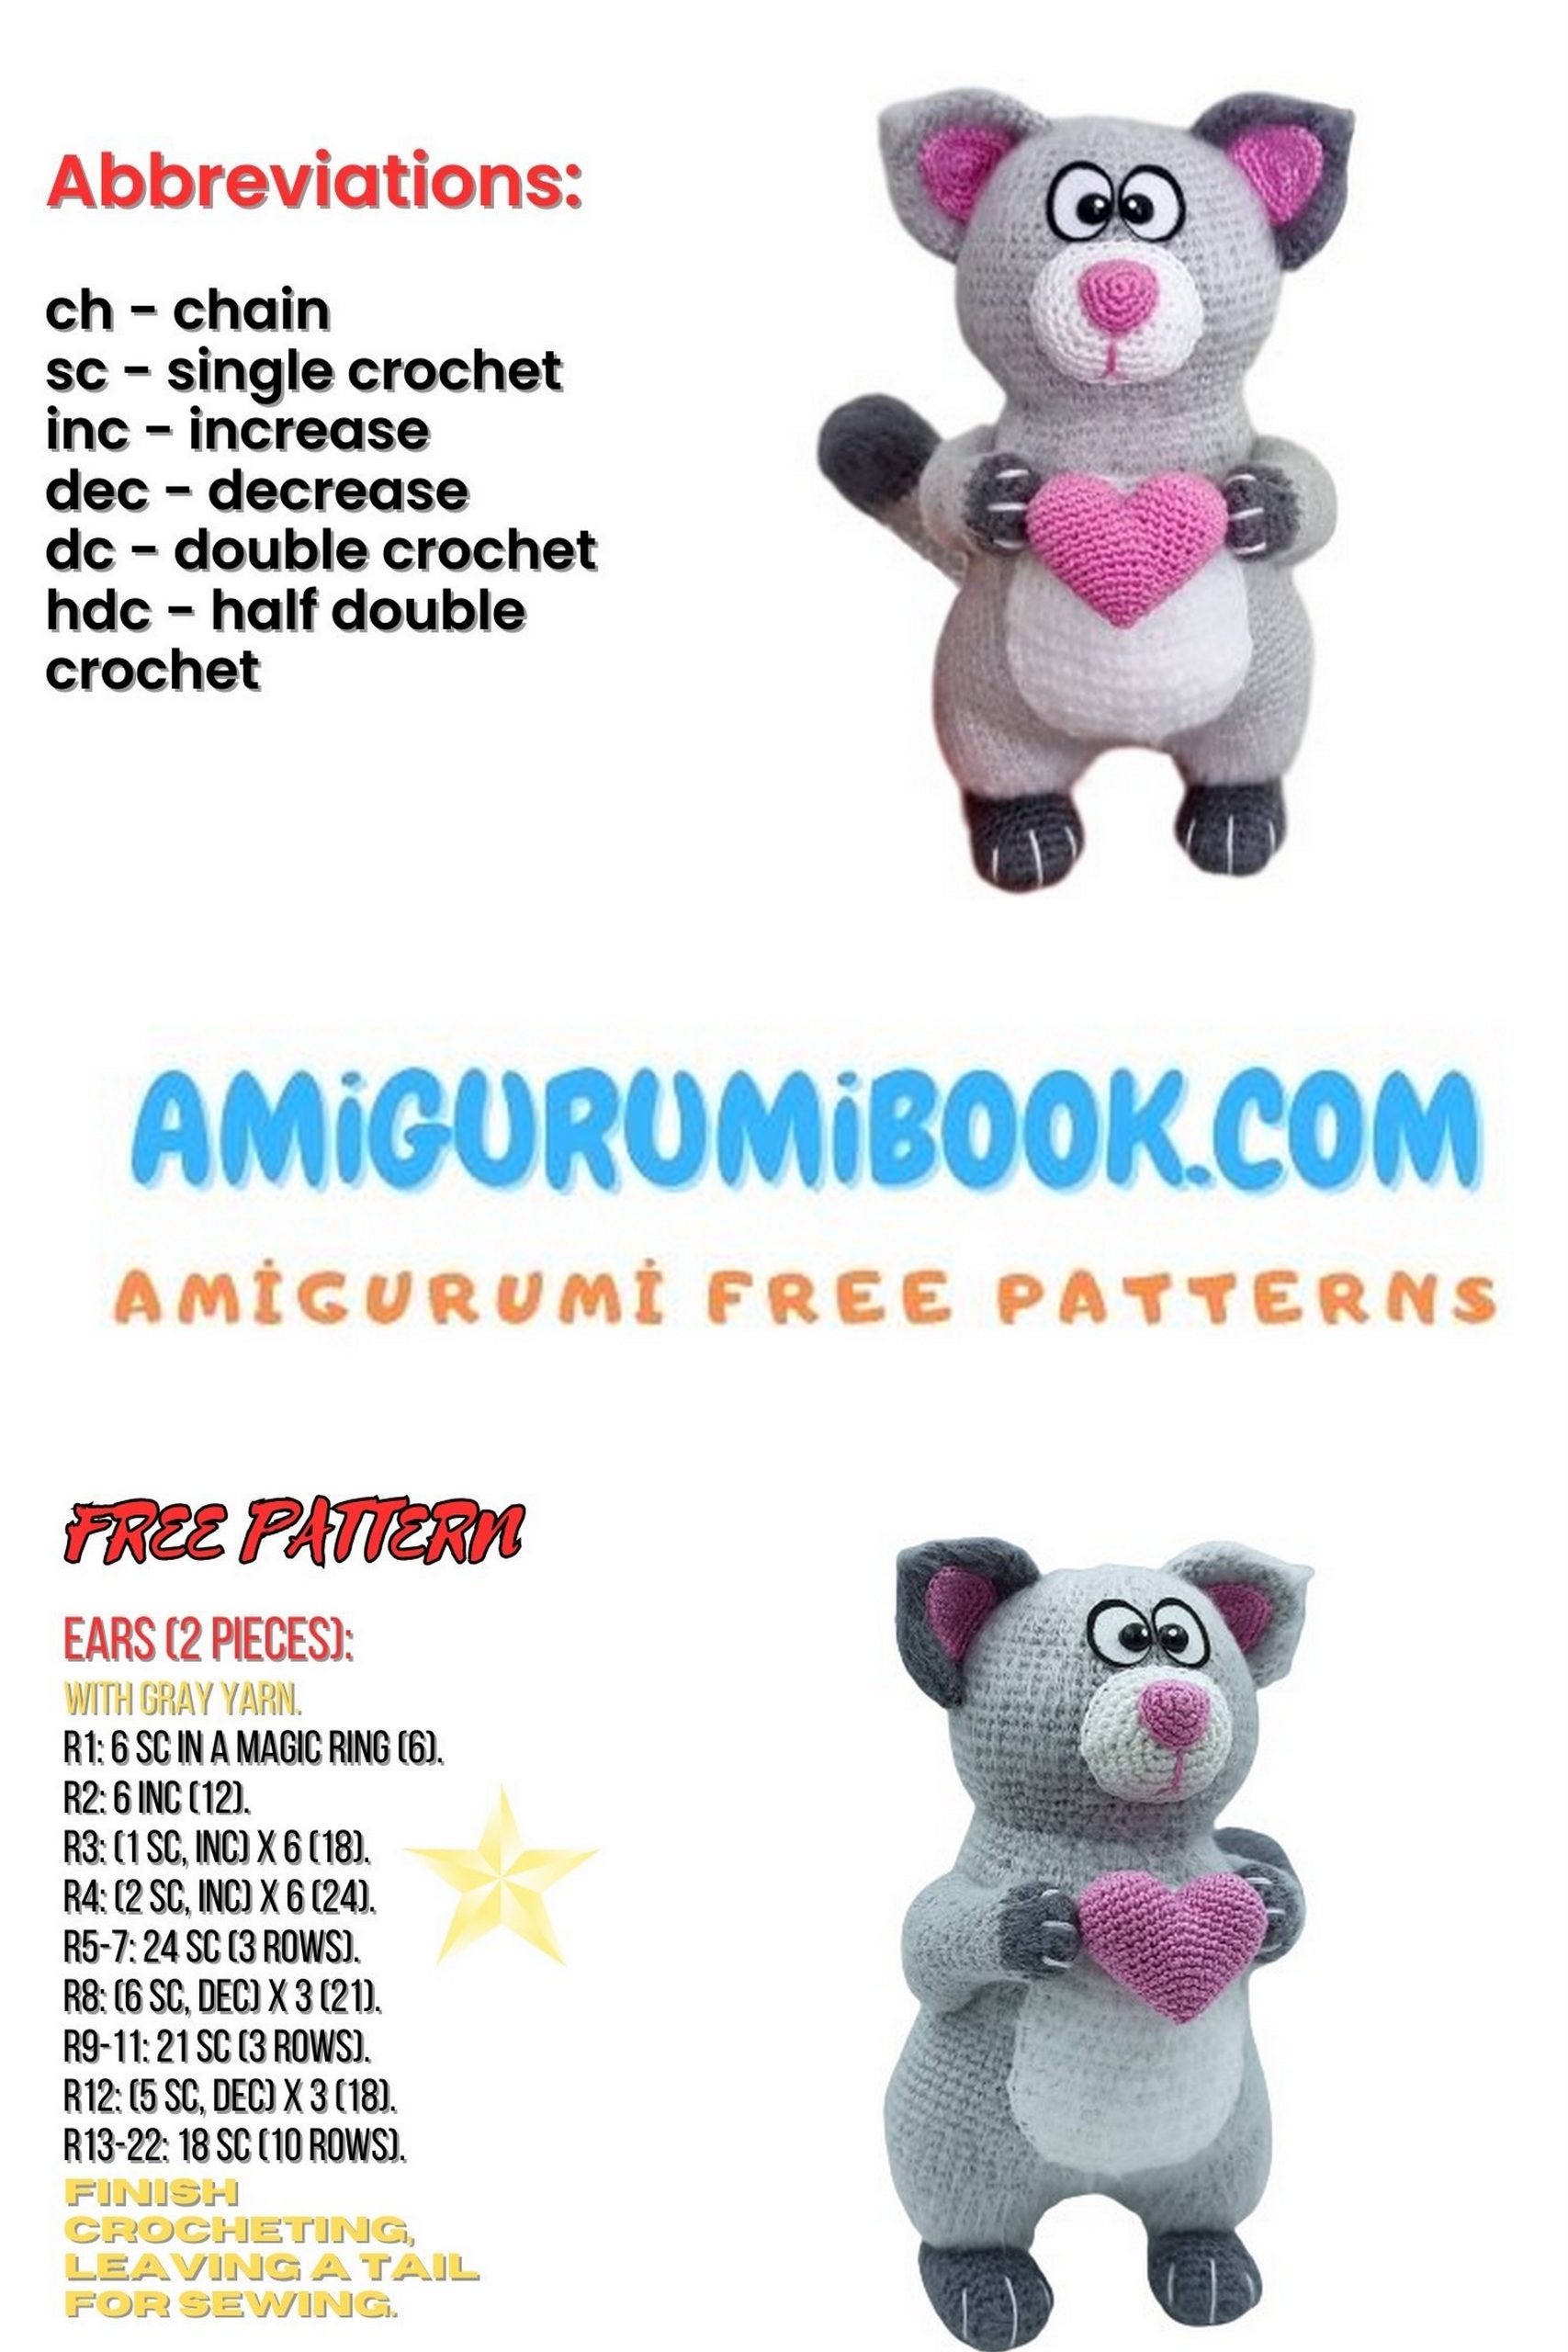
If you’re looking for a romantic and adorable crochet project, this Amigurumi March Cat in Love Free Pattern is just what you need! With its sweet expression, soft brushed texture, and charming heart accessory, this lovable kitty is perfect for Valentine’s Day gifts, handmade surprises, or simply adding a touch of cuteness to your amigurumi collection.
Designed with delicate details like a fluffy body, sculpted muzzle, and expressive eyes, the March Cat in Love is a delightful project for intermediate crocheters who enjoy shaping and assembling character toys. Grab your yarn and hook, and let’s create your very own cuddly cat filled with love!
If you want to access 1000+ free amigurumi patterns, you can download our application from this link!
Materials Needed
Yarn (Thin Cotton, 4 Colors)
Pekhorka Azhurnaya (50 g / 280 m, 100% cotton):
- Gray (008) – main body color
- Dark Gray (393) – accent color
- White (001) – muzzle and belly
Gamma (10 g / 82 m, 100% cotton):
- Pink (0402) – nose, ears, heart
Hooks
- 1 mm crochet hook (for pink yarn)
- 2 mm crochet hook (for all other colors)
Other Supplies
- Toy stuffing (polyfill or similar)
- 6 mm flat black safety eyes + glue
- White felt or fabric for eyes
- Black and white paint (for eye details)
- Scissors
- Long needle
- Pins
- Brush tool (for fluffing the toy)
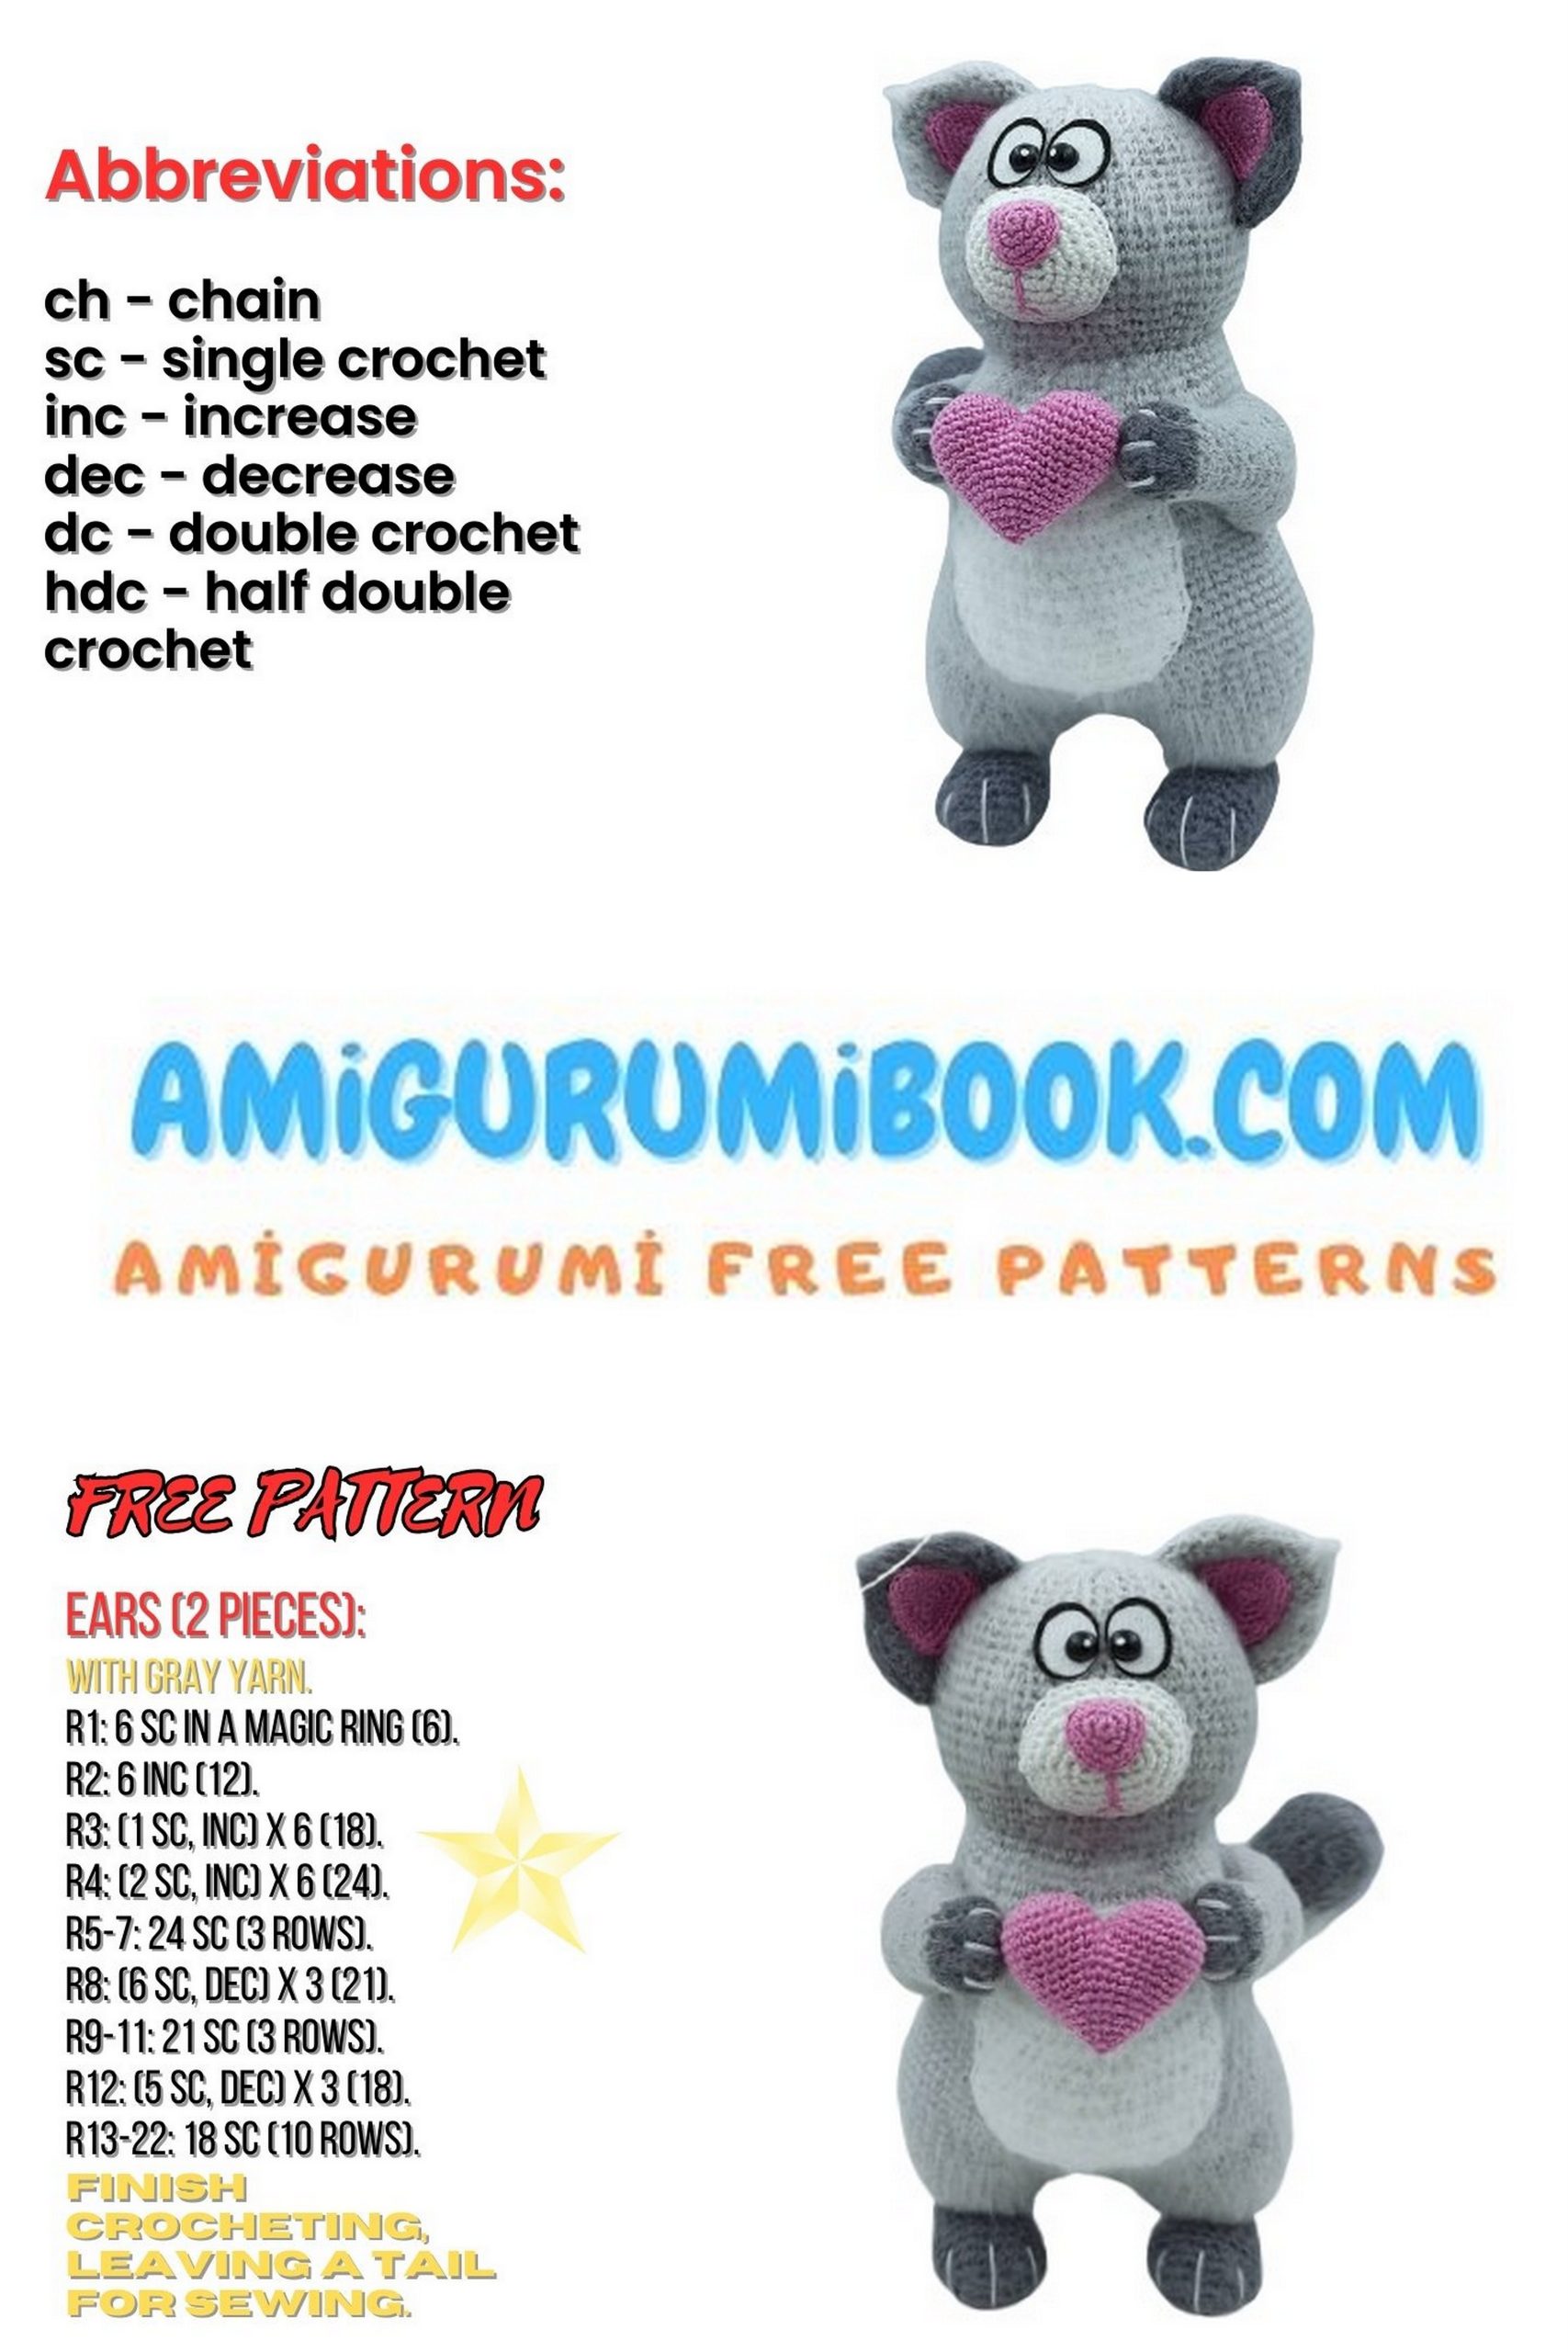
Abbreviations
- MR – Magic Ring
- CH – Chain
- SC – Single Crochet
- INC – Increase
- DEC – Decrease
- (…) x6 – Repeat the instructions in parentheses 6 times
Stitch Notes
- Work in back loop only (BLO) when specified
- Work in front loop only (FLO) when specified
- Work through both loops unless otherwise noted
Now let’s start crocheting our adorable toy! 🧶✨
Body and Head
(Gray yarn – work in a continuous spiral)
Legs (Make 2)
1: MR 6 (6)
2: INC in each stitch (12)
3: (1 SC, INC) x6 (18)
4: 1 SC, INC, (2 SC, INC) x5, 1 SC (24)
5: 24 SC
6: (3 SC, INC) x6 (30)
7: (9 SC, INC) x3 (33)
Fasten off the first leg.
Make the second leg the same way, do not cut the yarn.
Joining the Legs
8: 1 SC, CH 3, join to first leg,
33 SC around first leg,
3 SC in CH,
32 SC around second leg (72)
9–12: 72 SC
Body
13: (10 SC, DEC) x6 (66)
14: 66 SC
15: 28 SC, INC, (7 SC, INC) x2, 21 SC (69)
16: 30 SC, INC, (6 SC, INC) x2, 24 SC (72)
17–18: 72 SC
19: (10 SC, DEC) x6 (66)
20: 66 SC
21: (9 SC, DEC) x6 (60)
22: 60 SC
23: (8 SC, DEC) x6 (54)
Stuff gradually as you go.
24–33: 54 SC
34: 16 SC, INC, (4 SC, INC) x2,
16 SC, INC, (4 SC, INC) x2 (60)
35: 60 SC
36: (8 SC, DEC) x6 (54)
37: 54 SC
38: (7 SC, DEC) x6 (48)
39: (6 SC, DEC) x6 (42)
40: (5 SC, DEC) x6 (36)
Head Increases
41: FLO only – (5 SC, INC) x6 (42)
42: Both loops – 3 SC, INC, (6 SC, INC) x5, 3 SC (48)
43: (7 SC, INC) x6 (54)
44: 4 SC, INC, (8 SC, INC) x5, 4 SC (60)
45: (9 SC, INC) x6 (66)
46: 5 SC, INC, (10 SC, INC) x5, 5 SC (72)
47: 72 SC
Head Decreases
48: 22 SC, DEC, (5 SC, DEC) x2,
18 SC, DEC, (5 SC, DEC) x2 (66)
49–50: 66 SC
51: 21 SC, DEC, (4 SC, DEC) x2,
17 SC, DEC, (4 SC, DEC) x2 (60)
52: 60 SC
53: 20 SC, DEC, (3 SC, DEC) x2,
16 SC, DEC, (3 SC, DEC) x2 (54)
54: 54 SC
55: (7 SC, DEC) x6 (48)
56: (6 SC, DEC) x6 (42)
57–59: 42 SC
60: (5 SC, DEC) x6 (36)
61: (4 SC, DEC) x6 (30)
62: (3 SC, DEC) x6 (24)
63: (2 SC, DEC) x6 (18)
64: (1 SC, DEC) x6 (12)
65: 6 DEC
Fasten off, close the hole, brush the piece.
Muzzle (white yarn)
1: Ch 6
4 SC (starting from 2nd ch), 3 SC in last ch,
continue other side: 3 SC, 2 SC in last ch (12)
2: INC, 3 SC, 3 INC, 3 SC, 2 INC (18)
3: 1 SC, INC, 3 SC, (1 SC, INC) x3,
3 SC, (1 SC, INC) x2 (24)
4: 2 SC, INC, 3 SC, (2 SC, INC) x3,
3 SC, (2 SC, INC) x2 (30)
5–6: 30 SC (2 rows)
Fasten off, leave tail for sewing.
Nose (pink yarn, 1 mm hook)
1: MR 6 (6)
2: 1 SC, 3 SC in same st,
1 SC, 3 SC in same st,
1 SC, 3 SC in same st (12)
3: 2 SC, 3 SC in same st,
3 SC, 3 SC in same st,
3 SC, 3 SC in same st,
1 SC (18)
4: 18 SC
Fasten off, leave tail for sewing.
Ears – Outer Part (Make 2)
(Use dark gray for one ear, gray for the other)
1: MR 6 (6)
2: INC x6 (12)
3–4: 12 SC (2 rows)
5: (1 SC, INC) x6 (18)
6: (2 SC, INC) x6 (24)
7: (3 SC, INC) x6 (30)
8: (4 SC, INC) x6 (36)
9–11: 36 SC (3 rows)
12: (4 SC, DEC) x6 (30)
Fasten off, leave long tail for sewing.
Brush both pieces for fluffy texture.
Assembly of Details
Ears – Inner Part (Pink, 1 mm hook)
(Make 2)
1: MR 6 (6)
2: 1 SC, 3 SC in same st,
1 SC, 3 SC in same st,
1 SC, 3 SC in same st (12)
3: 2 SC, 3 SC in same st,
3 SC, 3 SC in same st,
3 SC, 3 SC in same st,
1 SC (18)
4: 3 SC, 3 SC in same st,
5 SC, 3 SC in same st,
5 SC, 3 SC in same st,
2 SC (24)
5: 4 SC, 3 SC in same st,
7 SC, 3 SC in same st,
7 SC, 3 SC in same st,
3 SC (30)
Fasten off, leave tail for sewing.
Feet (Dark Gray)
(Make 2)
1: Ch 6
4 SC (from 2nd ch), 3 SC in last ch,
continue other side: 3 SC, 2 SC in last ch (12)
2: INC, 3 SC, 3 INC, 3 SC, 2 INC (18)
3: INC, 6 SC, INC, 1 SC,
INC, 6 SC, INC, 1 SC (22)
4–6: 22 SC (3 rows)
7: 10 SC, DEC, 8 SC, DEC (20)
8–12: 20 SC (5 rows)
13: DEC, 9 SC, DEC, 7 SC (18)
14: 18 SC
Stuff firmly.
15: (1 SC, DEC) x6 (12)
16: 6 DEC
Fasten off, leave tail for sewing.
Brush the pieces.
Arms (Make 2)
Start with dark gray.
1: Ch 4
2 SC (from 2nd ch), 3 SC in last ch,
continue other side: 1 SC, 2 SC in last ch (8)
2: INC, 2 SC, 2 INC, 2 SC, INC (12)
3: INC, 4 SC, 2 INC, 4 SC, INC (16)
4–5: 16 SC (2 rows)
Change to gray.
6–7: 16 SC
8: (2 SC, DEC) x4 (12)
Start stuffing gradually.
9: 12 SC
10: (5 SC, INC) x2 (14)
11: 14 SC
12: (6 SC, INC) x2 (16)
13: 16 SC
14: (7 SC, INC) x2 (18)
15: 18 SC
16: (8 SC, INC) x2 (20)
17: (4 SC, INC) x4 (24)
18–20: 24 SC (3 rows)
21: (2 SC, DEC) x6 (18)
Cut yarn leaving ~40 cm tail.
Stuff firmly.
Fold the edge flat, ensure joining line is parallel to starting chain.
Sew edges together and attach to body.
Brush both arms.
Belly (White – Turned Rows)
1: Ch 11, 10 SC (starting from 2nd ch), turn (10)
2: INC, 8 SC, INC, turn (12)
3: INC, 10 SC, INC, turn (14)
4: INC, 12 SC, INC, turn (16)
5: INC, 14 SC, INC, turn (18)
6–12: 18 SC (7 rows)
13: 8 SC, DEC, 8 SC, turn (17)
14: 17 SC
15: 7 SC, DEC, 8 SC, turn (16)
16: 16 SC
17: 4 SC, DEC, 4 SC, DEC, 4 SC, turn (14)
18: 14 SC
19: 3 SC, DEC, 4 SC, DEC, 3 SC, turn (12)
20: 12 SC
21: 3 SC, DEC, 2 SC, DEC, 3 SC (10)
Without cutting yarn, SC evenly around the edge.
Make 1 DEC at the top center.
Fasten off.
Brush one side.
Tail (Dark Gray / Gray)
Start dark gray.
1: MR 6 (6)
2: INC x6 (12)
3: (1 SC, INC) x6 (18)
4: 1 SC, INC, (2 SC, INC) x5, 1 SC (24)
5–12: 24 SC (8 rows)
Switch to gray.
13–15: 24 SC (3 rows)
16: (6 SC, DEC) x3 (21)
17: 21 SC
Switch to dark gray.
18–20: 21 SC (3 rows)
21: (5 SC, DEC) x3 (18)
22–26: 18 SC (5 rows)
Switch to gray.
27–35: 18 SC (9 rows)
36: (1 SC, DEC) x6 (12)
Fasten off leaving long tail.
Fold opening flat, sew closed.
Stuff firmly.
Brush.
Heart (Pink – 1 mm Hook)
Make 2 identical pieces.
1: MR 6 (6)
2: INC x6 (12)
3: (1 SC, INC) x6 (18)
4: 1 SC, INC, (2 SC, INC) x5, 1 SC (24)
5–7: 24 SC (3 rows)
Fasten off first piece.
Do NOT cut yarn on second piece.
Join Both Pieces
Join pieces from inside.
Work 3 SC through both pieces.
You now have 4 shared stitches.
Continue:
8: 20 SC around second piece,
DEC at join point,
20 SC around first piece,
DEC at second join point (42)
9: (5 SC, DEC) x6 (36)
10: 36 SC
11: (4 SC, DEC) x6 (30)
12: 30 SC
13: (3 SC, DEC) x6 (24)
14: 24 SC
Stuff gradually.
15: (2 SC, DEC) x6 (18)
16: 18 SC
17: (1 SC, DEC) x6 (12)
18: 6 DEC
Fasten off.
Assembly
Brush all parts before assembling.
Body Indentations (For Arms)
Mark arm positions between:
7–8th rows from neck (top)
12–13th rows from neck (bottom)
Using 50 cm gray yarn:
1: Insert needle bottom right → exit bottom left
2: Insert under top left → exit under top right
3: Pull gently to create indentation
4: Tie knots securely
5: Repeat on opposite side
Do not overtighten.
Belly
Pin to center.
Sew 3 sides.
Lightly stuff.
Close completely.
Face & Ears
Position face 3–4 rows below neck.
Sew ¾, stuff lightly, close.
Attach inner pink pieces to ears.
Sew ears symmetrically.
Arms & Tail
Lightly shape paw tips with white thread.
Sew arms into indentations.
Secure if needed near belly.
Sew feet to legs.
Attach tail.
Eyes
Cut white eye base (felt or similar).
Paint black outline.
Glue pupil.
Add white highlight dots.
Attach eyes.