
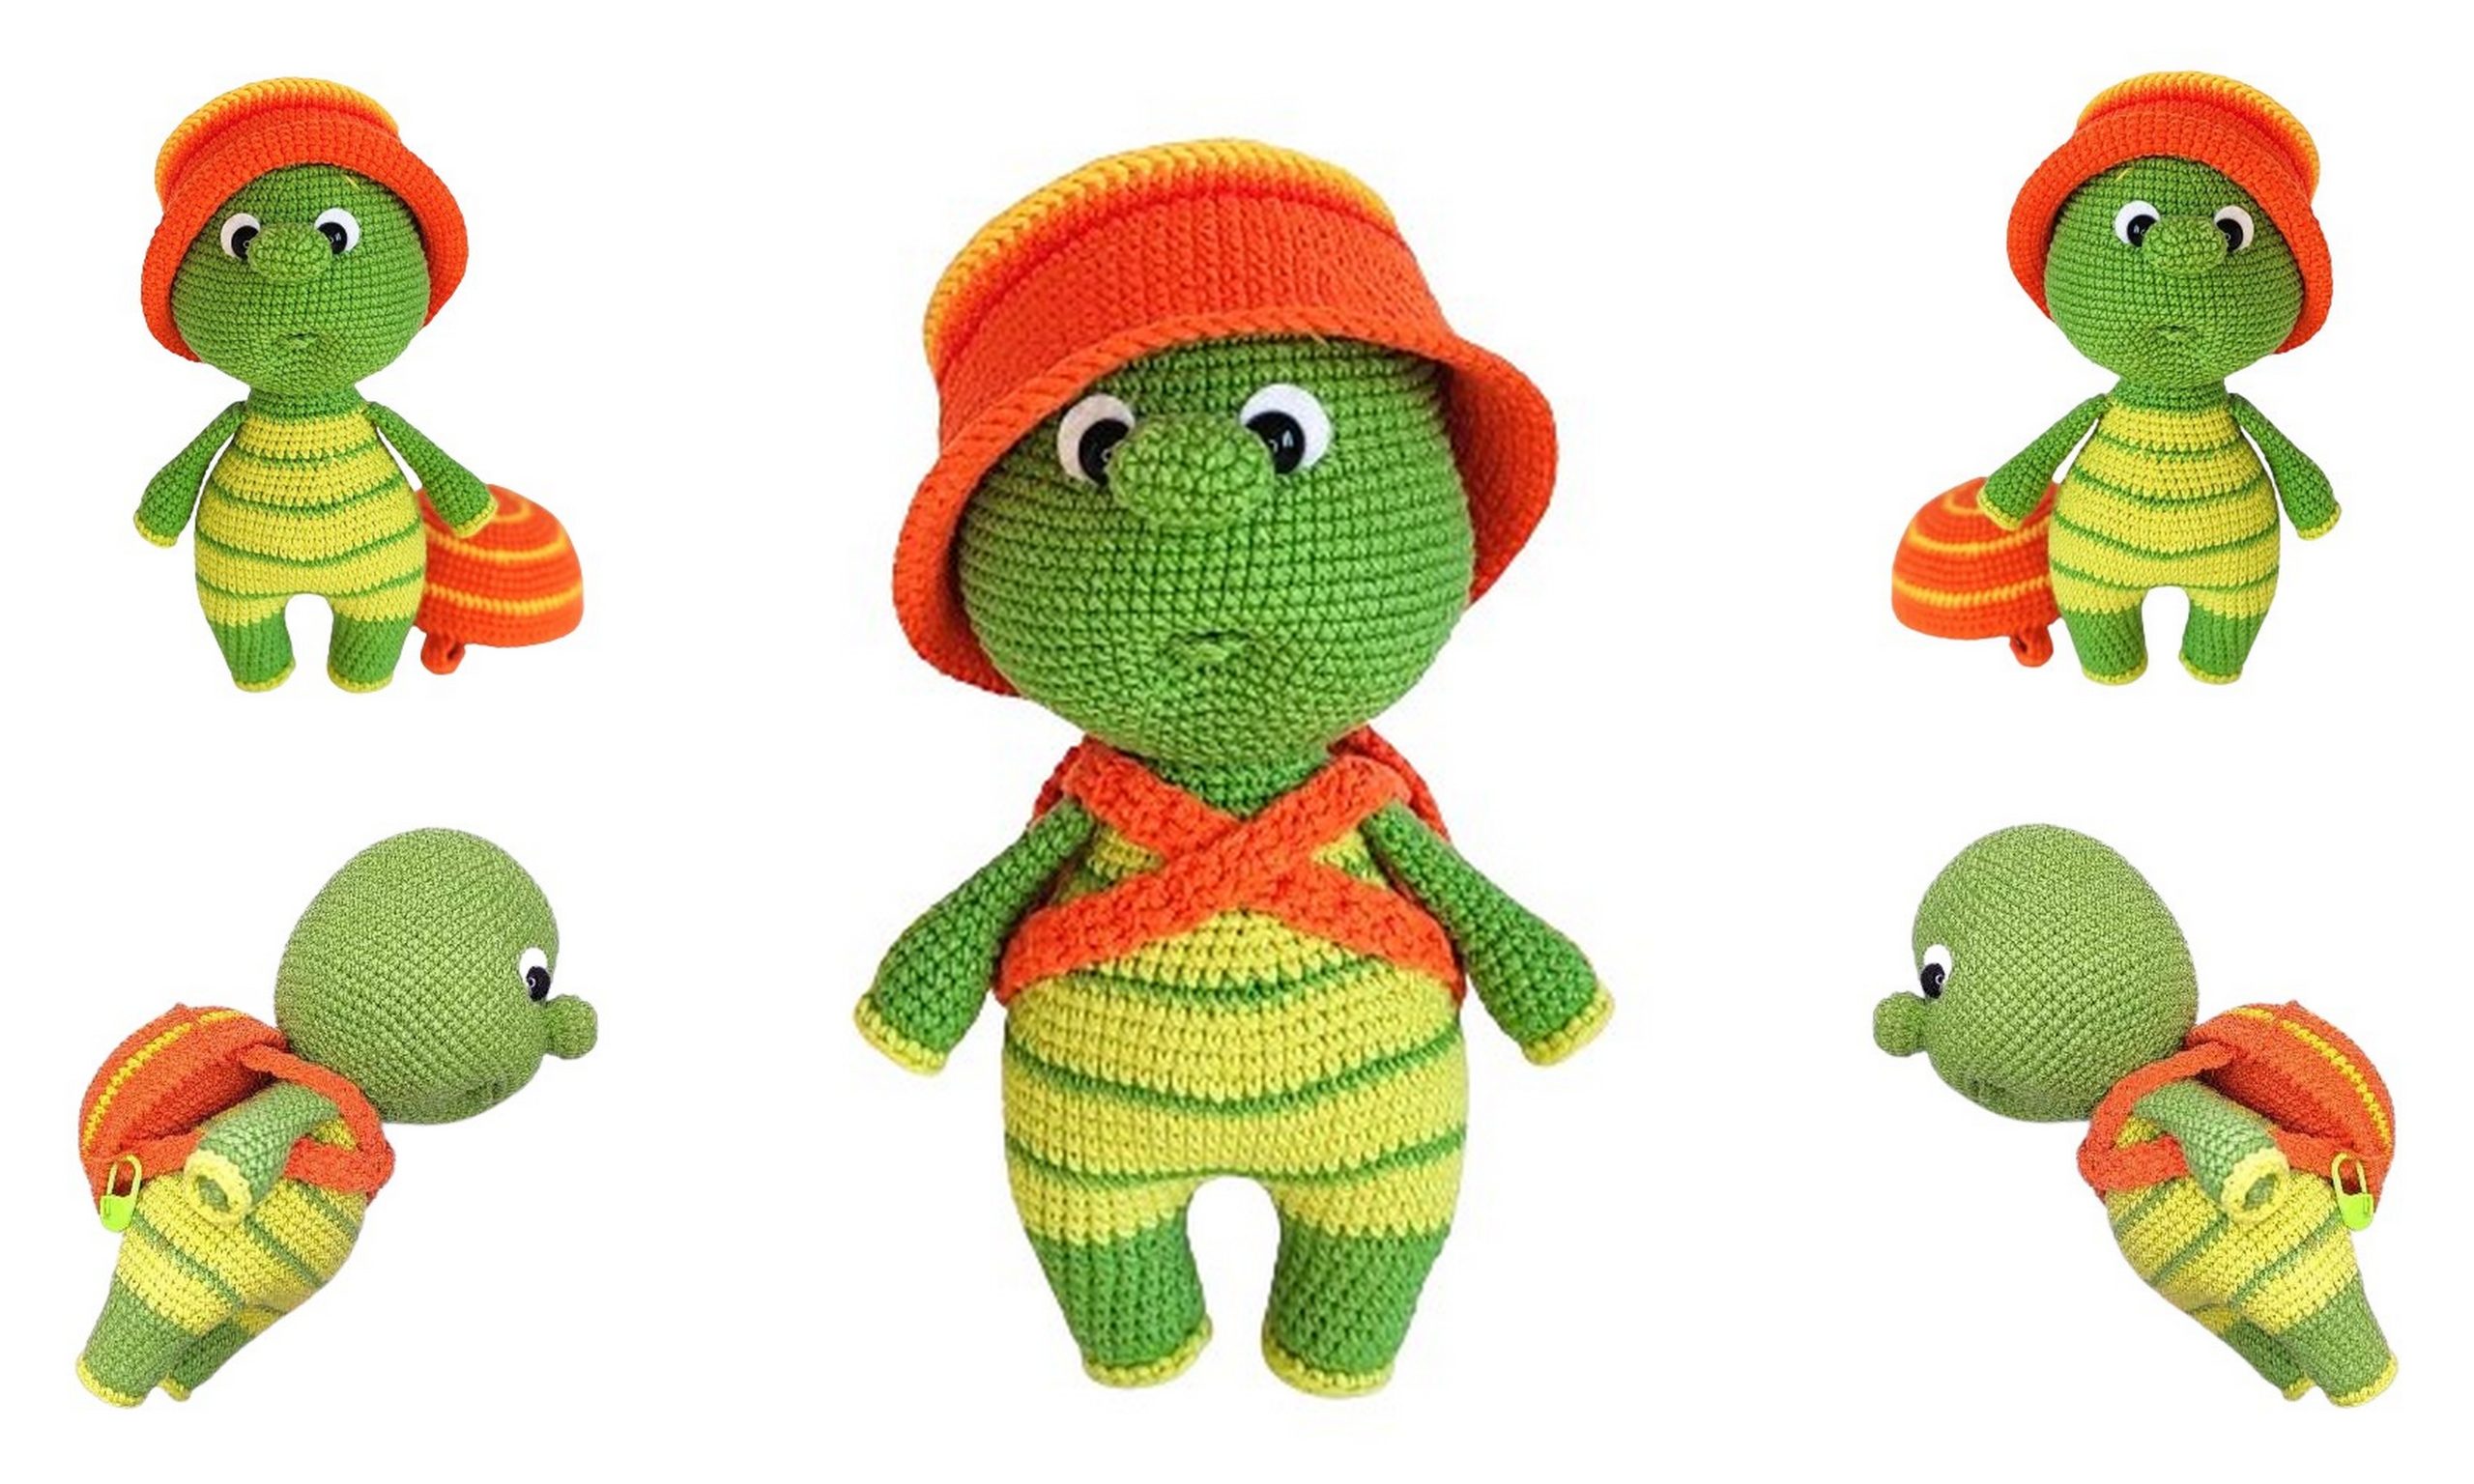
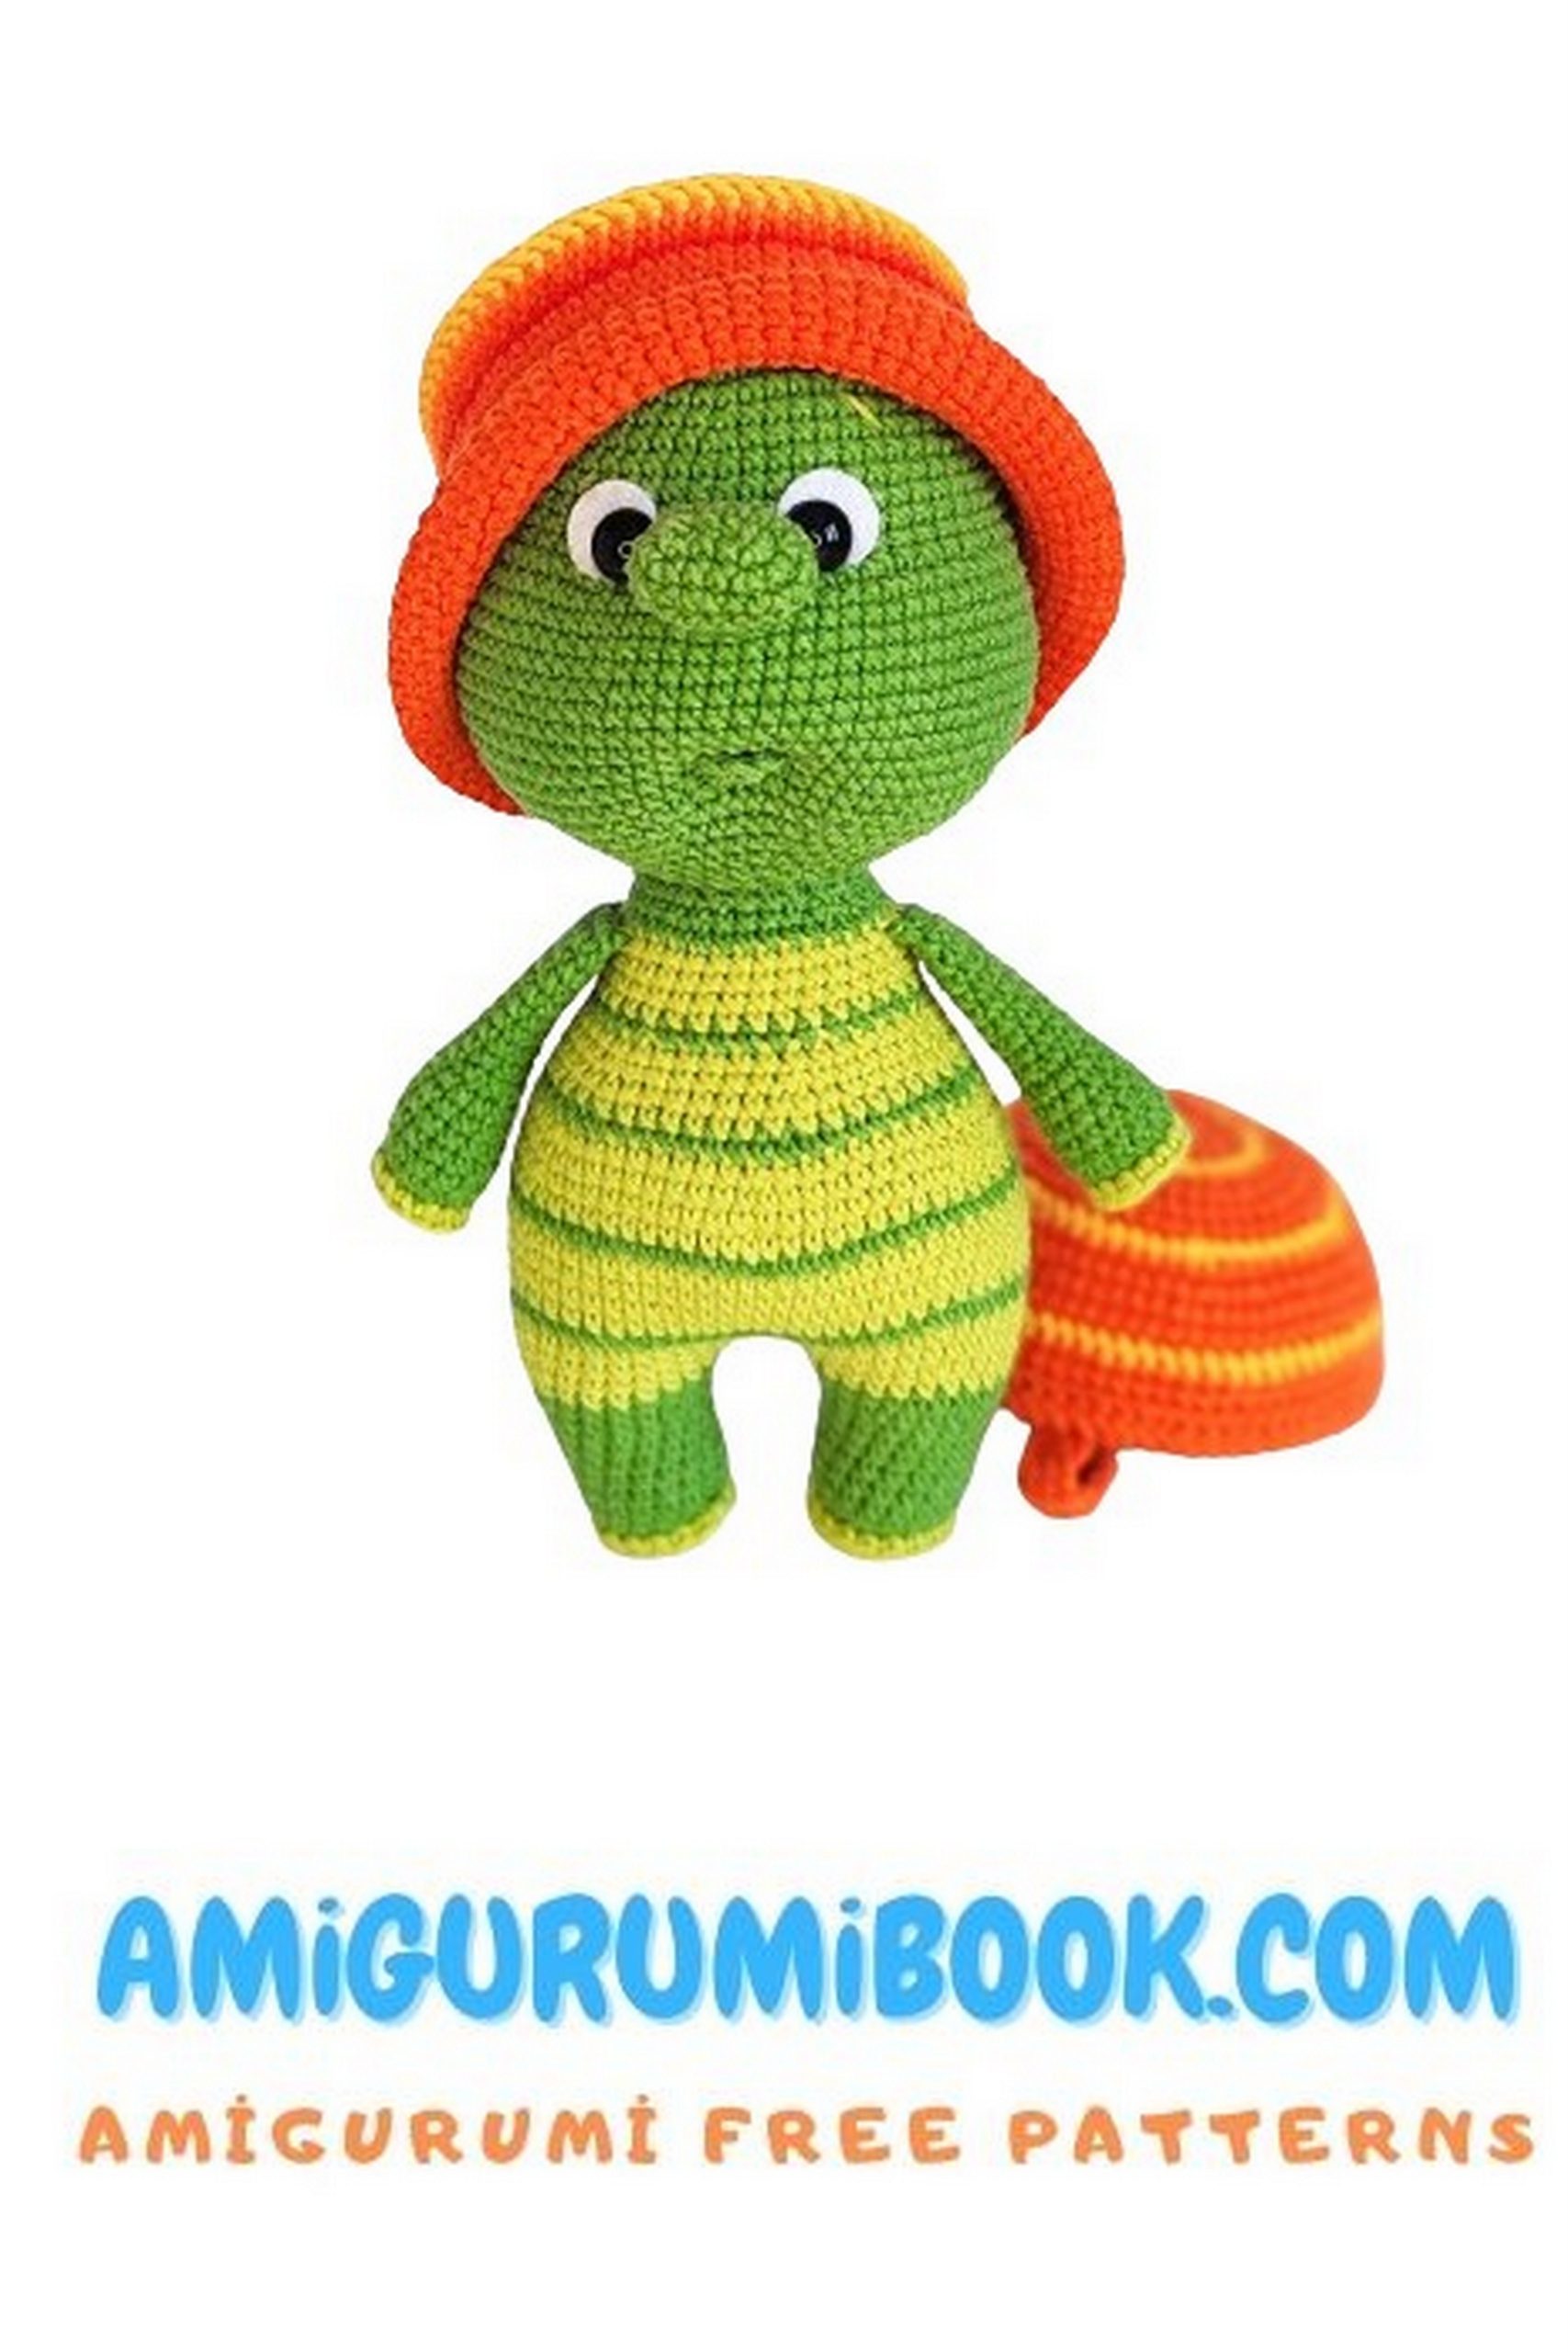
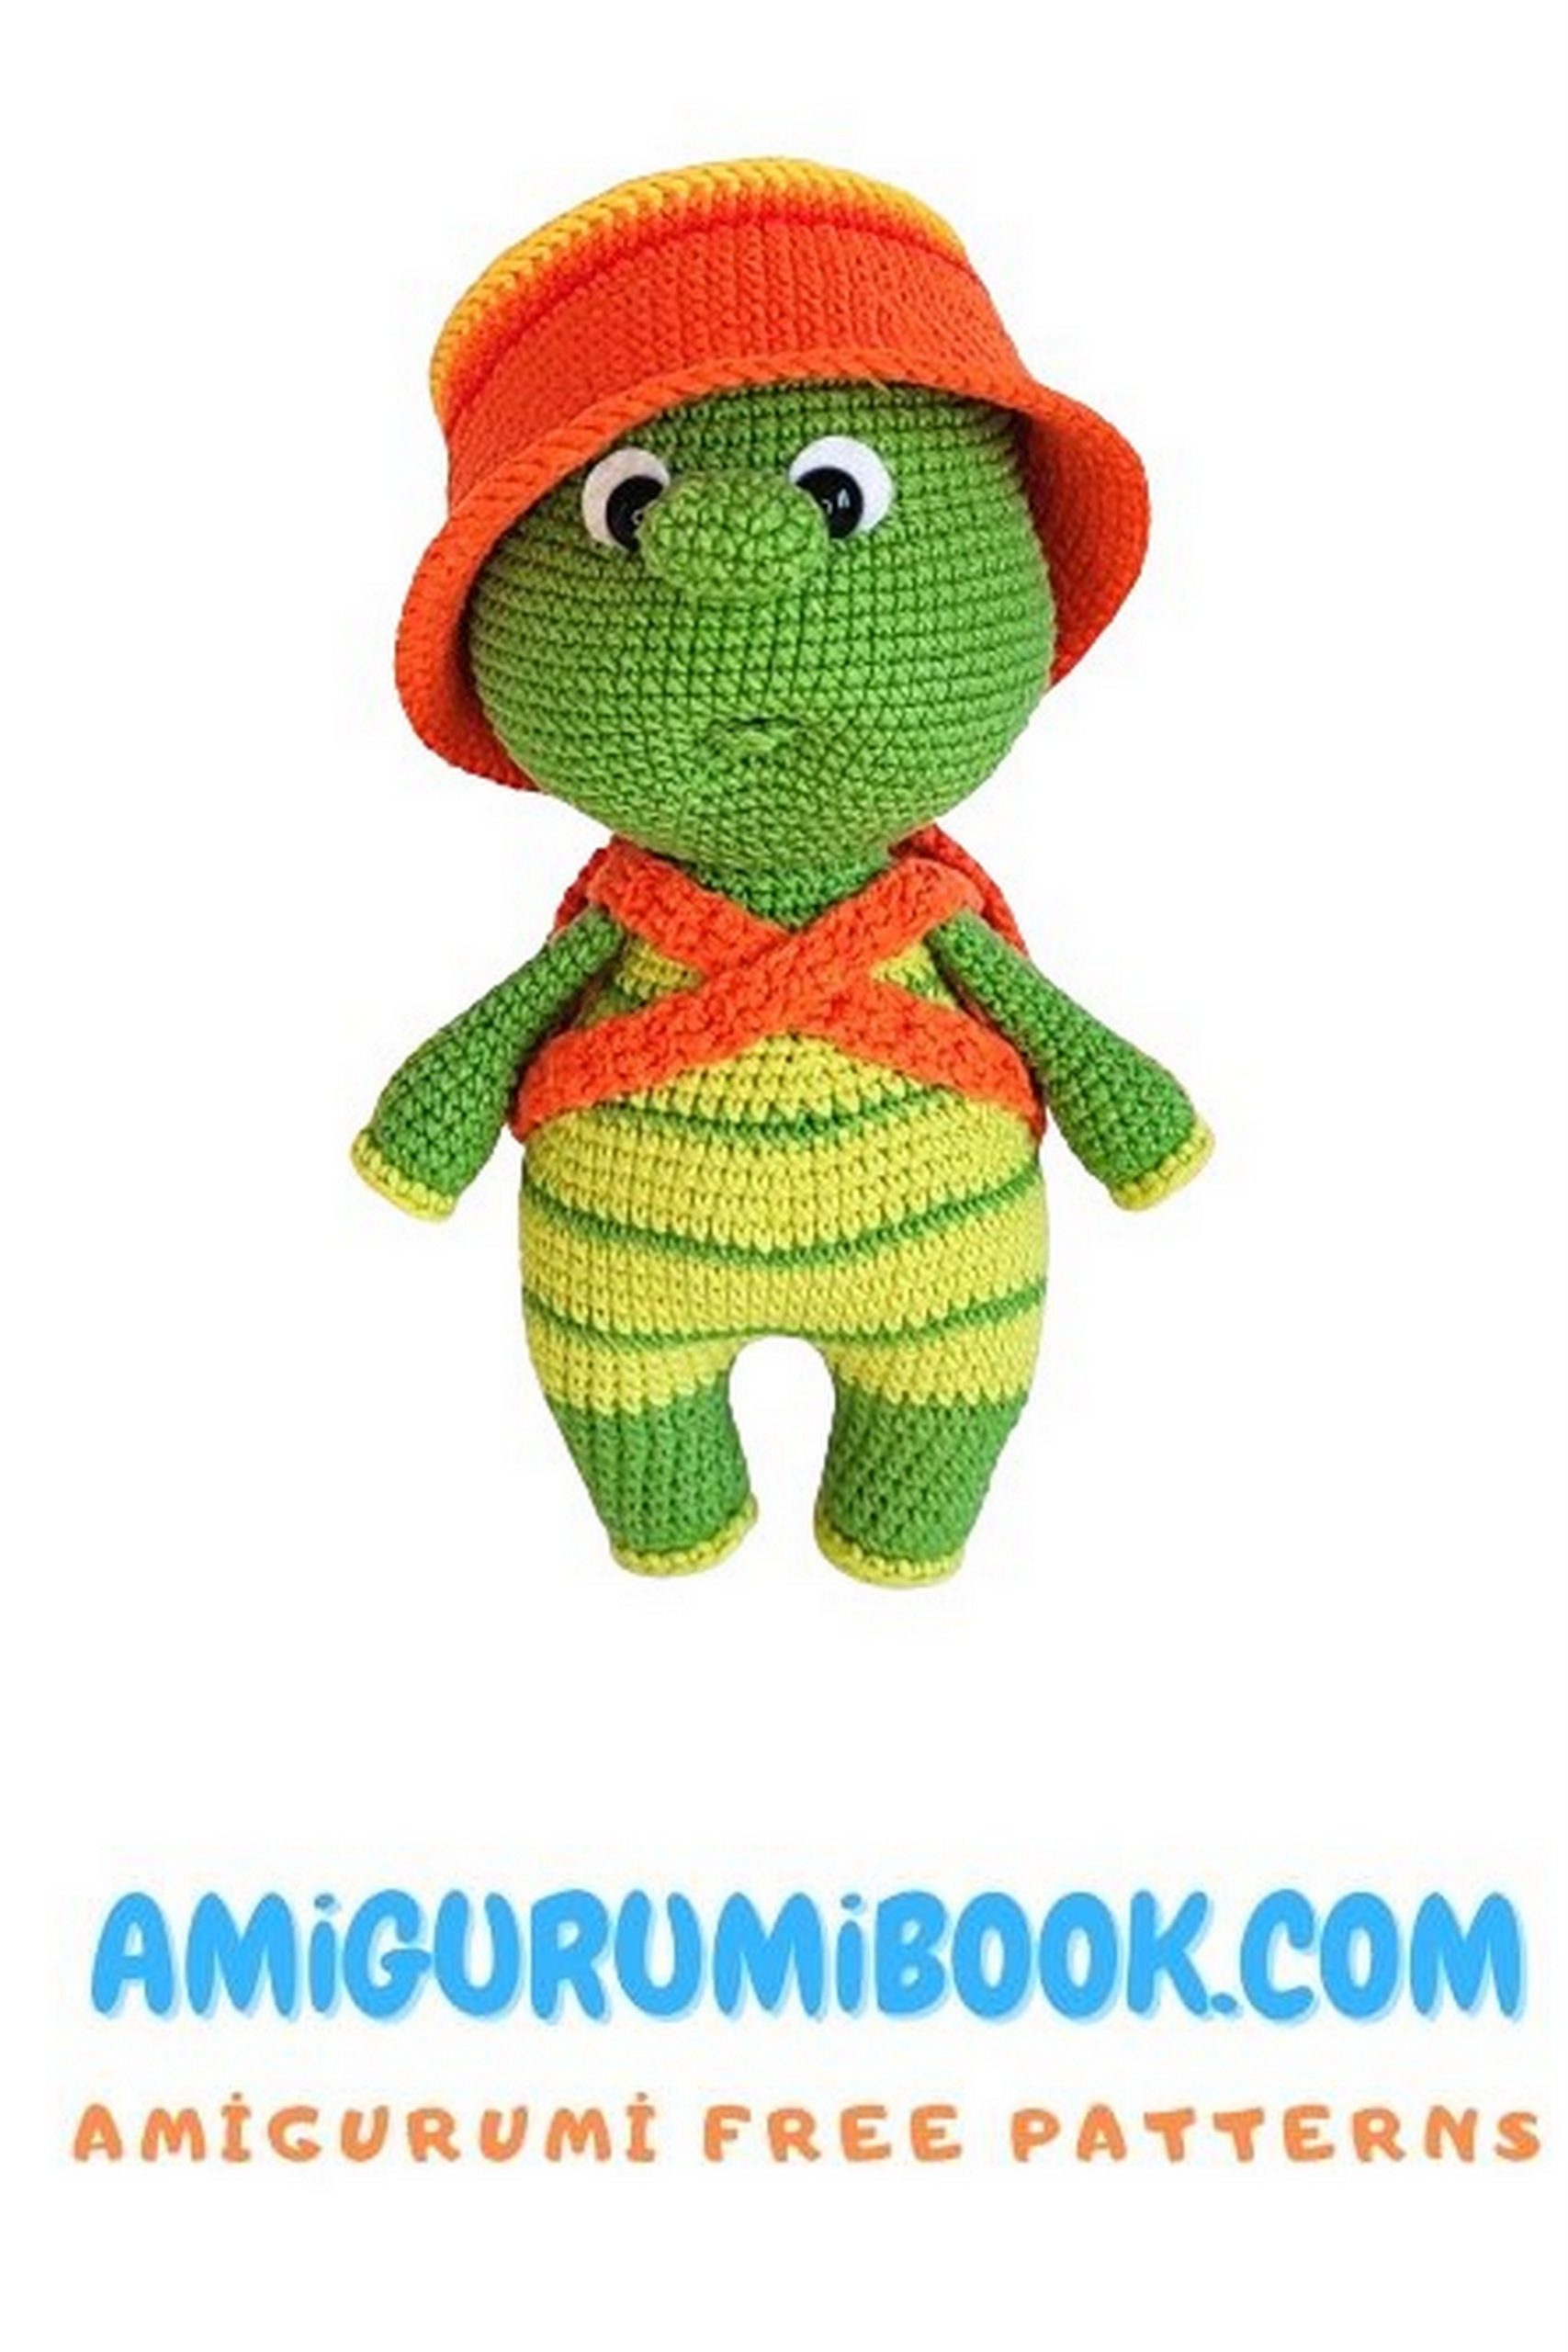
Welcome, crochet enthusiasts! Today, I’m sharing a delightful and entertaining amigurumi project: the Amigurumi Turtle Hat! This toy hat can be a fantastic gift or a fun addition to both children’s and adults’ crochet collections. With this easy-to-crochet pattern, you can enhance your crochet skills and enjoy some quality crafting time. Let’s dive in and start crocheting this adorable turtle hat!
Since you like amigurumi turtle toys, you should also see the amigurumi caretta caretta toy.
If you want to access 1000+ free amigurumi patterns, you can download our application from this link!
Materials and Tools Needed:
Crochet hook suitable for your yarn. I use Clover Soft Touch No. 2.
YarnArt JEANS yarn in any colors of your choice. I have No. 69 and 29 for the body, and No. 85 and 35 for the shell. For the eyebrows, I divided and used two strands of No. 29. For the cap, I used No. 85, a little bit of No. 35, 90, and 77.
Stuffing.
10mm safety eyes, or sew-on, or adhesive eyes (beads, half beads – your choice).
White felt circles with a diameter of 15mm for the sclera.
Strong thread for weighting.
Sewing needle, scissors, pins, marker thread.
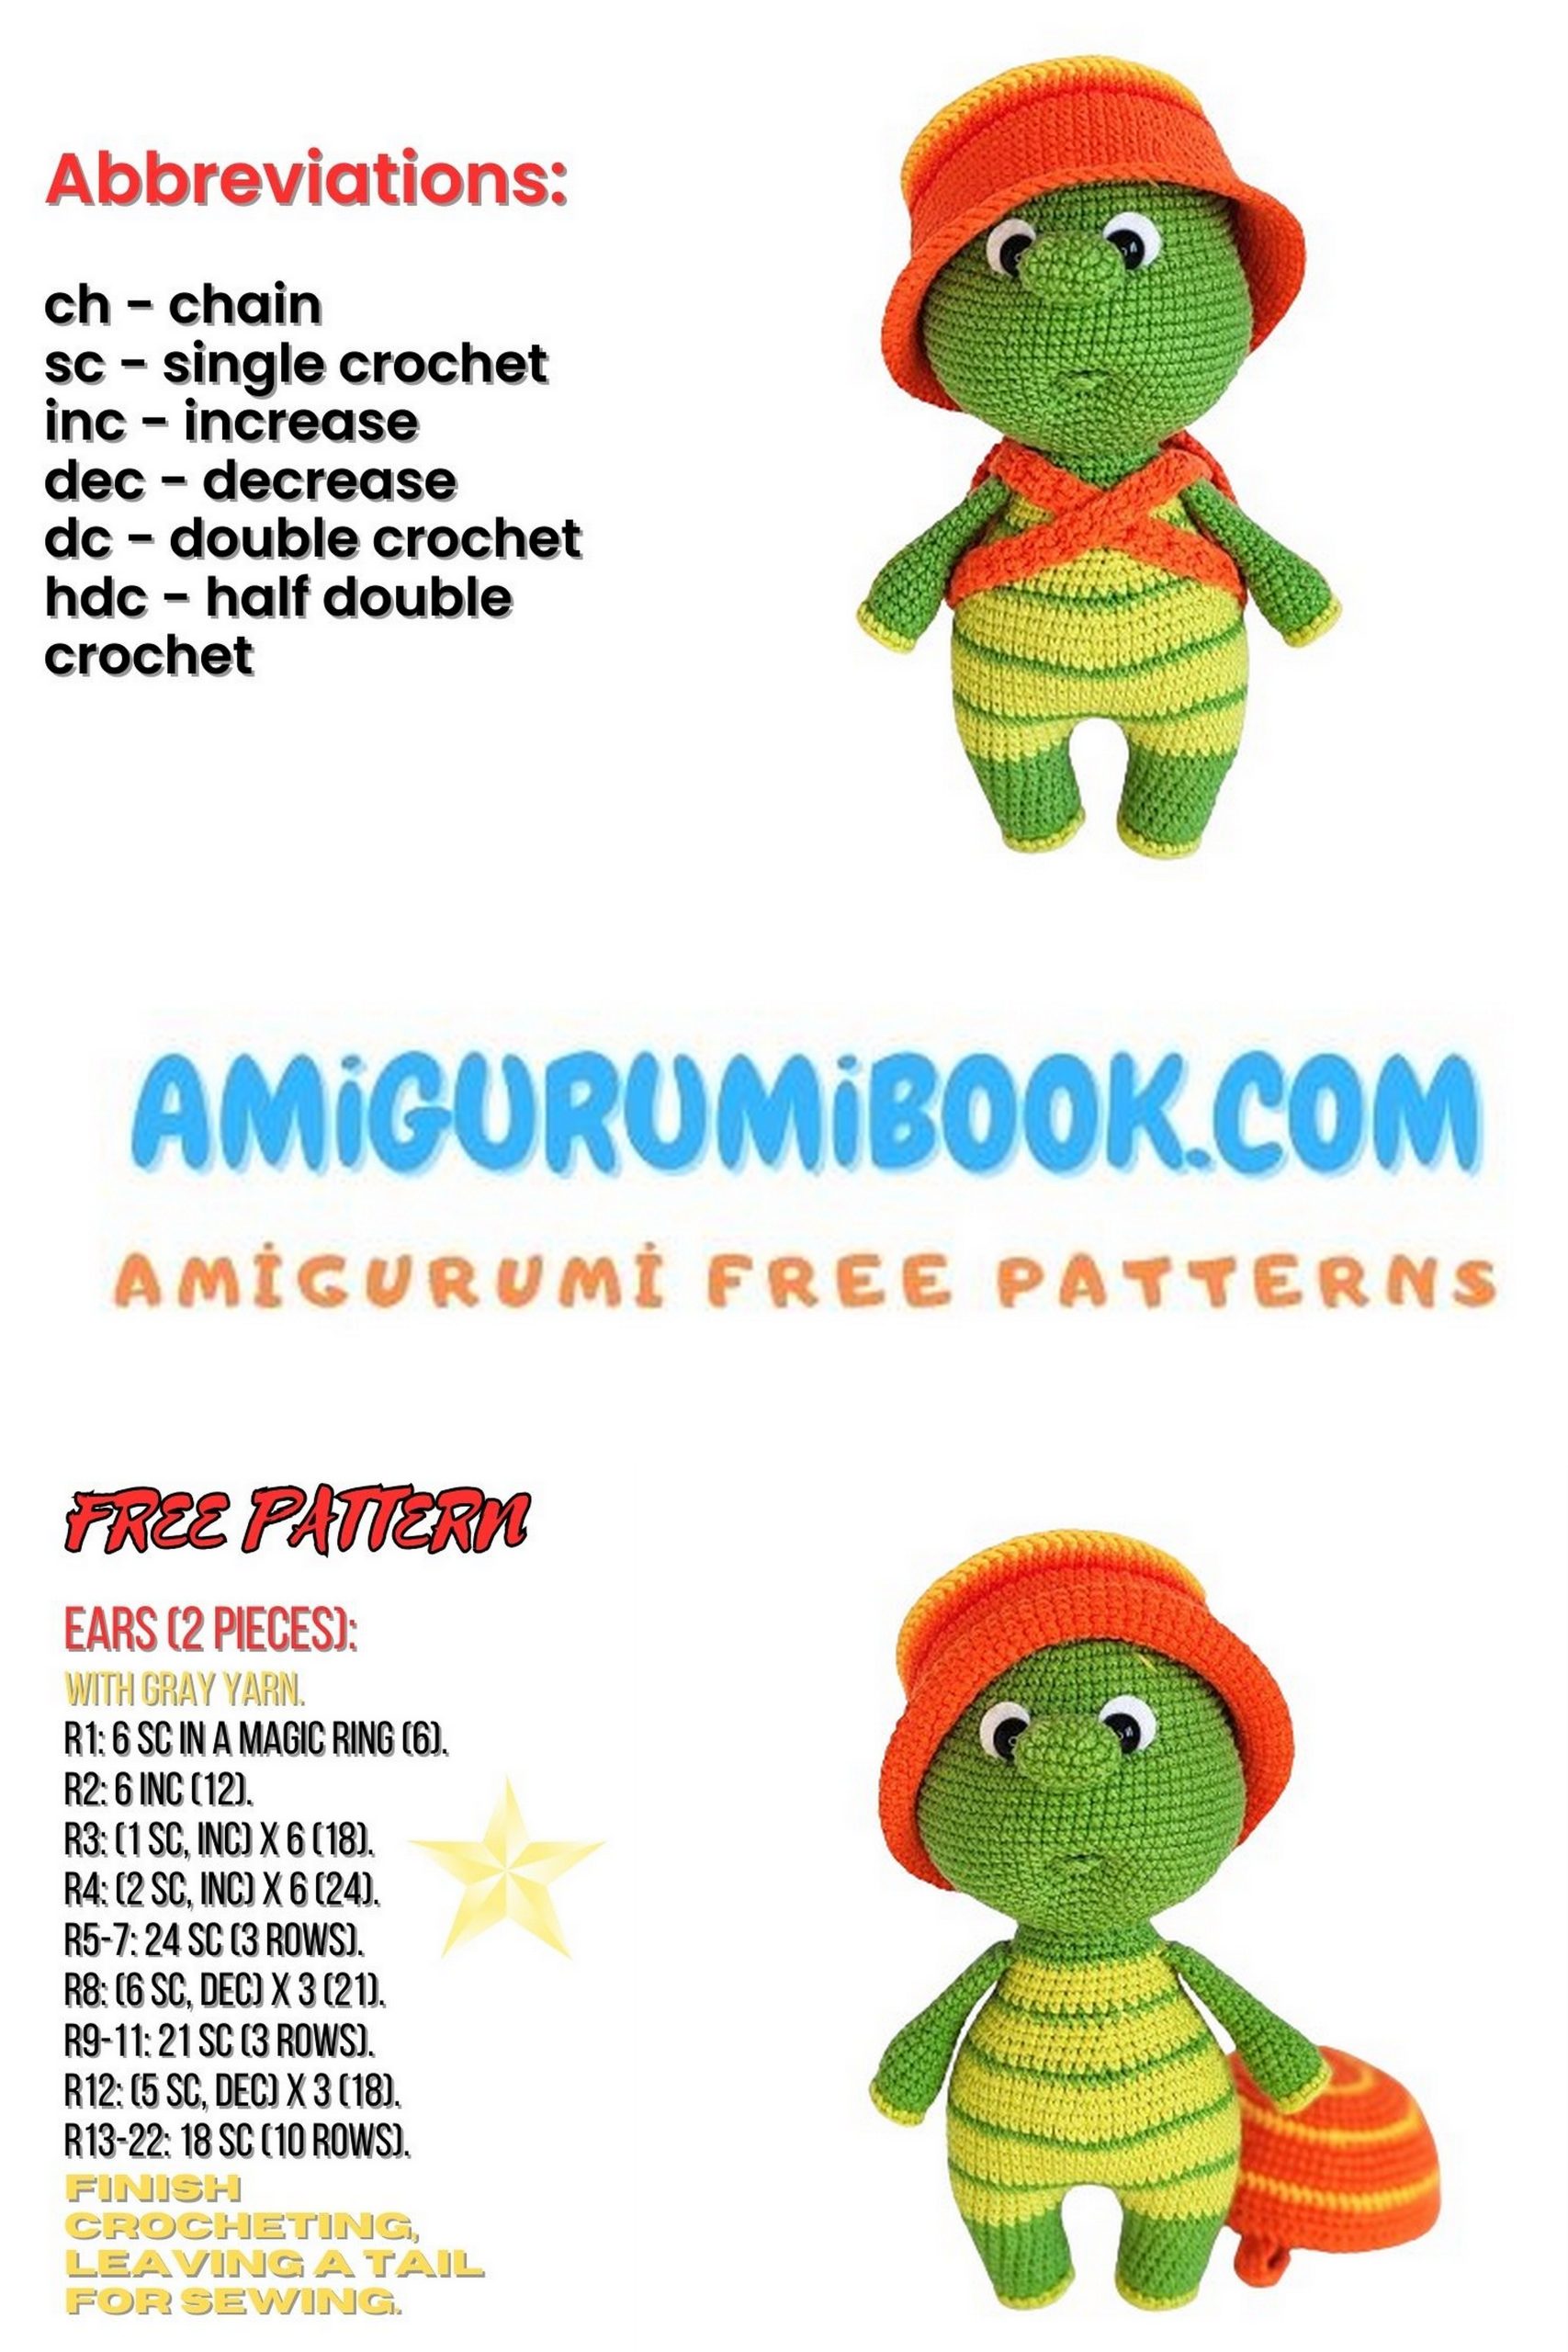
Abbreviations:
MR – magic ring
sc – single crochet
ch – chain
inc – increase
dec – decrease
sl st – slip stitch
(…)*X – repeat X times as indicated in parentheses
The number after the sign = indicates the total number of stitches in the row
PATTERN
Upper Legs – Amigurumi Turtle
Crochet with green yarn, No. 69
1: 7 sc in MR
2: 7 inc = 14
3: 14 sc in back loops only
4-8: = 14 sc
9: 5 sc, 2 dec, 5 sc = 12
10-17: 12 sc
To align the closing row of the leg above the decreases in row 9, if necessary, crochet 1-2 extra stitches.
Stuff the lower part of the legs. Fold in half and crochet 6 sc through both walls. Fasten off and cut the yarn. We’ll attach the legs later.
Now take light green yarn No. 29, turn the legs with the “soles” away from you and crochet sc around the remaining front loops of 3 rows.
Nose – Amigurumi Turtle
Crochet with green yarn, No. 69
Chain 5, starting from the second chain from the hook crochet:
1: inc, 2 sc, 4 sc in one loop, 2 sc, inc = 12
2: 2 inc, 2 sc, 4 inc, 2 sc, 2 inc = 20
3-4: 20 sc
5: dec around = 10
Fasten off and cut the yarn.
You can lightly stuff the nose now or later. We’ll attach it later.
Head – Amigurumi Turtle
Crochet with green yarn, No. 69
1: 6 sc in MR
2: 6 inc = 12
3: (1 sc, inc)*6 = 18
4: (2 sc, inc)*6 = 24
5: (3 sc, inc)*6 = 30
6: (4 sc, inc)*6 = 36
7: (5 sc, inc)*6 = 42
8: (6 sc, inc)*6 = 48
9: (7 sc, inc)*6 = 54
10: (8 sc, inc)*6 = 60
11-12: 60 sc
13: (9 sc, inc)*6 = 66
14-18: 66 sc
In the next row, we’ll crochet the cheeks and attach the nose.
19: 19 sc, (1 sc, inc)*6, 5 sc around 5 nose loops, (inc, 1 sc)*6, 18 sc = 78
20: 37 sc, 5 sc around remaining nose loops, 36 sc = 78
If you’re using safety eyes, place them now between rows 17 and 18, with 6-8 sc between the placements. I used 7 sc. Center the eyes relative to the nose.
Take felt circles. Fold them carefully to avoid creases, make small cuts slightly offset from the center towards the edge. Turn the circles and make perpendicular cuts (resulting in a cross). Insert the eyes and attach them to the fabric. Later, after completing the weighting, you can securely fix the felt with glue.
31: (11 sc, dec)*6 = 72
32: (7 sc, dec)*8 = 64
33: (6 sc, dec)*8 = 56
34: (5 sc, dec)*8 = 48
35: (4 sc, dec)*8 = 40
36: (3 sc, dec)*8 = 32
37: (2 sc, dec)*8 = 24
Stuff the head firmly but not excessively ☺
Consider that there will be weighting. Fasten off and hide the yarn inside.
Lower Legs – Amigurumi Turtle
Crochet with green yarn, No. 69
1: 6 sc in MR
2: 6 inc = 12
3: (1 sc, inc)*6 = 18
4: 18 sc in back loops only
5-10: 18 sc
11: (2 sc, inc)*6 = 24
12: 24 sc
Fasten off and cut the yarn for the first leg.
For the second leg, we’ll also cut this yarn. But first, stuff the leg and crochet sc around the front loops of 4 rows with light green yarn No. 29. Keep the parts facing away from you. Tie the remaining ends together and hide them inside.
Attach the same light green yarn No. 29 to the second leg and start crocheting the body. The joining point of the legs is their last loops of 12 rows.
Body – Amigurumi Turtle
Crochet with light green yarn, No. 29
Stuff the body tightly as you crochet.
Crochet a chain of 3, join the legs.
1: 24 sc around the first leg, 3 sc over the chain, 24 sc around the second leg, 3 sc over the chain = 54
Fasten off and hide all ends, place a marker thread, and continue crocheting.
2: (8 sc, inc)*6 = 60
3: 60 sc
4: (9 sc, inc)*6 = 66
Change to color No. 69
5: 66 sc
Change to color No. 29
6-9: 66 sc
Change to color No. 69
10: 66 sc
Change to color No. 29
11: 66 sc
12: (9 sc, dec)*6 = 60
13: 60 sc
14: (8 sc, dec)*6 = 54
Change to color No. 69
15: 54 sc
Change to color No. 29
16: (7 sc, dec)*6 = 48
17: 48 sc
18: (6 sc, dec)*6 = 42
19: 42 sc
Change to color No. 69
20: (5 sc, dec)*6 = 36
Change to color No. 29
21-23: 36 sc
In Row 24, we’ll attach the upper legs. Stuff the main part of the body fairly tightly but not completely. Leave about 1 cm so that when attaching the legs, it’s convenient for you and the stuffing doesn’t get between the stitches. Determine the attachment points strictly on the sides: 6 sc together with the legs, between them 12 sc. With my offset, I have:
24: 8 sc, 6 sc together with leg, 12 sc, 6 sc together with leg, 4 sc = 36
Change to color No. 69
25: 36 sc
26: (4 sc, dec)*6 = 30
27: (3 sc, dec)*6 = 24
Crochet a few more stitches (I did 1 sc and sl st into the next loop) and fasten off the yarn at the back, in the center of the back. Leave about 50 cm for sewing the head. Remove the marker thread. Stuff the detail firmly.
When sewing the head, remember to stuff the neck. For convenience, you can fix the head to the body with a needle.
Shaping the mouth and eye sockets with a drawstring:
Let’s shape the mouth and eye sockets using a drawstring. Mark 6 points on the face with pins.
Determine the center of the face. Conveniently, do this by placing a thread, knitting needle, or needle down from the center of the nose. Place marks between rows 29 and 30. Between the pins, make 2 single crochet stitches (sc).
Between rows 18 and 19, mark an additional 4 points from the outer and inner corners of the eyes. From the inner corners, this is the beginning and end of the knitted nose. Make 2 sc between the inner and outer points.
Insert the needle into point 1, leaving a thread tail of about 25-30 cm, and pull it out at point 2. Then to point 3, and pull it out at point 6. Adjust the thread so that it is under the eye and felt circle, tighten it, and tie it in 2 knots. Without cutting the thread, insert it into point 6, pull it out at point 5, then to point 4, and pull it out at point 1. Tighten it, tie it in a couple of knots, and hide the threads inside the head. The last knot and the points where the threads are inserted and pulled out can be neatly coated with universal transparent glue. I use “Moment Crystal”.

Lower lip:
Crochet with yarn in green color, No. 69. Leave a thread tail of about 30 cm, make a magic ring (MR) with 6 sc, and pull it tight.
Leave a tail about 40-45 cm, cut the yarn. You should have a detail close in shape to a semicircle. Try the detail, attach it 2-3 rows down from the mouth.
Fix the center of the lip slightly below the edges. When sewing, the thread tension should be moderate. Don’t pull too hard. Pull the middle thread into the back of the head (into the MR) and back through any neighboring stitch. I made small stitches from the center of the ring through a row inside the head. You can repeat it again. Make the stitches tight but not too tight. Hide the thread inside the head with a few confusing stitches.
With the second thread tail, secure both ends of the lip. Make stitches up and down. Pull out at the nose insertion point (between rows 18 and 19). Thanks to the drawstrings, they will be inconspicuous there.
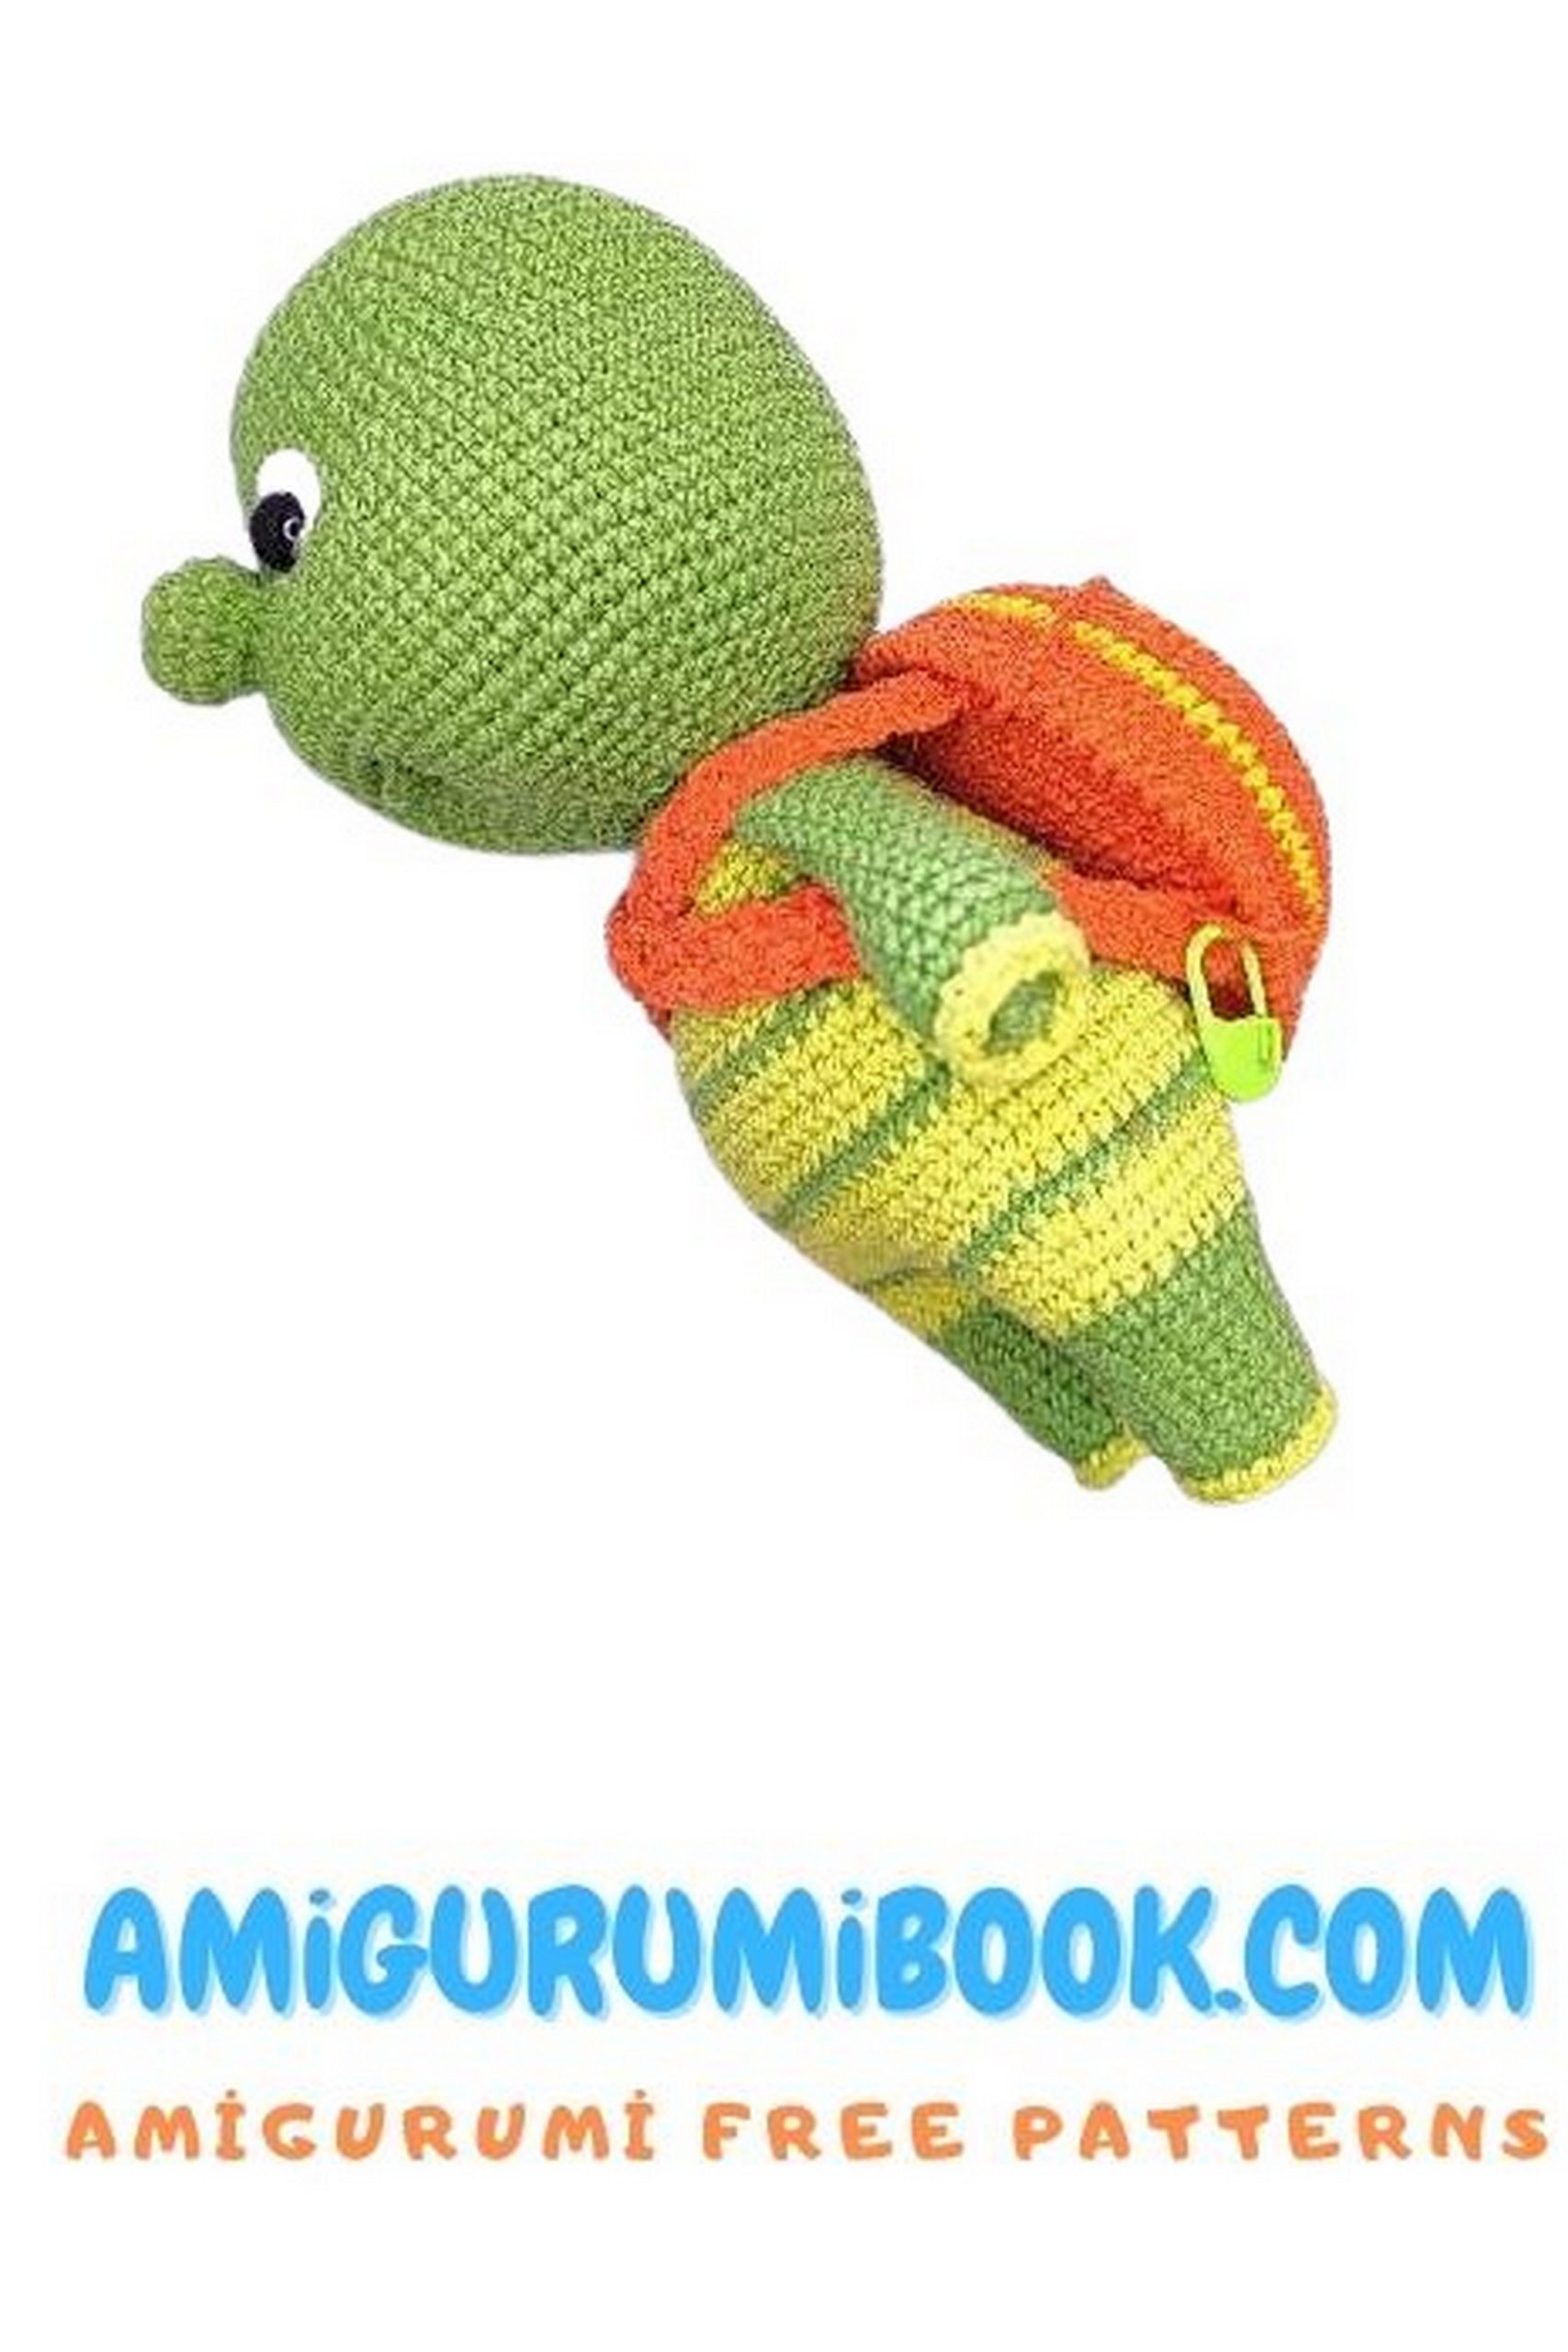
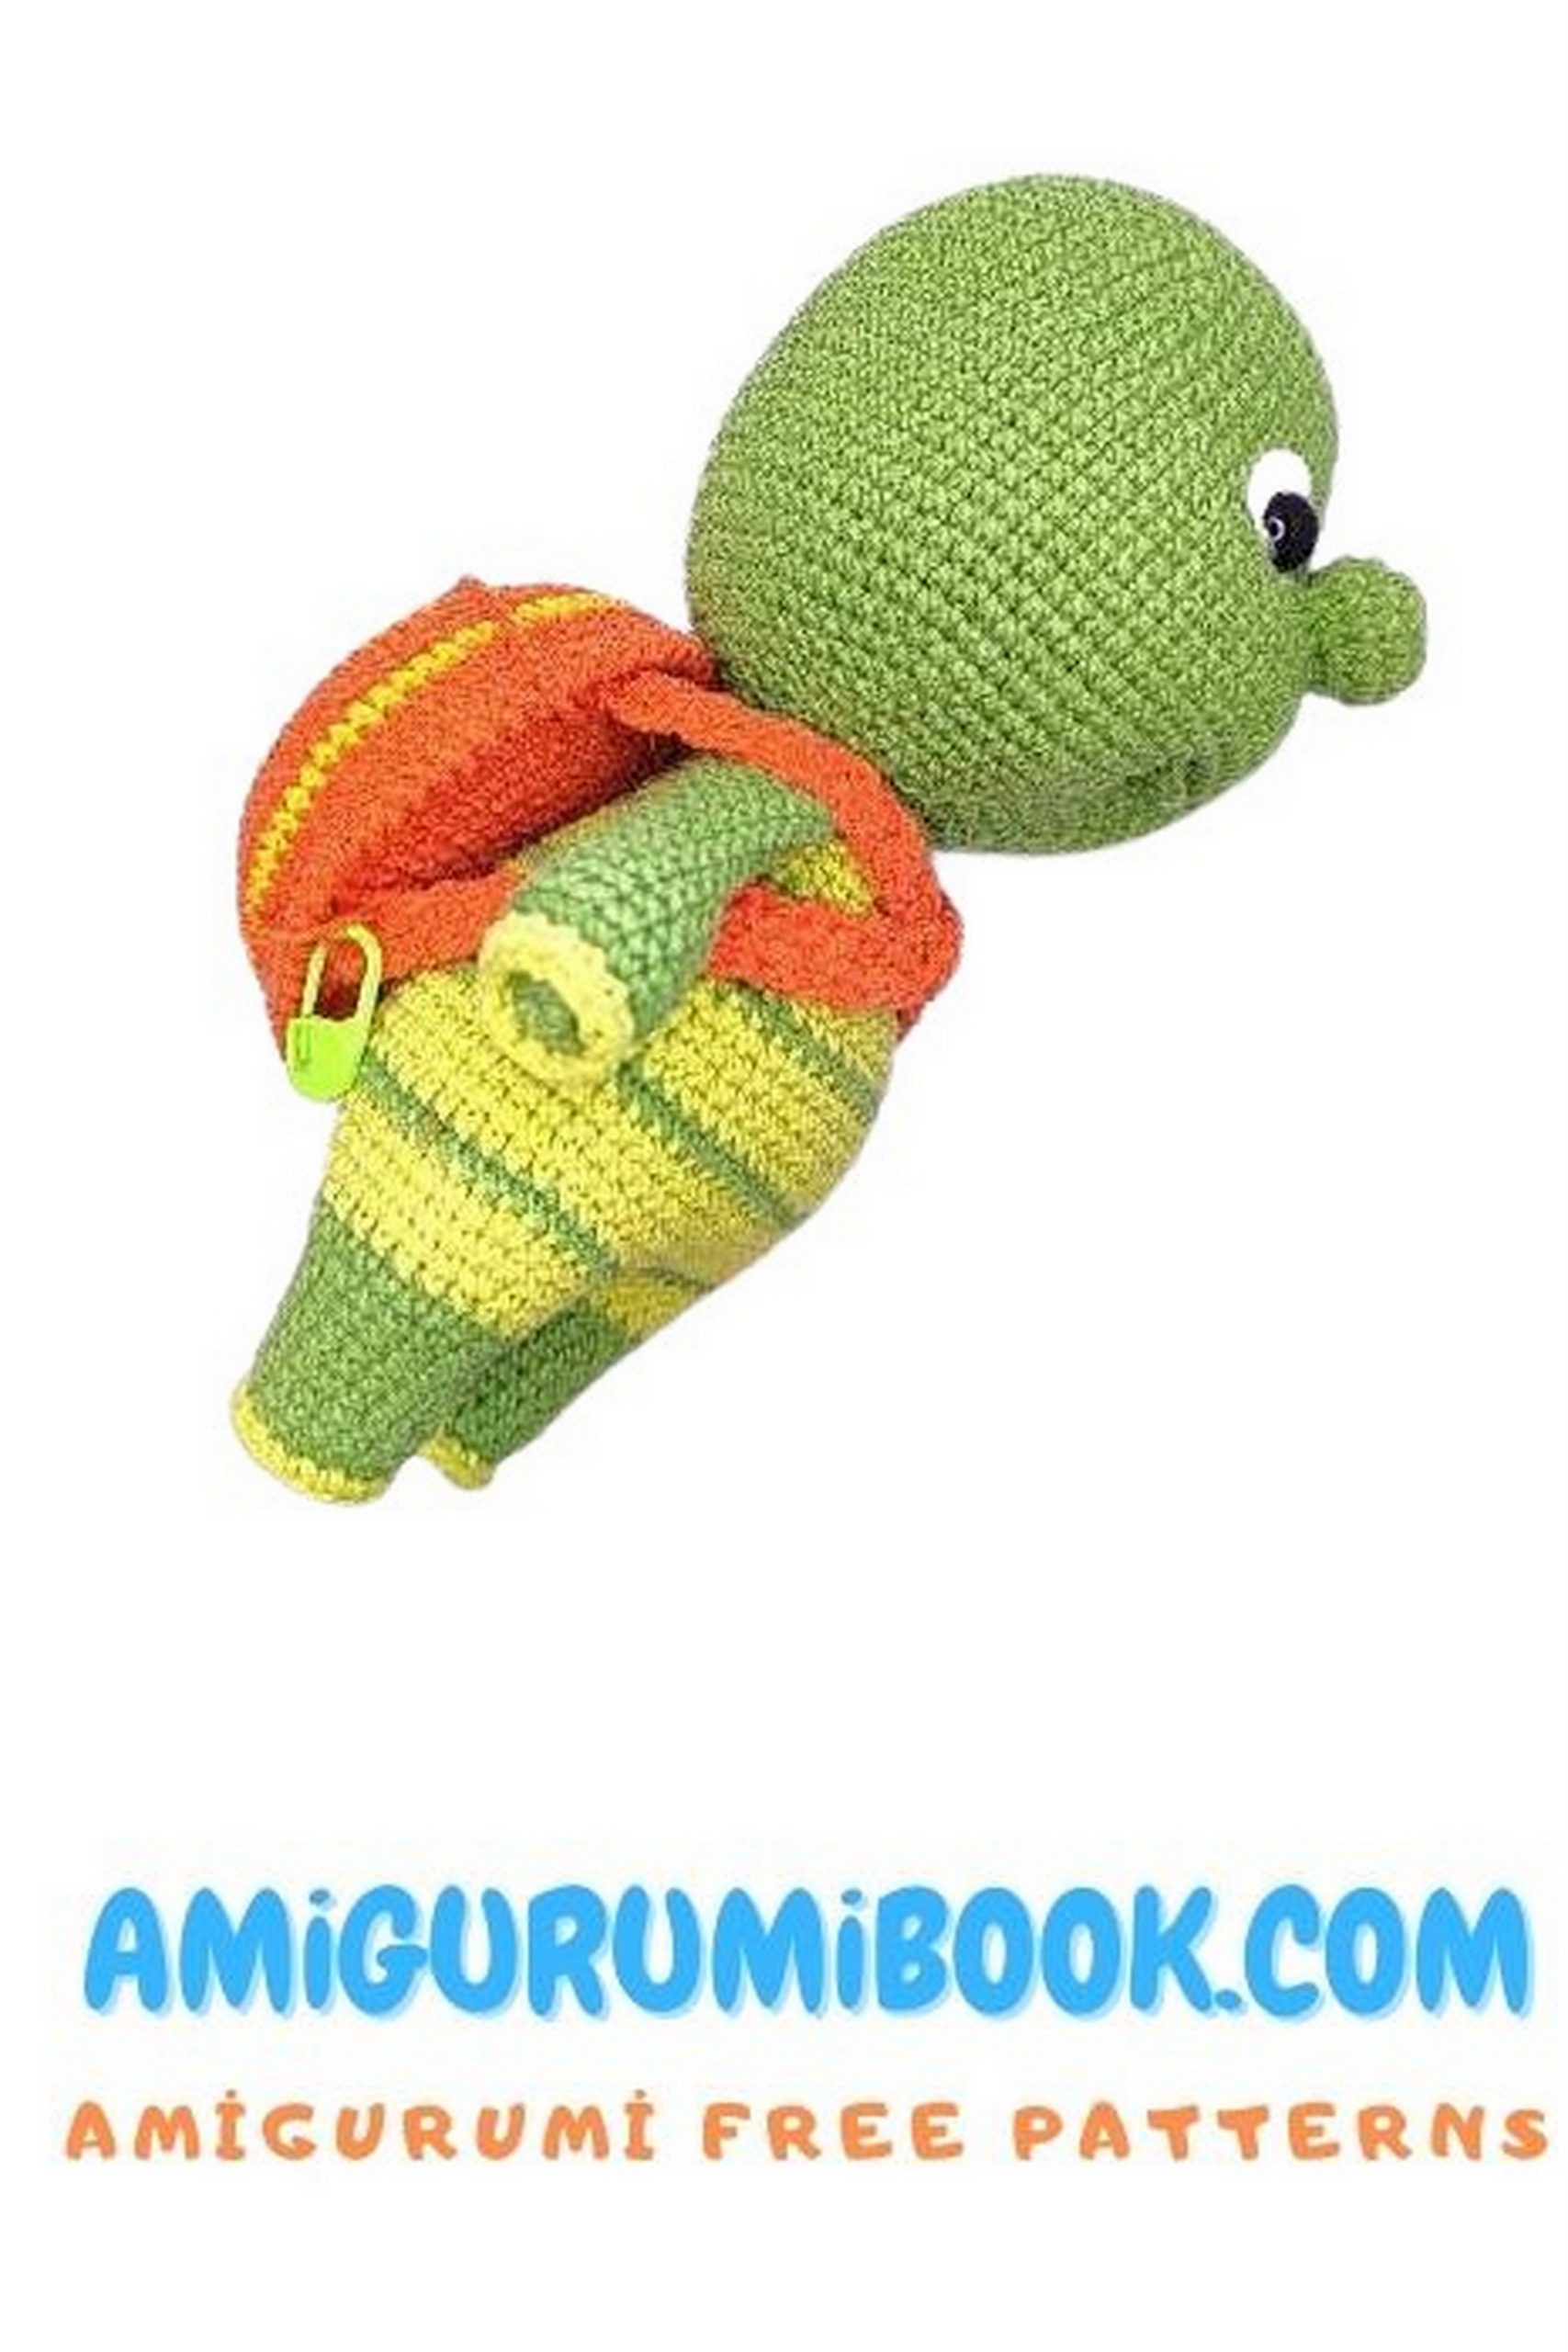
Shell: Amigurumi Turtle
Start crocheting from the top (front) part with yarn in orange color, No. 85.
1: 6 sc in MR.
2: 6 inc = 12.
3: (inc, 1 sc)*6 = 18.
4: (2 sc, inc)*6 = 24.
Change color to 35.
5: (inc, 3 sc)*6 = 30.
Change color to 85.
6: (2 sc, inc, 2 sc)*6 = 36.
7: (4 sc, inc, 1 sc)*6 = 42.
8: (6 sc, inc)*6 = 48.
9: (inc, 7 sc)*6 = 54.
Change color to 35.
10: (2 sc, inc, 6 sc)*6 = 60.
Change color to 85.
11: (4 sc, inc, 5 sc)*6 = 66.
12: (6 sc, inc, 4 sc)*6 = 72.
13-14: 72 sc.
Change color to 35.
15: 72 sc.
Change color to 85.
16-17: 72 sc.
Secure and cut the thread.
Crochet the inner part of the shell with yarn in orange color, No. 85.
1: 6 sc in MR.
2: 6 inc = 12.
3: (inc, 1 sc)*6 = 18.
4: (2 sc, inc)*6 = 24.
5: (inc, 3 sc)*6 = 30.
6: (2 sc, inc, 2 sc)*6 = 36.
7: (4 sc, inc, 1 sc)*6 = 42.
8: (6 sc, inc)*6 = 48.
9: (inc, 7 sc)*6 = 54.
10: (2 sc, inc, 6 sc)*6 = 60.
11: (4 sc, inc, 5 sc)*6 = 66.
12: (6 sc, inc, 4 sc)*6 = 72.
Do not cut the thread. Fold both parts of the shell together with the front sides out and crochet them together with slip stitches. Before closing, remember to stuff the shell. Stuff lightly, just enough for the detail to hold its shape. Optionally, you can further process the edge by crocheting another row of slip stitches.
Now let’s crochet the straps. The shell will be removable.
We’ll attach the straps behind row 11. Mark 8 points on row 11. Make 3 sc for the straps, with 13 sc between them on top and bottom, and 14 sc on the sides.
Start crocheting directly from the shell. Attach the first 3 stitches at the marked points and crochet the strap with turning rows over the back loops for the desired length. I made mine 13 cm long. Before cutting the thread, leave a small tail. Temporarily secure the last loop. Crochet two straps from the top. Before finally securing and hiding the remaining thread ends inside the detail, try the shell on the turtle. Cross the straps and attach them with slip stitches at the marked points from below.
Panama:
Crochet TIGHTLY, from top to bottom, with “V stitches”.
Consider your crochet density. You may need a larger crochet hook size.
Adjust the desired depth of the Panama hat as you crochet.
I changed colors, but you can crochet it in a single color, or use variegated or melange yarn.
1: 6 sc in MR.
2: 6 inc = 12.
3: (inc, 1 sc)*6 = 18.
4: (2 sc, inc)*6 = 24.
5: (inc, 3 sc)*6 = 30.
6: (2 sc, inc, 2 sc)*6 = 36.
7: (4 sc, inc, 1 sc)*6 = 42.
8: (6 sc, inc)*6 = 48.
9: (inc, 7 sc)*6 = 54.
10: (2 sc, inc, 6 sc)*6 = 60.
11: (4 sc, inc, 5 sc)*6 = 66.
12: (6 sc, inc, 4 sc)*6 = 72.
13: 72 sc in back loops (or slip stitches).
14-21: 72 sc.
22: (8 sc, inc, 3 sc)*6 = 78.
23: (10 sc, inc, 2 sc)*6 = 84.
24-28: 84 sc.
Secure, cut, and hide the thread. The Panama hat is ready!