
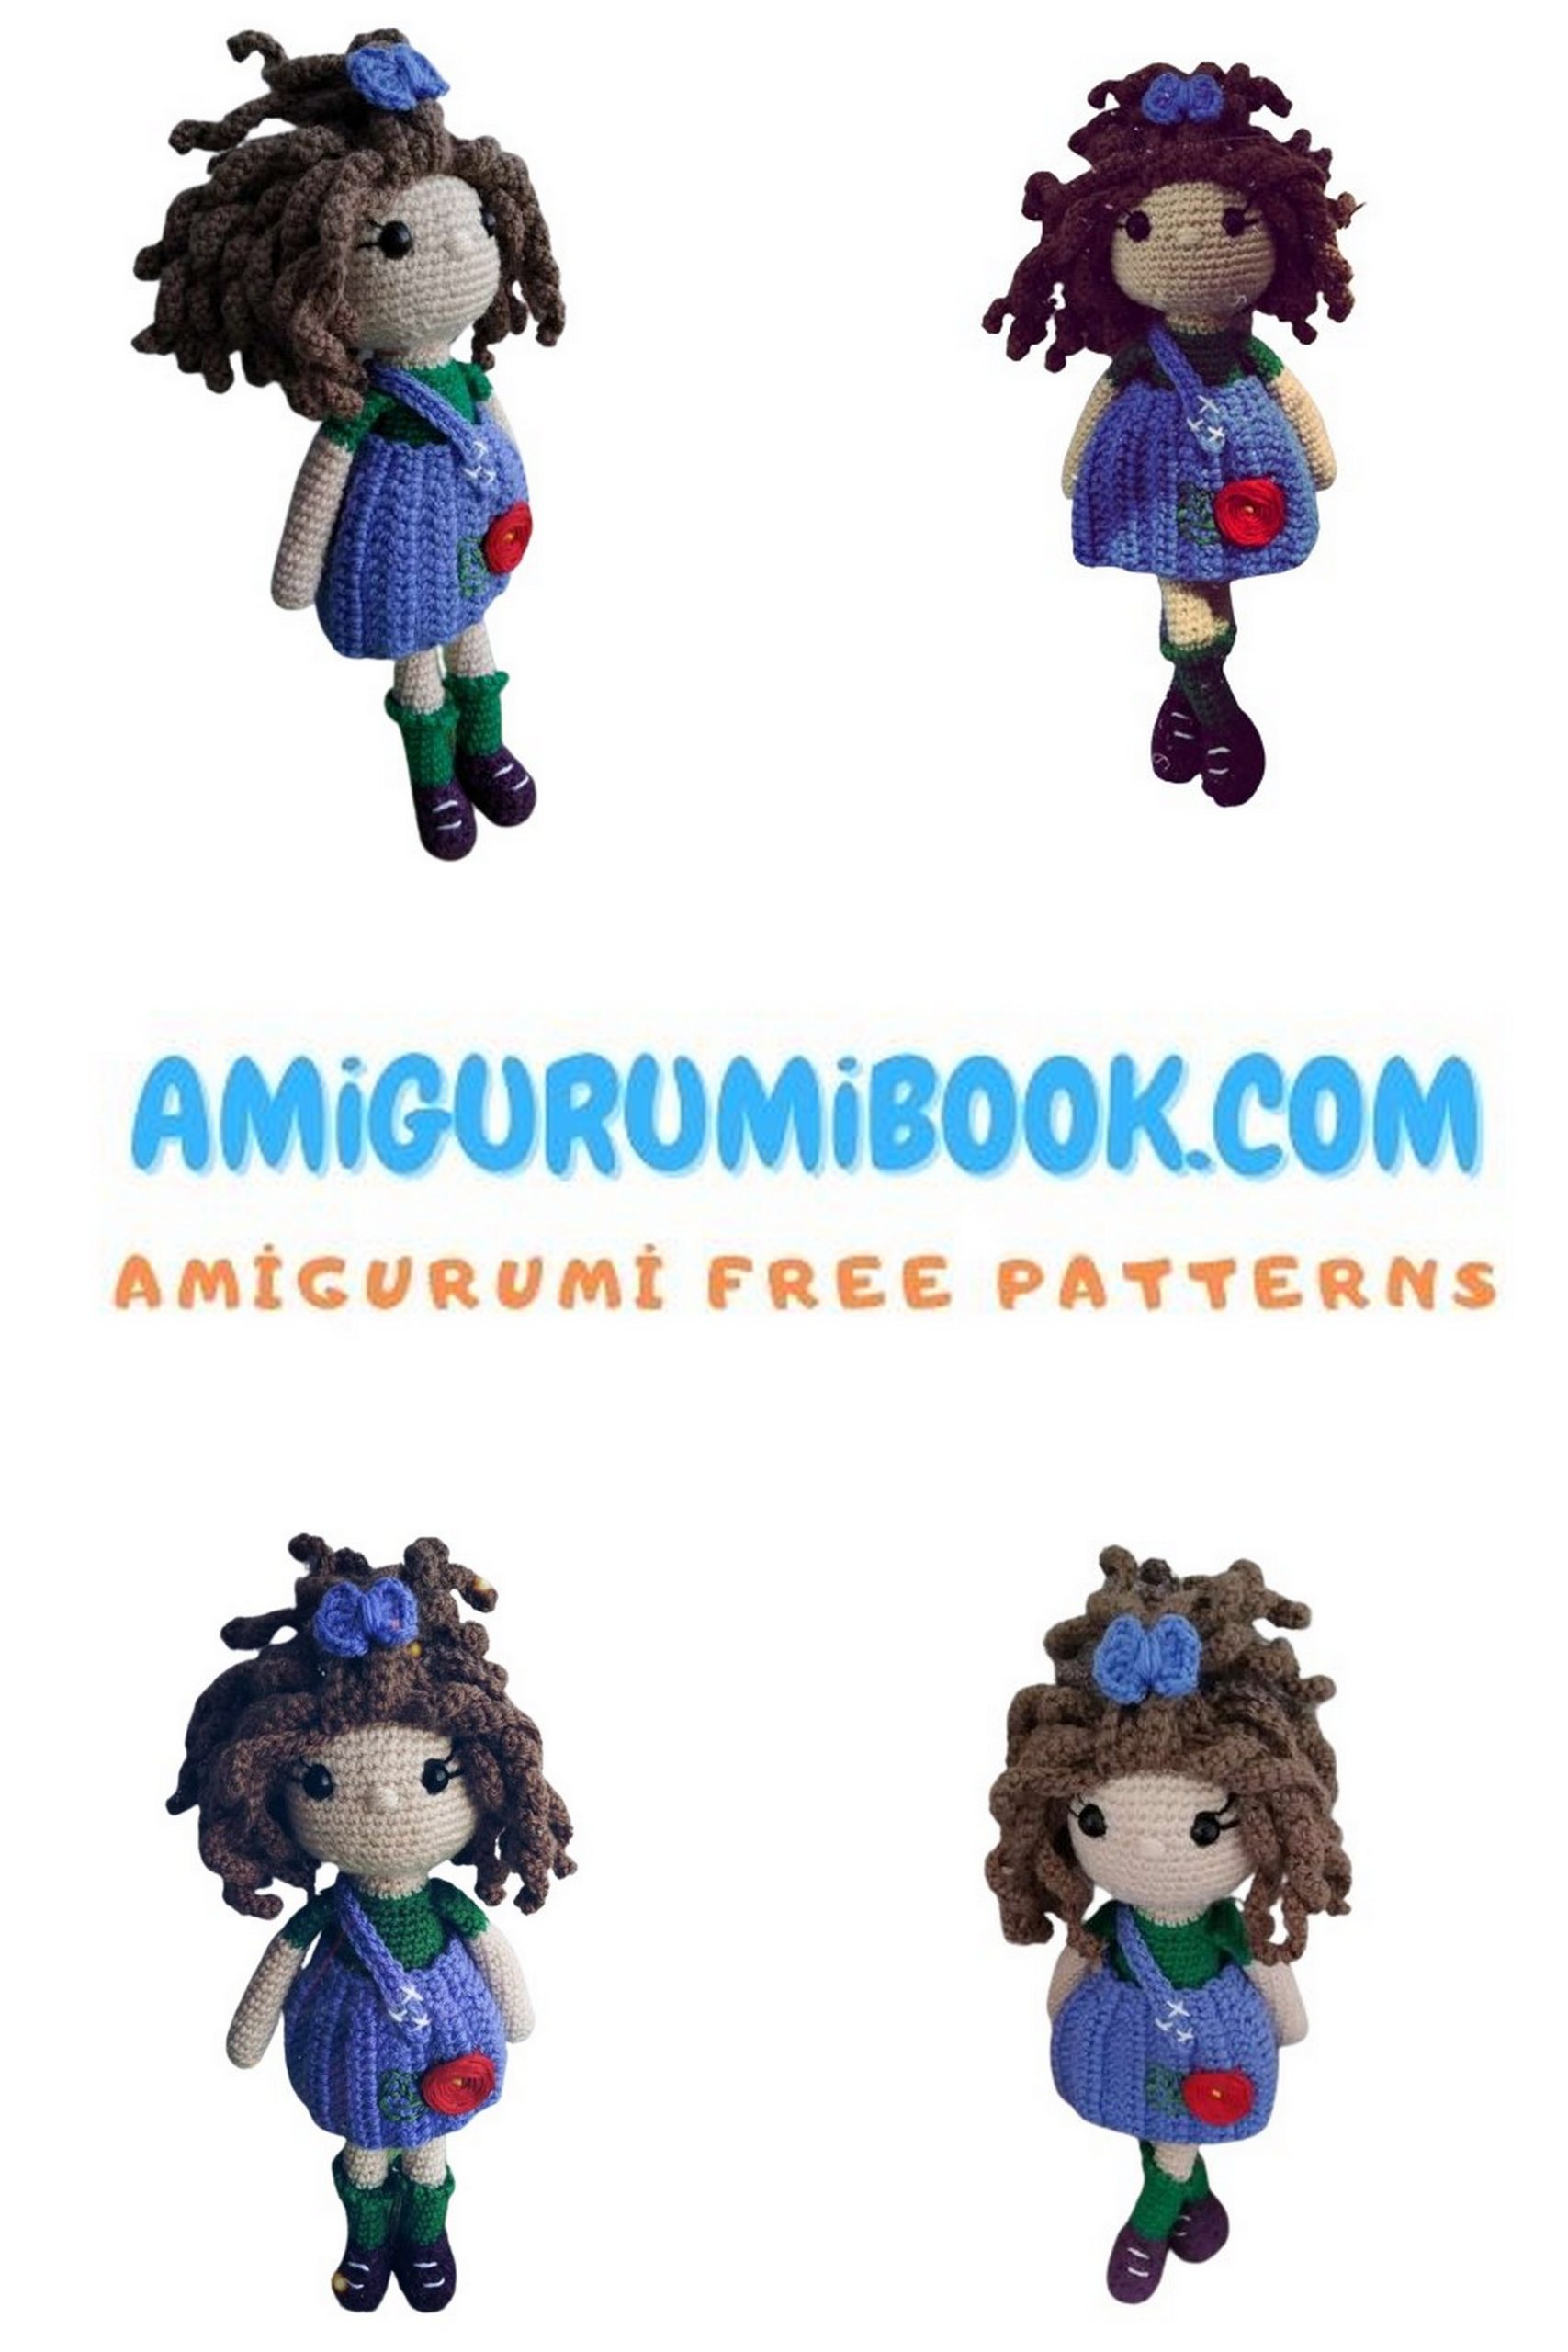
Welcome to the magical world of crochet! If you’re passionate about crafting and love creating adorable toys, you’re in for a treat. Our amigurumi free pattern for the Arina Doll Amigurumi is here to spark your creativity and bring joy to your crochet projects.
Whether you’re a novice or an expert with the hook, this pattern offers a delightful challenge for all skill levels. With clear instructions and helpful tips, you’ll soon be crafting your very own charming Arina Doll.
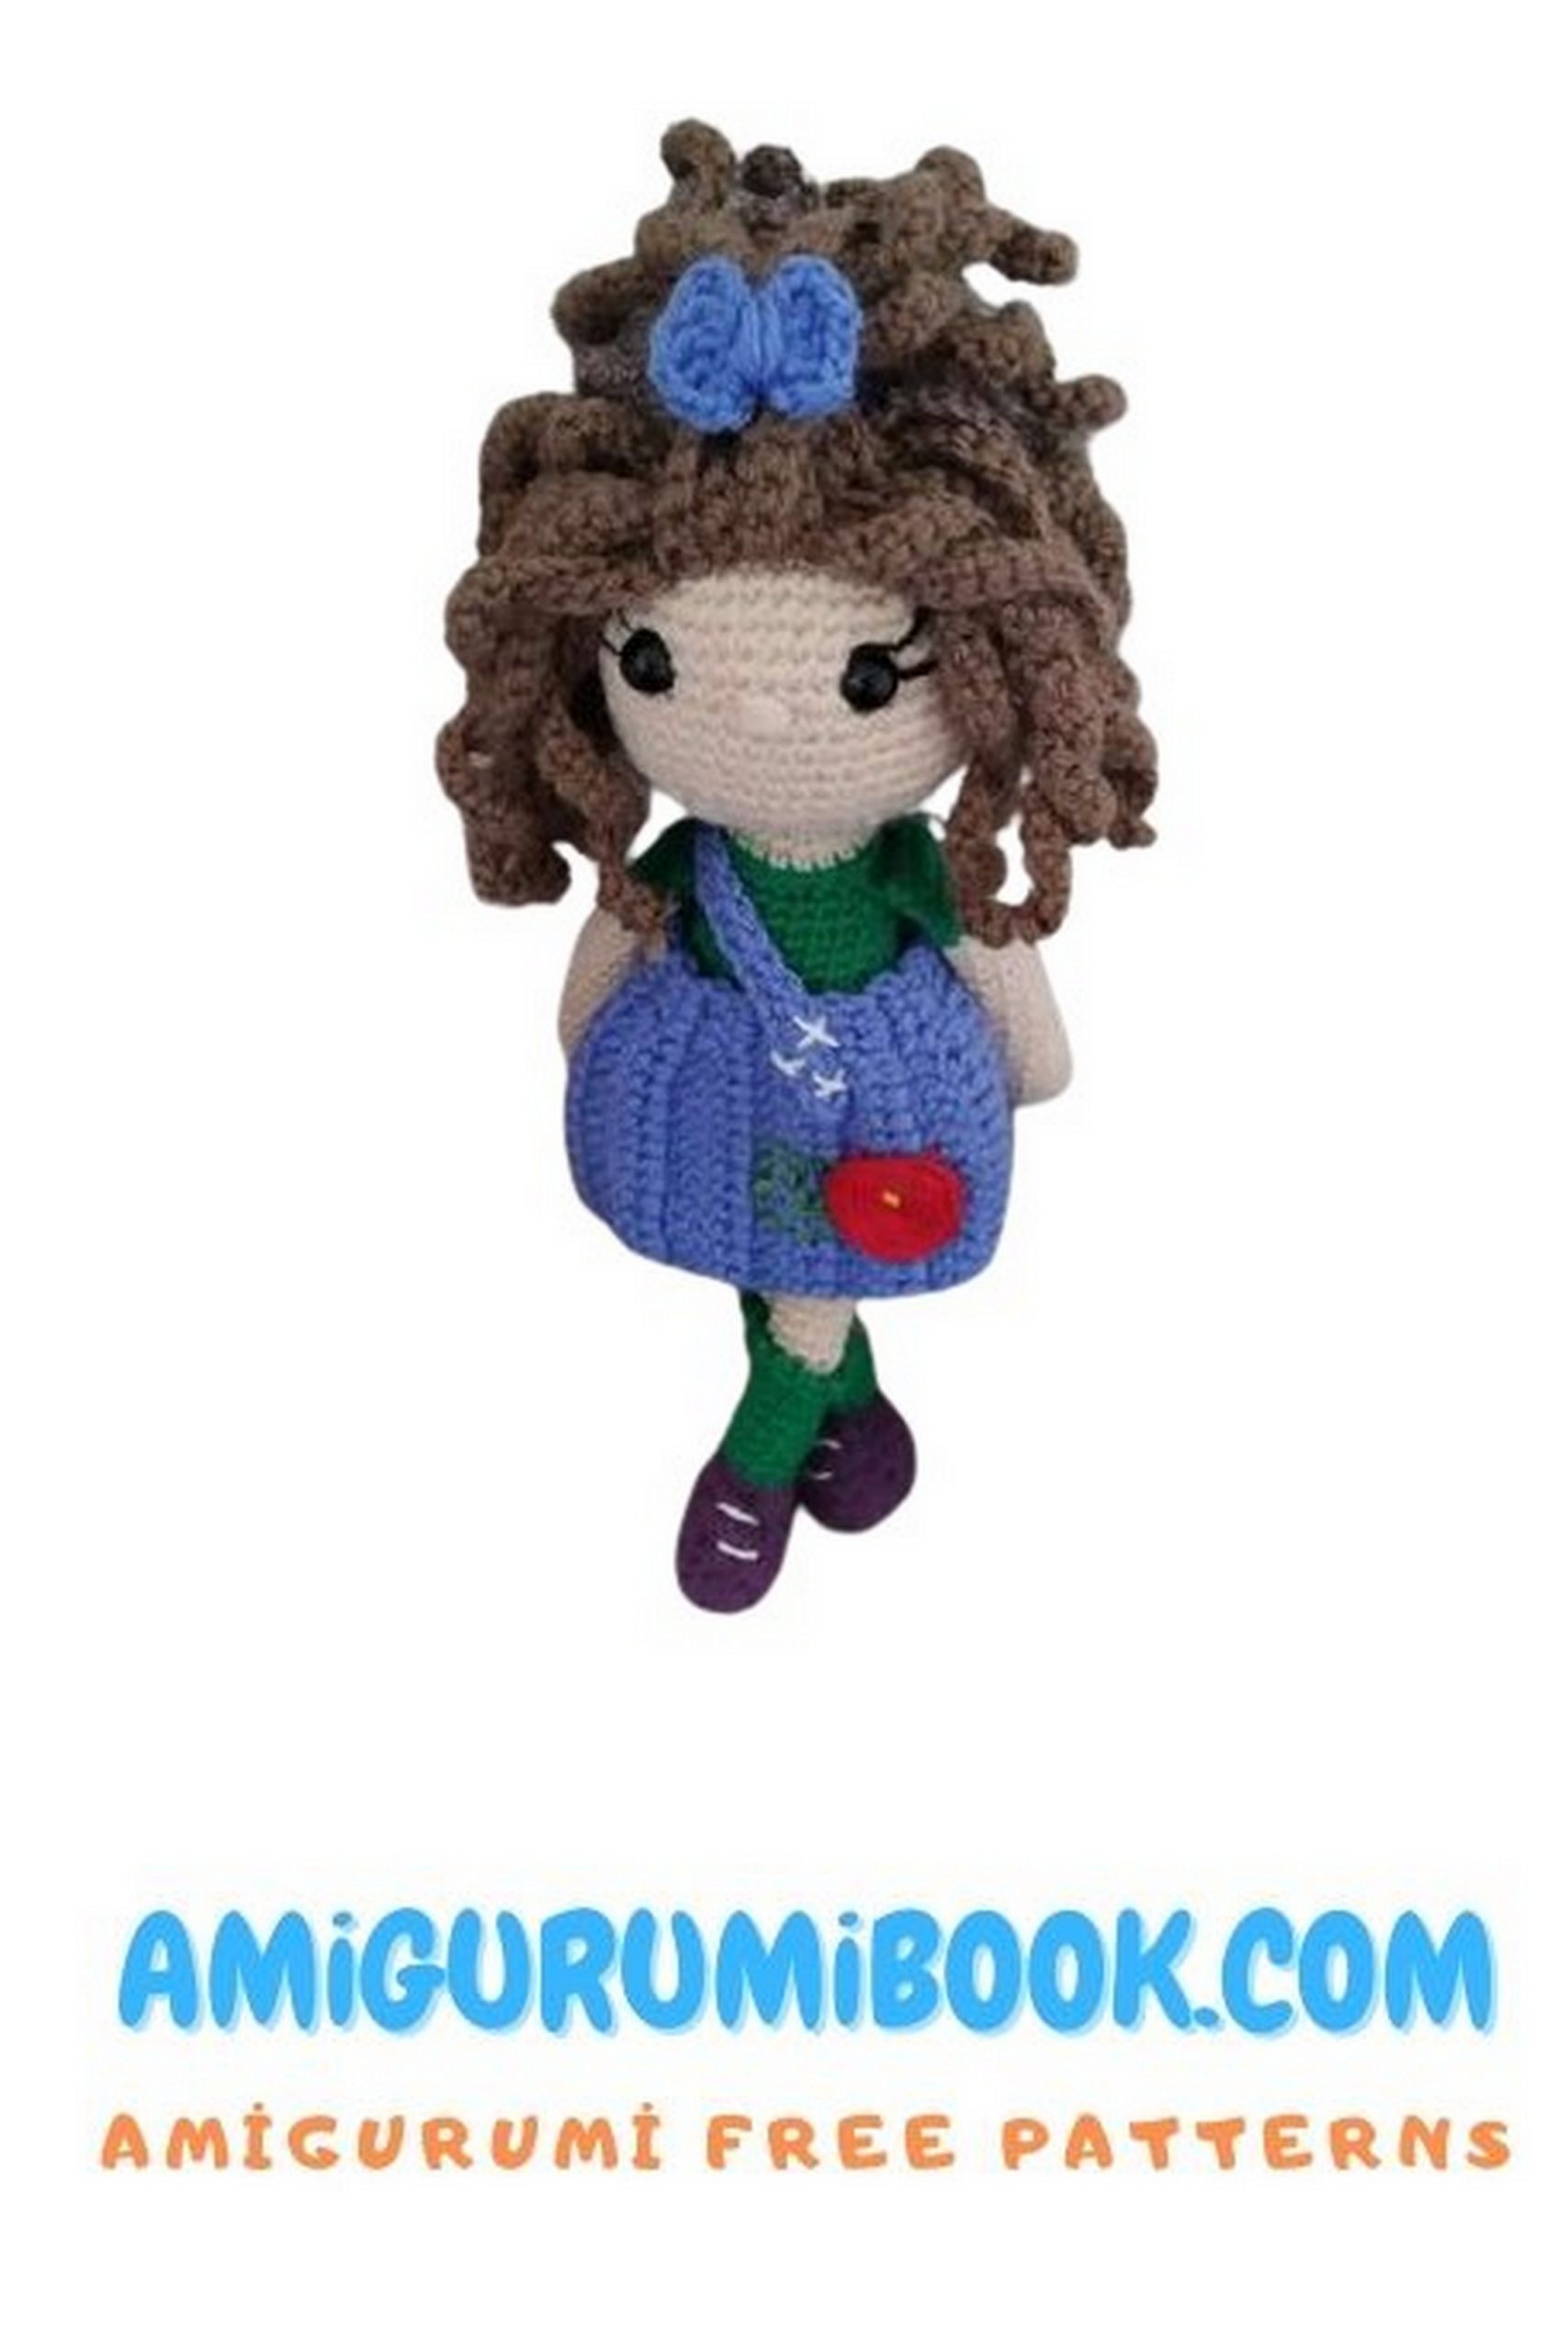
From her cute features to her stylish dress and accessories, every detail of the Arina Doll is designed to enchant. And the best part? You can customize her to suit your preferences, from choosing colors to adding personal touches.
So, grab your crochet hook and favorite yarn, and let’s bring Arina Doll to life together. Get ready for hours of crafting fun and the satisfaction of creating a timeless toy that will be cherished for years to come. Happy crocheting!
You should definitely see the amigurumi frida kahlo doll for your amigurumi doll series.
If you want to access 1000+ free amigurumi patterns, you can download our application from this link!
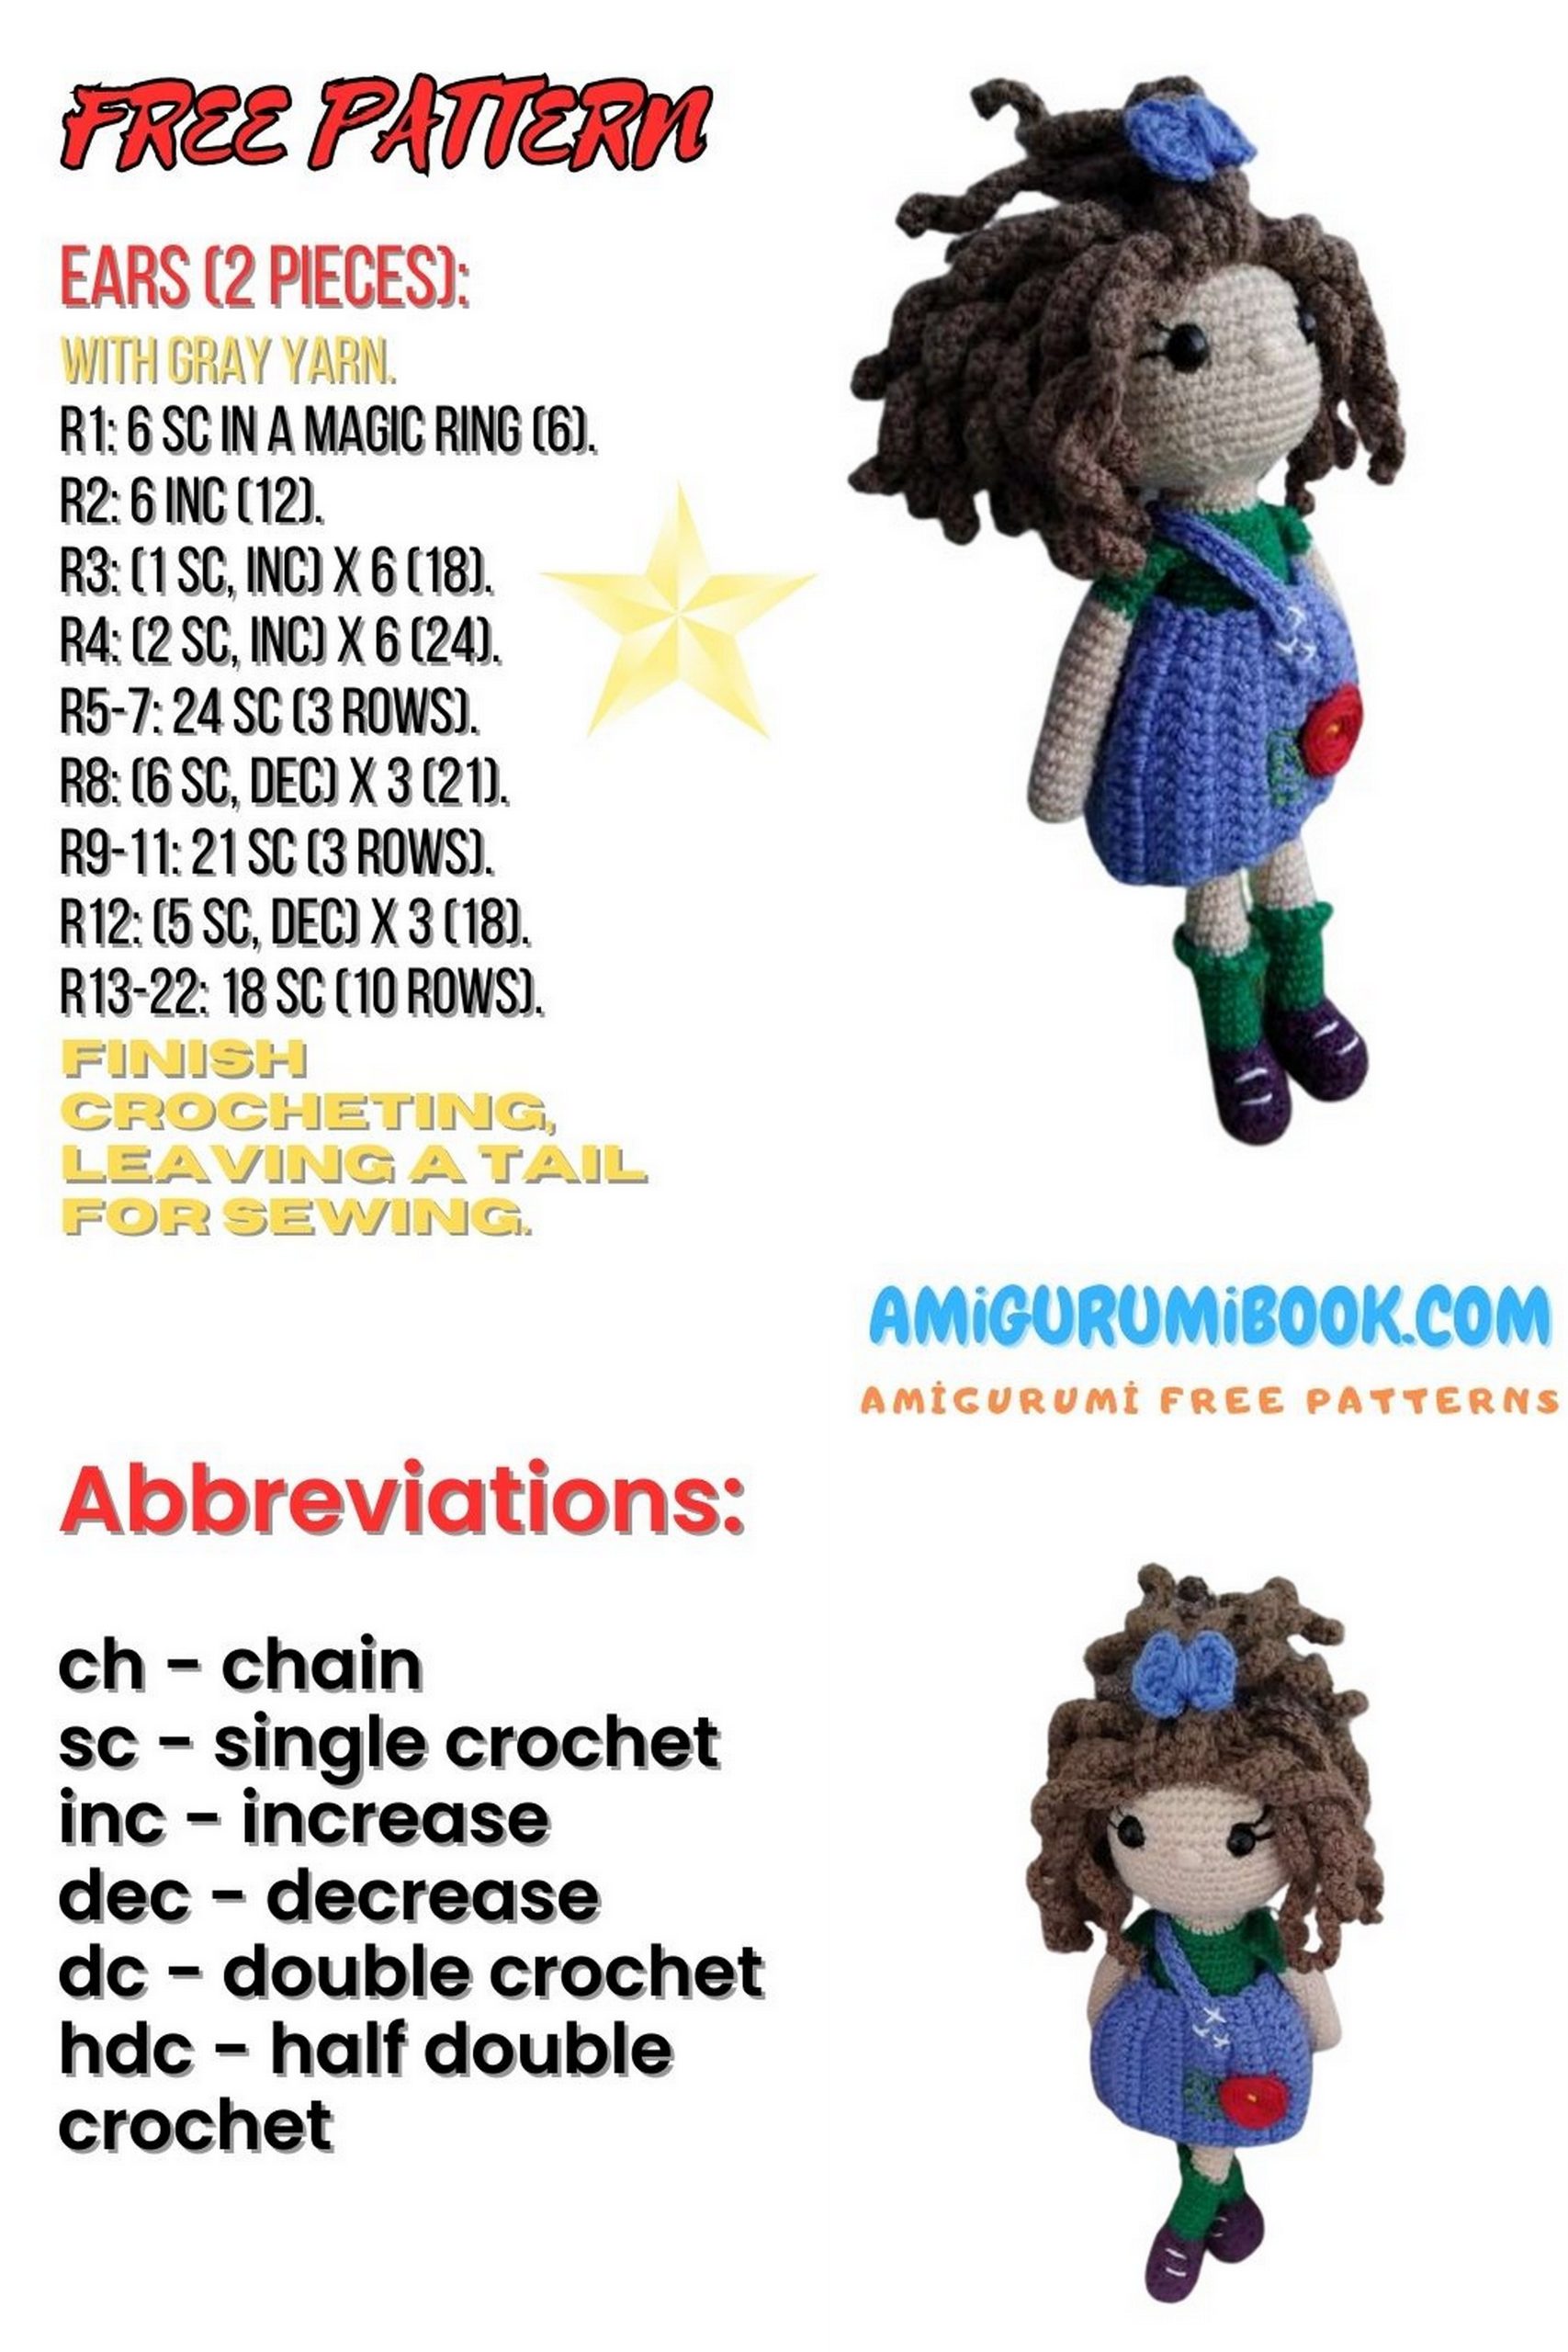
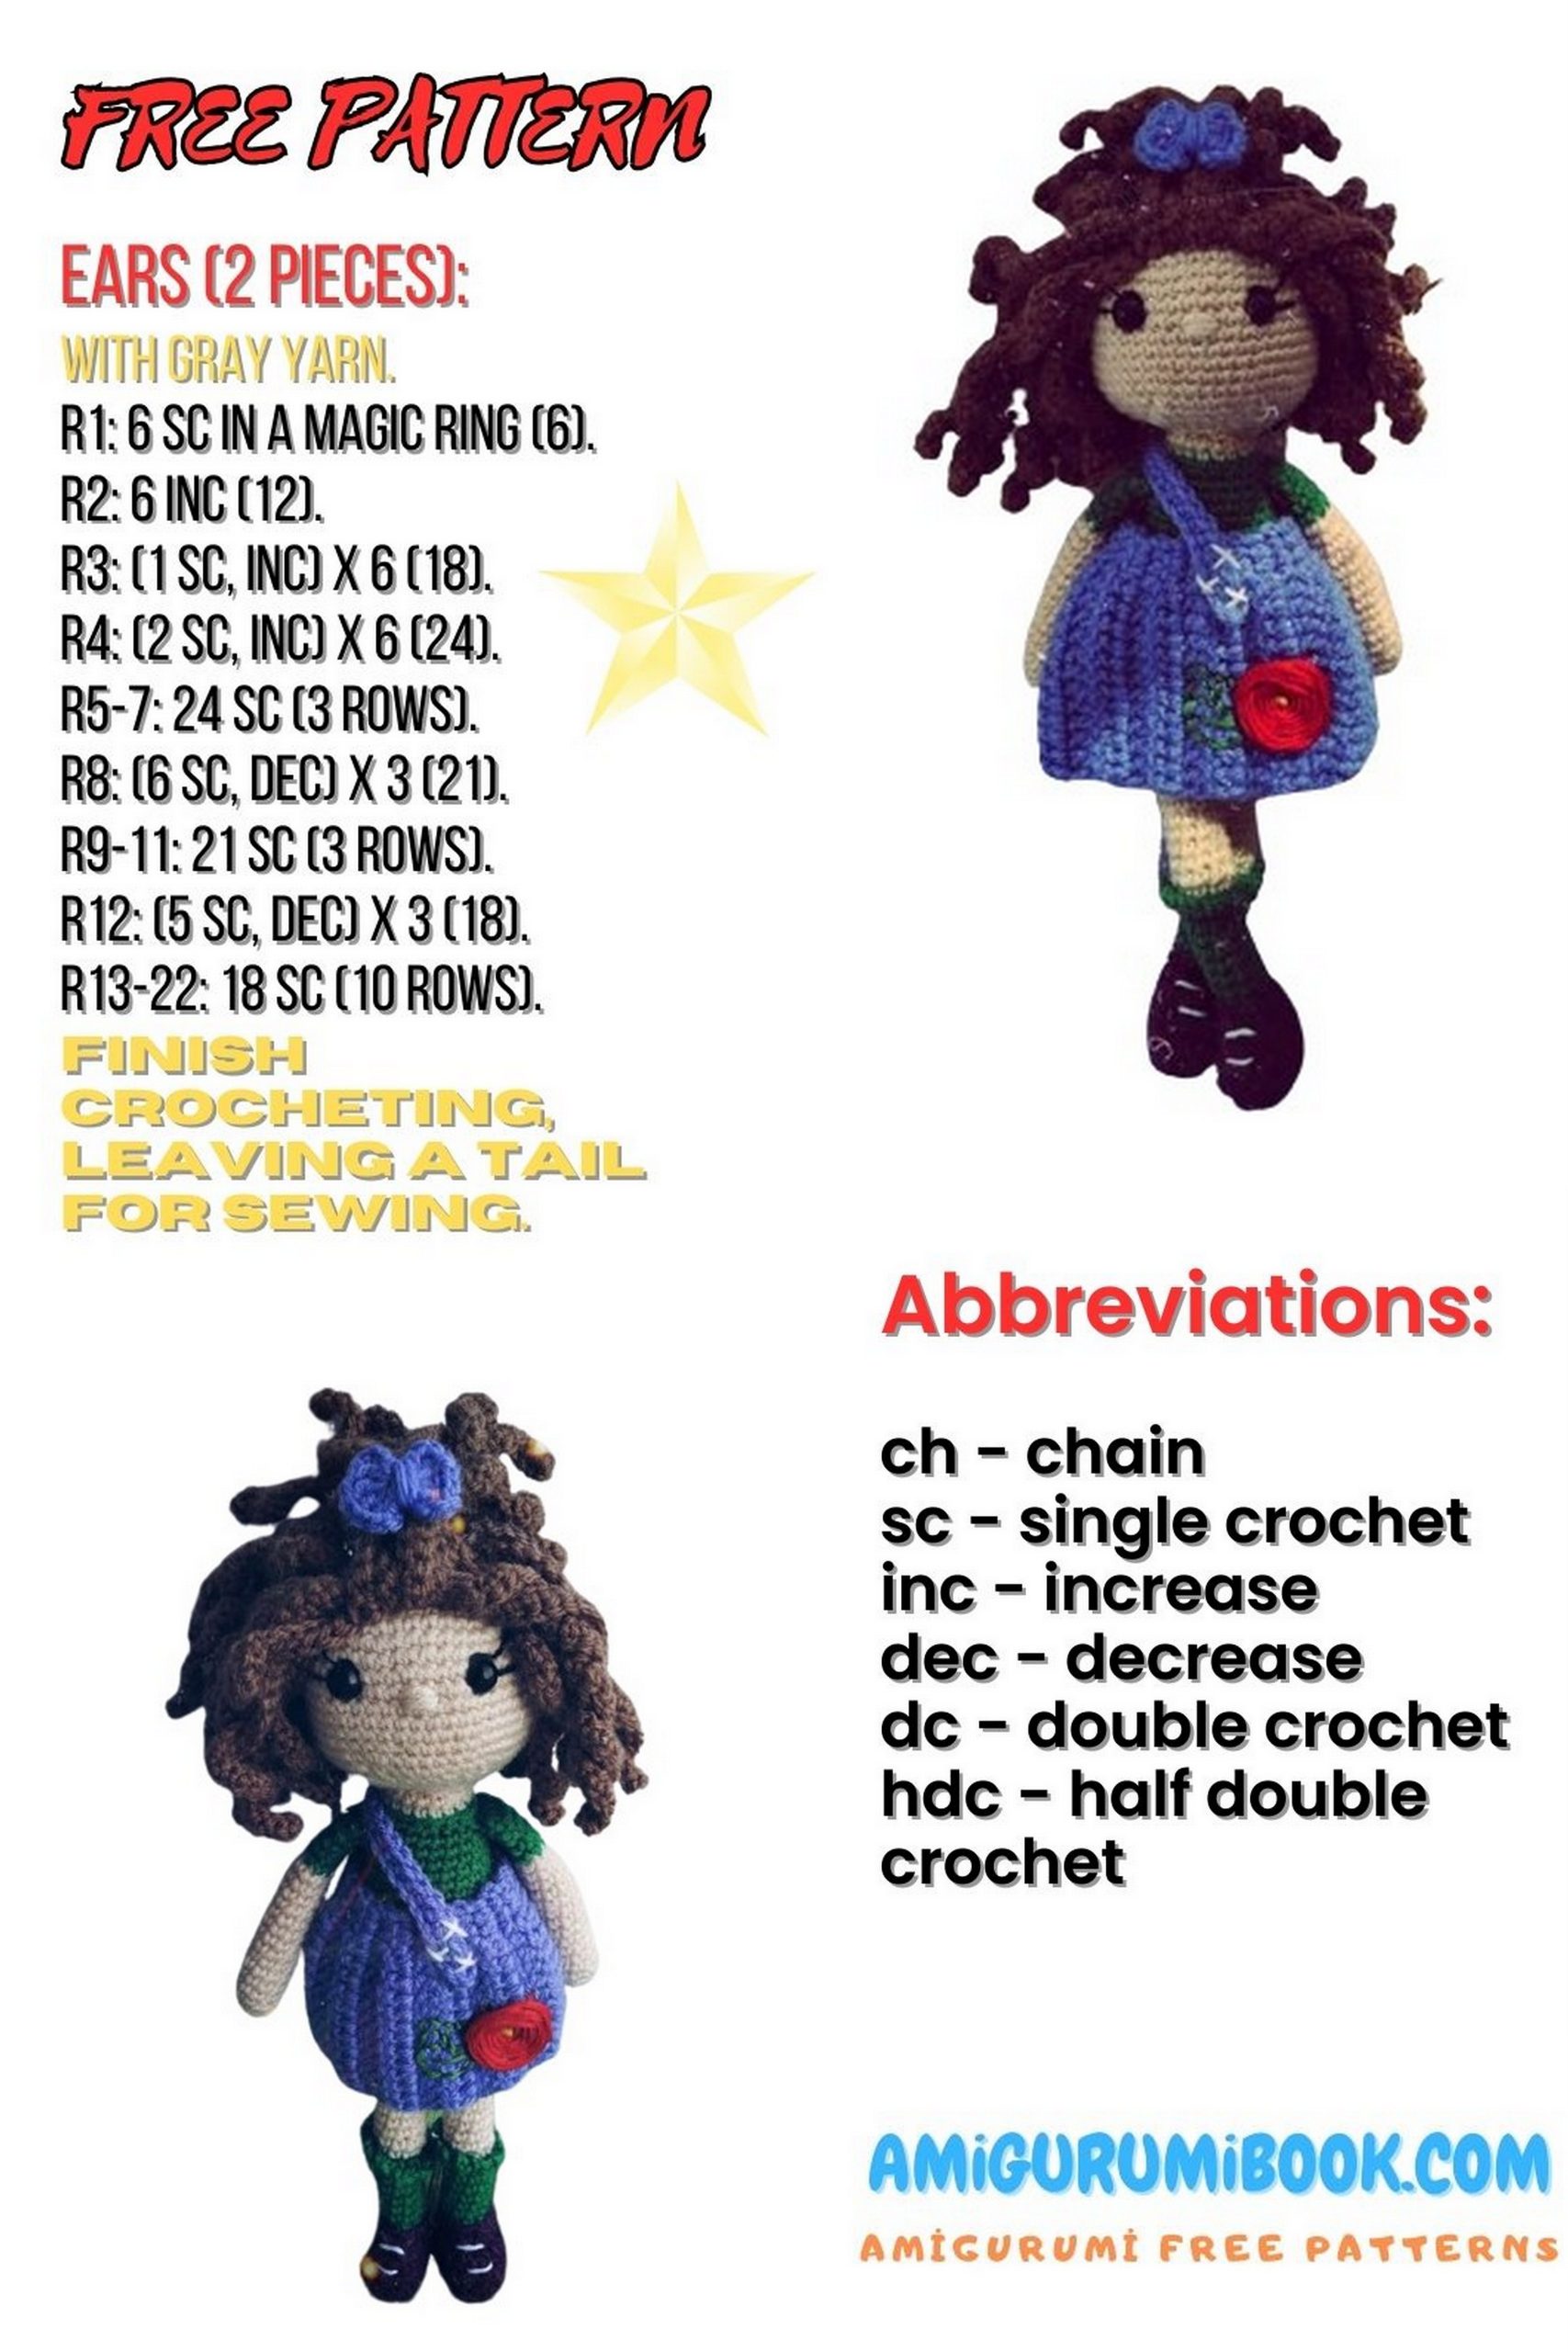
Abbreviations:
MC – magic circle
INC – increase
DEC – decrease
CH – chain stitch
SC – single crochet
SL ST – slip stitch
HDC – half double crochet
DC – double crochet
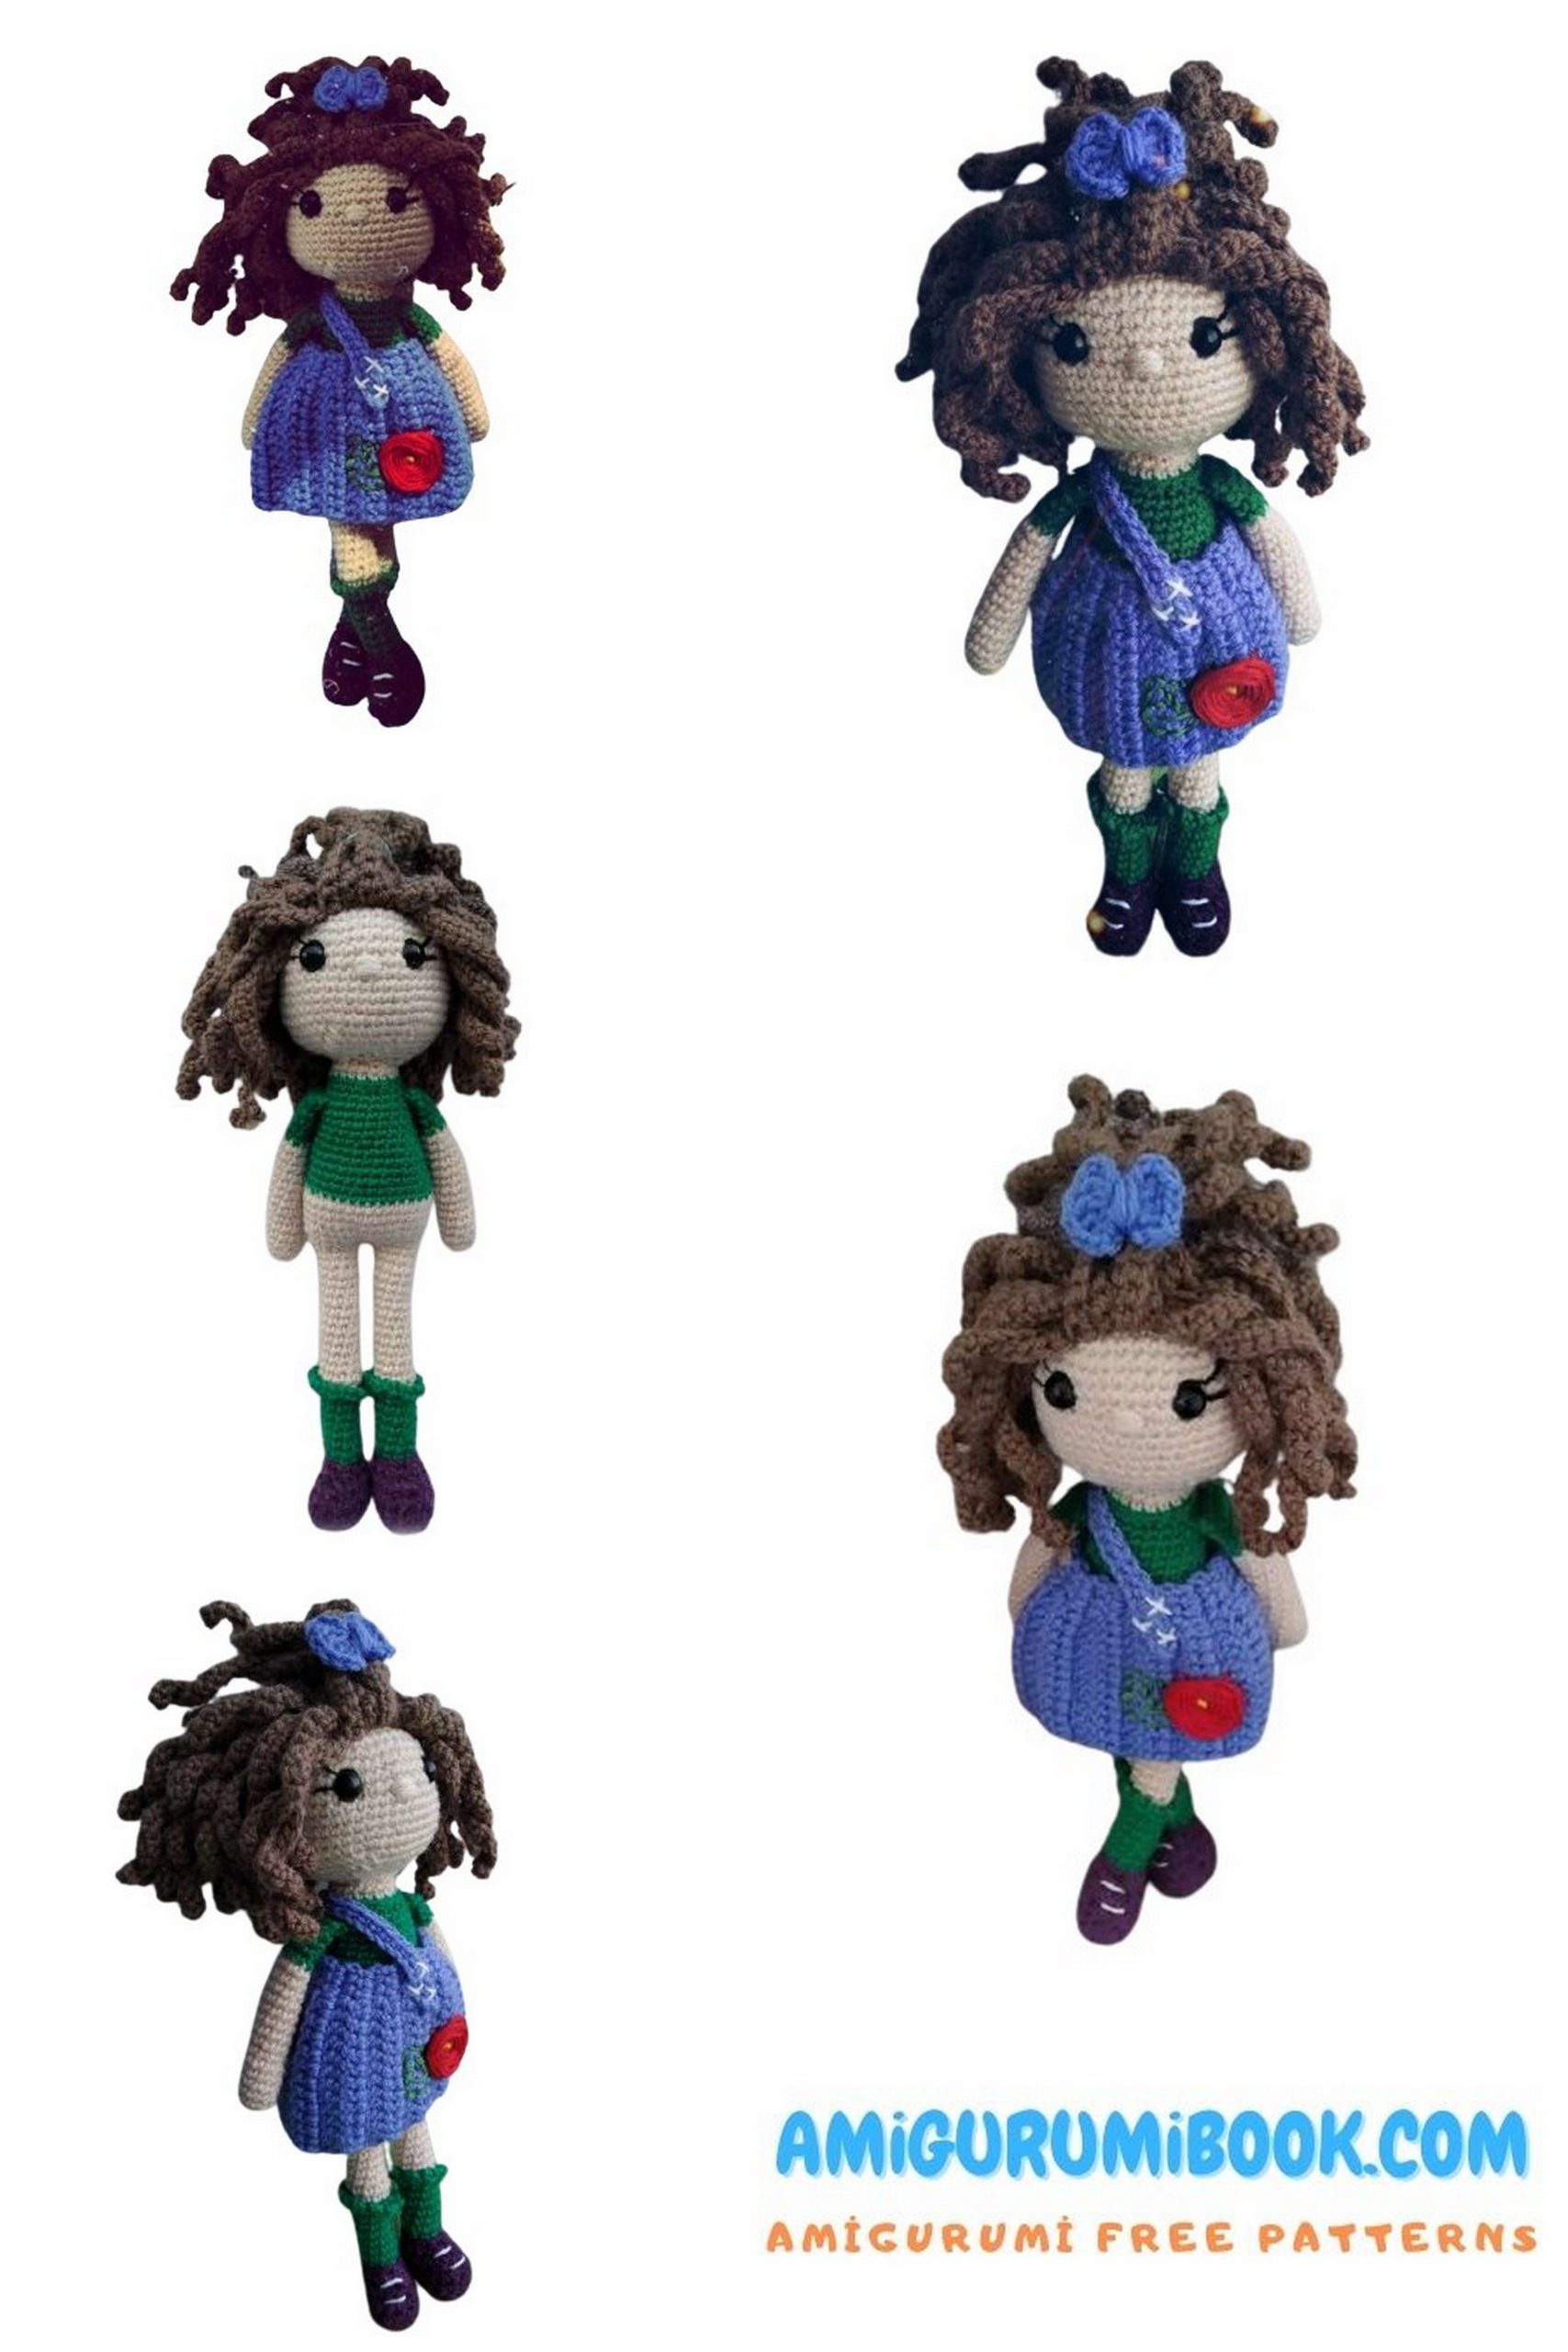
Difficulty level: Intermediate. When using these materials, the size of the toy including the hairstyle is approximately 24 cm.
Materials needed:
Yarn Pekhorka Children’s Novelty, colors:
89 freesia, 742 billiard, 15 sky blue,
187 cappuccino, 191 blackberry.
Mouliné threads, colors: red,
green,
yellow.
Black embroidery thread for eyelashes.
Crochet hook 2.0, marker or contrasting thread, needle, pins for
attaching parts when sewing, scissors.
8mm safety eyes.
Hollowfiber filling.
Attention! This tutorial does not contain basic crochet lessons.

PATTERN
Arms: Arina Doll
Stuff as you go along, until changing color, after attaching a thread of a different color, no need to stuff with hollowfiber anymore.
1: 5 SC in MC
2: 5 INC (10)
3-16: 10 SC
Change color to the color of the shirt (green)
17-20: 10 SC
Finish the row, fold the detail in half and crochet 5 SC, fasten off and leave a small tail of thread. Arm is ready, crochet the second one the same way.
Legs: Arina Doll
Stuff tightly as you go along.
1: 6 CH, in the 2nd chain from hook, 4 SC, 3 SC in the last chain, 3 SC, INC (12)
You can attach a marker here.
2: INC, 3 SC, INC twice, 6 SC (15)
3-4: 15 SC
5: 5 SC, 3 DEC, 4 SC (12)
6: 4 SC, 2 DEC, 4 SC (10)
7: Attach a thread of another color (socks color) and crochet 10 SC in the back loop of each stitch.
Cut the purple thread and hide the ends.
8-14: 10 SC
15: Work around the edge of the sock, leave one stitch unfinished, make 2 CH and crochet SC in the front loop of each stitch, again 2 CH and SC, continue like this until the end of the row, 10 SC. Make a slip stitch in the last stitch, cut and hide the thread.
16: Attach thread of flesh color in the back loop of the stitch and crochet 10 SC.
17-30: 10 SC
Finish the first leg with SL ST, make 1 CH, fasten off, cut and hide the end.
Crochet the second leg similarly.
When crocheting the second leg, do not cut the thread, continue crocheting the body.
Body: Arina Doll
2 CH between the legs.
1: 10 SC around the first leg, 2 SC in the chain, 10 SC around the second leg, 2 SC in the chain (24)
2: (3 SC, INC) 6 times (30)
3: (4 SC, INC) 6 times (36)
4-6: 36 SC
7: 16 SC and attach green color and crochet remaining
20 SC.
8: (4 SC, DEC) 6 times (30)
9-12: 30 SC
13: (3 SC, DEC) 6 times (24)
14-16: 24 SC
17: Attach arms, 4 SC till arm, 5 SC around the arm, 6 SC till next arm, 5 SC around the arm, and till the end of the row (24)
18: (2 SC, DEC) 6 times (18)
You can fill with hollowfiber.
19: Attach beige thread at the back loop of the 9th SC, fasten the thread, and till the end of the row, 9 SC.
20: 18 SC, where you attached the thread, start crocheting through both loops. Crochet 10 SC, fasten off and hide the thread.
Embroider shoelaces as in the photo, after pulling out the thread where you first inserted it,
tie a knot and hide, similarly embroider on the second leg.
The body is ready.
Let’s crochet the head:
Head: Arina Doll
1: 6 SC in MC
2: 6 INC (12)
3: (1 SC, INC) 6 times (18)
4: (2 SC, INC) 6 times (24)
5: (3 SC, INC) 6 times (30)
6: (4 SC, INC) 6 times (36)
7: (5 SC, INC) 6 times (42)
8: (6 SC, INC) 6 times (48)
9-16: 48 SC
17: (6 SC, DEC) 6 times (42)
18: (5 SC, DEC) 6 times (36)
Attach eyes between the 10th and 11th rows, with a distance of 6 stitches between the eyes.
19: (4 SC, DEC) 6 times (30)
20: (3 SC, DEC) 6 times (24)
And start stuffing the head with hollowfiber.
21: (2 SC, DEC) 6 times (18)
Fasten off, leaving a long tail for sewing.
Embroider the nose: insert the needle as in the photo, each time bringing it out in the same place. I made 5 stitches, you can adjust based on your thread thickness and the desired nose shape. Tie a knot and hide the thread.
Making the Wig: Arina Doll
1: 6 in MC
2: 6 INC (12)
3: Starting from this row, crochet in the back loops of stitches, 1 SC, INC (18)
4: (2 SC, INC) *6 (24)
5: (3 SC, INC) *6 (30)
6: (4 SC, INC) *6 (36)
7: (5 SC, INC) *6 (42)
Attention
At the end of the row, slip stitch. Continue crocheting rows with both loops, and crochet 25 chain stitches. Then, starting from the second chain from the hook, crochet 24 SC (if you want longer hair, make 30 chain stitches), until the end of the chain. Skip the next loop and slip stitch into the one after it. Then, chain 25 again and repeat crocheting 24 SC into the second chain from the hook. Repeat this pattern until the end of the row, creating a row of hair.
2: Slip stitch. Insert the hook as shown in the photo, into the front loops of stitches (the second row starts where you finished crocheting the last row of hair, and repeat the same for the subsequent rows). Make 28 chain stitches and repeat the pattern from the first row. If the hair seems too fluffy, skip not just 1 loop but 2, and crochet until the center of the crown. I decided not to crochet to the center as it’s already full, and there will be a ponytail on the crown.
Pull the yarn to the wrong side, as shown in the photo, then pass the loops down to the first row. From here, start sewing on the wig. After attaching the wig, embroider the eyelashes as shown in the photo. When the first eyelash is embroidered, continue with the same thread to embroider on the second eye. Then, pull out the thread where you first inserted it, tie a knot, and hide the thread. Sew the head and arrange the hair, making a ponytail on the crown.
Crocheting the Dress:
Chain 14, make one turning chain, and crochet 11 HDC into the second chain from the hook. Crochet the remaining 3 stitches as SC. Make a turning chain, turn, crochet 3 SC, 11 HDC, make a turning chain, crochet 11 HDC, and 3 SC. Repeat this until the end, a total of 25 rows.
Connect the sides of the dress, crochet 14 SC on the wrong side. Make a strap in the center, insert the hook and secure the yarn with a chain stitch. Crochet 20 chain stitches, make one turning chain, turn, then make 20 SC in the chain. At the end, slip stitch and fasten off the threads. Sew on the strap, following the photo. I decided to embroider crosses, you can also sew on a button. The strap is not removable.
Embroider a flower on the dress as desired: ( )
Cut a long piece of mouliné thread and embroider 5 rays of equal size using contrasting thread, as shown in the photo. Then, insert the needle through the rays every other time, i.e., first under the ray, then over the ray, and so on until the end. After embroidering the flower, hide the thread and tie a knot.
Next, embroider the center with a French knot. Take a yellow mouliné thread, insert the needle into the center on the right side, wrap the thread around the needle 2-3 times, then insert it neatly into the center on the wrong side and tie a knot.
Crocheting the Bow:
1st part of the bow:
1: Make a MC
2: 4 CH
3: 4 HDC
4: 3 CH
5: 1 SC
Crochet the 2nd part of the bow symmetrically:
6: 4 CH
7: 4 HDC
8: 3 CH
9: 1 SC, tighten the bow, secure the yarn and leave a long tail. Tie a knot with the long end of the thread, then wrap the bow with the same threads and tie a knot. Now, use these threads to attach the bow to the ponytail.
The bow with 2 yarn overs is made using the same pattern, just use DC instead of HDC.
Dress the doll and tie the bow 🙂