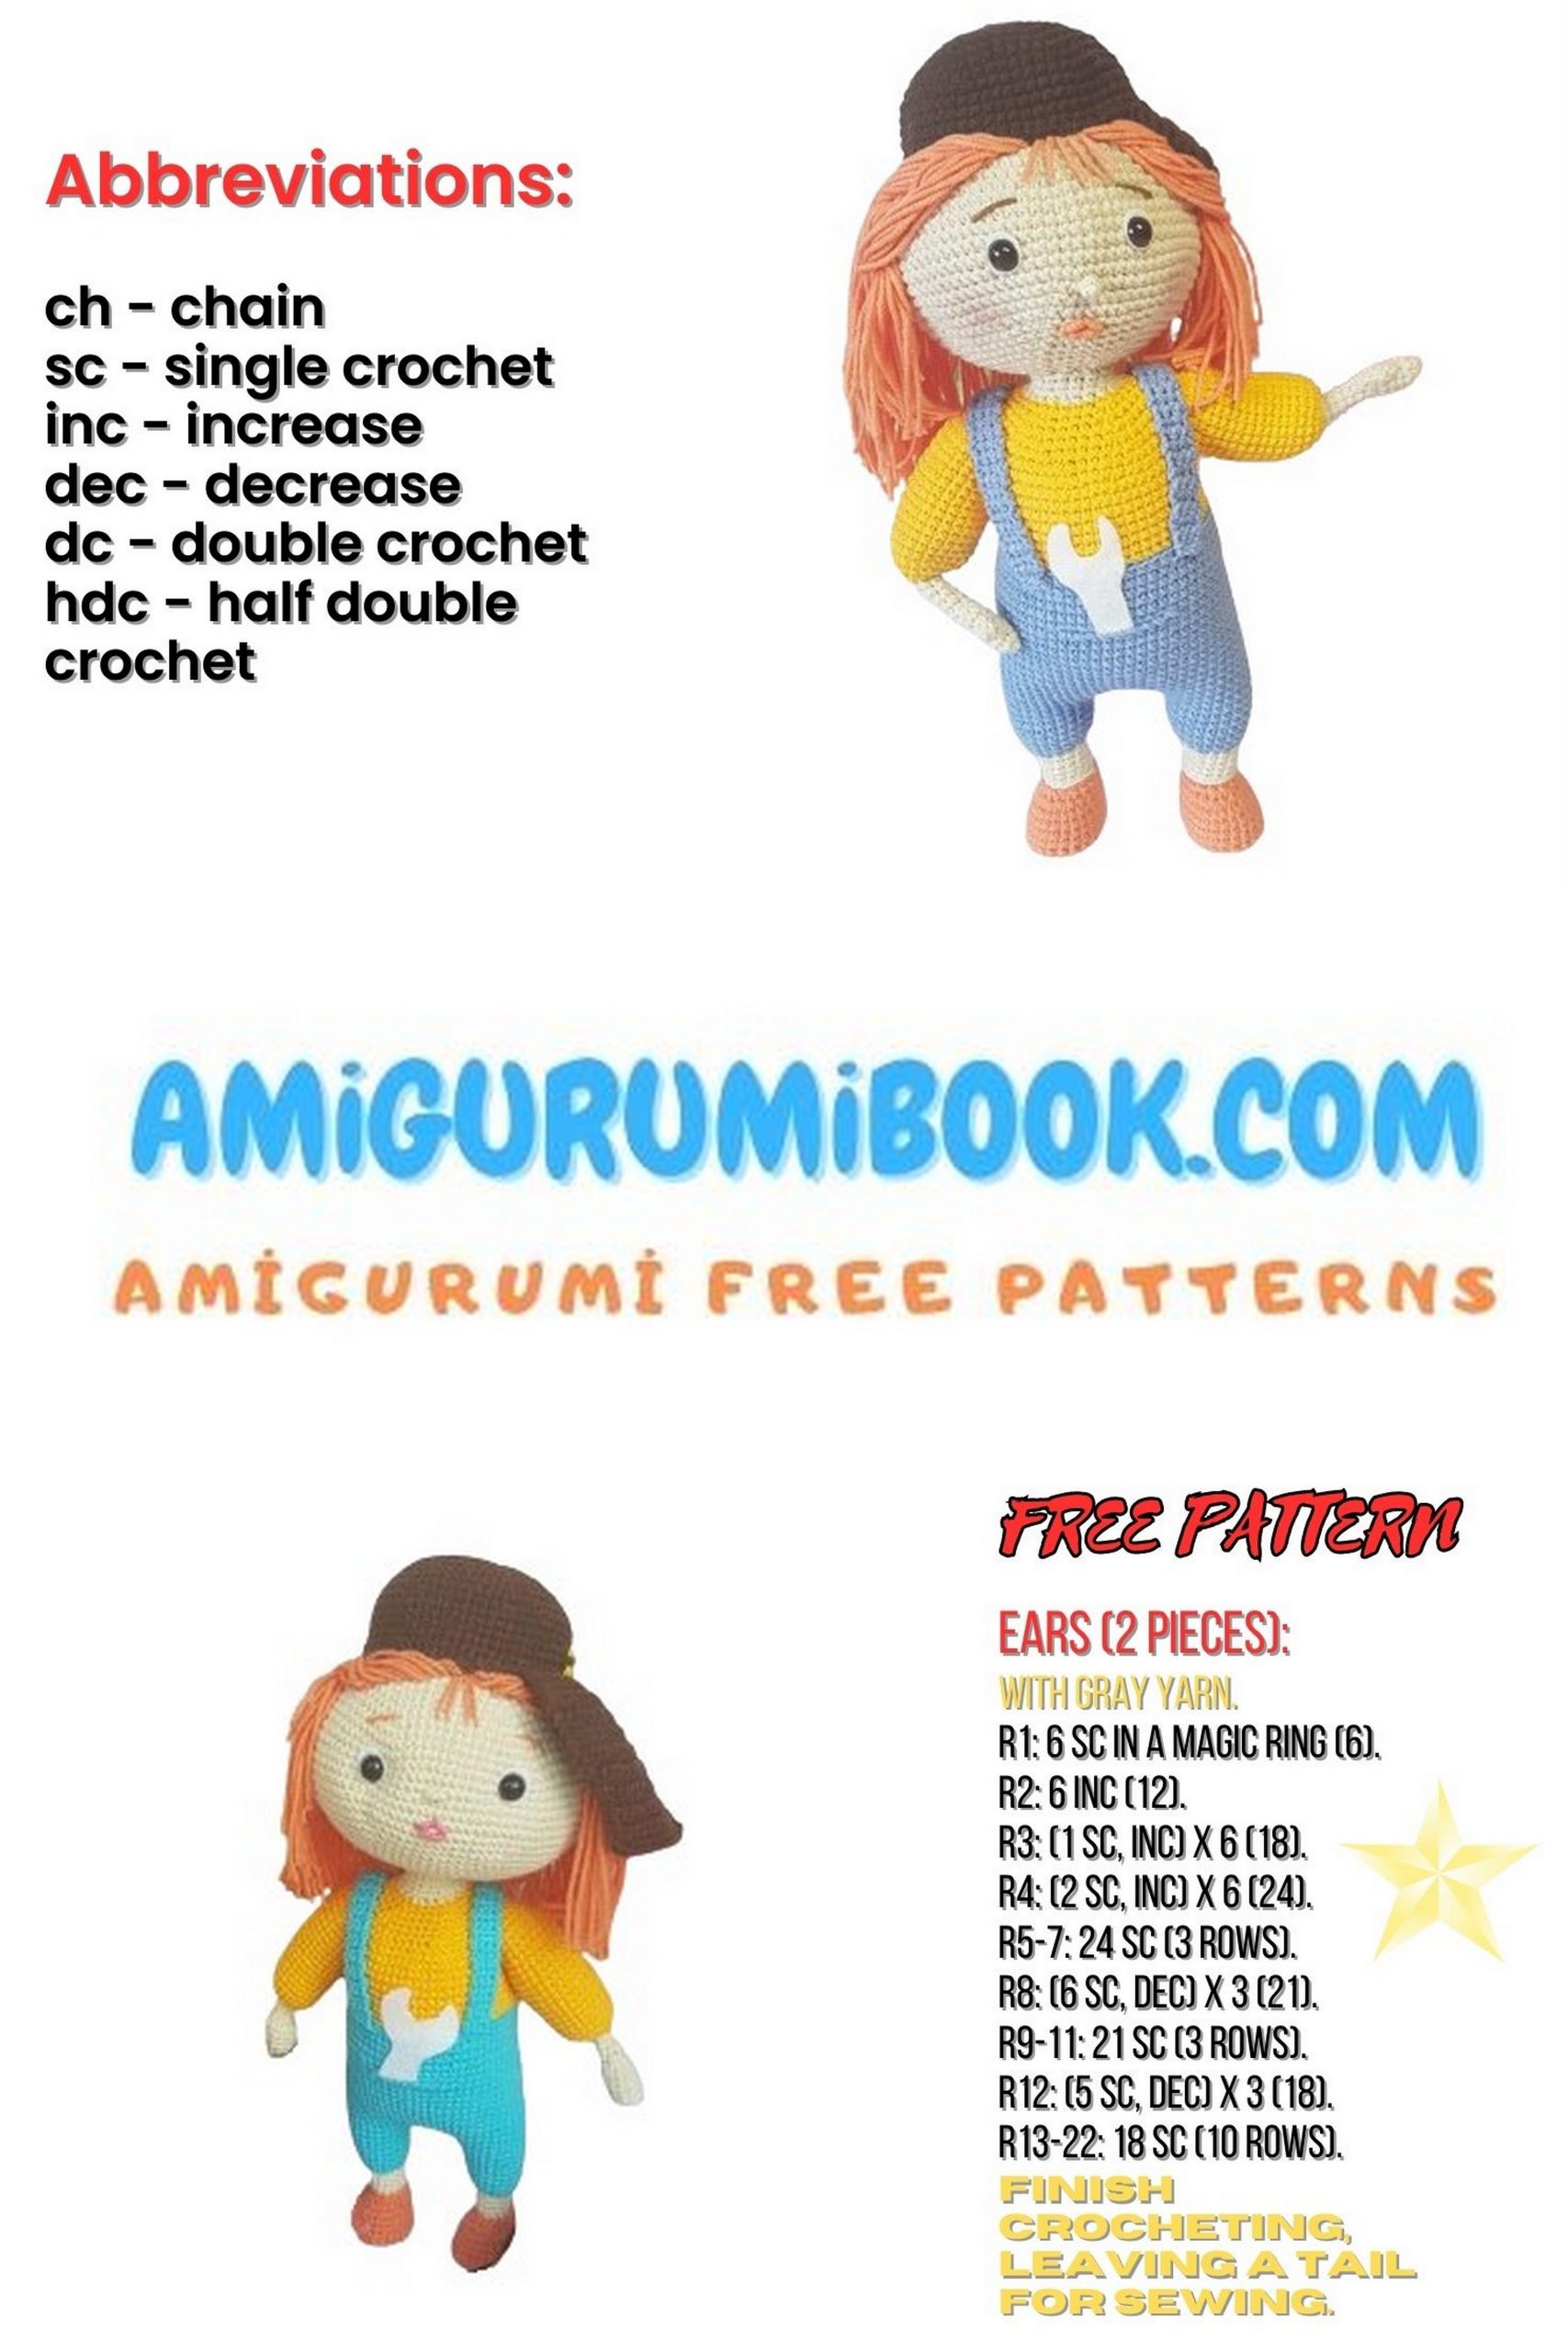
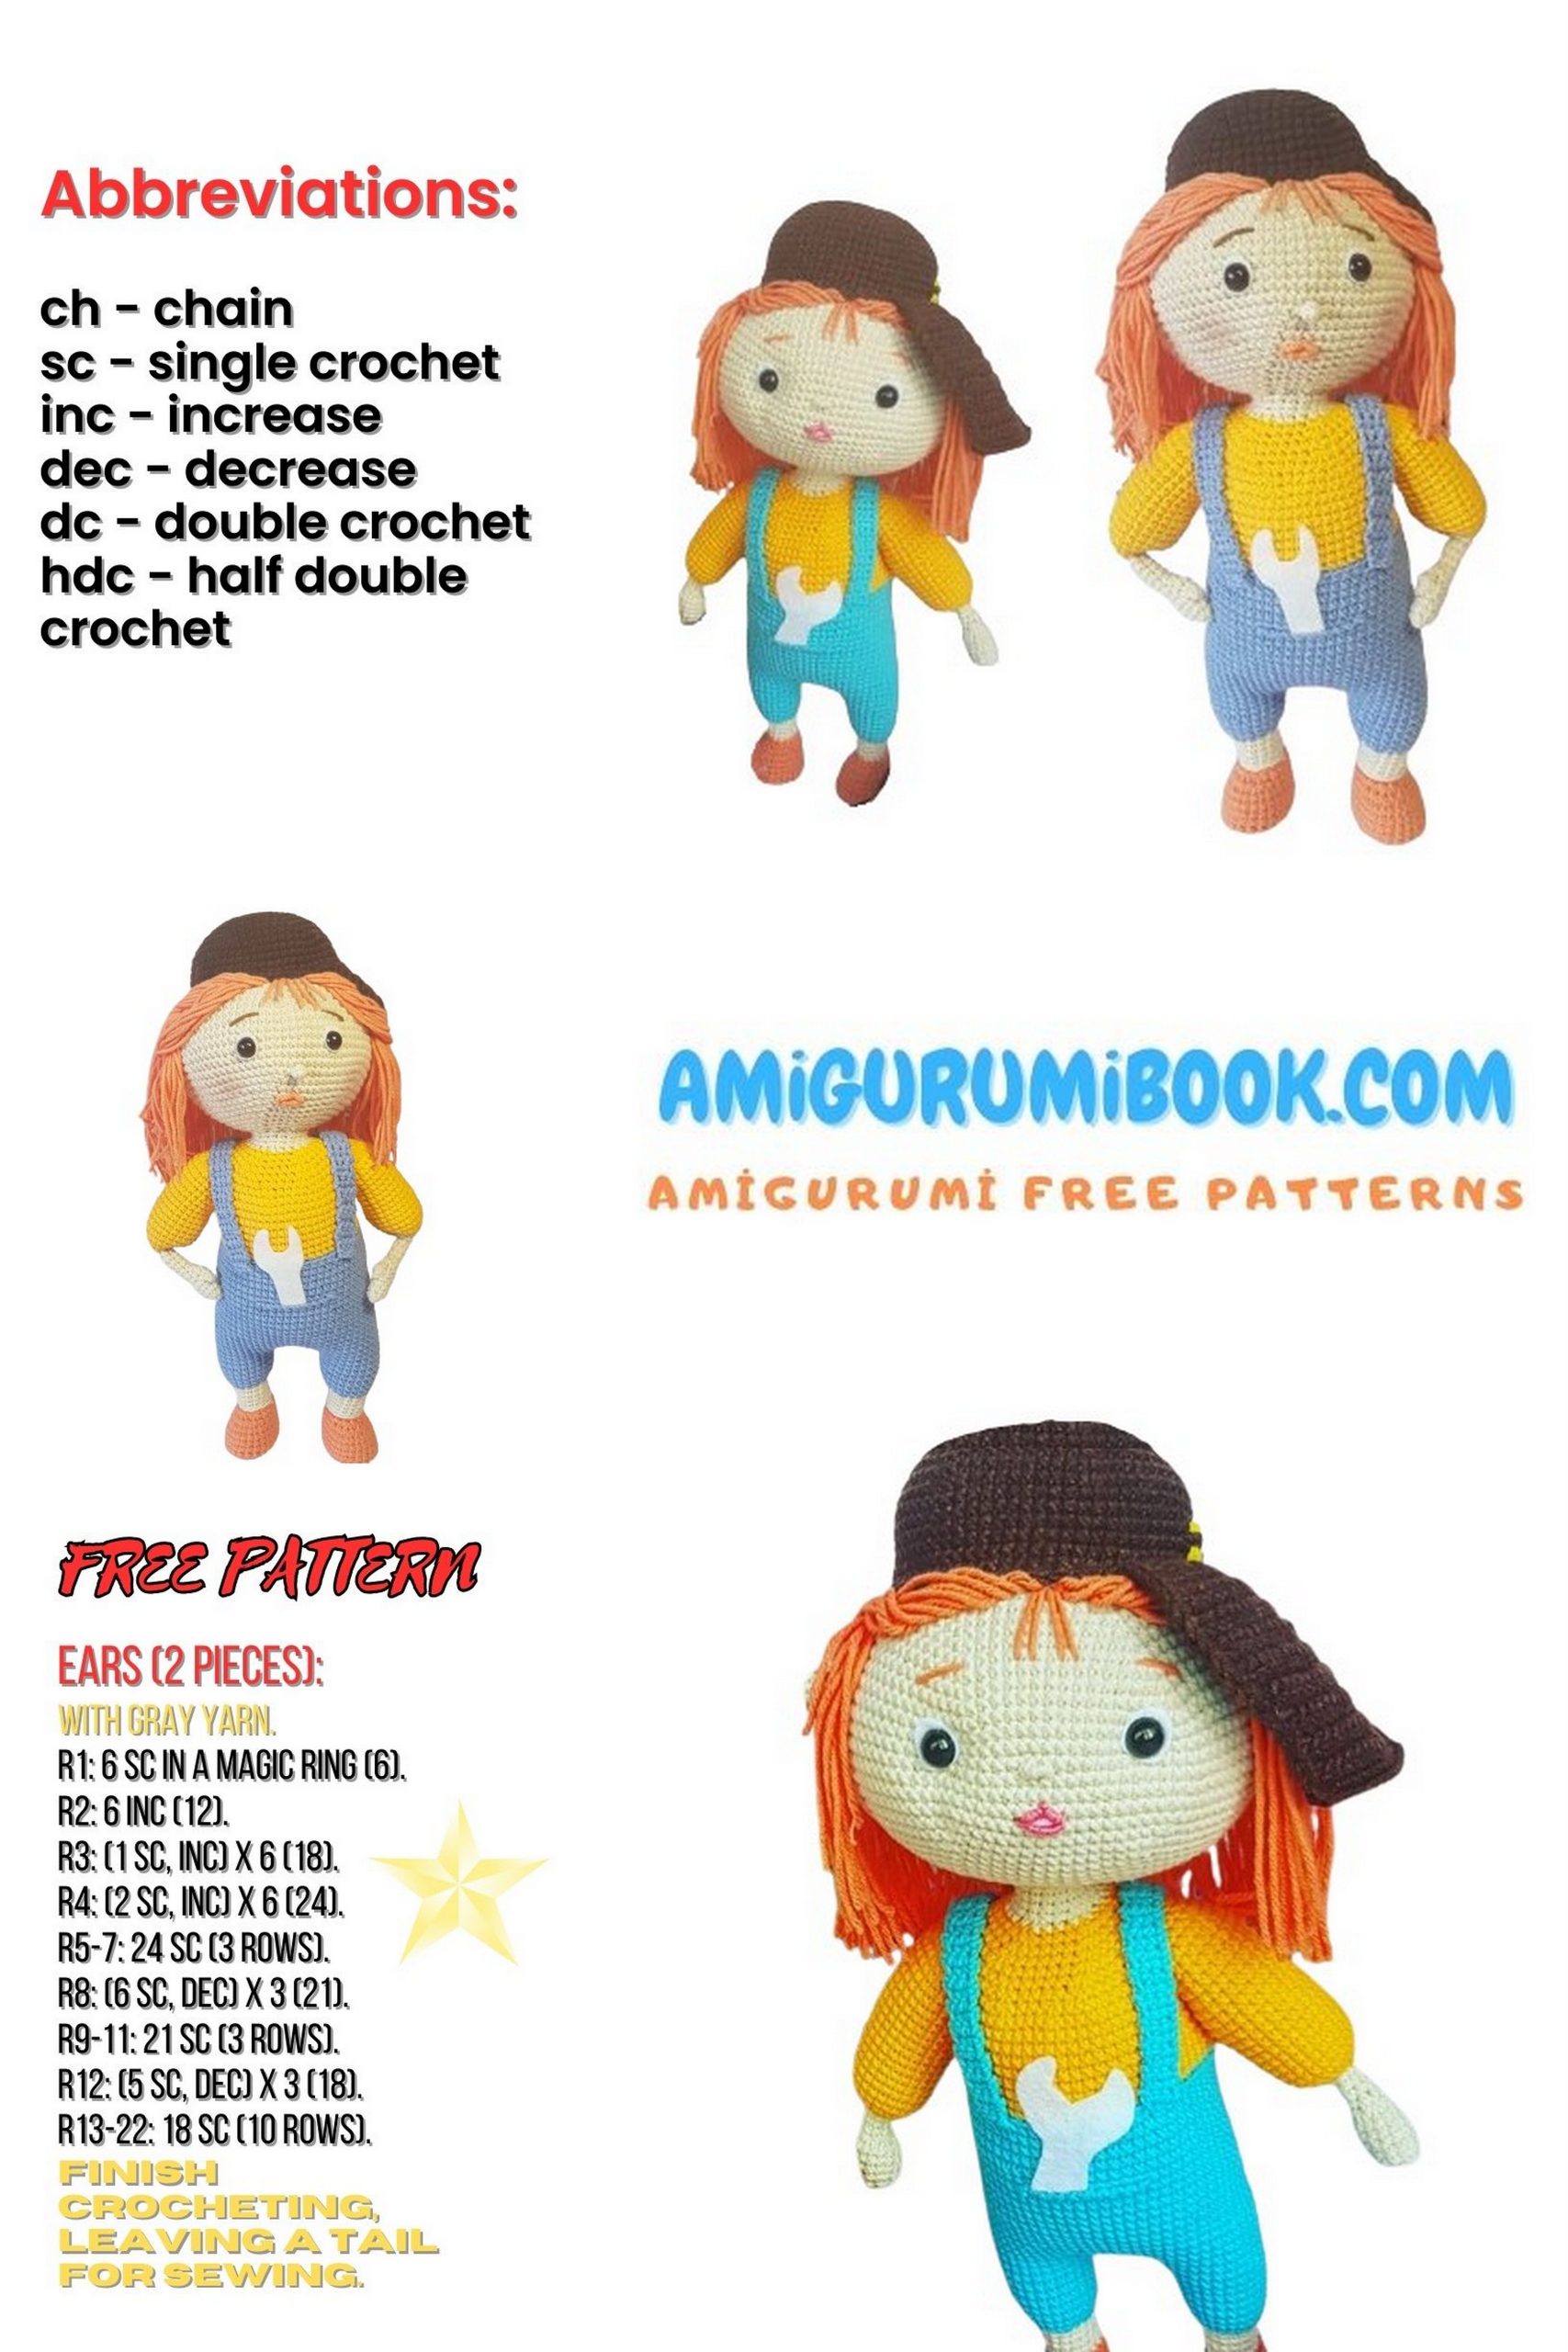
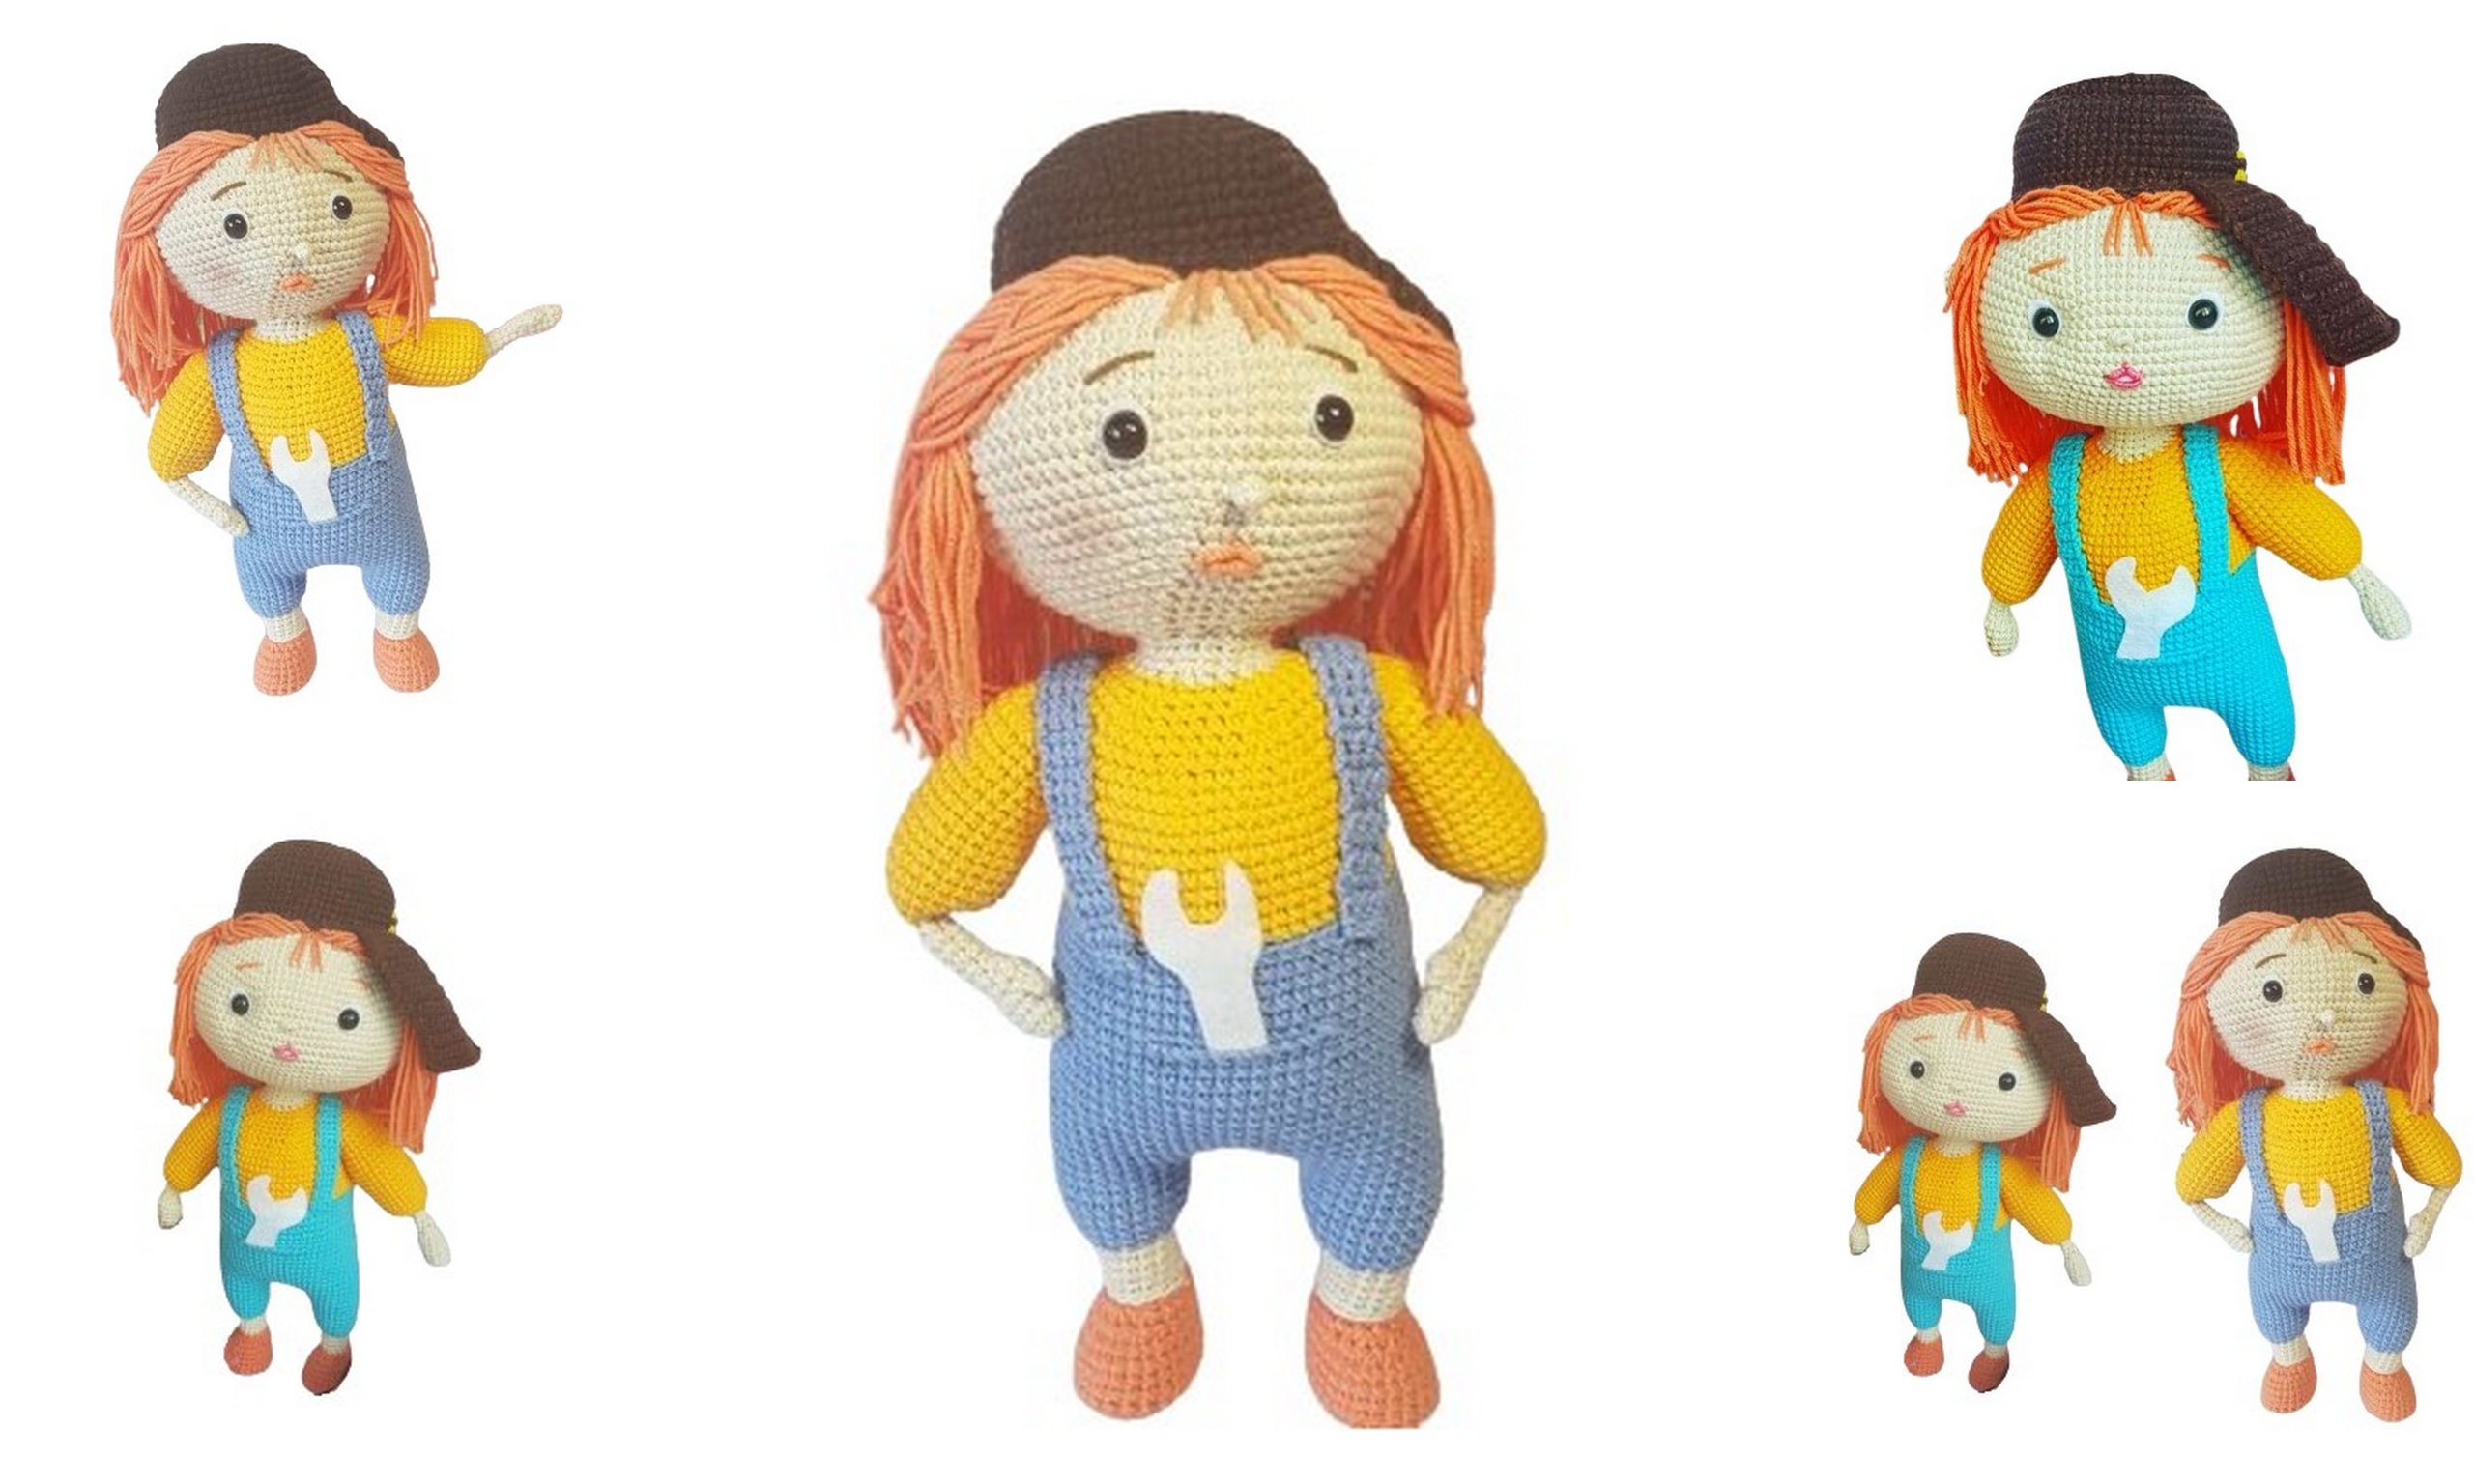
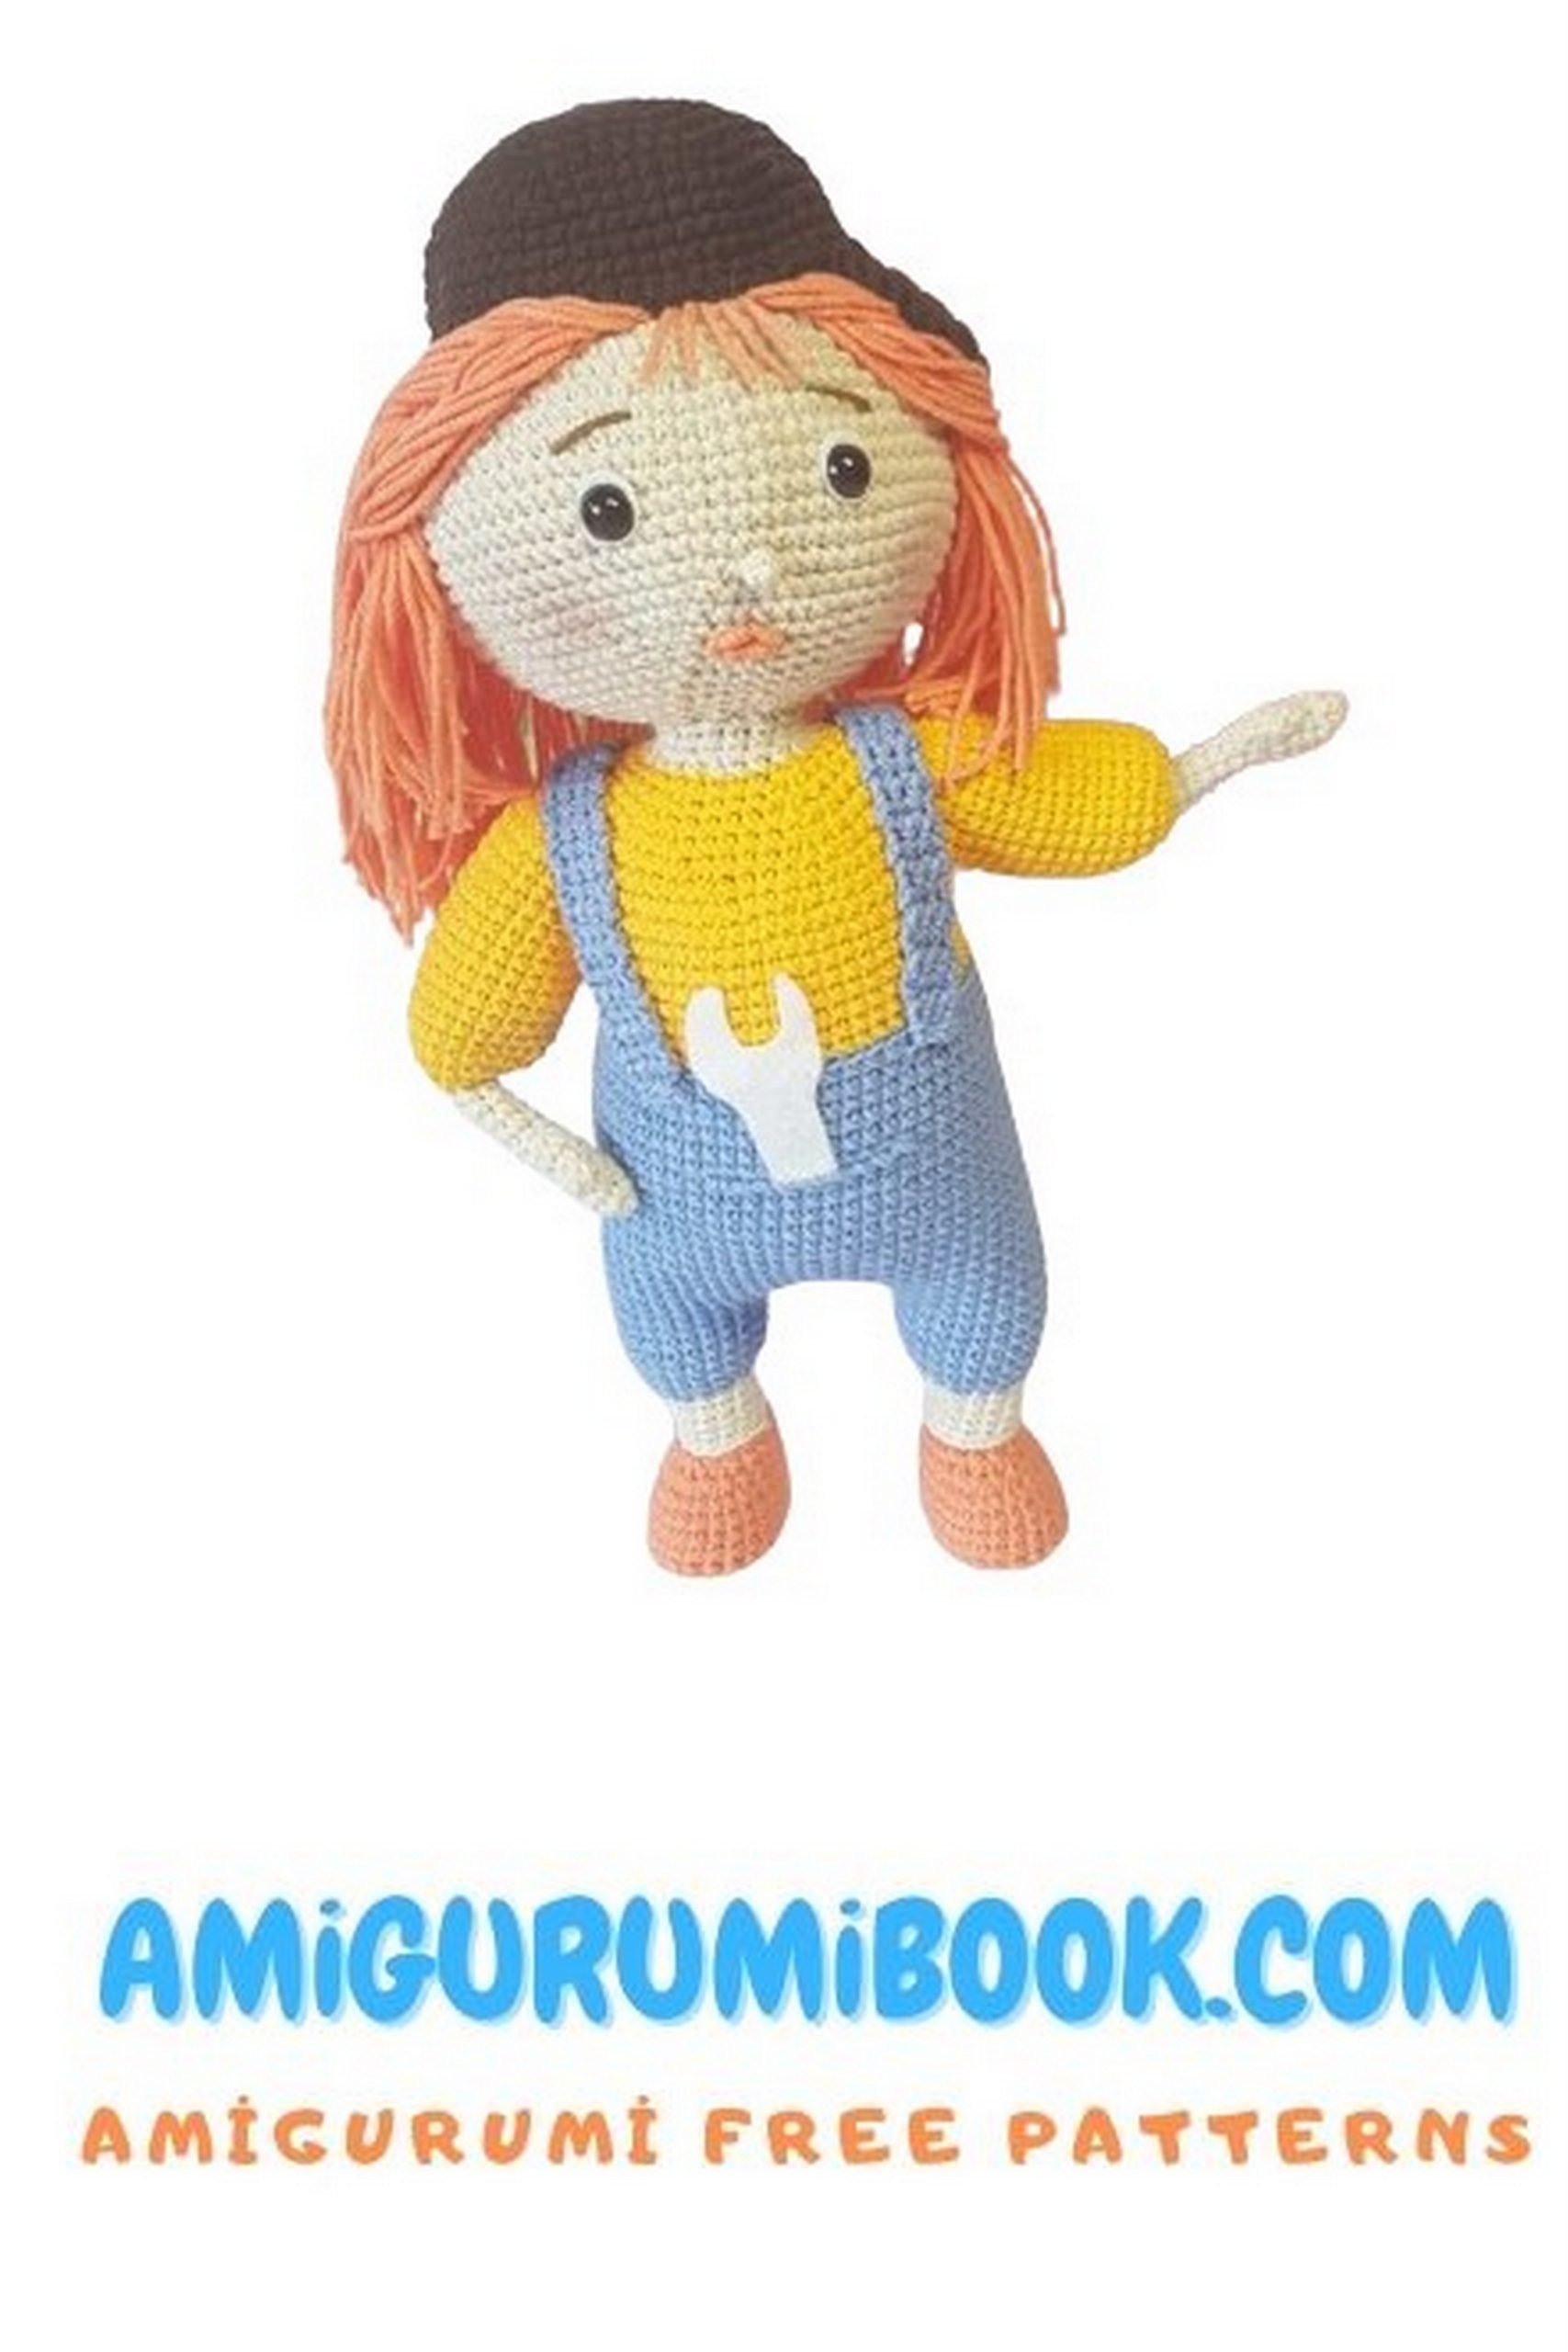
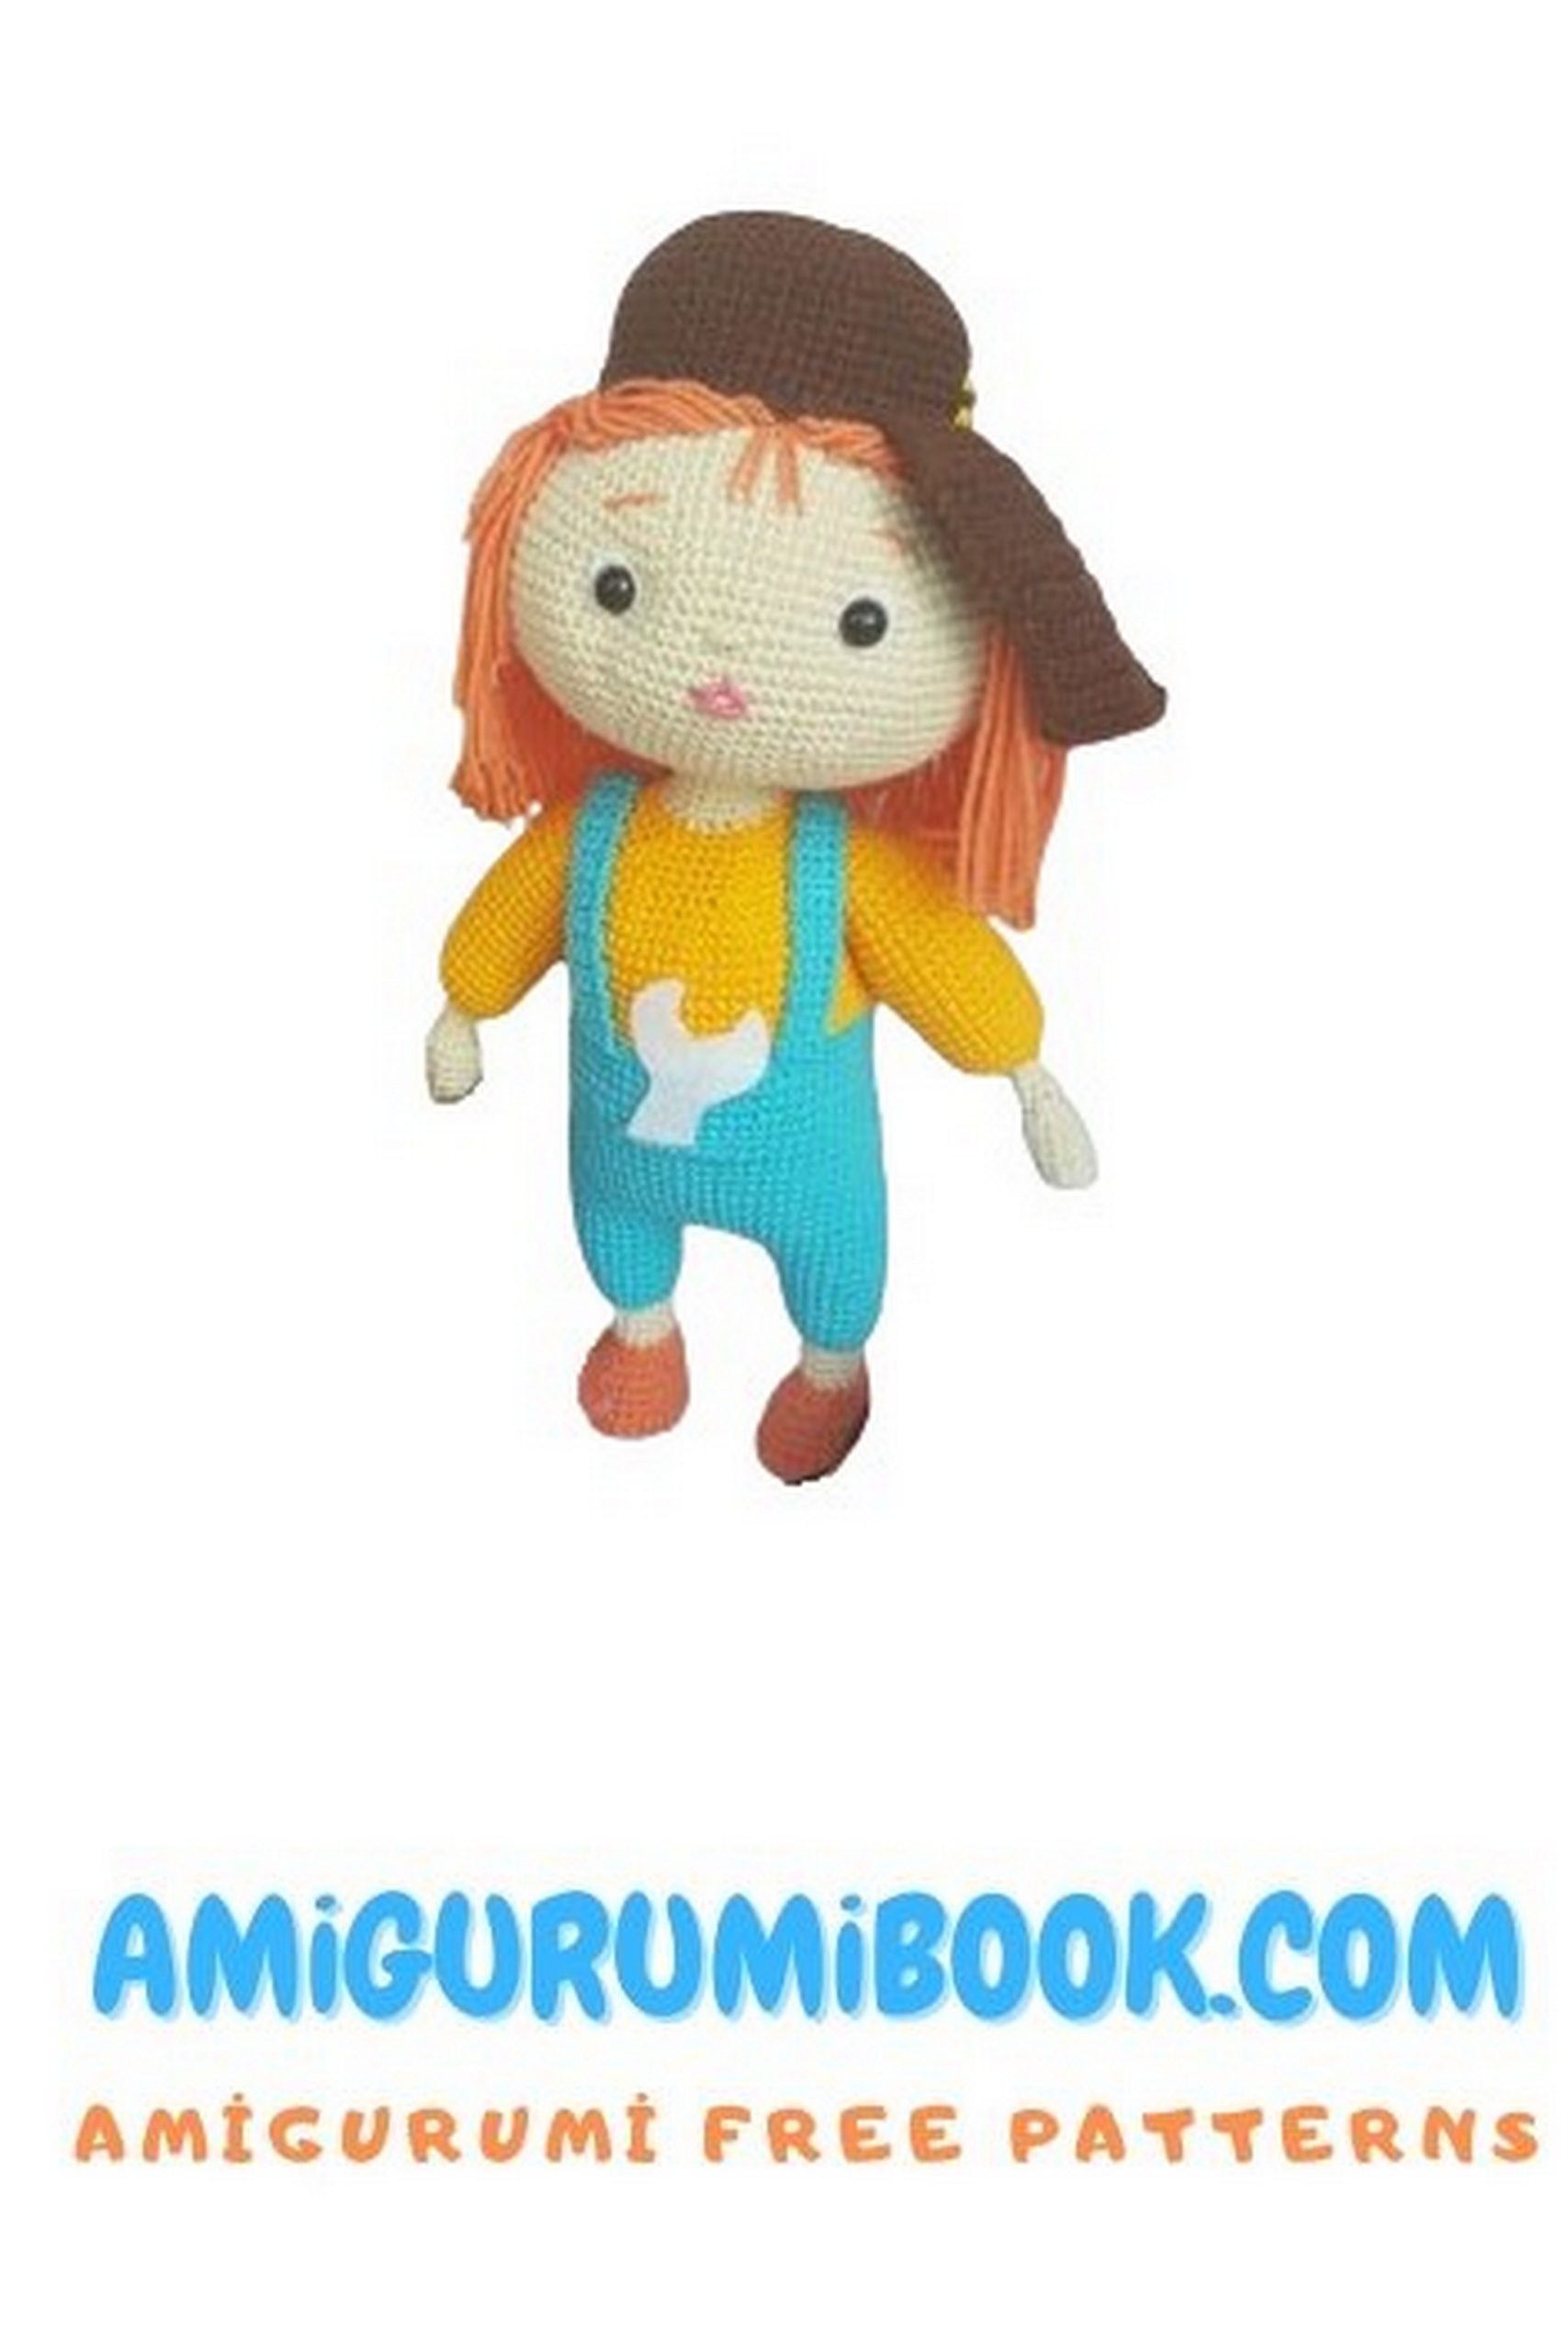
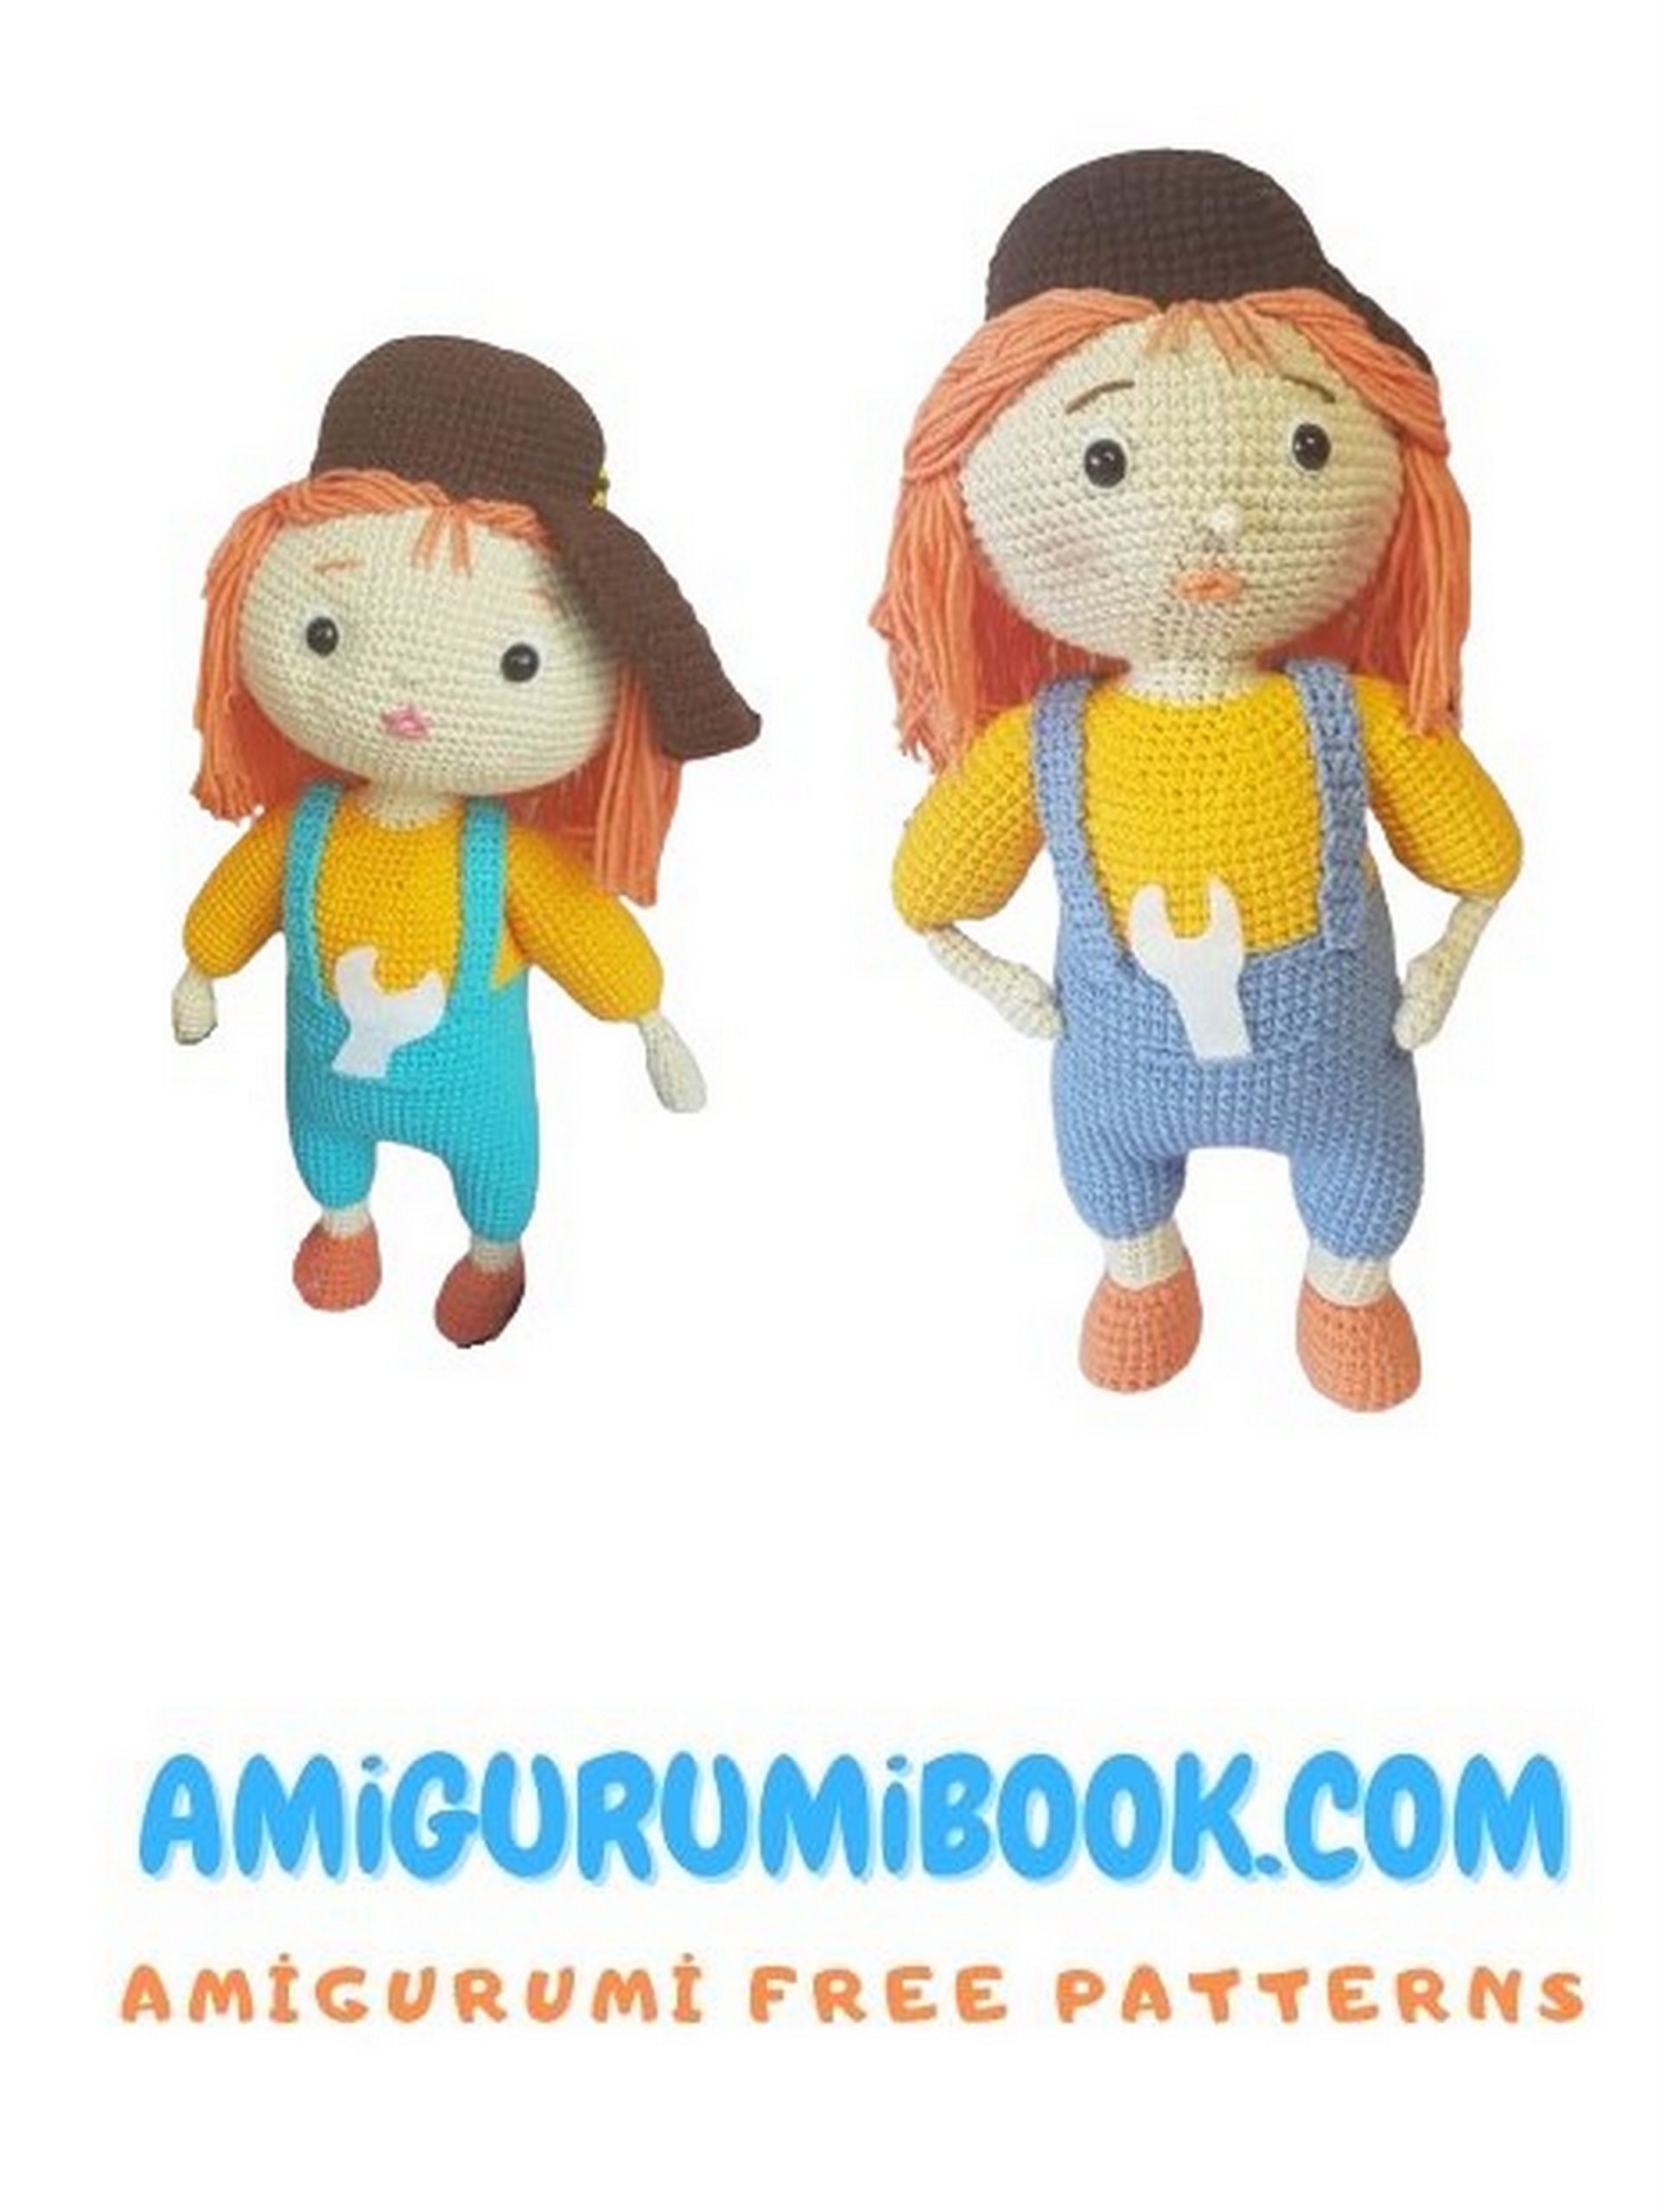
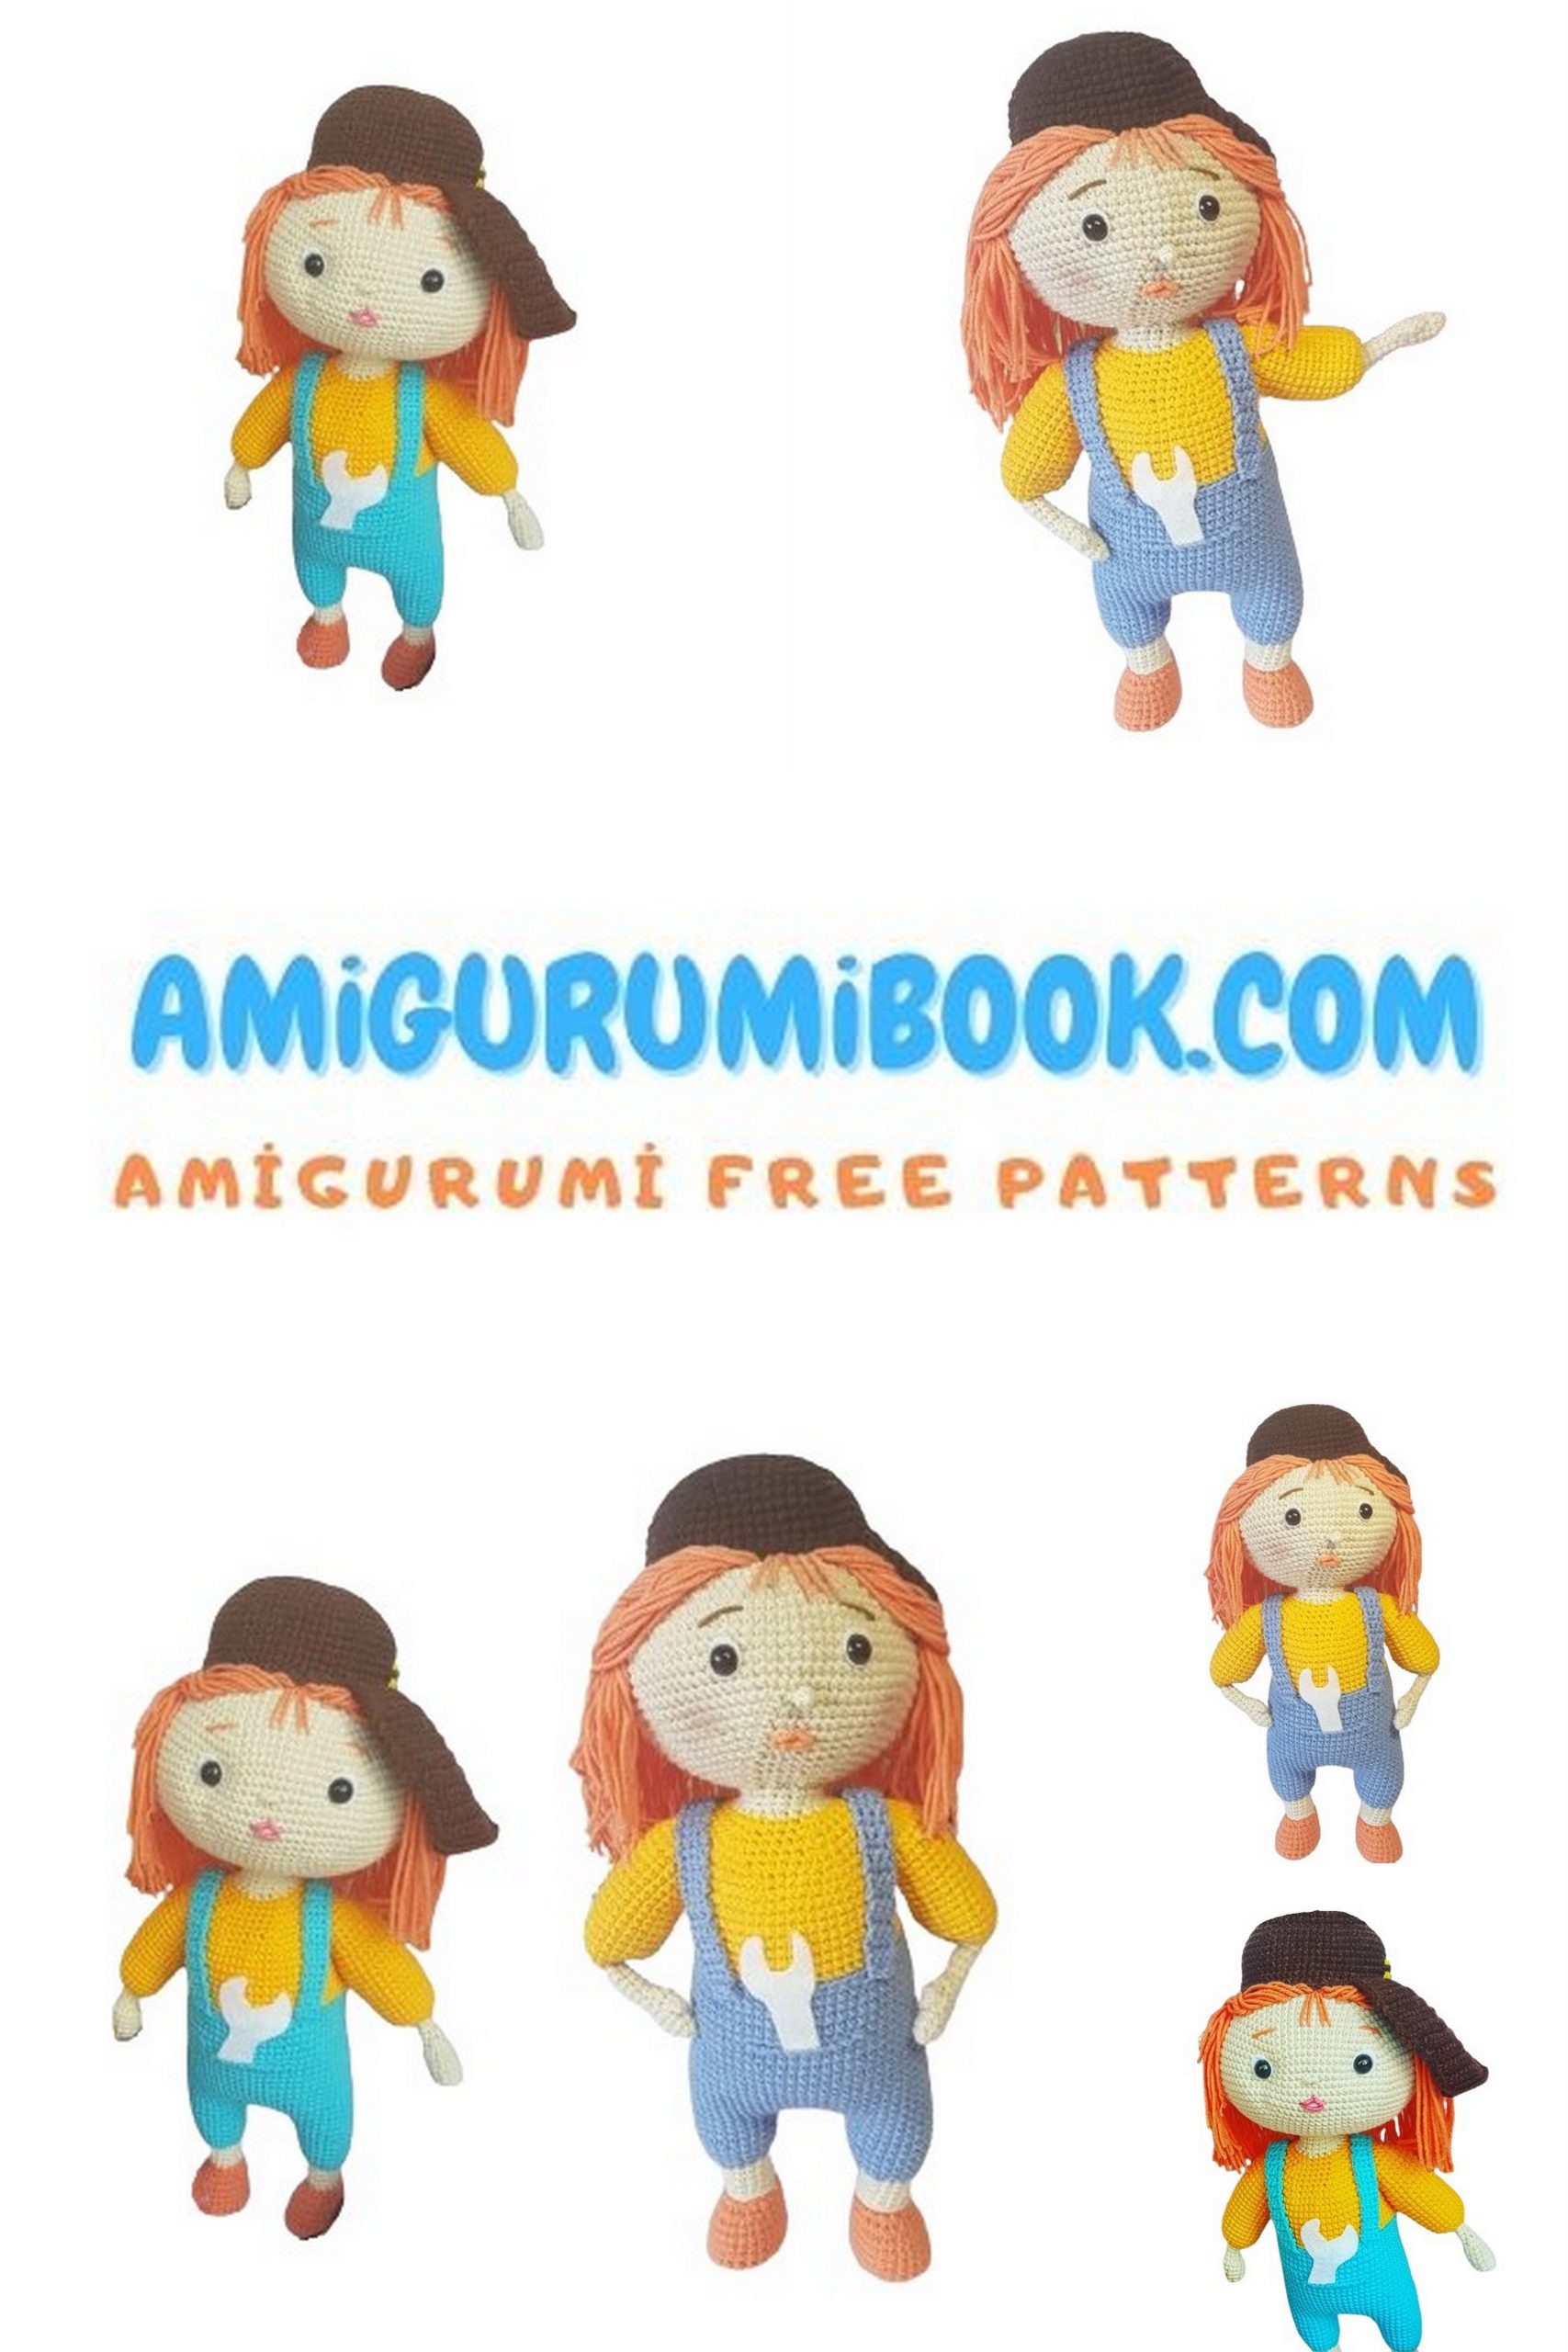
Welcome to the fascinating world of crochet! If you’re a fan of both crafting and all things mechanical, you’re in for an exciting project. Our amigurumi free pattern for the Mechanic Doll Amigurumi is here to ignite your creativity and bring a touch of whimsy to your crochet collection.
Whether you’re just starting out or have been crocheting for years, this pattern offers a rewarding crafting experience for everyone. With step-by-step instructions and helpful tips, you’ll soon be crocheting your very own mechanical marvel.
From its quirky gears and gadgets to its adorable expression, the Mechanic Doll is sure to charm crafters of all ages. Plus, you have the freedom to customize your doll with unique colors and accessories to suit your style.
So, grab your crochet hooks and let’s embark on this delightful crafting journey together. Get ready to crochet your own mechanical masterpiece and add a dash of creativity to your home. Happy crocheting!
If you want to access 1000+ free amigurumi patterns, you can download our application from this link!
Abbreviations
CH: Chain
SC: Single Crochet
INC: Increase
DEC: Decrease
These abbreviations are commonly used in crochet patterns to make the instructions more concise and easier to follow
PATTERN
ARMS: Mechanic Doll
Skin color
1: 6 SC in MR (6)
2: INC around (12)
3-7: 12 SC each row
8: DEC around (6)
9: INC around (12)
10-12: 12 SC each row
Change color to yellow
13: (1 SC, INC) repeat 6 times (18)
14: (2 SC, INC) repeat 6 times (24)
15: 24 SC
16-29: 24 SC each row
Fasten off, weave in ends.
LEGS: Mechanic Doll
Orange color
1: 6 CH, from 2nd from hook: 4 SC, 3 SC in last, 3 SC, 3 SC in last (13)
2: 4 SC, 3 INC, 3 SC, 3 INC (19)
3: 6 SC, 3 INC, 7 SC, 3 INC (25)
4: 25 SC – work through back loops
5-8: 25 SC each row
9: 4 SC, 6 DEC, 9 SC
10: 4 SC, 3 DEC, 9 SC (16) Stuff foot with stuffing.
Move marker to middle of heel.
Change color to skin.
11: 16 SC through back loop.
12: DEC, 13 SC, DEC (15)
13-14: 14 SC each row
Change color to blue
15: (1 SC, INC) repeat 8 times (23)
16-20: 23 SC each row
In 20th row, crochet additional 5 SC, then slip stitch.
For the second leg, crochet additional 16 SC, then 8 CH.
Join legs.
21: 23 SC, 8 SC along CH, 23 SC, 8 SC along CH, 27 SC (61), place marker.
22-35: 61 SC each row
36: 26 SC, 10 SC through back loops, 25 SC
37-39: 61 SC each row
40: 53 SC, 8 SC through back loops
41: 8 SC through back loops, 15 SC, 3 SC through back loops, 10 SC, 3 SC through back loops
Change to yellow
42: 61 SC through back loops
43-47: 61 SC each row
48: Attach arms: 14 SC along back, 6 SC joined with arm, 26 SC along chest, 6 SC joined with second arm, 10 SC (66)
49: 14 SC, 18 SC along arm, 26 SC, 18 SC along arm, 10 SC (86)
50: Work all stitches around body and remaining arm stitches (86)
51: 27 SC, DEC, 26 SC, DEC, 27 SC, DEC
52: (3 SC, DEC) repeat 16 times (67)
53: 4 SC, DEC, (5 SC, DEC) repeat 9 times, 5 SC (58)
54: 15 SC, DEC, 10 SC, DEC, 5 SC, DEC, 10 SC, DEC, 10 SC (54)
55: (7 SC, DEC) repeat 6 times (48)
56: (6 SC, DEC) repeat 6 times (42)
57: (5 SC, DEC) repeat 6 times (36)
58: (4 SC, DEC) repeat 6 times (30)
Change to skin color
59: (3 SC, DEC) repeat 6 times (24)
60: (2 SC, DEC) repeat 6 times (18)
61-67: 18 SC each row
Stuff neck firmly or reinforce with foam. Insert blue yarn in loop areas for straps, crochet necessary number of rows.
Cut a wrench from felt, glue it near the faux pocket, then wrap pocket loops with thread.
HEAD: Mechanic Doll
1: 6 SC in MR (6)
2: INC around (12)
3: (1 SC, INC) repeat 6 times (18)
4: (2 SC, INC) repeat 6 times (24)
5: (3 SC, INC) repeat 6 times (30)
6: (4 SC, INC) repeat 6 times (36)
7: (5 SC, INC) repeat 6 times (42)
8: (6 SC, INC) repeat 6 times (48)
9: (7 SC, INC) repeat 6 times (54)
10: (8 SC, INC) repeat 6 times (60)
11: (9 SC, INC) repeat 6 times (66)
12: (10 SC, INC) repeat 6 times (72)
13: (11 SC, INC) repeat 6 times (78)
14: (12 SC, INC) repeat 6 times (84)
15: (13 SC, INC) repeat 6 times (90)
16: (14 SC, INC) repeat 6 times (96)
17: (15 SC, INC) repeat 6 times (102)
18-24: 102 SC each row (7 rows)
25: (15 SC, DEC) repeat 6 times (96)
26: (14 SC, DEC) repeat 6 times (90)
27: (13 SC, DEC) repeat 6 times (84)
28: (12 SC, DEC) repeat 6 times (78)
29: (11 SC, DEC) repeat 6 times (72)
30: (10 SC, DEC) repeat 6 times (66)
31: (9 SC, DEC) repeat 6 times (60)
32: (8 SC, DEC) repeat 6 times (54)
33: (7 SC, DEC) repeat 6 times (48)
34: (6 SC, DEC) repeat 6 times (42)
35: (5 SC, DEC) repeat 6 times (36)
36: (4 SC, DEC) repeat 6 times (30)
37: (3 SC, DEC) repeat 6 times (24)
38: (2 SC, DEC) repeat 6 times (18)
39: (1 SC, DEC) repeat 6 times (12)
40: DEC around (6)
Fasten off, pull yarn tail through remaining stitches, pull tight, cut yarn, weave in end.
EARS: Mechanic Doll
1: 6 SC in MR (6)
2: INC around (10)
CAP: Mechanic Doll
1: 6 SC in MR (6)
2: INC around (12)
3: (1 SC, INC) repeat 6 times (18)
4: (2 SC, INC) repeat 6 times (24)
5: (3 SC, INC) repeat 6 times (30)
6: (4 SC, INC) repeat 6 times (36)
7: (5 SC, INC) repeat 6 times (42)
8: (6 SC, INC) repeat 6 times (48)
9: (7 SC, INC) repeat 6 times (54)
10: (8 SC, INC) repeat 6 times (60)
11: (9 SC, INC) repeat 6 times (66)
12: (10 SC, INC) repeat 6 times (72)
13-17: 72 SC each row (5 rows)
18: Work brim in turning rows: CH 1, turn, SC, 20 SC, INC (22)
19: CH 1, 22 SC, CH 1, turn (22)
20: SC, 22 SC, SC, CH 1, turn (24)
21: CH 1, 24 SC, CH 1, turn (24)
22: SC, 24 SC, SC, CH 1, turn (26)
23: 26 SC, CH 1, turn (26)
24: SC, 26 SC, SC, CH 1, turn (28)
25: 28 SC, CH 1, turn (28)
26: SC, 28 SC, SC, CH 1, turn (30)
27: 30 SC, CH 1, turn (30)
28: DEC, 26 SC, DEC, CH 1, turn (28)
29: 28 SC, CH 1, turn (28)
30: DEC, 24 SC, DEC, CH 1, turn (26)
31: 26 SC, CH 1, turn (26)
32: DEC, 22 SC, DEC, CH 1, turn (24)
33: 24 SC, CH 1, turn (24)
34: DEC, 20 SC, DEC, CH 1, turn (22)
35: 20 SC, CH 1, turn, continue edging brim with slip stitches.
You can optionally sew and stuff the cap, but it will make the head heavy and slightly wobbly.
Starting from the edge of the cap sewn to the head, sew on the hair. Finish the face. Your cartoon doll is ready.