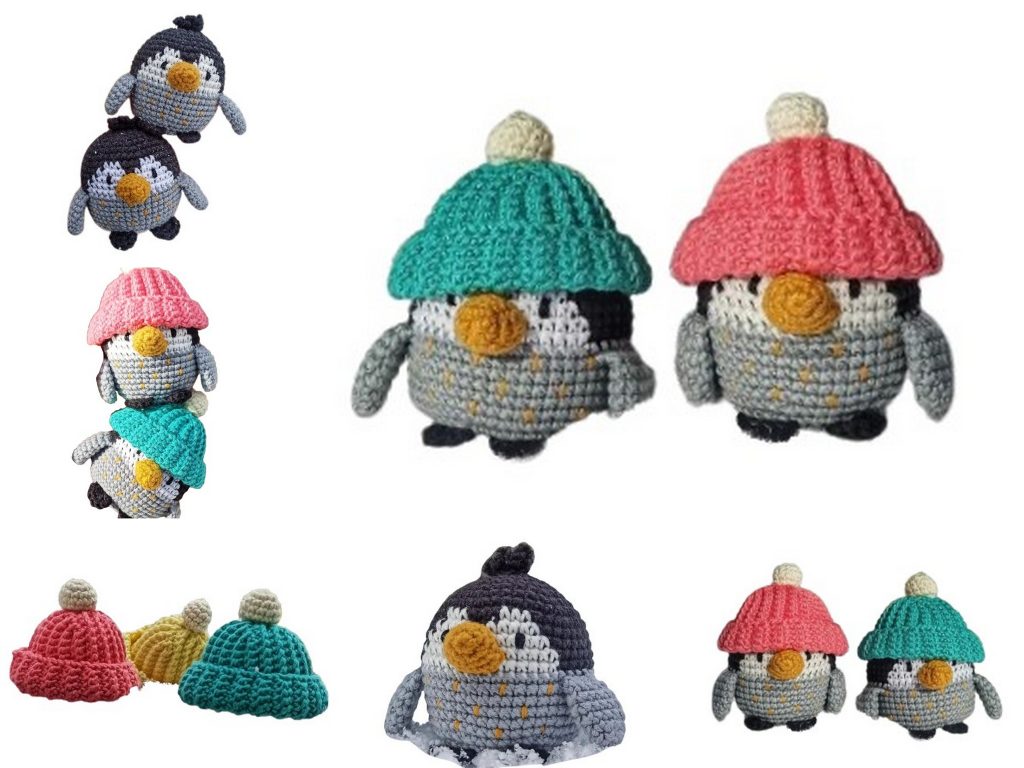
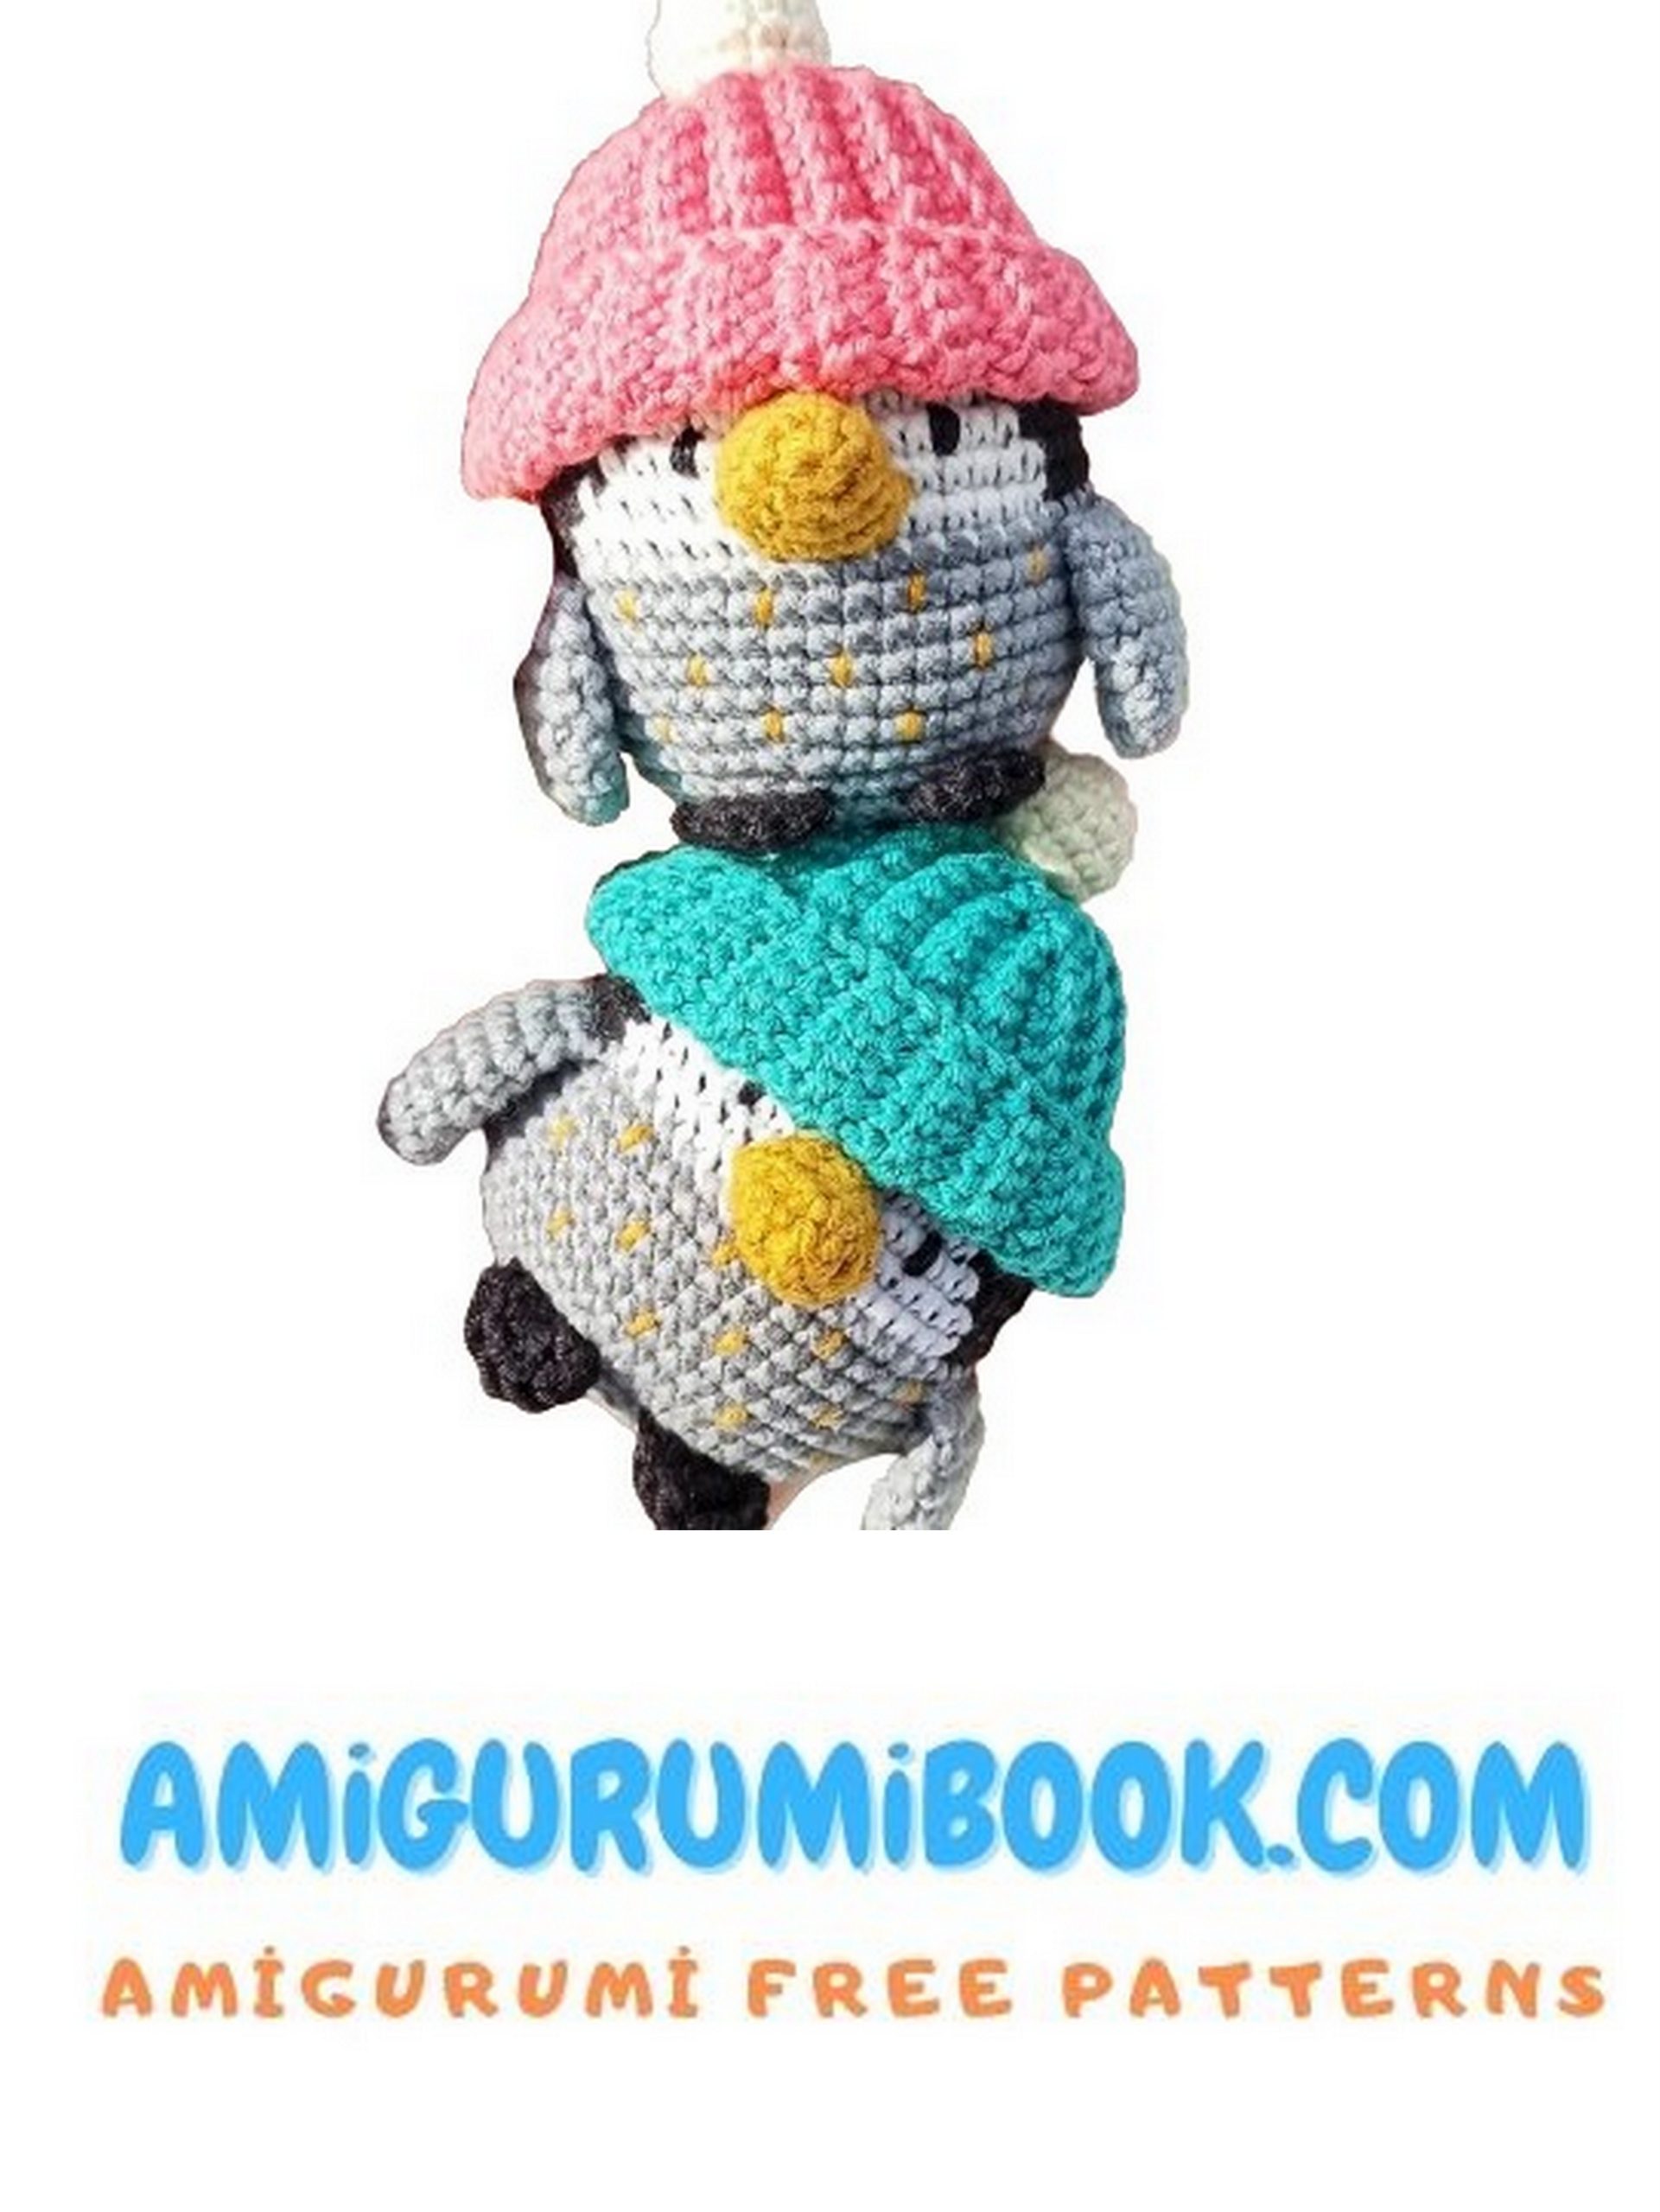
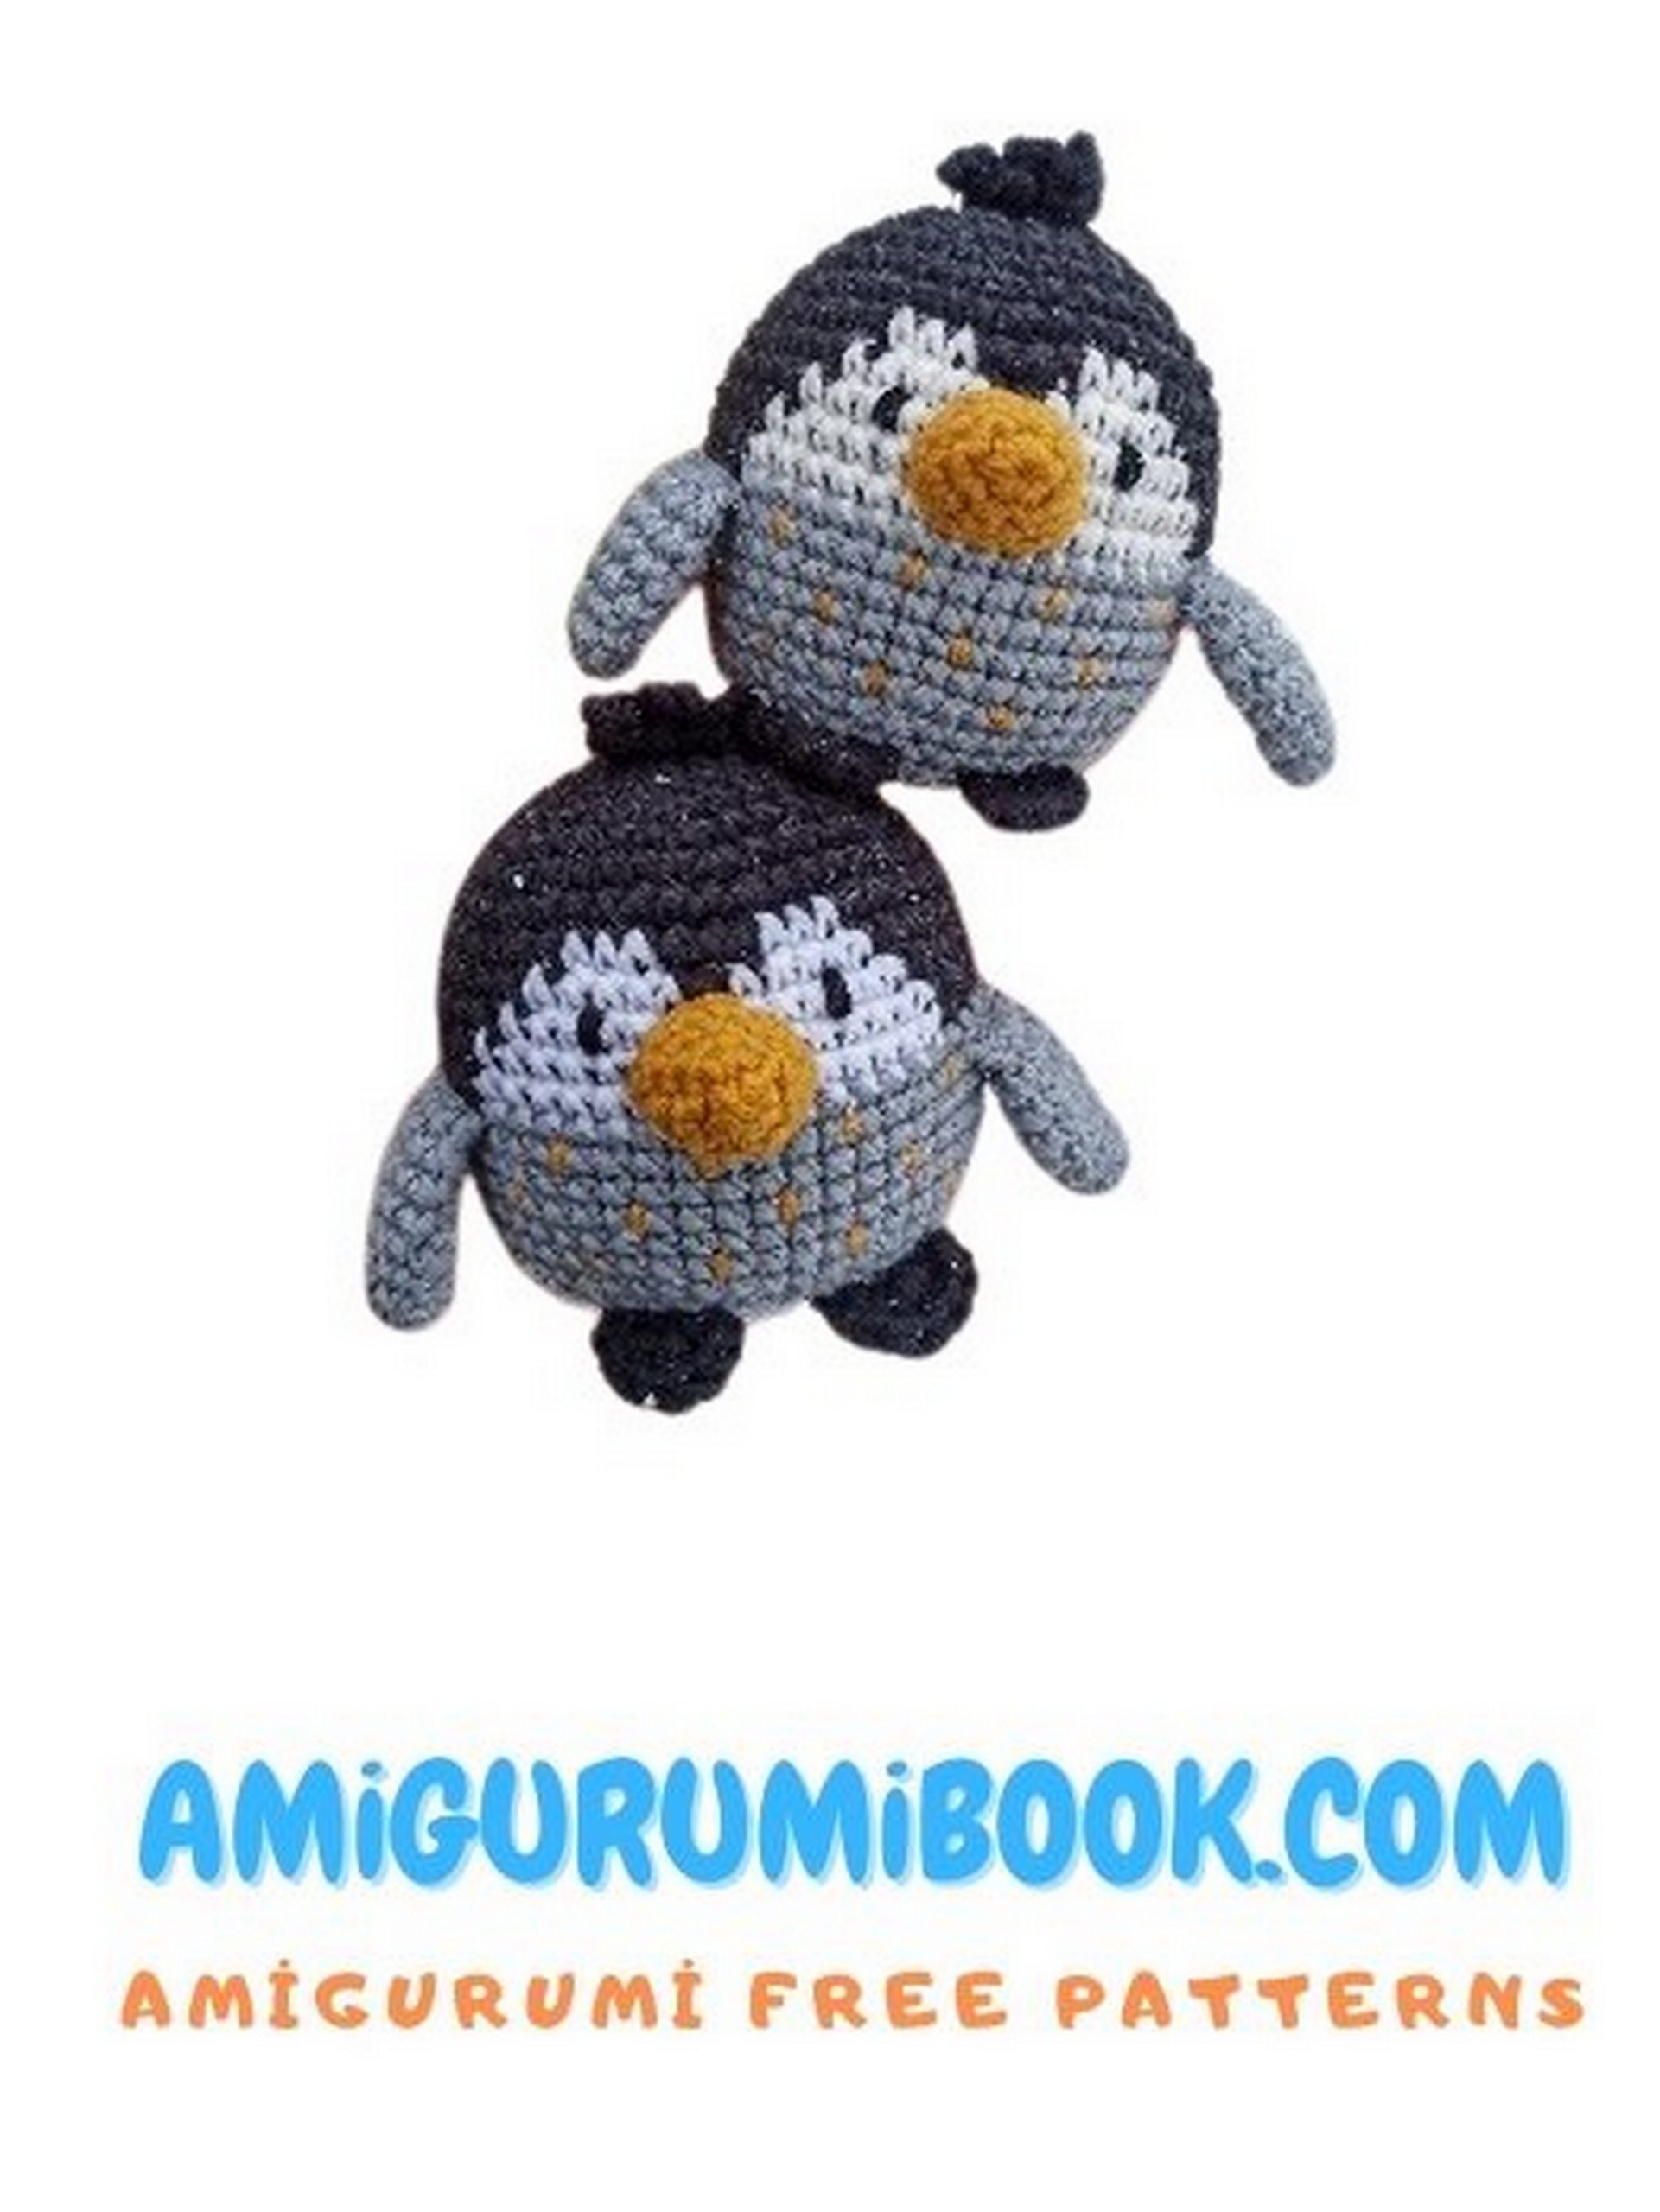
Explore the chilly wonders of the Arctic with our amigurumi free pattern to create your very own Baby Penguin amigurumi! Whether you’re a crochet enthusiast or just starting out, this pattern offers a delightful project to bring a touch of cuteness to your crafting adventures. Stitch by stitch, craft your own adorable baby penguin companion, perfect for adding a whimsical touch to your decor or as a lovable gift for penguin enthusiasts. Join us on this Arctic crafting journey and let’s crochet our way to creating a charming little penguin friend!
Greetings, dear friends!
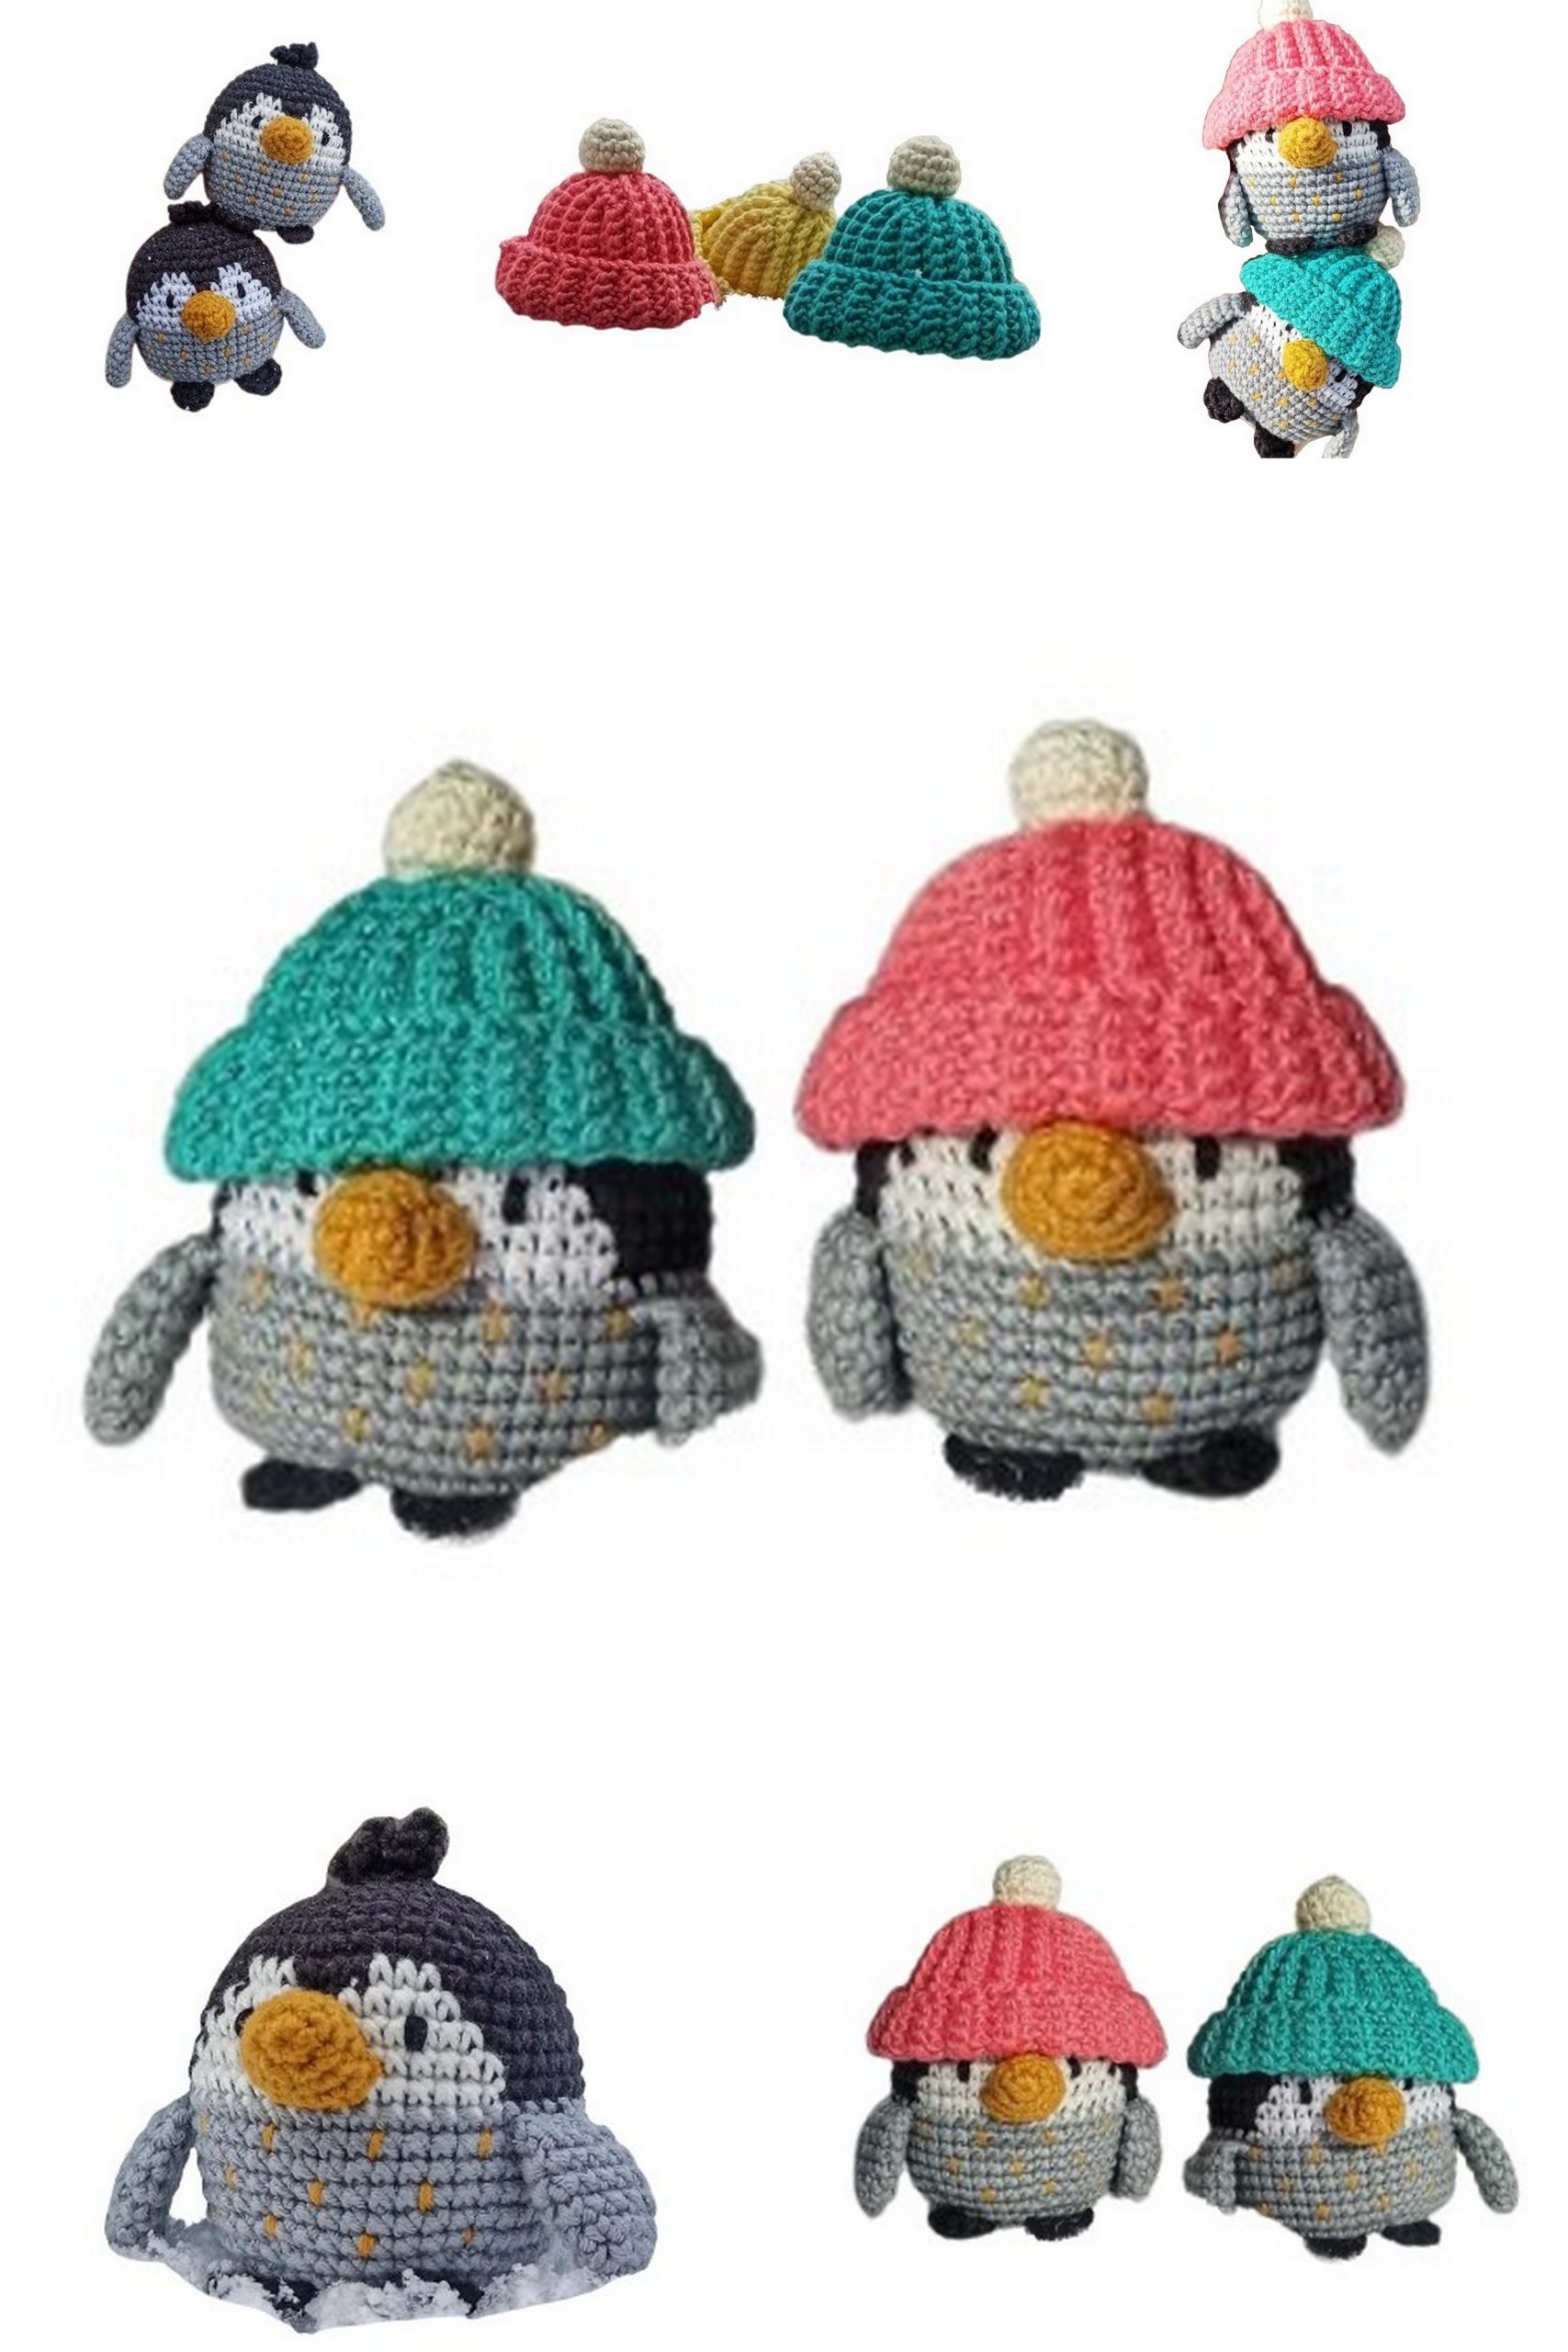
Meet the Penguin Baby. Cute, isn’t it?!) Real penguins and their chicks, incredibly beautiful animals, inspired me to create this tutorial.
You can crochet your own little penguin and love it; it will respond with affection to you.
If you have any questions, feel free to ask me, I’ll be happy to answer them.
This tutorial is my original design, it’s free and not intended for sale. Don’t forget to mention me when publishing the crochet pattern and your works. Wishing you enjoyable crocheting and excellent results.
If you want to access 1000+ free amigurumi patterns, you can download our application from this link!
Abbreviations:
mr – magic ring
ch- chain
sc – single crochet
dec – decrease
inc – increase

PATTERN
Head-Body- Baby Penguin
Begin crocheting with black yarn.
1: 6 SC in MR (6)
2: 6 INC (12)
3: (1 SC, INC)*6 times (18)
4: (2 SC, INC)*6 times (24)
5: (3 SC, INC)*6 times (30)
6: (4 SC, INC)*6 times (36)
7: (5 SC, INC)*6 times (42)
8: (6 SC, INC)*6 times (48)
Continue crocheting using the Jacquard technique (this means when changing colors, the yarn is not cut, but carried inside the loop along the inner side of the fabric).
Note:
It’s not necessary to carry the white yarn under the black loops to avoid overloading the fabric. You can cut the white yarn after finishing the white element, and at the beginning of a new row, attach a new one. In this case, don’t forget to secure the ends of the yarn by tying them together.
9: Crochet 9 SC with black yarn, 3 SC with white, 3 SC with black, 3 SC with white, 30 SC with black (48)
10: 8 SC with black, 4 SC with white, 1 SC with black, 4 SC with white, 31 SC with black (48)
11: 7 SC with black, 13 SC with white, 28 SC with black (48)
12-13: 6 SC with black, 15 SC with white, 27 SC with black (2 rows)
14: 6 SC with black, change yarn color to gray, 42 SC with gray (48)
For convenience, move the beginning of the row to the junction of black and gray colors, meaning crochet 6 more SC with gray (48)
15-21: 48 SC with gray yarn (7 rows)
22: (6 SC, DEC)*6 times (42)
23: (5 SC, DEC)*6 times (36)
24: (4 SC, DEC)*6 times (30)
25: (3 SC, DEC)*6 times (24)
Stuff the piece with filling. (If it’s a rattle, place a special hardware inside at this stage)
26: (2 SC, DEC)*6 times (18)
27: (1 SC, DEC)*6 times (12)
28: 3 DEC, fasten off and hide the yarn tail inside the piece.

Wings (2 pieces)- Baby Penguin
Crochet with gray yarn.
1: 6 SC in MR (6)
2: (2 SC, INC)*2 times (8)
3: (3 SC, INC)*2 times (10)
4: (4 SC, INC)*2 times (12)
5-6: 12 SC (2 rows)
7: (2 SC, DEC)*3 times (9)
Do not stuff the piece.
Fold the piece in half and crochet 4 SC, leaving a tail for sewing.
Beak- Baby Penguin
Crochet with yellow (or orange) yarn.
1: 6 SC in MR (6)
2: (2 SC, INC)*2 times (8)
3: (3 SC, INC)*2 times (10)
4: 10 SC
Another 5 SC
Fasten off and leave a yarn tail for sewing.
Feet (2 pieces)- Baby Penguin
Crochet with black yarn (you can also use yellow or orange matching the beak color).
You can crochet the feet in two ways: start with 4 CH and switch to the pattern or make 4 stitches in the body using slip stitches and continue according to the pattern.
Pattern: 4 CH, in the second from the hook stitch 1 slip stitch, 1 HSS in one loop, 1 slip stitch, 1 CH, 1 slip stitch in the same loop.
Tail- Baby Penguin
Crochet with gray yarn.
The tail is located at the back, approximately in the middle, around row 22.
You can crochet the tail in two ways: start with 6 CH and switch to the pattern or make 6 stitches in the body using slip stitches and continue according to the pattern.
Pattern: 6 CH, in the second from the hook stitch 1 SC, 1 HSS, 3 SC in one loop, 1 HSS, 1 SC, 1 CH, 1 slip stitch in the same loop.
Topknot.
Crochet with black yarn.
Crochet 3 slip stitches on the head using the tambour technique.
Then follow the pattern: (5 CH, 1 slip stitch), repeat ( ) 3 times, pull the yarn, tie off the ends and hide them inside the piece.
Assembly and finishing of the toy.
a)Sew the parts symmetrically, orienting on the Jacquard pattern on the head.
b)Sew the wings on the sides at the junction of black and gray colors, starting from the white color of the Jacquard pattern.
c)Sew the beak on rows 11-13 in the middle of the Jacquard pattern. Stuff the part while sewing.
d)Sew the feet between rows 21 and 22, between the feet make 2-3 SC.
d)Sew the tail (or crochet according to the pattern) at the back in the middle of row 22.
Embroider eyes with black yarn. Decorate the belly with stitches matching the beak color.
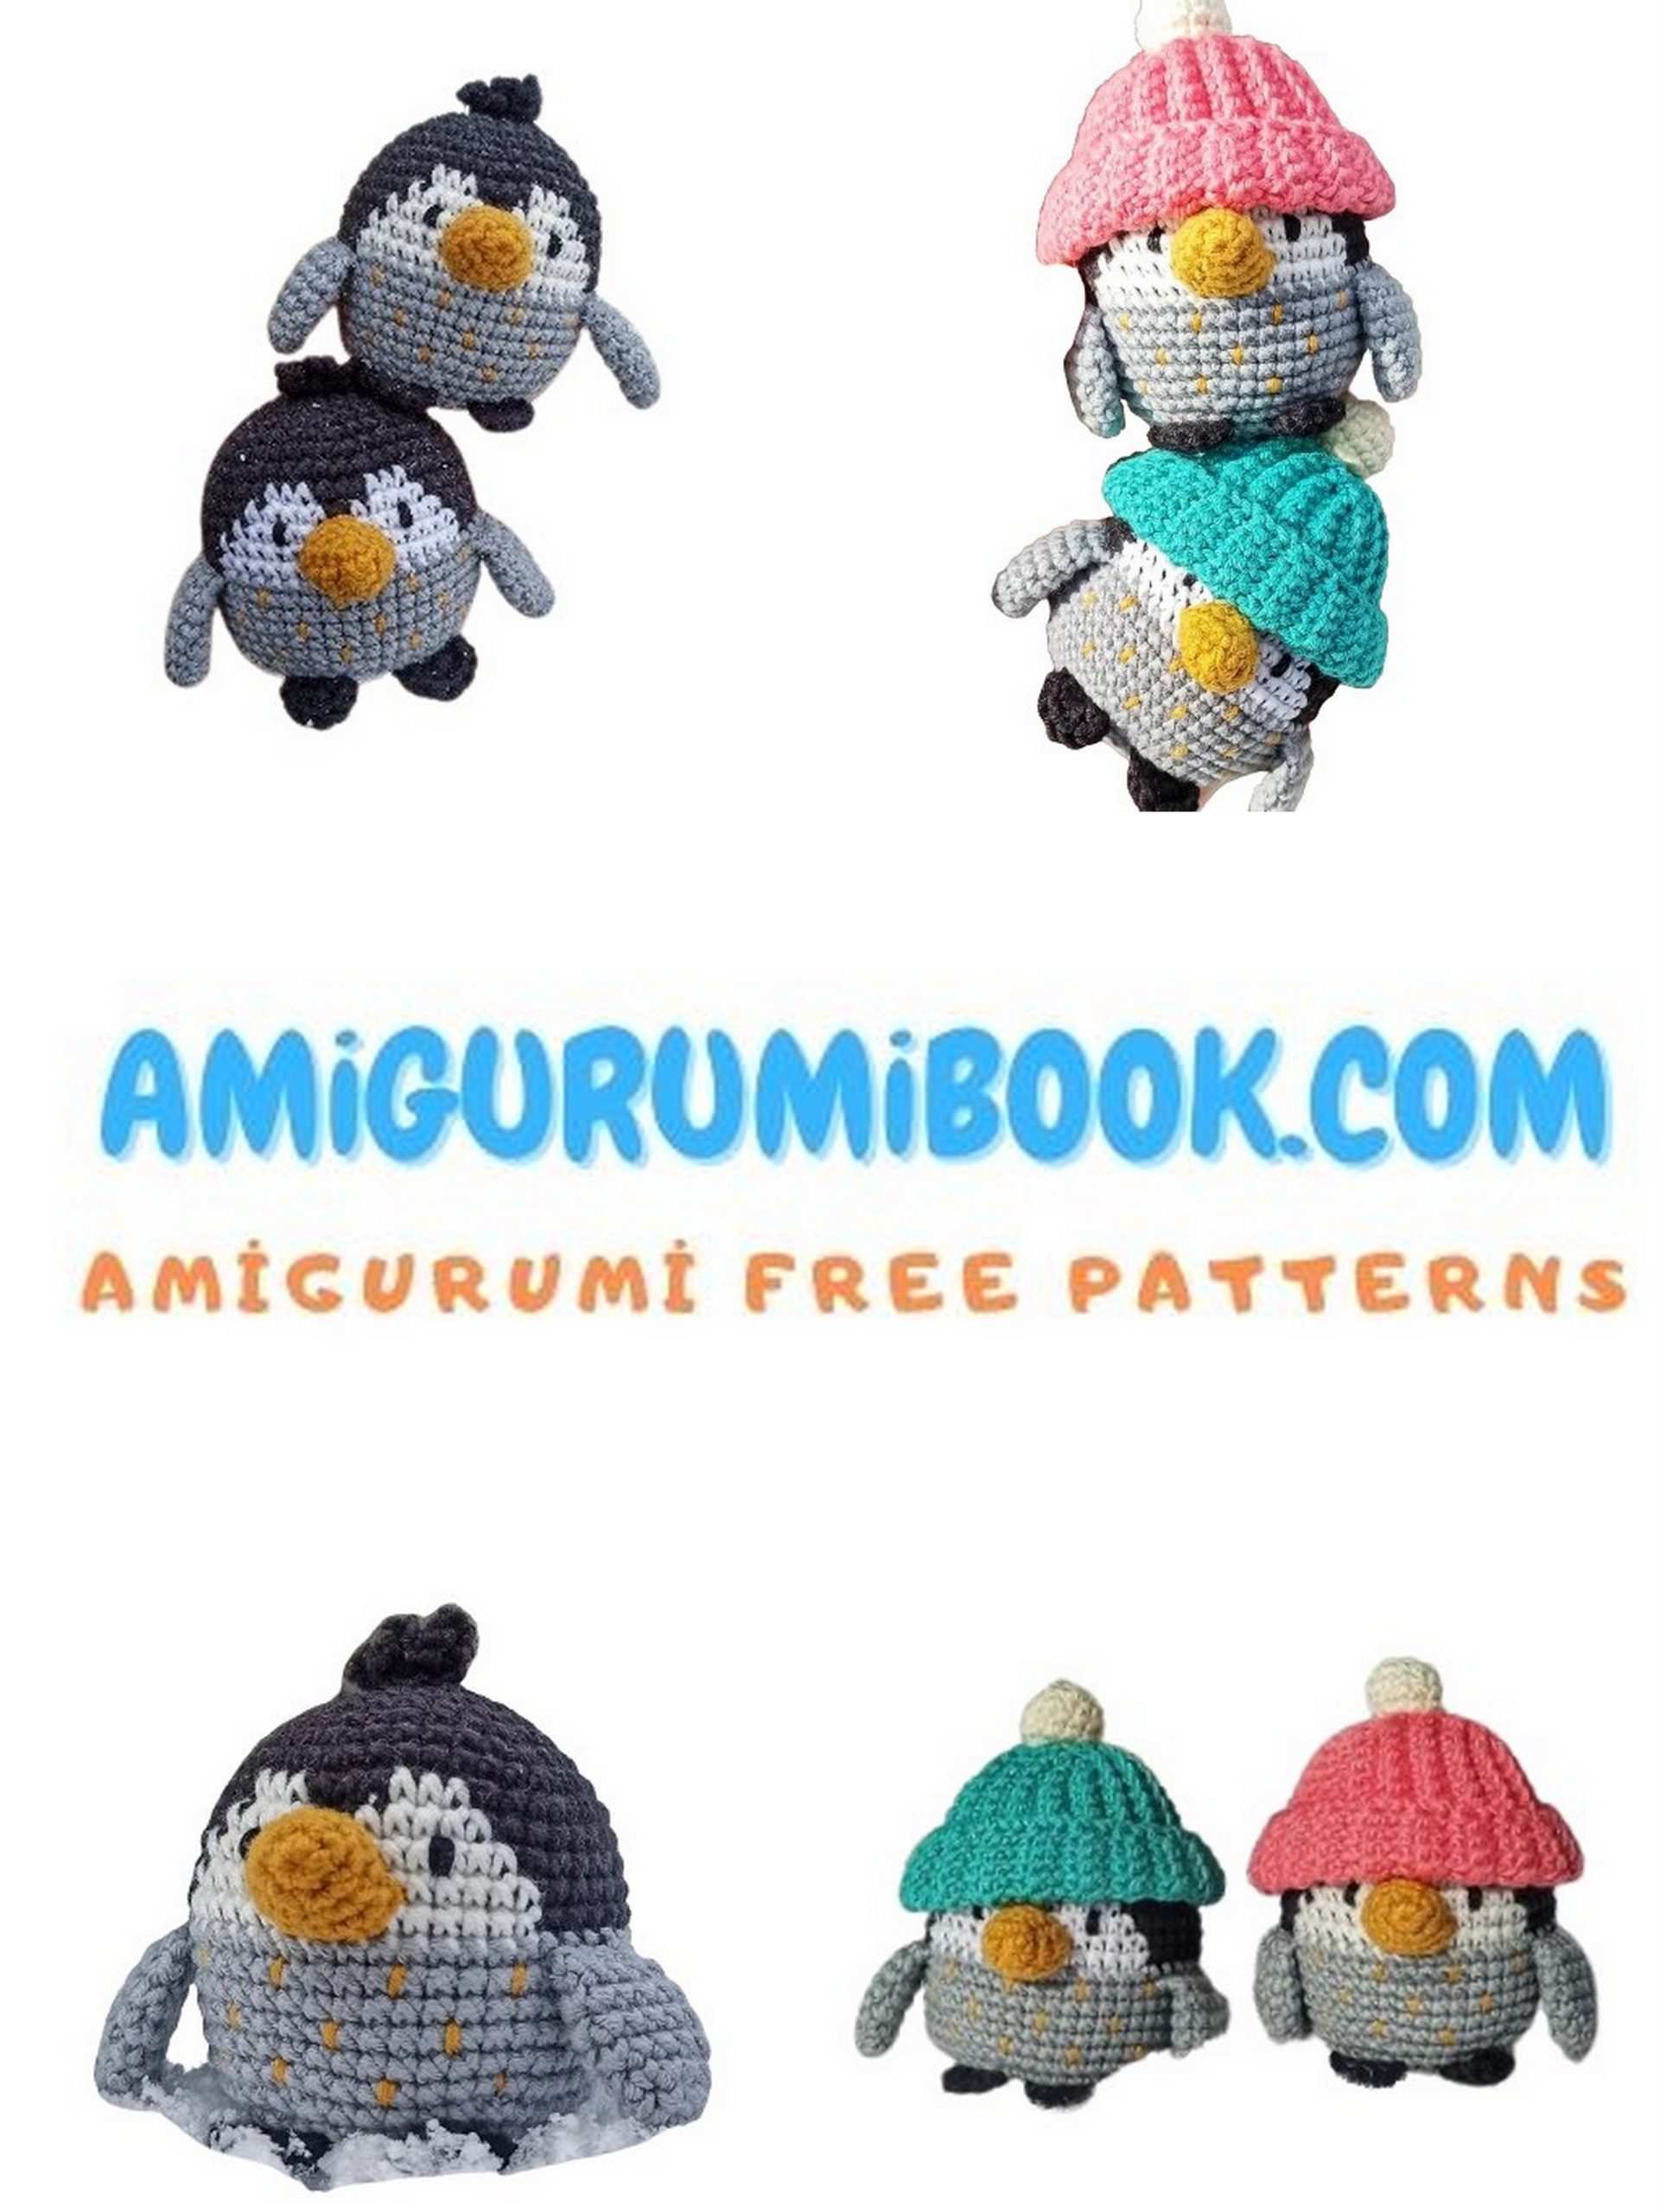
Your Penguin Baby is ready!
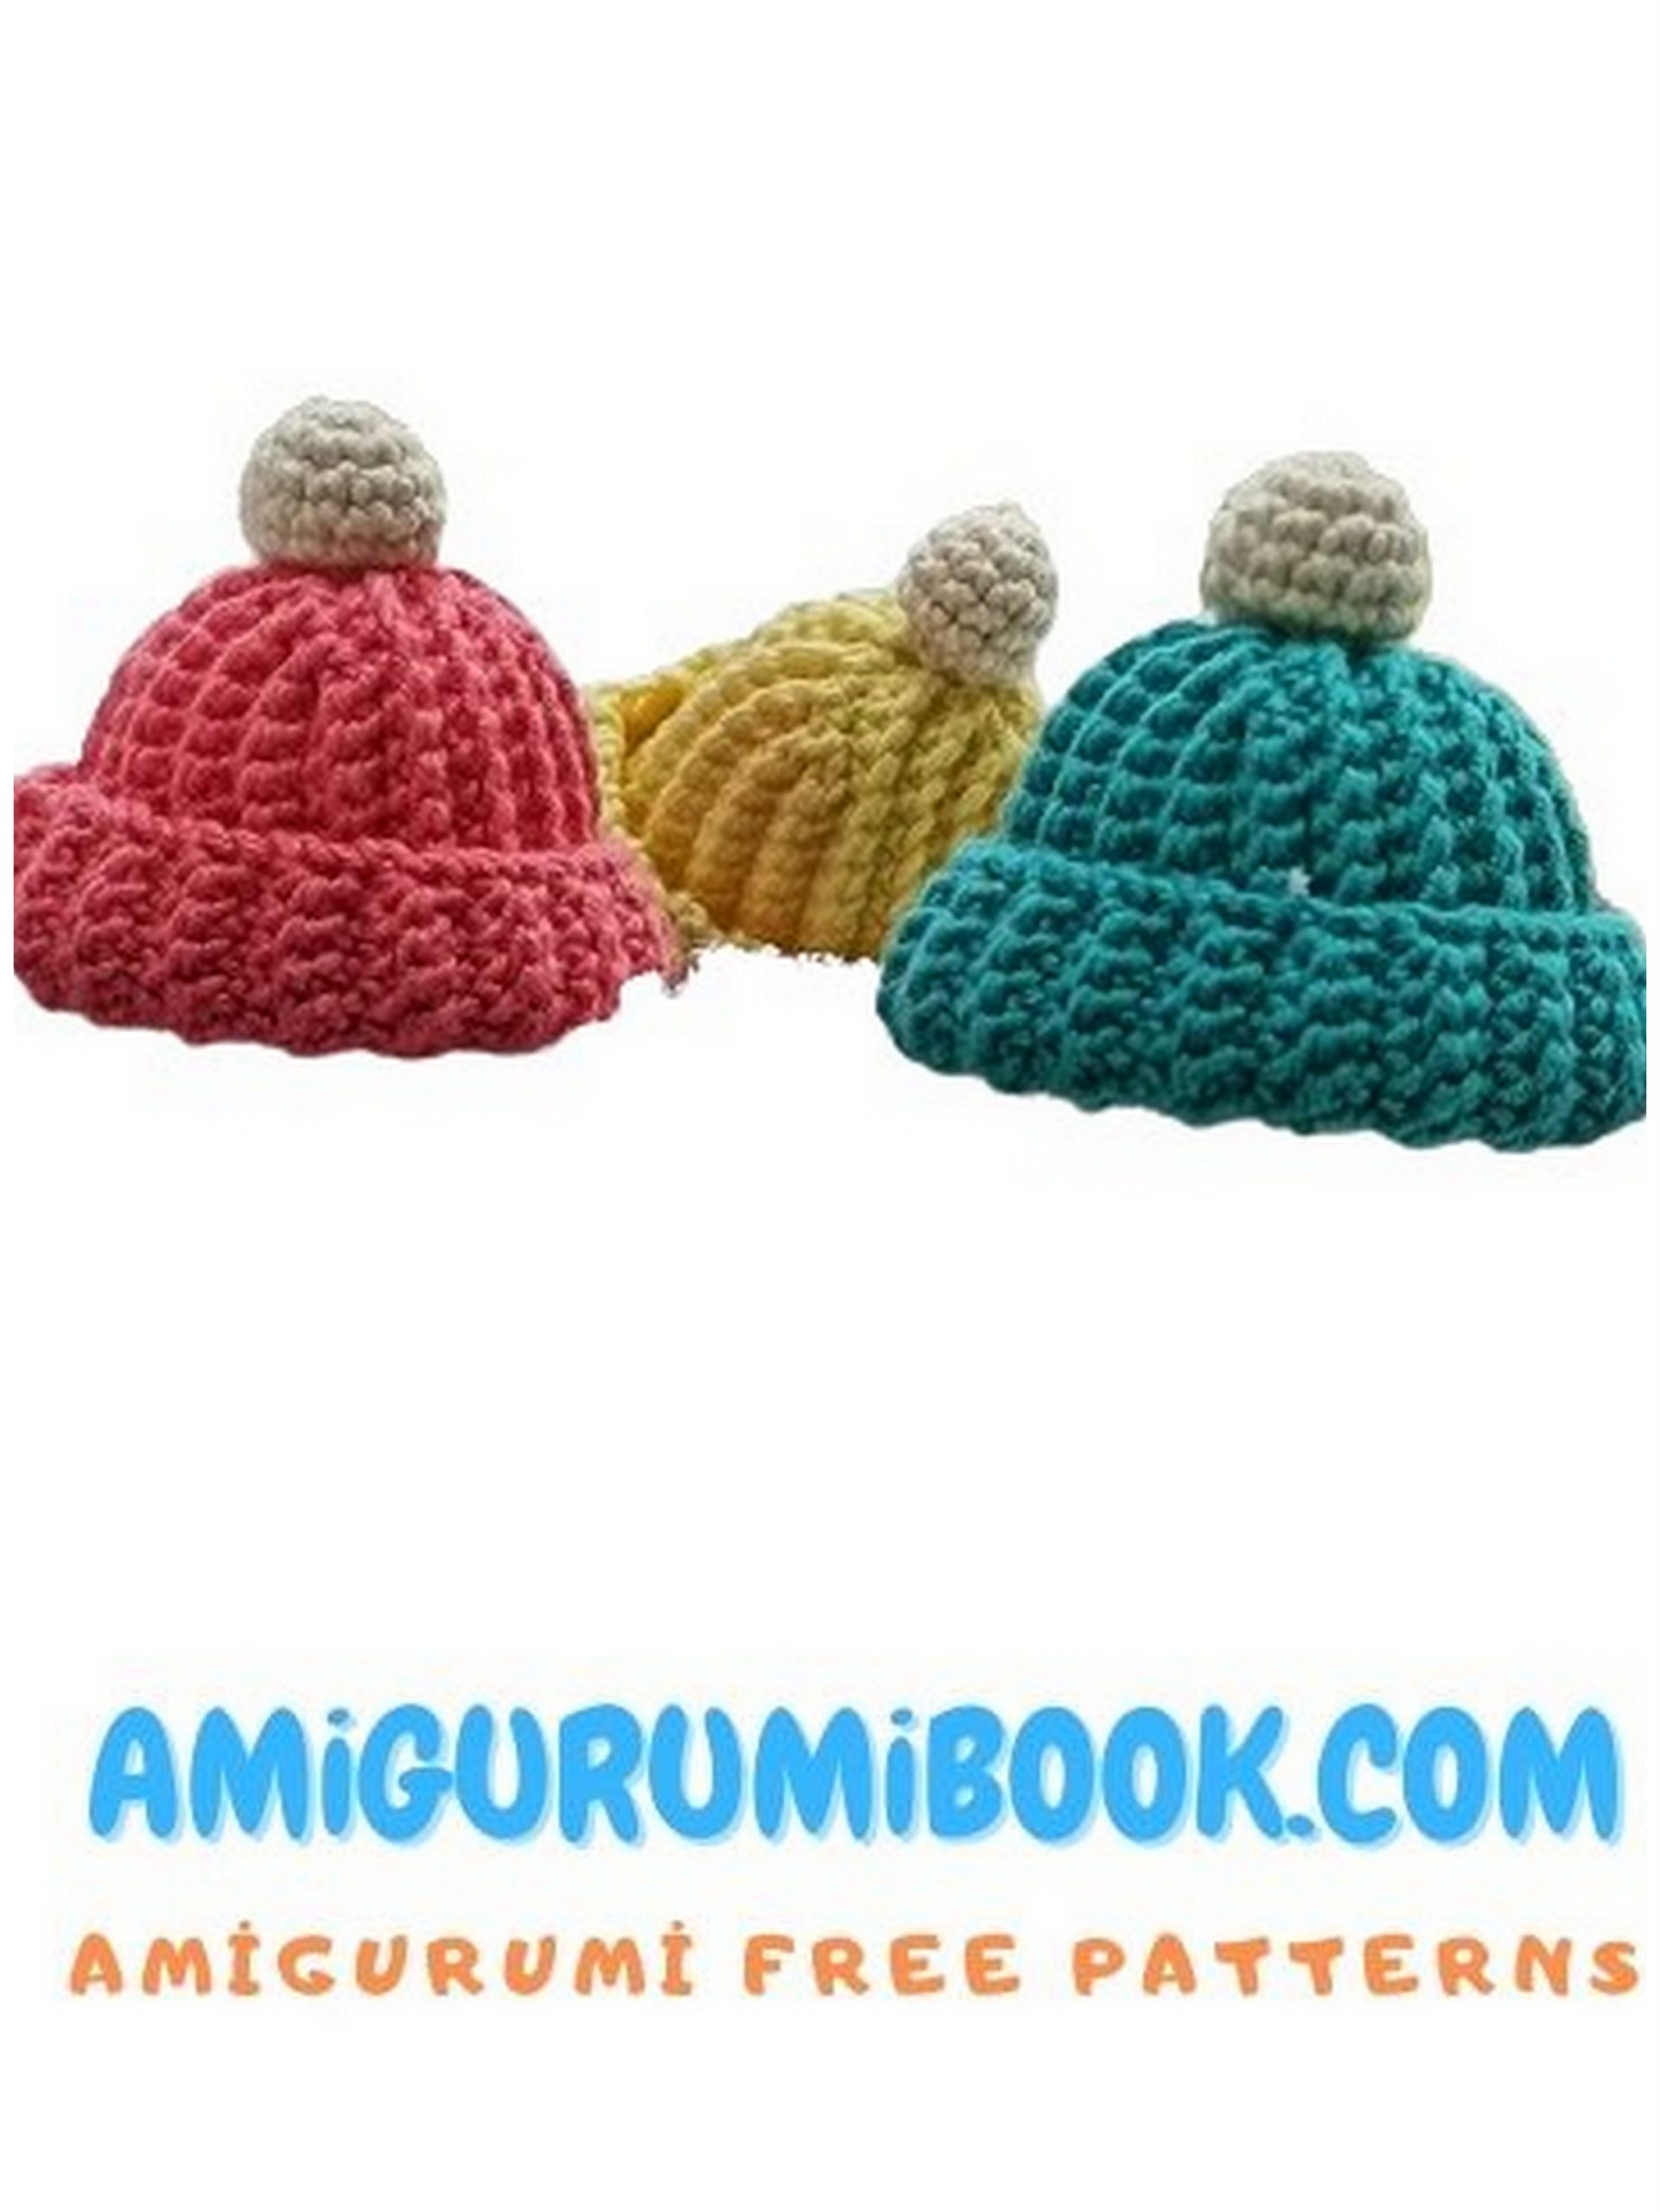
Description of “Penguin Baby Hat”.
We will crochet using the principle of shortened rows, working through the back loops of the stitches, using single crochets. I’ll describe the crocheting of one section. You’ll need to crochet four sections continuously. At the end of the work, make a seam to connect the beginning and end of the work, using slip stitches. This seam will go towards the crown.
Chain 20 CH. (The beginning of the chain is the crown of the future hat.)
Starting from the second stitch from the hook, crochet 14 SC, then 1 slip stitch, make 1 CH, turn the work.
Crochet through the back loops of the stitches. 15 SC. Make 1 CH, turn the work.
Move towards the crown. 14 SC, 1 slip stitch, and pick up one loop from the initial chain, crochet 1 slip stitch. (Note that at this point, there are still 3 loops remaining on the initial chain.)
16 SC, 1 CH, turn the work.
15 SC, 1 slip stitch, and pick up one loop from the initial chain – 1 slip stitch. Make 1 CH, turn the work. (There are two loops remaining)
17 SC, 1 CH, turn the work.
16 SC, 1 slip stitch, and pick up one loop from the initial chain – 1 slip stitch. Make 1 CH, turn the work. (There is one loop remaining)
18 SC, 1 CH, turn the work.
17 SC, 1 slip stitch, and pick up the last remaining loop from the initial chain – 1 slip stitch. Make 1 CH, turn the work.
19 SC, 1 CH, turn the work.
The first section of the hat is complete. Proceed to the second section. Keep in mind that for the second section, the last, 11th row of the first section will serve as the chain for the second section. So, crochet 14 SC, and then repeat steps 4-11.
Pom-Pom: Baby Penguin
1: 6 SC in MR.
2: 6 INC (12 SC).
3-5: 12 SC.
6: 3 DEC.
Slightly stuff with fiberfill. Close the hole, leaving a yarn tail for sewing the pom-pom to the hat.
Note: The edge of the hat can be made neater and tidier by crocheting through both loops before and after the edge. However, if this is your first time crocheting such a hat, it’s better not to use this note, as the high density of crocheting might cause the hat to be too small. After crocheting one hat, you can decide for yourself whether to use this method or not.
Your Penguin Baby and its hat are now complete!