
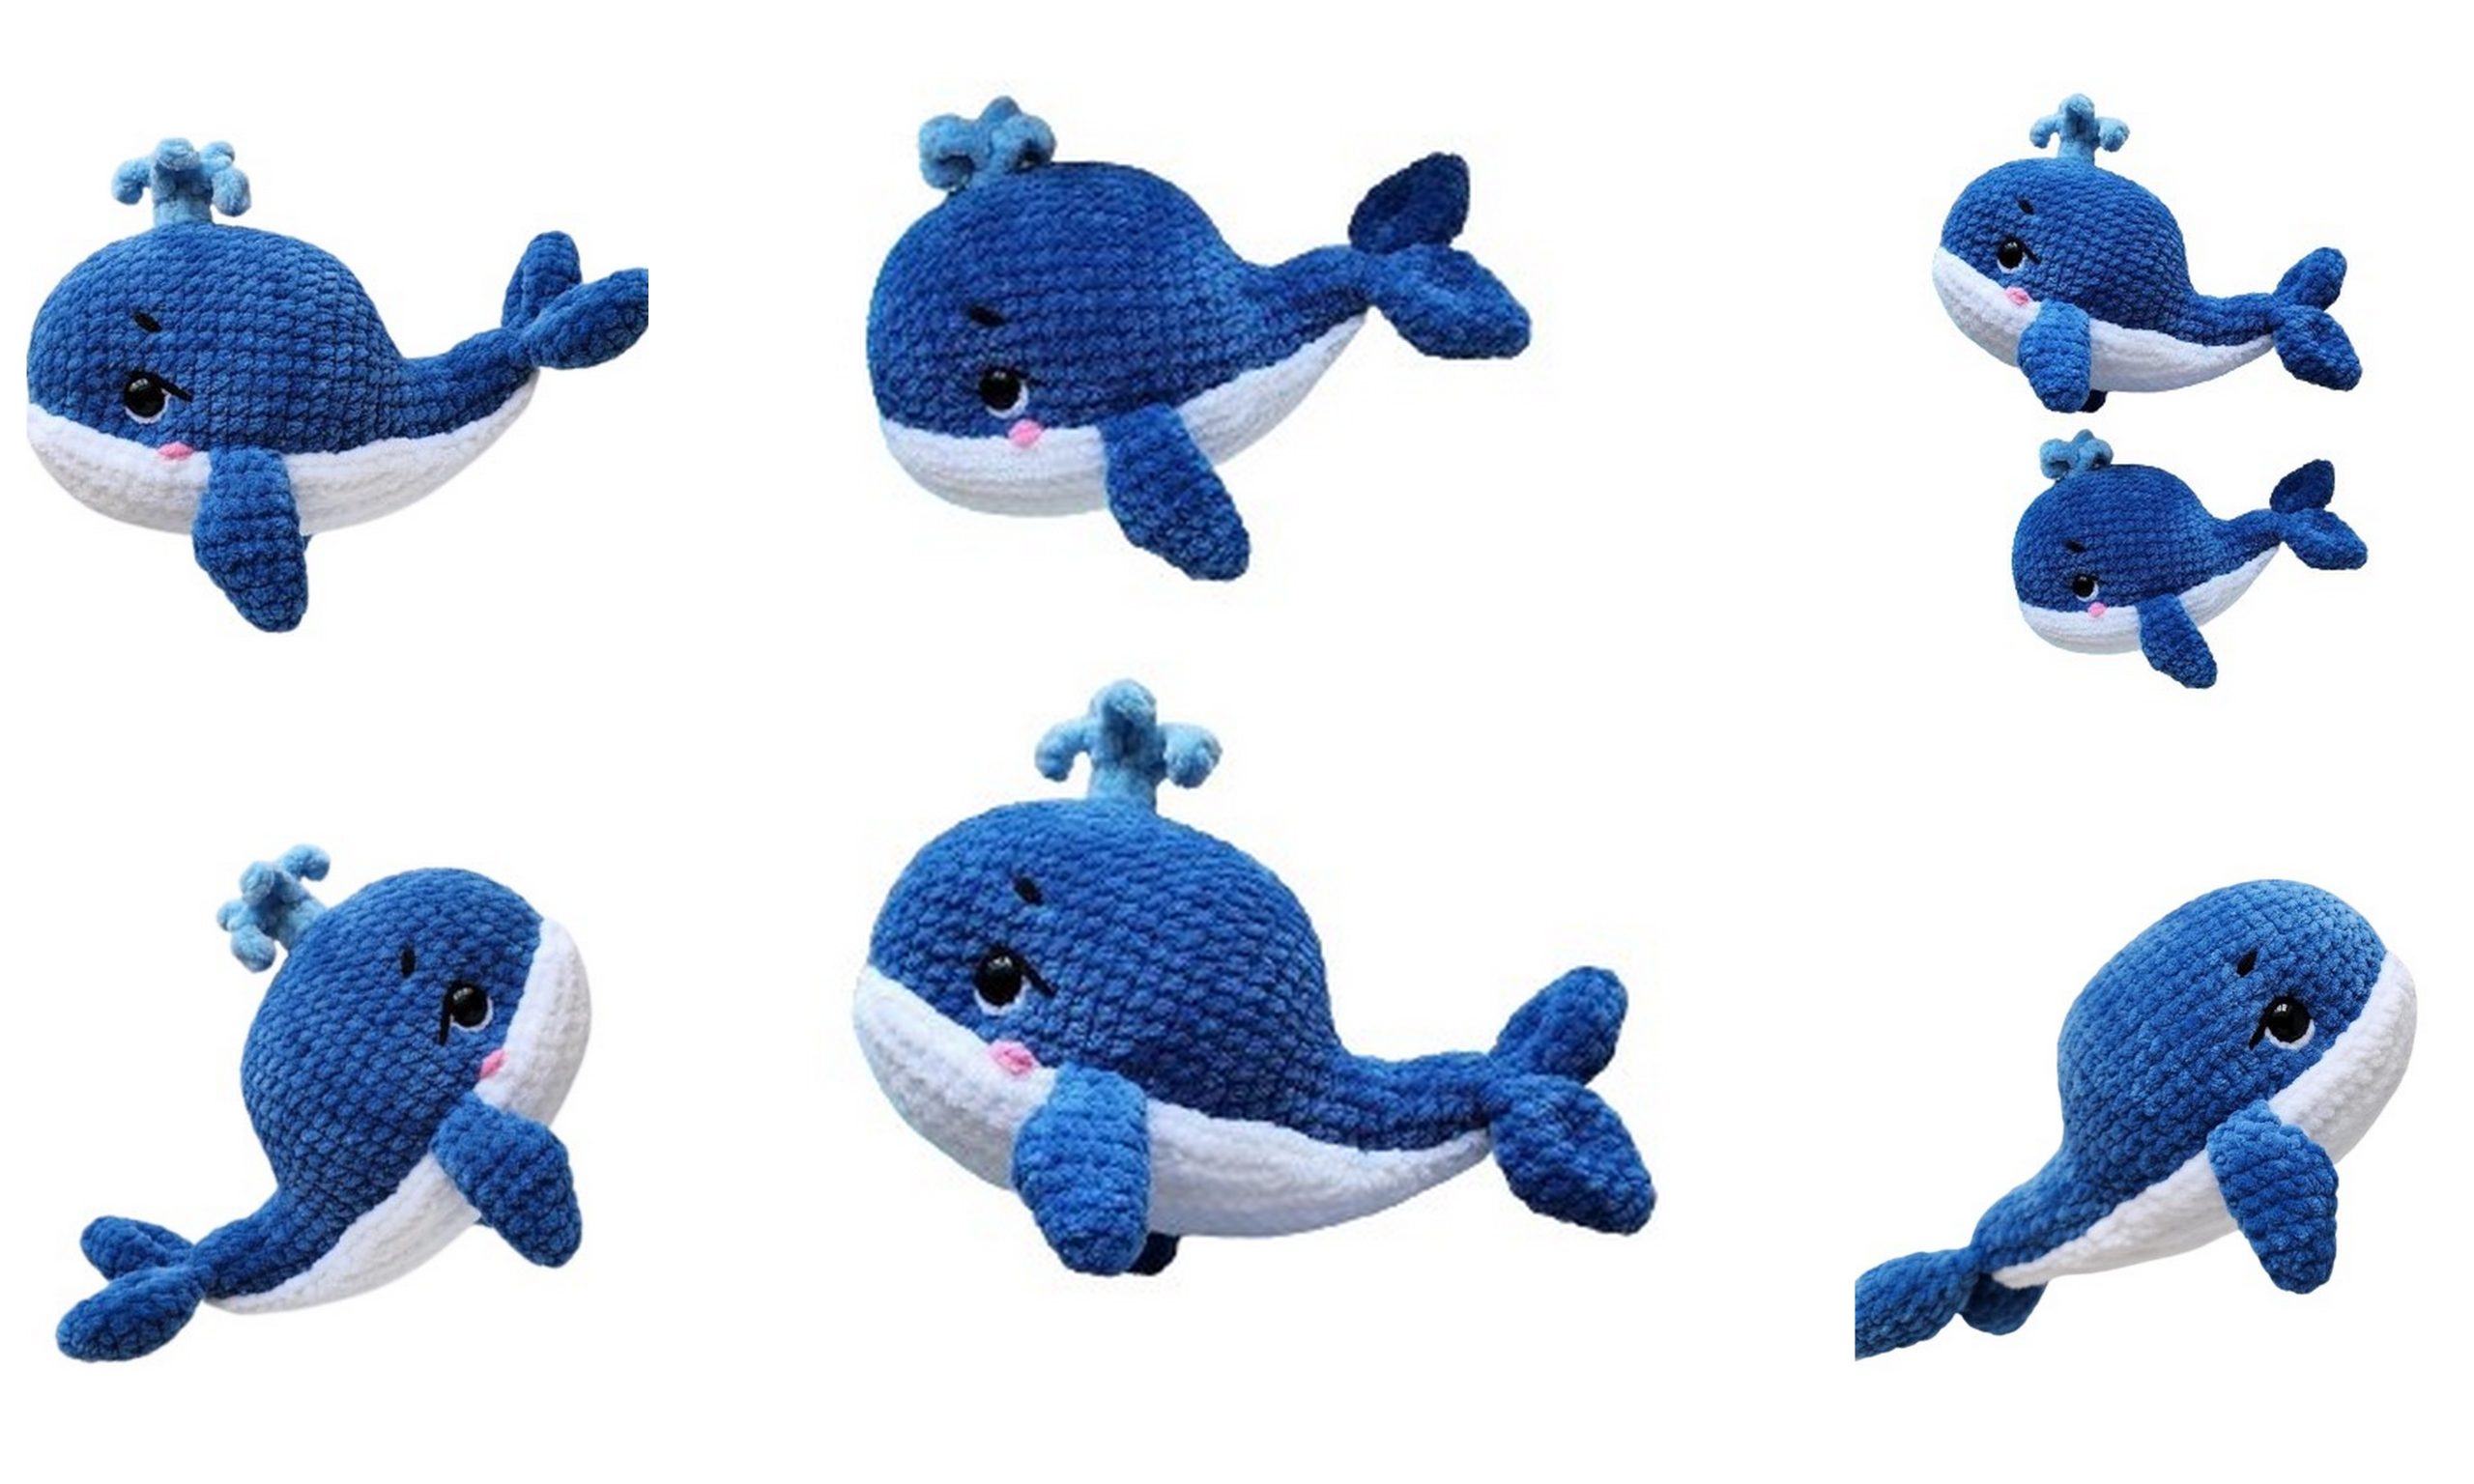
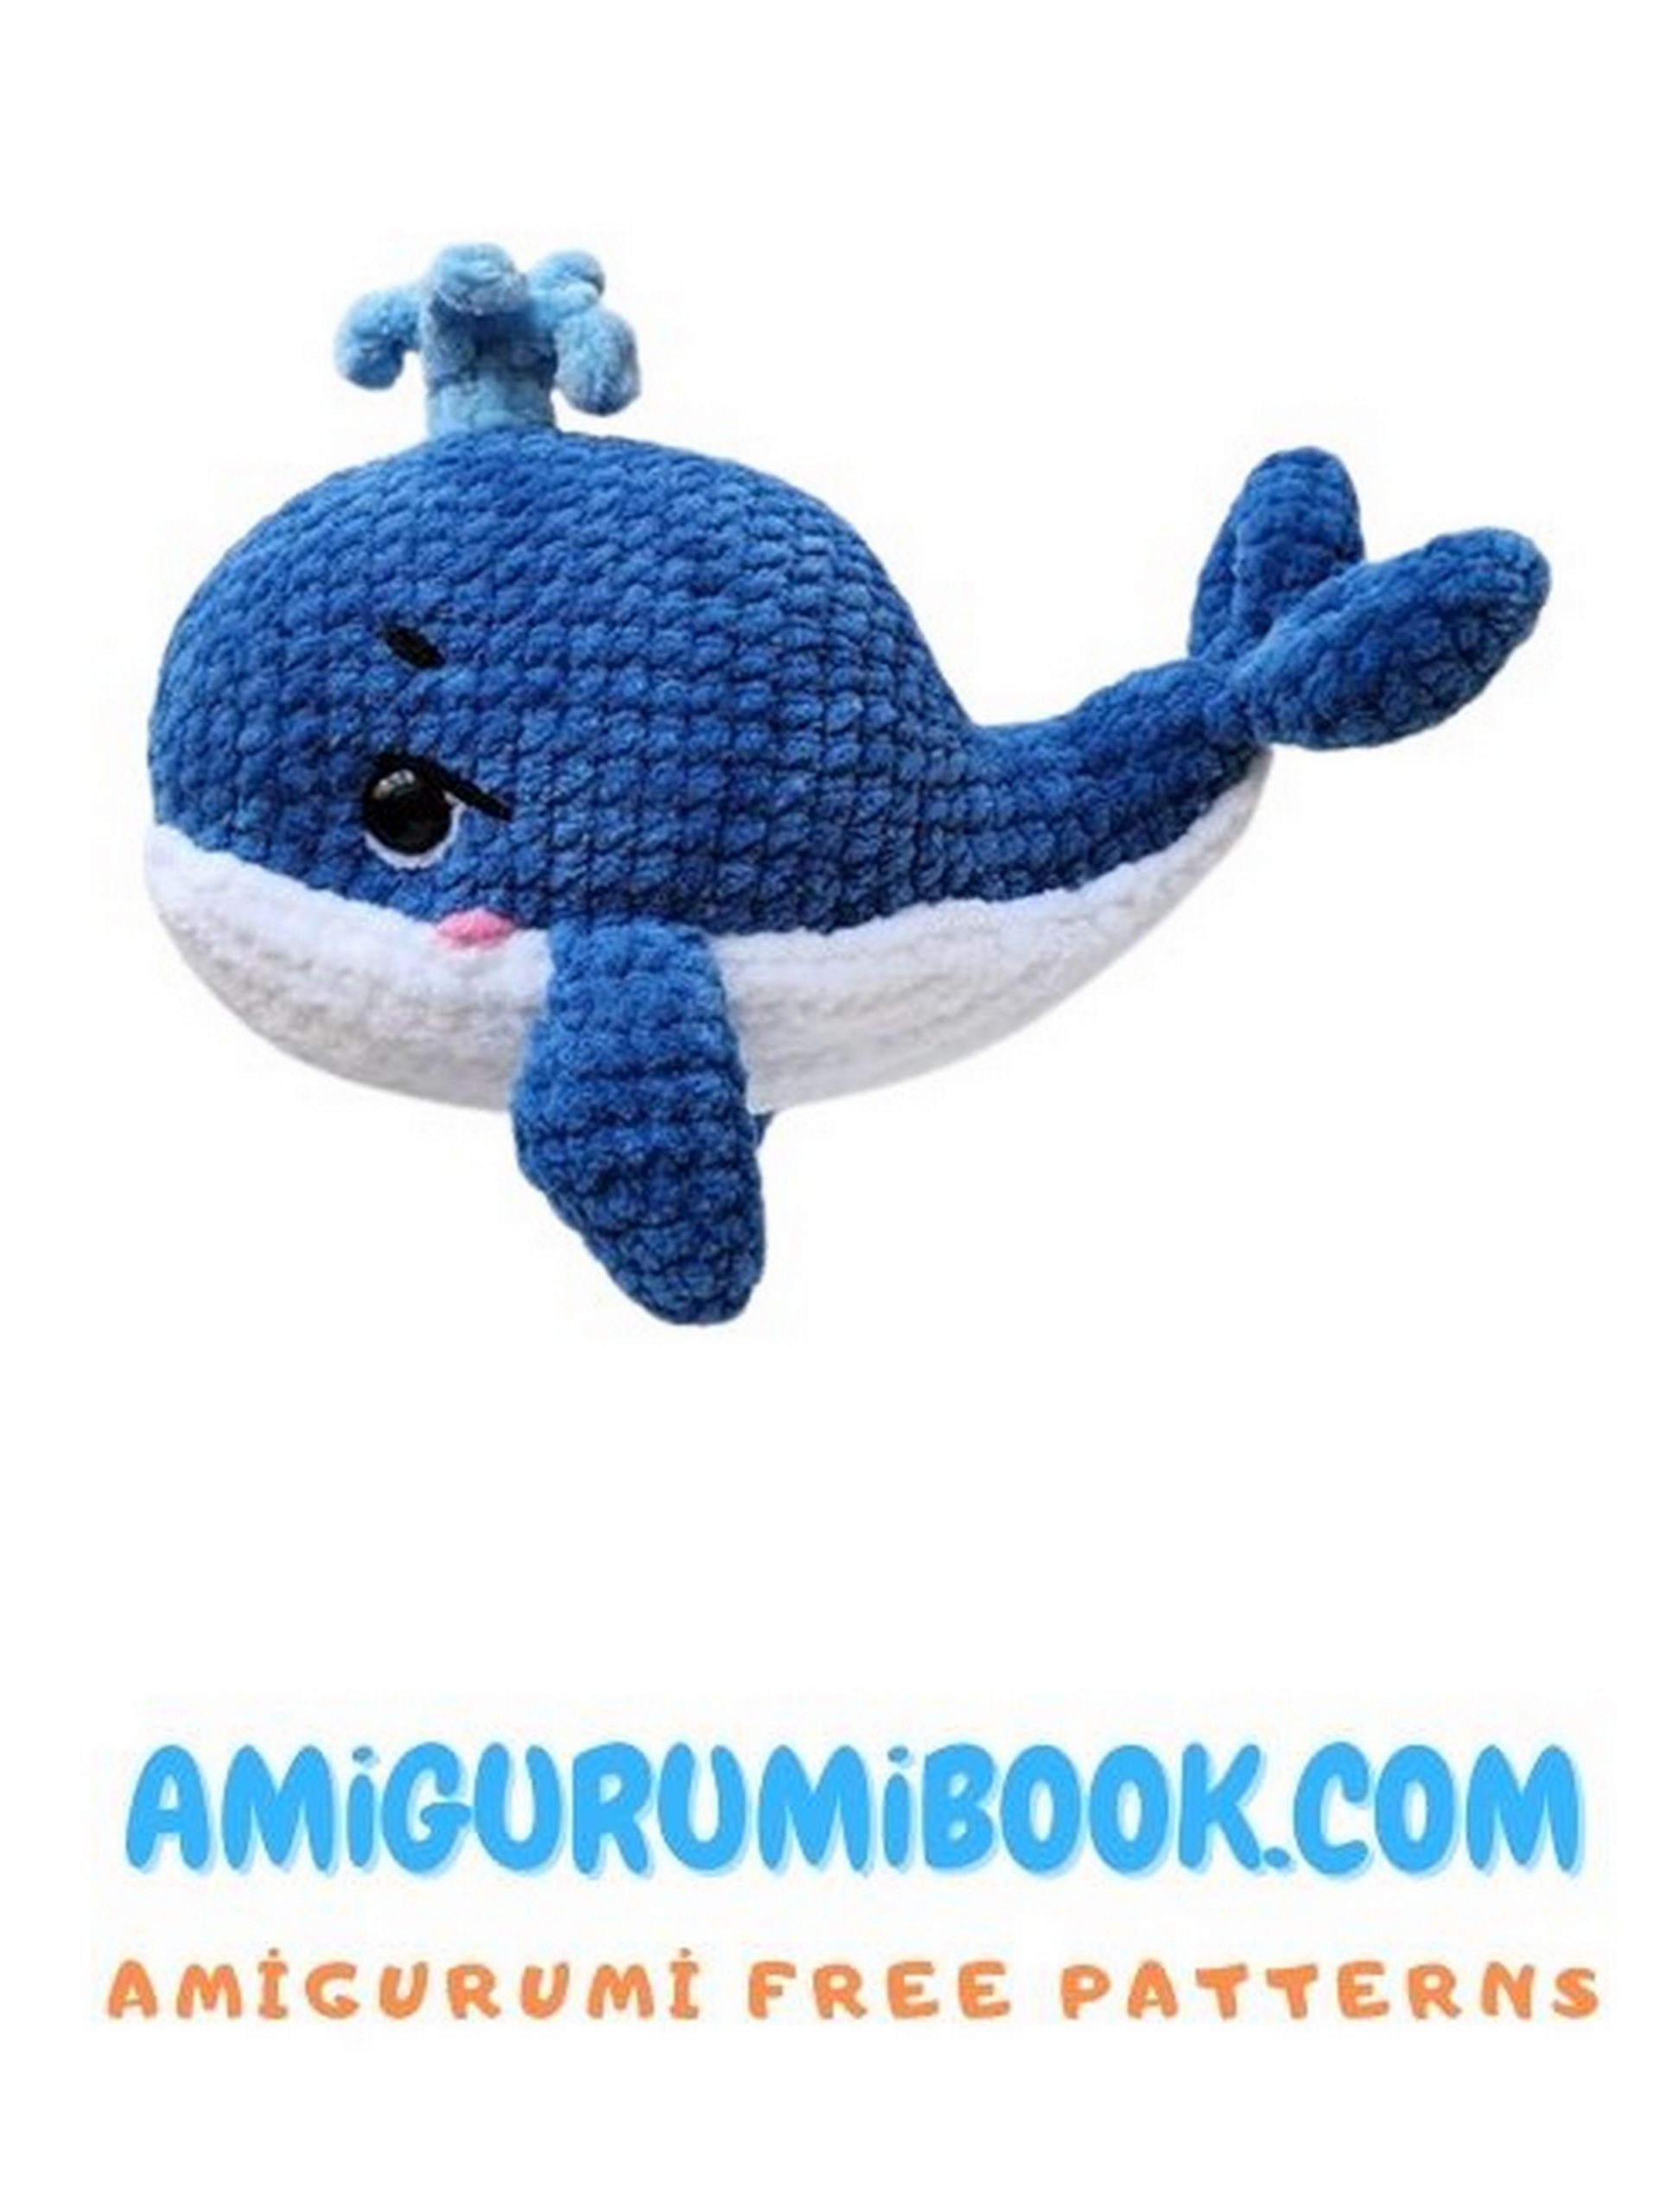
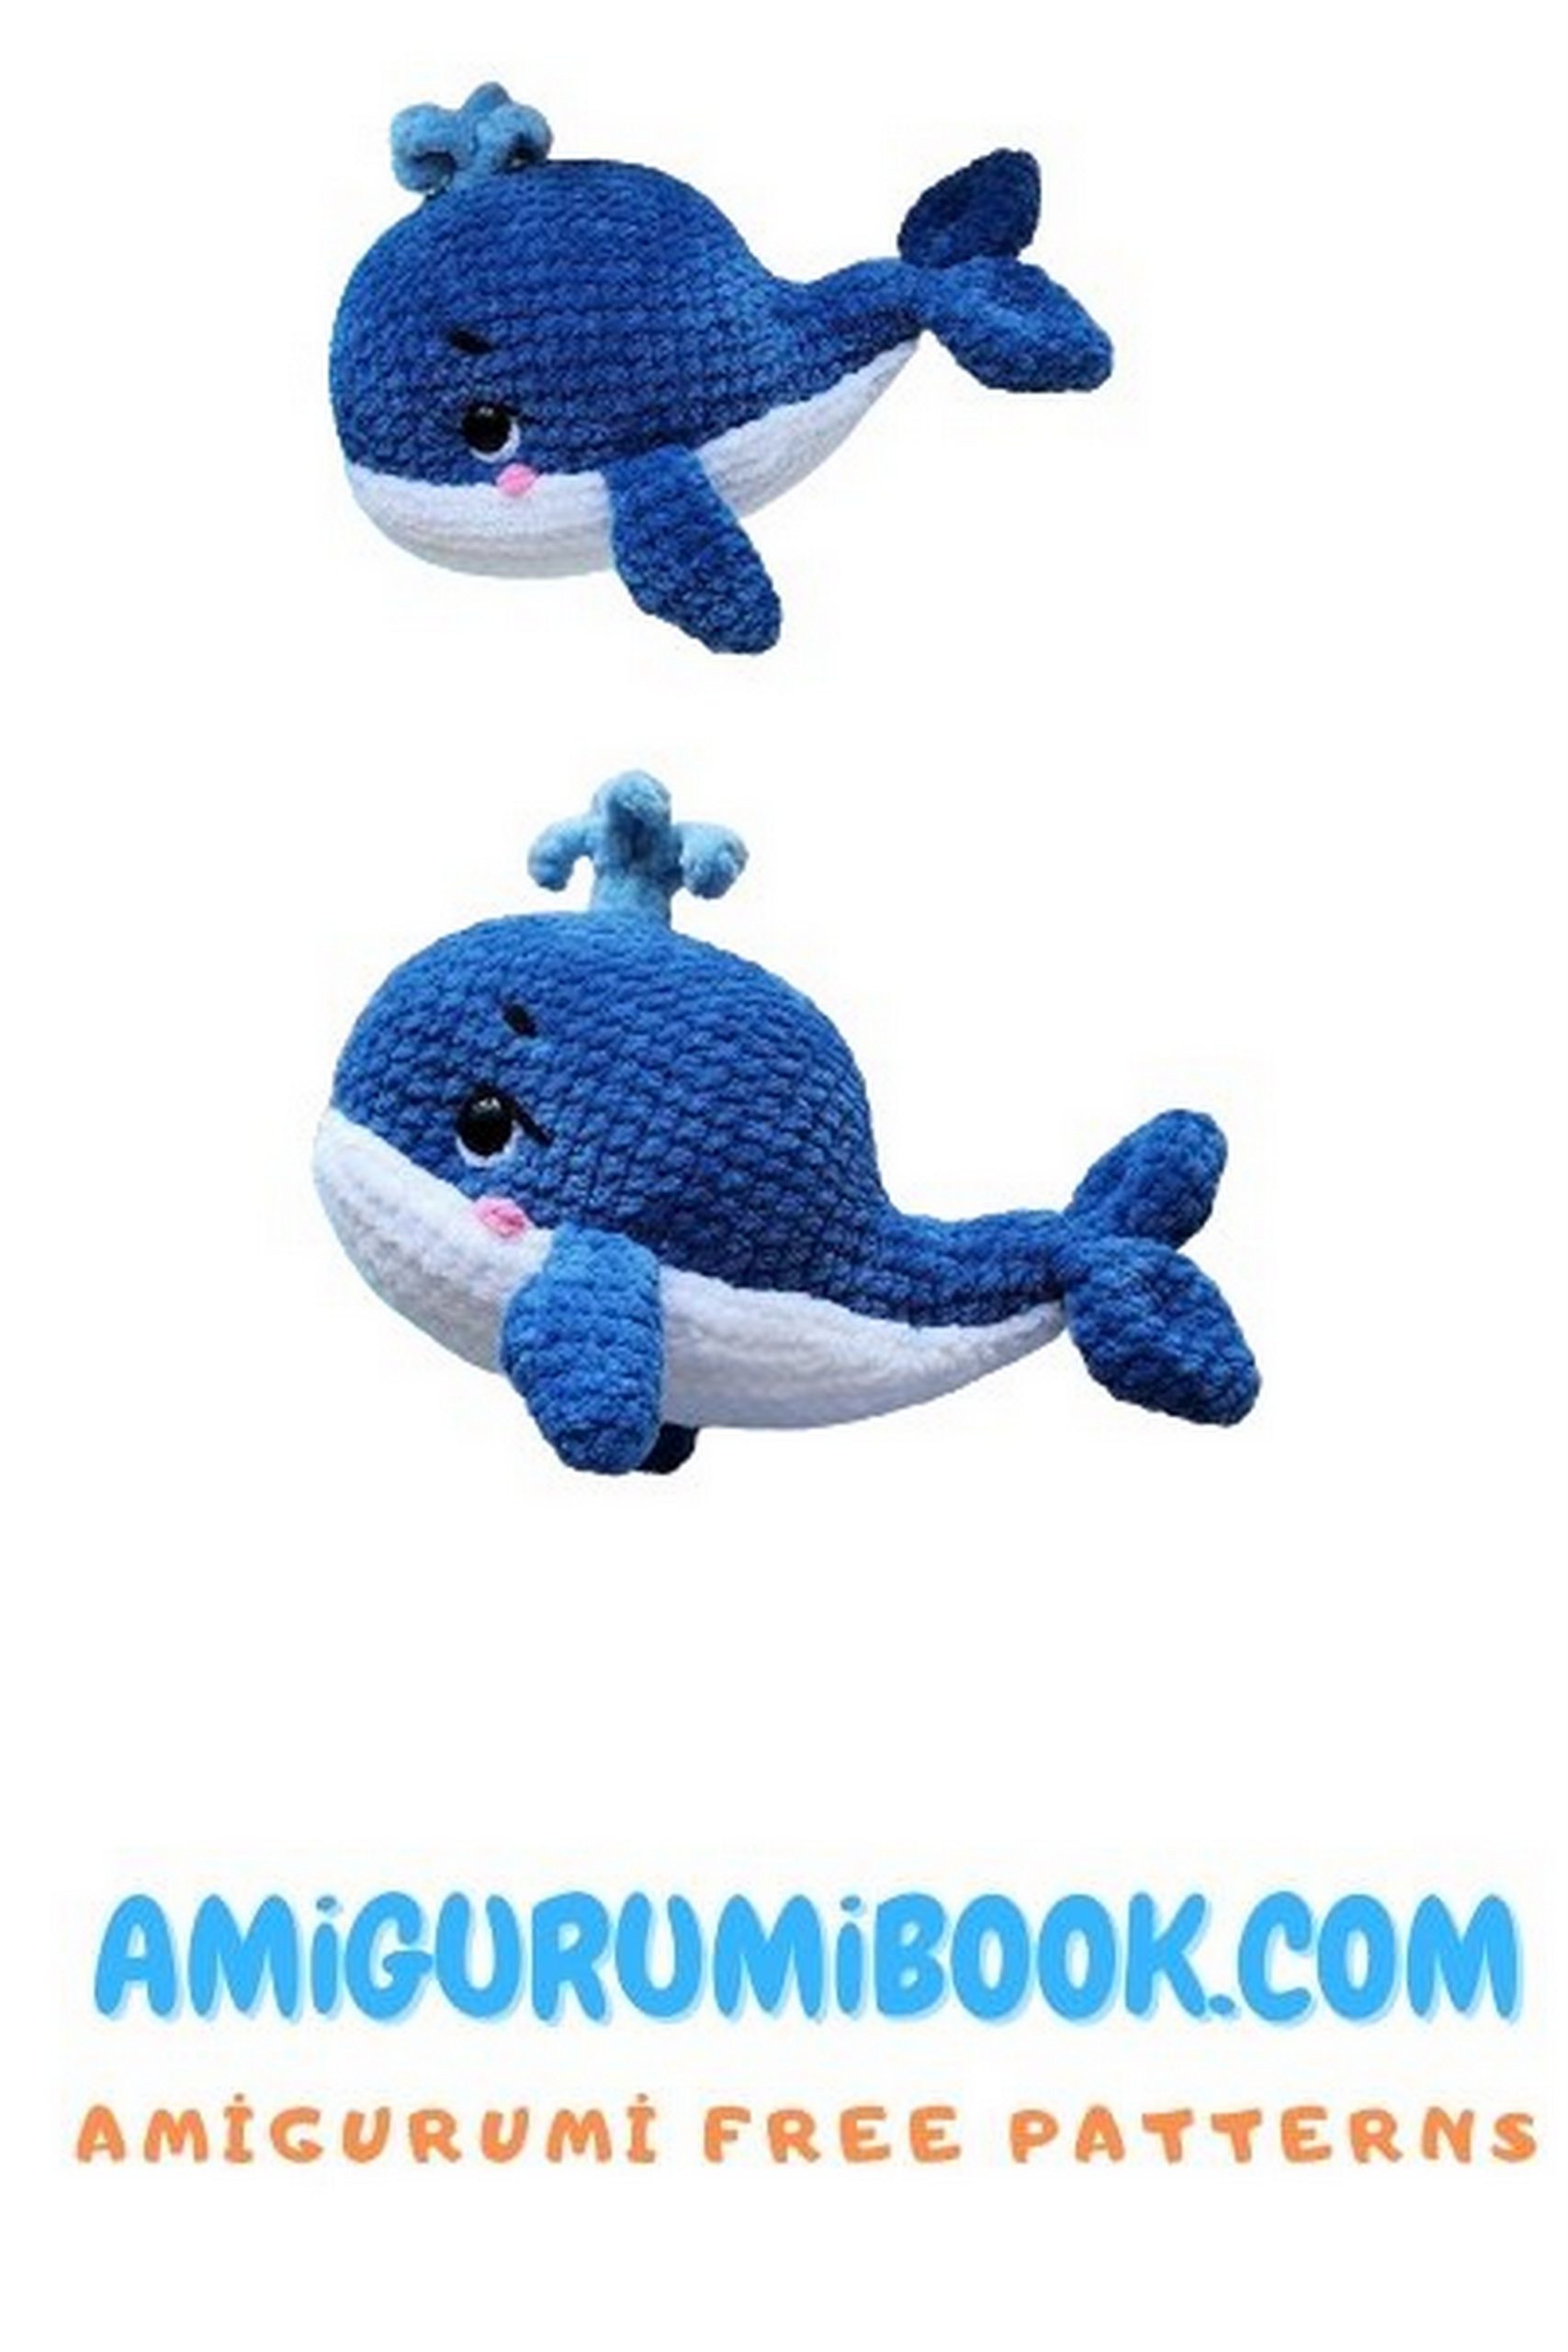
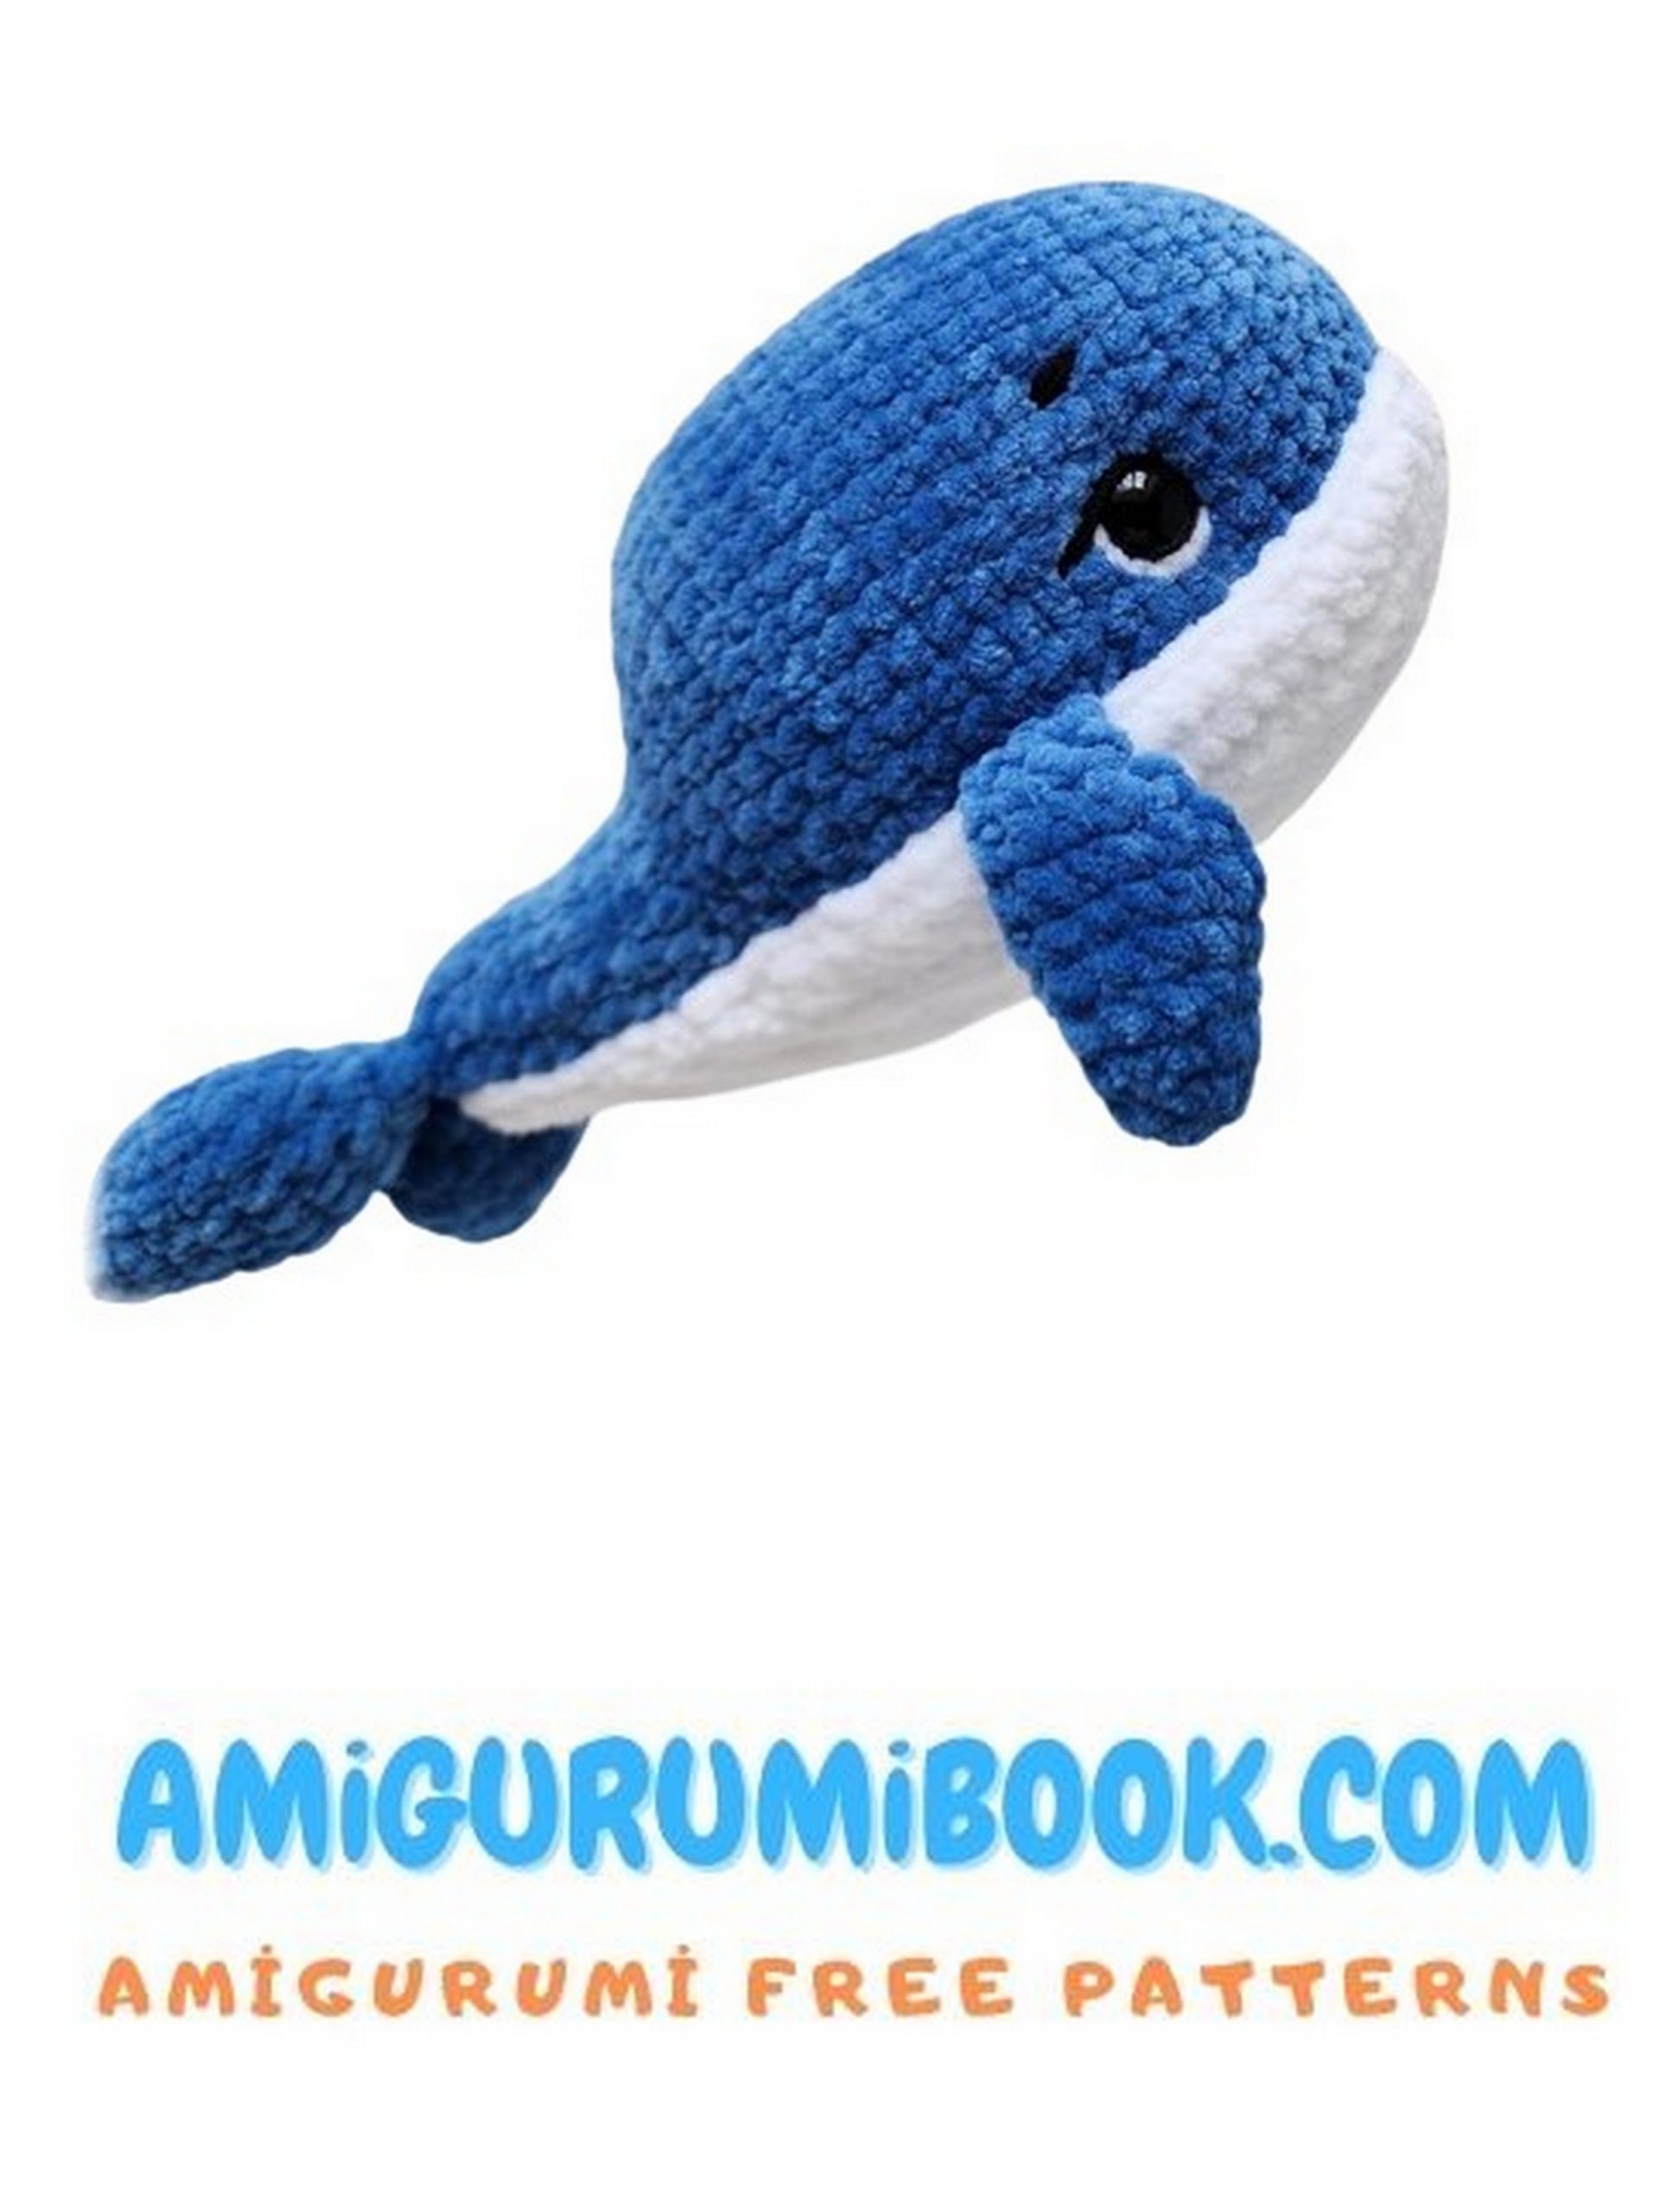
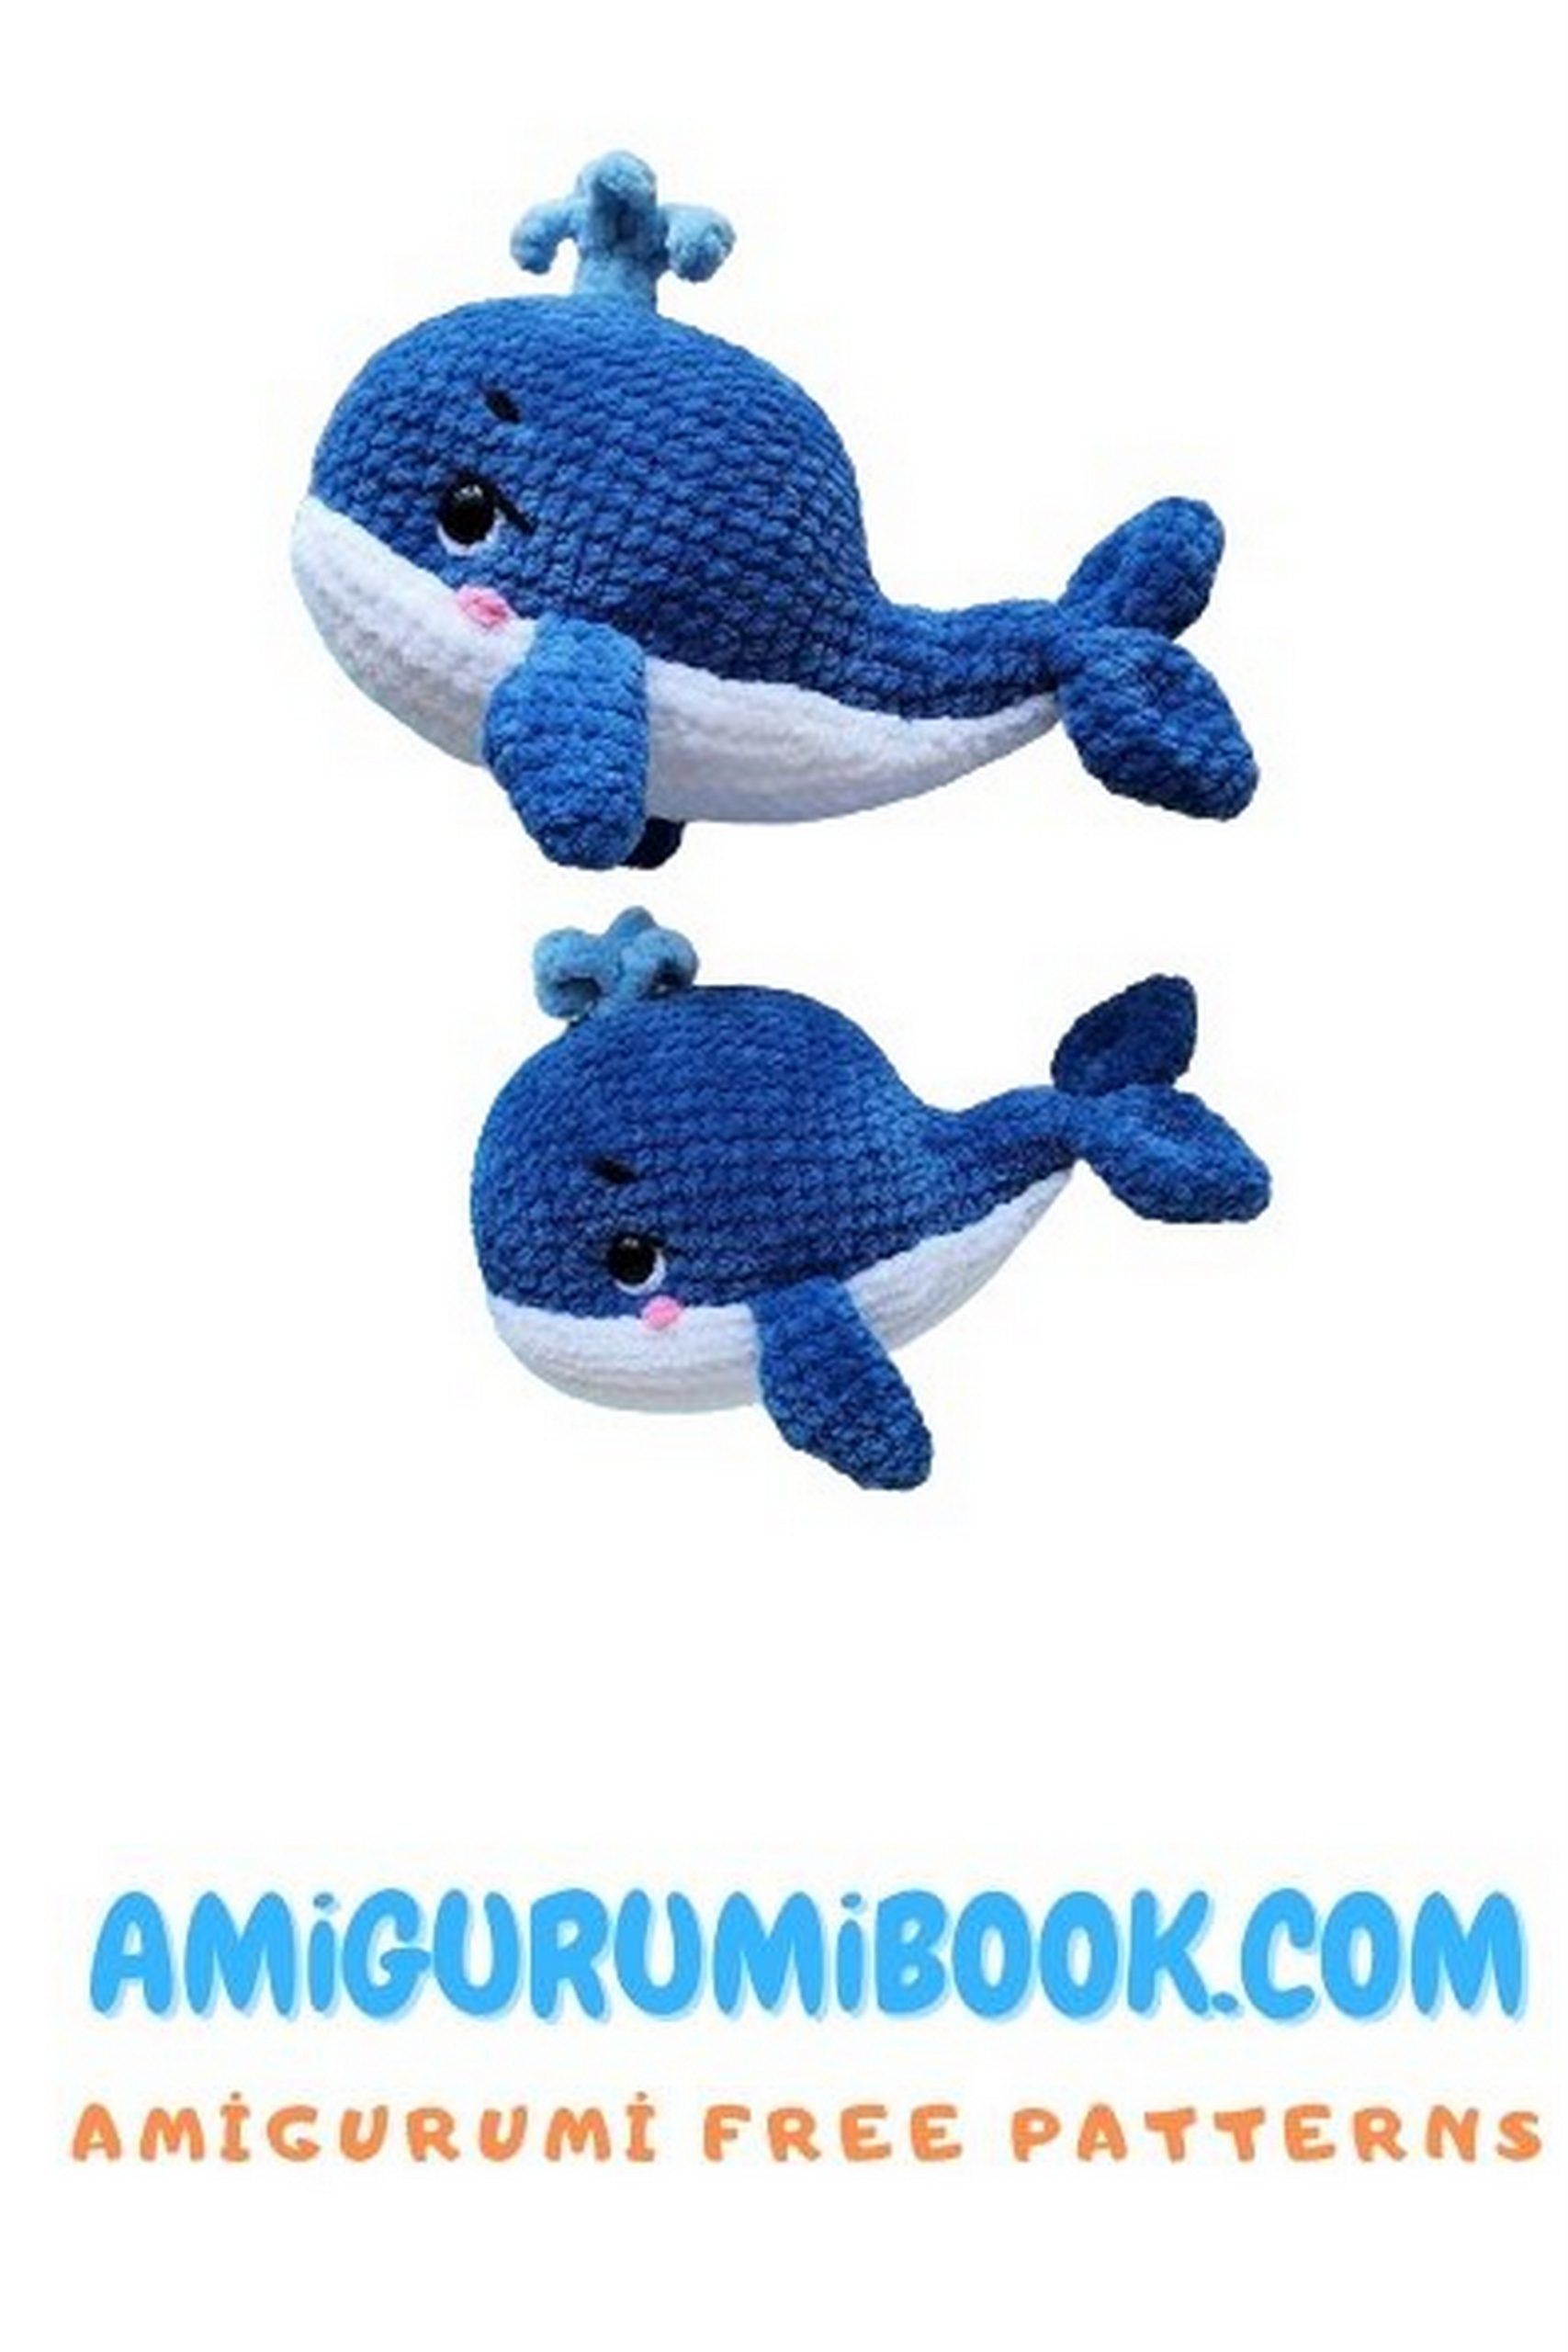
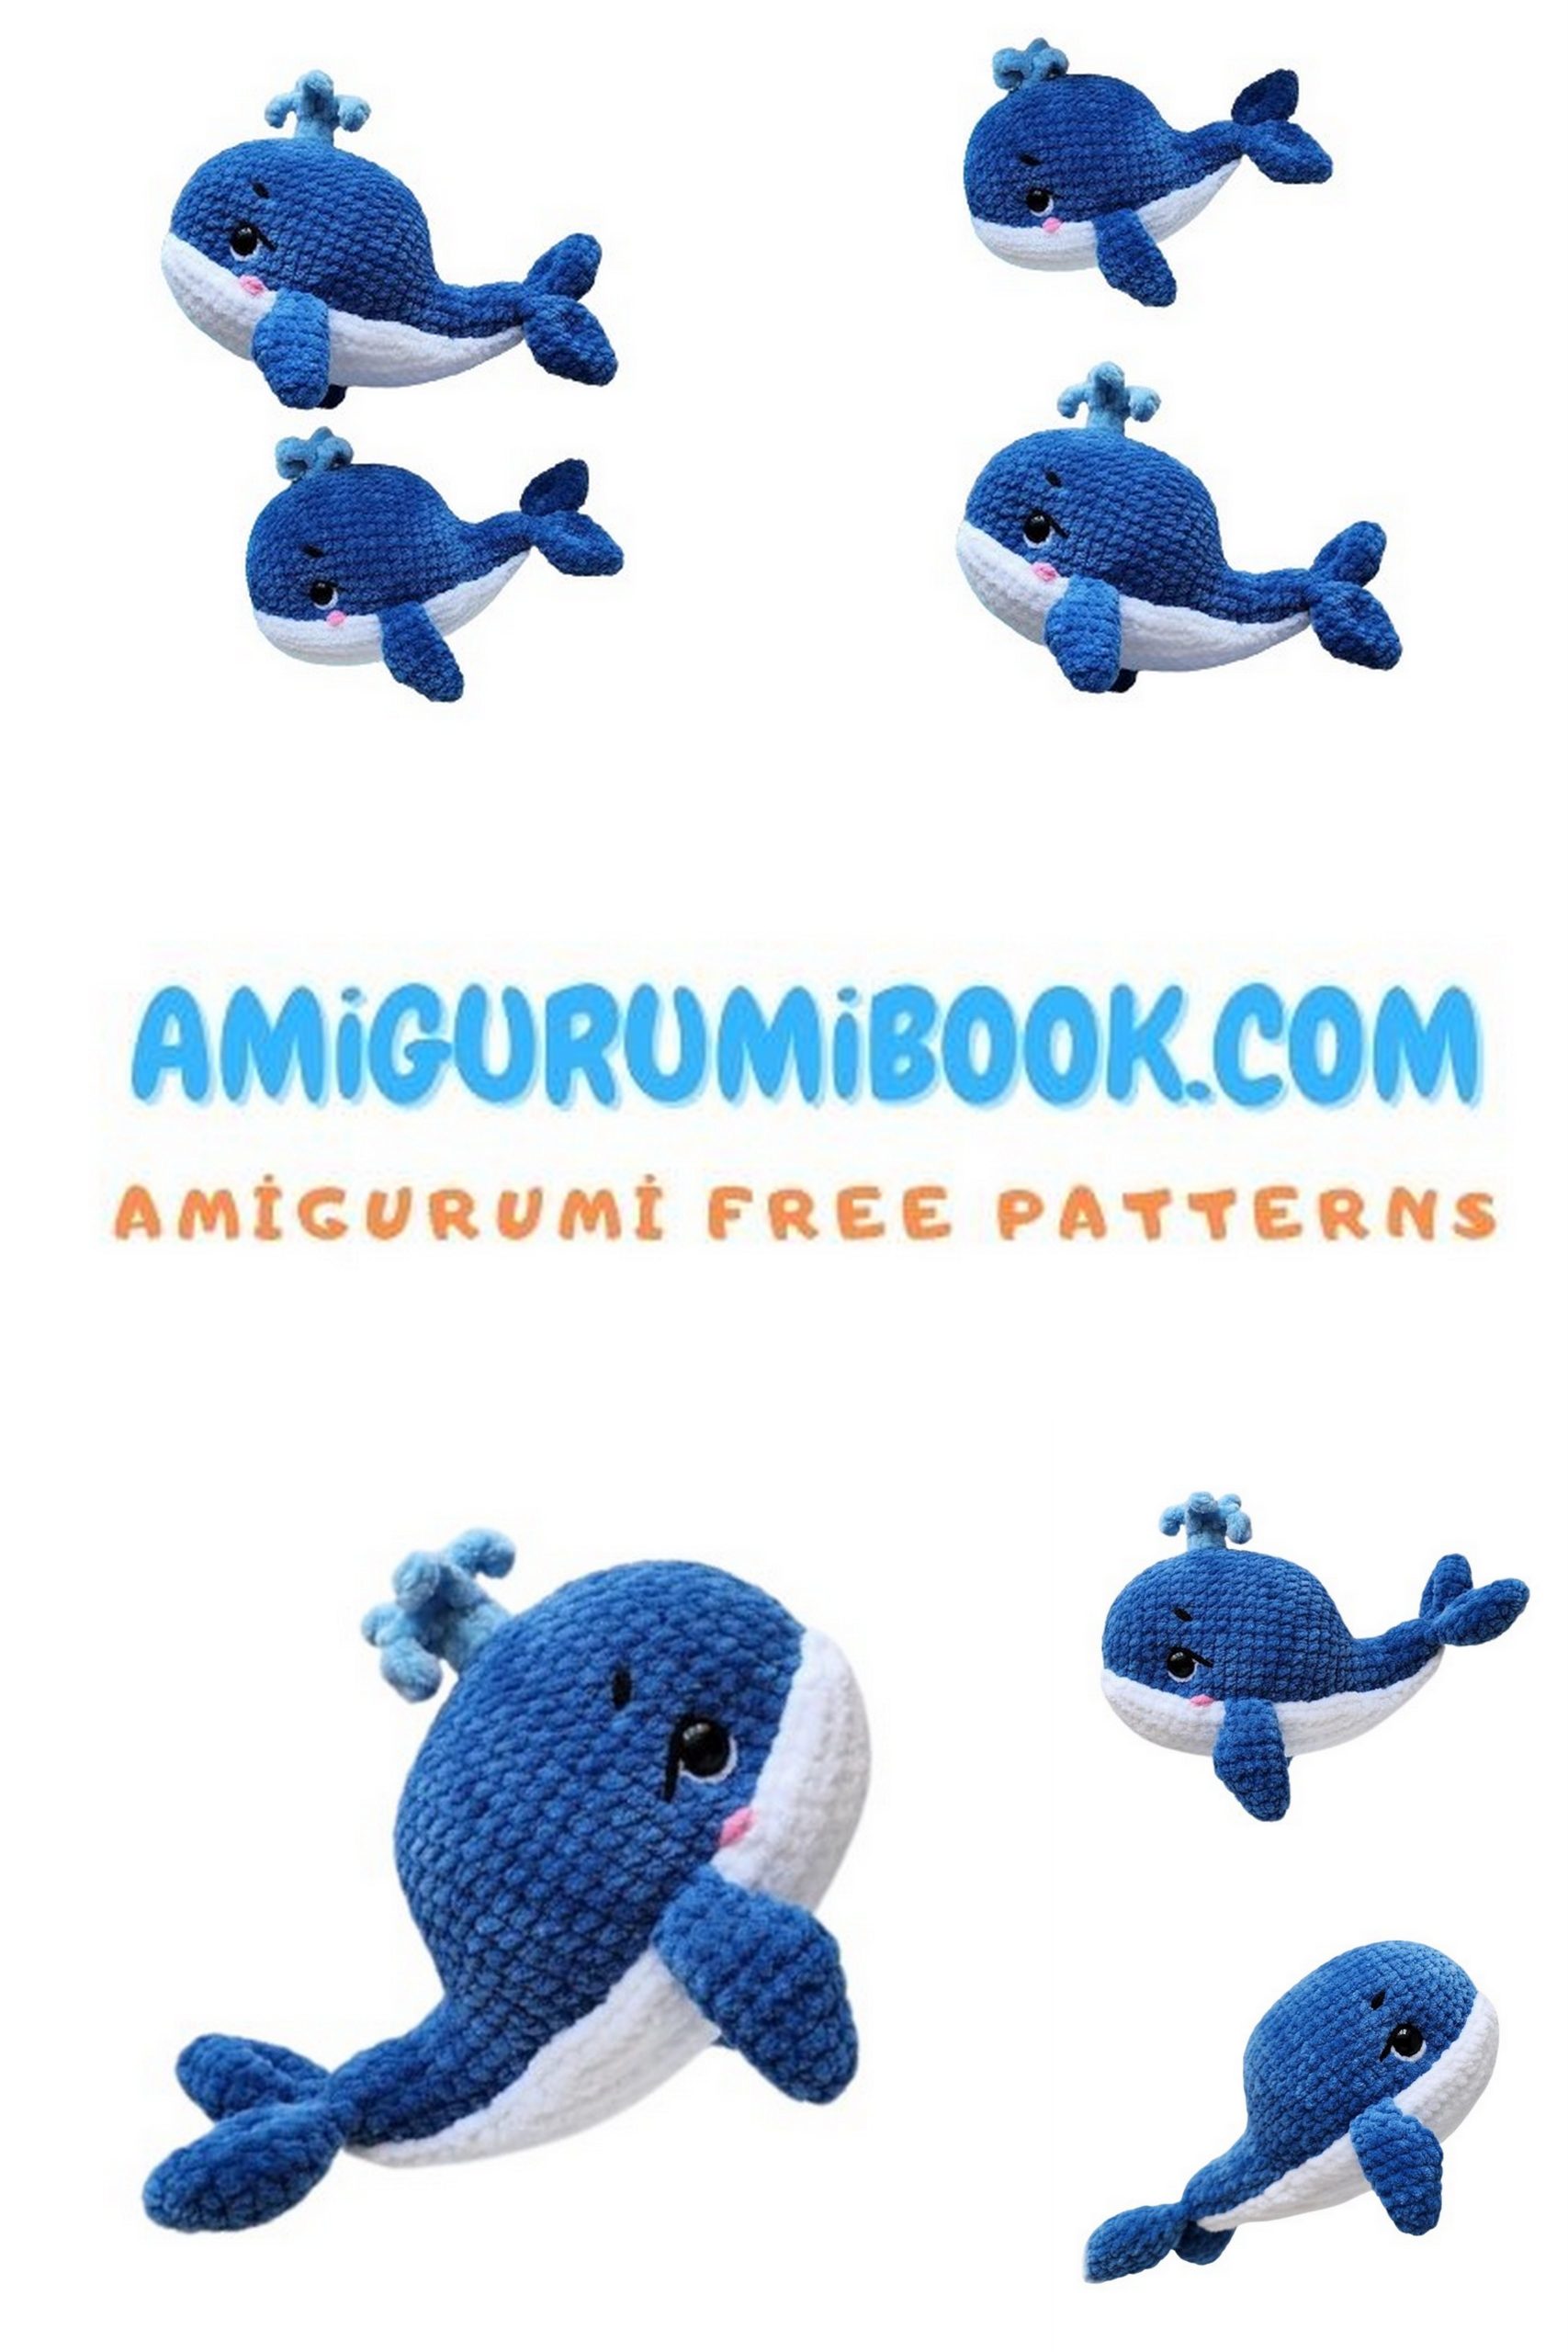
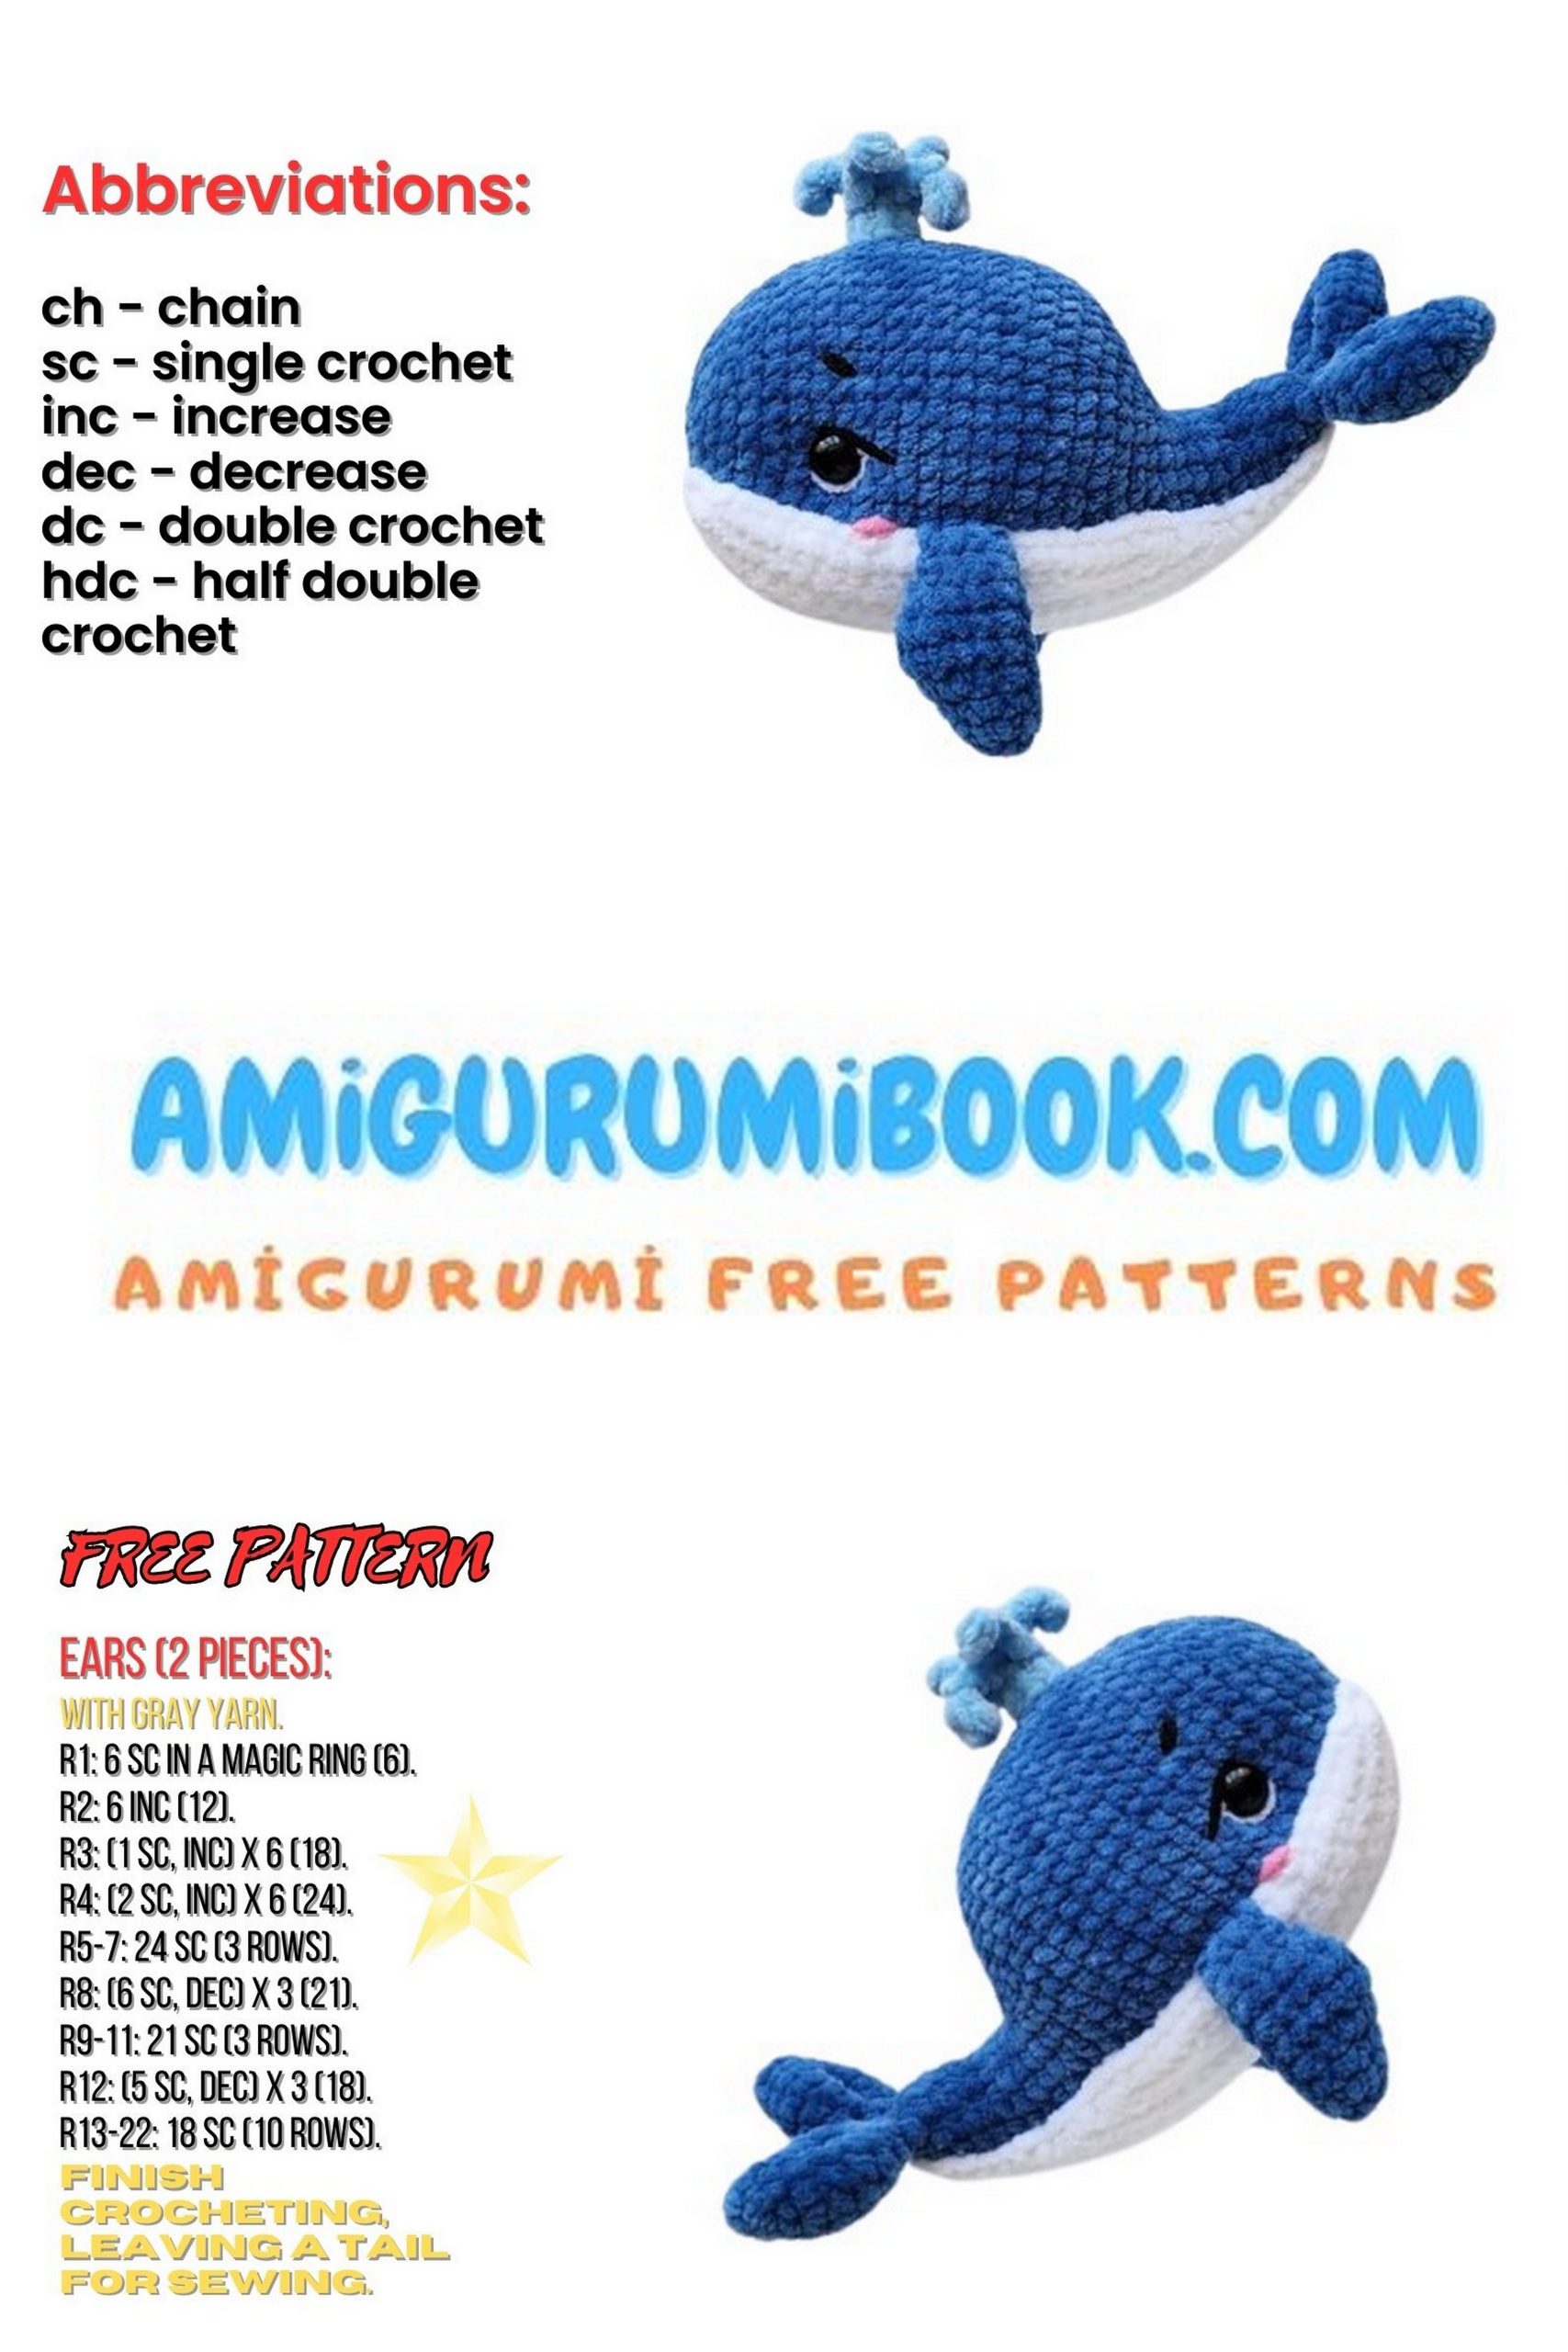
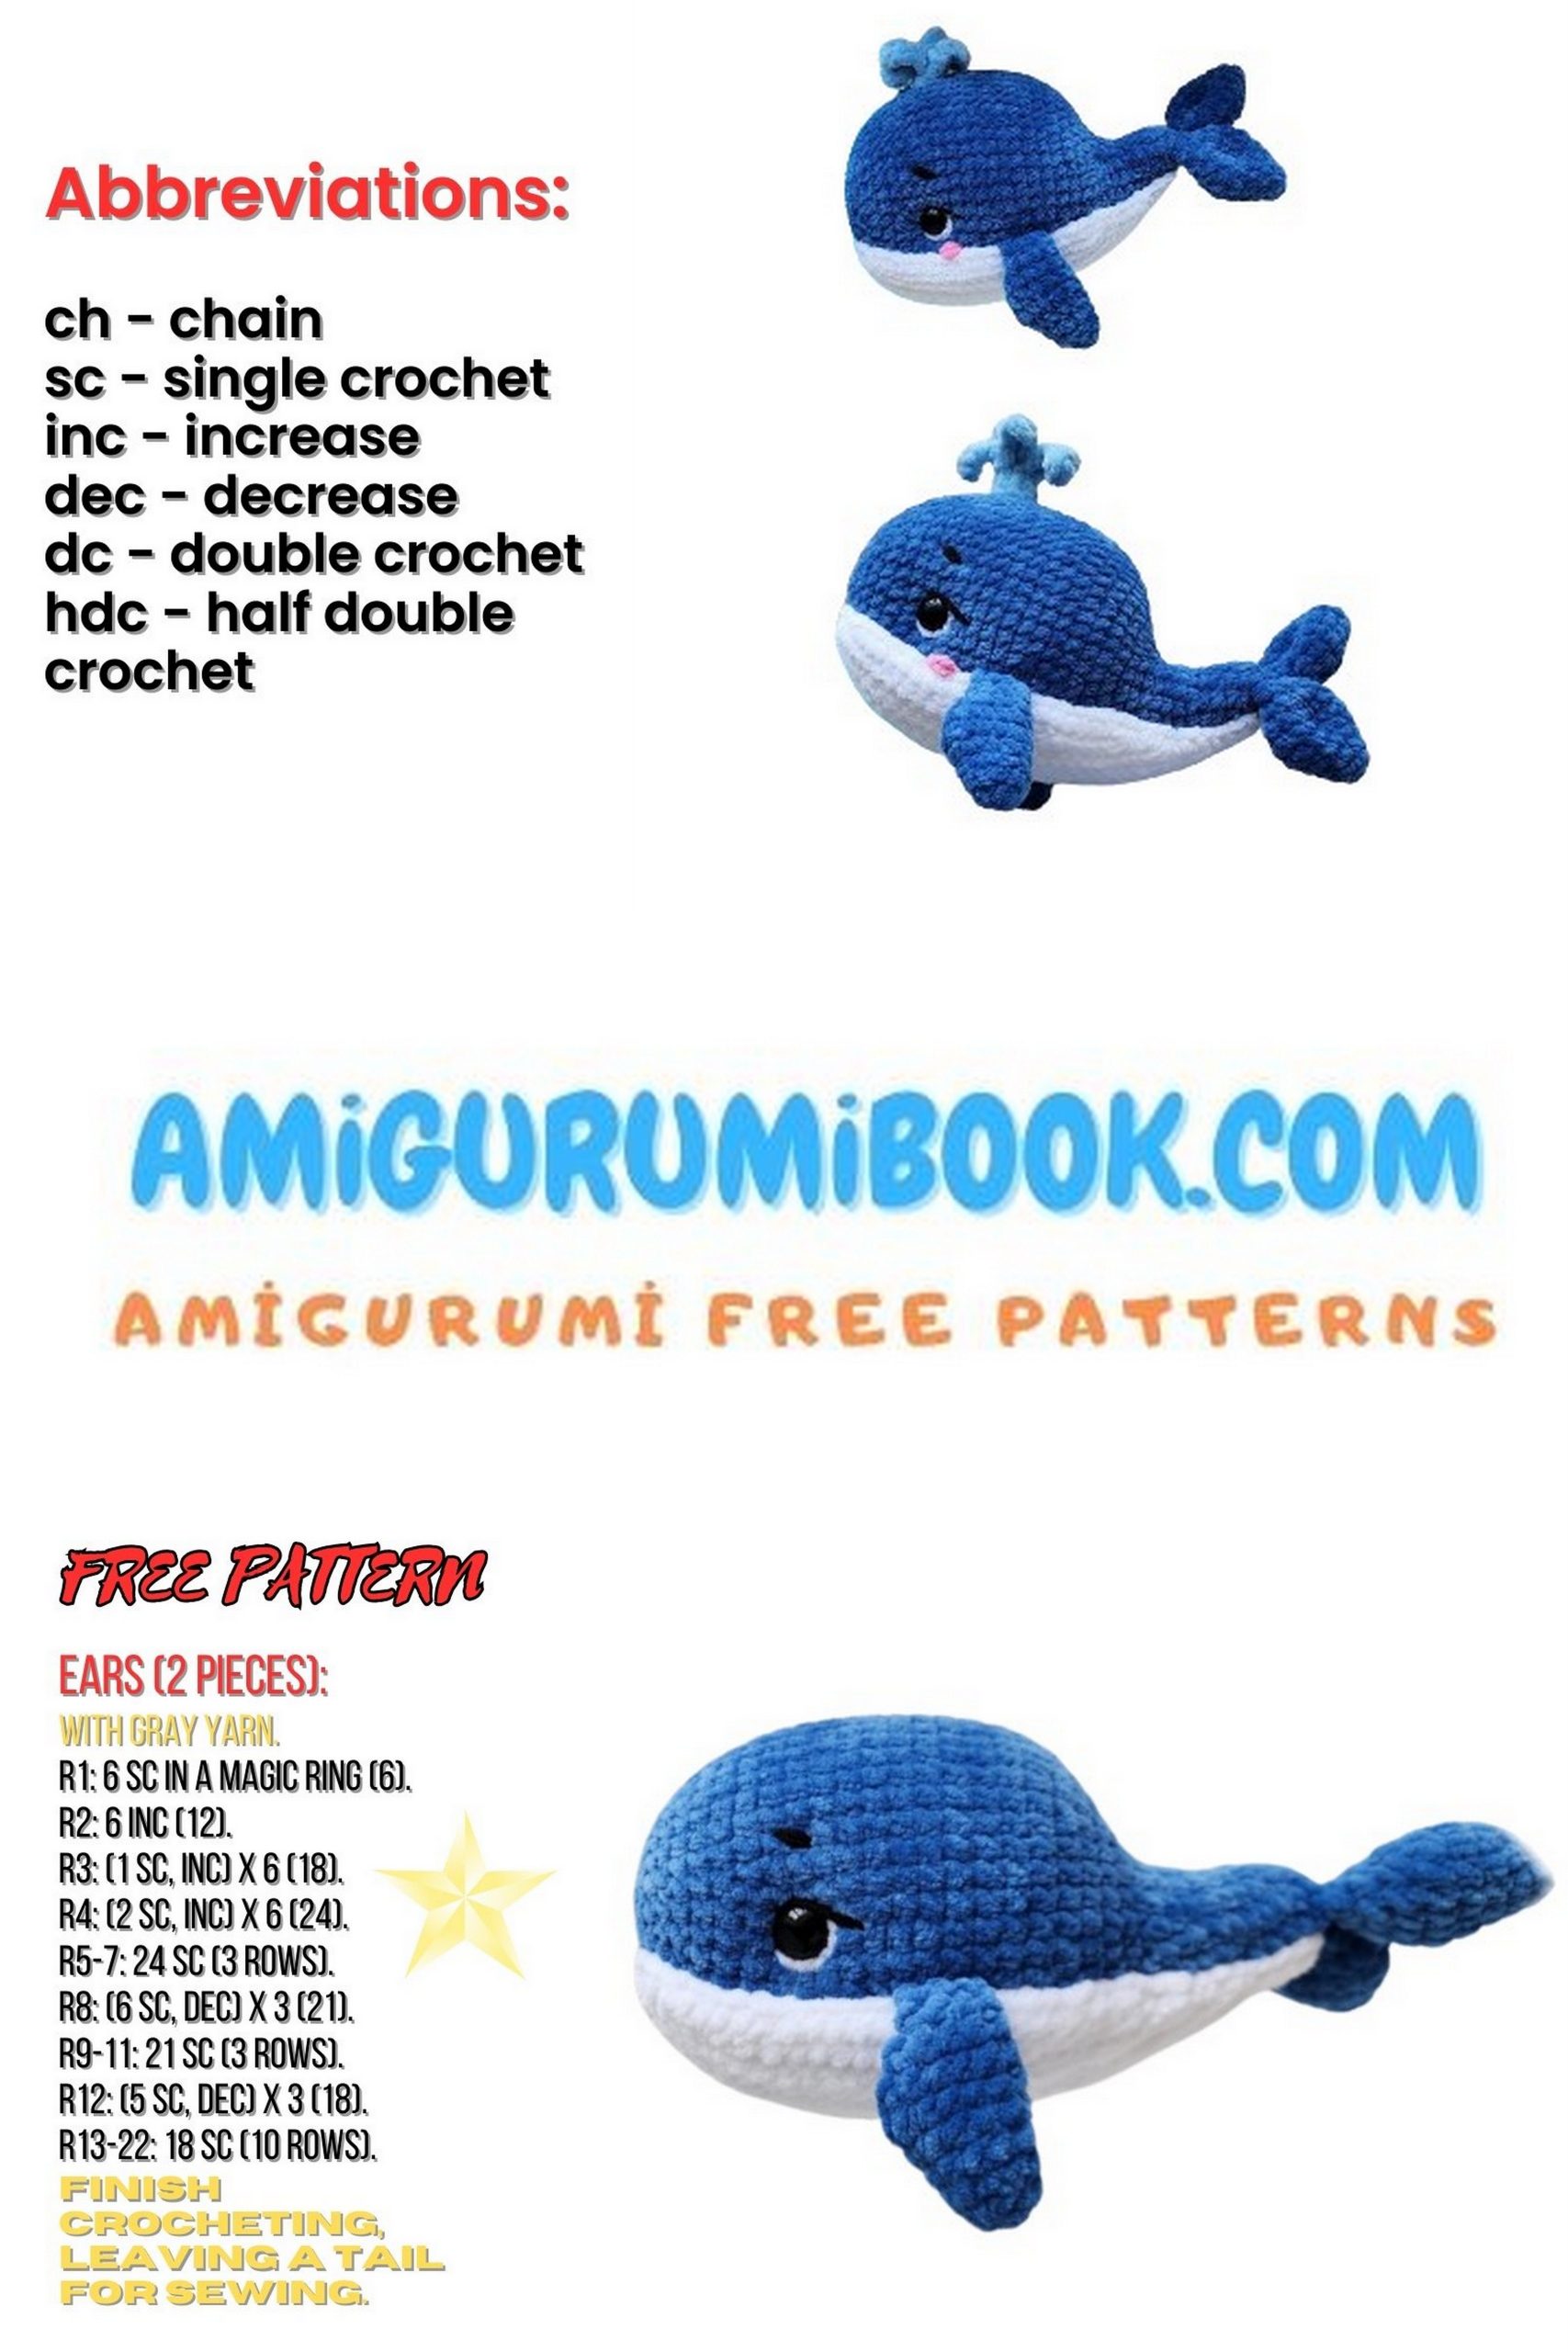
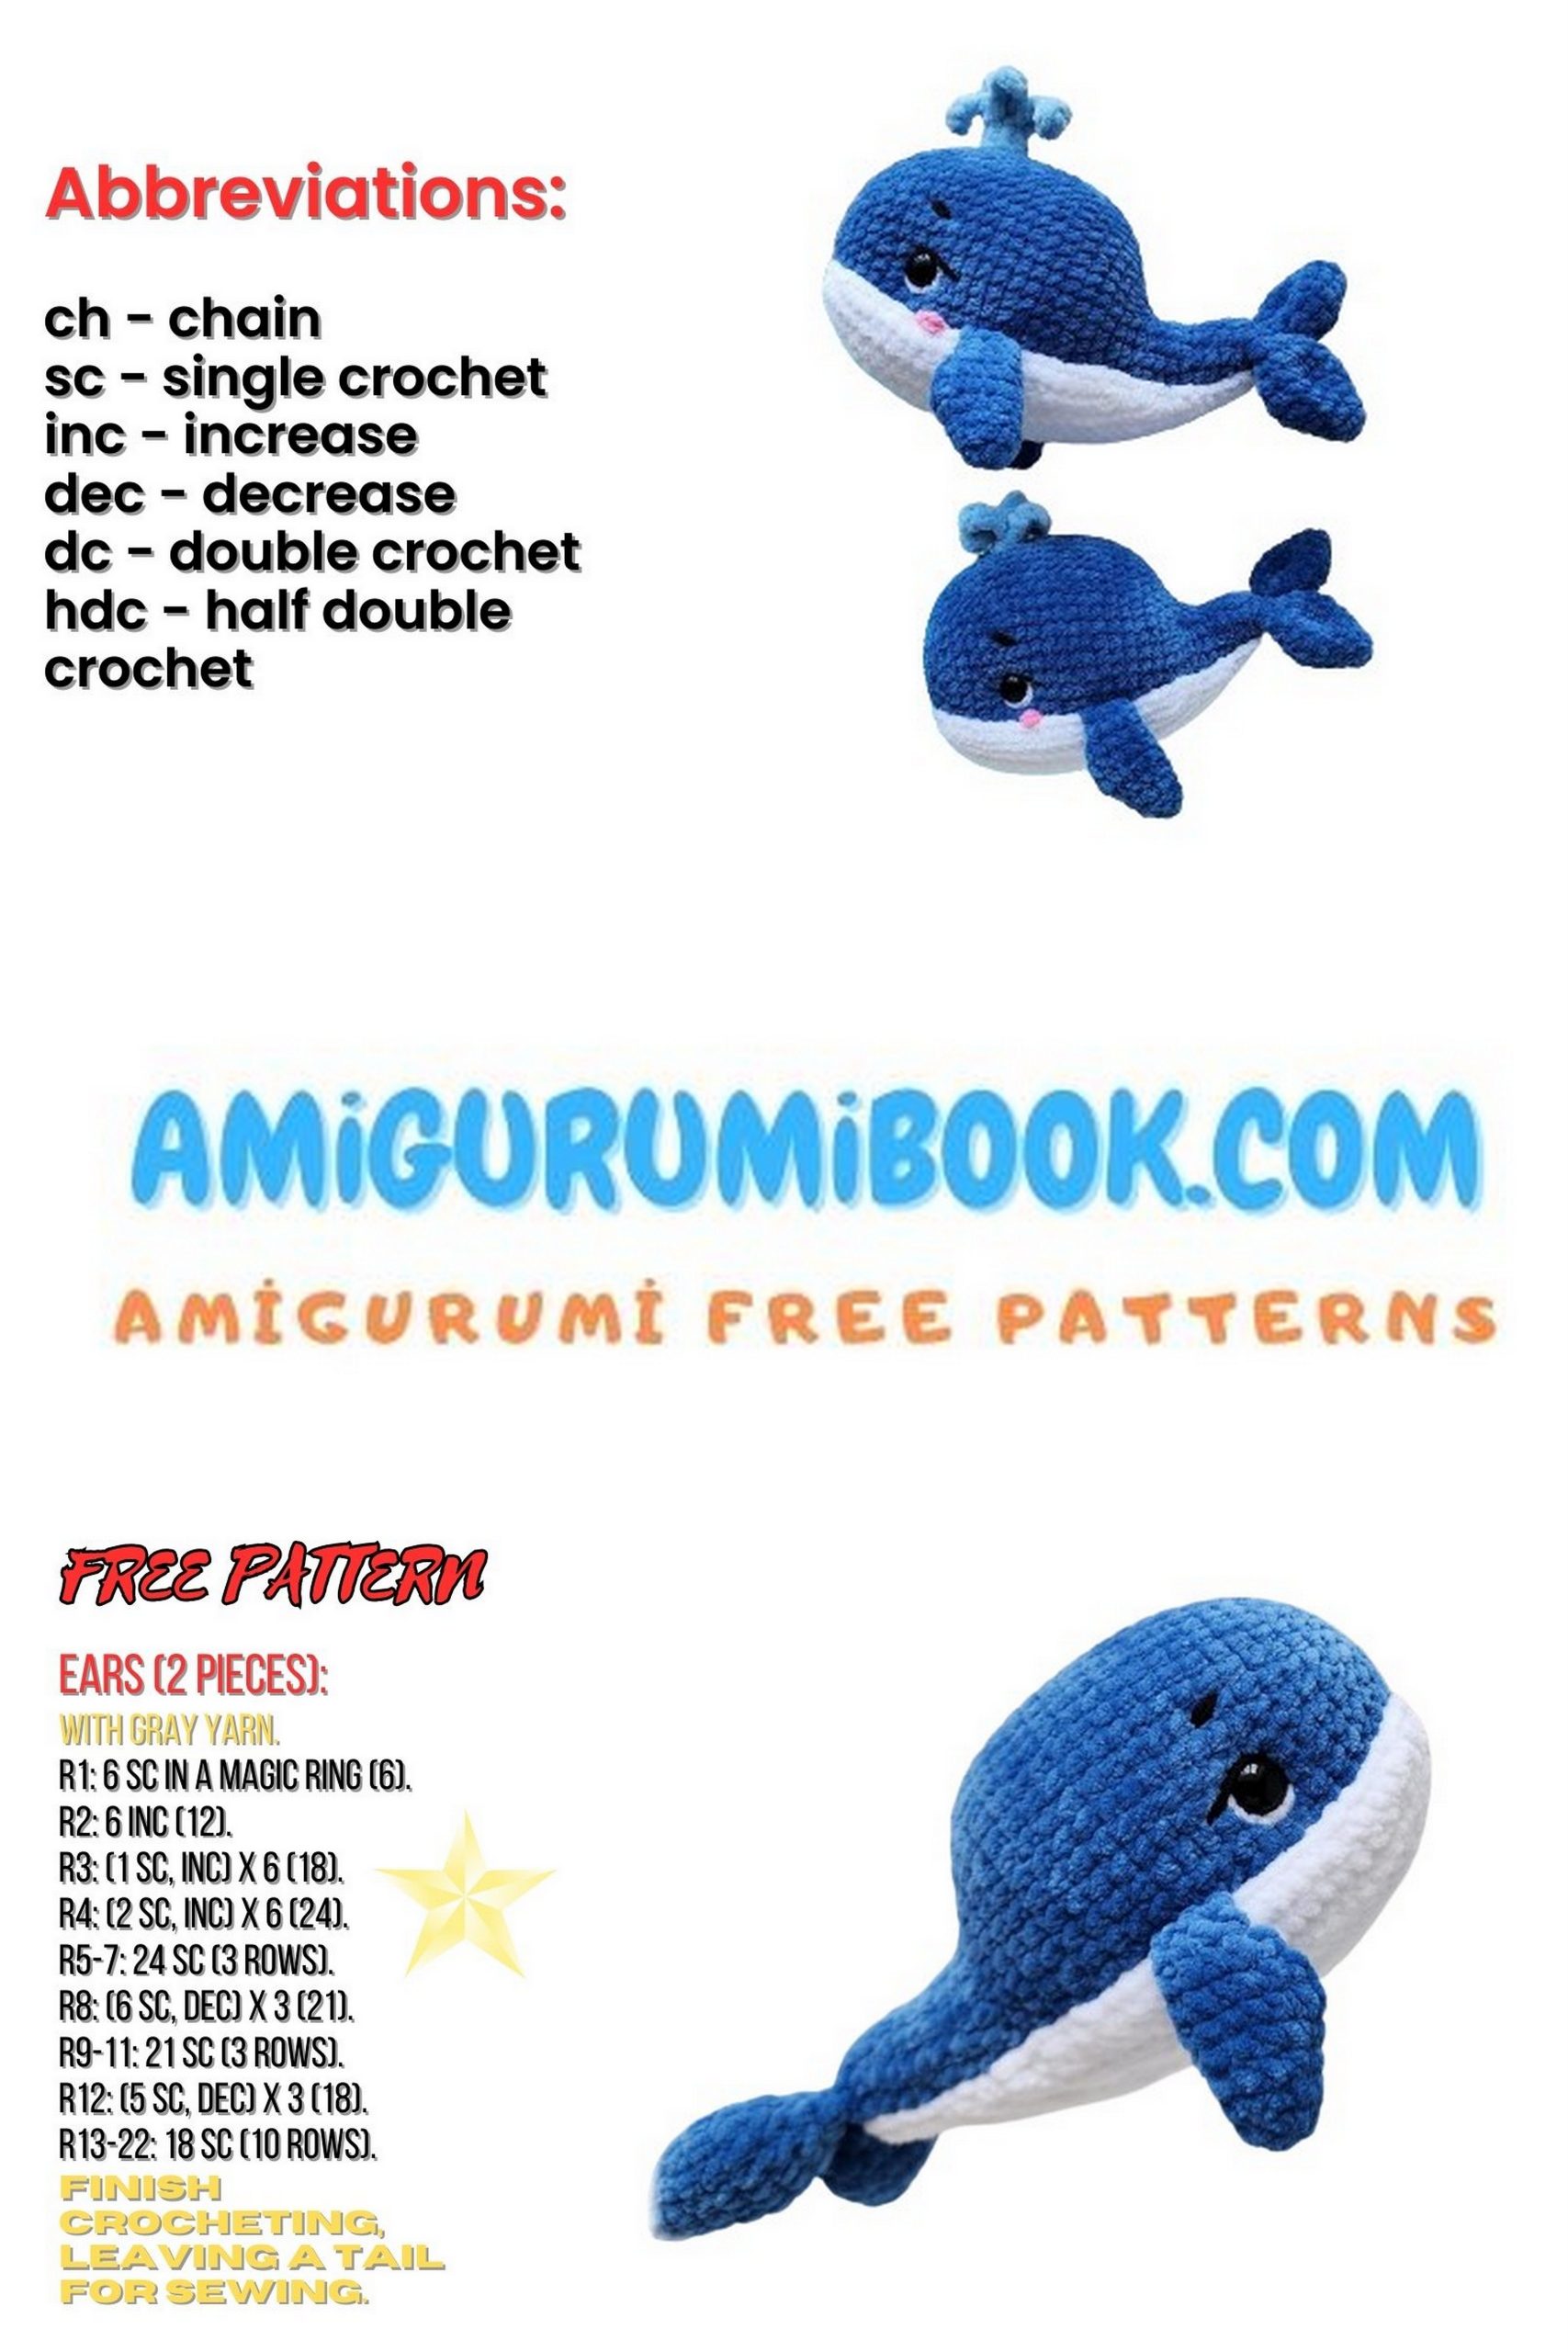
Dive into the world of crochet and oceanic wonders with our free Blue Whale Amigurumi pattern and tutorial. Perfect for both beginners and experienced crocheters, this comprehensive guide offers step-by-step instructions and clear photos to help you craft a majestic whale amigurumi.
As a delightful addition to your amigurumi animal collection, this gentle giant of the sea will inspire awe and imagination. Start your Blue Whale Amigurumi project today and let your crochet skills bring this magnificent creature to life!
If you want to access 1000+ free amigurumi patterns, you can download our application from this link!
Materials
Main yarn: Himalaya Dolphin Baby, blue color №80341, or any other preferred shade. Approximately 50-55 grams will be needed.
Additional yarn: Himalaya Dolphin Baby, white color №80301, or any other preferred shade. Also, color №80309 for bright pink cheeks, and №80306 for the fountain on the back.
YarnArt Jeans yarn, black color №53, for arrows and eyebrows.
Crochet hook size 3.5.
Yarn needle with a large eye for sewing and weighting.
Safety eyes with a diameter of 14 mm, black.
Glue “Moment Crystal”.
Marker or contrasting thread.
Stuffing, preferably polyester fiberfill.
Scissors.
Florist wire, 1 mm in diameter.
Fabric plaster or adhesive tape.
Recommendations
If you are using different materials, adjust the eye size as you go.
Crochet should be tight to avoid holes and prevent stuffing from showing through. If the fabric is loose, try using a smaller hook size. Only stuff the body; do not stuff the fins and tail parts.
You can skip using wire for reinforcing the tail. It will remain straight without it.
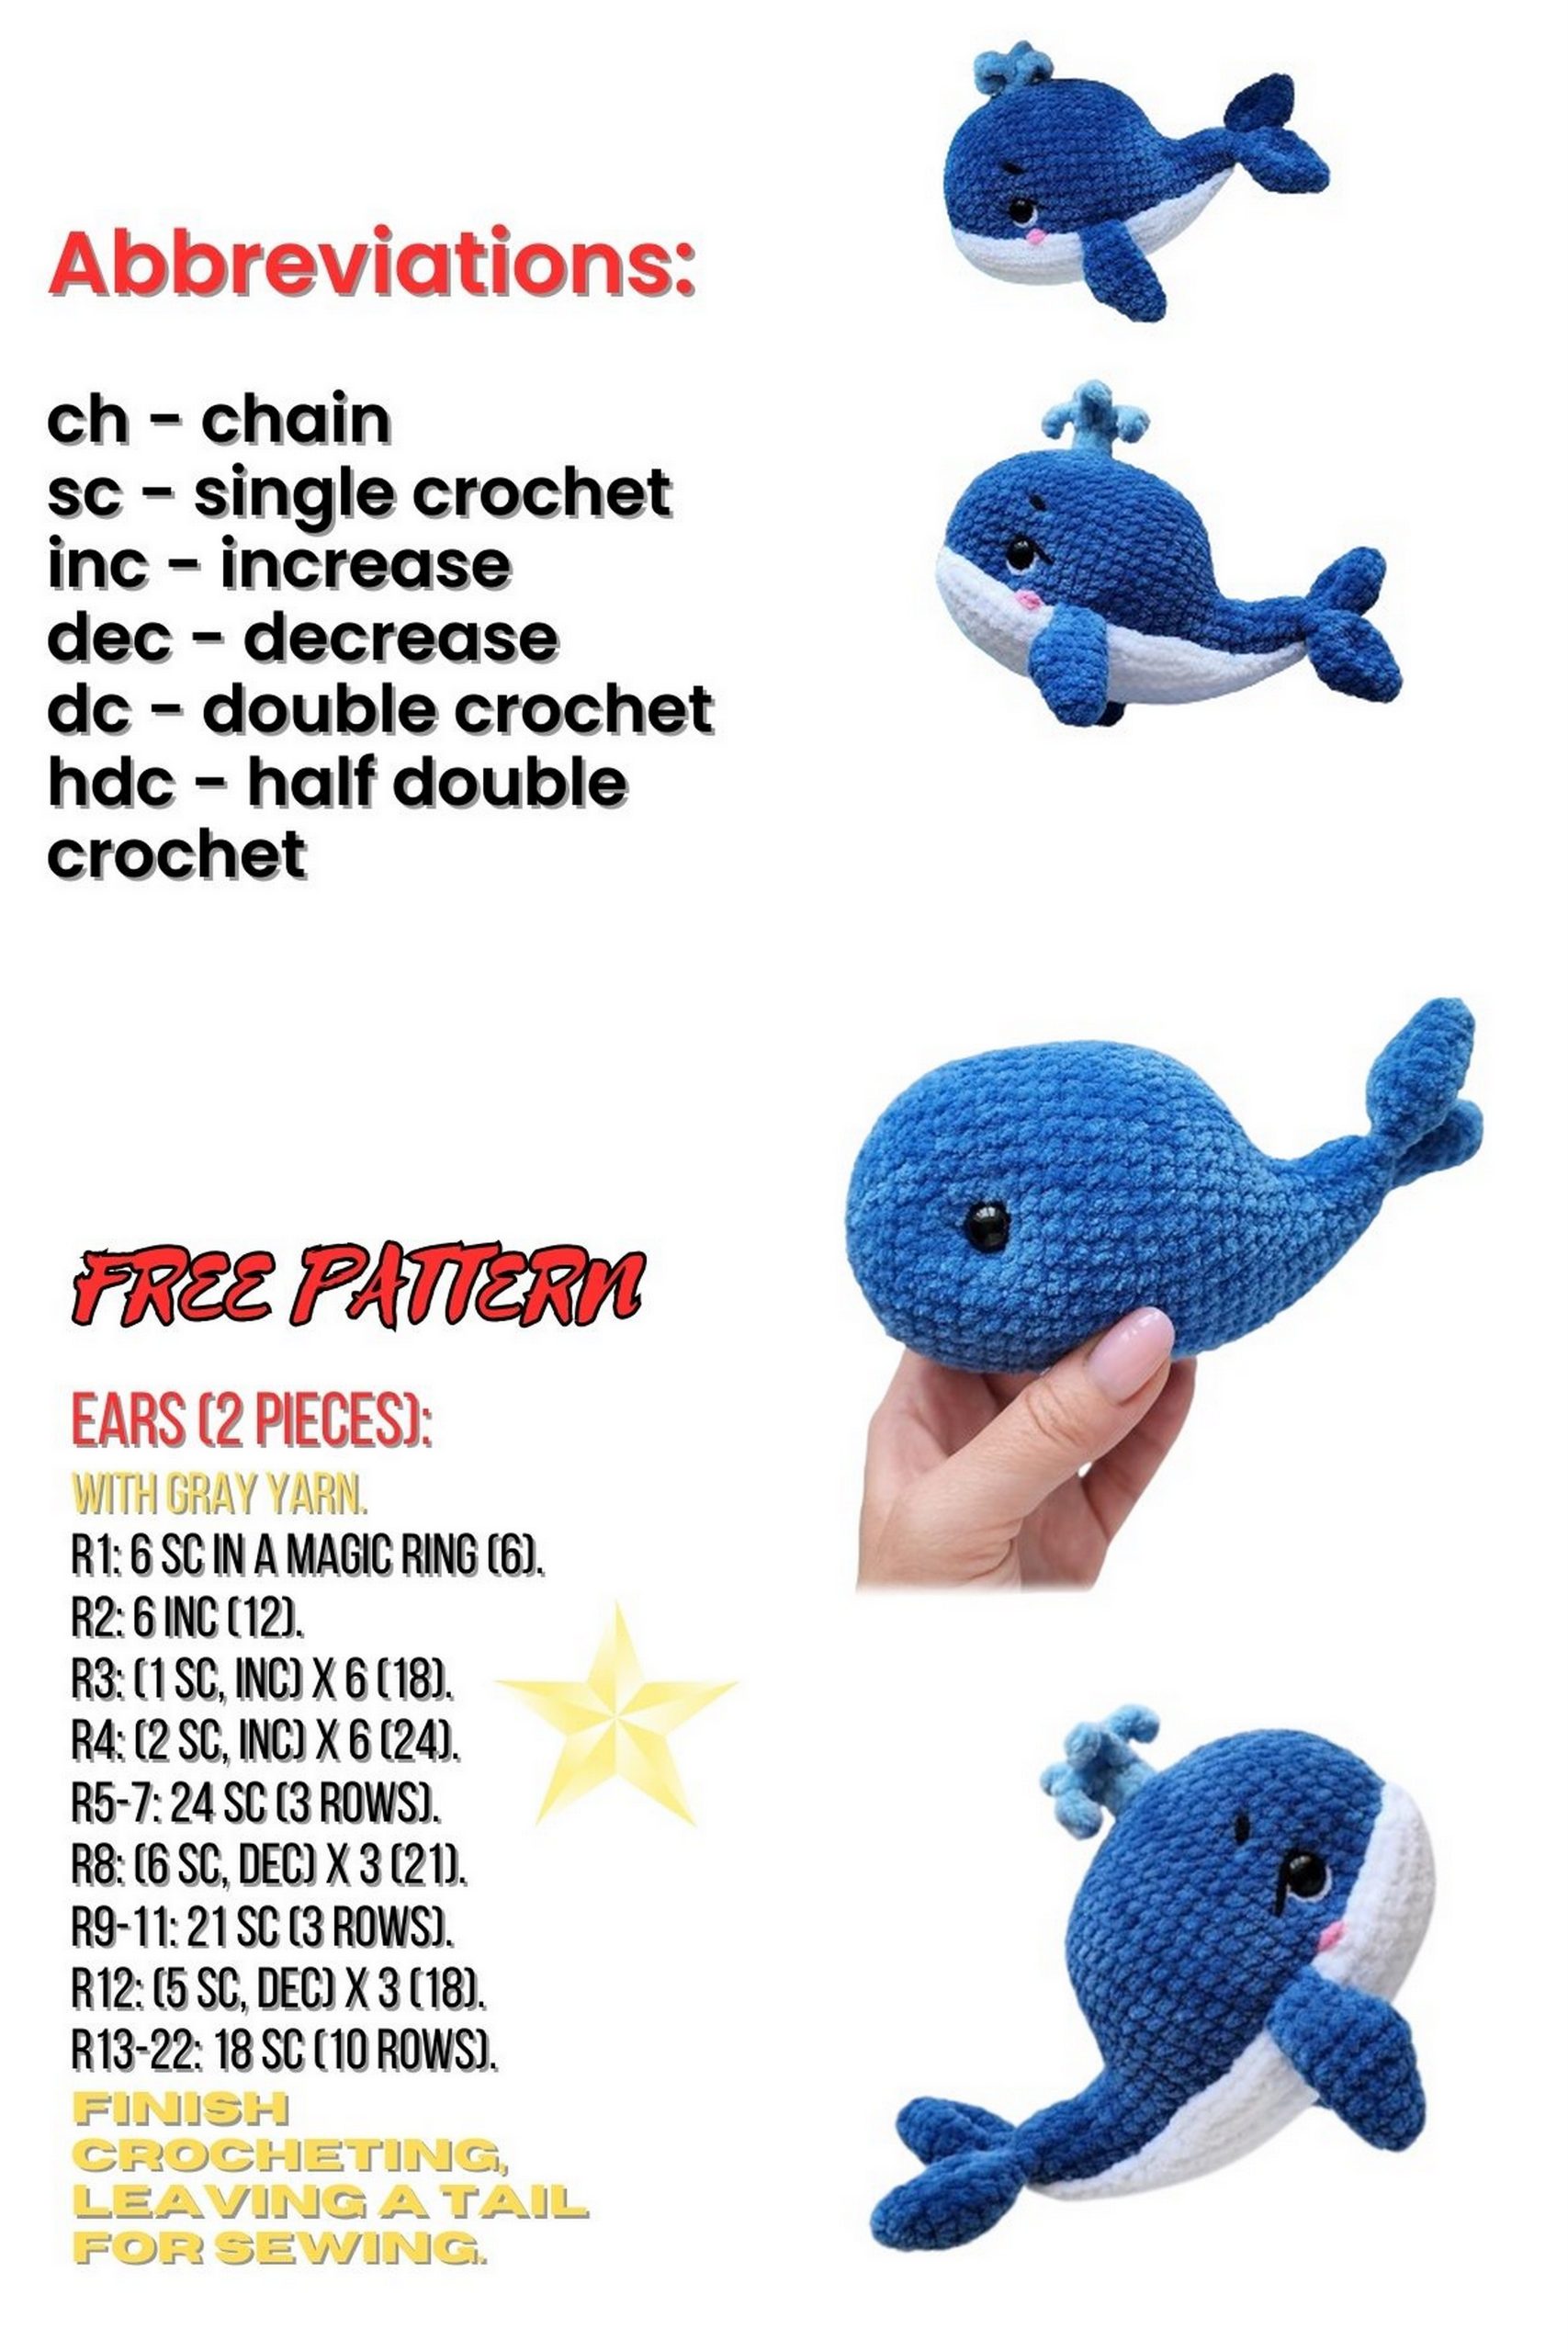
Abbreviations
MR – magic ring
ch – chain
sc – single crochet
dec – decrease
inc – increase
sc3tog – single crochet three together
hdc – half double crochet
dc – double crochet
sl st – slip stitch
(…) * n – repeat what is in parentheses n times
Chaining to turn – additional single crochet at the end of the row to align the marker
Blue Whale Pattern
Tail + Body (Blue Whale):
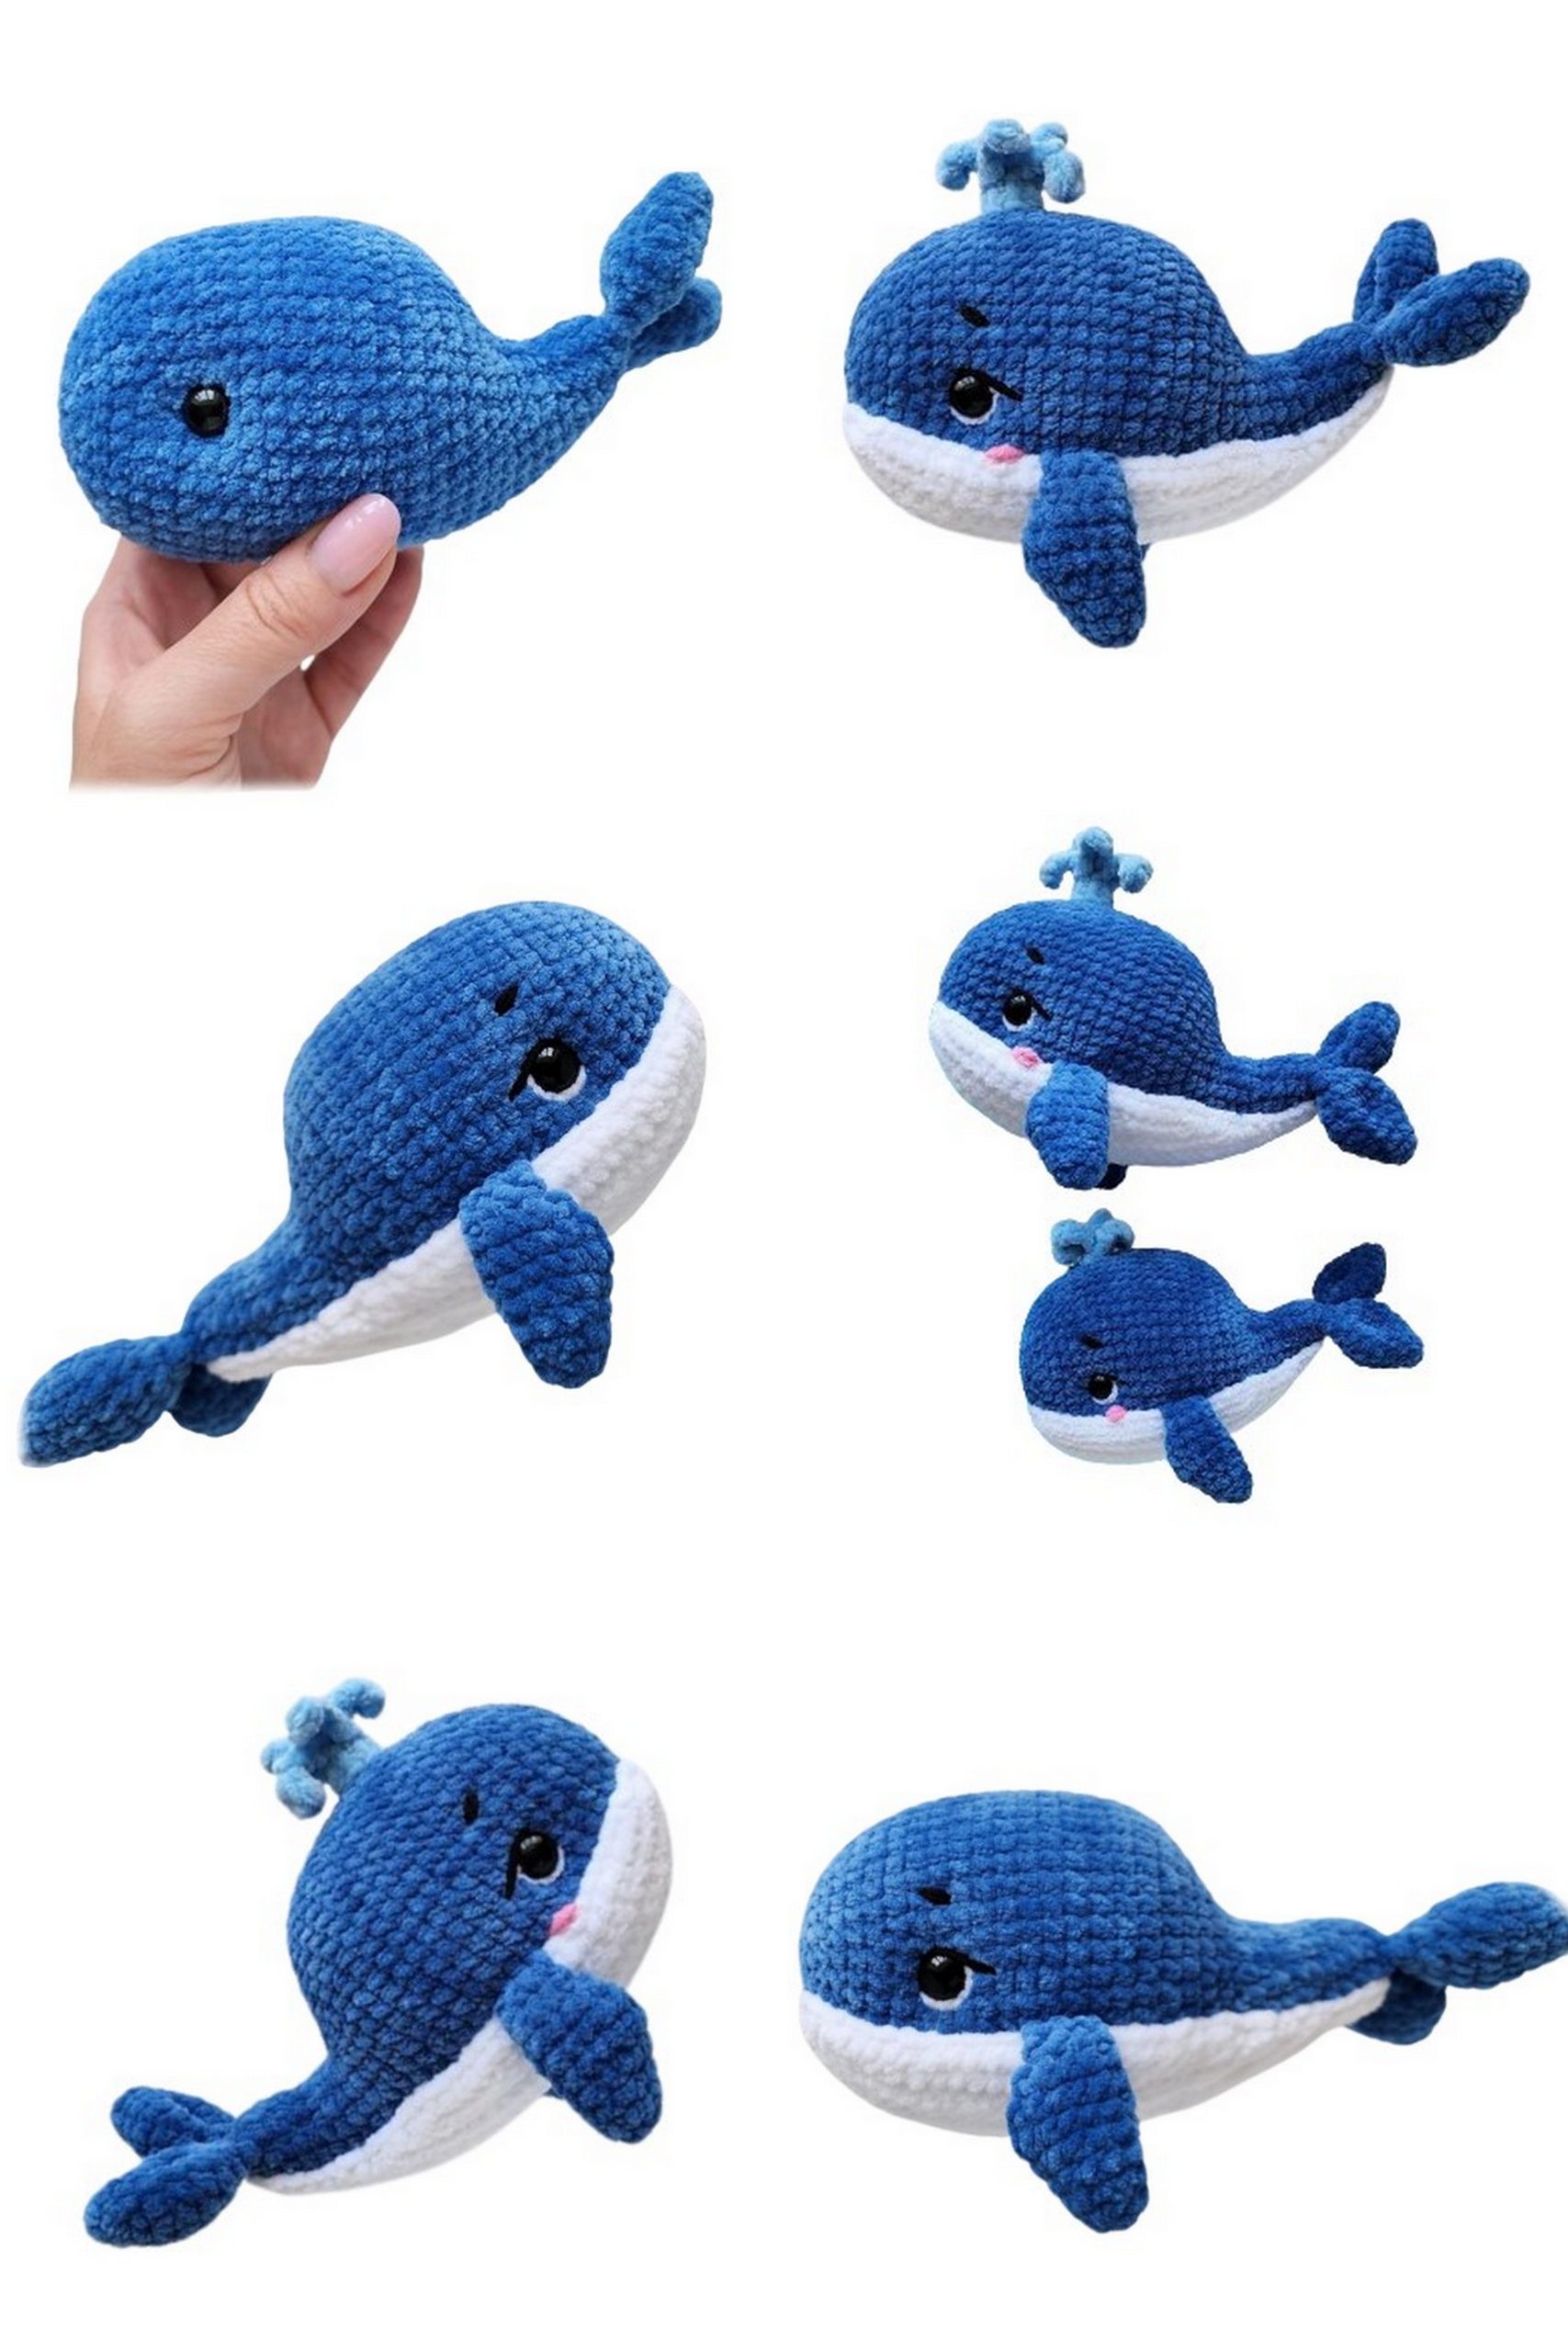
Crochet the whale using blue yarn and a 3.5 mm hook. Crochet two identical parts for the tail, then join them and continue crocheting the body.
1: 6 sc in MR.
2: (1 sc, inc) * 3 = 9 sc.
3: (inc, 2 sc) * 3 = 12 sc.
4: (1 sc, inc) * 6 = 18 sc.
5-6: 2 rows with 18 sc each.
7: (dec, 1 sc) * 6 = 12 sc.
8: 6 dec = 6 sc.
9: Fold the part and crochet 3 sc through both walls. Crochet an additional chain stitch and cut the yarn for the first part. For the second part, crochet in the same way, but do not cut the yarn. Continue crocheting and joining the two parts. Watch the video about joining the two parts of the tail: .
Crochet the tenth row through both loops.
10: Join the first part and crochet 6 sc through both loops, then return to the second part and crochet another 6 sc through both loops.
Place a marker after the tenth row. It should pass exactly through the center of the belly. If necessary, crochet turning chains to align the marker.
11-14: 4 rows with 12 sc each.
15: (1 sc, inc) * 6 = 18 sc.
16-17: 2 rows with 18 sc each.
18: (2 sc, inc) * 6 = 24 sc.
19: 24 sc.
Before the next rows, align the marker.
20: 6 sc, (1 sc, inc) * 6, 6 sc = 30 sc.
21: 7 sc, (inc, 2 sc) * 5, inc, 7 sc = 36 sc.
22: 8 sc, (inc, 3 sc) * 2, inc, 2 sc, inc, (3 sc, inc) * 2, 8 sc = 42 sc.
23: 42 sc.
24: 8 sc, (inc, 4 sc) * 5, inc, 8 sc = 48 sc.
25-36: 12 rows with 48 sc each.
At this stage, prepare wire reinforcement for the tail. Use florist wire with a 1 mm diameter, approximately 20 cm long. Fold the wire in half and twist it together. The final length of the wire should be 9-10 cm. Wrap the wire with fabric plaster or adhesive tape. Put some stuffing into the tail, then insert the wire and stuff the tail around it. Continue crocheting.
37: 3 sc, dec, (6 sc, dec) * 5, 3 sc = 42 sc.
38: 42 sc.
39: (dec, 5 sc) * 6 = 36 sc.
40: 2 sc, dec, (4 sc, dec) * 5, 2 sc = 30 sc.
41: (dec, 3 sc) * 6 = 24 sc.
Insert 14 mm eyes between rows 34 and 35, 26 sc apart from each other. For convenience, mark the central point from the top first, then count 13 sc in each direction. Insert the eyes into the marked points and secure them with stoppers.
Continue crocheting and gradually stuffing the toy.
Stuff firmly, shaping a curve from the back to the tail.
42: 1 sc, dec, (2 sc, dec) * 5, 1 sc = 18 sc.
43: (dec, 1 sc) * 6 = 12 sc.
44: 6 dec = 6 sc.
Cut the yarn, leaving a small tail. Stuff the toy completely and close the opening by pulling the front loops of the stitches together. Secure and hide the yarn inside the toy.
Weighting – Blue Whale
For weighting, take sturdy thread and a long needle. Mark three points between rows 31 and 32 from the bottom, through which the weighting will be done. See the video: .
Insert the needle into point №1, then pull it out at the outer corner of the right eye. Then insert the needle into the inner corner of the right eye and pull it out at point №2. Repeat the weighting: point №1 → outer corner of the right eye → inner corner of the right eye → point №2. Tighten both ends of the thread so that the eye sinks slightly into the body. Tie several strong knots.
Do the same for the left eye. Insert the needle into point №3, then pull it out at the outer corner of the left eye. Then insert the needle into the inner corner of the left eye and pull it out at point №2. Tighten the working thread again, ensuring that the eyes are evenly tightened. Tie several knots and hide the threads inside the toy.
Belly – Blue Whale
Crochet the belly with white yarn and a 3.5 mm hook. Crochet it in turning rows, behind the back loops of the stitches.
1: 24 ch, starting from the second ch from the hook, crochet – 5 sl st, 13 sc, 5 sl st; + 2 ch, turn.
2: 1 sl st in the chain from the ch, 4 sl st, 14 sc, 5 sl st; + 4 ch, turn.
3: 3 sl st, 2 sl st, 17 sc, 5 sl st; + 2 ch, turn.
4: 1 sl st, 4 sl st, 18 sc, 5 sl st; + 4 ch, turn.
5: 3 sl st, 2 sl st, 21 sc, 5 sl st; + 2 ch, turn.
6: 1 sl st, 4 sl st, 22 sc, 5 sl st; + 5 ch, turn.
7: 4 sl st, 1 sl st, 26 sc, 5 sl st; + 1 ch, turn.
8: 5 sl st, 26 sc, 5 sl st; + 1 ch, turn.
9: 5 sl st, 26 sc, 5 sl st; + 1 ch, turn.
10: 5 sl st, 22 sc, 5 sl st; + 1 ch, turn.
11: 5 sl st, 21 sc, 5 sl st; + 1 ch, turn.
12: 5 sl st, 18 sc, 5 sl st; + 1 ch, turn.
13: 5 sl st, 17 sc, 5 sl st; + 1 ch, turn.
14: 5 sl st, 14 sc, 5 sl st; + 1 ch, turn.
15: 5 sl st, 13 sc, 5 sl st; + ch.
Without turning the part, crochet single crochet edging around.
Use the edging to smooth out the angles on the tail. Finish with sl st and cut the yarn. Pull it to the wrong side.
Attach the belly with pins and sew it with thin white sewing thread. I sewed the belly about 1.5-2 sc away from the eyes. While sewing, add some stuffing to the area of weighting to even out the resulting dimple. Secure and hide the thread inside.
Fins – Blue Whale
Place the marker evenly behind the fin. If necessary, adjust it by crocheting turning chains.
1: 6 sc in MR.
2: (1 sc, inc) * 3 = 9 sc.
3: 9 sc.
If necessary, adjust the marker before the next row.
4: 3 sc, 3 hdc, 3 sc = 12 sc.
5: 12 sc.
6: 5 sc, dec, 5 sc = 11 sc.
7: 4 sc, sc3tog, 4 sc = 9 sc.
8: 3 sc, sc3tog, 3 sc = 7 sc.
If necessary, adjust the marker. Fold the part and crochet 3 sc through both walls. Cut the yarn, leaving a tail for sewing.
Crochet the second fin in the same way.
Sew the fins at the transition from the body to the belly, about 3 rows back from the eyes. The curves on the fins should face forward.
Eye Decoration
Embroider the eye whites with white plush yarn and glue them with “Moment Crystal”. Embroider the arrows and eyebrows with YarnArt Jeans yarn in black. Use two strands of yarn. Embroider the eyebrows two rows above the eyes, on the third row. Embroider diagonally with two stitches per eyebrow, spanning 2 sc in length.
Cheeks
Embroider the cheeks with pink yarn, at the transition from the body to the belly. Embroider them 1 sc forward from the fins, capturing 2 sc, and make 3-4 stitches on each cheek. Secure and hide the threads inside the toy.
Fountain on the Back
1: Crochet the fountain with blue yarn. Mark the central point at the top, between rows 33 and 34.
2: Crochet 8 sc around the marked point, clockwise. Crochet a second round of 8 sc. Then, start crocheting droplets as follows:
3: Chain 5, starting from the second ch from the hook, crochet – 2 hdc, 1 sc, 1 sl st in the chain. Then, 1 sl st in the row.
4: Chain 6, starting from the second ch from the hook, crochet – 2 hdc, 2 sc, 1 sl st in the chain. Then, 2 sl st in the row.
5: Chain 5, starting from the second ch from the hook, crochet – 2 hdc, 1 sc, 1 sl st in the chain. Then, 1 sl st in the row.
6: Chain 6, starting from the second ch from the hook, crochet – 2 hdc, 2 sc, 1 sl st in the chain. Then, 2 sl st in the row.
7: Chain 5, starting from the second ch from the hook, crochet – 2 hdc, 1 sc, 1 sl st in the chain. Then, 1 sl st in the row.
Cut the yarn, leaving a small tail. Thread it through the fountain base with a needle and tighten it. Pull the thread inside, secure it, and hide it through the center of the fountain.
Bend the tail upwards, and your whale is ready! Congratulations! 😊