

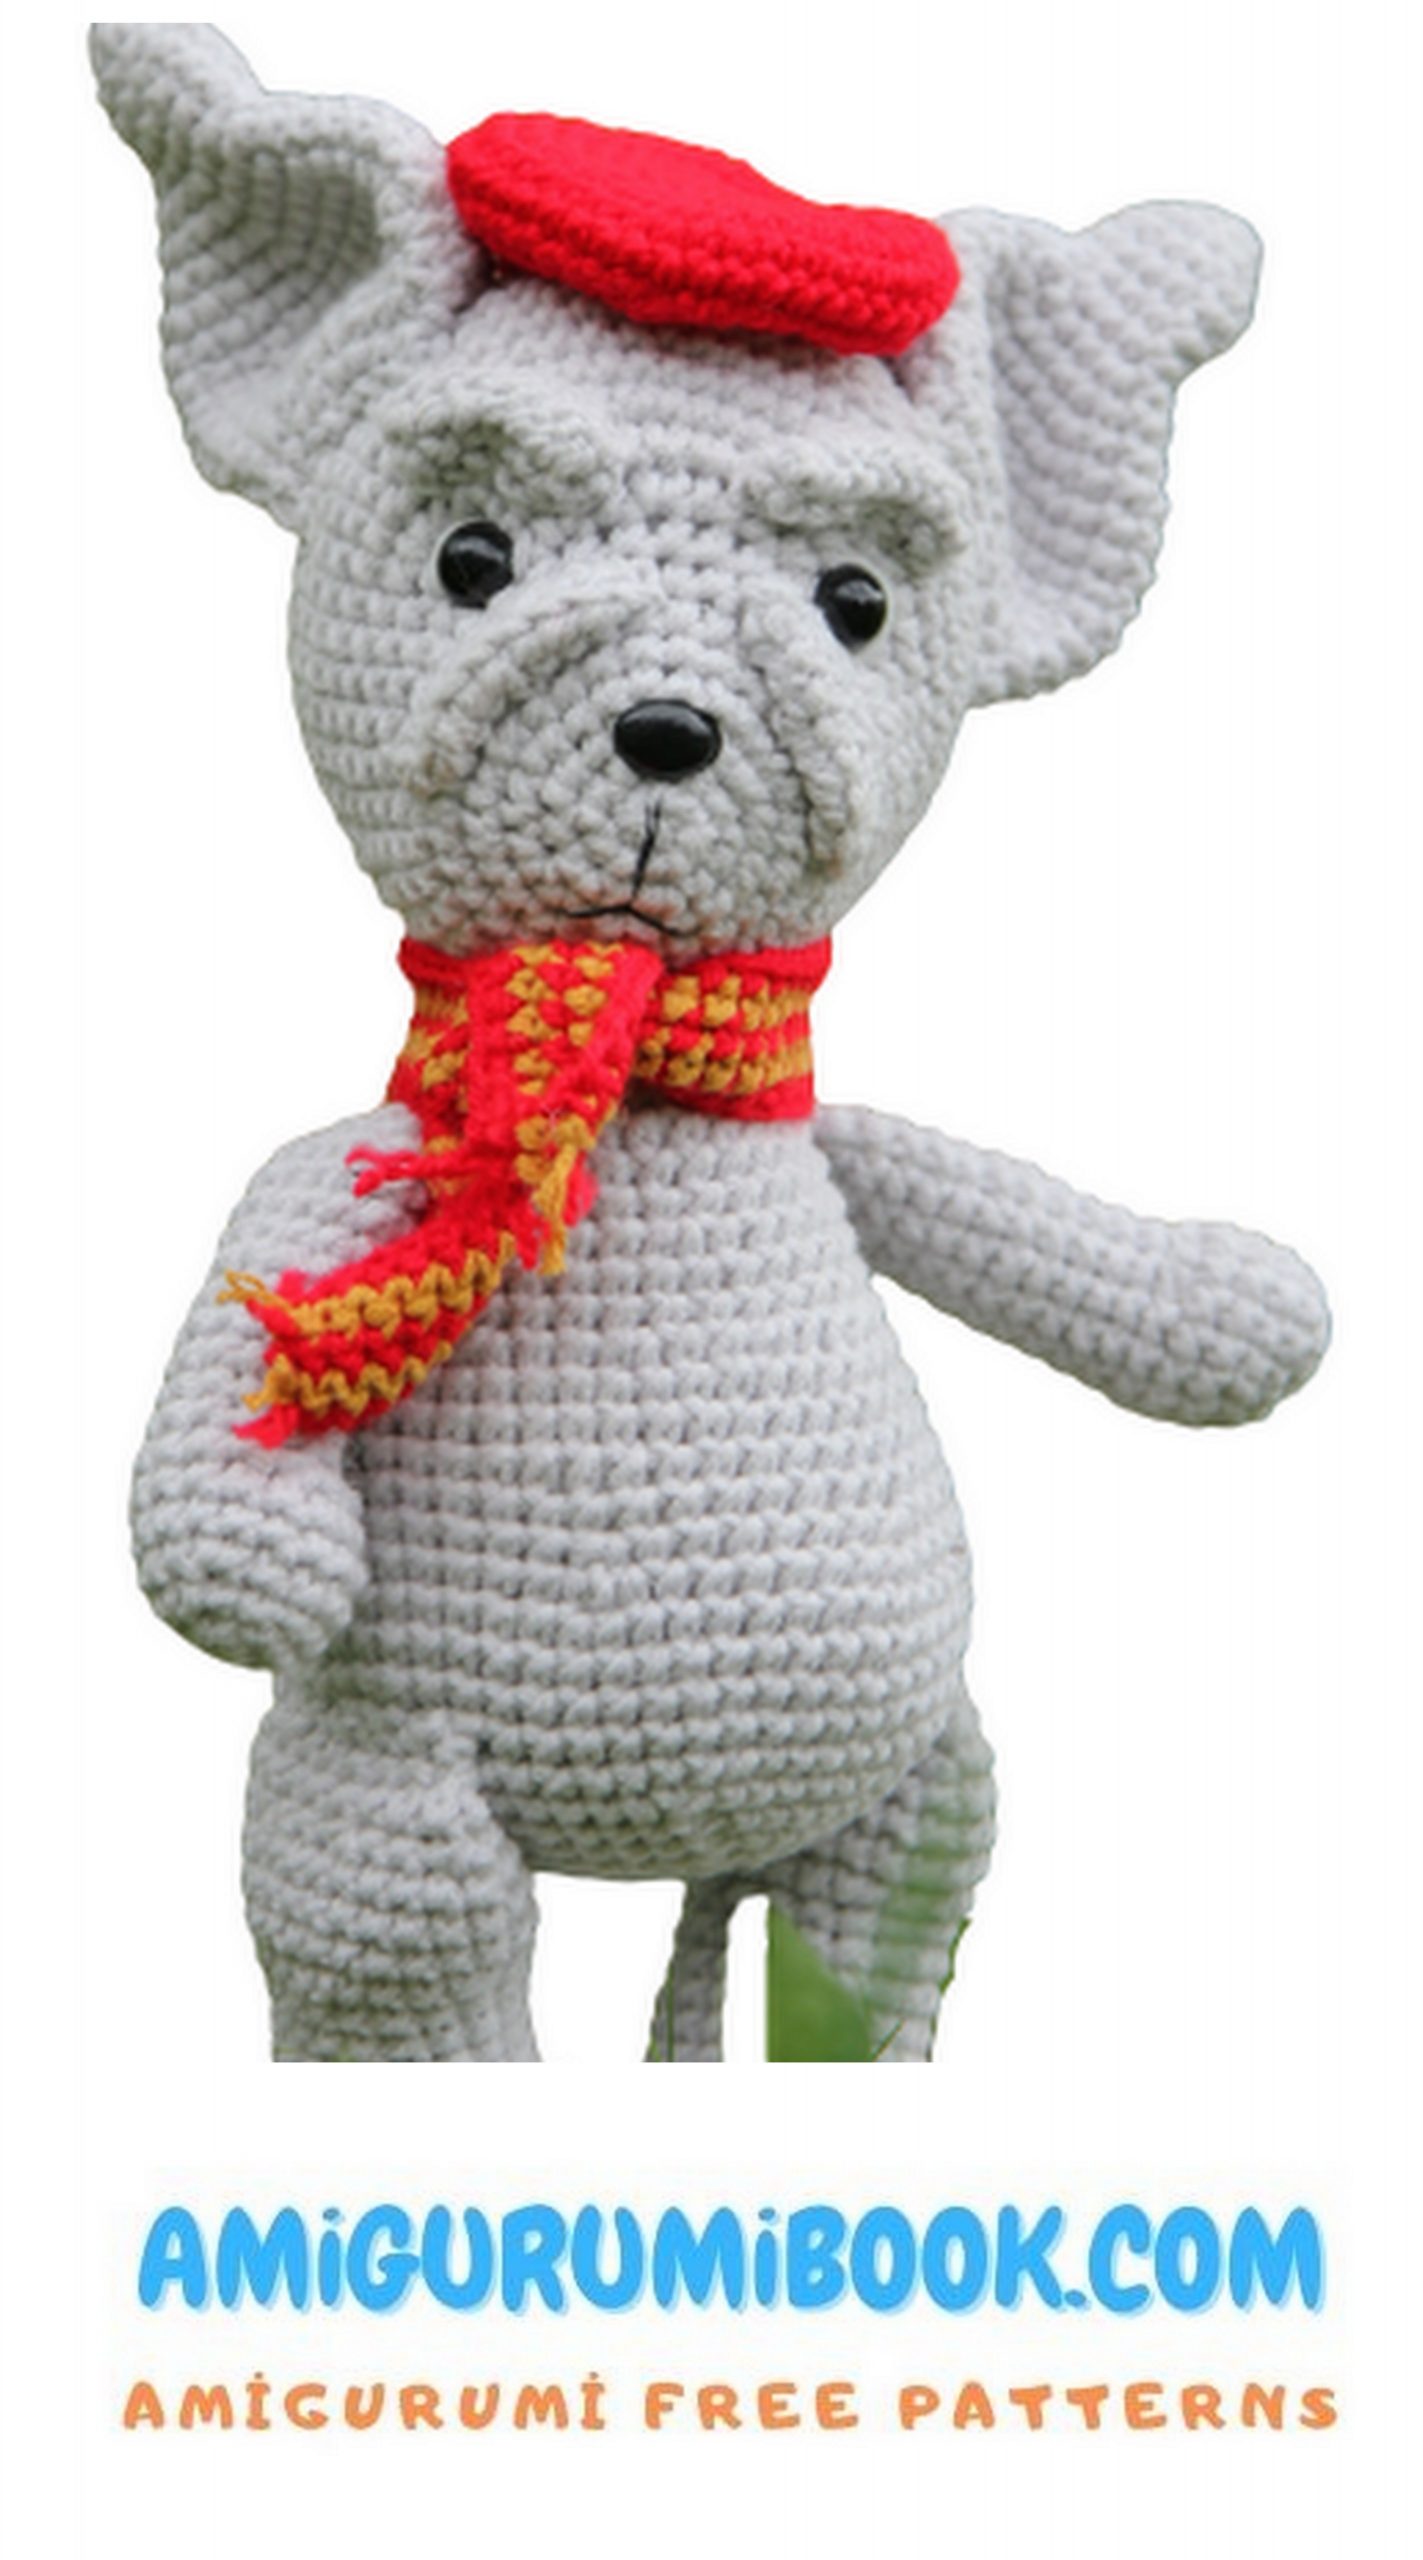
The Bulldog Richie Amigurumi Free Pattern offers a fun and easy way to create an adorable crocheted bulldog. Perfect for beginners and experienced crafters alike, this pattern provides step-by-step instructions to bring your own charming stuffed companion to life. free crochet patterns – Christmas Tree Ornament Amigurumi Free Pattern
You may also like more amigurumi patterns.
I continue to share amigurumi free patterns. In this article, bulldog richie amigurumi free pattern is waiting for you.
Abbreviations:
ch-chain
sc – single crochet
dec – decrease
inc – increase

Materials:
Alize Cotton Gold, color 200, 100 g, 330 m,
55% – Cotton, 45% – Acrylic
Alize cotton gold hobby, color 56, 50 g, 165 m, 55% cotton, 45% acrylic
Alize cotton gold hobby, color 02, 50 g, 165 m, 55% cotton, 45% acrylic
Hook number 2
Filler
Eyes and nose on a 10 mm safety mount
Blunt end needle
Matching pin and disc
Recommended Materials
PATTERN


Head
We stuff tightly in the process of knitting.
1) 6 sc into magic ring
2) 6 inc (12 sc)
3) (1 sc, inc)x6 (18 sc)
4) (2 sc, inc)x6 (24 sc)
5) (3 sc, inc)x6 (30 sc)
We bring the beginning of the row to the side.
6) (4 sc, inc)x6 (36 sc)
7-8) 36 sc – 2 rows
9) 21 sc, (1 sc, inc)x3, (inc, 1 sc)x3, 3
sc (42 sc)
The increase should be strictly at the top.
10) 21 sc, (2 sc, inc)x3, (inc, 2 sc)x3,
3 sc (48 sc)
11) (7 sc, inc)x6 (54 sc)
12-20) 54 sc – 9 rows
We insert the nose between 3-4 rows, insert the eyes between 9 and 10 rows at a distance of 12 sc.
Insert a cotter pin between rows 11 and 12.
21) (7 sc, dec)x6 (48 sc)
22) (6 sc, dec)x6 (42 sc)
23) (5 sc, dec)x6 (36 sc)
24) (4 sc, dec)x6 (30 sc)
25) (3 sc, dec)x6 (24 sc)
26) (2 sc, dec)x6 (18 sc)
27) 1 sc, dec)x6 (12 sc)
28) 6 dec. Fasten the thread, hide the end.


Pleats (2 pcs)
We collect 9 ch, we knit with the second:
1) 8 sc, ch, turn
2) 8 sc
Fold the part in half and knit 8 sc on both edges.
Fasten the thread. Leave an end for sewing on the part.
Eyebrows (2 pcs)
We collect 8 ch, we knit with the second:
6 sc, 3 in 1 loop, 5 sc, inc (16 sc)
Fasten the thread. Leave an end for sewing on the part.
Tail
1) 6 sc into magic ring
2) (1 sc, inc)x3 (9sc)
3) 9 sc
Fasten the thread, leave the end for sewing the part
Legs (2 parts)
We stuff the bottom of the part tightly, leaving the top almost unstuffed.
1) 6 sc into magic ring
2) 6 inc (12 sc)
3) (1 sc, inc)x6 (18 sc)
4) (2 sc, inc)x6 (24 sc)
5) (3 sc, inc)x6 (30 sc)
6-7) 30 sc – 2 rows
8) 8 sc, (dec, 1 sc)x2, dec, (1 sc,
dec) x2, 7 sc (24 sc)
9) 6 sc, 6 dec, 6 sc (18 sc)
10-15) 18 sc – 6 rows
16) (2 sc, inc)x6 (24 sc)
17-19) 24 sc – 3 rows
20) (2 sc, dec)x6 (18 sc)
21) 18 sc
22) For both edges we knit 9 sc.
Fasten the thread. Leave an end for sewing on the part.
Hands (2 parts)
We stuff the bottom tightly, we do not stuff the top at all.
1) 6 sc into magic ring
2) 6 inc (12 sc)
3) (3 sc, inc)x3 (15 sc)
4-6) 15 sc – 3 rows
7) 3 dec, 9 sc (12 sc)
8-17) 12 sc – 10 rows
Fold the piece in half. For both edges we knit 6 sc.
We fix the thread. Leave the end for sewing details.
Body
We knit in a light color. We stuff tightly in the process of knitting.
1) 6 sc into magic ring
2) 6 inc (12 sc)
3) (1 sc, inc)x6 (18 sc)
4) (2 sc, inc)x6 (24 sc)
5-6) 24 sc – 2 rows
7) (3 sc, inc)x6 (30 sc)
8-9) 30 sc – 2 rows
10) (4 sc, inc)x6 (36 sc)
11-12) 36 sc – 2 rows
We fix the cotter pin with the head.
13) 9 sc, (2 sc, inc)x6, 9 sc (42 sc)
14-17) 42 sc – 4 rows
18) (6 sc, inc)x6 (48 sc)
19) (7 sc, inc)x6 (54 sc)
20-24) 54 sc – 5 rows
25) (7 sc, dec)x6 (48 sc)
26) (6 sc, dec)x6 (42 sc)
27) (5 sc, dec)x6 (36 sc)
28) (4 sc, dec)x6 (30 sc)
29) (3 sc, dec)x6 (24 sc)
30) (2 sc, dec)x6 (18 sc)
31) 1 sc, dec)x6 (12 sc)
32) 6 dec
Fasten the thread, hide the end.
Ears (2 parts)
6 sc into magic ring
6 sc
6 inc (12 sc)
12 sc – 4 rows
(1 sc, inc)x6 (18 sc)
18 sc
(2 sc, inc)x6 (24 sc)
(3 sc, inc)x6 (30 sc)
30 sc – 4 rows
(3 sc, dec)x6 (24 sc)
24 sc
(2 sc, dec)x6 (18 sc)
18 sc
For both edges we knit 9 sc.
We fix the thread, cut it off, leave a long end for sewing on the part.
Beret
1) 6 sc into magic ring
2) 6 inc (12 sc)
3) (1 sc, inc)x6 (18 sc)
4) (2 sc, inc)x6 (24 sc)
5) (3 sc, inc)x6 (30 sc)
6) (4 sc, inc)x6 (36 sc)
(5 sc, inc)x6 (42 sc)
(6 sc, inc)x6 (48 sc)
48 sc
(6 sc, dec)x6 (42 sc)
(5 sc, dec)x6 (36 sc)
(4 sc, dec)x6 (30 sc
Fasten the thread. Hide the ends.
Scarf
Be sure to cut the threads in each row, then to make a fringe.
In red:
Recruiting 60 hours
60 sc
Mustard:
60 sc
We continue knitting so that we get 3 red and 2 mustard rows.
Decor
We make eye tightening, embroider squirrels. We sew on the muzzle, eyebrows and ears.
Sew arms, legs and tail to the body.
We dress it up in our image.
Our bulldog is ready!