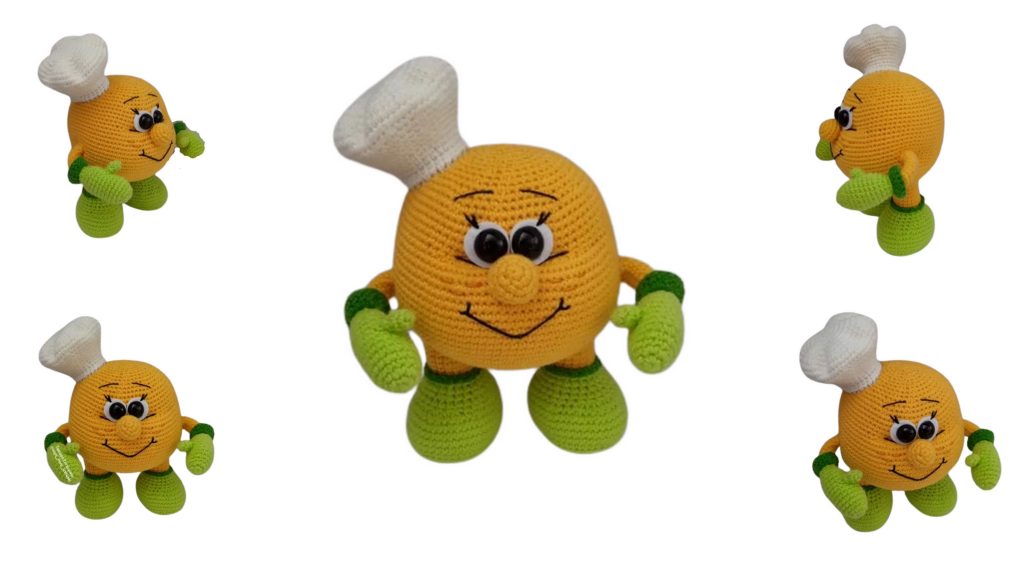
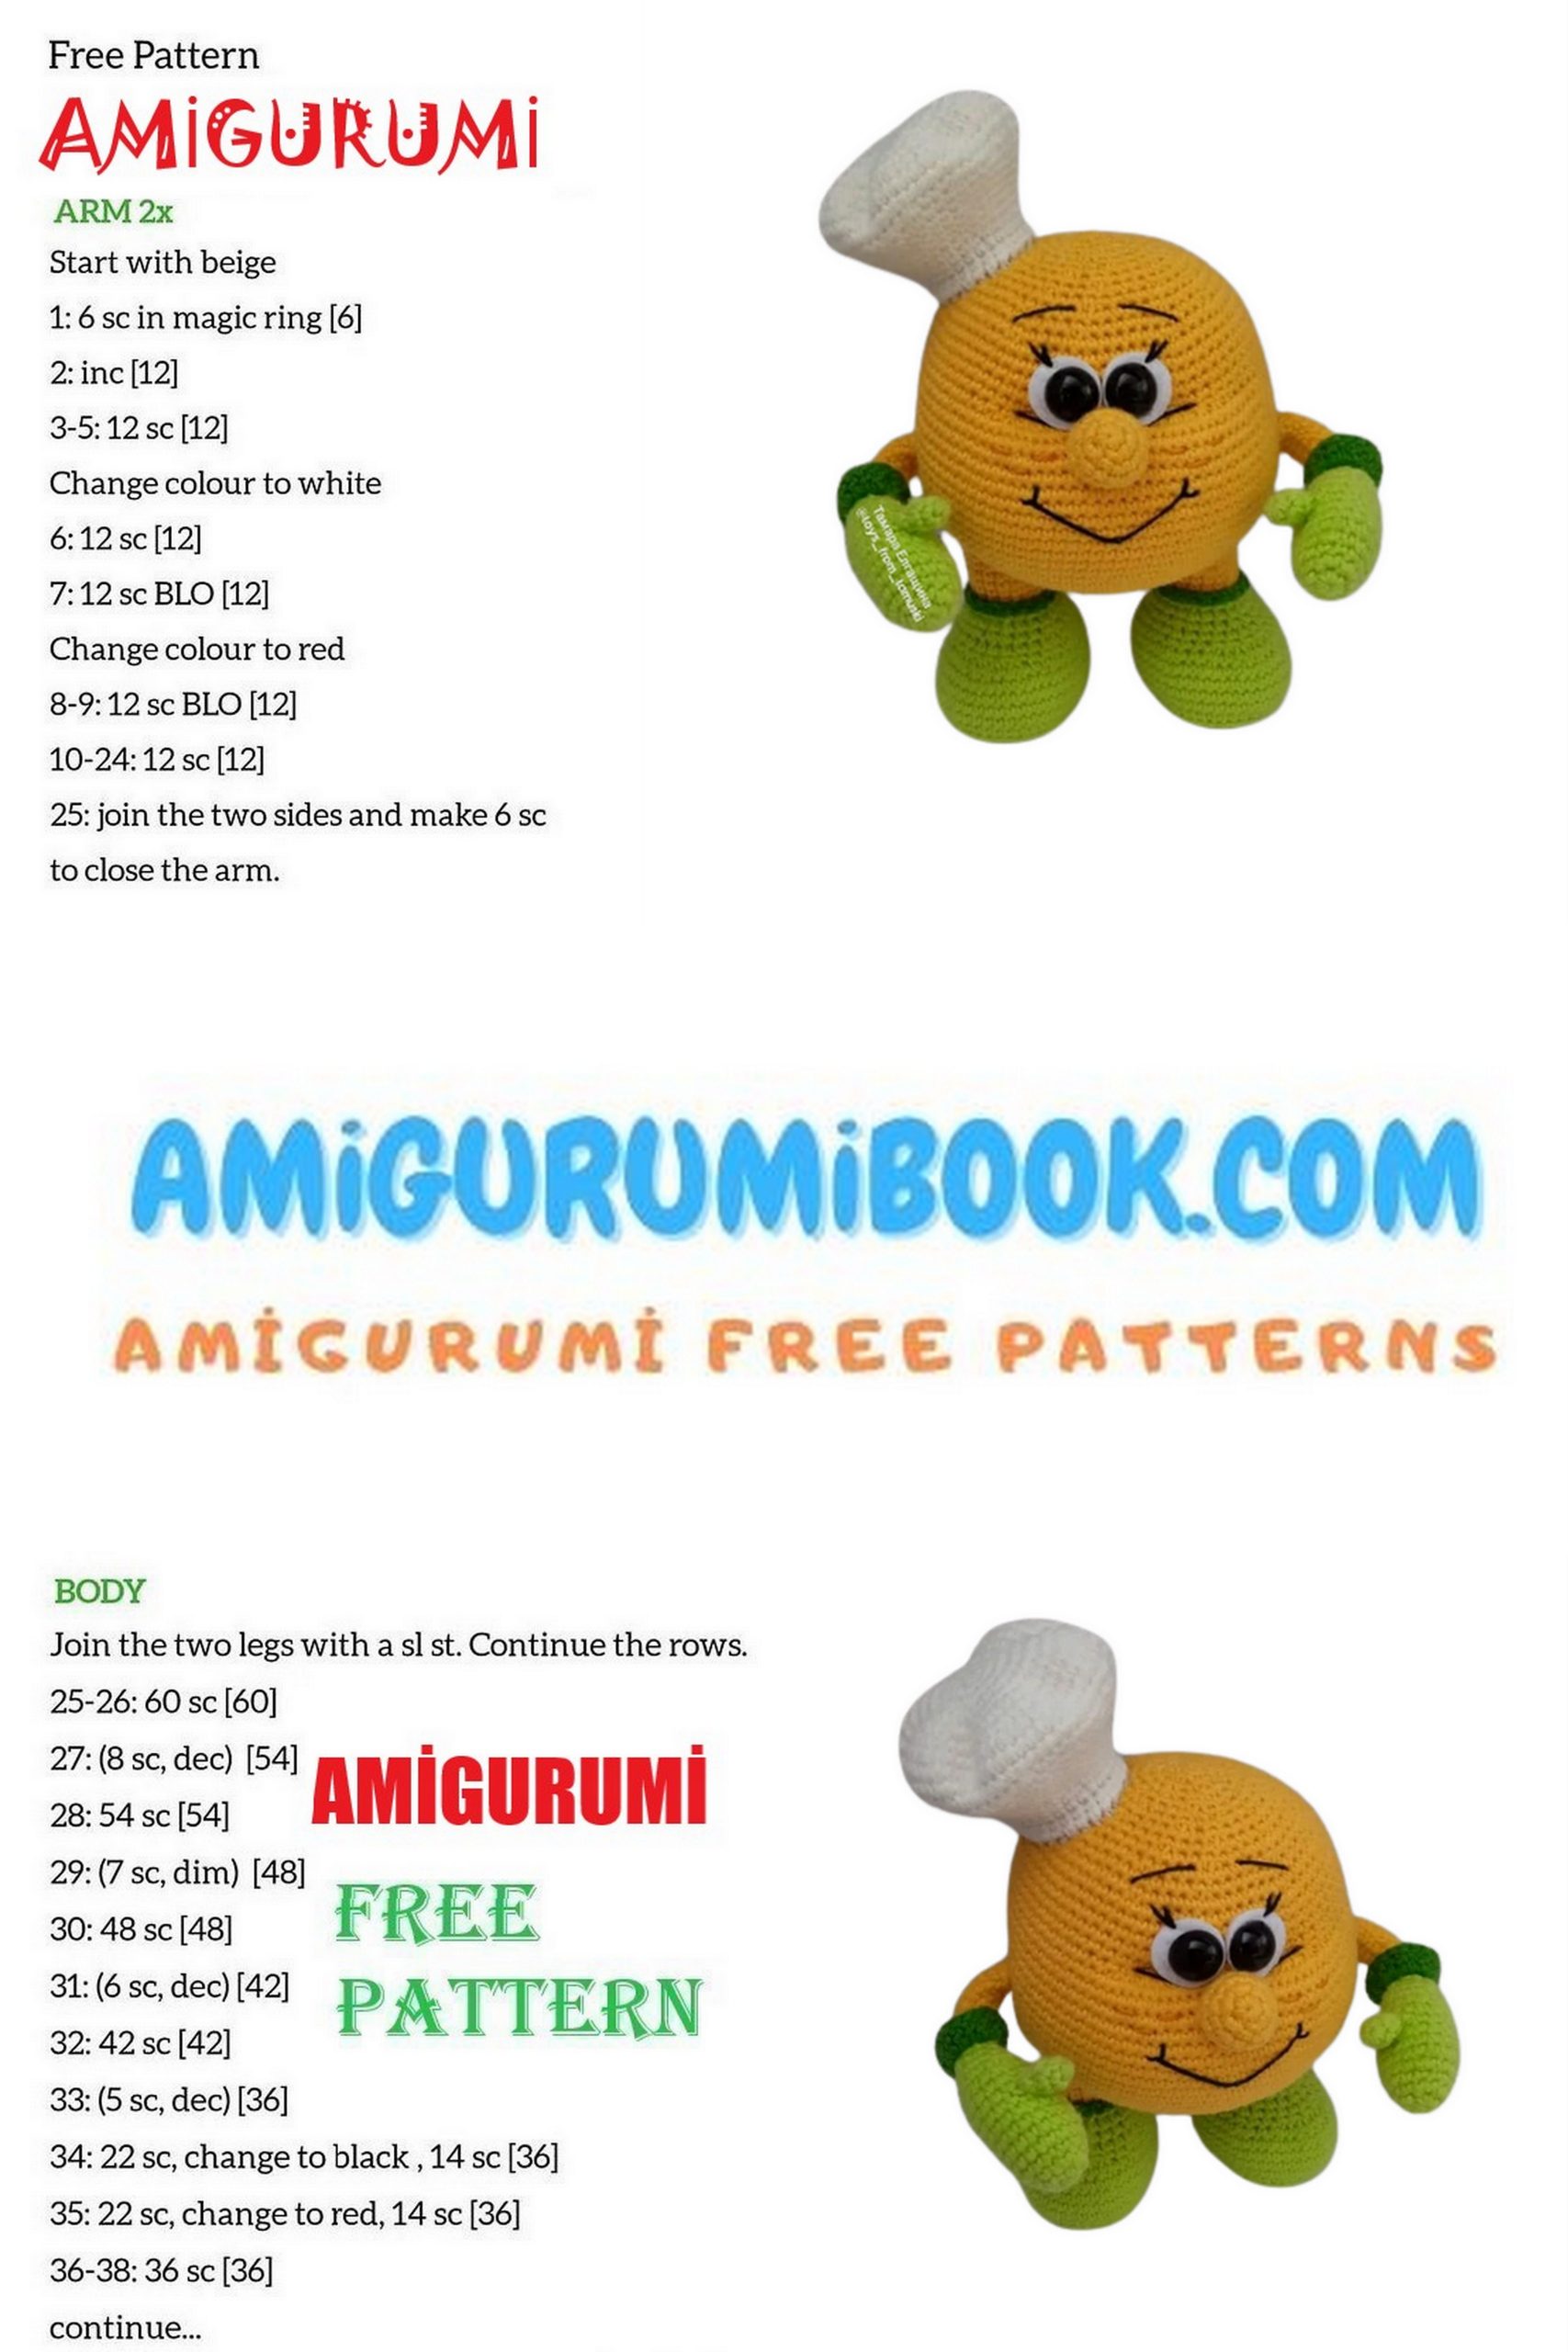
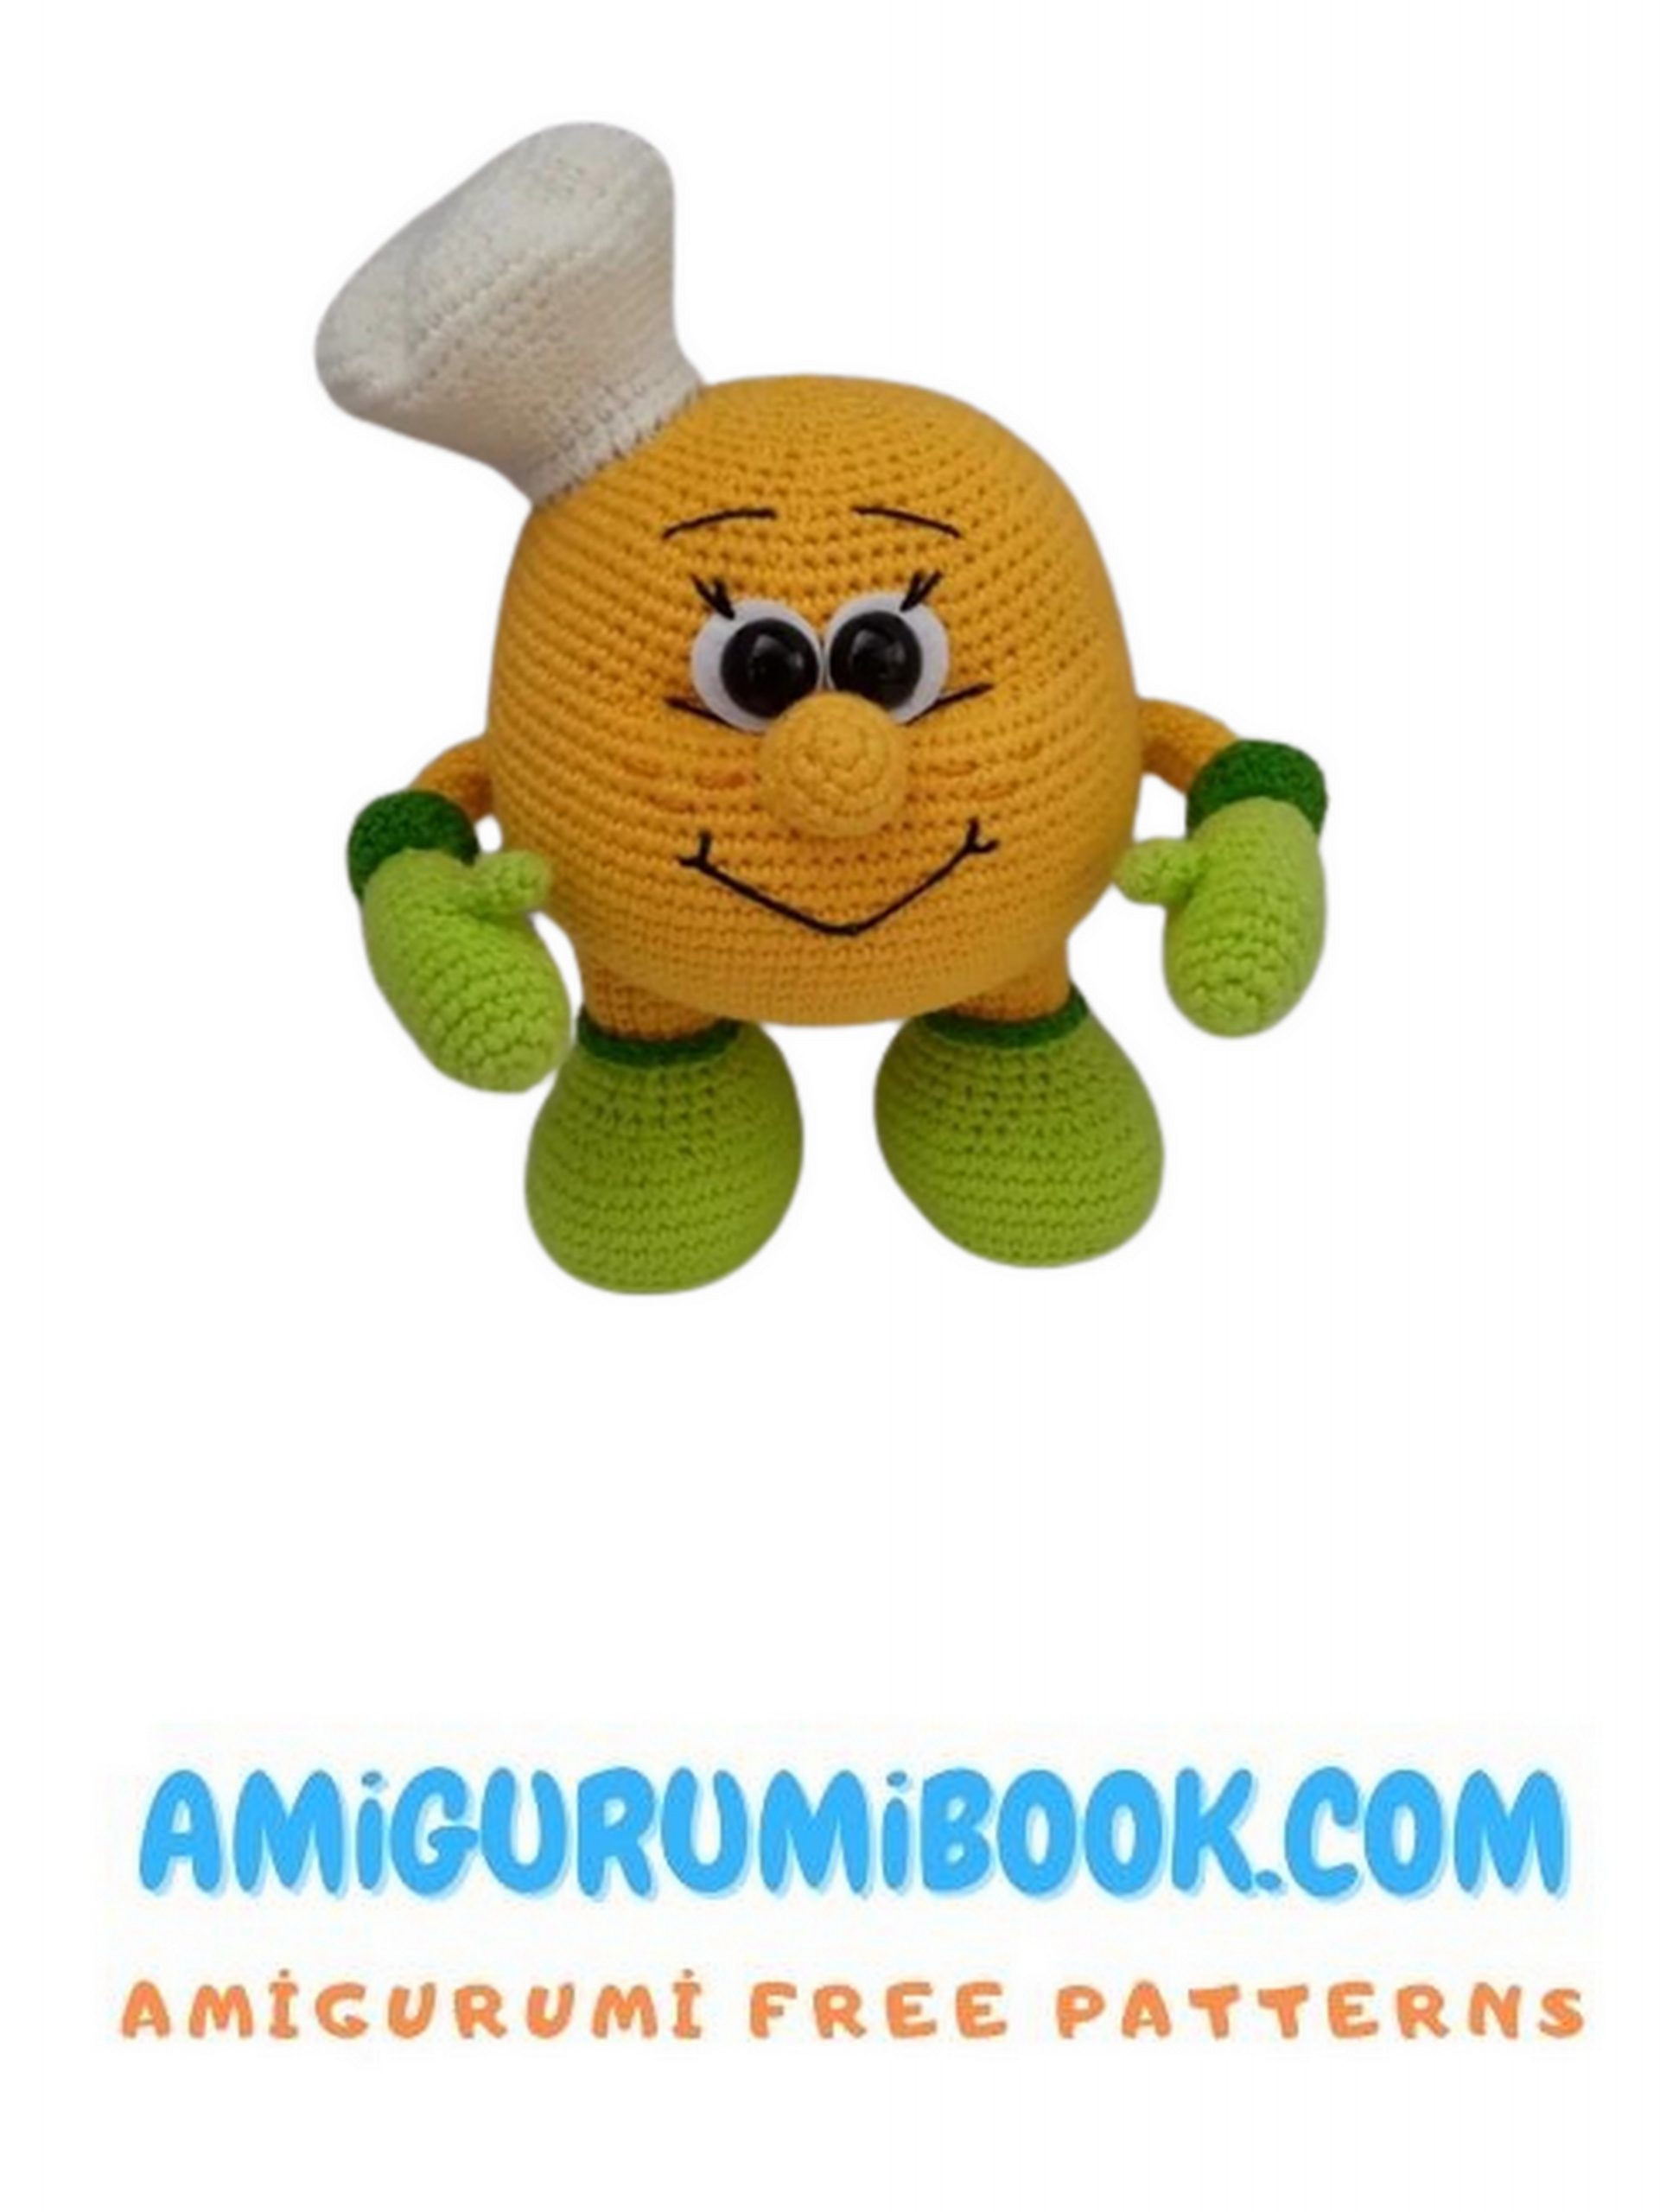
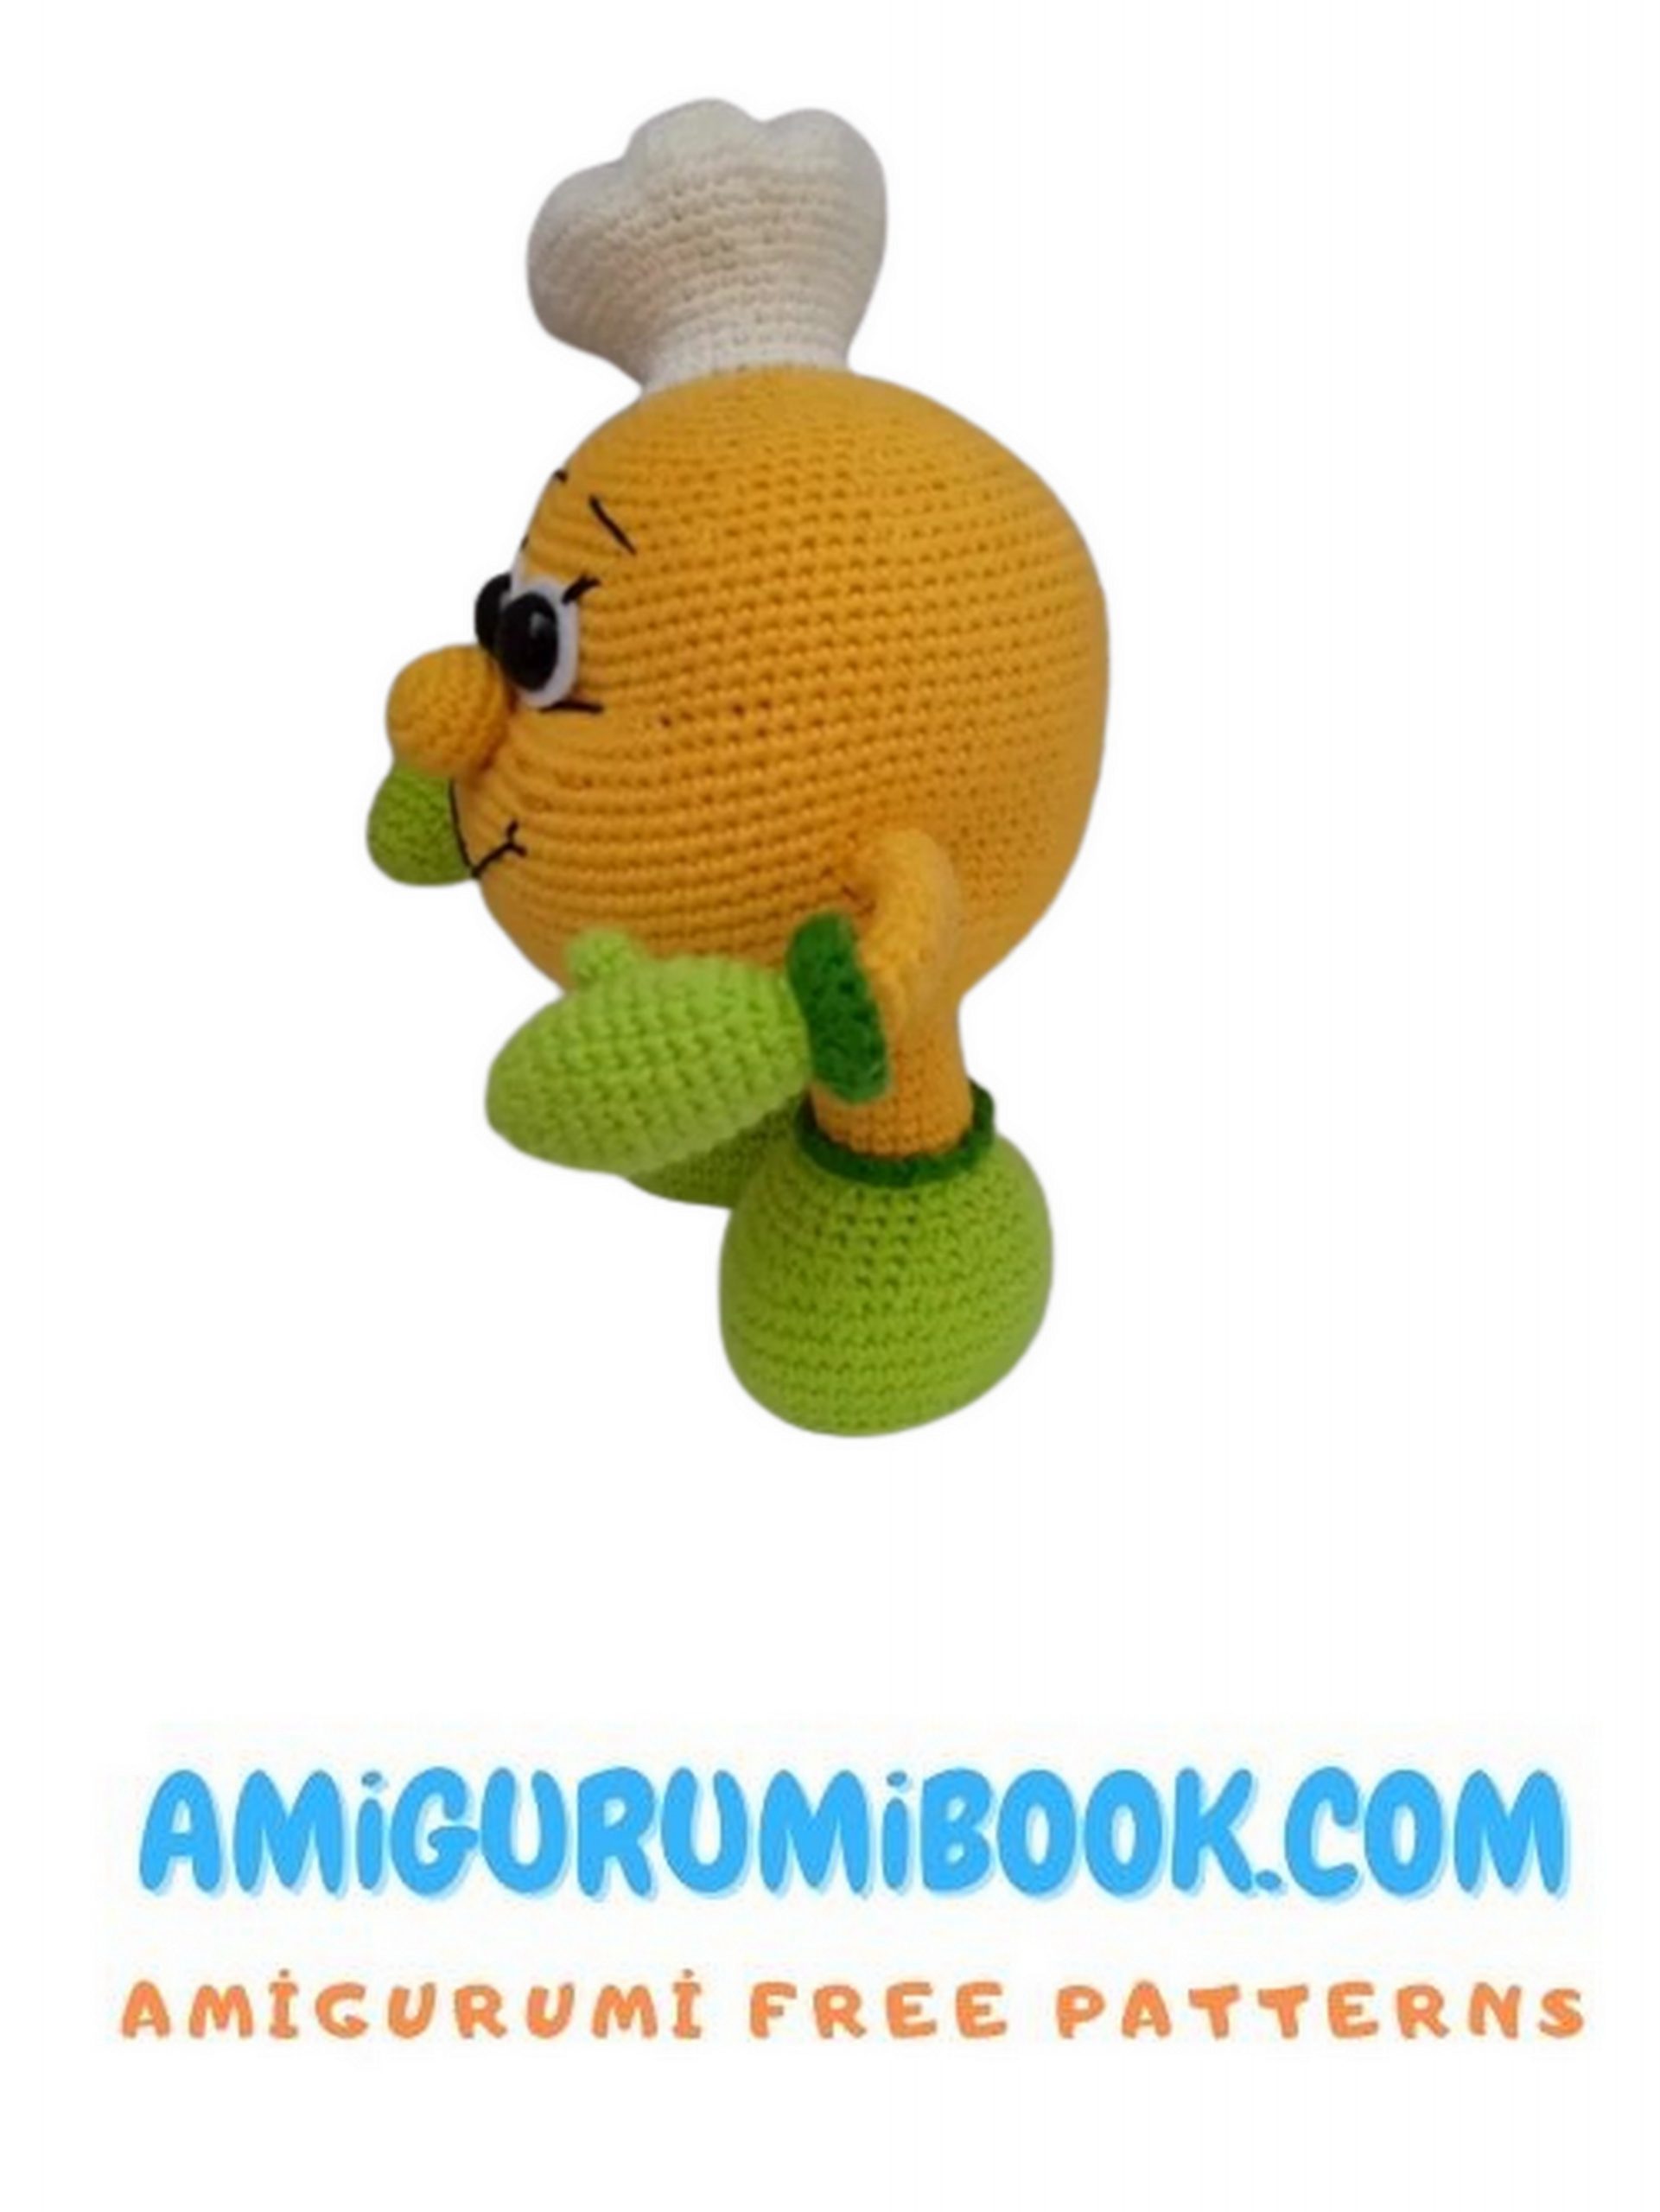
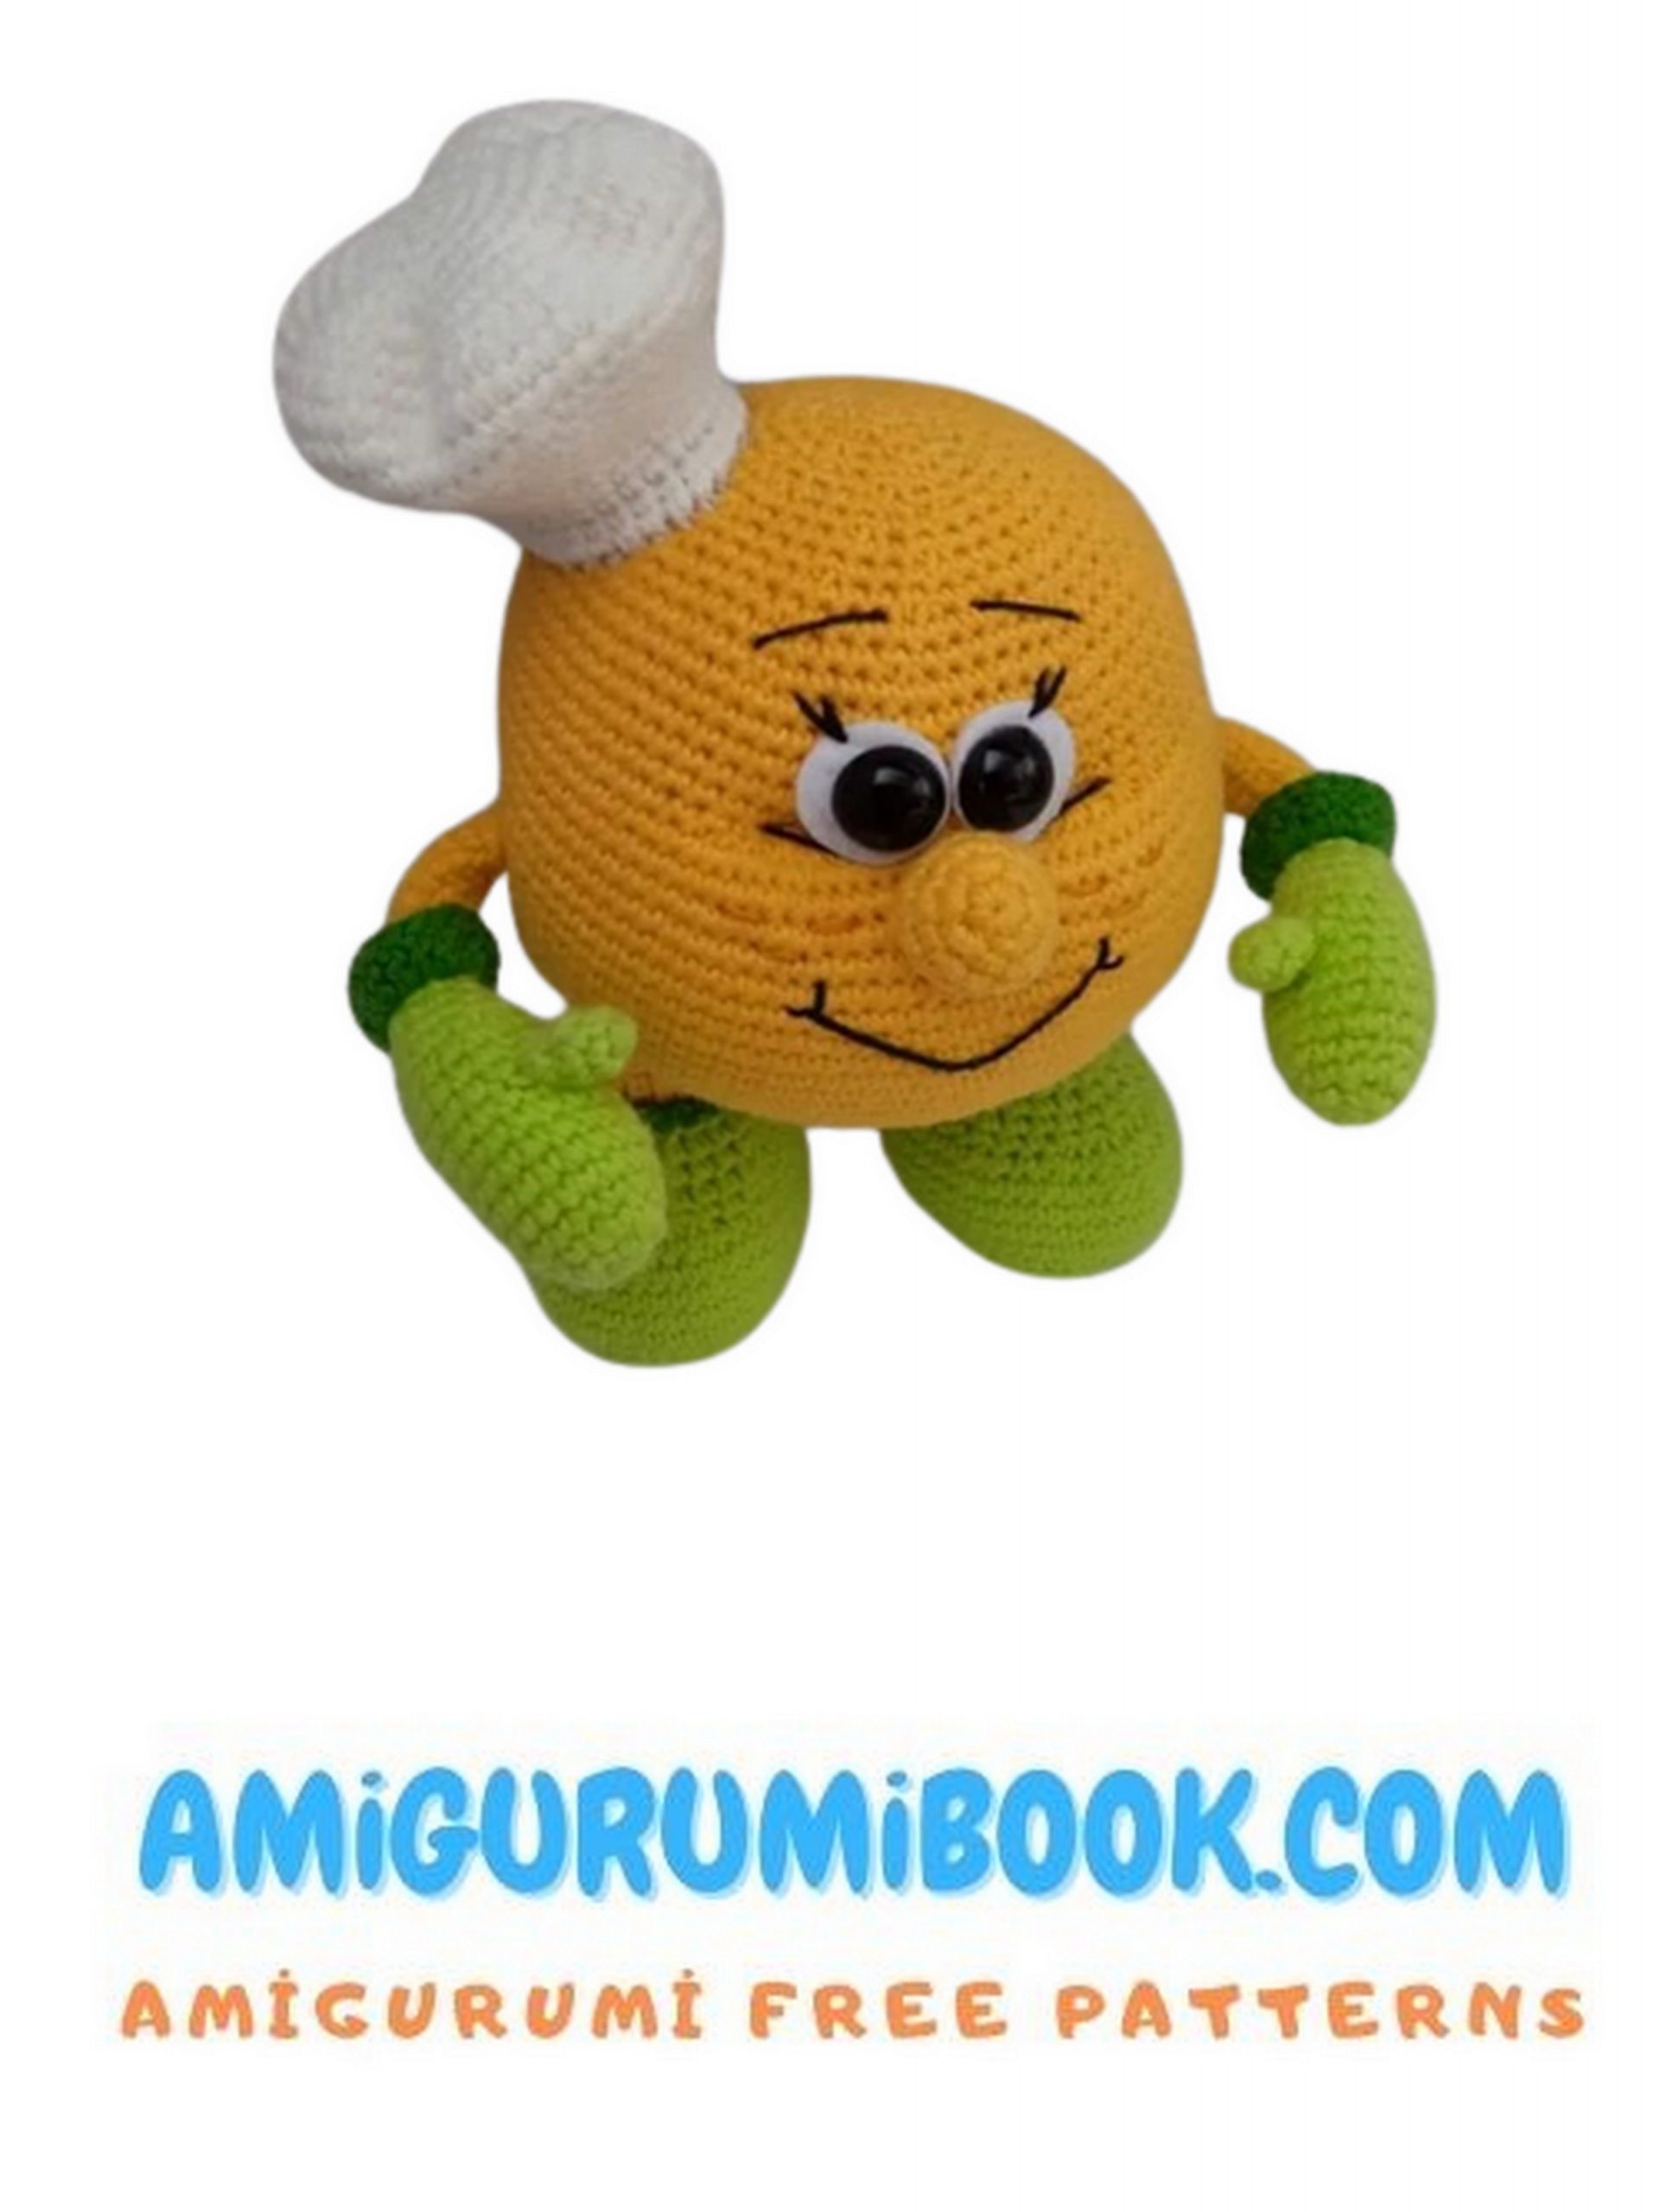
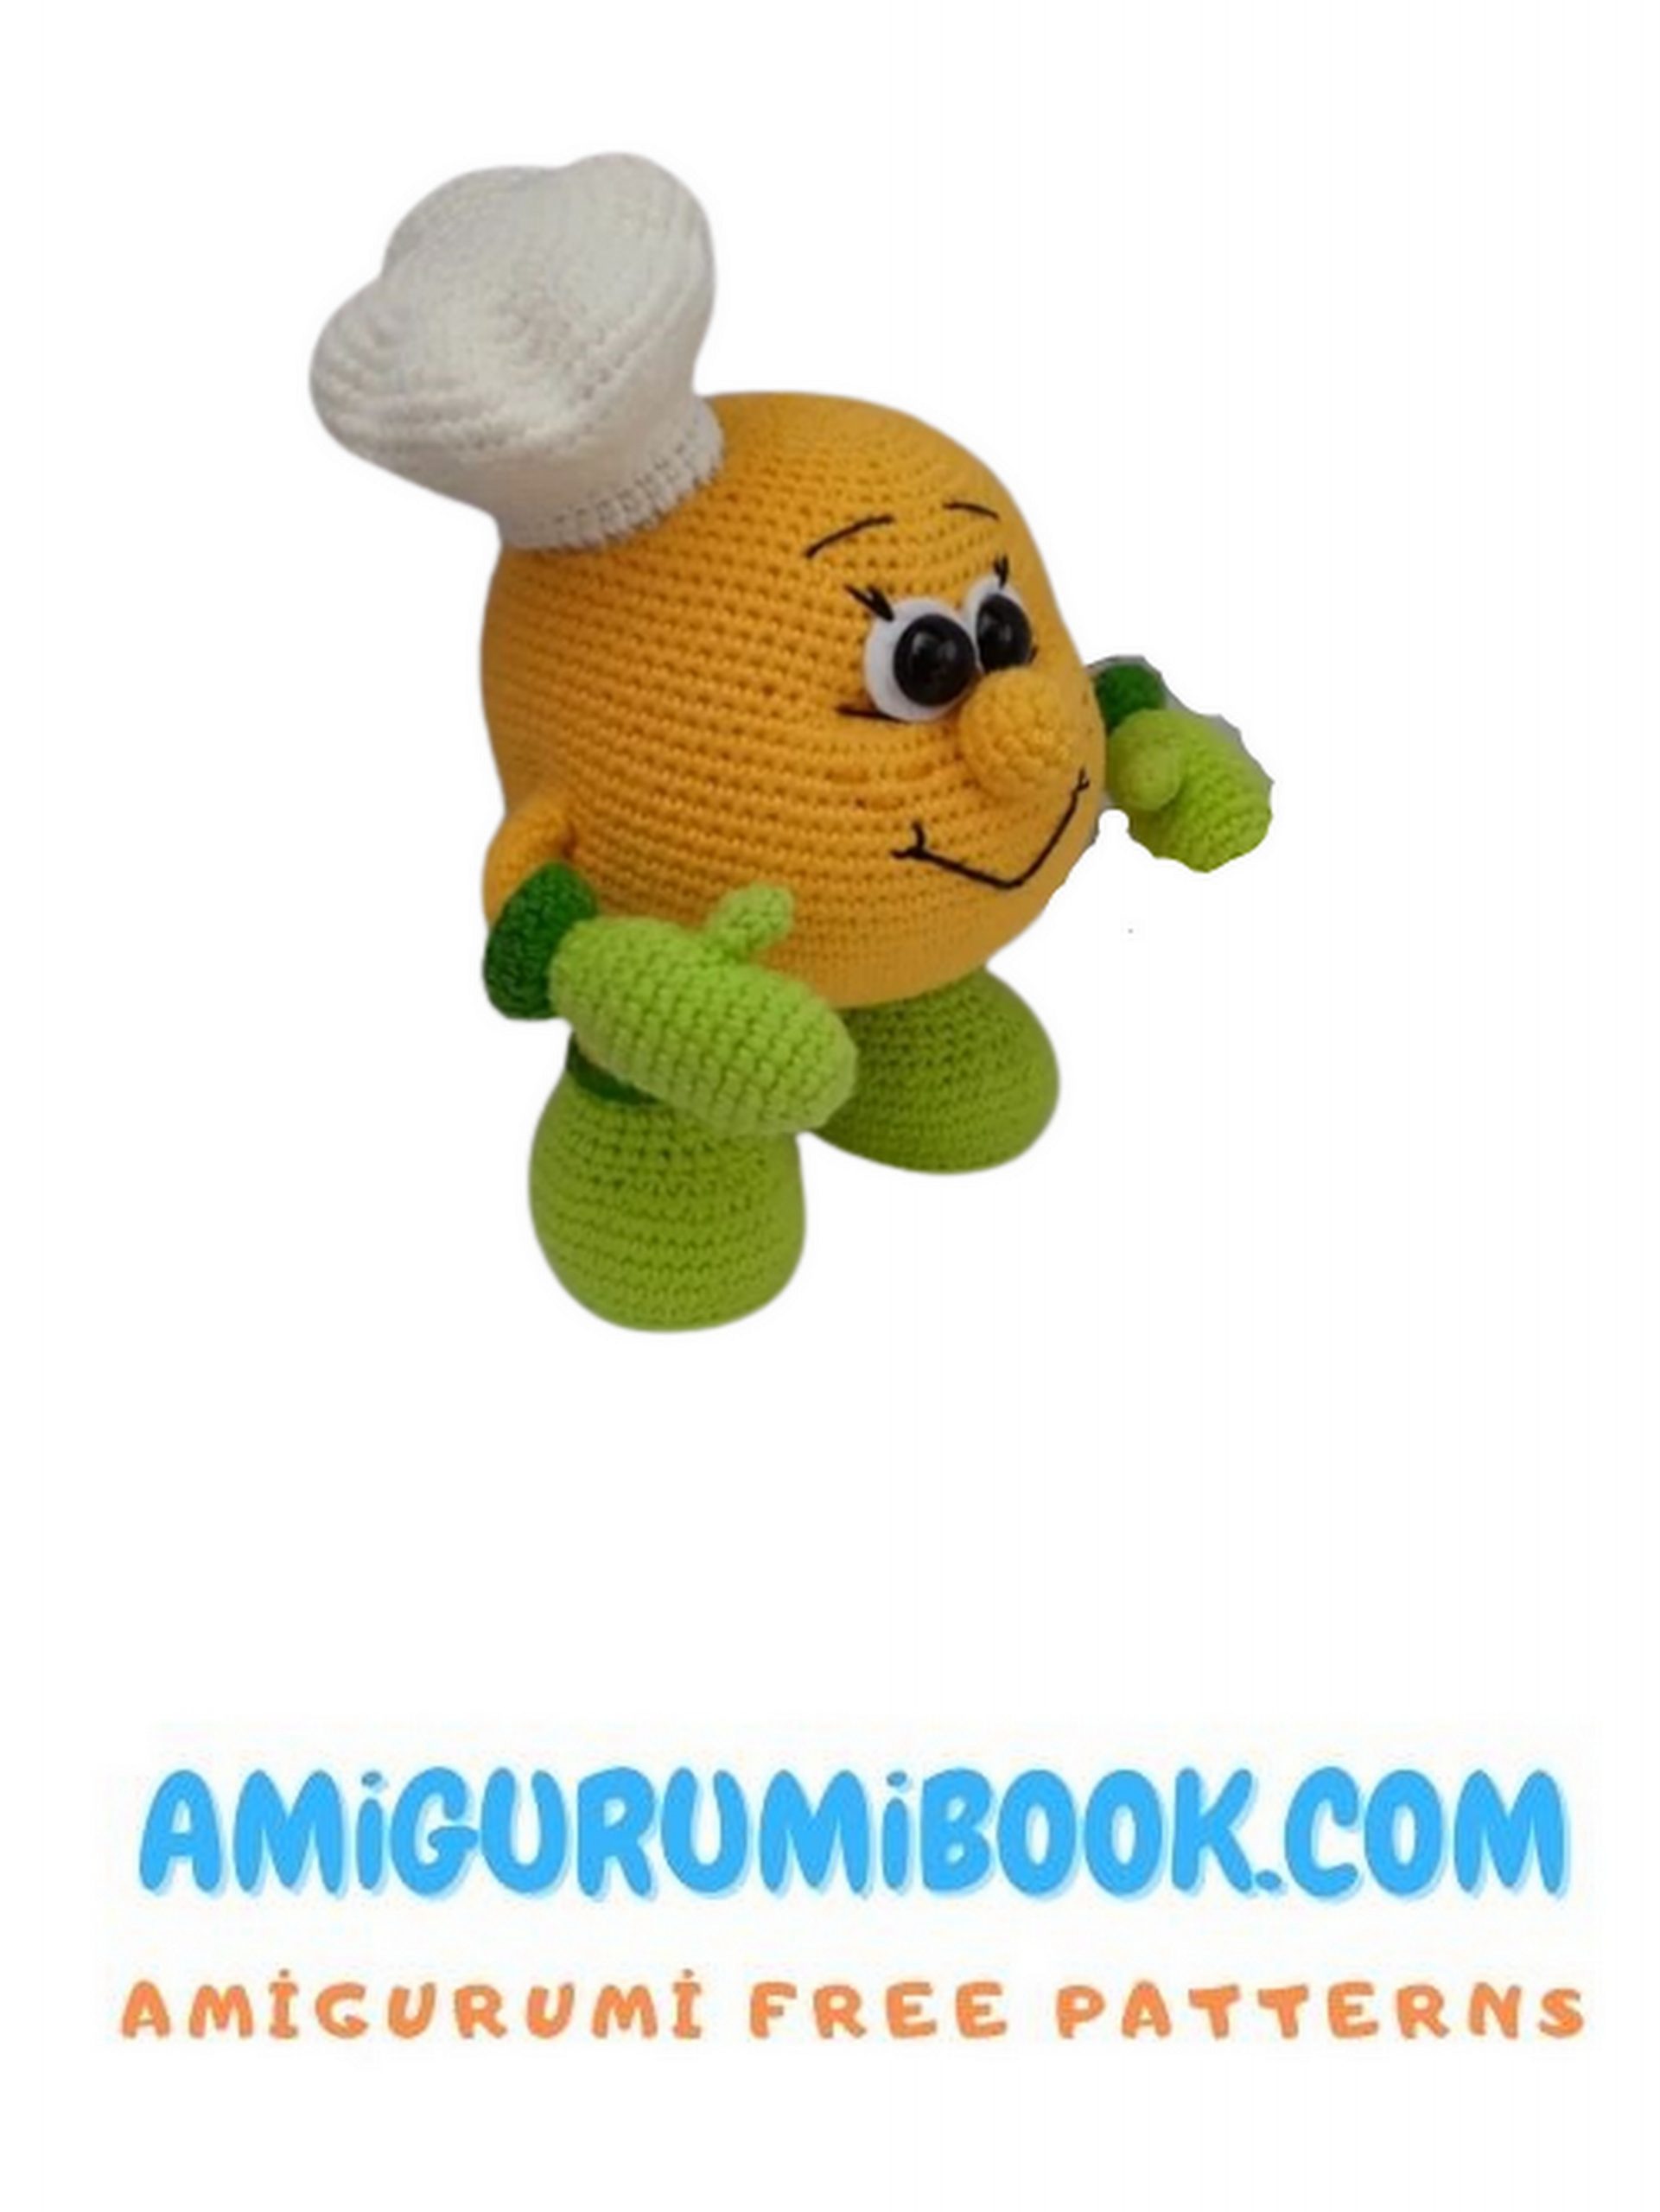
The Chef Man Doll Amigurumi is a charming handmade crochet project perfect for both beginners and experienced crafters. This free pattern guides you step-by-step to create an adorable chef doll that makes a delightful gift or kitchen decoration. free crochet patterns – Heart Amigurumi Free Pattern
You may also like more amigurumi patterns.
I continue to share amigurumi free patterns. In this article, chef man doll amigurumi free pattern is waiting for you.
“Materials”
1. Yarn:
– Alize Cotton Gold No. 612 (pens and shoes).
– Alize Cotton Gold No. 216 (main).
– Alize Cotton Gold No. 126 (tying).
-Alize Cotton Gold No. 62 (chef’s hat).
– Vita KOKO No. 3852 (for muzzle decoration).
2. Hook: 2mm.
3. Filler.
4. Thick cardboard or plastic.
5. Needle with a large eye (for stitching parts).
6. Auxiliary pins (needles).
7. Eyes on a secure mount or half beads
(diameter 12-14 mm).
8 A little white felt (for the peephole).
9. Glue “Moment Crystal” transparent.
10. Scissors, electrical tape.
11. Wire (diameter 1.5 mm):
– take a piece of wire 30 cm.
– on both sides we retreat 3 cm from the edge and do
droplets, twist the ends and fix tape.
The size of the finished toy depends on the density your knitting and your chosen materials.
The size of the kolobok, using the indicated materials,
13-15 cm.

Abbreviations
ch-chain
sc – Single crochet.
inc- Increase (We knit 2 sc in 1 loop).
dec – Decrease (We knit 2 sc together).
“…”x – Number of repetitions.
PATTERN
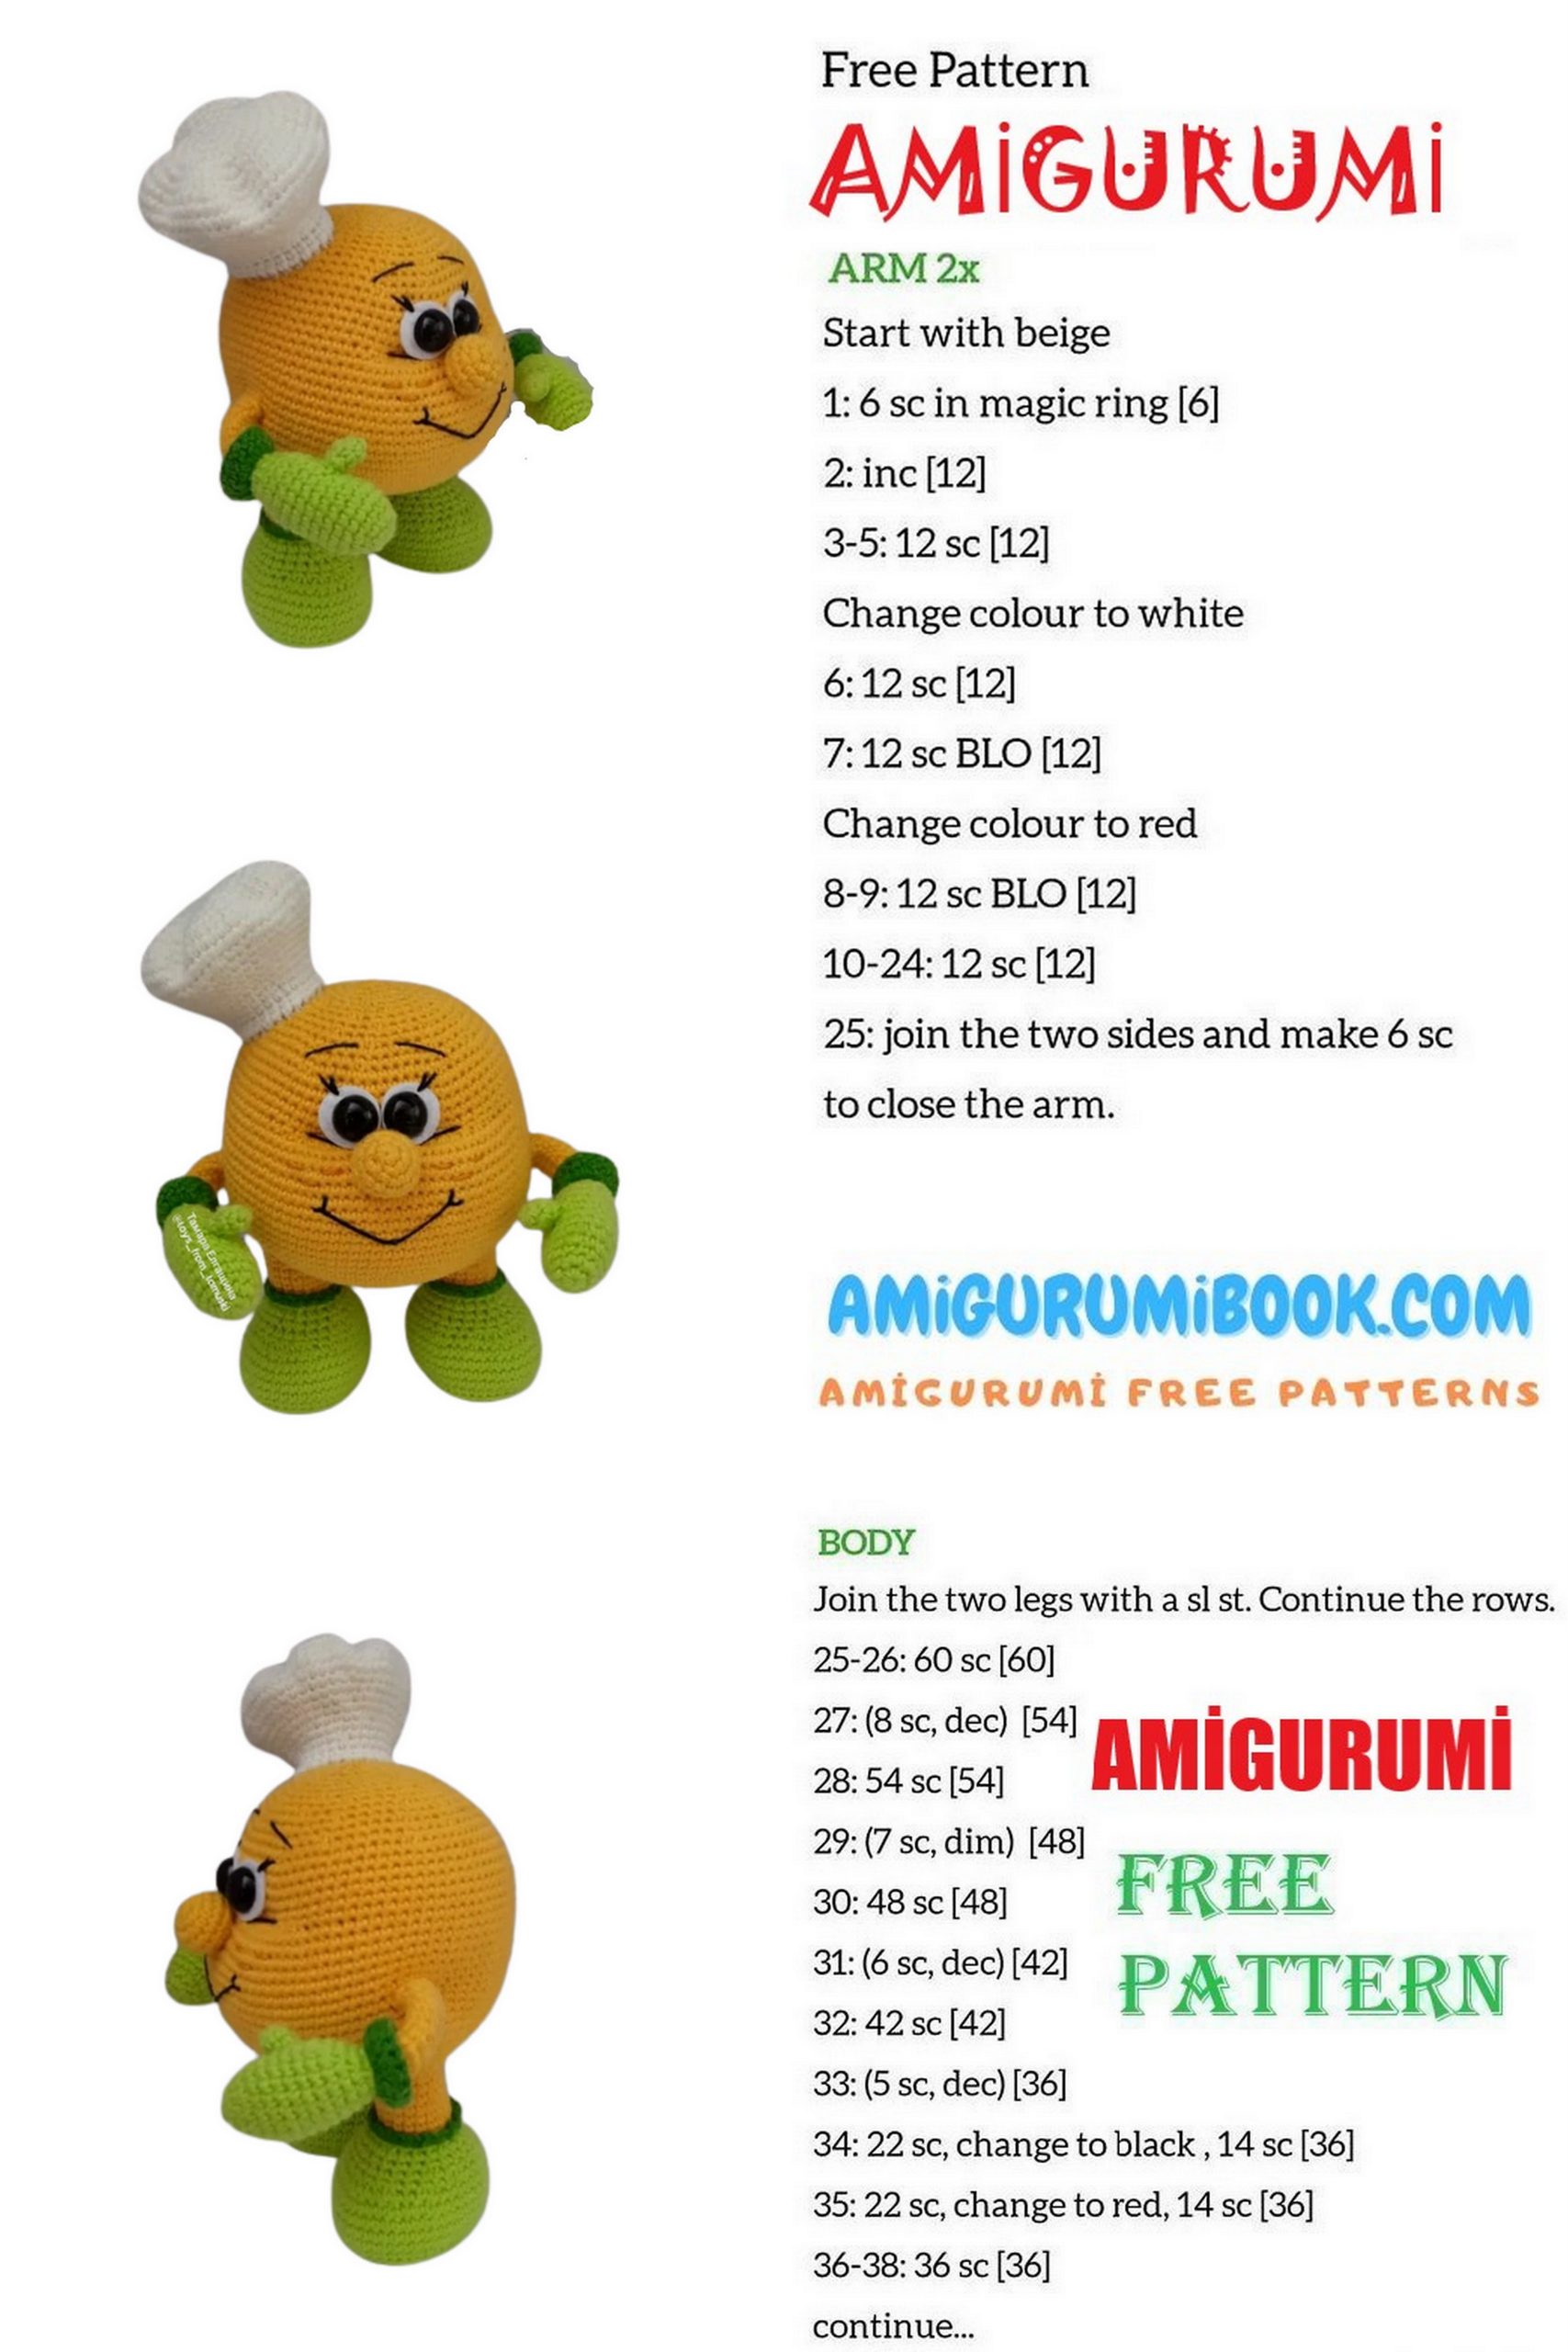
Handles (2 pieces)
a) Fingers (2 pieces)
Knit with light green yarn
1r. MAGIC RING INTO 6 sc
2-3rr. 6 sc (2 rows), sl-st.
Cut the thread and fasten off. Hide the end of the thread. We don’t hit.
ATTENTION!! Handles must be on the same wire!
b) Palm
We start with light green yarn
1r. MAGIC RING INTO 6 sc
2r. 6 inc[12]
3r. 12 sc
4r. “1 sc, inc” x 6 [18]
5-7rr. 18 sc (3 rows)
We knit a finger for the left handle:
8r. 1 sc (along the palm), attach a finger and knit, capturing the loops on the finger and on the palm together 2 sc, 15 sc (along the palm) [18]
9r. dec (grab one loop on the palm and one loop on the finger), 2 sc (knit for the remaining loops on the finger), dec
(grab one loop on the finger and one loop on the palm), 14 sc (along the palm) [18]
10-11rr. 18 sc (2 rows)
We knit a finger for the right handle:
8r. 15 sc (along the palm), put a finger and knit, capturing the loops on the finger and on the palm together 2 sc, 1 sc (along the palm) [18]
9r. 14 sc (along the palm), dec (grab one loop on the palm and one loop on the finger), 2 sc (knit for the remaining loops on the finger), dec (grab one loop on the finger and one loop on the palm) [18]
From 10 to 25 rows we knit according to the scheme.
12 rubles “7 sc, dec” x 2 [16]
13r. “6 sc, dec” x 2 [14]
14r. “5 sc, dec” x 2 [12]
Fill a little with filler, insert the finished wire and fill to the end. But not tightly, but so that the palm is slightly flattened.
15 rubles “2 sc, dec” x 3 [9]
Change to a yellow thread:
16r. We knit for the back half loop 9 sc
17-25rr. 9 sc (9 rows)
We attach a dark green thread to the 15th row, where we have half loops left and knit “sl-st, ch” x 9. Cut and fasten the thread, hide the tip of the thread in the canvas.
spout
Knit with yellow yarn.
1r. MAGIC RING INTO 6 sc.
2r. 6 inc[12]
3r. “1 sc, inc” x 6 [18]
4-5rr. 18 sc (2 rows)
6r. 9 dec [9], sl-st.
Cut and fasten the thread, leave the tip for sewing. Fill with some filler.
Legs (2 pieces)
We start with a light green thread
Cast on a chain of 6 ch and starting from the 2nd loop from the hook we knit:
1r. inc, 3 sc, 4 sc in one loop, 3 sc, inc[14]
2r. 2 inc, 3 sc, 4 inc, 3 sc, 2 inc[22]
3r. “1 sc, inc” x 2, 3 sc, “1 sc, inc” x 4, 3 sc, “1 sc,
inc” x 2 [30]
4r. “inc, 2 sc” x 2, 3 sc, “inc, 2 sc” x 4, 3 sc, “inc, 2
sc” x 2 [38]
5r. “3 sc, inc” x 2, 3 sc, “3 sc, inc” x 4, 3 sc, “3 sc,
inc” x 2 [46]
We circle the sole on cardboard or plastic and cut it out.
6r. We knit for the back half loop 46 sc
7-10rr. 46 sc (4 rows)
We insert the insole, for fixing it can be glued.
11r. 12 sc, dec, “2 sc, dec” x 2, “dec, 2 sc” x 2, dec, 14 sc [40]
12 rubles 11 sc, dec, 2 sc, 4 dec, 2 sc, dec, 13 sc [34]
13r. dec, 6 sc, dec, 14 sc, dec, 6 sc, dec [30]
14r. “3 sc, dec” x 6 [24]
15 rubles 24 sc
16r. “2 sc, dec” x 6 [18]
Change to a yellow thread:
17r. We knit for the back half loop 18 sc
Stuff a leg.
18-22rr. 18 sc (5 rows), sl-st.
Cut and fasten the thread, hide the tip of the thread.
We return to the 16th row, where we left the half loops, we attach a dark green thread and knit: “sl-st, ch” x 18.
Cut and fasten the thread, hide the tip of the thread in the canvas.
We knit the second leg in the same way.
body-head
Knit with yellow thread
1r. MAGIC RING INTO 6 sc
2r. 6 inc[12]
3r. “1 sc, inc” x 6 [18]
4r. 1 sc, inc, “2 sc, inc” x 5, 1 sc [24]
5r. “3 sc, inc” x 6 [30]
6r. 2 sc, inc, “4 sc, inc” x 5, 2 sc [36]
We knit the legs: We attach the legs so that the heels look at the marker.
7r. We knit on the body: 5 sc, inc;
attach one leg and knit, grabbing both walls: 5 sc; knit by
body: inc, 5 sc, 2 inc, 5 sc, inc;
attach the second leg and knit, grabbing both walls: 5 sc; body knit: inc, 5 sc [42]
8r. We knit on the body: inc, 6 sc; knit for the remaining loops on the leg: 6 sc, inc, 6 sc; knit on the body: inc, 7 sc, 2 inc, 7 sc, inc; knit for the remaining loops on the leg: 6 sc, inc, 6 sc; body knit: 6 sc, inc[66]
9r. 5 sc, inc, “10 sc, inc” x 5, 5 sc [72]
10 rub. “11 sc, inc” x 6 [78]
11r. 6 sc, inc, “12 sc, inc” x 5, 6 sc [84]
12 rubles “13 sc, inc” x 6 [90]
13-17rr. 90 sc (5 rows)
ATTENTION!! The handles should be on the side, just above the legs. If you have an offset, then knit a few loops to offset.
We knit handles:
18r. We knit on the body: 20 sc; we apply the left handle (the finger should look from
legs in one direction) and knit, grabbing both walls: 4 sc; knit on the body: 44 sc; put right hand
(the finger should look with the legs in one direction) and we knit, grabbing both walls: 4 sc; body knit: 18 sc [90]
19r. We knit on the body: 20 sc; knit for the remaining loops on the handle: 4 sc; dec
(grab one loop on the handle and one loop on the body); knit on the body: 42 sc; dec
(grab one loop on the body and one loop on the handle); knit for the remaining loops on the handle: 4 sc; body knit: 18 sc [90]
20-26rr. 90 sc (7 rows)
27r. 33 sc, 6 dec, 4 sc, 6 dec, 29 sc [78]
28-32rr. 78 sc (5 rows)
Stuff the legs tightly to the end.
If you have eyes on a secure mount, then insert them between the 29th and 30th rows, the interval between the eyes is 4 sc
(be guided by 4 sc between reductions).
33r. “11 sc, dec” x 6 [72]
34r. 5 sc, dec, “10 sc, dec” x 5, 5 sc [66]
35r. “9 sc, dec” x 6 [60]
36r. 4 sc, dec, “8 sc, dec” x 5, 4 sc [54]
37r. “7 sc, dec” x 6 [48]
Stuff the part tightly, but not into stone.
38r. 3 sc, dec, “6 sc, dec” x 5, 3 sc [42]
39r. “5 sc, dec” x 6 [36]
40r. 2 sc, dec, “4 sc, dec” x 5, 2 sc [30]
41r. “3 sc, dec” x 6 [24]
Hit to the end.
42r. 1 sc, dec, “2 sc, dec” x 5, 1 sc [18]
43r. “1 sc, dec” x 6 [12]
44r. 6 dec [6], sl-st.
Cut and fasten the thread, hide the tip of the thread in the canvas.
Making pull-ups:
With pins we mark points for decreases (in the 27th row 4 sc). From these 4 sc to the right and left, we count one decrease each and put the first two pins. From these pins, we also count 2 decreases to the right and left and put 2 more pins. These are your anchor points.
We do the pulls in turn.
Cap
We knit with a thread of milky color
1r. MAGIC RING INTO 6 sc
2r. 6 inc[12]
3r. 12 inc[24]
4r. “1 sc, inc” x 12 [36]
5r. 1 sc, inc, “2 sc, inc” x 11, 1 sc [48]
6r. “3 sc, inc” x 12 [60]
7r. “9 sc, inc” x 6 [66]
8-10rr. 66 sc (3 rows)
11r. “9 sc, dec” x 6 [60]
12 rubles “3 sc, dec” x 12 [48]
13r. 48 sc
14r. 3 sc, dec, “6 sc, dec” x 5, 3 sc [42]
15 rubles 42 sc
16r. “5 sc, dec” x 6 [36]
17r. 36 sc
18r. 2 sc, dec, “4 sc, dec” x 5, 2 sc [30]
19r. 30 sc
20 rub. We knit for the front half loop 30 sc
21-22rr. 30 sc (2 rows), sl-st.
Cut the thread and fasten off. Leave the tip for sewing. Stuff loosely so that it slightly holds its shape.
“Assembly and Design”
1. If you have eyes on a secure mount, then step back from the eye 1 row down and sew on the spout. If you make eyes like me, then we fasten the spout with a pin between the 26th and 27th rows (make sure that the spout is in the center) and sew.
2. Cut out circles with a diameter of 1.5 cm from white felt. Glue the finished half-beads to our felt blanks. Glue the resulting eyes over the nose.
With pins we outline the eyebrows, cilia. We take a black thread and embroider eyebrows, a smile and cilia.
1. We fasten the cap to the head, as you like, with pins and sew.
Congratulations, your Gingerbread Man is ready!