
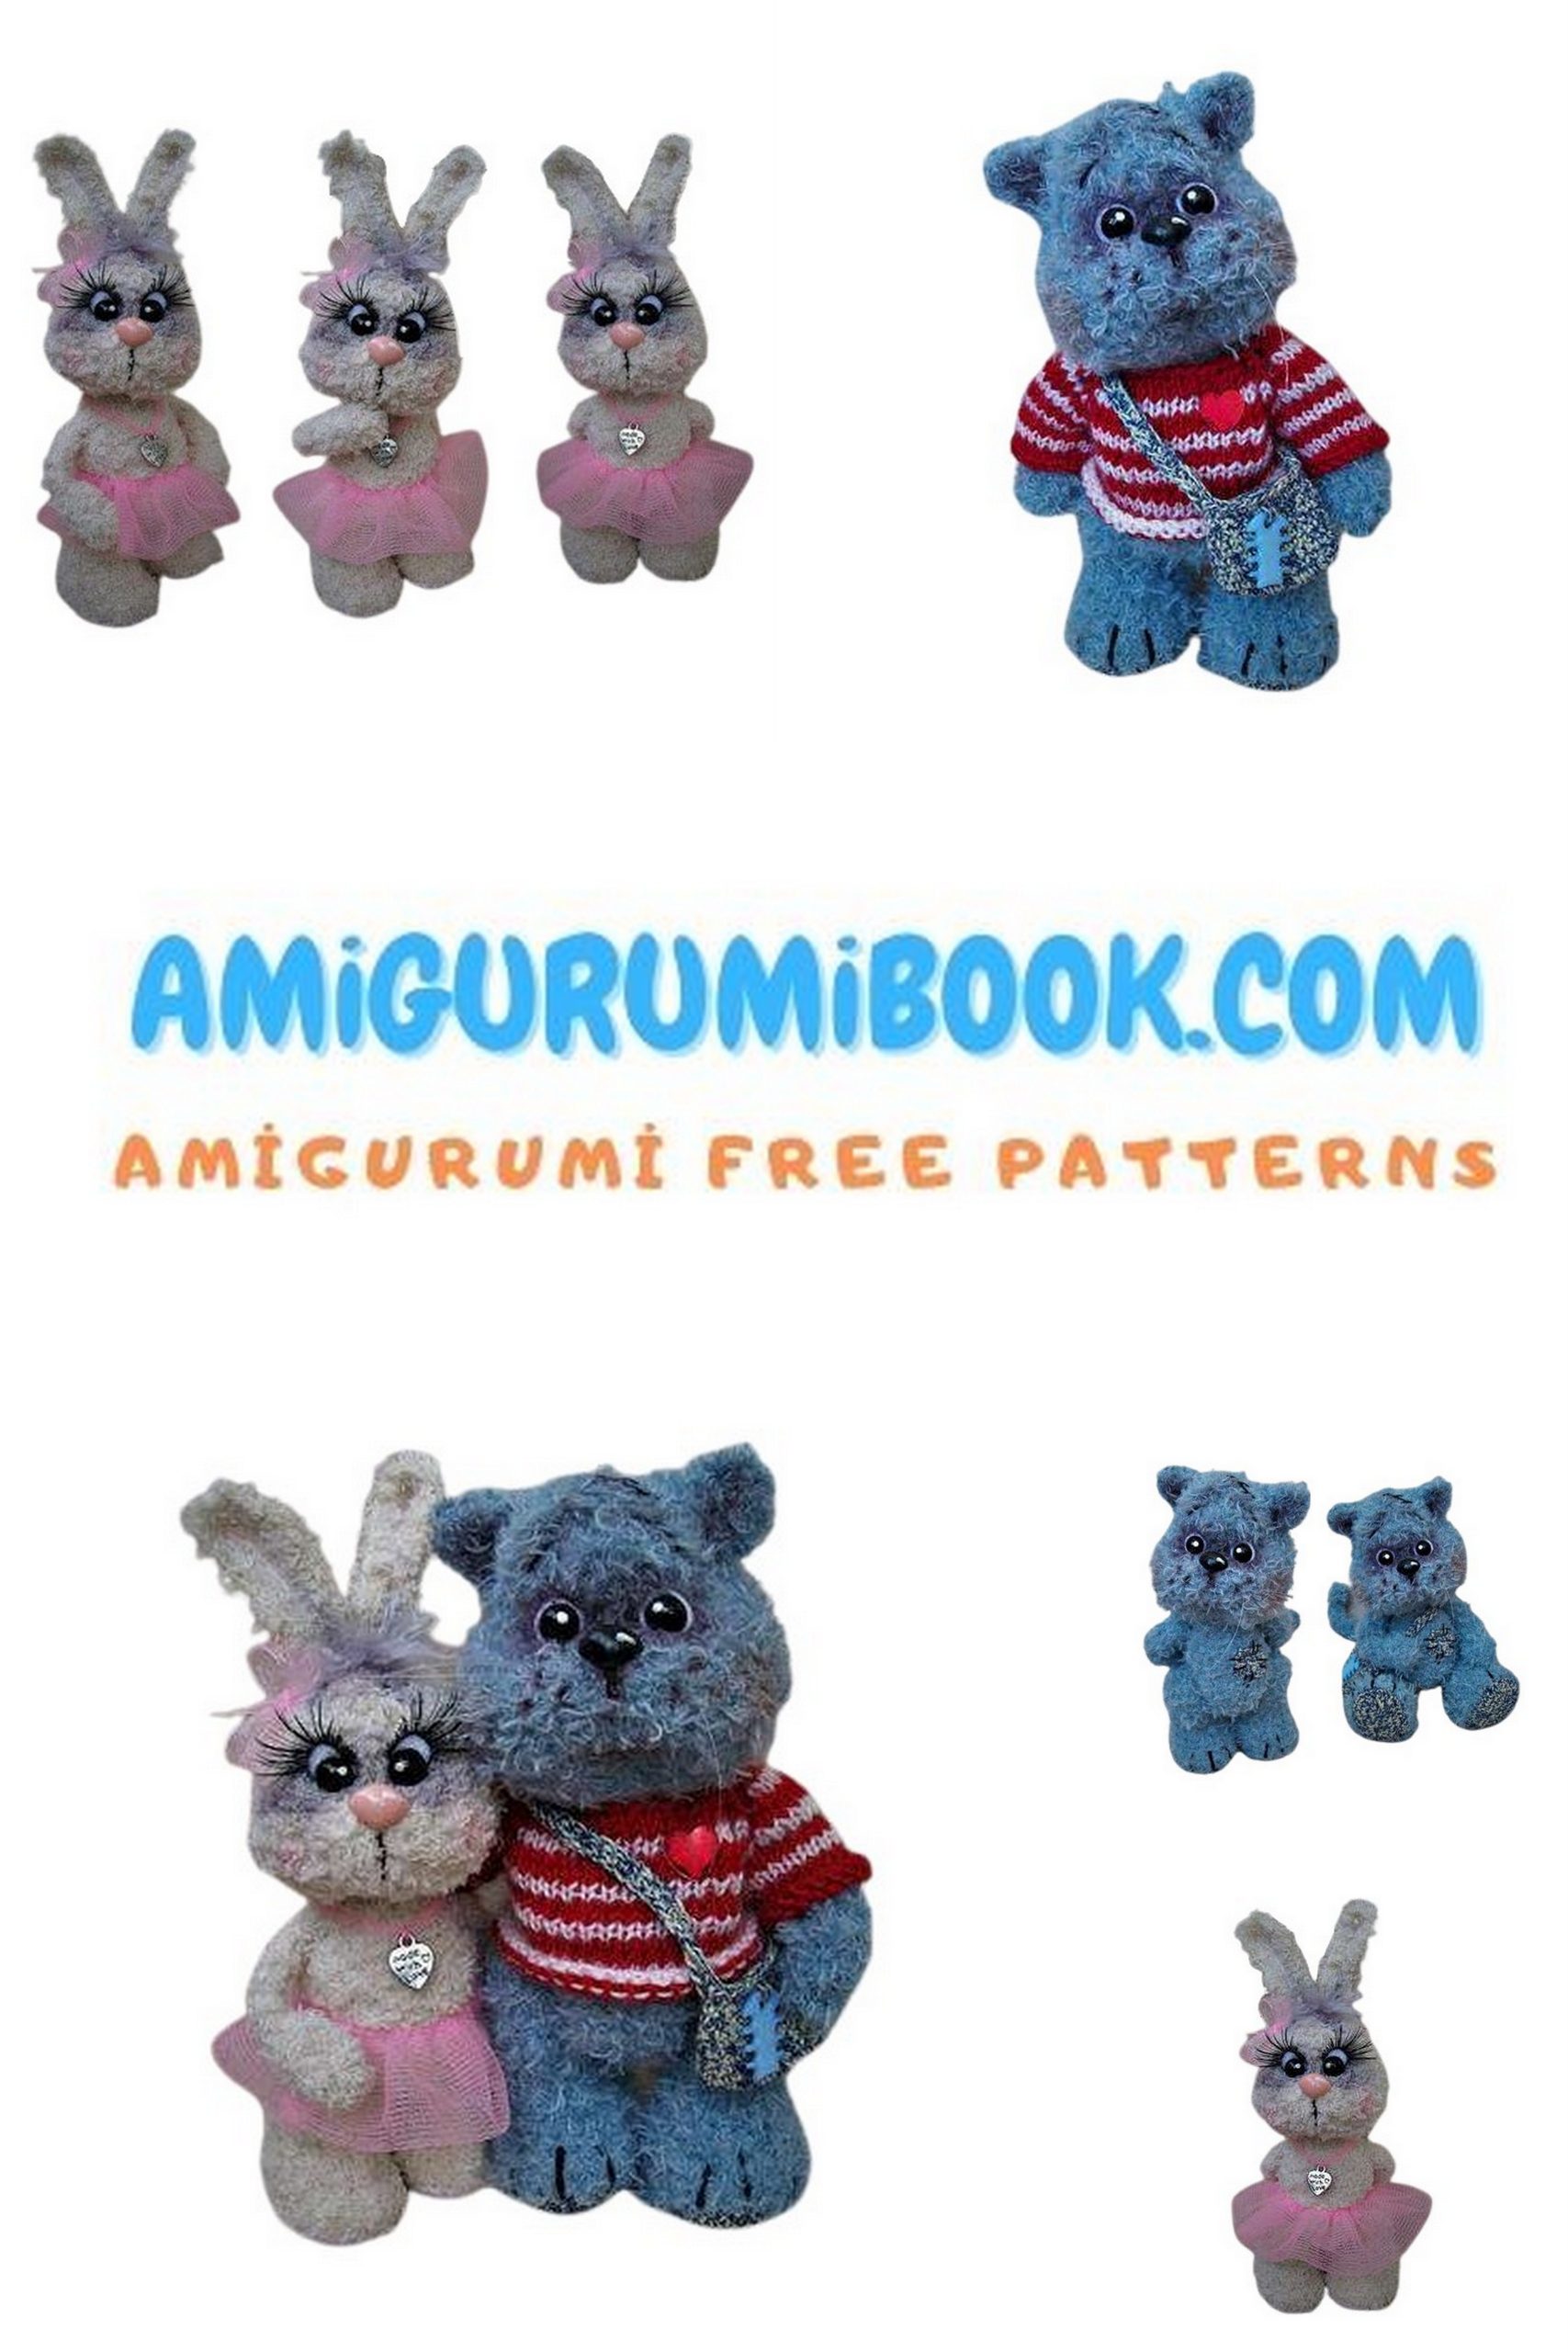
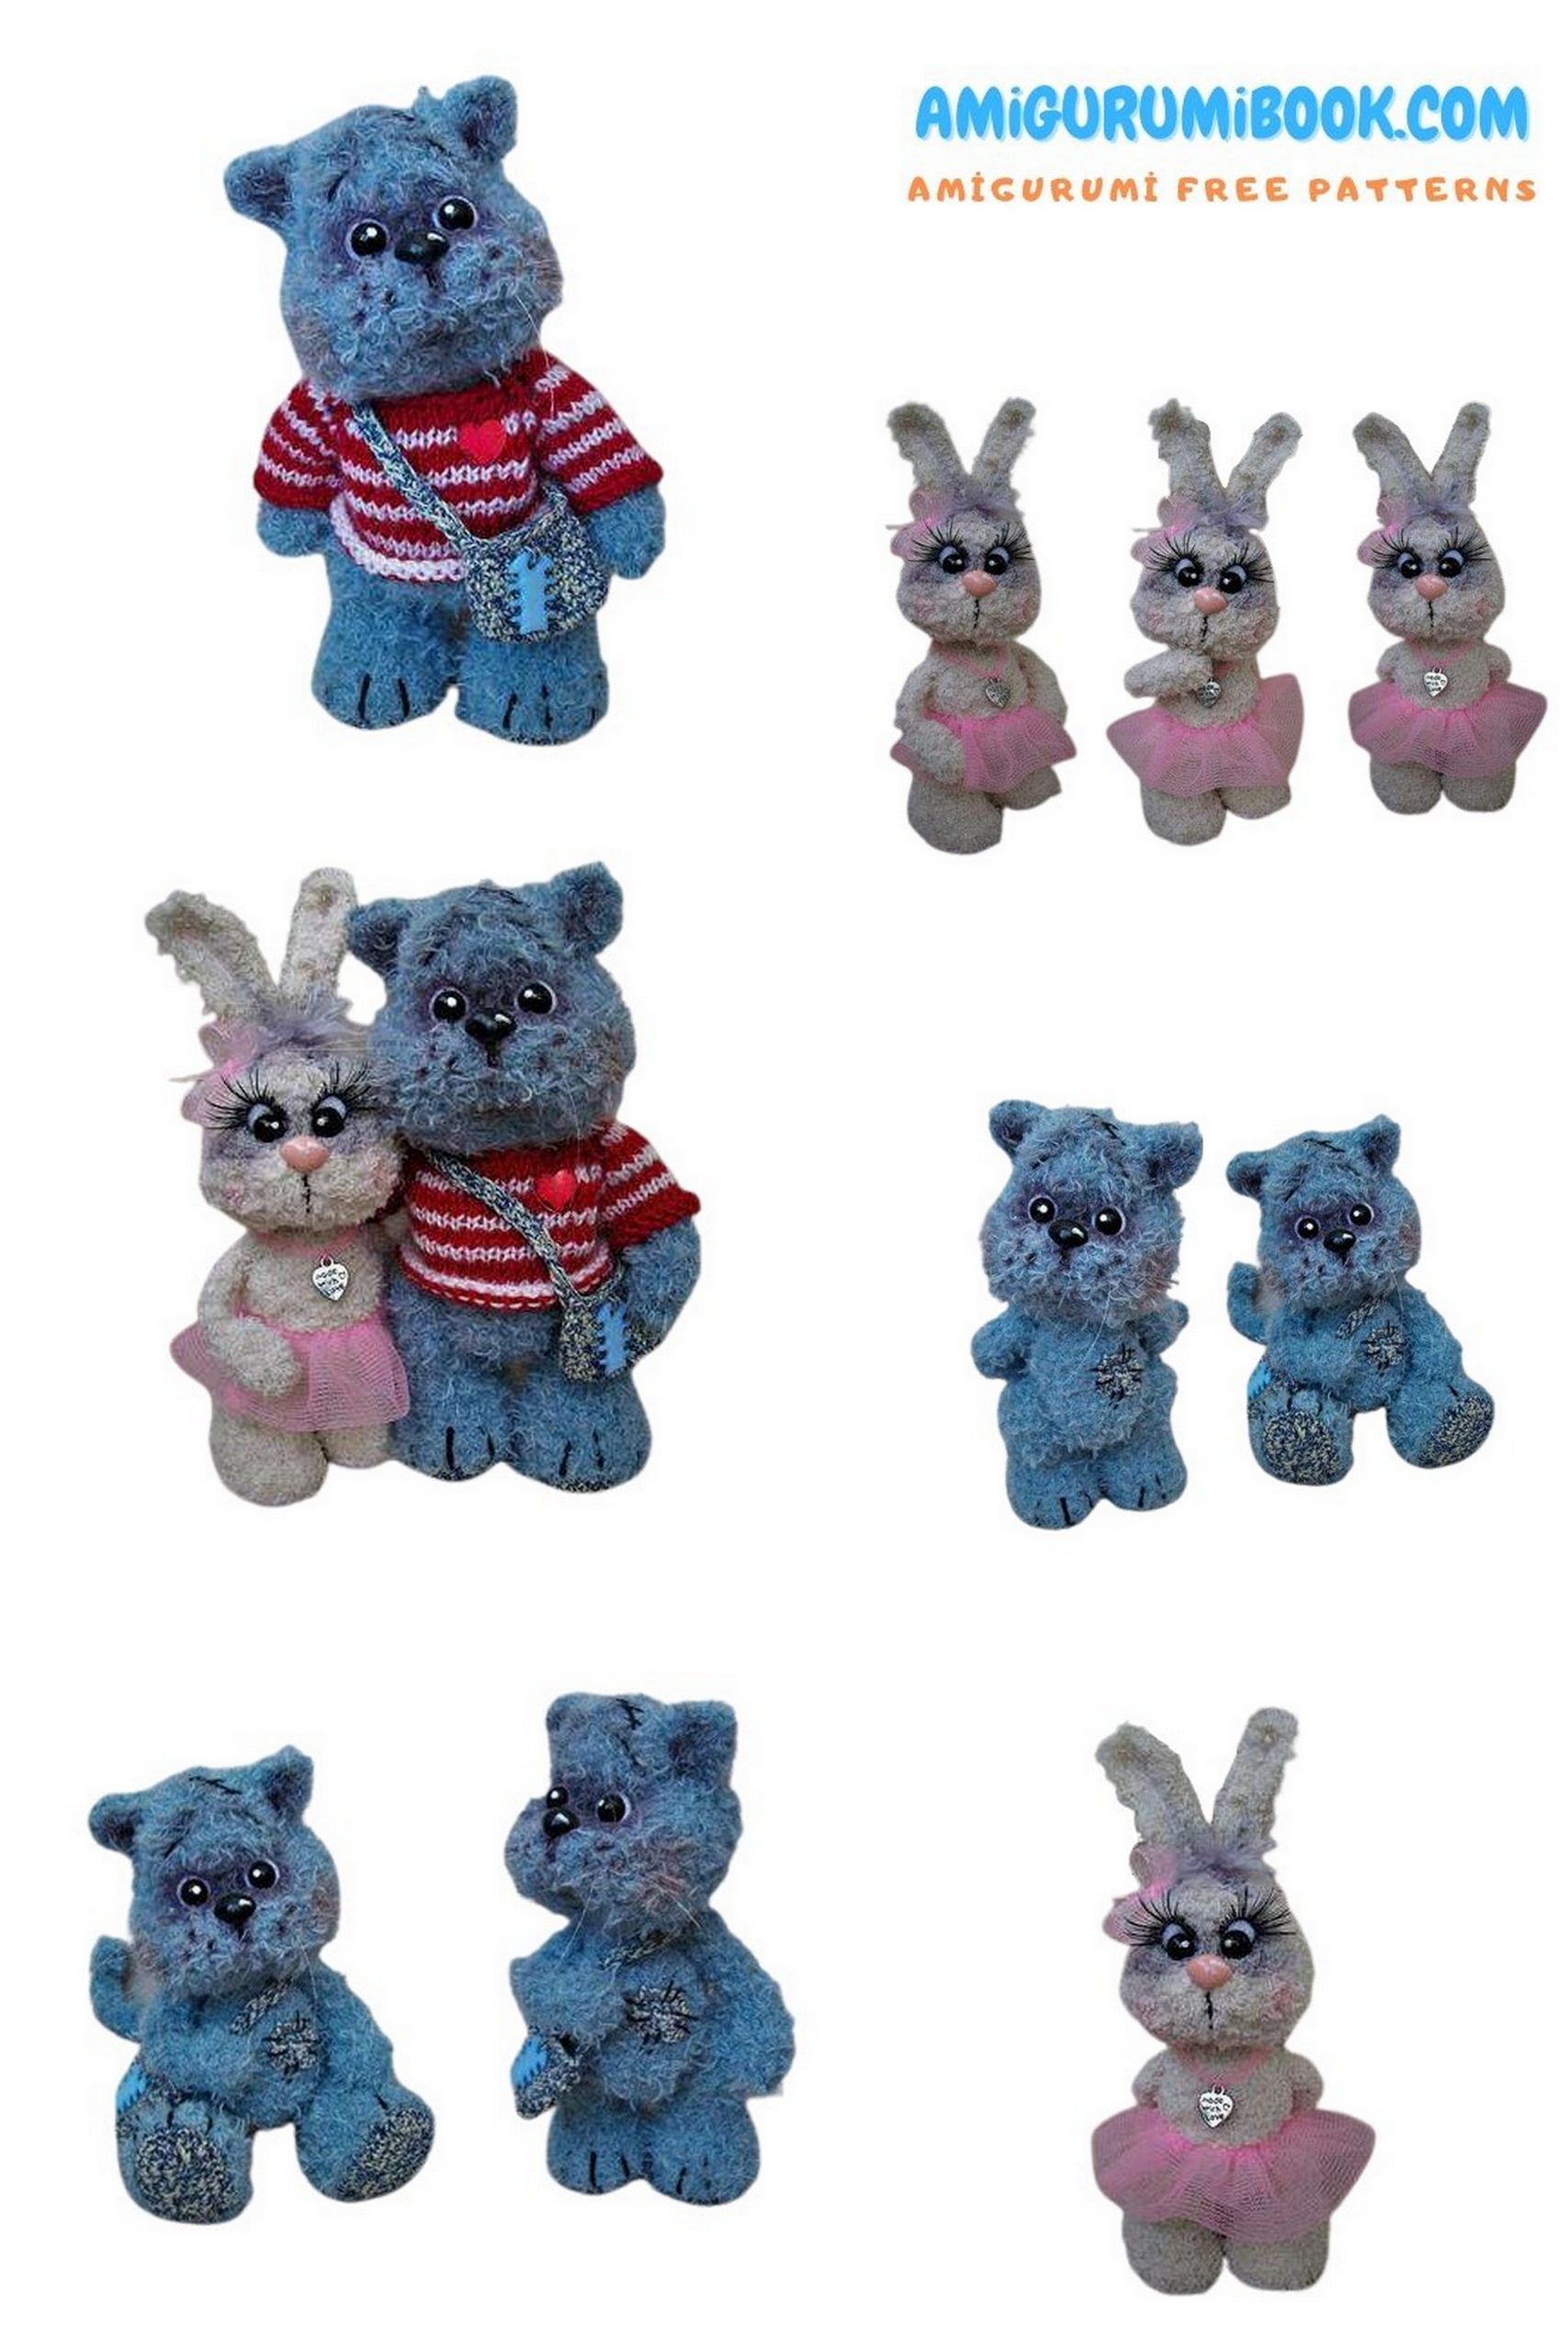
Discover the joy of creating adorable handmade toys with the Bunny and Kitty Amigurumi Free Pattern, perfect for both beginners and experienced crocheters. This easy-to-follow crochet tutorial guides you step-by-step in crafting charming little companions that make great gifts or delightful decorations. free crochet patterns
You may also like more amigurumi patterns.
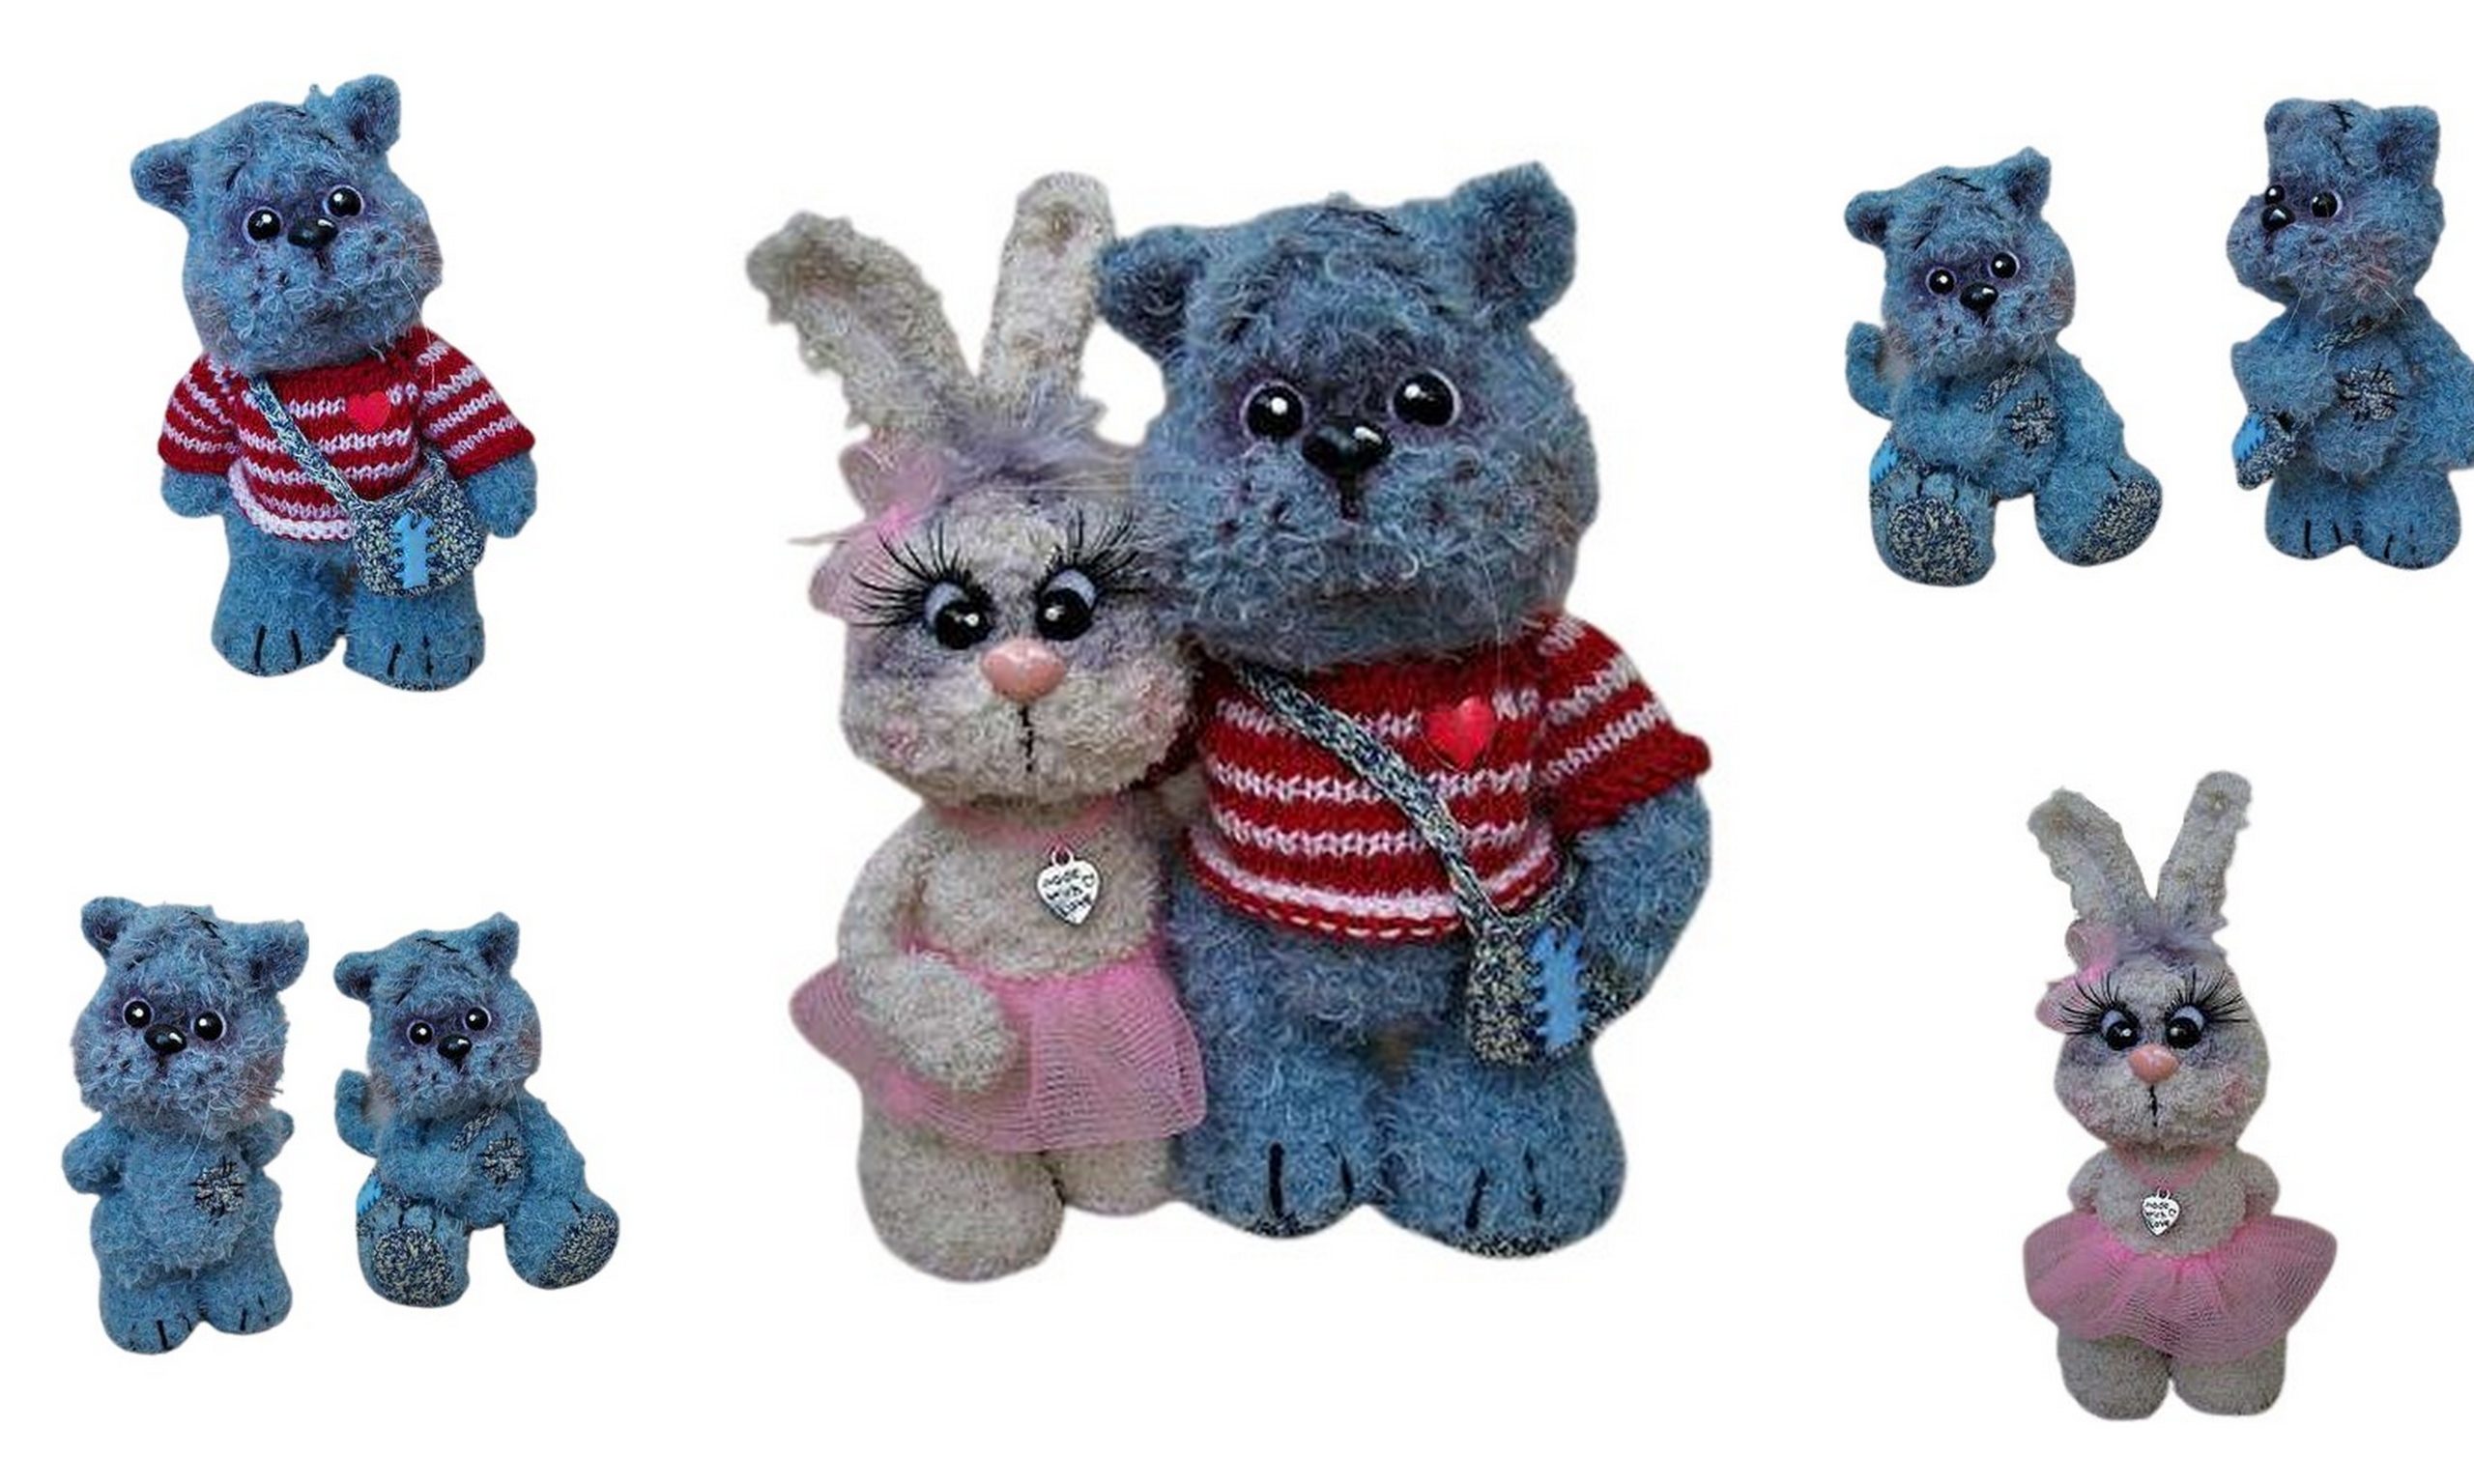
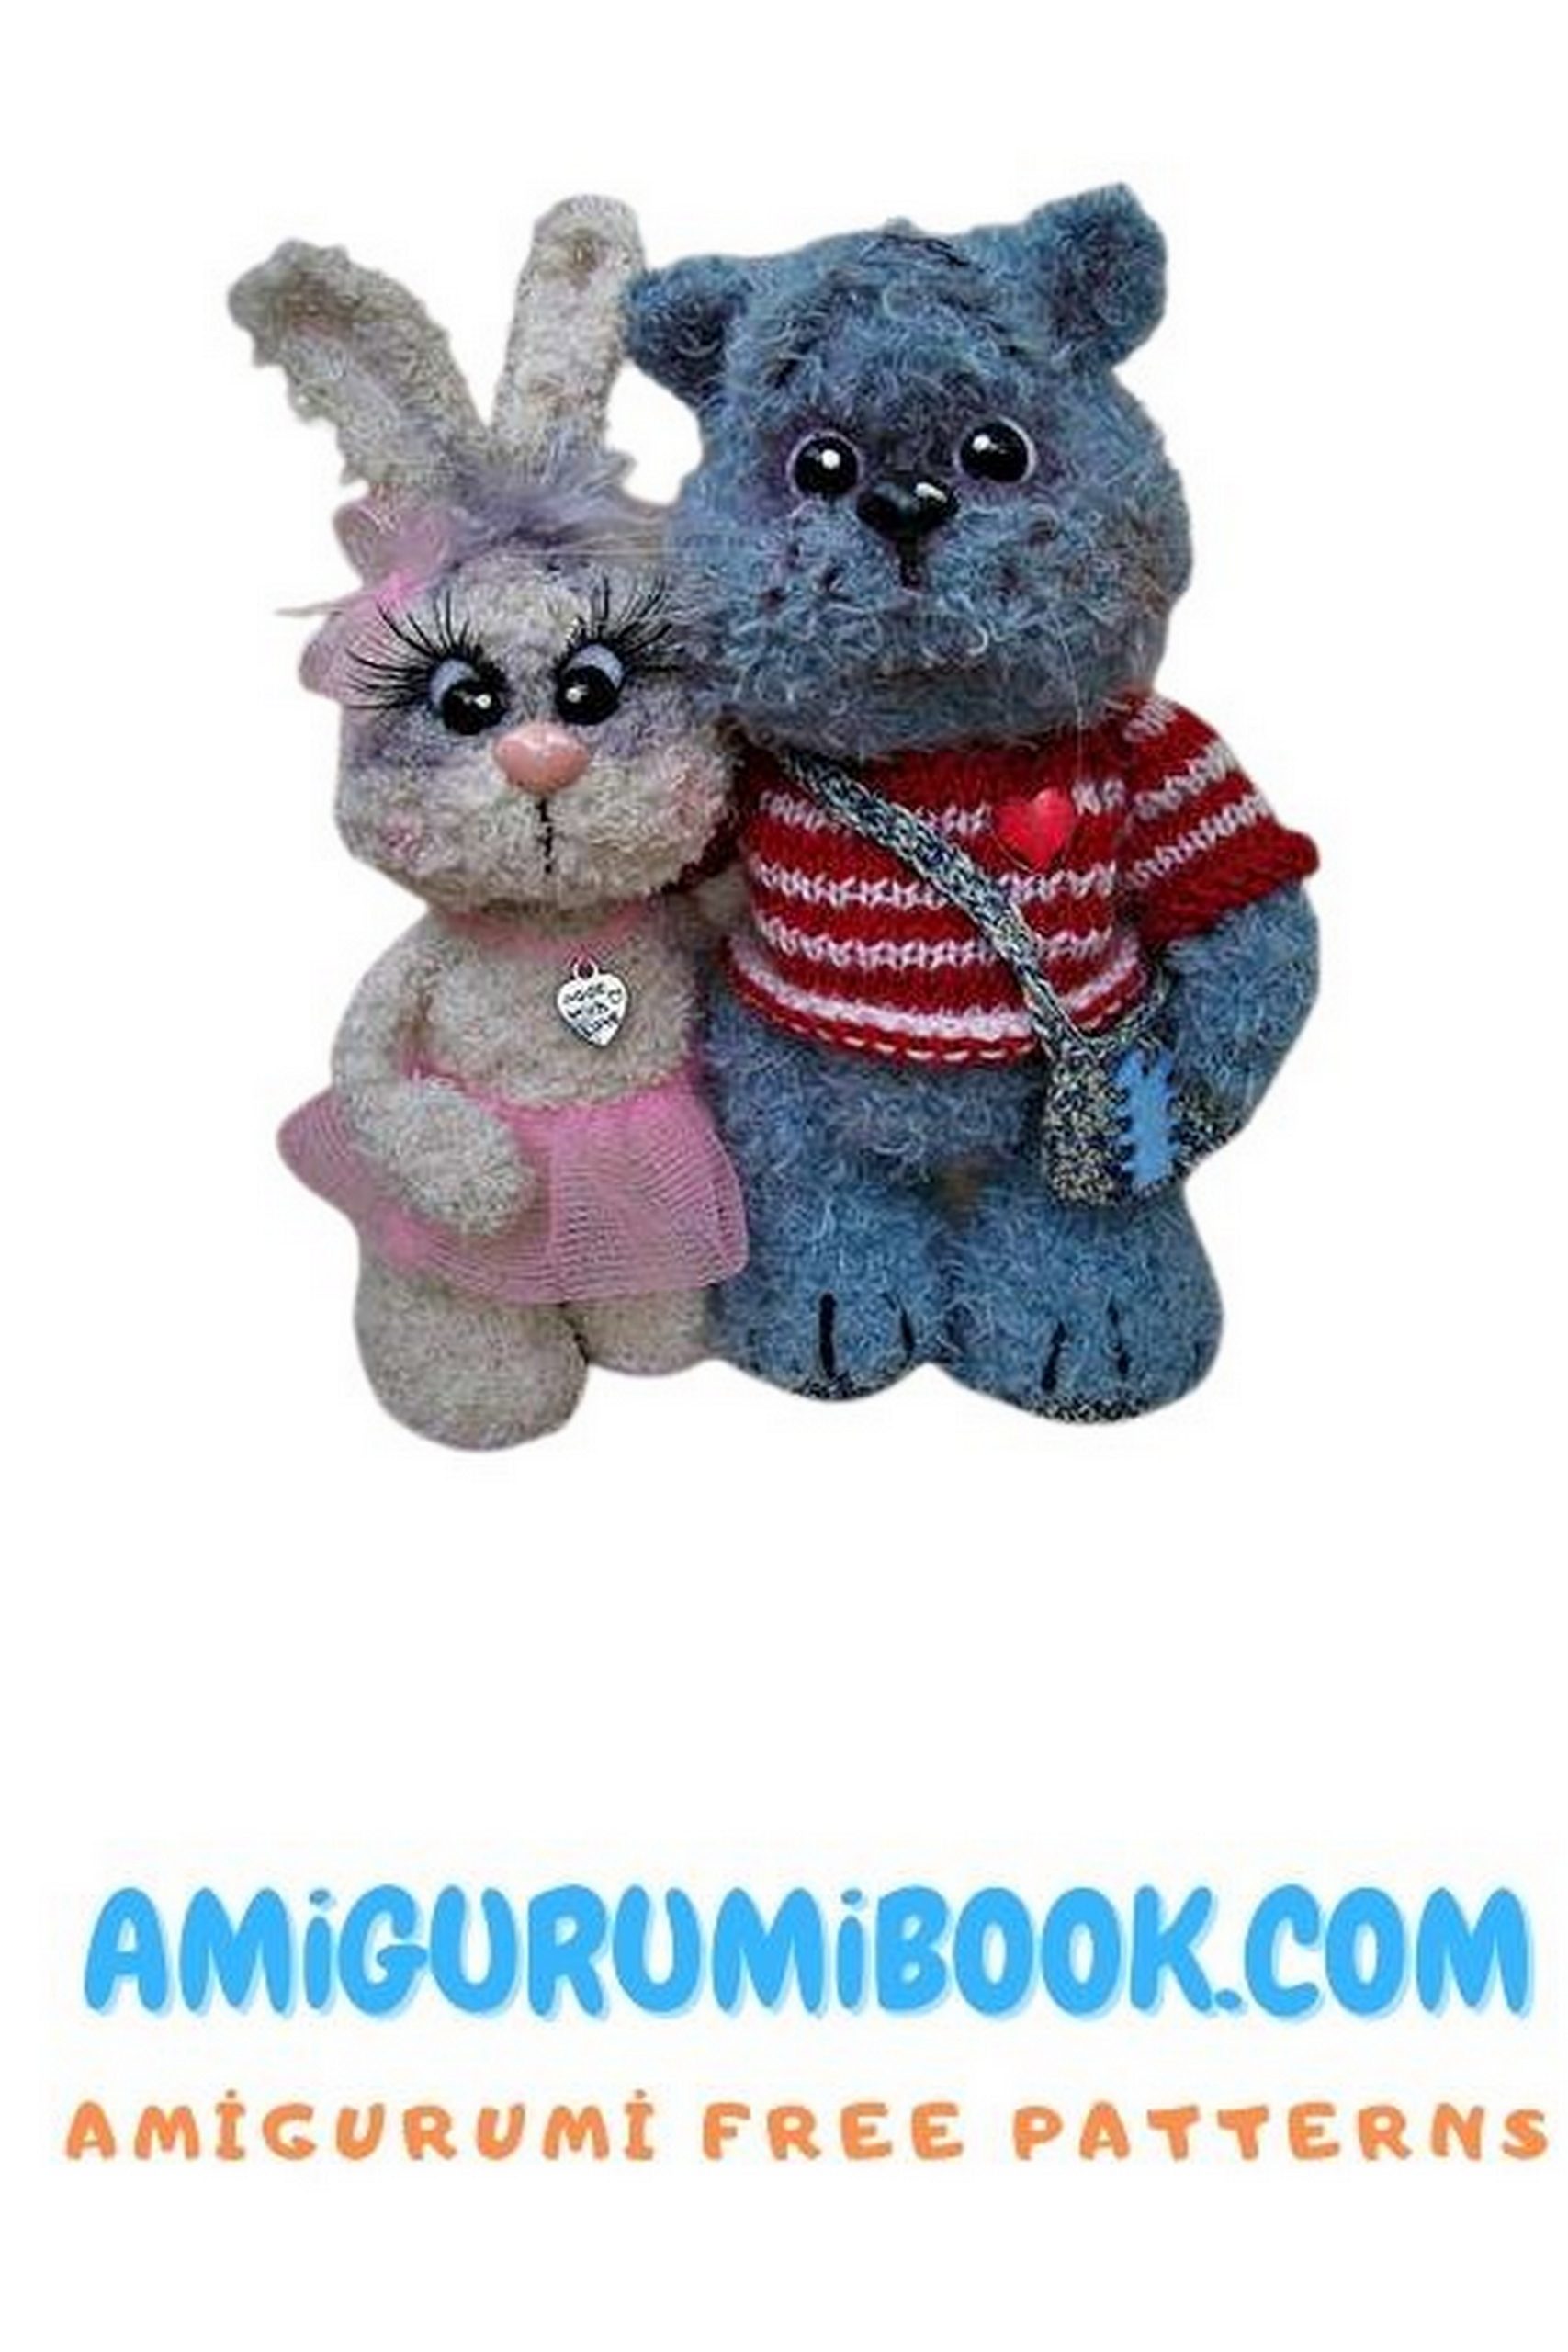
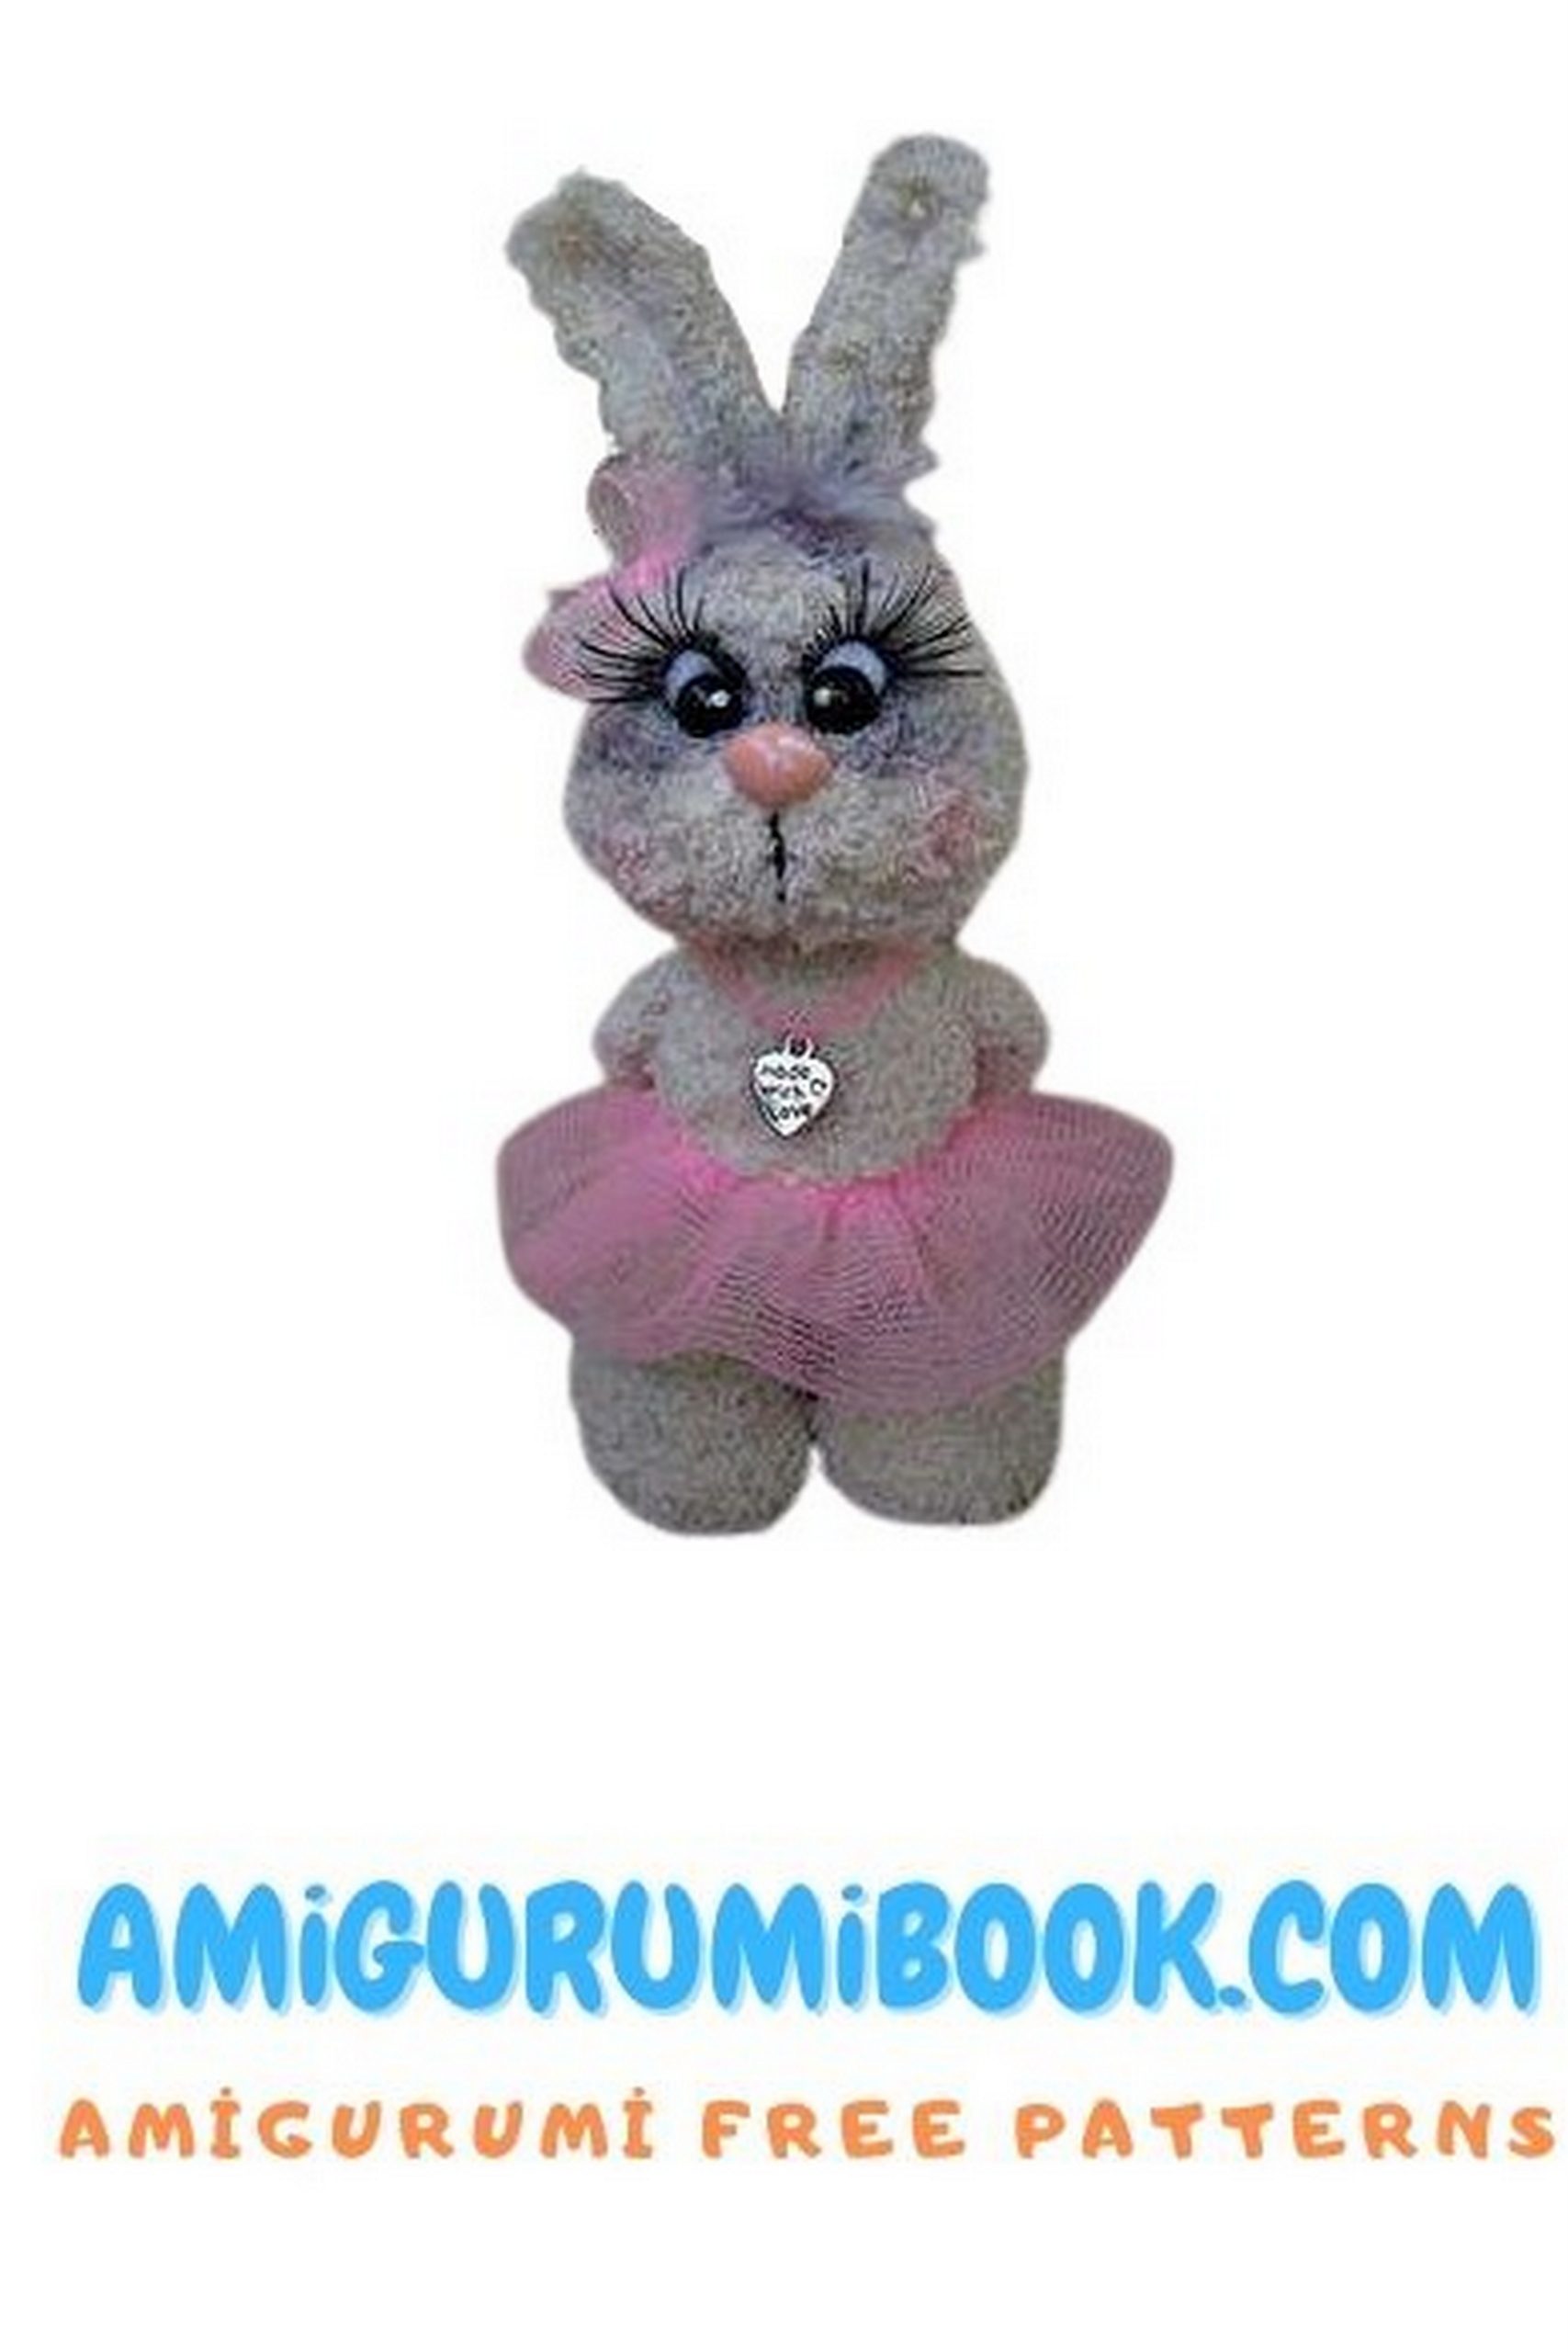
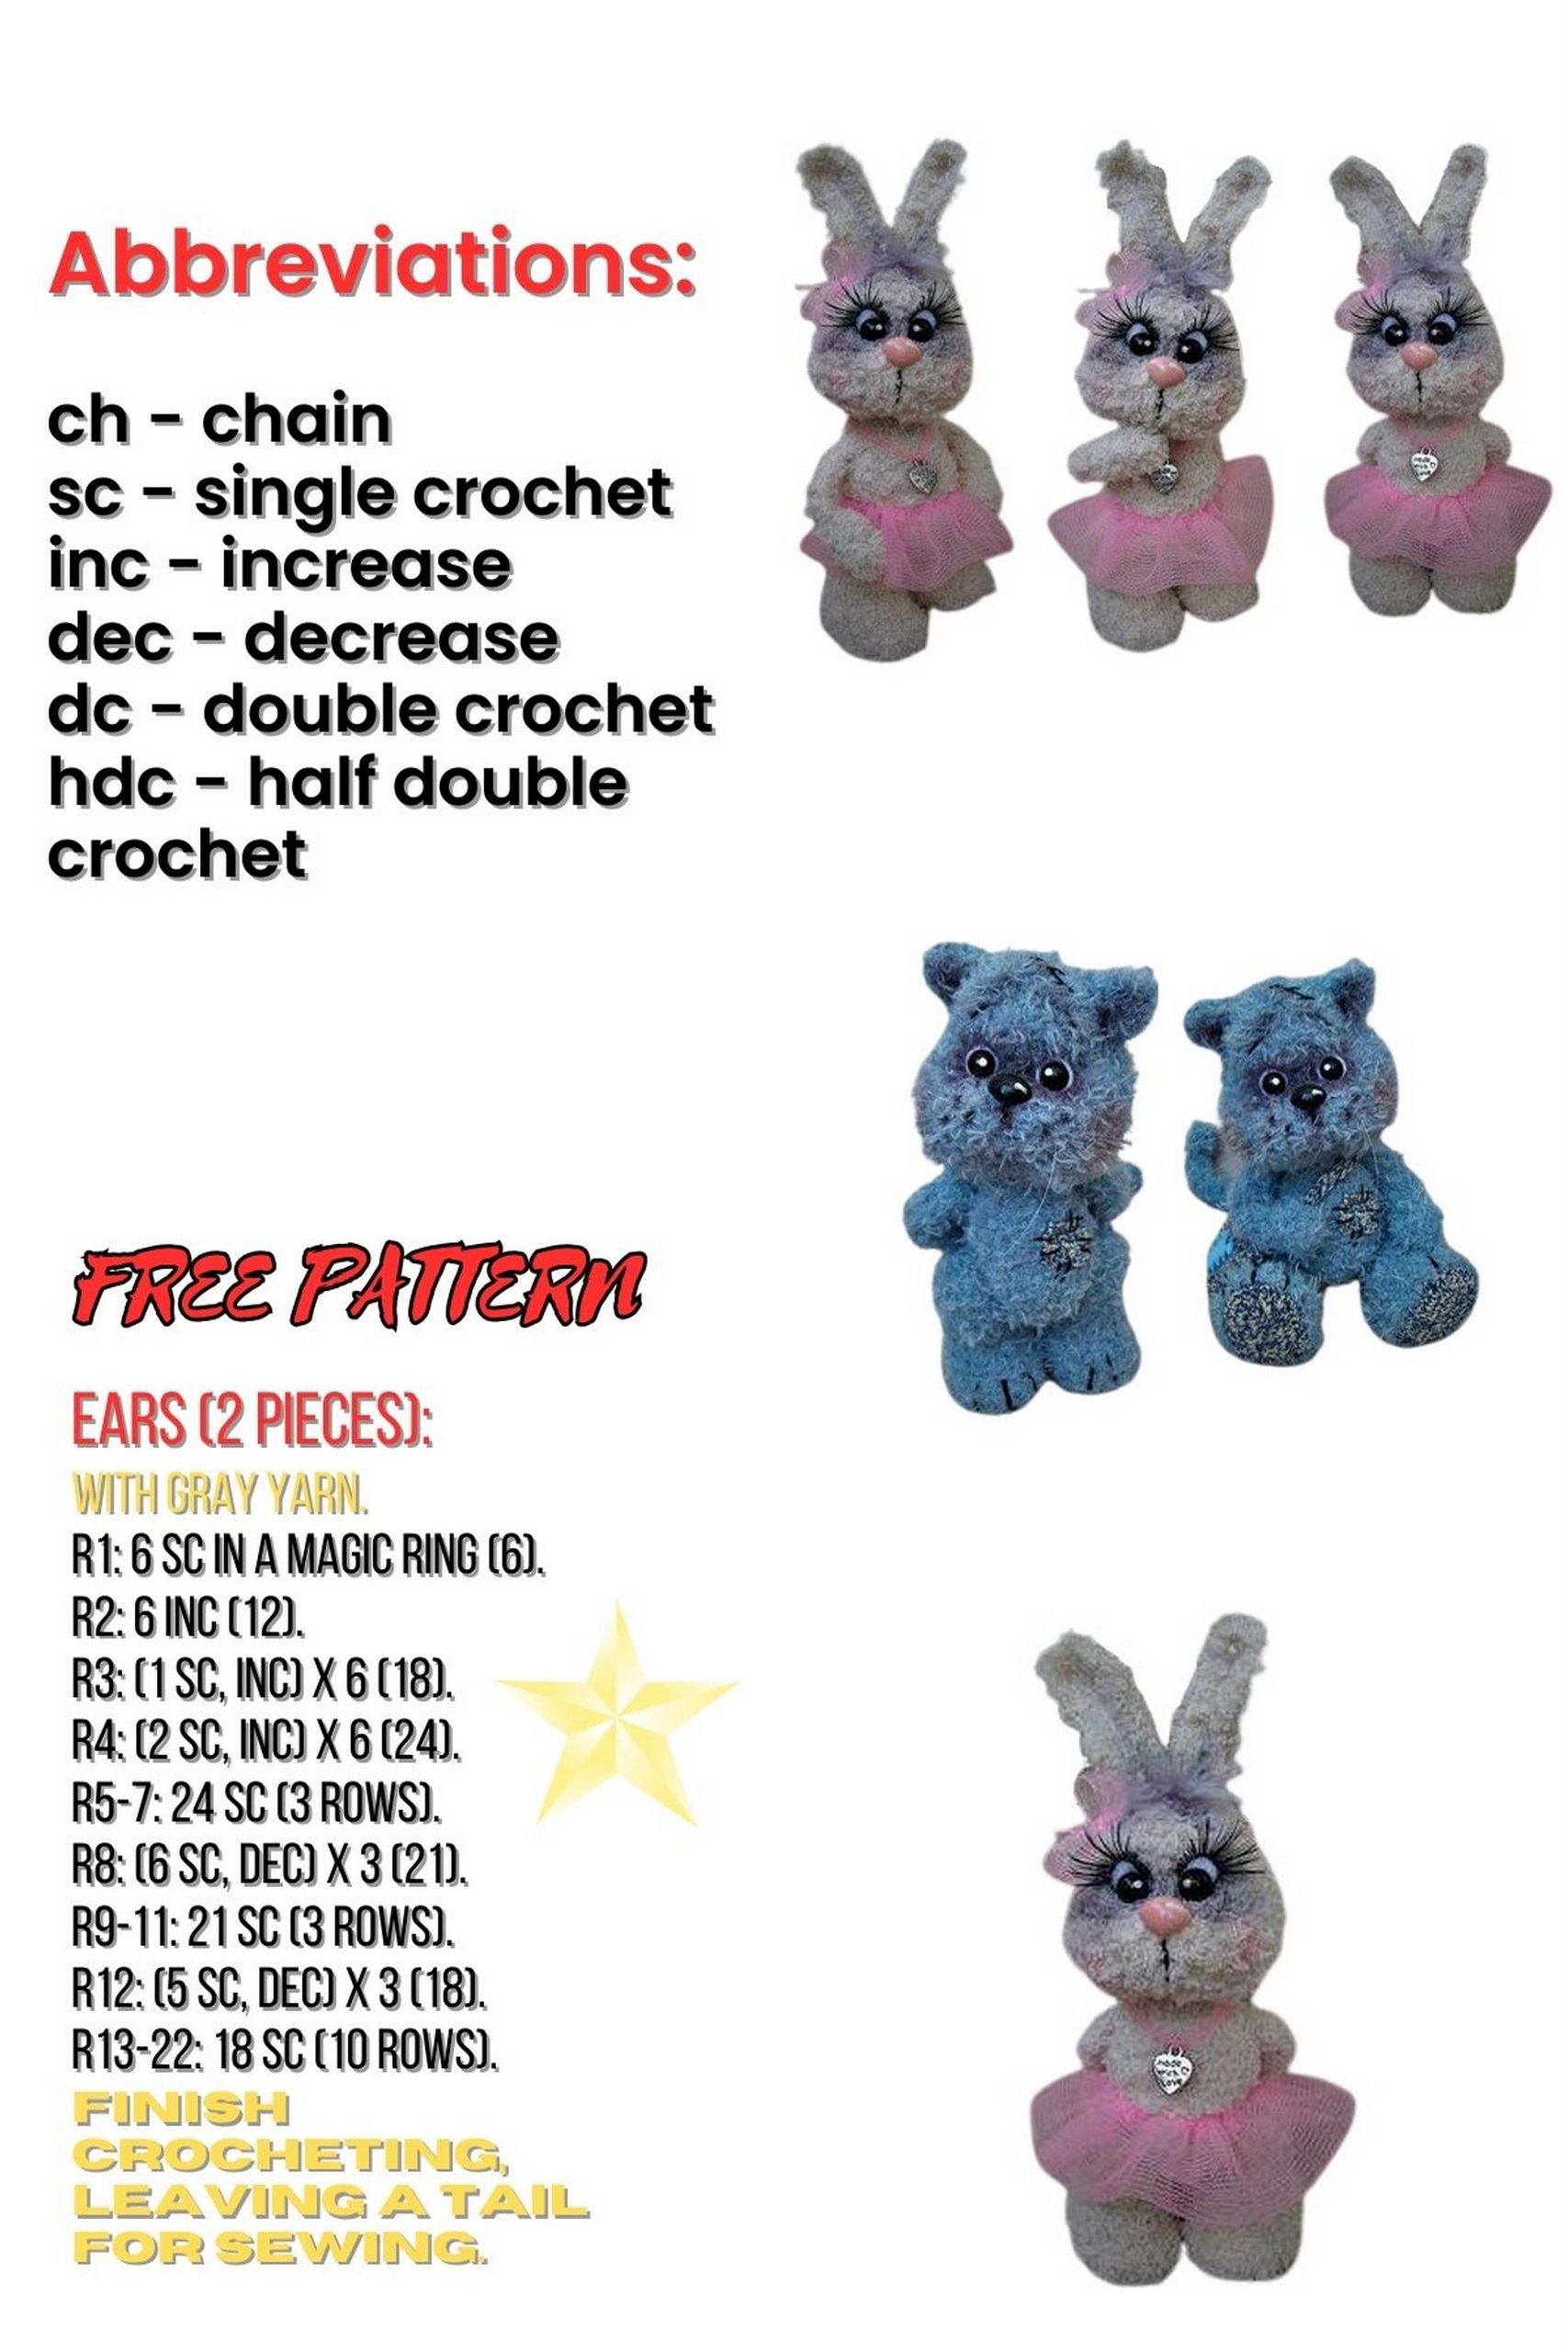
Explore the whimsical world of crochet with our free Bunny and Kitty Amigurumi pattern and crochet tutorial. This delightful project combines two beloved animals into one charming creation.
Whether you’re a beginner or an experienced crocheter, our detailed guide offers step-by-step instructions and clear photos to help you craft these adorable bunny and kitty amigurumi.
Perfect for gifting or adding to your amigurumi collection, these companions will bring joy and warmth to any home.
Start your Bunny and Kitty Amigurumi project today and let your creativity soar!
If you want to access 1000+ free amigurumi patterns, you can download our application from this link!
Materials:
Hook size 1.75 mm.
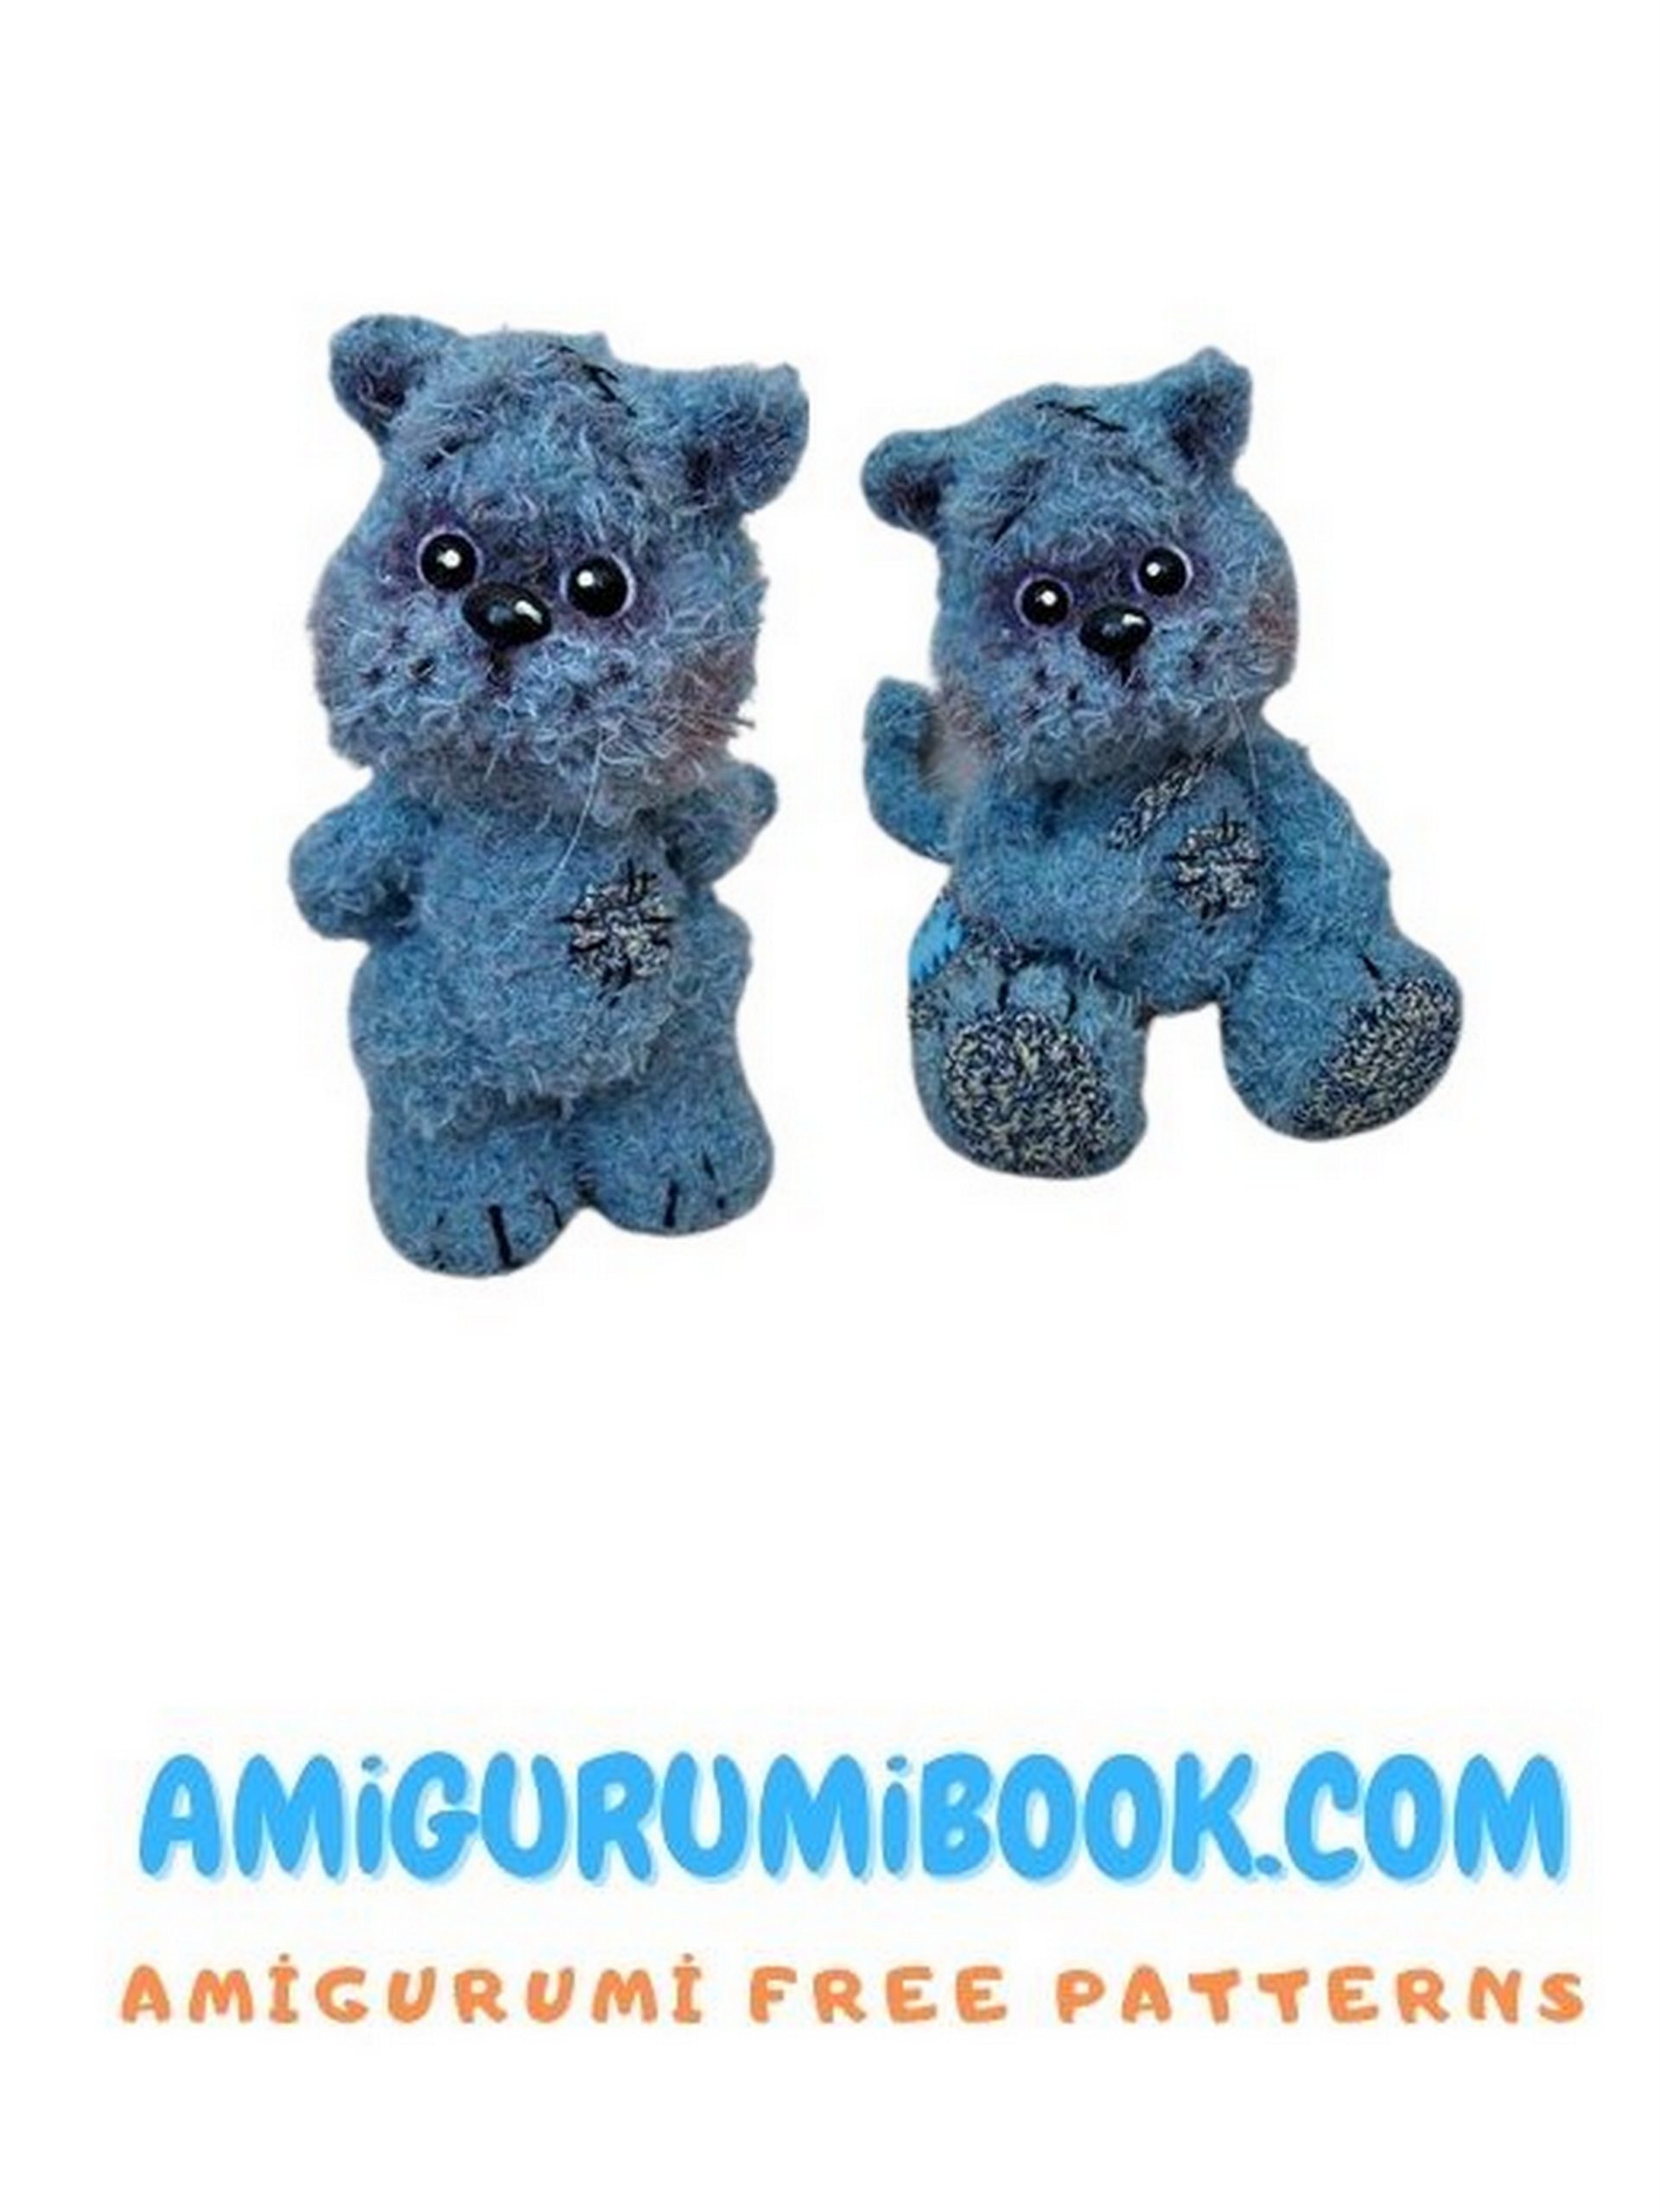
Toy height is 16 cm; Bunny’s height includes ears.
Head on a cotter pin, legs with thread attachment, kitty’s arms with thread, bunny’s simply sewn on.
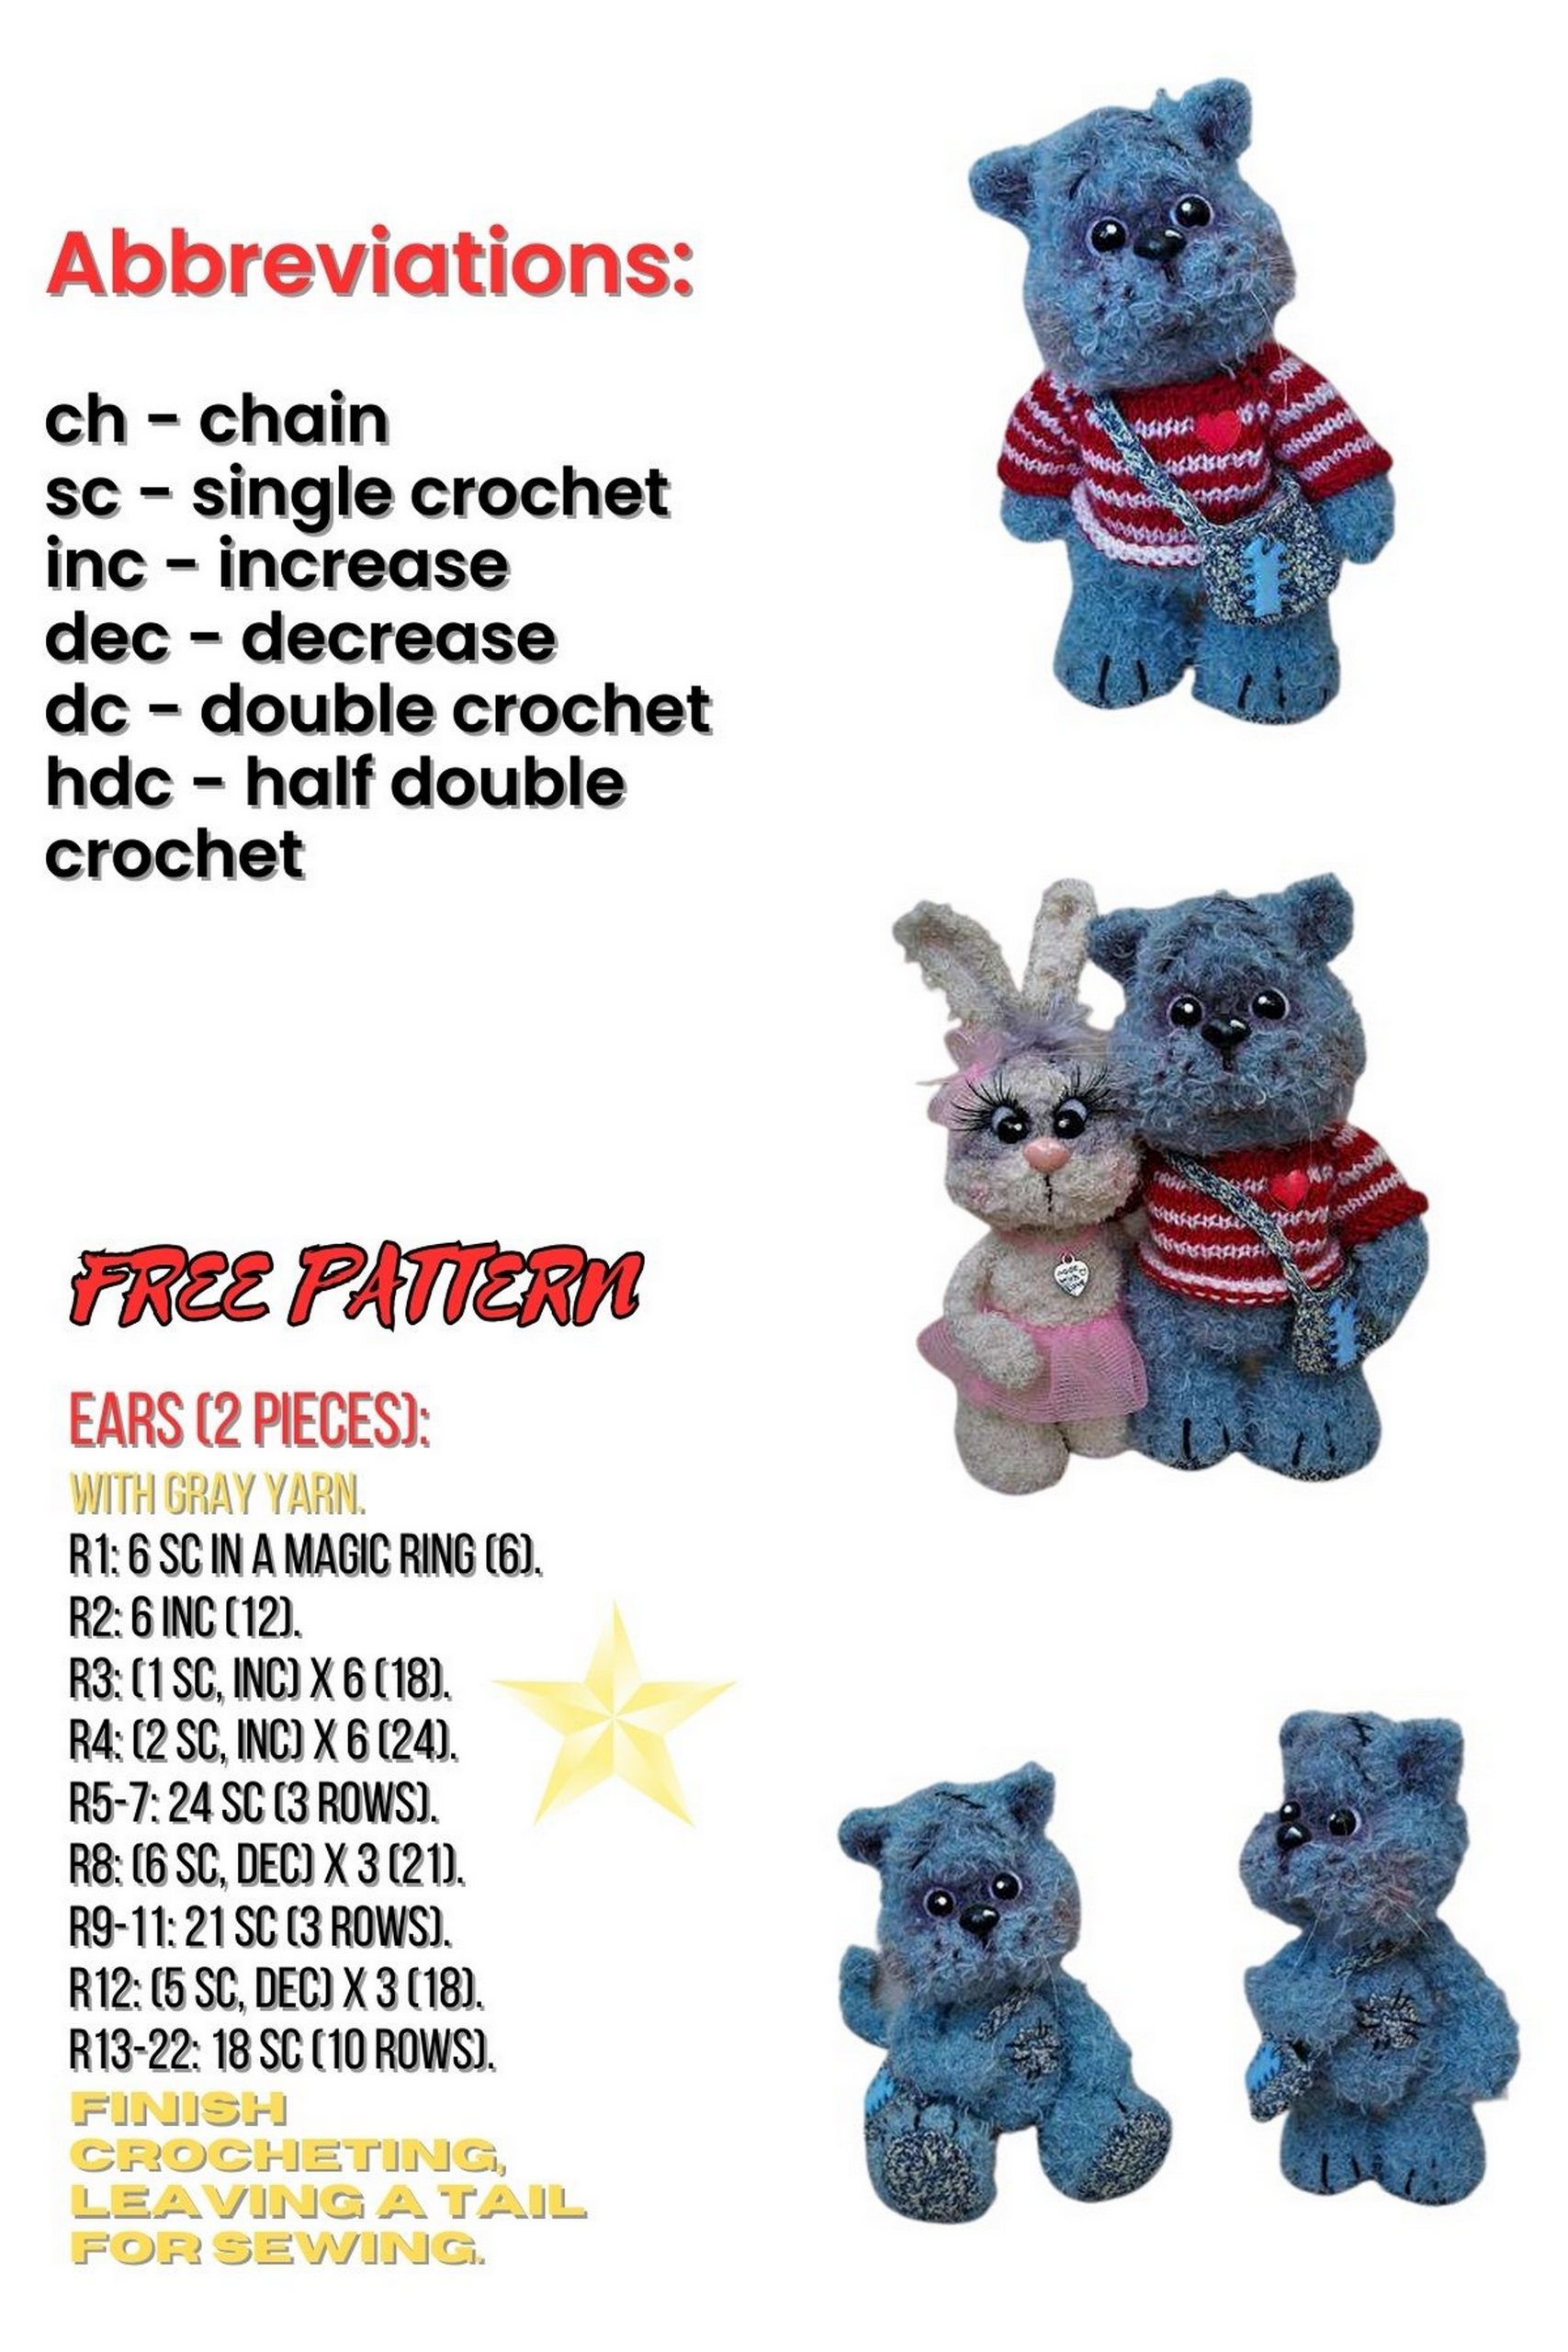
Abbreviations:
ch – chain stitch
MR – magic ring
inc – increase
dec – decrease
sc – single crochet
hdc – half double crochet
dc – double crochet
Bunny and Kitty Pattern
BODY – Bunny and Kitty
Crochet with main yarn from the base upwards to the neck.
1: 6 sc in MR. (6)
2: inc around. (12)
3: (1 sc, inc) around. (18)
4: (2 sc, inc) around. (24)
5: (3 sc, inc) around. (30)
6-12: 30 sc (7 rounds)
13: (3 sc, dec) around. (24)
14-15: 24 sc (2 rounds)
16: 6 sc, 6 dec, 6 sc. (18)
Mark the middle of decreases with a marker; this is the kitty’s chest.
17-18: 18 sc
Stuff with stuffing. Insert cotter pin.
18: (1 sc, dec) around. (12)
19: dec around. (6)
HEAD – Bunny and Kitty
Crochet with main yarn from the neck upwards to the crown.
1: 6 sc in MR. (6)
2: inc around. (12)
3: (1 sc, inc) around. (18)
4: (1 sc, inc) around. (24)
5: (2 sc, inc) around. (36)
6-12: 48 sc (7 rounds)
Attach to the body using a cotter pin. Stuff with stuffing.
13: 16 sc, 8 dec, 16 sc. (40)
Place marker in the middle of decreases; this is the center of the muzzle.
14: 12 sc, 8 dec, 12 sc. (32)
15: dec, 28 sc, dec. (30)
16-18: 30 sc (3 rounds)
19: dec around. (15)
Stuff the head with small amounts of stuffing evenly. Emphasize cheeks.
20: (1 sc, dec) around. (10)
21: dec around. (5)
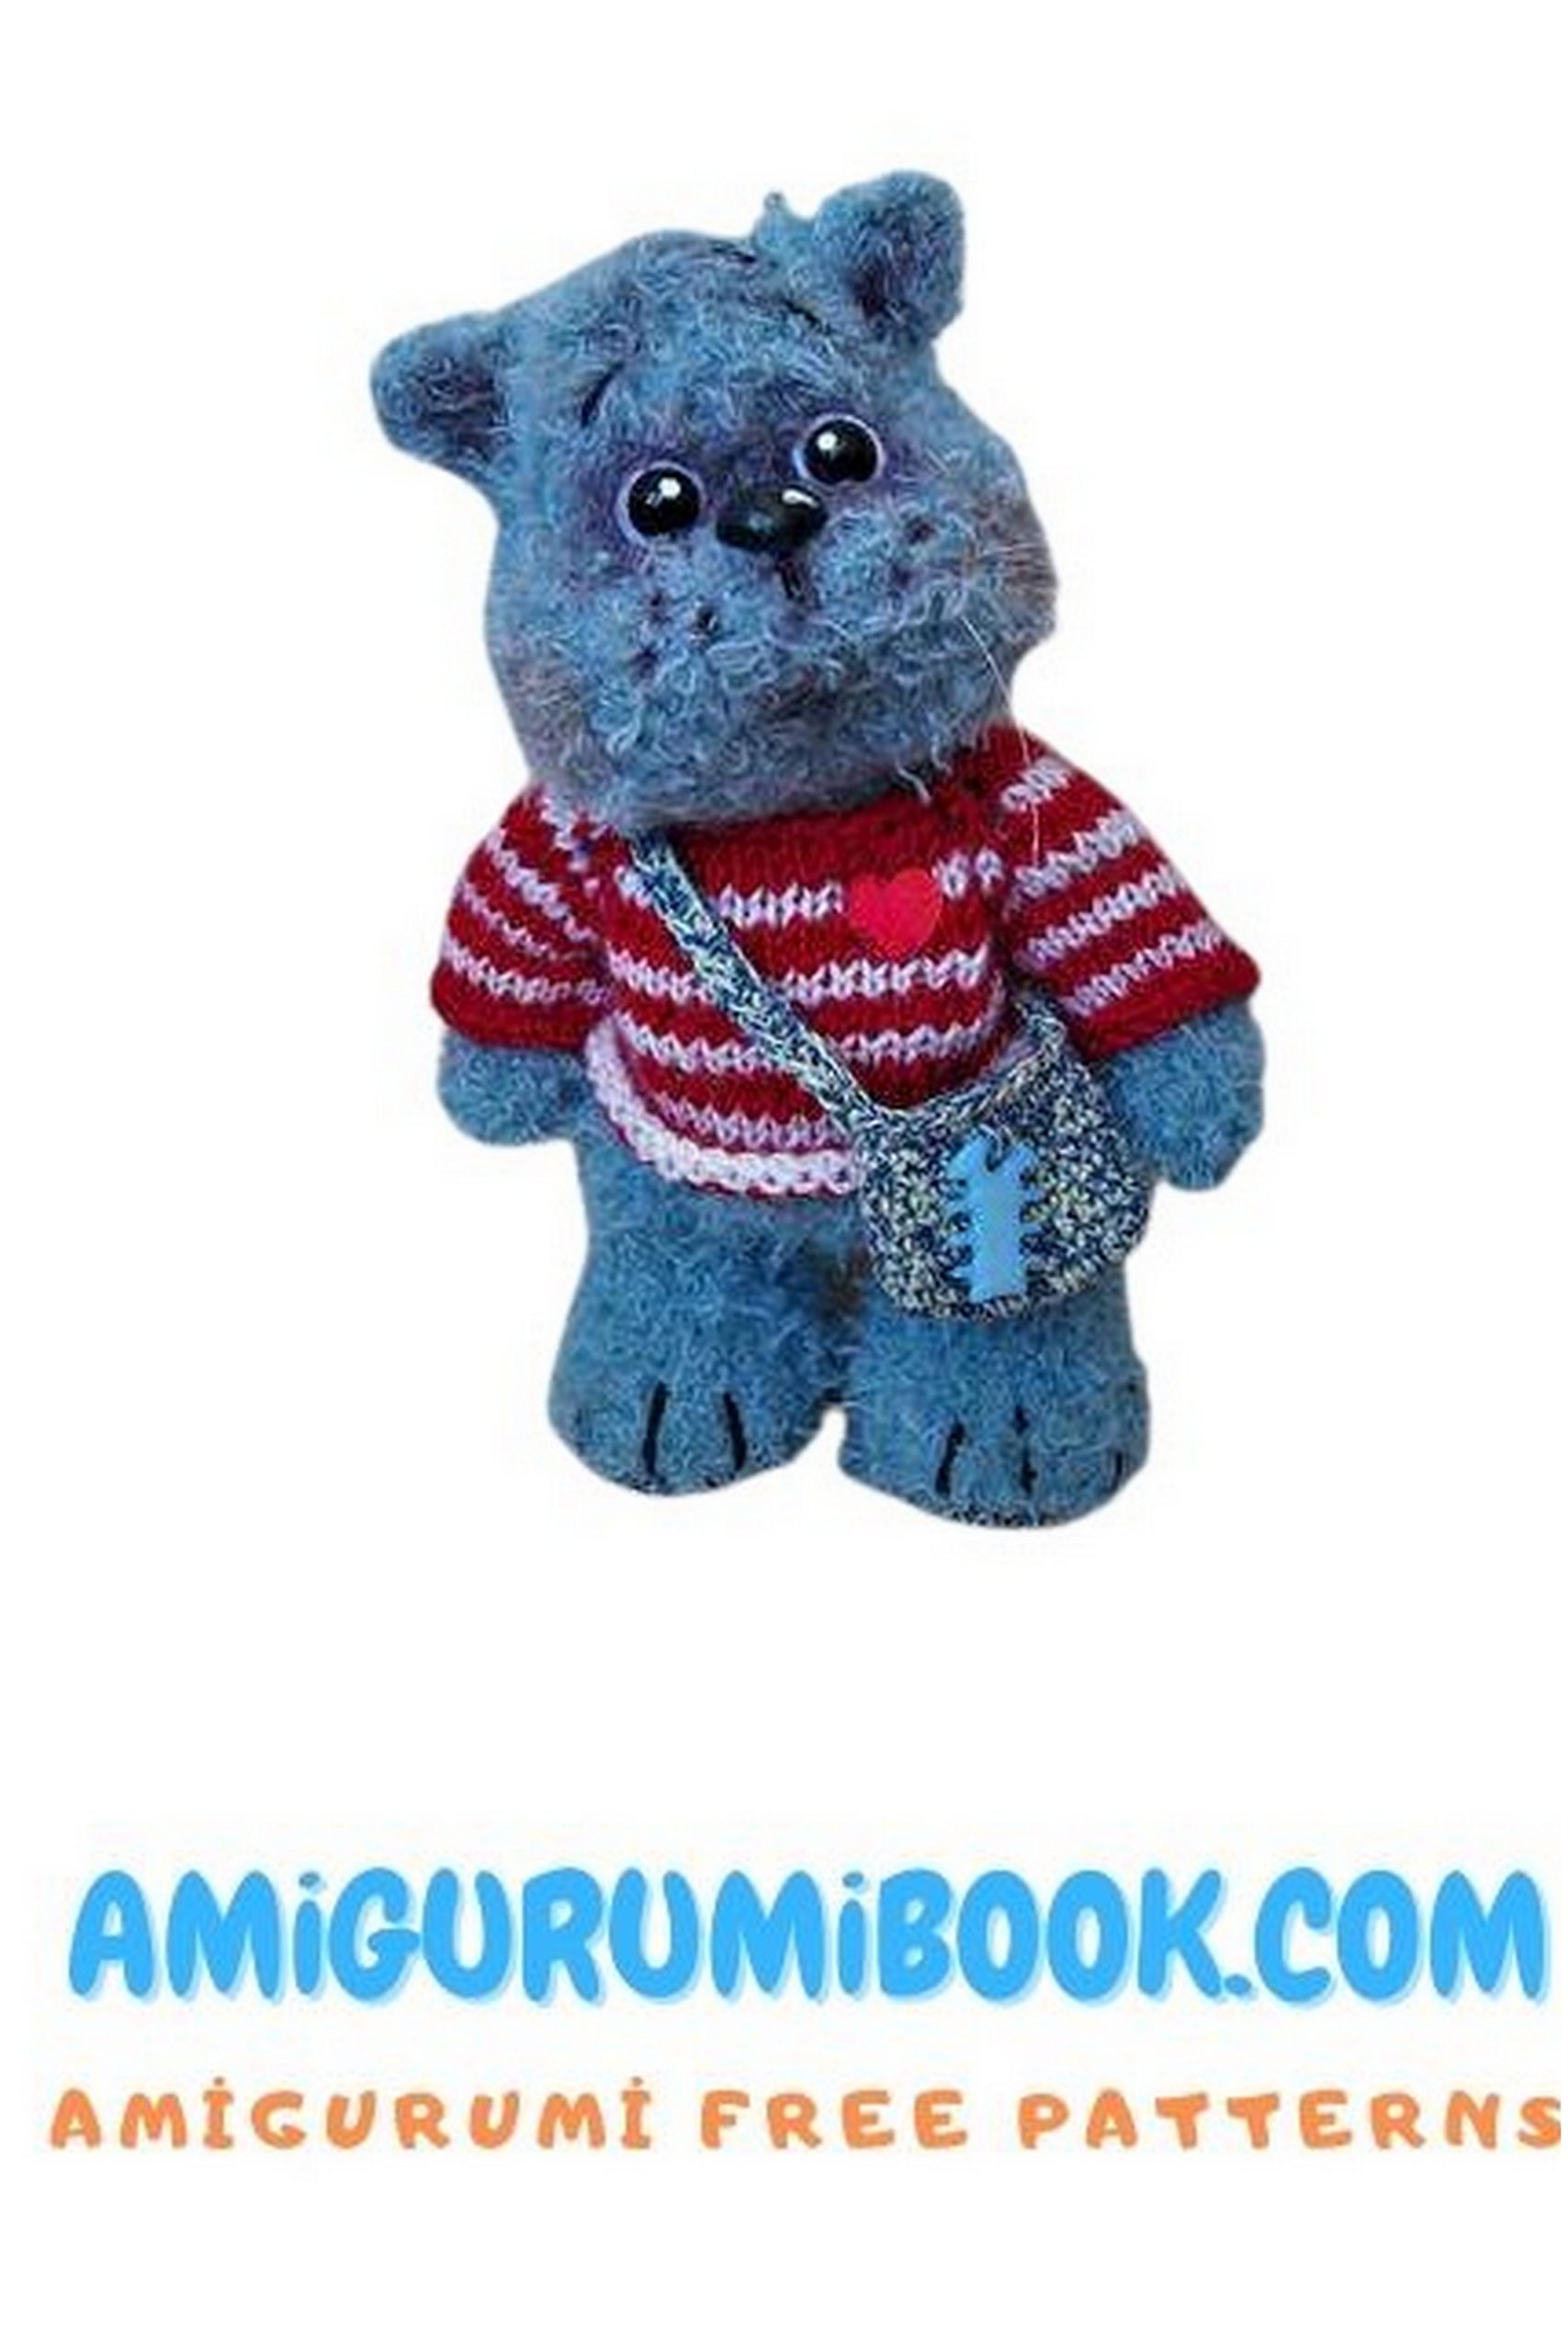
UPPER ARMS. Make 2 pieces. – Bunny and Kitty
Crochet with main yarn, do not stuff, insert wire inside for flexibility. Fill the palm slightly, then wrap the wire with tape and insert into the arm. Cut the wire for the kitty to arm length and end crocheting. Attach arms with thread.
For bunny, cut wire 1-1.5 cm longer than arm. Insert this piece into the body and sew on the arm.
For kitty.
1: 6 sc in MR. (6)
2: (1 sc, inc) x 3. (9)
3-16: 9 sc (14 rounds)
17: (1 sc, dec) x 3. (6)
Close hole with needle.
For bunny.
1: 6 sc in MR. (6)
2: (1 sc, inc) x 3. (9)
3-7: 9 sc (5 rounds)
8: (1 sc, dec) x 3. (6)
Continue crocheting to achieve a total arm length of 5 cm. If you can crochet around wire, insert wire just before decreases (after 7 rounds), then decrease from 9 loops to 6 loops and crochet around wire for the desired length. Insert wire into body and sew on arm.
LEGS. Make 2 pieces. – Bunny and Kitty
Start crocheting with finishing yarn (sole color). If you want the animal to stand firmly, cut and insert solid material soles into the sole.
Chain 9.
Start crocheting in the second chain from the hook.
1: 7 sc, 3 sc in one base chain, on the other side of the chain 6 sc, inc = 18 sc
2: (inc x 2), 4 sc, (inc x 5), 4 sc, (inc x 3) = 28 sc
3: 28 sc
Cut soles from sturdy cardboard. Switch to main yarn.
4: 28 sc (crochet through the back loops).
5-6: 28 sc
Insert soles.
7: 7 sc, (dec, 1 sc) x 5, 6 sc = 23 sc
8-9: 23 sc
Add stuffing to the foot.
10: 1 sc, (dec, 1 sc) x 7, 1 sc = 16 sc
11-12: 16 sc
13: dec, 14 sc = 15 sc
14-15: 15 sc
16: (3 sc, inc) x 3, 3 sc = 18 sc
17-19: 18 sc (4 rounds)
20: (1 sc, dec) x 6 = 12 sc
Add stuffing.
21: dec around. (6)
EARS. Make 2 pieces. – Bunny and Kitty
For kitty.
Crochet with main yarn.
1: 6 sc in MR. (6)
2: 6 sc
3: (1 sc, inc) x 3. (9)
4: (2 sc, inc) x 3. (12)
For bunny.
Start crocheting with finishing yarn (acrylic).
Chain 15.
Begin crocheting in the second chain from the hook.
1: 10 sc, 3 hdc, 5 dc in one base chain, on the other side of the chain 3 hdc, 10 sc = 31 sc
Attach main yarn (fuzzy).
Make a chain stitch and turn the work.
2: 31 sc in a circle.
Ears can also be made without finishing yarn, only two rounds from the main yarn.
TAIL – Bunny and Kitty
For kitty.
1: 6 sc in MR. (6)
2: (2 sc, inc) x 2 = 8 sc
Then crochet in a spiral 8 sc for a tail length of approximately 15 cm. Cut the wire longer by 1-1.5 cm. We insert the wire into the body, in the buttocks, and sew on the tail.
For bunny.
1: 6 sc in MR. (6)
2: 6 sc
Roll a tiny ball of stuffing and insert it into the tail. Sew on the tail.
ASSEMBLY.
We have markers marking the chest and center of the muzzle; they need to be aligned.
Create a pucker for the cheeks.
Determine and mark with pins the points of the eyes and mouth (the mouth is at the bottom of the muzzle).
A simple puckering –
Mouth – Right eye – Mouth – Left eye – Mouth.
Now pull the threads to tighten. The cheeks will immediately round off. Secure the thread and cut it at the mouth.
You can slightly adjust the stuffing under the cheeks with tweezers through the knitted fabric.
Design the muzzle as desired.
Select eyes, nose. Tint.
Attach a tuft to the bunny. Make whiskers from the thread for the kitty. Sew on ears.
Attach legs with thread.
Dress and decorate the toy as desired.
The Plump Cheeks are ready!