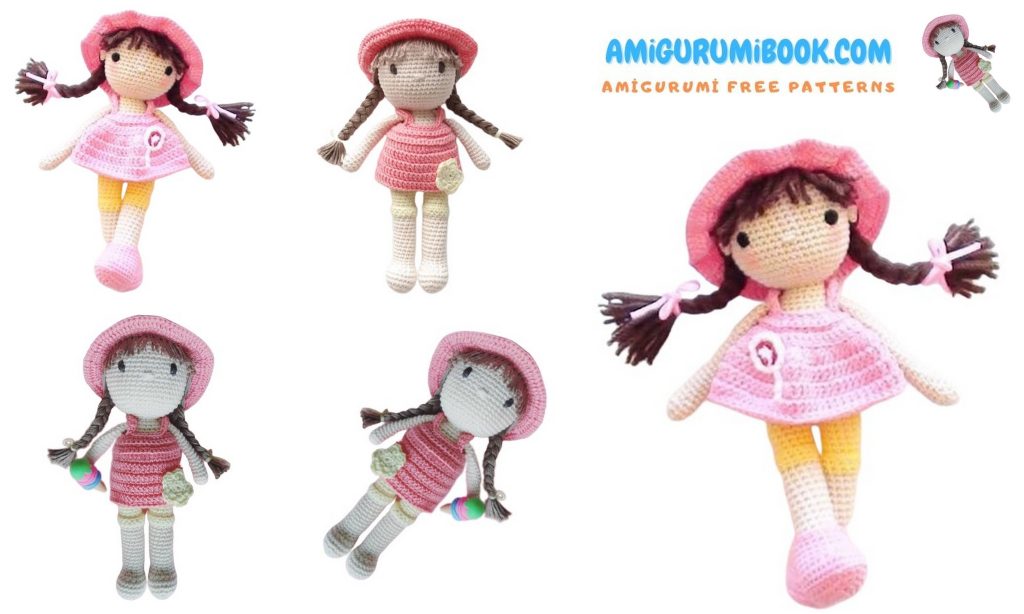
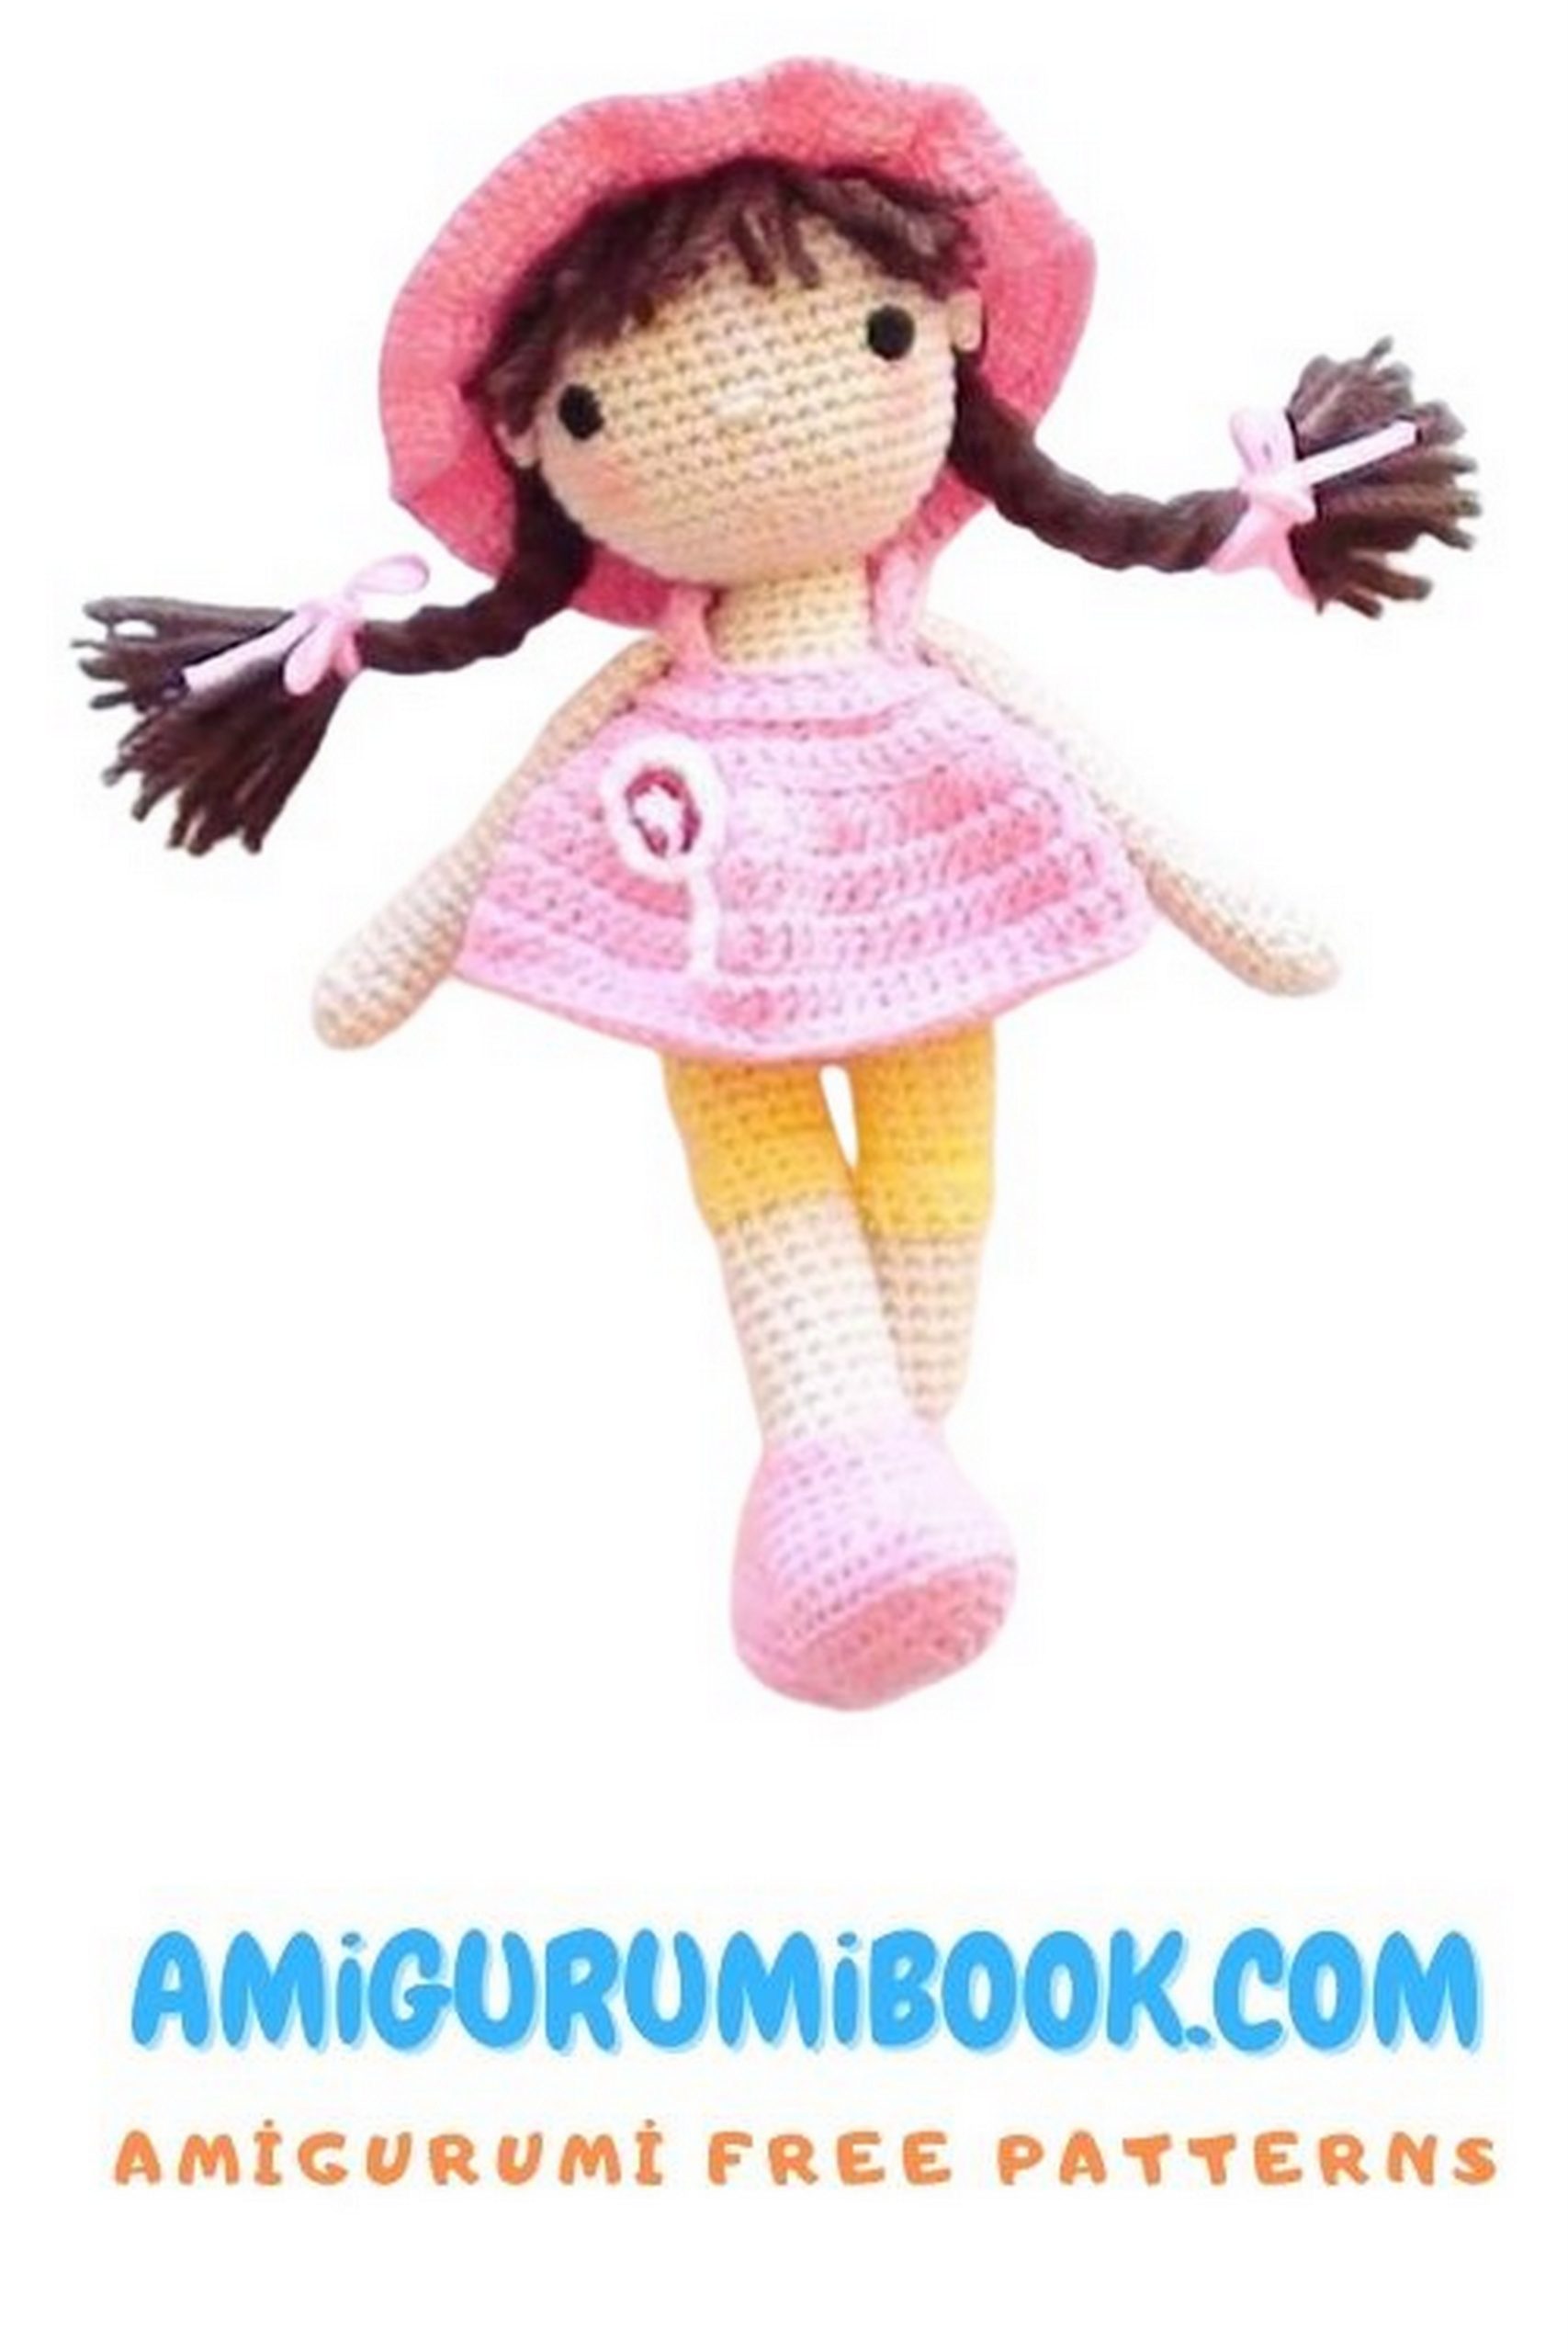
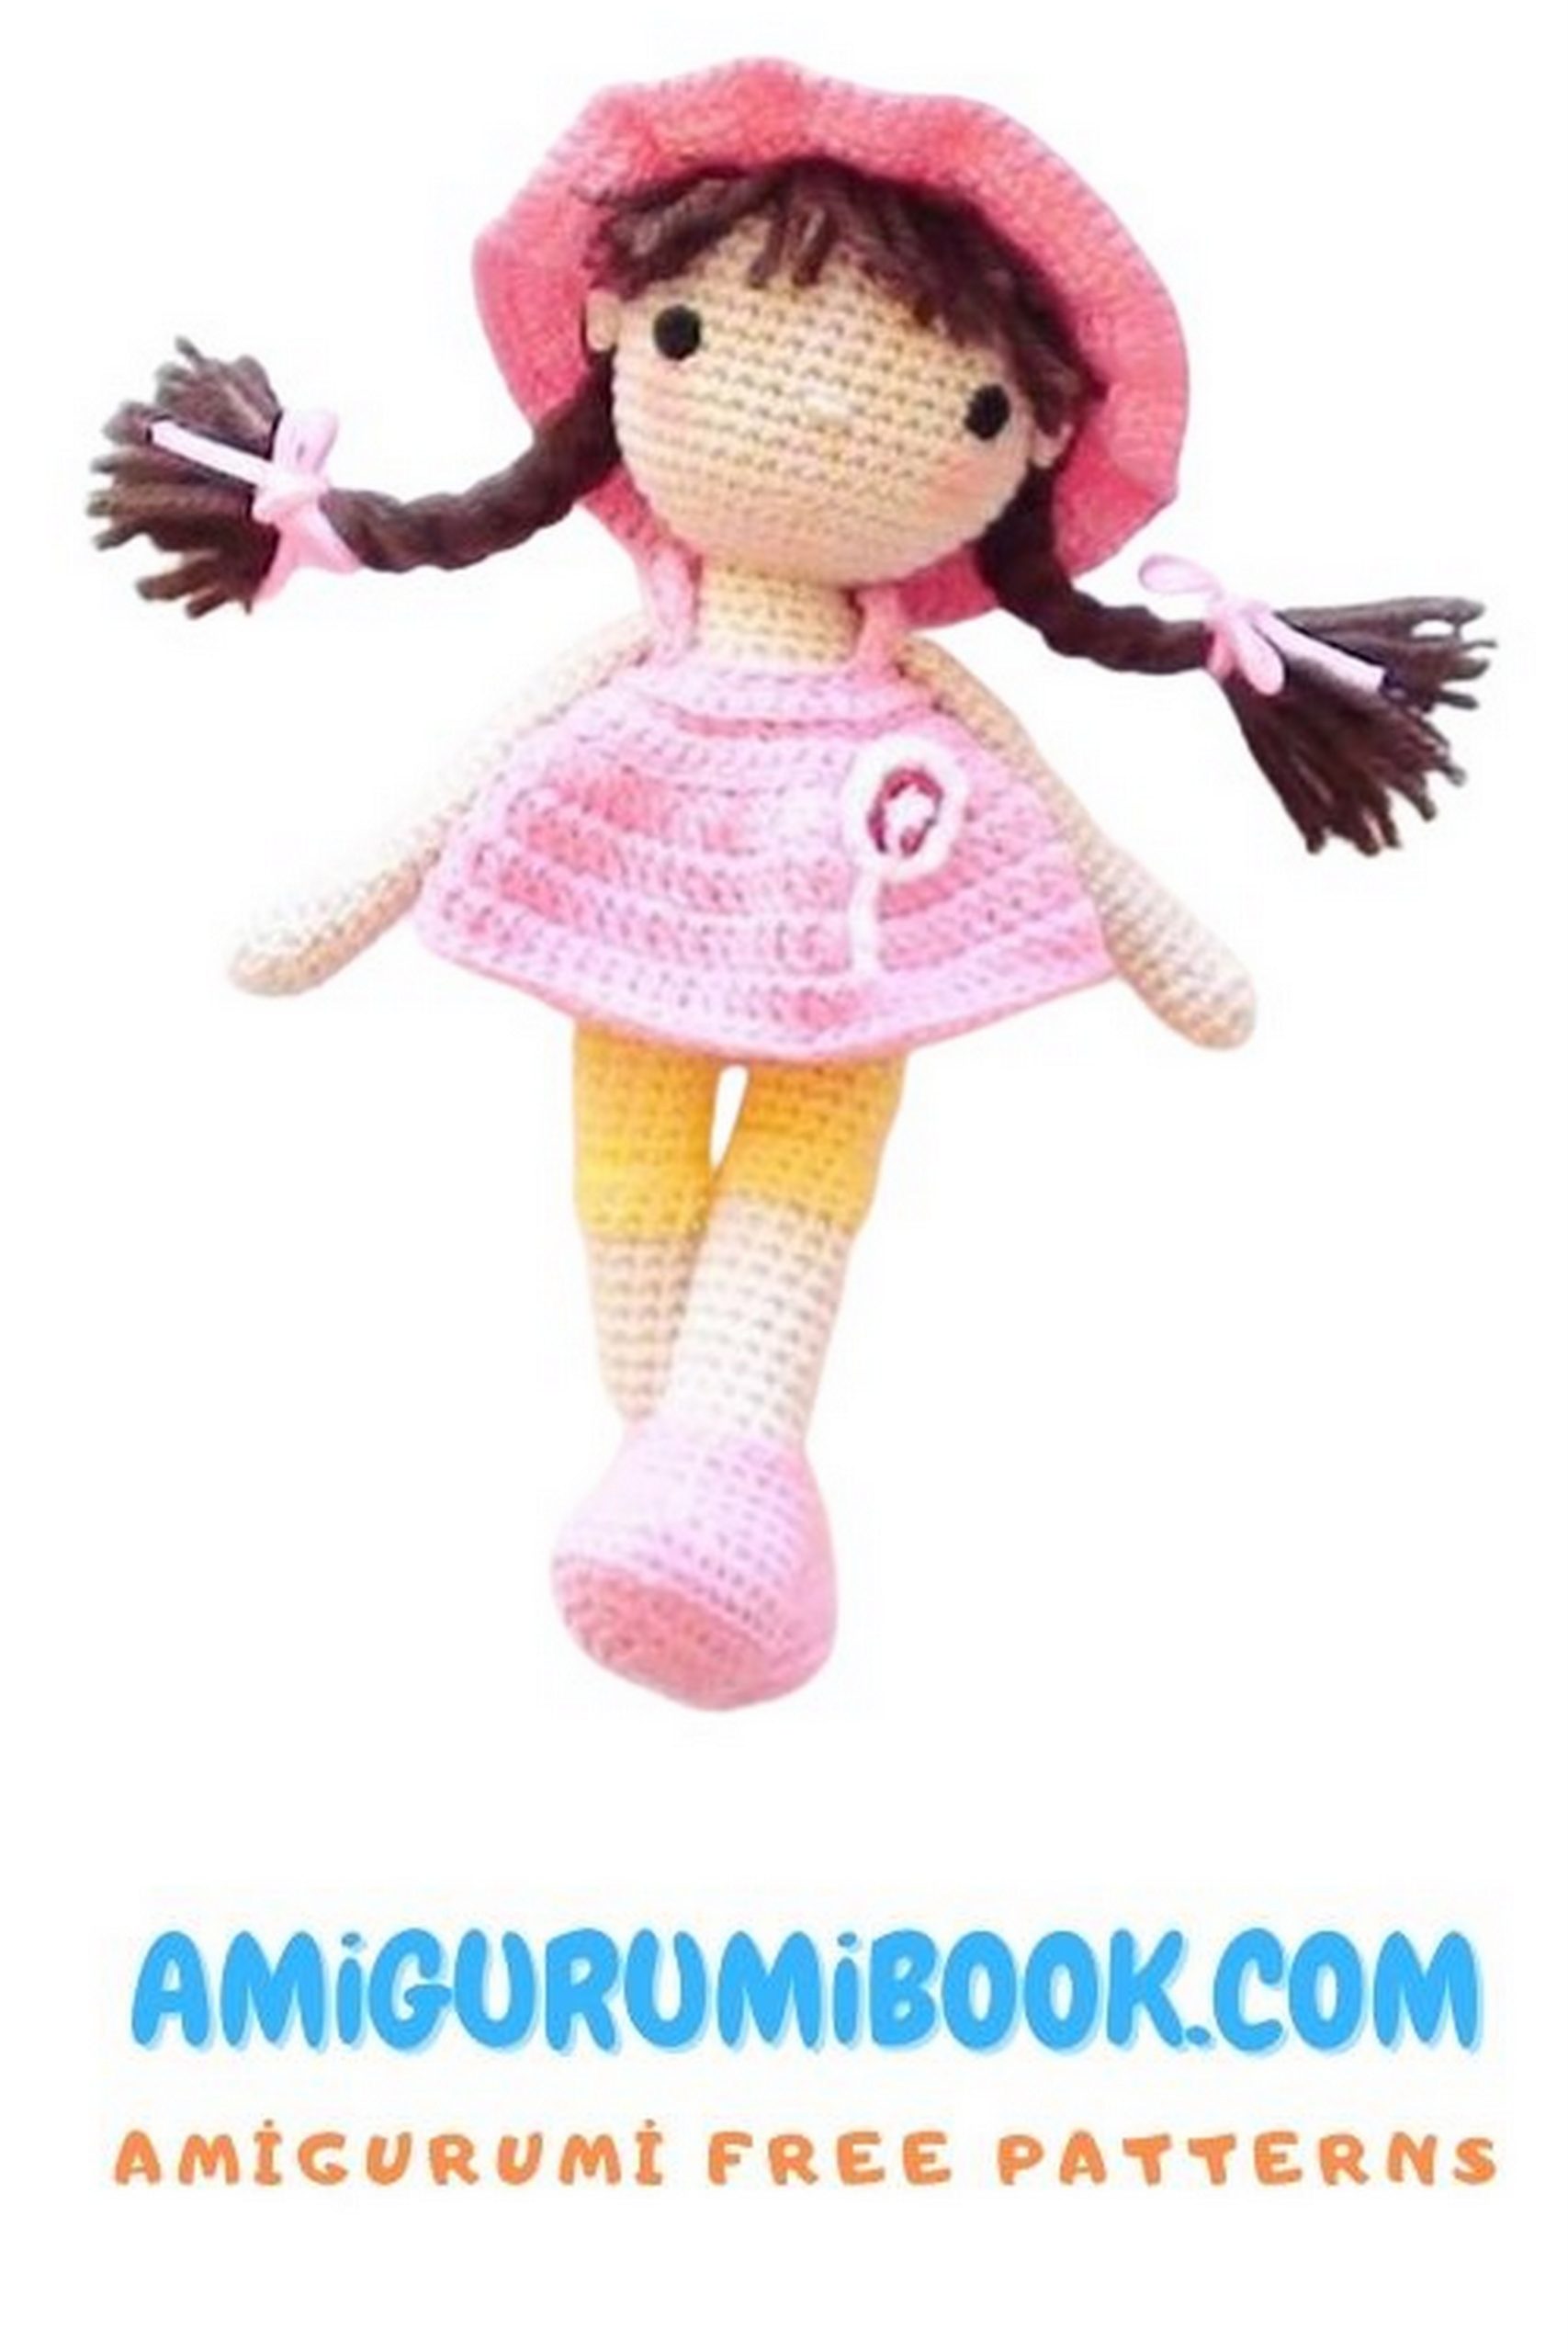
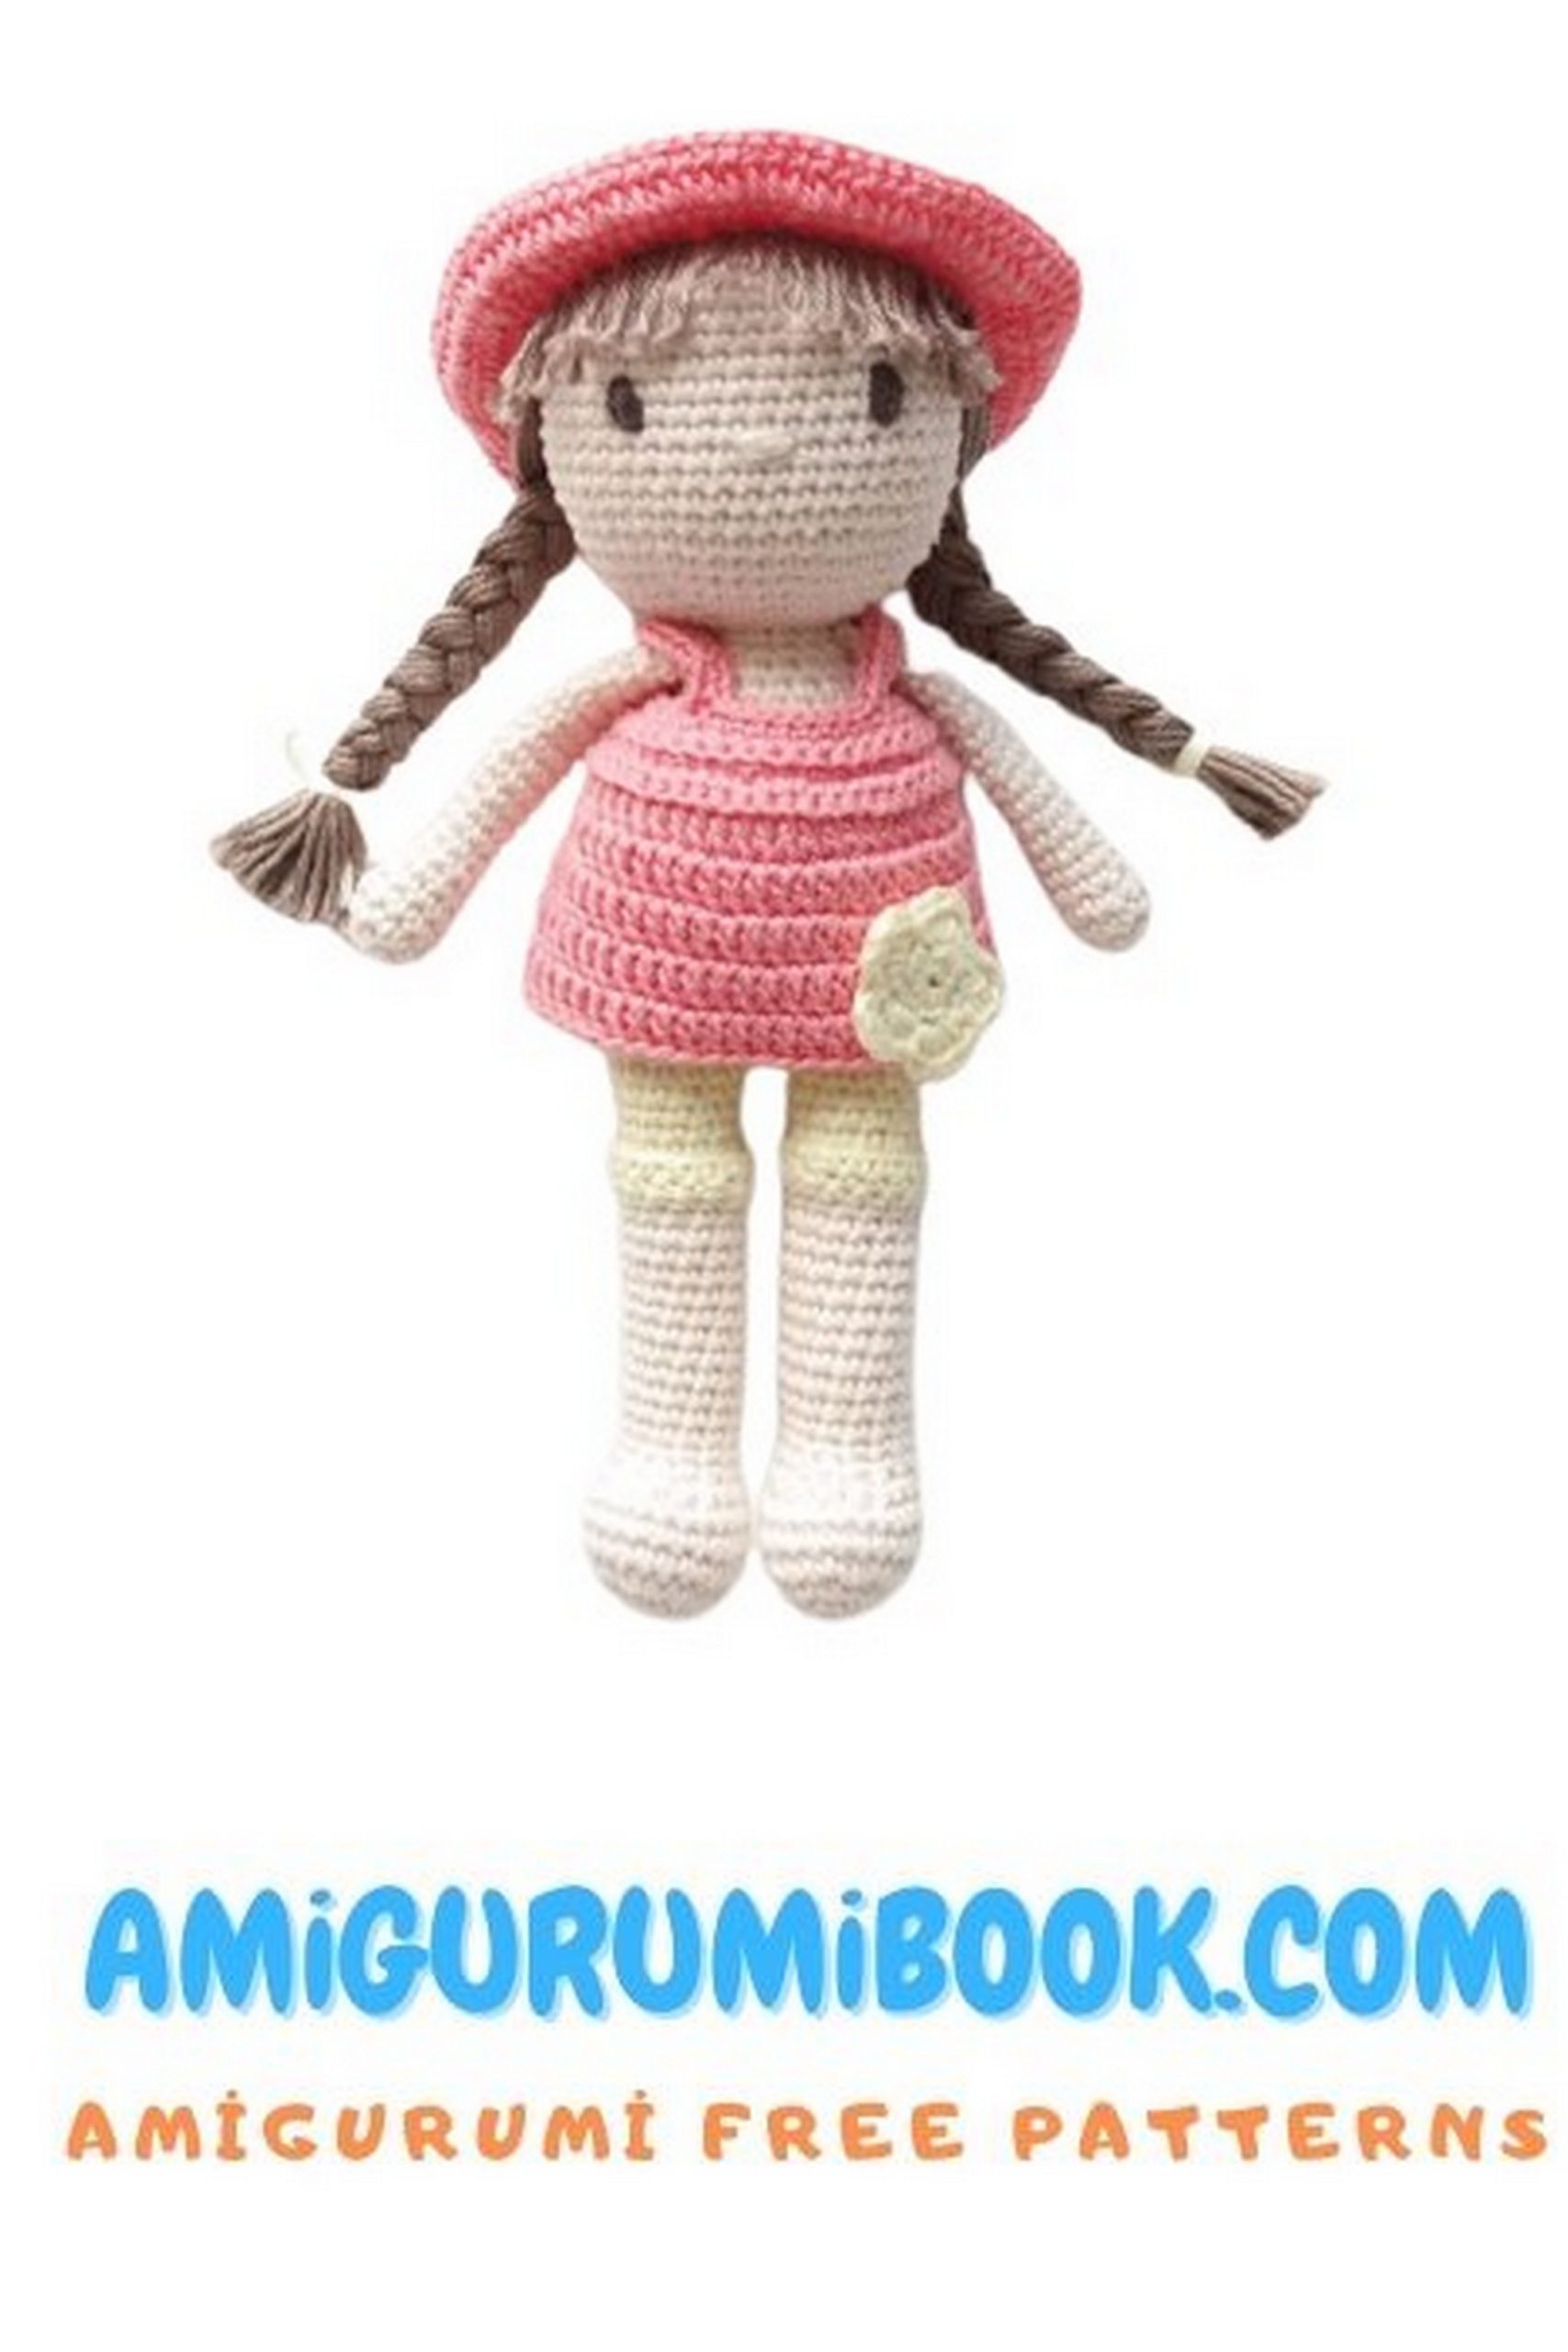
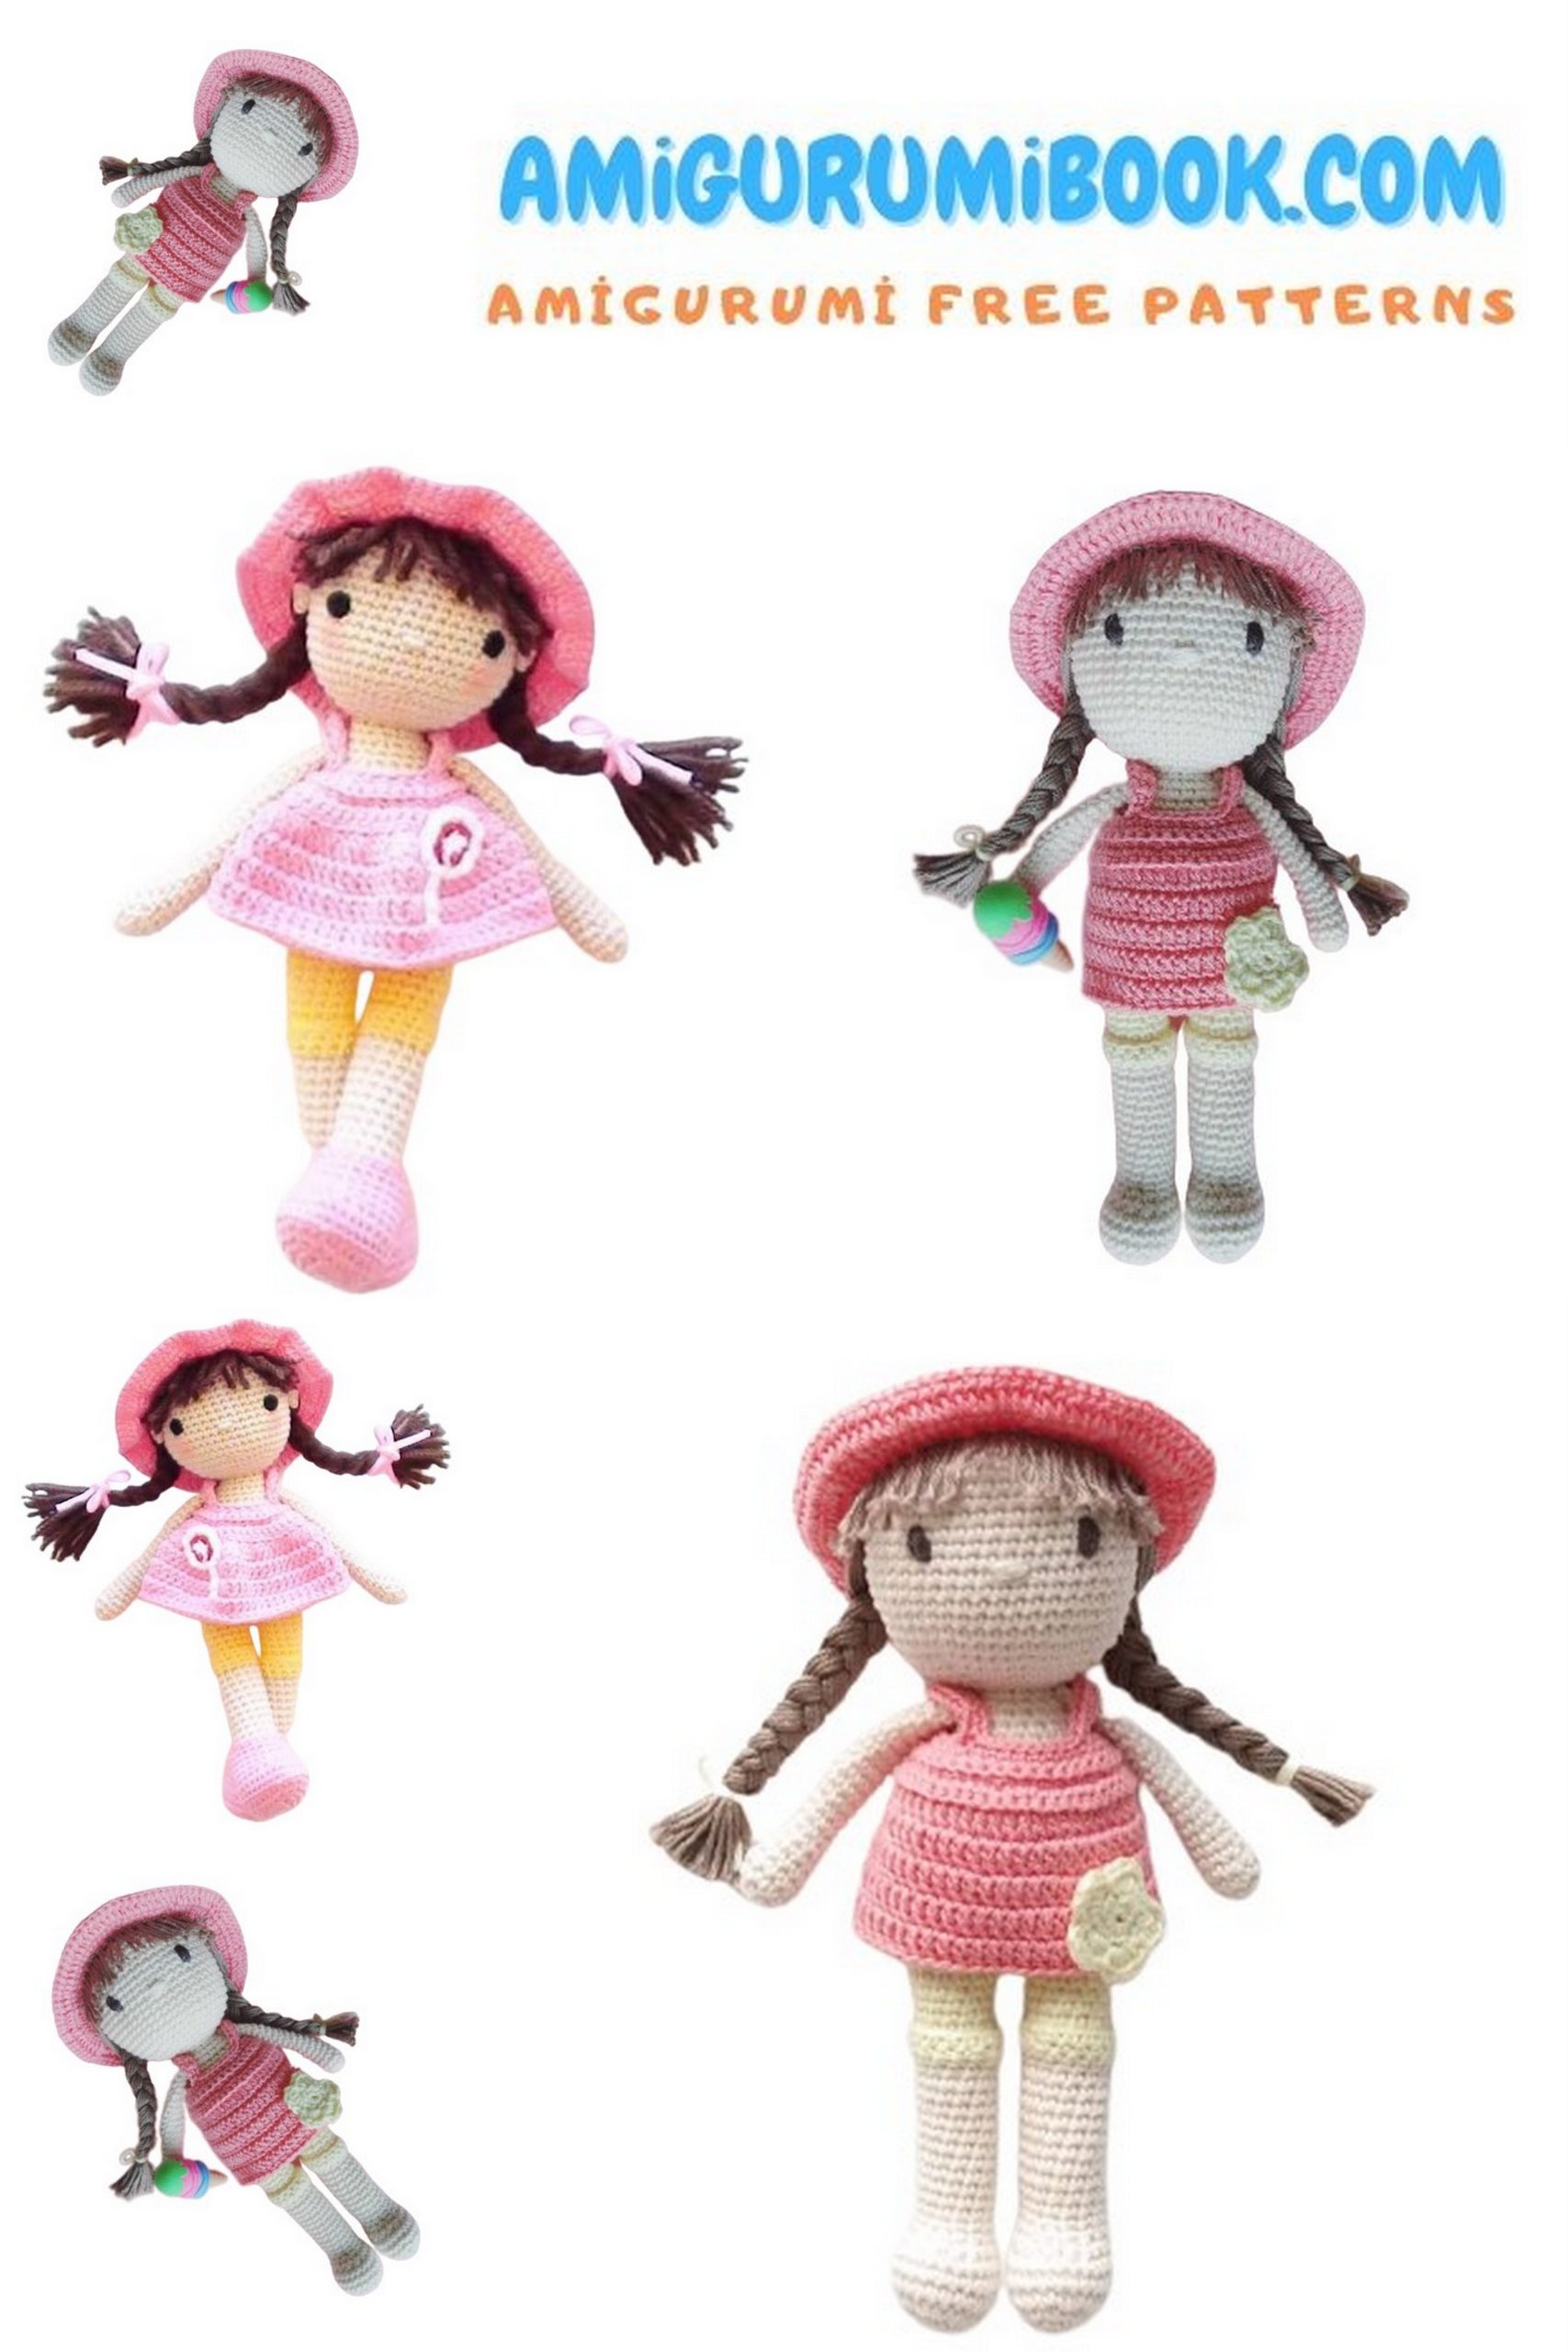
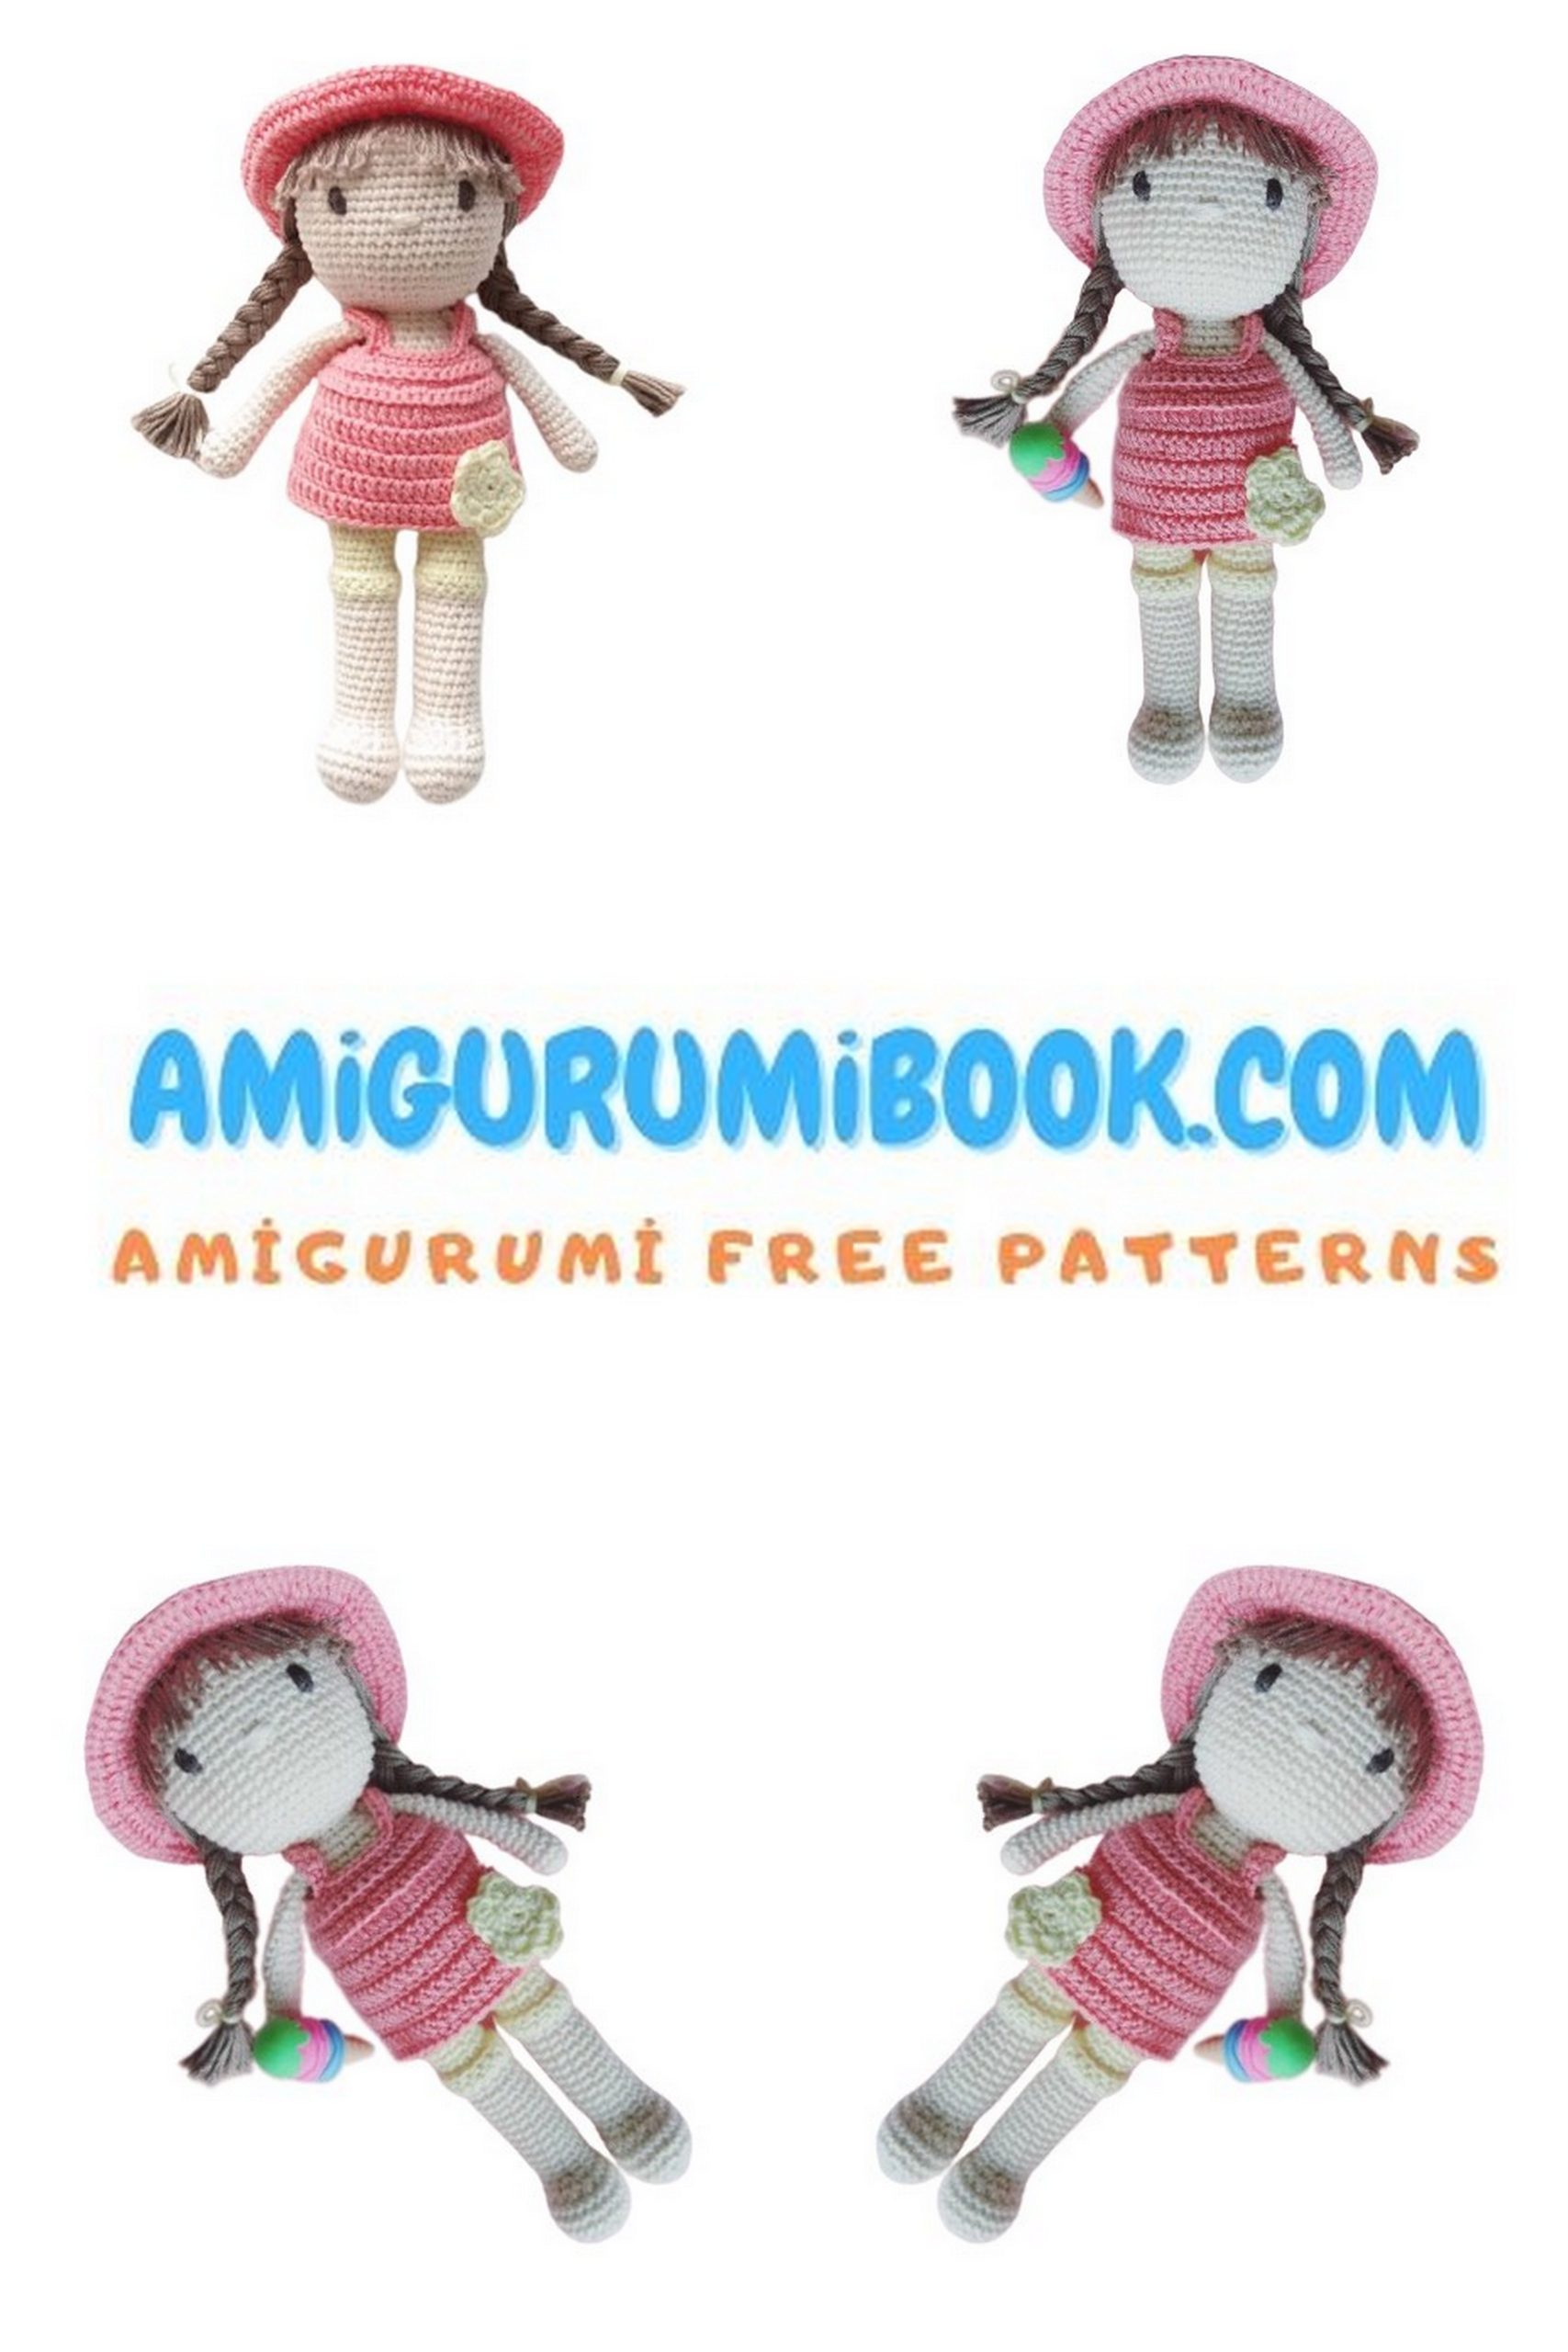
If you love crocheting adorable handmade dolls, this Candy Doll Amigurumi pattern is a perfect project to try. With her sweet design, cute outfit, and charming details, this lovely crochet doll will make a beautiful addition to your amigurumi collection.
This free candy doll crochet pattern includes step-by-step instructions to help you create a delightful handmade doll. Whether you’re an experienced crocheter or just starting your amigurumi journey, this pattern is easy to follow and fun to make.
Create your own cute candy doll and add a touch of sweetness to your crochet projects with this charming amigurumi design.
If you want to access 1000+ free amigurumi patterns, you can download our application from this link!
Materials and Tools
Yarn
• Cotton yarn in desired colors
Hook
• 3.0 mm crochet hook (or a hook suitable for your yarn)
Other Materials
• Fiberfill stuffing
• Safety eyes, half beads, or embroidery for the eyes
• Embroidery thread
• Yarn needle
• Scissors
• Stitch marker
Finished Size
• The finished doll measures approximately 24 cm
Abbreviations
CH – Chain stitch
CH-SP – Chain space
SC – Single crochet
HSC – Half single crochet
HDC – Half double crochet
DC – Double crochet
INC – Increase (2 stitches in one stitch)
DEC – Decrease (single crochet two stitches together)
FLO – Front loop only
BLO – Back loop only
Notes
• Crochet in a spiral, without joining rounds unless stated otherwise.
• Do not turn the work unless the pattern specifically says so.
• Work stitches through both loops unless indicated otherwise.

Legs (2 pieces):
Begin crocheting with beige yarn, make 6 CH.
1st Row: 1 SC in the second loop from the hook, 3 SC, in the last loop 3 SC, continue on the other side of the chain with 3 SC, inc = 12.
2nd Row: Inc, 3 SC, 3 inc, 3 SC, 2 inc = 18.
3rd Row: Inc, 5 SC, 4 inc, 7 SC, inc = 24.
4th-6th Rows: SC in each stitch = 24 (3 rows).
7th Row: 7 SC, 5 dec, 7 SC = 19.
8th Row: 6 SC, 3 dec, 5 SC, dec = 15.
9th Row: 7 SC, dec, 6 SC = 14.
Stuff the resulting piece.
10th-20th Rows: SC in each stitch = 14 (11 rows).
Switch to yellow yarn (for pants).
21st Row: Work SC in the back loops of each stitch = 14.
22nd-28th Rows: Work SC through both loops in each stitch = 14 (7 rows).
29th Row: 8 SC, SL-ST.
Secure the thread, cut it, and stuff the leg.
The right leg is also crocheted from rows 1 to 28. Do not cut the thread; continue crocheting the body.
Ruffle on the pants:
Without turning Juniper upside down, attach to the 21st row of the pants, worked in the back loops. Attach to the loop to the right of the center of the back, crochet in yellow:
1st Row: Work SC in the front loops of each stitch = 14.
2nd-3rd Rows: Work SC through both loops in each stitch = 14, SL-ST (2 rows).
Secure the thread, cut it, and hide it inside the piece.

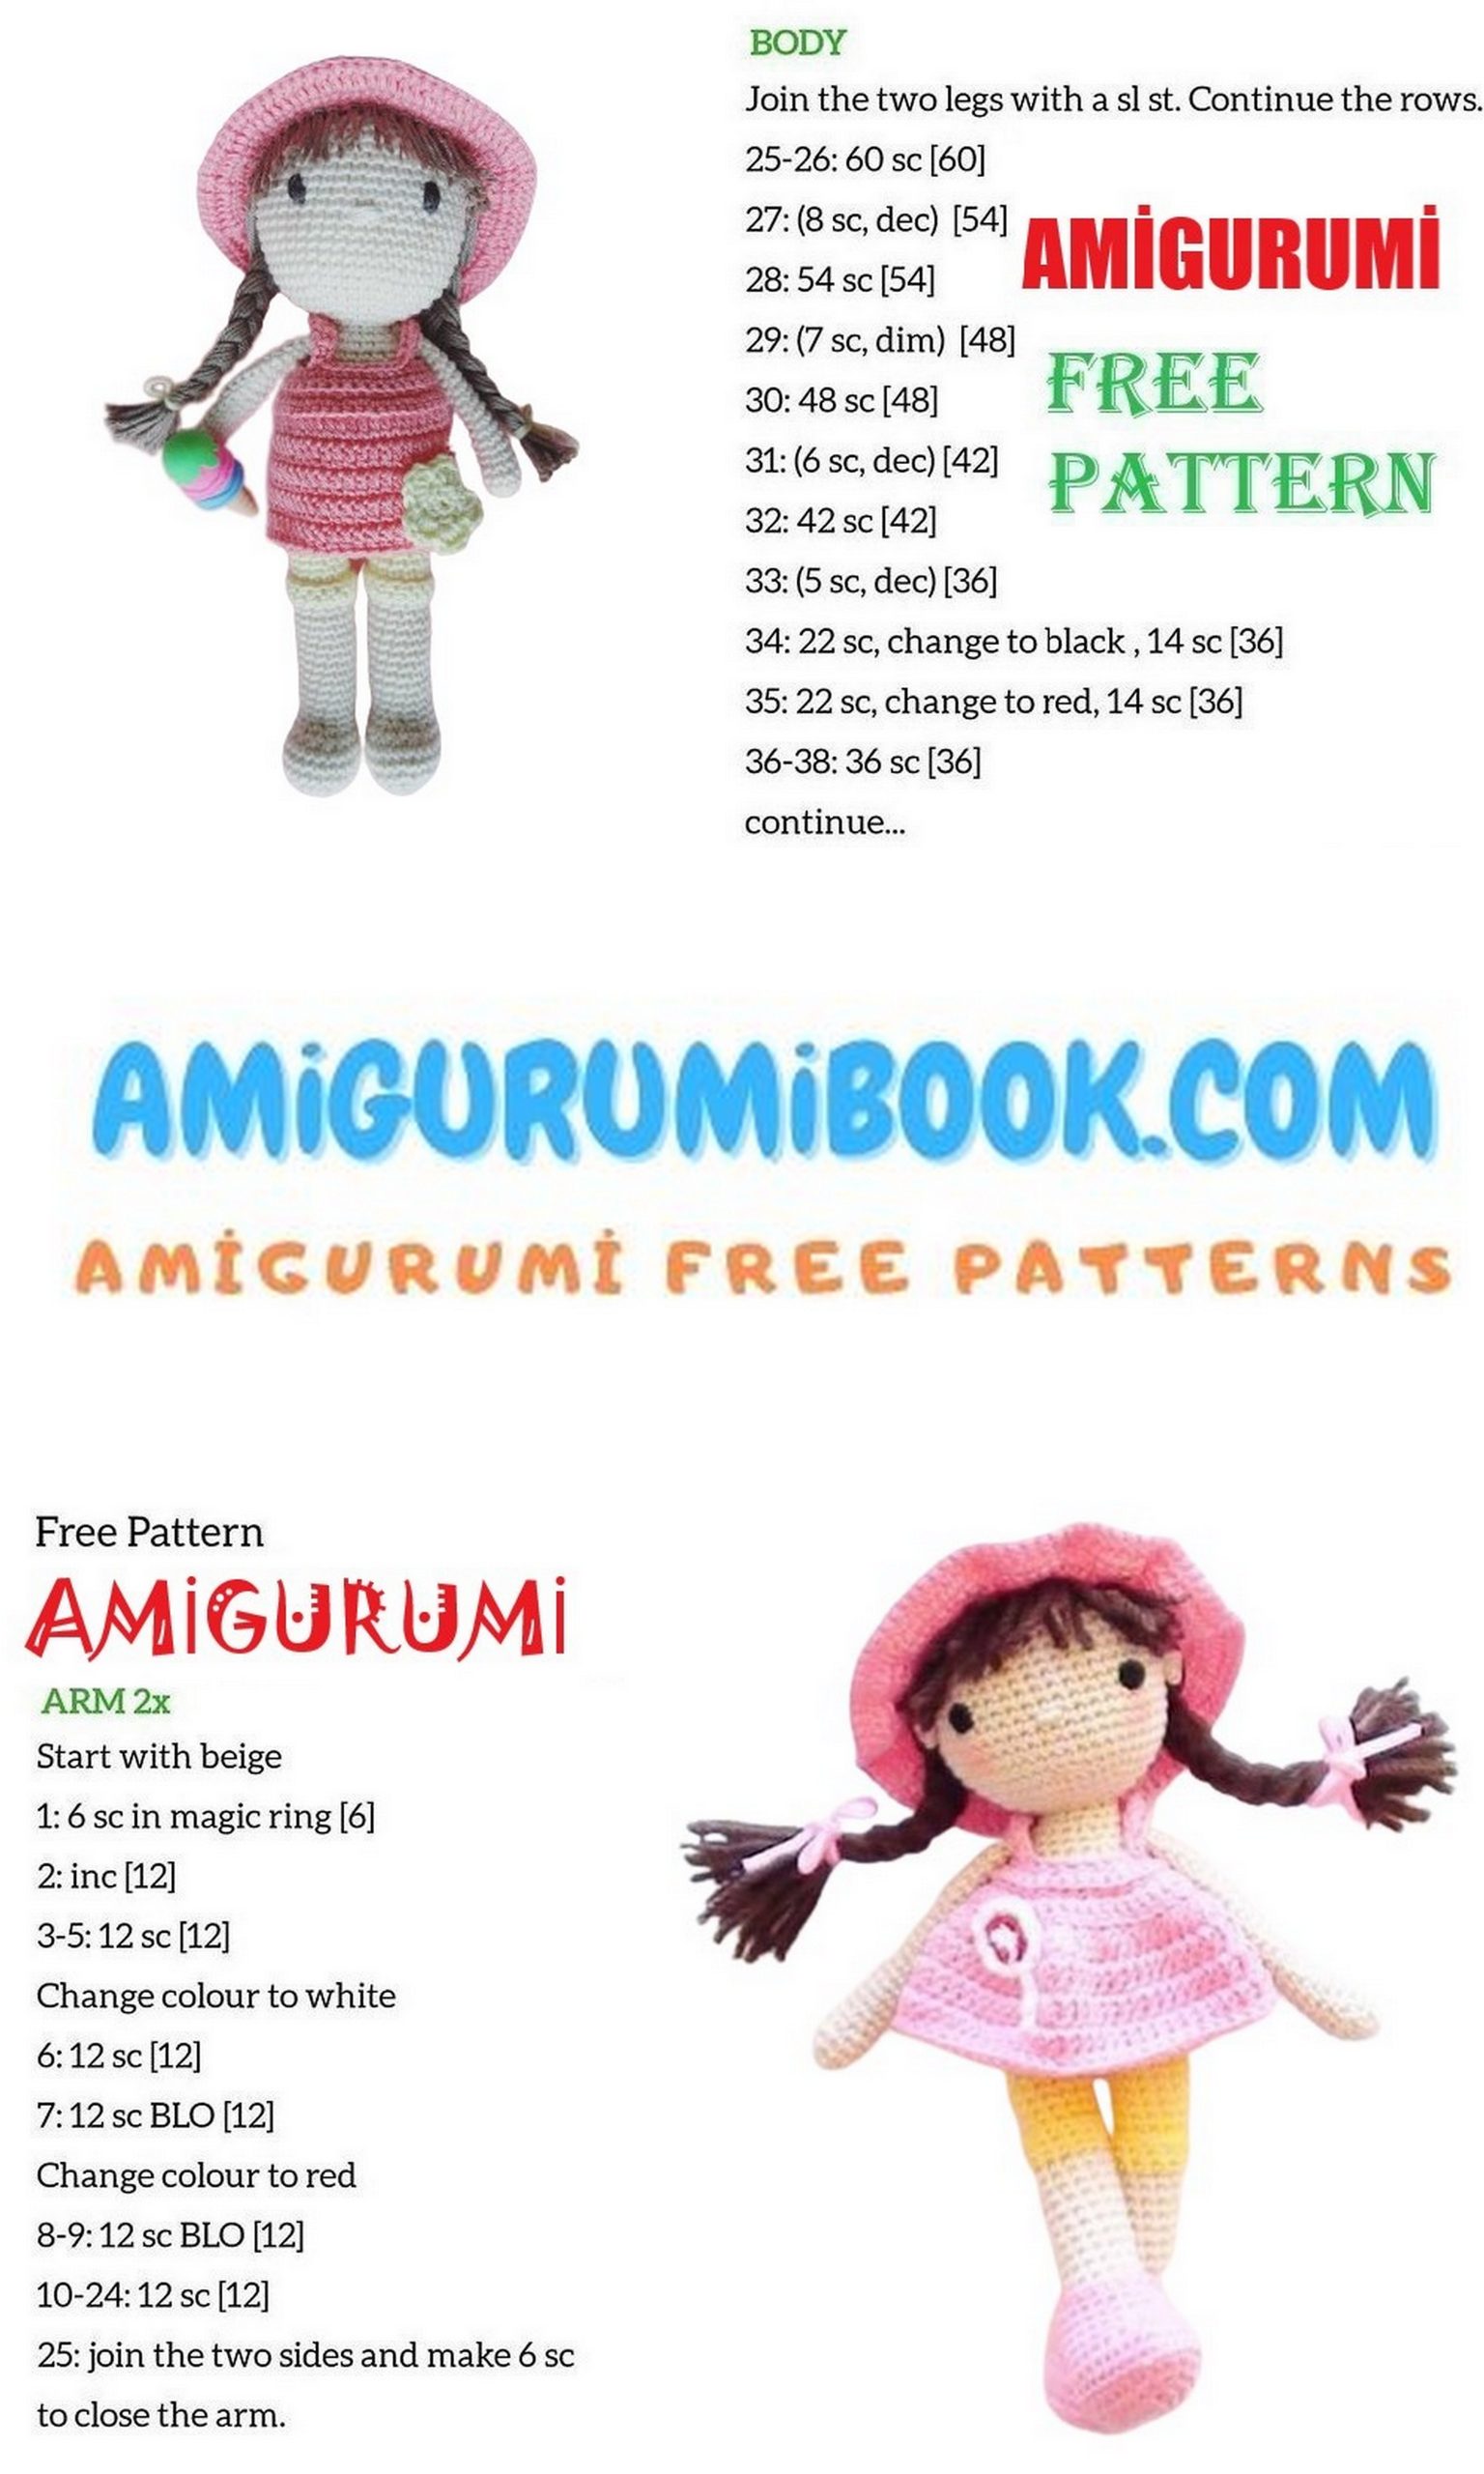
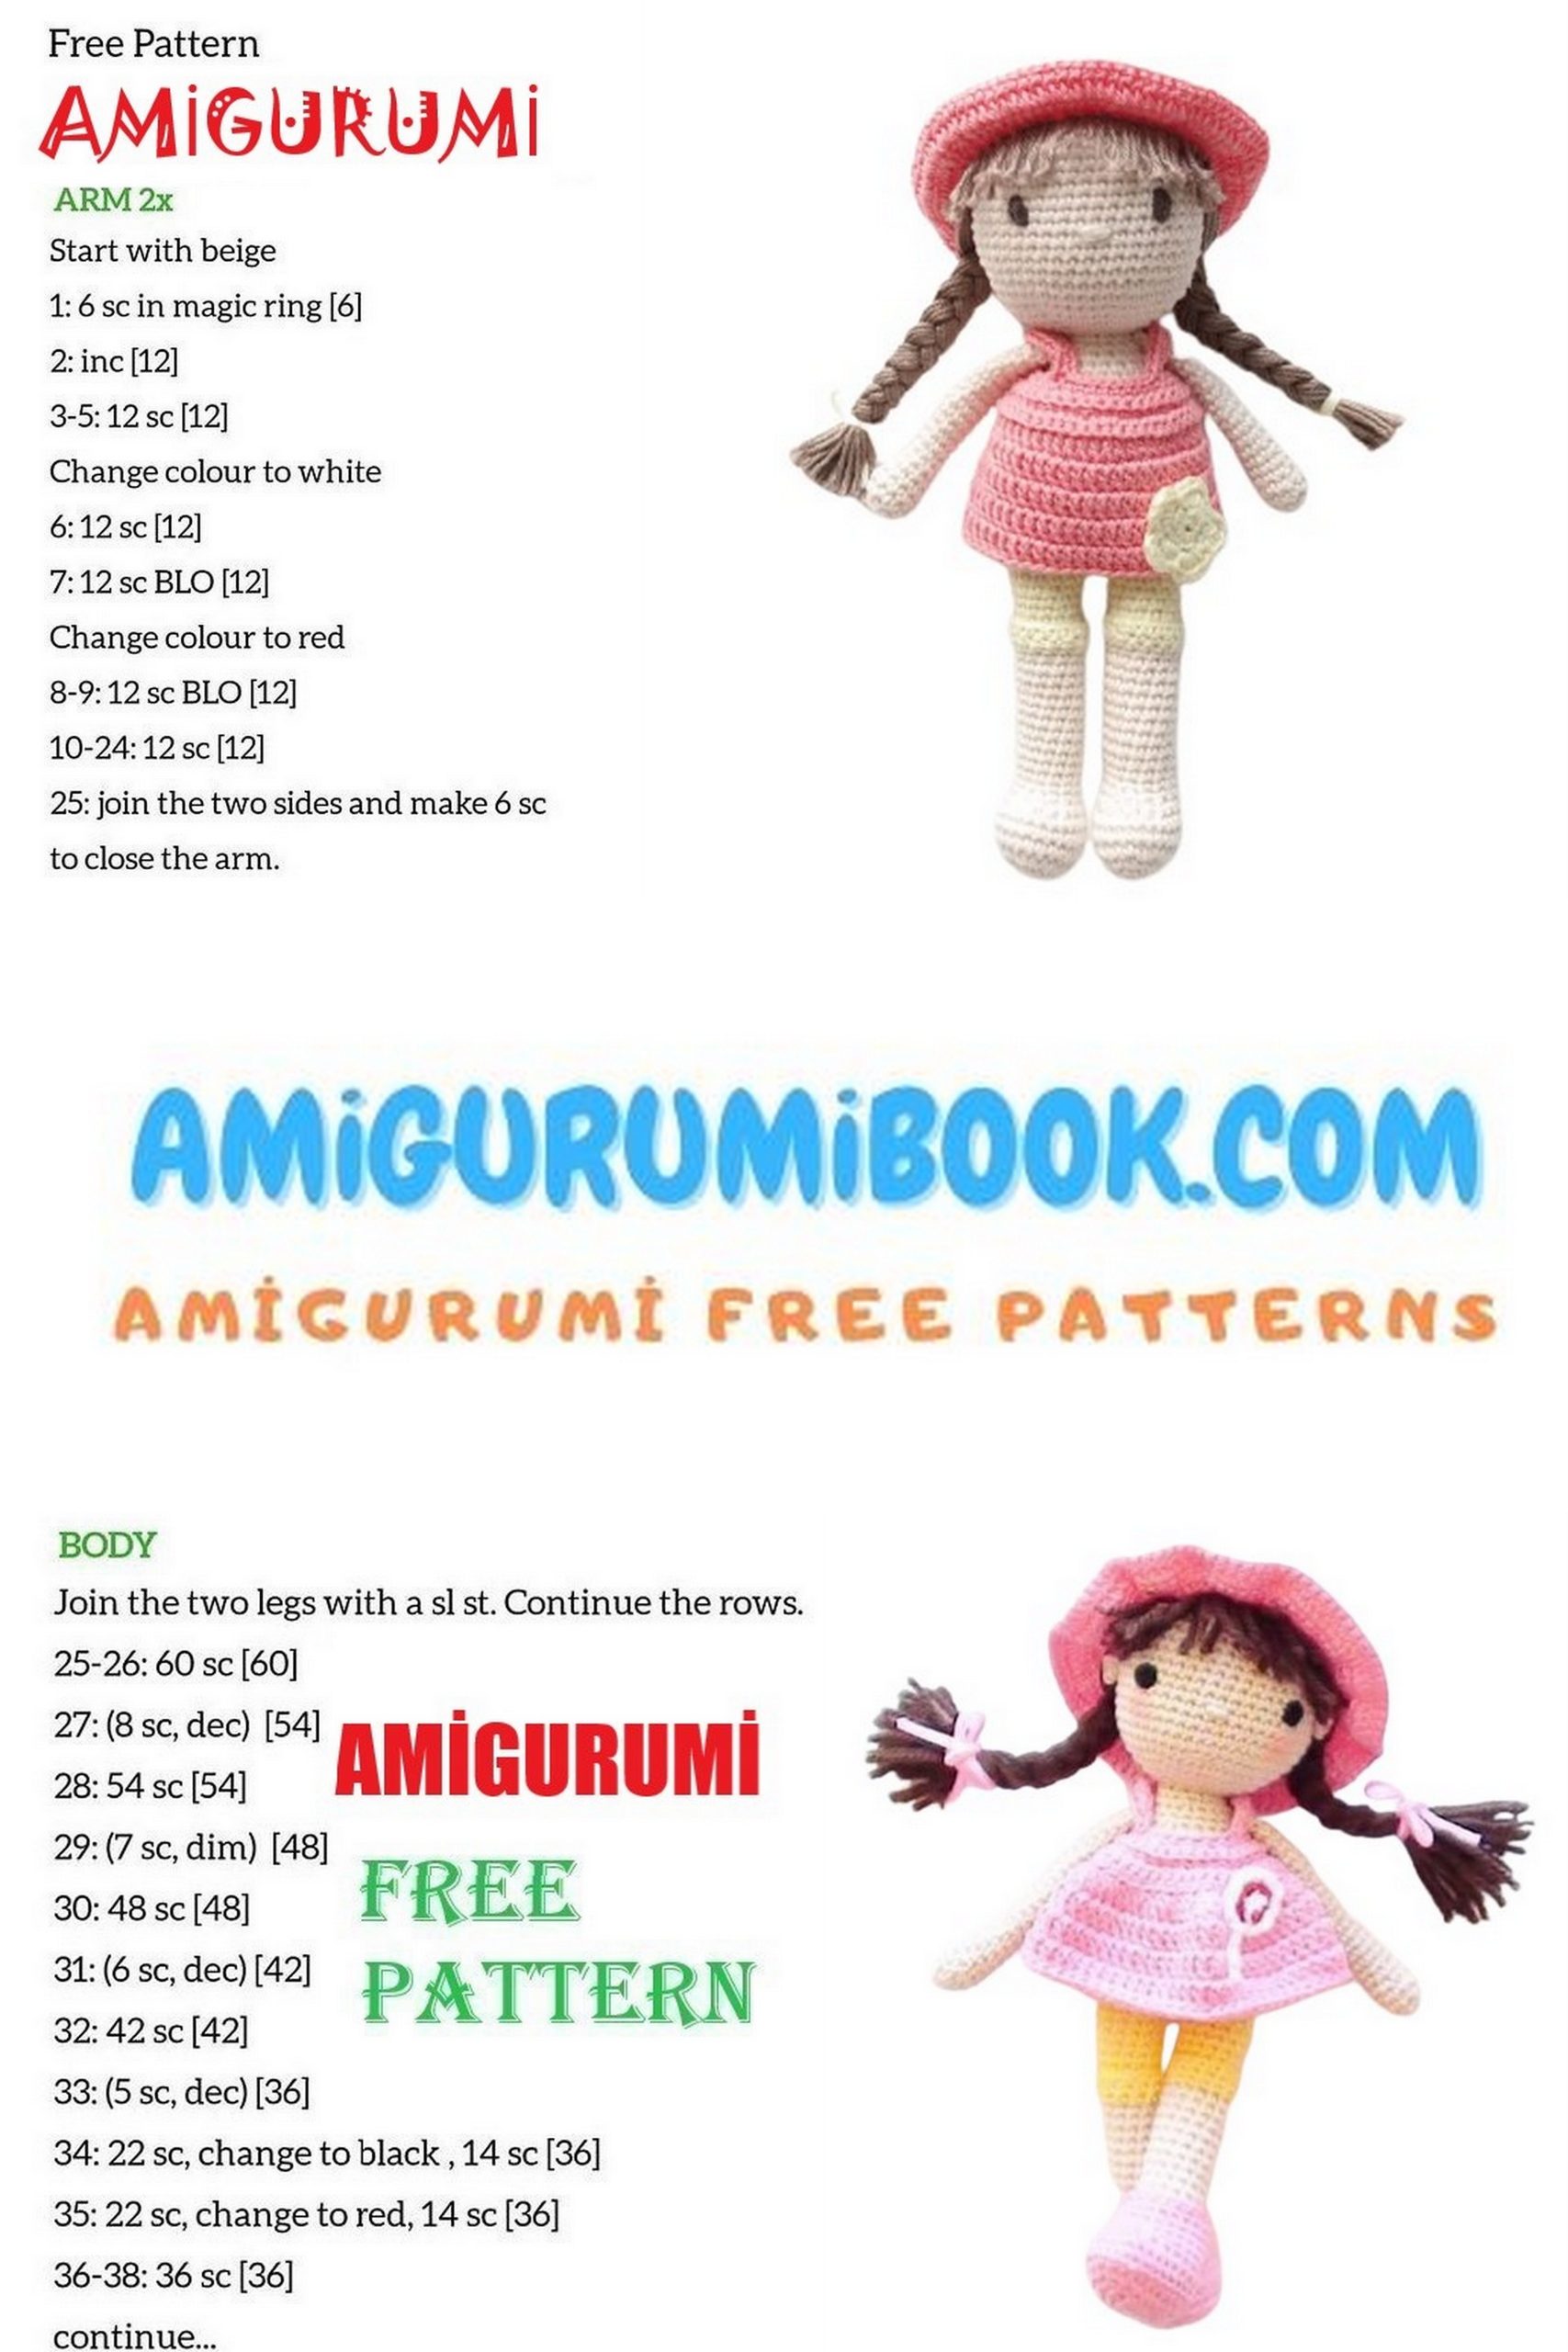
Body:
Begin with yellow yarn (or any color).
Attach the right leg to the left one using 2 CH, attaching at the point where the connecting stitch was made on the left leg.
29th Row: 14 SC, 2 SC in chain loops, 14 SC, 2 SC in chain loops = 32.
30th-35th Rows: SC in each stitch = 32 (6 rows).
Switch yarn to beige.
36th Row: Work SC through the back loops of each stitch = 32.
37th-40th Rows: Work SC through both loops in each stitch = 14 (4 rows).
41st Row: (6 SC, dec)*4 = 28.
42nd Row: SC in each stitch = 28.
43rd Row: (5 SC, dec)*4 = 24.
Continue stuffing the torso.
44th Row: (4 SC, dec)*4 = 20.
45th Row: SC in each stitch = 20.
46th Row: (3 SC, dec)*4 = 16.
Continue stuffing the piece.
48th Row: (2 SC, dec)*4 = 12.
49th Row: SC in each stitch = 12.
Stuff the remaining torso with stuffing and start crocheting the head without cutting the thread.
Head:
Continue crocheting with beige yarn.
1st Row: (Inc)*12 = 24.
2nd Row: (2 SC, inc)*8 = 32.
3rd Row: (3 SC, inc)*8 = 40.
4th Row: (4 SC, inc)*8 = 48.
5th-19th Rows: SC in each stitch = 48 (15 rows).
At this point, you can give your Juniper doll some individuality and start creating a unique look. Insert safety eyes or embroider them between rows 10 and 11, with a gap of 9-10 stitches between them. Embroider the nose, mouth, and eyebrows, and add eyelashes if desired.
Ears (2 pieces):
Crochet with beige yarn.
Start with 2 CH, then make 4 SC in the second loop from the hook, SL-ST. Attach the ears, leaving a 4-stitch gap from the eyes.
Continue crocheting the head.
20th Row: (4 SC, dec)*8 = 40.
21st Row: (3 SC, dec)*8 = 32.
22nd Row: (2 SC, dec)*8 = 24.
23rd Row: (1 SC, dec)*8 = 16.
24th Row: (dec)*8 = 8, SL-ST.
Cut the thread, pull it through the remaining hole, and hide it.
Arms (2 pieces):
Crochet with beige yarn in a spiral.
1st Row: 4 SC in the Magic Ring (MR).
2nd Row: (Inc)*4 = 8.
3rd Row: (1 SC, inc)*4 = 12.
4th Row: SC in each stitch = 12.
5th Row: 4 SC, dec, 4 SC, dec = 10.
Stuff the arms up to this point, and then continue crocheting without stuffing.
6th-24th Rows: SC in each stitch = 10 (19 rows).
25th Row: (dec)*5 = 5.
26th Row: 1 SC, CH. Fold the piece and crochet 2 SC through both sides, secure the thread, leave enough length for sewing.
Dress:
Crochet with pink or any other color.
1st Row: Start with 25 CH, crochet in turning rows.
2nd Row: From the second loop from the hook, work 23 SC, CH-SP, turn.
3rd Row: (SC, inc)*12, CH, turn = 36.
4th Row: In the back loops only, SC in each stitch, CH-SP, turn = 36.
5th Row: Through both loops (2 SC, inc)*12, CH-SP, turn.
6th Row: SC in each stitch = 47, join into a ring with SL-ST.
Continue crocheting in a spiral, with the first stitch of the row being SL-ST.
7th Row: In the back loops, 2 CH-SP (DC, inc in DC)*48 (to the end) = 96.
8th-10th Rows: Through both loops, 2 CH-SP, DC in each stitch of the previous row, join rows with SL-ST = 70 (3 rows).
11th Row: Edge with HSC in a circle, cut the yarn and hide it inside the piece.
Straps:
Attach to the dress using HSC, starting 3 stitches from the center of the back. Make 9 CH, count 5 stitches and attach to the dress again using HSC. Make CH and crochet 8 SC along the chain backward. Attach using HSC, secure the thread, and hide it inside the piece. Crochet the second strap in the same way.
Candy:
Crochet with red and white yarn.
1st Row: With white yarn: 2 CH, in the second loop from the hook, 4 SC (or 4 SC in MR) = 4.
2nd Row: With red yarn: (inc)*4 = 8.
3rd Row: With white yarn: (SC, inc)*4 = 12, SL-ST in the next loop, make 6 CH. Secure the thread, cut it, and sew the candy to the dress.
Shoes:
Crochet with pink or a color matching the dress.
Start with a chain of 6 CH.
1st Row: SC in the second loop from the hook, 3 SC, 3 SC in the last loop, continue on the other side of the chain with 3 SC, inc = 12, join rows with SL-ST (now it’s the first stitch of the row), CH-SP.
2nd Row: Inc, 3 SC, 3 inc, 3 SC, 2 inc = 18, SL-ST, CH-SP.
3rd Row: Inc, 5 SC, 4 inc, 7 SC, inc = 24, SL-ST, CH-SP.
4th Row: Inc, 9 SC, 2 inc, 11 SC, inc = 28, SL-ST, CH-SP.
5th Row: Through the back loops, SC in each stitch = 28, SL-ST, CH-SP.
6th Row: Through both loops, SC in each stitch = 28, SL-ST, CH-SP.
7th Row: 8 SC, 5 dec, 8 SC, dec = 22, SL-ST, CH-SP.
8th Row: 9 SC, 2 dec, 9 SC = 20, SL-ST, CH-SP.
9th-10th Rows: SC in each stitch = 20, SL-ST, CH-SP (2 rows).
11th Row: SC in each stitch = 20.
12th Row: Edge with HSC in a circle = 20, secure the thread, cut it, and hide it.
Hat:
Crochet with pink or a color matching the dress.
1st Row: 8 SC in MR = 8.
2nd Row: (inc)*8 = 16.
3rd Row: (SC, inc)*8 = 24.
4th Row: (2 SC, inc)*8 = 32.
5th Row: (3 SC, inc)*8 = 40.
6th Row: (4 SC, inc)*8 = 48.
7th-14th Rows: SC in each stitch = 48 (8 rows).
15th Row: Through the front loops, make 2 CH-SP, (DC, inc in DC)*48 (to the end) = 96.
16th Row: DC in each stitch of the previous row, join with SL-ST = 96.
17th Row: Edge with HSC in a circle = 96, SL-ST, secure, cut, and hide the thread.
Hair:
Crochet with brown yarn.
Cut the yarn into pieces of the desired length (you can always trim Juniper’s hair). Turn the hat upside down. Fold the thread in half and thread it through the back loops of the 14th row. Secure the yarn. Repeat this for all loops in the 14th row. Using scissors, trim the front part of the hair to form bangs. Divide the remaining part in half and braid the hair. Put the hat on Juniper’s head and sew it in place.
Assembly:
Mark the positions for Juniper’s arms and sew them on. Sew the candy onto the dress and the hat with hair onto the head if you haven’t already. Add some blush to the cheeks. Congratulations, your Juniper doll is ready! You can sell your doll, give it as a gift, or do something else, but please credit the pattern’s author.