
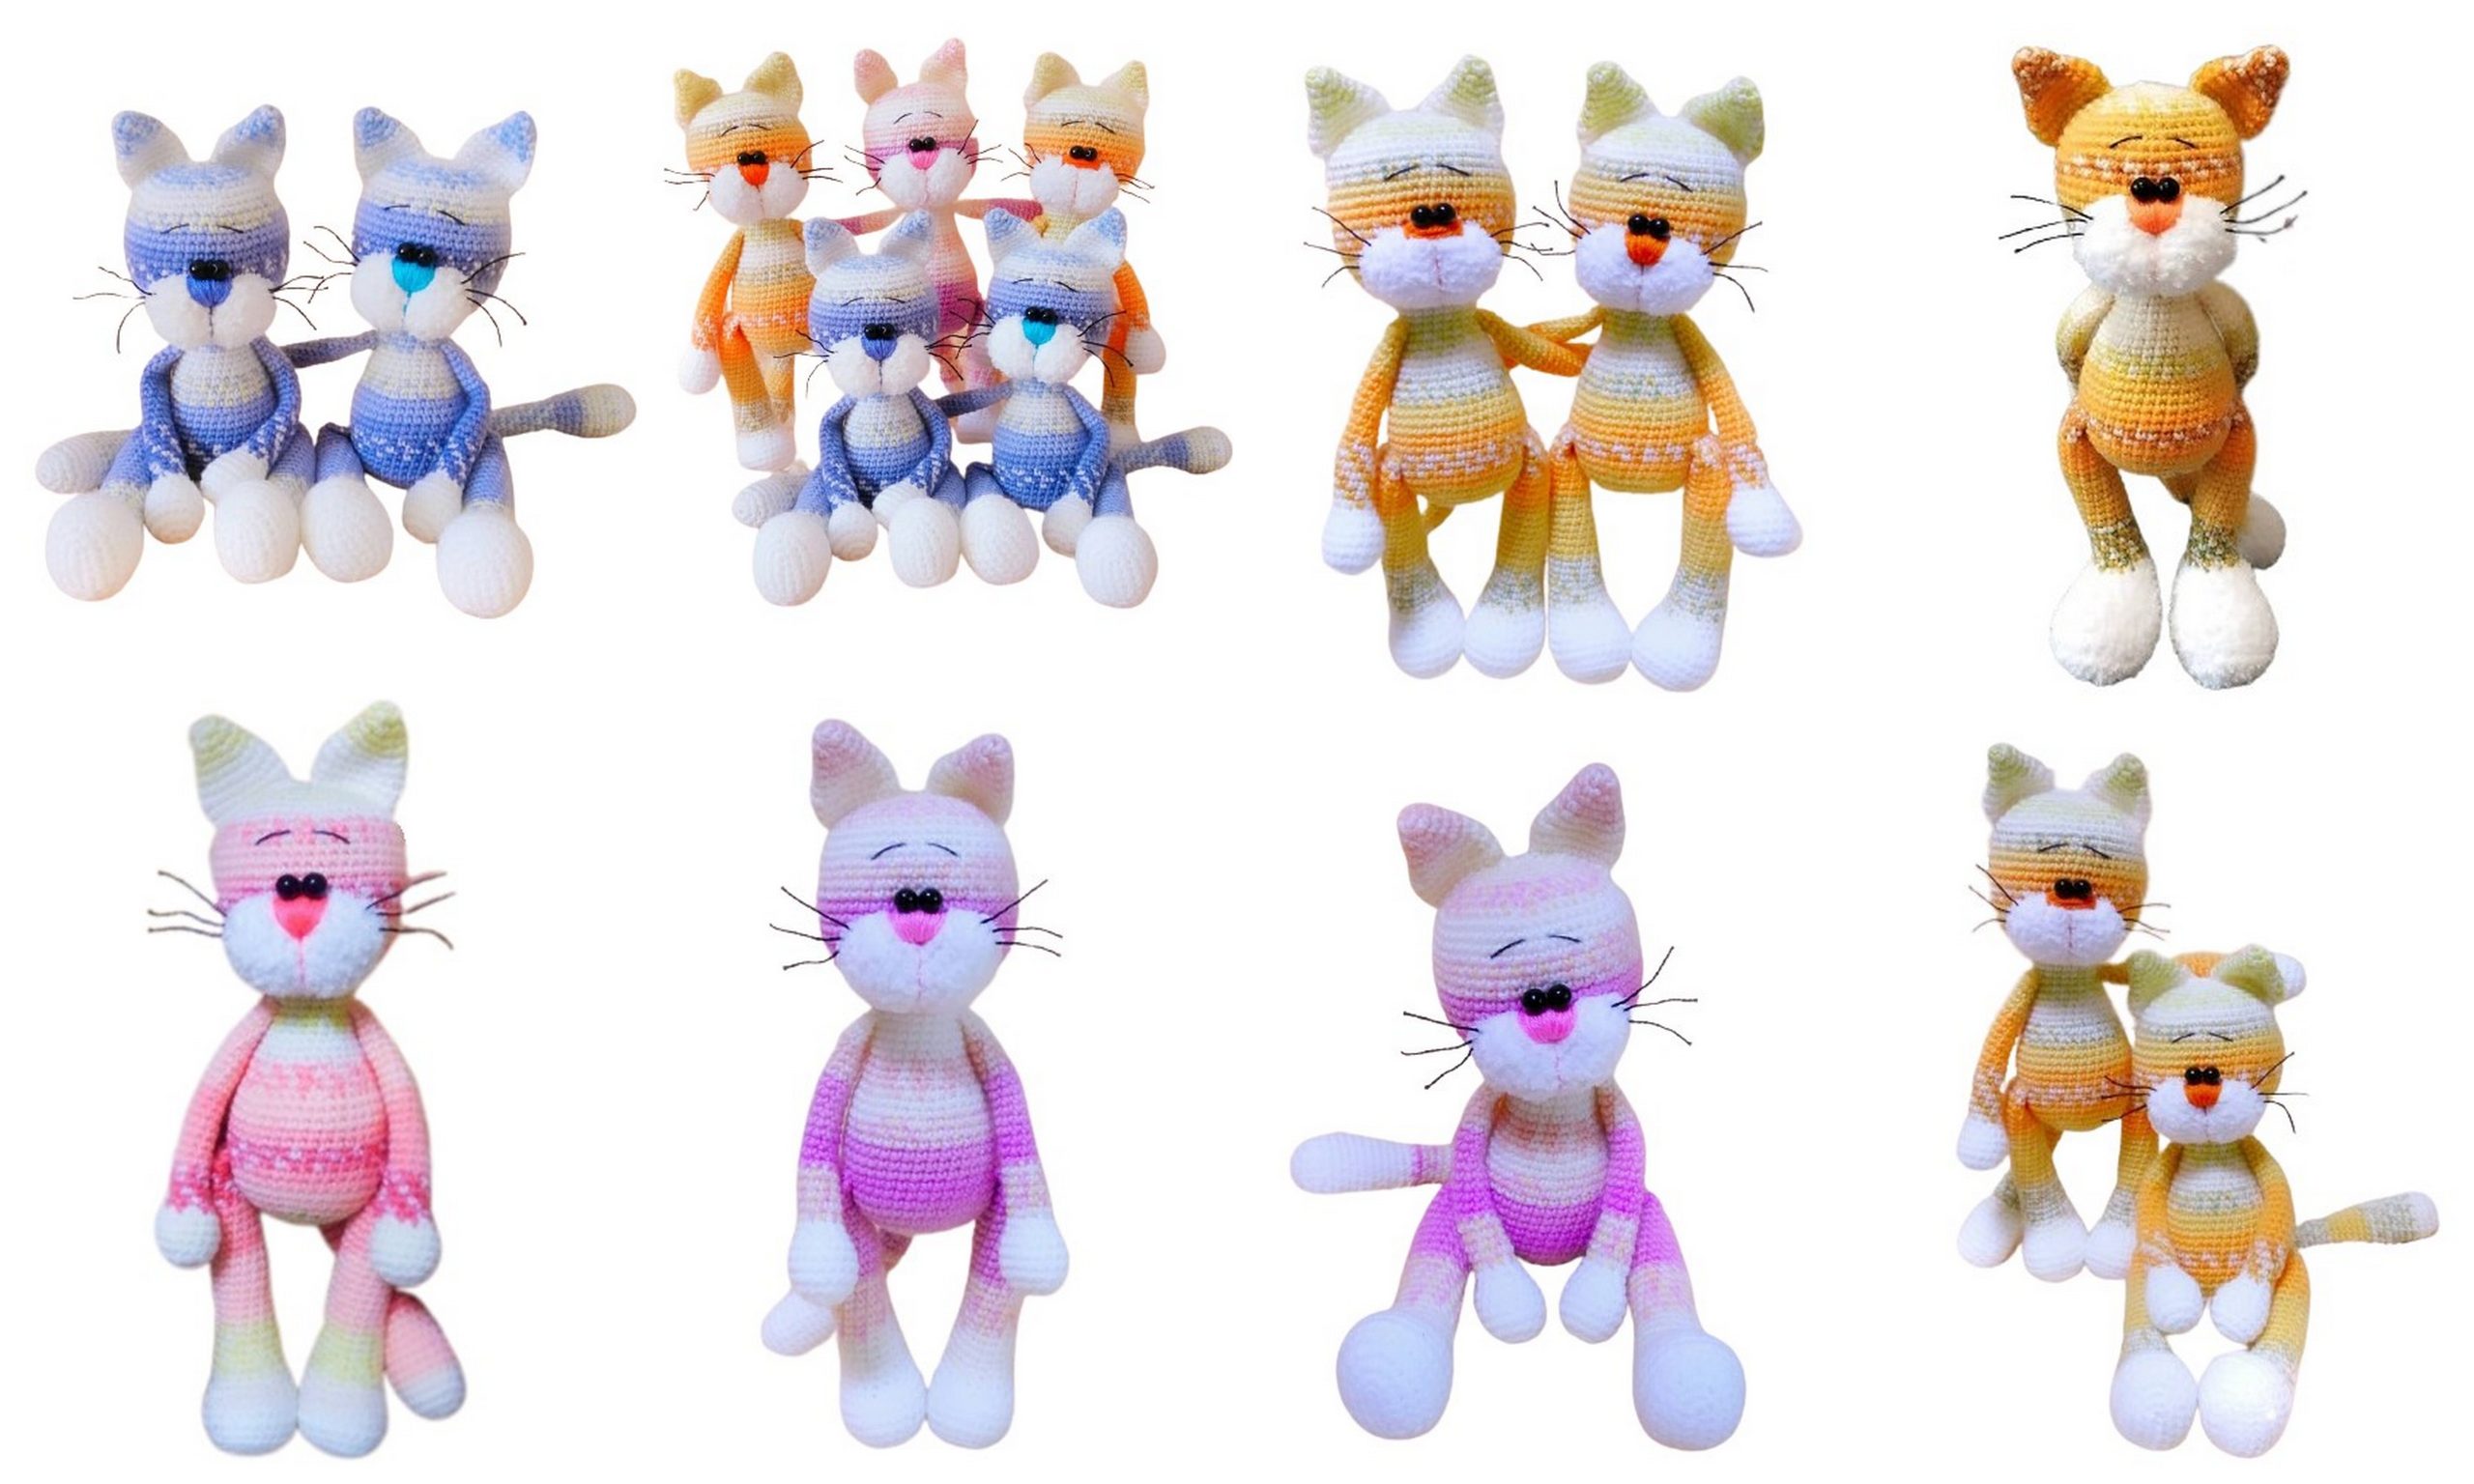
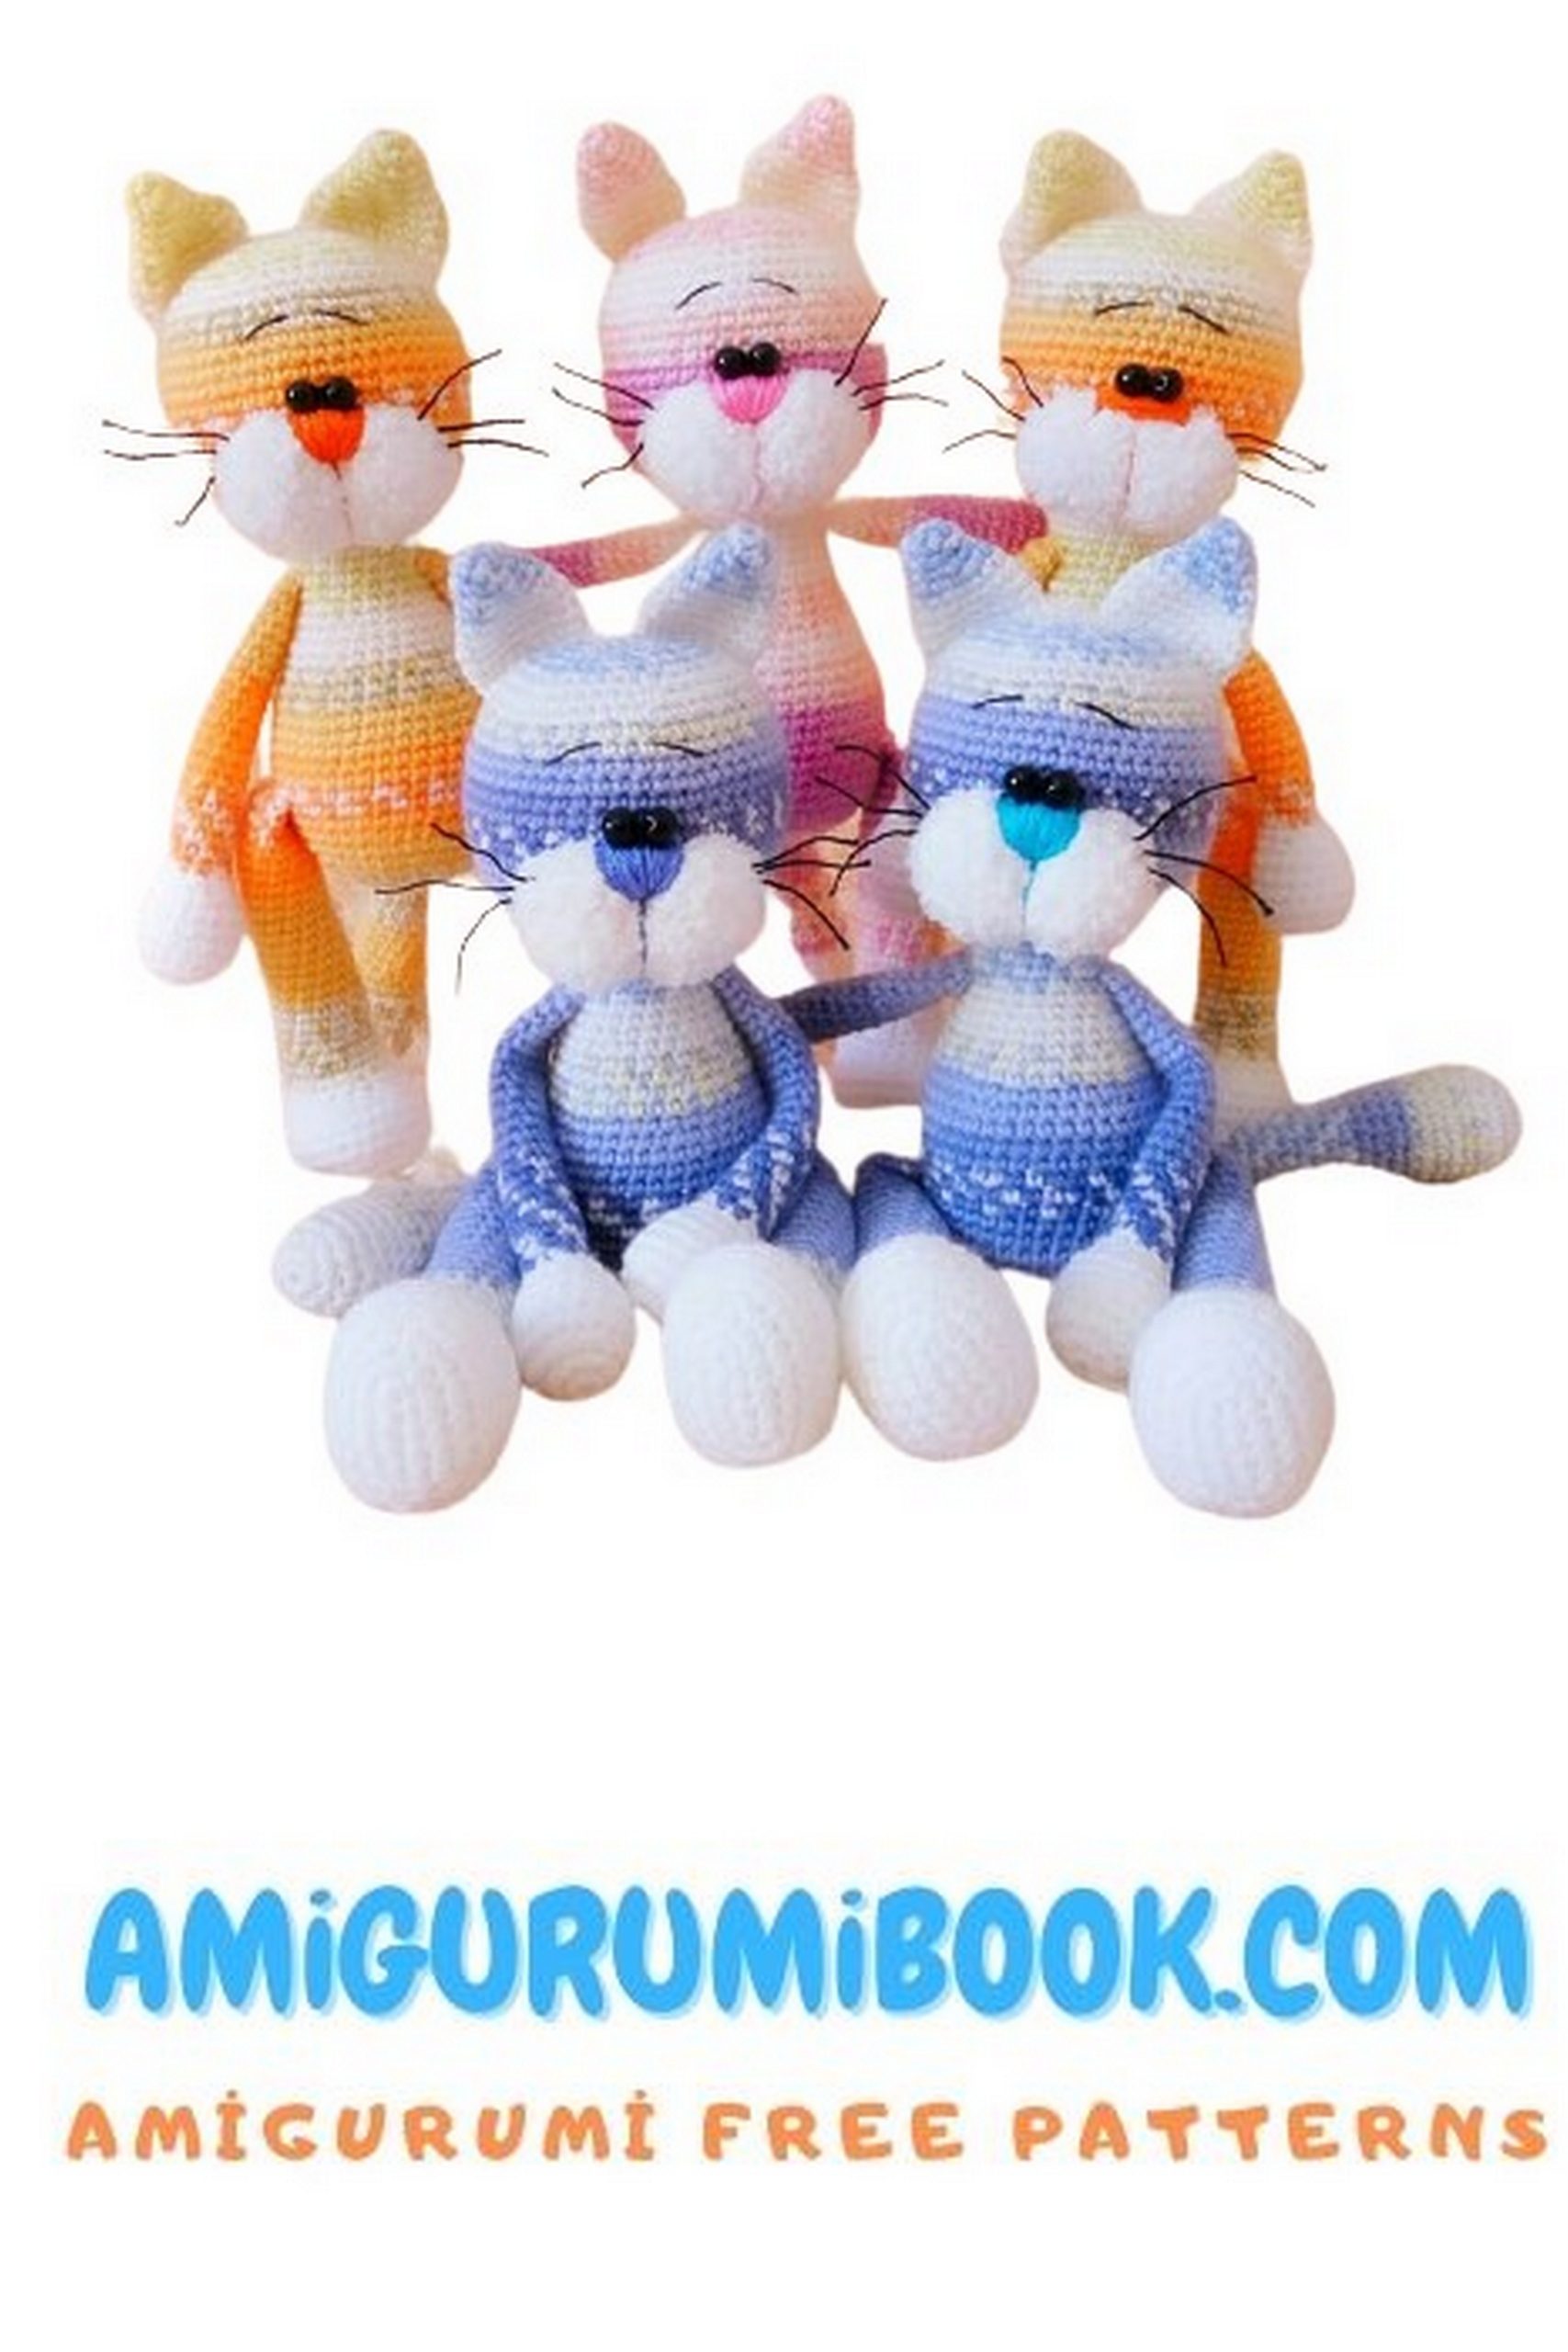
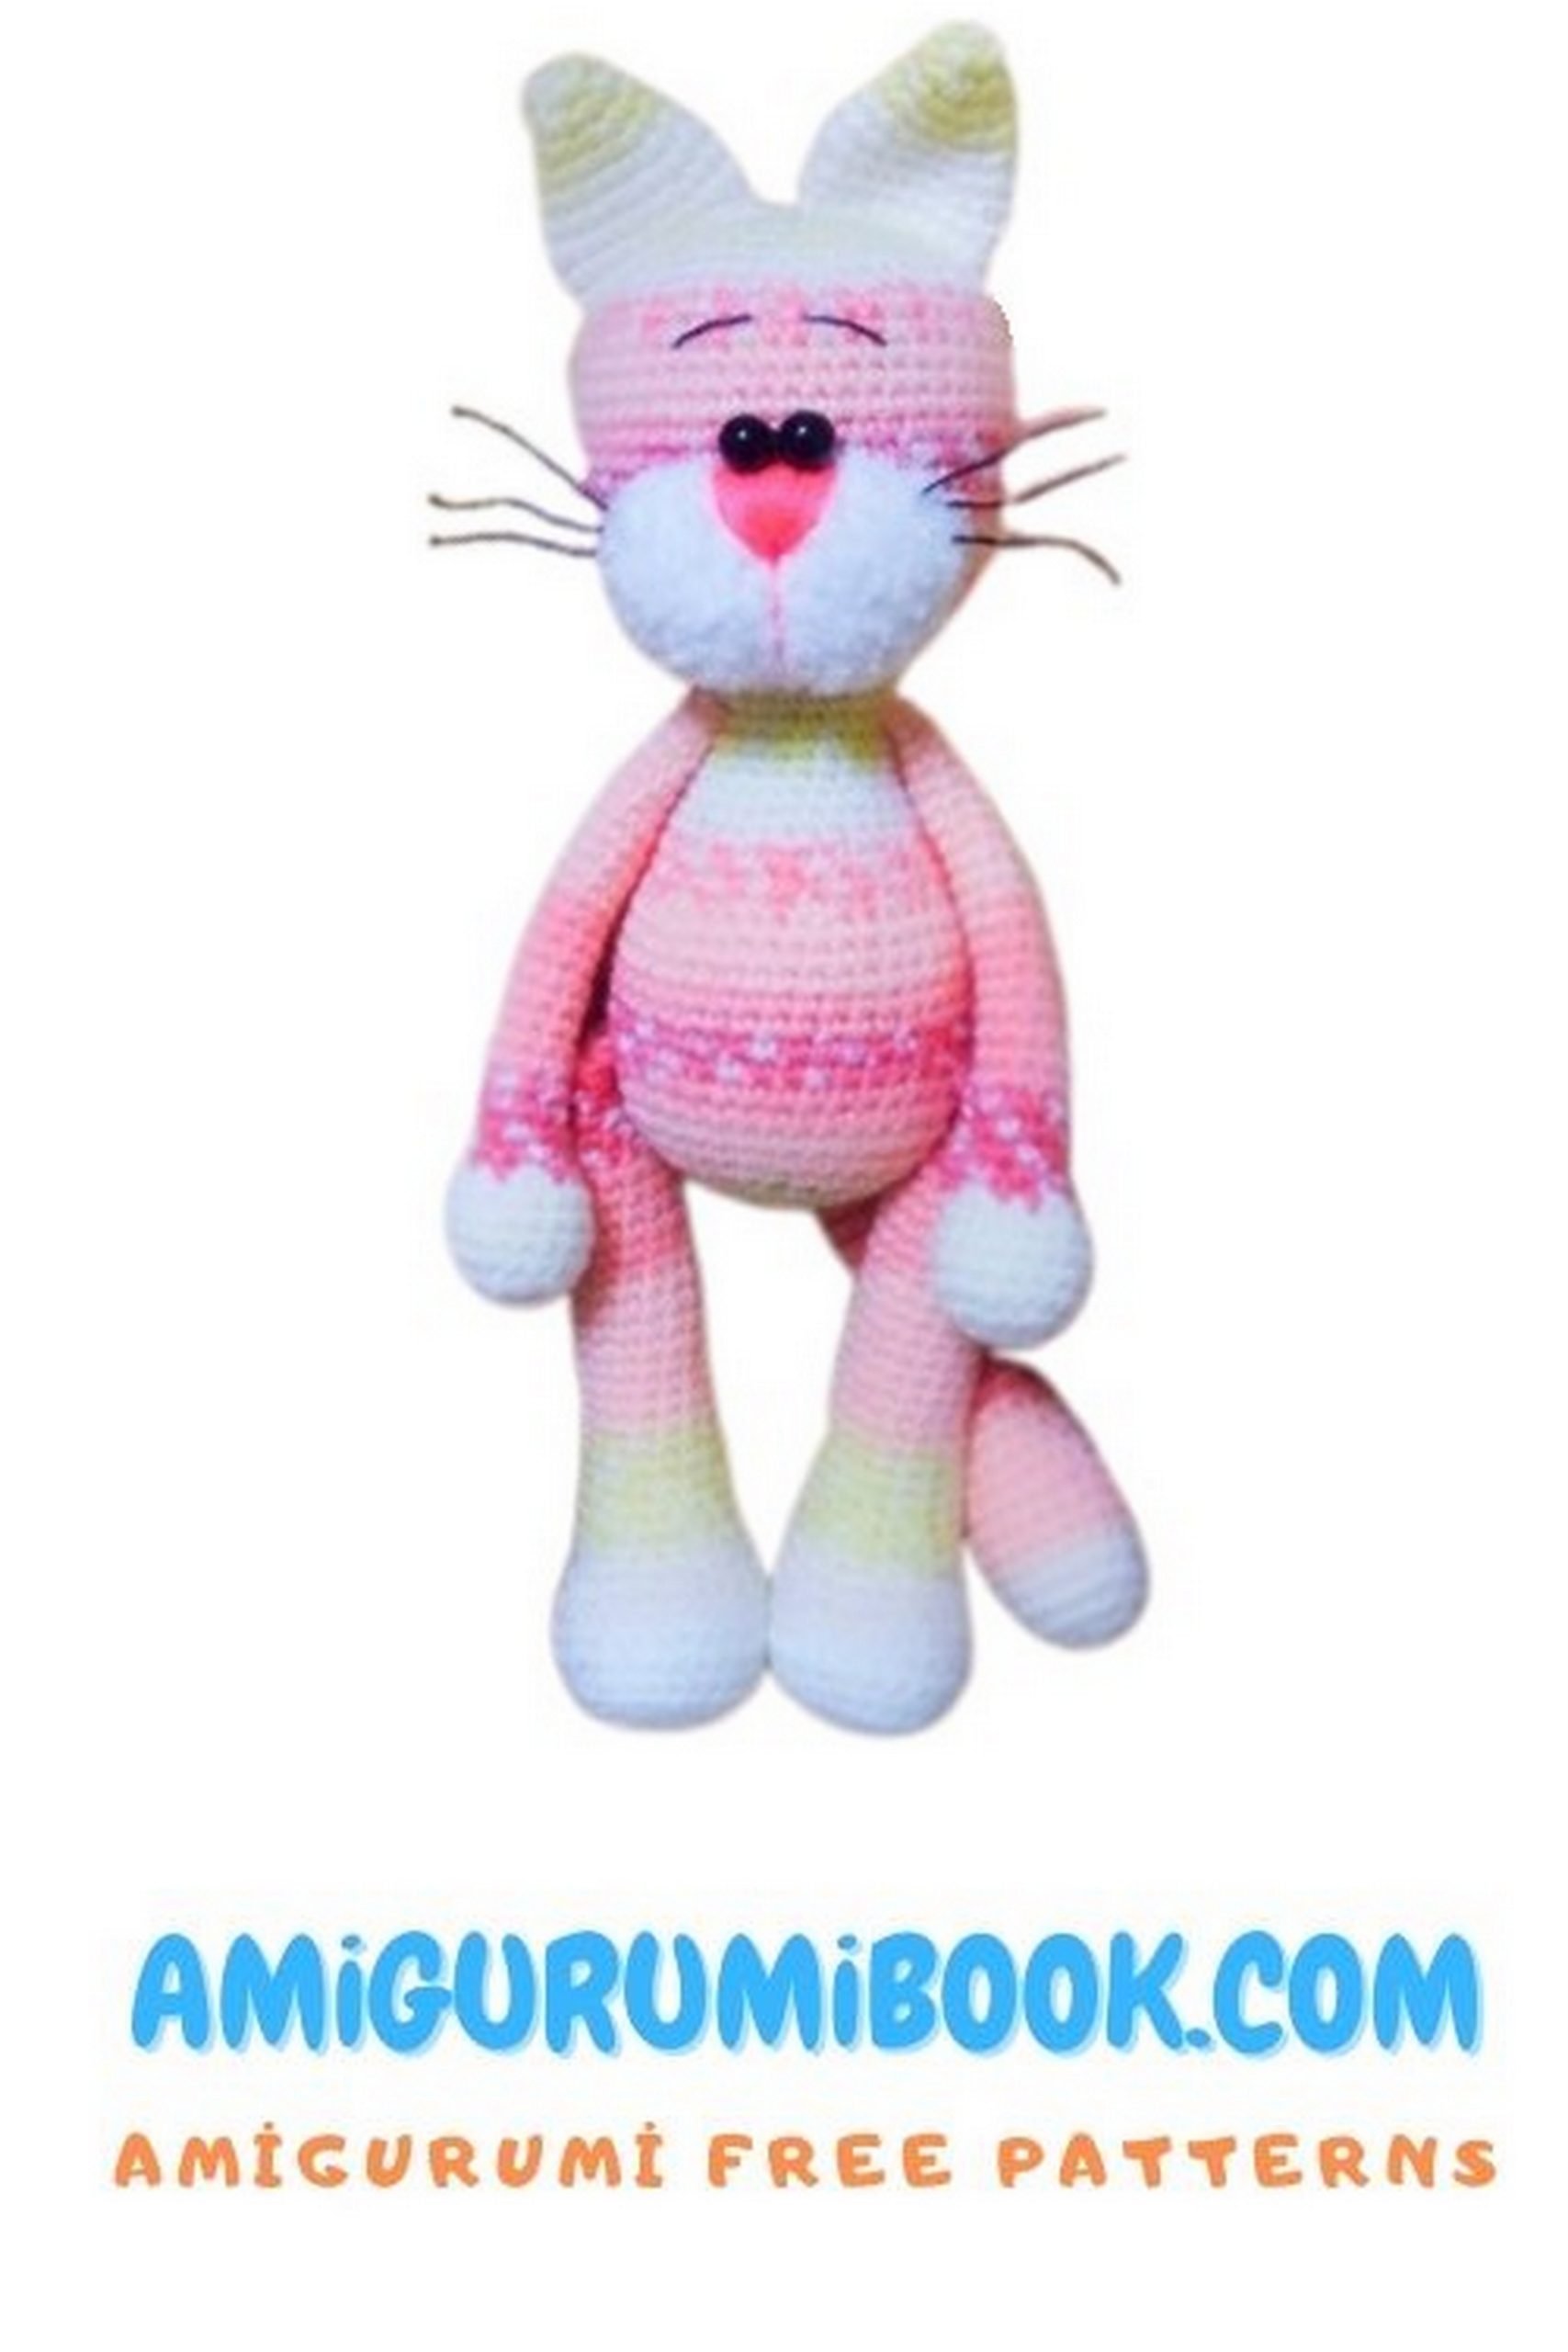
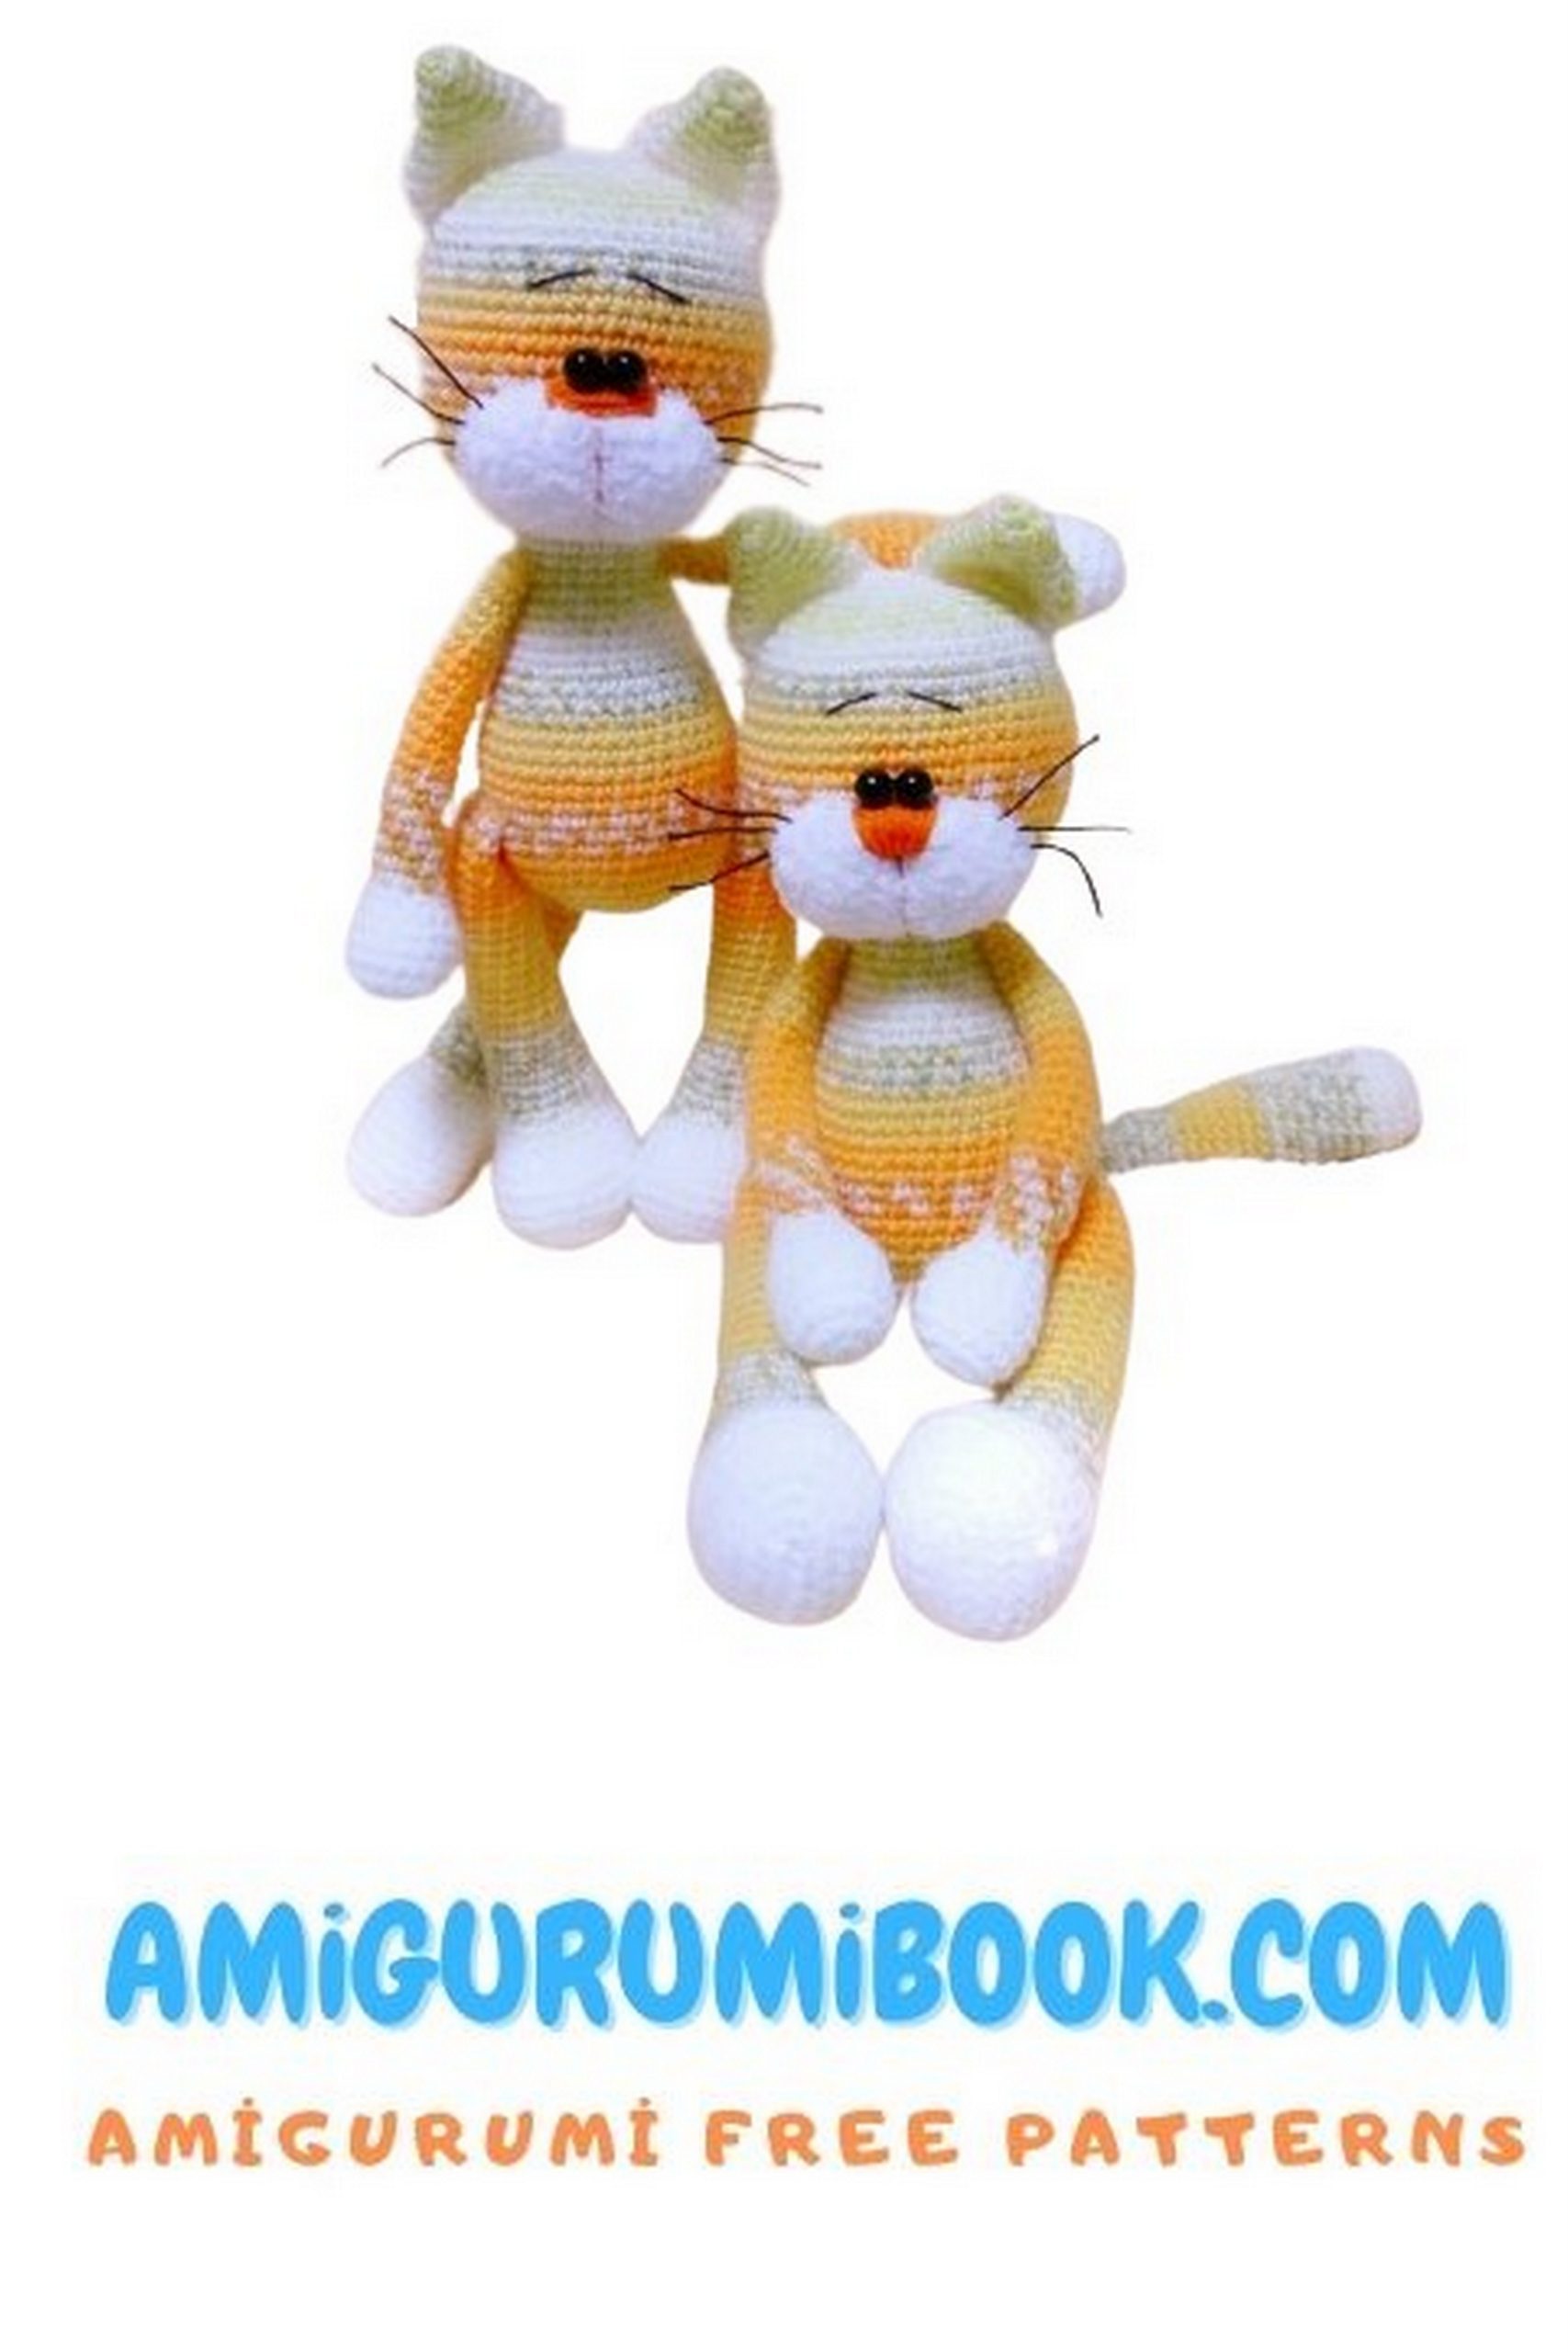
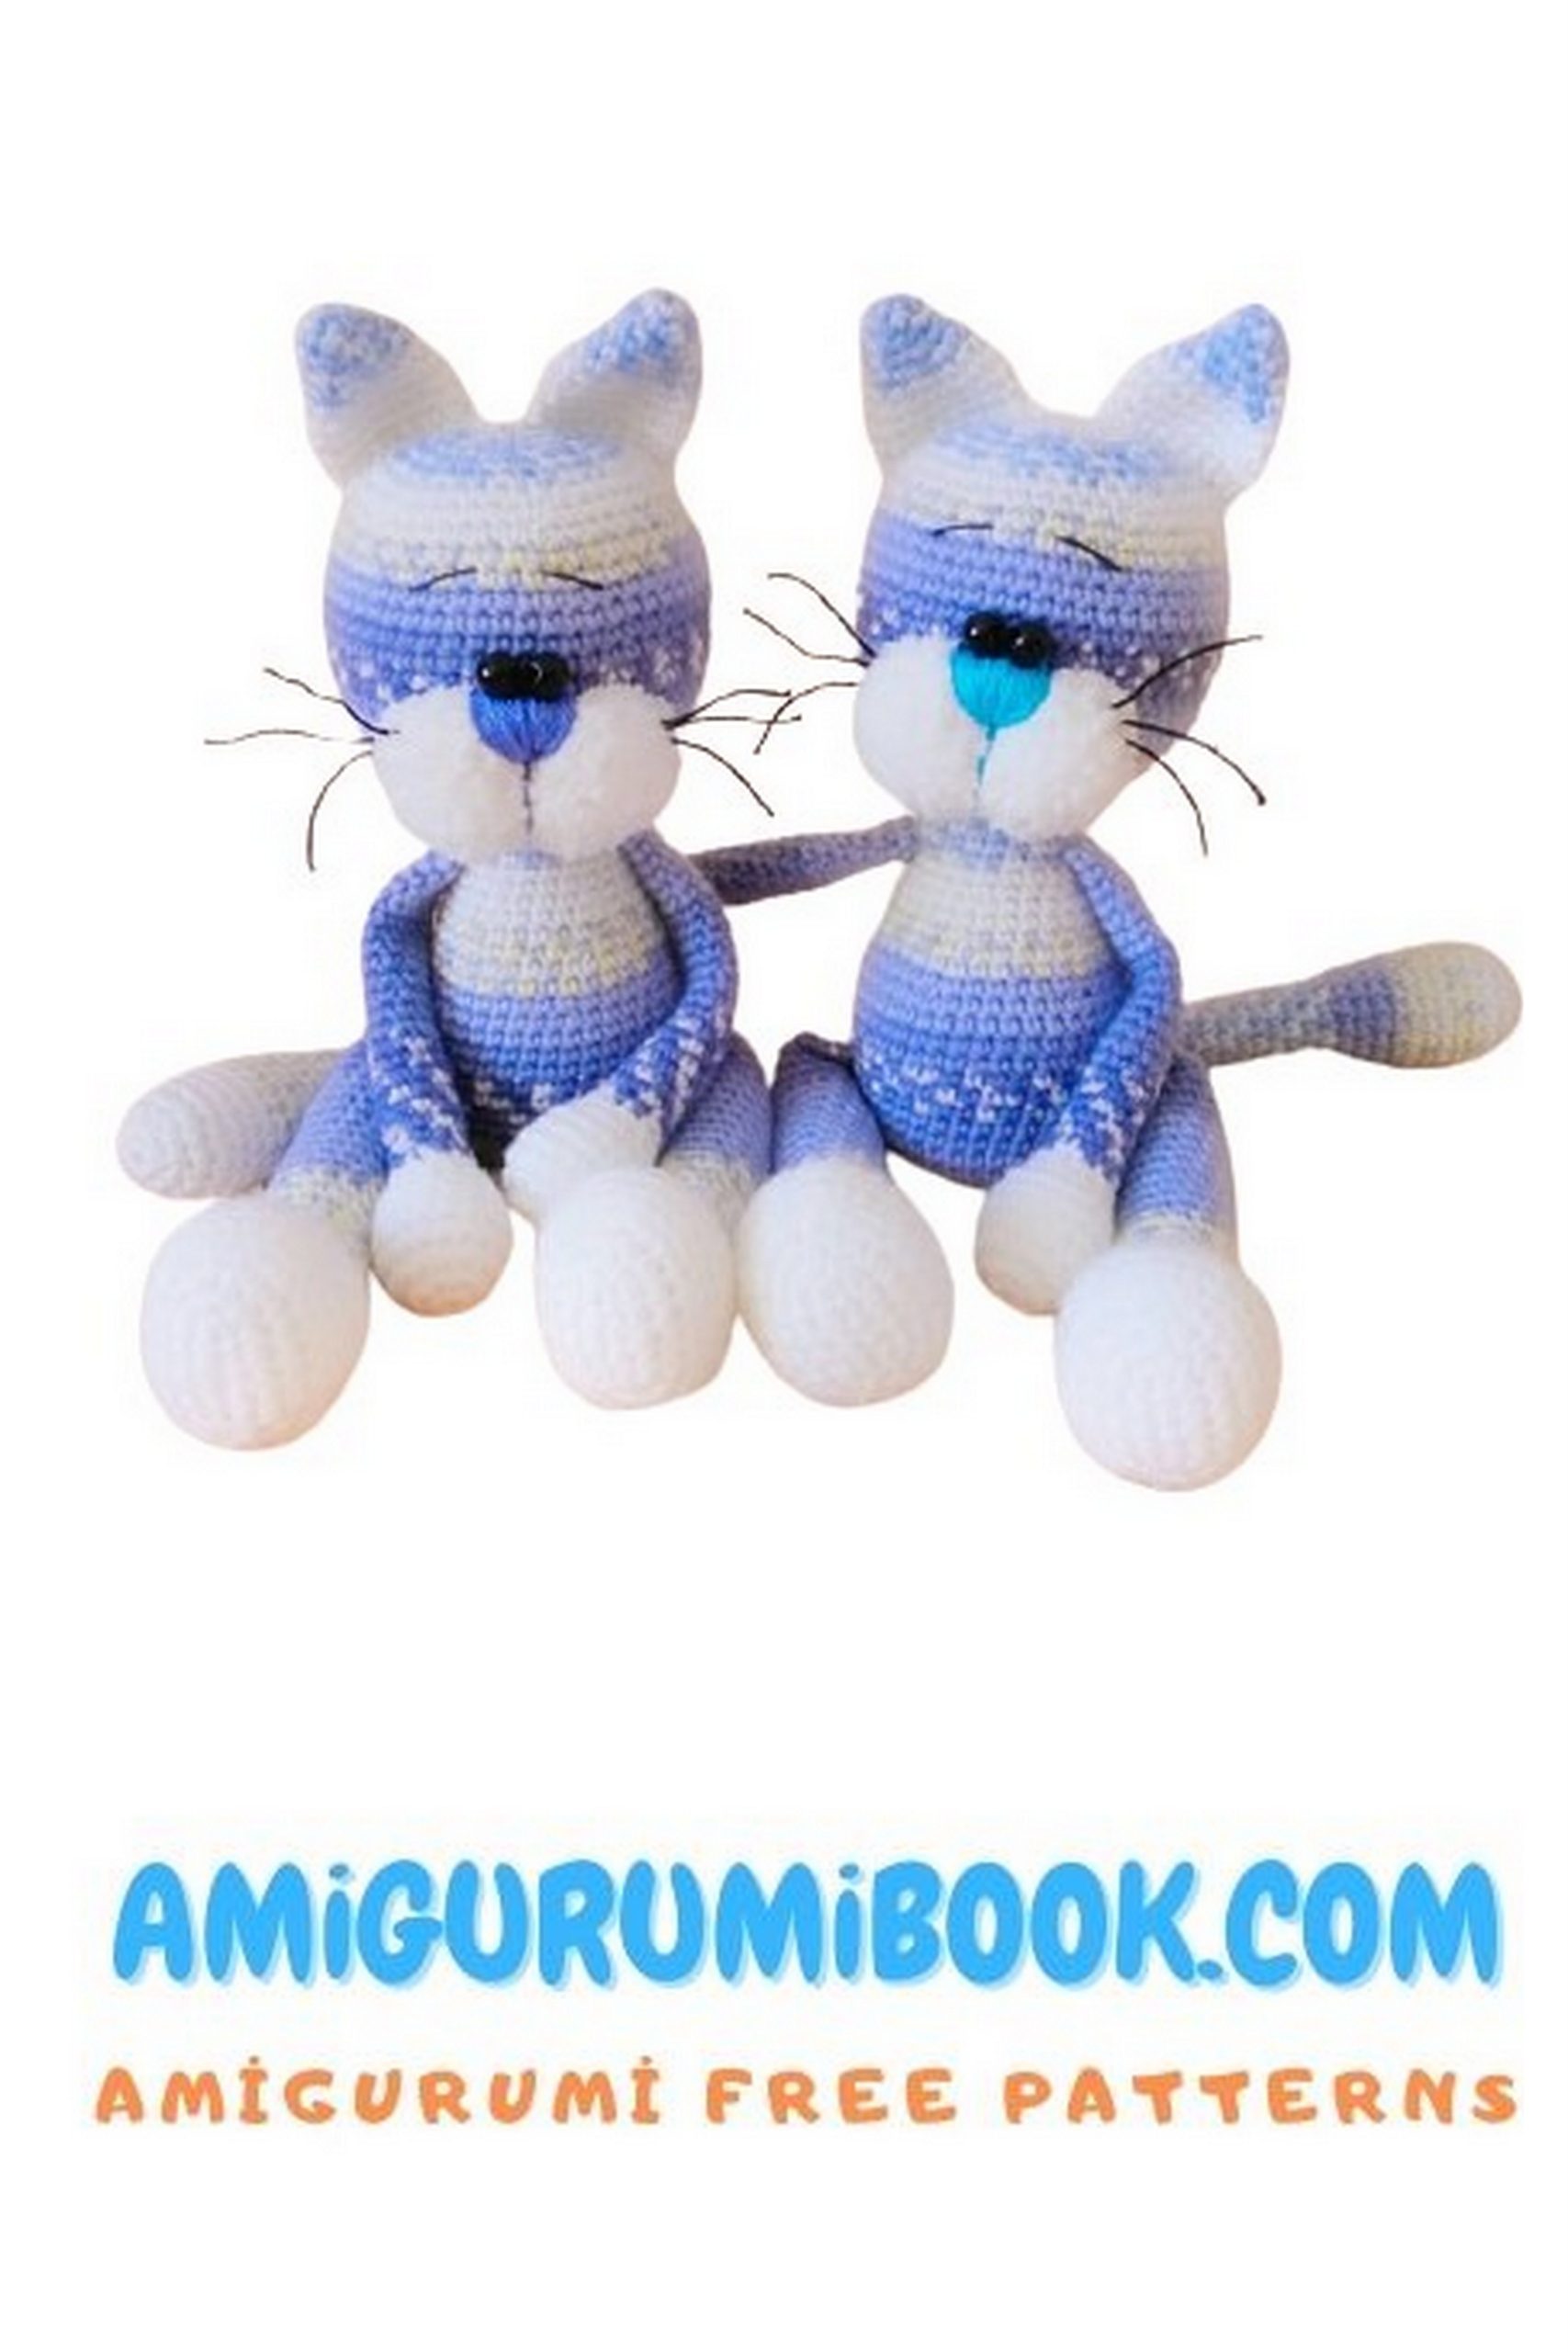
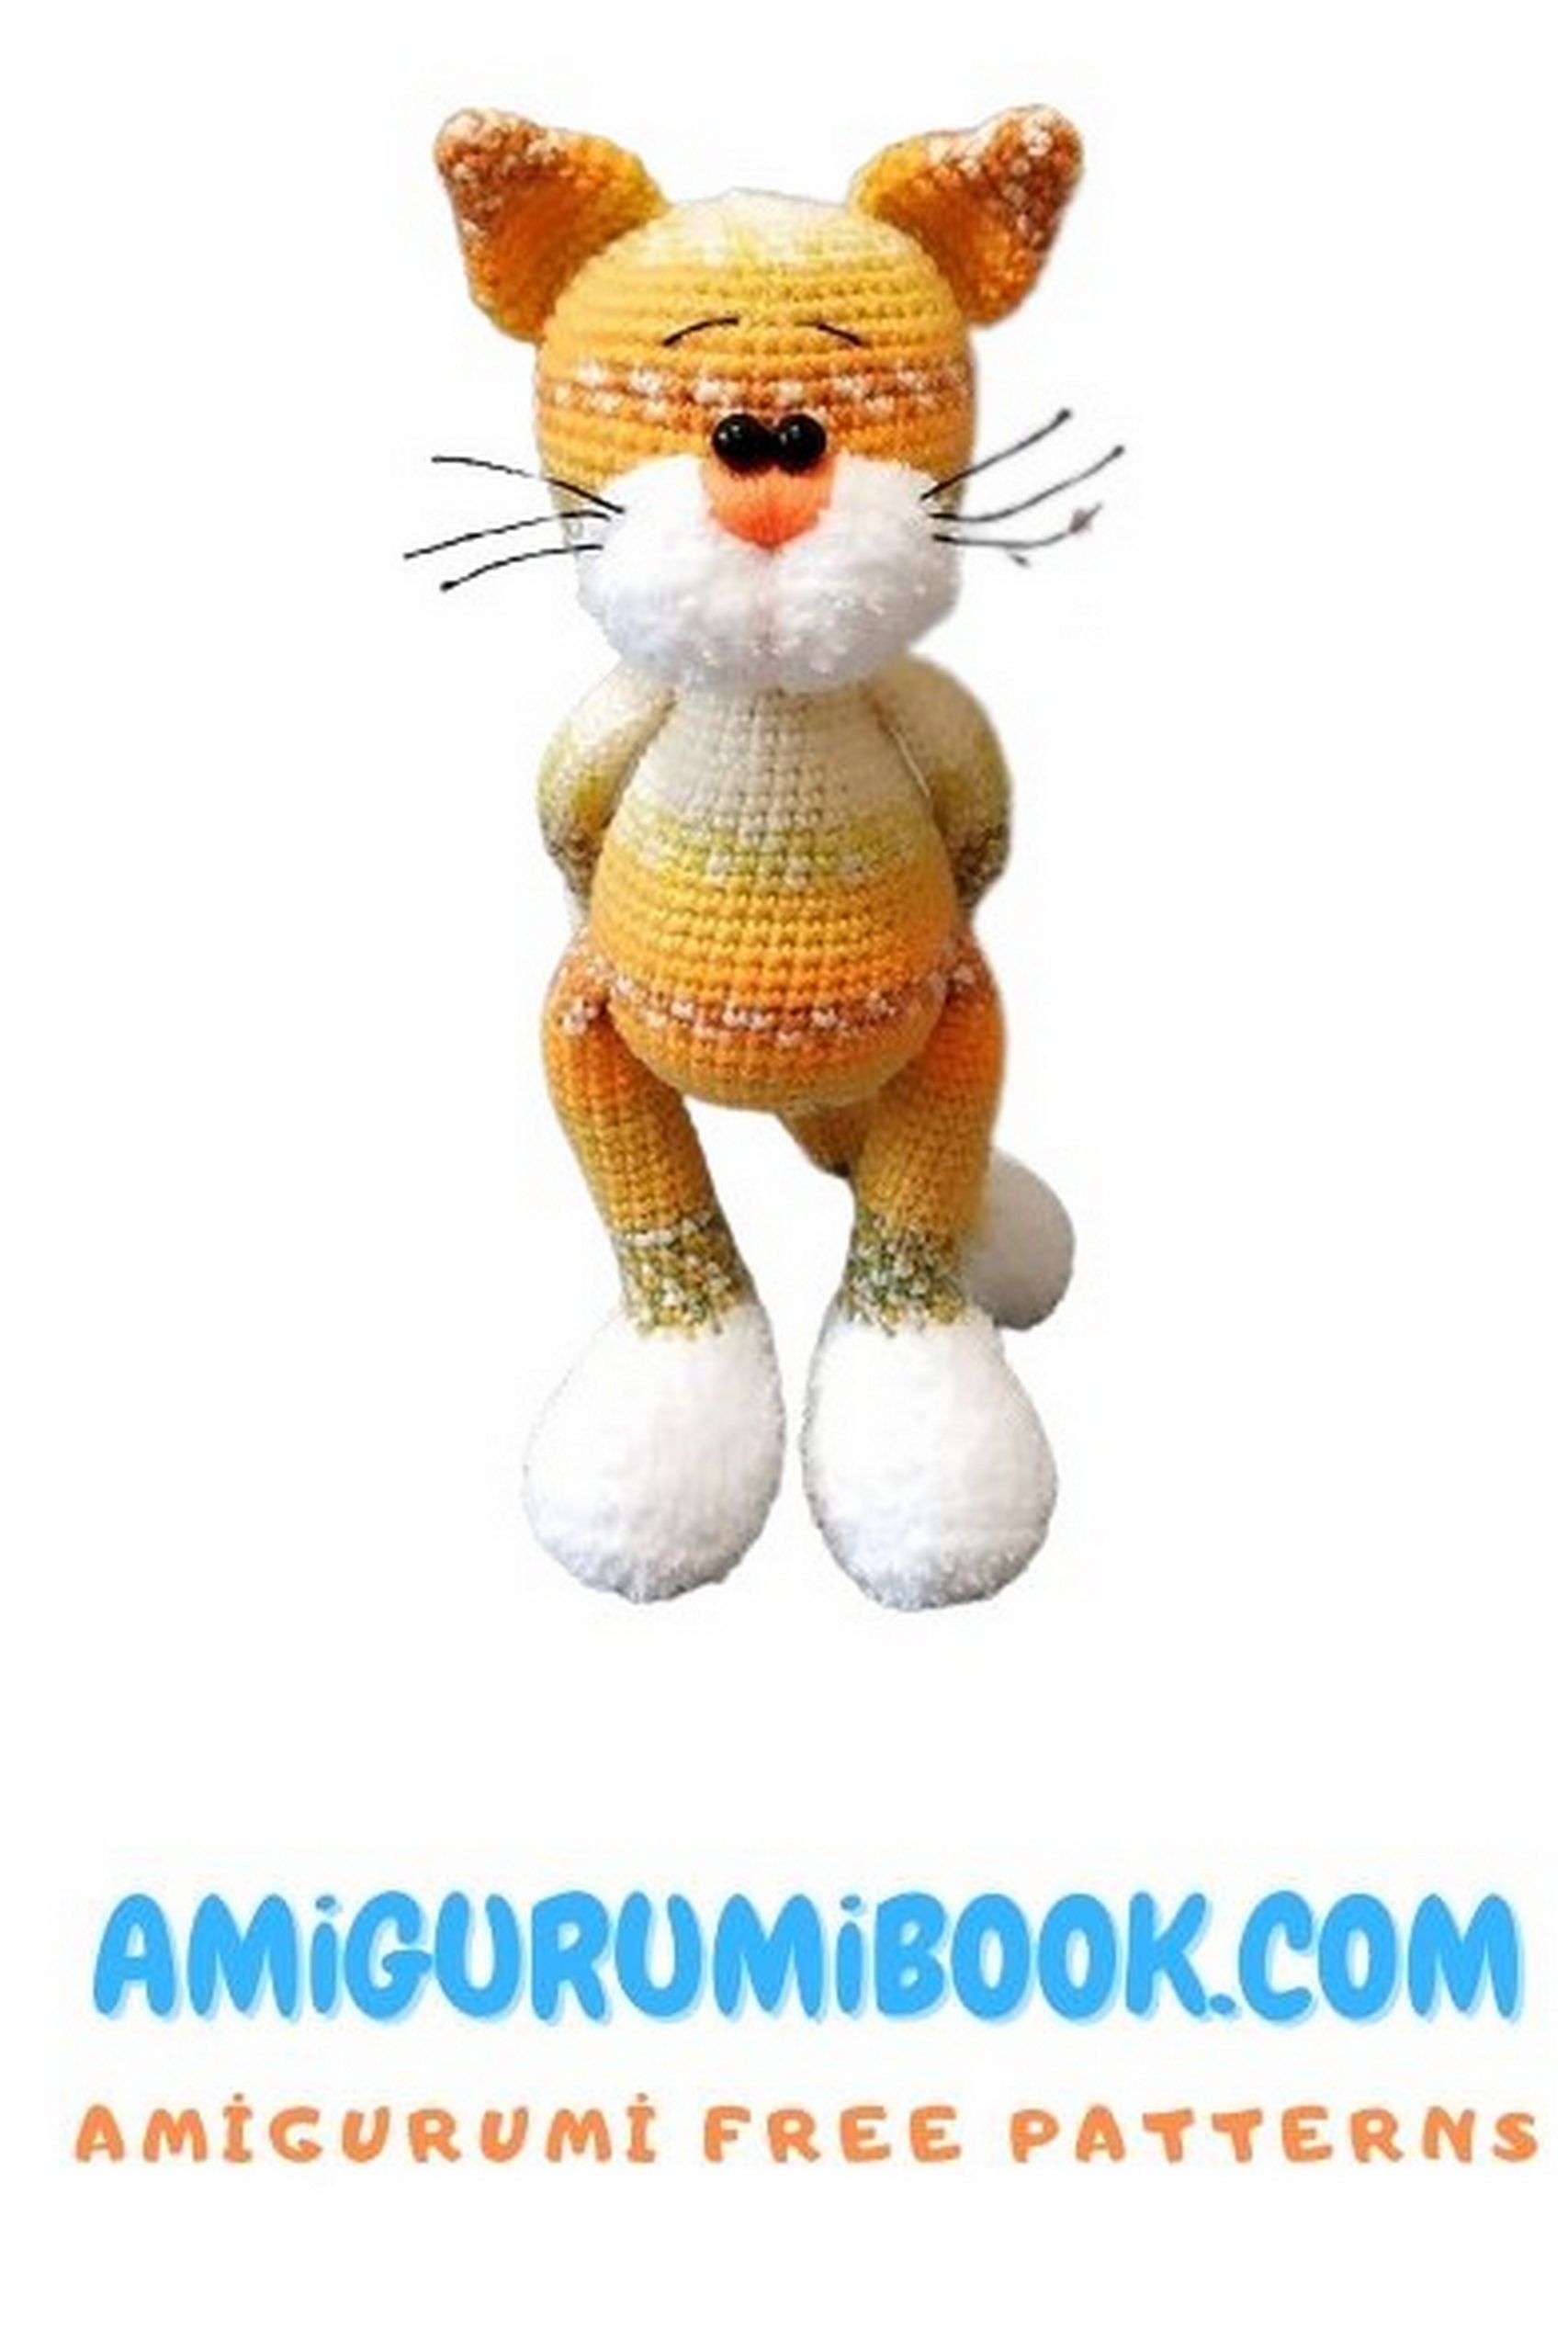
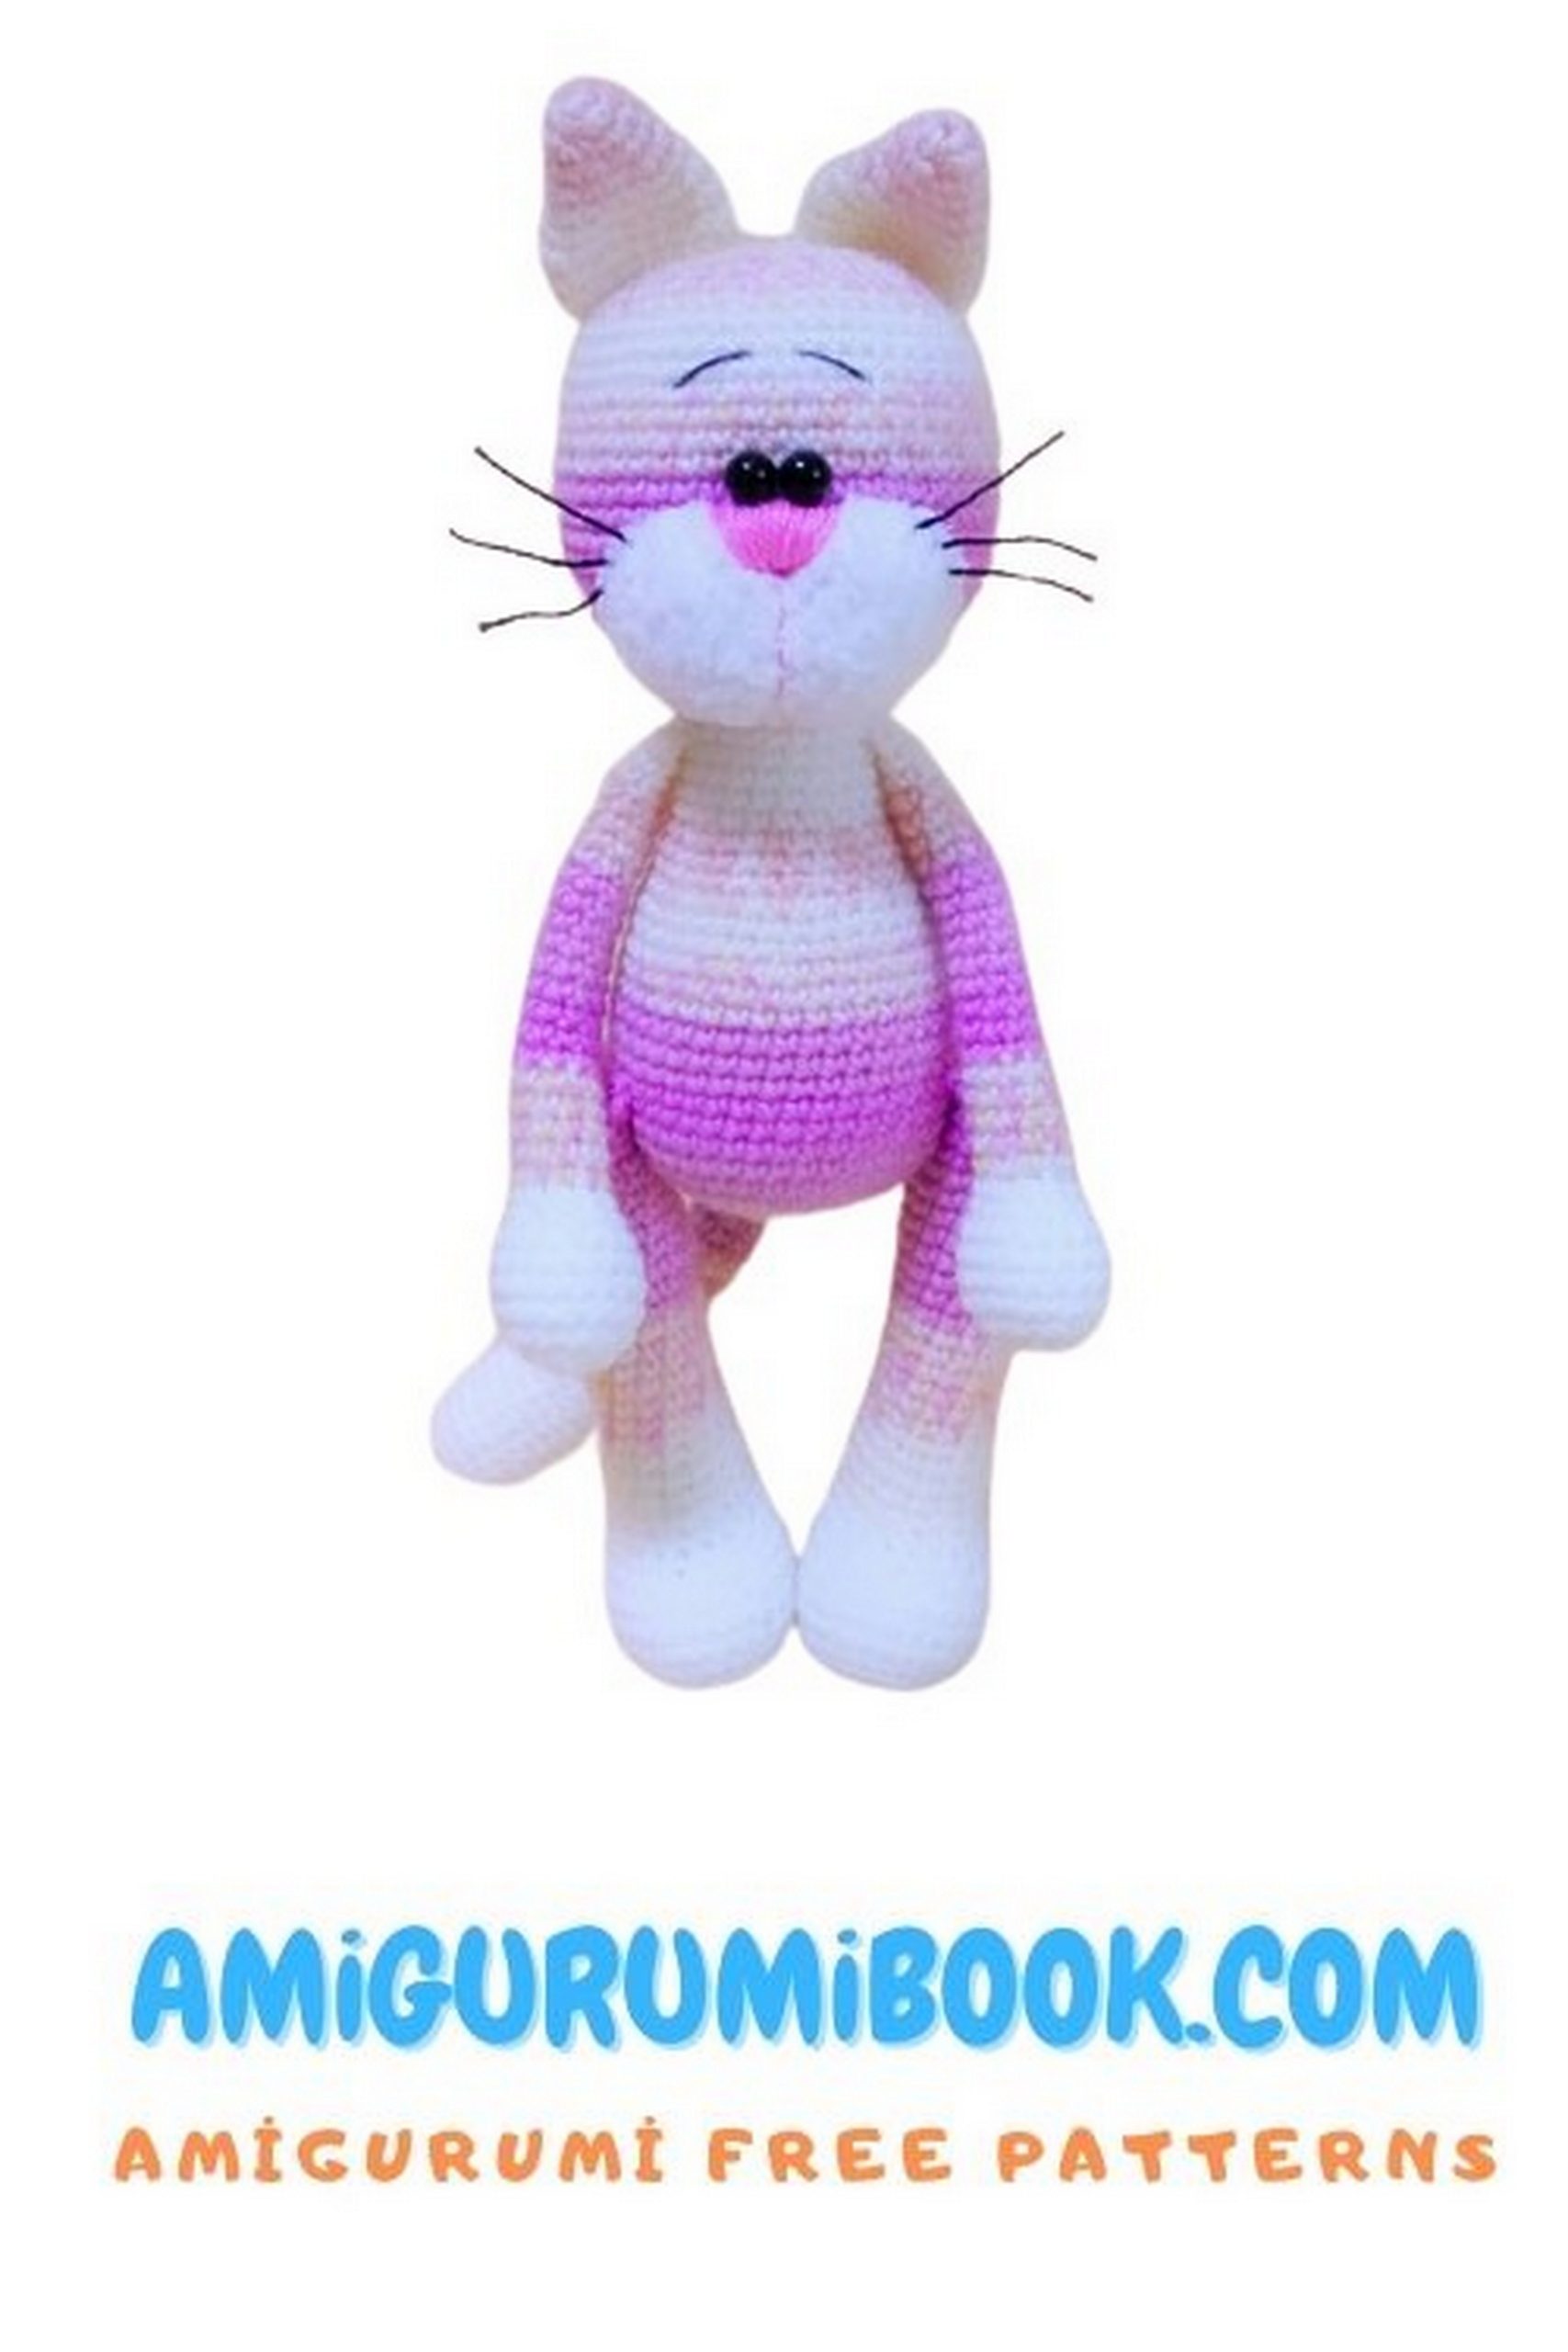
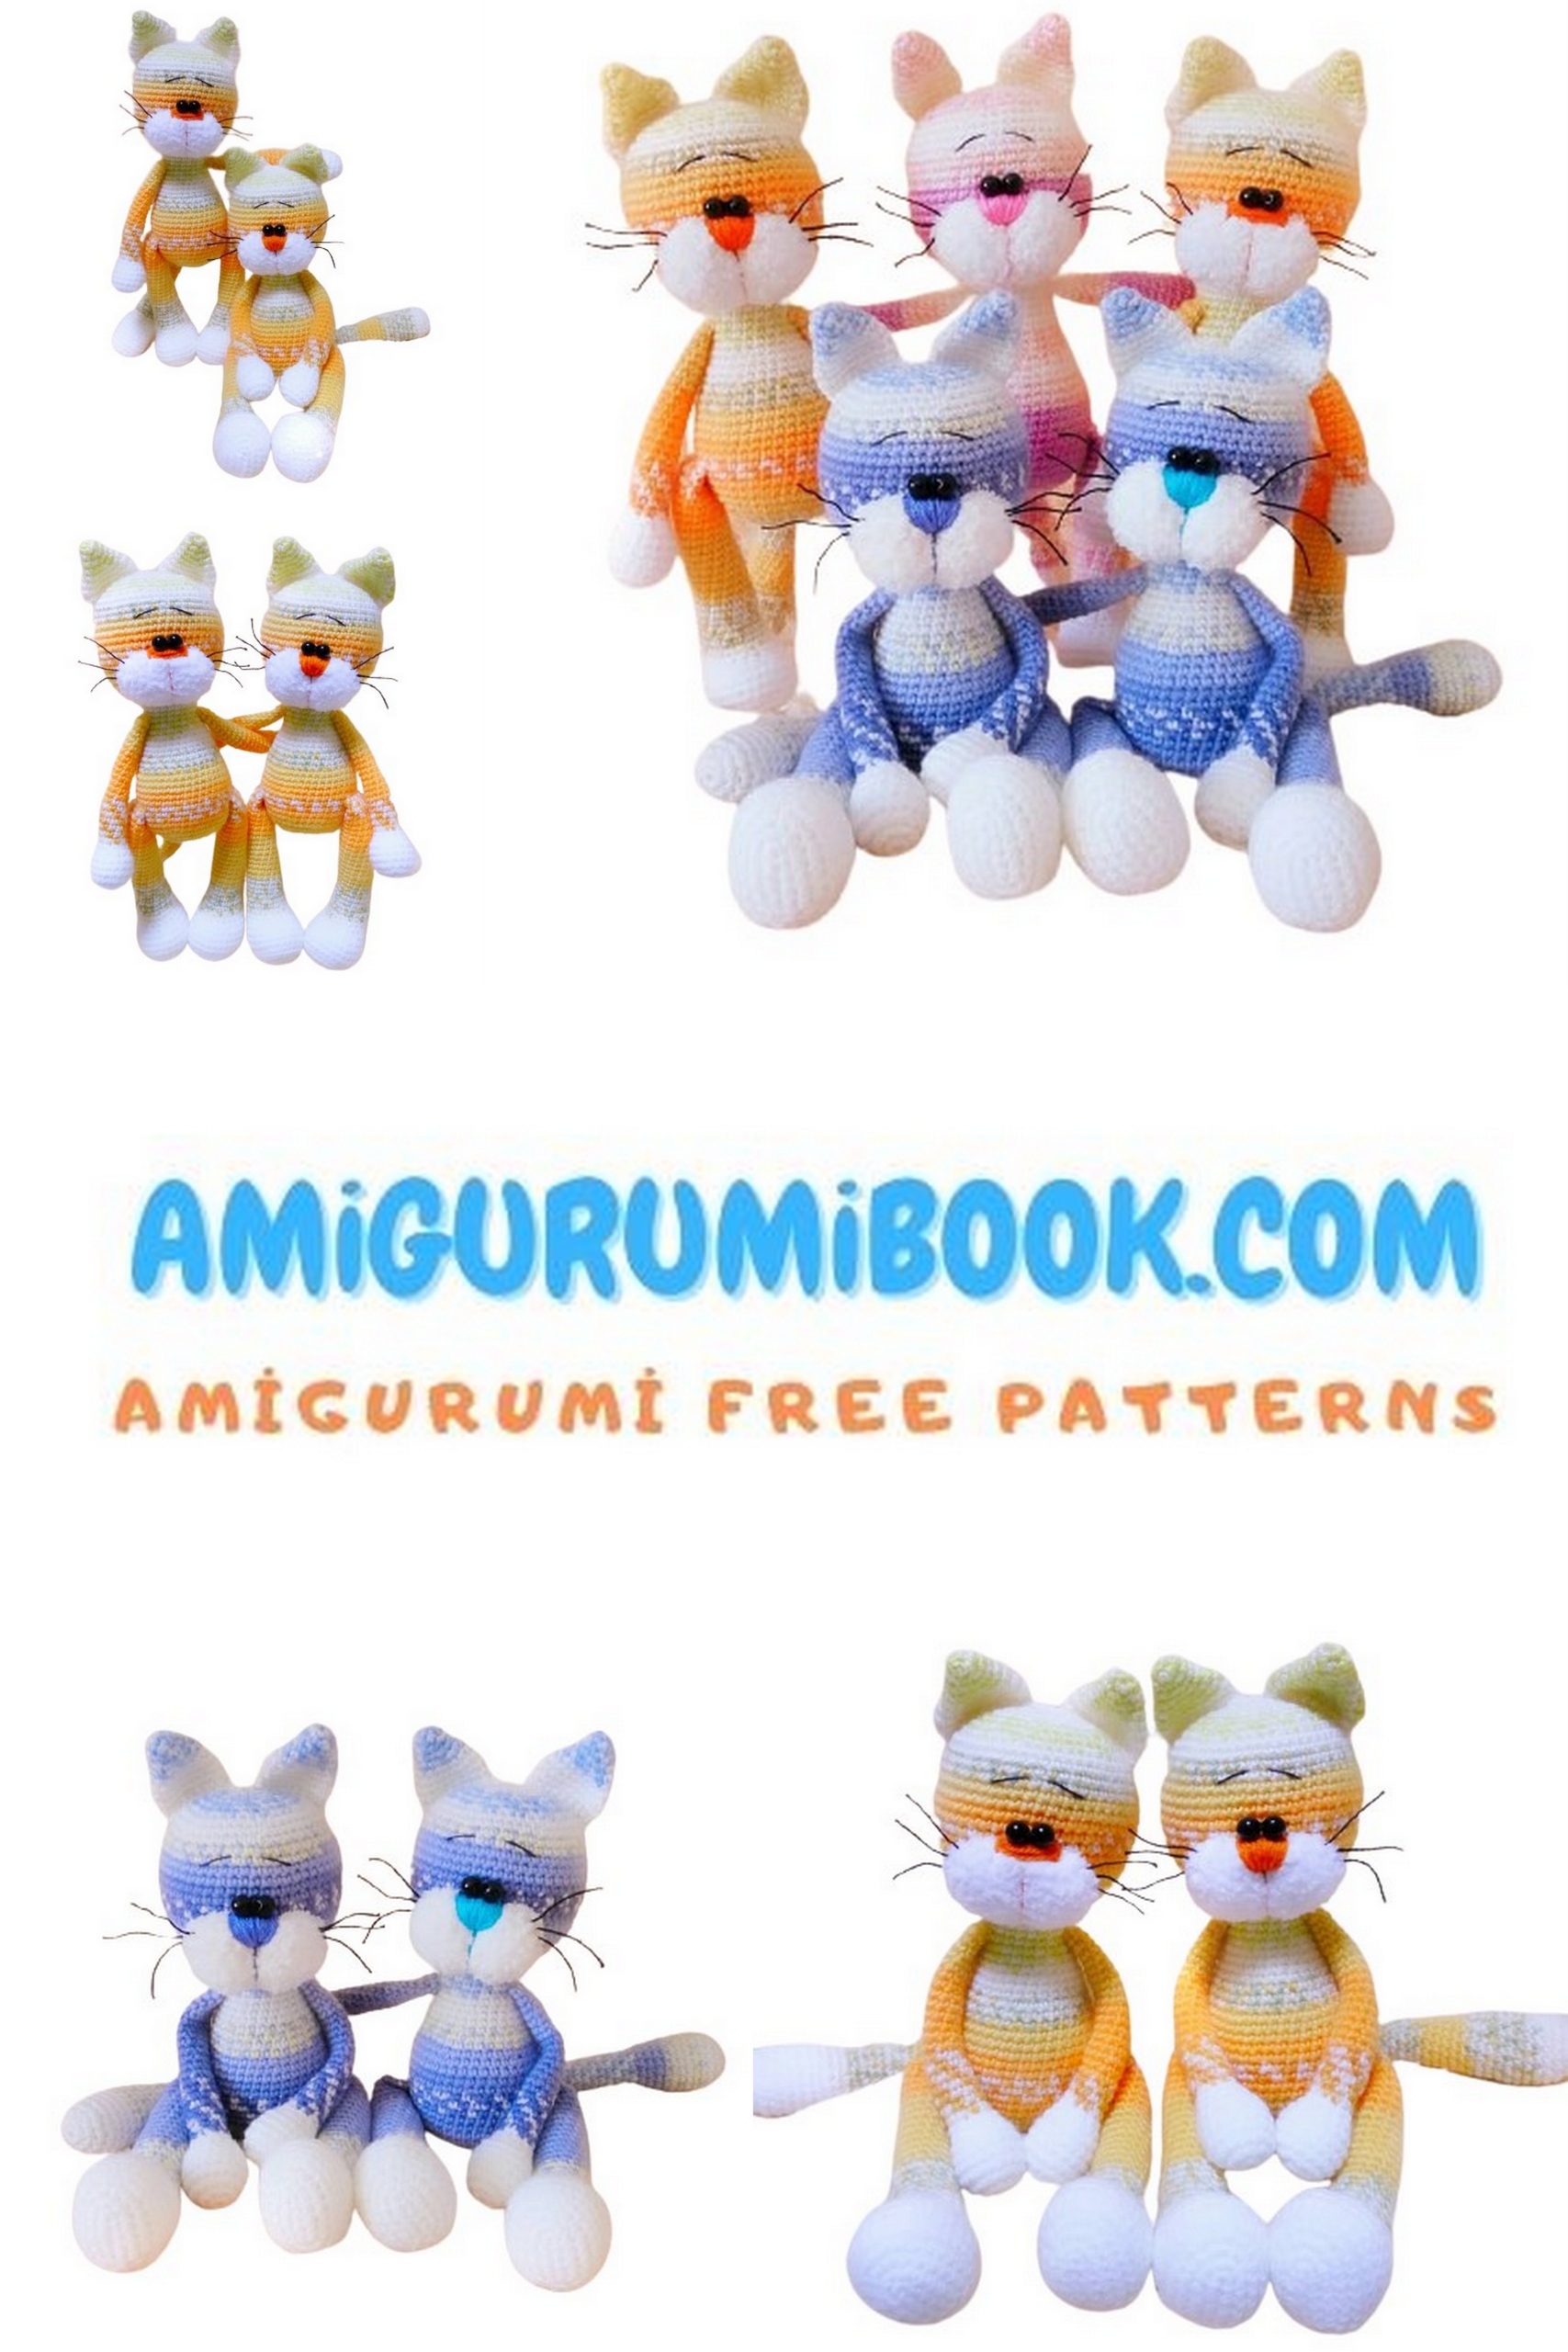
If you’re looking for a bright and cheerful crochet project, this Colorful Amigurumi Cat Free Pattern is exactly what you need. This adorable amigurumi cat design combines playful color changes, soft shaping, and expressive details to create a charming handmade companion.
With step by step instructions and clearly structured rounds, this amigurumi cat pattern guides you through shaping the head and body, attaching the ears, sewing the muzzle, and assembling all the pieces for a balanced and professional finish. The colorful outfit and sweet facial expression make this design perfect for gifts, nursery decor, or adding a joyful touch to your crochet collection.
Whether you’re an experienced crocheter or a confident beginner, this amigurumi cat tutorial will help you create a beautifully shaped, eye-catching project full of personality.
If you want to access 1000+ free amigurumi patterns, you can download our application from this link!
🧶 Materials
To make this amigurumi cat, you will need:
- Nako Baby Marvel Petit yarn (main color)
- Alize Softy yarn (white, for the muzzle)
- 2.0 mm crochet hook
- 8 mm black beads (for the eyes)
- Yarn for embroidering the nose and eyebrows
- Polyester fiberfill stuffing
📖 Abbreviations
- MR – magic ring
- ch – chain
- sc – single crochet
- inc – increase (2 sc in one stitch)
- dec – decrease (1 sc over 2 stitches)
- (…) × n – repeat the instructions in parentheses n times
- (12) – number of stitches at the end of the row
Body-Head (crocheted as one piece)
Start with the body.
1 Row: 6 SC in MR (6)
2 Row: INC*6 times (12)
3 Row: (1 SC, INC)*6 times (18)
4 Row: (2 SC, INC)*6 times (24)
5 Row: (3 SC, INC)*6 times (30)
6 Row: (4 SC, INC)*6 times (36)
7 Row: (5 SC, INC)*6 times (42)
8-17 Row: 42 SC (10 rows)
18 Row: (5 SC, DEC)*6 times (36)
19-20 Row: 36 SC (2 rows)
21 Row: (4 SC, DEC)*6 times (30)
22-23 Row: 30 SC (2 rows)
24 Row: (3 SC, DEC)*6 times (24)
25-30 Row: 24 SC (6 rows)
Now, begin the head.
31 Row: (3 SC, INC)*6 times (30)
32 Row: (4 SC, INC)*6 times (36)
33 Row: (5 SC, INC)*6 times (42)
34 Row: (6 SC, INC)*6 times (48)
35 Row: (7 SC, INC)*6 times (54)
36-48 Row: 54 SC (13 rows)
49 Row: (7 SC, DEC)*6 times (48)
50 Row: (6 SC, DEC)*6 times (42)
51 Row: (5 SC, DEC)*6 times (36)
52 Row: (4 SC, DEC)*6 times (30)
53 Row: (3 SC, DEC)*6 times (24)
54 Row: (2 SC, DEC)*6 times (18)
55 Row: (1 SC, DEC)*6 times (12)
56 Row: DEC*6 times (6)
Crocheted amigurumi kitten
Legs (2 pieces)
Crochet a chain of 6 CH.
Work on both sides of the chain to form an oval.
1 Row: Start from the second loop from the hook: 4 SC, 3 SC in the last loop, turn, on the other side of the chain: 3 SC, INC (12)
2 Row: INC, 3 SC, 3 INC, 3 SC, 2 INC (18)
3 Row: INC, 6 SC, 2 INC, 6 SC, INC, 2 SC (22)
4 Row: 1 SC, INC, 6 SC, 5 INC, 6 SC, 2 INC, 1 SC (30)
5 Row: For the back loops of the stitches: 30 SC
6-8 Row: 30 SC (3 rows)
9 Row: 9 SC, (DEC, 1 SC)* 4 times, 9 SC (26)
10 Row: 7 SC, (DEC, 1 SC)* 4 times, 7 SC (22)
11 Row: 22 SC
12 Row: 8 SC, (DEC, 1 SC)* 2 times, 8 SC (20)
13 Row: 8 SC, 2 DEC, 8 SC (18)
14 Row: 18 SC
15 Row: (4 SC, DEC)* 3 times (15)
16-35 Row: 15 SC (20 rows)
Fold the piece in half (the toe should be facing forward) and crochet 7 SC across both edges, closing the hole.
Leave a long thread for sewing.
Arms (2 pieces)
1 Row: 6 SC in MR (6)
2 Row: INC*6 times (12)
3 Row: (1 SC, INC)*6 times (18)
4-7 Row: 18 SC (4 rows)
8 Row: (1 SC, DEC)*6 times (12)
9 Row: (4 SC, DEC)* 2 times (10)
10-30 Row: 10 SC (21 rows)
Do not stuff the upper part of the arms or stuff very lightly.
Fold the piece in half and crochet 5 SC across both edges, closing the hole.
Leave a long thread for sewing.

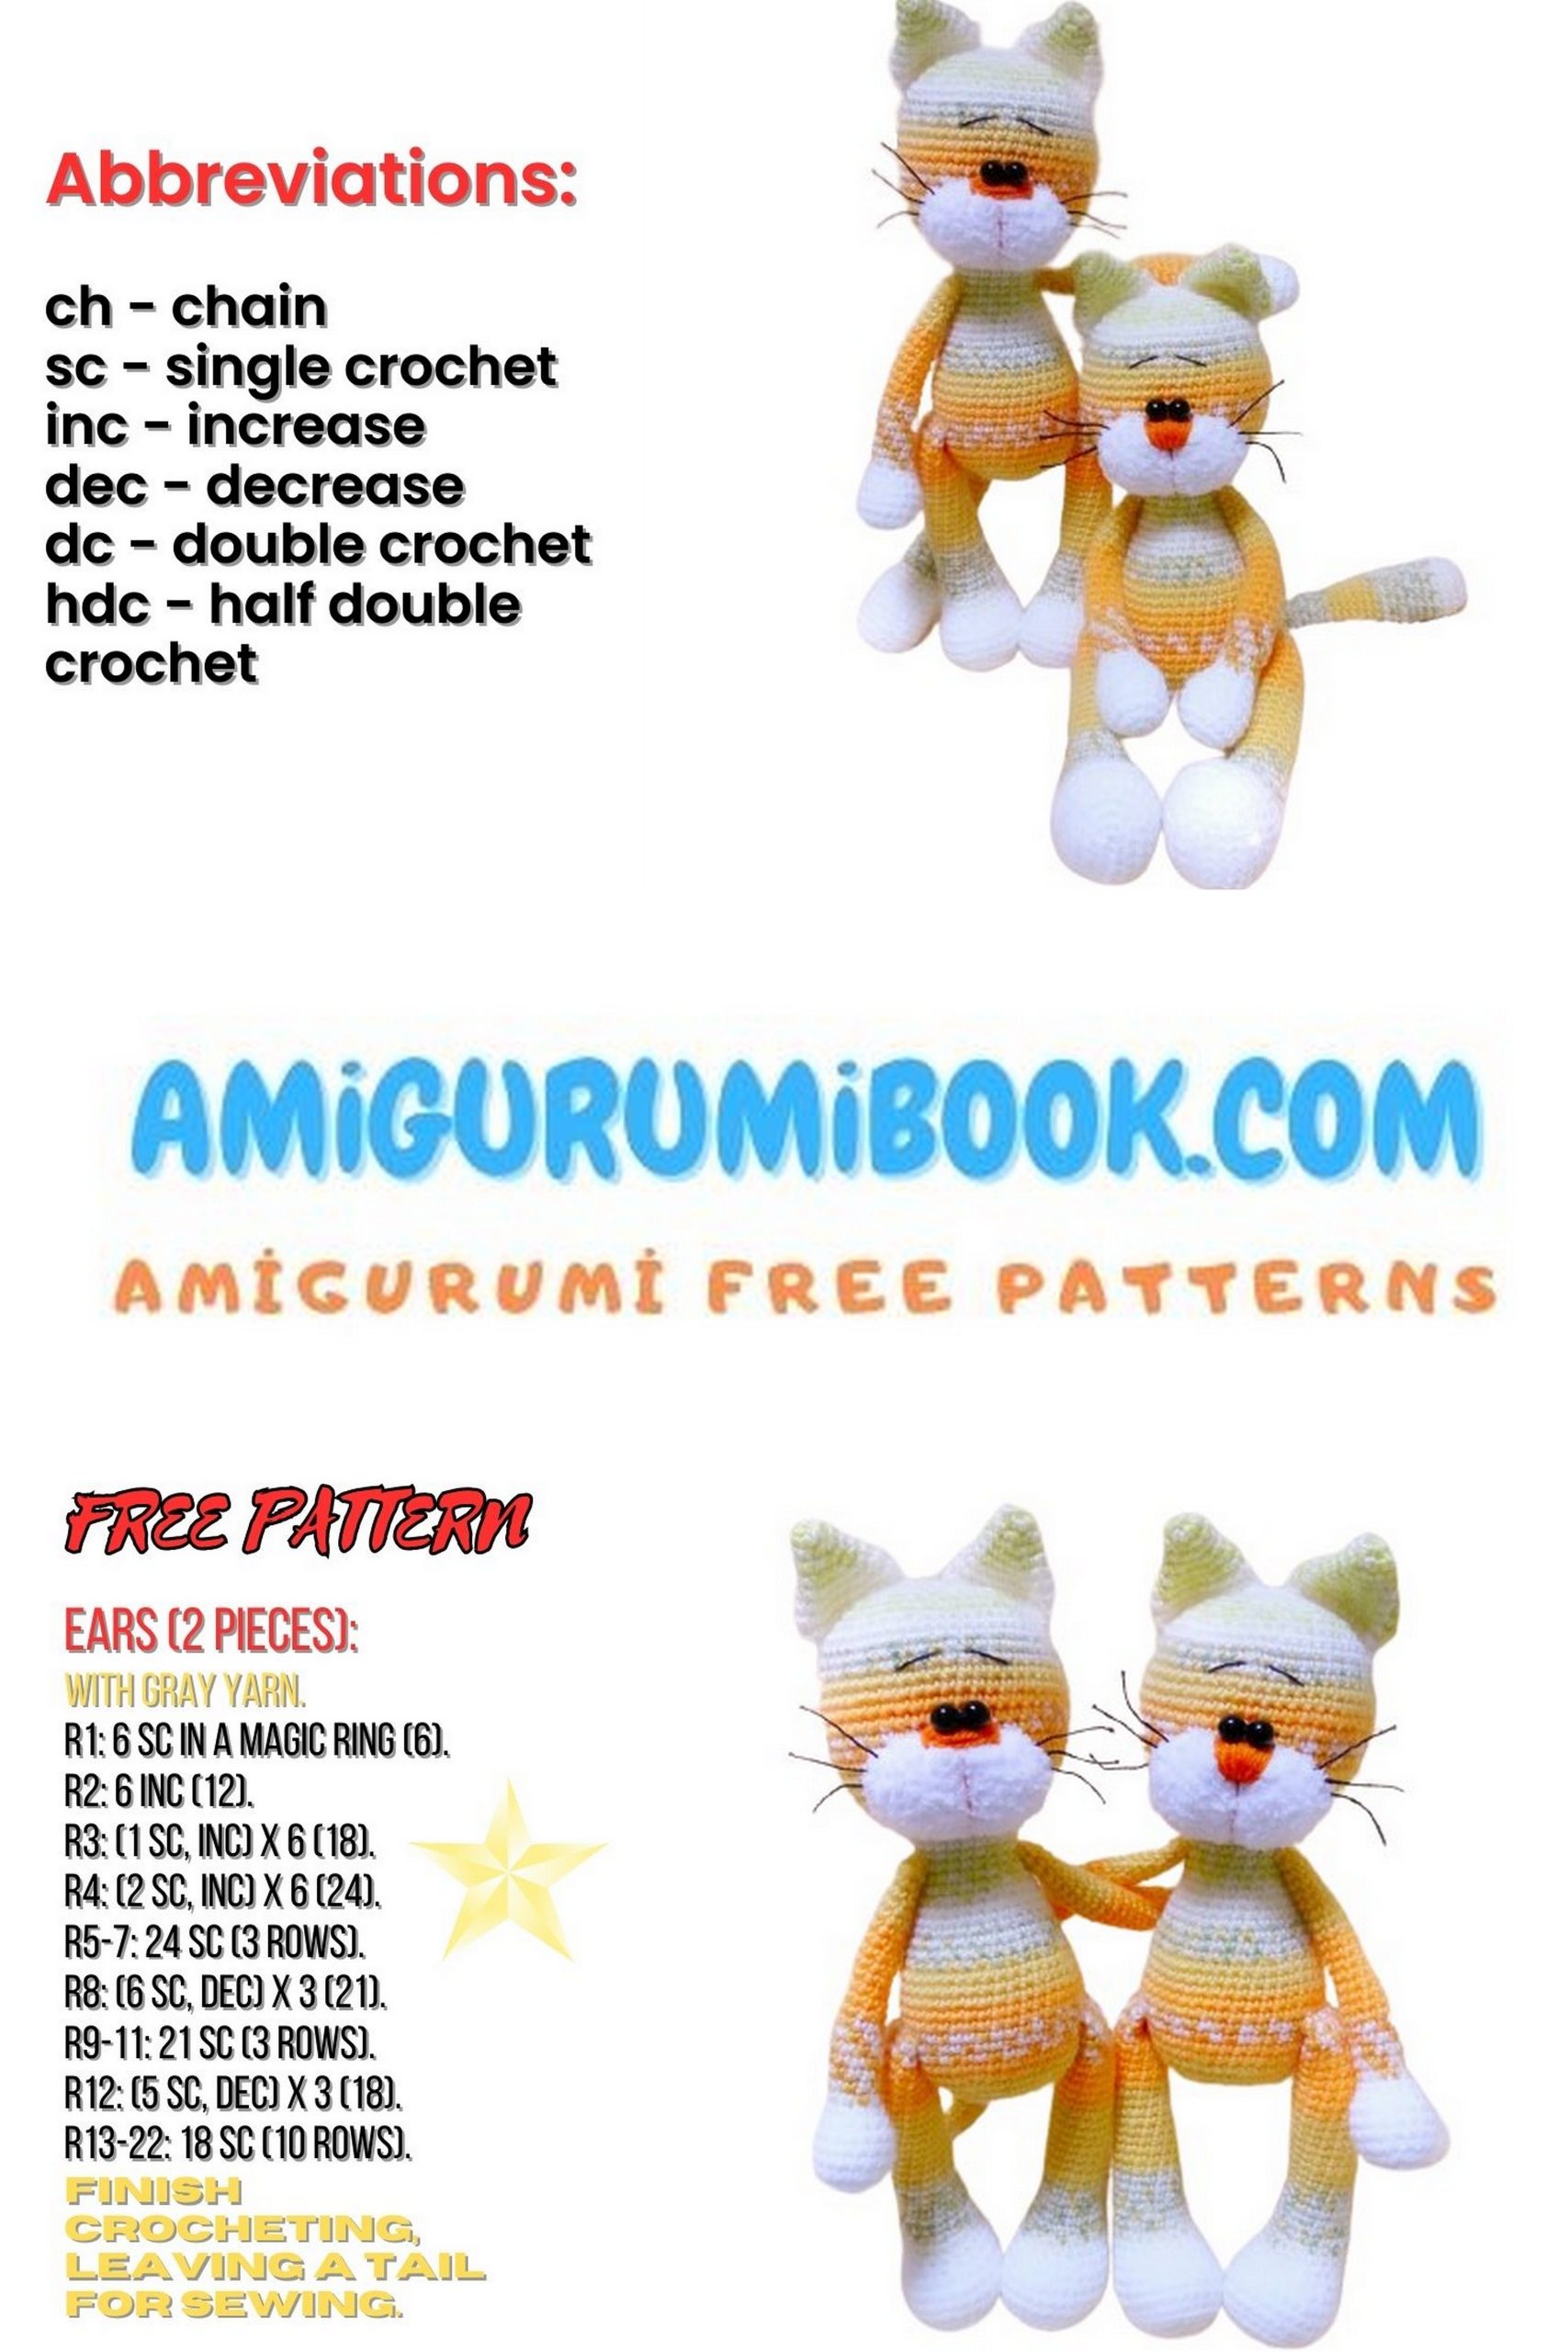
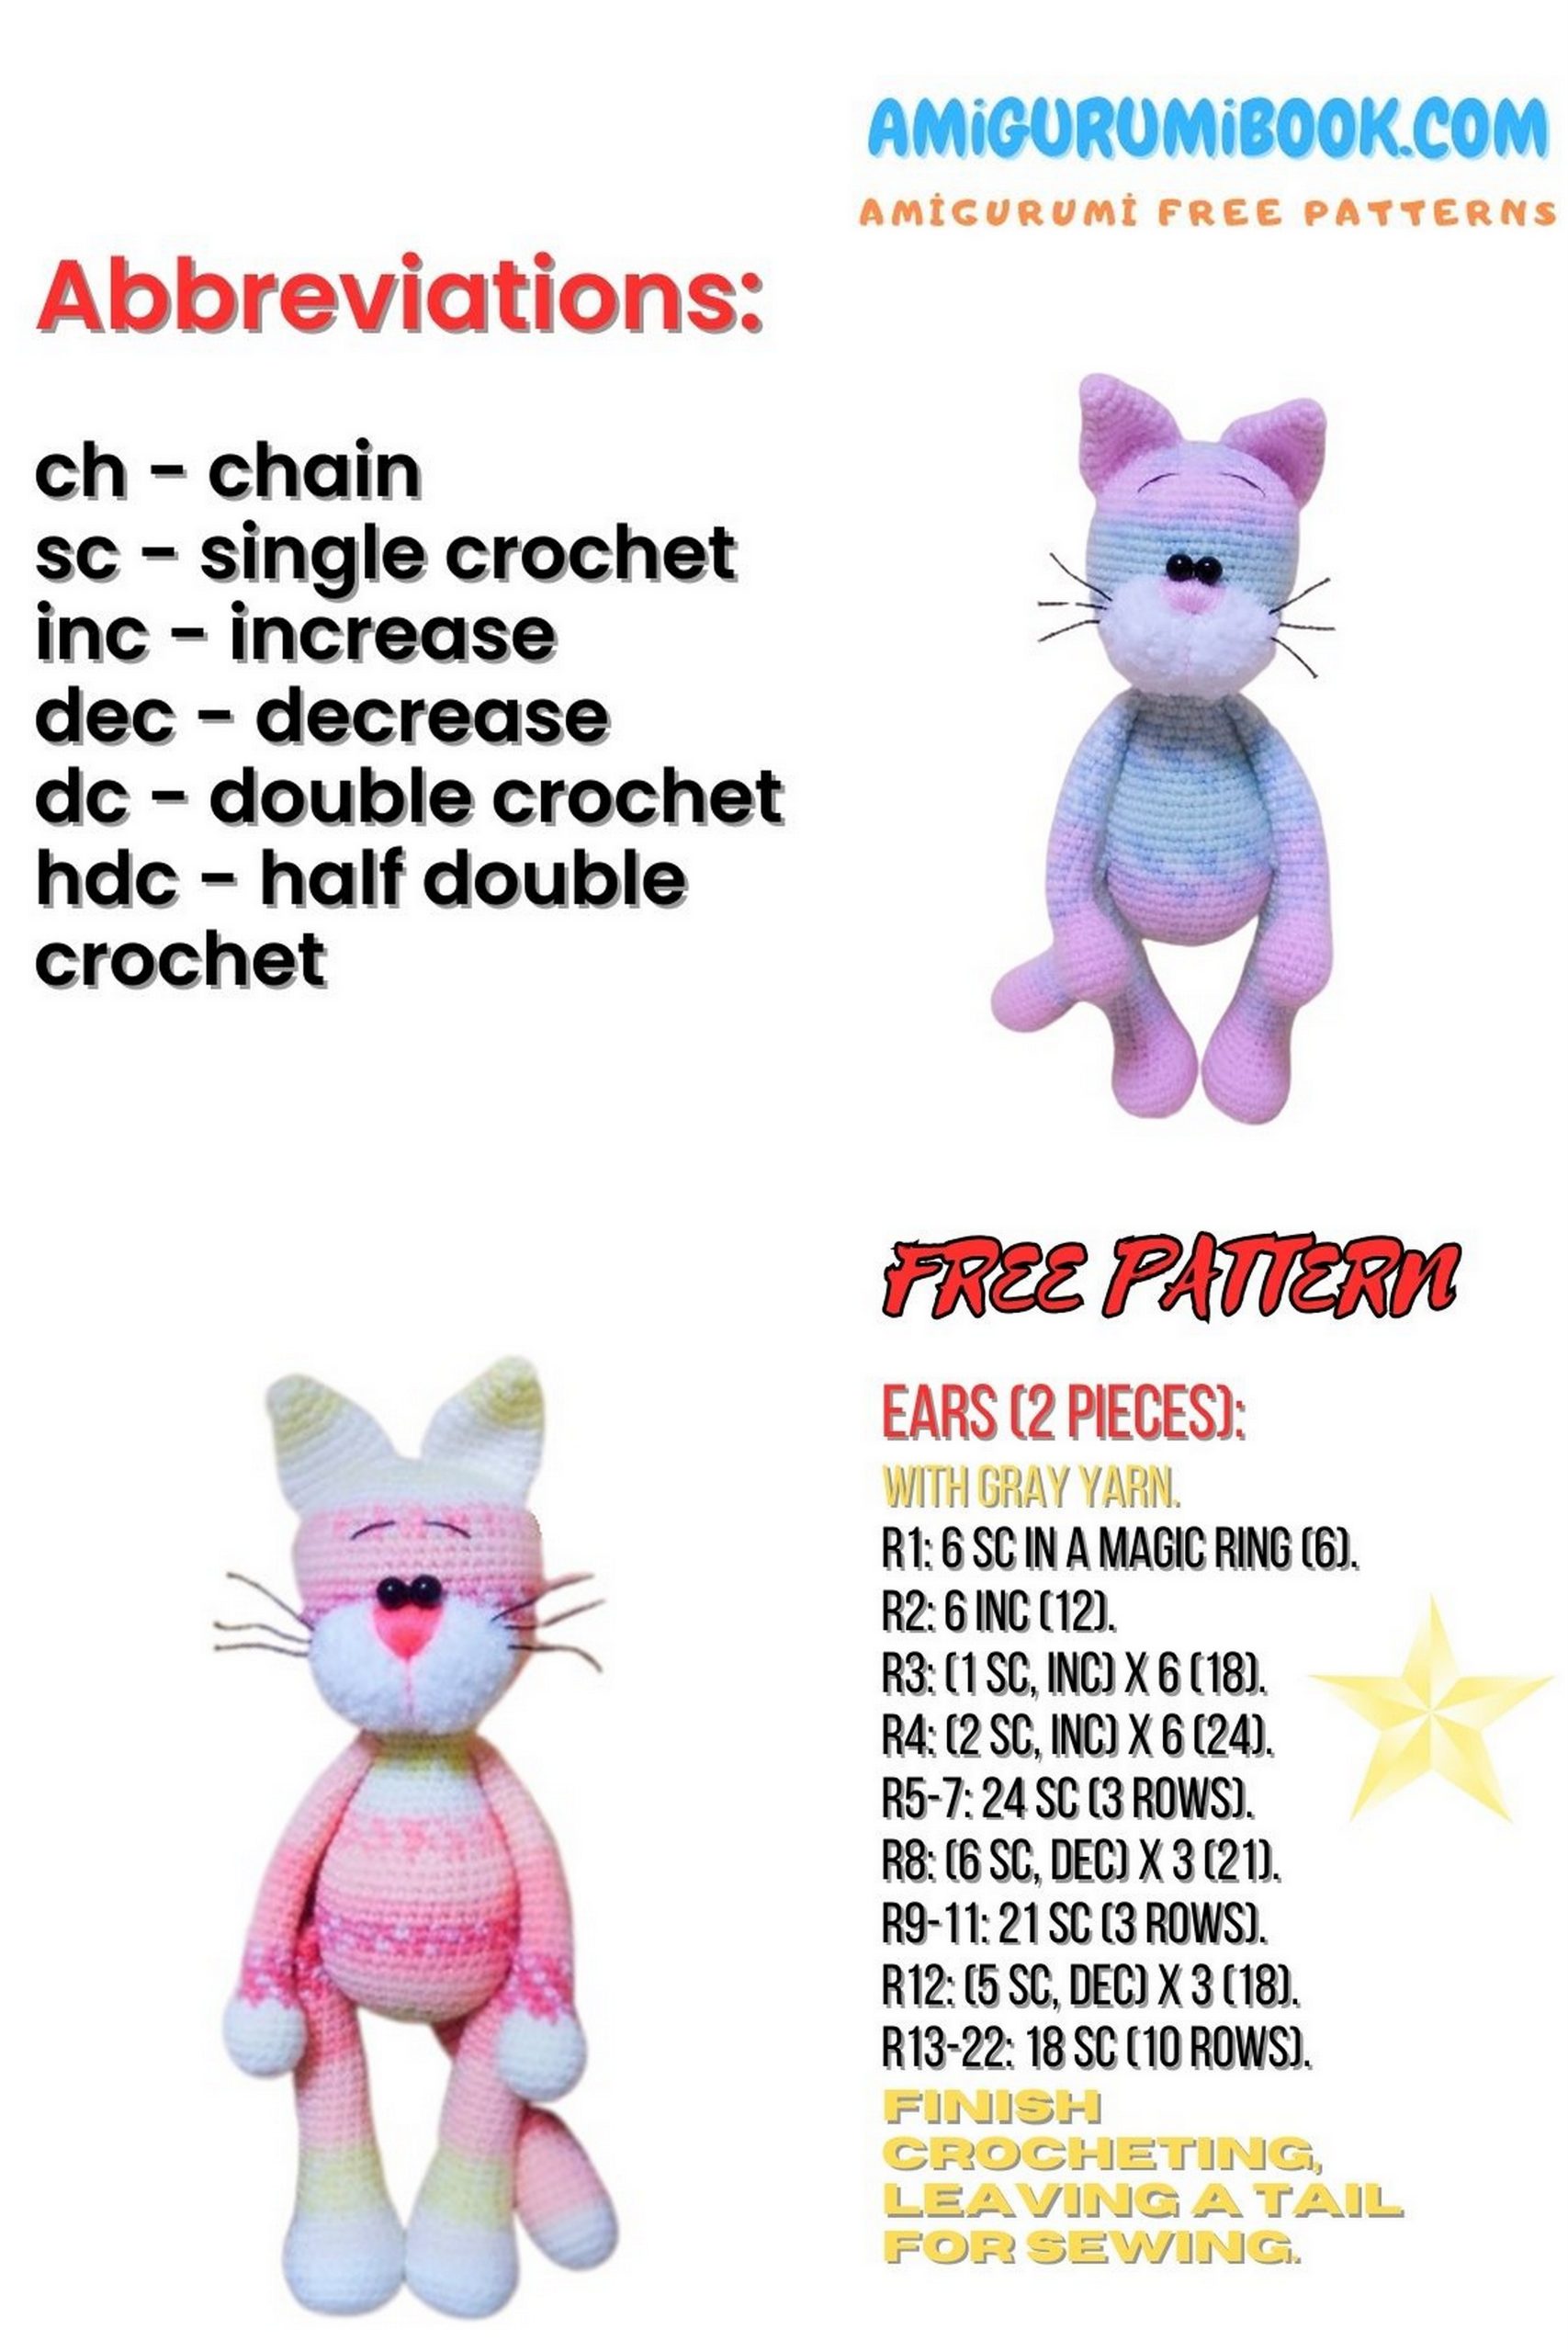
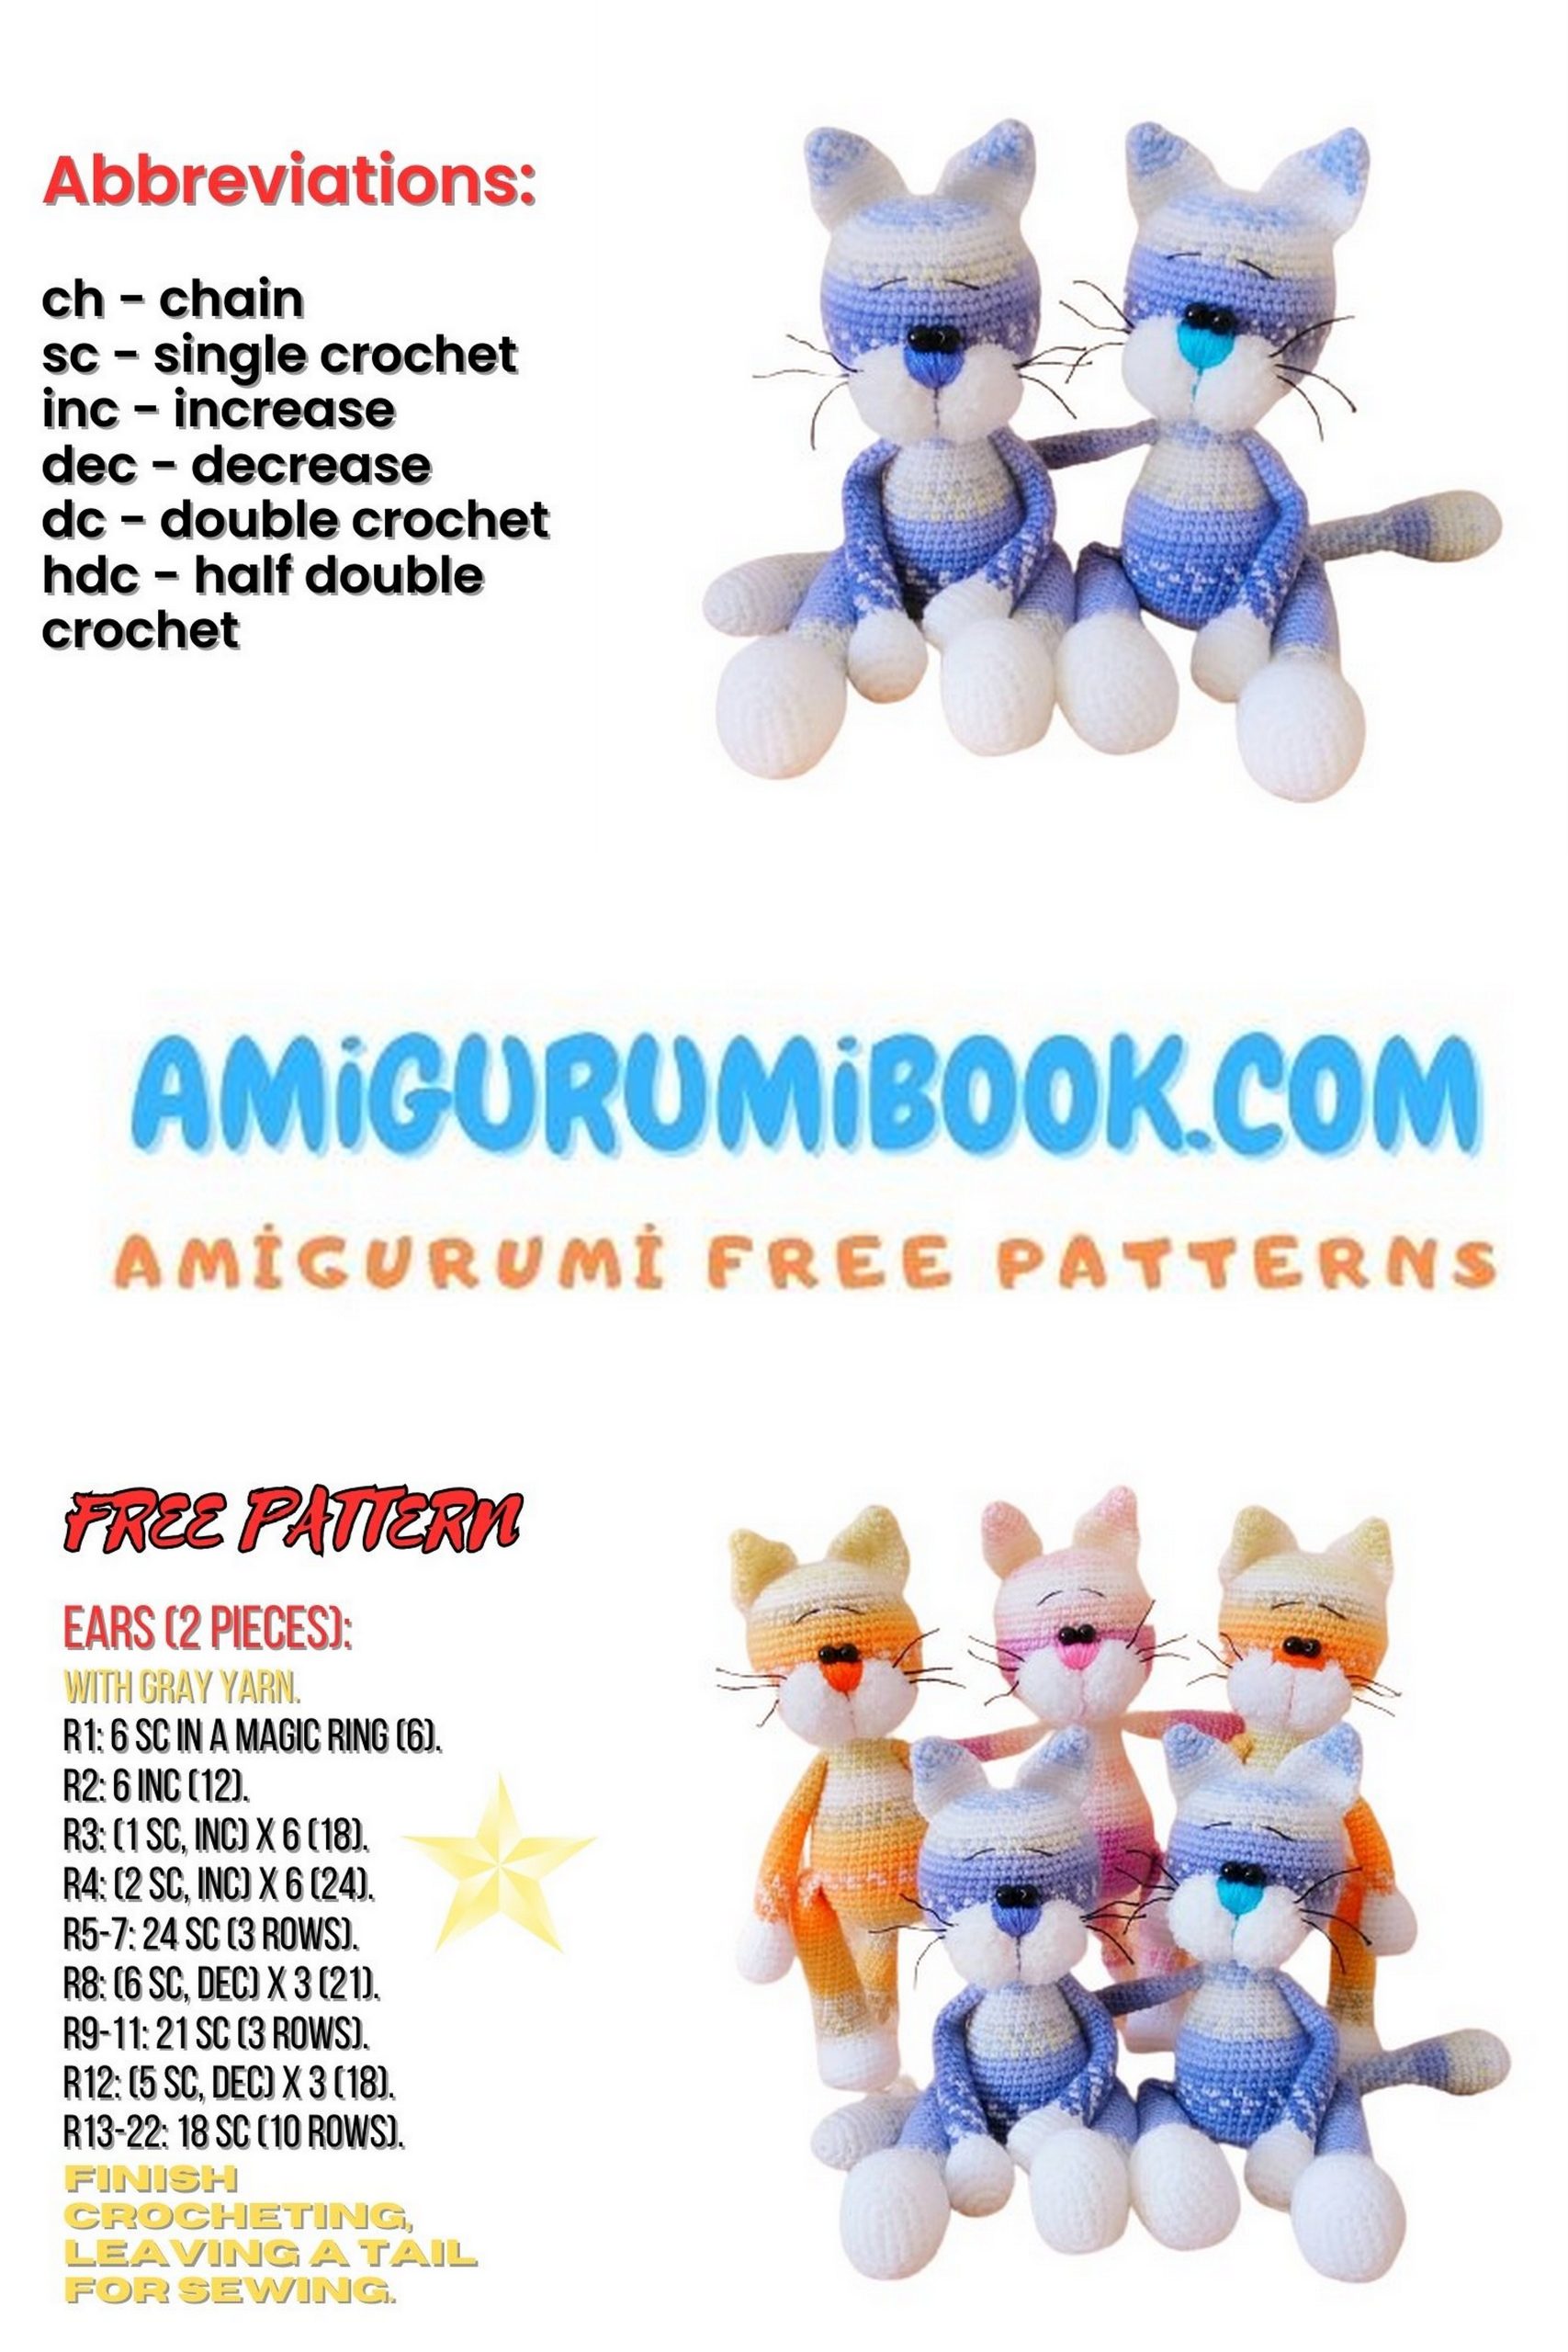
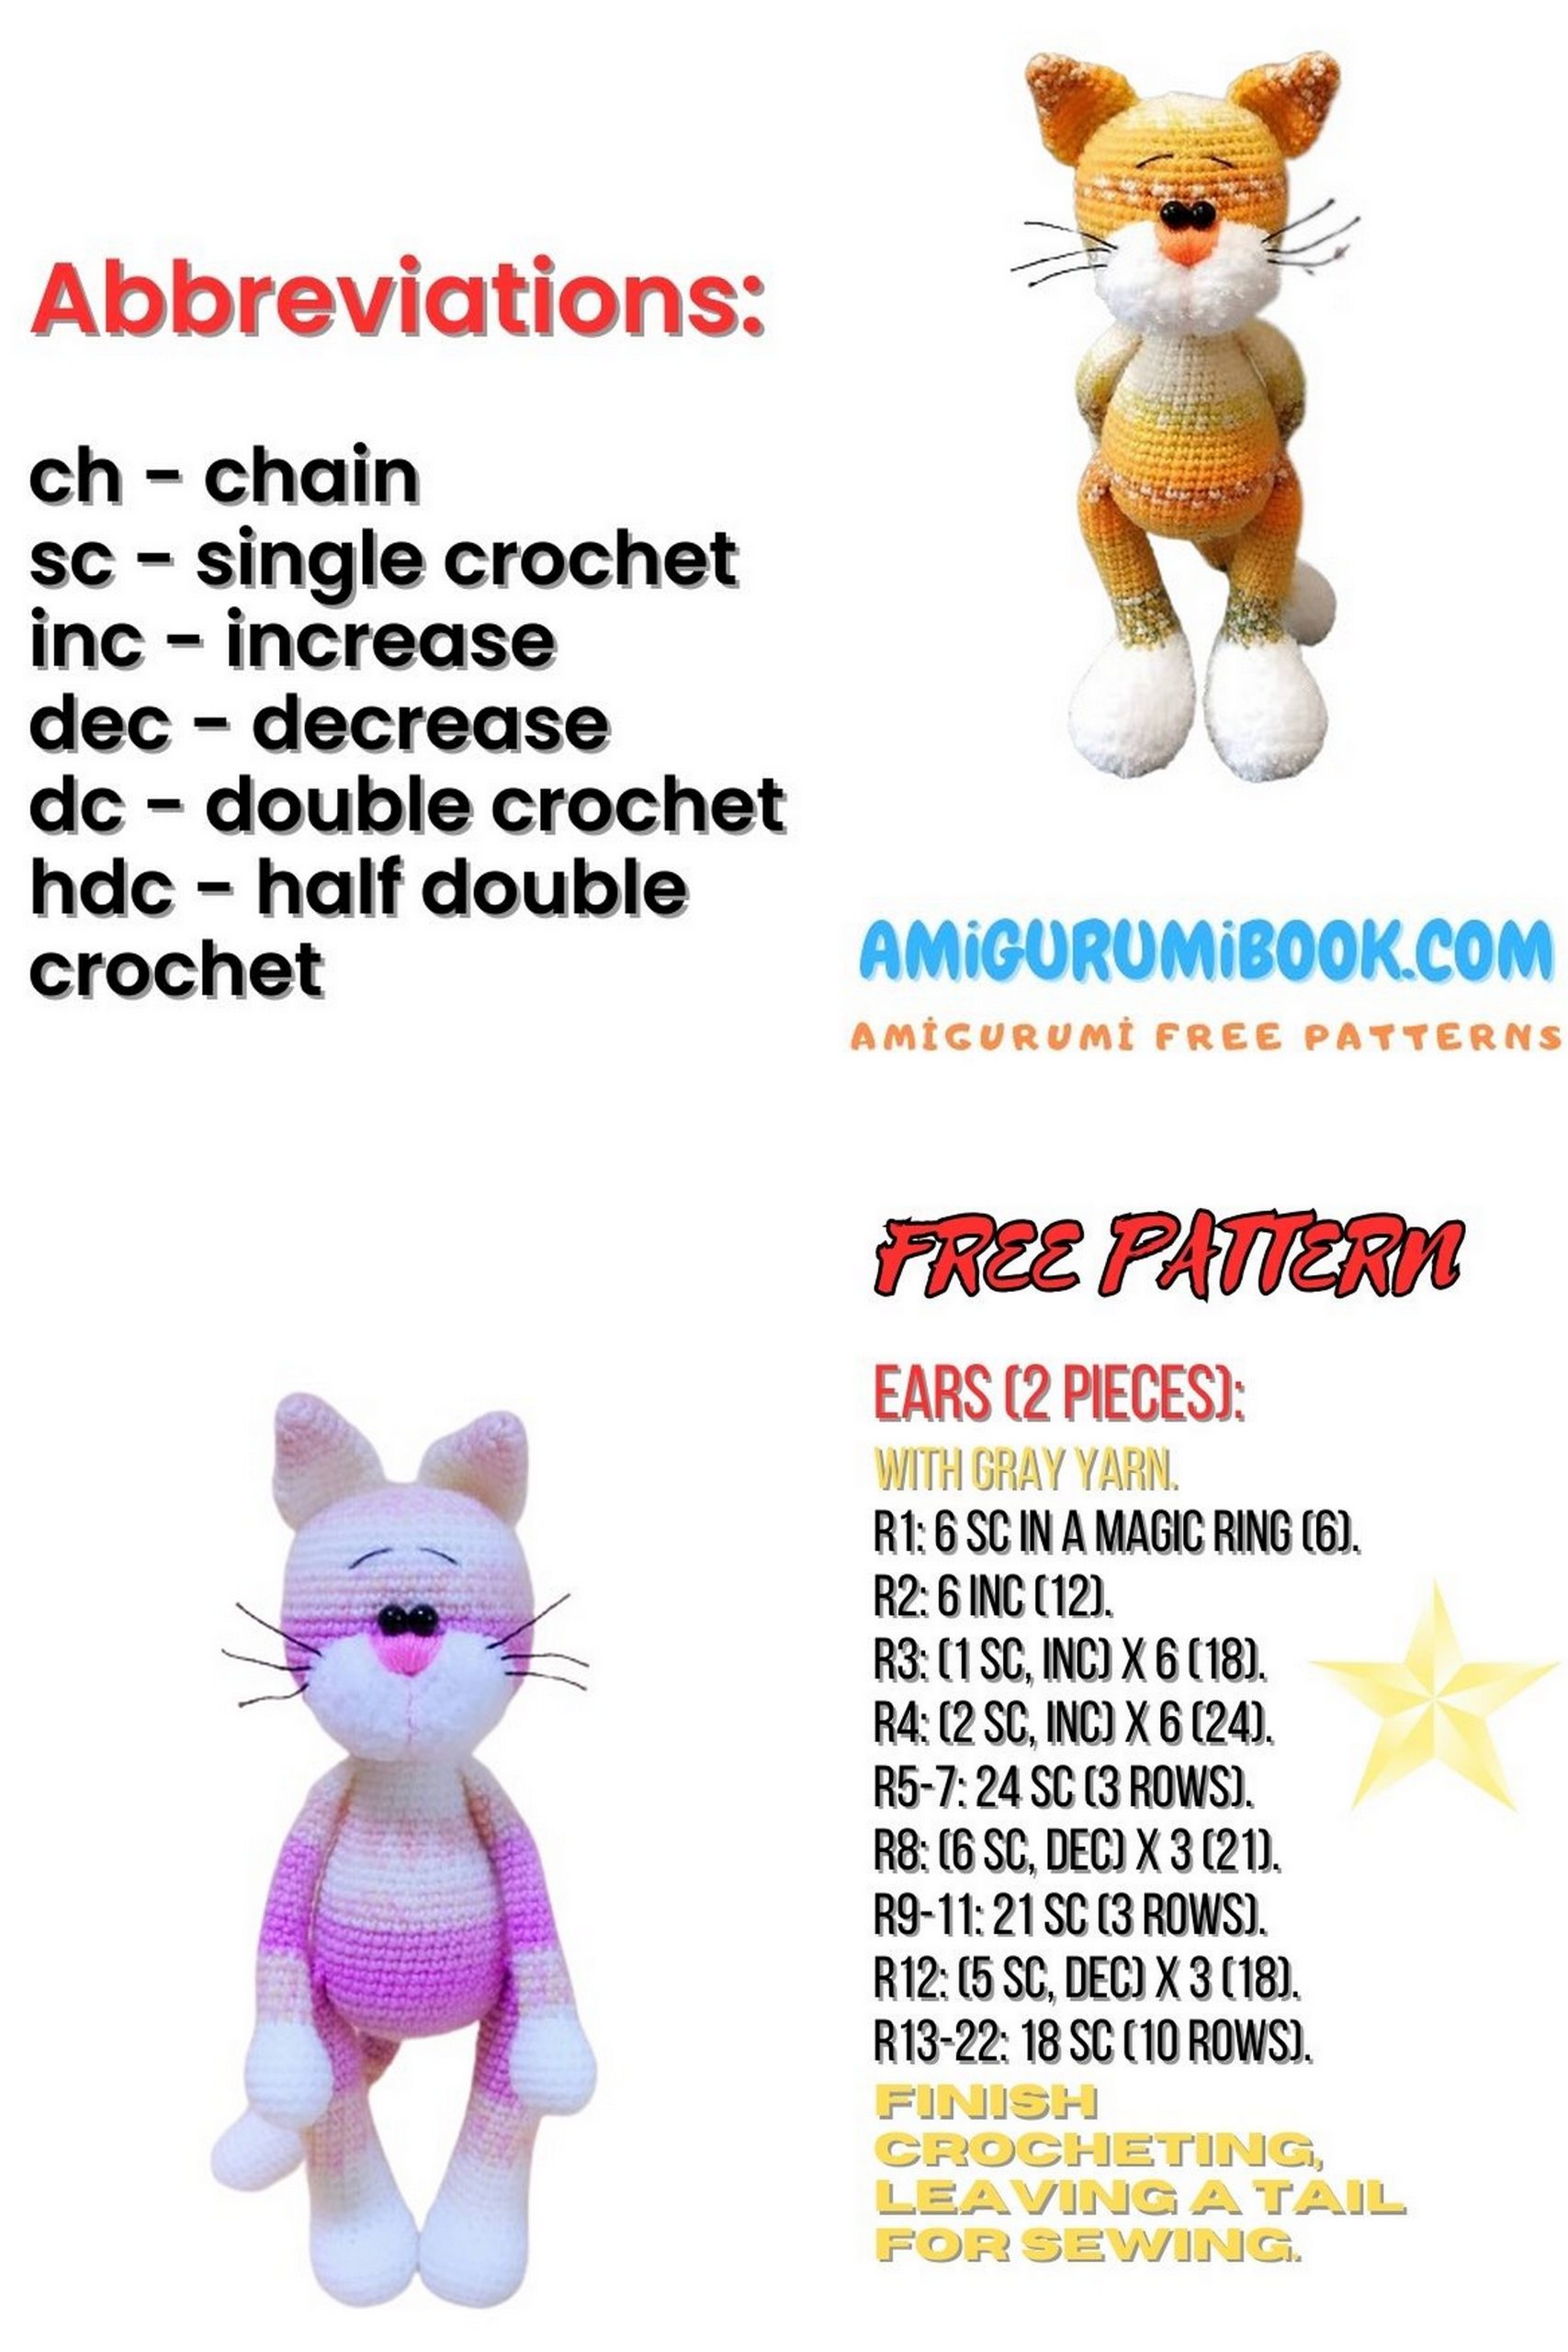
Ears (2 pieces)
1 Row: 6 SC in MR (6)
2 Row: (1 SC, INC)*3 times (9)
3 Row: 9 SC
4 Row: (2 SC, INC)* 3 times (12)
5 Row: (3 SC, INC)* 3 times (15)
6 Row: (4 SC, INC)* 3 times (18)
7 Row: (5 SC, INC)* 3 times (21)
8 Row: (5 SC, DEC)* 3 times (18)
Do not stuff the ears with filling.
Fold the piece in half and crochet 9 SC across both edges, closing the hole.
Leave a long thread for sewing.
Muzzle
Alize Softy Yarn
Crochet a chain of 4 CH.
Work on both sides of the chain to form an oval.
1 Row: Start from the second loop from the hook: 2 SC, 3 SC in the last loop, turn, on the other side of the chain: 1 SC, INC (8)
2 Row: INC, 1 SC, 3 INC, 1 SC, 2 INC (14)
3 Row: INC, 3 SC, INC, 2 SC, INC, 3 SC, INC, 2 SC (18)
4 Row: 1 SC, INC, 4 SC, INC, 3 SC, INC, 4 SC, INC, 2 SC (22)
5 Row: INC, 7 SC, INC, 2 SC, INC, 7 SC, INC, 2 SC (26)
6 Row: 1 SC, INC, 8 SC, INC, 3 SC, INC, 8 SC, INC, 2 SC (30)
7 Row: 30 SC
Leave a long thread for sewing.
Tail
1 Row: 6 SC in MR (6)
2 Row: INC*6 times (12)
3 Row: (1 SC, INC)*6 times (18)
4 Row: (5 SC, INC)* 3 times (21)
5-10 Row: 21 SC
11 Row: (5 SC, DEC)* 3 times (18)
12 Row: 18 SC
13 Row: (4 SC, DEC)* 3 times (15)
14 Row: 15 SC
15 Row: (3 SC, DEC)* 3 times (12)
16-34 Row: 12 SC
Fold the piece in half and crochet 6 SC across both edges, closing the hole.
Leave a long thread for sewing.
Embroider the nose and eyebrows and use black yarn to create whiskers.
1️⃣ Head and Body
If the head and body were crocheted separately:
- Stuff both pieces firmly.
- Position the head centered on top of the body.
- Secure with pins.
- Sew around evenly using a yarn needle.
- Tighten slightly while sewing to avoid a visible neck gap.
If worked as one piece, simply shape the neck area while stuffing to keep the head stable.
2️⃣ Muzzle
- Lightly stuff the muzzle before attaching.
- Place it centered on the face between the eyes.
- The top edge of the muzzle should align approximately with the lower eye level.
- Sew around carefully using small stitches.
After sewing:
- Embroider the nose.
- Add whiskers and mouth details.
3️⃣ Ears
- Flatten the ears slightly before sewing.
- Position them symmetrically on the top of the head.
- The bottom of each ear should sit slightly angled outward.
- Secure with pins first, then sew firmly.
4️⃣ Arms
- Stuff lightly.
- Position arms on both sides of the body, slightly below the neck.
- Make sure they are even and aligned.
- Sew securely.
5️⃣ Legs
- Stuff firmly for stability.
- Attach to the lower front of the body.
- Ensure the cat can sit properly.
- Adjust placement before final sewing.
6️⃣ Tail
- Stuff lightly.
- Attach to the lower back of the body.
- Slightly curve the tail while sewing for a natural look.
7️⃣ Final Details
- Insert safety eyes if not already attached.
- Embroider eyebrows and facial expression.
- Adjust stuffing for a smooth shape.
- Brush the surface lightly if needed to remove loose fibers.
✨ Your Colorful Amigurumi Cat is now complete!