
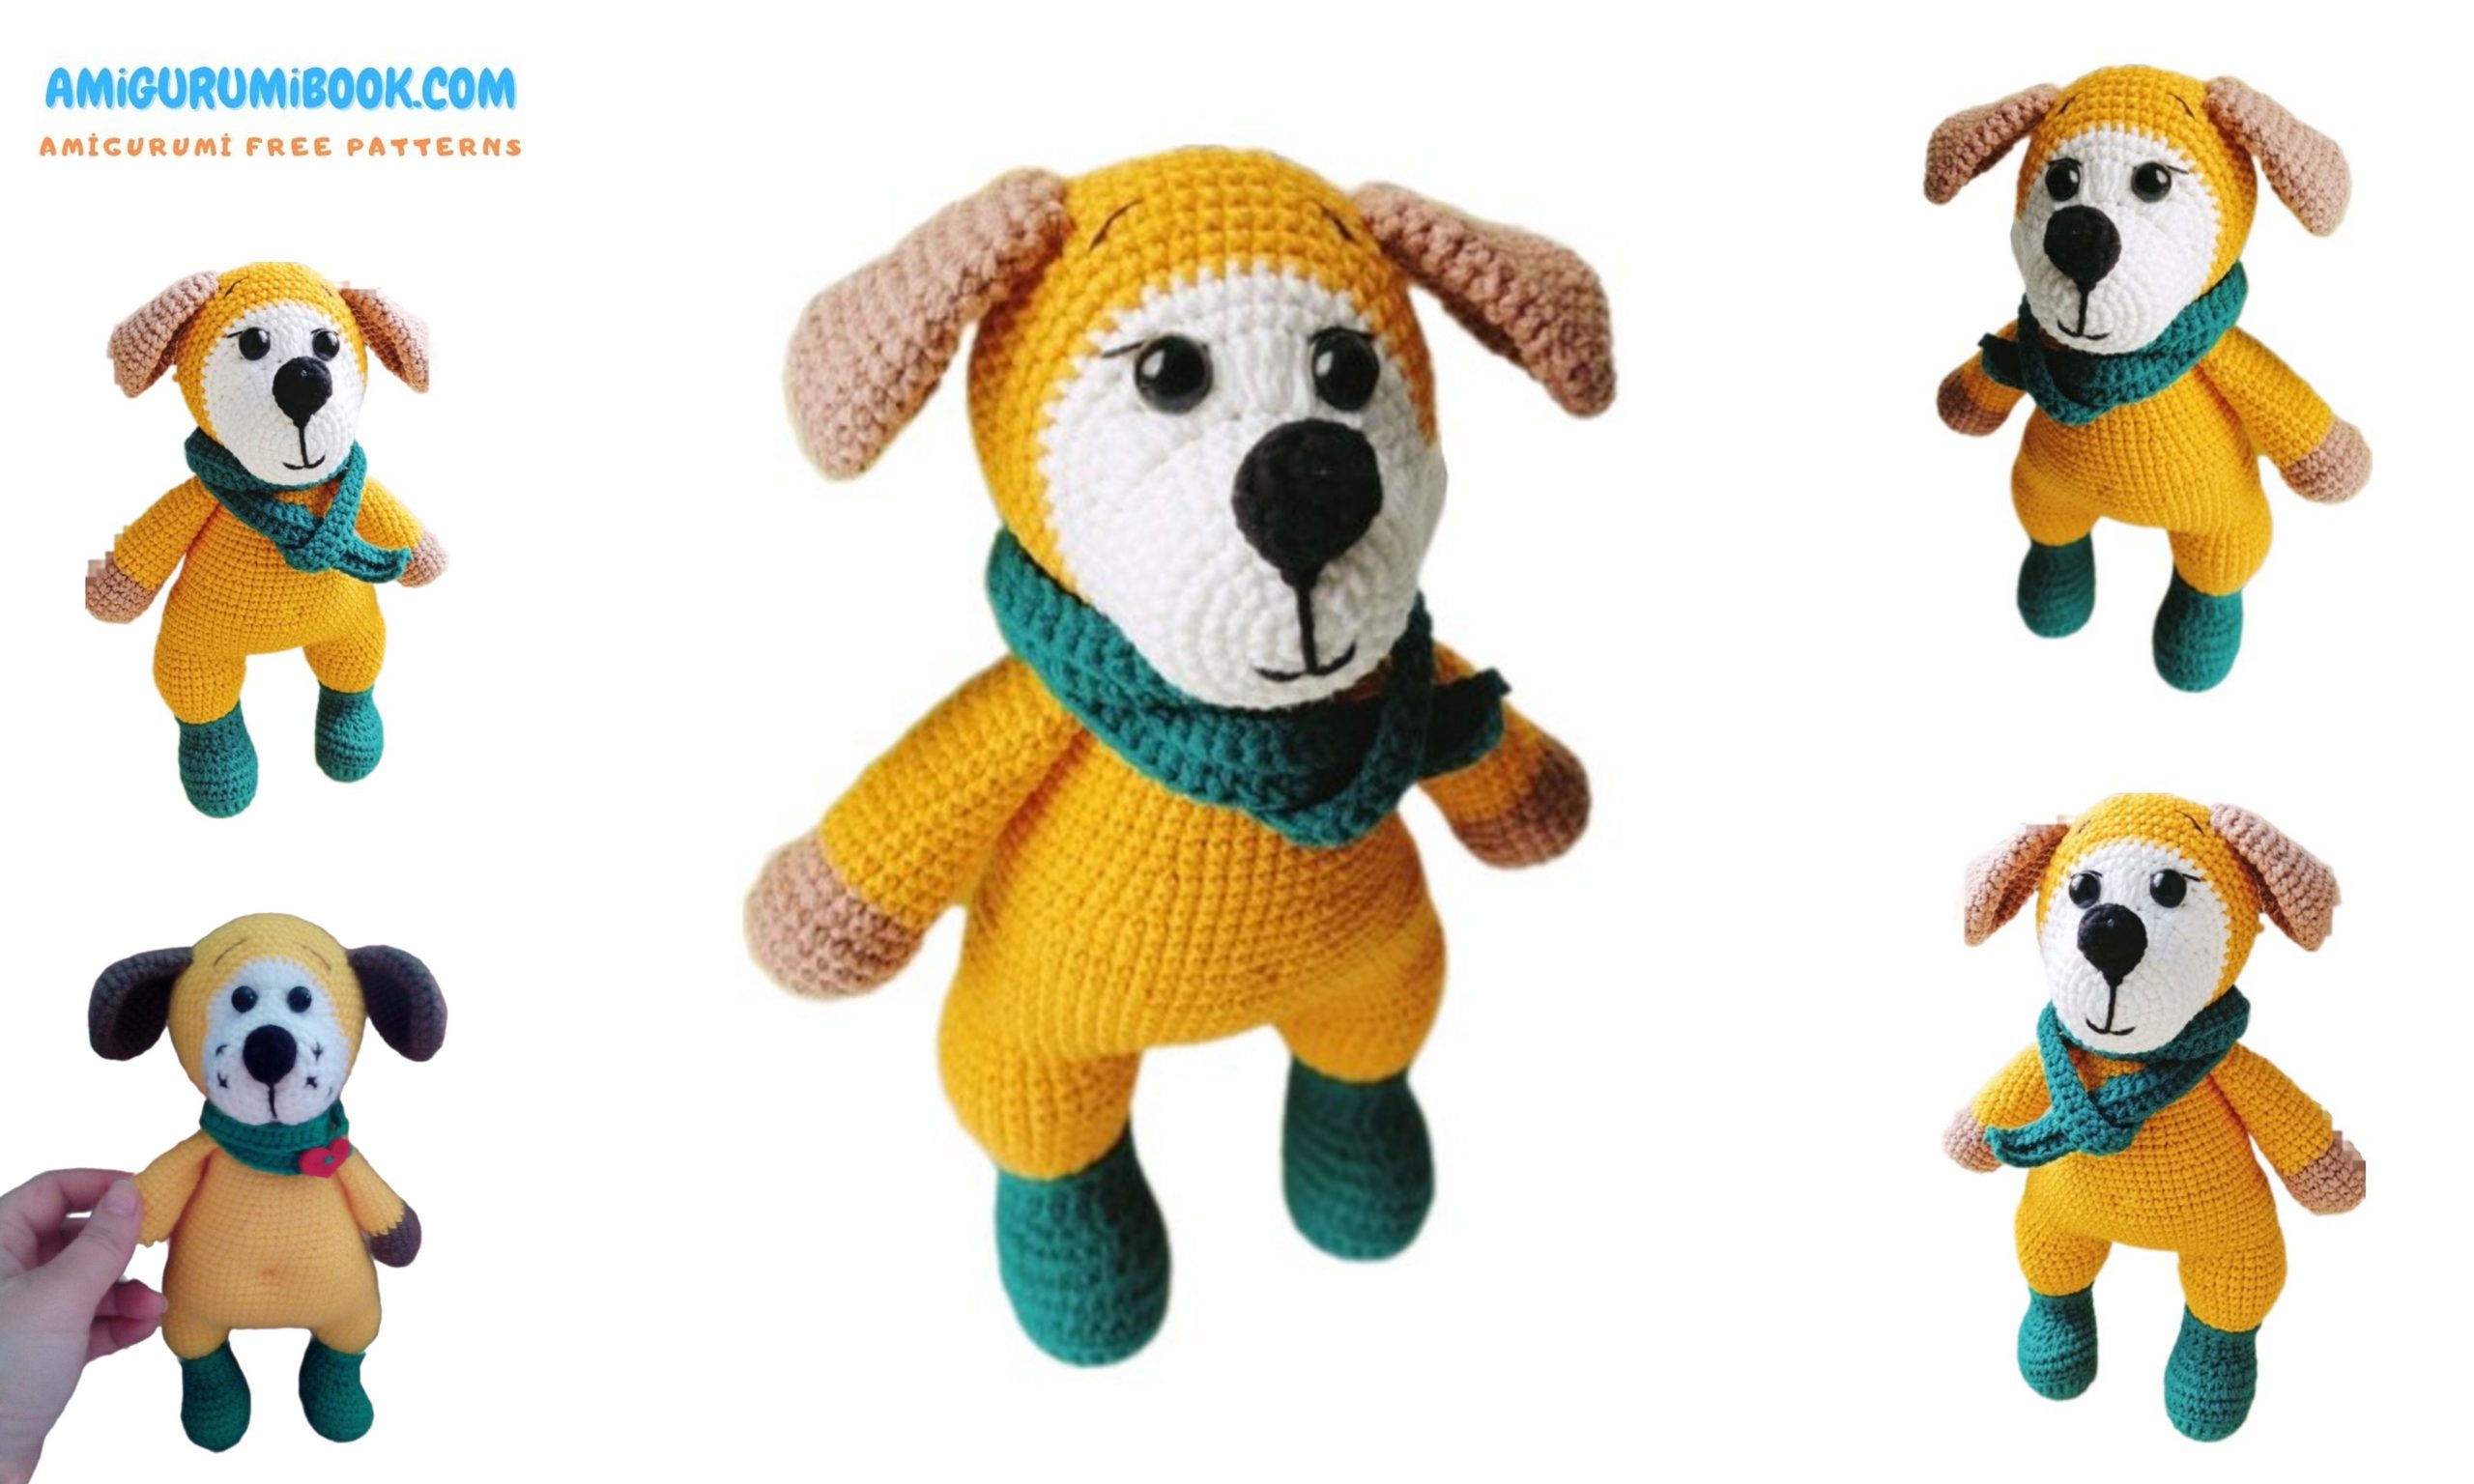
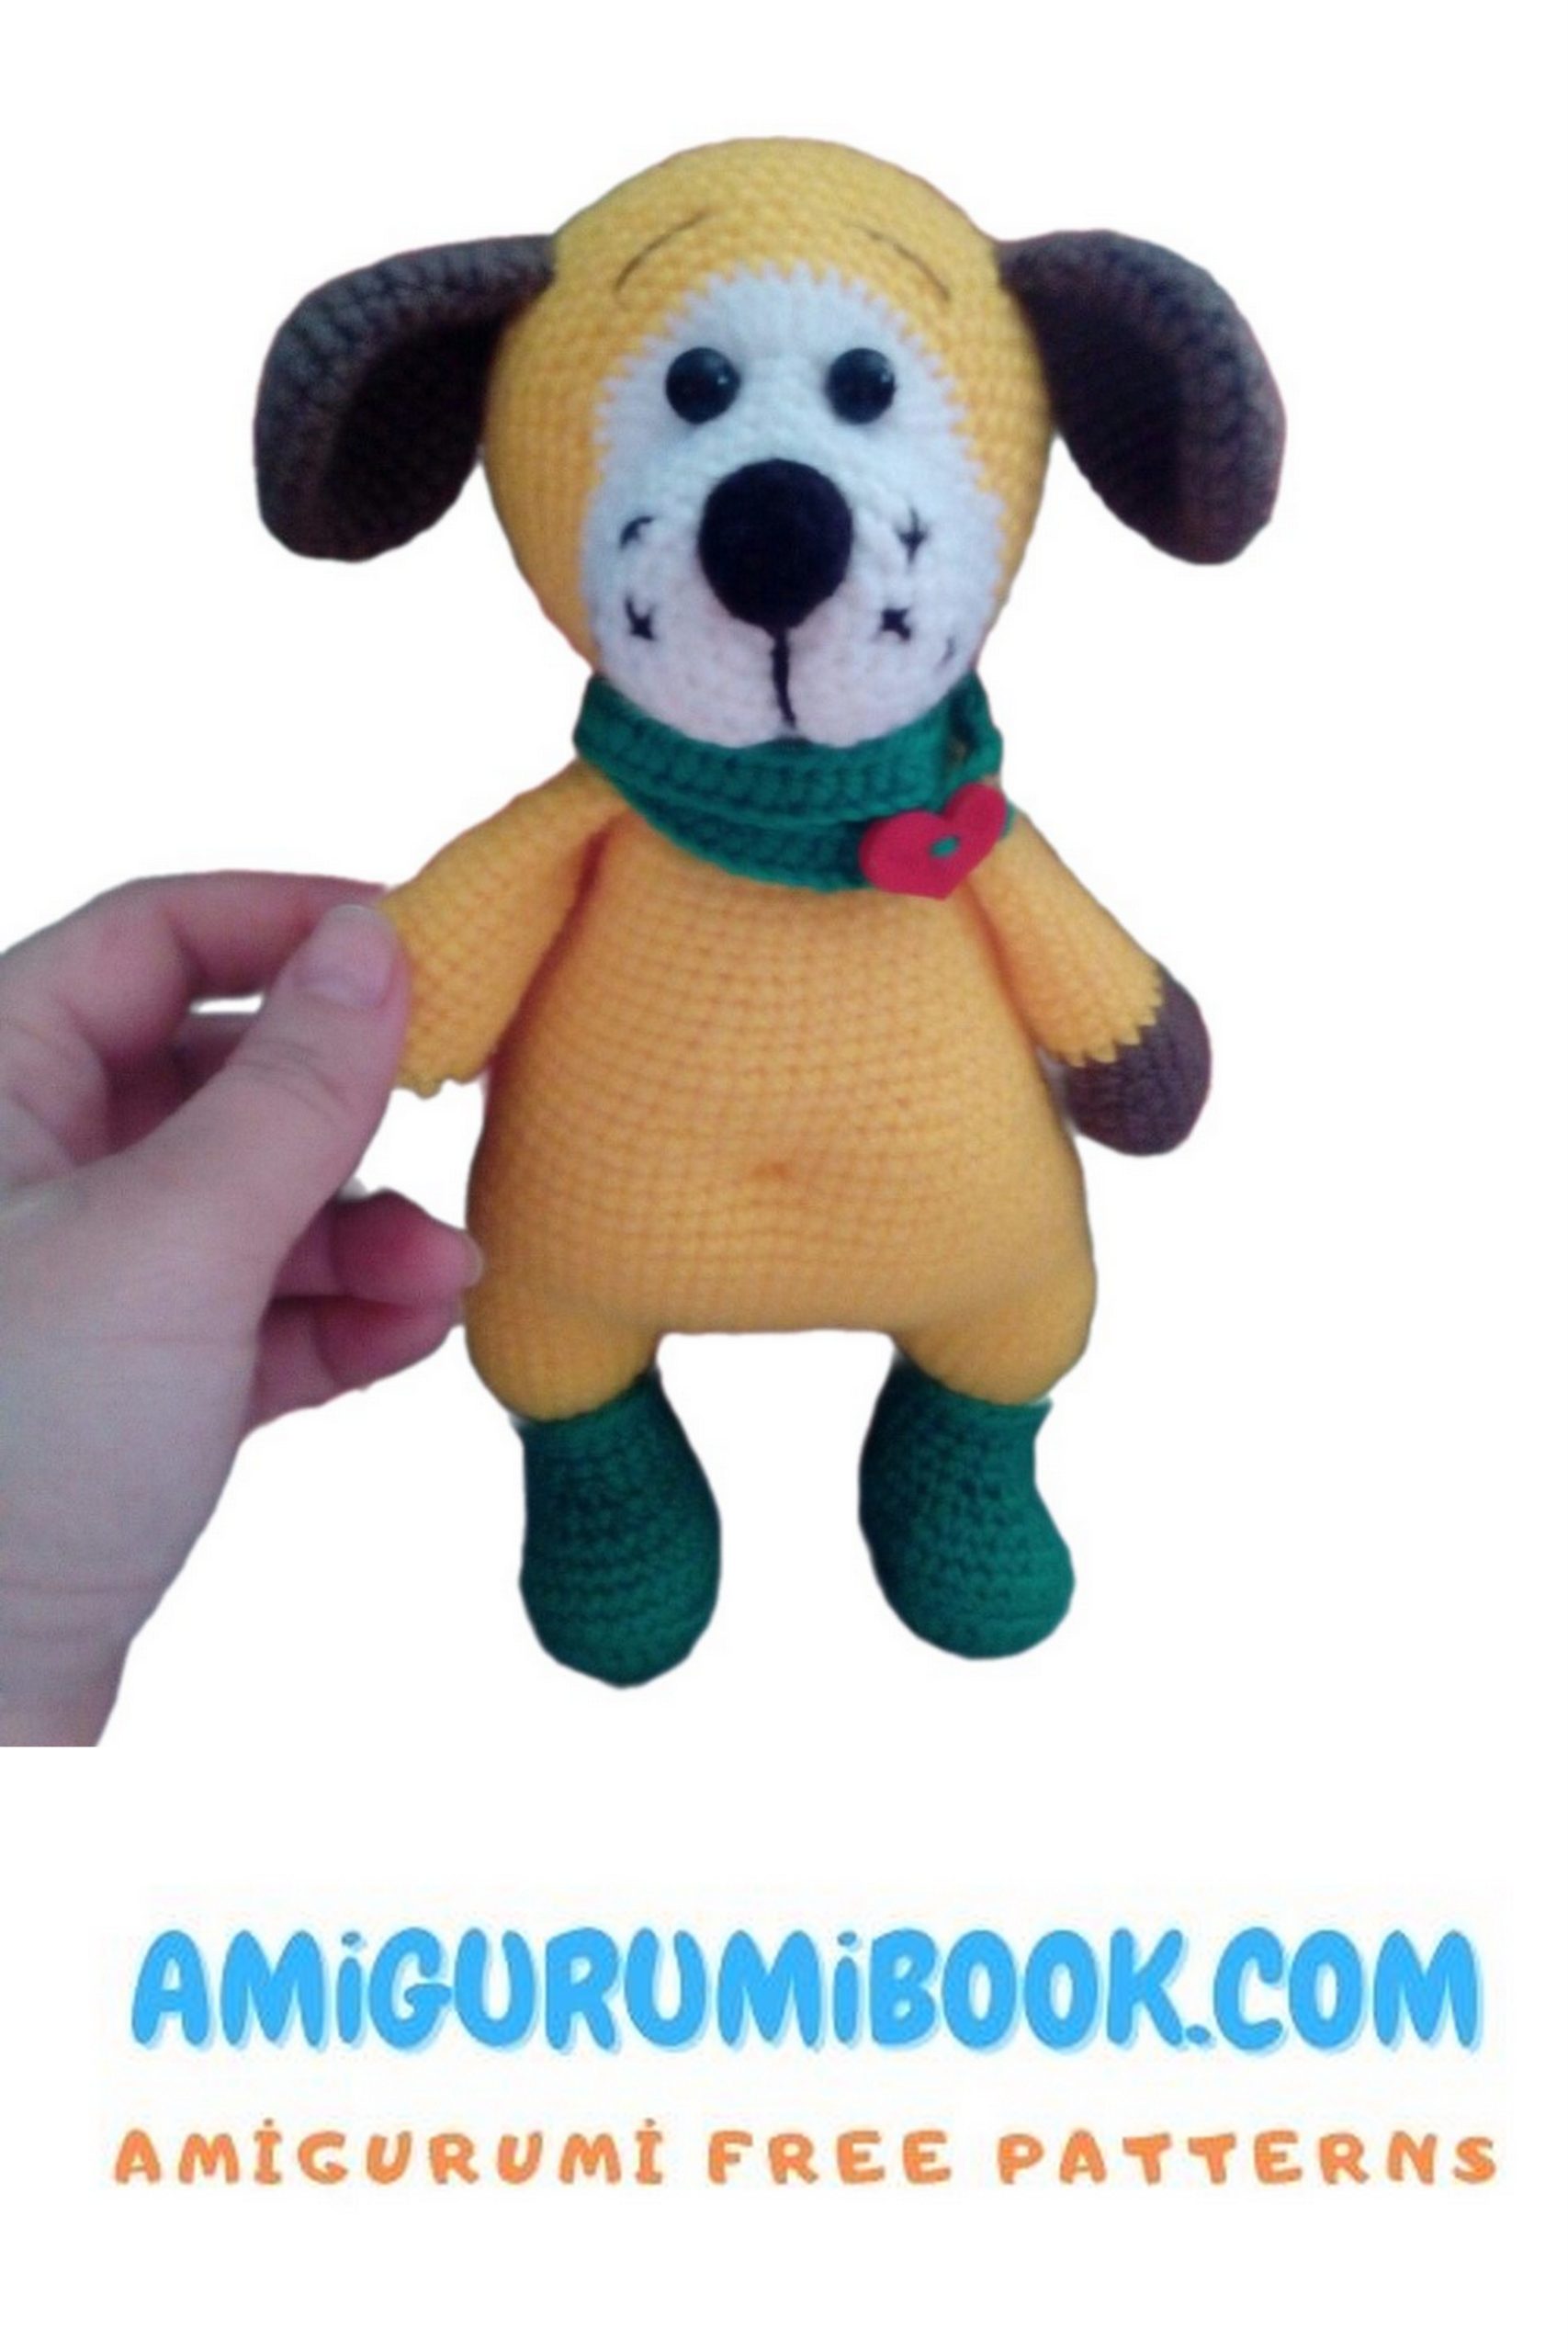
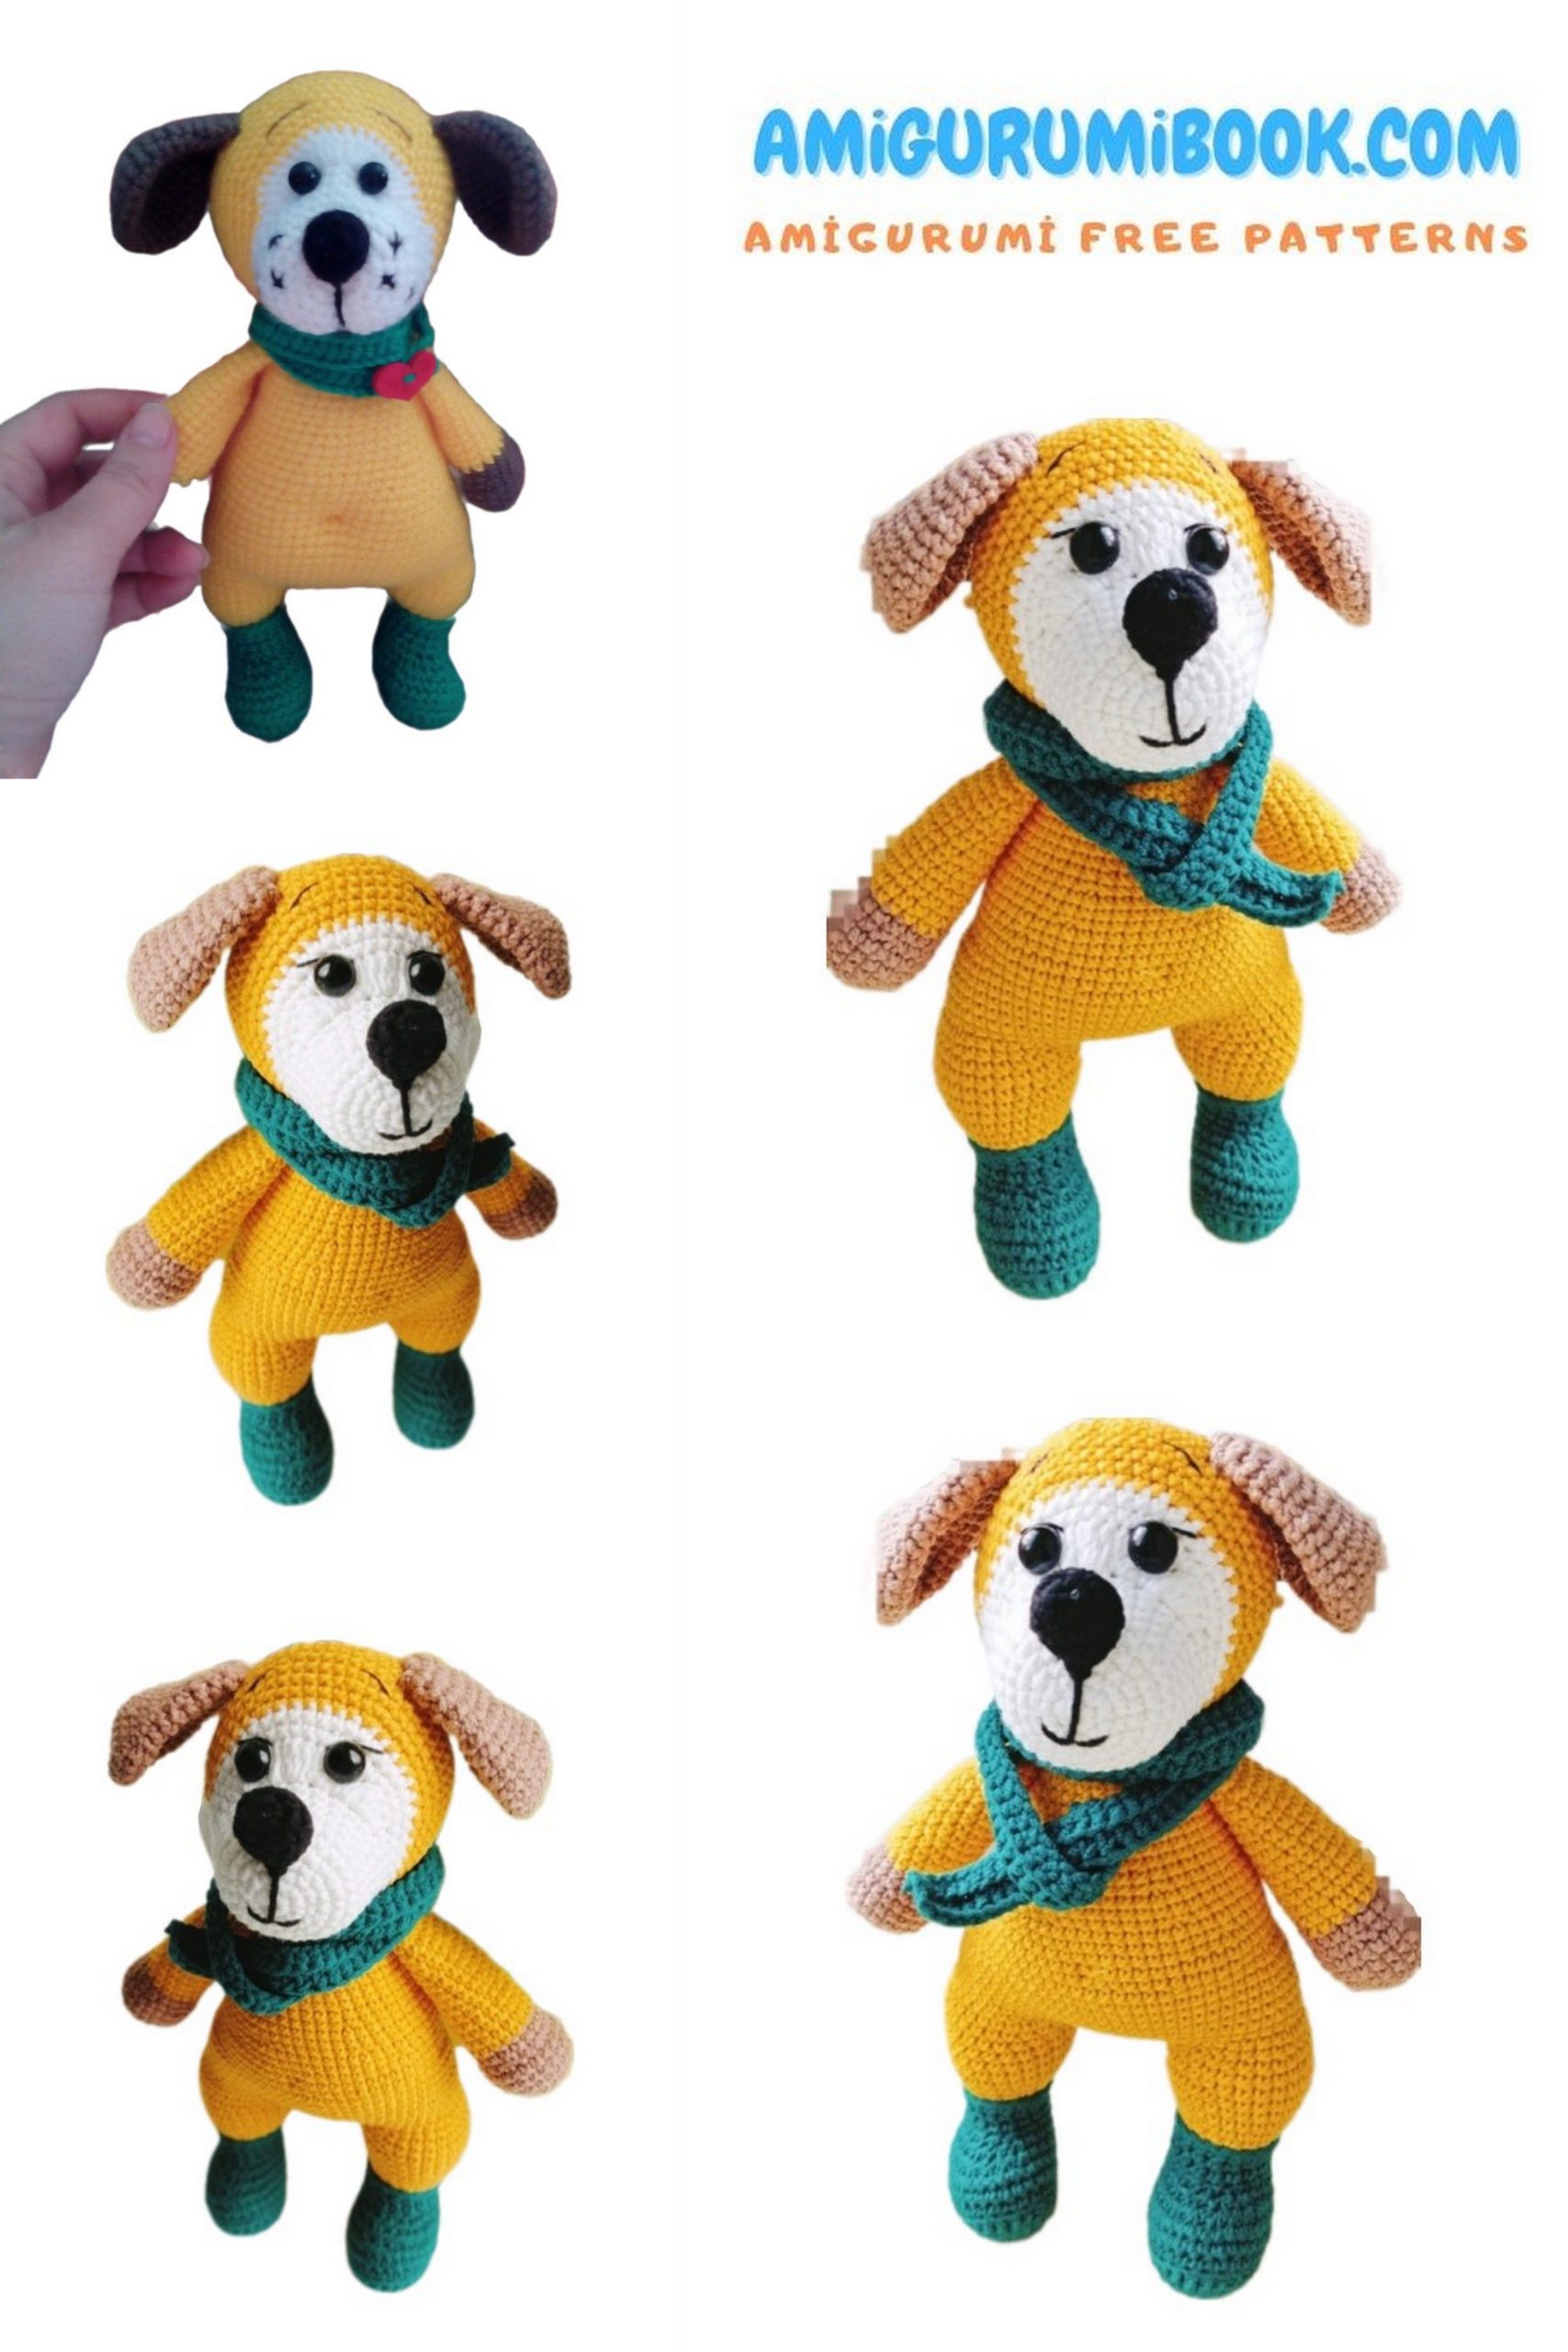
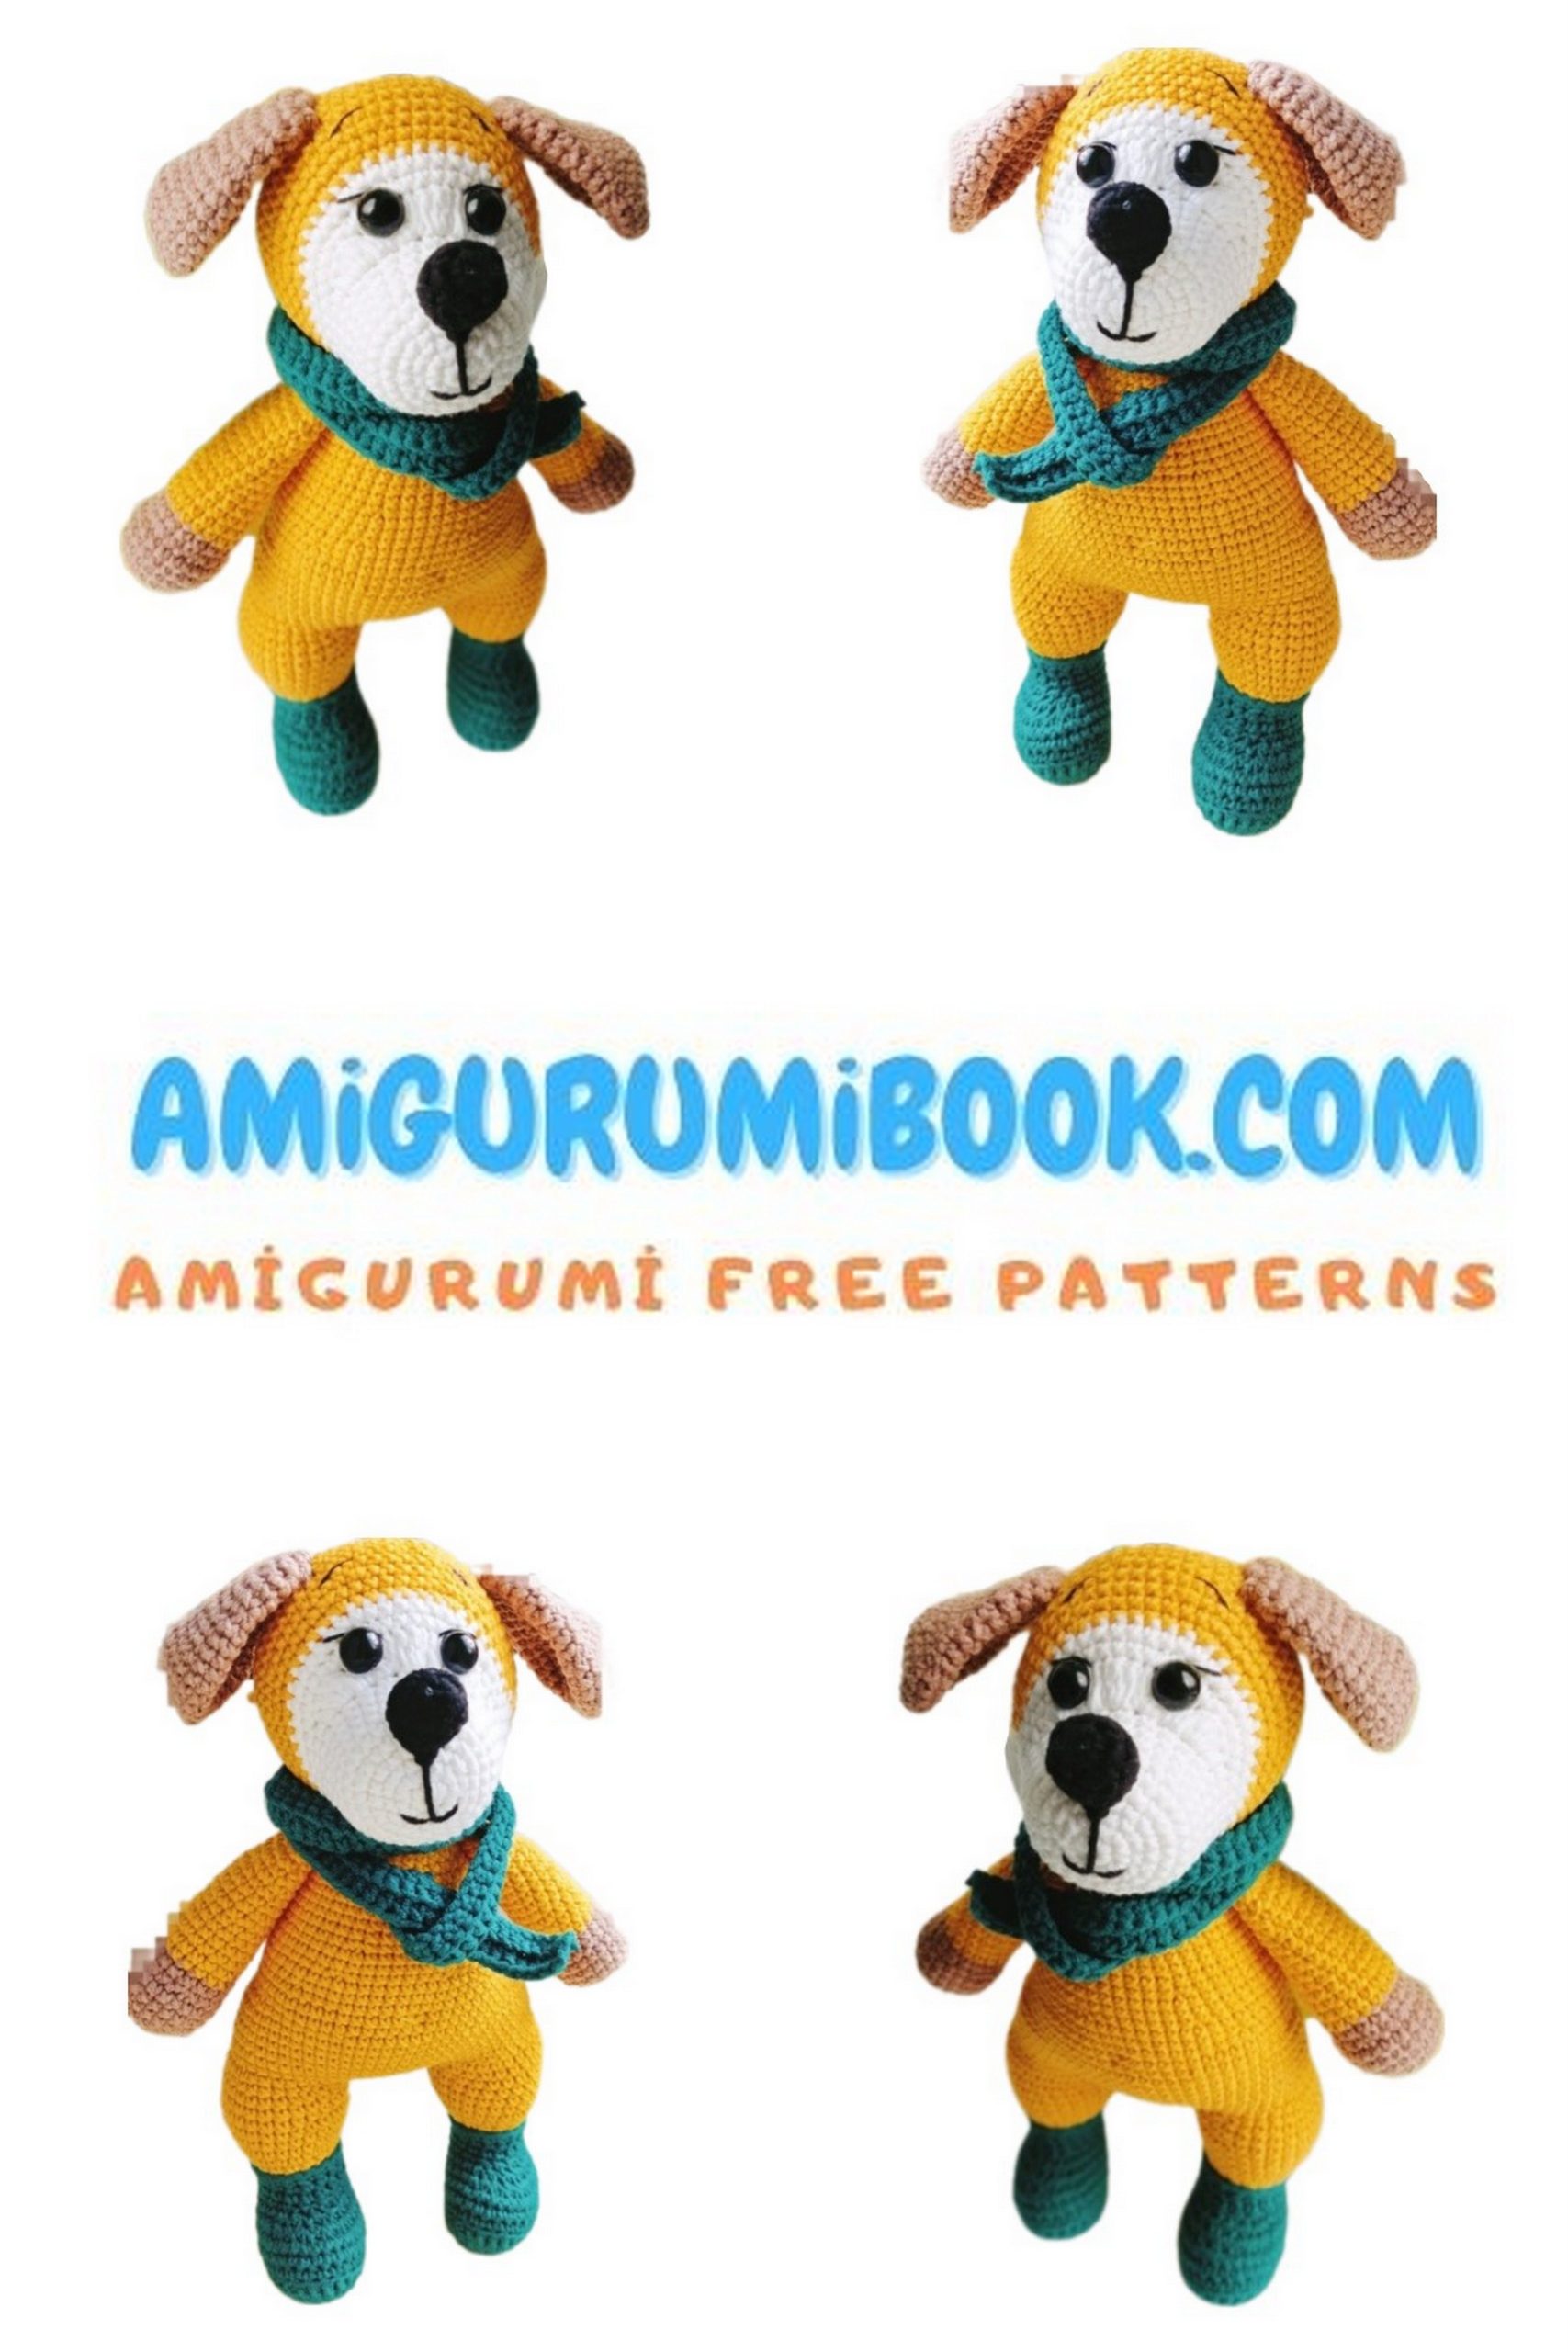
Welcome to our adorable world of crochet! If you’re searching for a charming project to bring to life, look no further than our Amigurumi Puppy Dog Free Pattern. This delightful crochet toy tutorial will guide you through every stitch, ensuring you create a cuddly companion that’s as cute as can be. Whether you’re a seasoned crocheter or just starting out, this pattern is perfect for all skill levels. So grab your yarn and hook, and let’s crochet a lovable puppy together!
Hello! I managed to come up with my own puppy))) Probably, like any craftsman, I’m proud of my toy, and I hope you’ll like it too. Of course, I want to learn how to nicely decorate, photograph, for some reason, at first, there was just a desire to crochet and simply show the result, but now that’s not enough, and I need to improve…
Since I’m trying to write instructions for the first time, please don’t scold me too much)))
I have another great suggestion for amigurumi dog lovers: amigurumi tiny dog.
If you want to access 1000+ free amigurumi patterns, you can download our application from this link!
So, here’s what we’ll need:
Any yarn and a crochet hook of
the appropriate size,
Stuffing,
Bead eyes.
I won’t write “single crochet” in every line, I’ll just indicate the number of stitches, and where needed, “sc” and “ss” will be specified. Some people write instructions using commas, but I find it more convenient to use plus signs.
“2 ch” means a turning chain.
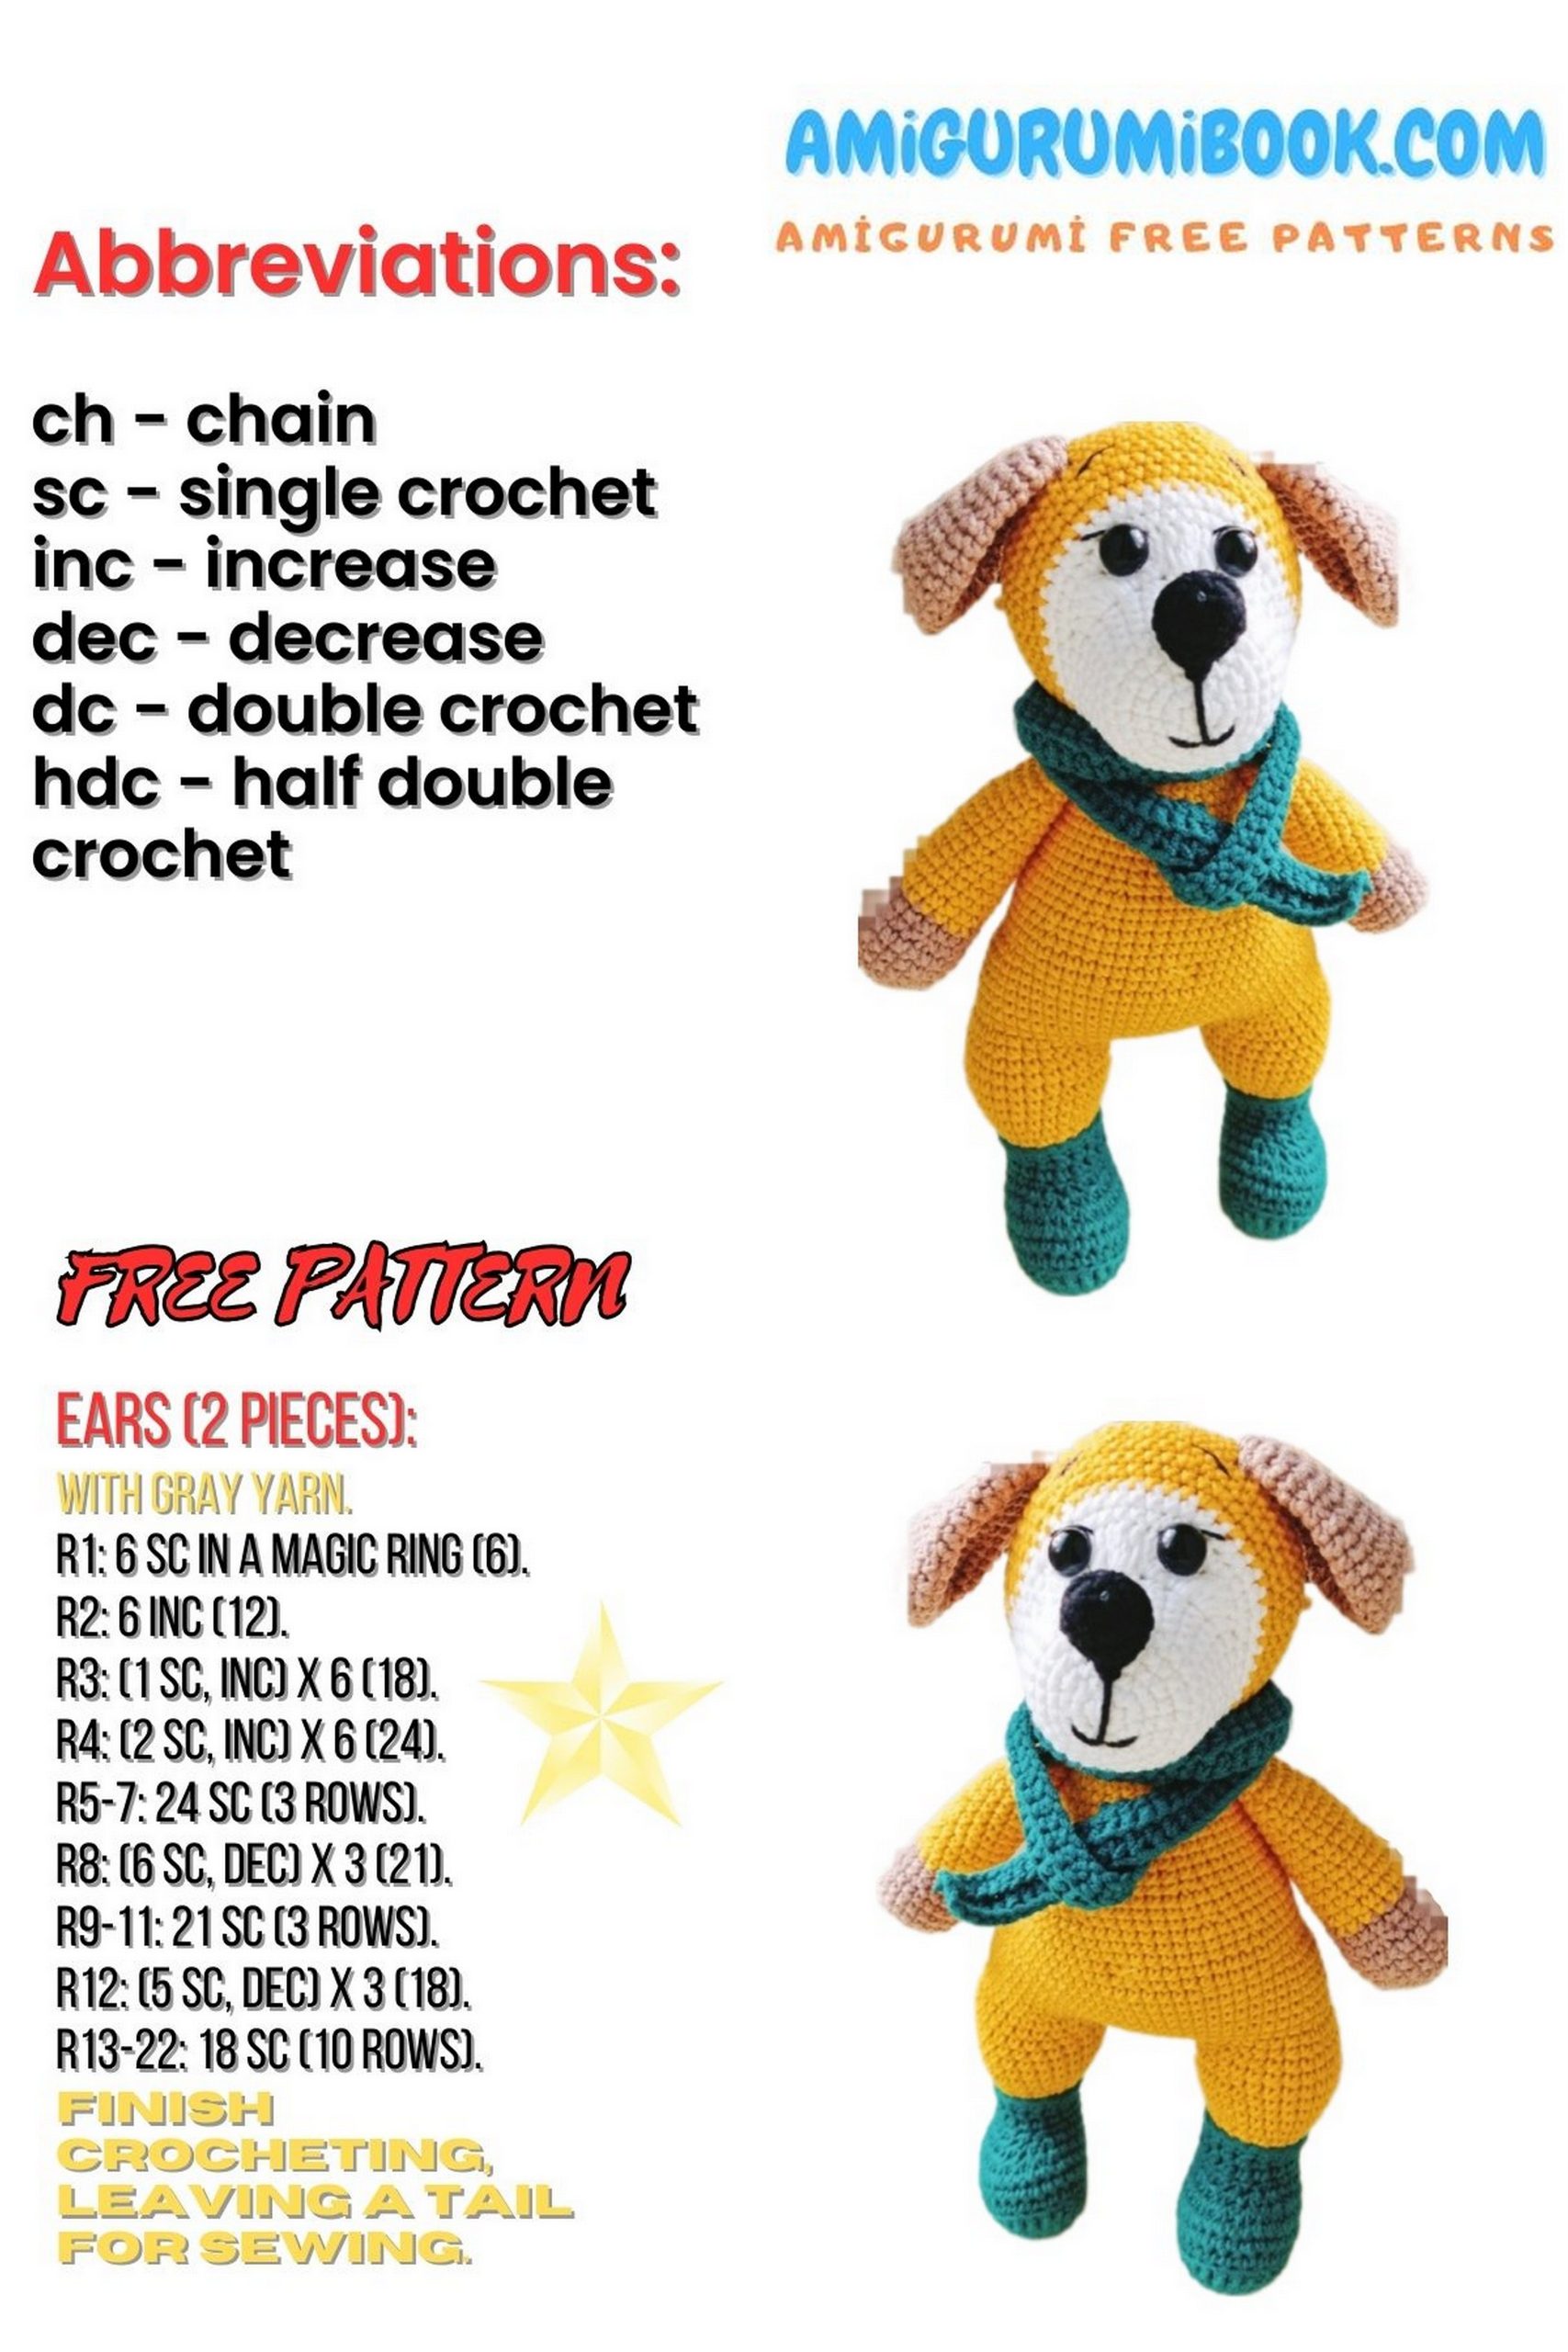
“ch” – chain stitch.
Stage 1: Puppy Dog
The legs and body are crocheted as one piece, stuffed as you go.
Start with the color for the booties.
1: 7 ch (crochet from the 2nd chain from the hook 3sc+4+5sc+4+ss=18
2: 2ss+3+3sc in ss+3ss from ss+3ss+3+ss=24
3: (1+ss)*2+3+3ss+(1ss+ss from ss)*3+3ss+4+ss+2 ch=30
4: crochet in back loops only 30
5-6: 30
7: 9+6dec+9=24
8: 8+4dec+8=20
9: 7+3dec+7=17
10: 17
11: 17+2 ch
12: 17 in front loops only. Secure the thread and cut.
13: Attach the body thread to the remaining back loops, crochet 17sc.
14: 17
15: (1+ss)*8+1=25
16-17: 25
Our leg is ready, crochet one more. Secure the thread on one leg, leave a loop on the other, and continue crocheting:
18: 8 around the leg+9 ch+25+9 around the ch+17=68
19: 68
20: 42+(ss+1)*5+16=73
21: 73
22: 25+(1+dec)*3+30+(dec+1)*3=67
23-28: 67
29: (dec+1)*3+10+ (1+dec)*6+22+ (dec+1)*3=56
30-31: 56
32: 30+dec+15+dec+7=54
33: 54
34: (7+dec)*6=48
35-36: 48
37: (6+dec)*6=42
38-40: 42
41: (5+dec)*6=36
42-44: 36
45: (4+dec)*6=30
46-48: 30
49: (3+dec)*6=24
50: 24+5 ch
Leave a long tail for sewing.
Stage 2: Puppy Dog
Head. Start with the color for the muzzle, stuff as you go.
1: 6 ch
2: 6ss=12
3: (1+ss)*6=18
4: (2+ss)*6=24
5: (3+ss)*6=30
6-10: 30
11: 1ss+(3ss in 1)*6+1ss+22=42
12-13: 42
Change the yarn color.
14: (6+ss)*6=48
15: (7+ss)*6=54
16: (8+ss)*6=60
17-22: 60
23: (8+dec)*6=54
24: (7+dec)*6=48
25: (6+dec)*6=42
26: (5+dec)*6=36
27: (4+dec)*6=30
28: (3+dec)*6=24
29: (2+dec)*6=18
30: (1+dec)*6=12
31: (dec)*6=6
Secure the thread
Sew to the body.
Stage 3: Puppy Dog
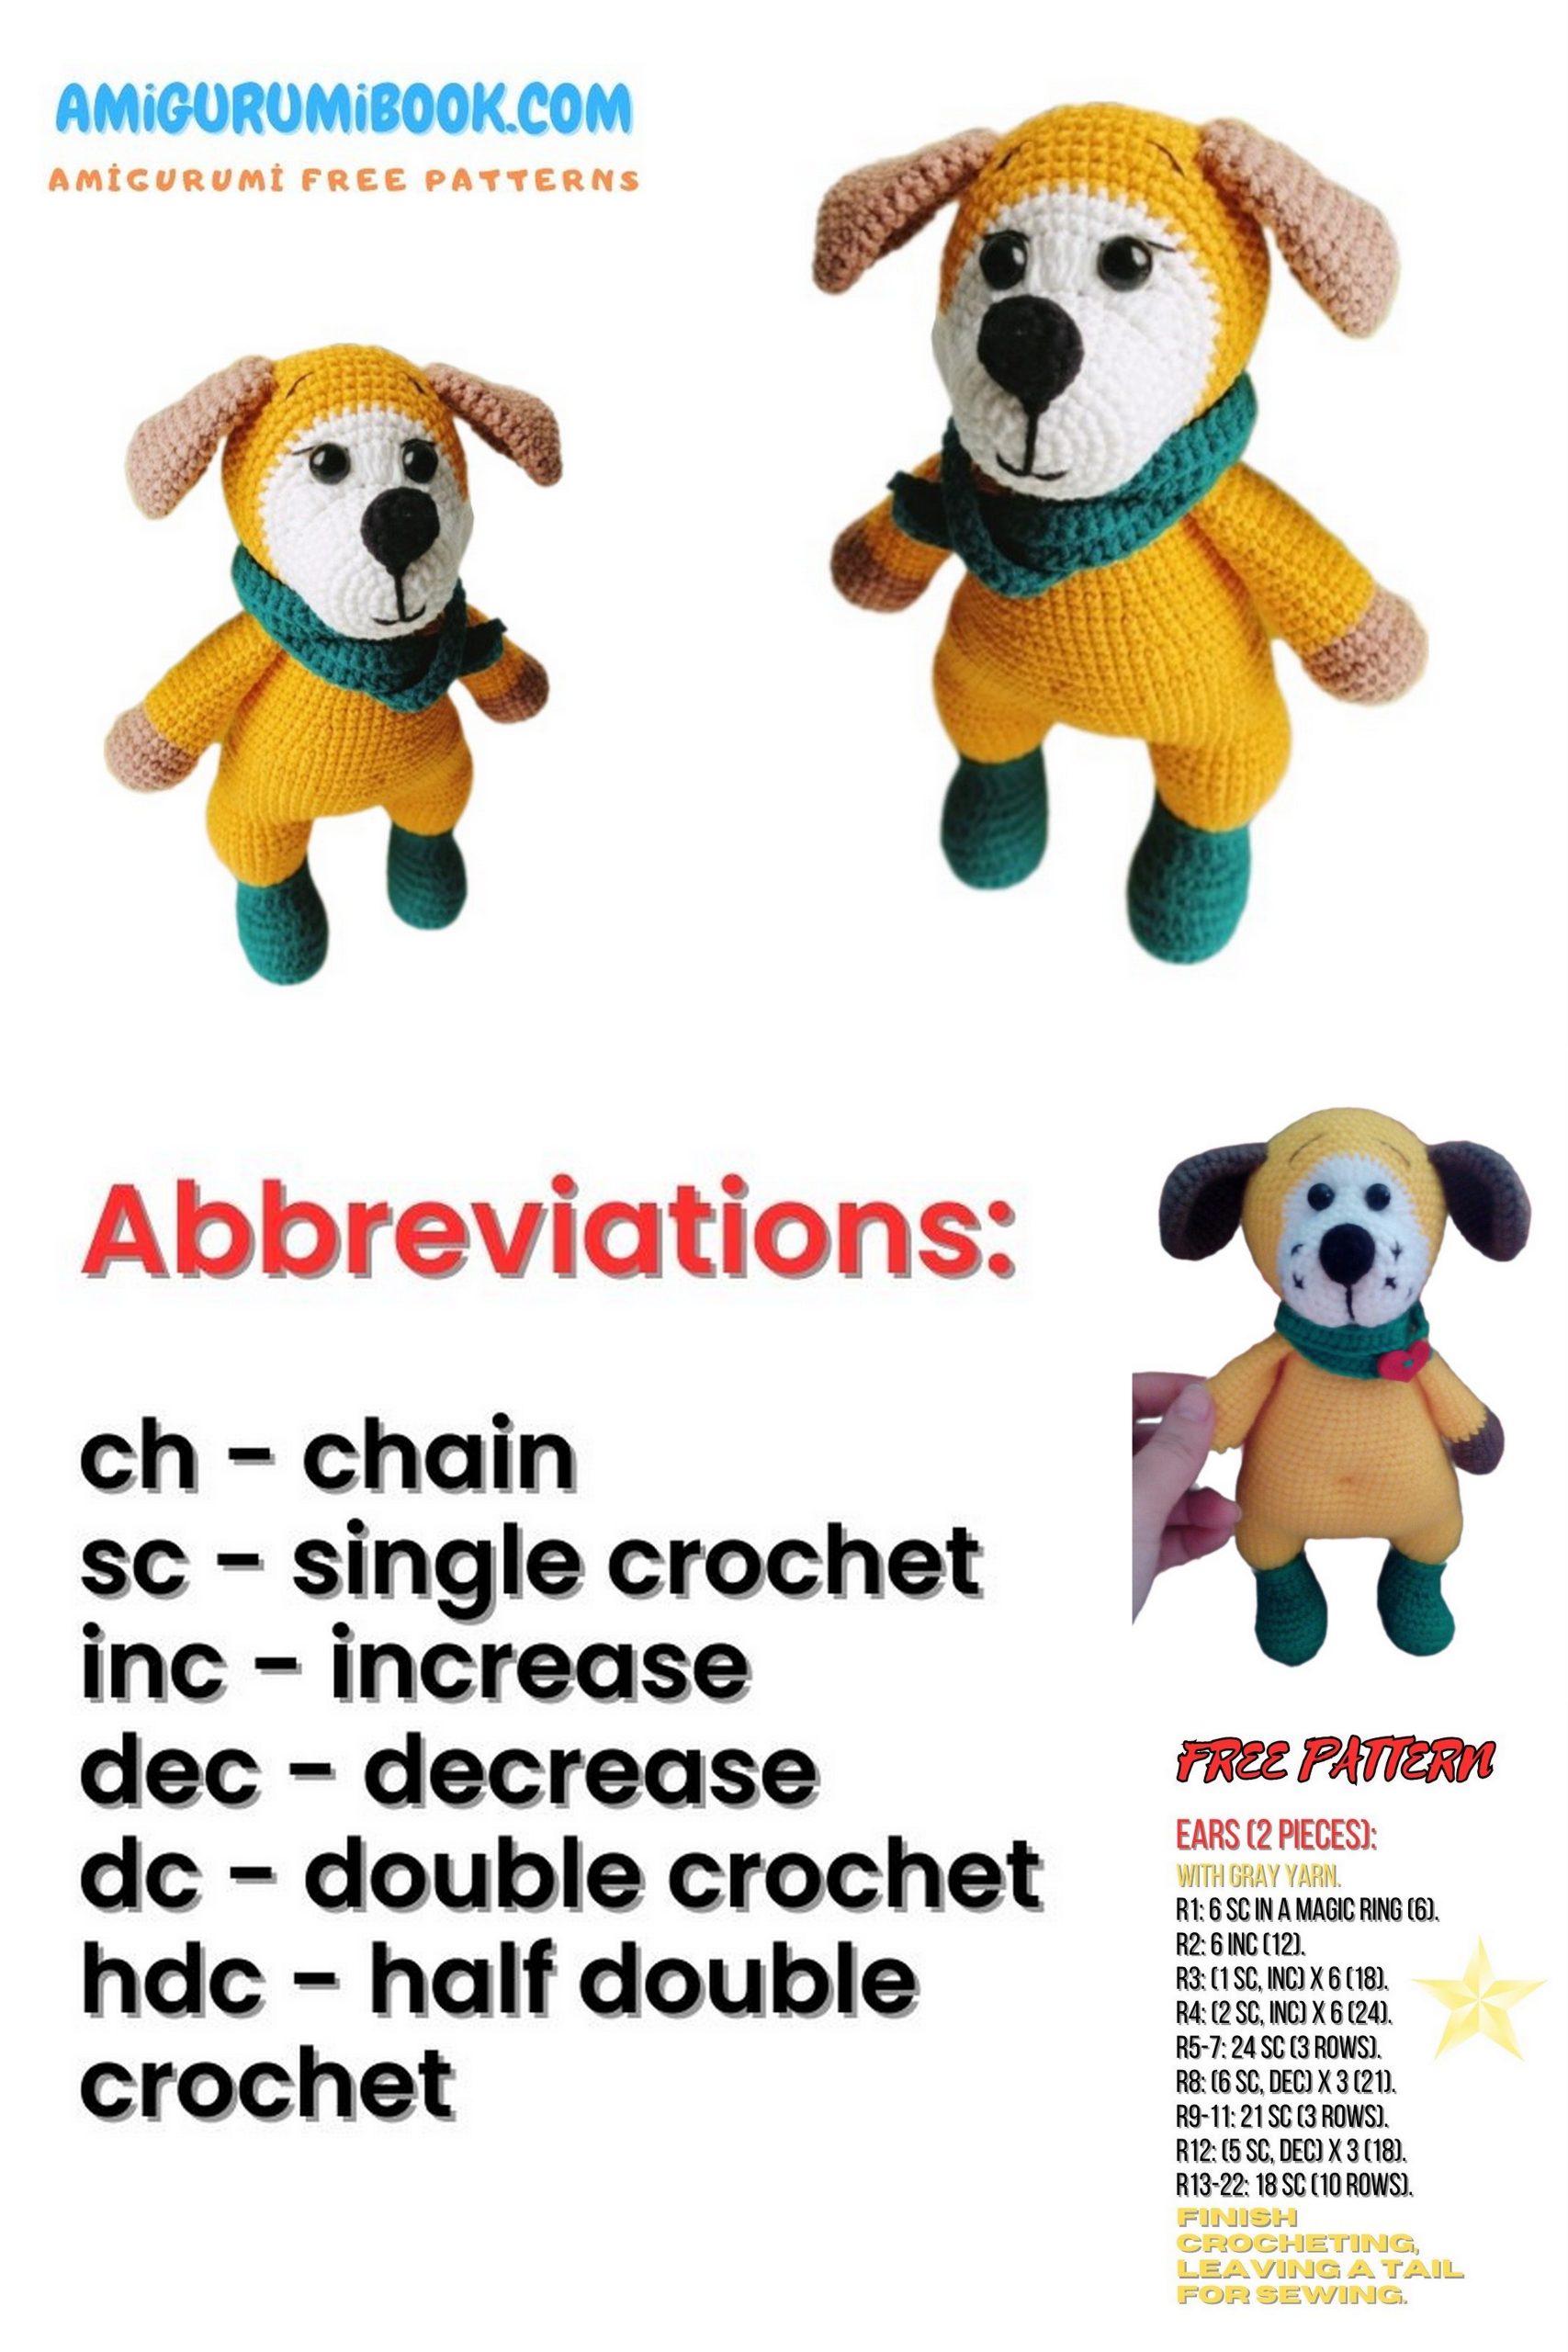
Ears (make 2) in brown color.
1: 6 ch
2: 6ss=12
3: (1+ss)*6=18
4: (2+ss)*6=24
5: (3+ss)*6=30
6-8: 30
9: (3+dec)*6=24
10-11: 24
12: (2+dec)*6=18
13-14: 18
15: (1+dec)*6=12
16: 12
Leave a tail for sewing, sew to the head.
Stage 4: Puppy Dog
Tail. Start with brown color.
1: 6 ch
2: 6ss=12
3: 12
Change to body color and crochet to desired length, stuff loosely, sew on, use the same thread to make a little bulge on the belly (optional).
Stage 5:
Arms. Start with brown color, stuff loosely.
1: 6 ch
2: 6ss=12
3: (1+ss)*6=18
4: (2+ss)*6=24
5-7: 24
8: (2+dec)*6=18
9: 18
Change to body color.
10-13: 18
14: (7+dec)*2=16
15-19: 16
20: (6+dec)*2=14
21-22: 14
23: (5+dec)*2=12
24-26: 12
Sew to the body.
Stage 6:
Nose. Brown or black color.
1: 6 ch
2: 6ss=12
3-4: 12
5: (1+dec)*4=8
Stuff and sew to the tip of the muzzle, embroider the mouth, eyebrows, and whiskers.
You can make a bulge for the mouth.
Slightly stuff the eyes area and sew on beads.
For the scarf, crochet a chain of the desired length and single crochet around, sew a decorative button on.