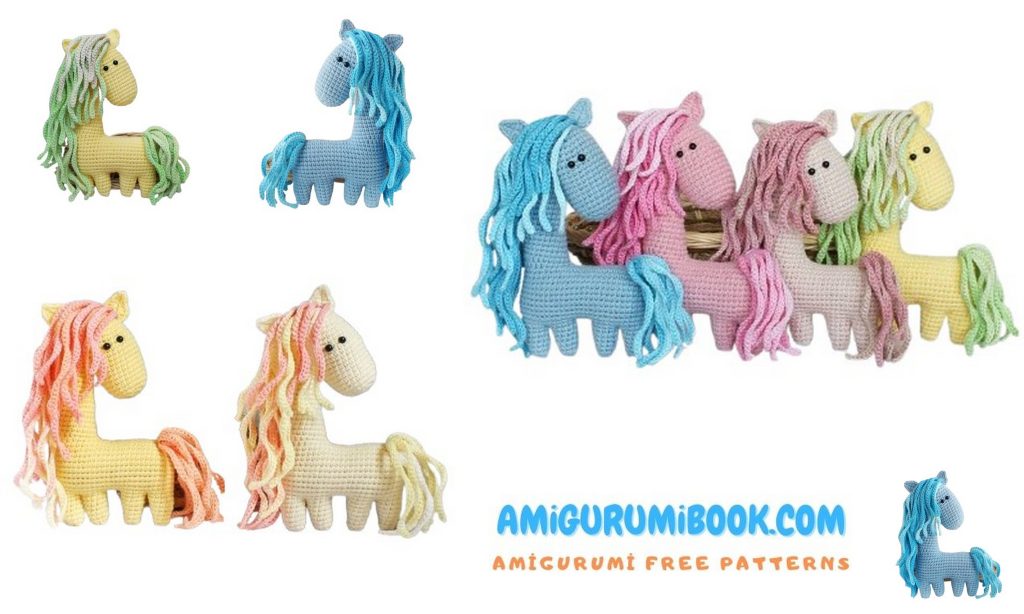
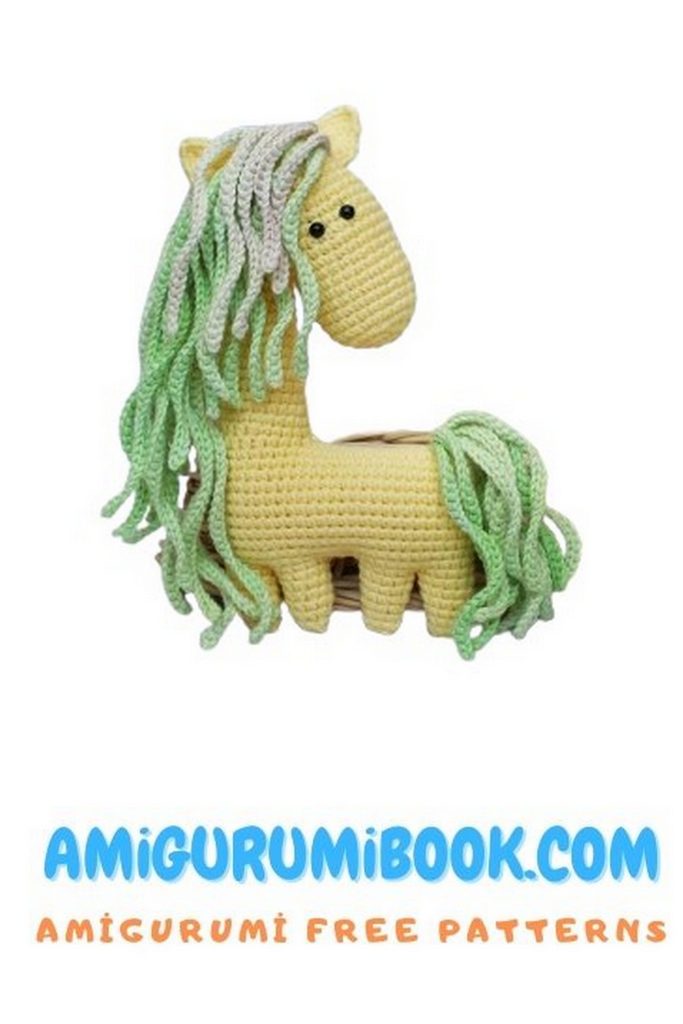
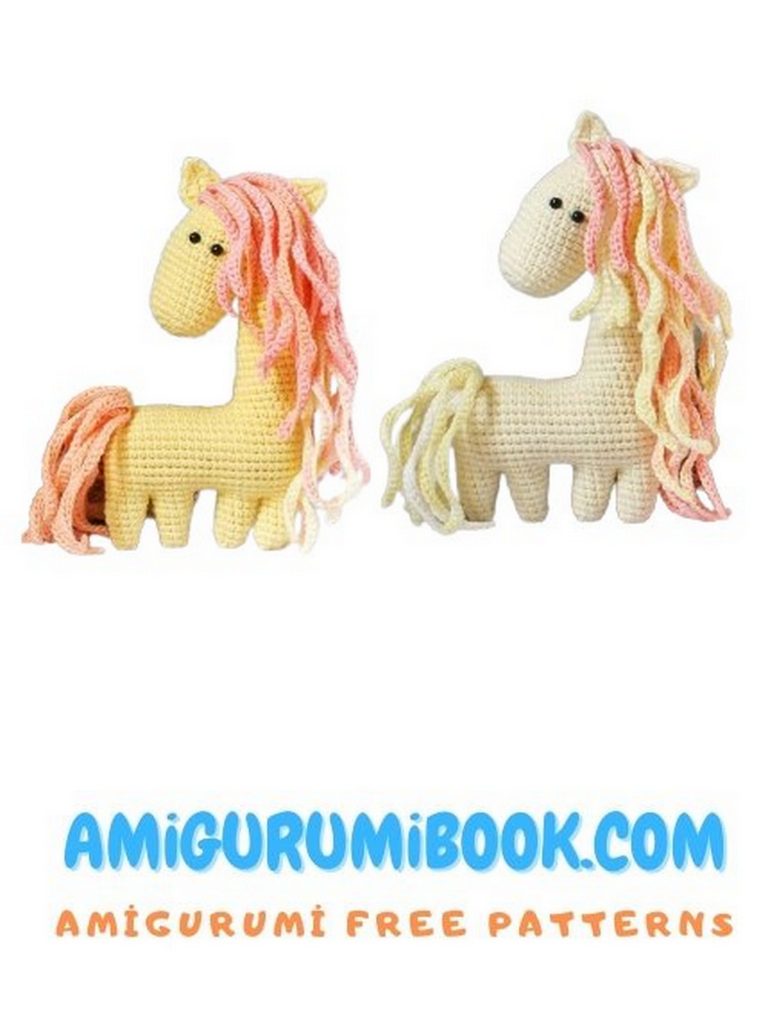
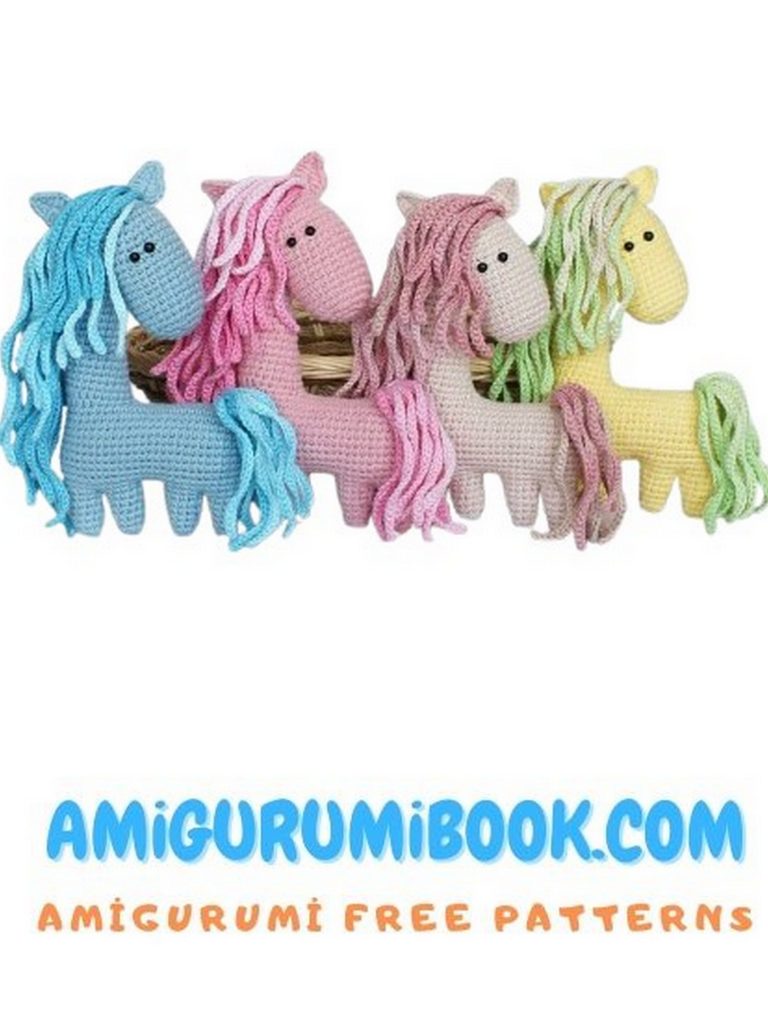
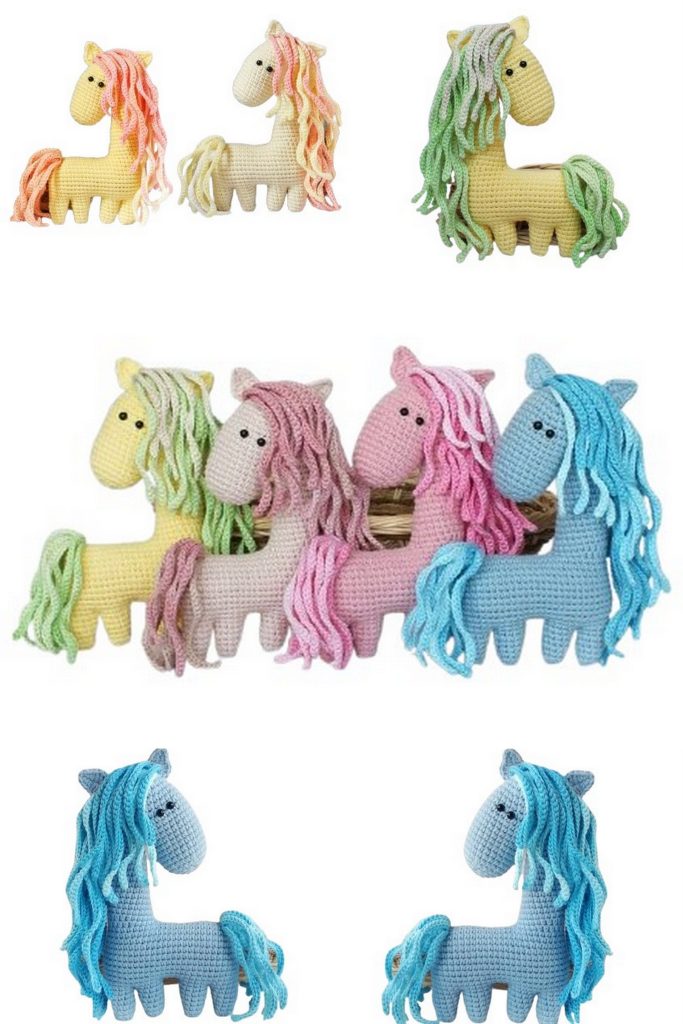
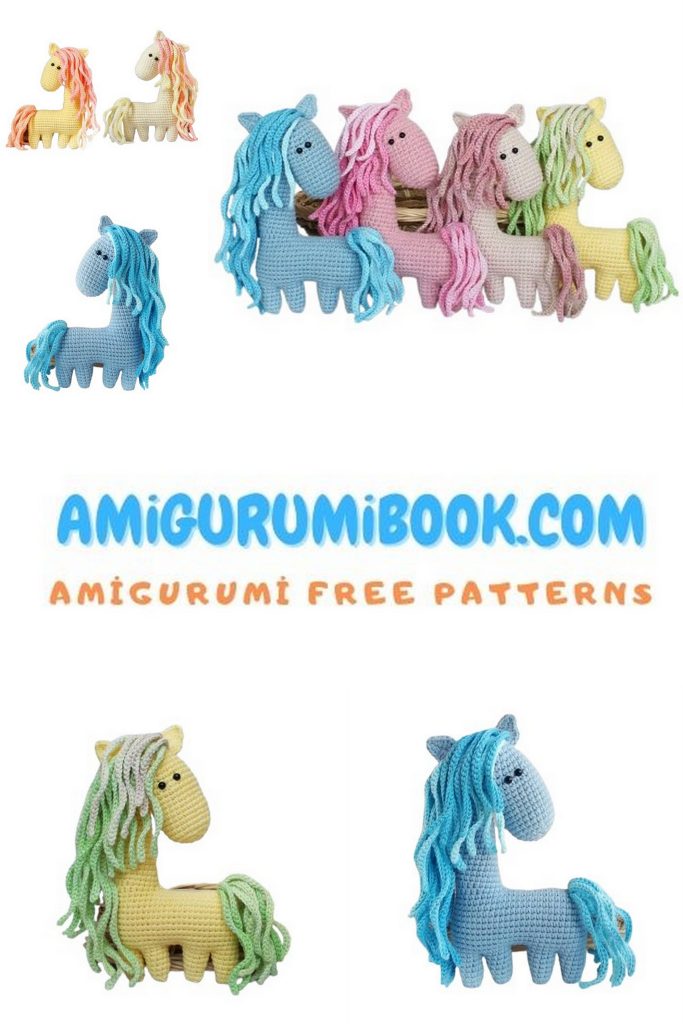
If you love crocheting cute and colorful amigurumi, this Rainbow Little Horse Amigurumi pattern is perfect for you! This free crochet pattern will guide you step by step to create an adorable amigurumi horse, complete with a flowing mane and tail. Whether you’re making it as a gift, a toy, or a unique decoration, this little horse will bring joy to anyone who sees it.
Designed for beginners and experienced crocheters alike, this amigurumi horse pattern is easy to follow and fun to make. Choose your favorite yarn colors, grab your crochet hook, and let’s start crafting your own handmade rainbow horse! Keep reading for the full free pattern and detailed instructions.
If you want to access 1000+ free amigurumi patterns, you can download our application from this link!
Amigurumi Horse Pattern
Blank for the back – make a chain of 15 ch, cut the thread, leave a 15-20 cm end.
Put it aside for now.
Amigurumi Horse – Head
1 Row – 6 sc in amigurumi loop
2 Row – (inc) x 6 times (12)
3 Row – (inc, 1 sc) x 6 times (18)
4 Row – (inc, 2 sc) x 6 times (24)
5 Row – (inc, 3 sc) x 6 times (30)
6-7 Rows – 30 sc (30)
8 Row – (inc, 4 sc) x 6 times (36)
9-10 Rows – 36 sc (36)
11 Row – (inc, 5 sc) x times (42)
12 Row – 42 sc (42)
Now knit the muzzle separately
Move the marker of the beginning of the row
13 Row – 4 ch, skip 18 loops, in the 19th loop – sc, 23 sc to the end of the row, 4 sc in a chain of ch (28)
14 Row – 28 sc (28)
Now we insert the eyes (if you have sewn-on beads, then sew them on the finished horse). We insert the eyes between the 11th and 12th rows in the center of the muzzle, the distance between them is 2 sc.
It is inconvenient to attach such small eyes with plugs, I fixed them from the inside with a glue gun (it is very reliable).
15 Row – 11 sc, dec, 15 sc (27)
16 Row – 27 sc (27)
17 Row – 25 sc, dec (26)
18 Row – 26 sc (26)
19 Row – (11 sc, dec) x 2 times (24)
20-21 Rows – 24 sc (24)
Here you can stuff the head a little.
22 Row – (2 sc, dec) x 6 times (18)
23 Row – (1 sc, dec) x 6 times (12)
24 Row – 6 dec (6), sl-st
Put the remaining tail through the needle and carefully tighten the hole, at the end be sure to pull the tail inward, so the muzzle will look neater.
Stuff loosely through the neck opening.
We begin knitting the neck, stuffing it with stuffing as we knit.
Attach the thread to the 13th row of the head (the place of attachment is indicated by an arrow in photo 2) and knit:
1-3 rows – 22 sc (22)
4 row – 9 sc, dec, 9 sc, inc, sc (22)
5 row – 22 sc (22)
6 row – 9 sc, dec, 9 sc, inc, sc (22)
7 row – 22 sc (22)
8 row – 8 sc, dec, 10 sc, inc, sc (22)
9 row – 22 sc (22)
10 row – 8 sc, dec, 9 sc, inc, 2 sc (22)
11 row – 22 sc (22) do not forget to stuff
12 row – 8 sc, dec, 10 sc, inc, sc (22)
13 Row – 22 sc (22)
14 Row – 8 sc, dec, 8 sc, inc, 3 sc (22)
15 Row – 22 sc (22)
16 Row – 3 sc, 11 hdc, 8 sc (22)
17 Row 1 sc, 14 hdc, 4 sc – do not finish to the end of the row
Amigurumi Horse – Body
Take a chain of 15 ch, insert the hook into the last loop of this chain and make a slip stitch into the next loop after knitting the 17th row of the neck (the place is indicated by the arrow in the 4th photo), hide the tip in the body, to be sure you can secure it with a needle.
Then return to the main knitting and continue knitting along the ch chain, and then move back to the neck.
1 row – 14 sc, 3 sc in last ch of chain, 35 sc (52)
2 row – 15 sc, inc, 26 sc, inc, 9 sc (54)
3 row – 54 sc (54)
4 row – 16 sc, inc, 26 sc, inc, 10 sc (56)
5 row – 56 sc (56)
6 row – 17 sc, inc, 27 sc, inc, 10 sc (58)
7-8 rows – 58 sc (58)
9 row – 18 sc, dec, 26 sc, dec, 10 sc (56)
10 row – 56 sc (56)
11 row – 17 sc, dec, 26 sc, dec, 9 sc (54)
12 row – approx 51 sc – do not finish the row and start knitting the first leg.
Knit the leg on 12 loops, so there should be 6 sc on one side and on the other, count back 12 sc and continue knitting in this last 12th column
It is difficult to distinguish rows here, so I just write how I knitted in a spiral – this means knitting on 12 sc in a circle without distinguishing rows And do not forget to stuff the part in the process of knitting, it is difficult to stuff the first leg, because the hole in the body is still large, you can finally stuff it through the body when the hole in the leg is already minimal 29 sc, dec (on the outer side), 21 sc, dec (on the outer side), 4 sc, dec (on the inner side), 3 sc, dec (on the outer side), 2 sc, dec (on the inner side), 2 sc, sl-st
Leave a thread of 15-20 cm to sew up the remaining hole. It is better to sew up when all the legs are knitted.
The second leg – attach the thread next to the first leg on the front side of our horse, knit 6 sc, connect with the other side and knit similarly to the first leg.
Then knit the back legs, starting with the one on the edge.
41 sc, dec, 4 sc, dec, 4 sc, dec, 3 sc, dec, 11 sc, dec, sc, sl-st
When attaching the thread for knitting the last, fourth leg, leave a larger tail, we will sew up the hole that will remain on the tummy with it. We check – all the legs should be 7 rows high.
Finally stuff the body of our horse and sew up the hole on the tummy in 3 loops.
We also sew up the holes on the legs – 3-4 stitches on each leg. We hide all the threads in the body.
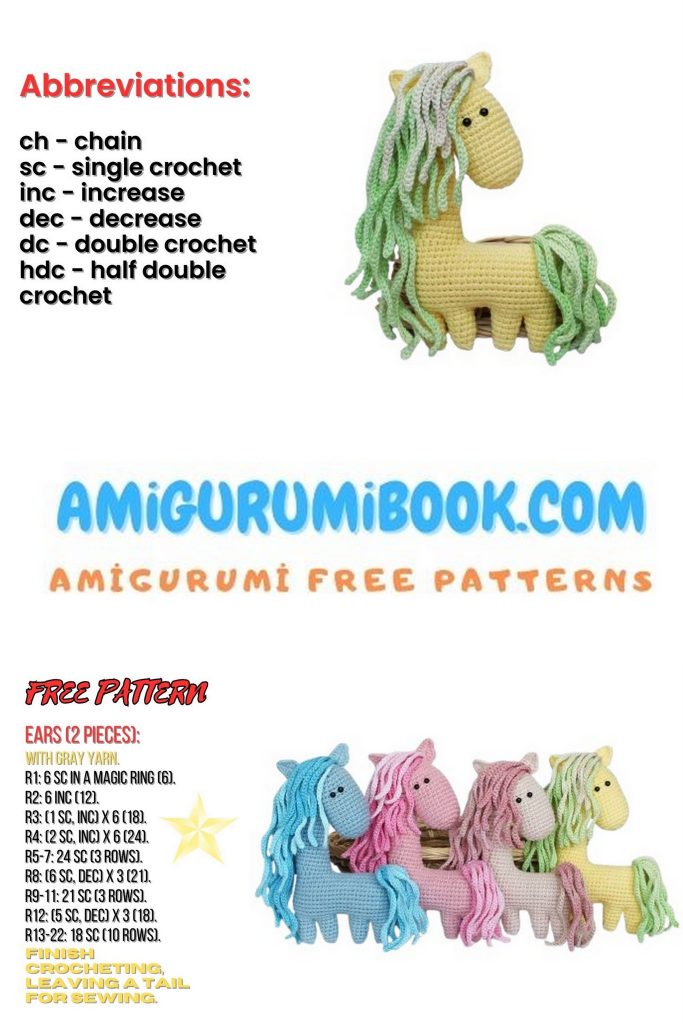
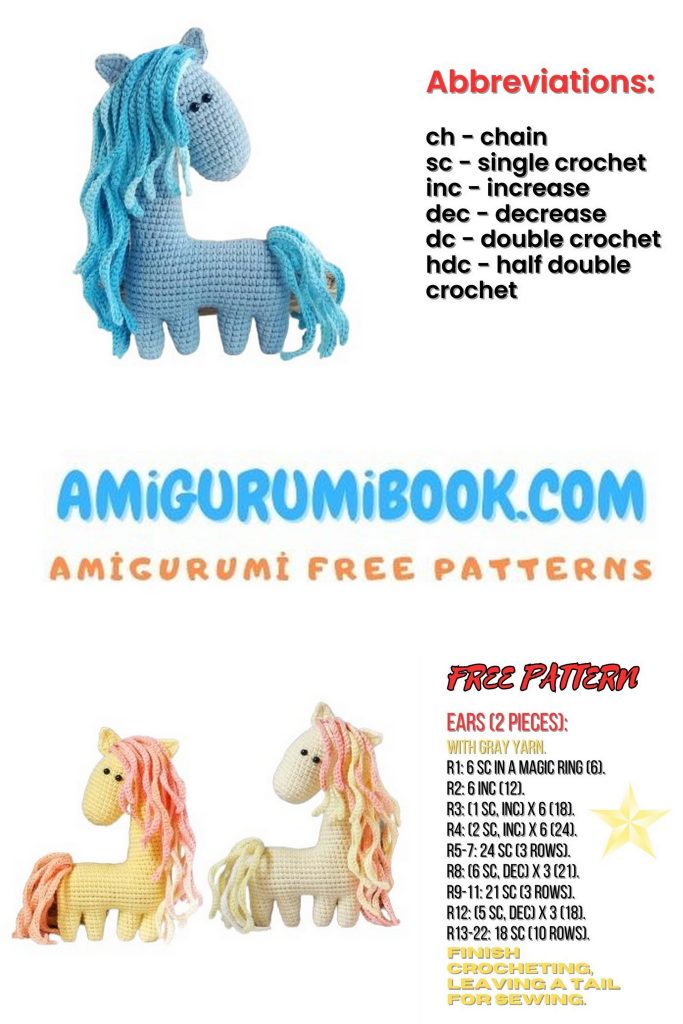
Ears – 2 parts
7 ch, in the fourth loop from the hook – 3 DC, then – hdc, sc, 3 sc in the last loop, on the back side of the chain – sc, hdc, 3 DC in one loop, 3 ch and sl-st in the last loop
Leave a thread for sewing the part. Hide and secure the end from the initial chain.
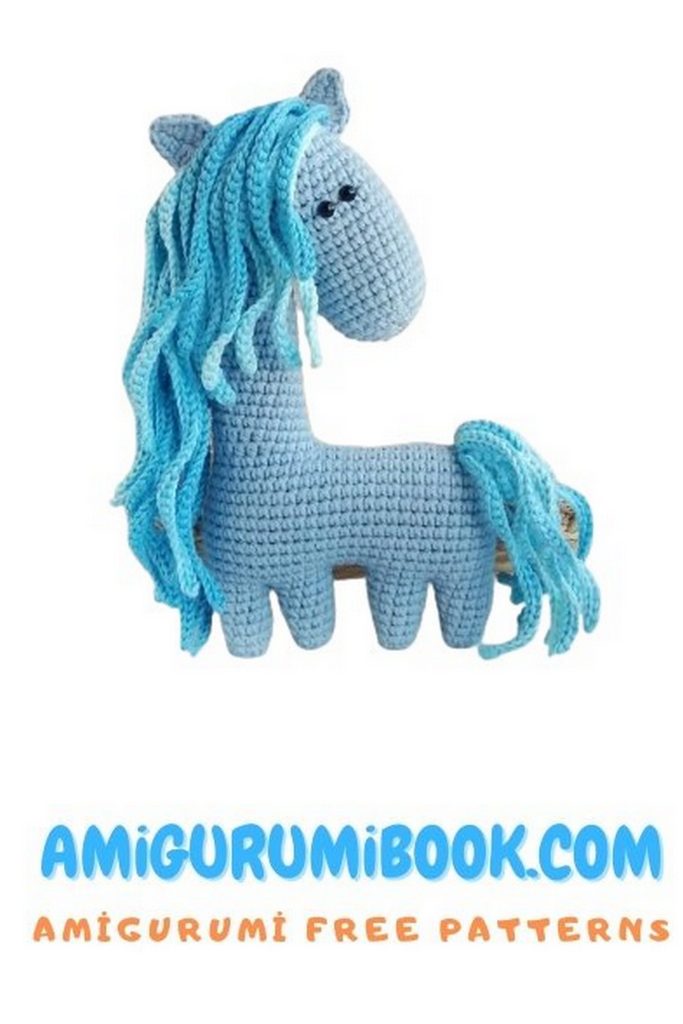
Knit the mane and tail with any other yarn, they will look very beautiful from yarn with a transition of colors.
I used cotton yarn Alize Bella Batik and hook No. 2.5. The mane consists of two strands.
Knit the first strand on 11 curls: dial 30 ch and starting from the second loop from the hook knit in the opposite direction connecting posts. Then again dial 30 ch and also knit sl-st. Knit 9 curls this way. Knit the last two curls on 25 ch.
Knit the second strand on 17 curls:
10 curls on 40 ch, 1 curl on 35 ch, 6 curls on 30 ch.
For the tail, knit one strand on 12 curls – each on 30 ch.
Design.
Try on the ears – place one closer, the other – further.
Sew on the mane:
Take the first strand and place it between the ears – fix one end at the right ear. 5 curls from the edge of one ear to the beginning of the second, and turn the remaining 6 to the wrong side – they will be located at the back. Fix them with pins and if everything is fine, sew.
Take the second strand on 17 curls. Bend back 5 curls of the first strand and fix the end of the second strand at a small distance. And then go down the neck. As a result, the very end of the very last curl should be level with the legs. Sew.
Sew on the tail.
Fold it in three and sew on the side.
Done! Thank you for knitting with me!