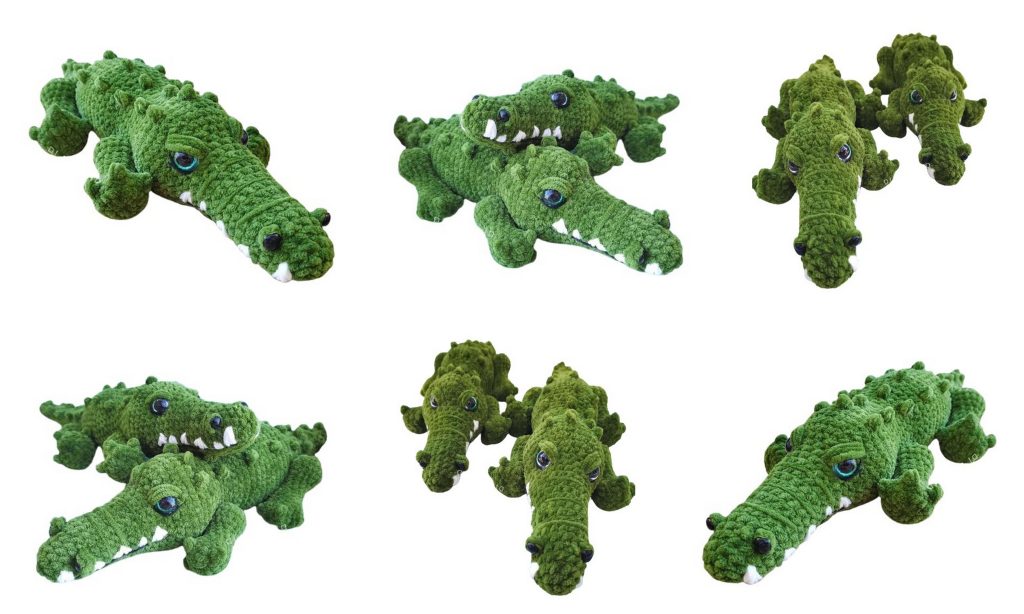
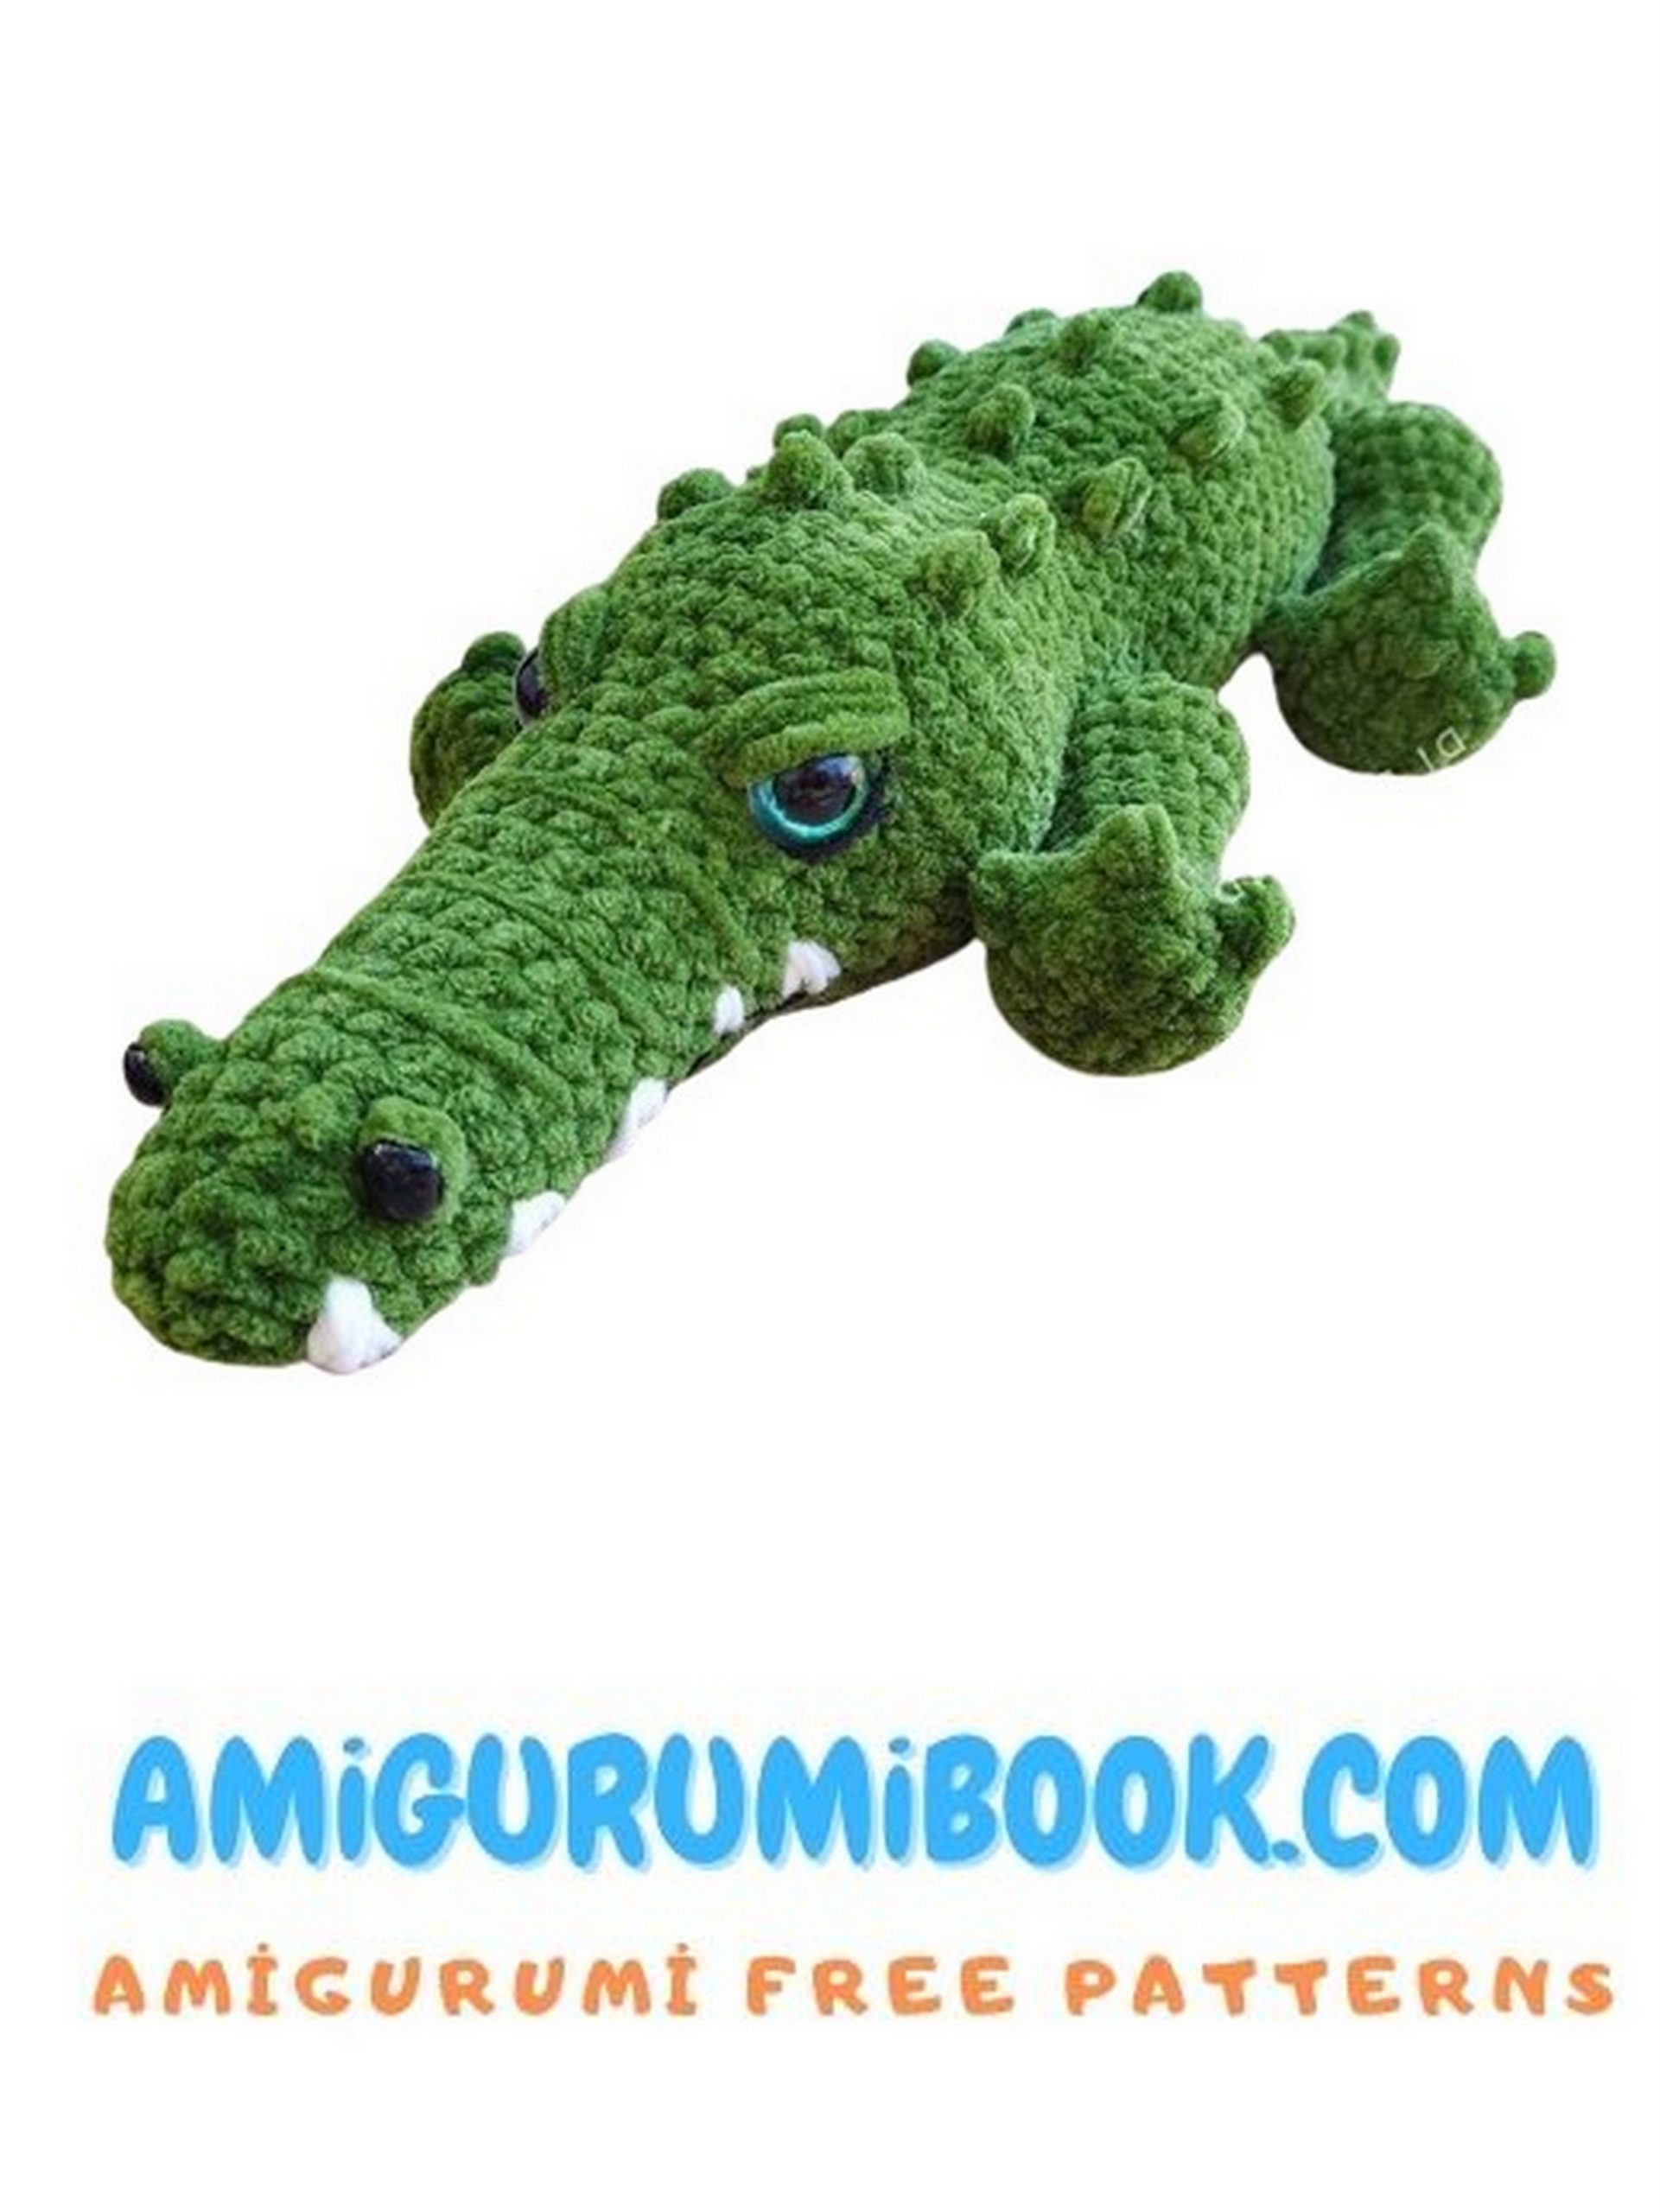
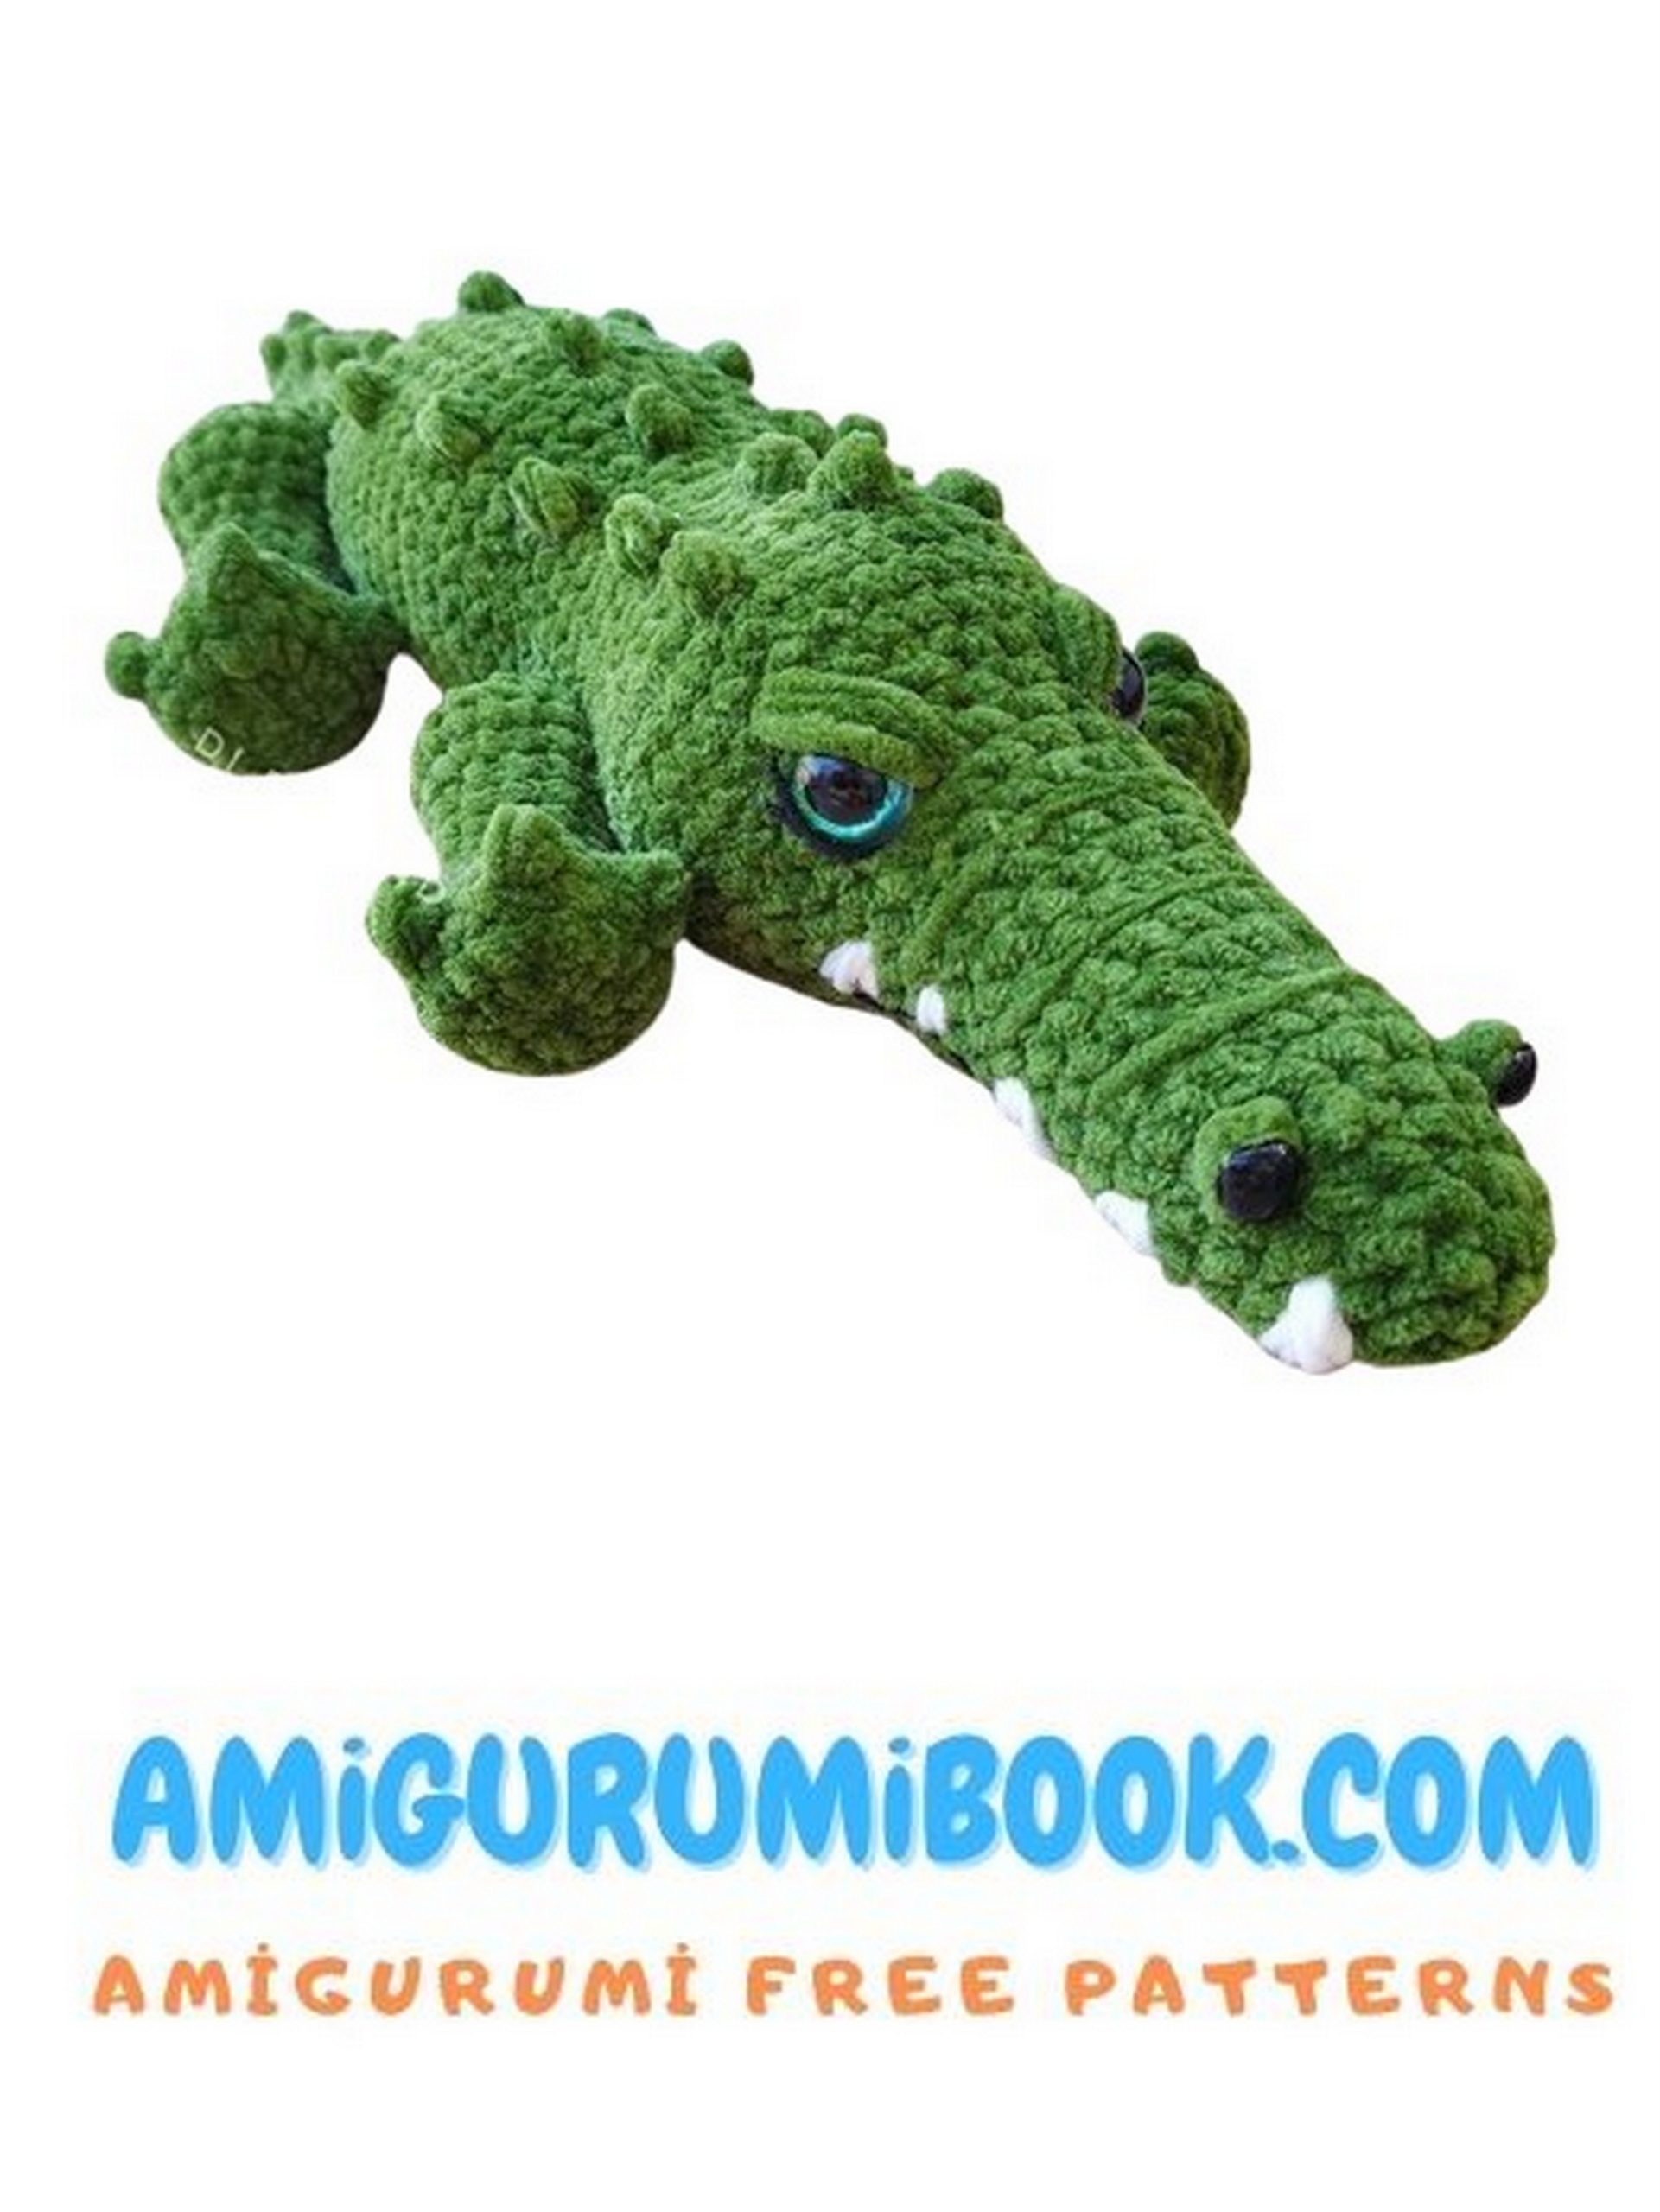
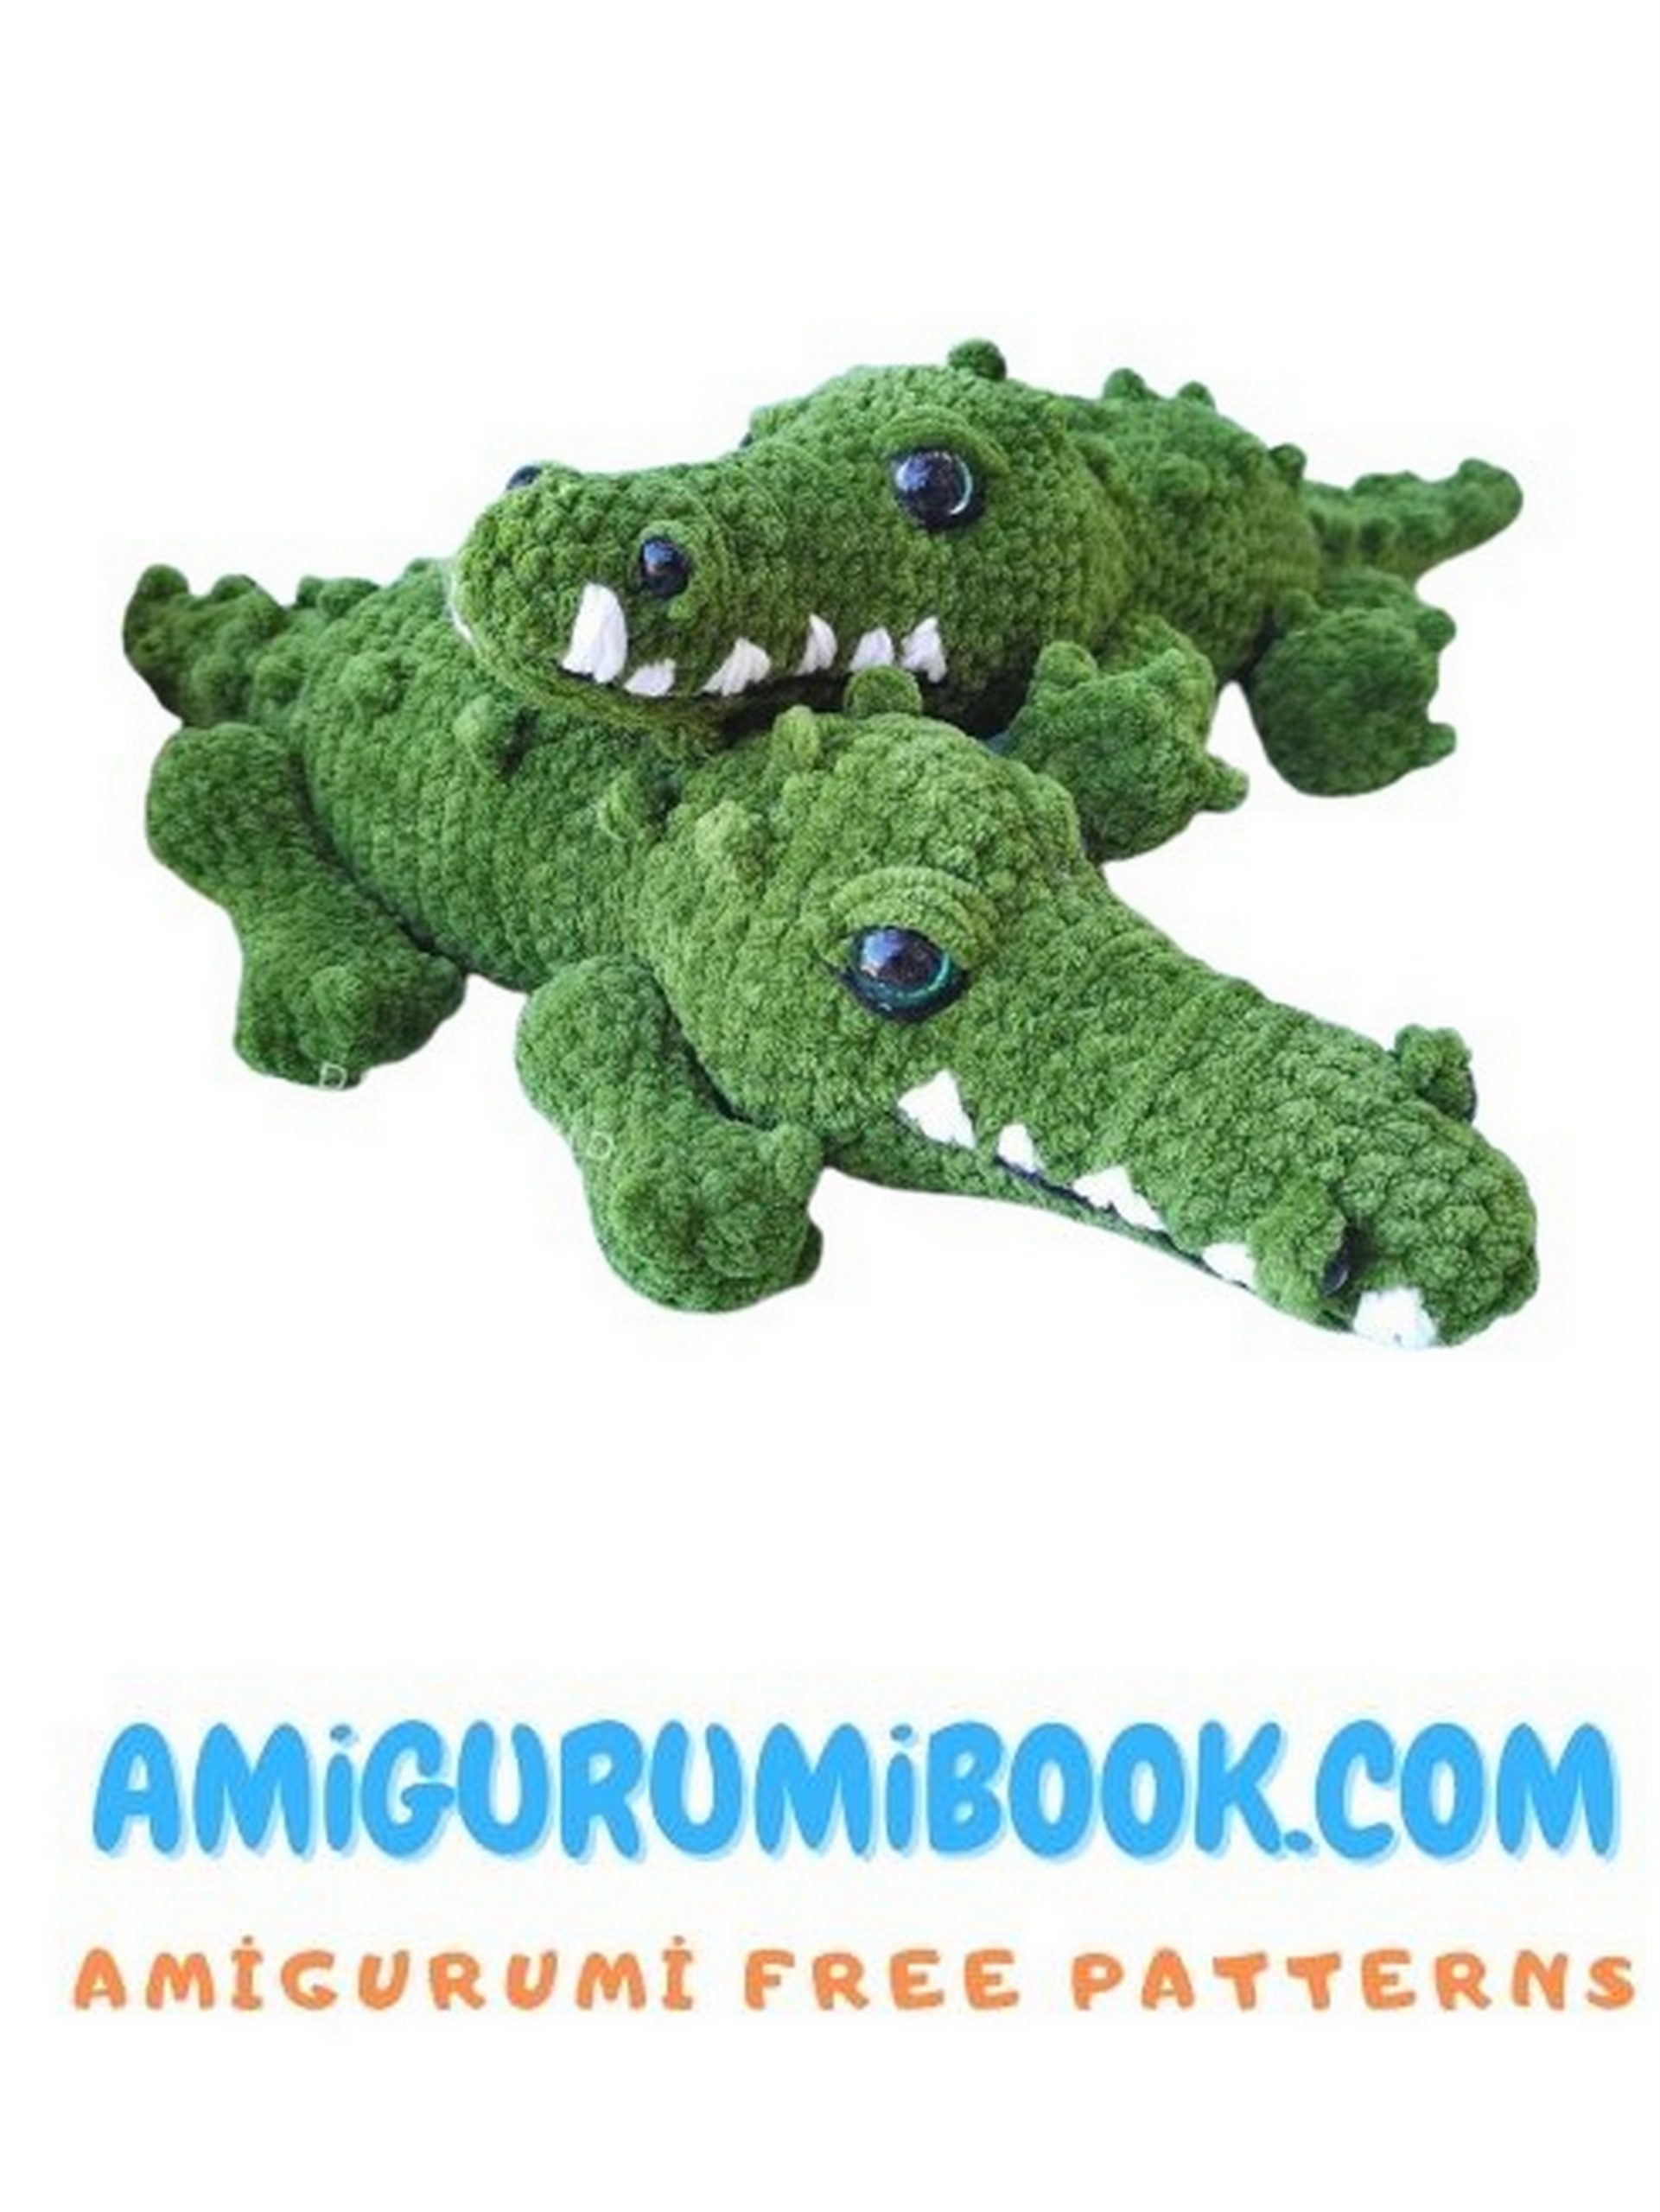
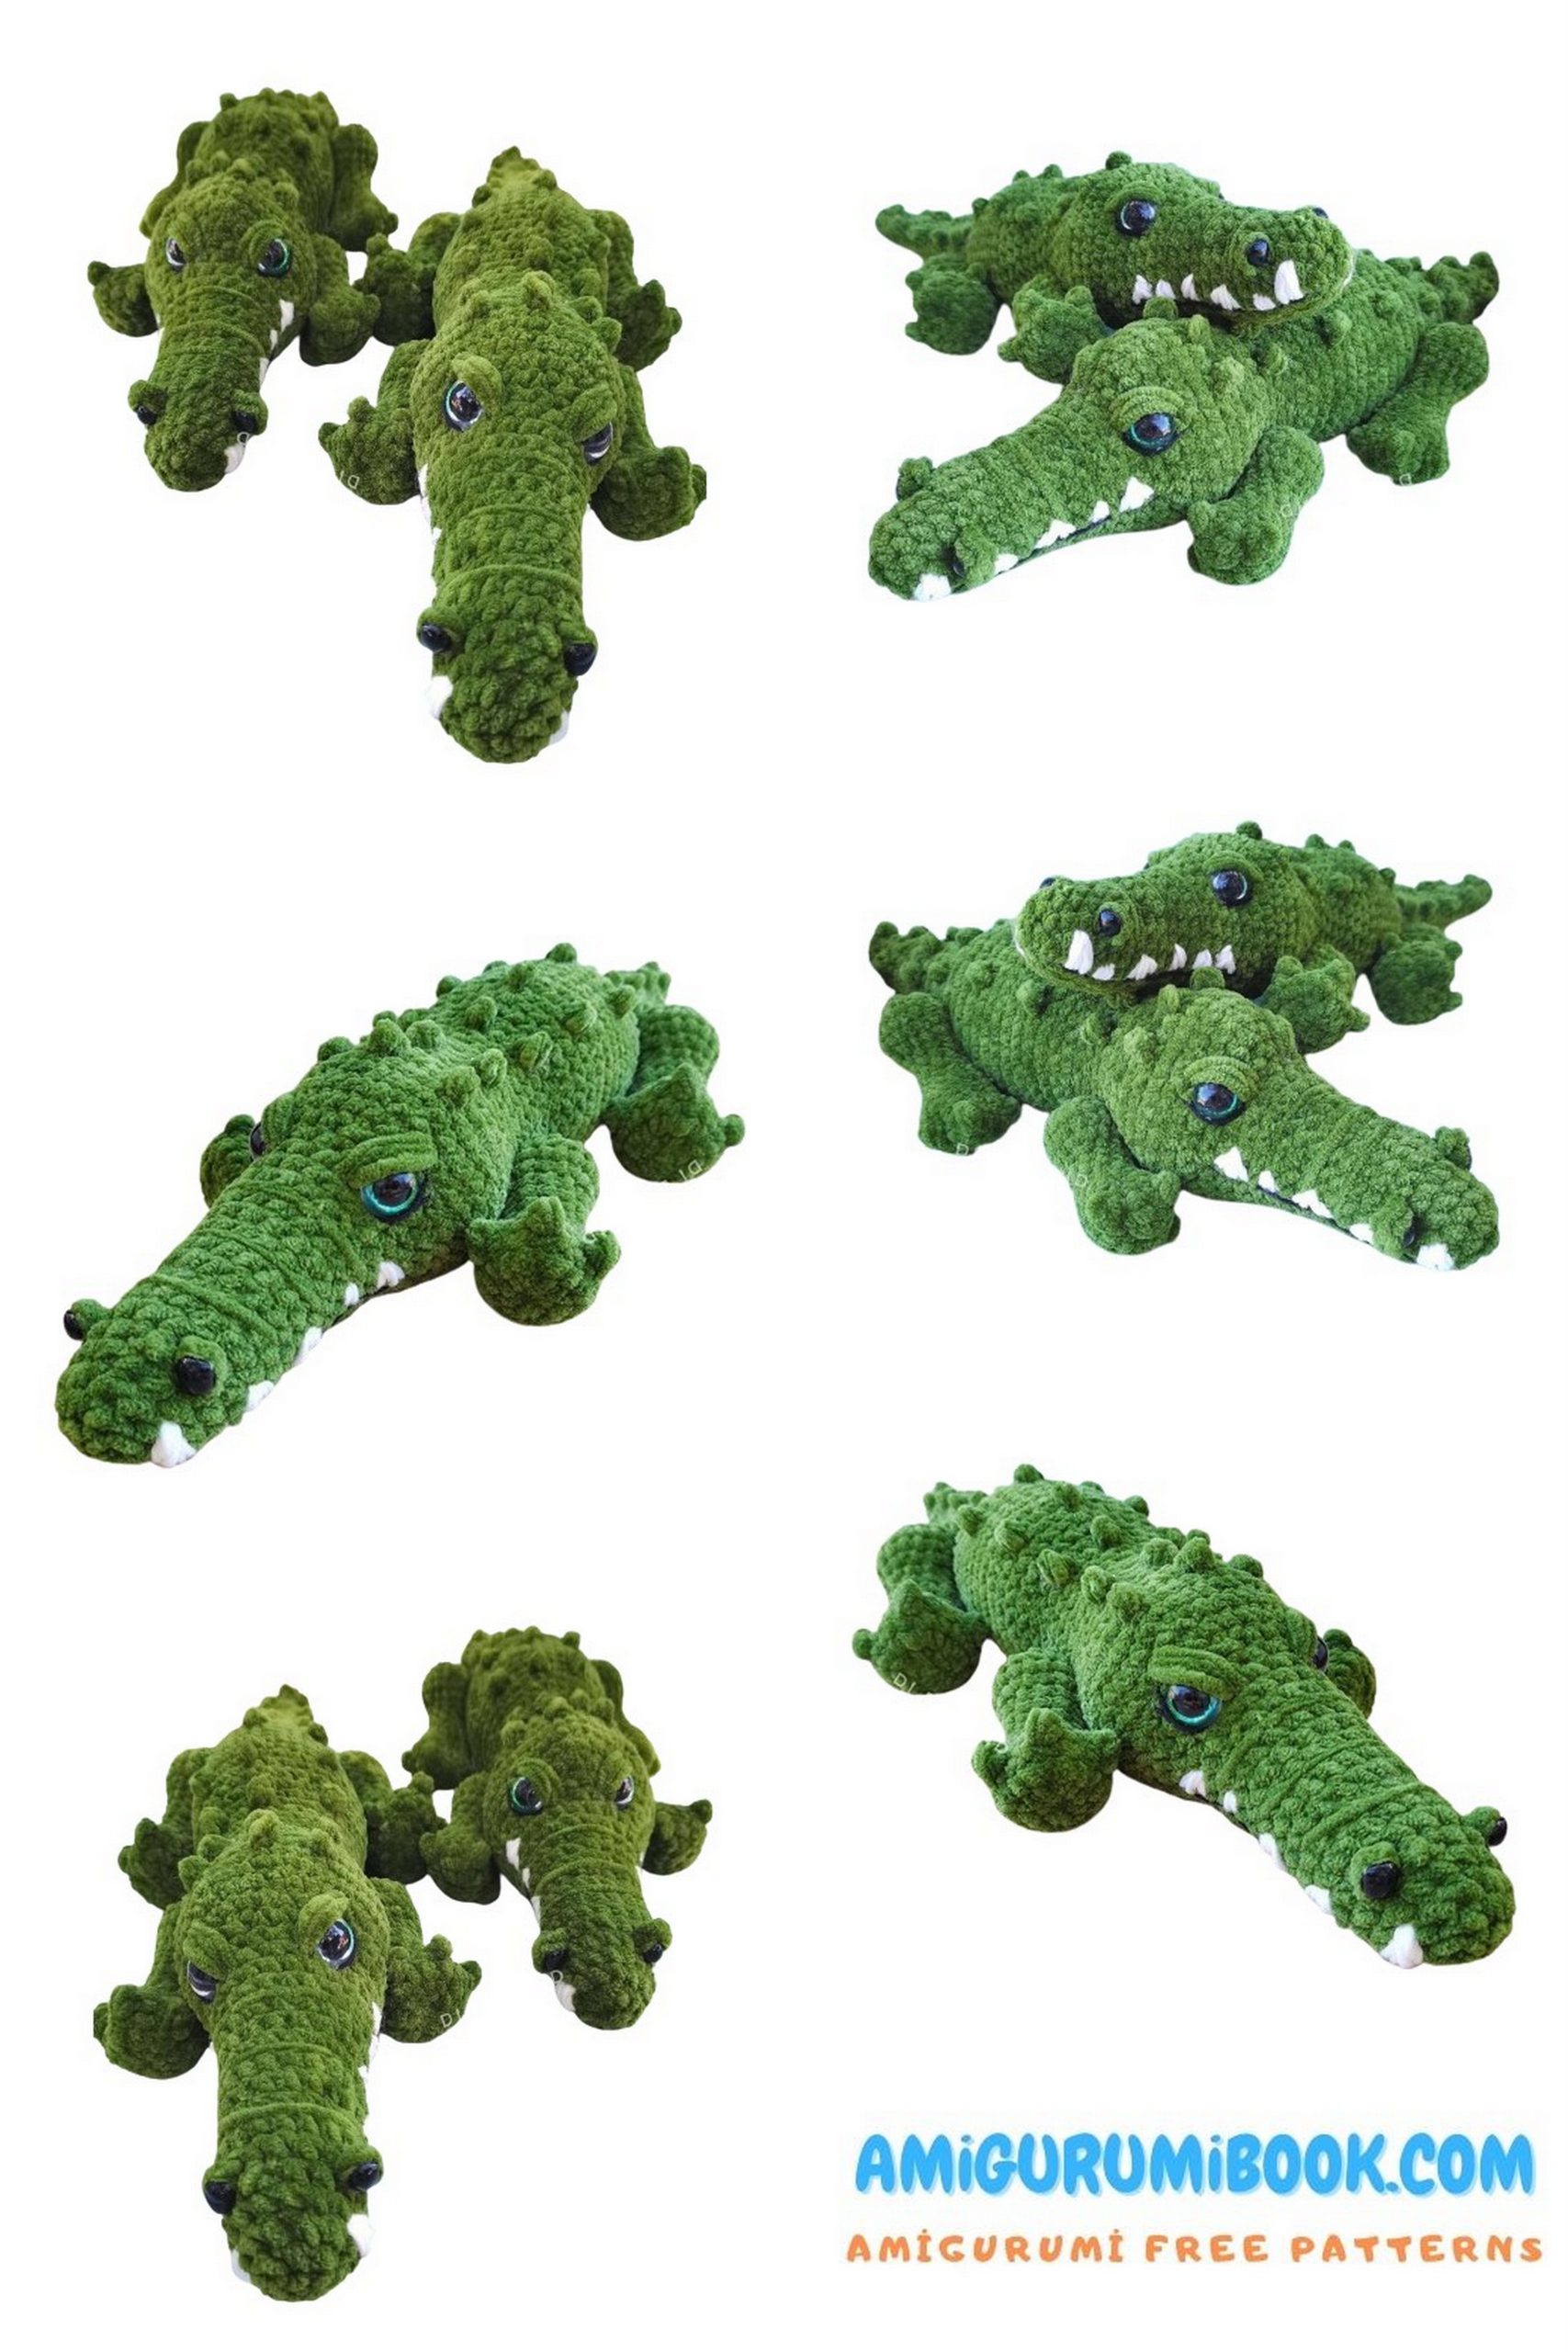
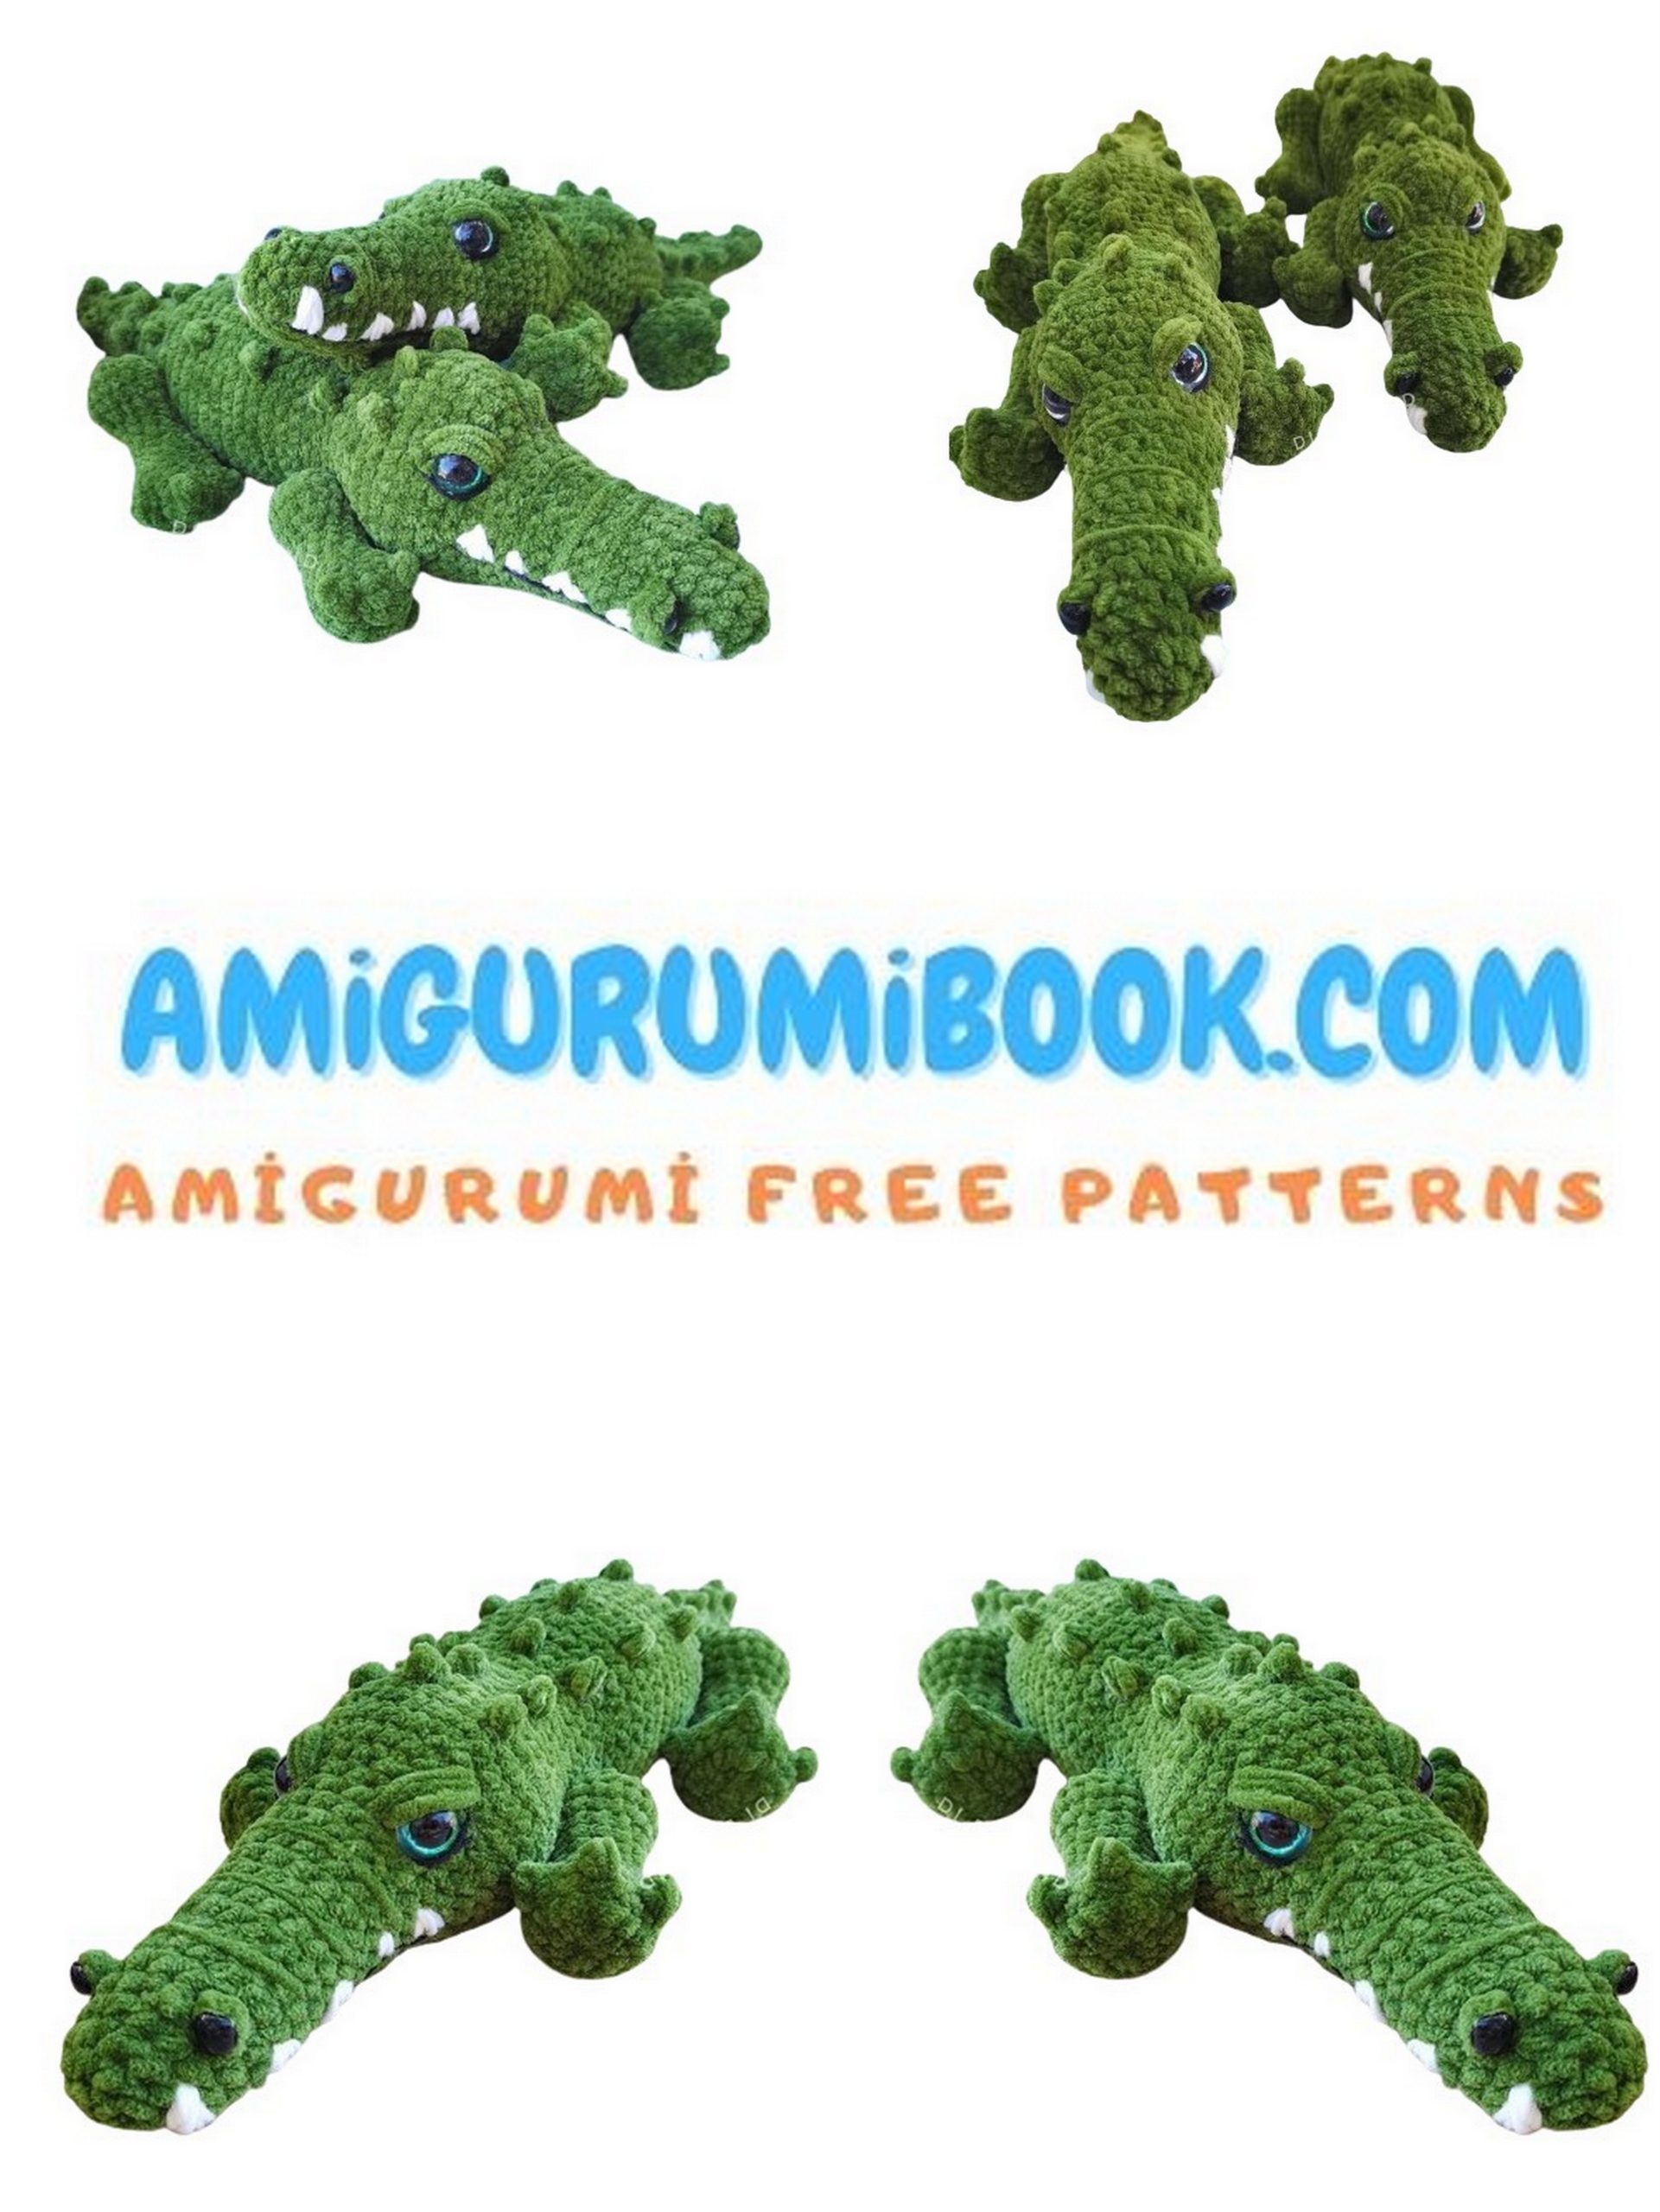
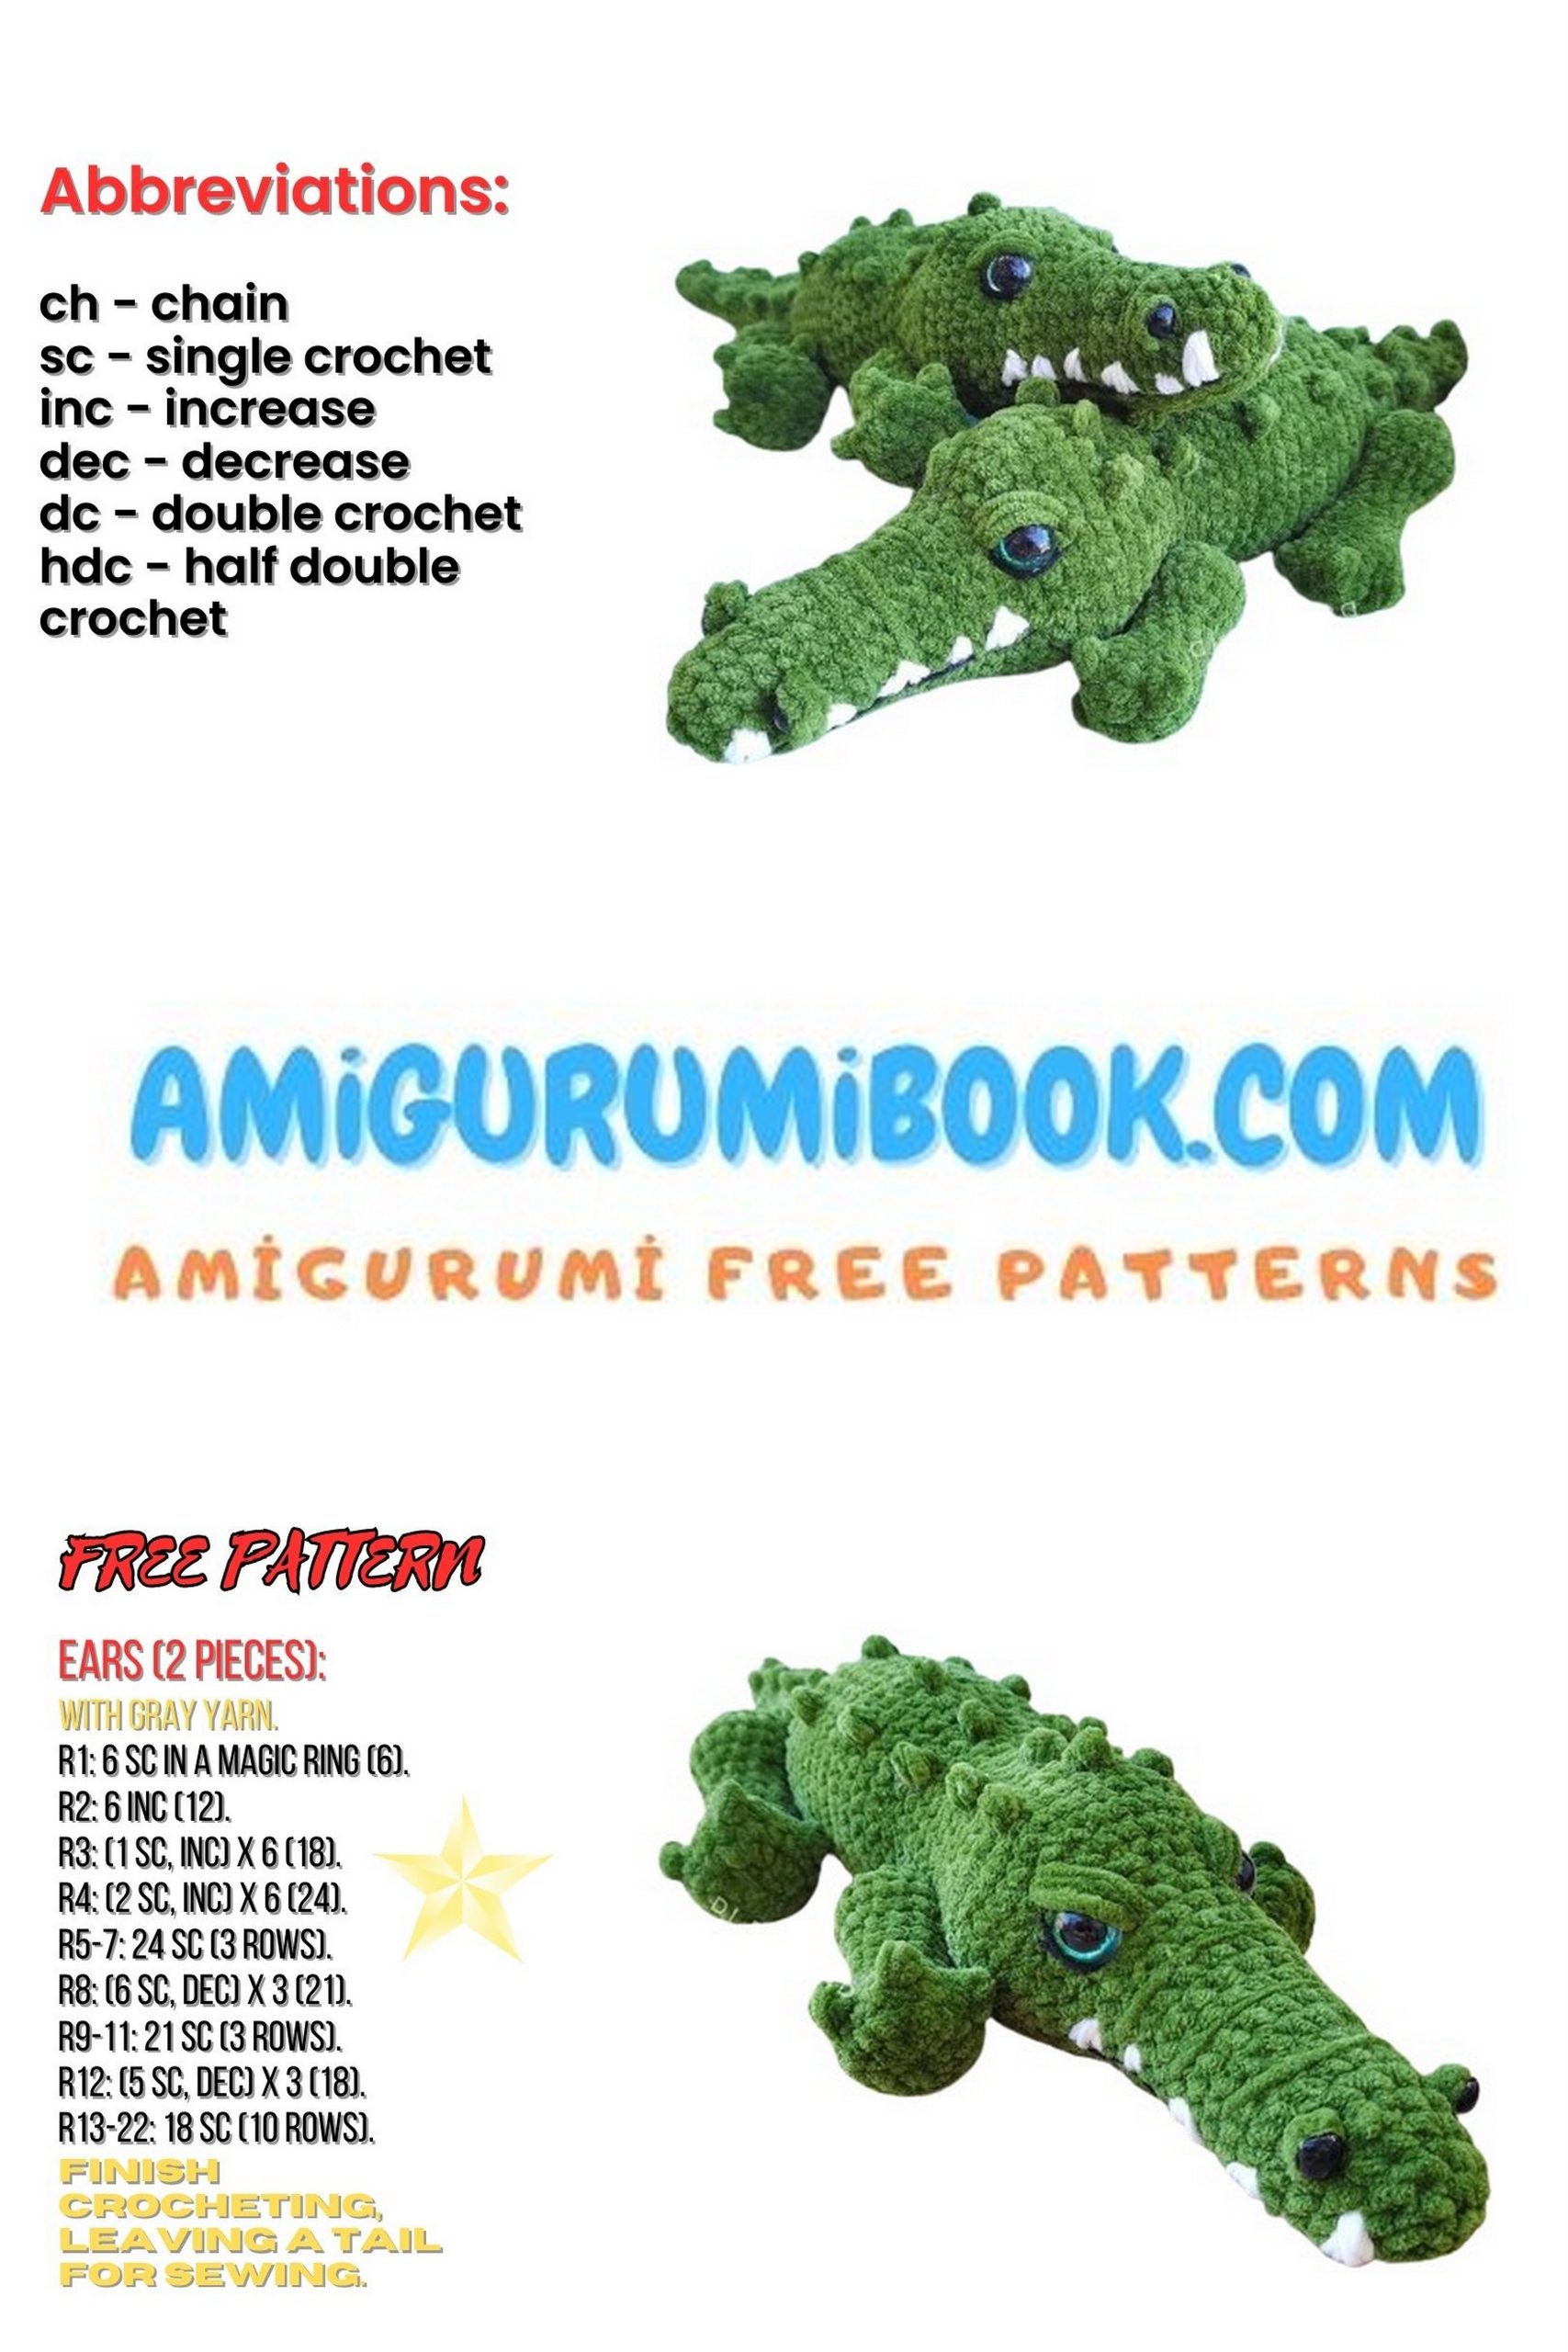
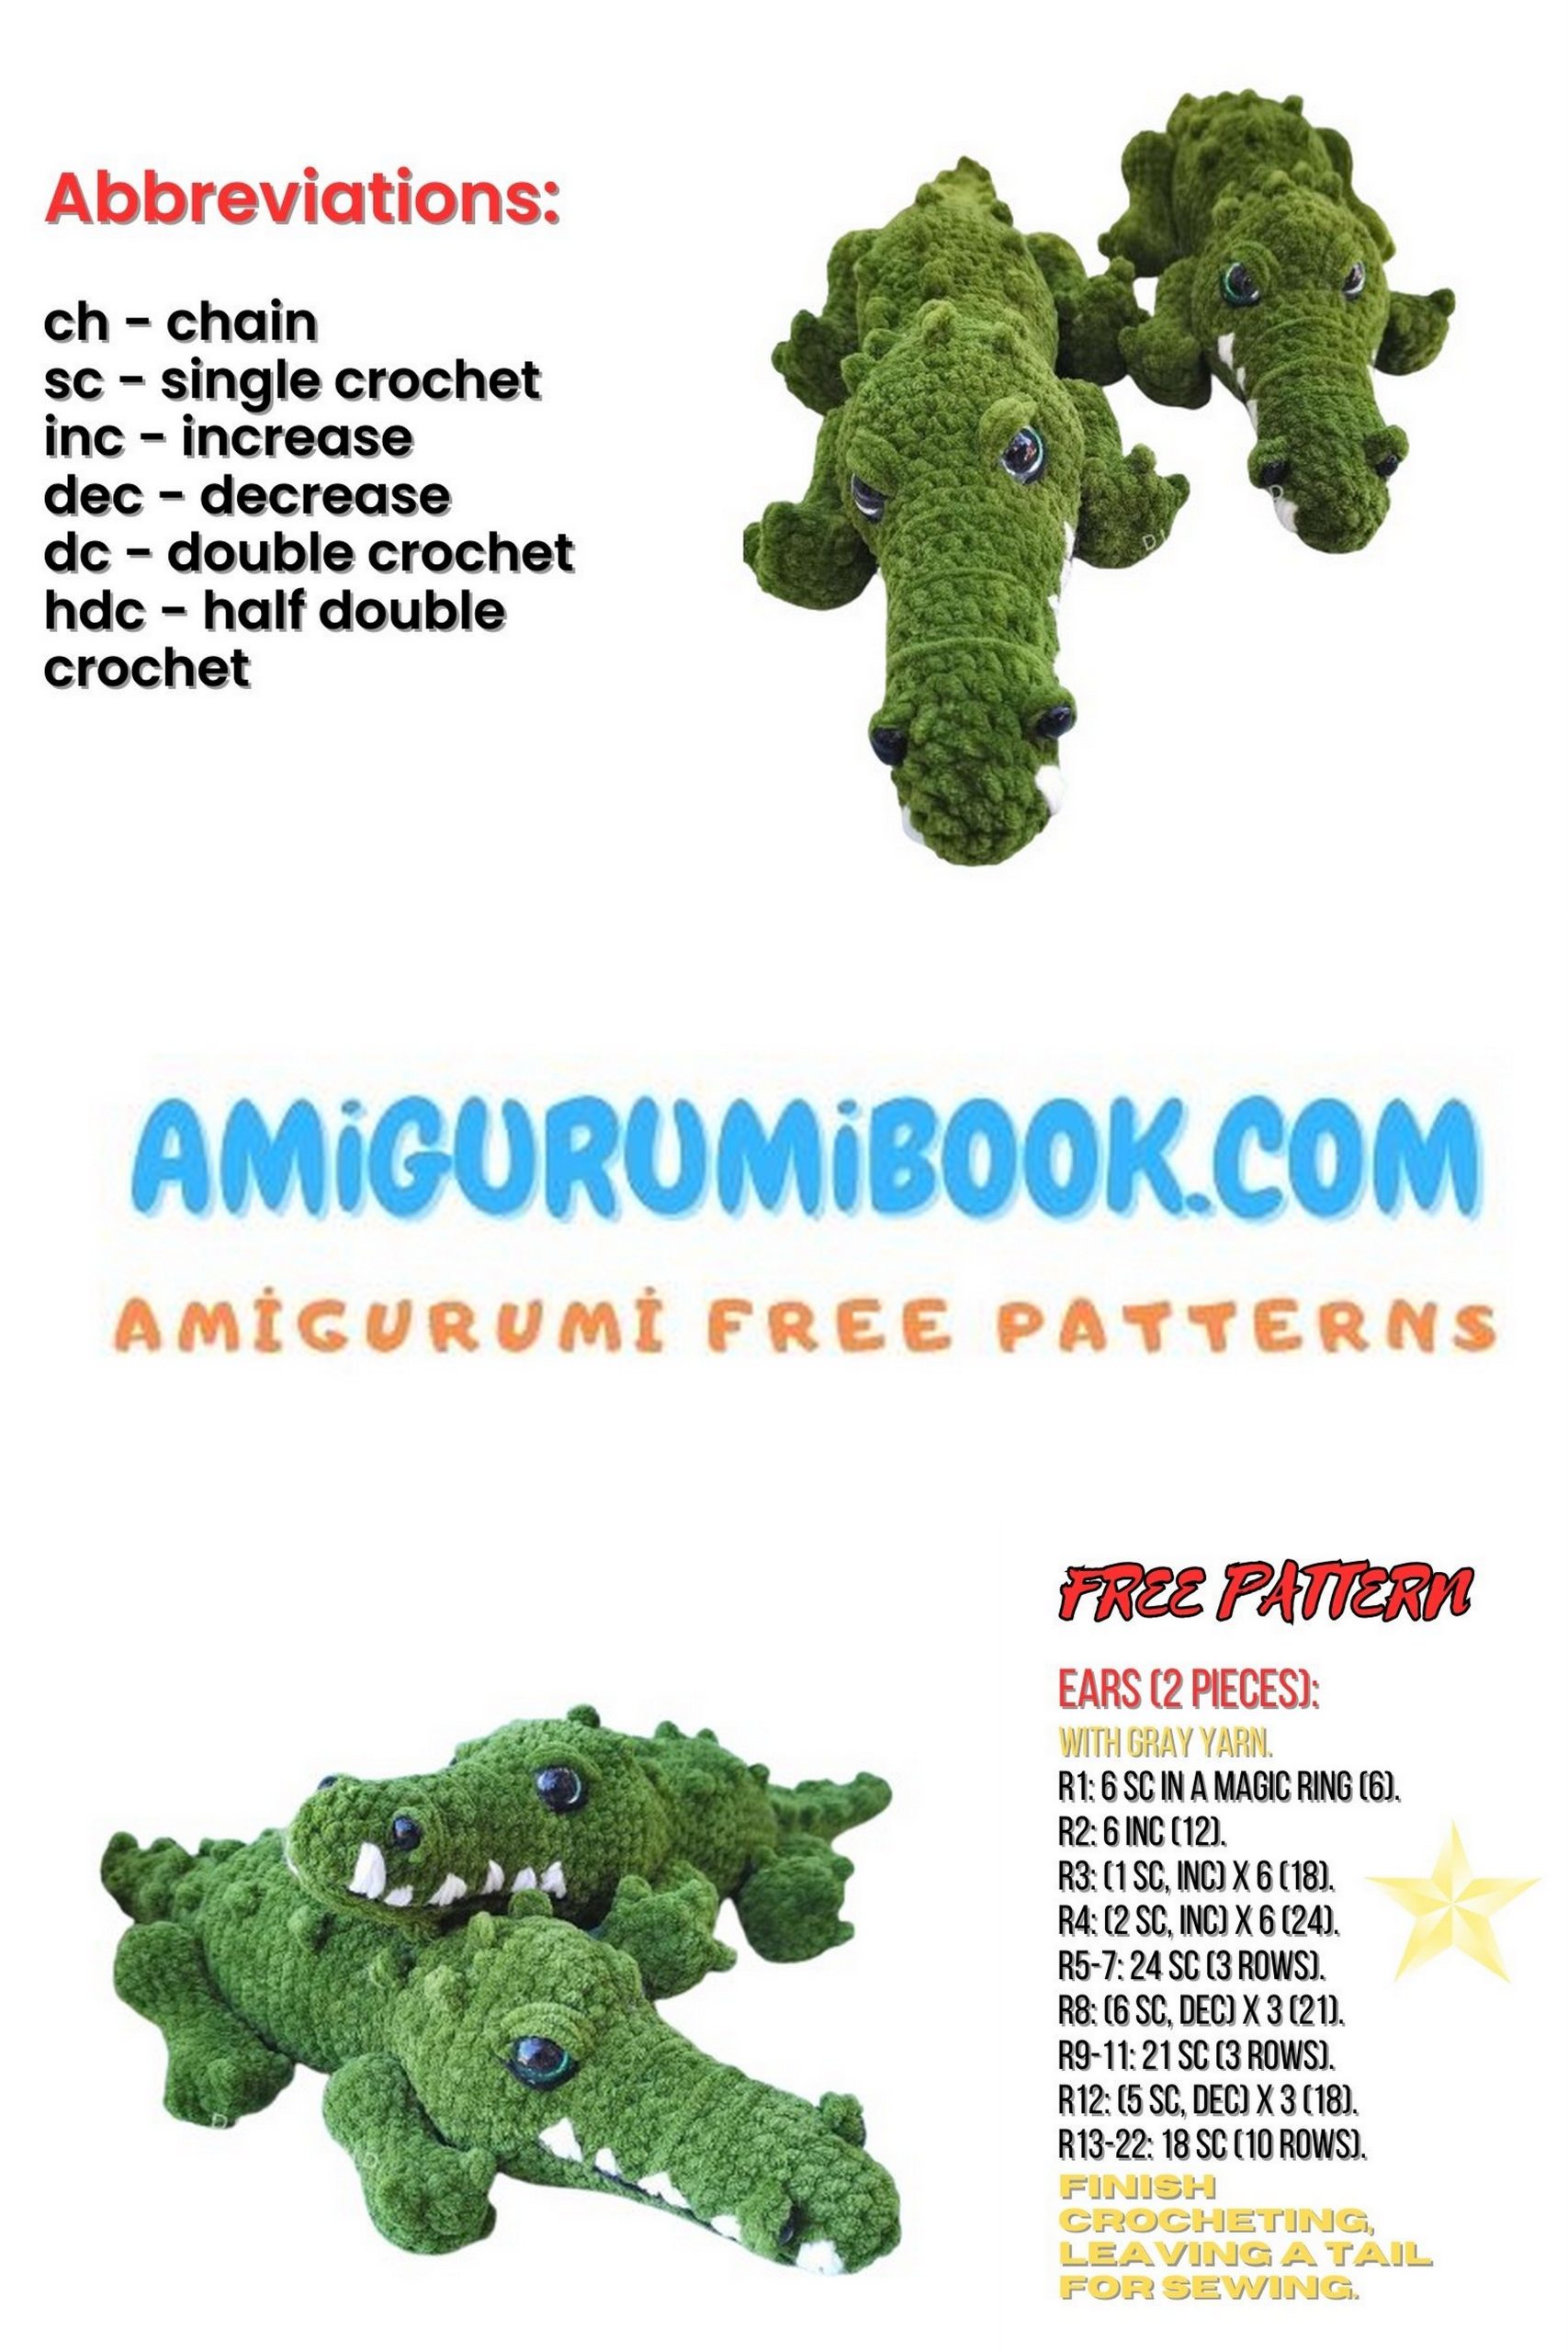
Welcome to our Crocodile Amigurumi Free Pattern tutorial! Crochet enthusiasts, get ready to dive into the world of amigurumi with this delightful project. In this comprehensive guide, we’ll walk you through every step of creating your very own crocodile toy. Whether you’re a beginner or an experienced crocheter, you’ll find this pattern easy to follow and rewarding to complete. So grab your crochet hooks and let’s get started on crafting your new favorite plush companion!
If you want to access 1000+ free amigurumi patterns, you can download our application from this link!
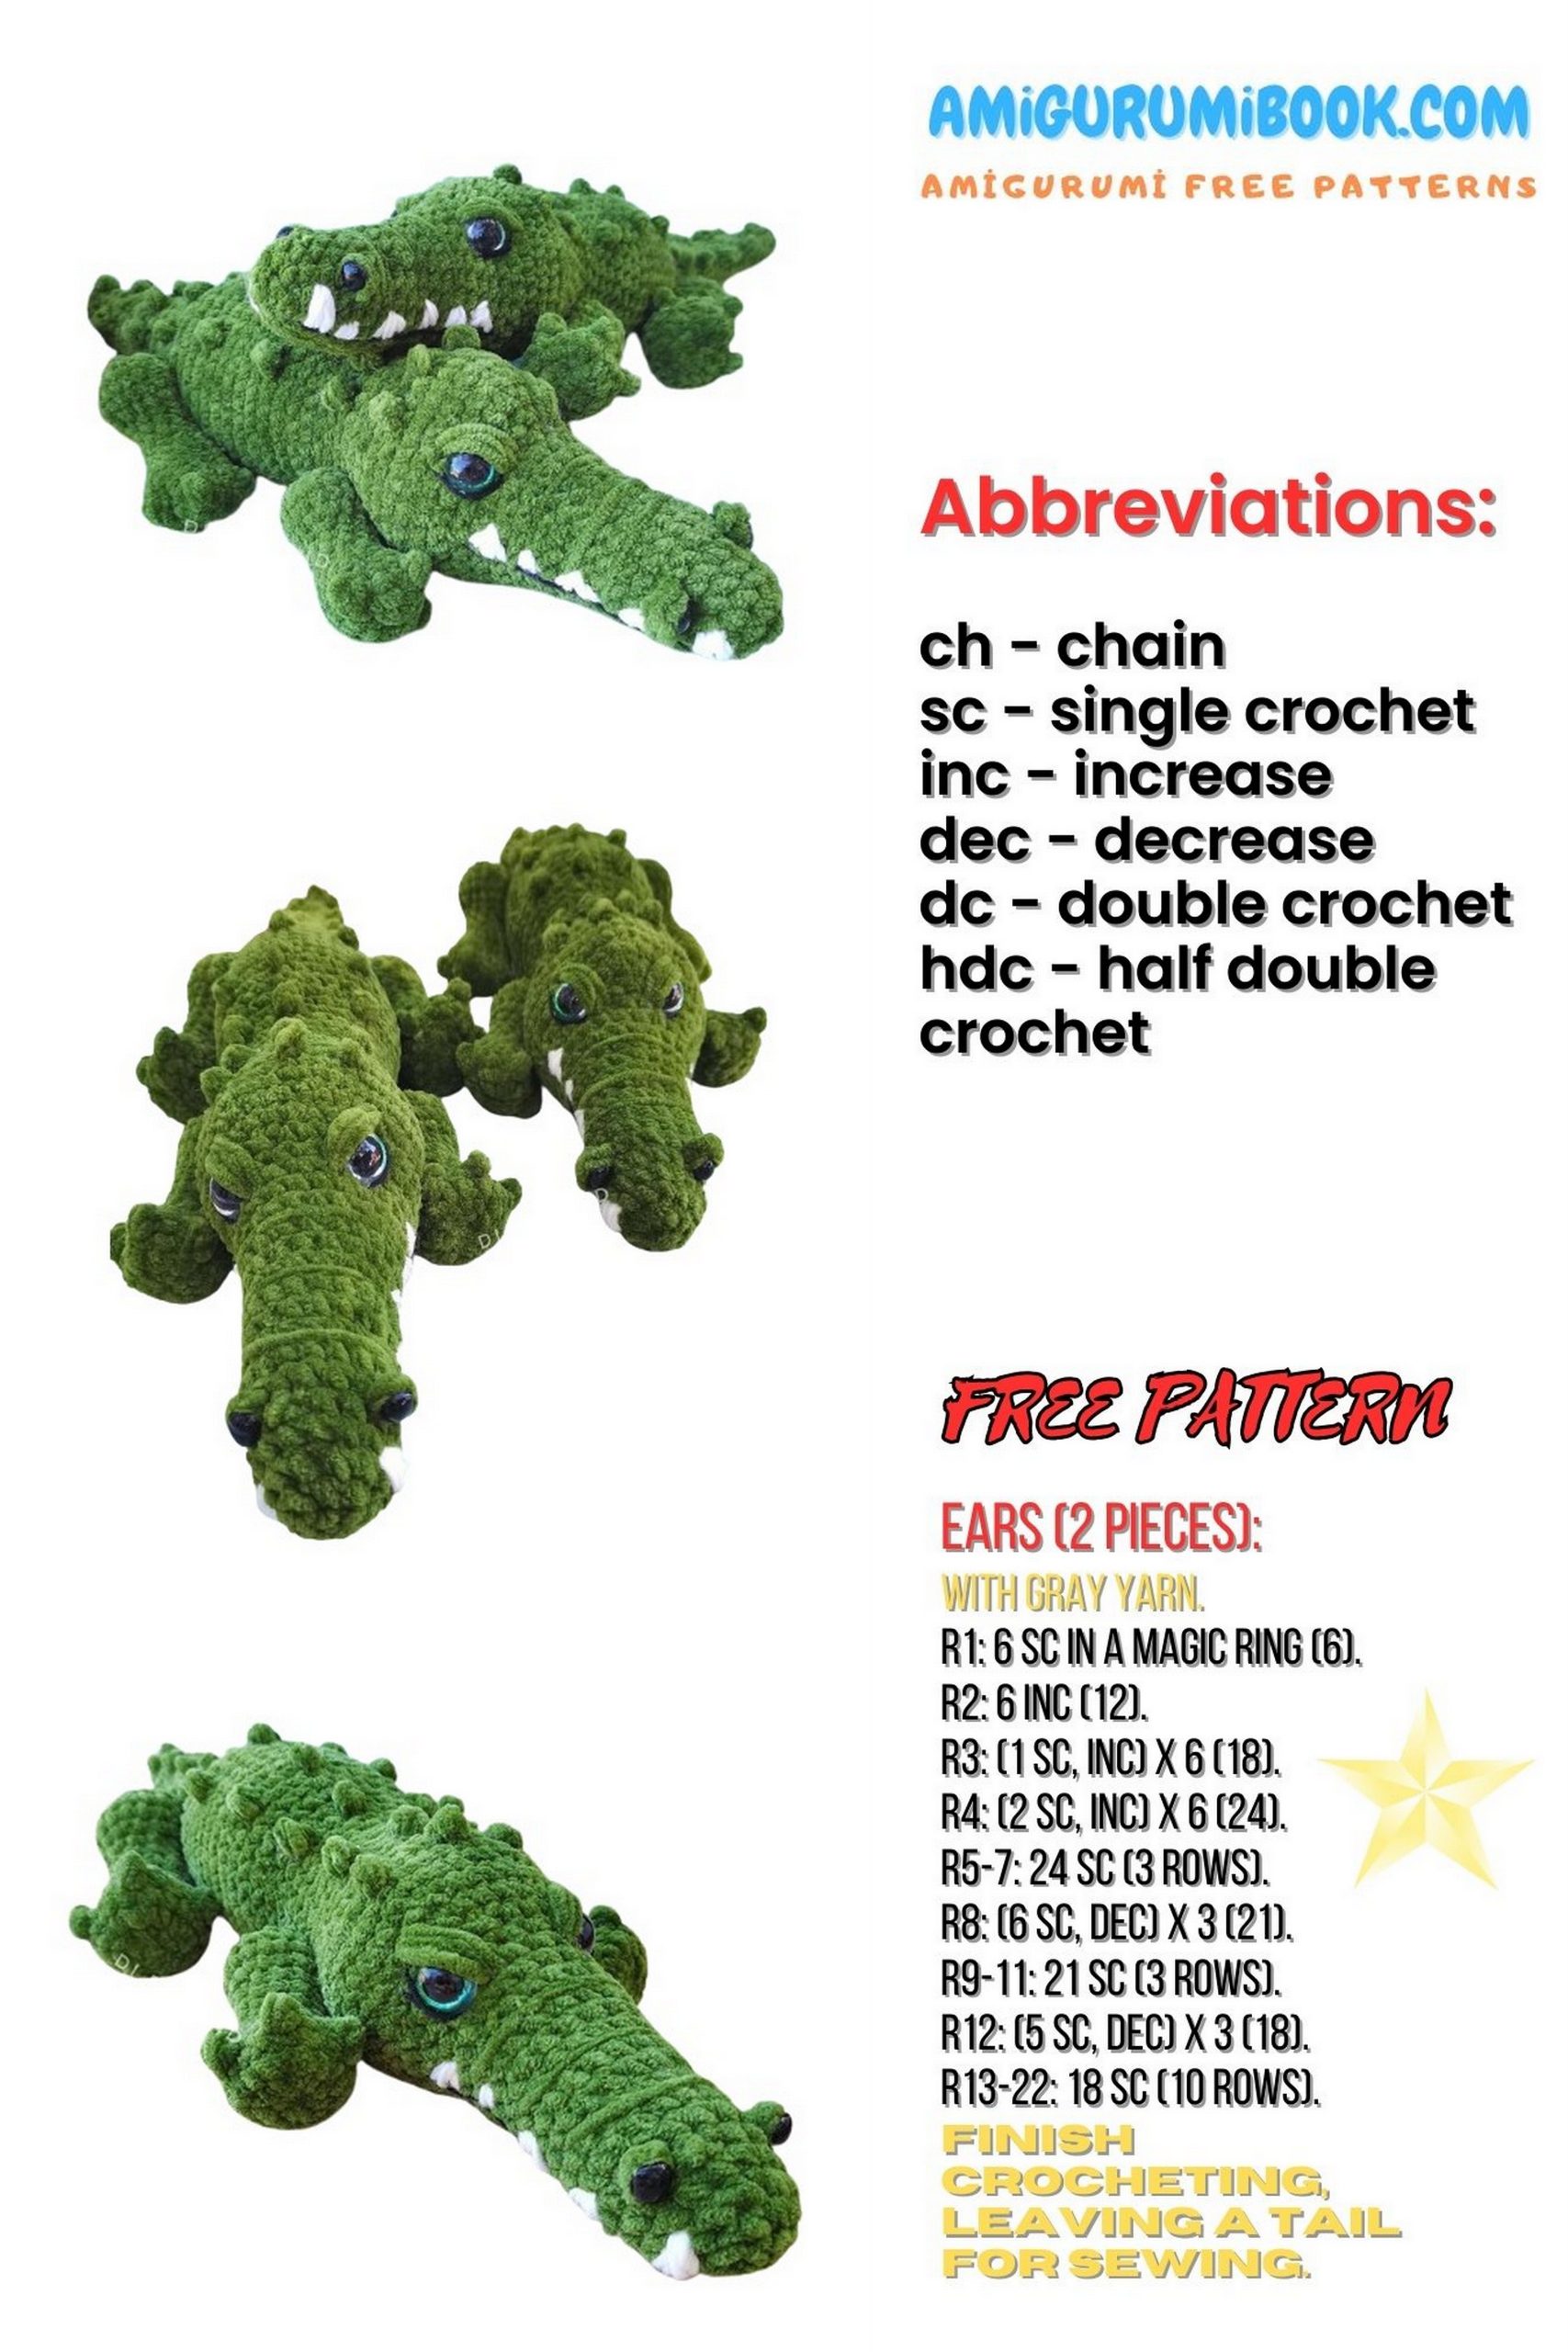
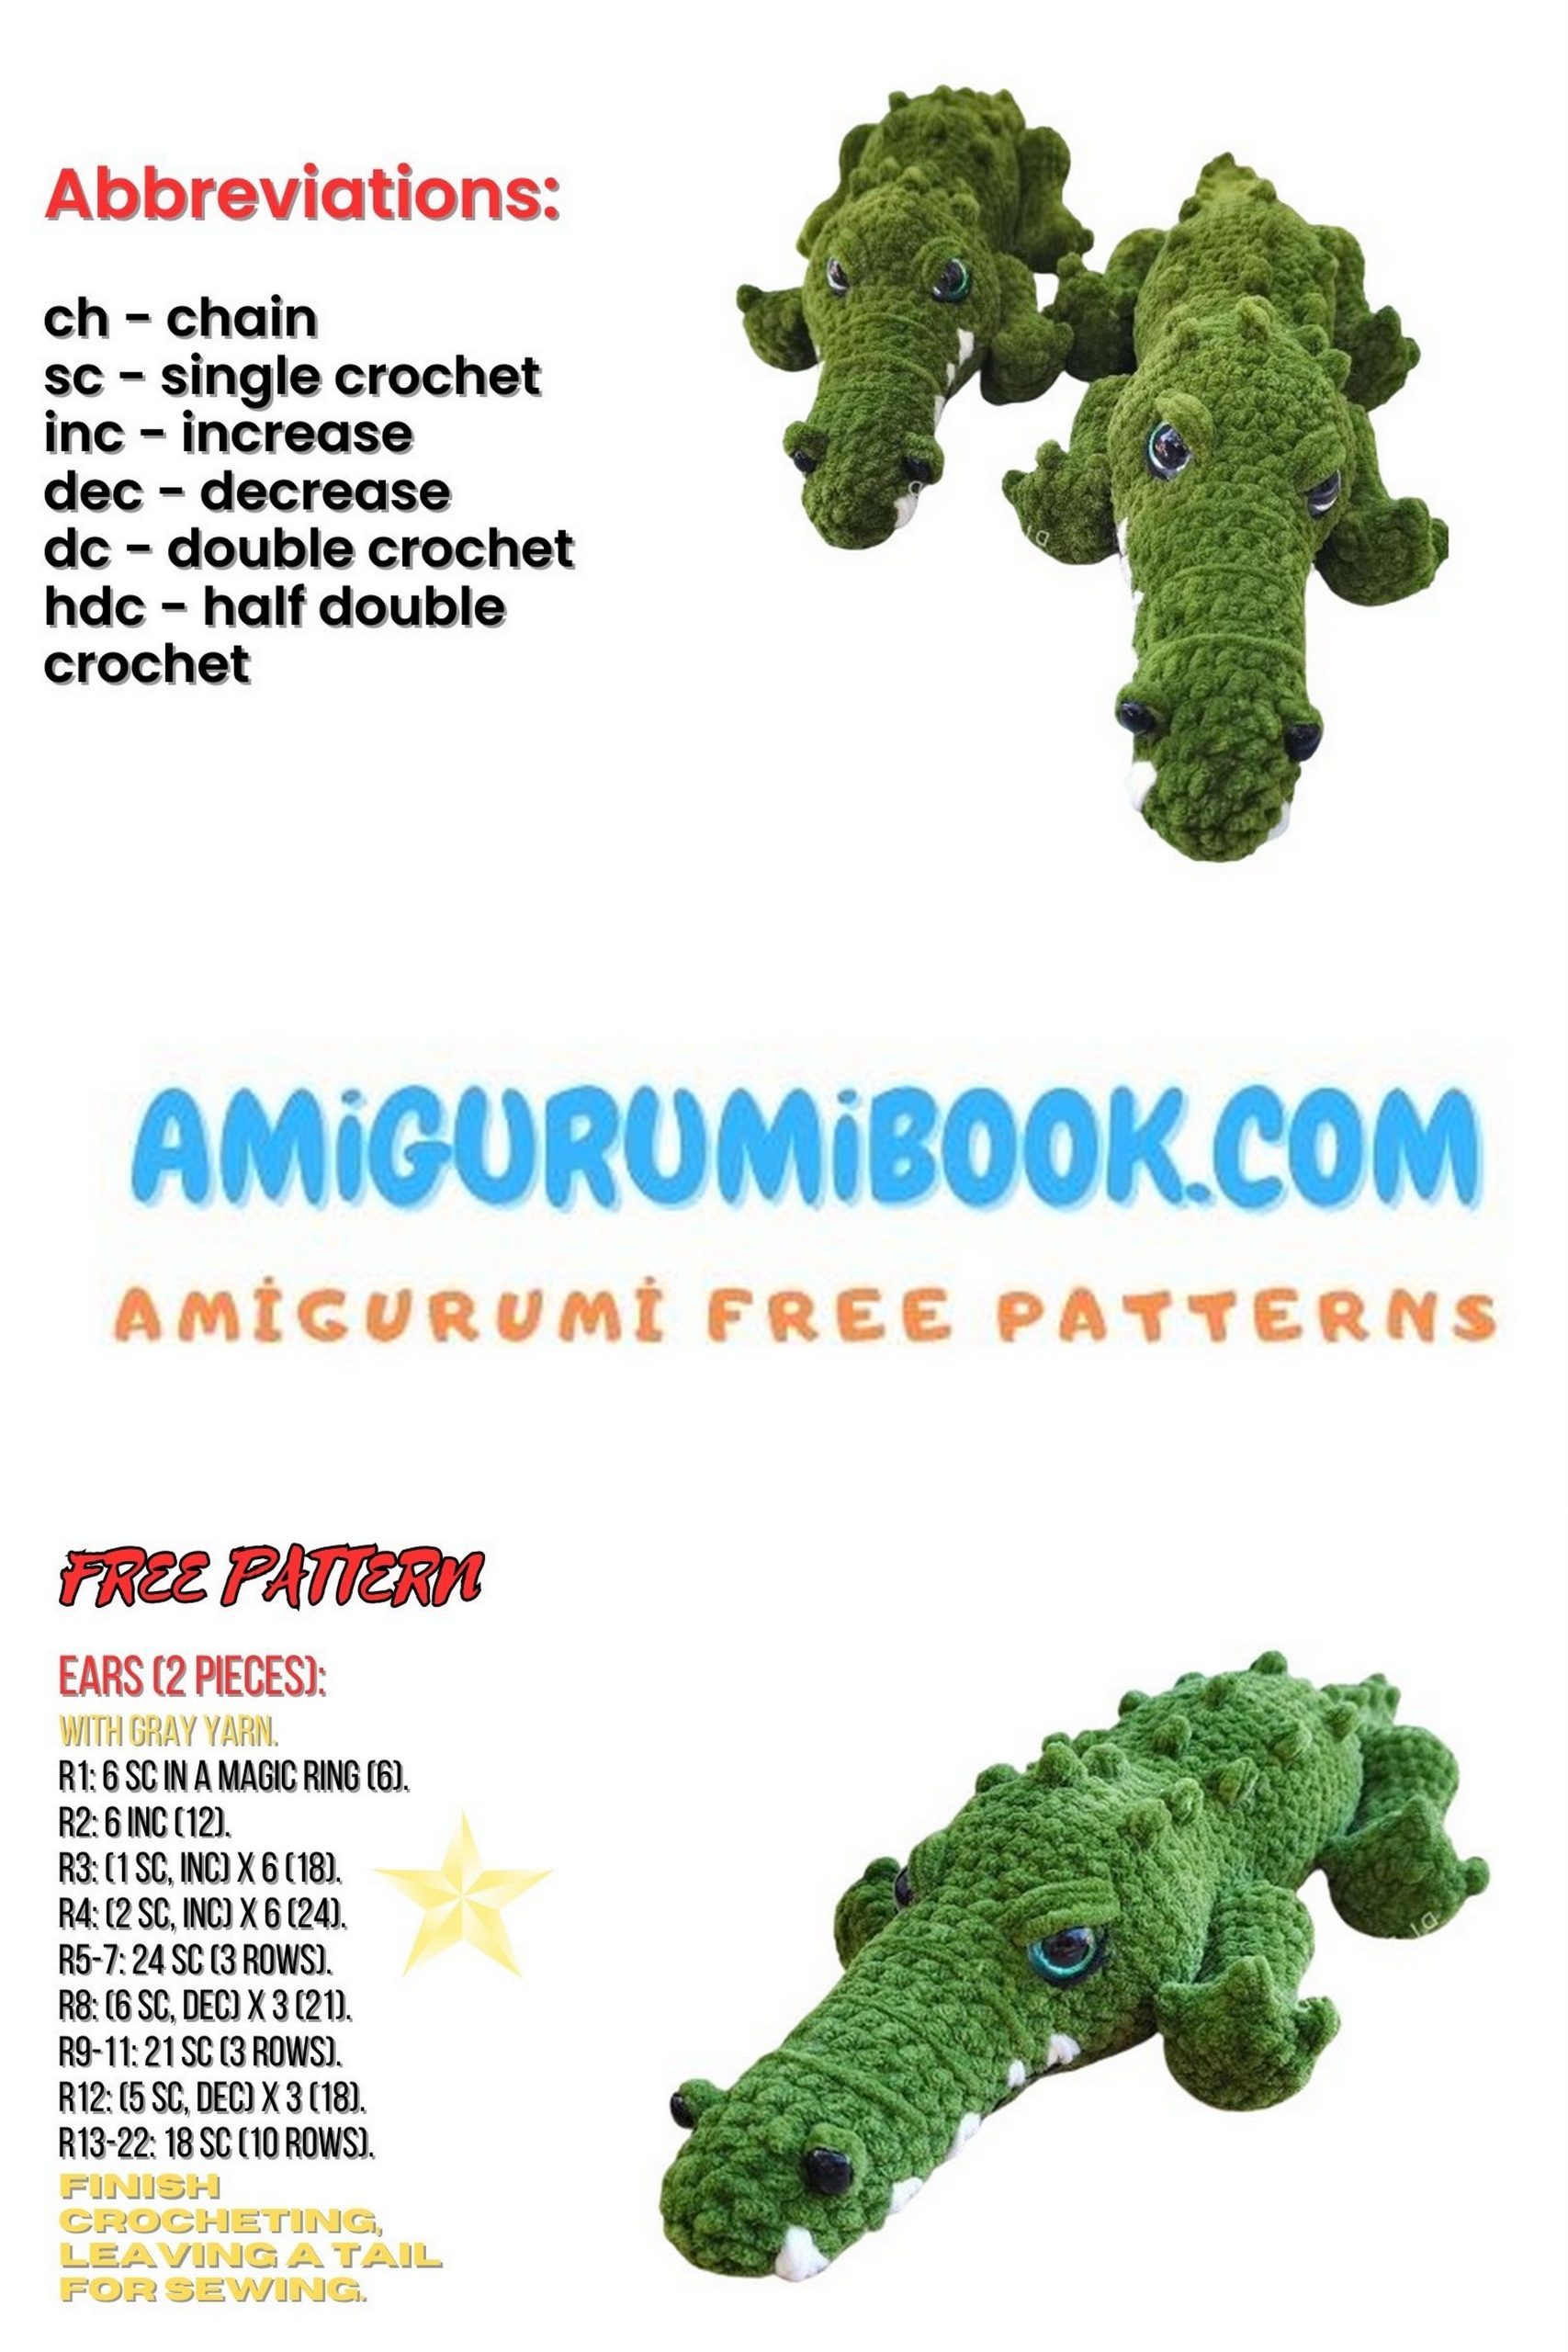
ABBREVİATİONS:
MR – Magic Ring
ch – chain stitch
sl st – slip stitch
sc – single crochet
inc – increase (two stitches in one loop)
dec – decrease (two stitches worked together)
(…)*x – repeat what is in parentheses x times (NUMBER) – total number of stitches in the row
MATERIALS NEEDED:
Crochet hooks № 4 mm and № 3 mm, I use Japanese brand “Tulip Etimo Rose” + an additional one without a handle (to hide ends in the body)
Plush yarn, any brand, I use Turkish brand “LaVita” 1.5 skeins
Black and white acrylic yarn, I use “Alize Cotton Gold Plus” 1 skein each
Black cotton yarn, I use Indian brand “Vita Cotton Coco” 1 skein
Scissors, row marker, sewing needle, two long needles (for securing paws), and a plastic needle, “Moment Crystal” glue, 2 black noses 1 cm each, hemisphere eyes with plugs 2 cm each, pins, stuffing for toys (polyester fiberfill, polyfill, or synthetic batting).

PATTERN
TAIL-BODY-HEAD – Crocodile Amigurumi
1: 6 sc in MR or in the second stitch from the hook
2-4: 6 sc (3 rows)
5: (1 sc + 1 inc) * 3 times (9)
6-8: 9 sc (3 rows)
9: (2 sc + 1 inc) * 3 times (12)
10-13: 12 sc (4 rows)
14: (3 sc + 1 inc) * 3 times (15)
15-17: 15 sc (3 rows)
18: (4 sc + 1 inc) * 3 times (18)
19-22: 18 sc (4 rows)
23: (5 sc + 1 inc) * 3 times (21)
24-25: 21 sc (2 rows)
26: (3 sc + 1 inc) * 5 times, 1 sc (26)
27: (3 sc + 1 inc) * 6 times, 2 sc (32)
28: 32 sc
29: (4 sc + 1 inc) * 6 times, 2 sc (38)
30-37: 38 sc (8 rows)
38: (5 sc + 1 dec) * 4 times, 3 sc (33)
39-40: 33 sc (2 rows)
41: (4 sc + 1 dec) * 5 times, 3 sc (28)
42: 28 sc
Fill the piece with fiberfill!
44-45: 23 sc (2 rows)
46: (4 sc + 1 inc) * 4 times, 3 sc (27)
47-48: 27 sc
49: (5 sc + 1 inc) * 4 times, 3 sc (31)
50: (4 sc + 1 inc) * 6 times, 1 sc (37)
51: (3 sc + 1 inc) * 9 times, 1 sc (46)
52-53: 46 sc (2 rows)
54: (4 sc + 1 dec) * 7 times, 4 sc (39)
55: (3 sc + 1 dec) * 7 times, 4 sc (32)
56: (4 sc + 1 dec) * 5 times, 2 sc (27)
57: (3 sc + 1 dec) * 6 times, 2 sc (22)
58-59: 22 sc (2 rows)
60: (5 sc + 1 dec) * 3 times, 1 sc (19)
61-67: 19 sc (7 rows)
Fill the piece with fiberfill and insert eyes.
68: (4 sc + 1 dec) * 3 times, 1 sc (15)
69: 15 sc
70: (3 sc + 1 dec) * 2 times, 2 sc (12)
71: (2 sc + 1 dec) * 3 times (9)
72: 2 dec

PAWS – Crocodile Amigurumi
Front paws are crocheted with a 3 mm hook, back paws with a 4 mm hook. The pattern is the same.
1: 6 sc in MR or in the second stitch from the hook
2: 6 inc (12)
3: (1 sc + 1 inc) * 6 times (18)
4-6: 18 sc (3 rows)
7: 6 sc, 3 dec, 6 sc (15)
8: 4 sc, 3 dec, 5 sc (12)
9-11: 12 sc (3 rows)
12: (3 sc + 1 inc) * 3 times (15)
13: (2 sc + 1 inc) * 5 times (20)
14-15: 20 sc (2 rows)
16: (2 sc + 1 dec) * 6 times (15)
17: (1 sc + 1 dec) * 5 times (10)
18: 4 dec
CROCHET CLAWS -Crocodile Amigurumi
Insert a needle with plush yarn into the center of the paw, hold the tail, work one stitch, make a chain, insert the hook into the initial point, three loops on the hook, work the stitch. Repeat. Cut the yarn and tie knots, hiding tails inside. Repeat for the other two claws, moving 2-3 stitches to the right and left from the central claw.
NOSES – Crocodile Amigurumi
Insert the hook and pull the yarn approximately in the center of the left eye, slightly to the side. Work one stitch, chain, insert the hook into the initial point, repeat. Cut the yarn, leaving a tail, tie knots slightly to the left, and hide tails inside. Glue the noses above the nostrils upside down!
EYE TIGHTENING -Crocodile Amigurumi
Take a single thread of cotton yarn. Insert the needle from the bottom of the muzzle and pull out at the bottom edge of the left eye. Hold the tail from the back to keep it from escaping. Then insert the needle at the top edge of the eye and pull out at the top edge of the other eye. Now insert the needle at the bottom edge of the right eye. Pull out from under the muzzle, one stitch away from the initial point. Start pulling the threads together. Adjust the eyes. Tie a knot and hide threads inside.
EYELIDS – Crocodile Amigurumi
Insert a single thread of yarn from the bottom under the muzzle, pull out at the top edge of the left eye. Then insert the needle at the upper edge from the left and work four times, pull out at the initial point under the muzzle, and tie. Cut the threads and hide them inside. For the lower eyelid, use black acrylic yarn twice.
MOUTH -Crocodile Amigurumi
Use pins to mark the mouth line. Insert black acrylic yarn from under the muzzle. Using a “forward needle” stitch, insert a plastic needle with yarn alternately removing pins. And in the reverse direction, closing the gaps with yarn, cut and hide threads inside.
MOUTH STRUCTURE
Insert a needle with plush yarn from under the muzzle. Make three ties with three short pieces of yarn. Do not pull too tight. Tie knots and hide threads inside the muzzle.
BACK DESIGN
Mark the places with pins for the so-called “claws.” I have three rows. Insert the yarn into the sc on the crown, slightly to the left. Catch the thread, pull it out. Hold the tail to prevent it from escaping. Work one stitch, make a chain. Three loops on the hook, work the stitch. Insert the hook again at the initial point. Make a chain, three loops on the hook, work the stitch. Tie the ends of the yarn together and hide them inside. If not clear, refer to the video tutorial.
ATTACHING PAWS AND TIGHTENING
Use long needles for convenience when attaching. I sew with “Coco” cotton thread. Use the same thread to tighten the paws. Insert the needle into the center of the paw from the inside, pass the thread between two “claws,” insert the needle from the outside. Pull out again at the initial point, then pass the thread between the next two “claws,” repeat twice more. Pull the threads, tie knots, creating slight recesses between the fingers.
Your crocodile is ready!
Thanks to all craftswomen for the free tutorials!