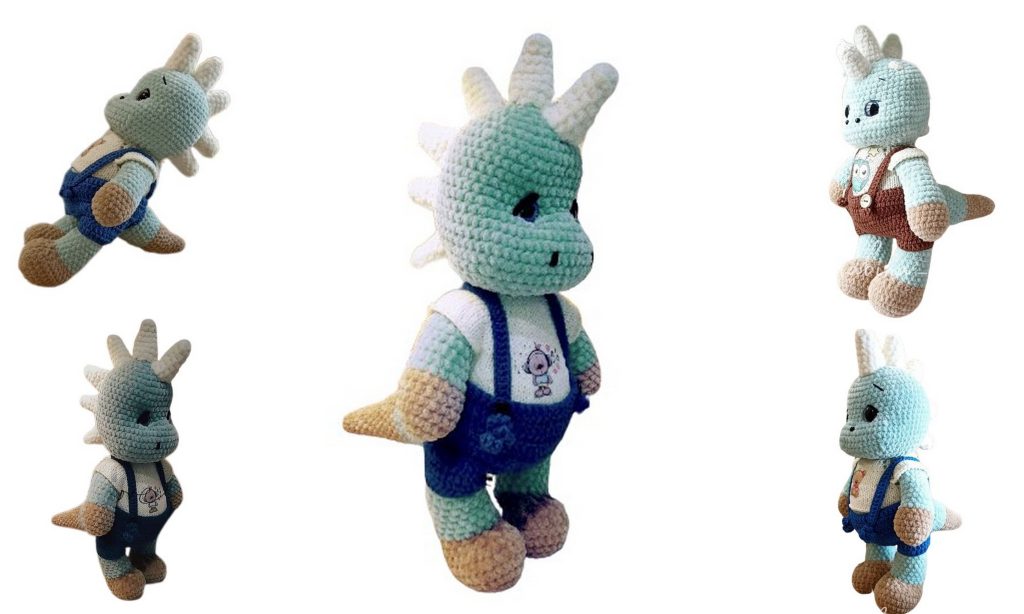
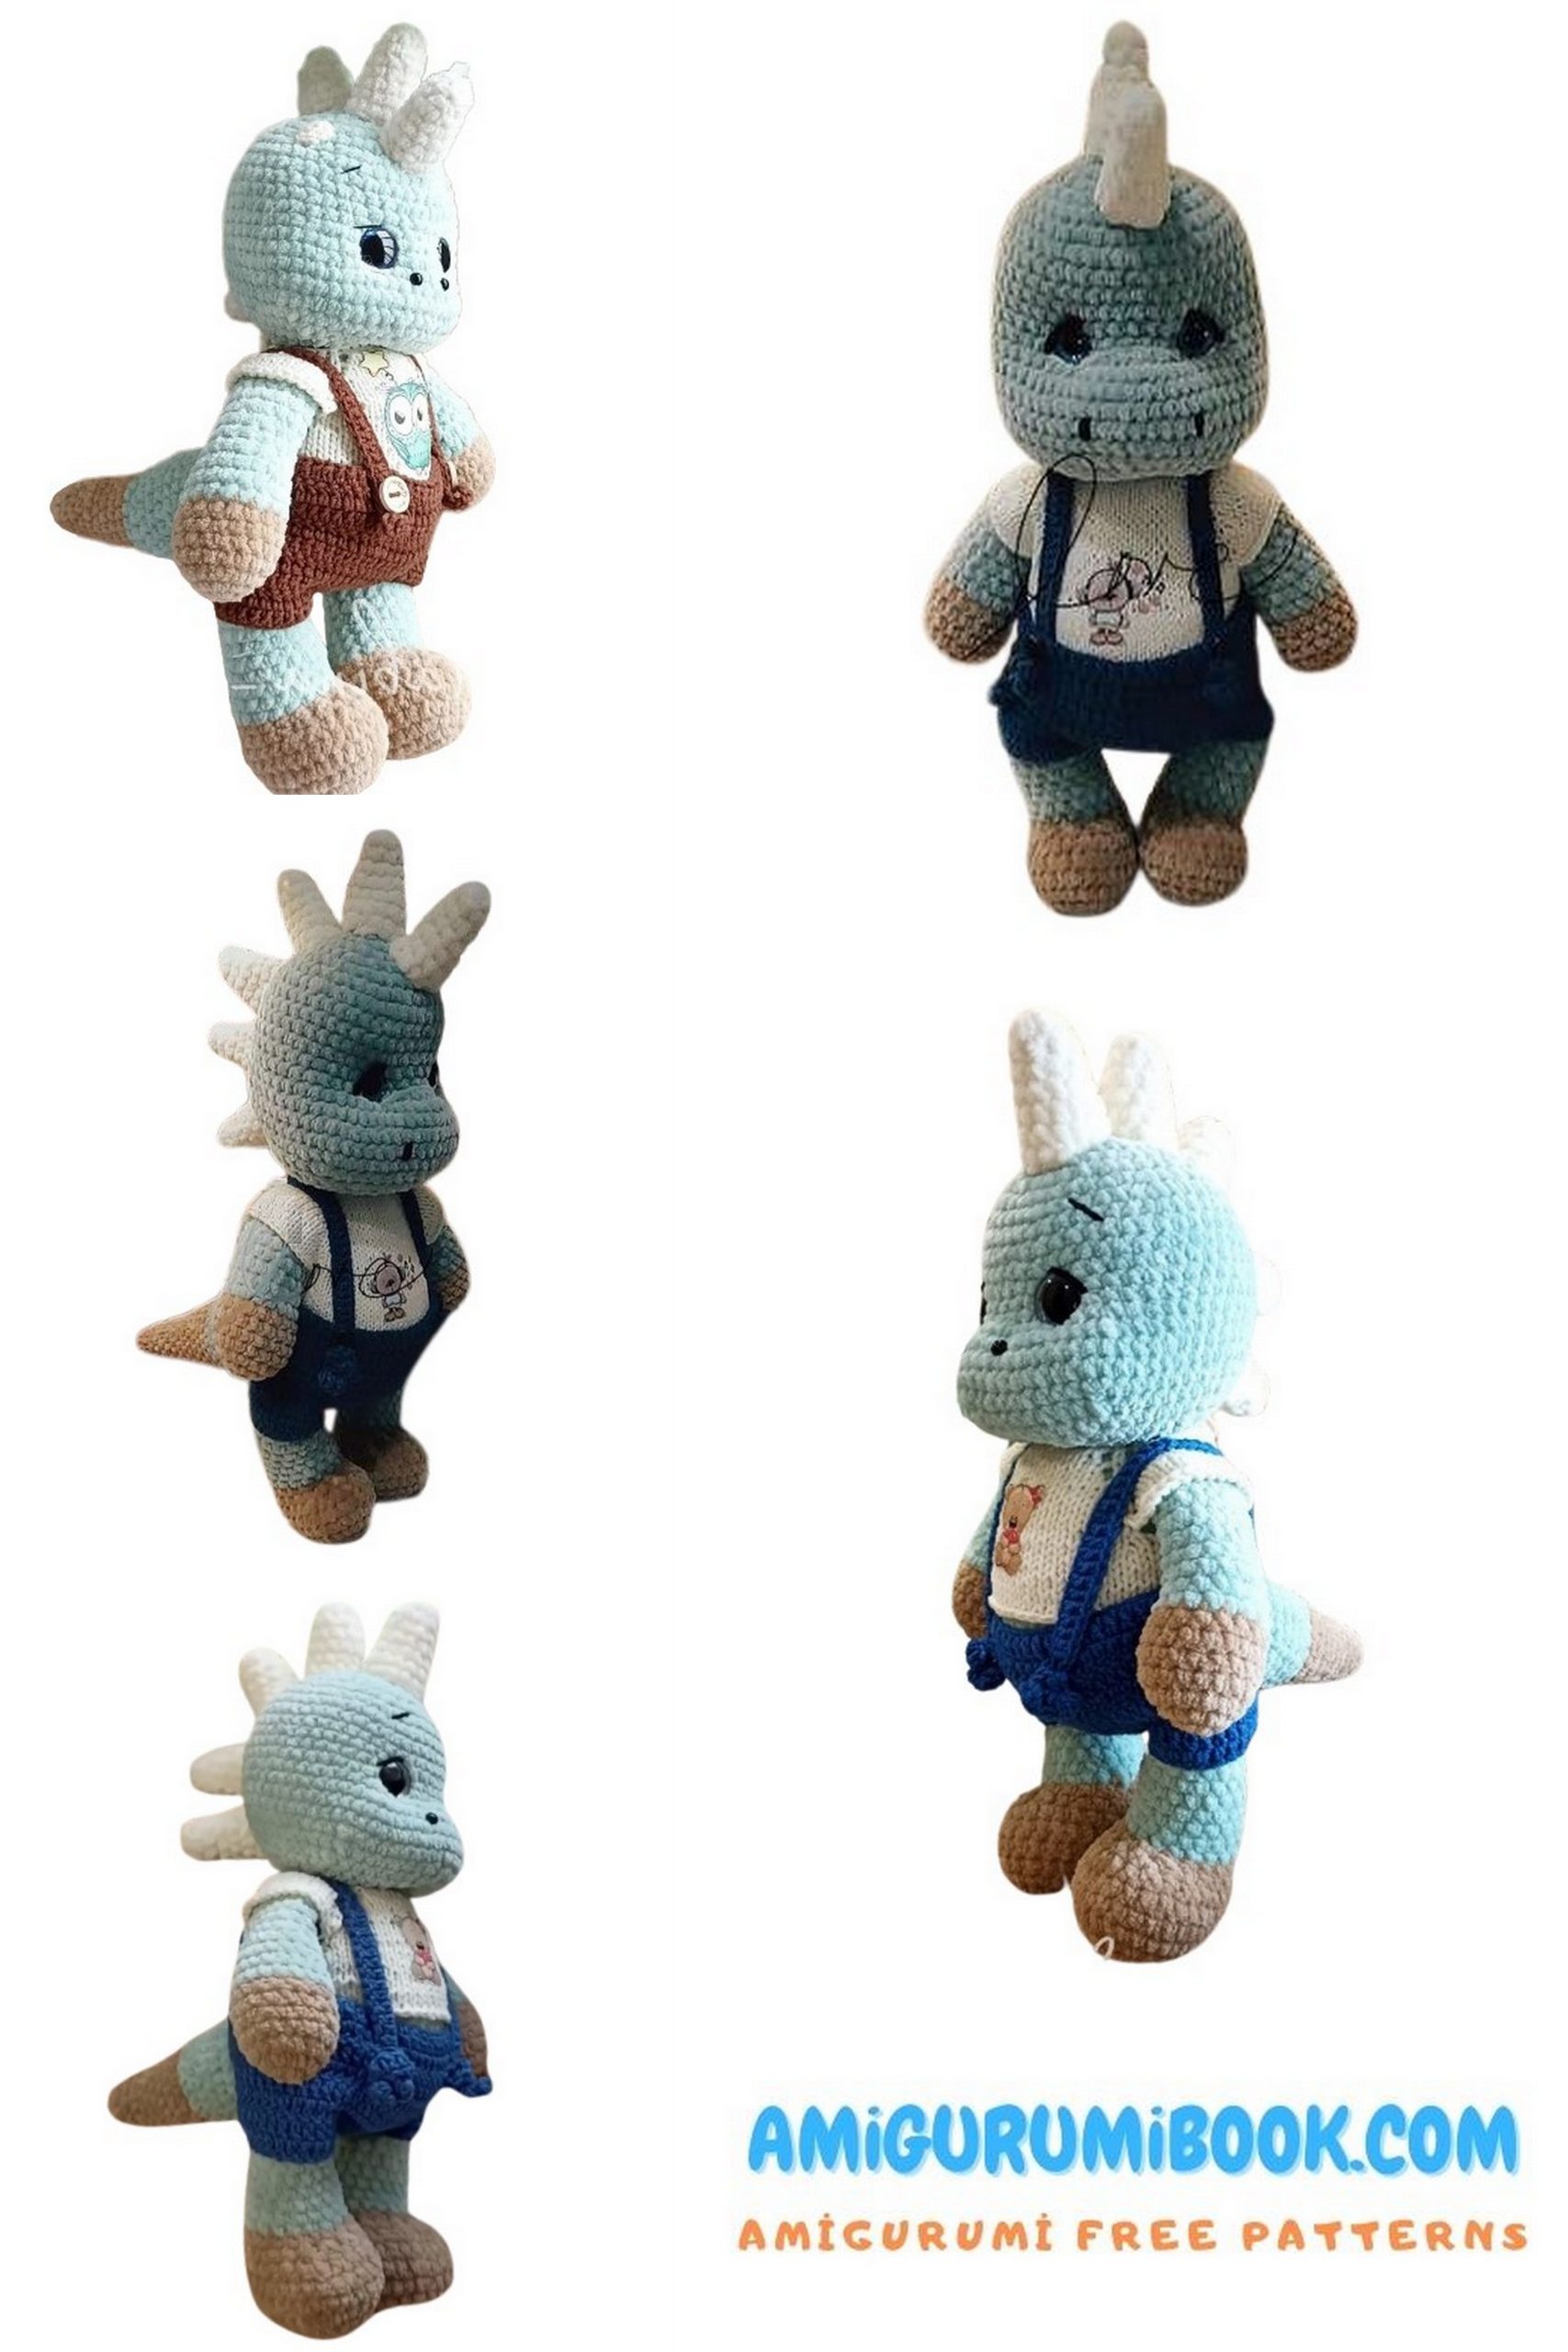
Discover the joy of crafting with this adorable baby dinosaur amigurumi free pattern, perfect for beginners and experienced crocheters alike. This charming little dinosaur makes a delightful handmade gift or a cute addition to your collection of amigurumi creatures. free crochet patterns
You may also like more amigurumi patterns.
Creating a cute baby dinosaur amigurumi is a delightful crochet project that can transport you back to the prehistoric world with a cuddly twist. If you’re on the hunt for a free and user-friendly crochet pattern to bring your very own baby dinosaur to life, your search ends here. Introducing our ‘Cute Baby Dinosaur Amigurumi Free Pattern,’ providing you with all the tools and guidance you need.
This pattern is suitable for crocheters of all skill levels, whether you’re a crochet enthusiast with years of experience or a newcomer to the world of crochet. Our detailed step-by-step instructions and easy-to-follow diagrams will accompany you every step of the way, ensuring your crochet journey is smooth and enjoyable.
The end result will be an irresistibly cute baby dinosaur that can become a cherished handmade gift, a whimsical addition to your decor, or a snuggly companion for the young dinosaur lovers in your life. Waste no time and download the pattern today to begin crafting your very own Cute Baby Dinosaur Amigurumi. Unleash your creativity and crochet your way into the world of adorable prehistoric creatures!
If you want to access 1000+ free amigurumi patterns, you can download our application from this link!
Materials
- Yarn (plush):
- Himalaya Dolphin Baby 80347 Mint – approx. 150 g
- Himalaya Dolphin Baby 80317 Beige – approx. 50 g
- Himalaya Dolphin Baby 80308 Milk – approx. 30 g
- Black yarn – for eyes
- Yarn (cotton):
- YarnArt Jeans Milk 05
- YarnArt Jeans Blue 16 (for clothing)
- Hooks & needles:
- Crochet hooks: 4.0 mm and 2.5 mm
- Straight knitting needles: 2.0 mm
- Accessories:
- 16 mm trapezoid glitter safety eyes
- 2 buttons
- Embroidery needle
- Stuffing (fiberfill)
Finished size: approx. 40 cm
Abbreviations (US Terms)
ch – chain
MR – magic ring
sc – single crochet
inc – increase
dec – decrease

HEAD
- 6 sc in MR (6)
- inc × 6 (12)
- (1 sc, inc) × 6 (18)
- (2 sc, inc) × 6 (24)
- (3 sc, inc) × 6 (30)
- (4 sc, inc) × 6 (36)
- (5 sc, inc) × 6 (42)
- (6 sc, inc) × 6 (48)
9–13. 48 sc
- 18 sc, 10 inc, 20 sc (58)
→ Insert safety eyes between the first and last increases, approx. 6 sc apart - 18 sc, inc, 19 sc, inc, 19 sc (60)
16–18. 60 sc
- (8 sc, dec) × 6 (54)
- (7 sc, dec) × 6 (48)
- (6 sc, dec) × 6 (42)
- (5 sc, dec) × 6 (36)
- (4 sc, dec) × 6 (30)
- (3 sc, dec) × 6 (24)
- (2 sc, dec) × 6 (18)
Fasten off, leave a tail. Stuff firmly, shaping the cheeks.

LEGS (Make 2)
Start with beige yarn.
- 5 ch, starting from the 2nd ch from hook:
2 sc, 2 sc, 3 sc in last ch, 4 sc (11) - inc, 4 sc, 3 inc, 3 sc, 2 inc (17)
- inc, 1 sc, inc, 3 sc, inc, 1 sc, inc,
1 sc, inc, 4 sc, inc, 1 sc (23) - inc, 8 sc, inc, 1 sc, inc, 2 sc, inc,
6 sc, inc, 1 sc (28) - 28 sc
- 28 sc
- 11 sc, (1 sc, dec) × 4, 5 sc (24)
- 11 sc, 4 dec, 5 sc (20)
Make the decreases in the center of the leg. - 12 sc, dec, 6 sc (19)
→ Change yarn to mint - 19 sc
- 19 sc
- 19 sc
- 19 sc
- 19 sc
- dec at the end of the round (18)
- 18 sc
- dec at the end of the round (17)
- dec at the end of the round (16)
- dec at the end of the round (15)
- 15 sc
- 1 sc, dec, 12 sc (14)
→ Stuff the leg firmly. - 14 sc
Fold the leg in half and close with 7 sc.
Fasten off and cut the yarn.
ARMS (Make 2)
Start with beige yarn.
- 6 sc in MR (6)
- inc × 6 (12)
- (1 sc, inc) × 6 (18)
- 18 sc
- 18 sc
- 18 sc
- 18 sc
→ Change yarn to mint
- 18 sc
- 18 sc
- 18 sc
- 18 sc
- 18 sc
- 18 sc
- 18 sc
- 18 sc
- 18 sc
- (1 sc, dec) × 6 (12)
Stuff only the lower part of the arm.
Do not stuff the top so the arms do not stick out.
Fold the arm in half and close with 6 sc.
Fasten off and cut the yarn.

BODY
Start with mint yarn.
- 6 sc in MR (6)
- inc × 6 (12)
- (1 sc, inc) × 6 (18)
- (2 sc, inc) × 6 (24)
- (3 sc, inc) × 6 (30)
- (4 sc, inc) × 6 (36)
- (5 sc, inc) × 6 (42)
- (6 sc, inc) × 6 (48)
Attach Legs
- 14 sc,
7 sc through first leg,
6 sc,
inc,
3 sc,
inc,
6 sc,
7 sc through second leg,
3 sc (50) - 25 sc, inc, 10 sc, inc, 13 sc (52)
- 26 sc, inc, 10 sc, inc, 14 sc (54)
- 54 sc
- 54 sc
Body Shaping
- (7 sc, dec) × 6 (48)
- 48 sc
- (6 sc, dec) × 6 (42)
- (5 sc, dec) × 6 (36)
- 36 sc
- 36 sc
- 36 sc
Attach Arms
- (4 sc, dec) × 6 (30)
→ Stuff the body firmly, especially the belly. - (3 sc, dec) × 6 (24)
- (2 sc, dec) × 6 (18)
- Attach arms in this round, leaving 5 sc at the front.
- 18 sc
Stuff the neck very firmly.
Fasten off, leaving a long tail to sew the head on.
Sew the head securely with the same yarn, stitching around twice.
TAIL
Start with beige yarn.
- 6 sc in MR (6)
- 6 sc (6)
- (1 sc, inc) × 3 (9)
- 9 sc (9)
- (2 sc, inc) × 3 (12)
- 12 sc (12)
- (3 sc, inc) × 3 (15)
- 15 sc (15)
- (4 sc, inc) × 3 (18)
- 18 sc (18)
- (5 sc, inc) × 3 (21)
- 21 sc (21)
- (6 sc, inc) × 3 (24)
- 24 sc (24)
→ Change yarn to mint
- (7 sc, inc) × 3 (27)
- 27 sc (27)
- (8 sc, inc) × 3 (30)
- 30 sc (30)
19–30. 30 sc
Stuff the tail firmly.
Fasten off, leave a long tail for sewing.
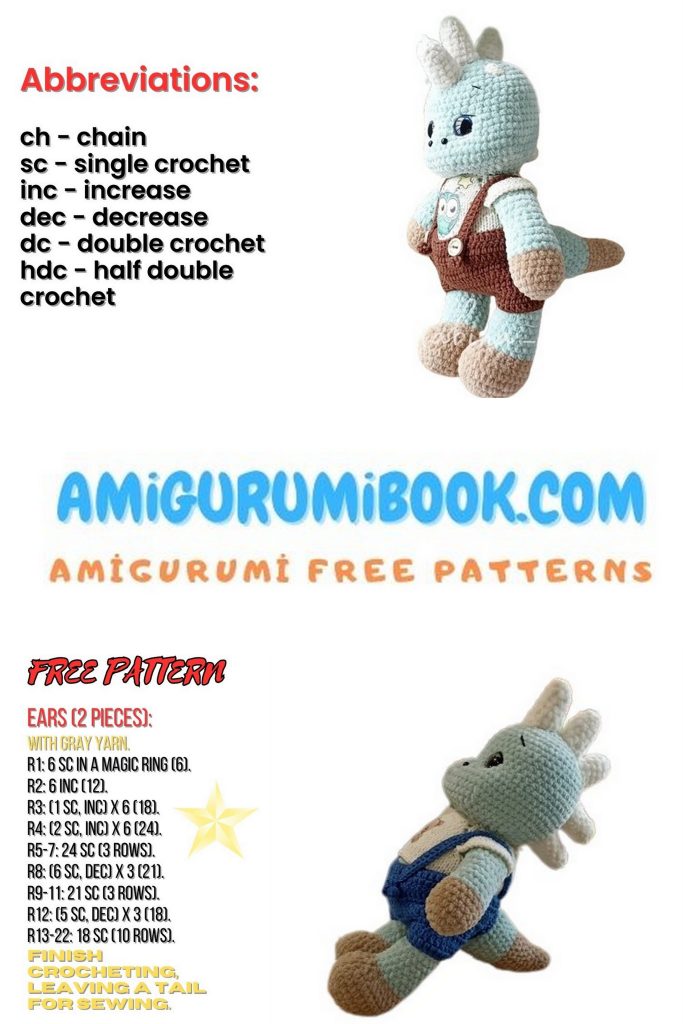
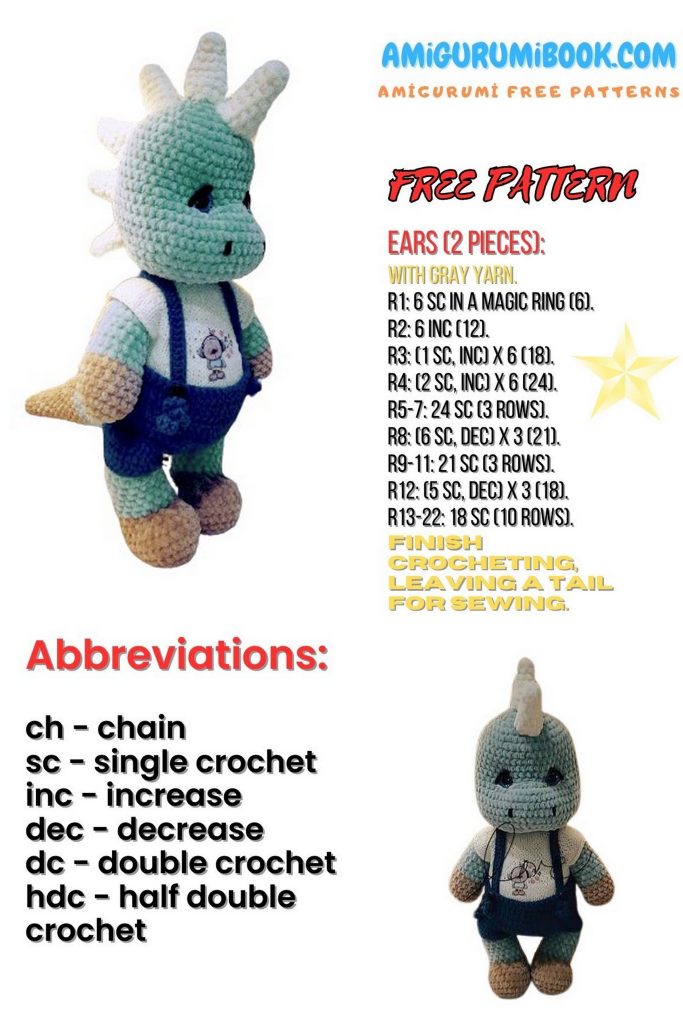
HORNS (Make 6)
Use milk color yarn. Do not stuff.
- 6 sc in MR (6)
- 6 sc (6)
- (1 sc, inc) × 3 (9)
- 9 sc (9)
- (2 sc, inc) × 3 (12)
- 12 sc (12)
- (3 sc, inc) × 3 (15)
Fasten off, leave approx. 15 cm tail for sewing.
Pin first, then sew each horn individually.
SWEATER
(Knitted with 2.0 mm straight or circular needles)
Cast on 34 sts + 2 edge sts.
Ribbing
- Purl all stitches.
Layout (wrong side):
5 back sts – 5 sleeve sts – 10 front sts – 5 sleeve sts – 5 back sts
When sleeve sections reach 21 sts, bind them off normally.
In the next purl row, make 6 increases evenly for sleeves.
Try the sweater on the toy.
Switch to circular needles (2.0 mm) if needed.
Continue knitting in stockinette stitch until desired length
(approx. 10 rows).
Bind off loosely.
Make 2 ties at the back:
attach yarn and chain 25 ch each.
PANTS
(Crocheted with 2.5 mm hook)
- Ch 74 + 2 turning ch
Work in rows.
2–6. sc in each st (5 rows total)
From Row 7 onward:
Decrease at the beginning and end of each row
(skip first and last 2 sts).
10–12. sc evenly, no decreases
→ Try pants on the toy as you go.
Make 2 back loops:
ch 45, sl st in each chain.
Attach buttons to the front (glued or sewn).
Put pants on the toy.
Sew the crotch and 2 cm at the back, leaving space for the tail.
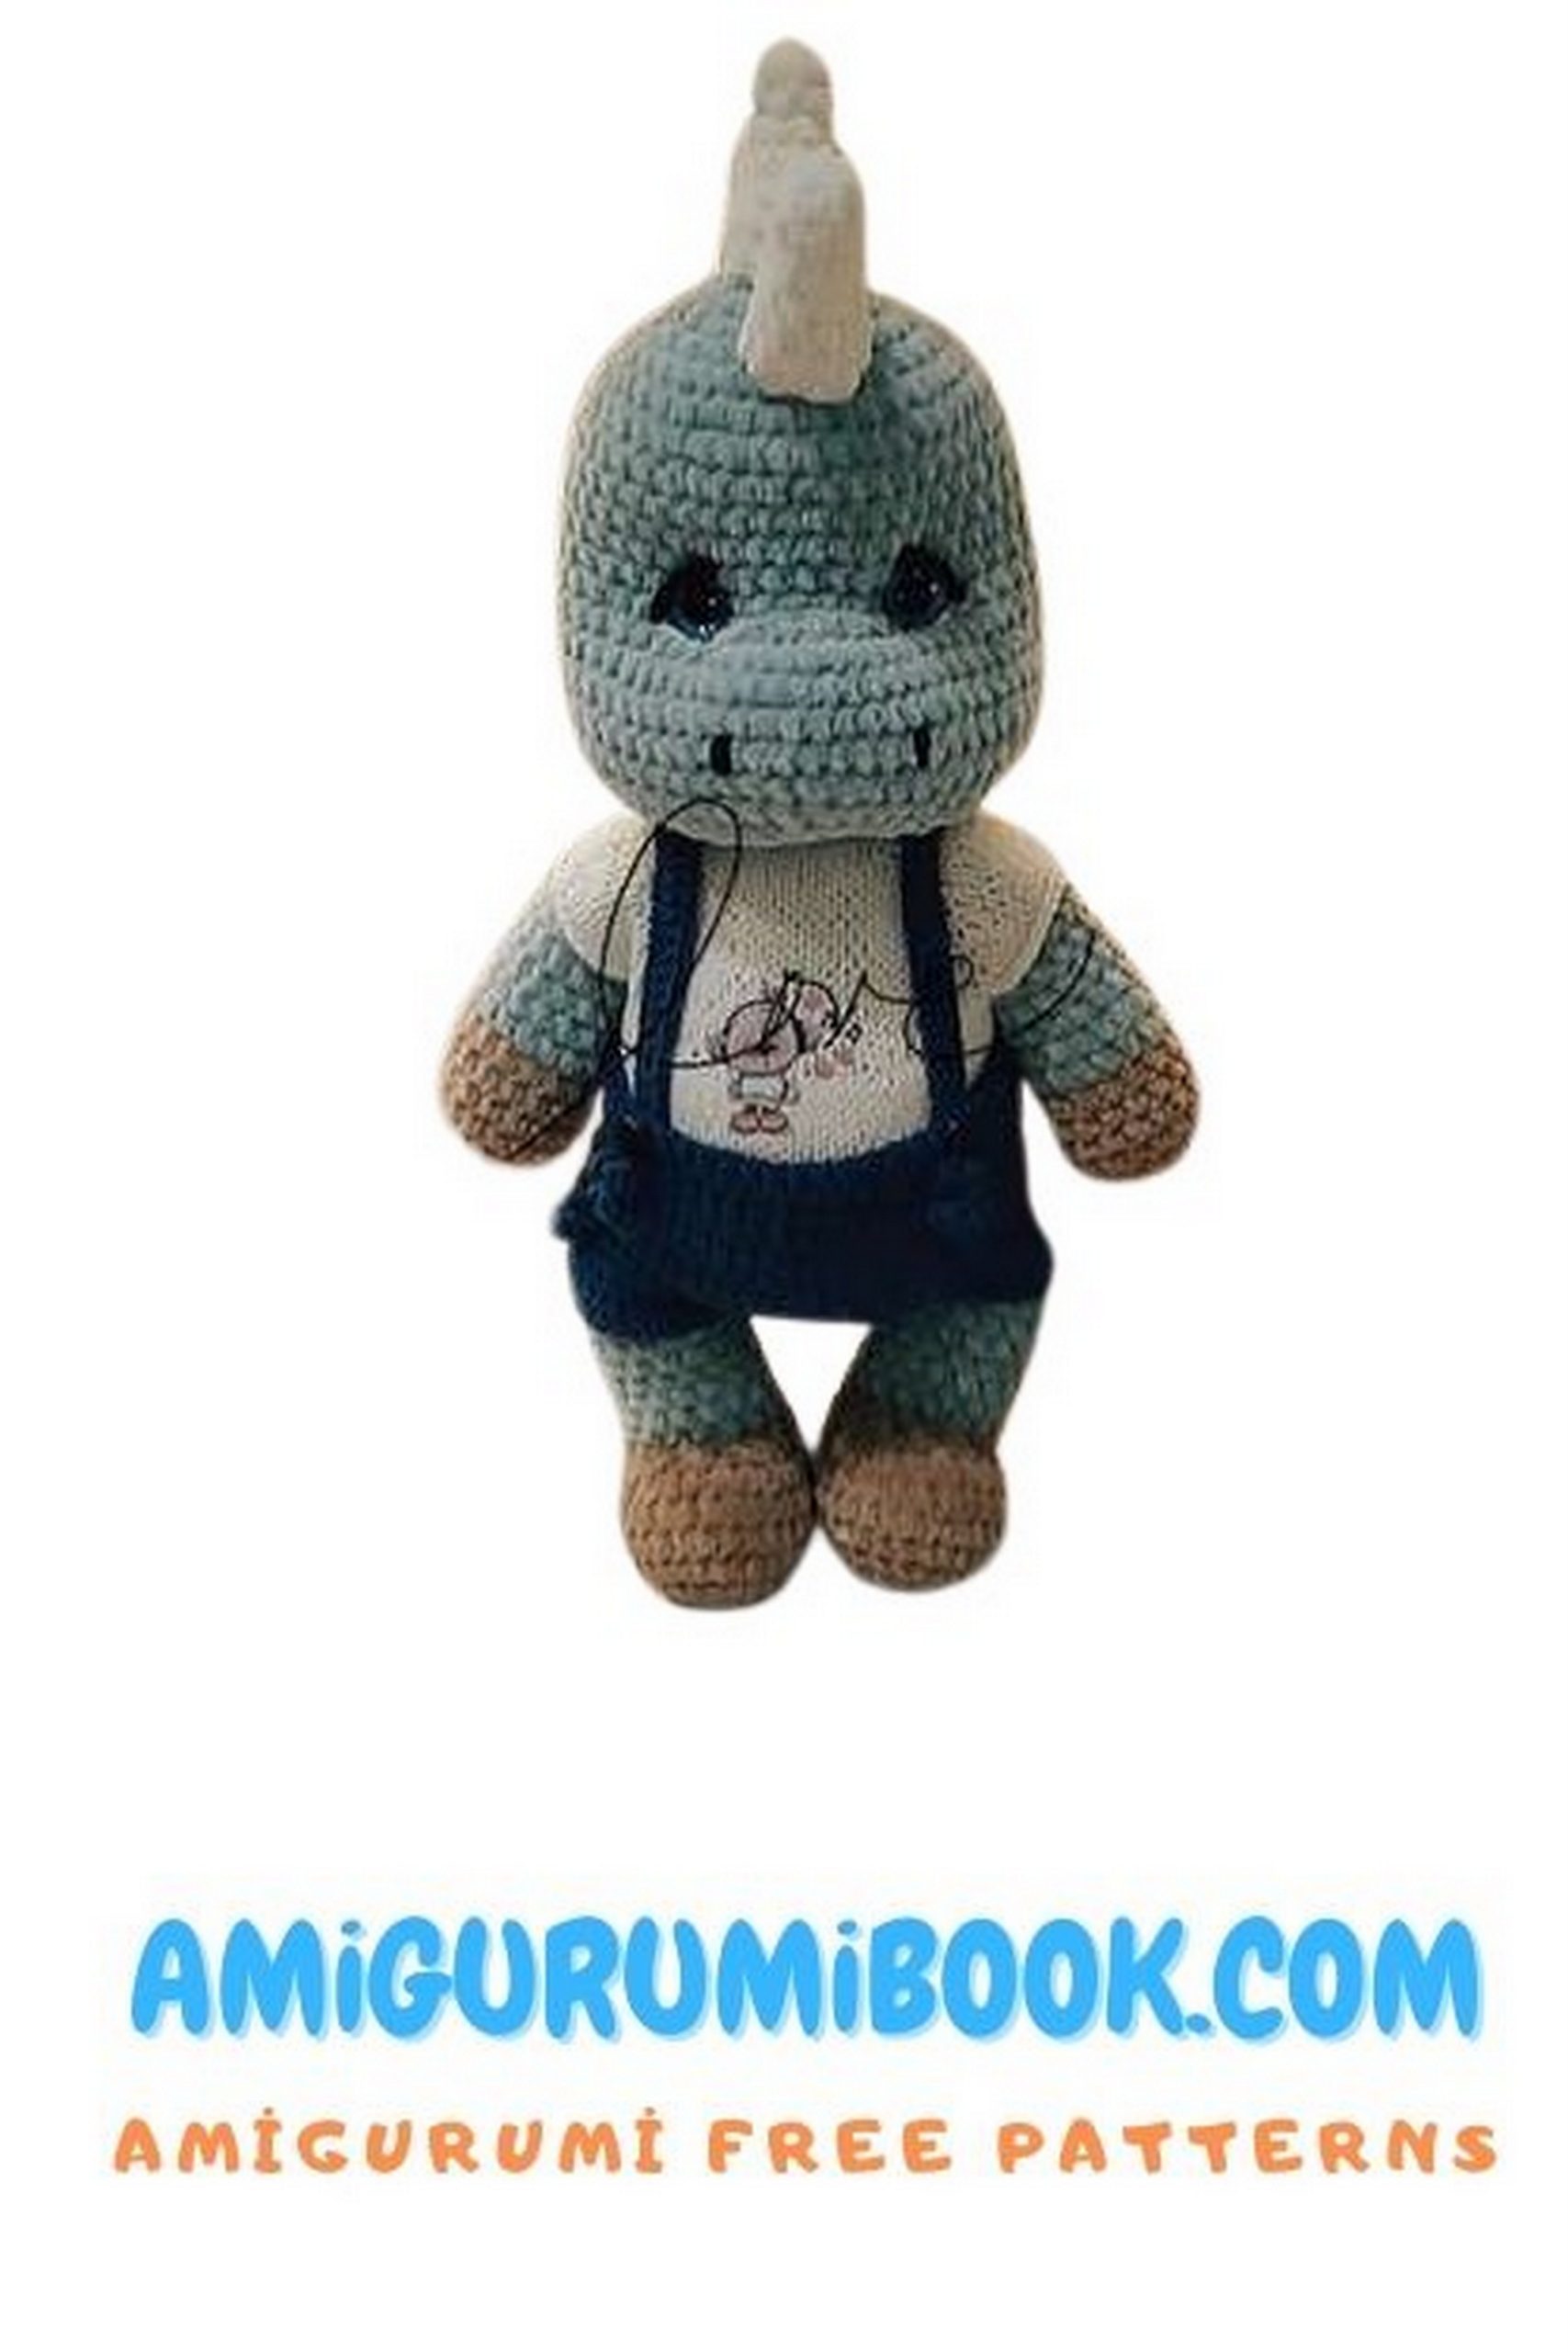
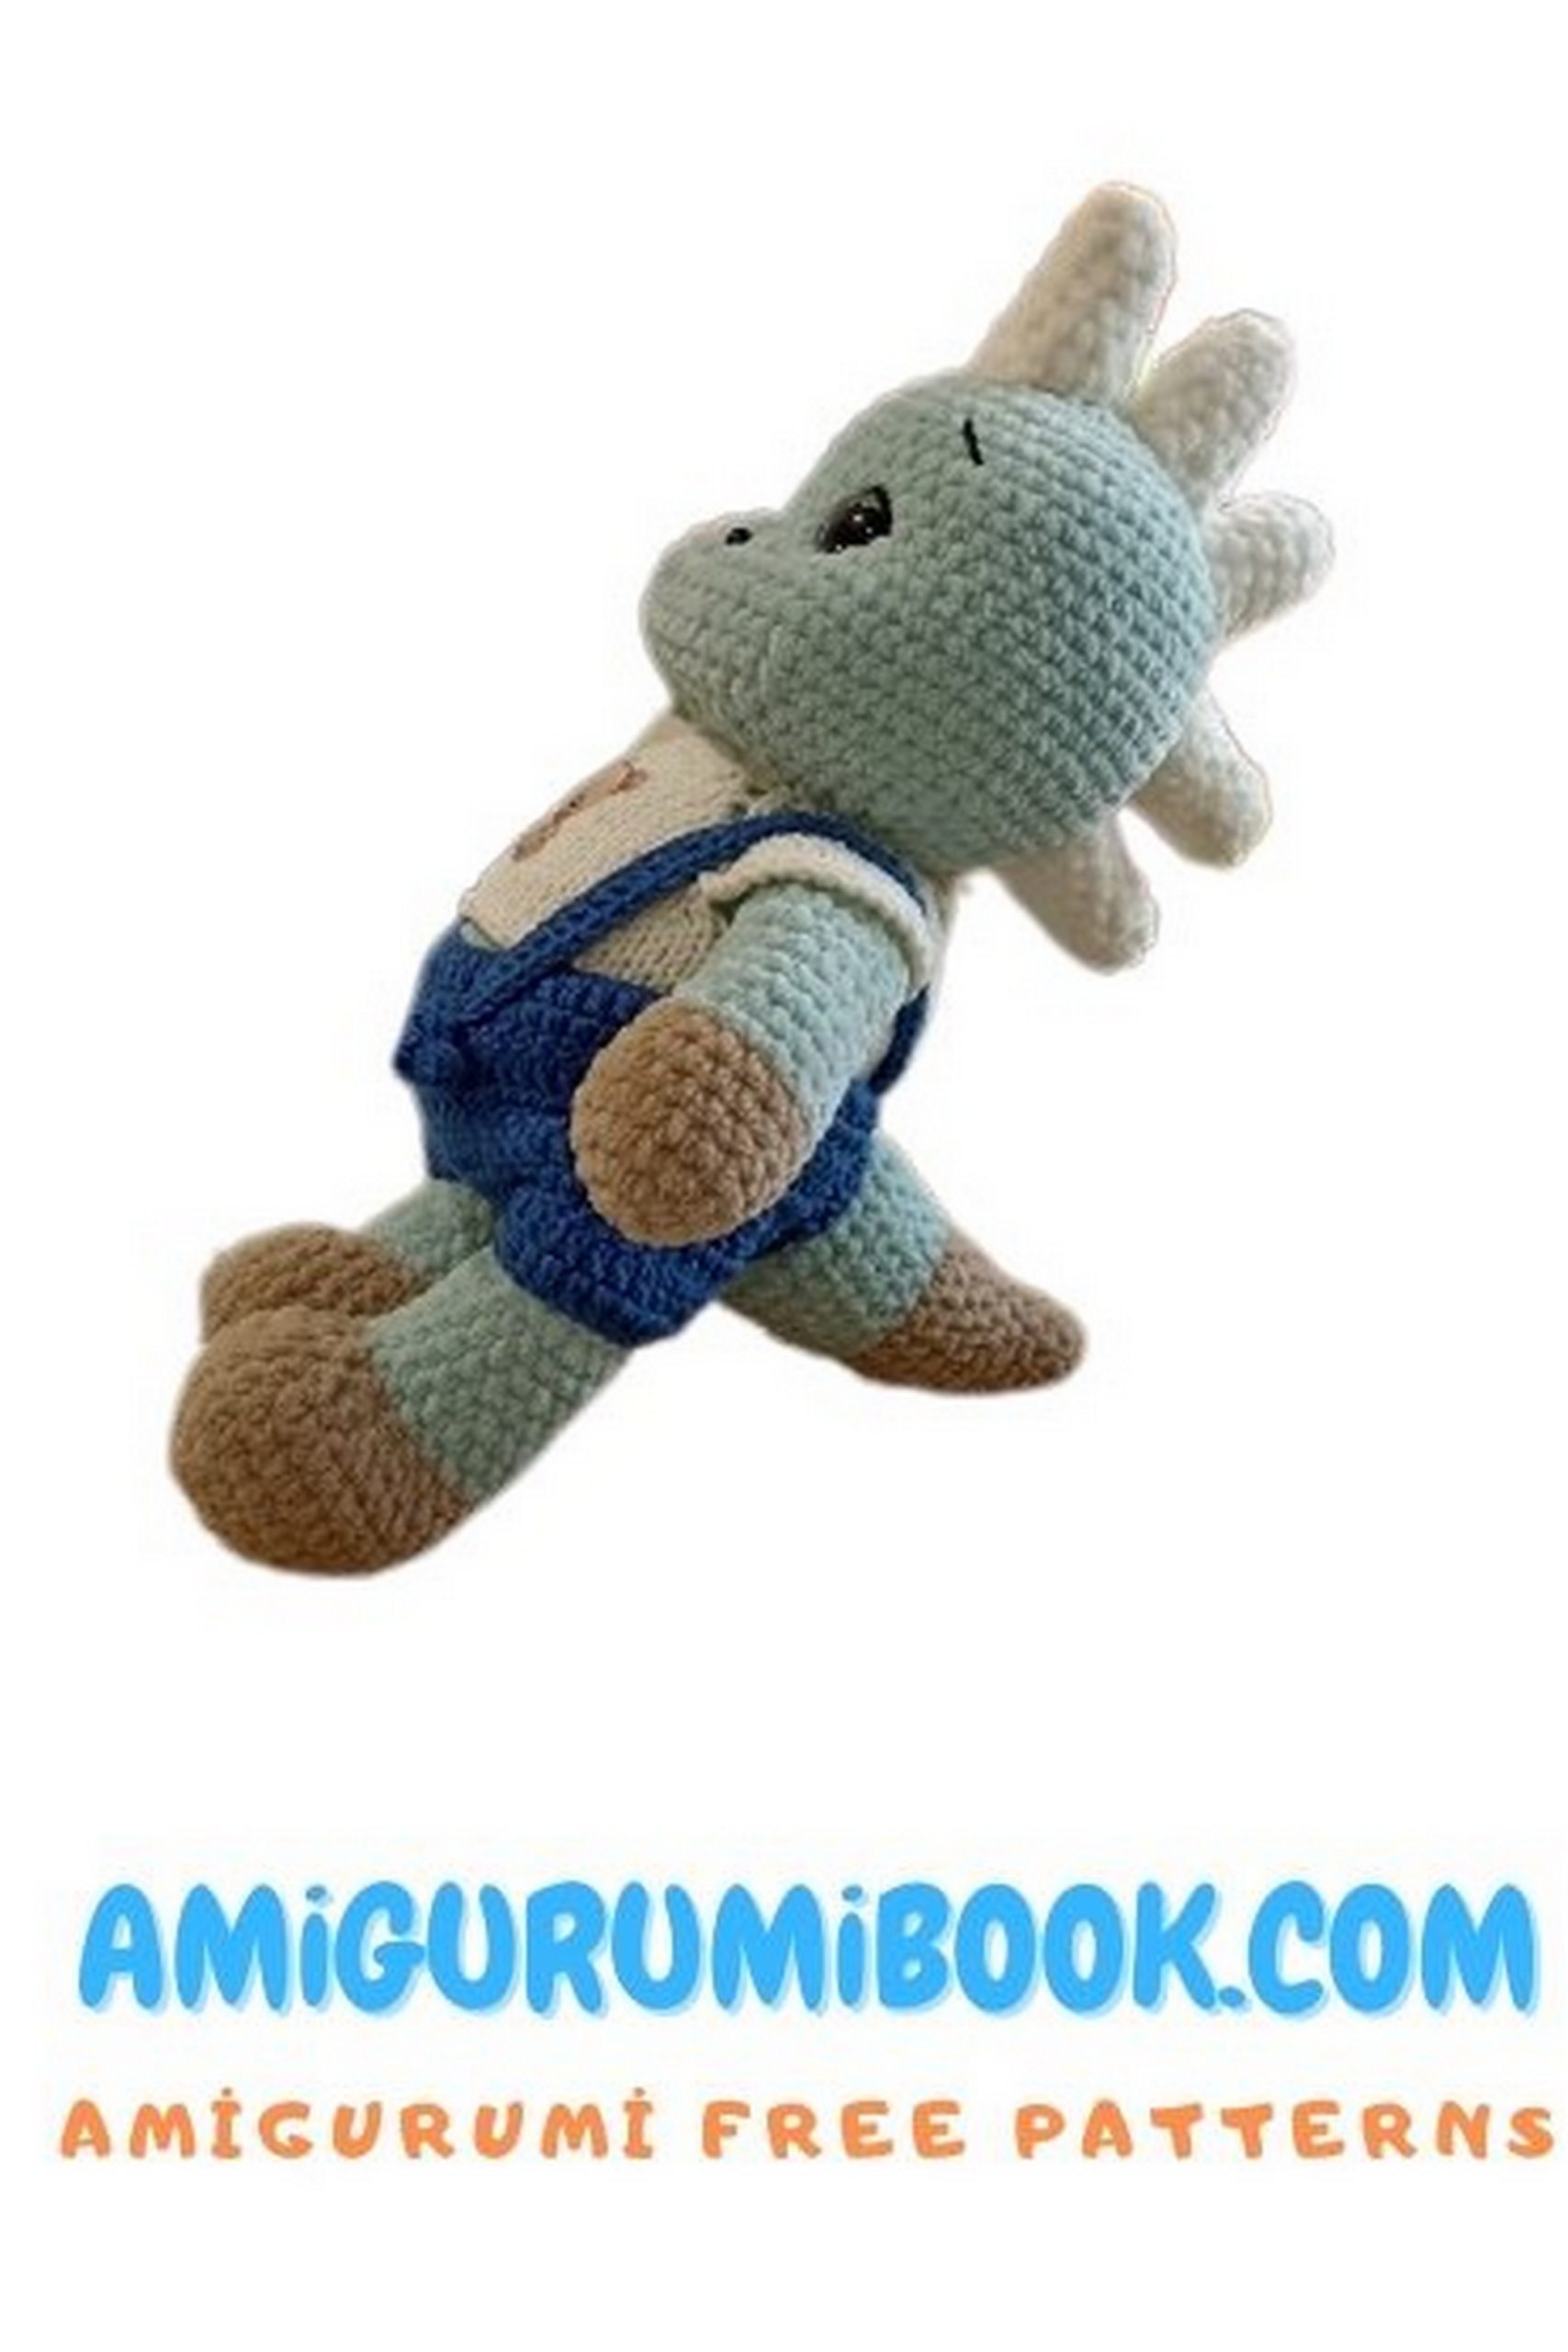
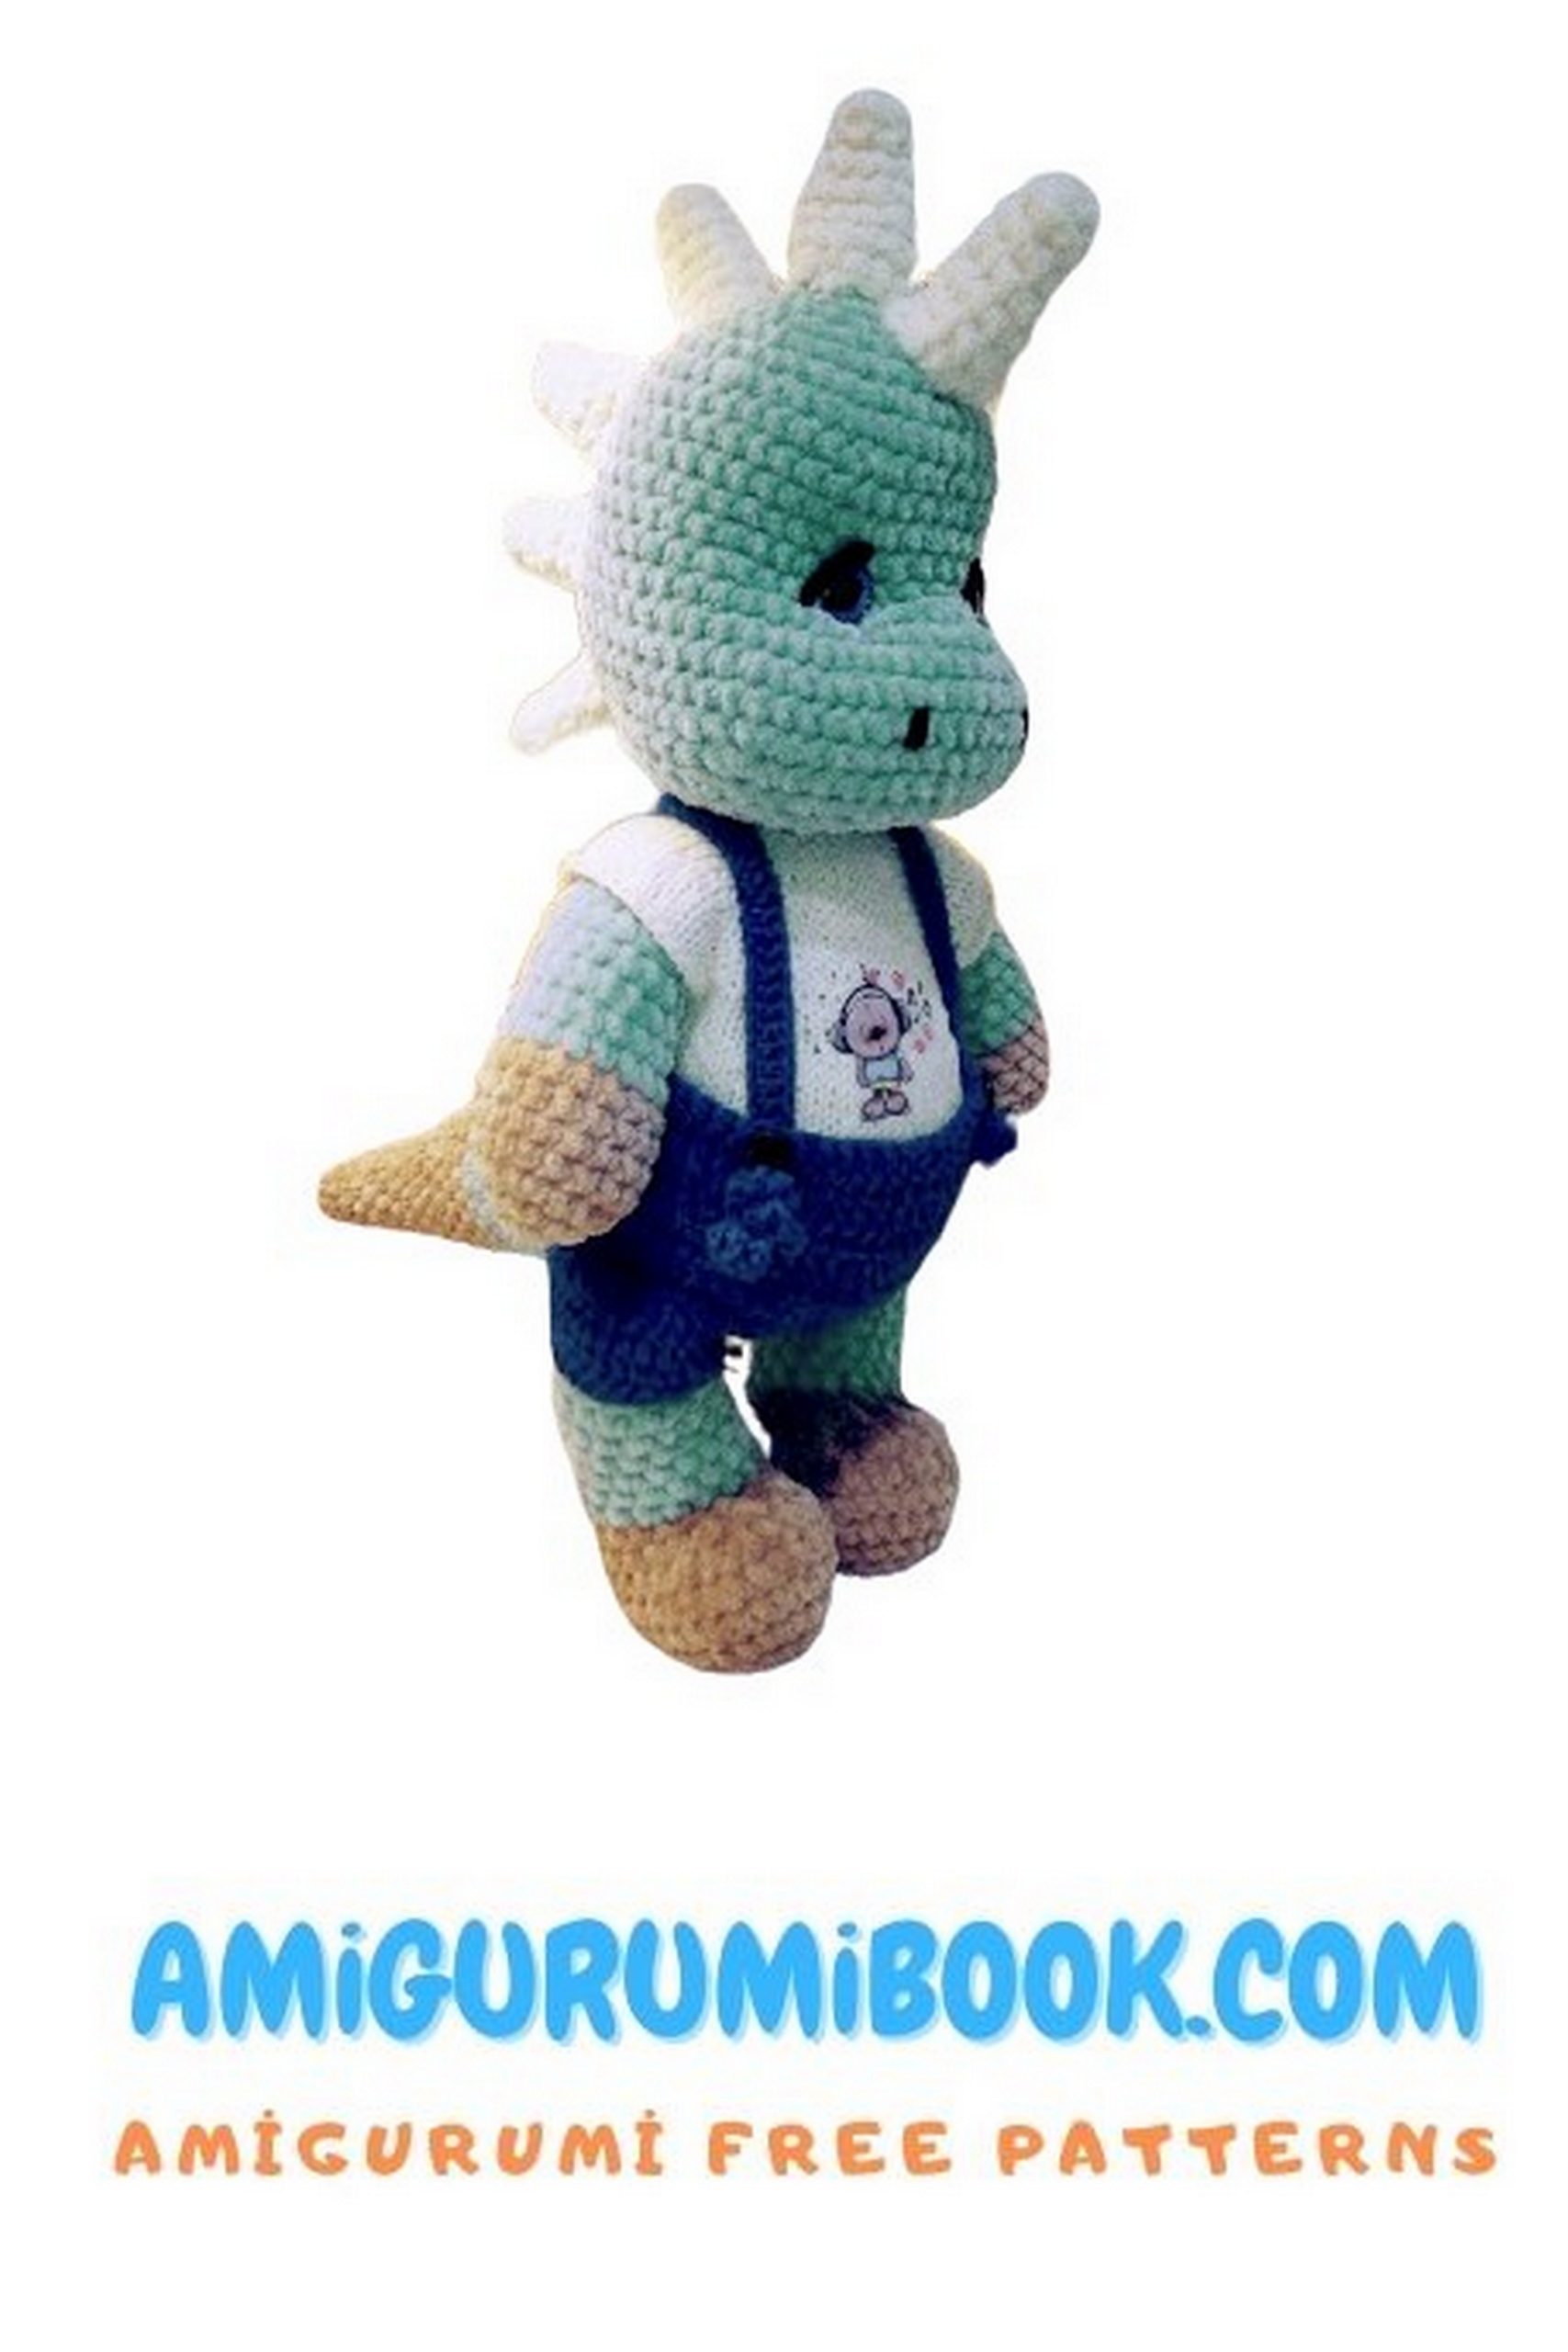
FINAL ASSEMBLY
Attach decorative button to the scarf
a)Sew muzzle just below the eyes (do not stuff)
b)Sew ears between rows 16–22 of the head
c)Sew tail between rows 8–10 of the body
Embroider decorative stitches on forehead, belly, arms, and legs
(use black sewing thread, 4–6 strands)
Sew the cap slightly to one side of the head