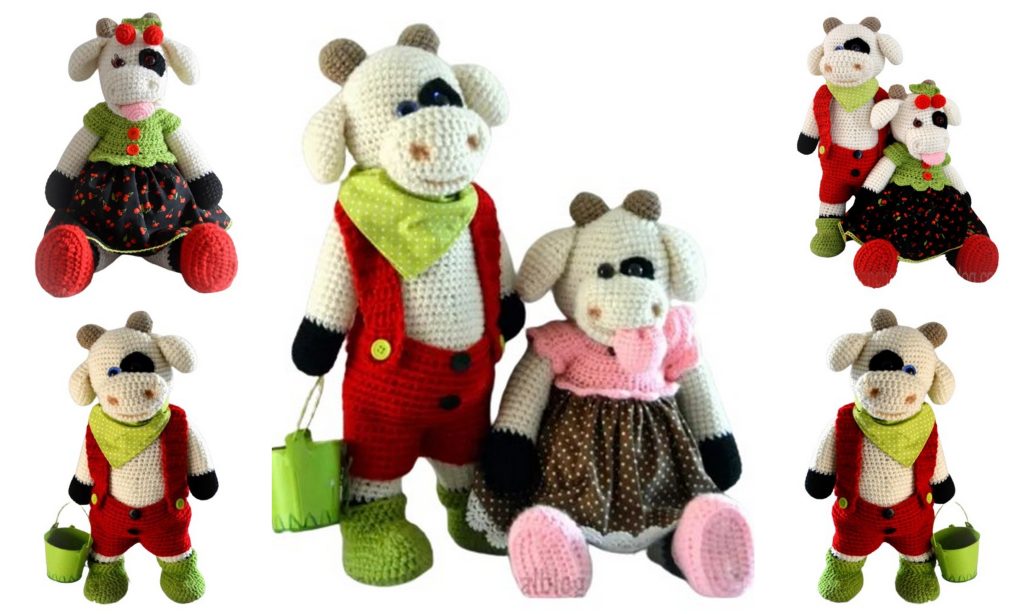
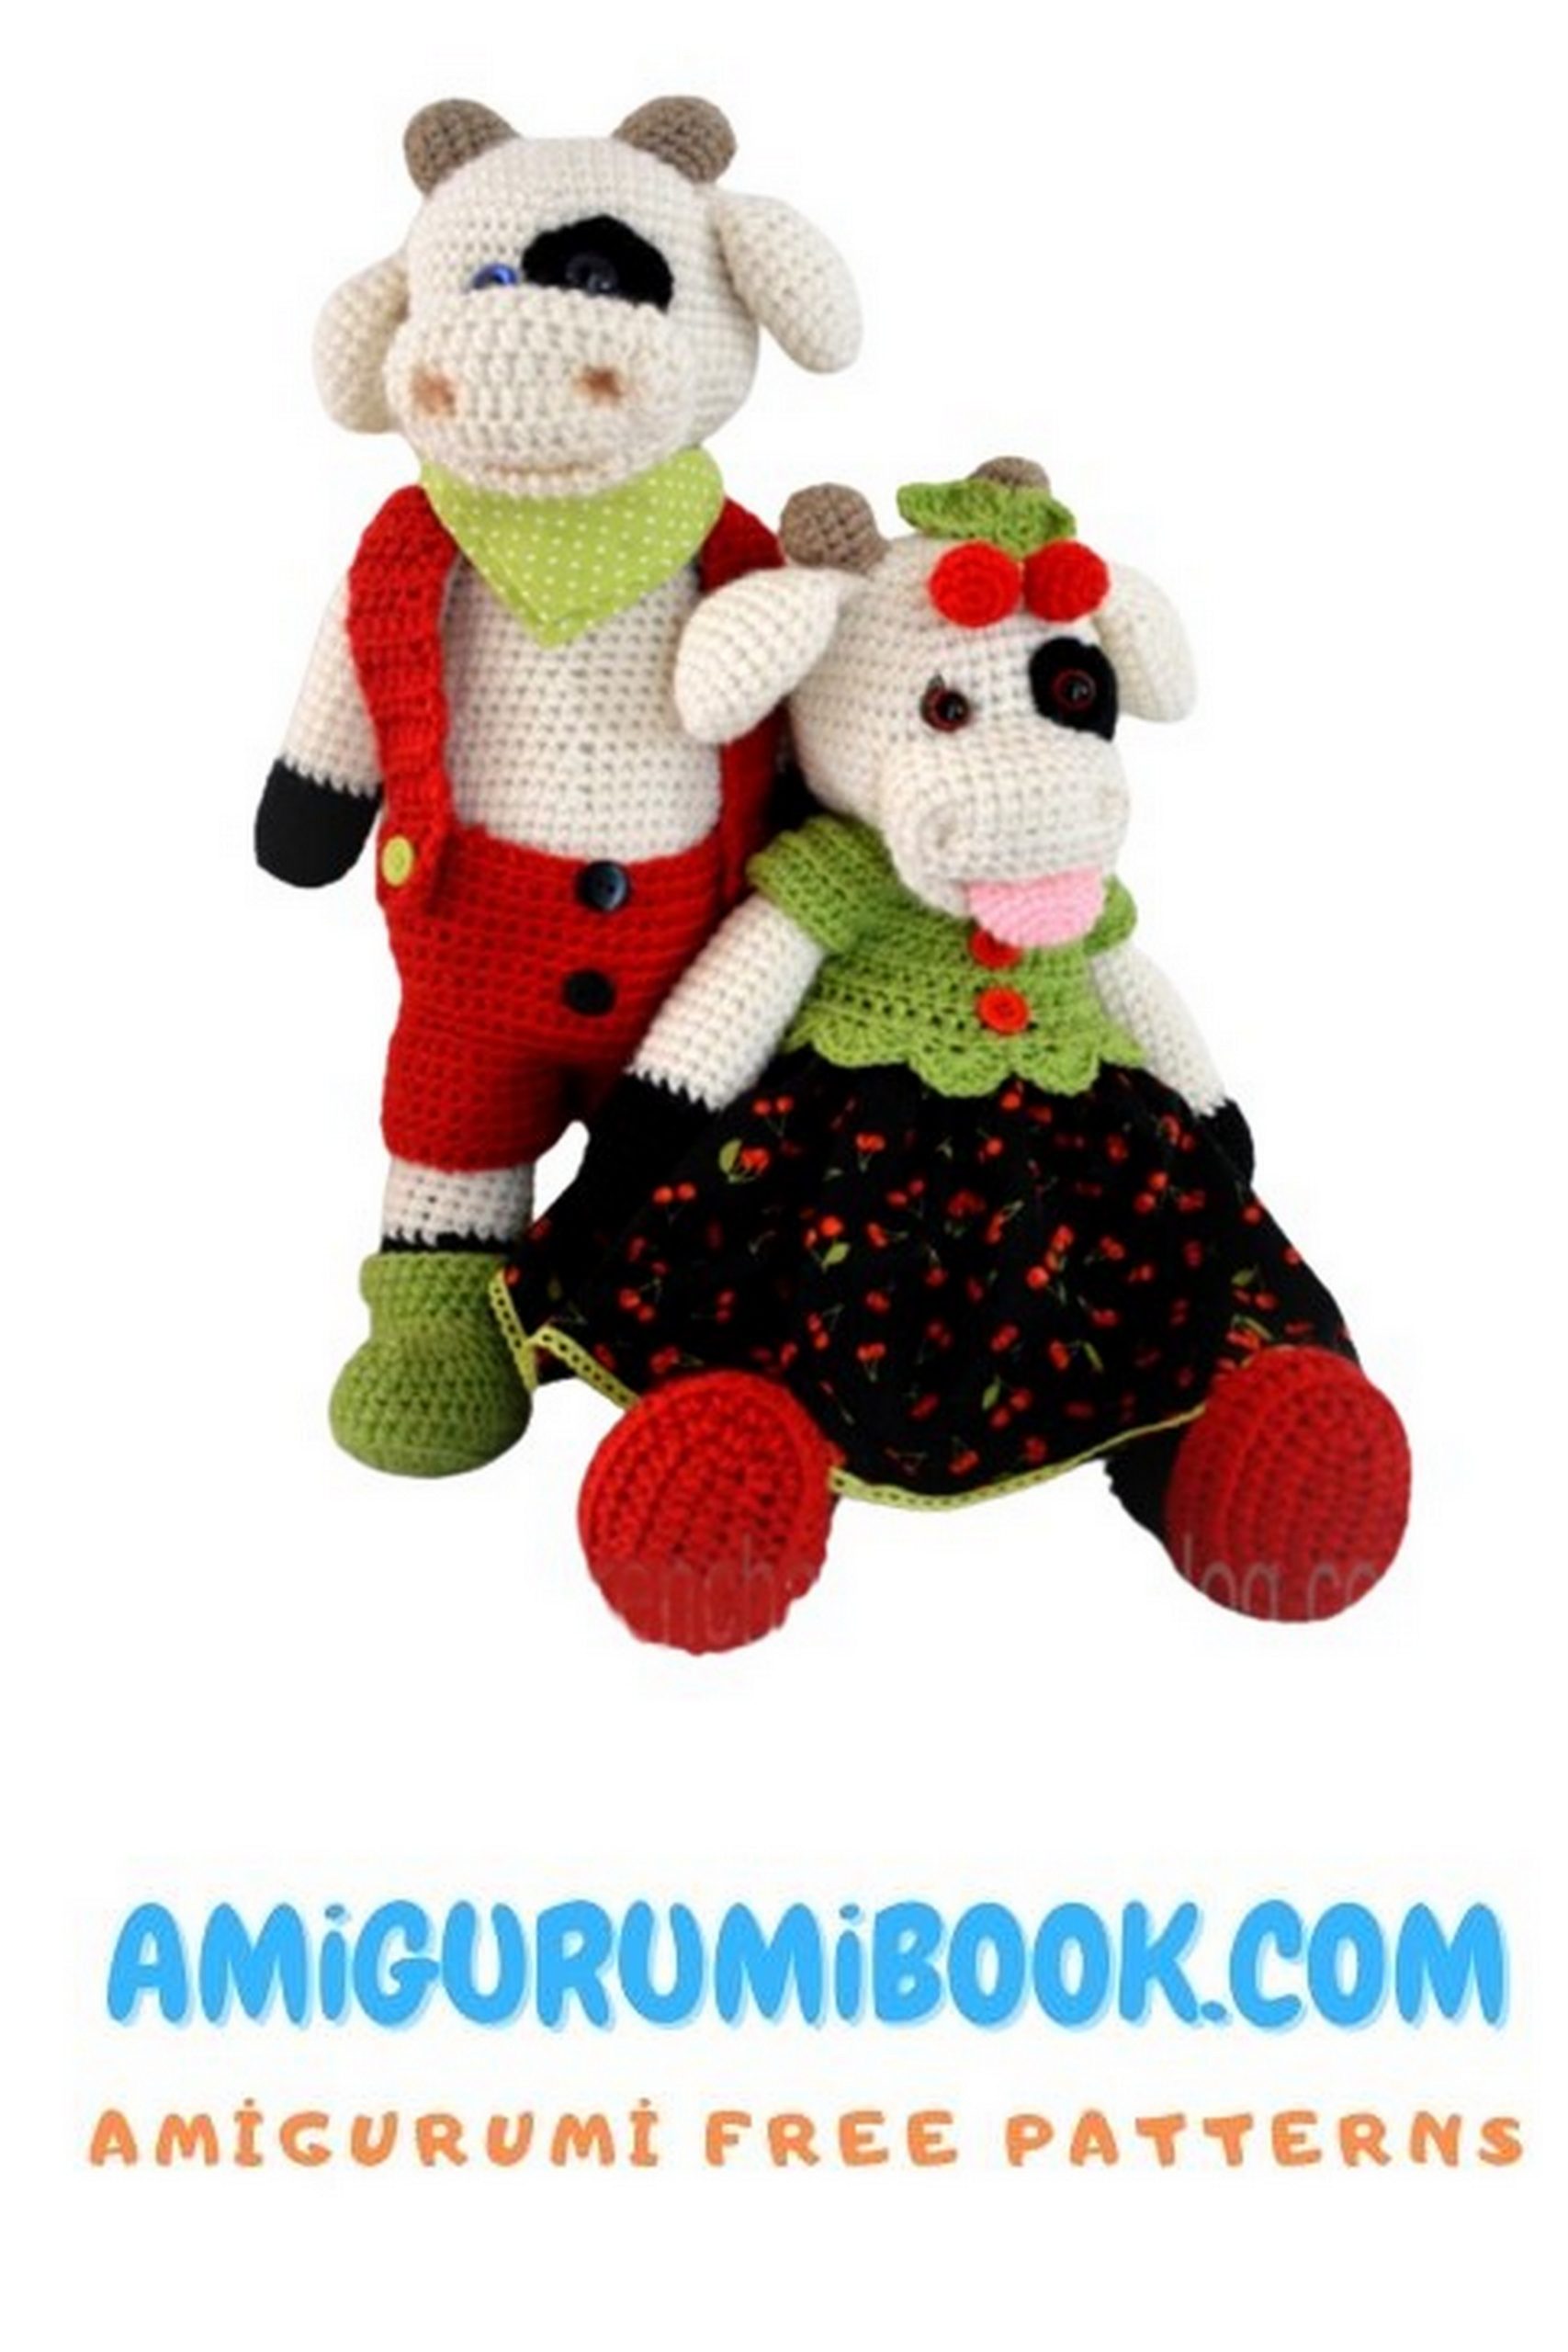
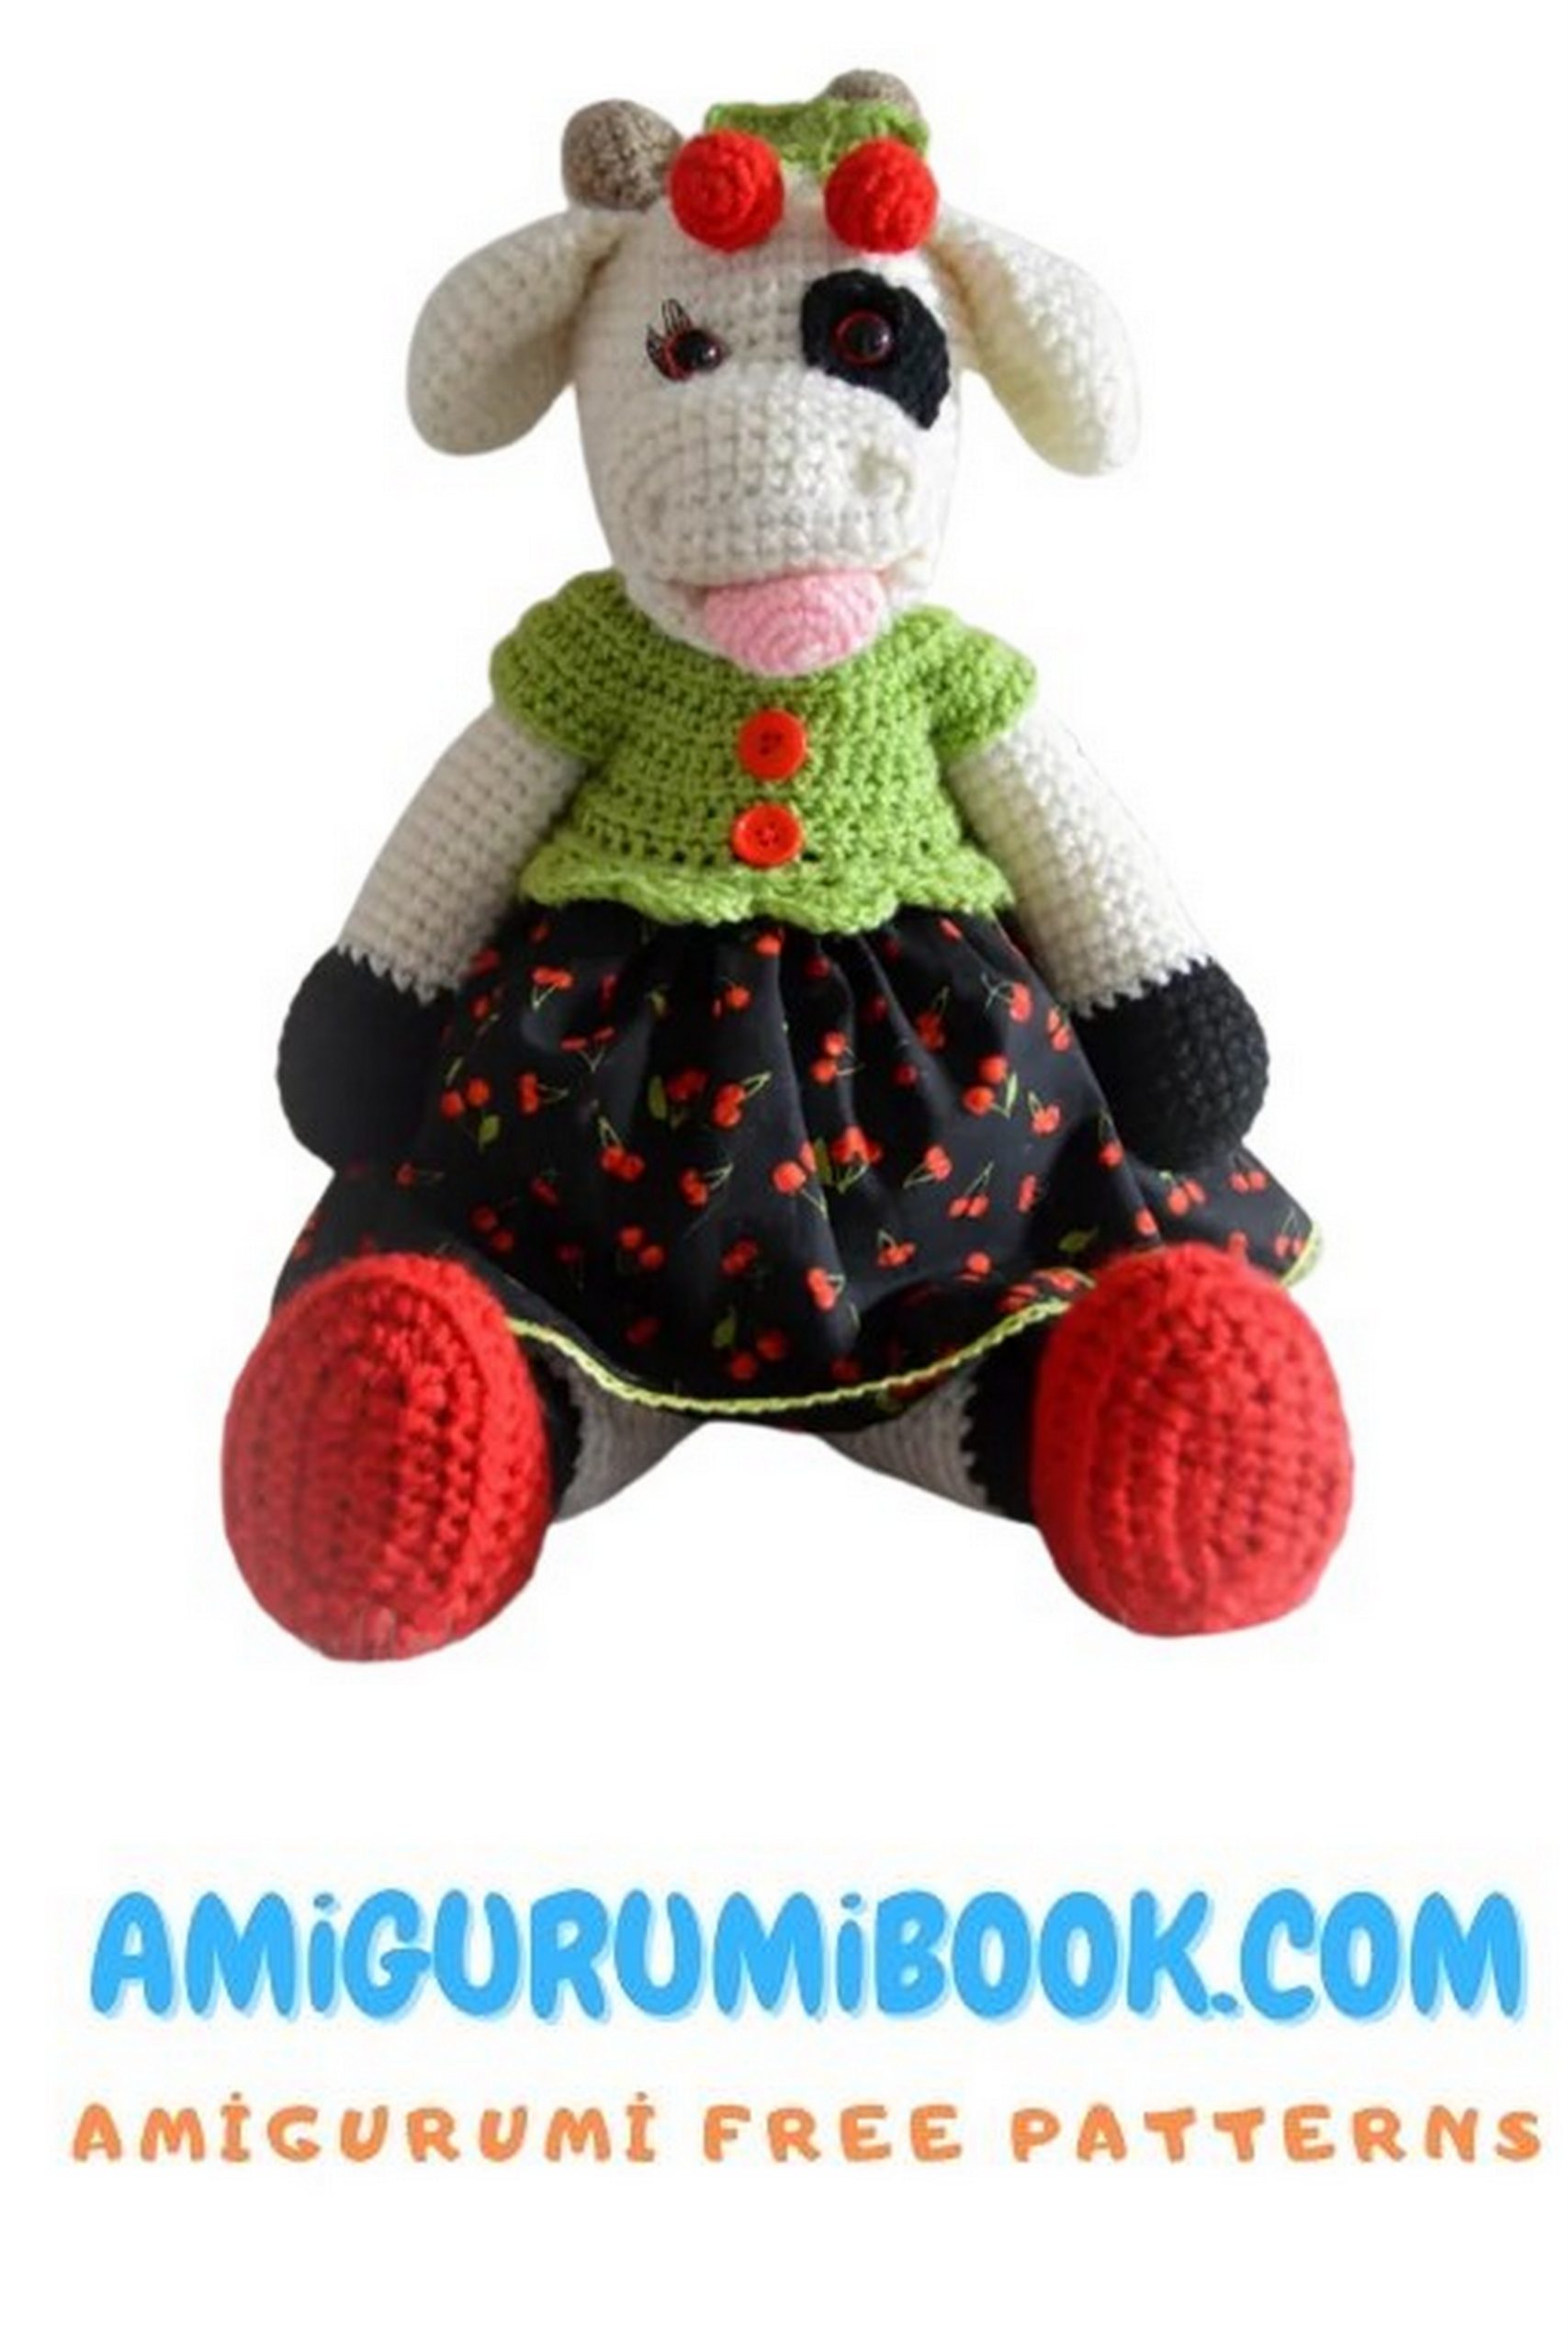
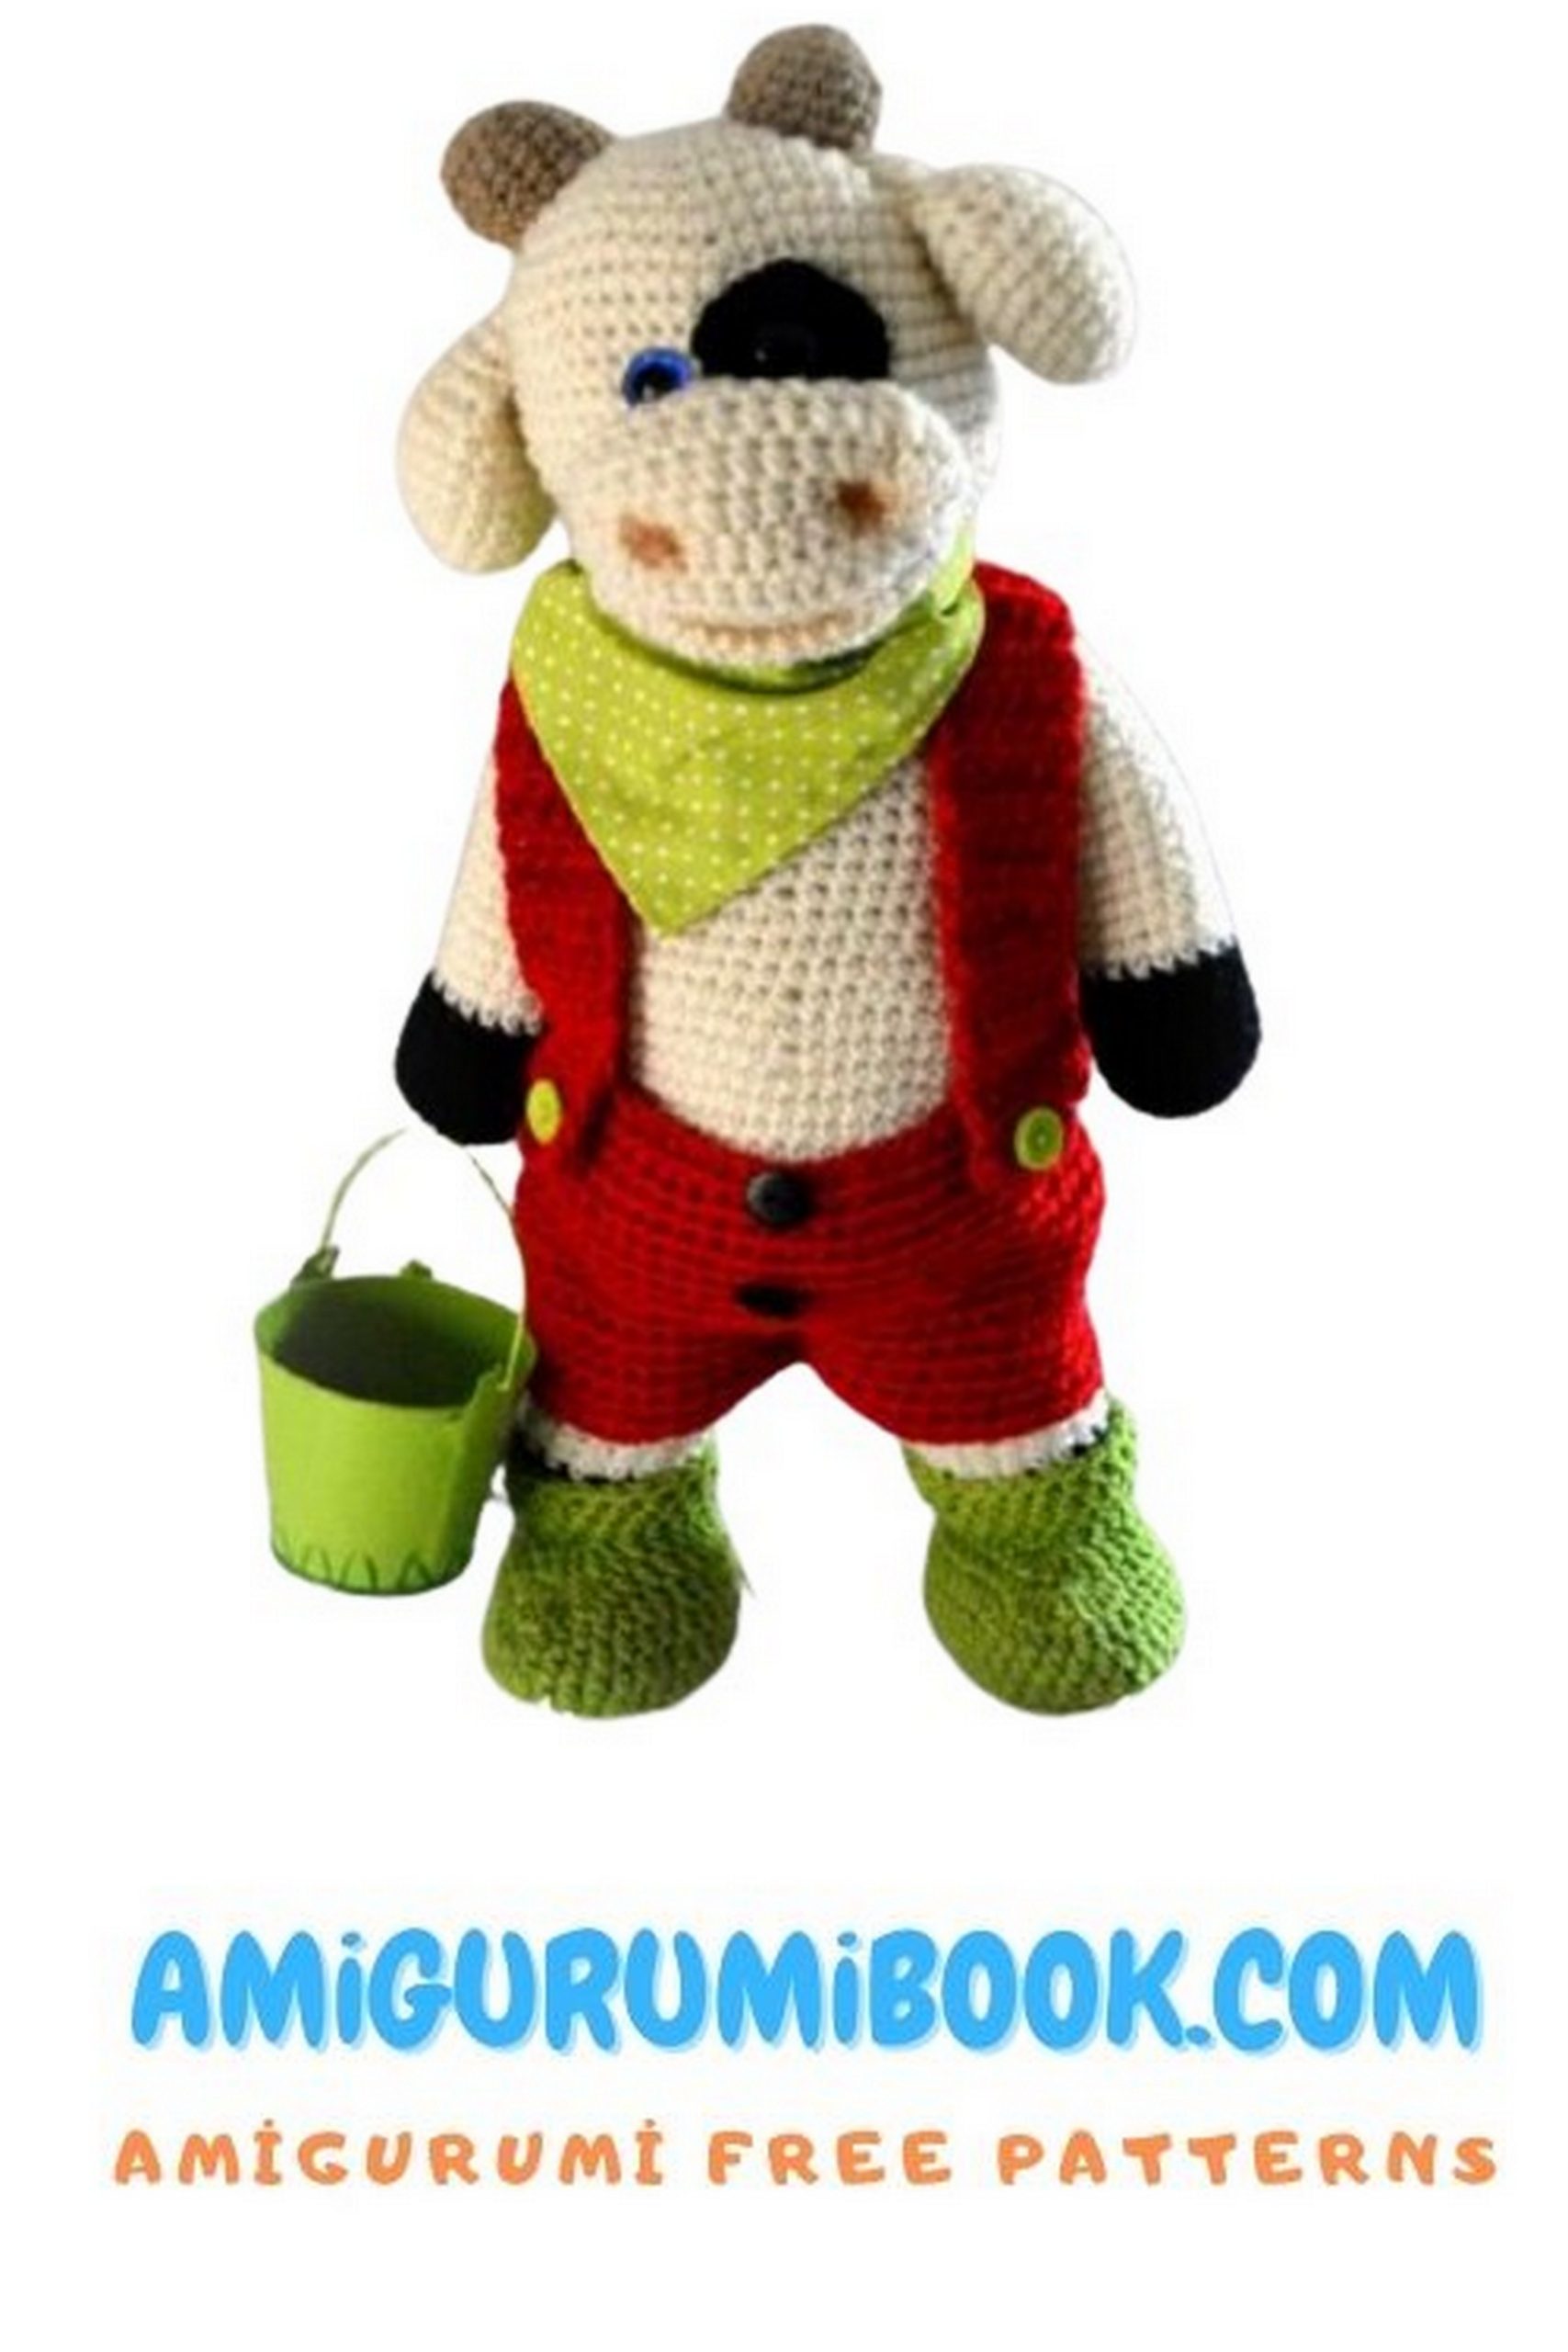
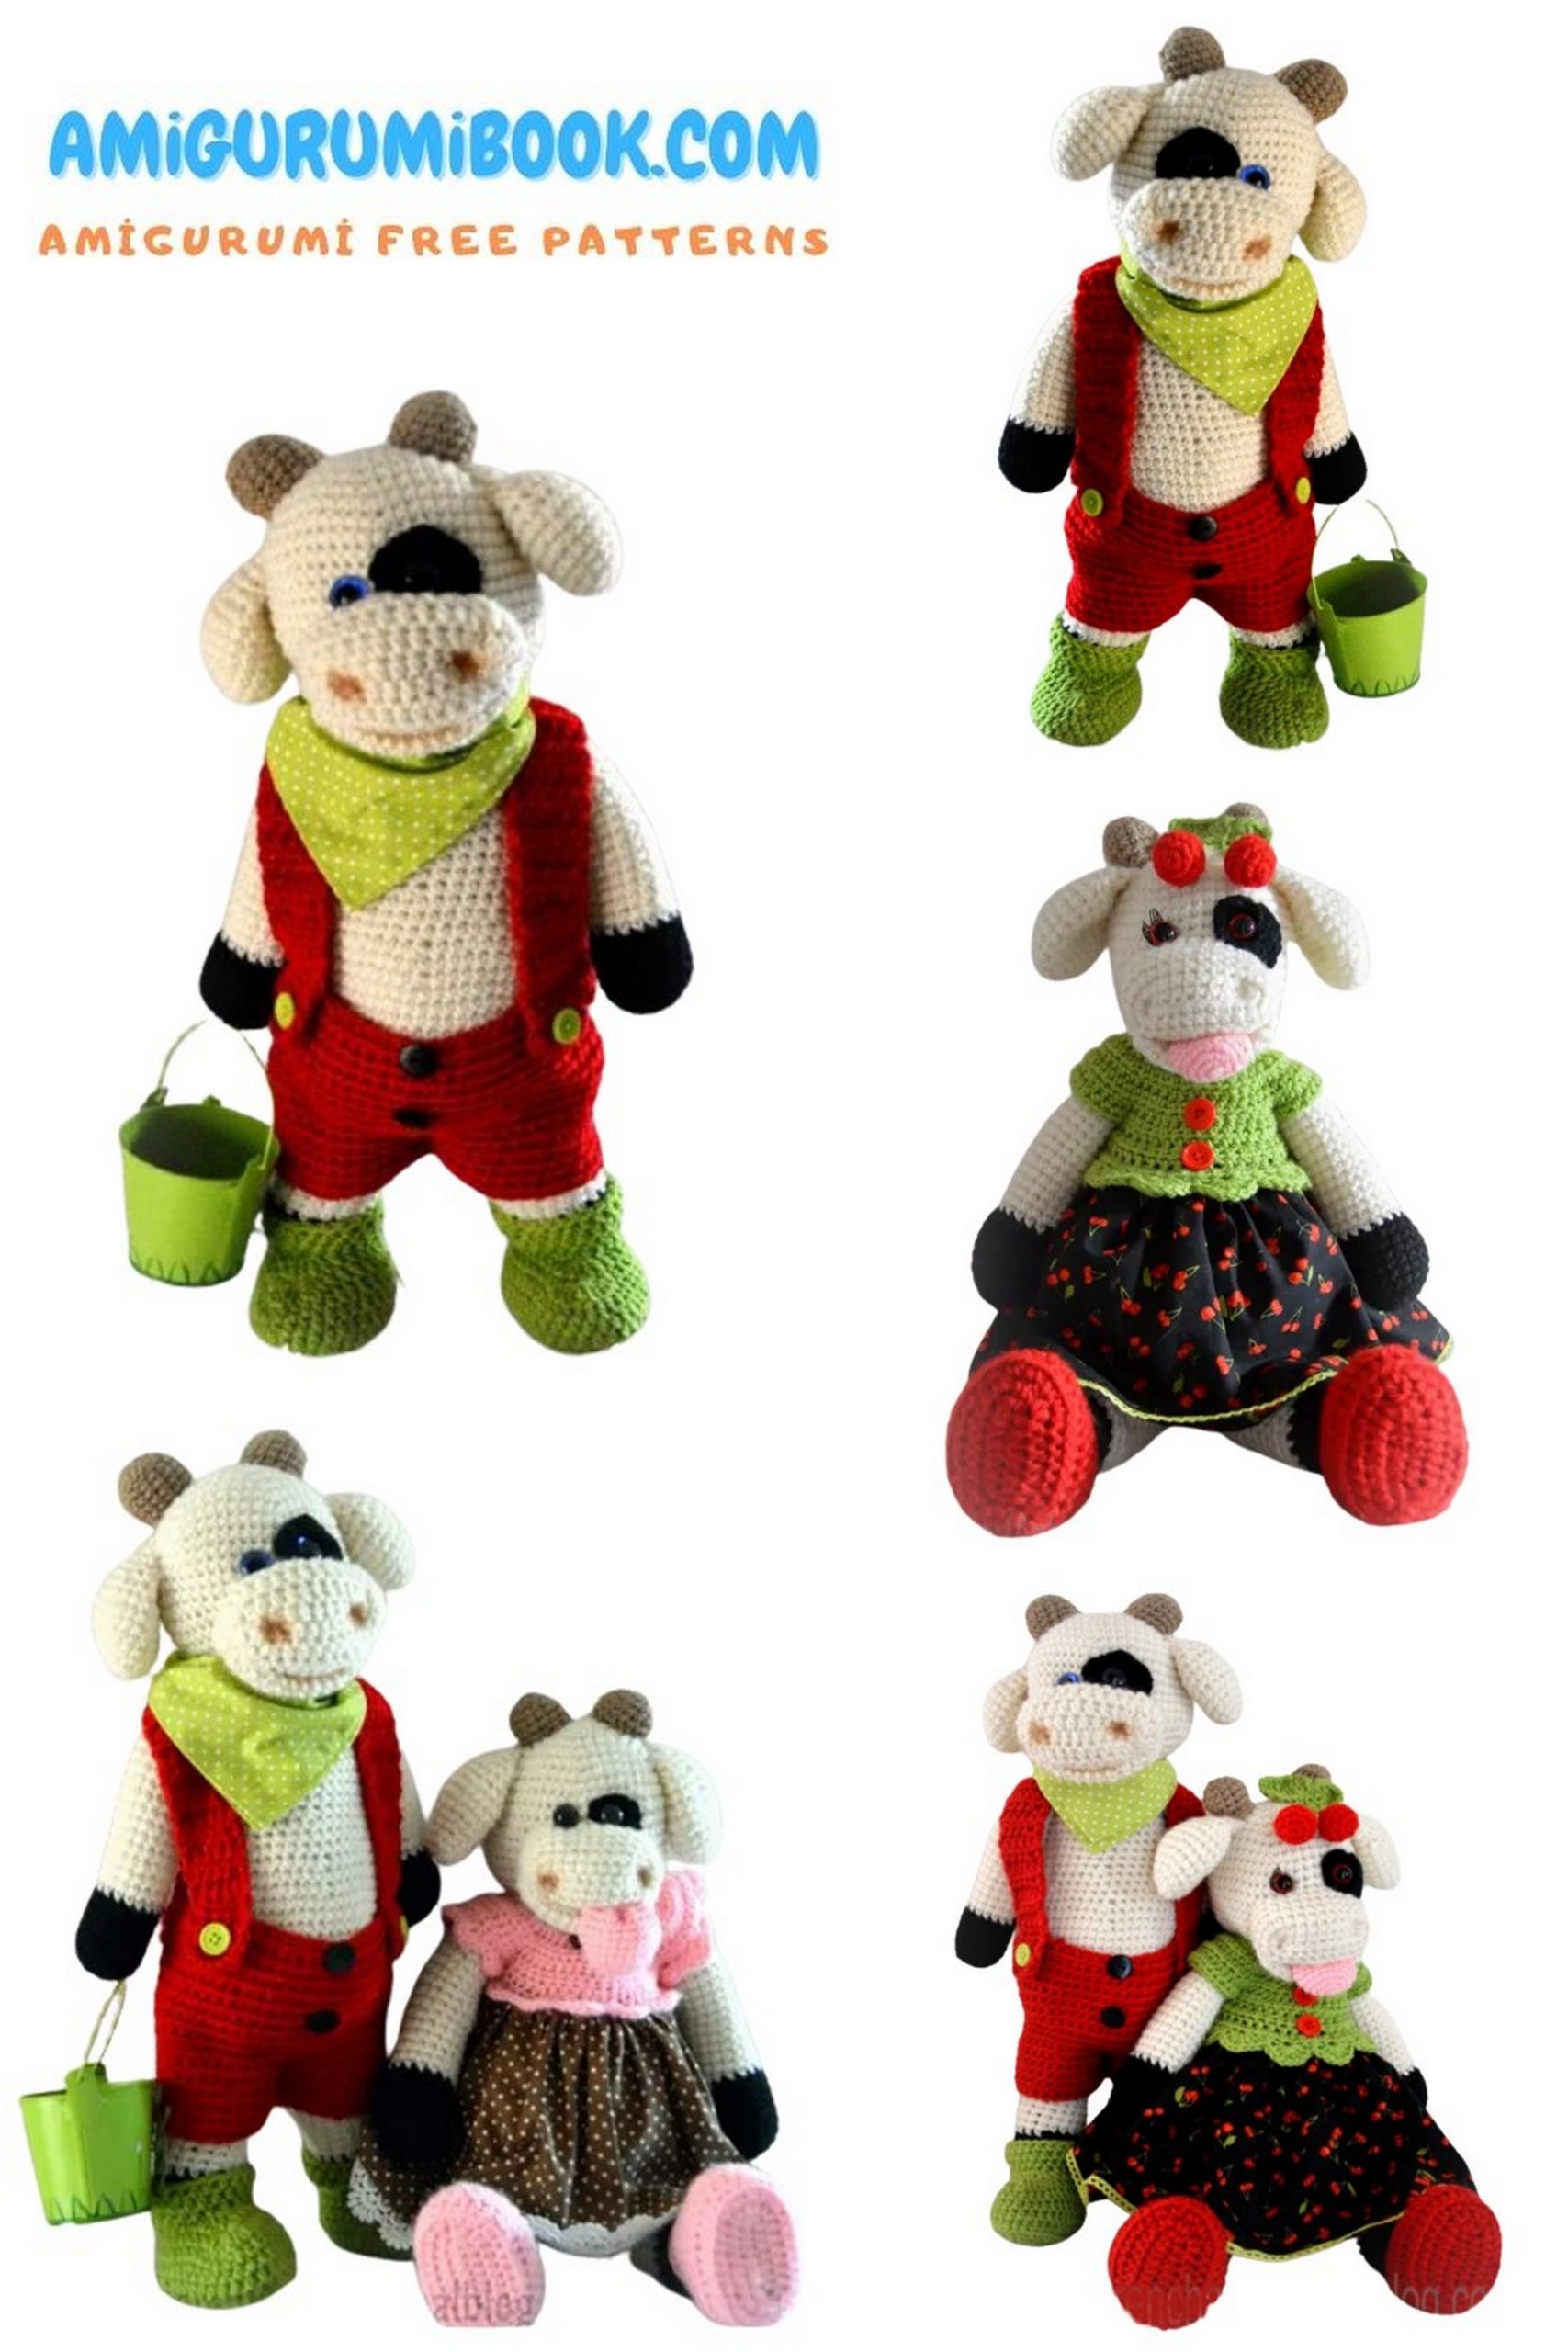
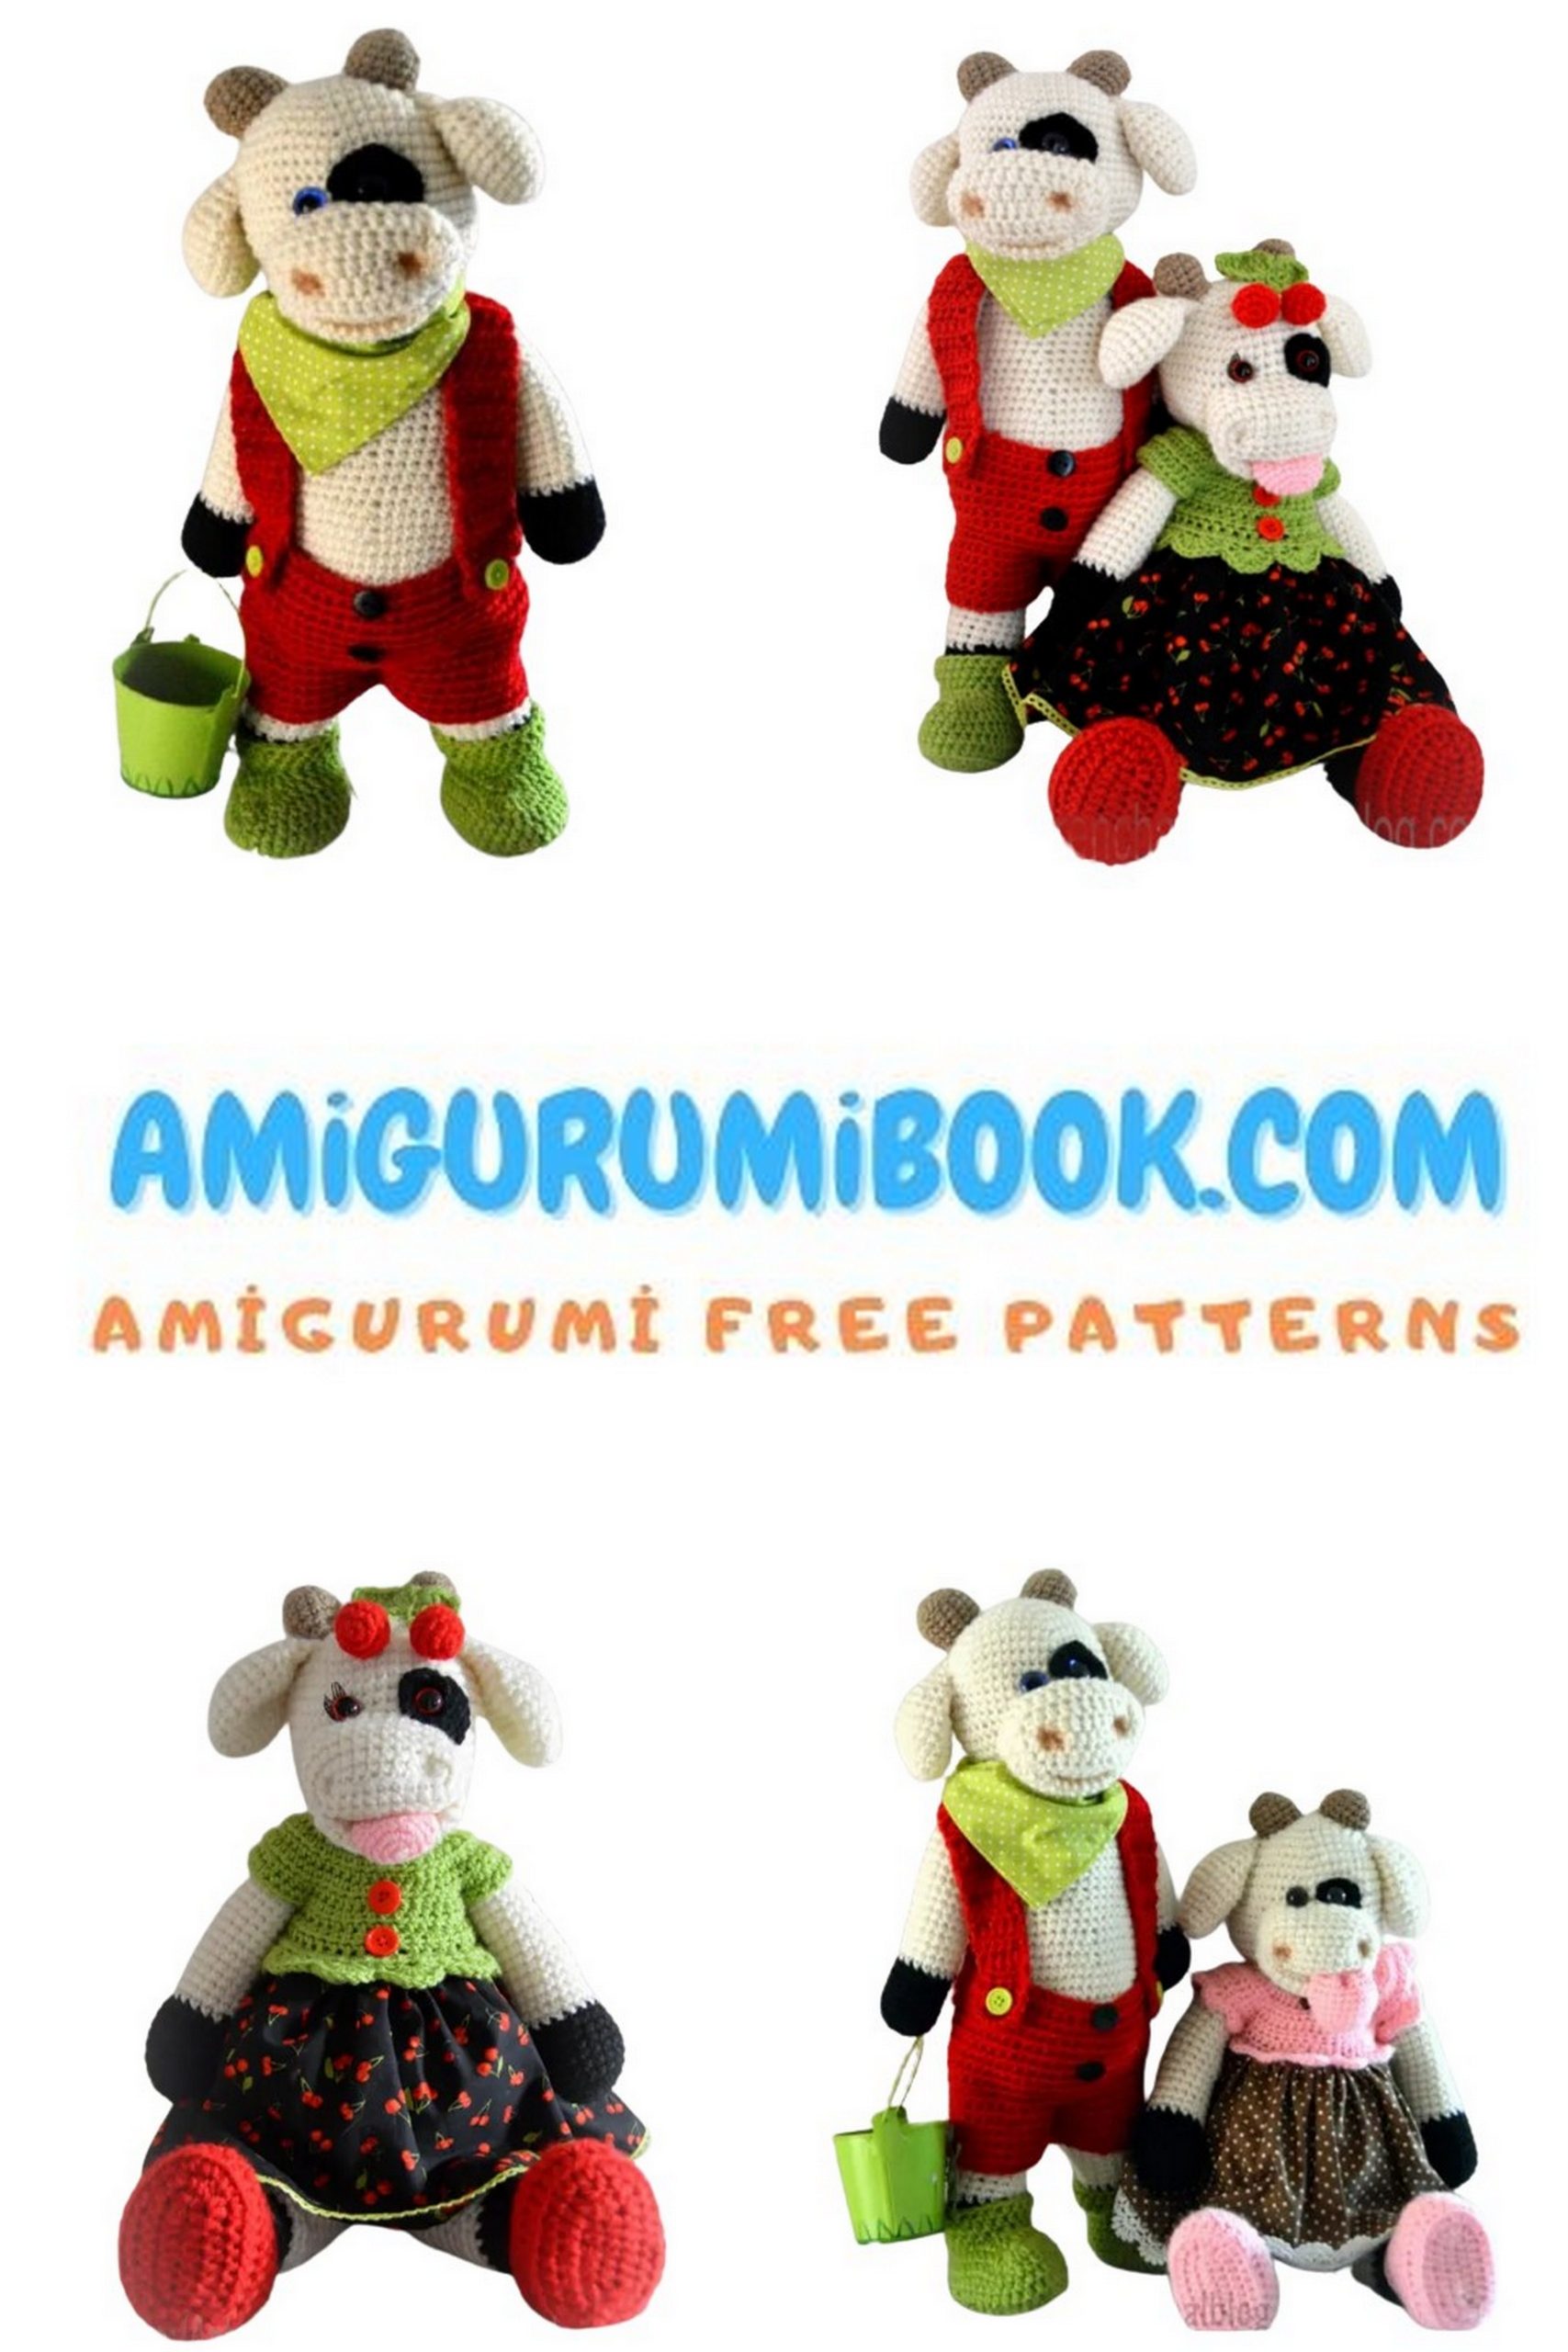
If you love cute farm animals and crochet toys, this cute bull amigurumi free pattern is a fun project to try. This adorable crochet bull features soft shapes, charming details, and stylish accessories like overalls and a bandana, making it a perfect handmade toy or gift.
In this step-by-step crochet bull tutorial, you will learn how to create the head, body, horns, ears, legs, and even tiny accessories that bring the character to life. Whether you are an experienced crocheter or just starting with amigurumi, this amigurumi bull pattern is easy to follow and enjoyable to make.
Grab your yarn and hook, and start crocheting your own cute bull amigurumi today. It’s a wonderful project for adding a handmade farm animal to your amigurumi collection or creating a unique gift for someone special. 🐂🧶
If you want to access 1000+ free amigurumi patterns, you can download our application from this link!
🧶 Materials
- 100 g ecru yarn (main color)
- 50 g yarn in the following colors: black, red, olive green, and brown
- 4 mm crochet hook
- Safety eyes
- Polyester fiberfill (stuffing)
- 2 buttons (black and olive green)
- 30 × 30 cm piece of green fabric
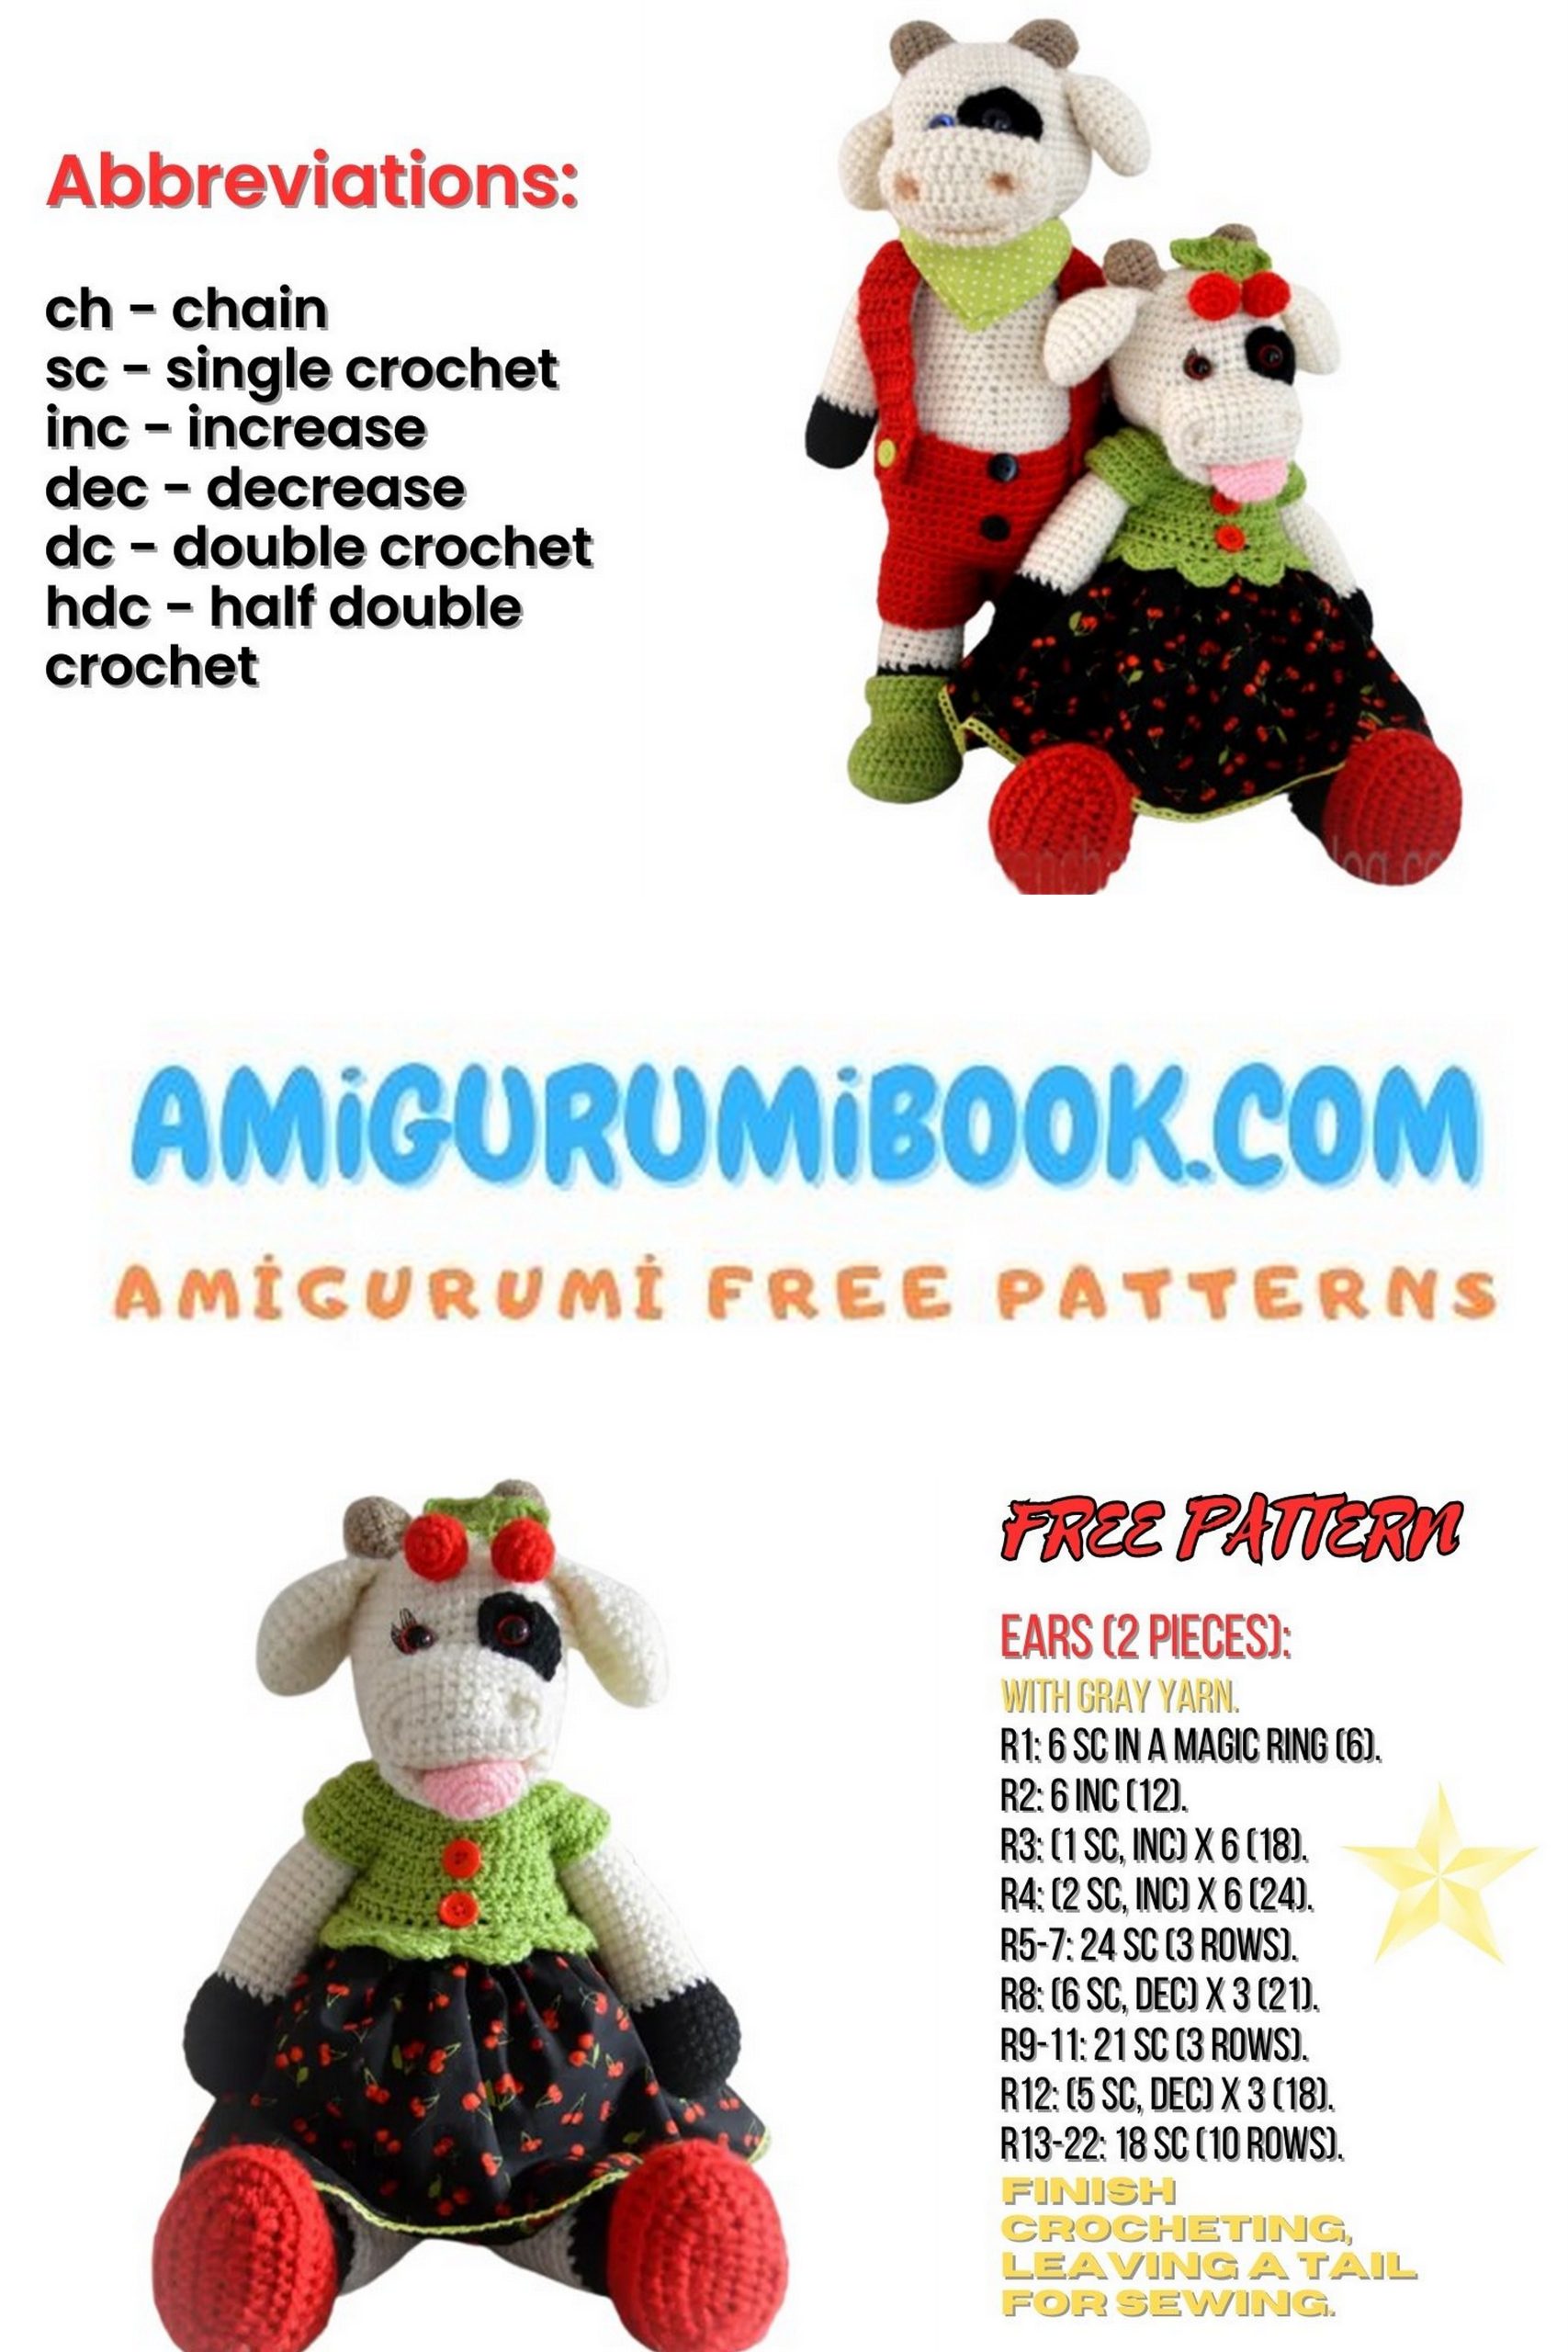
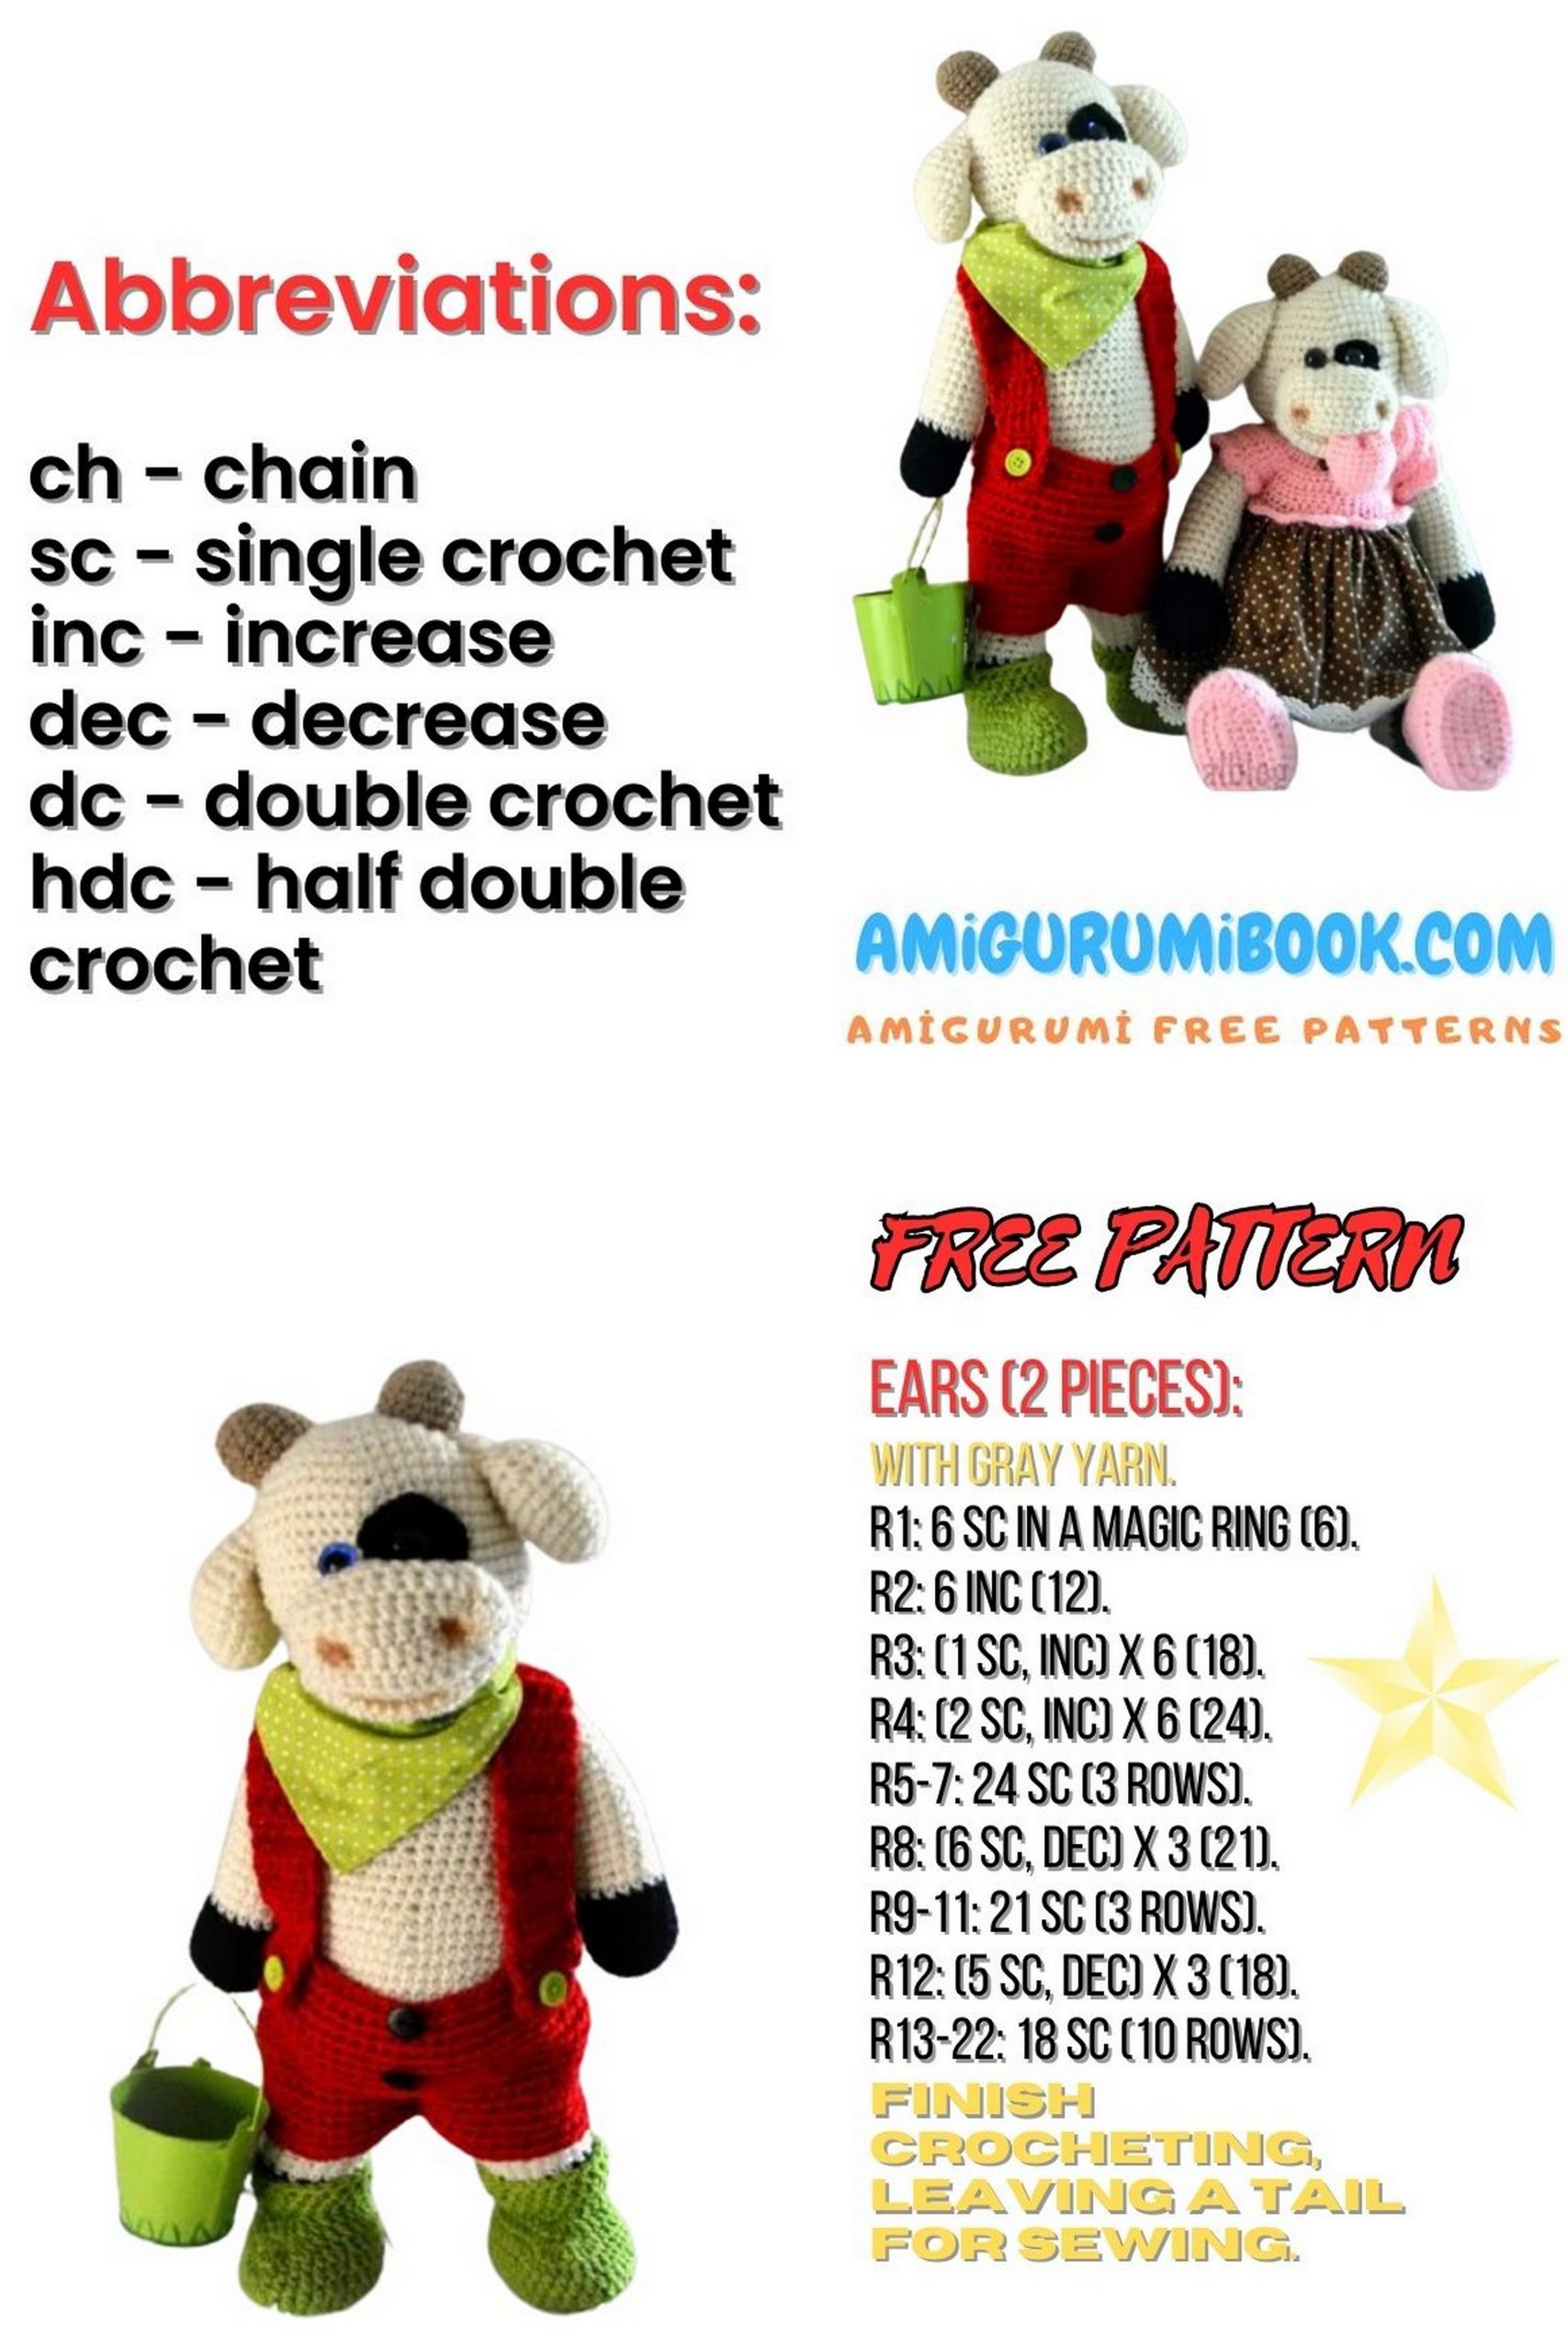
✂️ Abbreviations
dec – decrease (single crochet 2 stitches together)
ch – chain
sc – single crochet
inc – increase (2 sc in the same stitch)

🐄 Head
Work in continuous rounds.
1: 6 sc in MR (6)
2: inc in each st around (12)
3: (1 sc, inc) × 6 (18)
4: (2 sc, inc) × 6 (24)
5: (3 sc, inc) × 6 (30)
6: (4 sc, inc) × 6 (36)
7: (5 sc, inc) × 6 (42)
8: (6 sc, inc) × 6 (48)
9: (7 sc, inc) × 6 (54)
10–17: sc in each st around (54)
18: (dec, 7 sc) × 6 (48)
19: (dec, 6 sc) × 6 (42)
20: (dec, 5 sc) × 6 (36)
21: (dec, 4 sc) × 6 (30)
22: (dec, 3 sc) × 6 (24)
23: (dec, 2 sc) × 6 (18)
24: (dec, 1 sc) × 6 (12)
25: 6 dec (6)
Stuff firmly with polyester fiberfill.
Fasten off and leave a long tail for sewing.
👅 Tongue (Optional)
1: 6 sc in MR (6)
2: inc in each st around (12)
3: (1 sc, inc) × 6 (18)
4: sc in each st around (18)
5: 8 sc, turn
6: dec, 6 sc, turn
7: dec, 5 sc, turn
8: dec, 4 sc
Fasten off.
Place the tongue under one of the eyes and attach the safety eyes.
Shape the head gently to create the desired expression.

🐄 Muzzle
Part 1
1: Ch 12
2: Starting from the 2nd ch from hook:
1 sc, 9 sc, 3 sc in last ch, continue on the other side of the chain:
8 sc, 2 sc in last st, join (23)
3: 9 sc, inc in next 3 sts, 8 sc, 3 inc (29)
4–8: sc in each st around (29)
Sew the muzzle to the head.
Pull a thread through each side to shape the nostrils.
You can also attach the eyes and shape the face at this stage.
Part 2
1: Ch 12
2: Starting from the 2nd ch from hook:
1 sc, 9 sc, 3 sc in last ch, continue on the other side of the chain:
8 sc, 2 sc in last st, join (23)
3: 9 sc, inc in next 3 sts, 8 sc, 3 inc (29)
4–7: sc in each st around (29)
Fold this second piece in half and sew it onto the first muzzle piece along the edge.
For extra detail, lightly color the nostrils with fabric marker or embroidery thread.
🐄 Horns (Make 2)
1: 6 sc in MR (6)
2: inc in each st around (12)
3: (3 sc, inc) × 3 (15)
4–6: sc in each st around (15)
Fasten off and leave a tail for sewing.
🐄 Ears (Make 2)
1: 6 sc in MR (6)
2: inc in each st around (12)
3: sc in each st around (12)
4: (1 sc, inc) × 6 (18)
5: sc in each st around (18)
6: (2 sc, inc) × 6 (24)
7–8: sc in each st around (24)
9: (2 sc, dec) × 6 (18)
10–11: sc in each st around (18)
12: (1 sc, dec) × 6 (12)
13: sc in each st around (12)
14: 6 dec (6)
Fasten off and leave a long tail for sewing.
Attach the ears on both sides of the head.
🐄 Spot (Body Marking)
1: 6 sc in MR (6)
2: inc in each st around (12)
3: (1 sc, inc) × 6 (18)
4: sc in each st around (18)
5: 8 sc, turn
6: dec, 6 sc, turn
7: dec, 5 sc, turn
8: dec, 4 sc
Fasten off.
Place the spot under one eye before attaching the safety eyes.
Shape the head as desired.
🐄 Arms (Make 2)
Start with black yarn.
1: 6 sc in MR (6)
2: inc in each st around (12)
3: (1 sc, inc) × 6 (18)
4: 8 sc, 2 inc, 8 sc (20)
5–8: sc in each st around (20)
9: 8 sc, 2 dec, 8 sc (18)
Change to beige yarn.
10–28: sc in each st around (18)
Stuff lightly.
29: Fold the arm in half and crochet both sides together with 9 sc.
Fasten off and leave a tail for sewing.
🐄 Feet (Make 2)
1: 6 sc in MR (6)
2: inc in each st around (12)
3: (1 sc, inc) × 6 (18)
4: (2 sc, inc) × 6 (24)
5–11: sc in each st around (24)
12: (2 sc, dec) × 6 (18)
13: (1 sc, dec) × 6 (12)
14: 6 dec (6)
Fasten off and leave a long tail for sewing.
🐄 Legs (Make 2)
1: Ch 20
Using black yarn:
2–5: sc in each st around
Change to beige yarn:
6–20: sc in each st around
Fasten off and leave a long tail for sewing.
👖 Overalls (Salopette)
Using red or olive green yarn.
1: Ch 62
2: Starting from the 2nd ch from hook: dc in each ch across (60)
3–15: dc in each st across (60)
Fold the piece in half and sew a seam in the center for about 4 rows to create the crotch of the overalls.
🎽 Suspenders (Make 2)
1: Ch 8
2: Starting from the 2nd ch from hook: dc across (6)
3–30: Turn, ch 2, 6 dc
Attach the suspenders to the overalls and sew buttons at the ends.
👞 Shoes (Make 2)
1: Ch 10
2: Starting from the 2nd ch from hook:
1 dc, 7 dc, 3 dc in last ch, continue on the other side:
6 dc, 2 dc in last st, join
3: ch 2, 8 dc, 2 dc in next 3 sts, 7 dc, 2 dc in last st, join
4: ch 2, 9 dc, 2 dc in next 5 sts, 8 dc, 2 dc in last st
5: dc in BLO of each st around
6–8: dc in each st around
9: 12 dc, 9 dec, finish row with dc
10: 10 dc, 5 dec, finish row with dc
11–14: dc in each st around
Fasten off and repeat for the second shoe.
🧣 Bandana
Cut a 30 × 30 cm square fabric.
Sew along all edges to prevent fraying.
Fold the fabric diagonally to create a triangle.
Tie or sew the bandana around the cow’s neck.
🐄 Your adorable amigurumi cow is now complete!
You can personalize it by:
sewing decorative buttons or patches.
adding different bandana fabrics
using colorful overalls