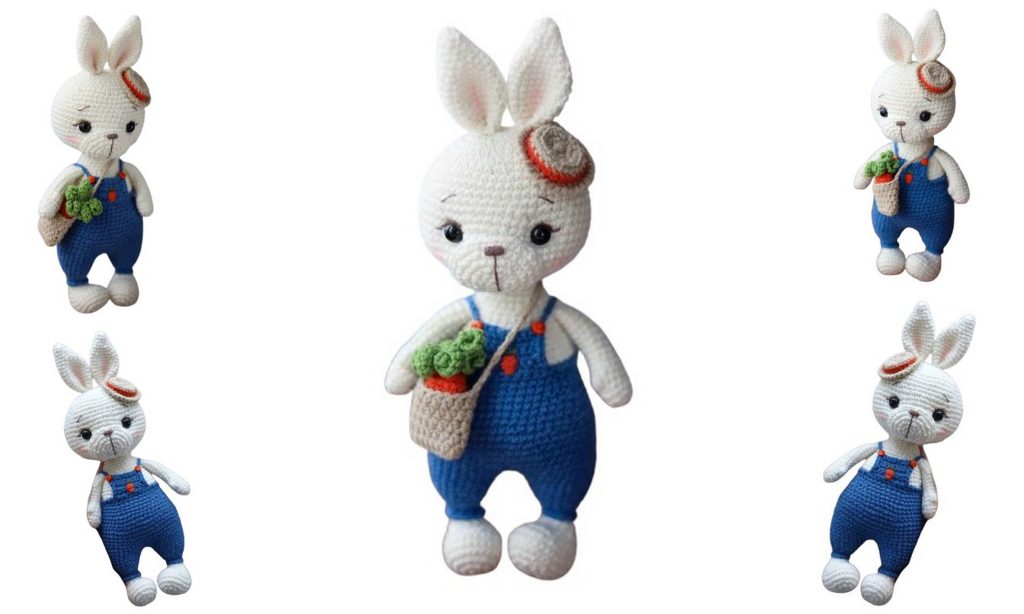
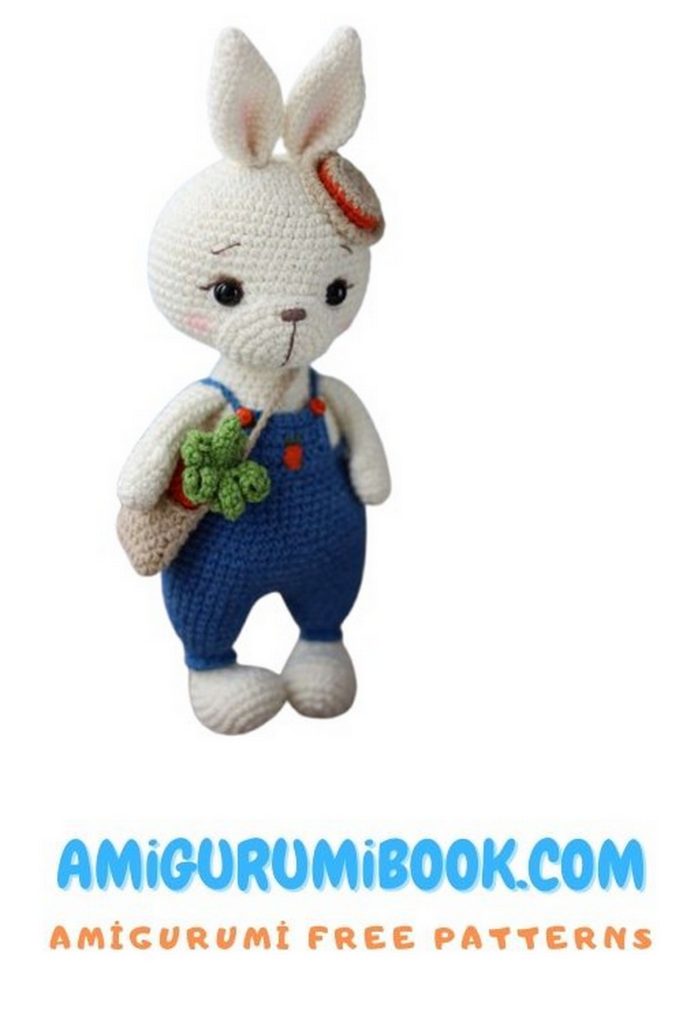
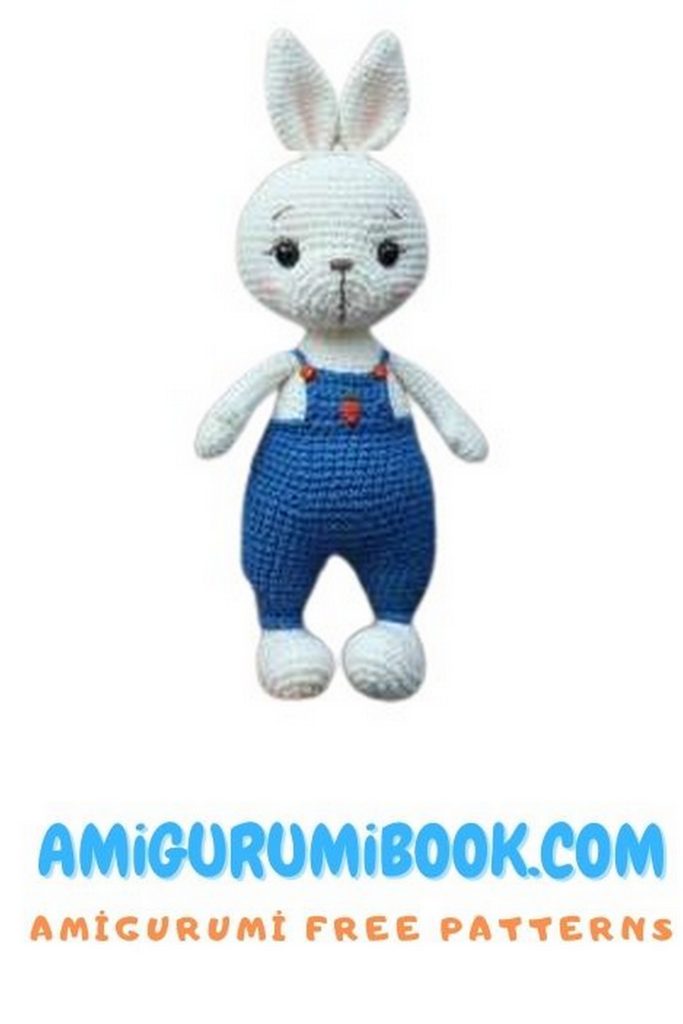
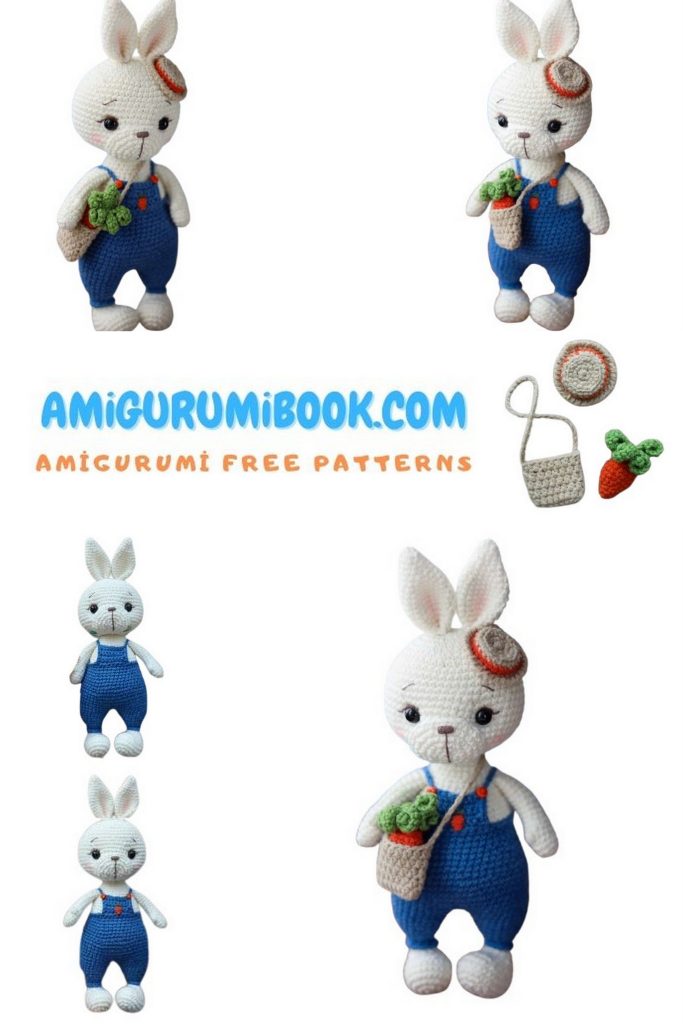
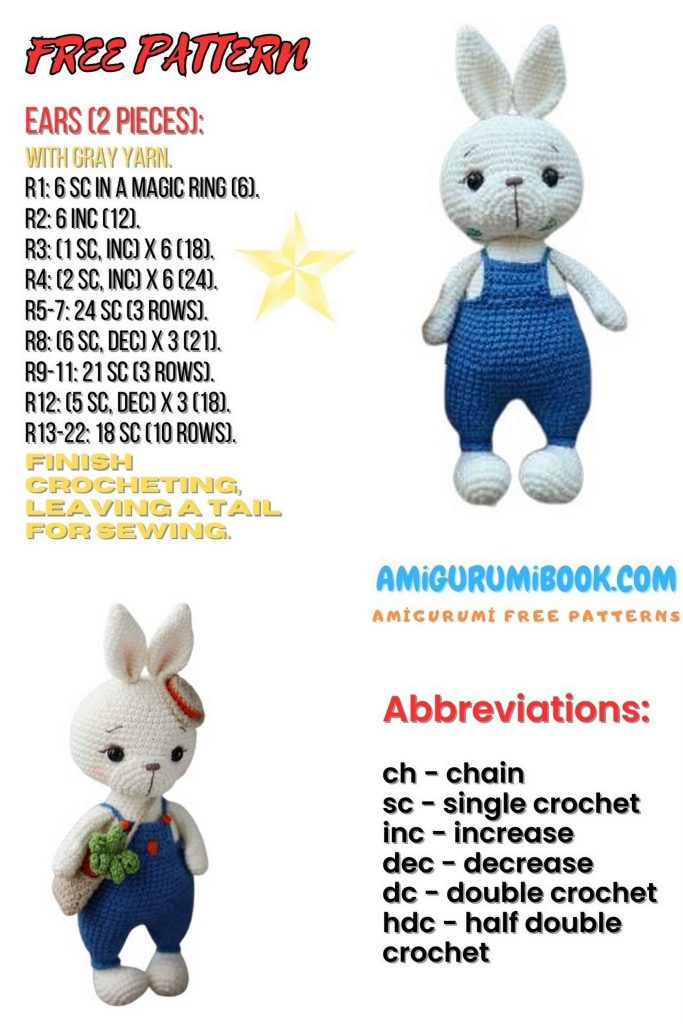
Looking for an adorable amigurumi bunny pattern with a unique twist? This Cute Bunny With Bag Amigurumi Free Pattern is the perfect project for crochet lovers of all levels. Featuring a sweet bunny carrying a tiny bag, this pattern adds a fun and whimsical detail to your handmade collection. Whether you’re making it as a gift, for Easter, or just to enjoy some creative time, this charming amigurumi bunny is sure to bring joy. Follow our free, step-by-step instructions to craft your very own bunny with a bag today!
If you want to access 1000+ free amigurumi patterns, you can download our application from this link!
Materials:
– YarnArt Jeans yarn (55% cotton, 45% polyacrylic, 50 g \ 160 m) colors: No. 03 for the toy (1 skein), No. 17 for the jumpsuit, No. 48 for accessories, No. 85 for the carrot
– Eyes with a diameter of 7 mm.
– Hook 1.5 mm.
– Strong thread for tightening (I use waxed thread).
– Dark brown floss for the muzzle and thin white yarn for embroidering squirrels.
– Long needle for tightening.
– Toy stuffing (holofiber or swan’s down).
All the materials listed are just my personal preference.
You can always take any other materials for your toys, in the colors you like best.
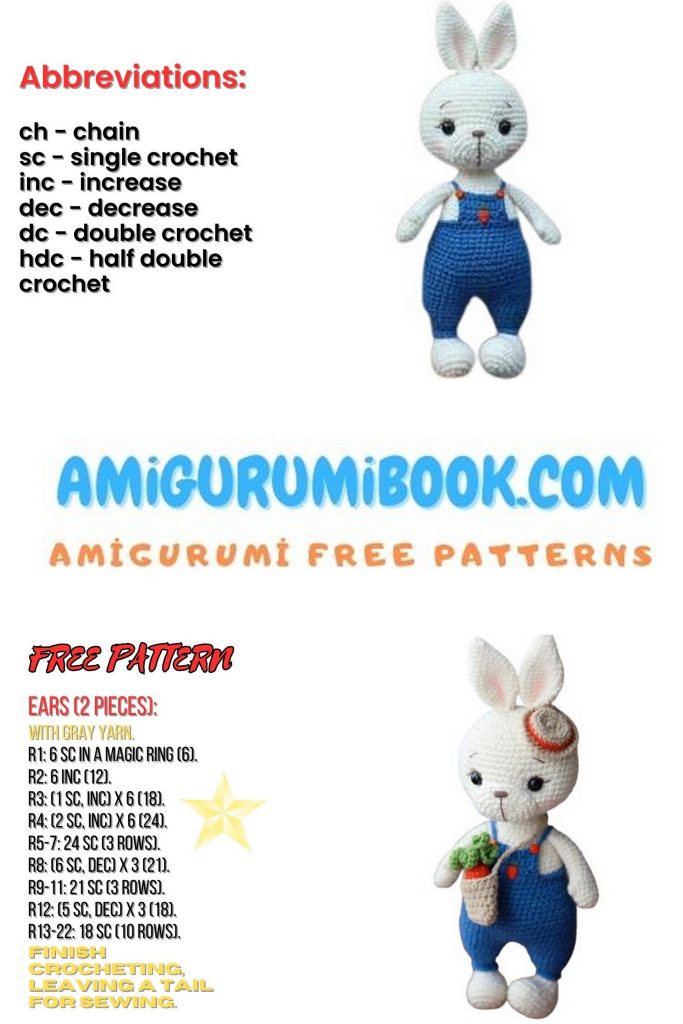
Abbrevations:
CH – chain stitch
SC – single crochet
INC – increase
DEC – decrease
HDC – half double crochet
DC – double crochet
SL-ST – slip stitch
(SC, INC)* n – repeat sequence in brackets n – times
BLO – knit row through back half loops of previous row
FLO – knit through front half loops of previous row The total number of stitches in the row is given in brackets.
LEGAL
Knit pieces in a spiral, without a lifting loop, unless otherwise stated in the description.
Use a marker (thread or pin) to mark the last stitch of the row and the first stitch of the next row.
To ensure that the marker is in the place indicated in the description, it is necessary to align the row by knitting slip stitches.
The shift stitches are not specified in the description and are not included in the total number of sc.
UPPER LEGS – Amigurumi Bunny
1 Row : 6 sc into magic ring
2 Row : 6 inc (12 sc)
3 Row : (3 sc, inc)*3 (15 sc)
Rows 4-5: 15 sc
6 Row : 4 sc, 3 DC puff stitch, 10 sc (15 sc)
For the second leg, knit row 6 as follows: 10 sc, 3 DC puff stitch, 4 sc (15 sc)
7 Row : 15 sc
8 Row : (3 sc, dec)*3 (12 sc)
Rows 9-18: 12 sc
Stuff the handle to the middle. Fold the piece in half and knit 6 sl-st at both edges at the same time.
LEGS-BODY – Amigurumi Bunny
Cast 8 ch
1 row (starting with the second loop from the hook): inc, 5 sc, 4 sc in the last loop of the chain. Then continue knitting on the other side of the chain of air loops: 5 sc, inc (18 sc)
At the end of the row, put a marker, align the next rows to it as you knit.
The marker goes at the back center of the foot.
2nd row: inc, 6 sc, 4 inc, 6 sc, inc (24 sc)
3rd row: sc, inc, 6 sc, (sc, inc)*4, 6 sc, inc, sc (30 sc)
4-6th rows: 30 sc
7th row: 7 sc, (sc, dec)*5, 8 sc (25 sc)
8th row: 7 sc, 5 dec, 8 sc (20 sc)
9th row: 5 sc, 5 dec, 5 sc (15 sc)
10th row: (3 sc, dec)*3 (12 sc)
11th row: 12 sc
12th row: 12 sc BLO
Fasten off and trim. Change yarn to additional color
12 Row : 12 sc FLO
13 Row : knit a row BLO sc, (4 sc, inc)*2, sc (14 sc)
14 Row : 6 sc, 2 inc, 6 sc (16 sc)
15 Row : 16 sc
16 Row : (3 sc, inc)*4 (20 sc)
17 Row : 20 sc
18 Row : (4 sc, inc)*4 (24 sc)
19 Row : 24 sc
Attention:
At the first leg, knit 7 sc, 1 sl-st. Fasten off and cut the thread. Stuff the piece.
Join the thread to the remaining pp of the 13th row and knit 12 sc. Fasten off and cut the thread.
Knit the second leg in the same way. After row 19, do not cut the thread, knit 17 sc, 1 sl-st and continue knitting the body.
20 Row : cast on 3 ch and knit 1 sl-st in the slip stitch of the 1st leg, 24 sc (along the first leg), 3 sc along the ch chain, 24 sc (along the second leg), 3 sc along the ch chain (54 sc)
Move the marker to the beginning of the new row and align the following rows to it.
Rows 21-28: 54 sc
29 Row : (7 sc, dec)*6 (48 sc)
Rows 30-32: 48 sc
33 Row : (10 sc, dec)*4 (44 sc)
34 Row : 44 sc
35 Row : (20 sc, dec)*2 (42 sc)
Move marker to side so color transition is not visible.
36 Row : 42 sc FLO
37 Row : 42 sc
Fasten off and trim yarn.
Join main color yarn to remaining sts of row 36
36 Row : 42 sc BLO
37 Row : 42 sc
38 Row : (dec, 19 sc)*2 (40 sc)
39 Row : (8 sc, dec)*4 (36 sc)
40 Row : 36 sc
Start stuffing the body and continue stuffing as you knit.
41 Row : (dec, 7 sc)*4 (32 sc)
Rows 42-43: 32 sc
44 Row : (6 sc, dec)*4 (28 sc)
45 Row : 28 sc
46 Row : (dec, 5 sc)*4 (24 sc)
47 Row : (2 sc, dec)*6 (18 sc)
48 Row : 18 sc
Fasten off and trim the thread.
Sew on the handles between rows 43 and 44. For convenience, I sew on the handles after the overalls straps are knitted.
Overalls bib
Mark 8 central columns of the 37th row (blue)
Join the yarn and knit in turning rows, making a lifting ch in each row
1-6 rows: 8 sc
Fasten the yarn and cut.
Straps
Join the yarn to the bottom of the bib. Tie the side part, dial 14 ch and fasten at the back of the overalls.
Fasten the yarn and cut. Knit the second strap in the same way.
TAIL – Amigurumi Bunny
1 row: 6 sc into magic ring
2 row: 6 inc (12 sc)
3-4 rows: 12 sc
Fasten the yarn and cut, leaving a tail of thread for sewing. Sew the tail at the bottom, in the center of the back. Stuff as you sew.
HEAD – Amigurumi Bunny
1st row: 6 sc into magic ring
2nd row: 6 inc (12 sc)
3rd row: (sc, inc)*6 (18 sc)
4 Row : sc, inc, (2 sc, inc)*5, sc (24 sc)
5 row: (3 sc, inc)*6 (30 sc)
6 Row : 2 sc, inc, (4 sc, inc)*5, 2 sc (36 sc)
7 Row : (5 sc, inc)*6 (42 sc)
8 Row : 3 sc, inc, (6 sc, inc)*5, 3 sc (48 sc)
9 Row : (7 sc, inc)*6 (54 sc)
Rows 10-13: 54 sc
14 Row : 4 sc, inc, (8 sc, inc)*5, 4 sc (60 sc)
Rows 15-20: 60 sc
If using safety eyes, place them in row 17. Space them 11-12 stitches apart.
21 Row : 4 sc, dec, (8 sc, dec)*5, 4 sc (54 sc)
22 Row : (7 sc, dec)*6 (48 sc)
23 Row : 3 sc, dec, (6 sc, dec)*5. 3 sc (42 sc)
24 Row : (5 sc, dec)*6 (36 sc)
Start stuffing the head. Stuff as you go.
25 Row : 2 sc, dec, (4 sc, dec)*5, 2 sc (30 sc)
26 Row : (3 sc, dec)*6 (24 sc)
27 Row : sc, dec, (2 sc, dec)*5, sc (18 sc)
28 Row : 18 sl-st
Fasten the thread and cut, leaving a tail of thread for sewing.

EARS – Amigurumi Bunny
1 Row : 4 sc into magic ring
2 Row : 4 inc (8 sc)
3 Row : 8 sc
4 Row : (sc, inc)*4 (12 sc)
5 Row : 12 sc
6 Row : (2 sc, inc)*4 (16 sc)
7 Row : 16 sc
8 Row : (3 sc, inc)*4 (20 sc)
9 Row : 20 sc
Rows 10-15: 20 sc
16 Row : (3 sc, dec)*4 (16 sc)
17 Row : (2 sc, dec)*4 (12 sc)
18 Row : 12 sc
Fold the piece in half and knit 6 sl-st at both edges at the same time. Fasten the thread and cut.
Sew the first and last loops of the ear.
Knit the second ear in the same way.
FACE – Amigurumi Bunny
1 row: 7 sc into magic ring
2 row: 7 inc (14 sc)
3 row: (sc, inc)*7 (21 sc)
4 row: (2 sc, inc)*7 (28 sc)
5-6 rows: 28 sc
Secure the thread and cut, leaving a tail for sewing.
Mark the places of tightening on the head:
Points 1, 2, 3, 4 – between the 17th and 18th rows
Between points 1 and 3 the distance is 8 sc
Between points 1-2 and 3-4 – the distance is 2 sc
DECORATION
Insert the needle with a long thread from the bottom of the head, bring it out at point 1, insert at point 2 and bring it out from the bottom of the head. Repeat the procedure one more time.
From the bottom of the head, bring the needle out at point 1, insert 2 sc above point 1 and bring it out from the bottom of the head.
Pull the thread tightly and secure it.
Do the same for the second eye.
DESIGNING THE FACE AND EYES
Sew the face between the 19th and 27th rows. Add a little stuffing when sewing.
Place the eyes in the places of the tightening.
Embroider the whites around the eyes with white yarn. Embroider the eyelashes with dark floss.
In the second row of the face, embroider the nose and the line from the nose down.
Mark the eyebrow locations and embroider them.
Find a good position for the ears and sew them on.
Add more stuffing if necessary and sew the head to the body.
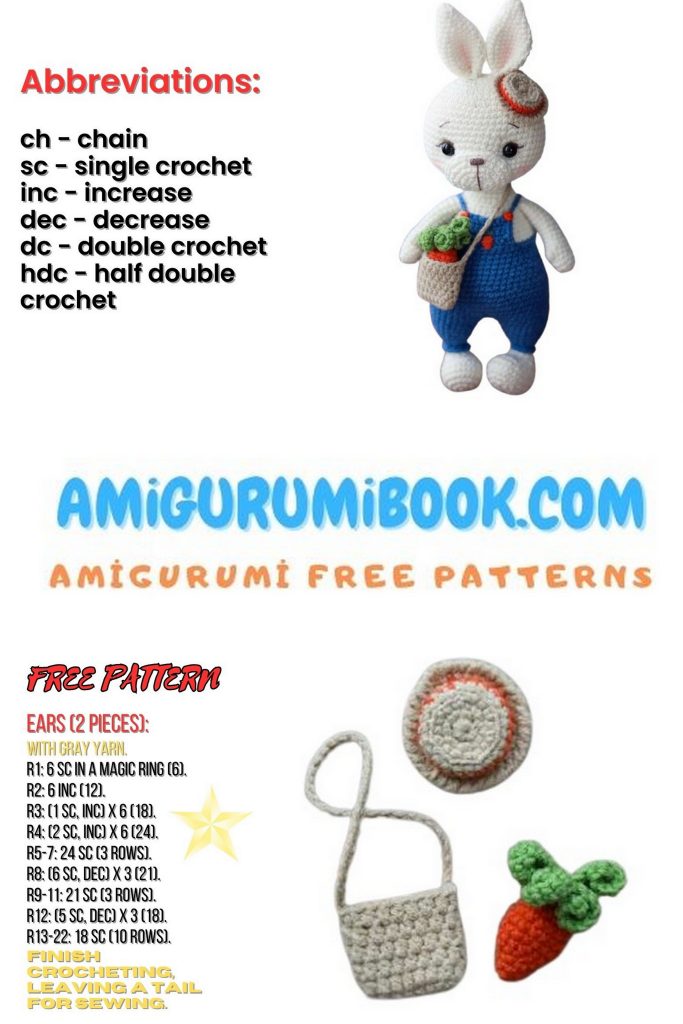
BAG
Cast 9 ch
1 Row (starting with the second loop from the hook): 7 sc, 2 sc in the last loop of the chain. Then continue knitting on the other side of the chain of air loops: 7 sc (16 sc)
Rows 2-6: 16 hdc
Cast 40 ch and attach to the opposite side of the bag.
HAT
1 Row : 8 sc into magic ring
2 Row : 8 inc (16 sc)
3 Row : (sc, inc) * 8 (24 sc)
4 Row : 24 sc BLO
Change yarn to an additional color
Rows 5-6: 24 sc
Change yarn to the main color
7 Row : FLO (2 sc,inc) * 8 (32 sc)
Tie the edge of the hat with a crab step.
Sew the hat to the rabbit’s head.
1 Row : 4 sc into magic ring
2 Row : 4 inc (8 sc)
3 Row : 8 sc
4 Row : (sc, inc)*4 (12 sc)
5 Row : (2 sc inc)*4 (16 sc)
Rows 6-7: 16 sc
8 Row : (sc, dec)*4 (12 sc)
9 Row : 6 dec (6 sc)
Change yarn to green
10 Row : 6 sc
11 Row : cast on 9 ch, from the second loop from the hook knit: 4 inc, 4 sc, sl-st into the next loop of the row.
Knit 5 more such leaves.
Do not stuff the carrot. Pull the hole in the center of the piece with a thread.
CARROT
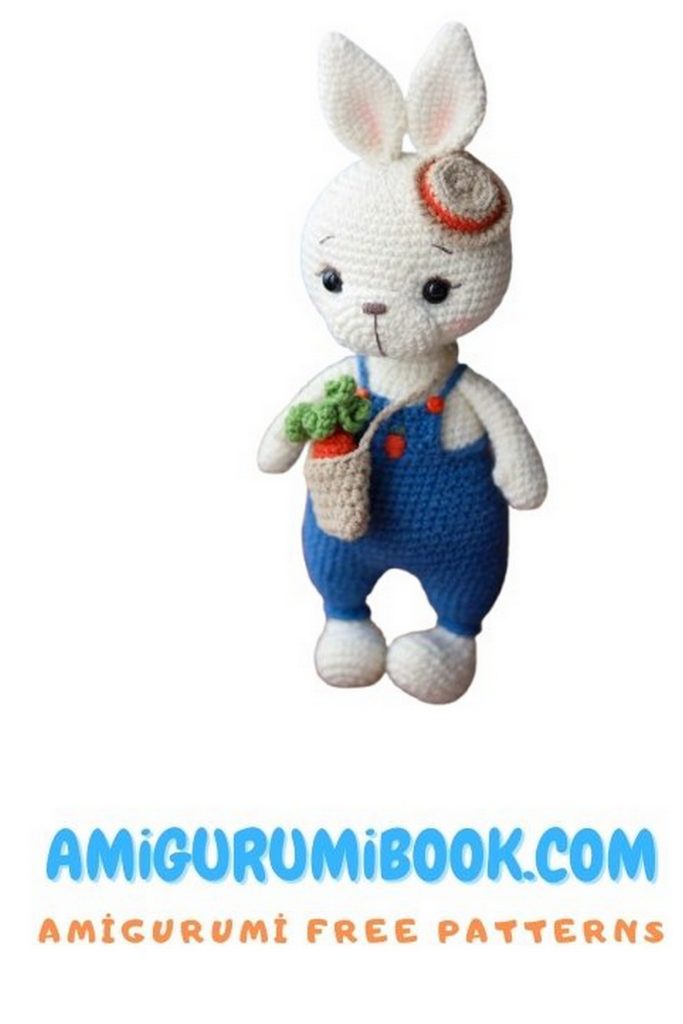
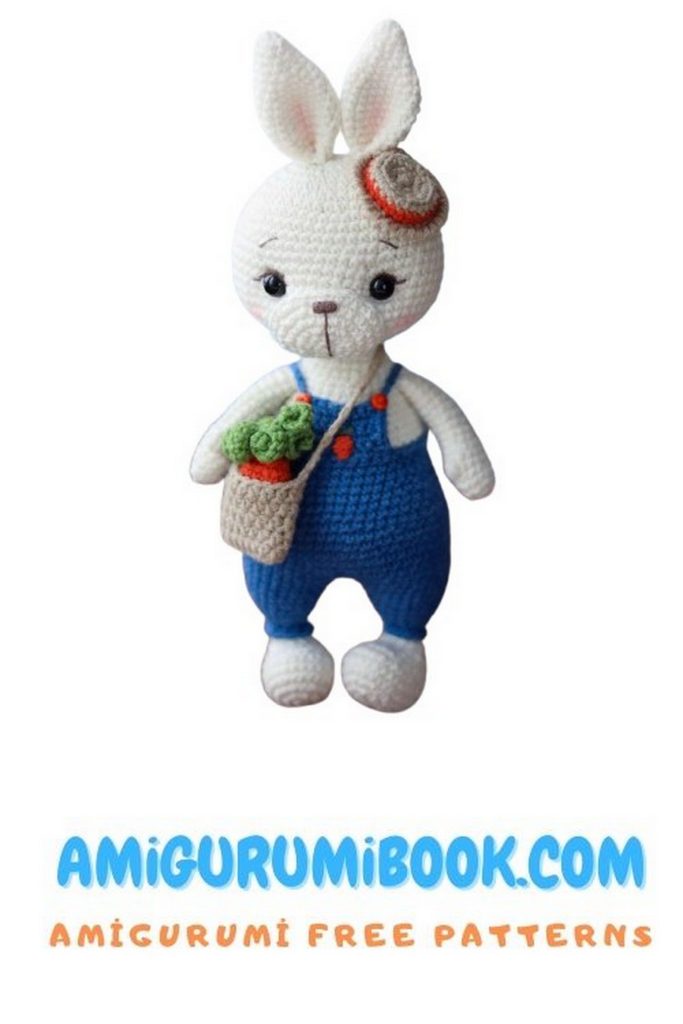
Your bunny is ready!
I hope that the knitting process was enjoyable for you and the finished result met your expectations.
Thank you for knitting with me!