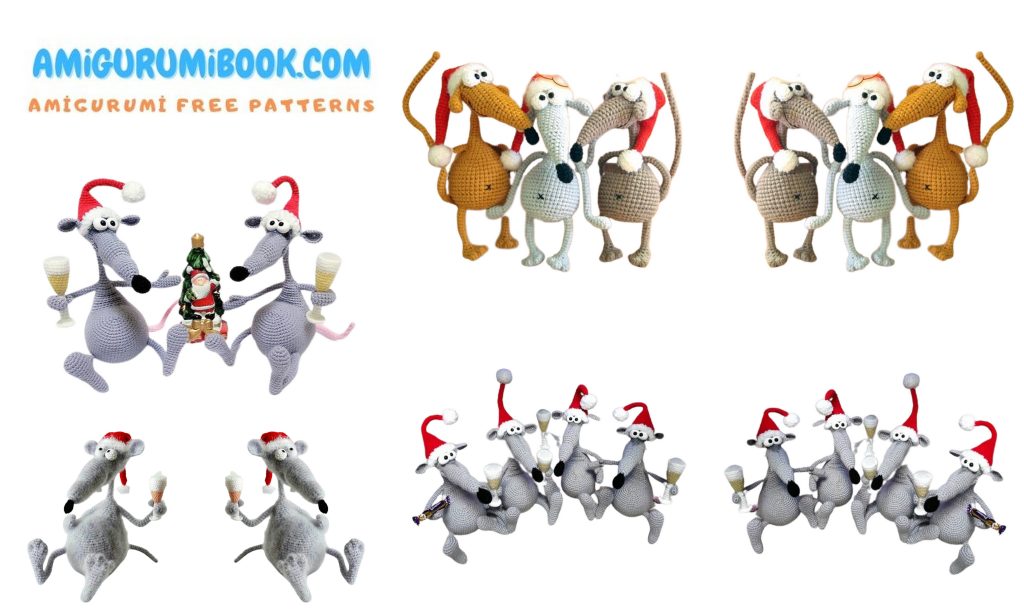
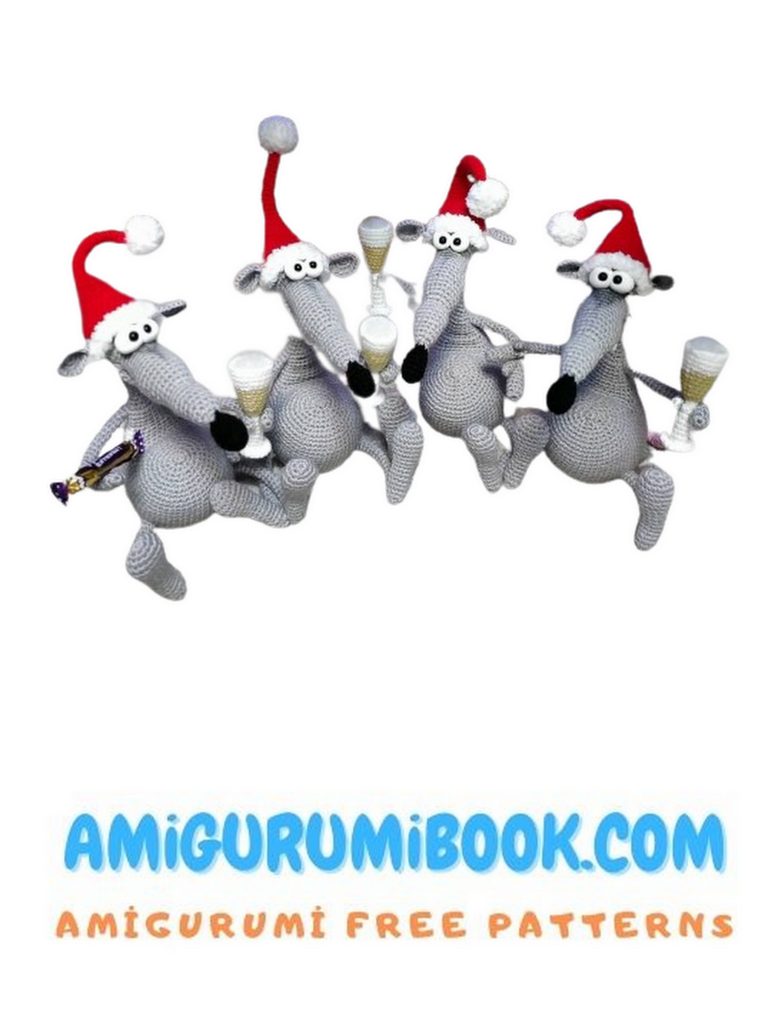
This cute Christmas mouse amigurumi free pattern is perfect for adding a festive touch to your holiday decorations or gifting to loved ones. With simple stitches and charming details, this adorable handmade mouse brings warmth and cheer to any Christmas celebration. free crochet patterns
You may also like more amigurumi patterns.
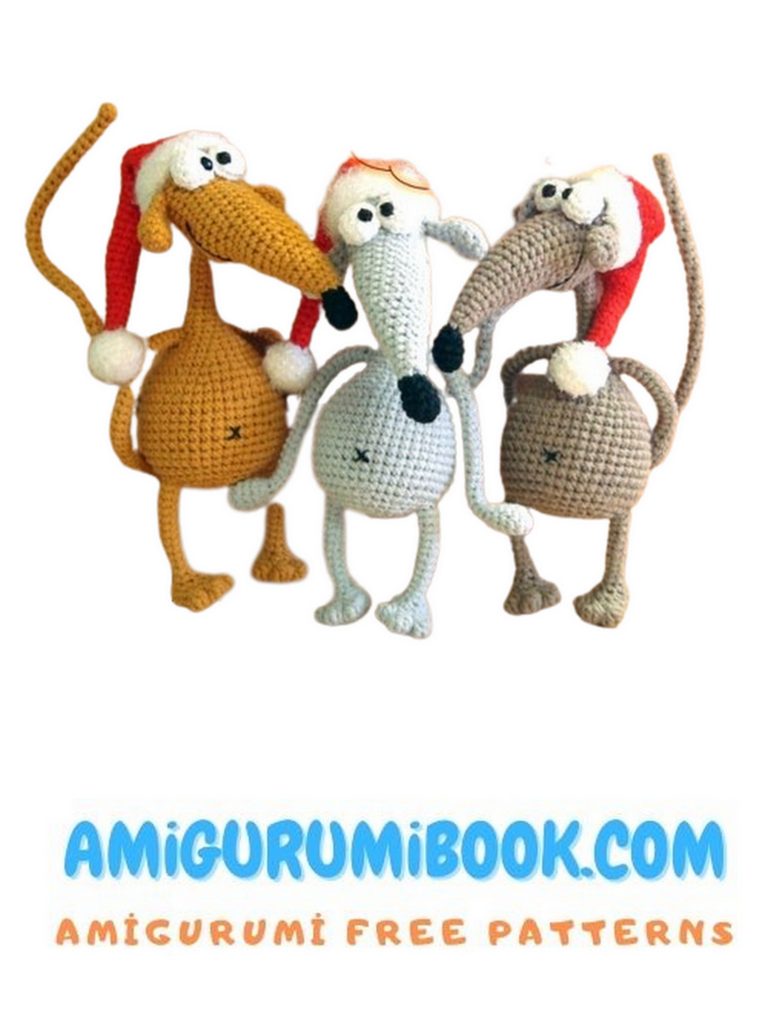
Get ready to add some festive charm to your holiday season with our delightful Christmas Mouse Amigurumi Free Pattern! Whether you’re a seasoned crocheter or just starting out, this adorable amigurumi project is a joy to create. Crafted with love and attention to detail, our pattern will guide you through every stitch to create a lovable Christmas amigurumi mouse that will bring smiles to all who see it.
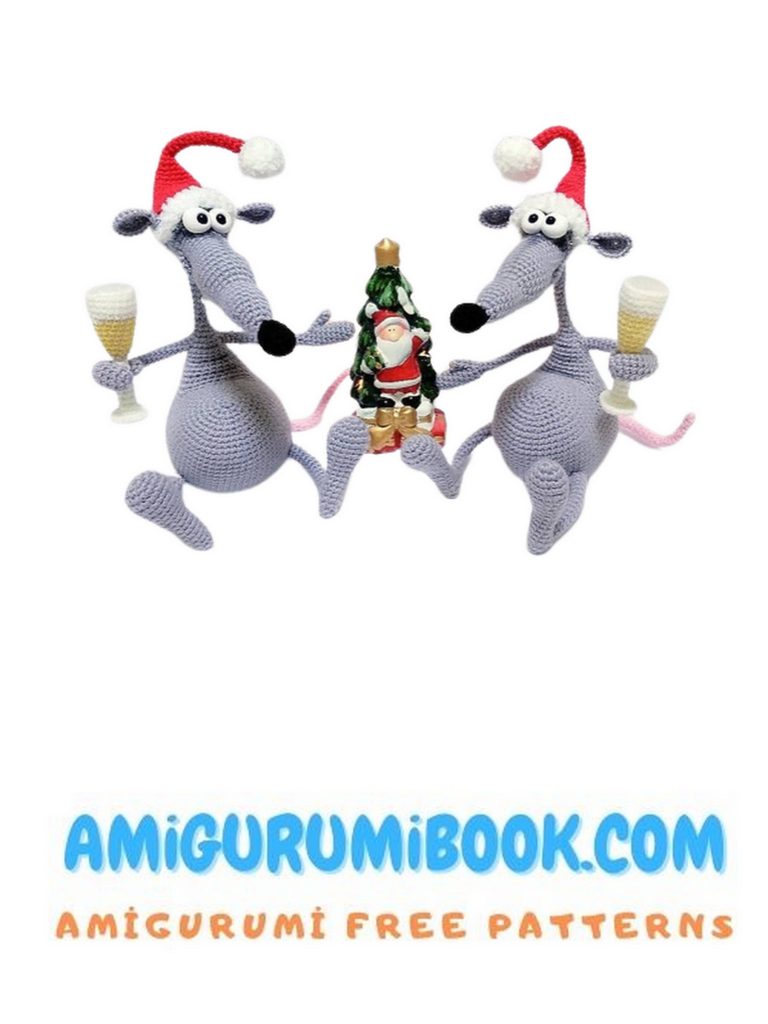
This amigurumi mouse free pattern is the perfect addition to your holiday decor, and it also makes a thoughtful handmade gift. Imagine the joy on the faces of your loved ones when they receive this tiny, festive friend. With our step-by-step instructions and clear illustrations, you’ll find it easy to create this cute mouse, complete with its Santa hat and holiday scarf.
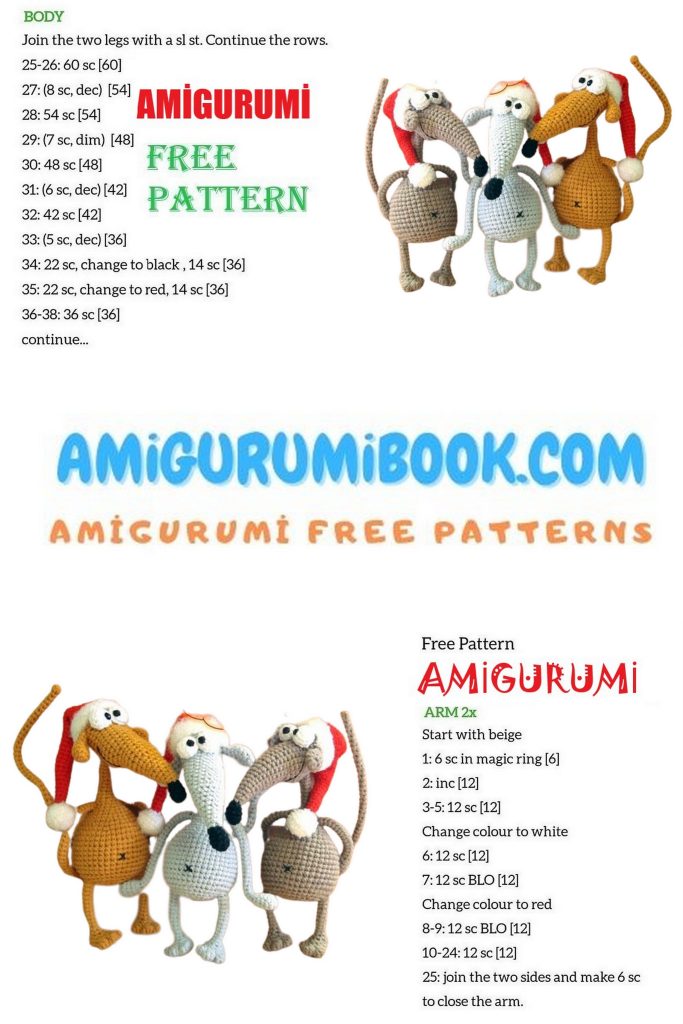
Height: 16 cm (sitting).
Materials and Tools:
Crochet hook 2.5 or 2 mm.
Filling – polyester fiberfill.
Yarn: ALIZE Cotton Gold, 55% cotton, 45% acrylic, 330 m/100 g (equivalent to YarnArt Jeans). Colors: gray for the rat’s body (or any color of your choice), red for the hat.
ADELIA VALERI, 45% acrylic, 28% polyamide, 27% wool, 146 m/50 g for the tail and hat trim. Alternatively, you can use any other fluffy yarn or short pile yarn.
Smoother yarn (VITA cotton LIRA, GAZZAL BABY COTTON) in black for the nose and white for the eyes.
A small amount of thin black yarn or embroidery floss for embroidering the mouth. VITA cotton COCO or any other thin yarn (at least 200 m/50 g) can be used.
Sew-on rhinestones with a diameter of 6 mm.
Wire for the frame, approximately 3 mm in diameter.
Abbreviations:
SC – single crochet
SL ST – slip stitch
INC – increase
DEC – decrease
INC 3in1 – 3 single crochets in the same stitch of the previous row
Pineapple Stitch (or Puff Stitch) – a stitch consisting of 5 double crochets with 2 yarn overs
All parts are worked in a spiral unless otherwise specified.
PATTERN
Head (gray):
Rnd 1: 5 SC in the amigurumi ring.
Rnd 2: INC, 4 SC = 6 SC.
Rnd 3: INC, 5 SC = 7 SC.
Rnd 4: 4 SC, INC, 2 SC = 8 SC.
Rnd 5: INC, 7 SC = 9 SC.
Rnd 6: 5 SC, INC, 3 SC = 10 SC.
Rnd 7: INC, 9 SC = 11 SC.
Rnd 8: 6 SC, INC, 4 SC = 12 SC.
Rnd 9: INC, 11 SC = 13 SC.
Rnd 10: 7 SC, INC, 5 SC = 14 SC.
Rnd 11: INC, 13 SC = 15 SC.
Rnds 12-15: 15 SC.
Rnd 16: INC 3in1, INC, INC 3in1, 12 SC = 20 SC.
Note: The highlighted increase is the midpoint of the lower part of the face. Mark it somehow during crocheting.
Rnds 17-19: 20 SC.
Rnd 20: 3 SC, DEC, 15 SC = 19 SC.
Rnd 21: 19 SC.
Rnd 22: 13 SC, DEC, 4 SC = 18 SC.
Rnd 23: 11 SC, 5 INC, 2 SC = 23 SC.
Rnd 24: 4 SC, DEC, 17 SC = 22 SC.
Rnd 25: 22 SC.
Fill the face.
Between Rnds 24 and 25, insert the wire. Take a stiff wire, approximately 3 mm in diameter, cut it to about 40 cm, and insert one end into the head before the last crocheted round, aligning it with the previously marked increase. To prevent any issues, wrap the wire end with tape, bend it a couple of centimeters, and tuck it into the head toward the nose.
Rnd 26: 3 SC, DEC, 17 SC = 21 SC.
Rnd 27: 21 SC.
Rnd 28: (DEC, 5 SC)*3 = 18 SC (*3 – repeat 3 times).
Adjust the position of the wire end as needed and stuff the detail firmly, emphasizing the upper part of the face where there were 5 INC.
Rnd 29: (DEC, 1 SC)*6 = 12 SC.
Rnd 30: 6 DEC = 6 SC.
Finish stuffing, cut the thread, and pull the hole closed.
You can conveniently stuff through the small holes using closed scissors.
Body (gray):
Rnd 1: Around the wire, work 6 SC directly over the head.
Rnds 2-10: 6 SC.
Rnd 11: INC, 5 SC = 7 SC.
Rnd 12: 4 SC, INC, 2 SC = 8 SC.
Rnd 13: INC, 7 SC = 9 SC.
Rnd 14: (2 SC, INC)*3 = 12 SC.
Rnd 15: (INC, 3 SC)*3 = 15 SC.
Take two more wire pieces, approximately 30 cm long. Insert the wire on the sides before the last crocheted round.
Leave about 11 cm on the outside for the arms, and the remaining ends will go into the legs. To prevent the wires from unraveling inside the body, braid or simply twist them together.
Rnd 16: (3 SC, INC, 1 SC)*3 = 18 SC.
Rnd 17: (INC, 5 SC)*3 = 21 SC.
Rnd 18: (4 SC, INC, 2 SC)*3 = 24 SC.
Rnd 19: (INC, 7 SC)*3 = 27 SC.
Rnd 20: (5 SC, INC, 3 SC)*3 = 30 SC.
Rnd 21: (3 SC, INC, 1 SC)*6 = 36 SC.
Rnd 22: (INC, 5 SC)*6 = 42 SC.
Rnds 23-32: 42 SC.
Stuff the body to give it shape. Only stuff the neck at the very bottom where the increases began. Before the last crocheted round, bring the long tail wire out from the back.
Rnd 33: (3 SC, DEC, 2 SC)*6 = 36 SC.
Rnd 34: (DEC, 4 SC)*6 = 30 SC.
Before the last crocheted round, bring the leg wires out approximately on the sides.
Rnd 35: (2 SC, DEC, 1 SC)*6 = 24 SC.
Rnd 36: (DEC, 2 SC)*6 = 18 SC.
Stuff the body firmly, making sure the wire stays in the middle.
Rnd 37: (1 SC, DEC)*6 = 12 SC.
Rnd 38: 6 DEC = 6 SC.
Finish stuffing, cut the thread, and pull the hole closed.
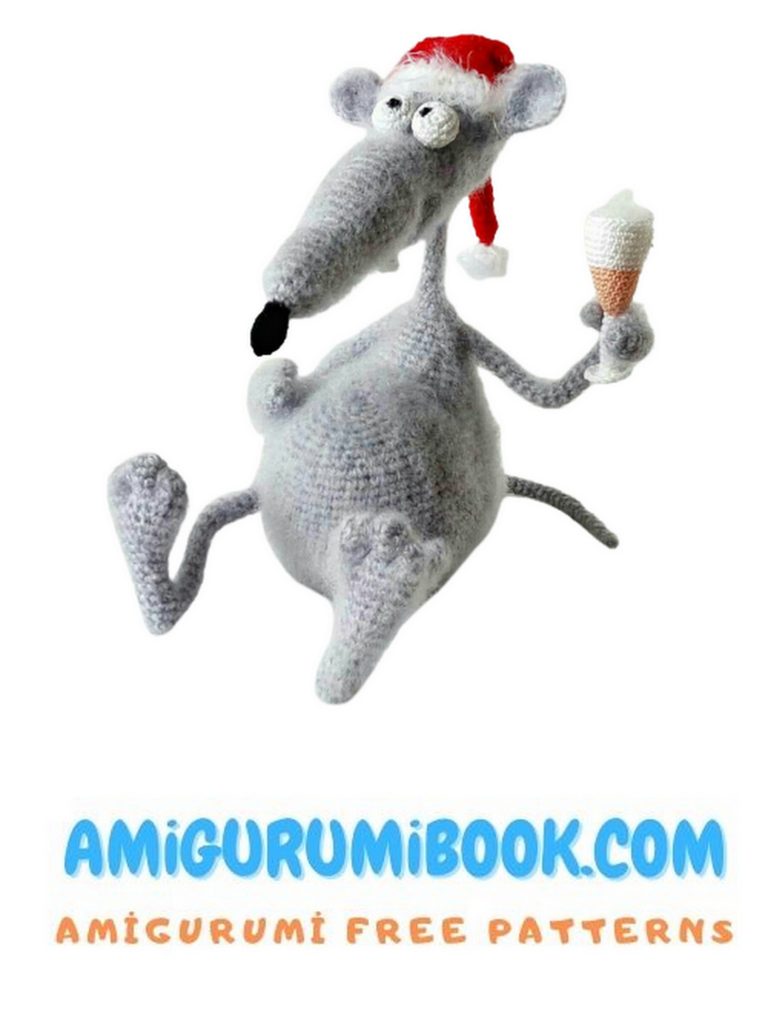
Depending on your yarn choice and tension, the body size may vary. That’s why the wires were left longer than necessary. You can now trim them to the desired length. The rat sits with support on its hands, bending the wrists by about 1 cm (the total length of the arms in the photo is 9 cm). The legs are shorter, and you also bend about 1 cm at the feet (the total length of the leg is 6 cm). The tail length is optional – a longer tail won’t spoil the rat’s appearance. Wrap the wire ends on the arms and legs with tape.

Legs (gray), Make 2:
Rnd 1: 6 SC in the amigurumi ring.
Rnd 2: (INC 3in1, INC, 1 SC)*2 = 12 SC.
Rnd 3: (1 SC, INC 3in1, 2 SC)*2 = 18 SC.
Rnd 4: 1 SC, (SL ST, PUFF STITCH)*3, SL ST, 10 SC = 18 SC.
Rnd 5: (DEC, 1 SC)*6 = 12 SC.
Rnd 6: 6 DEC = 6 SC.
Put the resulting piece onto the leg wire and stuff around the bent end of the wire. Don’t overstuff; the foot should remain somewhat flat.
From Rnd 7 onwards and until the end (up to the body): 6 SC. For the first 2-3 rounds, while the crochet is tight around the wire, try to hold the wire in place so that the bent end doesn’t twist inside the foot.
When the leg is crocheted up to the body, cut the yarn, leaving a tail for sewing. Attach and sew the leg to the body. Repeat to make the second leg.
Arms (gray), Make 2:
Straighten the ends of the wire; the bent ends are not needed right now, and it will be easier to work with straight ends.
Rnd 1: 6 SC in the amigurumi ring.
Rnd 2: (INC 3in1, 2 SC)*2 = 10 SC.
3-5. Rnds 3-5: 10 SC.
Rnd 6: 5 DEC = 5 SC.
Place some filling inside the crocheted piece, put it onto the arm wire, and lightly stuff around the wire (the hand should remain fairly flat).
From Rnd 7 onwards and until the end (up to the body): 5 SC.
When the arm is crocheted up to the body, cut the yarn, leaving a tail for sewing. Attach and sew the arm to the body. Repeat to make the second arm.
Tail (gray):
Since the rat’s tail is thin, clean the wire from its insulation. If the wire is stiff, you can put the crocheted tail onto the smooth, cleaned wire later. The insulation on the wire usually comes off quite easily; simply cut it in a circle with a knife (you can start in the middle and then work your way down to the body to avoid pulling off a long piece). You can leave the wire inside the insulation and crochet around it if you want a slightly thicker tail.
Rnd 1: 4 SC in the amigurumi ring.
From Rnd 2 onwards and until the end (up to the body): 4 SC.
If you plan to put the tail on later, crochet it slightly longer than necessary (it will become shorter when you put it on). Put the tail onto the wire, cut the yarn, and sew it to the body.
Nose (black):
For the nose, use smoother yarn.
Rnd 1: 6 SC in the amigurumi ring.
Rnd 2: (INC, 1 SC)*3 = 9 SC.
3-4. Rnds 3-4: 9 SC.
Rnd 5: (DEC, 1 SC)*3 = 6 SC. Cut the yarn, leaving a tail for sewing, and secure.
Stuff the nose, sew it to the tip of the face, and bend it slightly downward.
Eyes (white), Make 2:
Also, use smoother yarn for the eyes.
Rnd 1: 6 SC in the amigurumi ring.
Rnd 2: 6 INC = 12 SC.
3-4. Rnds 3-4: 12 SC.
Rnd 5: 6 DEC = 6 SC. Cut the yarn, leaving a tail for sewing, and stuff the piece. Pull the hole closed.
Sew the eyes close together at the top of the head, right above the increases.
Sew rhinestones slightly inward. Attach them with two stitches each using doubled-up sewing thread. Tighten the thread with each stitch to make the rhinestones sit snugly. Secure the thread at the back of the head.
Use black yarn to embroider the belly button about 10 rows up from where you finished crocheting the body.
Mouth:
Using thin black yarn or embroidery floss, embroider the mouth with a cross-stitch. Since the smile is quite wide, mark the start and end points of the mouth and find the center (it’s easy to see where the increases are) before embroidering.
The rat is now complete!