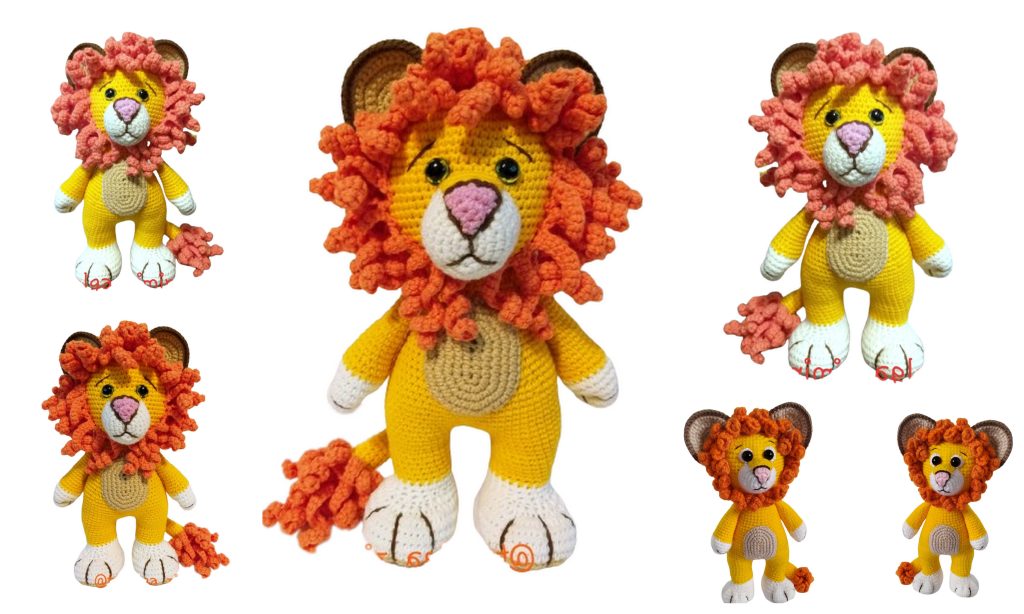
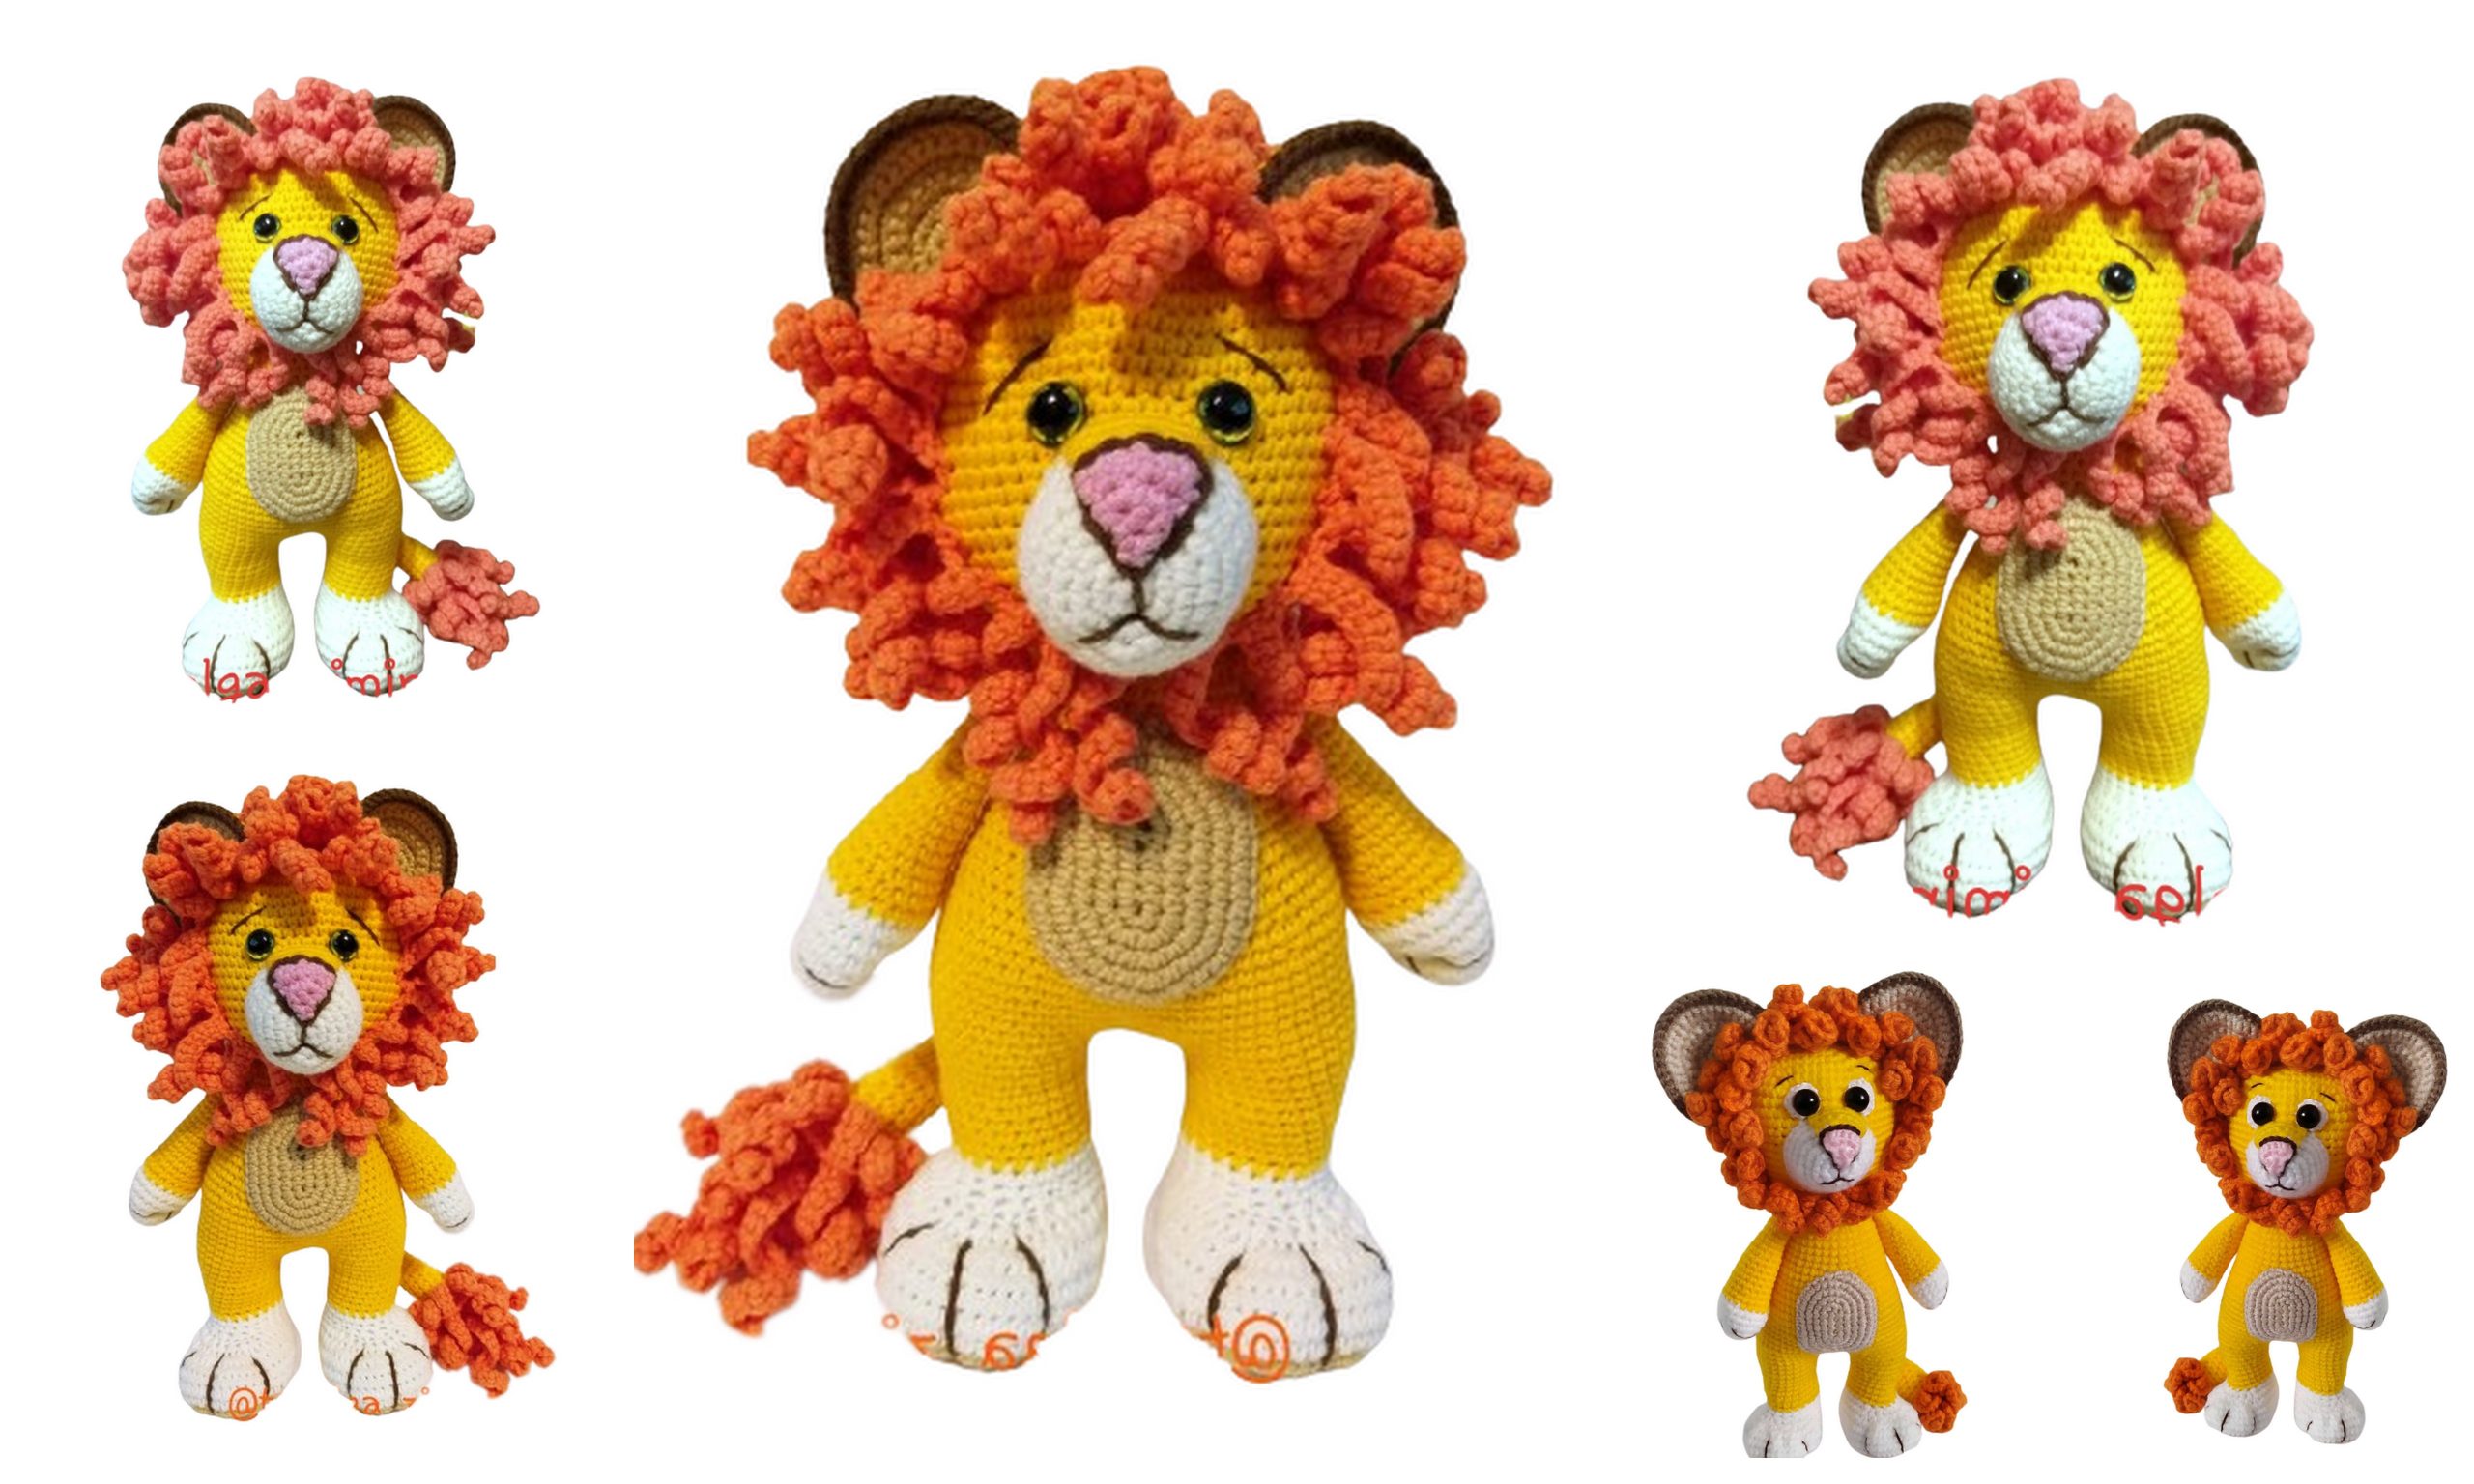
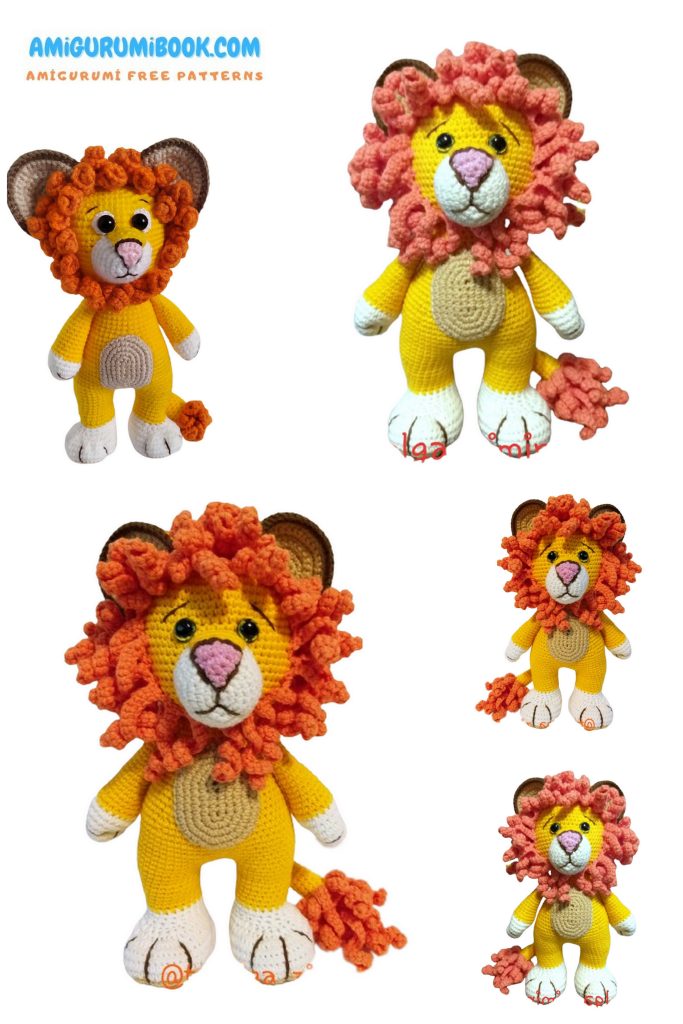
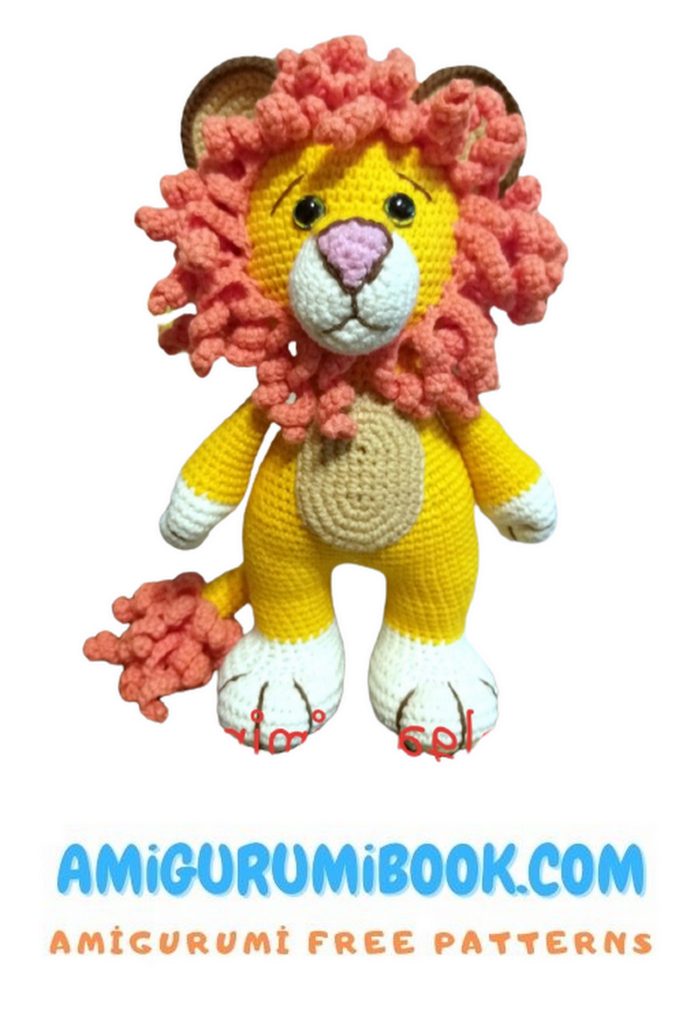
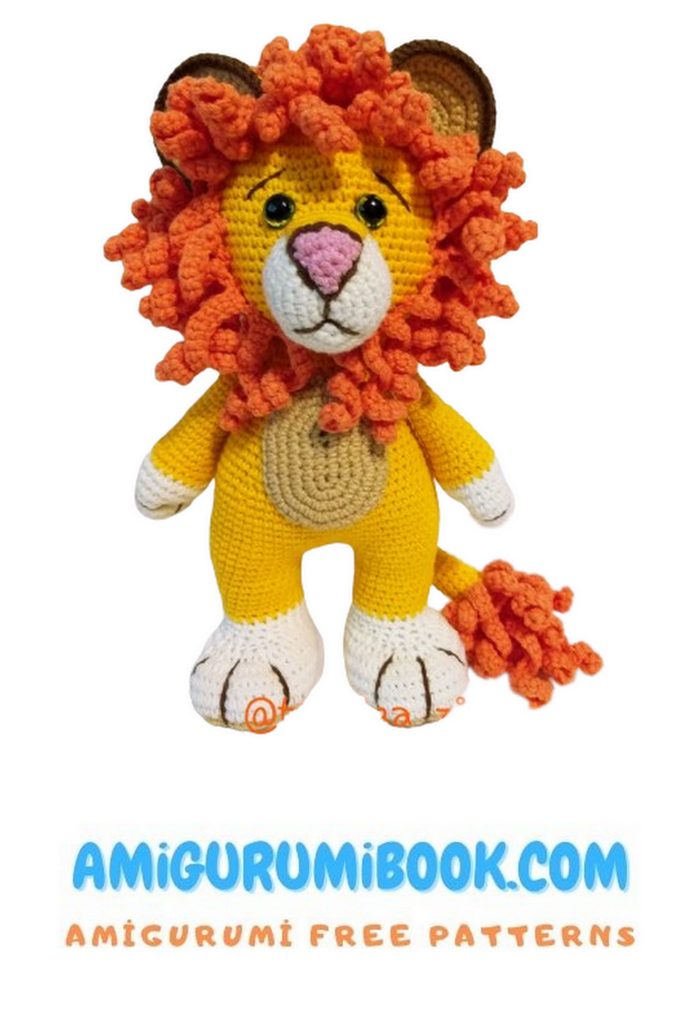
Bring a touch of wild cuteness to your crochet collection with this Cute Lion Amigurumi Free Pattern. This adorable lion features a soft rounded body, a fluffy mane, and sweet little paws that make it perfect for handmade gifts, nursery decor, or animal-themed amigurumi collections.
This step-by-step crochet tutorial will guide you through creating each part of the lion, from the head and body to the mane and tiny details that bring the character to life. Whether you’re an experienced crocheter or just starting your amigurumi journey, this lion pattern is fun, creative, and rewarding to make.
Grab your yarn and crochet hook and start crafting your own cute amigurumi lion today!
If you want to access 1000+ free amigurumi patterns, you can download our application from this link!
Materials:
Hook No 1.75 or 2
Denim yarn (150/50) in the main color (I used yellow), one skein, for the mane, one skein, a little beige and milky.
Safety eyes 10mm
Filling
Needle for sewing parts
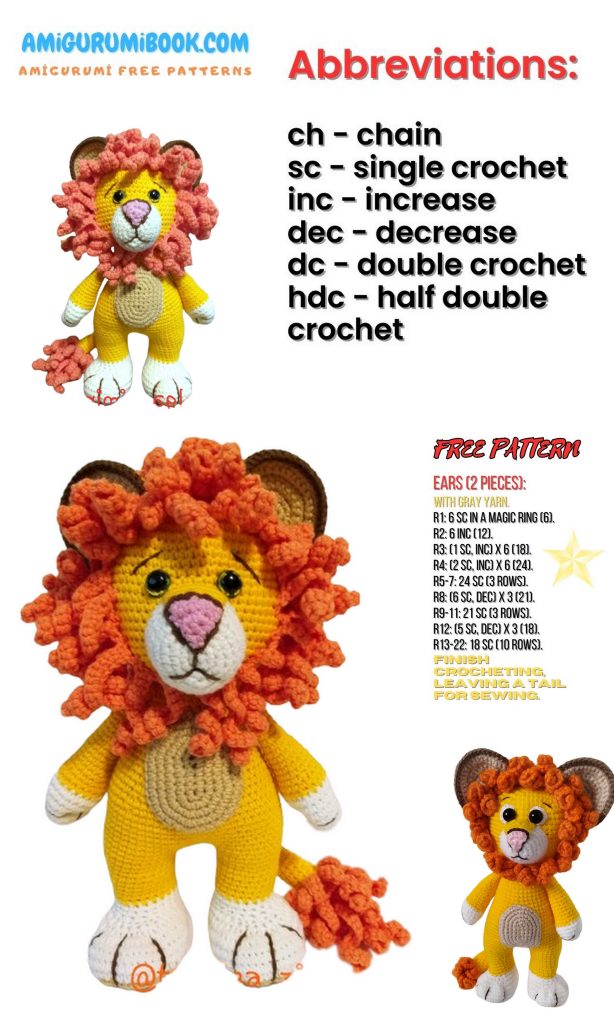
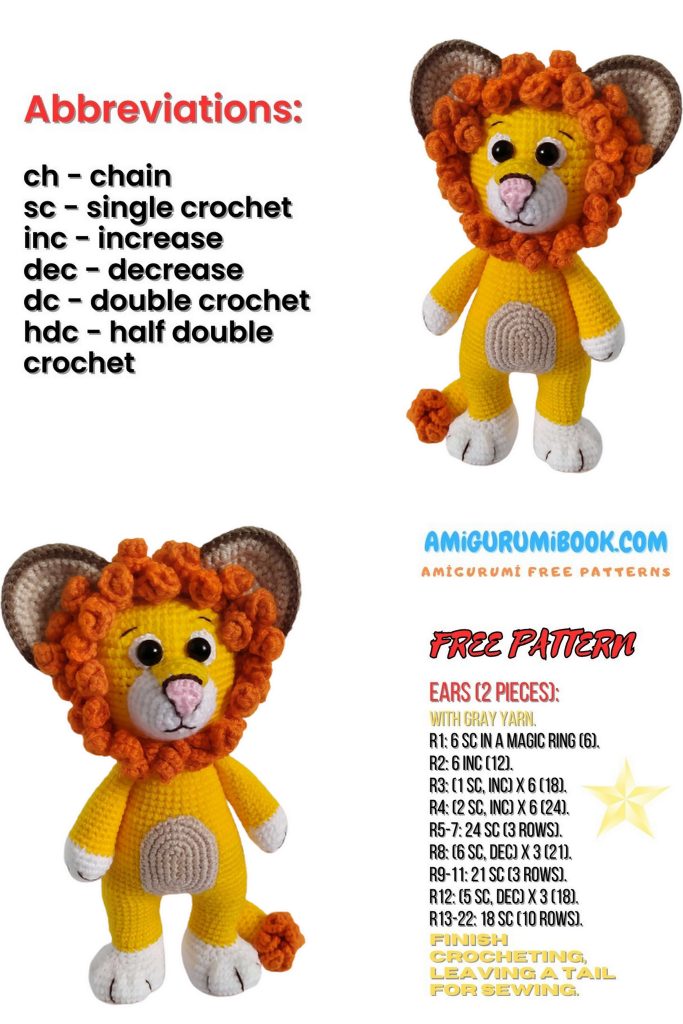
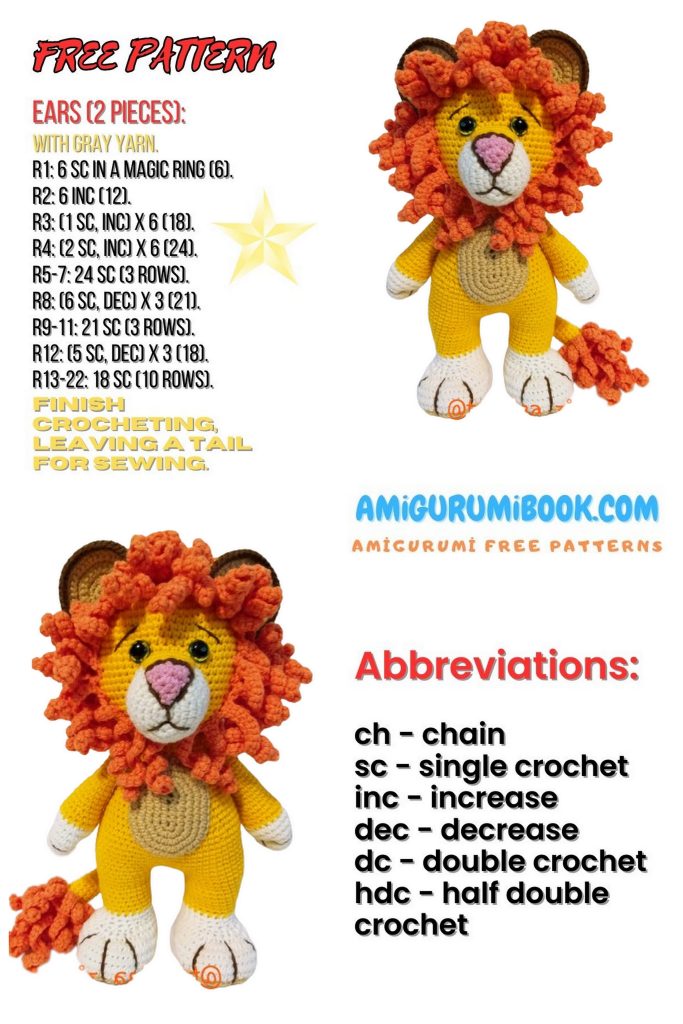
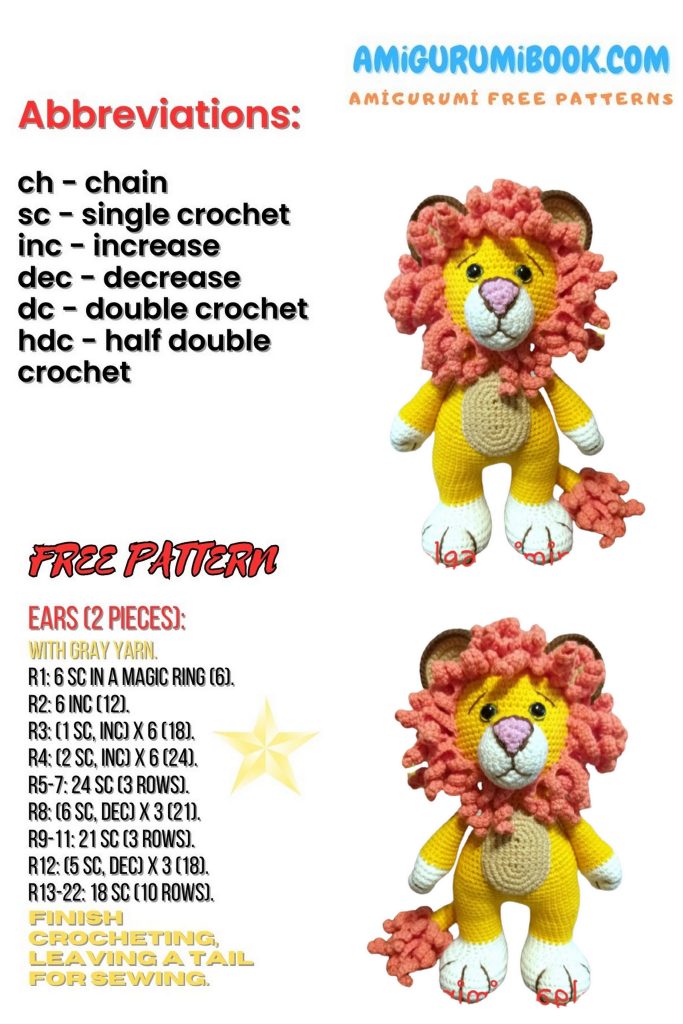
Abbreviations:
MR – Magic ring (or amigurumi ring)
SC – Single crochet
CH – Chain
INC – Increase
DEC – Decrease
SLST – Slip stitch
PATTERN
Head:
1 Row: 6 SC in MR
2 Row: 6 INC (12)
3 Row: (1 SC, INC)*6 (18)
4 Row: (2 SC, INC)*6 (24)
5 Row: (3 SC, INC)*6 (30)
6 Row: (4 SC, INC)*6 (36)
7 Row: (5 SC, INC)*6 (42)
8 Row: (6 SC, INC)*6 (48)
9 Row: (7 SC, INC)*6 (54)
10 Row: (8 SC, INC)*6 (60)
11 Row-23 Row: 60 (13 rows)
24 Row: (8 SC, DEC)*6 (54)
25 Row: (7 SC, DEC)*6 (48)
26 Row: (6 SC, DEC)*6 (42)
27 Row: (5 SC, DEC)*6 (36)
28 Row: (4 SC, DEC)*6 (30)
Insert the eyes between rows 14 and 15, with 8 stitches between them.
29 Row: (3 SC, DEC)*6 (24)
30 Row: (2 SC, DEC)*6 (18)
31 Row: (1 SC, DEC)*6 (12)
Fill the head.
32 Row: 6 DEC (6)
Draw the hole closed, secure the thread, and cut it.
Front Legs (2 pieces):
Start with milky color:
1 Row: 6 SC in MR
2 Row: 6 INC (12)
3 Row: (1 SC, INC)*6 (18)
4 Row: (2 SC, INC)*6 (24)
5 Row-8 Row: 24 SC (4 rows)
Change to yellow:
9 Row: (6 SC, DEC)*3 (21)
10 Row: 21 SC
11 Row: (5 SC, DEC)*3 (18)
12 Row-13 Row: 18 SC (2 rows)
14 Row: (7 SC, DEC)*2 (16)
15 Row-16 Row: 16 SC (2 rows)
17 Row: (6 SC, DEC)*2 (14)
18 Row-27 Row: 14 SC (10 rows)
Fill the legs only at the bottom and shape the toes.
Hind Legs (2 pieces):
Crochet the sole with beige yarn:
1 Row: Chain 7, in the second chain from the hook: INC, 4 SC, 6 SC in the last chain, on the other side: 4 SC, INC (18)
2 Row: 2 INC, 4 SC, 6 INC, 5 SC, INC (27)
3 Row: (1 SC, INC)*2, 4 SC, (1 SC, INC)*6, 6 SC, INC (36)
4 Row: 2 SC, INC, 7 SC, (2 SC, INC)*6, 7 SC, INC (44)
Change to milky yarn:
5 Row-8 Row: 44 SC (4 rows)
9 Row: 14 SC, (DEC, SC)*8, 6 SC (36)
10 Row: 13 SC, 8 DEC, 7 SC (28)
11 Row: 11 SC, 6 DEC, 5 SC (22)
12 Row: 22 SC
Change to yellow:
13 Row-17 Row: 22 SC (5 rows)
18 Row: 6 SC, INC, 10 SC, INC, 4 SC (24)
19 Row-20 Row: 24 SC (2 rows)
21 Row: 7 SC, INC, 11 SC, INC, 4 SC (26)
22 Row: 26 SC
Secure and cut the thread. Fill the legs tightly and shape the paw pads.
Body:
Join the legs together. To do this, attach the yarn to the inner side of the right leg and crochet 4 CH.
1 Row: 26 SC along the left leg, 4 SC along the chain of CH, 26 SC along the right leg, 4 SC along the chain (60)
2 Row: 60 SC
3 Row: 3 SC, INC, (23 SC, INC)*2, 7 SC (63)
4 Row-9 Row: 63 SC (6 rows)
10 Row: (19 SC, DEC)*3 (60)
11 Row: 60 SC
12 Row: (8 SC, DEC)*6 (54)
13 Row: 54 SC
14 Row: (7 SC, DEC)*6 (48)
15 Row: 48 SC
16 Row: (6 SC, DEC)*6 (42)
17 Row: 42 SC
18 Row: (5 SC, DEC)*6 (36)
19 Row-24 Row: 36 SC (6 rows)
25 Row: (4 SC, DEC)*6 (30)
26 Row-27 Row: 30 SC (2 rows)
28 Row: (3 SC, DEC)*6 (24)
29 Row: 24 SC
Fill very tightly. Leave a thread for sewing the head.

Spot on the Belly:
1 Row: Chain 6 with beige yarn, in the second chain from the hook: INC, 3 SC, 4 SC in the last chain, 3 SC, INC (14)
2 Row: 2 INC, 3 SC, 4 INC, 3 SC, 2 INC (22)
3 Row: (1 SC, INC)*2, 3 SC, (1 SC, INC)*4, 3 SC, (1 SC, INC)*2 (30)
4 Row: (2 SC, INC)*2, 3 SC, (2 SC, INC)*4, 3 SC, (2 SC, INC)*2 (38)
5 Row: 38 SC
Sew it to the belly.
Tail:
1 Row: 6 SC in MR
2 Row: 6 INC (12)
3 Row-32 Row: 12 SC (30 rows)
Fill the tail only at the tip. At the tip of the tail, create hair by alternating chains of chains: 15 CH and 18 CH. Hook the loop from the tail and make 15 or 18 CH, then go down the chain with (INC, SC)* across the entire chain. I made 18 curls like this.
Mane:
The mane is crocheted similarly to the tail: alternating 15 CH and 17 CH. Attach loops from the body and create chains of loops: (INC, SC)* across the entire chain.
Muzzle:
Crochet with white yarn:
1 Row: 6 SC in MR
2 Row: 6 INC (12)
3 Row: (1 SC, INC)*6 (18)
4 Row: (2 SC, INC)*6 (24)
5 Row: (3 SC, INC)*6 (30)
6 Row-9 Row: 30 SC (4 rows)
Ears (2 pieces):
Outer part of the ear (2 pieces):
Yellow color:
1 Row: 6 SC in MR
2 Row: 6 INC (12)
3 Row: (1 SC, INC)*6, turn (18)
4 Row: 1 CH, skip the first stitch, (2 SC, INC)*4, 2 SC, turn
5 Row: 1 CH, (3 SC, INC)*4, 3 SC, turn
6 Row: 1 CH, skip the first stitch, (4 SC, INC)*4, 2 SC, turn
7 Row: (5 SC, INC)*4, 2 SC, turn
8 Row: 30 SC along the ear
Inner part of the ear:
Crochet with beige yarn the same way as the outer part from rows 1 to 7. After that, attach the inner part to the outer part with the wrong sides together and edge them with brown yarn.
Finishing:
Nose:
Start with pink color:
1 Row: Chain 2, in the second from the hook: SC, turn
2 Row: 1 CH, INC, turn
3 Row: 1 CH, 2 INC, turn
4 Row: 1 CH, INC, 2 SC, INC, turn
5 Row: 1 CH, 6 SC, turn
Change to the main color:
6 Row-8 Row: 1 CH, 6 SC, turn (3 rows)
Attach the nose to the muzzle and crochet 6 SC around both pieces with yellow yarn. Sew the nose and make brown embroidery. Attach the muzzle and ears to the head. Fill the muzzle.
Crochet the mane on the head. Attach the head to the body.