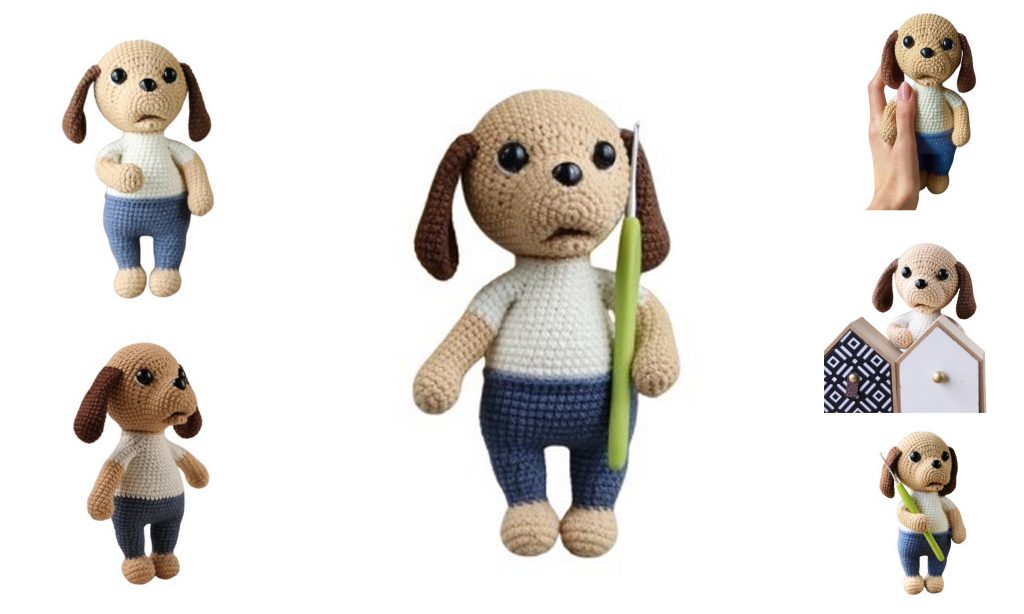
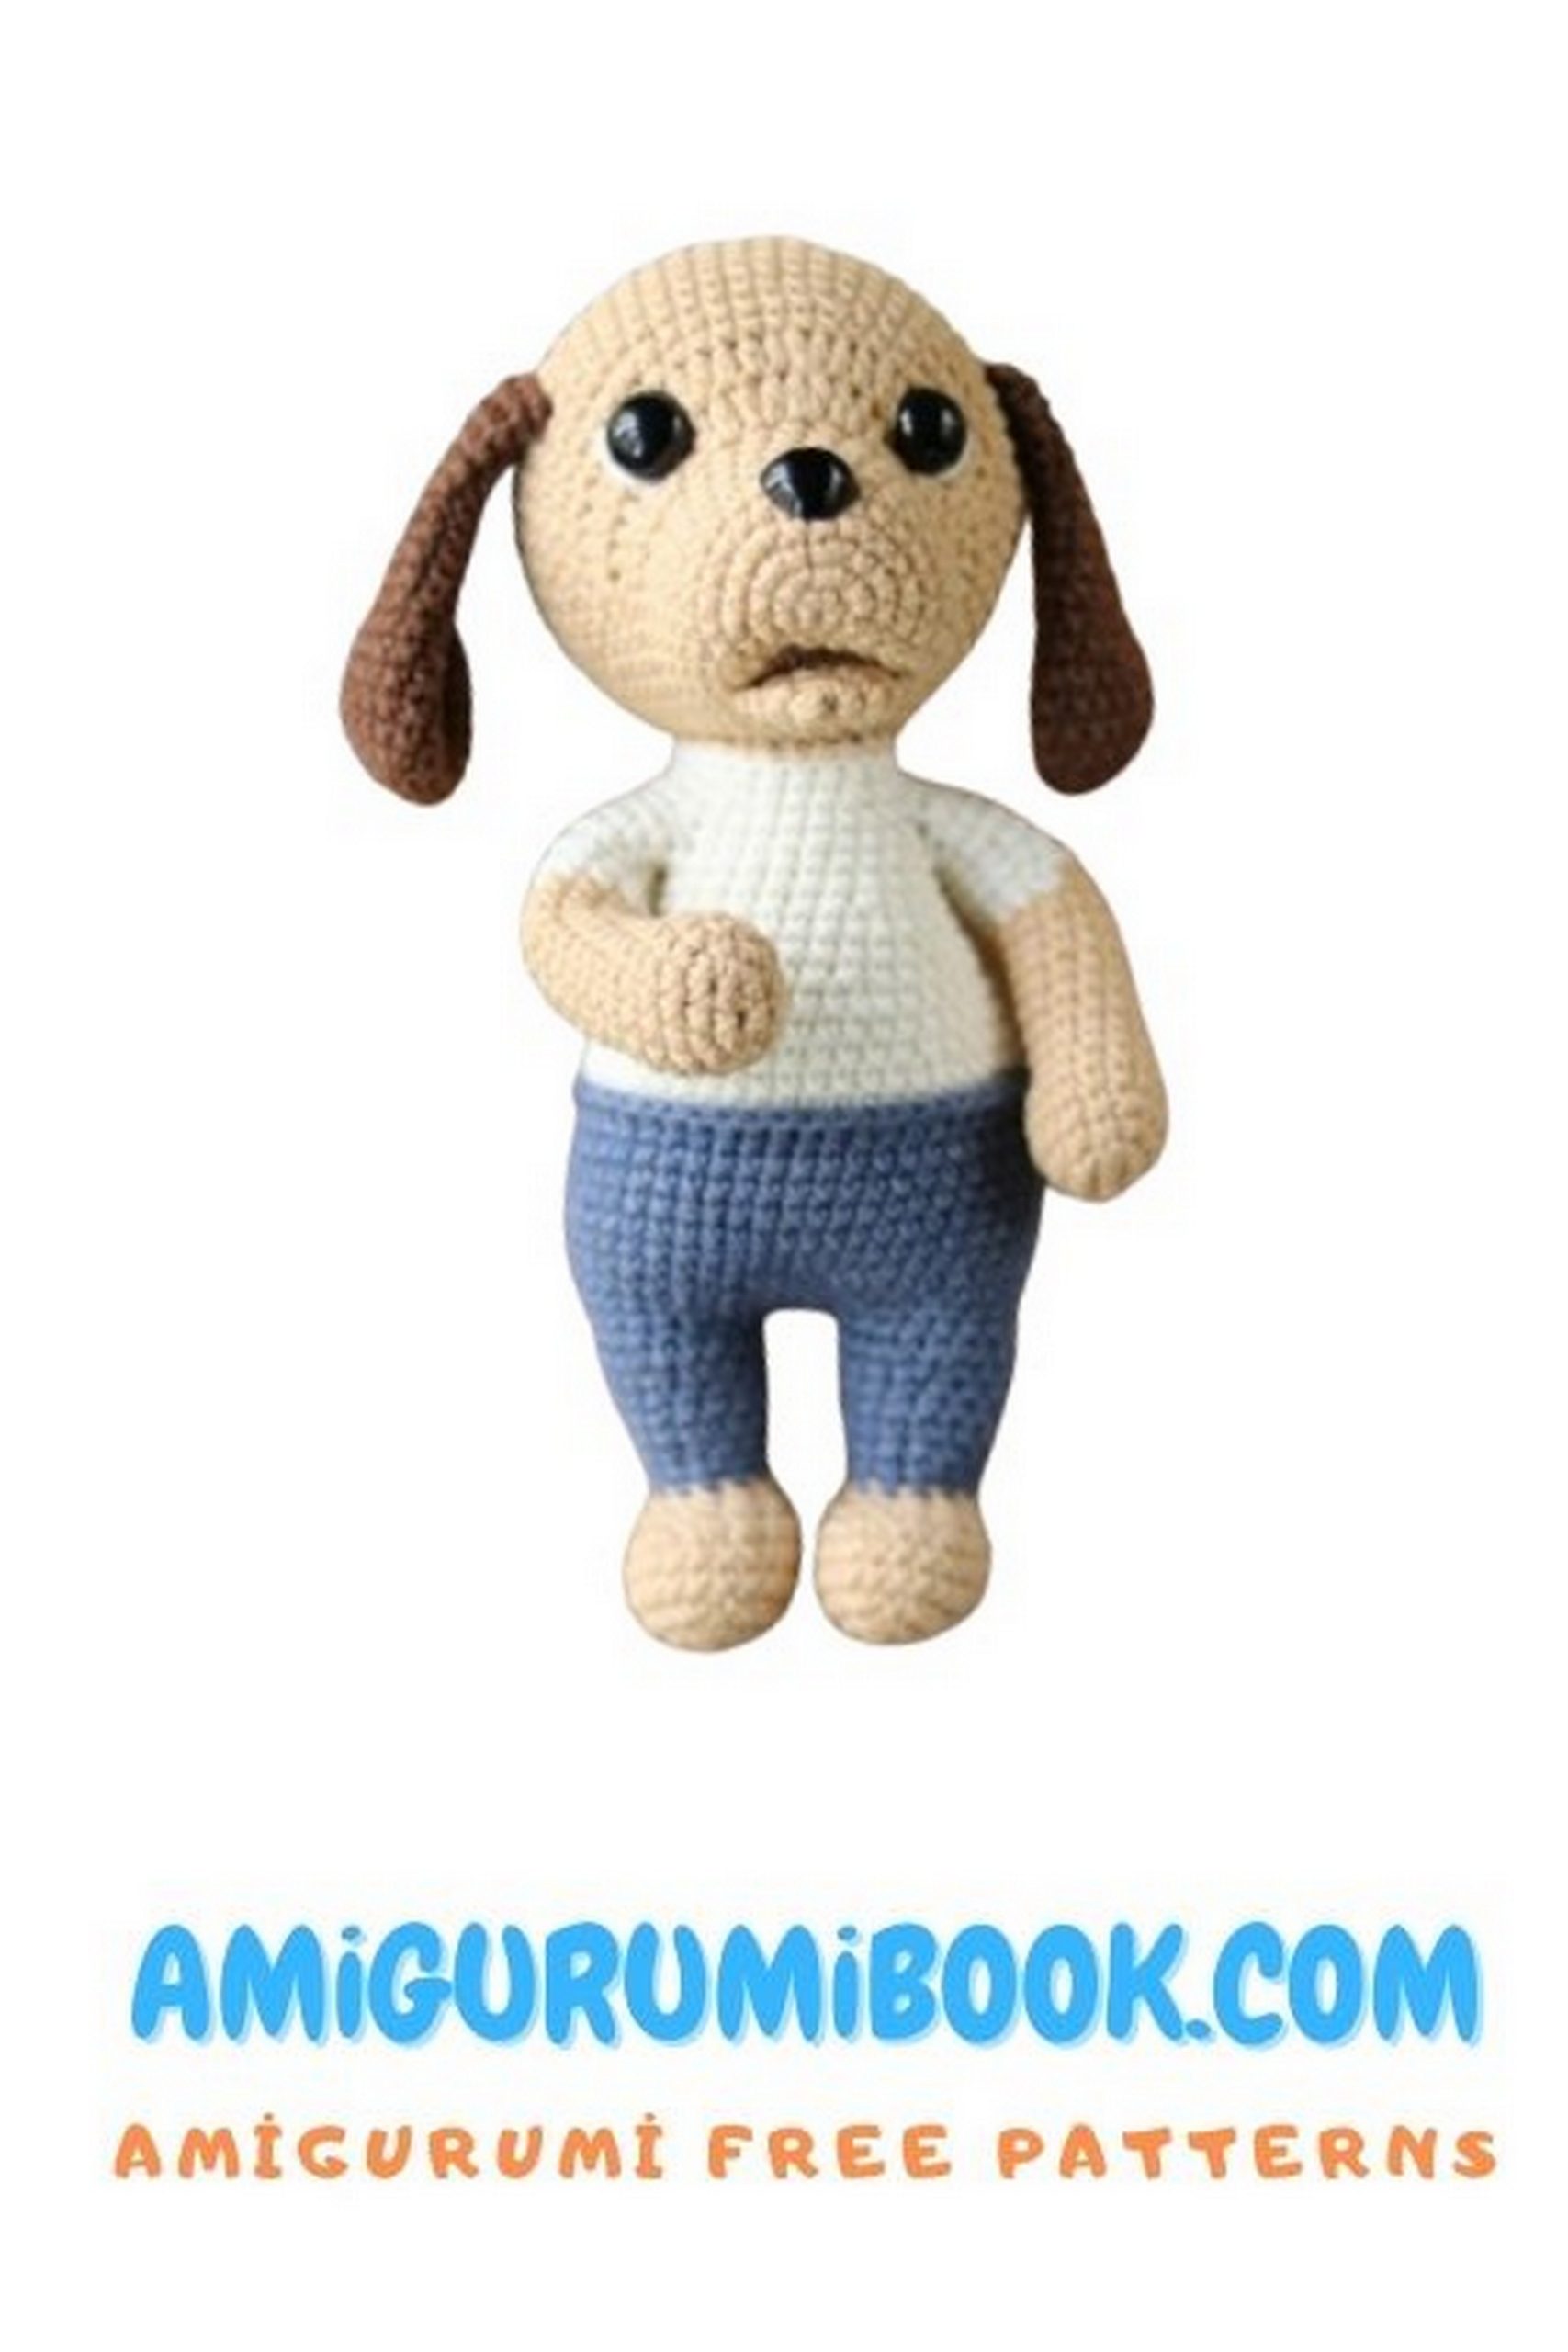
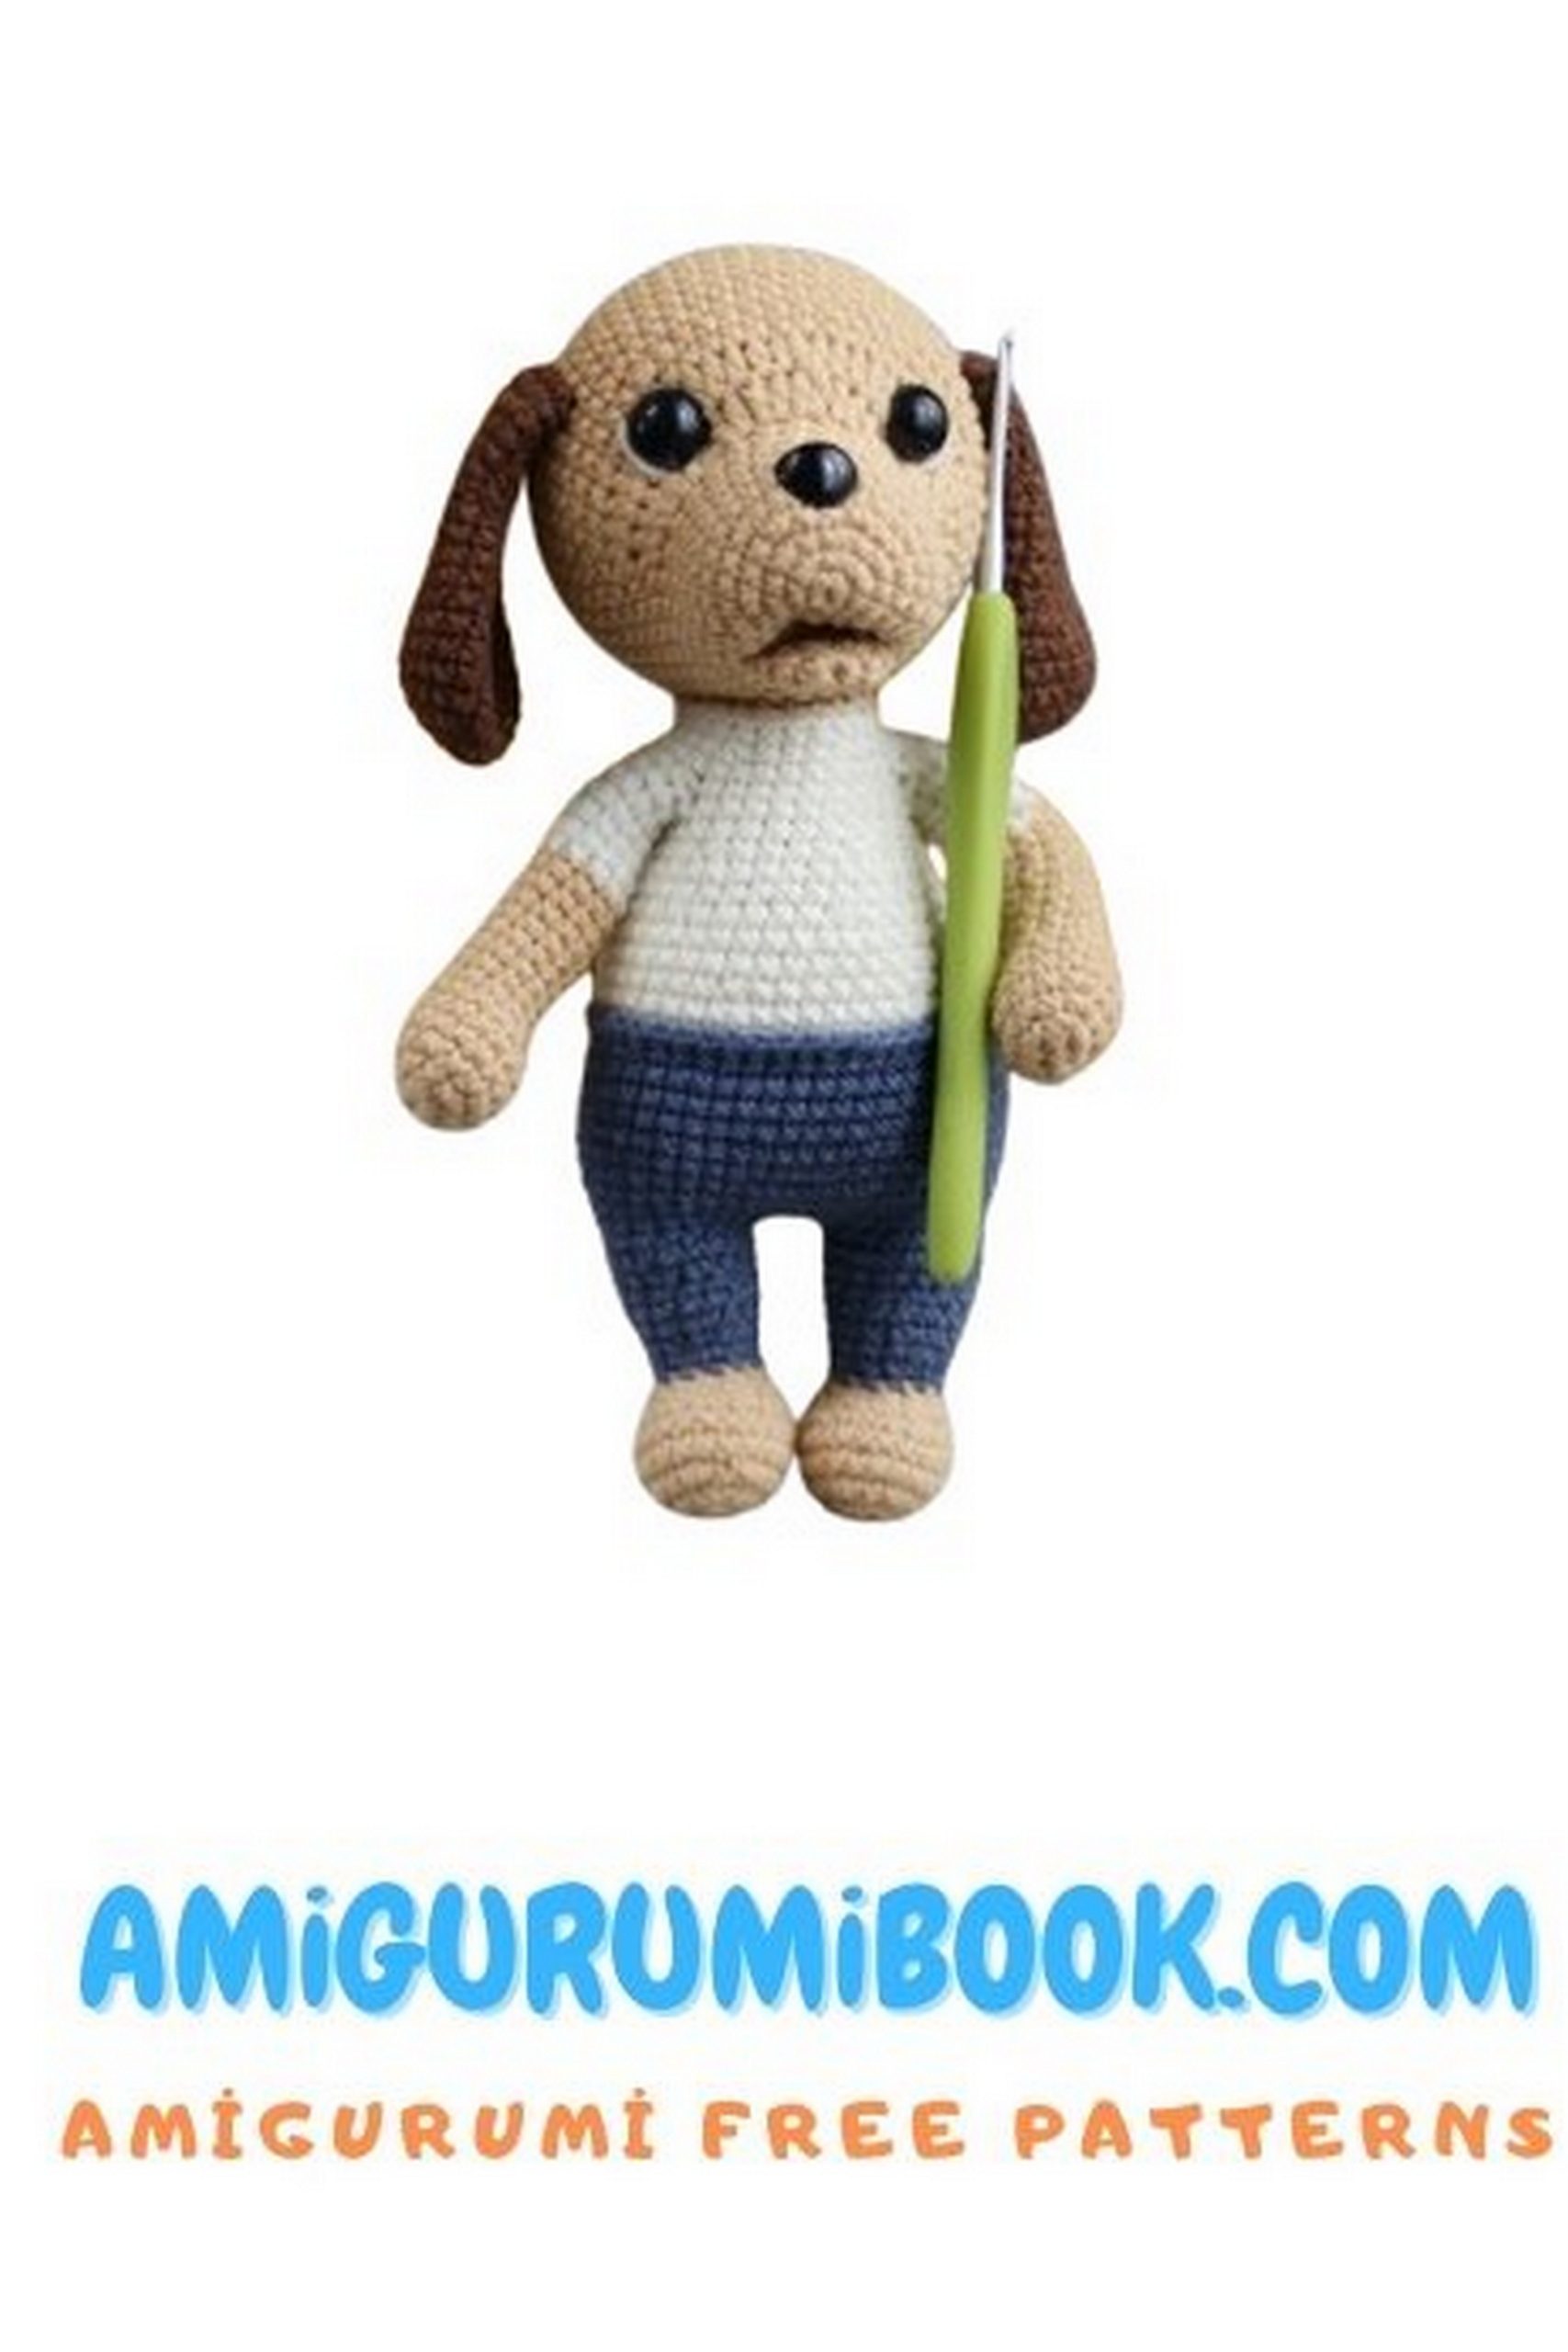
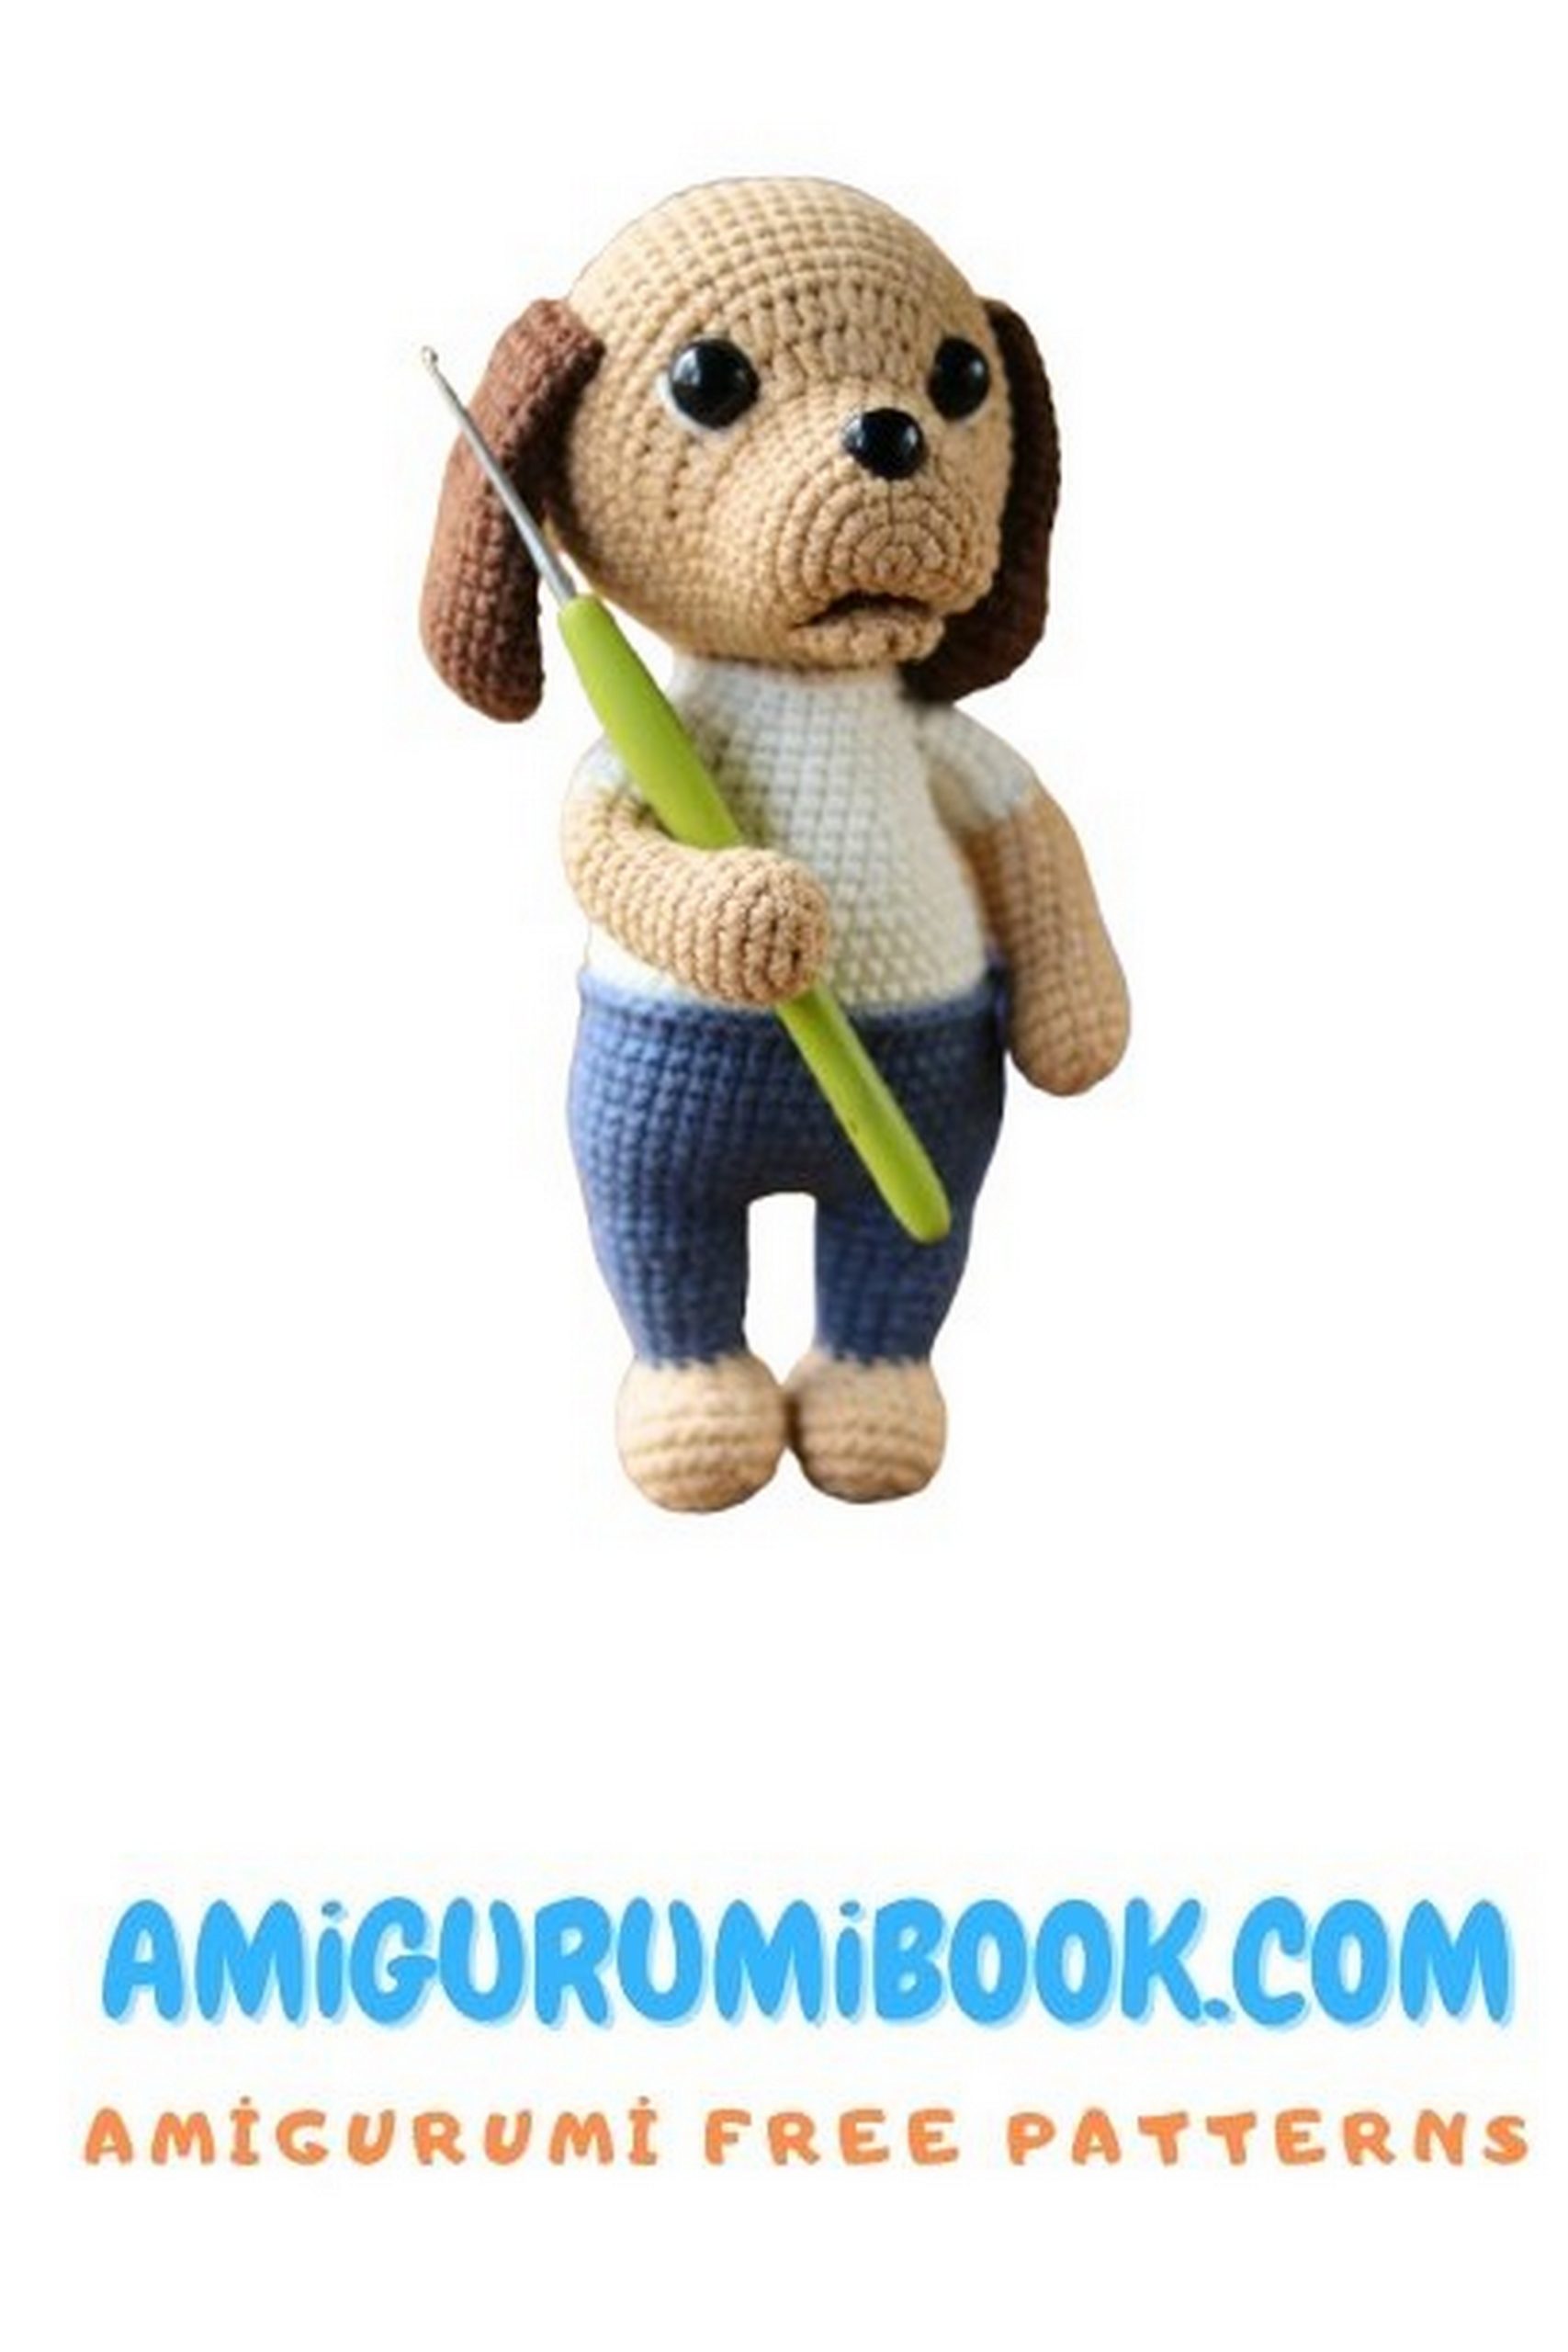
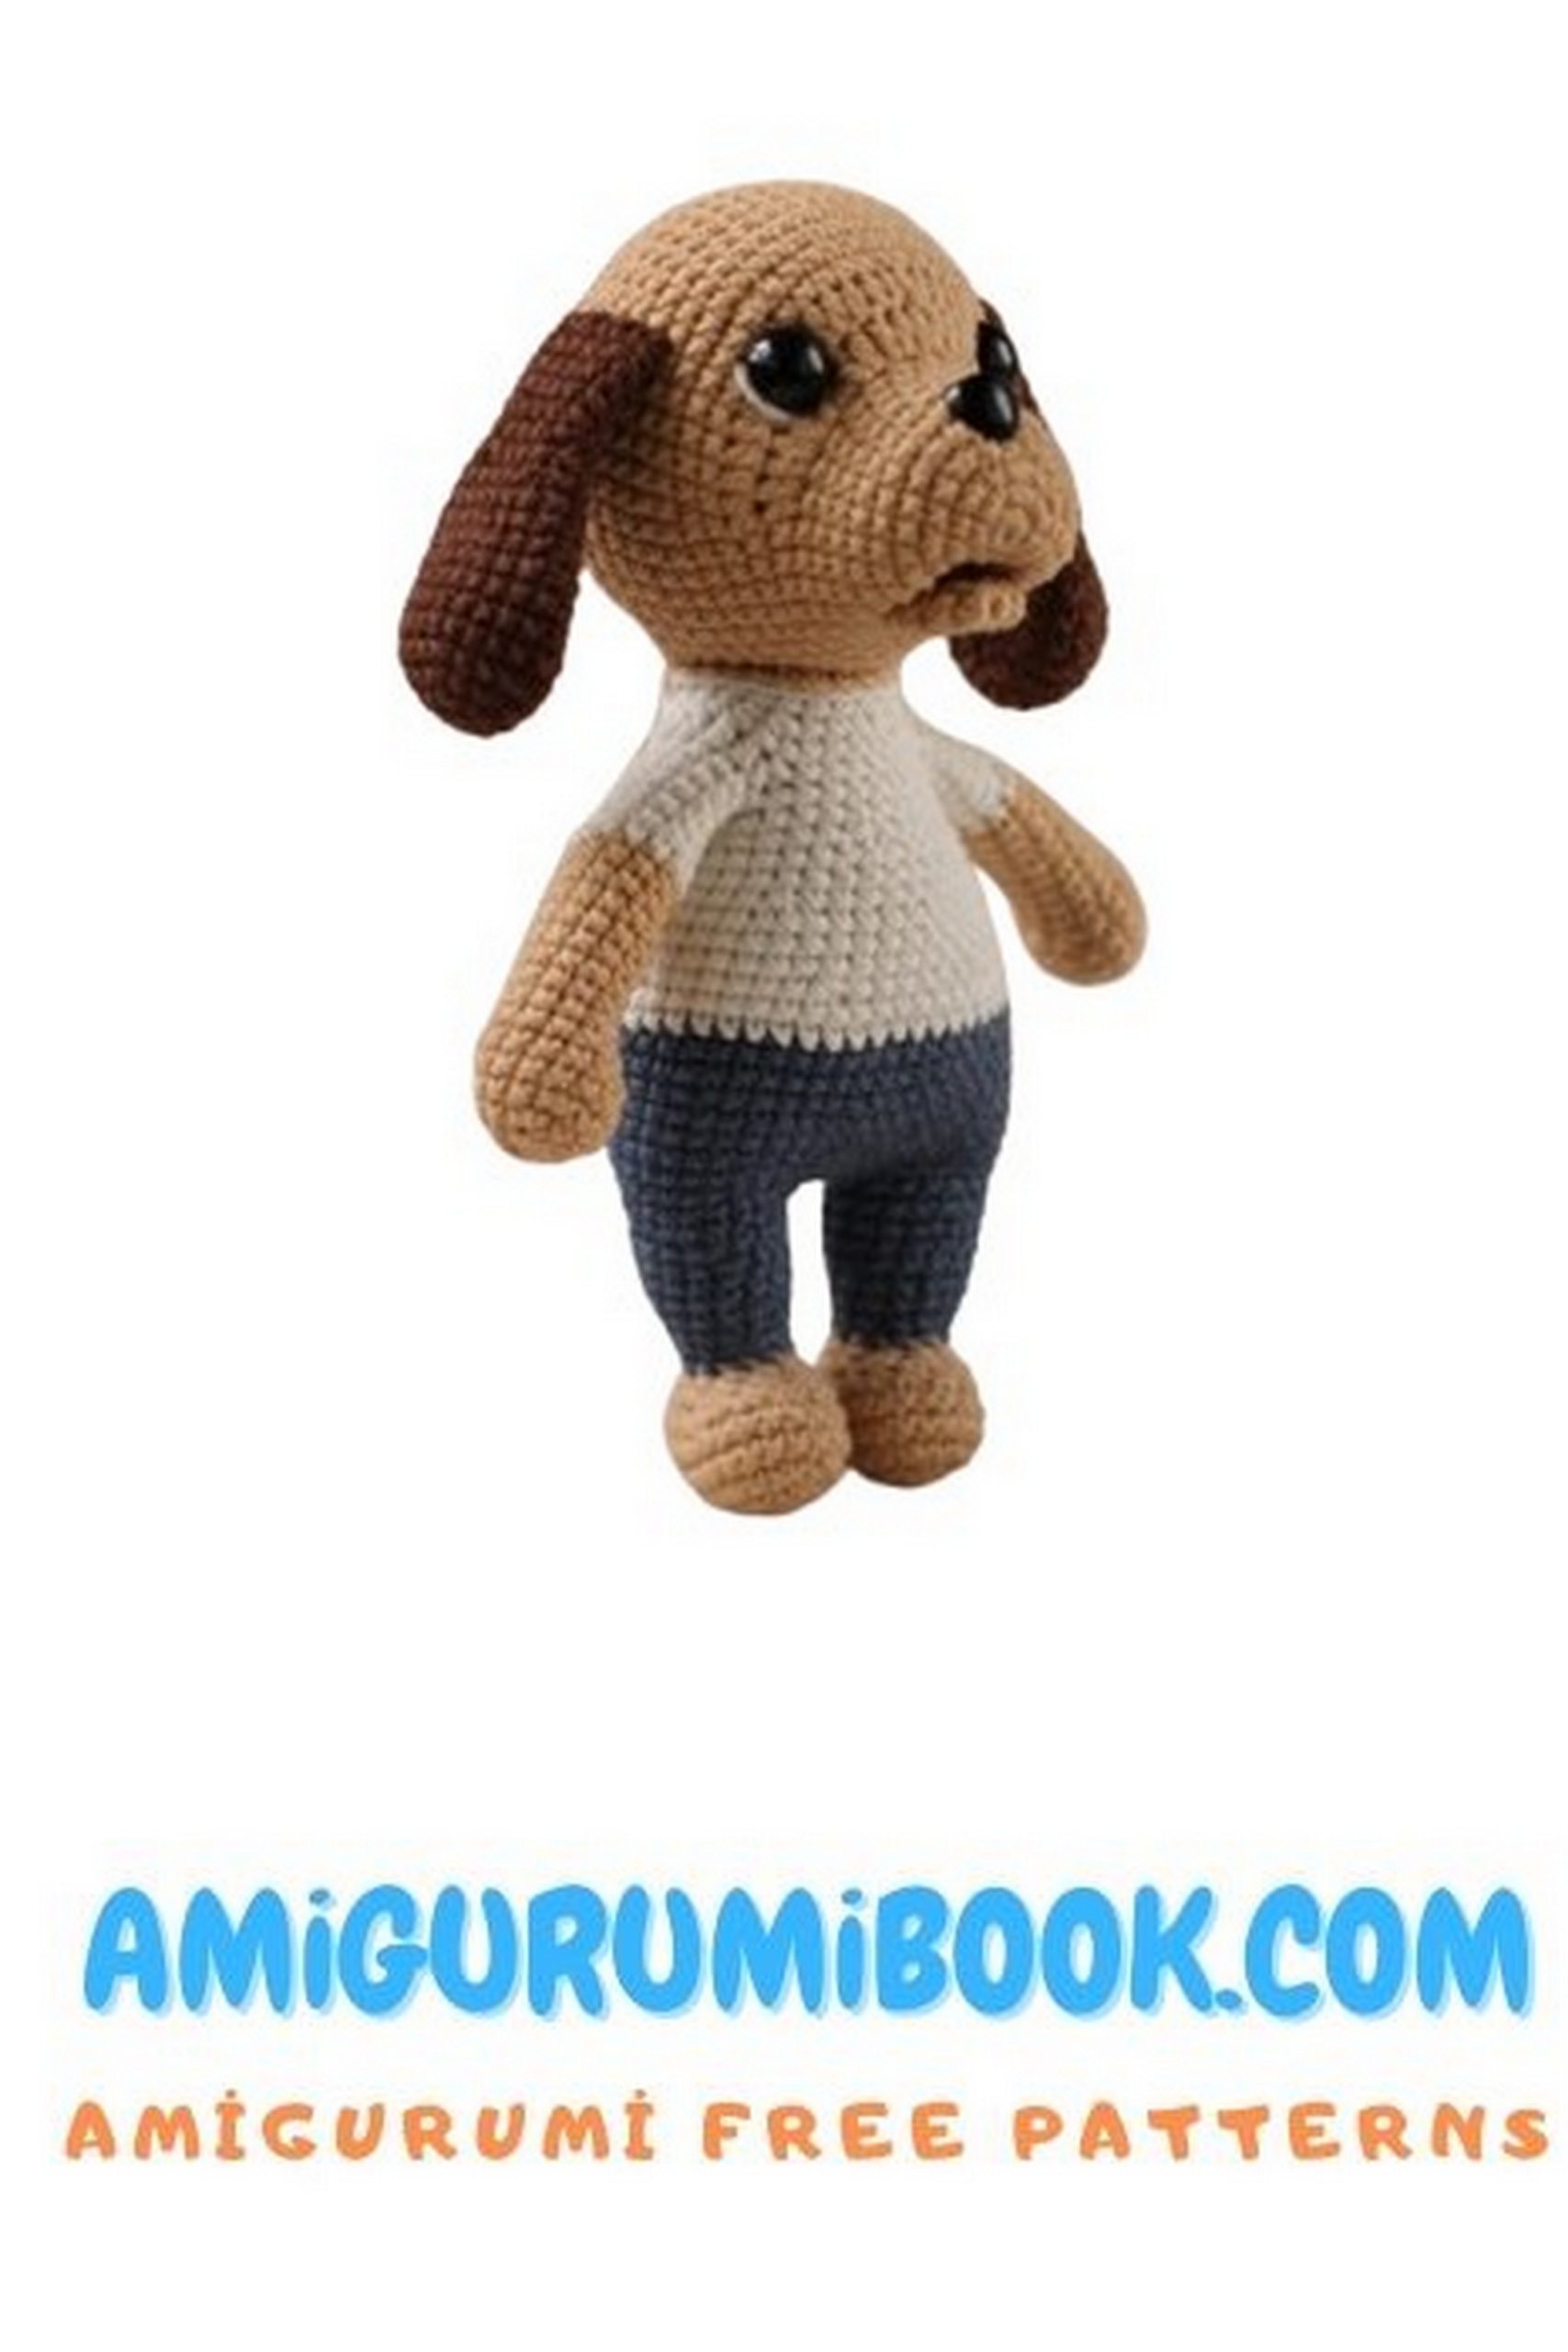
Bring a touch of adorable companionship to your crochet projects with our free Cute Little Dog Amigurumi pattern and crochet tutorial. Perfect for crocheters of all skill levels, this detailed guide provides step-by-step instructions and clear photos to help you create a charming and playful little dog. Ideal as a gift for dog lovers or as a sweet addition to your amigurumi collection, this project combines fun and creativity. Start your Cute Little Dog Amigurumi project today and add a dose of canine cuteness to your crafting!
If you want to access 1000+ free amigurumi patterns, you can download our application from this link!
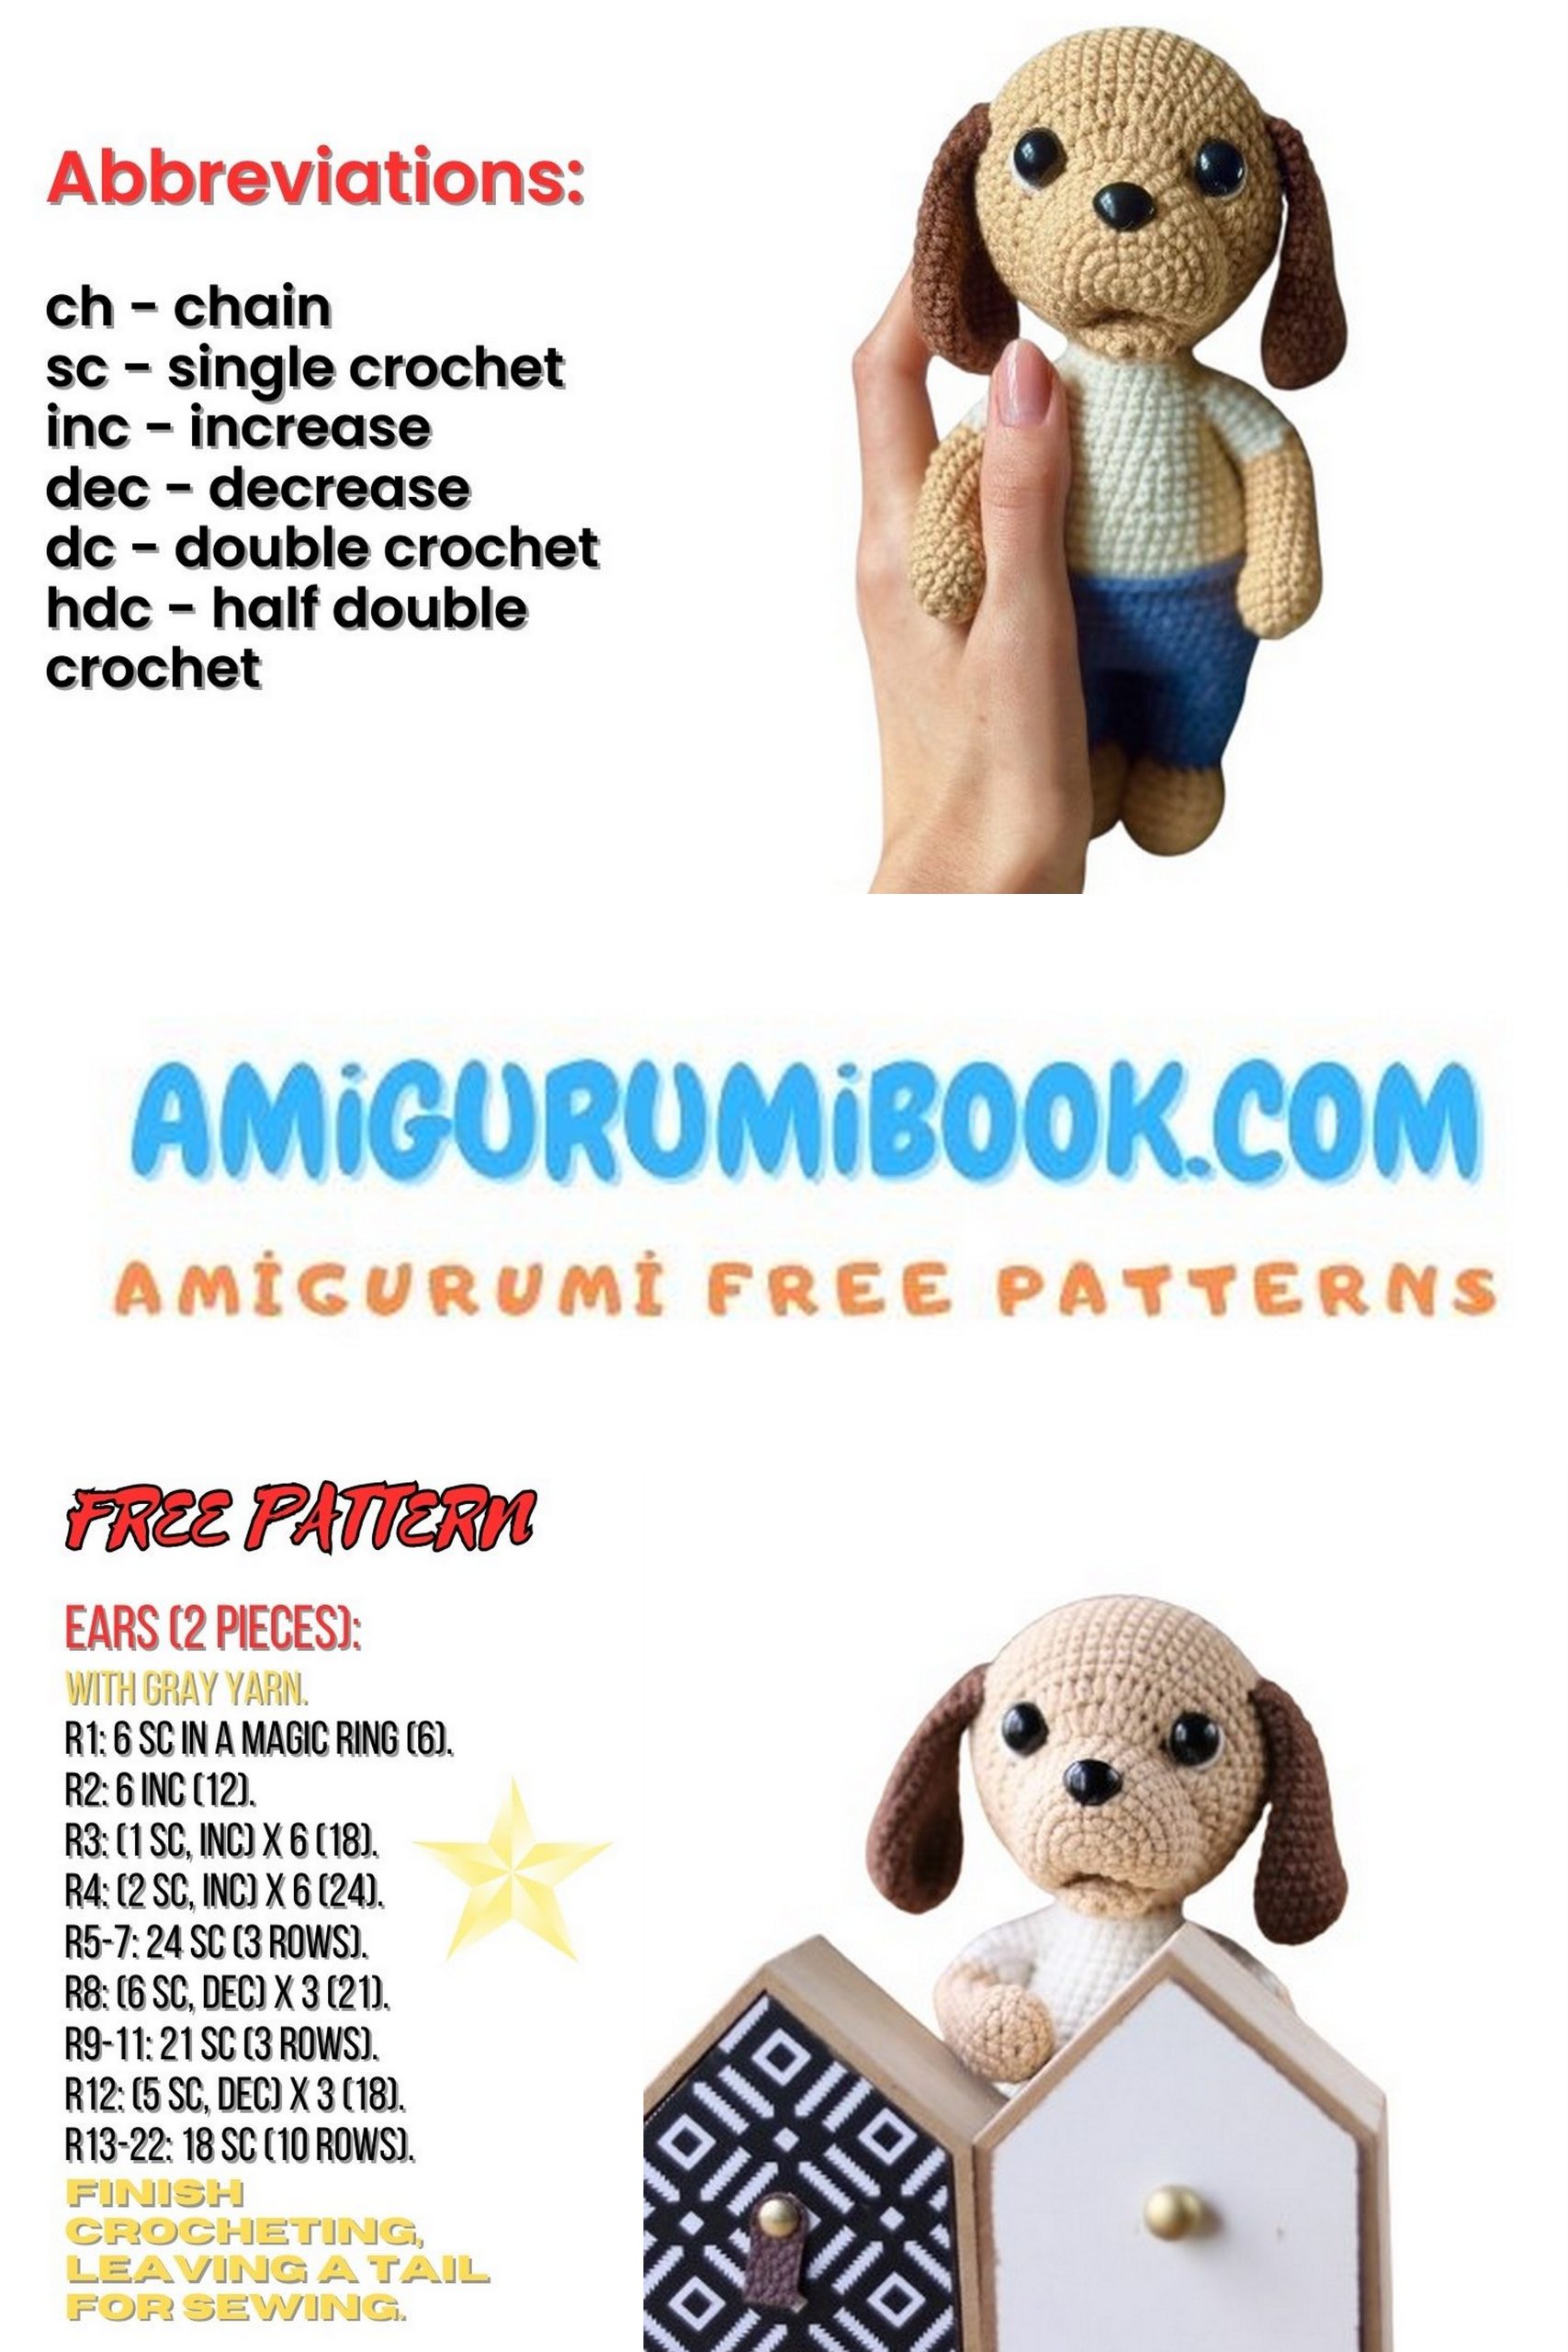
Abbreviations
KA – magic ring
sc – single crochet
inc – increase
dec – decrease
sl st – slip stitch
dc – double crochet
ch – chain stitch
st – stitch
hdc – half double crochet
MATERIALS AND TOOLS
1:Alize Cotton Gold 330 m/100 g
2: No. 203 blue – for pants
3: Yarn Art Jeans 160 m/50 g
4: No. 70 brown – for ears
5: No. 07 beige – for the puppy
6: No. 03 milk – for the T-shirt
7: Hook 2 mm
8: Safety eyes d= 12 mm
9: Safety nose 10 * 8 mm
10: Filler, scissors, long needle, pins
11: Wire d= 0.9 mm, approximately 20 cm and adhesive tape
The size of the finished toy, with the specified materials, is 19 cm.
Pattern Little Dog Amigurumi

Recommendations
You can use any yarn and suitable hook for it.
The size of the toy depends on your yarn, hook size, and knitting density, as well as the method of crocheting.
When crocheting in front loops only (first and second yarn captures from the bottom), the toy will be larger compared to crocheting in both loops (first yarn capture from the top, second from the bottom).
To neatly close the hole, only capture the front loops.
All parts are crocheted in a spiral unless otherwise indicated. Use a marker or contrasting yarn to avoid losing the beginning of the round.
All parts are filled during crocheting unless otherwise stated.
At the end of each round, the total number of stitches or rows is indicated in parentheses.
Wire. I use copper wire with a coating. For safety and insulation, I use fabric adhesive tape. You can also use:
Beading wire, folded multiple times;
Floral wire;
Electrical cables, available at construction stores;
Aluminum wire or galvanized steel wire;
Chenille wire.
If you use uncoated wire, I recommend insulating it.
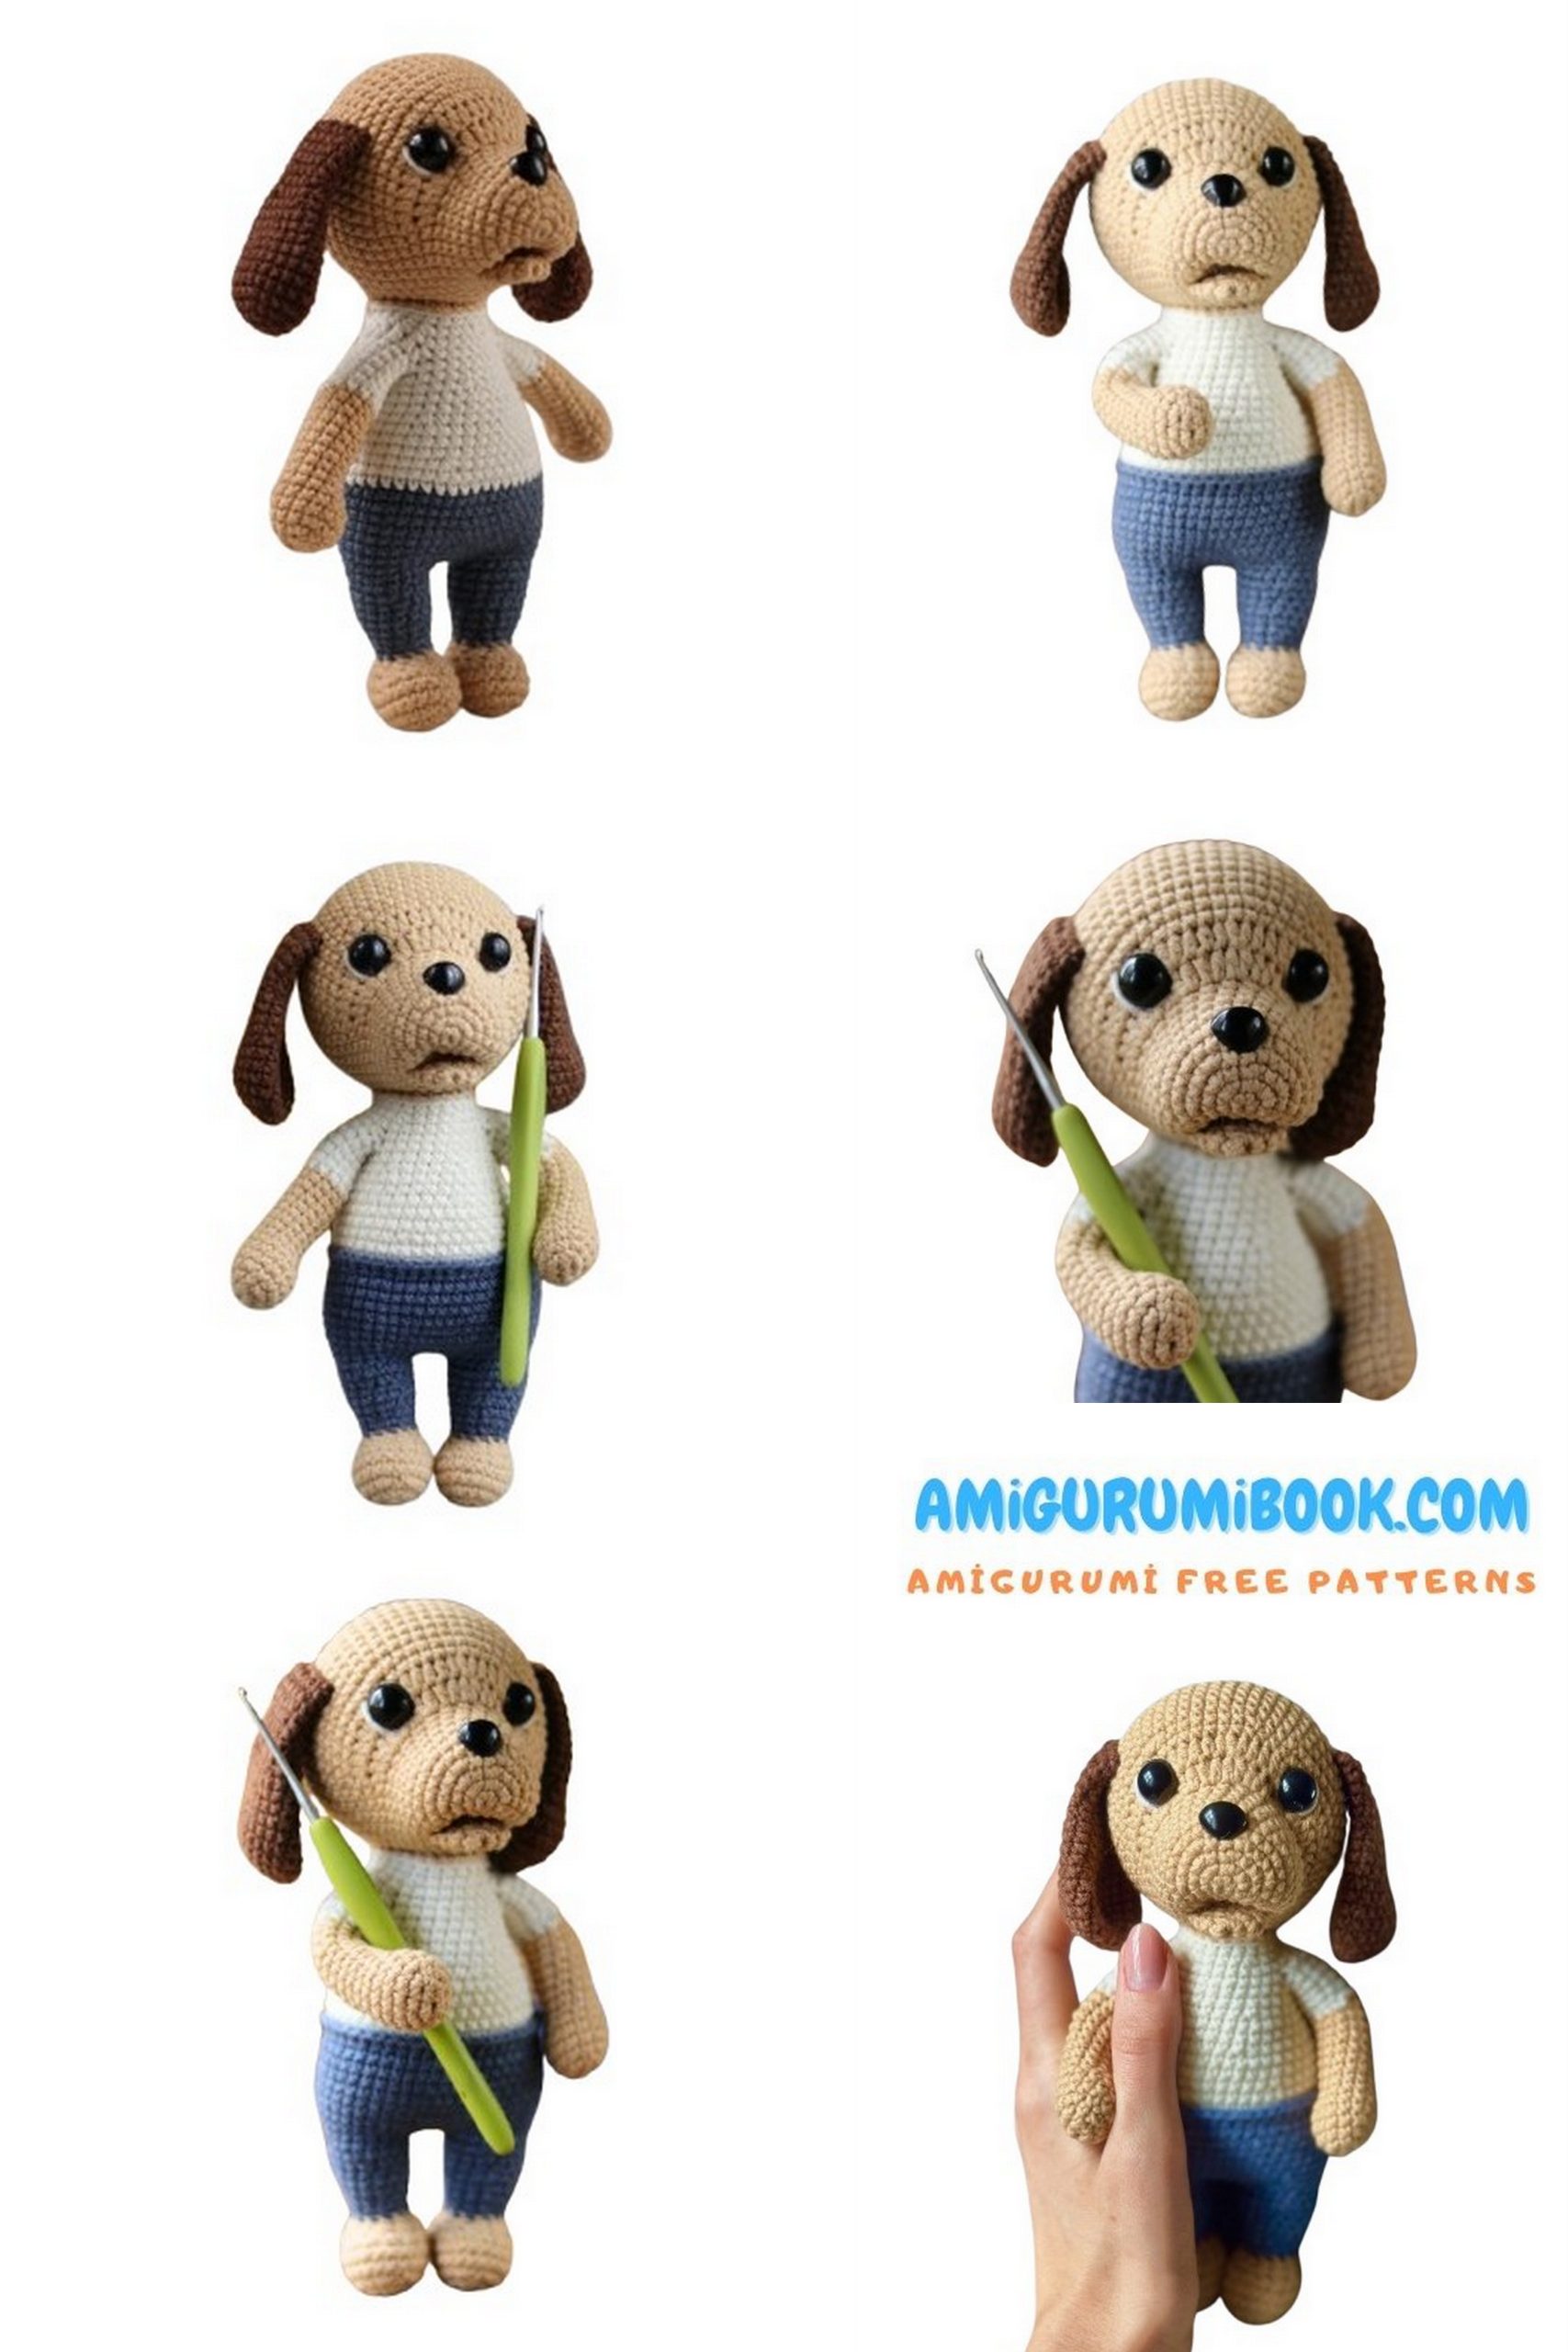
Color Change Recommendations. The photos show how I change yarn color. You can do it in any way that suits you.
Lower Lip – Little Dog Amigurumi
Crochet in beige. Do not fill.
1 rnd – 6 sc in KA
2 rnd – 6 inc (12)
3 rnd – 12 sc
4 rnd – Fold the piece in half and crochet through both sides 6 sc
Fasten off and cut the yarn.
Head – Little Dog Amigurumi
Crochet in beige.
1 rnd – 6 sc in KA
2 rnd – 6 inc (12)
3 rnd – (sc, inc) *6 (18)
4 rnd – (2 sc, inc) *6 (24)
5 rnd – (3 sc, inc) *6 (30)
6-7 rnd – 30 sc (2 rounds)
Insert the nose between rounds 5 and 6.
8 rnd – 27 sc, 3 sc together with 3 sts of the lip (30)
9 rnd – 3 sc together with 3 sts of the lip, 27 sc (30)
10 rnd – 30 sc
Make sure the lip is centered.
11 rnd – 10 sc, 12 inc hdc, 8 sc (42)
12 rnd – 10 sc, (3 hdc, inc hdc) *6, 8 sc (48)
13 rnd – 48 sc
Insert the eyes in round 12, 14 sts apart.
14 rnd – (7 sc, inc) *6 (54)
15-20 rnd – 54 sc (6 rounds)
21 rnd – (7 sc, dec) *6 (48)
22 rnd – 48 sc
23 rnd – (6 sc, dec) *6 (42)
Start filling, paying special attention to the muzzle.
24 rnd – 42 sc
25 rnd – (5 sc, dec) *6 (36)
26 rnd – (4 sc, dec) *6 (30)
27 rnd – (3 sc, dec) *6 (24)
28 rnd – (2 sc, dec) *6 (18)
29 rnd – (sc, dec) *6 (12)
30 rnd – 6 dec
Close the hole, fasten off, and cut the yarn.
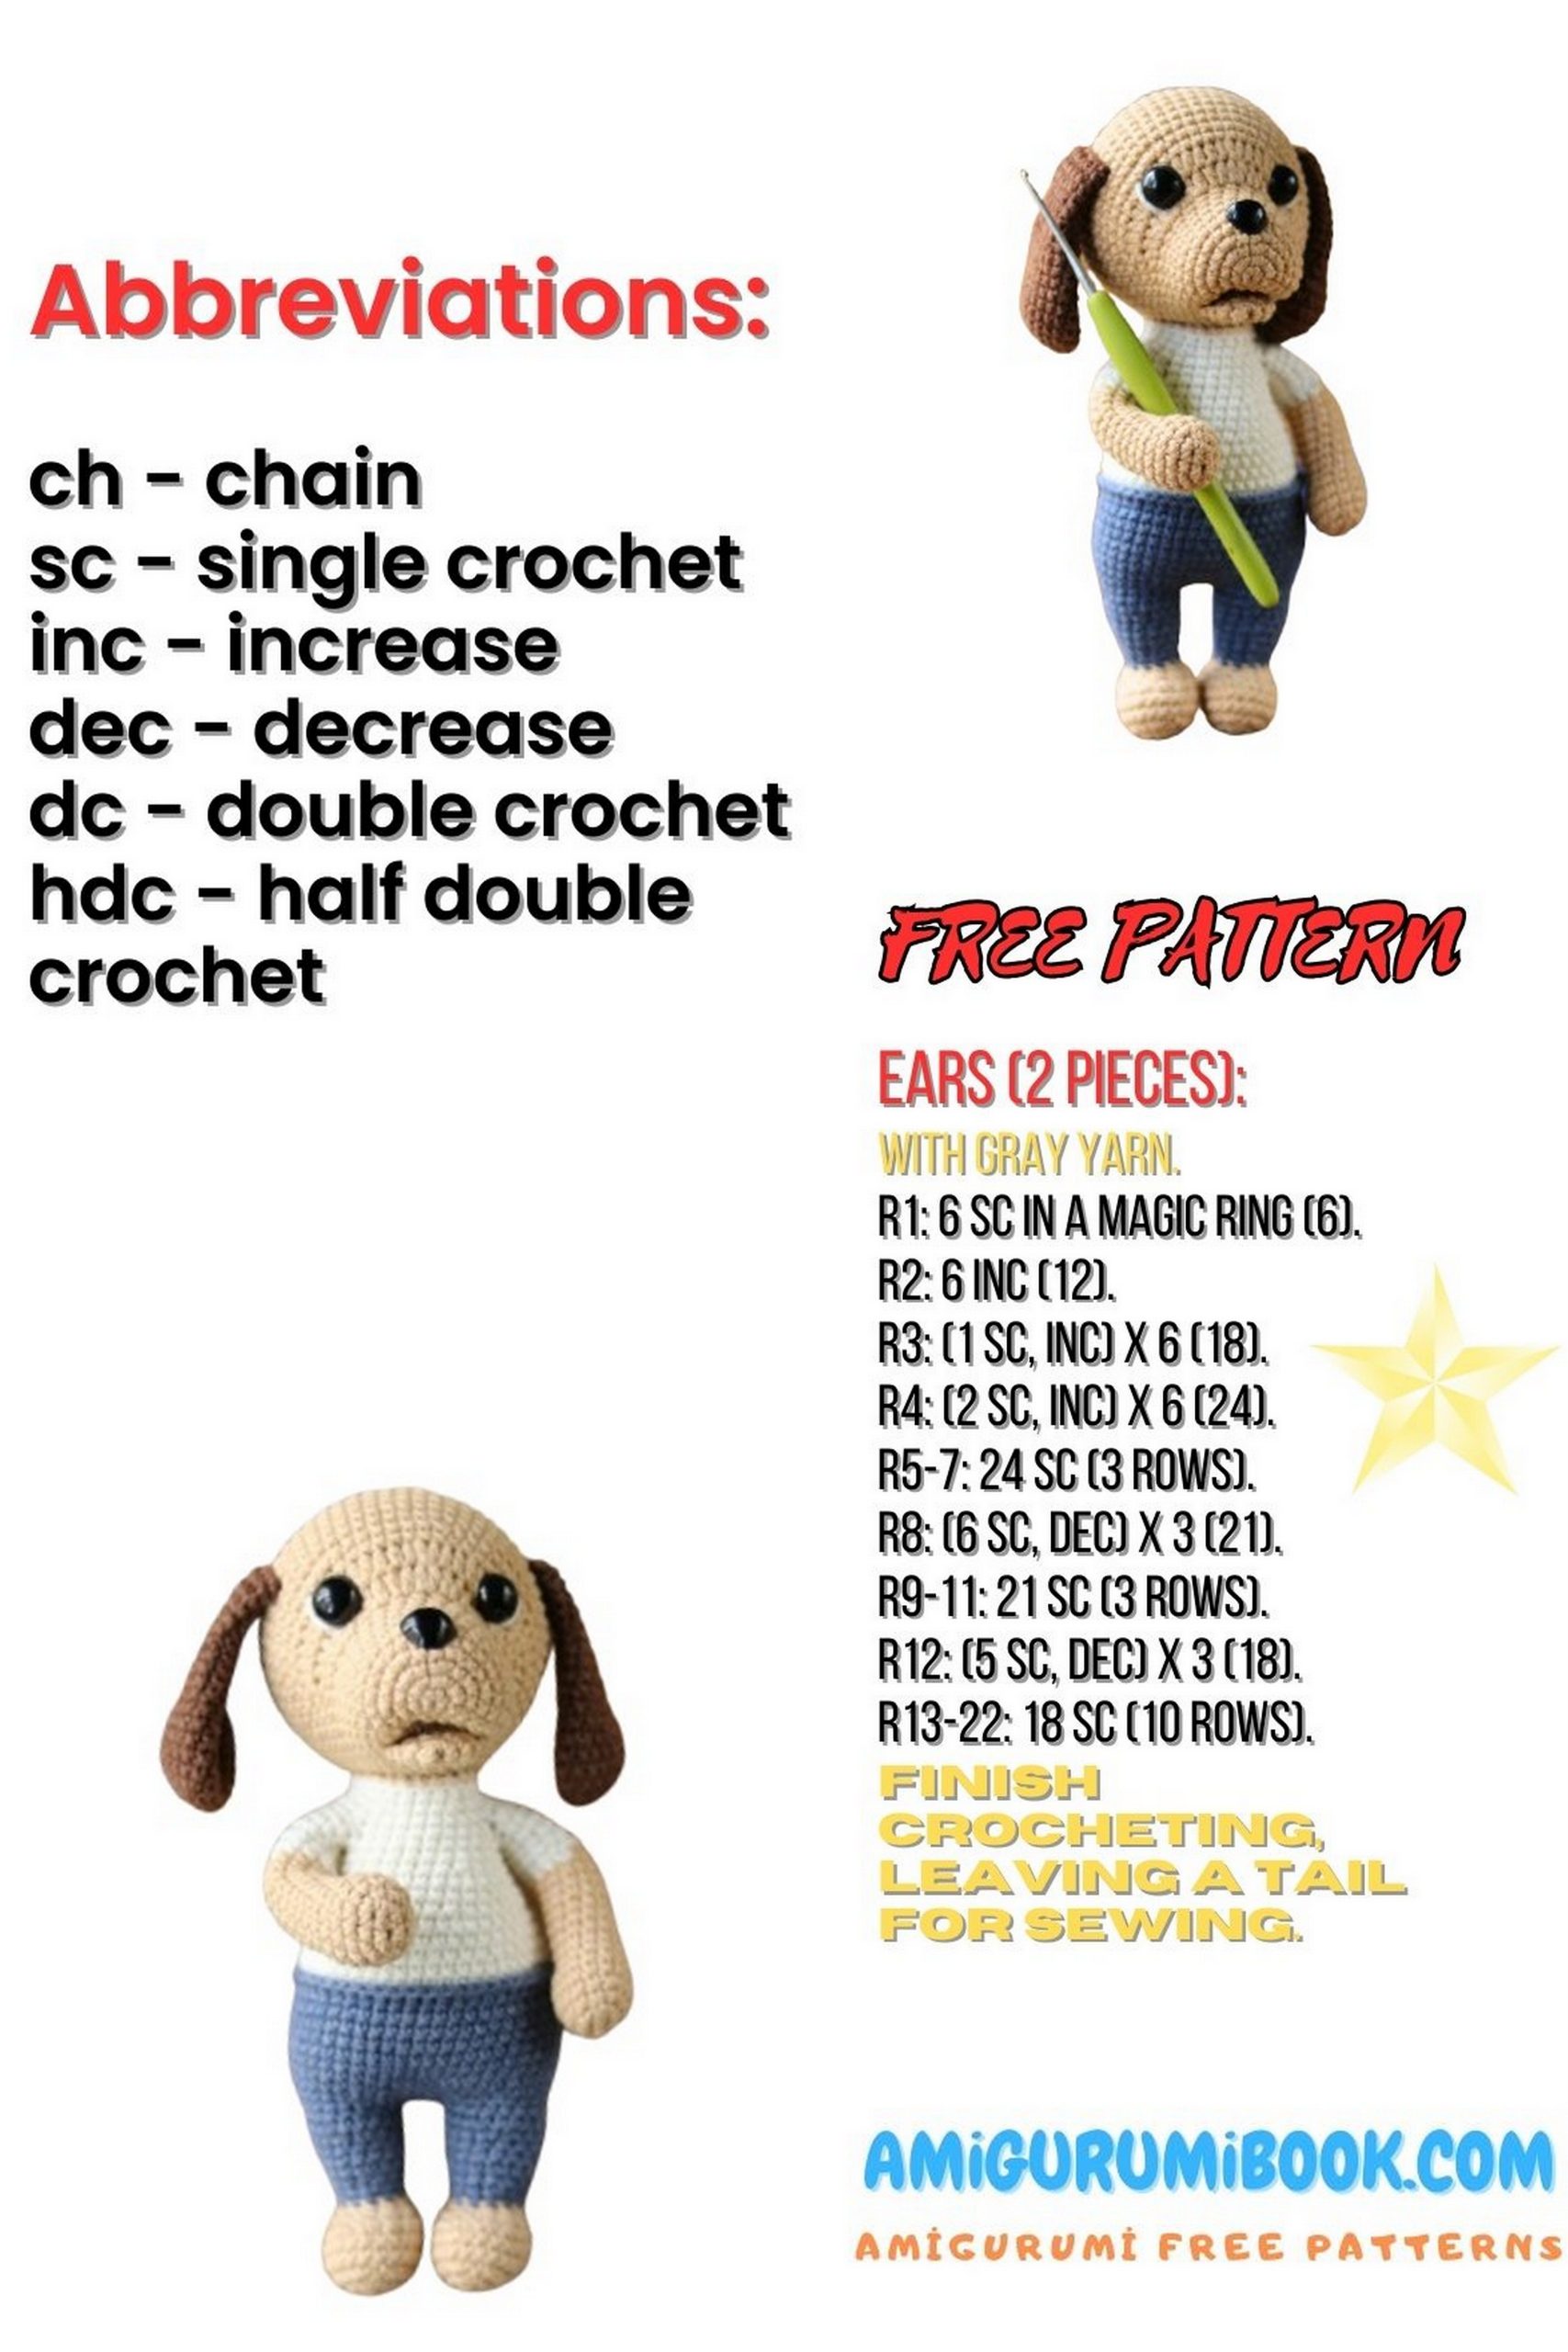
Ears (2 pcs) – Little Dog Amigurumi
Crochet in brown. Do not fill.
1 rnd – 6 sc in KA
2 rnd – 6 inc (12)
3 rnd – (sc, inc) *6 (18)
4 rnd – (2 sc, inc) *6 (24)
5-7 rnd – 24 sc (3 rounds)
8 rnd – (6 sc, dec) *3 (21)
9 rnd – 21 sc
10 rnd – (5 sc, dec) *3 (18)
11 rnd – 18 sc
12 rnd – (4 sc, dec) *3 (15)
13 rnd – 15 sc
14 rnd – (3 sc, dec) *3 (12)
15-19 rnd – 12 sc (5 rounds)
20 rnd – Fold the piece in half and crochet through both sides 6 sc
Fasten off and cut the yarn, leaving a tail for sewing. Crochet the second ear in the same manner.
Shaping the Head – Little Dog Amigurumi
Make the indentations as shown in the photo below. Insert the needle between rounds 6 and 7, in the center.
Embroider the whites of the eyes.
Sew the ears between rounds 16 and 21.
Arms (2 pcs) – Little Dog Amigurumi
Start with beige.
1 rnd – 3 ch, starting from the 2nd ch from the hook, inc, 4 sc in 1 st, on the other side, inc (8)
2 rnd – (sc, inc) *4 (12)
3 rnd – (3 sc, inc) *3 (15)
4-5 rnd – 15 sc (2 rounds)
Start filling. The piece should be filled halfway.
6 rnd – 2 sc, 3 dec, 7 sc (12)
7-14 rnd – 12 sc (8 rounds)
Change color to milk.
15-20 rnd – 12 sc (6 rounds)
Fasten off and cut the yarn. Crochet the second arm similarly.

Legs and Body – Little Dog Amigurumi
Start with beige.
1 rnd – 6 ch, starting from the 2nd ch from the hook, 4 sc, 3 sc in 1 st, on the other side, 3 sc, inc (12)
2 rnd – inc, 3 sc, 3 inc, 3 sc, 2 inc (18)
3 rnd – sc, inc, 3 sc, (sc, inc) *3, 3 sc, (sc, inc) *2 (24)
4-5 rnd – 24 sc (2 rounds)
6 rnd – 6 sc, 6 dec, 6 sc (18)
7 rnd – 3 sc, 6 dec, 3 sc (12)
Start filling.
8 rnd – 12 sc
Change color to blue.
9 rnd – 12 sc
10 rnd – (5 sc, inc) *2 (14)
11 rnd – 14 sc
12 rnd – (6 sc, inc) *2 (16)
13-14 rnd – 16 sc (2 rounds)
15 rnd – (7 sc, inc) *2 (18)
16 rnd – 18 sc
Fasten off and cut the yarn. Crochet the second leg similarly, but do not cut the yarn at the end.
Then continue with the body.
17 rnd – 4 sc, 3 ch, join the second leg, 18 sc, 3 sc along the chain, 14 sc along the first leg (42)
18 rnd – (6 sc, inc) * (48)
19-27 rnd – 48 sc (9 rounds)
Through front loops only, 48 sc
Fasten off and cut the blue yarn.
Join the milk yarn through the remaining loops of the 28th round.
Start filling.
28-29 rnd – 48 sc (2 rounds)
30 rnd – (6 sc, dec) *6 (42)
31-33 rnd – 42 sc (3 rounds)
34 rnd – (5 sc, dec) *6 (36)
35-36 rnd – 36 sc (2 rounds)
37 rnd – (4 sc, dec) *6 (30)
38 rnd – 30 sc
Crochet an additional 6 sc; you might have a different number of stitches, but the end of the round should be at the center of the back.
39 rnd – 5 sc, 6 sc together with the arm, 9 sc, 6 sc together with the arm, 4 sc (30)
At this stage, cut a piece of wire, with a length equal to the distance from one arm to the other + 2 cm on each side.
Make a loop at each end. Wrap with adhesive tape. Insert the wire into the arms and continue crocheting.
40 rnd – 5 sc, 6 sc through the remaining loops of the arm, 9 sc, 6 sc through the remaining loops of the arm, 4 sc (30)
41 rnd – 30 sc
42 rnd – (3 sc, dec) *6 (24)
43 rnd – 24 sc
Change color to beige.
44 rnd – Through the back loops only, 24 sc
Fasten off and cut the yarn, leaving a tail for sewing.
Sew the body to the head between rounds 11 and 19, adding filler in the neck area if needed.


Tail – Little Dog Amigurumi
Crochet in beige.
1 rnd – 6 sc in KA
2 rnd – (2 sc, inc) *2 (8)
3-4 rnd – 8 sc (2 rounds)
5 rnd – (3 sc, inc) *2 (10)
6 rnd – 10 sc
Fasten off and cut the yarn, leaving a tail for sewing. Sew the tail between rounds 22 and 26.
CONGRATULATIONS, YOUR TOY IS READY!!!
THANK YOU FOR YOUR INTEREST IN MY CREATIONS.
I WOULD BE HAPPY TO SEE YOUR WORK BASED ON THIS MASTER CLASS.