
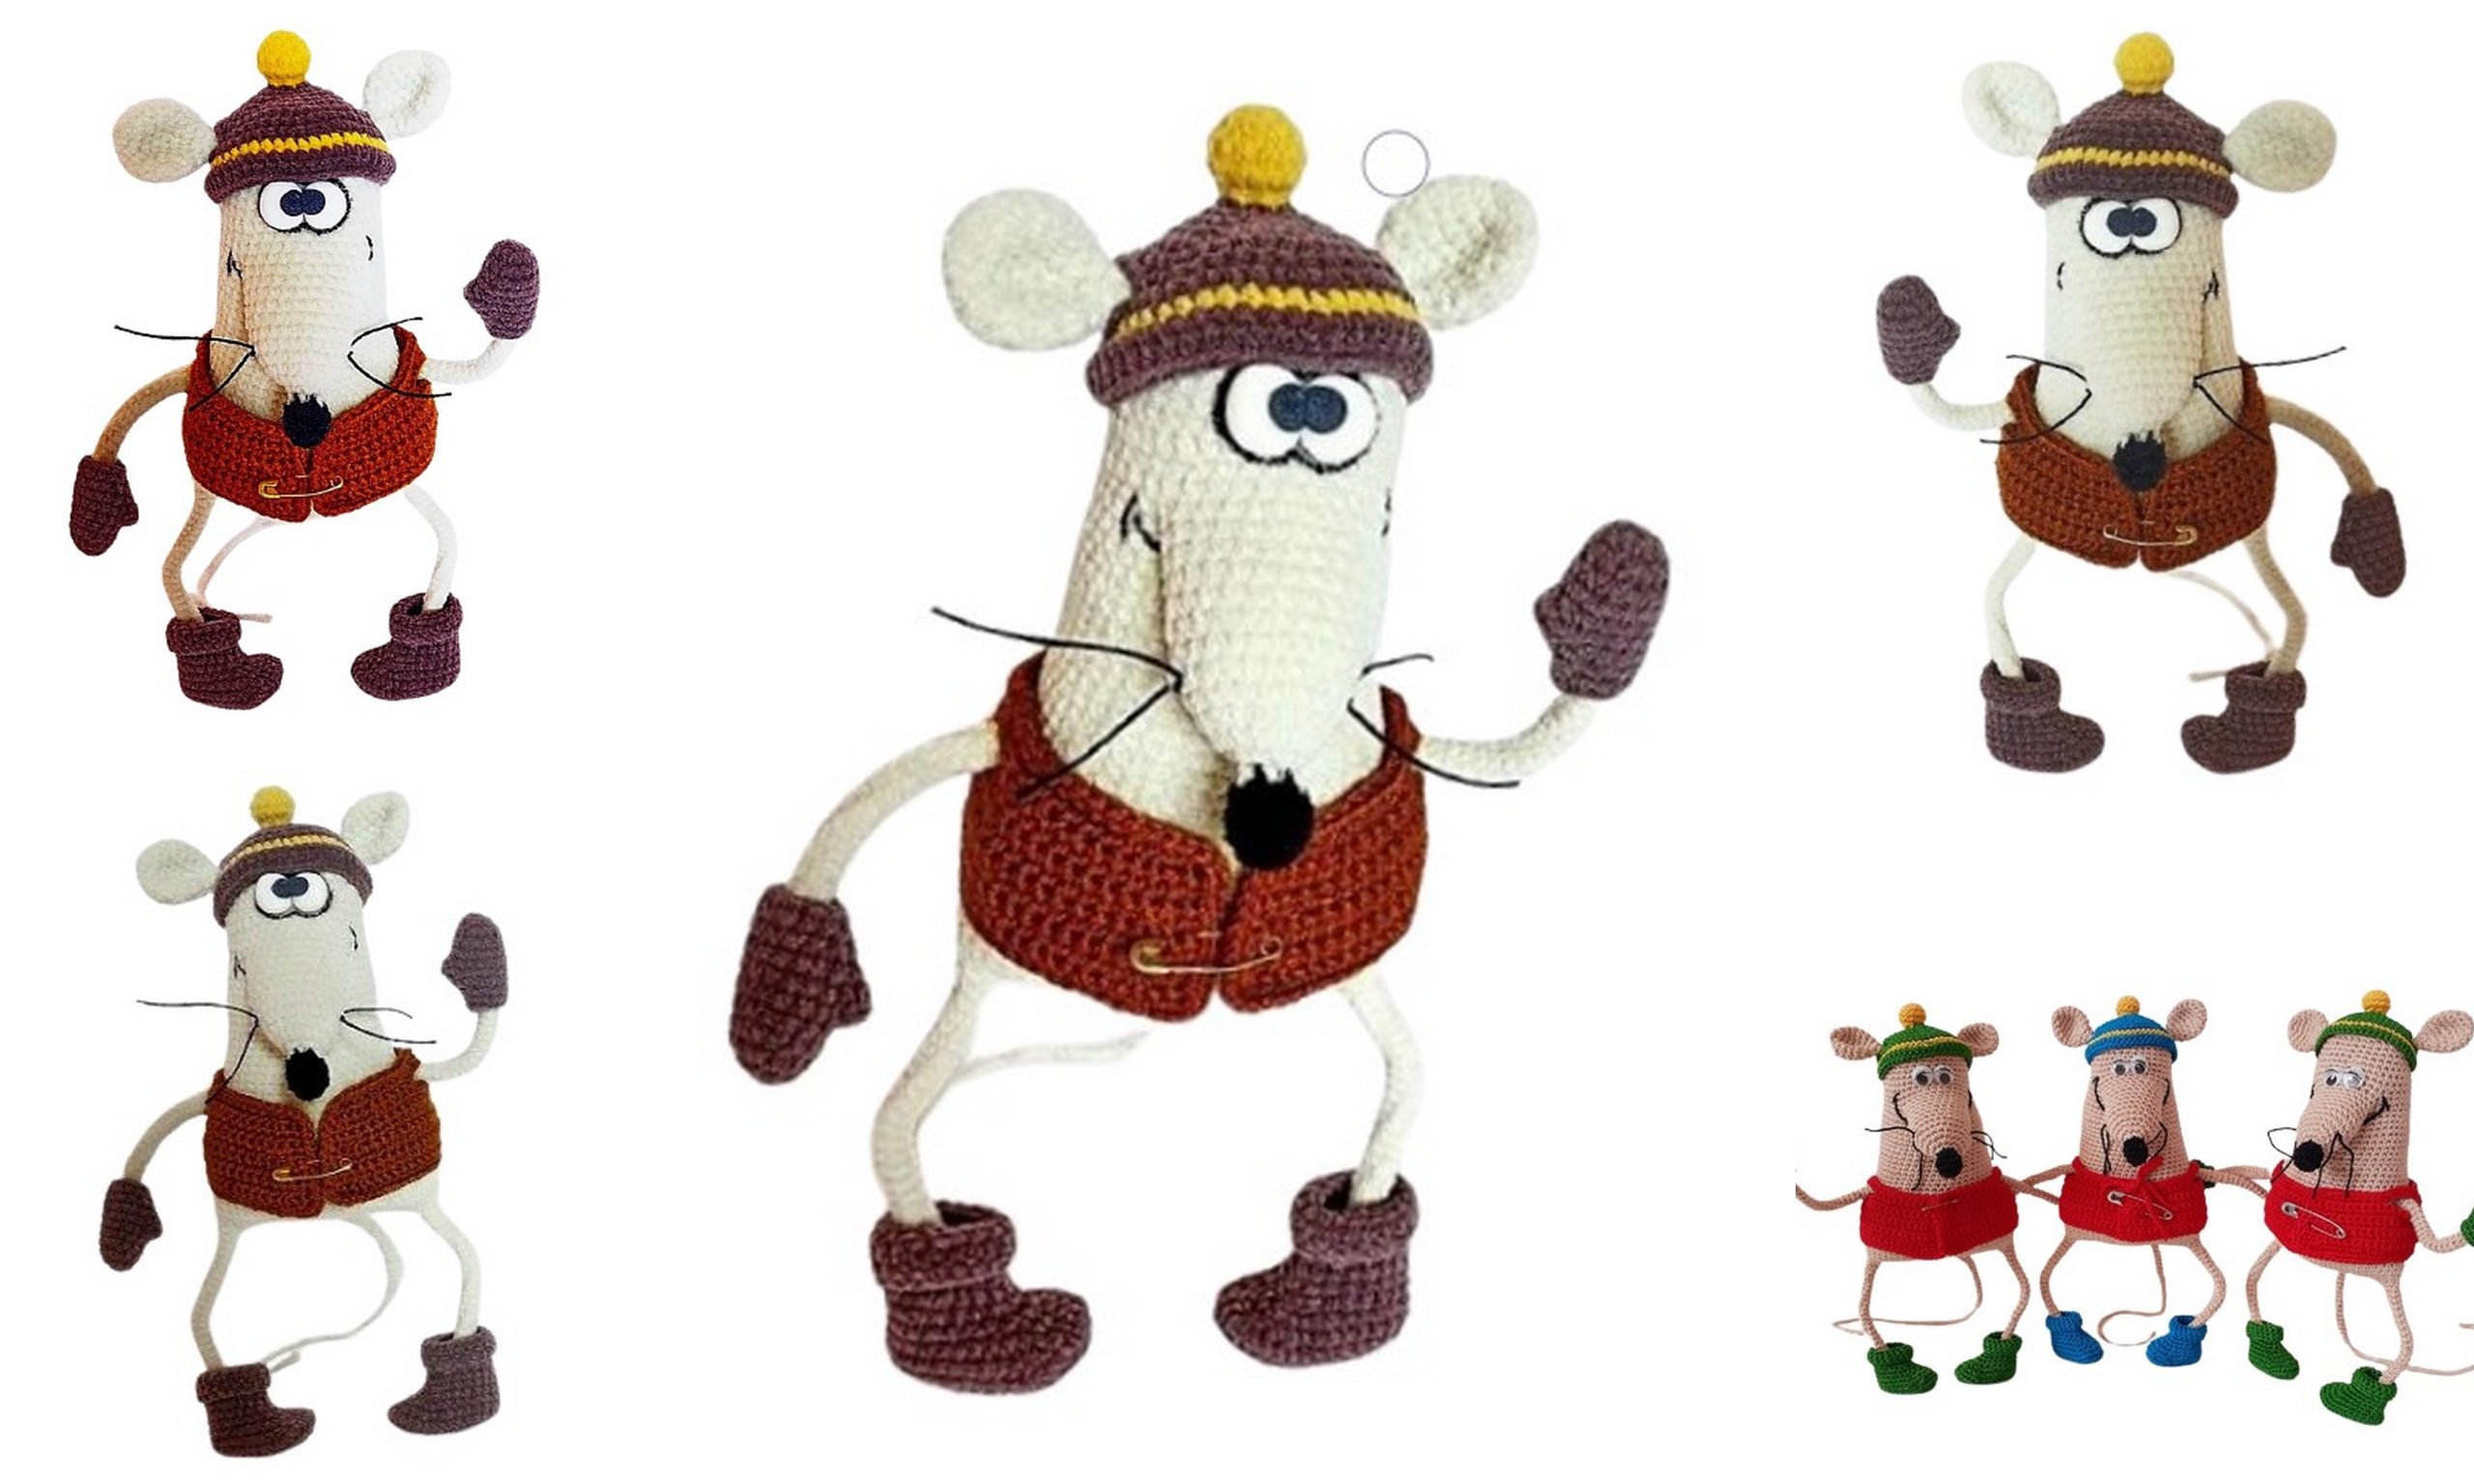
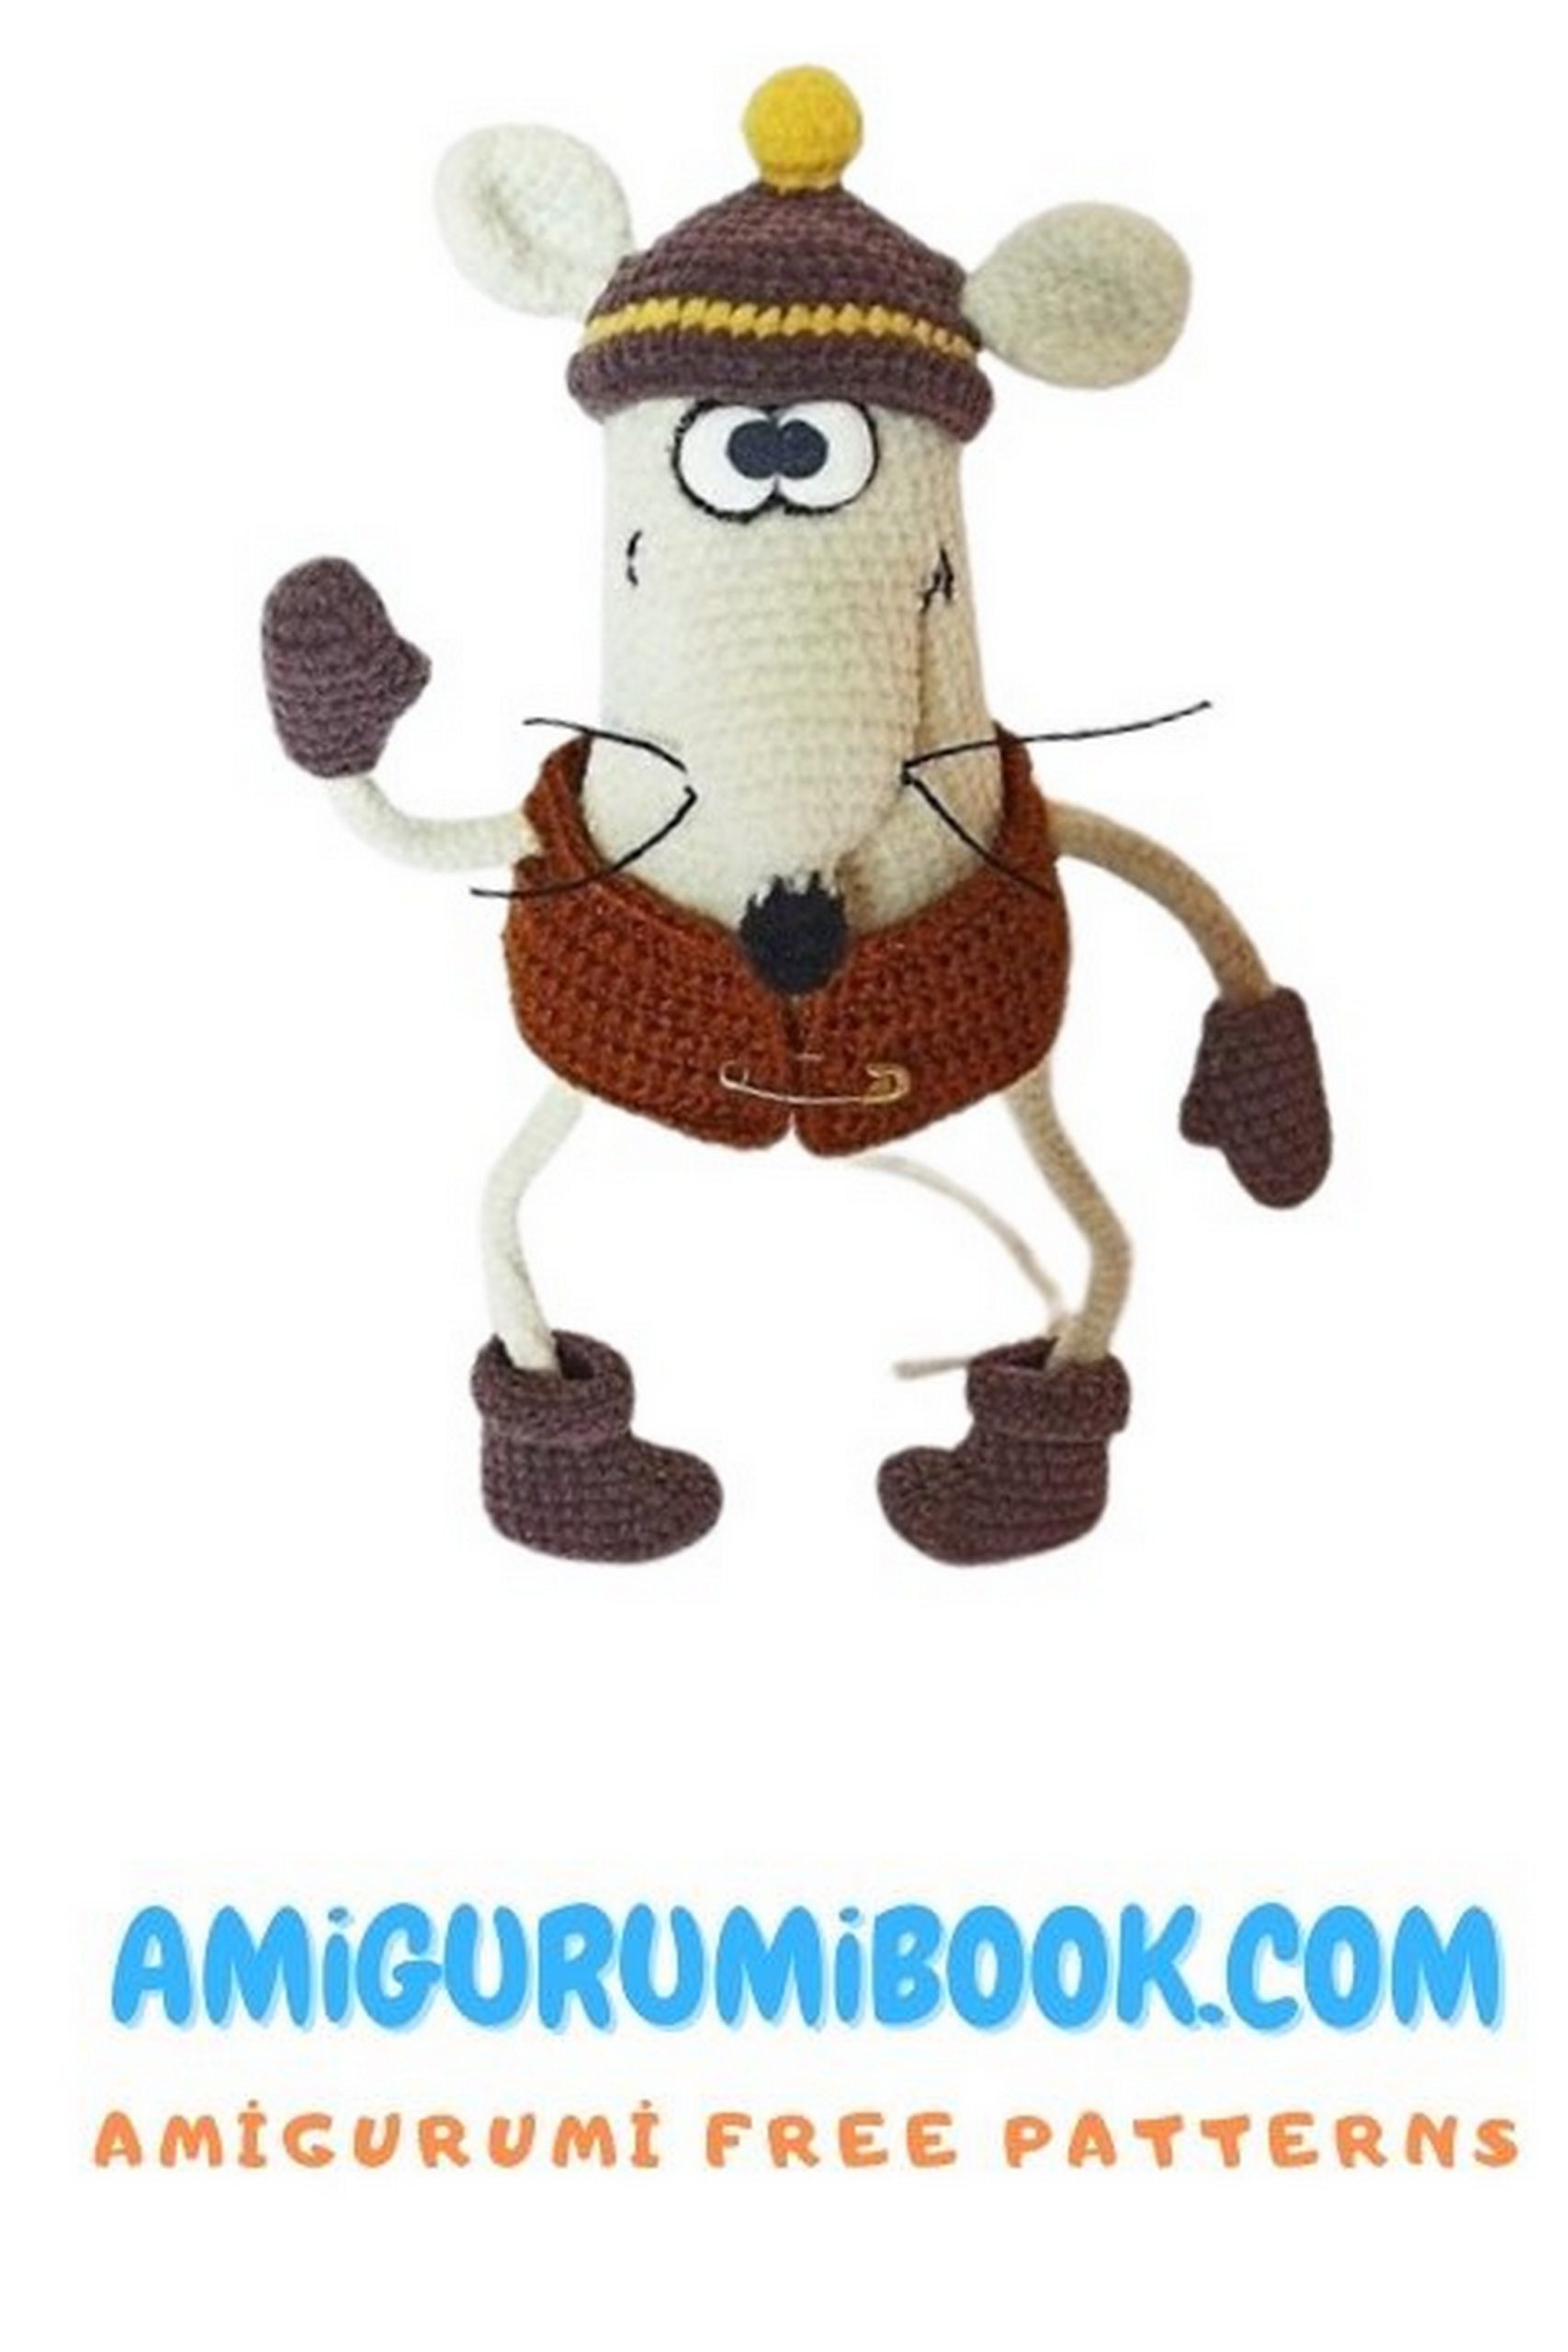
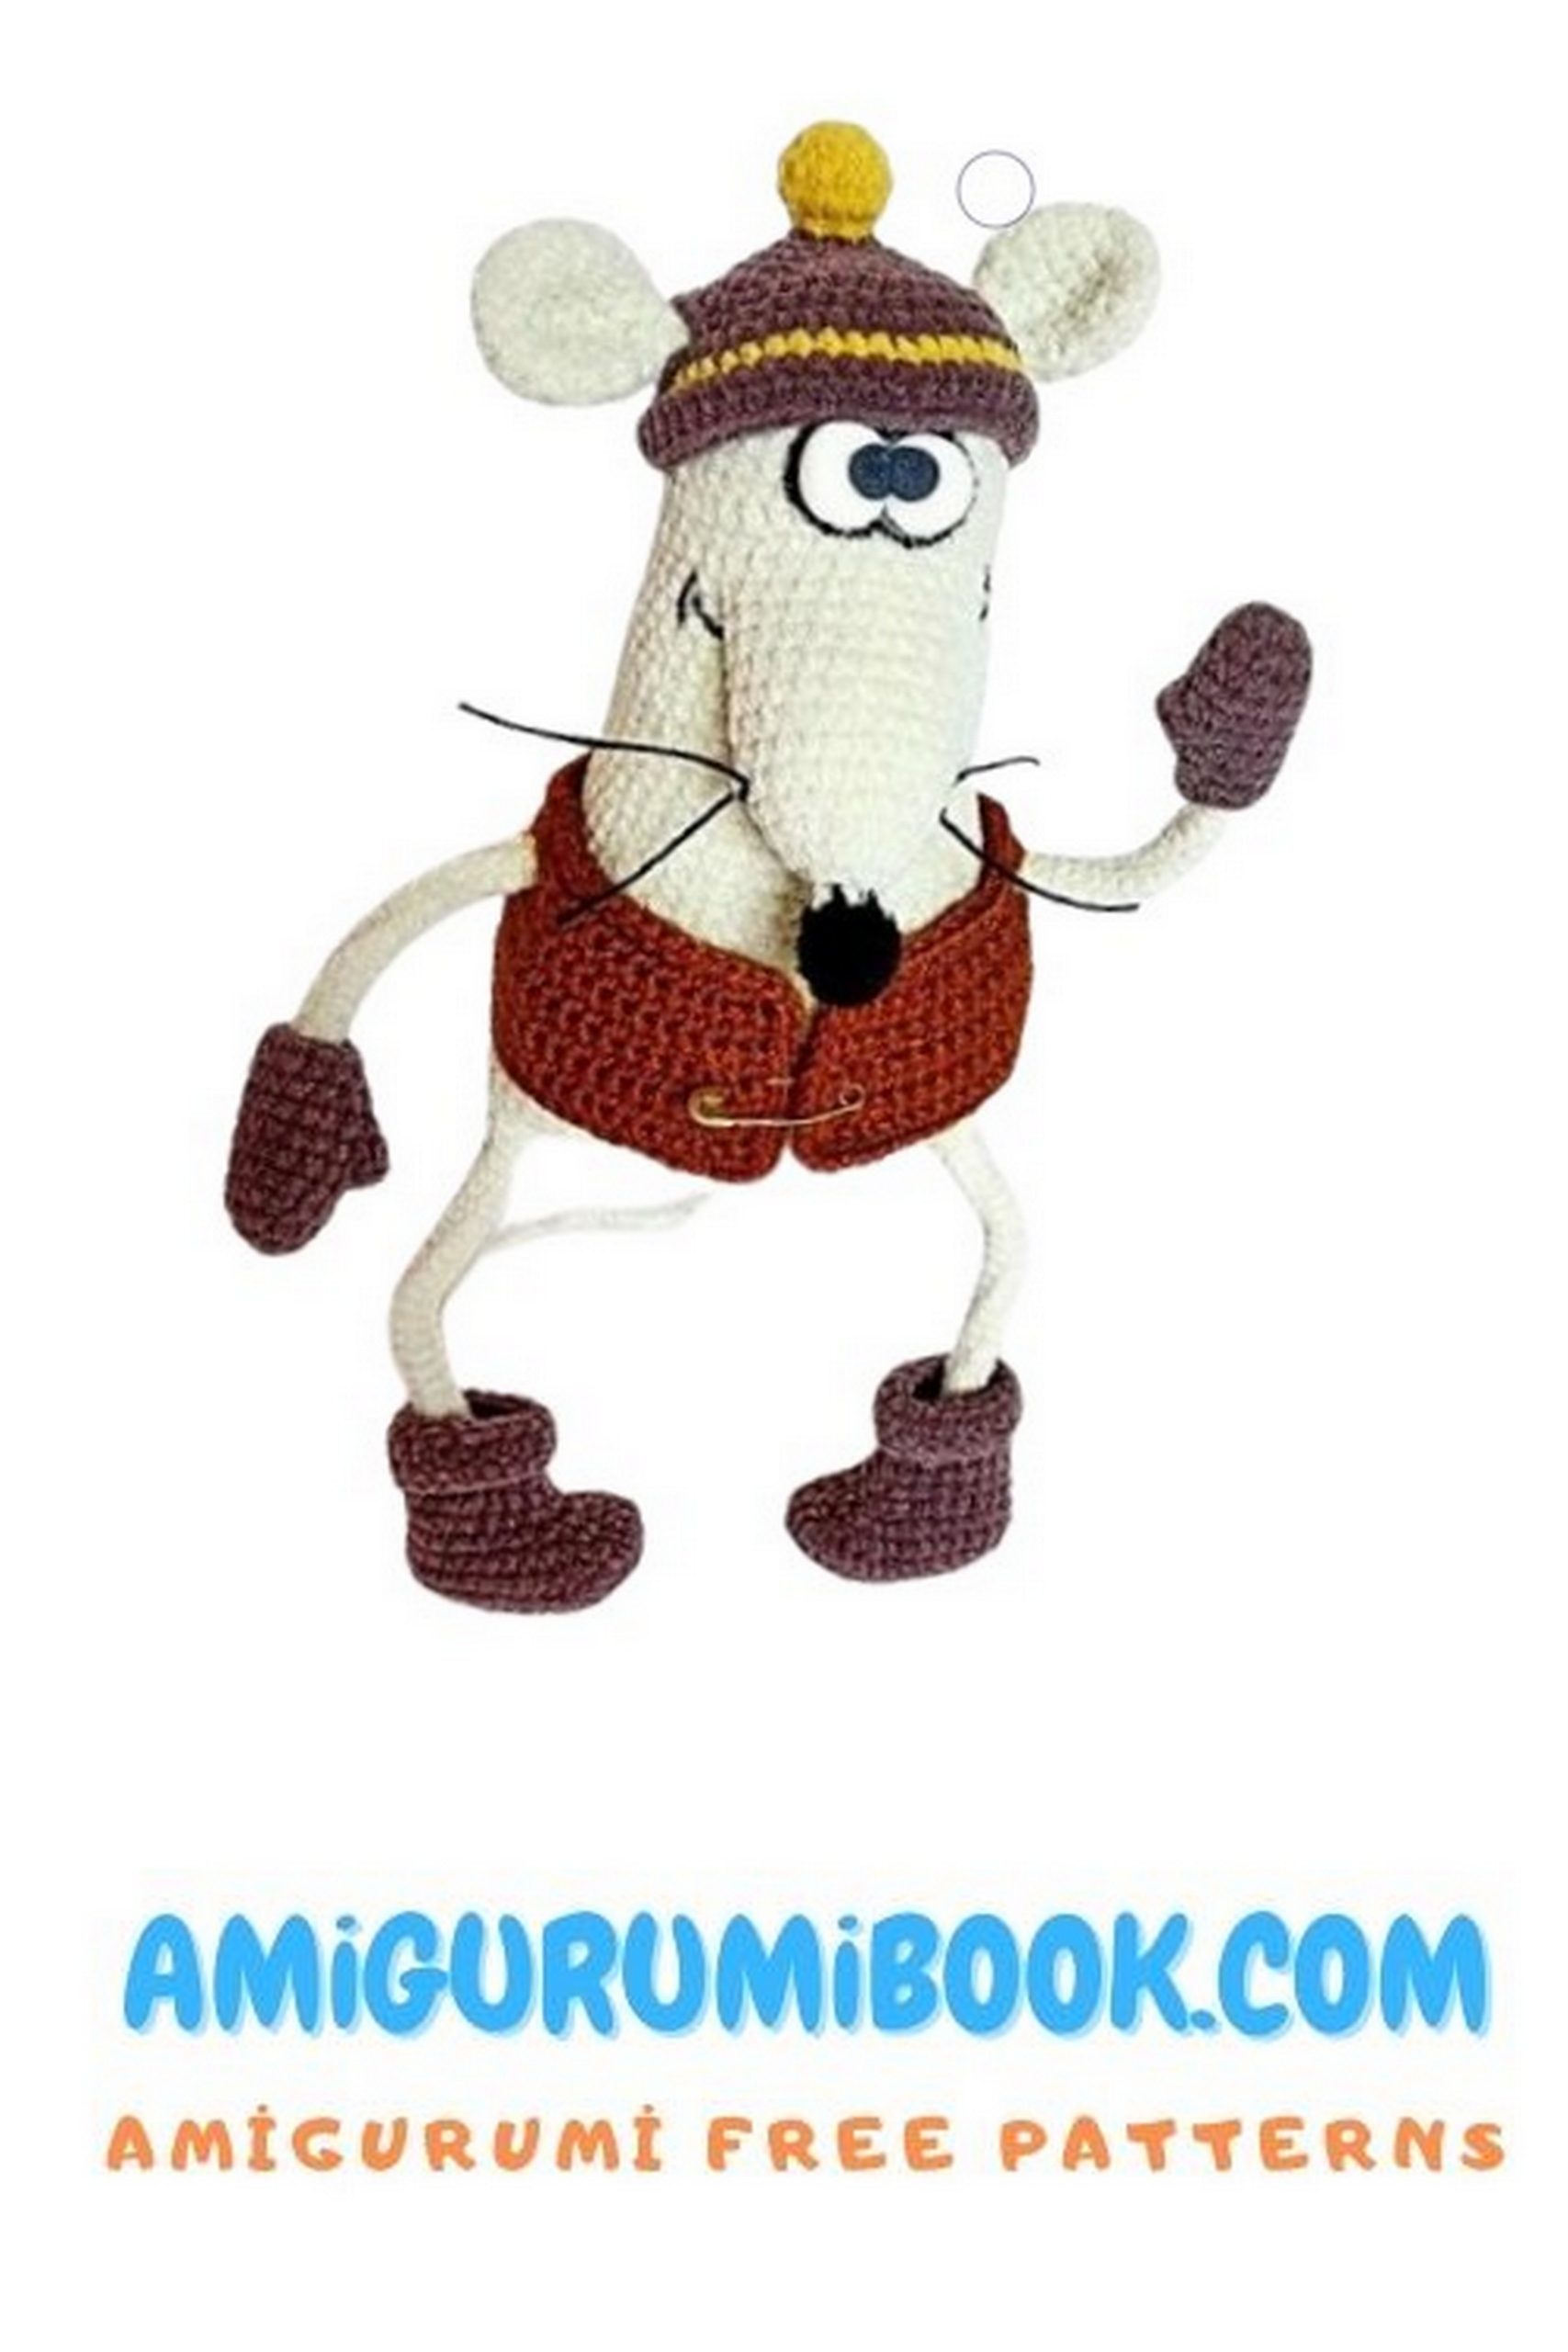
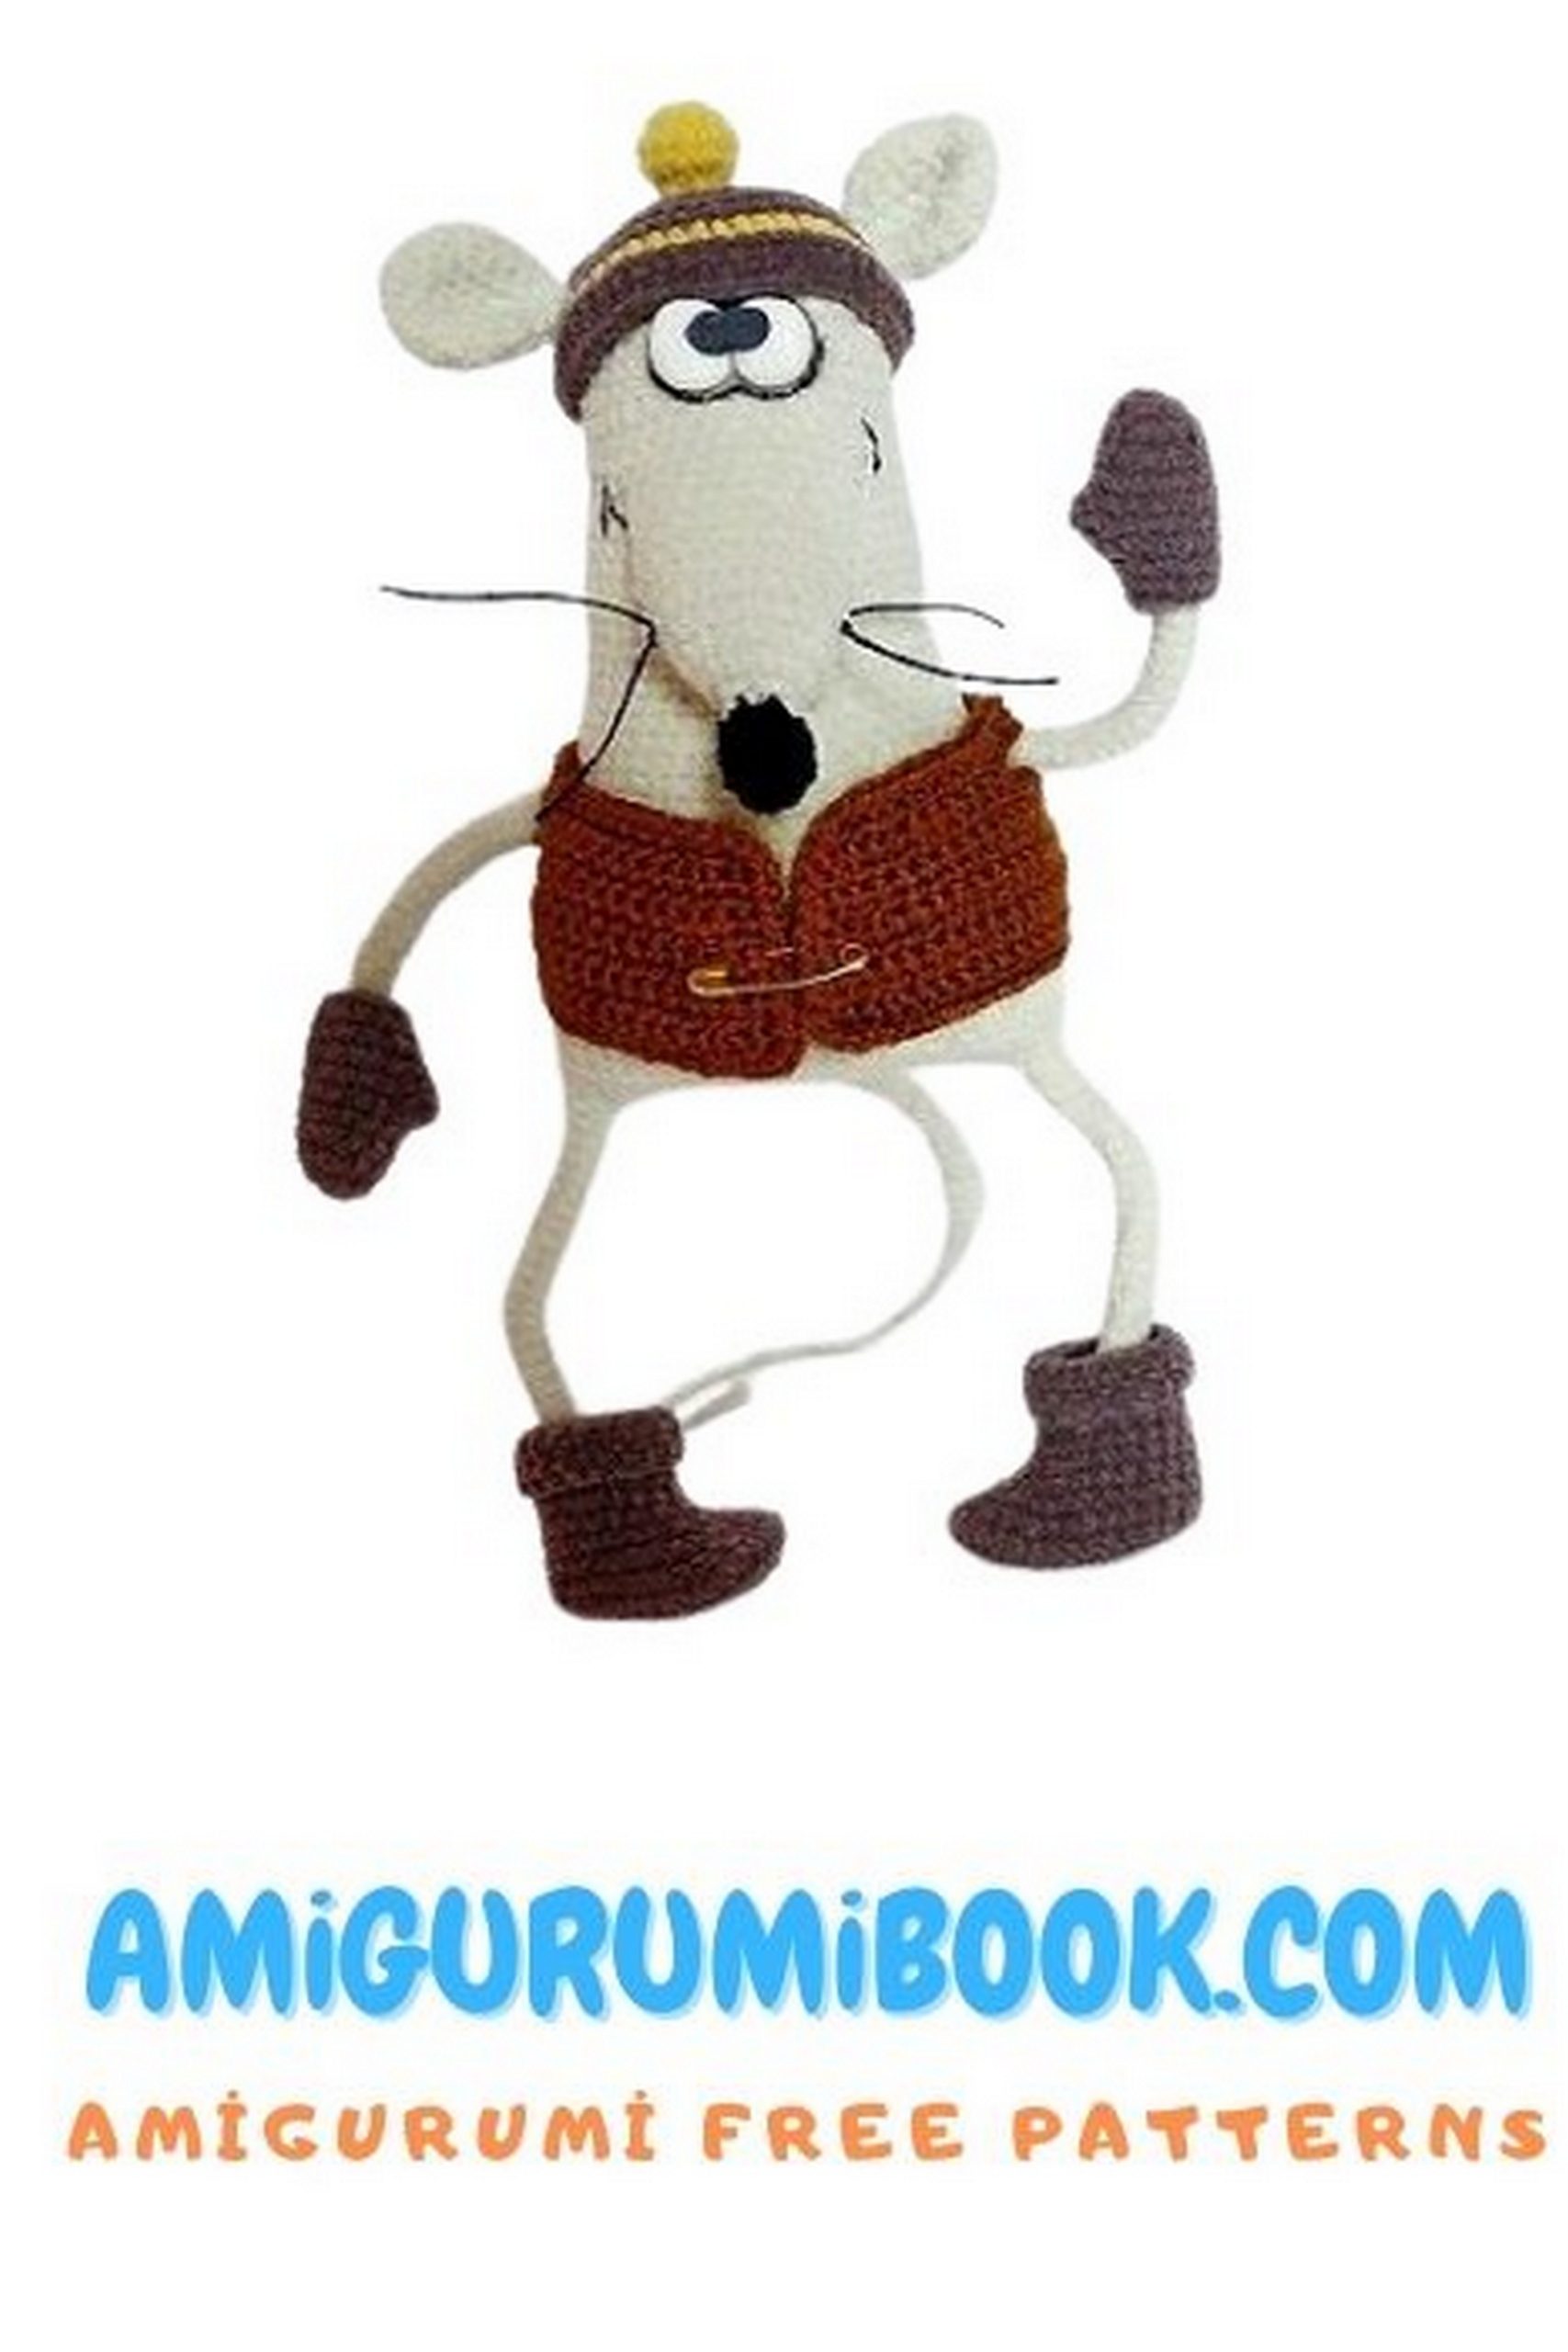
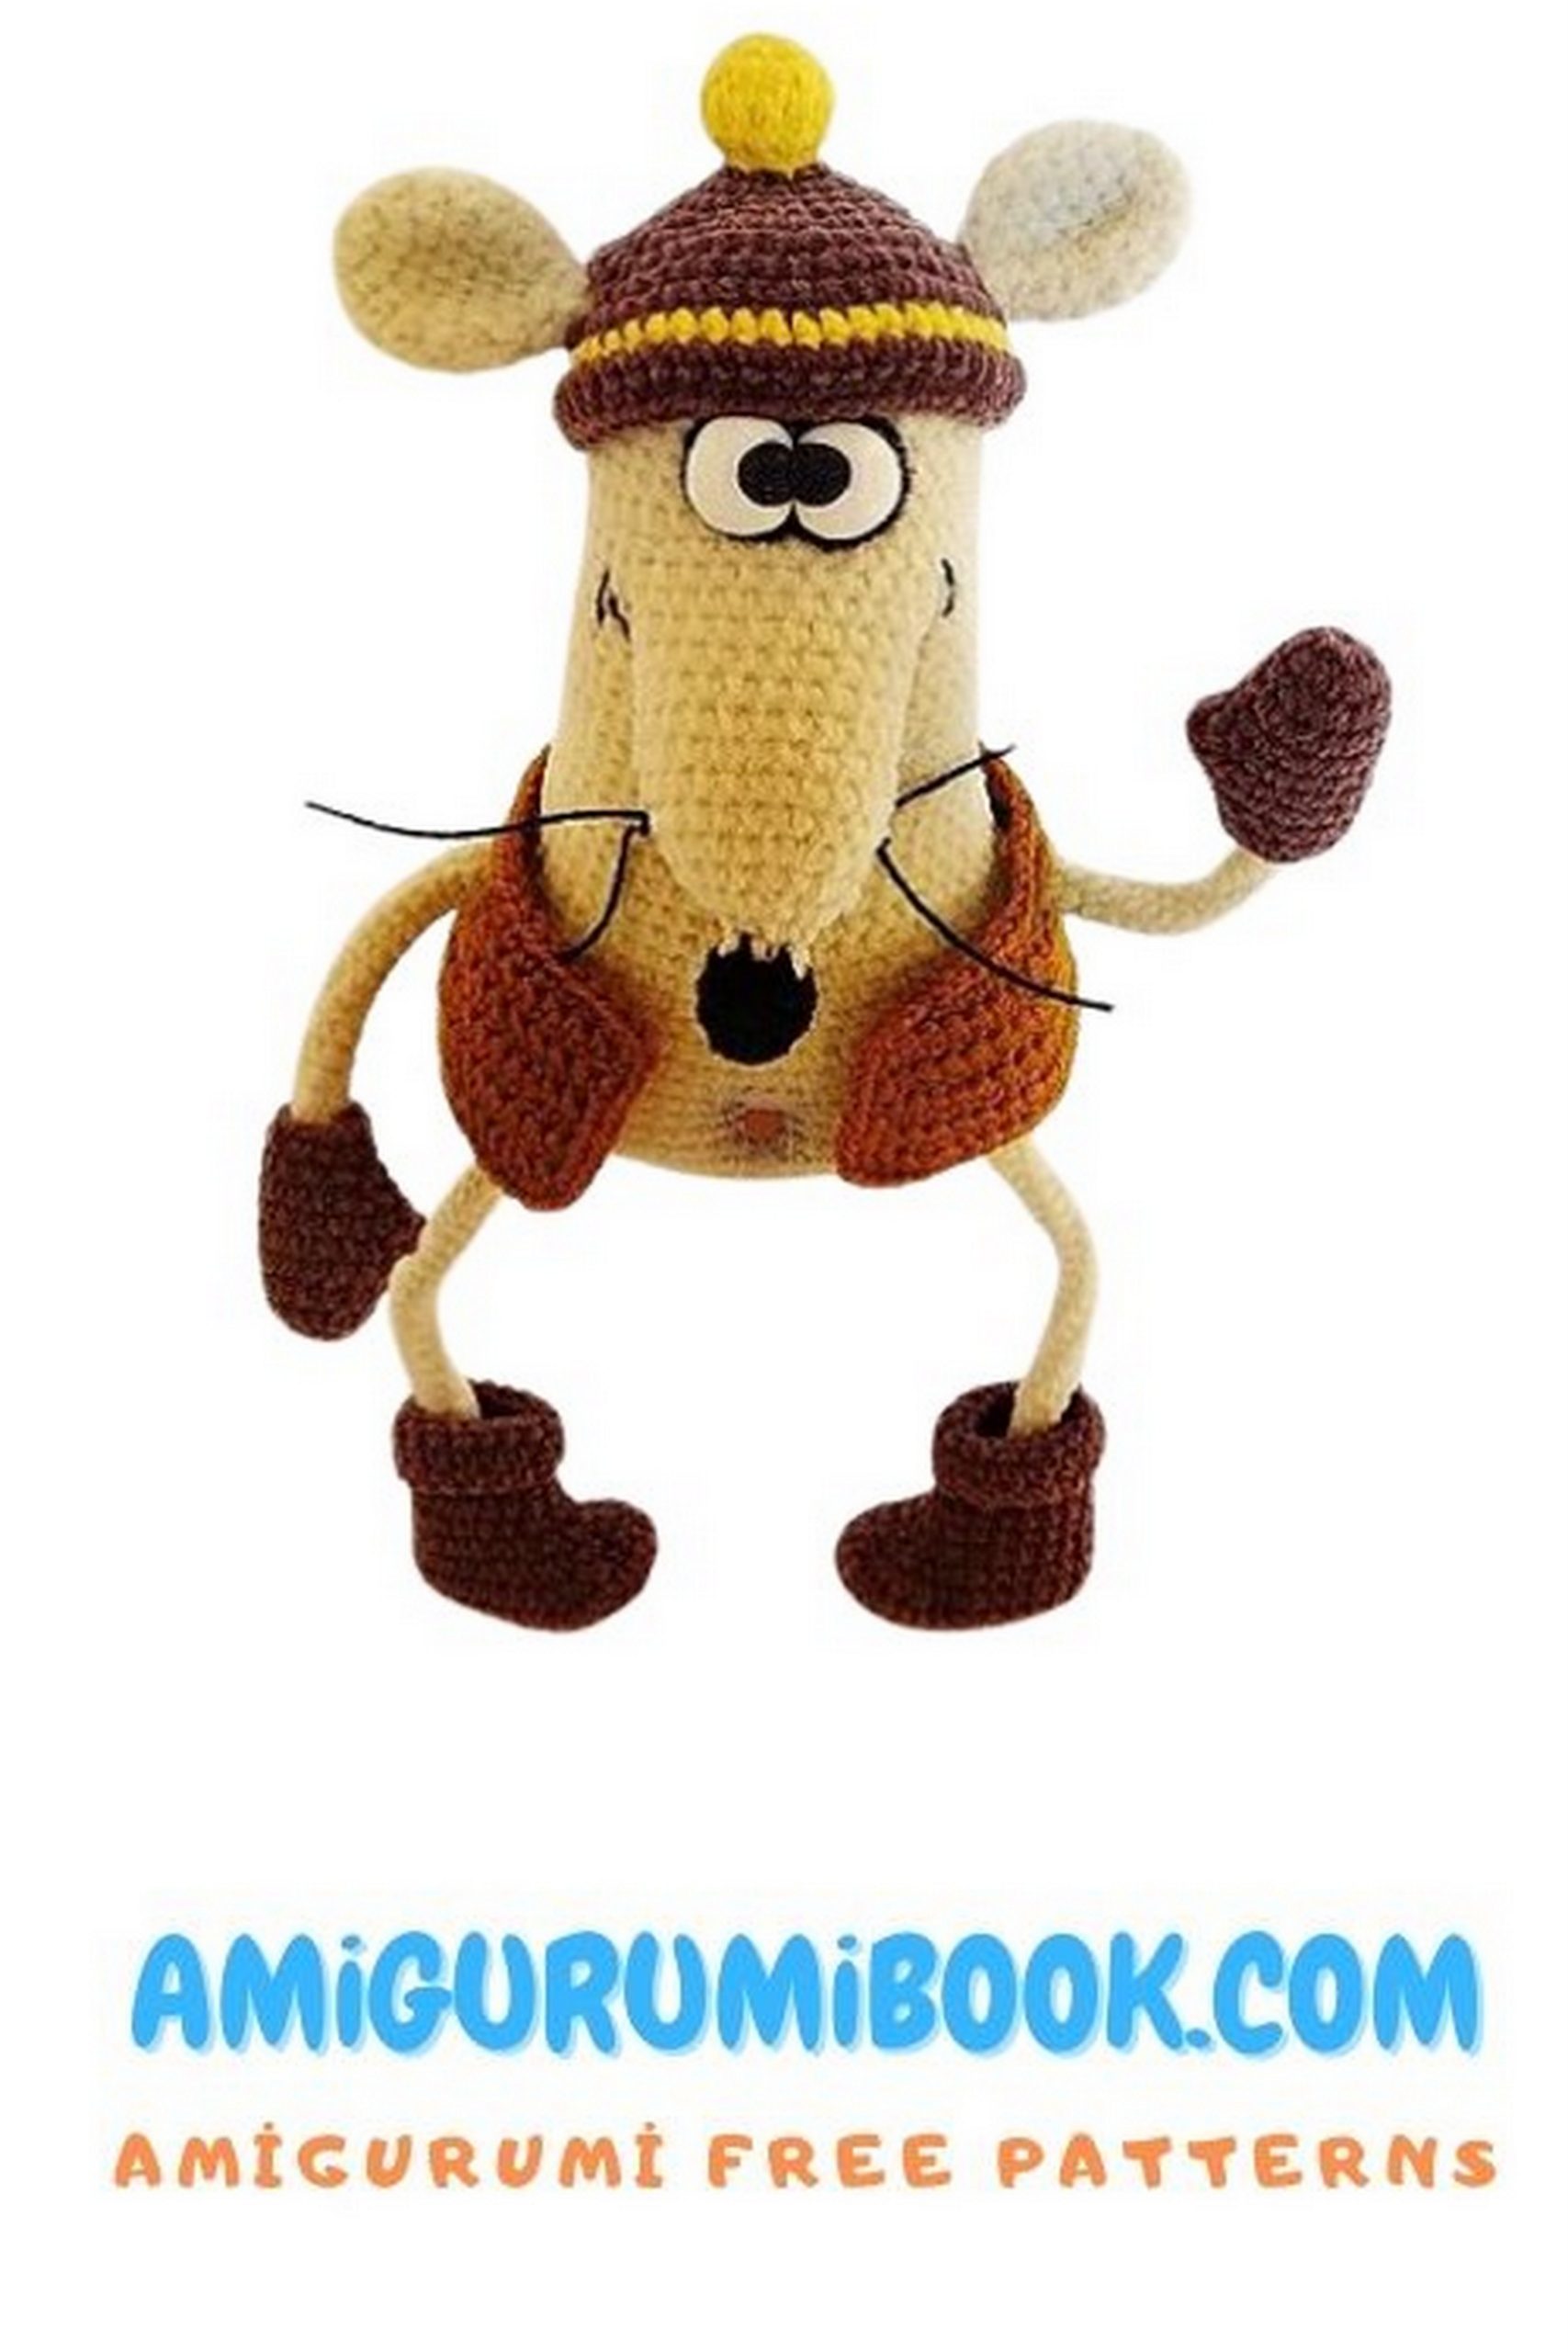
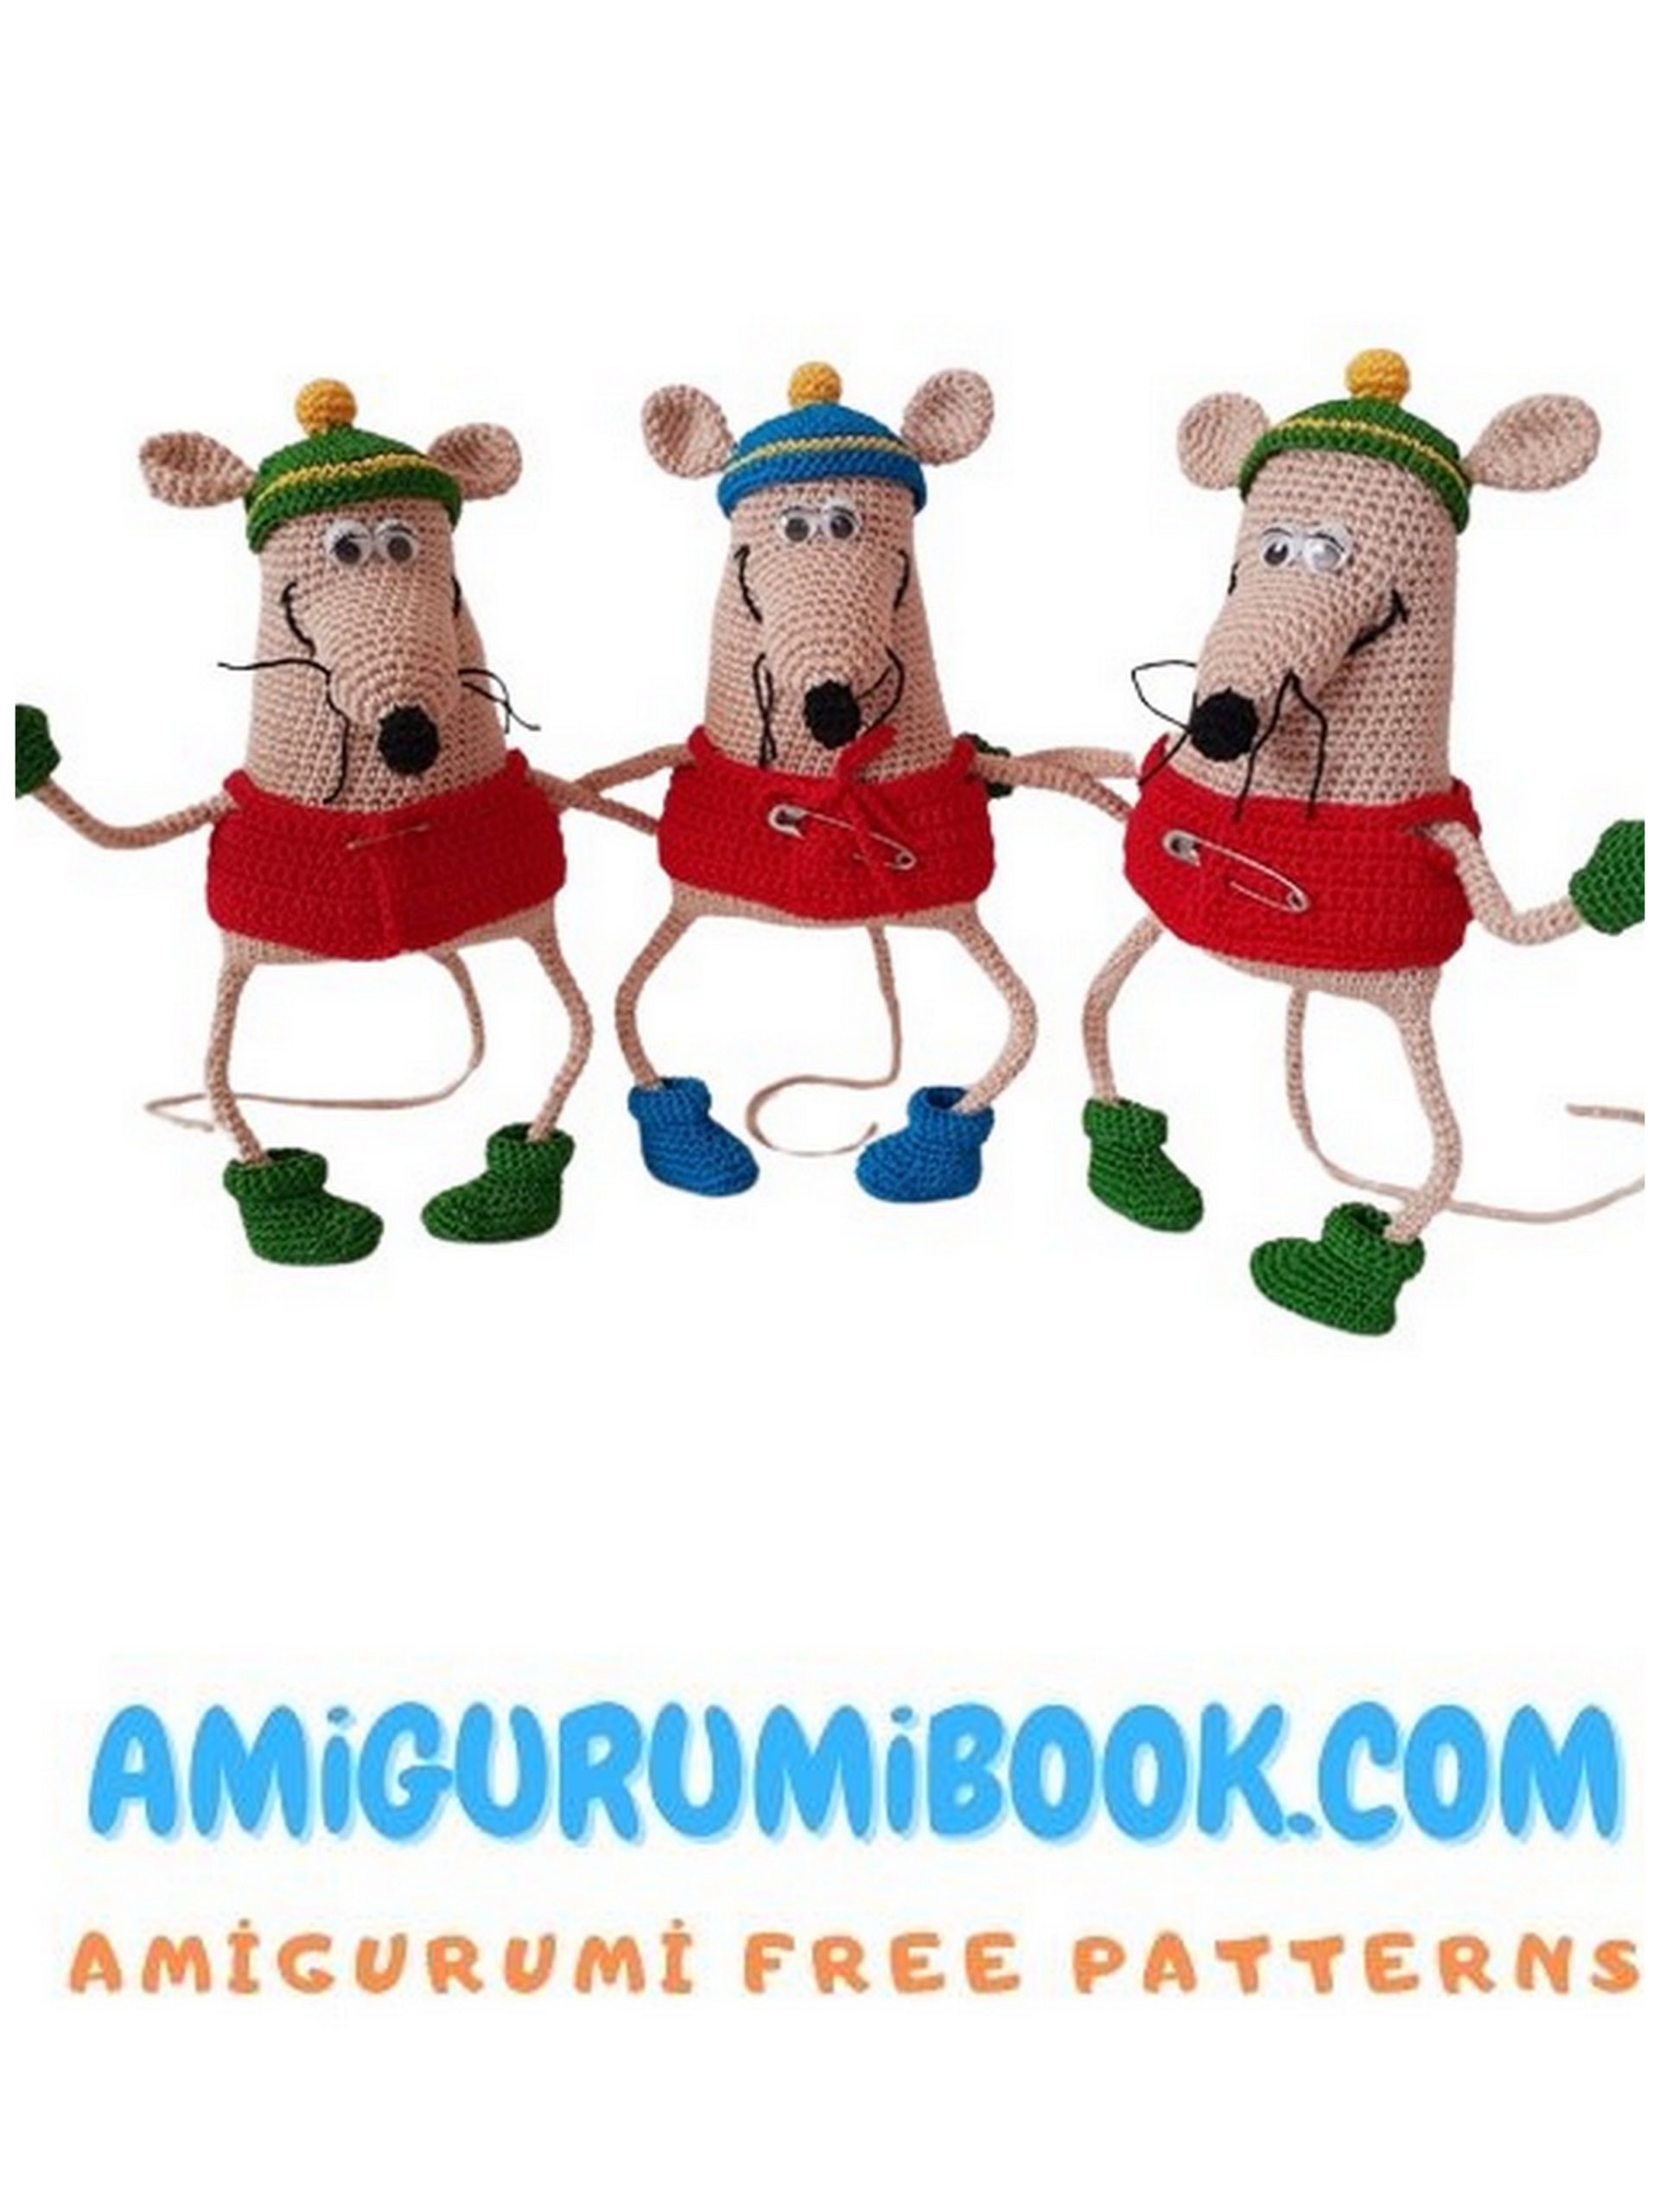
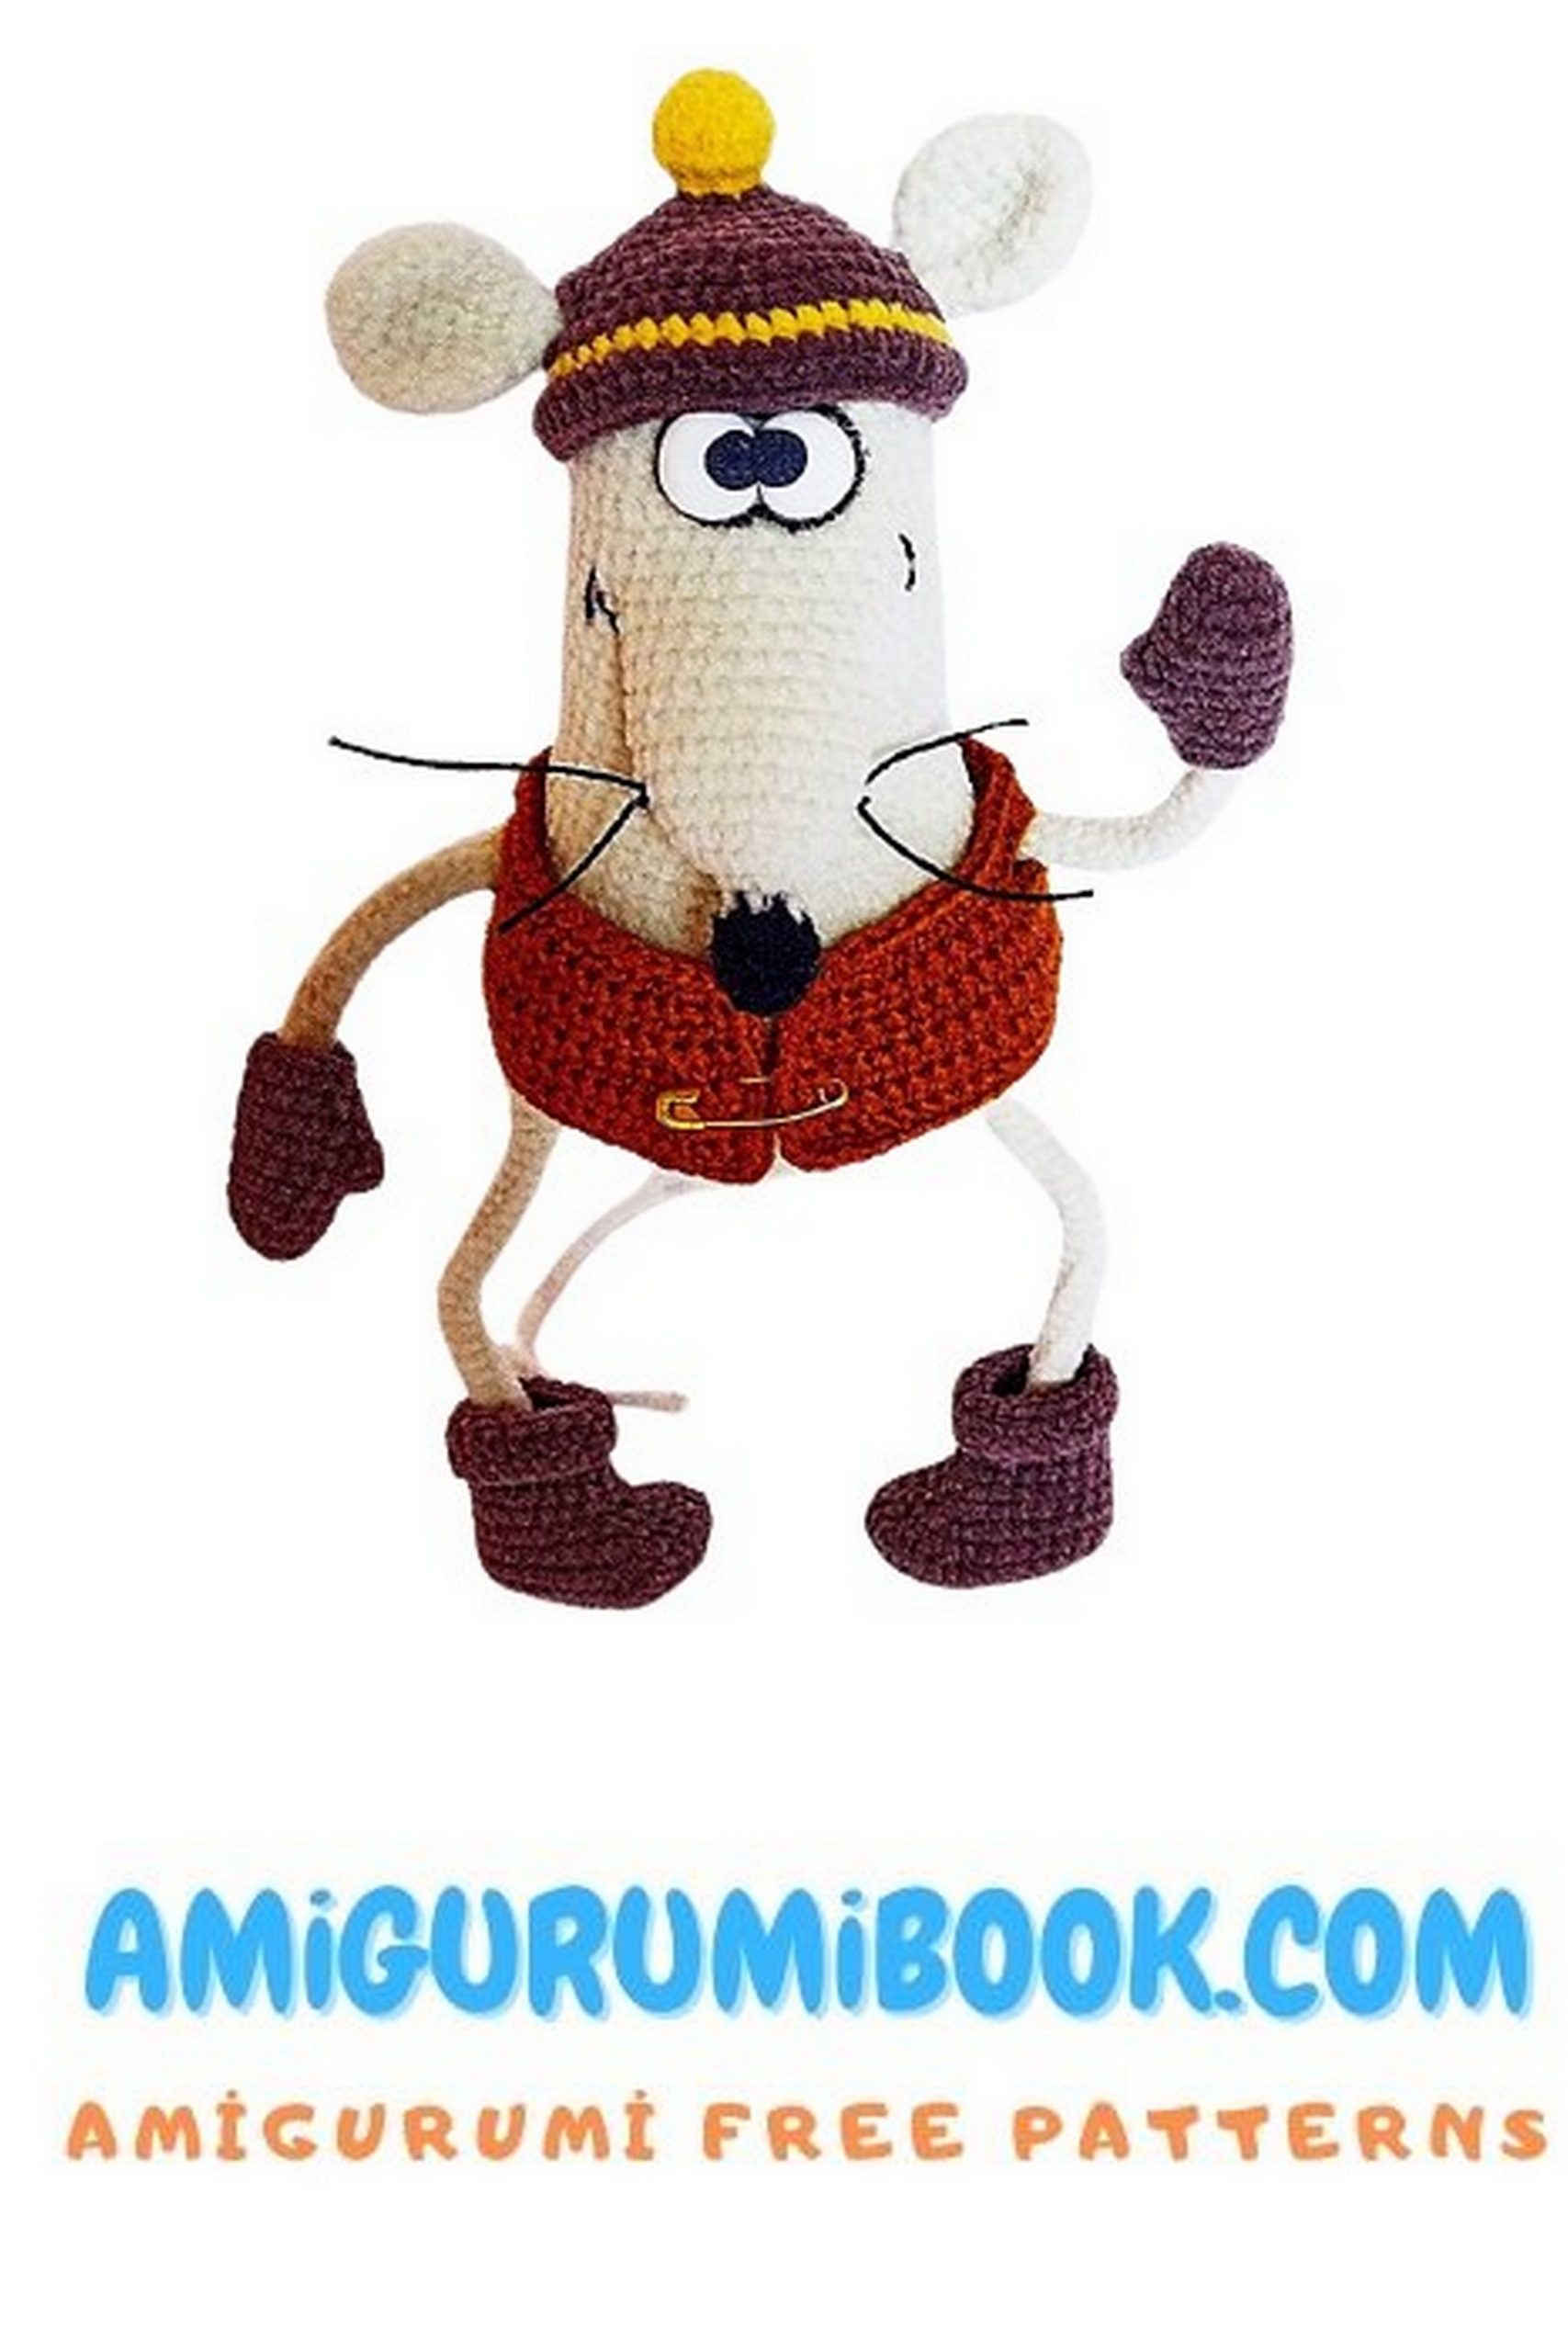
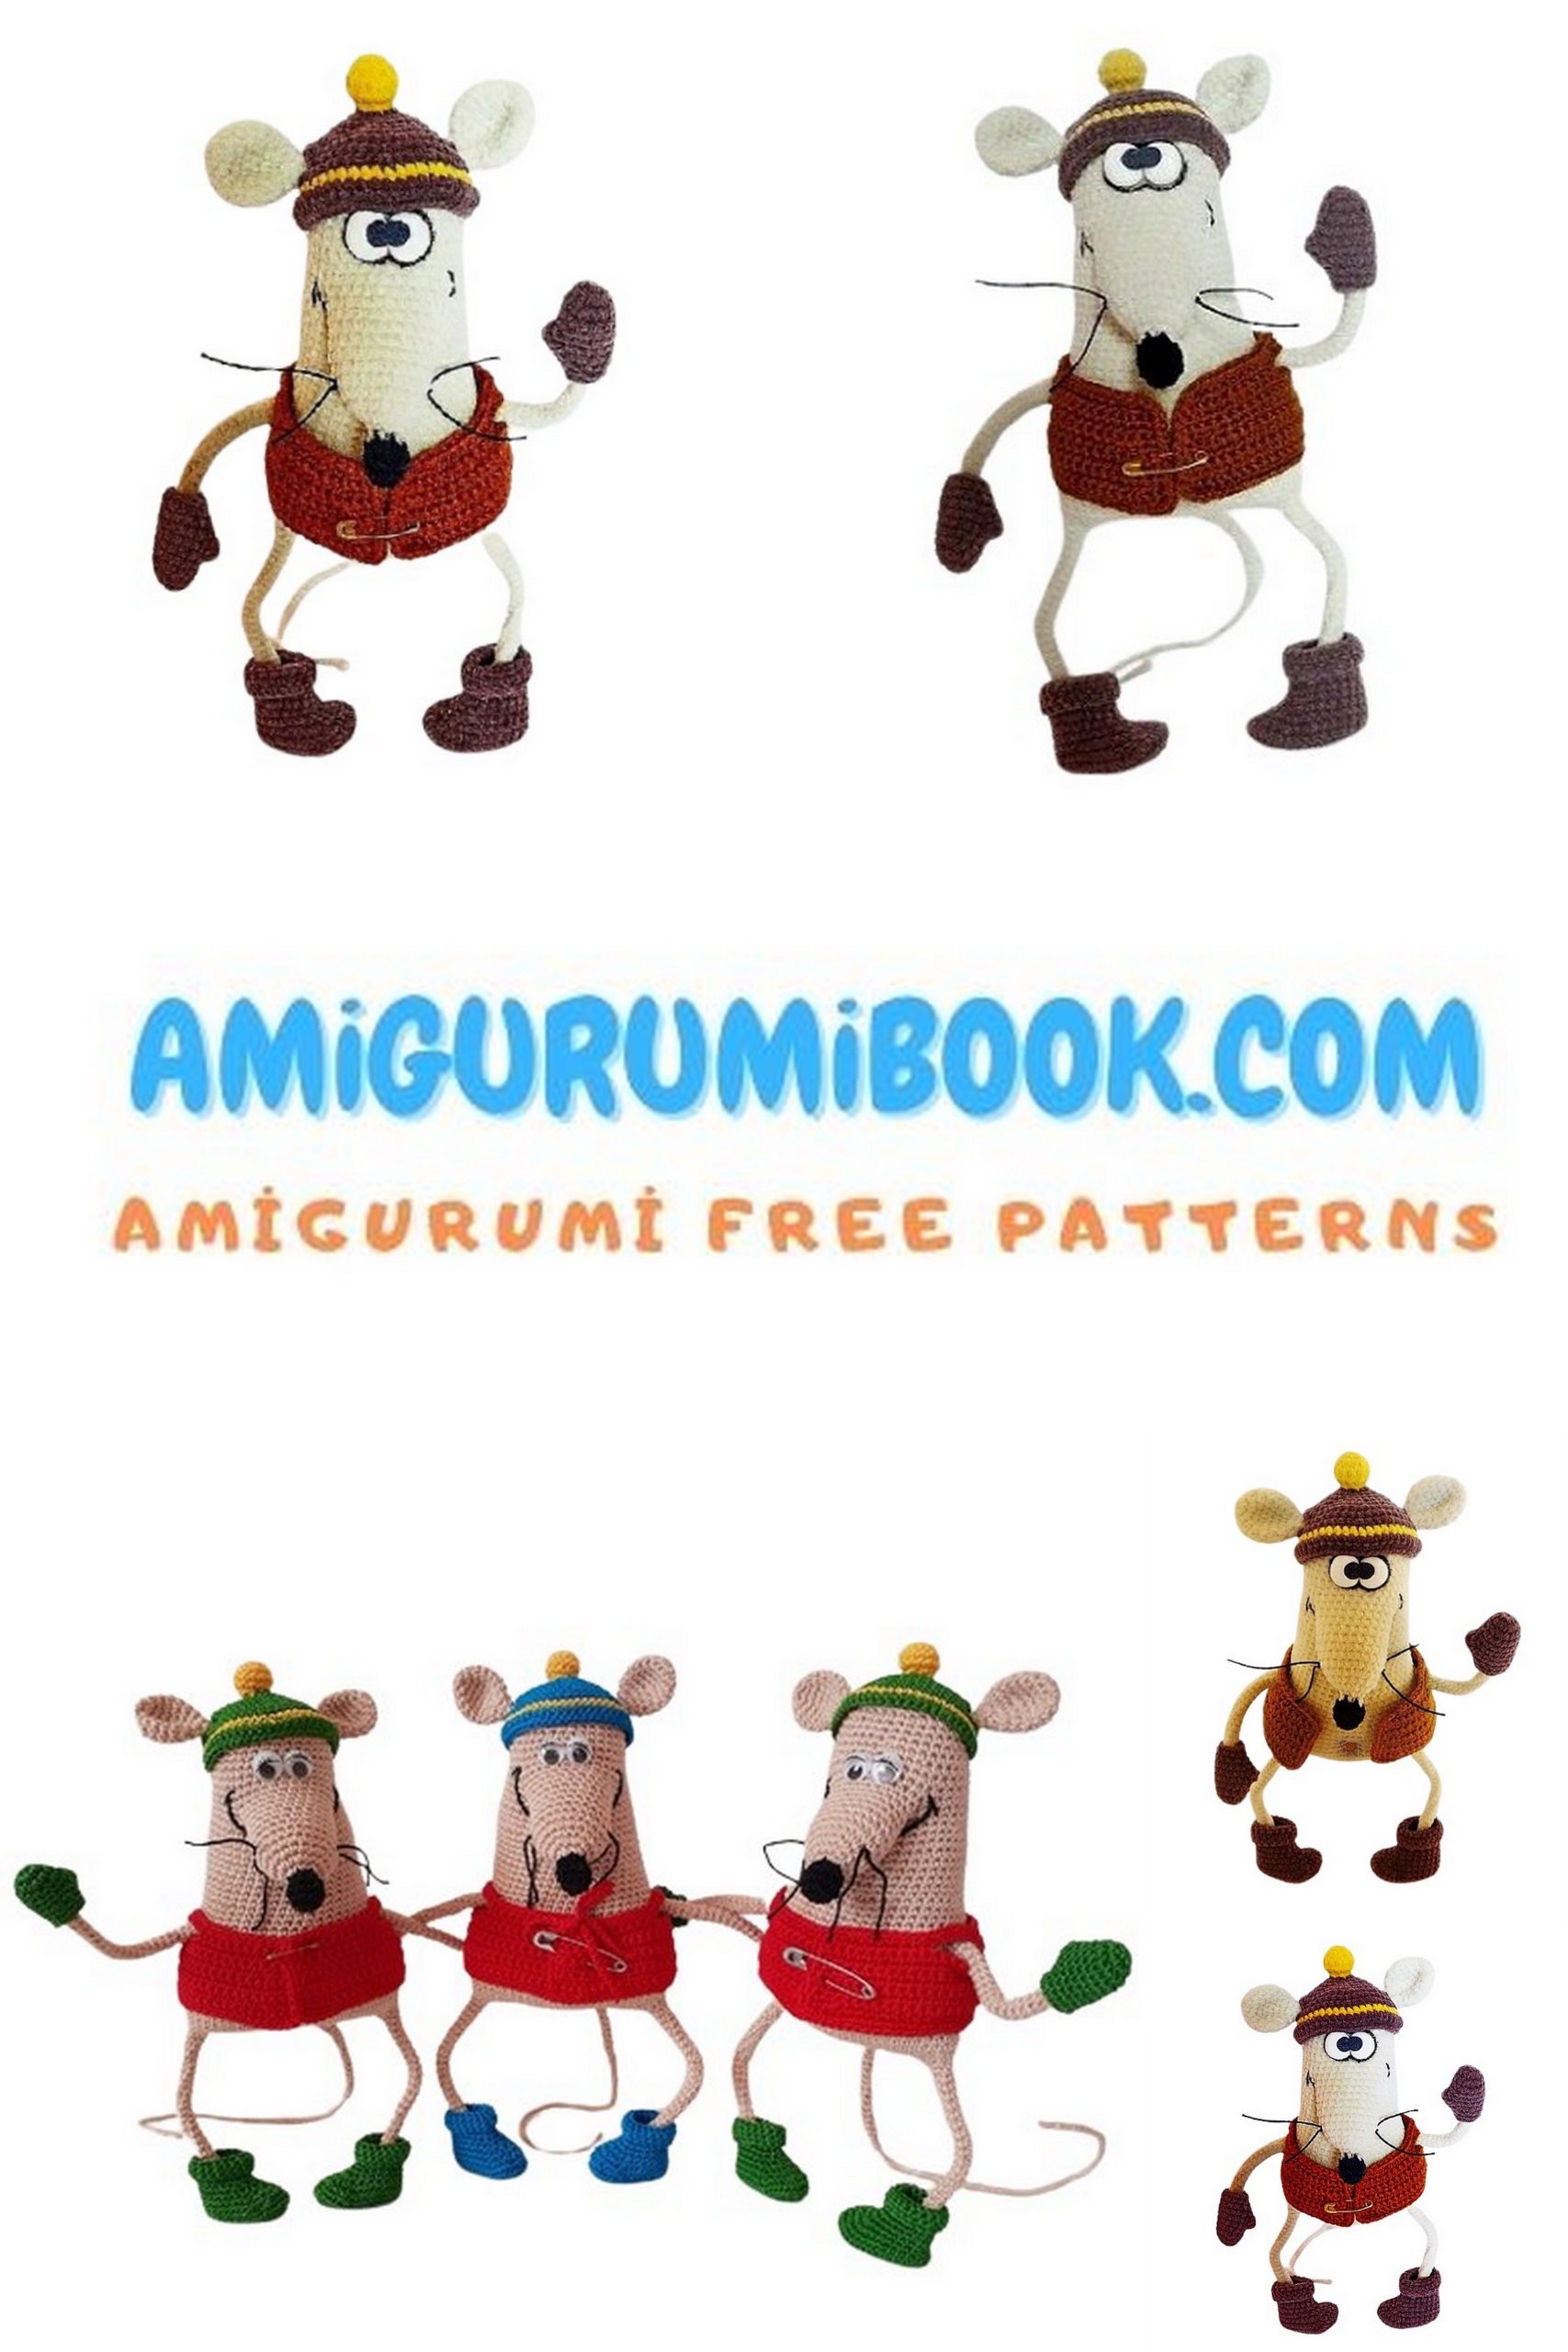
Discover the joy of creating adorable handmade toys with the Mouse Bop Amigurumi free pattern, perfect for both beginners and experienced crocheters. This easy-to-follow crochet tutorial guides you step-by-step in crafting a charming little mouse that makes a delightful gift or decoration. free crochet patterns
You may also like more amigurumi patterns.
Welcome to the enchanting world of crochet crafting! If you’re on the lookout for a fun and charming project, our Mouse Bop Amigurumi Free Pattern is the perfect choice. Whether you’re a seasoned crocheter or just starting, this DIY toy is both cute and beginner-friendly.
With our step-by-step tutorial, you’ll effortlessly bring this sweet mouse amigurumi to life. The free pattern ensures that you not only create a delightful handmade toy but also enjoy the therapeutic and rewarding process of crocheting.
This amigurumi mouse is an excellent project for those looking to hone their crochet skills or for anyone seeking a quick and enjoyable crafting experience. The end result? A lovable, huggable creation that adds a touch of handmade warmth to any space.
Attention
Ready to embark on a crochet adventure? Grab your yarn and hook, follow our Mouse Bop Amigurumi Free Pattern, and let your creativity soar. Don’t forget to share your finished masterpiece with fellow crafters and spread the joy of handmade goodness. Happy crocheting!
All toy parts are crocheted in rows, not in a spiral, through both loops (unless otherwise specified).
Invisible decrease – insert the hook through the front loop of the foundation chain and immediately through the front loop of the next foundation chain. With 3 loops on the hook, crochet through 2 loops, then crochet again through 2 loops.
Maintain symmetry while crocheting, use a marker or contrasting yarn to keep track.
A new row begins before the loop with the marker.
When shifting the marker to the right, crochet an additional stitch and move the marker to the next loop (now the “second” loop becomes the “first”). The “shifting loop” mentioned in the row description is not involved.
If there is no mention of a marker in any part, there is no need to keep track of the beginning of the row – just count the stitches.
If you want to access 1000+ free amigurumi patterns, you can download our application from this link!
Materials:
Main yarn “Kartopu Nubuk” in cream color (550m/100g).
Crochet hooks 1.0 and 1.5.
Wire for the frame, diameter 1mm = 186cm.
Stuffing.
Yarn “Kartopu Nubuk” in black, brown, and yellow.
Yarn “Iris” in black for whiskers.
Oven-bake clay in white and black for making eyes.
Medical tape on fabric base for isolating wire.
Pastel pencil for shading.
Yarn “Pchyolka” from Troitsk (500m/100rp) in golden color for knitting a vest.
Thick needle.
Double-sided tape.
Instant glue.
Difficulty level – medium.
Abbreviations:
CH – chain
SC – single crochet
SS – slip stitch
DC – double crochet
INC – increase
DEC – decrease
PATTERN
Arms (2 pieces): Mouse Bop
Main color yarn, crochet hooks 1.5 and 1.0
Wire @ 1mm – 80cm.
Start with 1.5mm hook:
1 Row: 2 CH, in the 2nd from the hook, SC in the back loop (6).
2-3 Rows: SC in the back loop (6).
Switch to 1.0mm hook:
4 Row: DEC, 4 SC (5).
5-25 Rows: 5 SC (5).
Fasten off, cut the yarn.
Take 40cm of wire for one arm, fold it in half, and insert it into the arm.
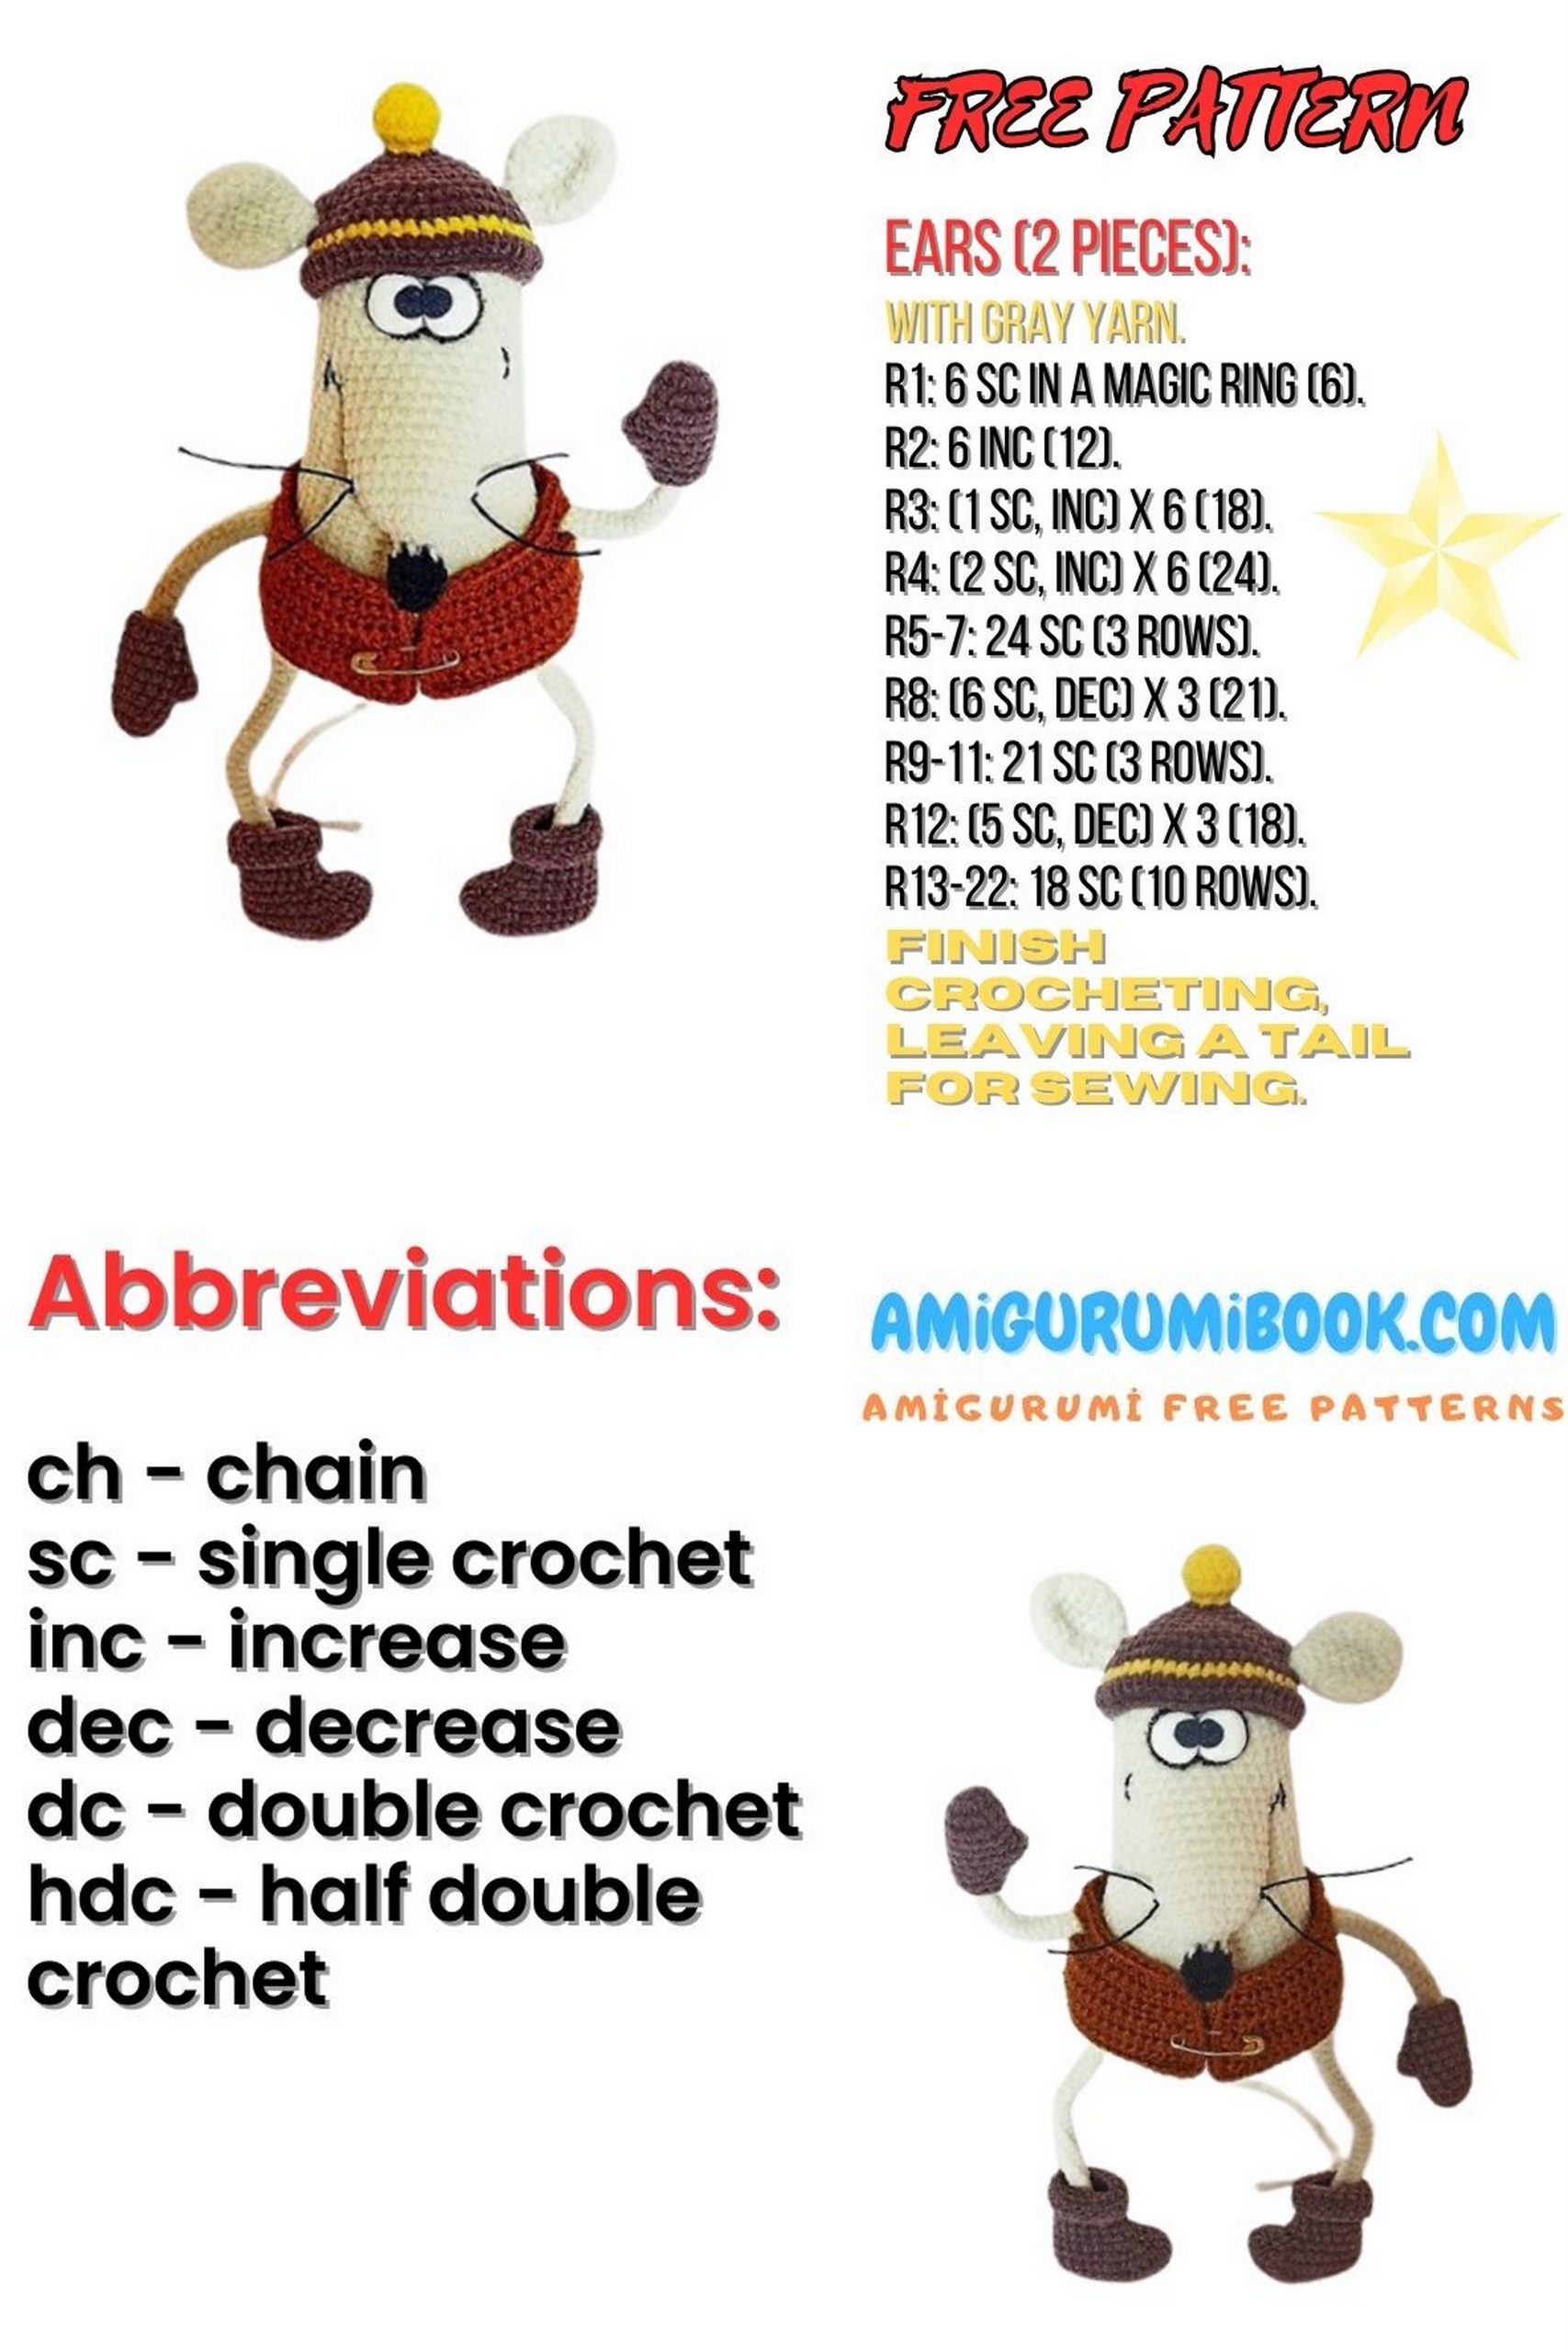
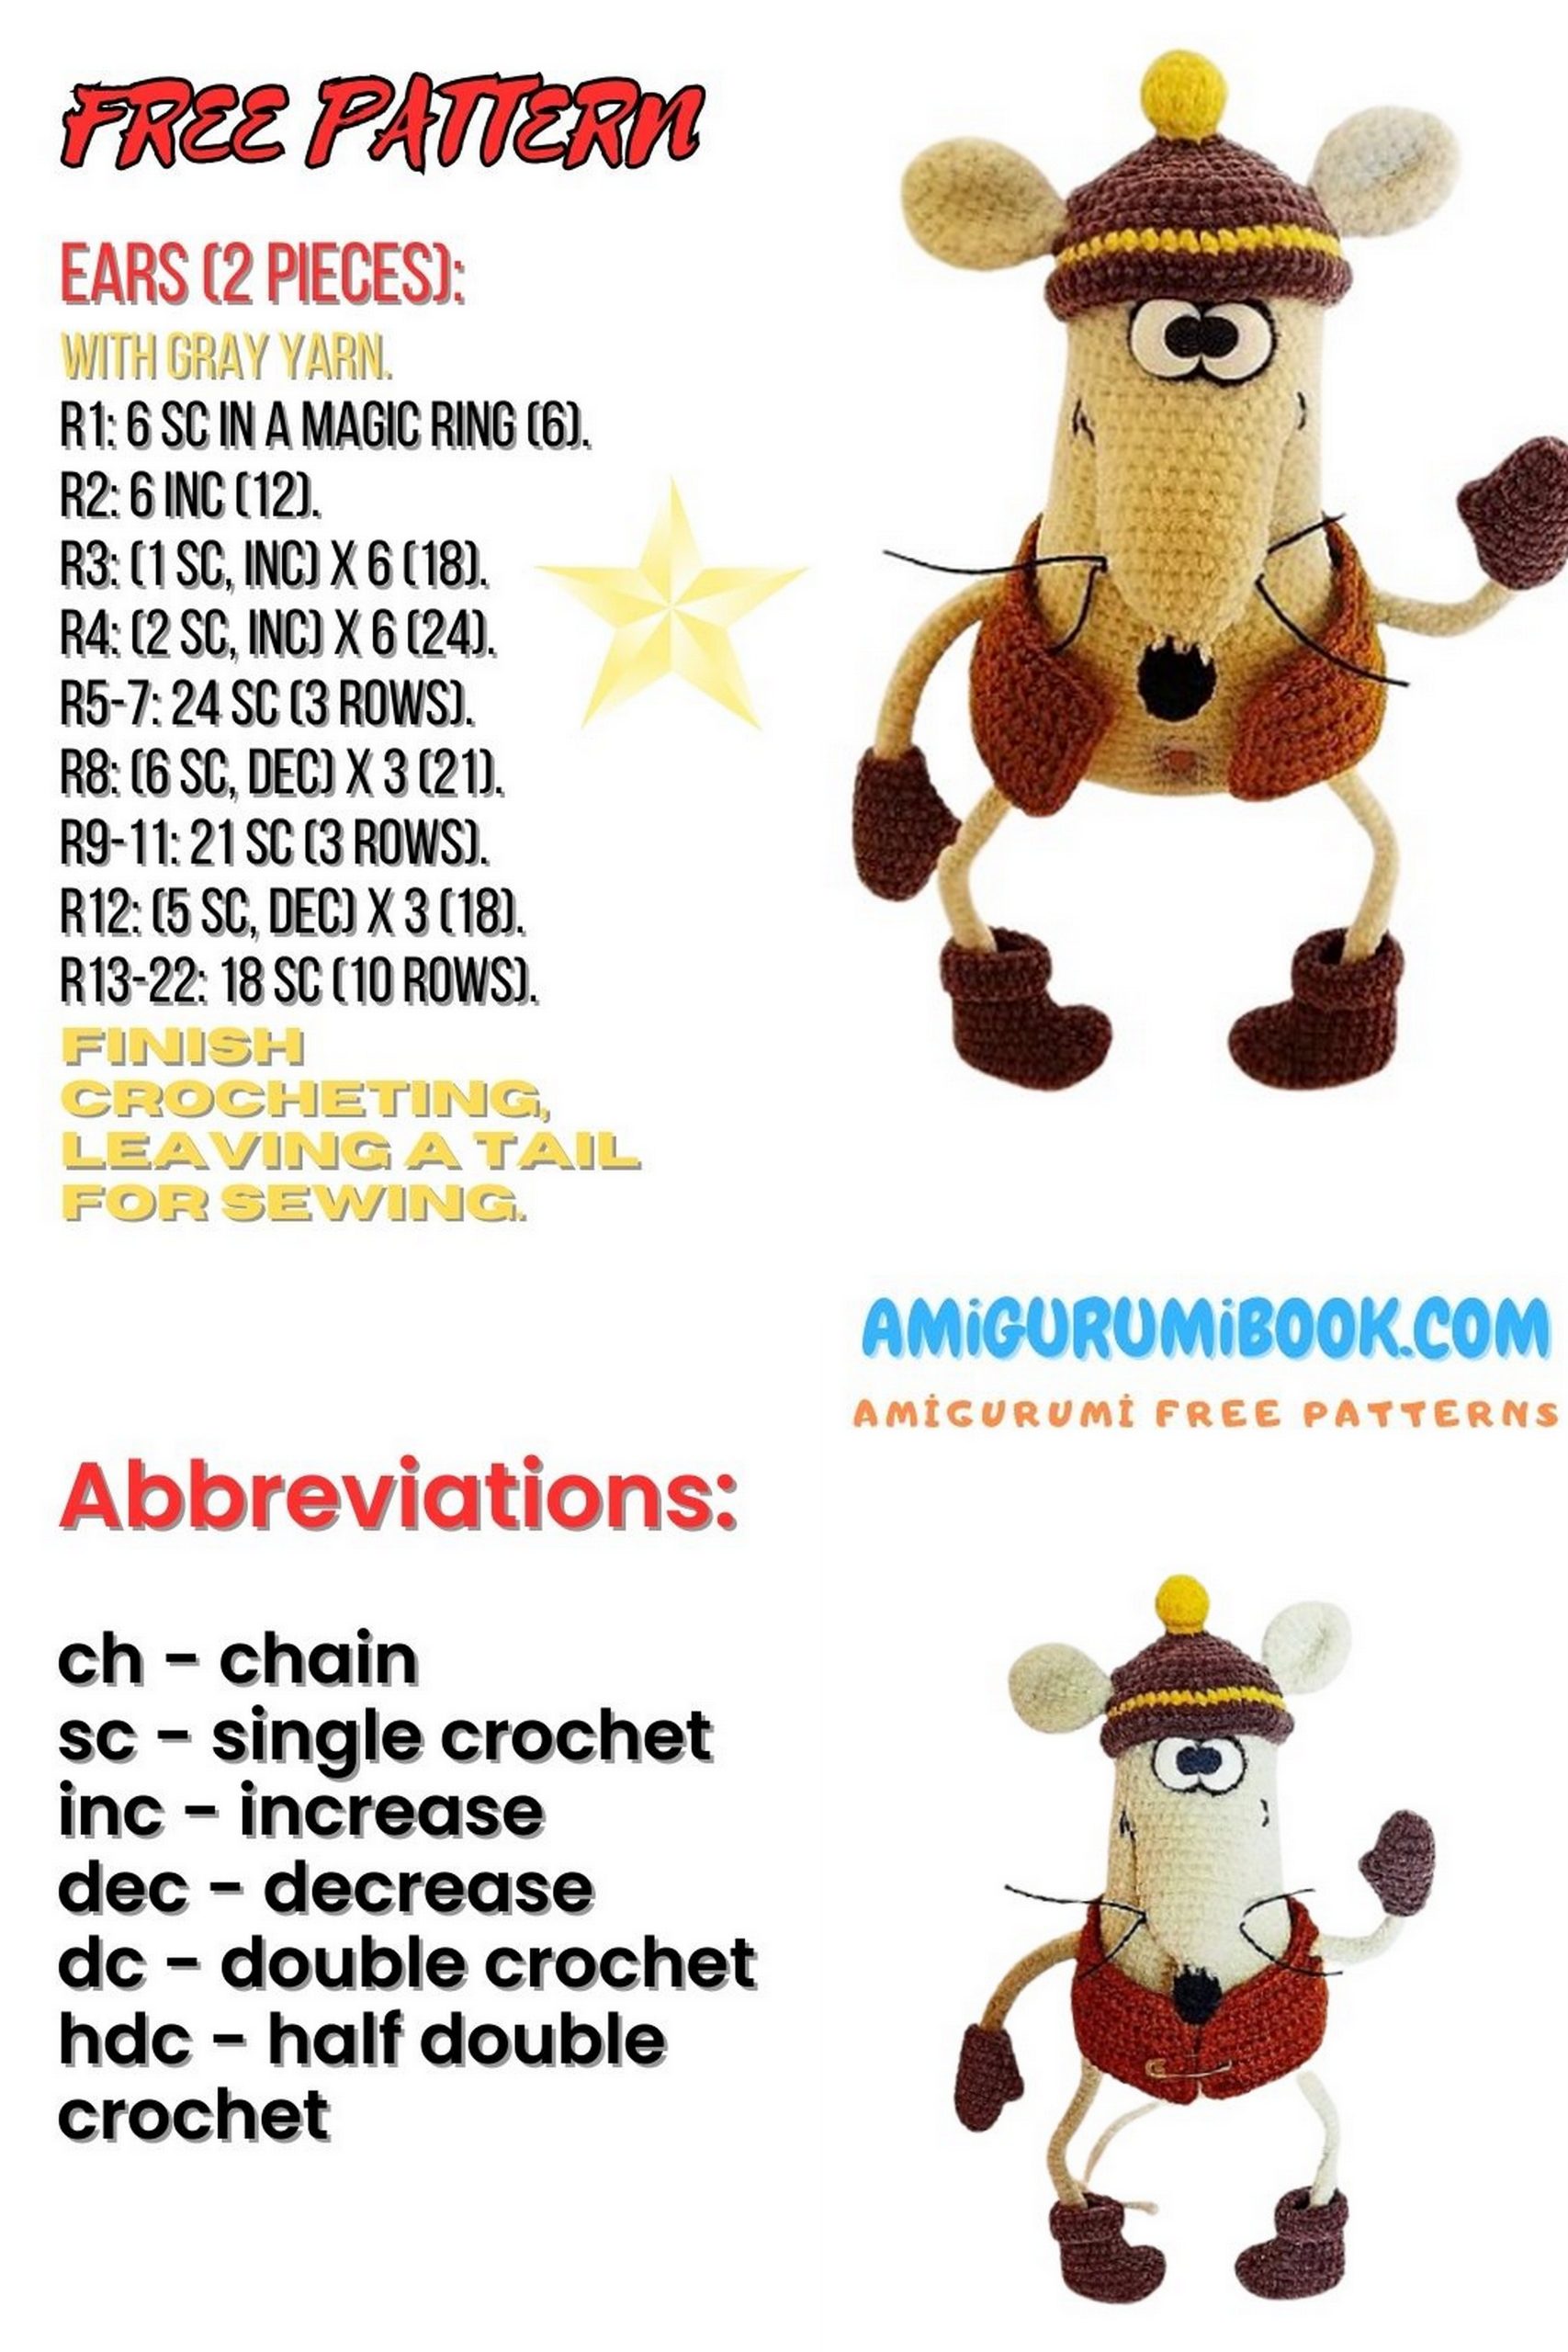
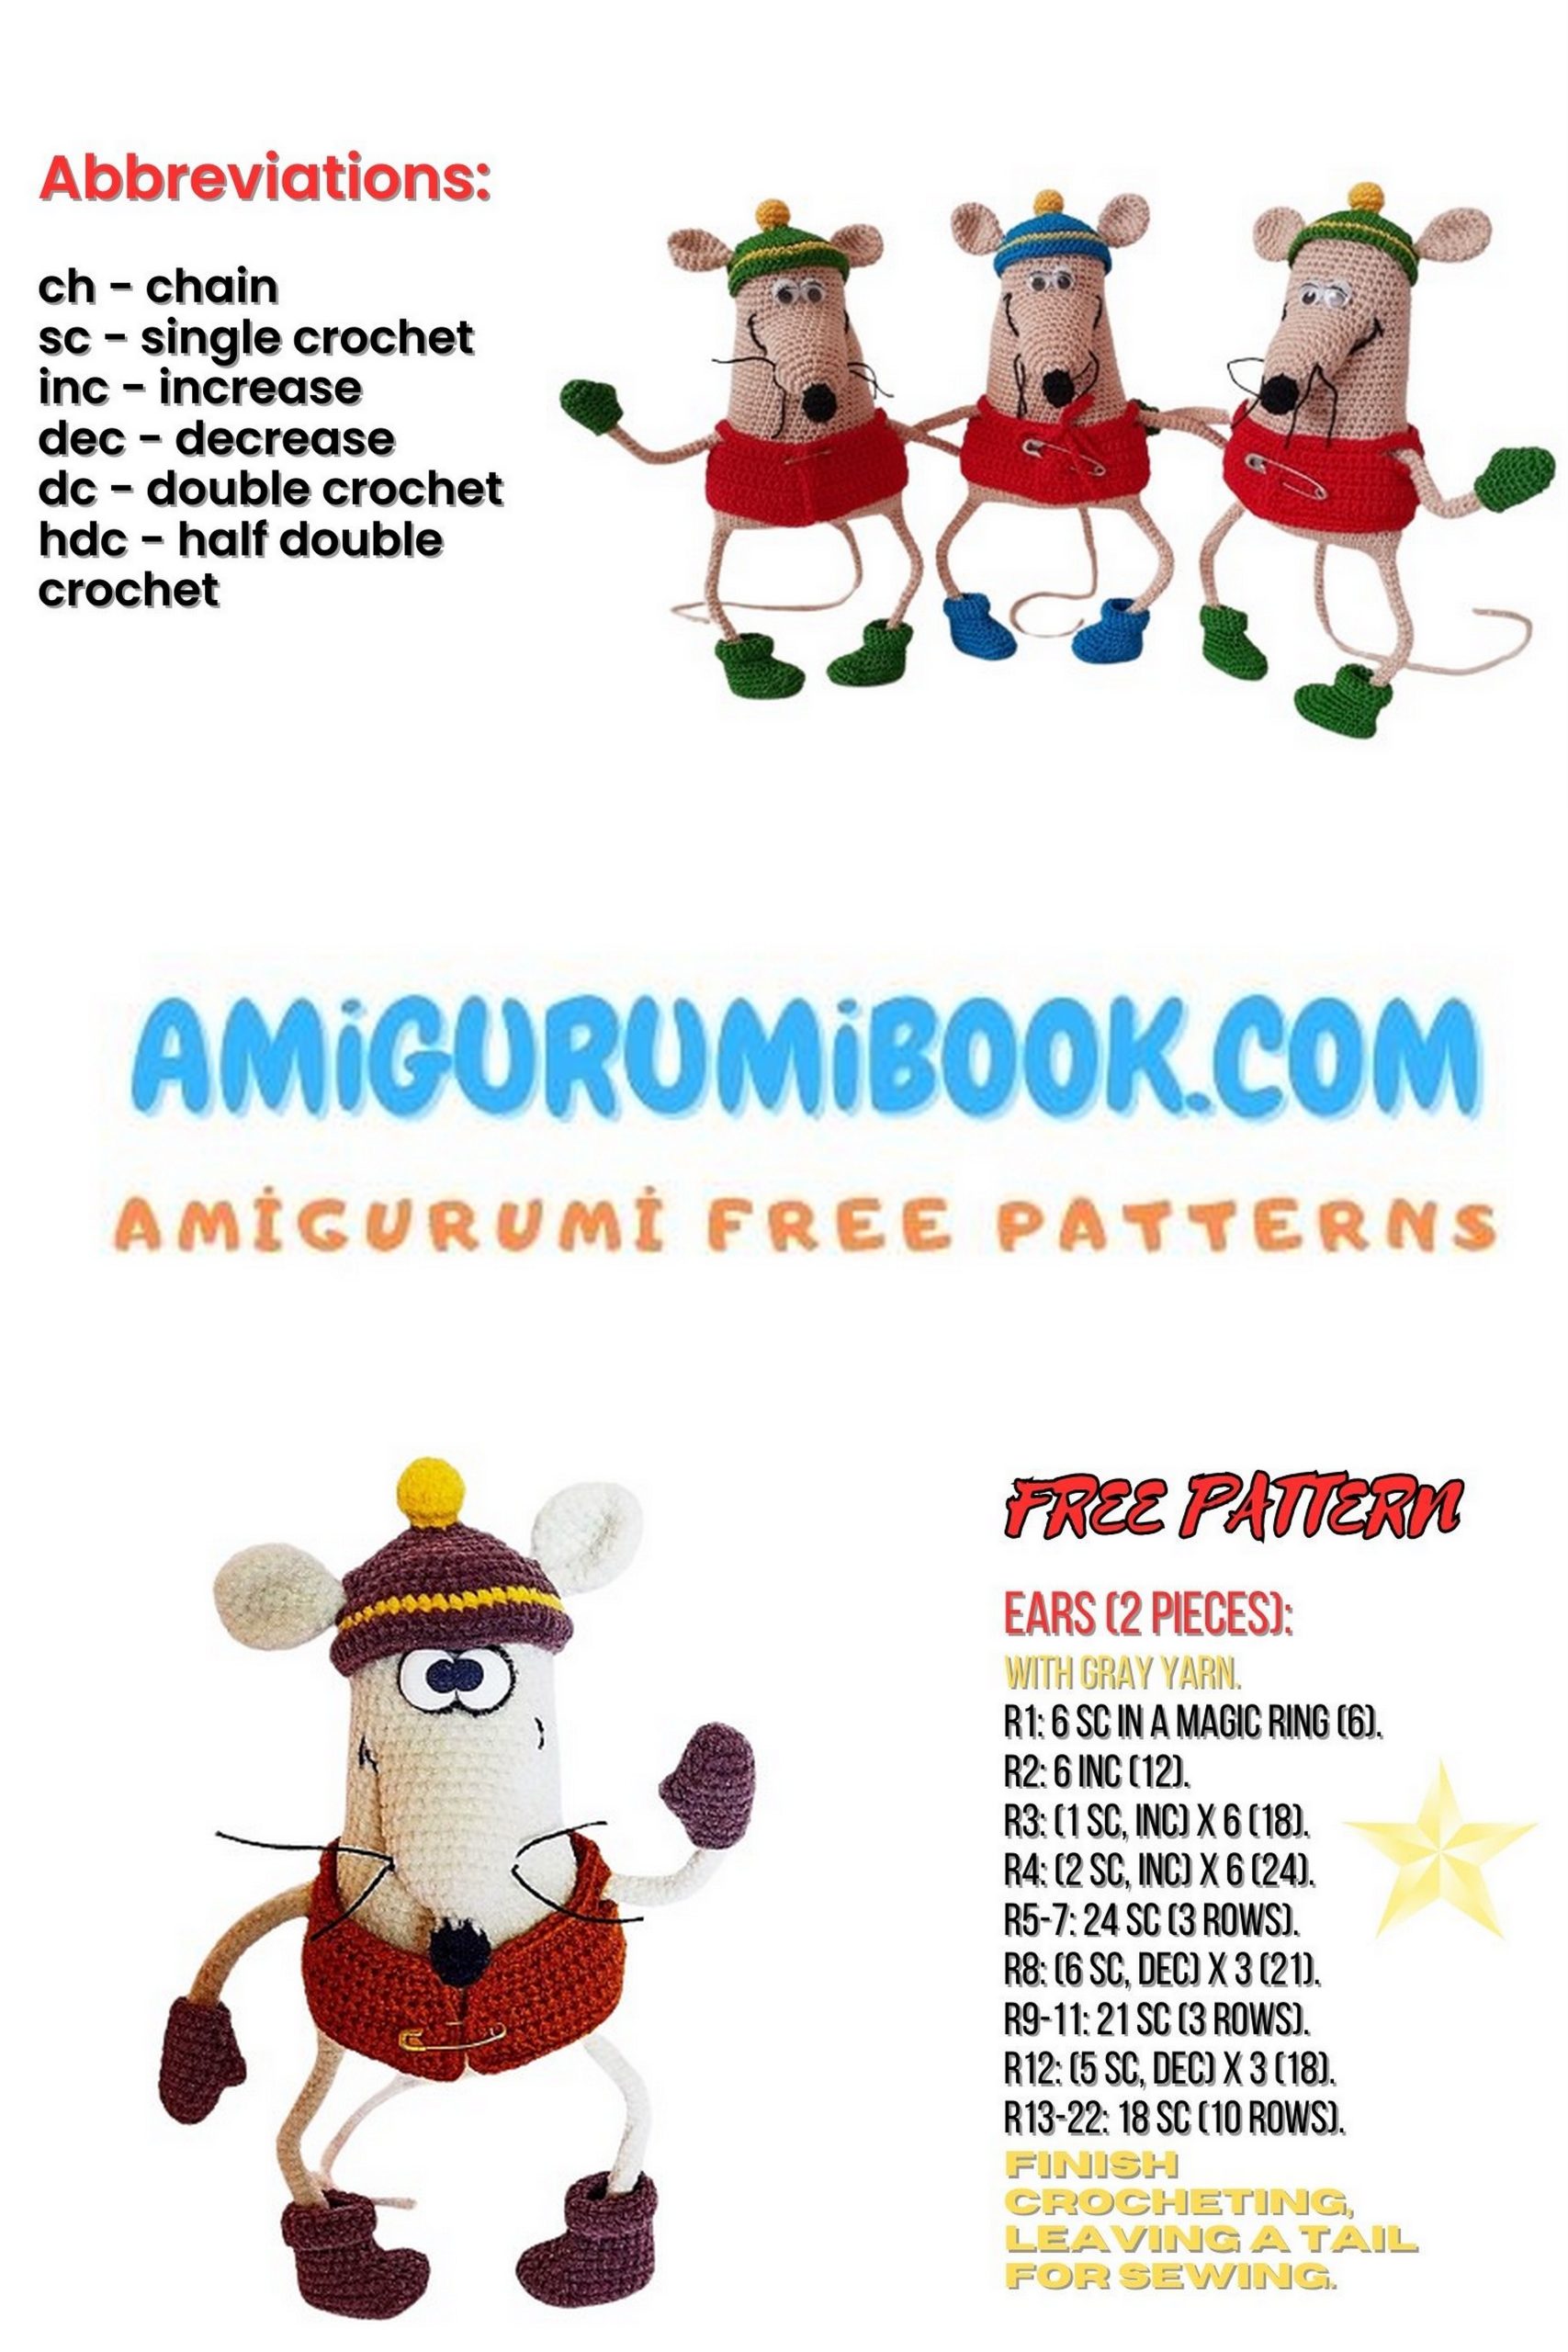
Ears (2 pieces): Mouse Bop
Main color yarn, 1.0mm hook
1 Row: 2 CH, in the 2nd from the hook, SC in the back loop (6).
2 Row: INC in each stitch (12).
3 Row: (1 SC, INC)*6 (18).
4-6 Rows: 18 SC (18).
7 Row: (5 SC, INC)*2 (14).
8 Row: (5 SC, DEC)*2 (12).
9 Row: 6 DEC (6).
10-11 Rows: SC (6).
Fasten off, cut the yarn.
Hood: Mouse Bop
Main color yarn + “Kartopu Nubuk” in black, 1.5mm hook.
Start with black yarn:
1 Row: 2 CH, SC in the back loop (6).
2 Row: (INC, 1 SC)*3 (9).
3-4 Rows: SC (9).
5 Row: (1 SC, INC)*3 (6).
Switch to cream color yarn:
6 Row: 6 INC (12).
7 Row: (1 SC, INC)*6 (18).
8 Row: 18 SC (18).
9 Row: (2 SC, INC)*6 (24).
10-11 Rows: 24 SC (24).
12 Row: (10 SC, INC)*2 (22).
13-16 Rows: 22 SC (22).
Fasten off, cut the yarn.
Tail: Mouse Bop
Main color yarn, crochet hooks 1.5 and 1.0
Start with 1.5mm hook:
1 Row: Join 6 SC with a slip stitch to form a ring (6).
2-4 Rows: 6 DC (6).
Switch to 1.0mm hook:
5-6 Rows: 6 INC in each stitch (6).
You can insert wire into the tail at this stage and crochet around it.
7 Row: DEC, 4 SC (5).
8-11 Rows: 5 SC (5).
12 Row: INC, 3 INC in the same stitch (4).
13-22 Rows: 4 SC (4).
Wrap the wire, secure with double-sided tape, and then wrap with yarn. Secure the end with super glue.

Legs (2 pieces): Mouse Bop
Main color yarn, crochet hooks 1.5 and 1.0
Wire – 80cm.
Start with 1.5mm hook:
1 Row: 6 SC, join the 2nd from the hook chain, CH 3 SC, 3 SC in the last chain; on the other side of the chain: 3 DC, join with a slip stitch (13).
2 Row: 2 INC, 3 SC, 2 INC, 5 SC (18).
3 Row: 18 SC (18).
4 Row: 6 INC, 2 SC, INC, 2 SC, INC, 6 SC (16).
5 Row: 5 INC, 3 INC, 5 INC (13).
6 Row: 4 INC, 3 INC, 3 INC (10).
Take 40cm of wire for one leg, fold it in half, creating a loop the size of the foot. Wrap the loop with medical tape, insert into the leg, and stuff.
7 Row: 3 INC, 2 INC, 3 INC (8).
8 Row: 4 SC, DEC, 2 SC (7).
9 Row: 3 SC, 2 DEC (5).
Switch to 1.0mm hook:
10-28 Rows: 5 SC (5).
Fasten off, cut the yarn. Do not cut the yarn for the second leg.
Body: Mouse Bop
Switch to 1.5mm hook and continue crocheting on the second leg.
To make the soles “look” inside (pigeon-toed), the last stitch should be in the front, at the level of the toe.
Stuff tightly but not too firm as you go. The marker goes in front in the middle.
1 Row: 20 CH, join to the first leg: 5 SC along the first leg, 20 INC along the CH, 5 SC along the second leg, 10 SC along the CH (50).
Place a marker and monitor the start of the row.
2 Row: (DC, INC)*5 (55).
Twist the wire from the leg frames together, isolate with medical tape.
3 Row: (10 SC, INC)*5 (60).
4-14 Rows: 60 SC (60).
15 Row: (10 SC, INC)*5 (55).
16 Row: 55 SC (55).
Attach the arms:
17 Row: 11 SC, 2 SC together with the loops of the right arm, 29 DC, 2 SC together with the loops of the left arm, 11 SC (55).
18 Row: DC, DEC, 3 SC along the remaining loops of the right arm, 29 SC, 3 SC along the remaining loops of the left arm, DEC, DC (55).
19 Row: (9 INC, DEC)*5 (50).
Attach the wire from the arms to the leg frames, isolate with medical tape.
20-22 Rows: 50 SC (50).
23 Row: (DEC, INC)*5 (45).
24-30 Rows: 45 SC (45).
31 Row: (7 INC, DEC)*5 (40).
32 Row: 40 SC (40).
Attach the nose:
33 Row: 40 SC, 5 SC together with the loops of the nose (40).
Next, not a full row:
34 Row: 5 SC together with the loops of the hood, 30 DC (40).
35 Row: 12 SC along the remaining loops of the nose, DEC, 2 DC, DEC, 5 SC (starting the row again here).
34 Rows: … (continuation is not clear).
Sew up the back line with the green line.
36 Row: 40 DC (40).
Attach the wire from the legs and arms to the leg frame, isolate with medical tape.
Insert a bit of stuffing into the nose for shape.
37-39 Rows: 40 SC (40).
40 Row: (6 INC, DEC)*5 (35).
41 Row: 35 SC (35).
Attach the ears:
42 Row: 9 SC, 2 SC together with the loops of the right ear, 11 SC, 2 SC together with the loops of the left ear, DC (35).
43 Row: 9 DC, 3 DC along the remaining loops of the right ear, 11 DC, 3 DC along the remaining loops of the left ear, DC (35).
44 Row: 35 SC (35).
45 Row: (5 SC, DEC)*5 (30).
46 Row: (DEC, INC)*6 (24).
47 Row: (2 INC, DEC)*6 (18).
48 Row: (1 INC, DEC)*6 (12).
49 Row: 6 INC (6).
Fasten off, secure, and cut the yarn.”
Please note that there might be some parts where the continuation of the instructions is not clear, and additional information may be needed to complete the pattern accurately.

Mittens (2 pieces):
Yarn “Kartopu Nubuk” in brown color, crochet hook 1.5.
1 Row: 2 CH, in the 2nd from the hook, SC in the back loop (6).
2 Row: 6 INC (12).
3 Row: (5 SC, INC)*2 (14).
4-5 Rows: 14 SC (14).
6 Row: 2 SC, 1 SC in the next loop and in the same loop crochet 3 HDC, 11 SC (17).
7 Row: 3 SC, triple decrease (3 SC together), 11 SC (15).
8 Row: 3 SC, DEC, 10 SC (14).
9 Row: 1 SC, 6 HDC, 2 HDC in the same loop, 9 HDC (12).
10 Row: 12 SC (12).
Cut the yarn, fasten off. The mitten pattern is repeated for the second mitten.
Boots (2 pieces):
Yarn “Kartopu Nubuk” in brown color, crochet hook 1.5.
Place a marker in the middle of the heel.
1 Row: 2 CH, in the 2nd from the hook, SC, 6 HDC, 4 DC in the last loop, on the other side of the chain: 6 HDC, SC (20).
2 Row: 2 INC, 6 HDC, 4 INC, 6 HDC, 2 INC (28).
3 Row: INC, 1 HDC, INC, 7 HDC, (INC, 1 HDC)*3, INC, 11 HDC (34).
4 Row: 34 SC in the back loop (34).
5 Row: 10 HDC, (3 HDC, 2 INC)*3, 3 HDC, 10 HDC (30).
6 Row: 10 HDC, (3 HDC, INC)*3, 3 HDC, 9 HDC (26).
7 Row: 8 SC, 5 DEC, 8 SC (21).
8 Row: 8 SC, 3 DEC, 7 SC (18).
9-12 Rows: 18 SC (18).
13 Row: 18 SC in the front loop (18).
14-15 Rows: 18 SC (18).
Cut the yarn, fasten off. Fold the boot.
Hat: Mouse Bop
Yarn “Kartopu Nubuk” in brown and yellow colors, crochet hook 1.5.
Start with yellow yarn:
1 Row: 2 CH, in the 2nd from the hook, SC in the back loop (6).
2 Row: 6 INC (12).
3-4 Rows: 12 SC (12).
Make a small pompom.
Switch to brown yarn:
5 Row: 6 DEC (6).
Change to yellow yarn:
6 Row: 6 INC (12).
7 Row: (1 HDC, INC)*6 (18).
8 Row: (2 HDC, INC)*6 (24).
9 Row: (3 HDC, INC)*6 (30).
10 Row: (4 HDC, INC)*6 (36).
11 Row: (5 HDC, INC)*6 (42).
12 Row: 6 HDC, skip 6 stitches, 18 SC, CH, skip 6 stitches, SC (42).
13 Row: (6 HDC, INC)*6 (48).
Switch to yellow yarn:
14 Row: 48 SC (48).
Switch to brown yarn:
15 Row: 2 SC, turn, from the 2nd – 47 SC, slip stitch in the turning chain; turn, 47 SC, slip stitch in the turning chain.
Cut the yarn, fasten off.
Eyes:
Bake-hardening plastic in white and black colors.
Start by drawing eyes of different sizes on paper, try them out, and then sculpt eyes using the template.
Create two white eye whites and connect them in the middle.
Then create two pupils using black plastic, place them on the whites, and press slightly.
Bake according to the instructions.
Assembly:
Dress the hat, boots, and mittens on the rat.
ATTACHING WHISKERS:
Yarn “Iris” + needle.
Insert the thread into the needle…
Thread the needle under the loop, pull the thread halfway, then insert the needle again into the same loop, pull tight. Leave the desired length of the whiskers, cut the rest.
Sew on the tail:
Insert the tail from behind at the bottom and sew in a circle.
Attach the eyes.
VEST:
Yarn “Pchyolka” from Troitsk – golden color, crochet hook 1.5.
Crochet in straight-turning rows without a turning chain (just turn the work and crochet from the last stitch of the previous row).
1 Row: 67 CH, in the 2nd from the hook – single crochet (66).
2 Row: turn, 2 SC, DEC, 58 SC, DEC, 2 SC (64).
3)-5 Rows: turn, 64 SC (64).
6 Row: turn, 2 SC, DEC, 5 SC, DEC, 2 SC (62).
7)-8 Rows: turn, 62 SC (62).
9 Row: turn, 11 SC, CH, skip 6 stitches, 28 SC, CH, skip 6 stitches, 11 SC (62).
10 Row: turn, 11 SC, slip stitch in the chain, 28 SC, slip stitch in the chain, 11 SC (62).
Edge the entire perimeter of the vest with single crochet, making increases at the corners (3 SC in 1 stitch).
Cut the yarn, fasten off.
Put the vest on the rat.
If desired, you can add shading around the eyes and to the edges of the nose.
Your own Rat-Bob is ready!
Congratulations!
Thank you for using my tutorial.
I hope you enjoyed my description.