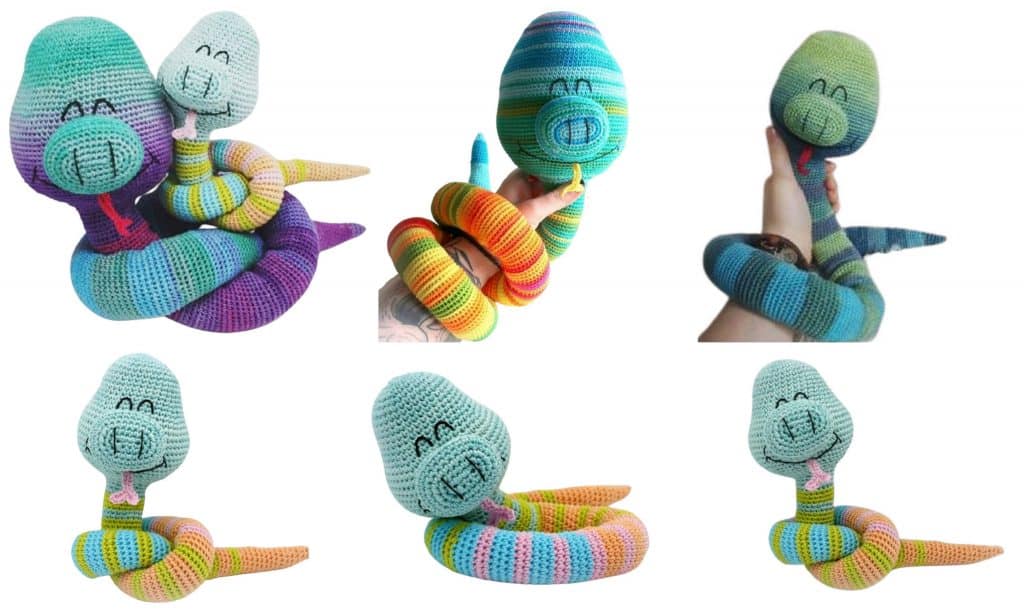
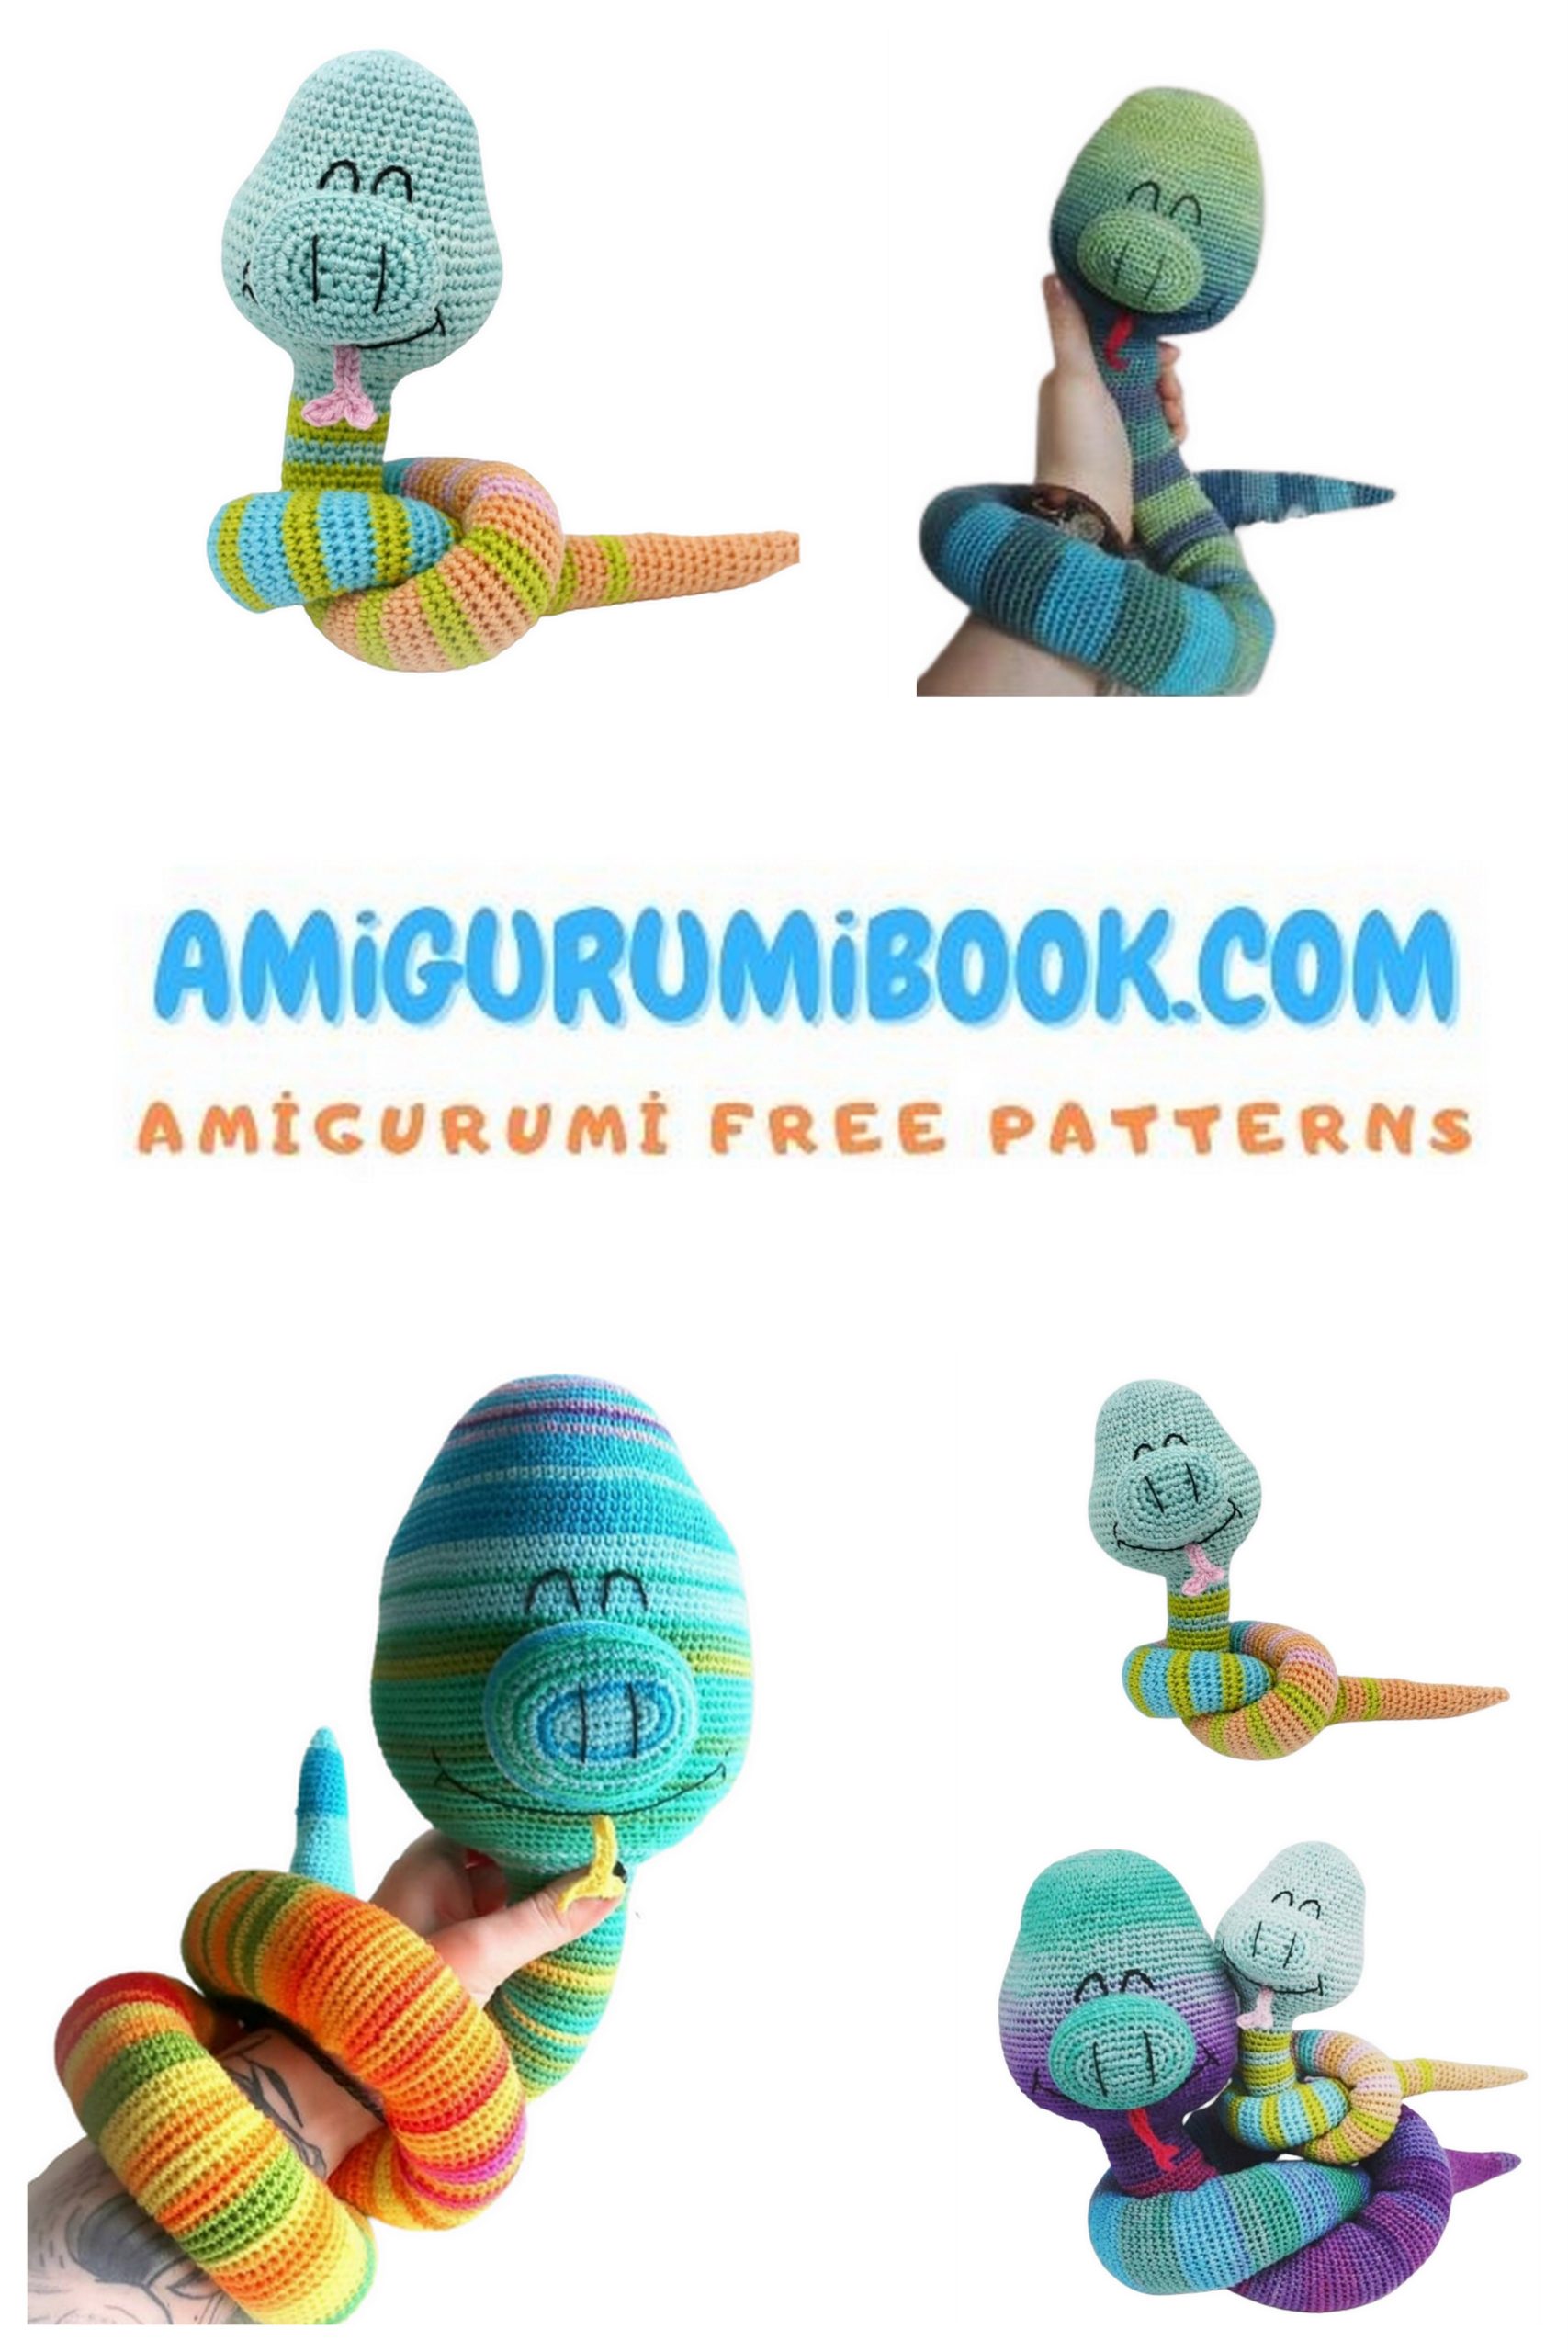
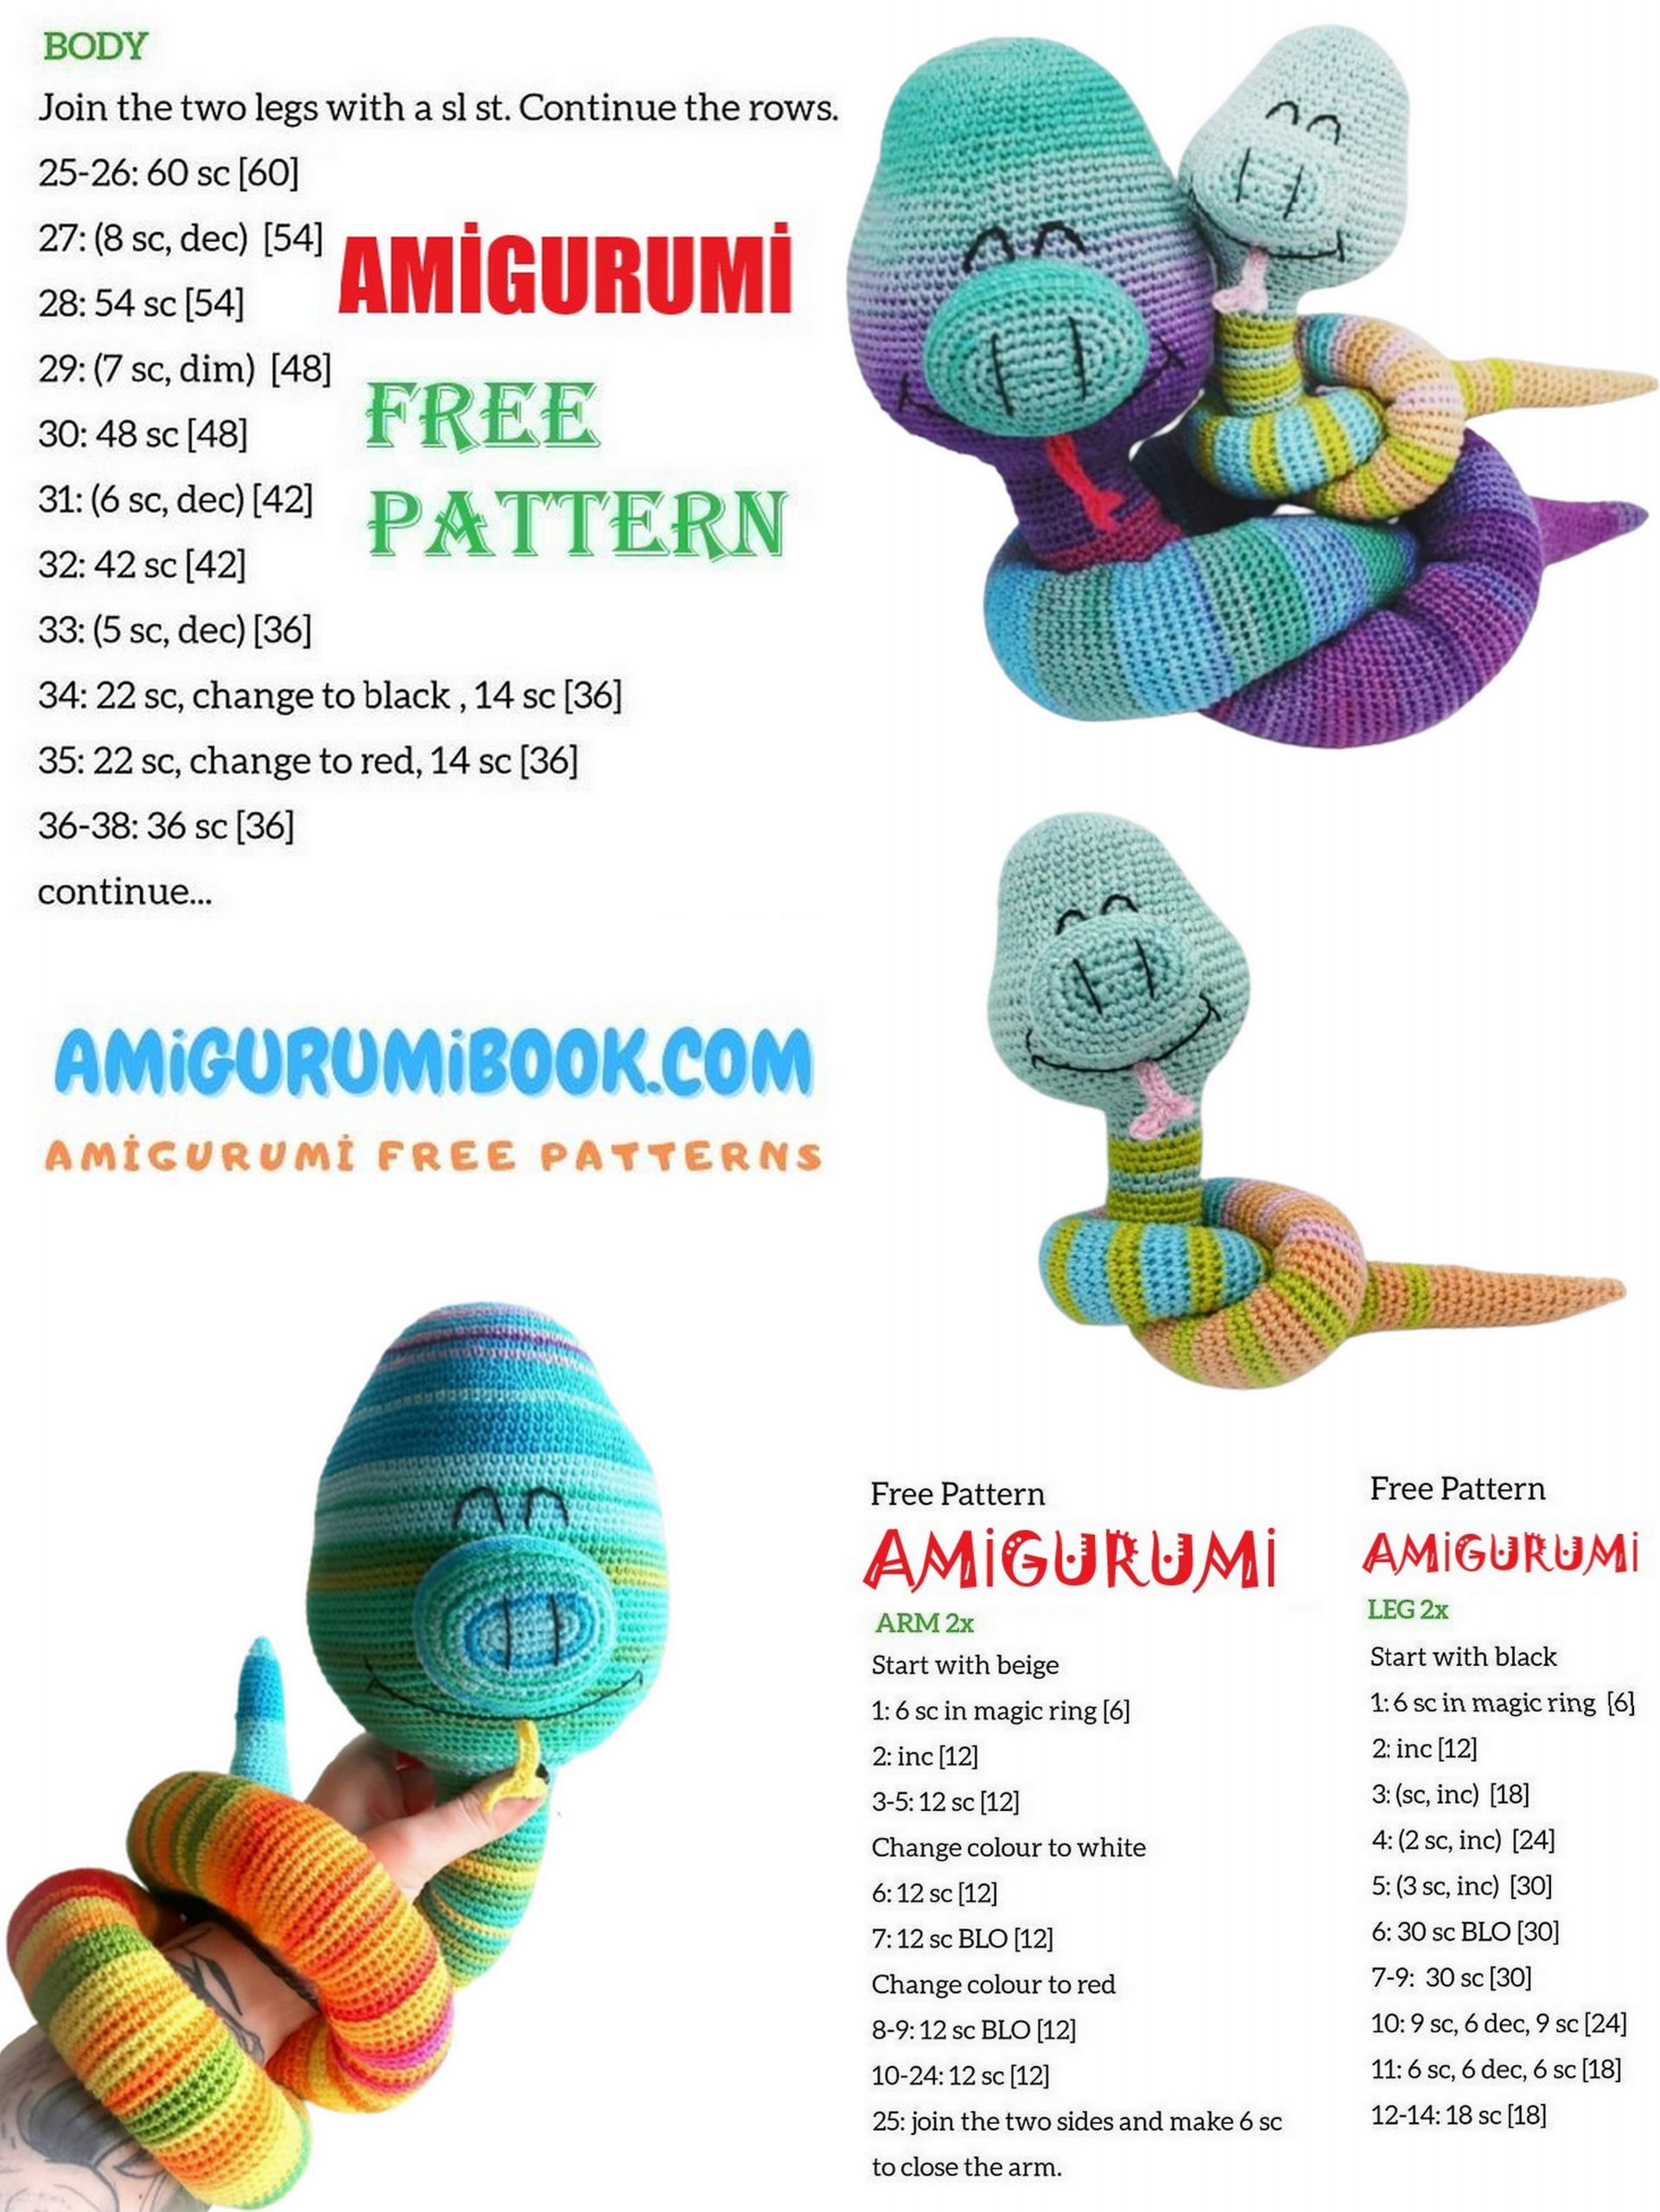
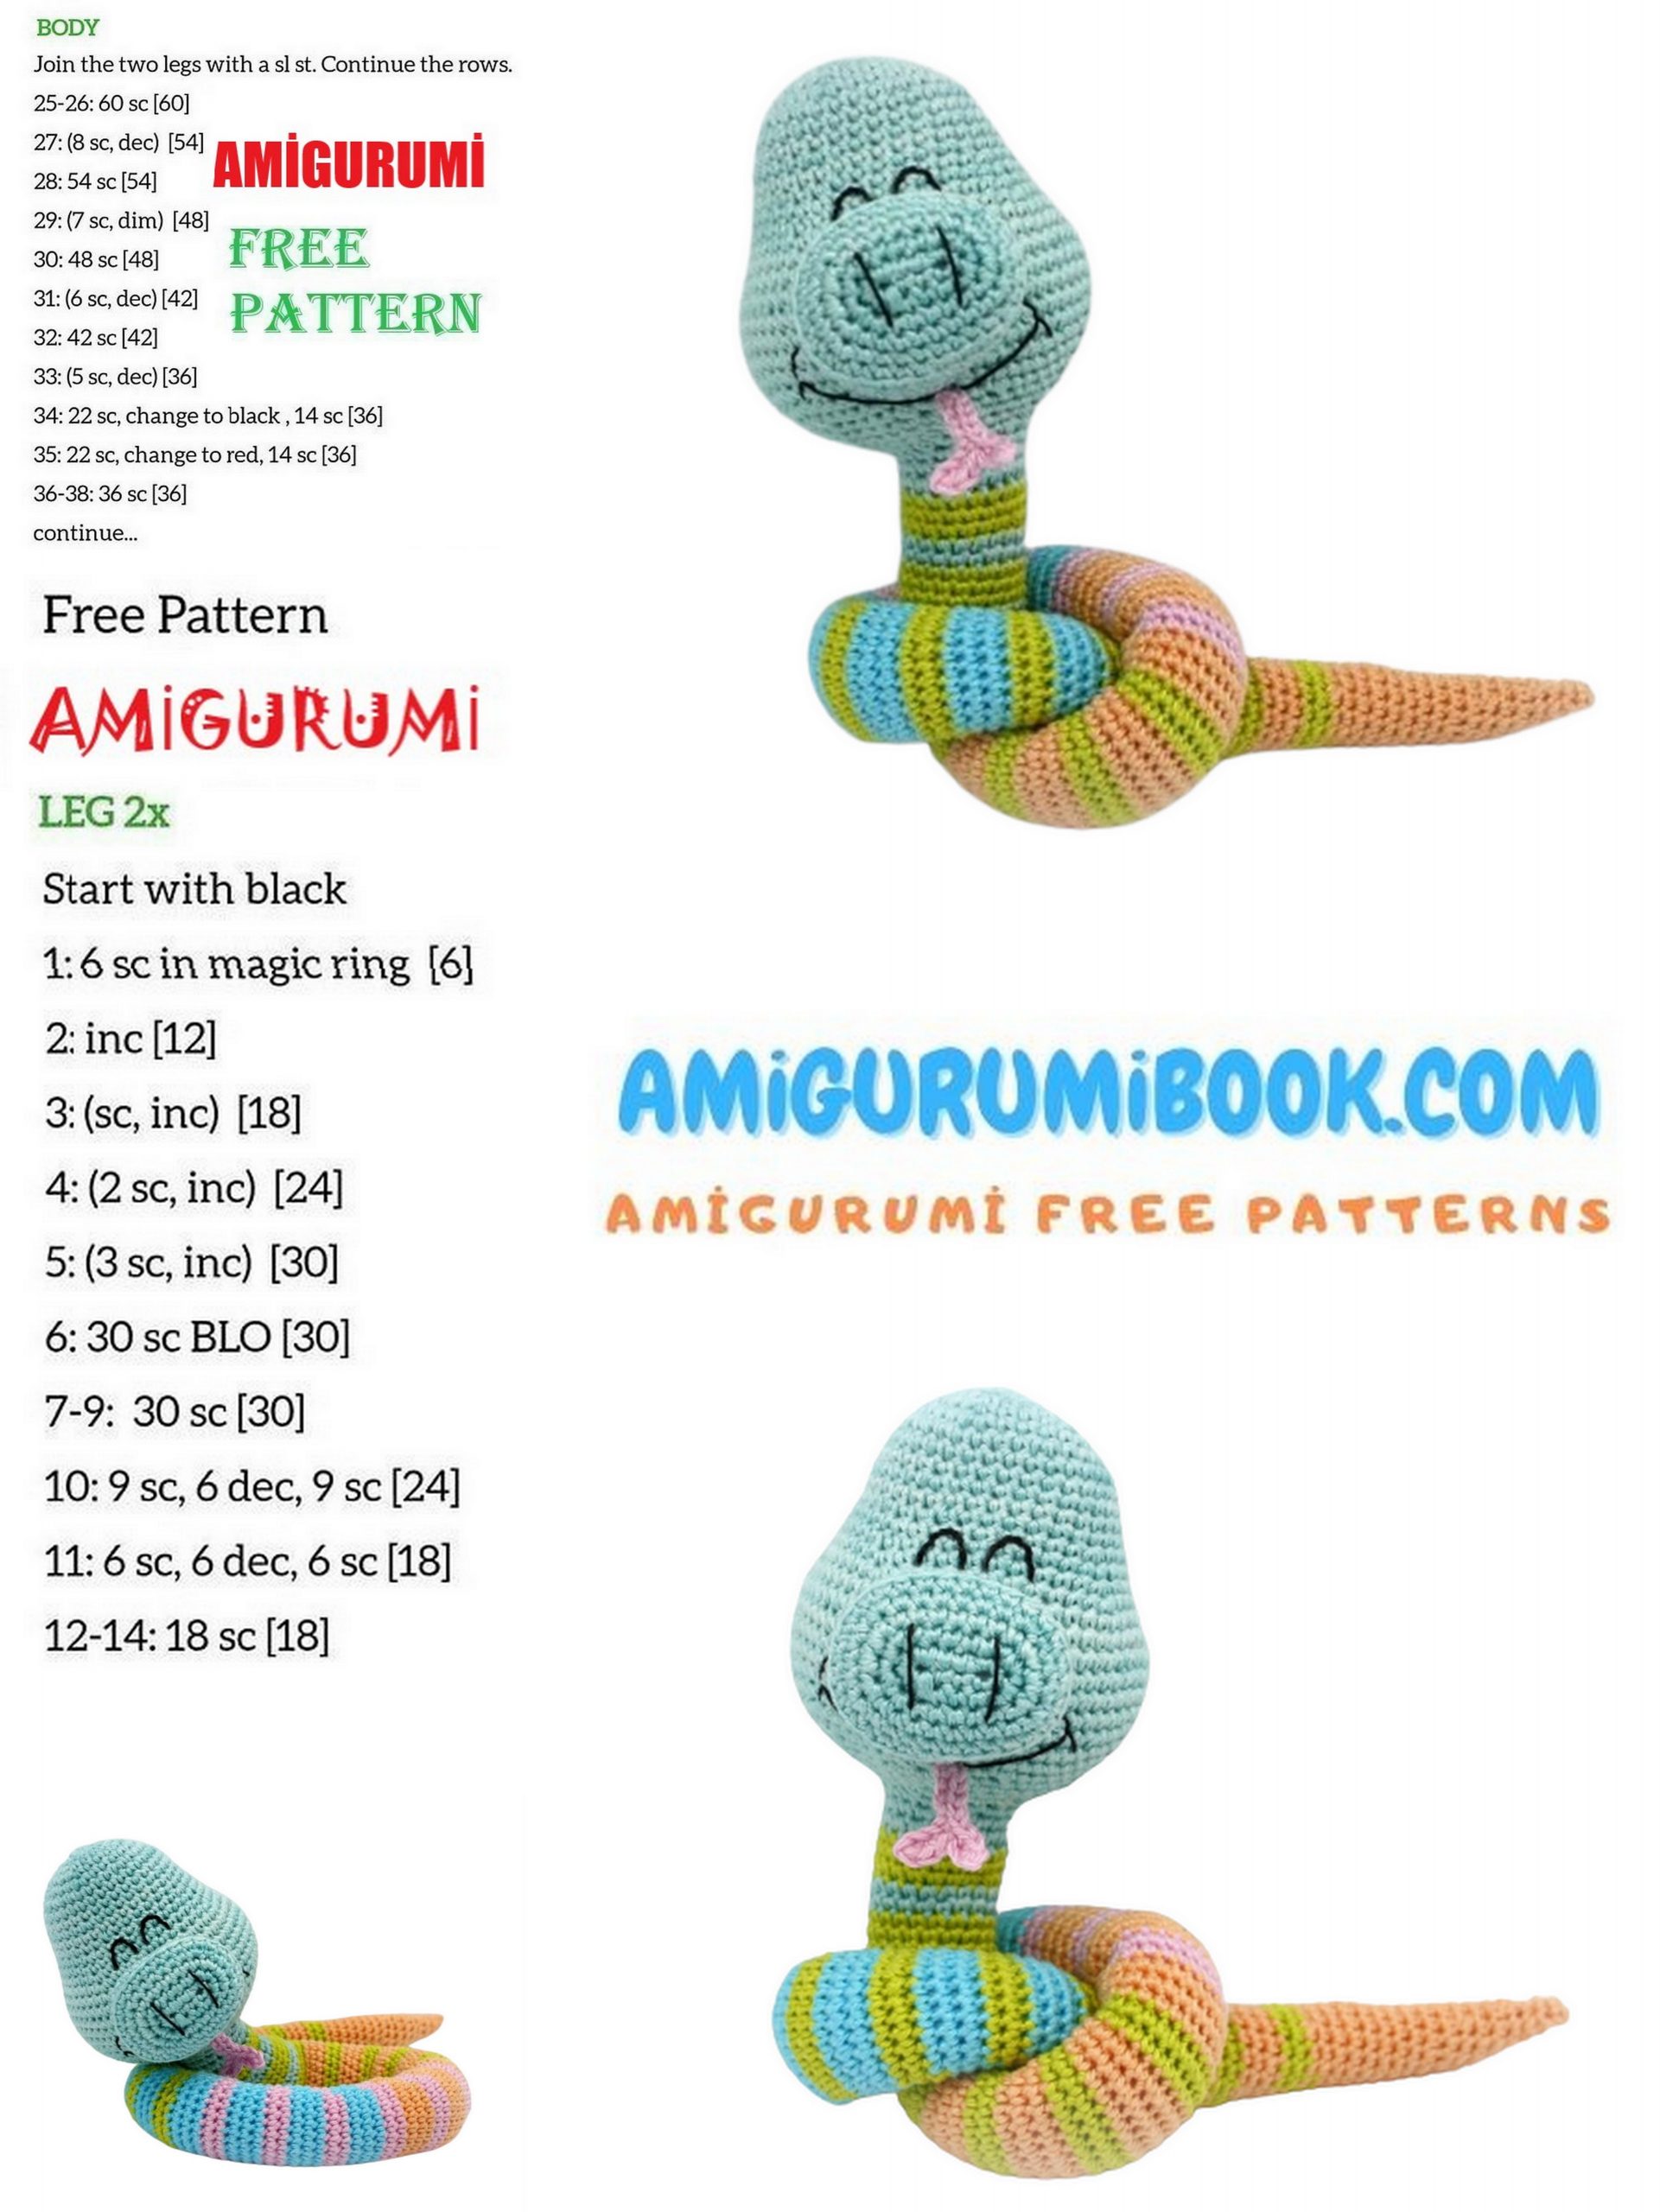
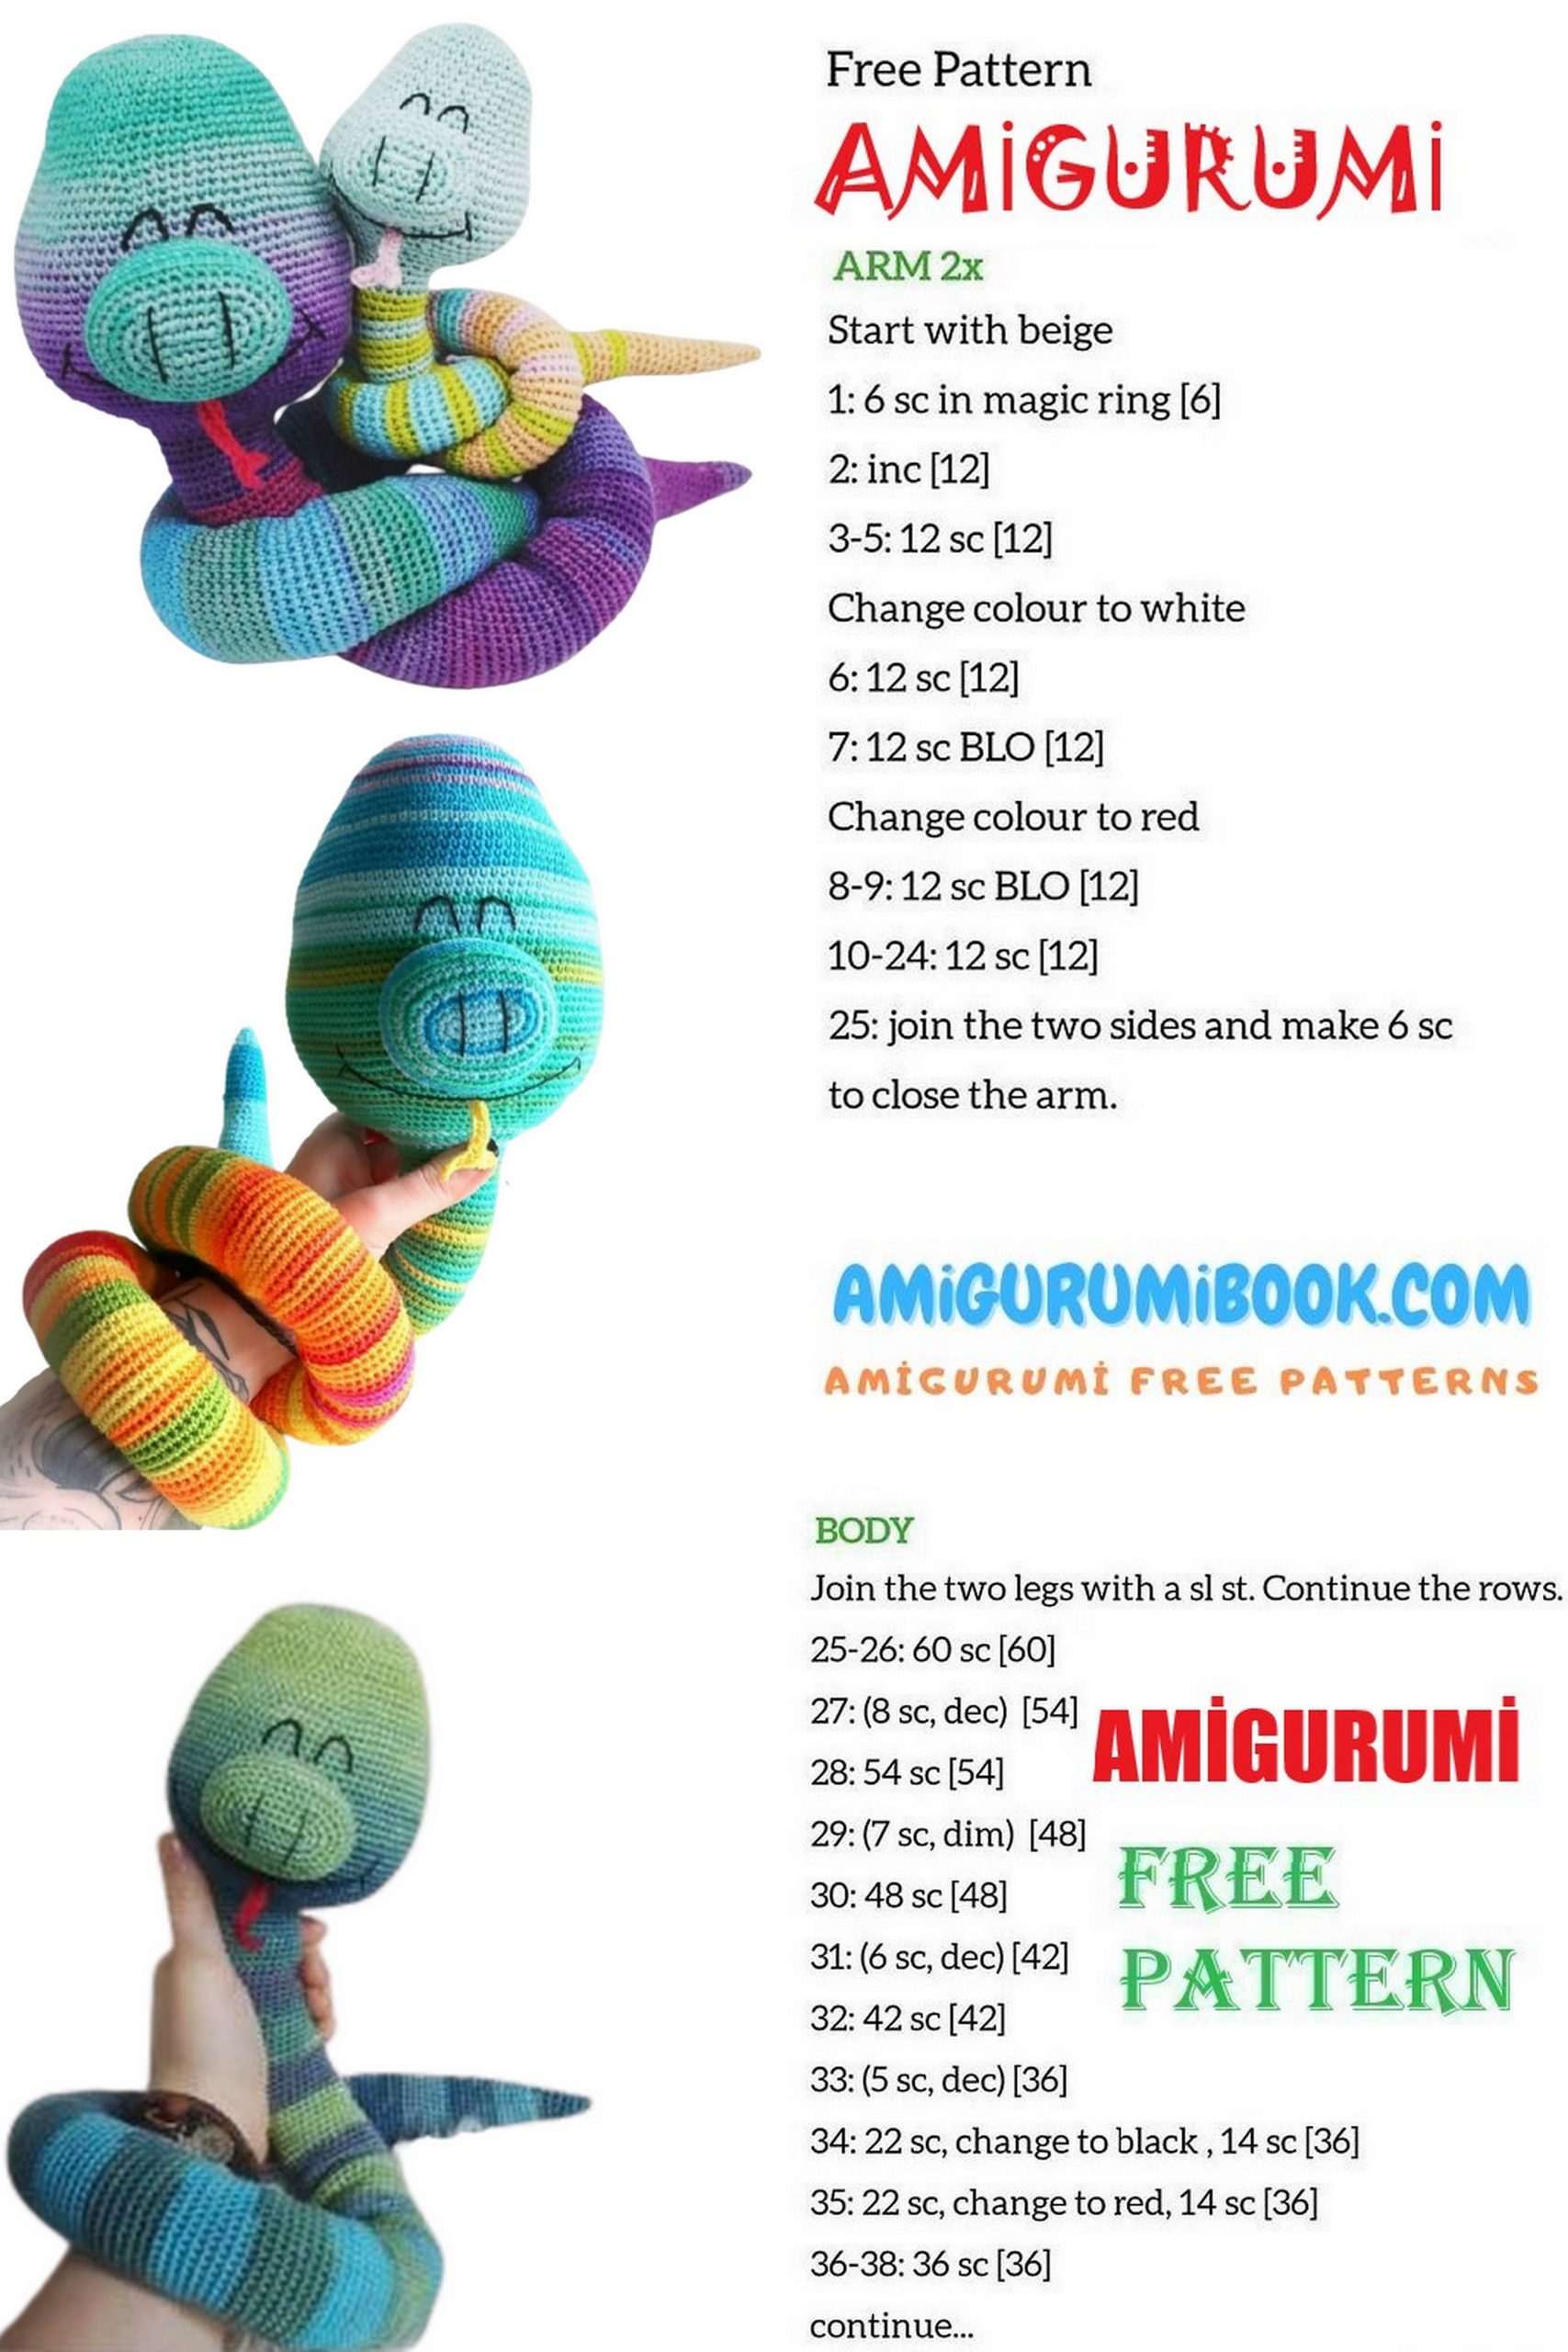
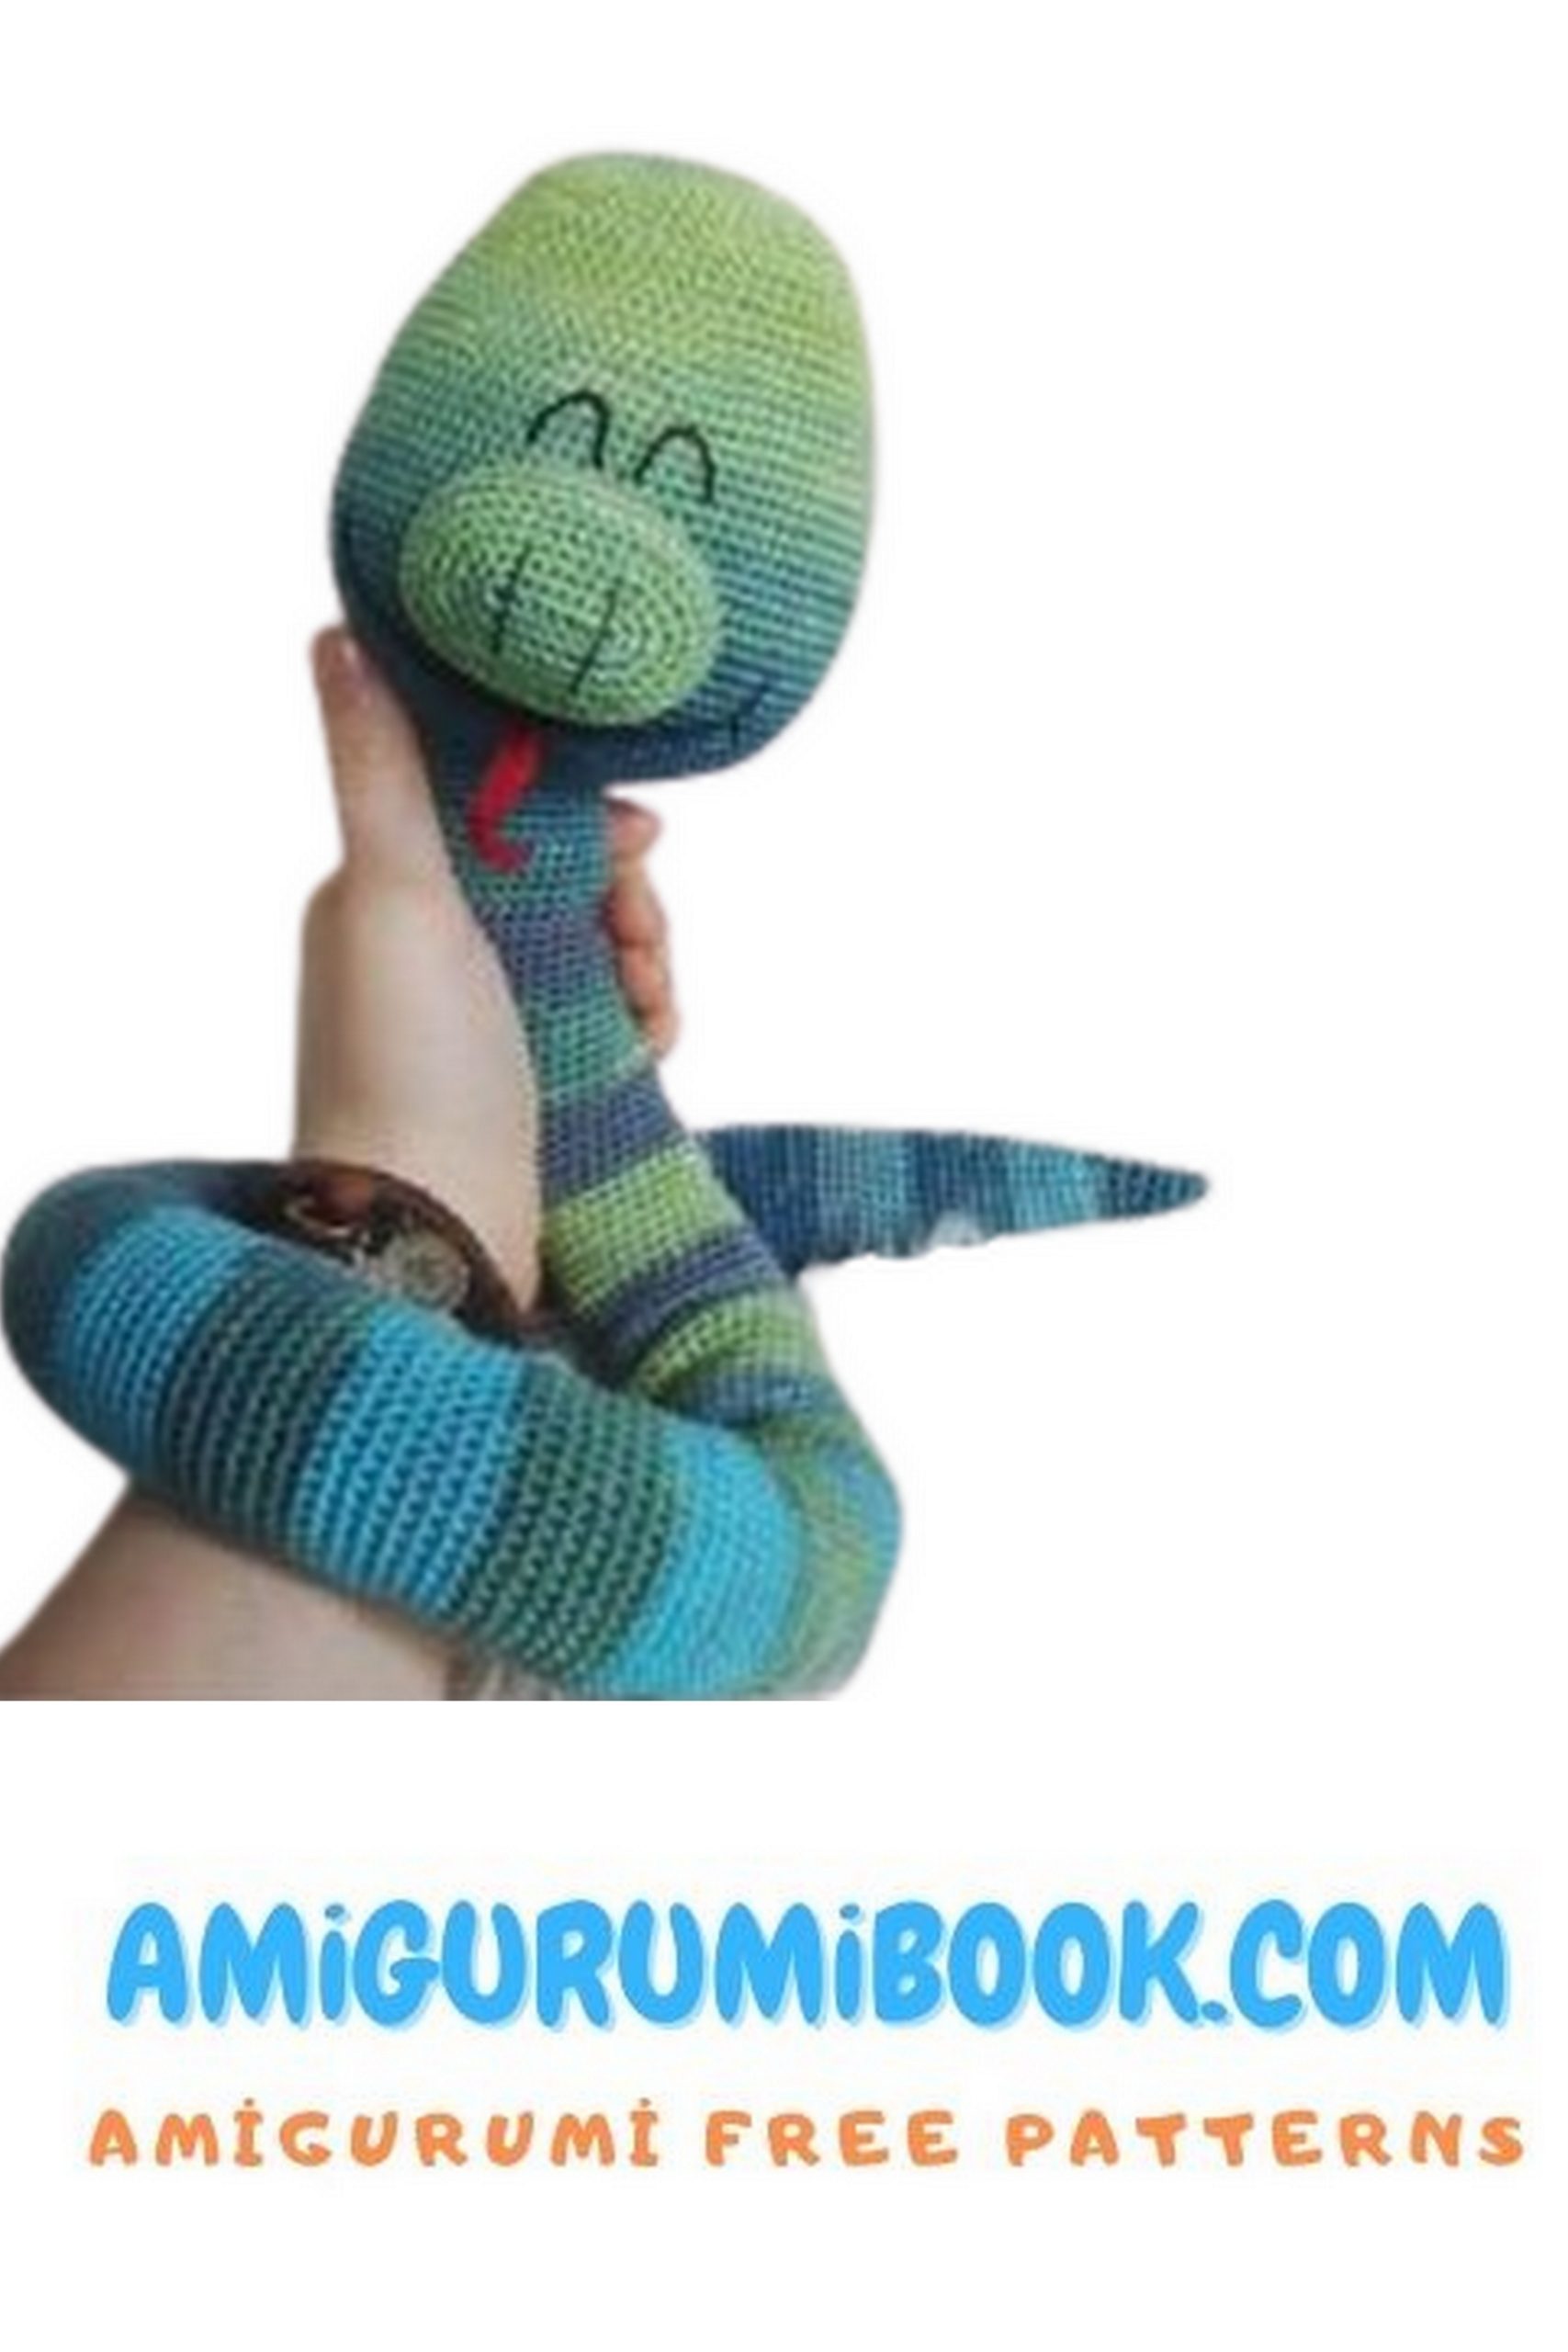
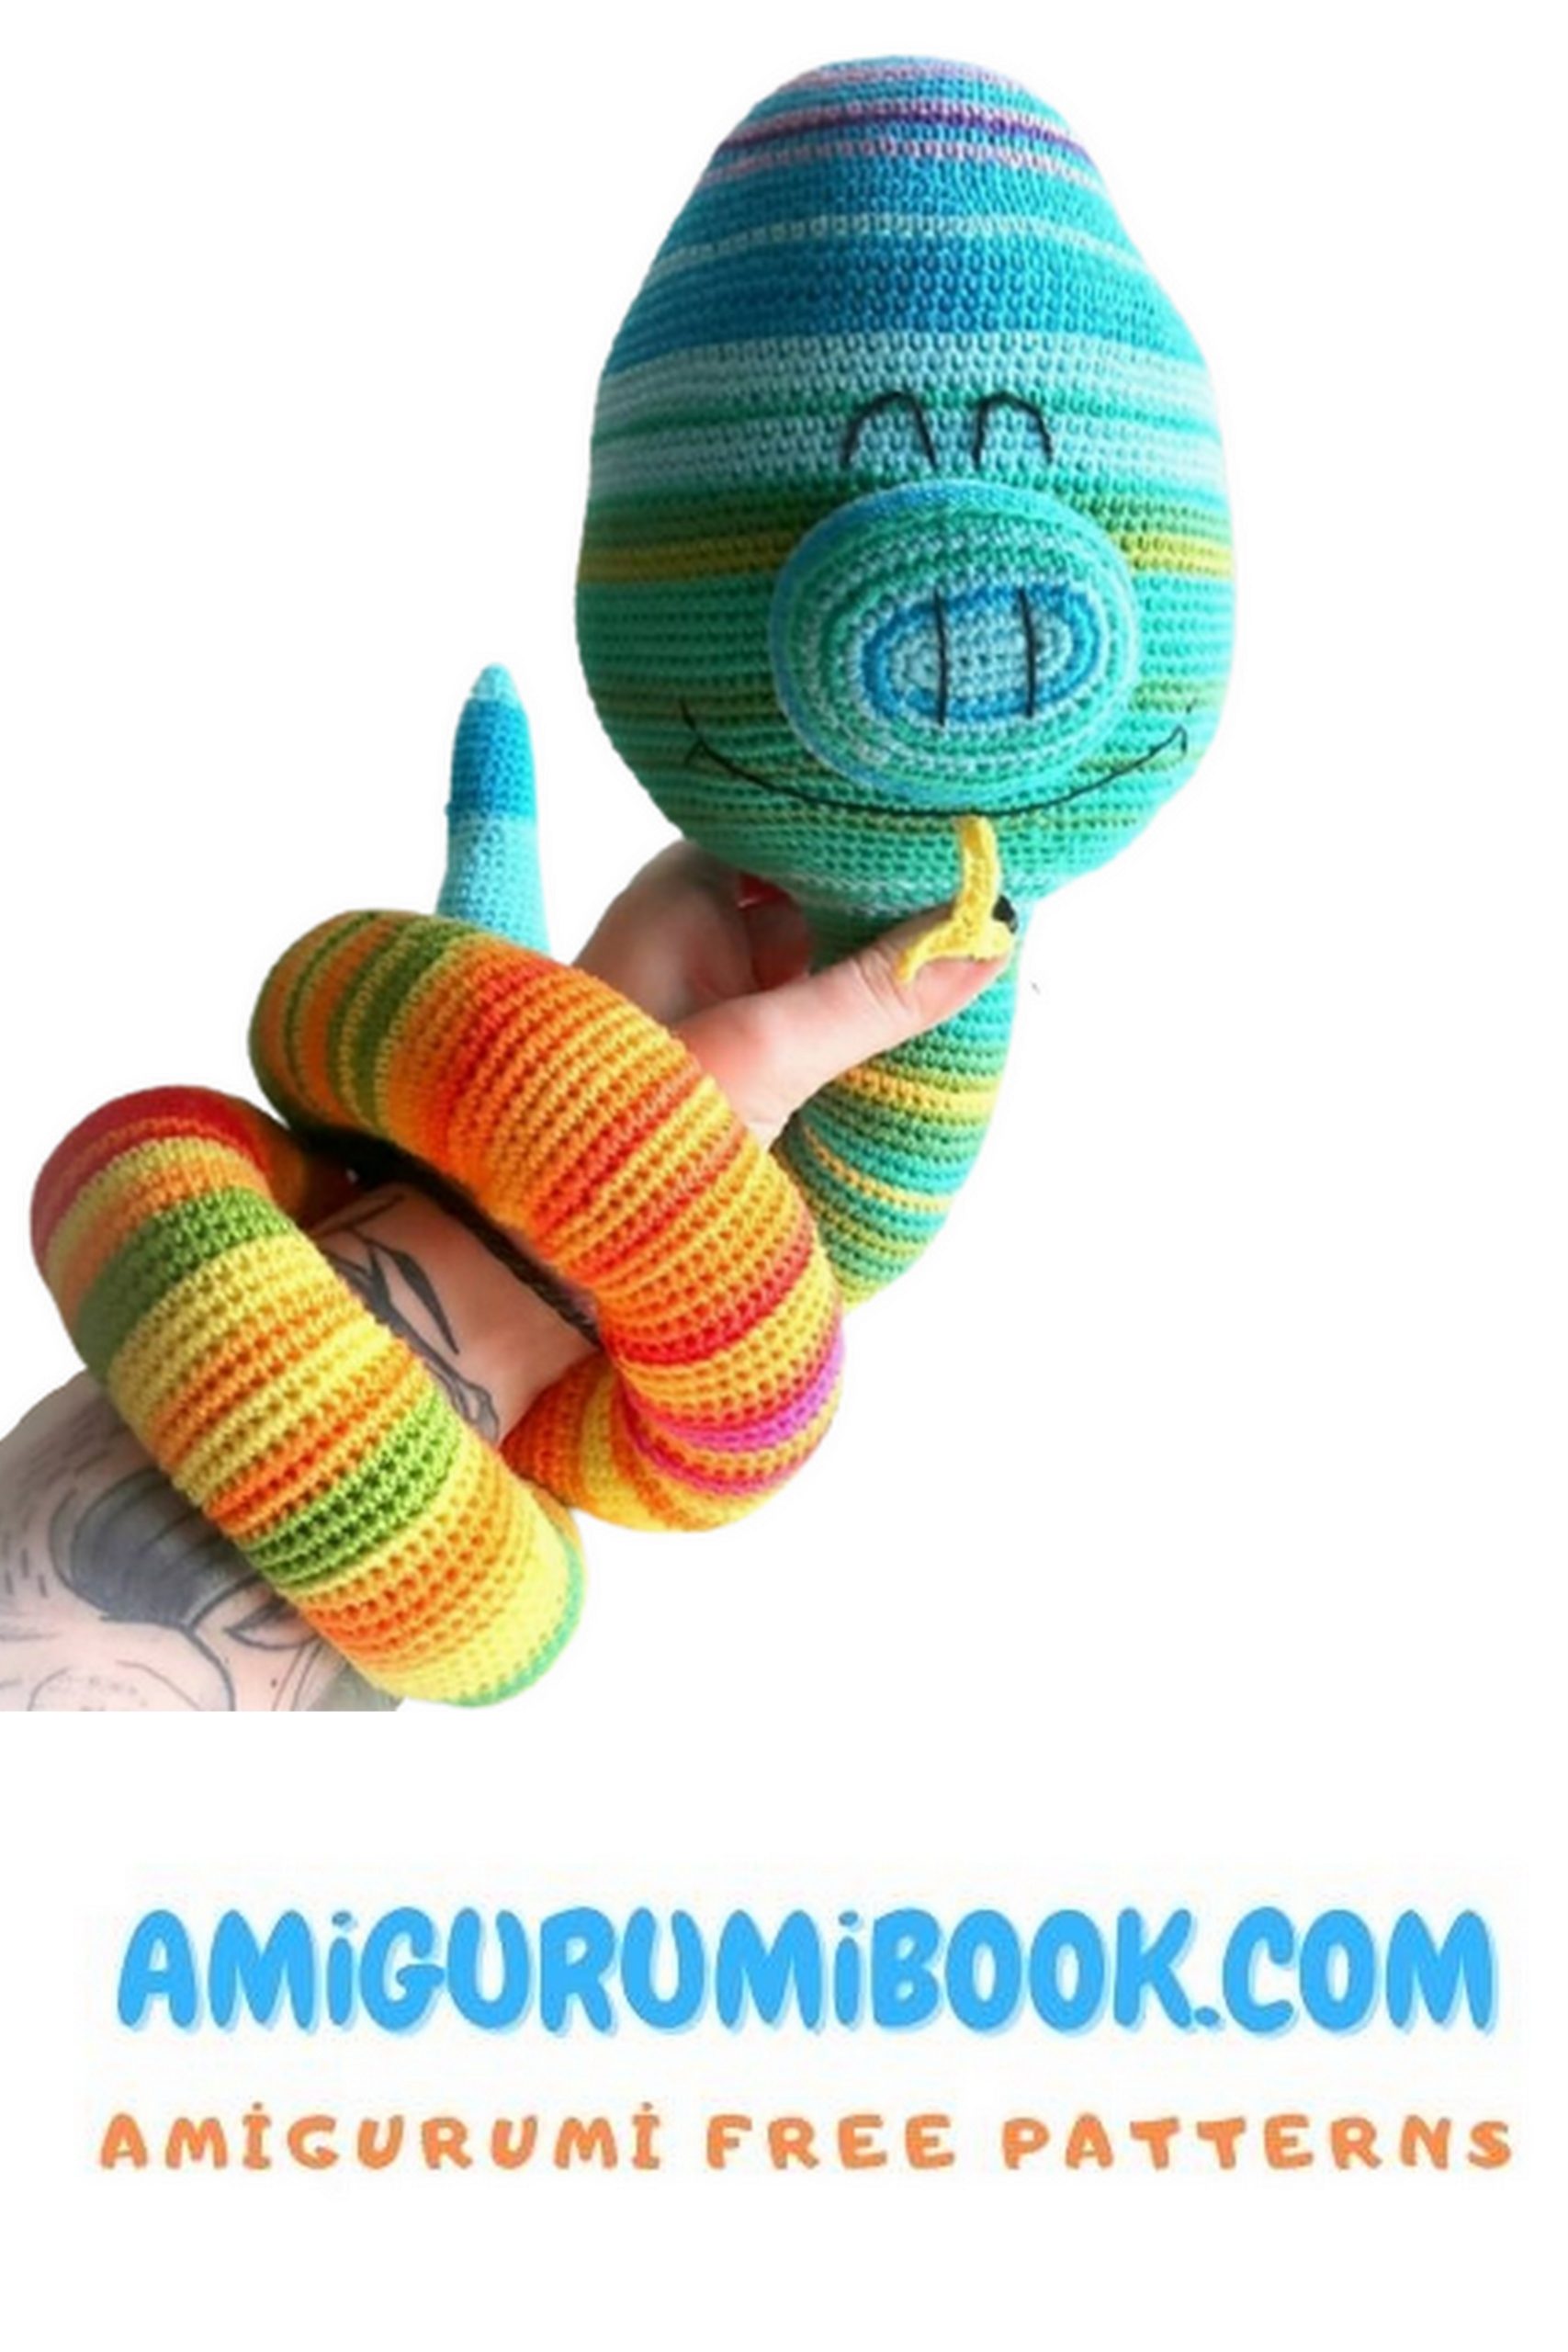
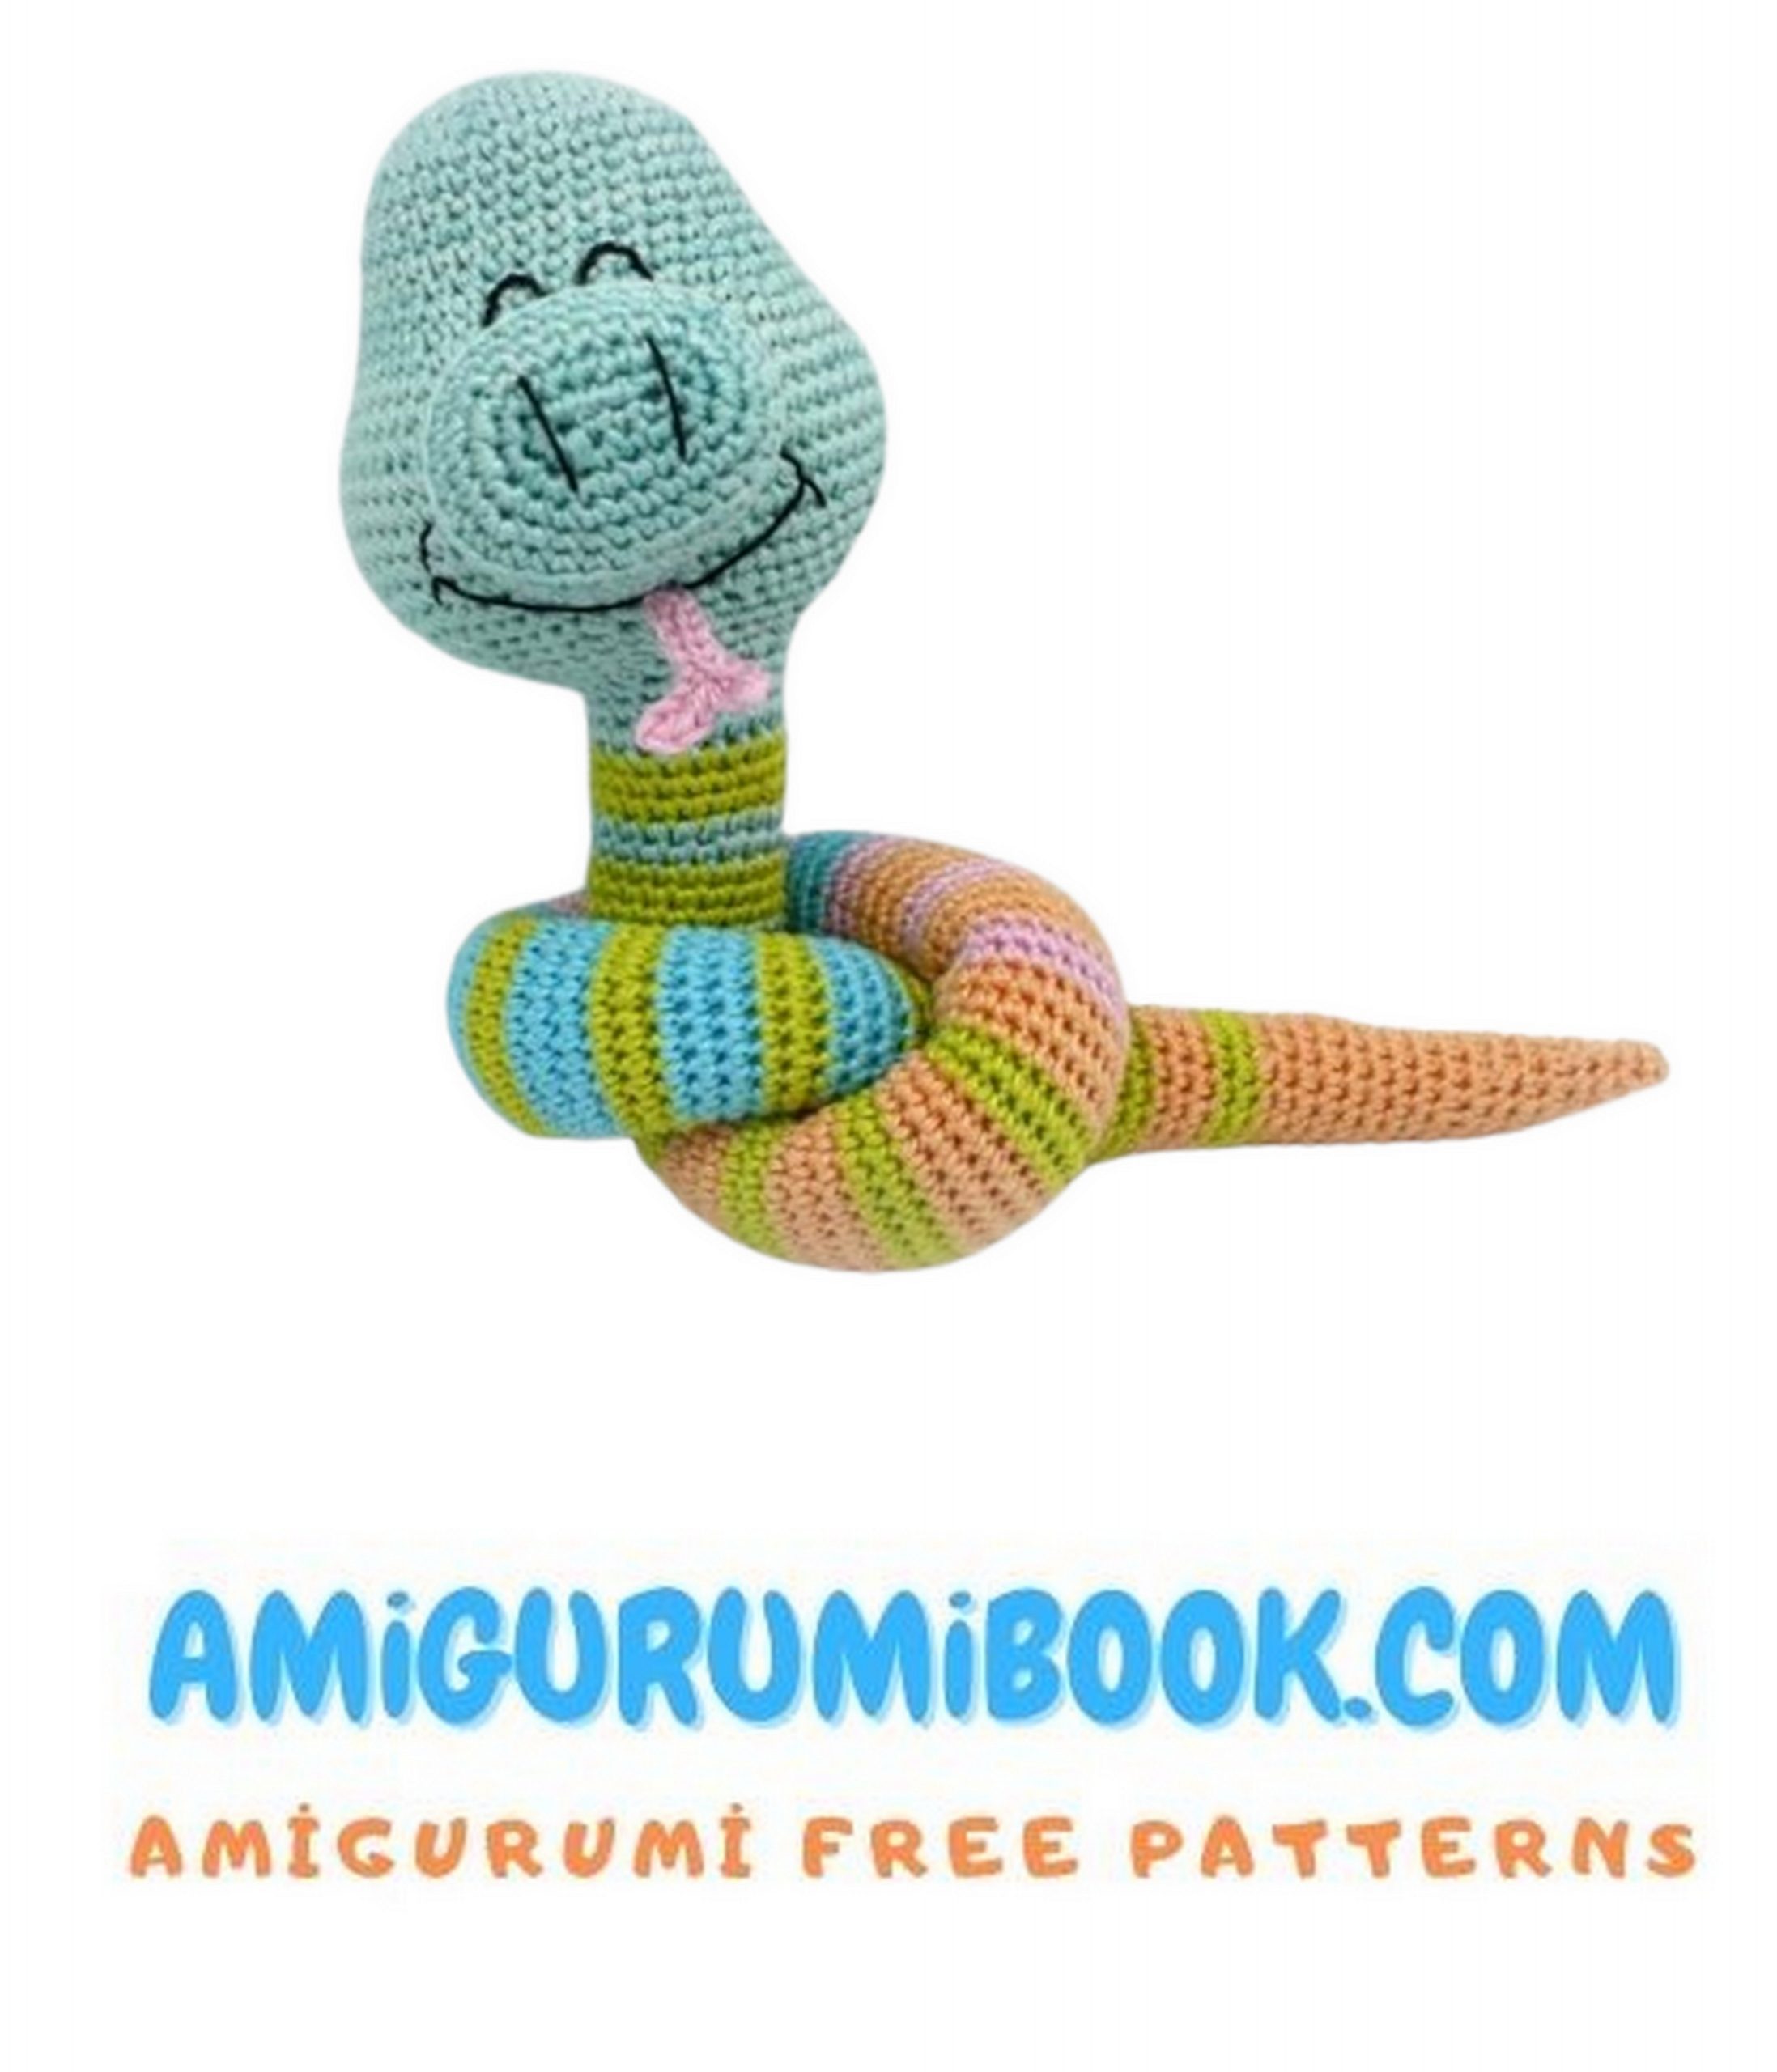
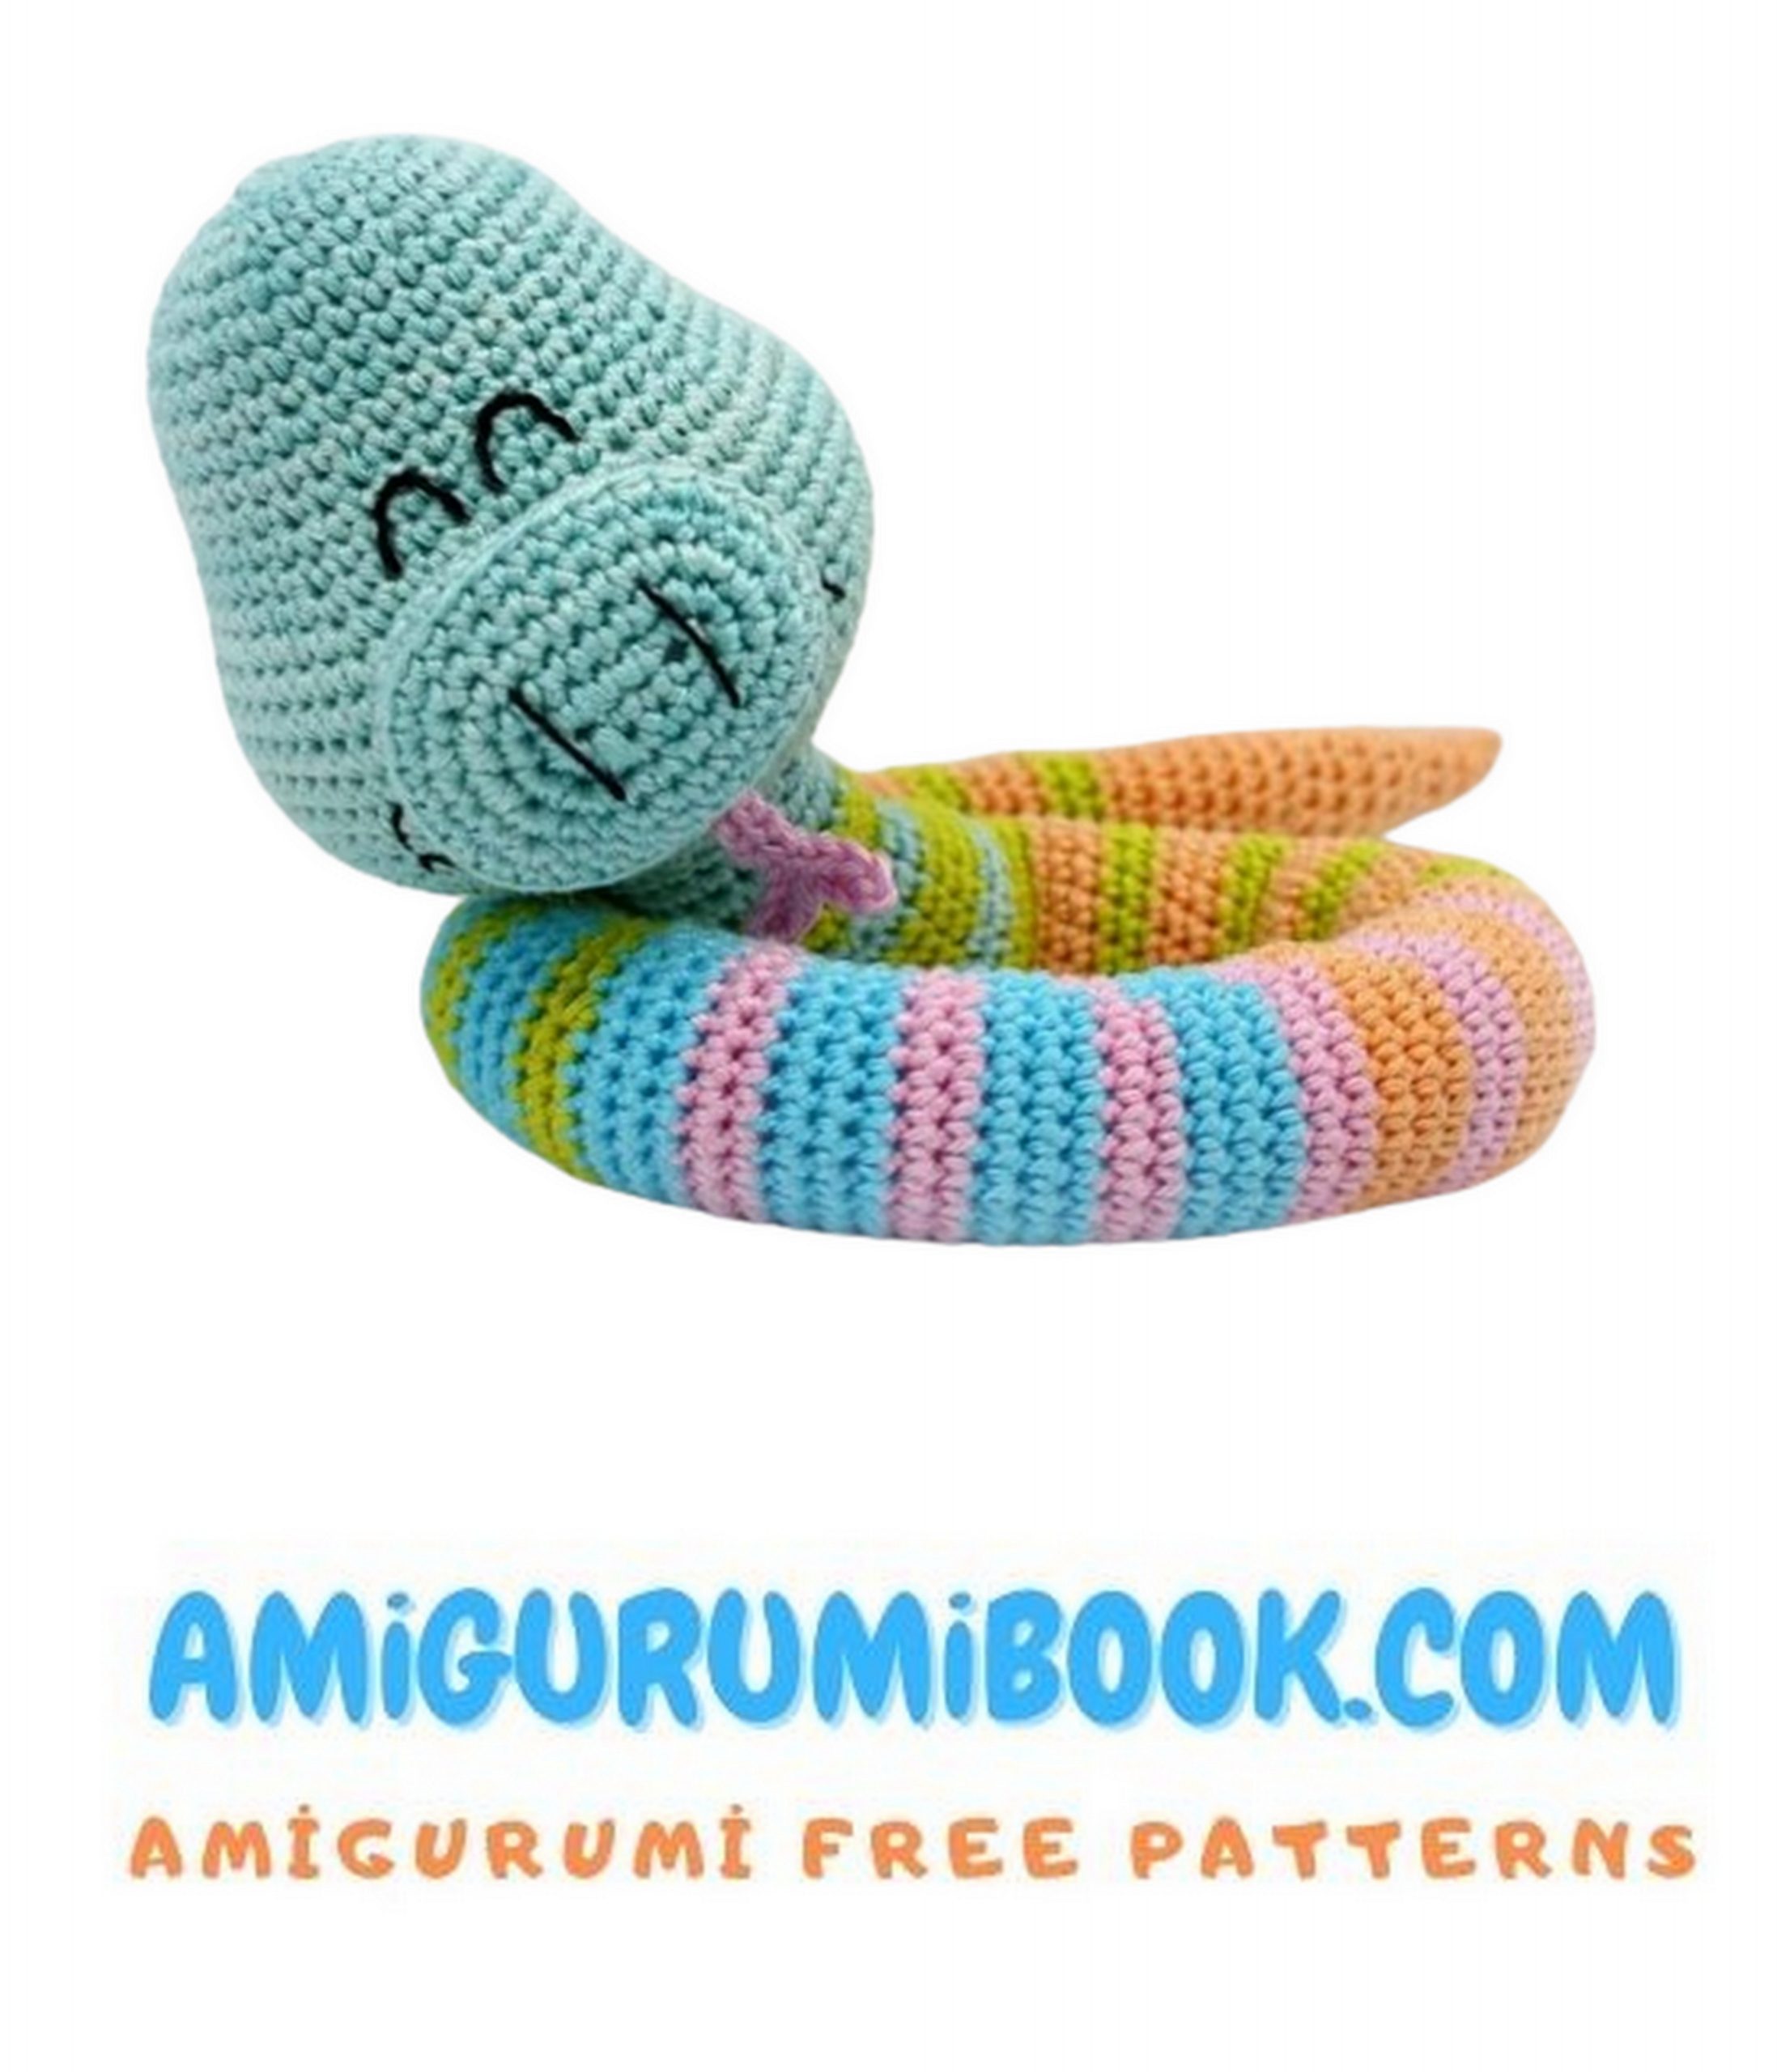
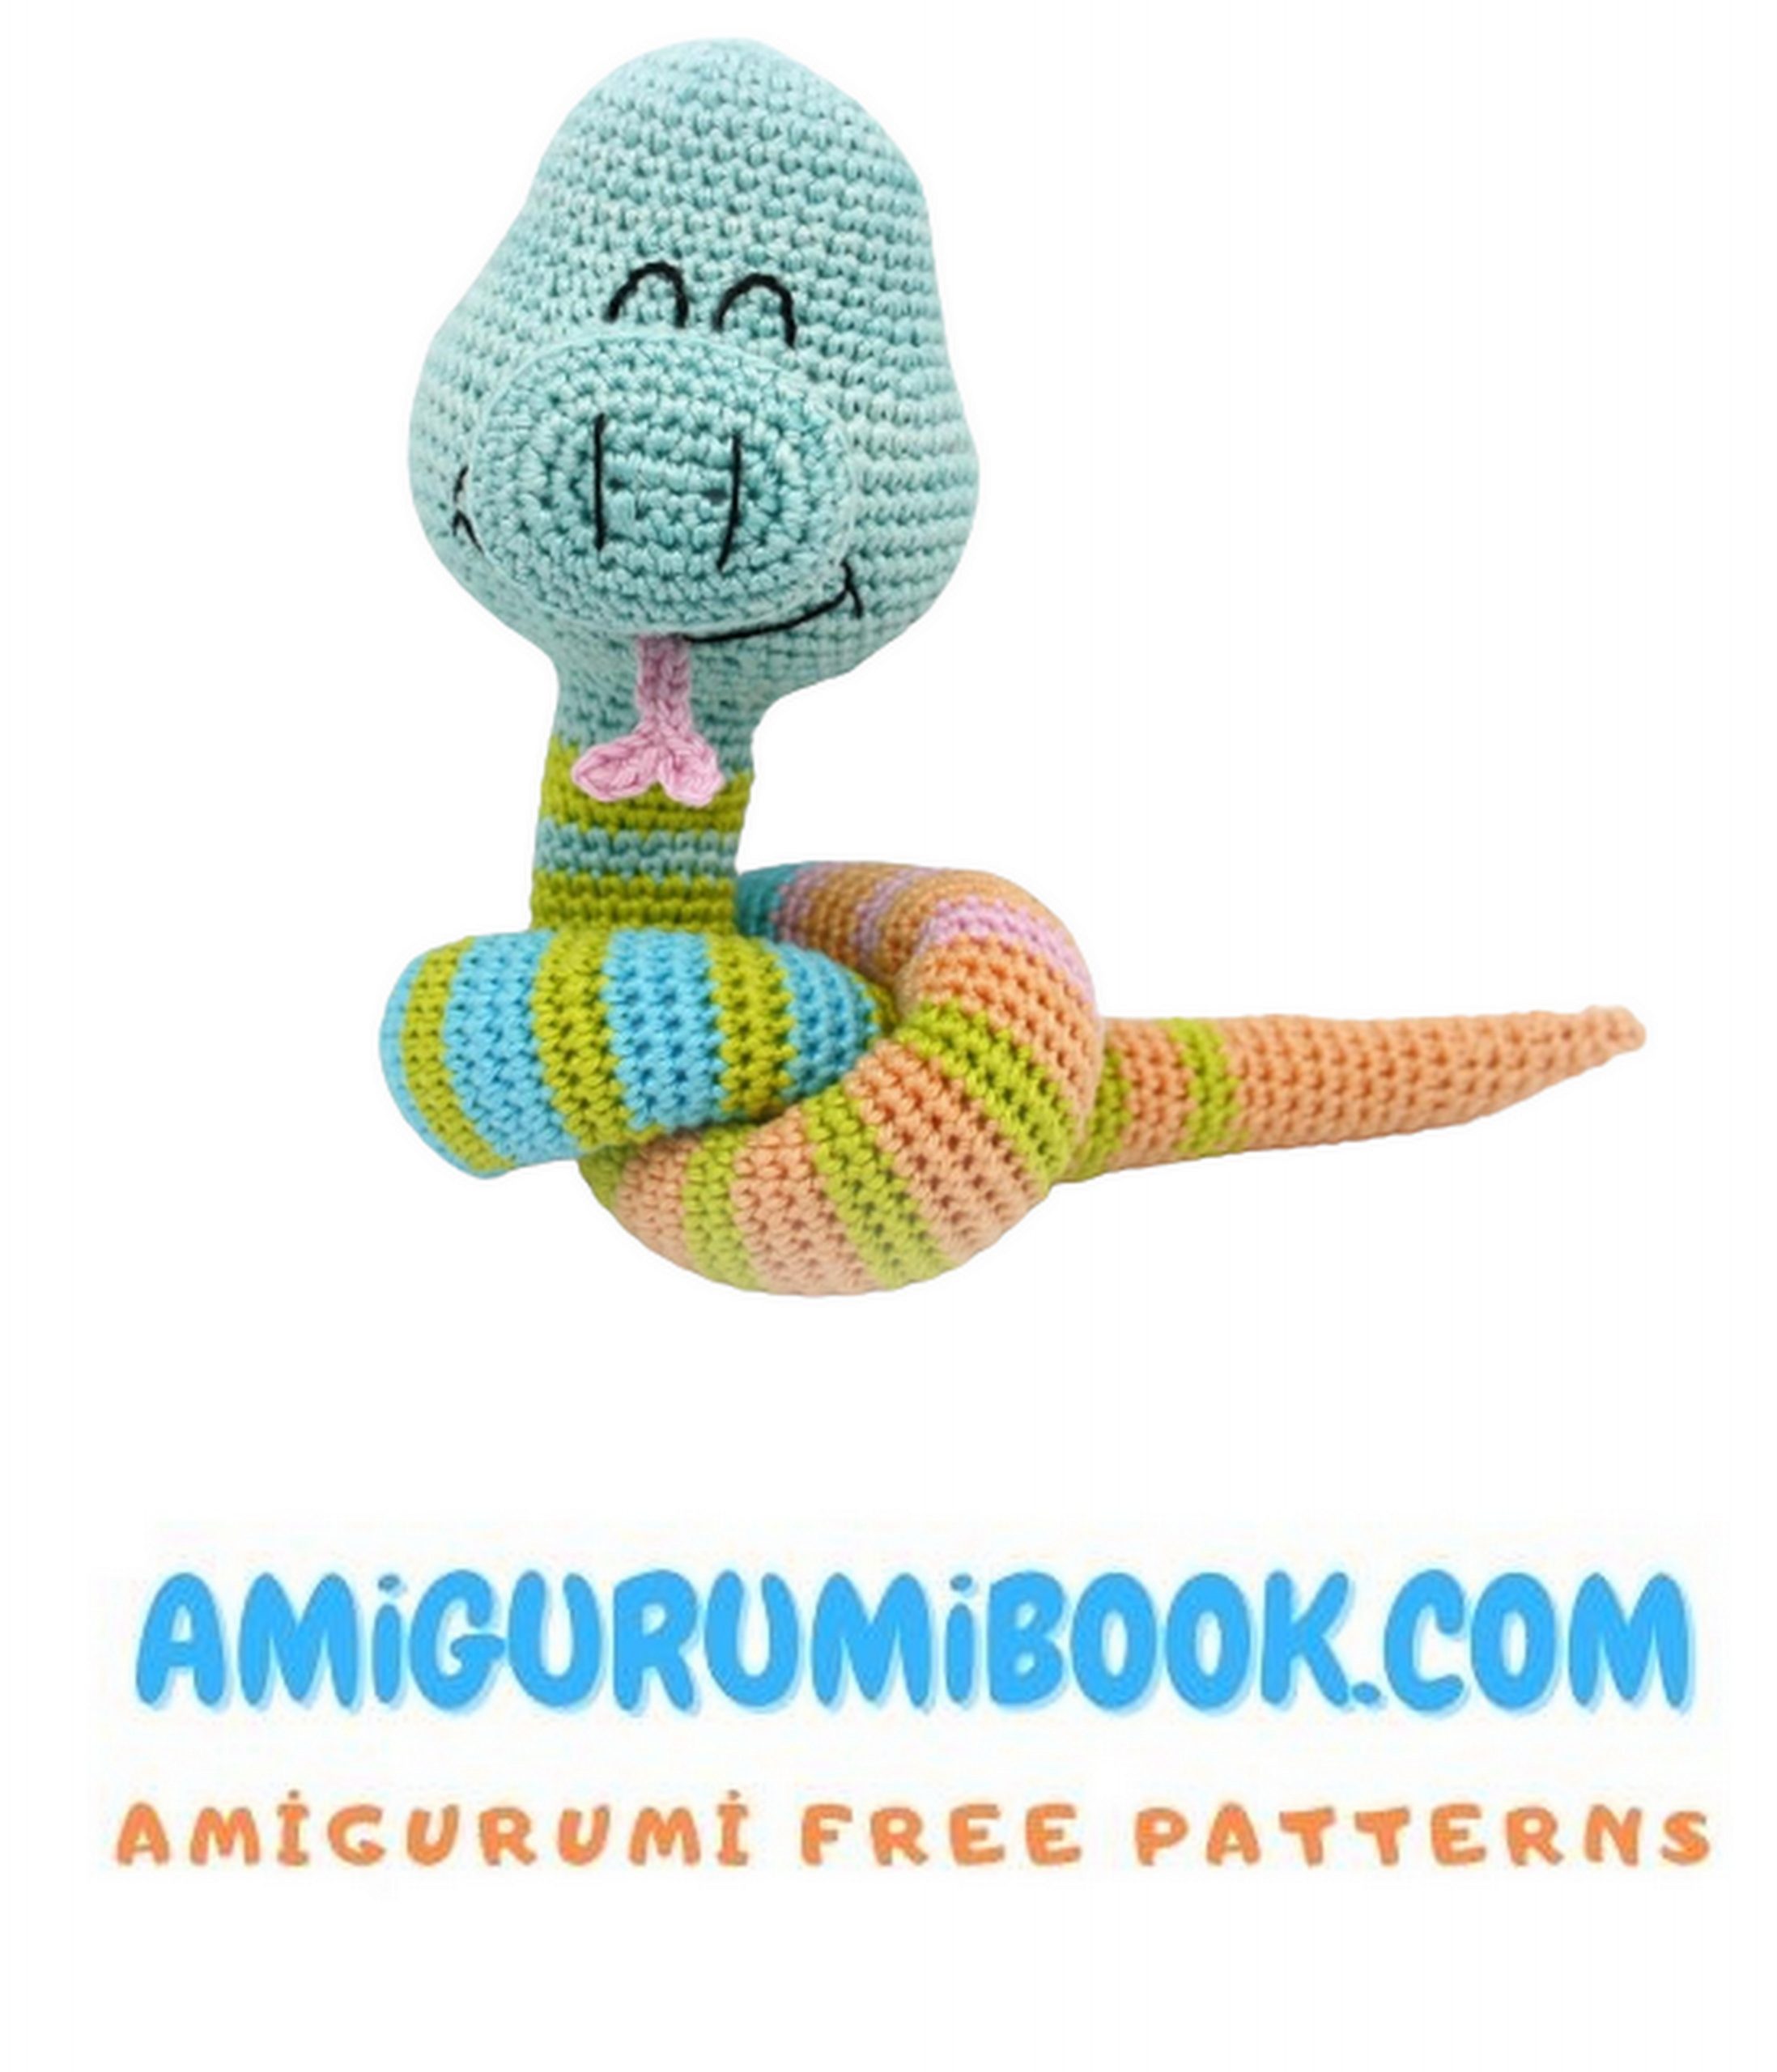
If you’re looking for a fun and creative crochet project, a cute snake amigurumi is a perfect choice. This free pattern guides you step-by-step to make an adorable, handmade snake that’s great for gifts or home decor. free crochet patterns – Cute Dinosaur Amigurumi Free Crochet Pattern
You may also like more amigurumi patterns.
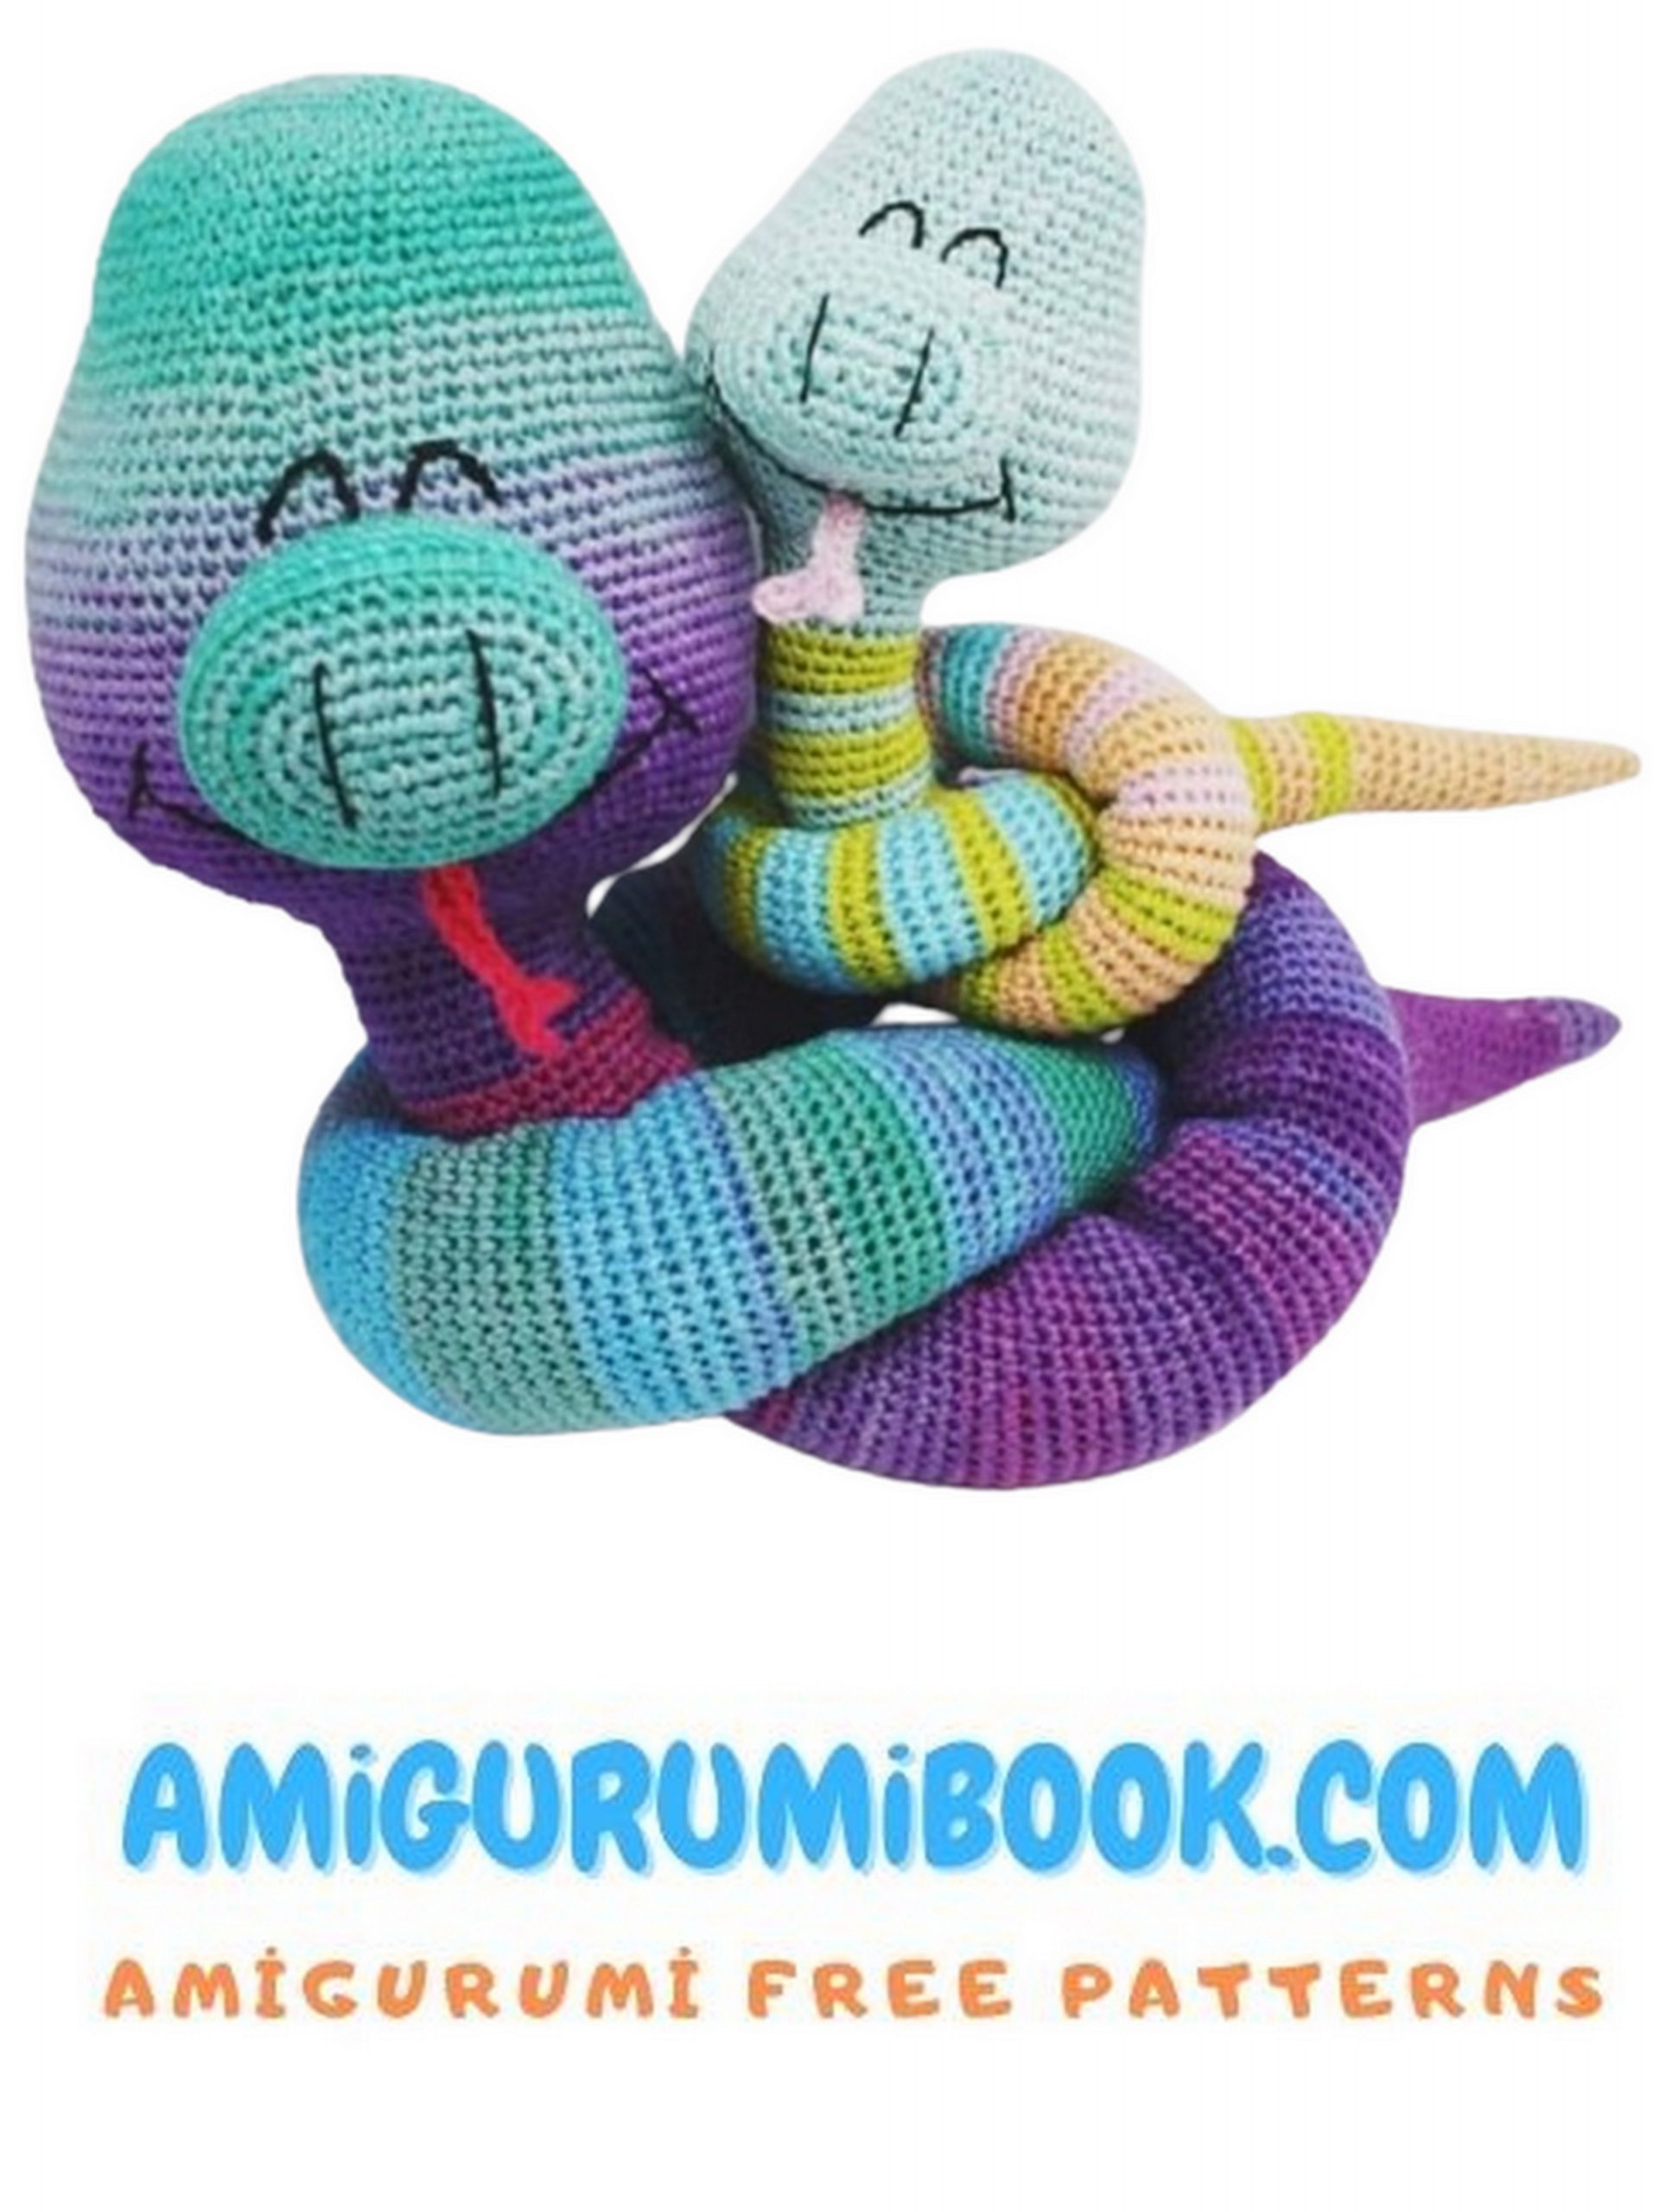
I continue to share amigurumi free patterns. In this article, cute snake amigurumi free pattern is waiting for you.
Abbreviations
hdc = half double crochet
sc = single crochet
Sl-st = slip stitch
Ch = chain stitch
x = stitch
Nd = needle
Rd = lap
R = row
Wch = air mesh
(you can also just skip an x)
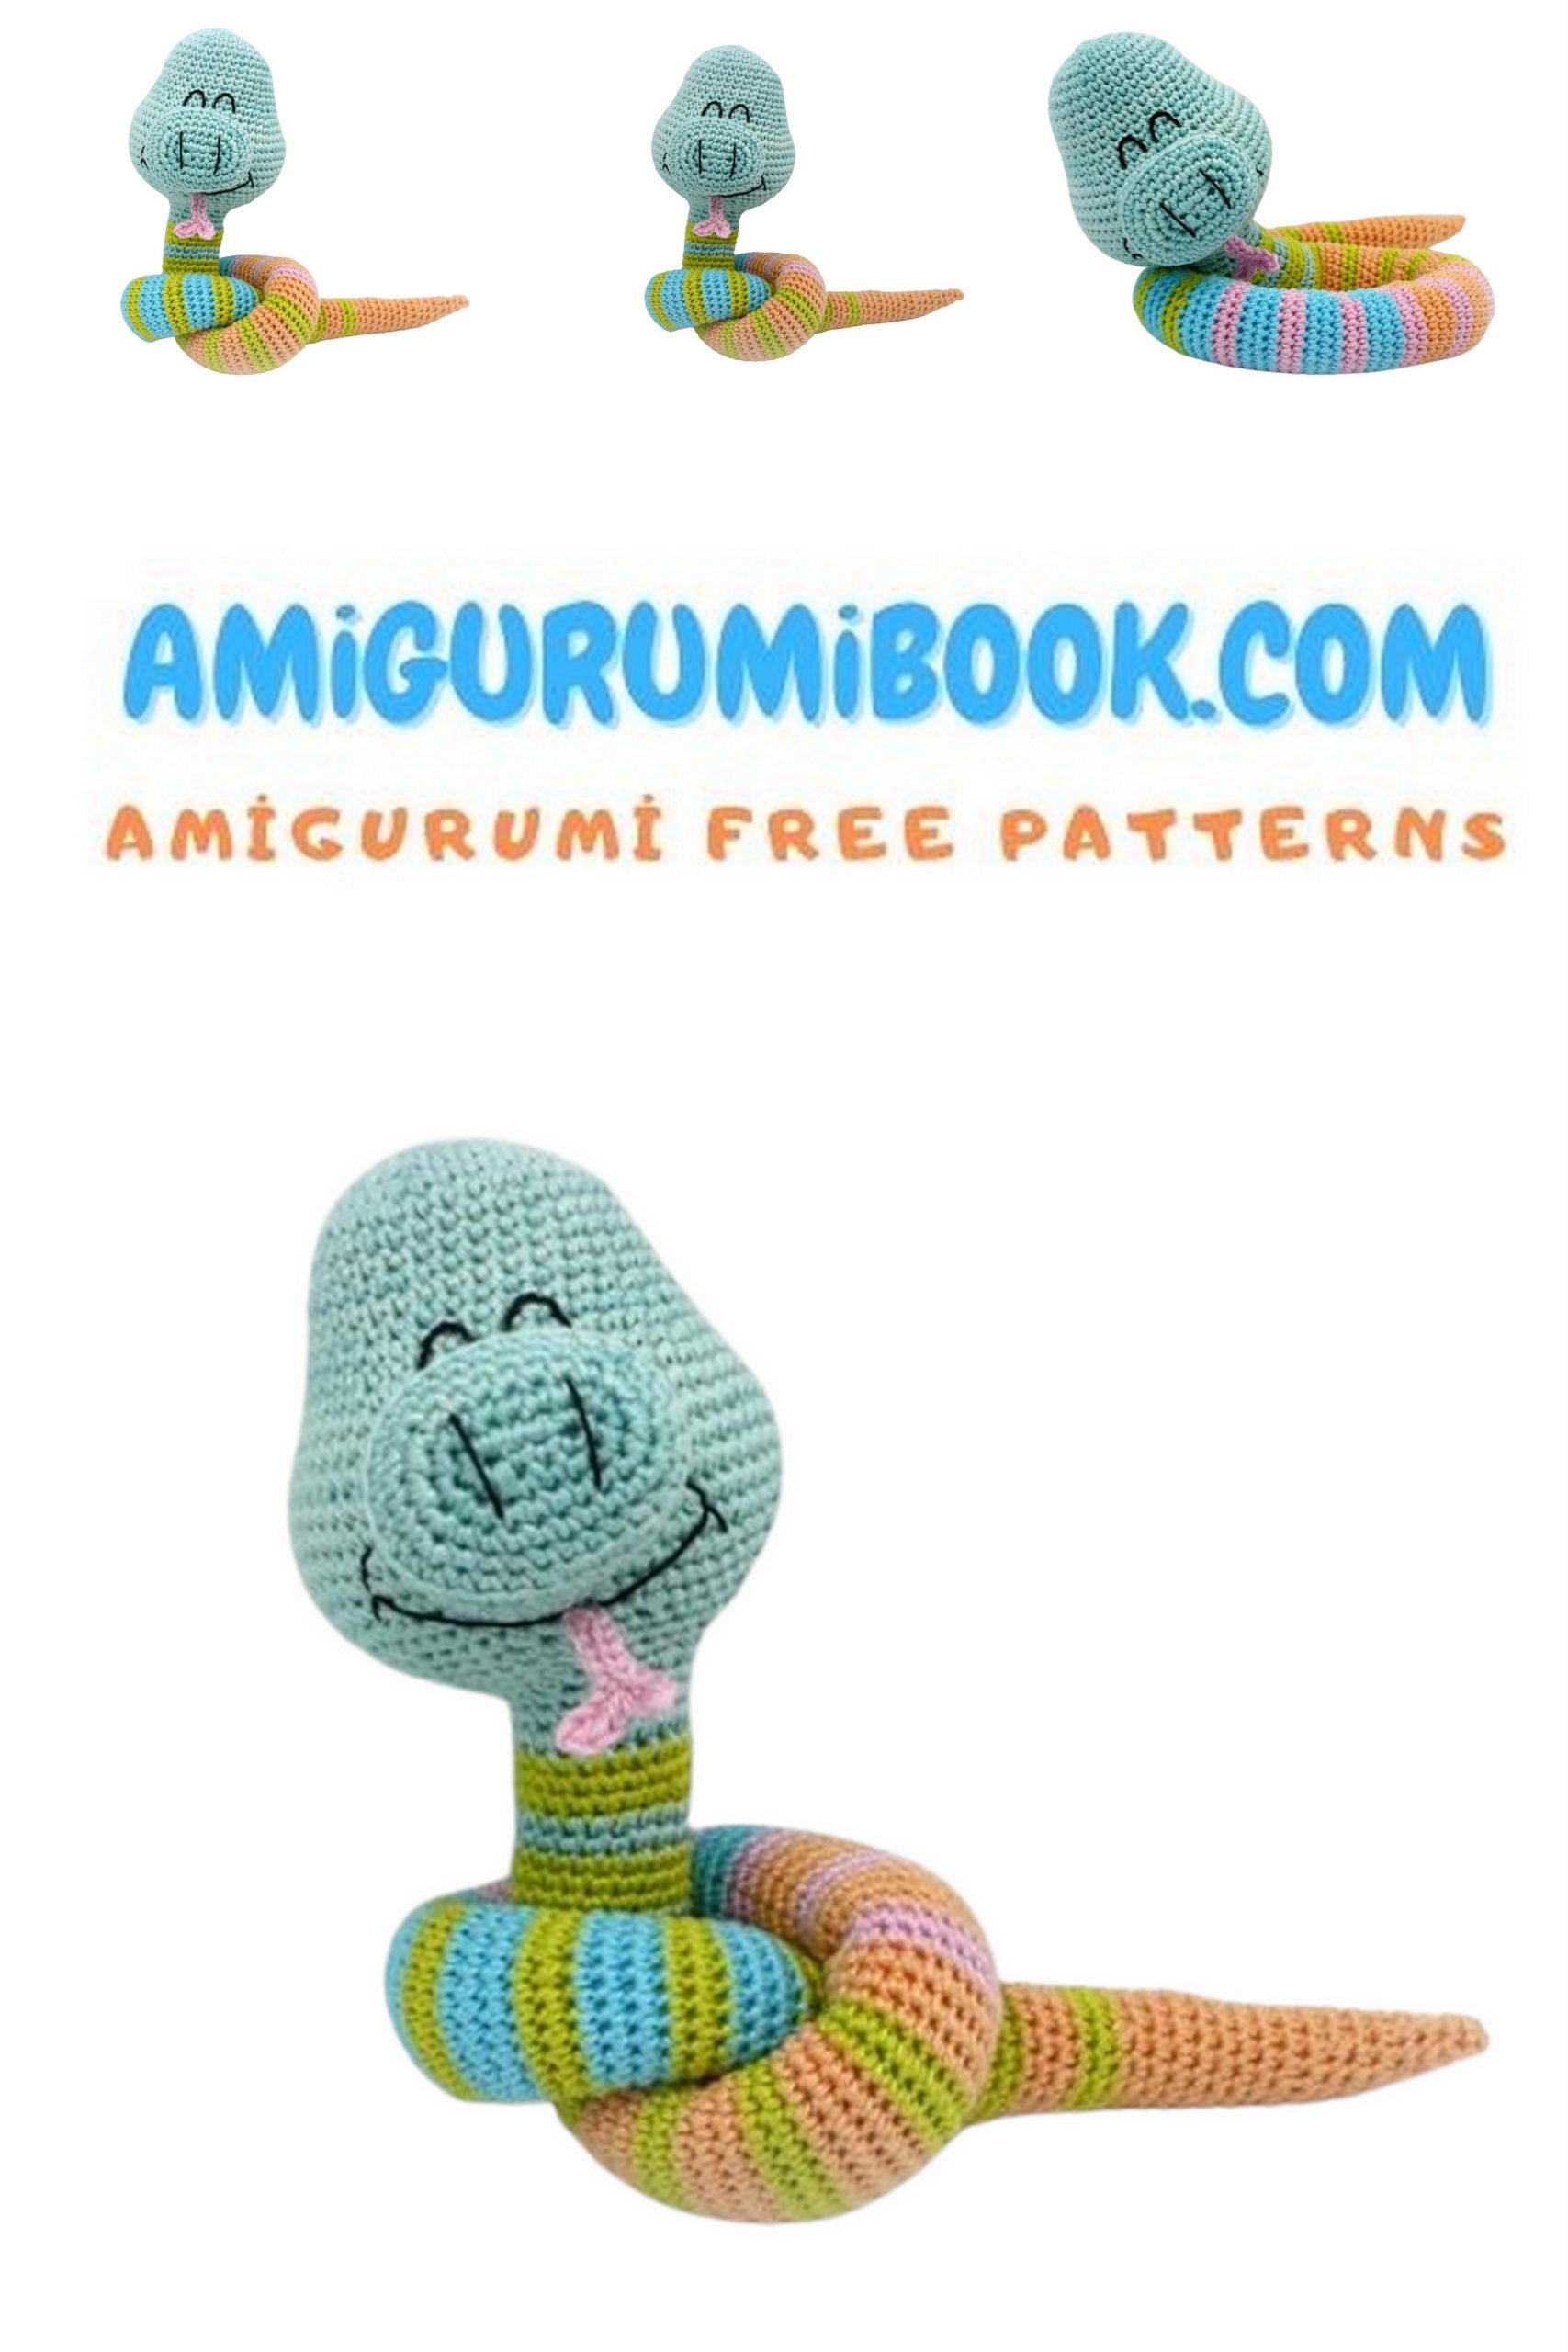
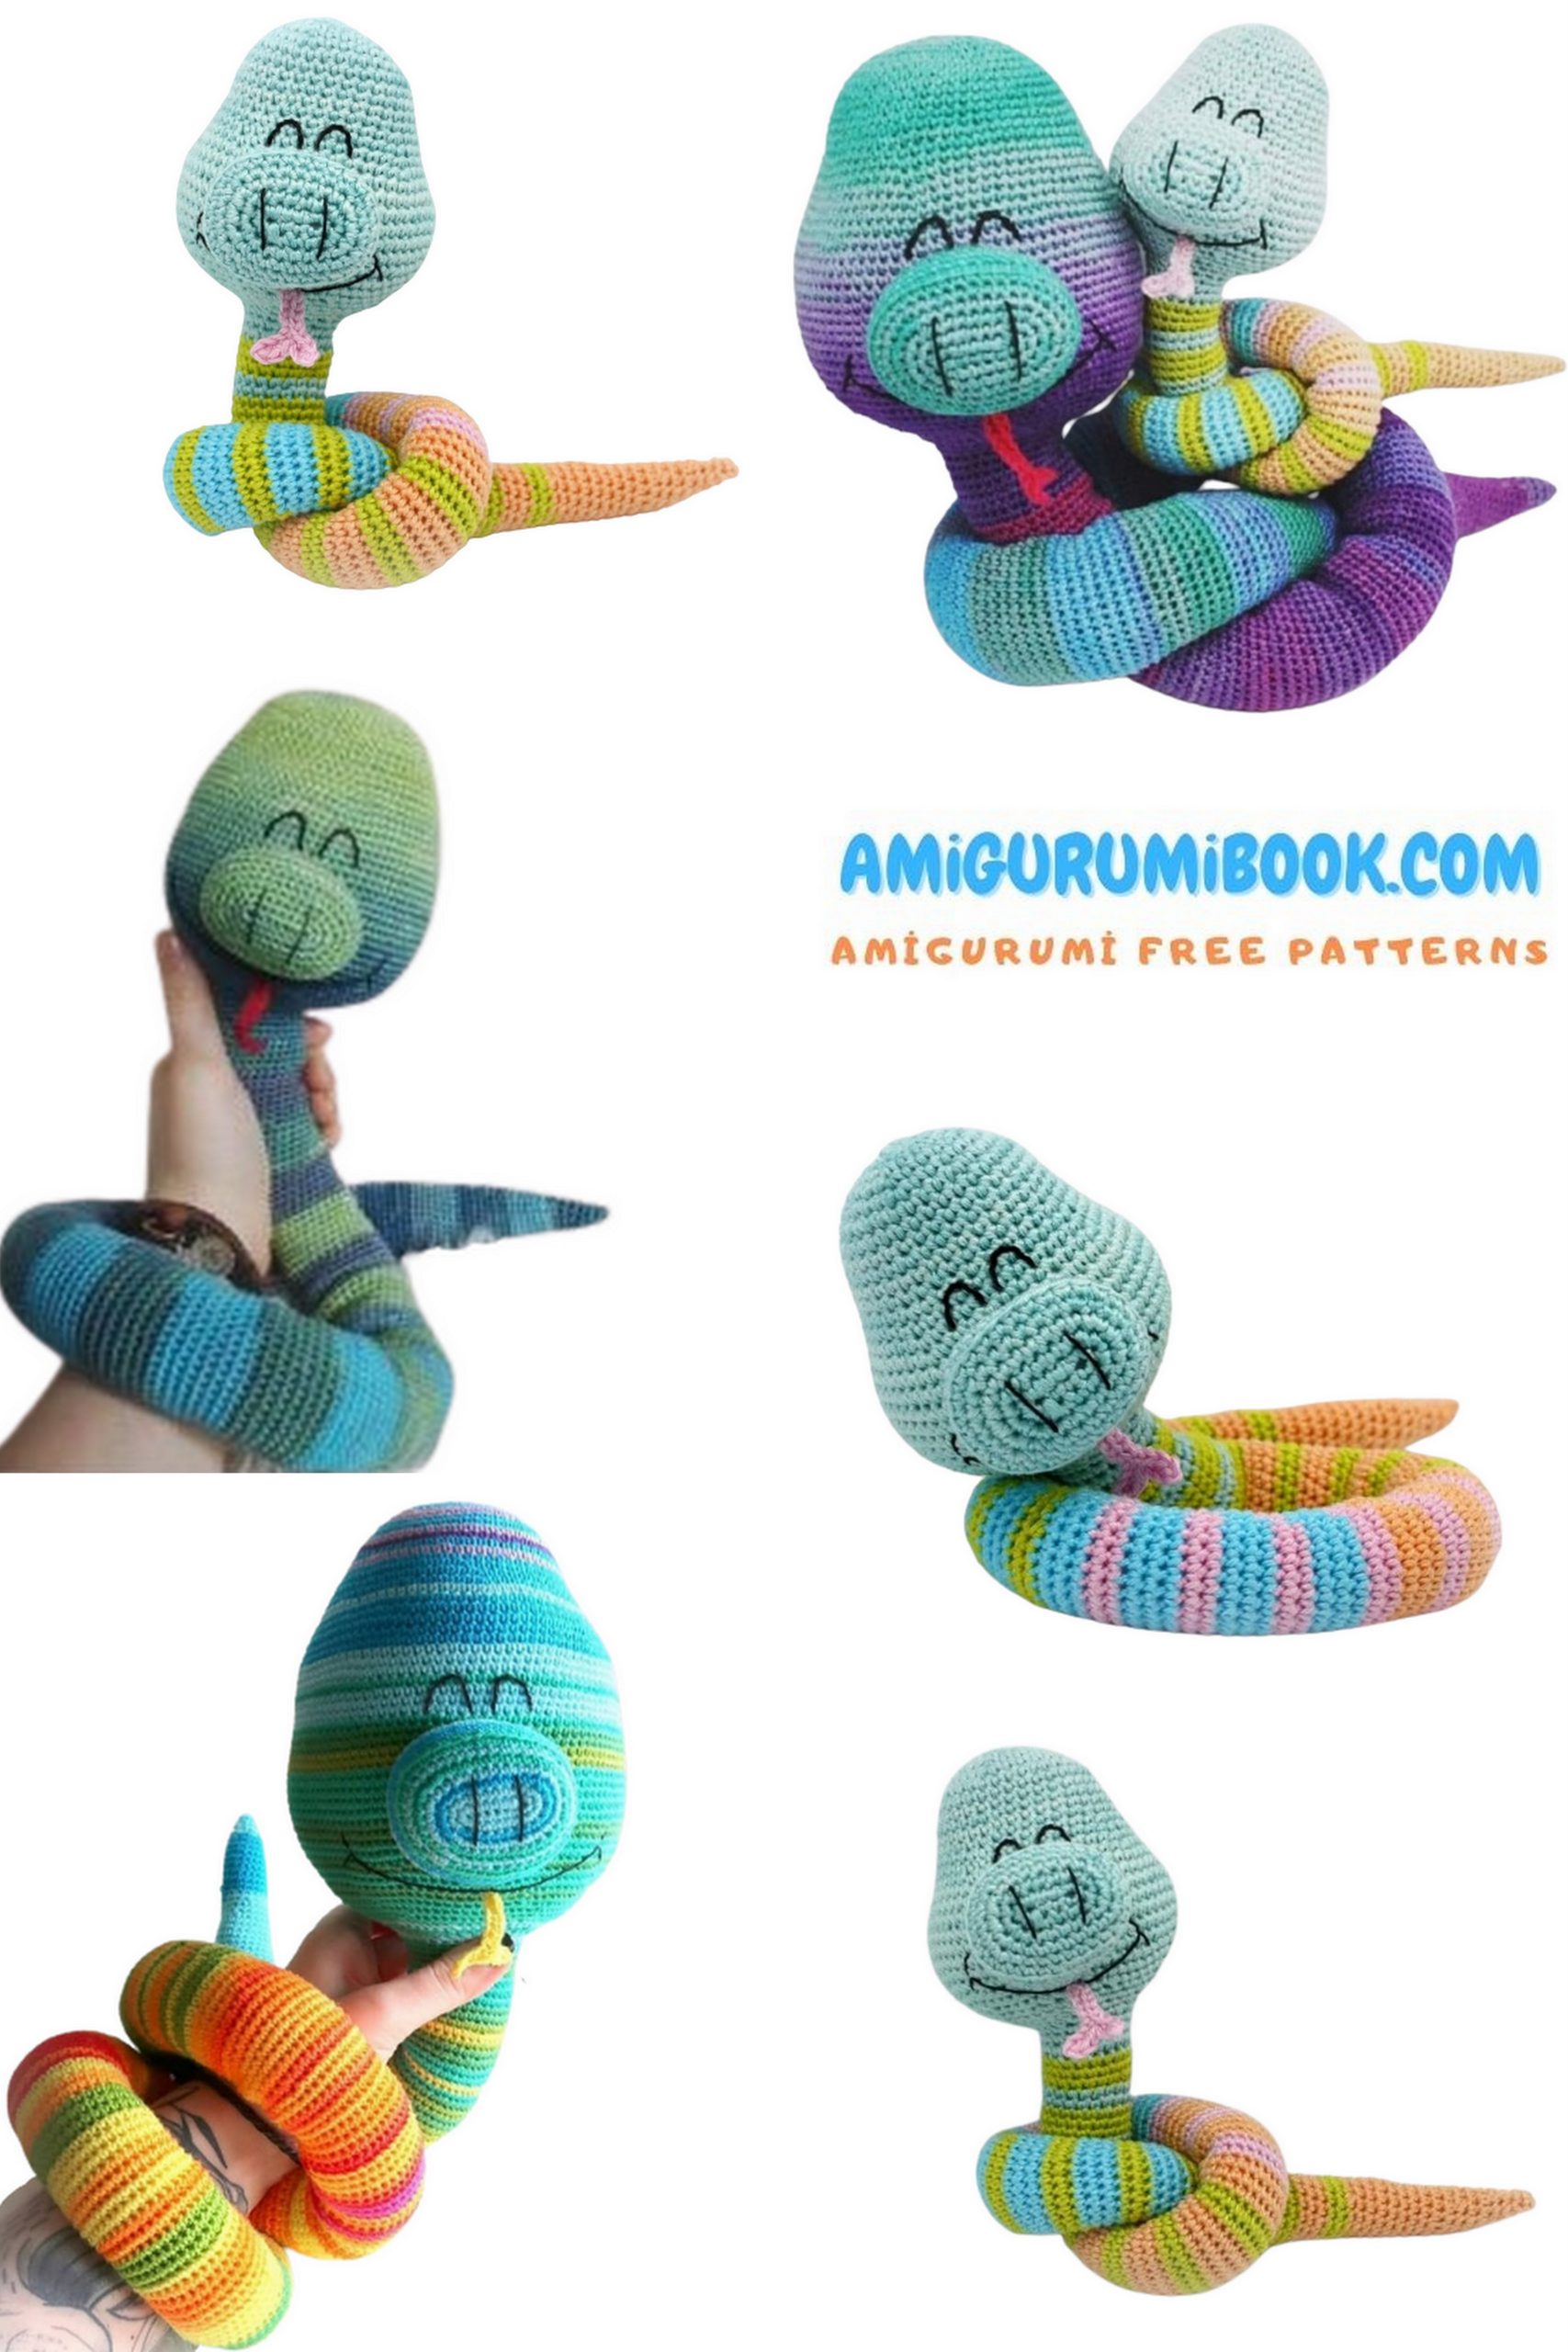
If you want your grin snake to look like the photos shown,
then use the specified wool. Crochet is mostly done in spiral rounds.
It may happen that the start of the round is different for some
Sharing moves, crochet ‘just blunt according to the instructions ☺
The snake measures approx. 53cm in length.

Materials:
– Crochet hook no.3
– Needle & thread for sewing and sewing together
– a scissors
– Cotton with 110m LL to 50g
– Main color: approx. 35g wool scraps
– Accent color: approx. 2 g pink for the tongue (e.g. GB Carina color no. 307)
– Embroider filet crochet in black for eyes and mustache
– standard filling or handicraft cotton
Here is space for your notes:
4th
If you want to make the most of your wool remnants, let’s start with the pout!
PATTERN
CORD
– Crochet in rounds around the chain stitch chain
– before sewing on the head, it is easily filled with cotton wool
– 4 Ch + 1 Wch in your main color
1st round: 3sc, quadruple x, continue work on the “back”,
Quadruple 3sc, x = 14 x
2nd round: 3sc, 3İnc, 4sc, 3İnc, sc = 20 x
3rd round: 4sc, 3İnc, 7sc, 3İnc, 3sc = 26 x
4th round: 5sc, İnc, 4sc, İnc,
6sc, İnc, 4sc, İnc, 3sc = 30 x
5th round: 30 sc
6th round: Insert 30 sc only into the back stitch
7th & 8th round: 30 sc
Finish working with Sl-st
HEAD AND BODY
– Work in the round
– fill with cotton wool again and again
– the head is filled very firmly – especially at the transition to the body –
from then on it is no longer filled too tightly so that it can still be used afterwards
Can “move” and shape
– You can shape the chubby cheeks with cotton and work them out
– Tip: in between you can always put the “body” between
roll and knead your hands, so the cotton spreads more evenly
– Connect 2 Ch in your main color.
(alternatively you can of course also start with a thread ring or magic ring)
1st round: 5 sc into the 2nd ch from the nd
2nd round: every İnc = 10 x
3rd round: every 2nd İnc = 15 x
4th round: every 3rd İnc = 20 x
5th round: every 4th İnc = 25 x
6th round: every 5th İnc = 30 x
7th round: 4x (every 7th İnc), 2sc = 34 x
Round 8 & 9: 34 sc
10th round: every 17th İnc = 36 x
11th & 12th round: 36 sc
13th round: every 9th İnc = 40 x
14th round: 40 sc
15th round: every 10th İnc = 44 x
16th round: every 11th İnc = 48 x
17th round: every 8th İnc = 54 x
18th round: every 9th İnc = 60 x
Rounds 19-22: 60 sc
Round 23: every 14th and 15th Dec = 56 x
24th round: every 13th and 14th Dec = 52 x
25th round: 5x (every 9th and 10th Dec), 2sc = 47 x
26th round: 7x (every 5th and 6th Dec), 5sc = 40 x
27th round: every 7th and 8th Dec = 35 x
28th round: every 6th and 7th Dec = 30 x
29th round: every 5th and 6th Dec = 25 x
30th round: every 4th and 5th Dec = 20 x
Round 31 – 100: 20 sc
Up to and including round 34 I used one color
and from then on work in block strips with other colors.
So always alternating two and three rounds of
crocheted in one color – this is how these wider stripes are created
101st round: 3sc, dec, 15sc = 19 x
102 – 111th round: 19 sc
112th round: 6sc, dec, 11sc = 18 x
113th – 120th round: 18 sc
121st round: 9sc, dec, 7sc = 17 x
122nd – 127th round: 17 sc
128th round: 12 sc, dec, 3sc = 16 x
129th – 132nd round: 16 sc
133rd round: dec, 14 sc = 15 x
134th – 137th round: 15 sc
Round 138: 3sc, dec, 10sc = 14 x
139th – 141st round: 14 sc
142nd round: 6sc, dec, 6sc = 13 x
143th & 144th round: 13 sc
145th round: 9sc, dec, 2sc = 12 x
146th round: 12 sc
147th round: dec, 10sc = 11 x
148th round: 3sc, dec, 6sc = 10 x
149th round: 6sc, dec, 2sc = 9 x
150th round: dec, 7sc = 8 x
151st round: 3sc, dec, 3sc = 7 x
152nd round: 5sc, dec = 6 x
153rd & 154th round: each dec
Finish working with Sl-st
TONGUE
– 7 Ch + 1 wch afterwards
– 2sc, Sl-st, 3Ch + 1 wch
– 2sc, 1Sl-st crochet down the 2ch you just crocheted
and then again 4Sl-st along the long chain stitch chain,
Finish working with 1Sl-st – done!
1. Sew all the remaining cotton threads.
2. Use color-matching sewing thread from now on – 100% polyester is very tear-resistant! –
and a sewing needle.
3. General: Close in the mattress stitch and do it every few stitches
Knot for strength.
4. Pay attention to the symmetry when sewing together !!!
4.1: In a first step we sew the pout on the head – approx.
between rounds 17 to 25 of the head
4.2: Now grab the filet crochet thread, embroider the socket nose and then
the grinning eyes right above the pout.
4.3: Then the grin comes. My snake has a big grin incl.
Get the corner of your mouth
4.4: If the mouth is sitting, you can sew the tongue on with sewing thread – I have it
placed in the middle