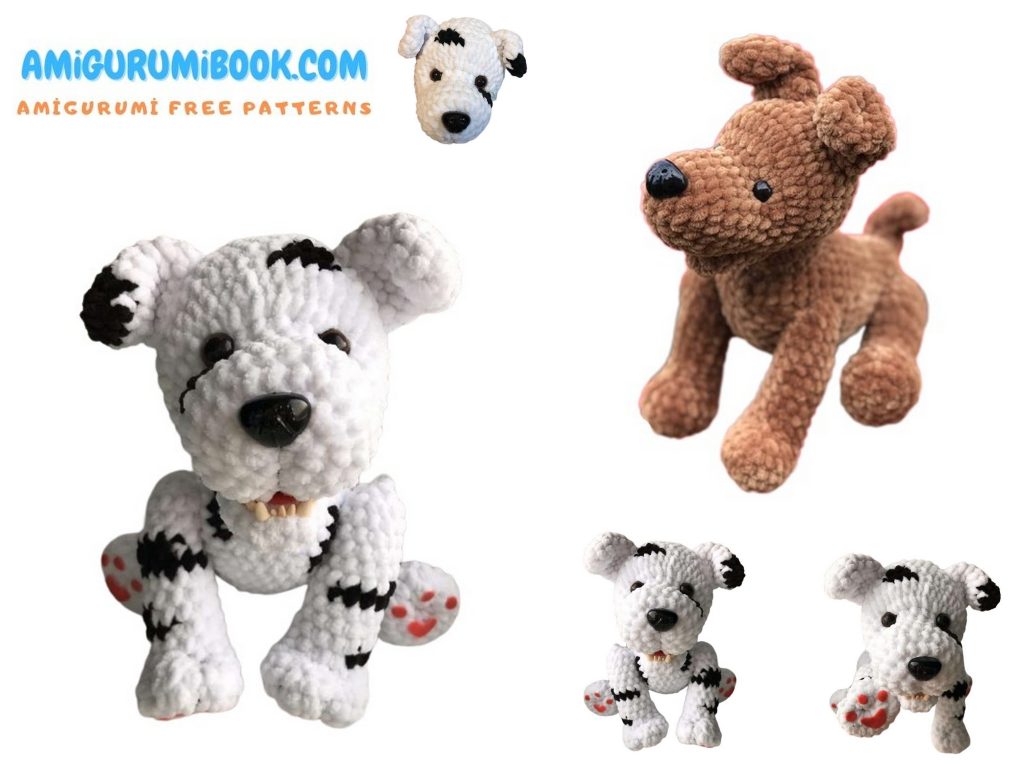
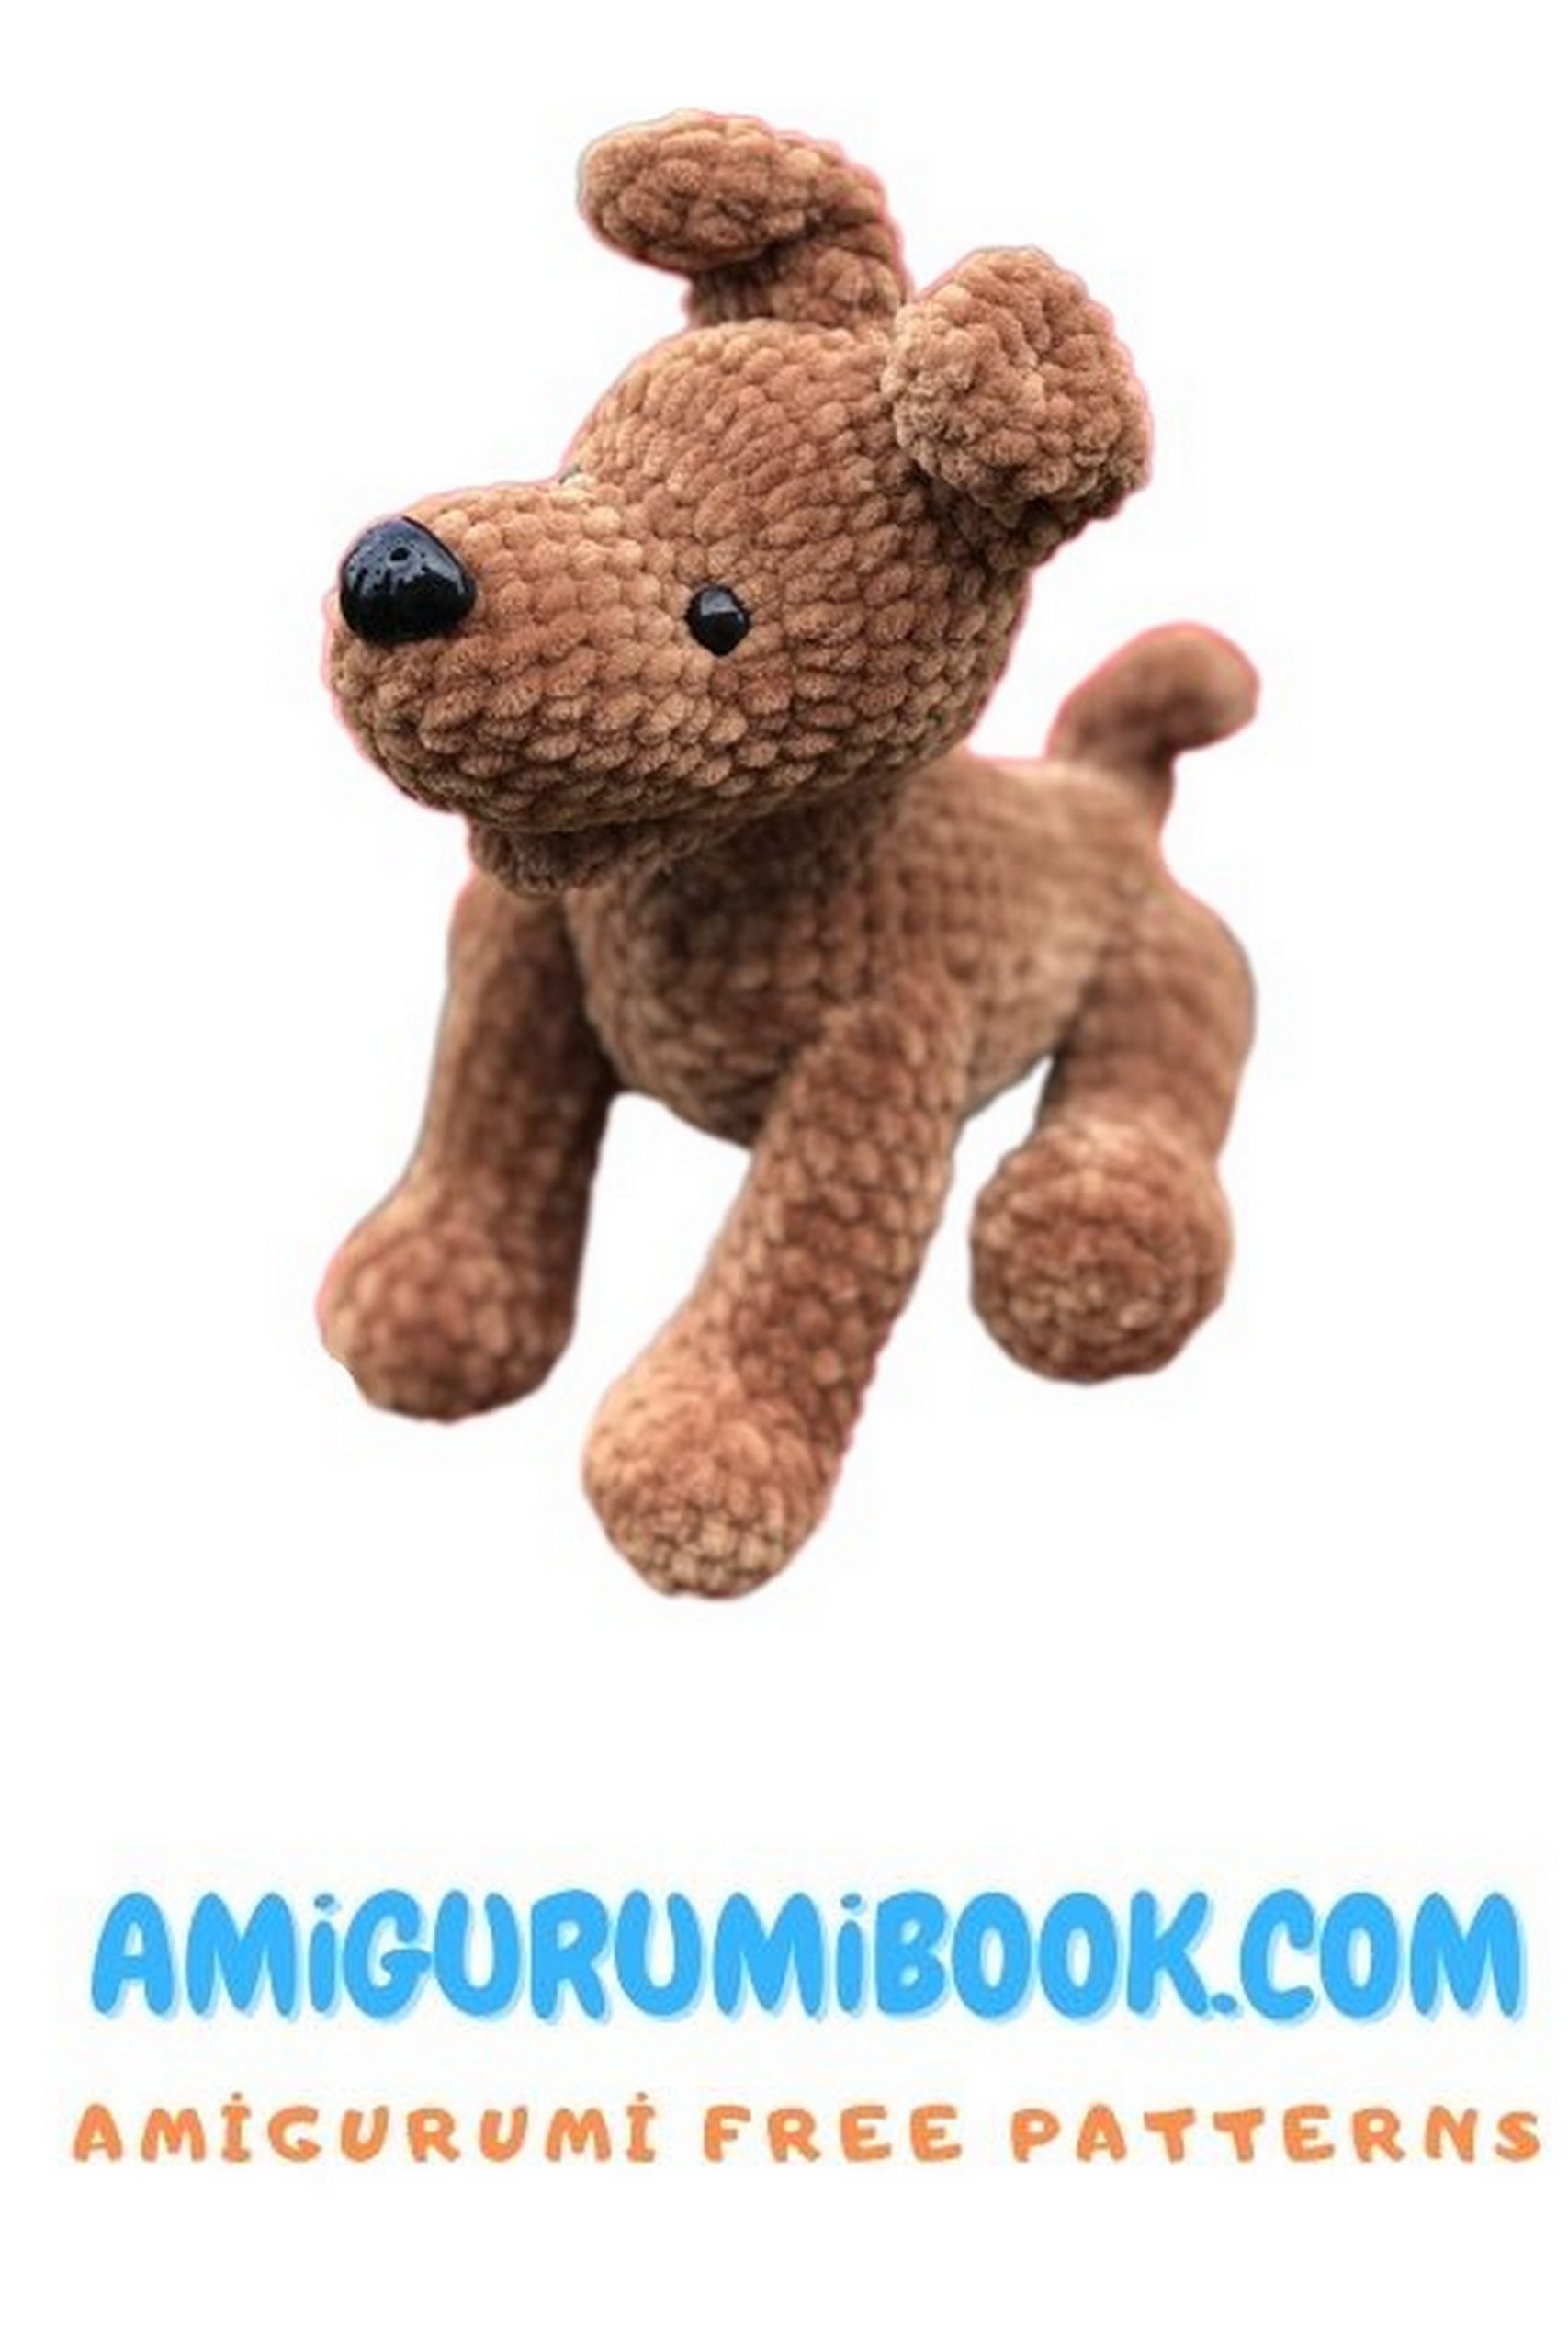
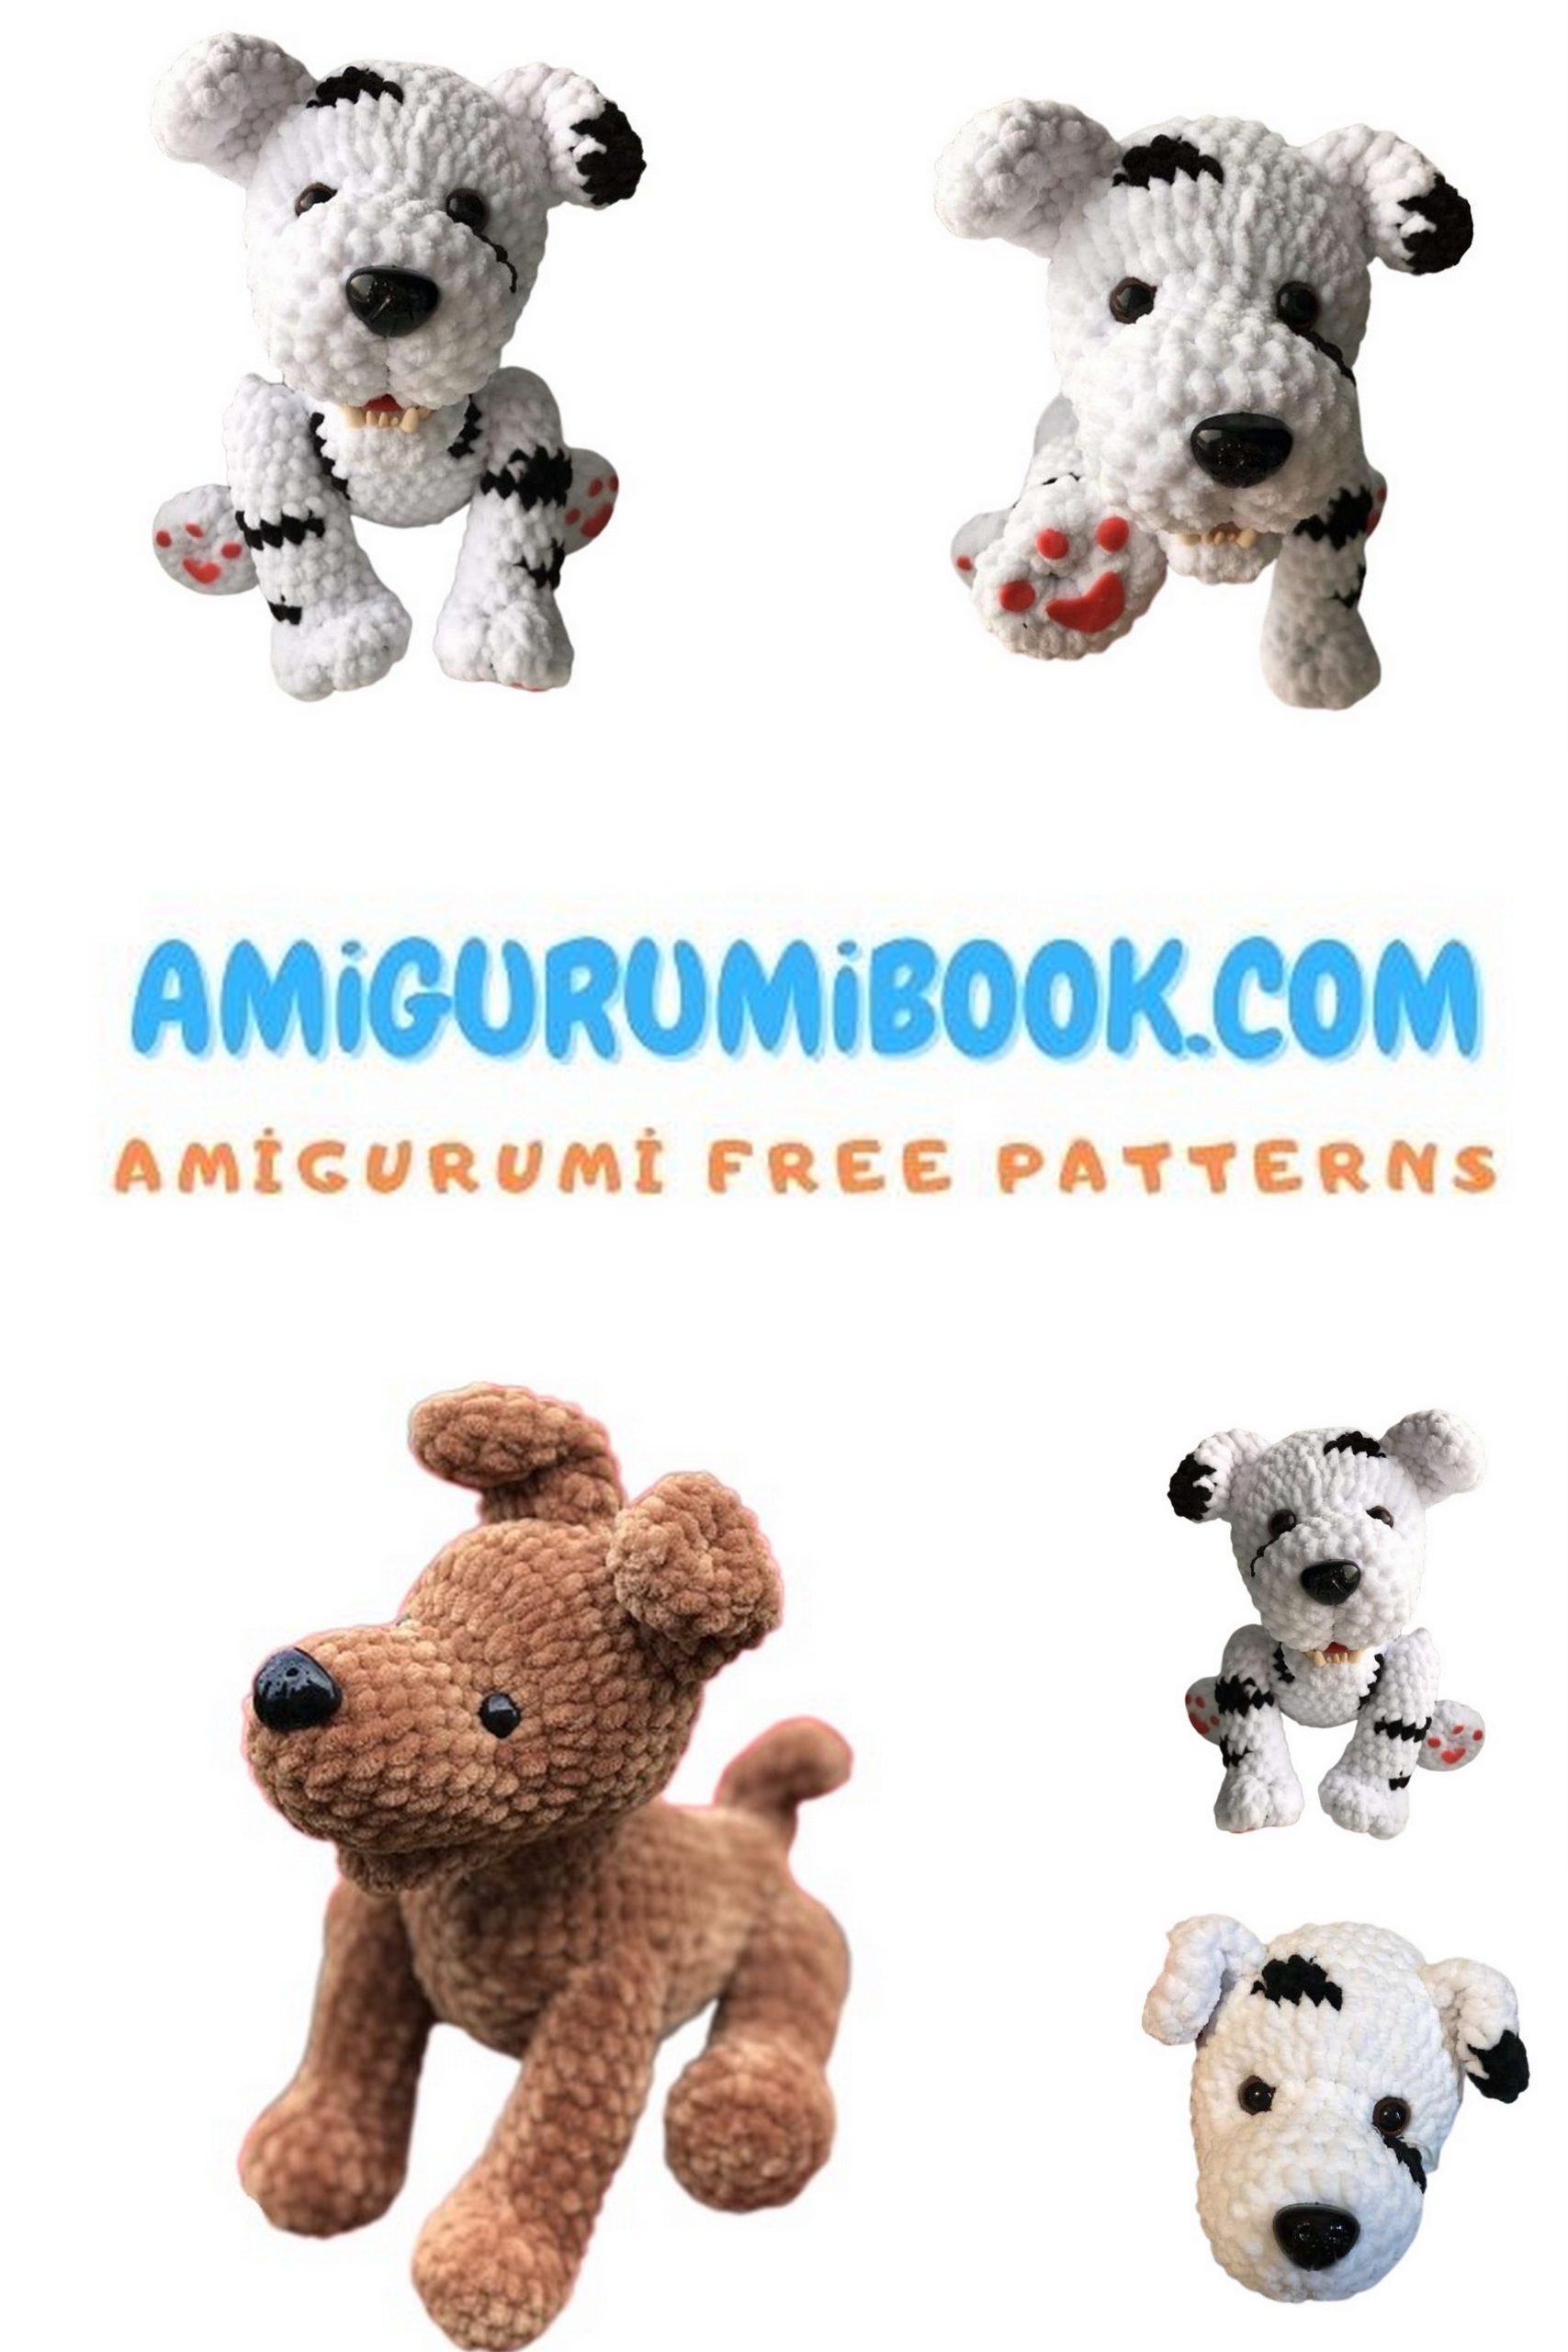
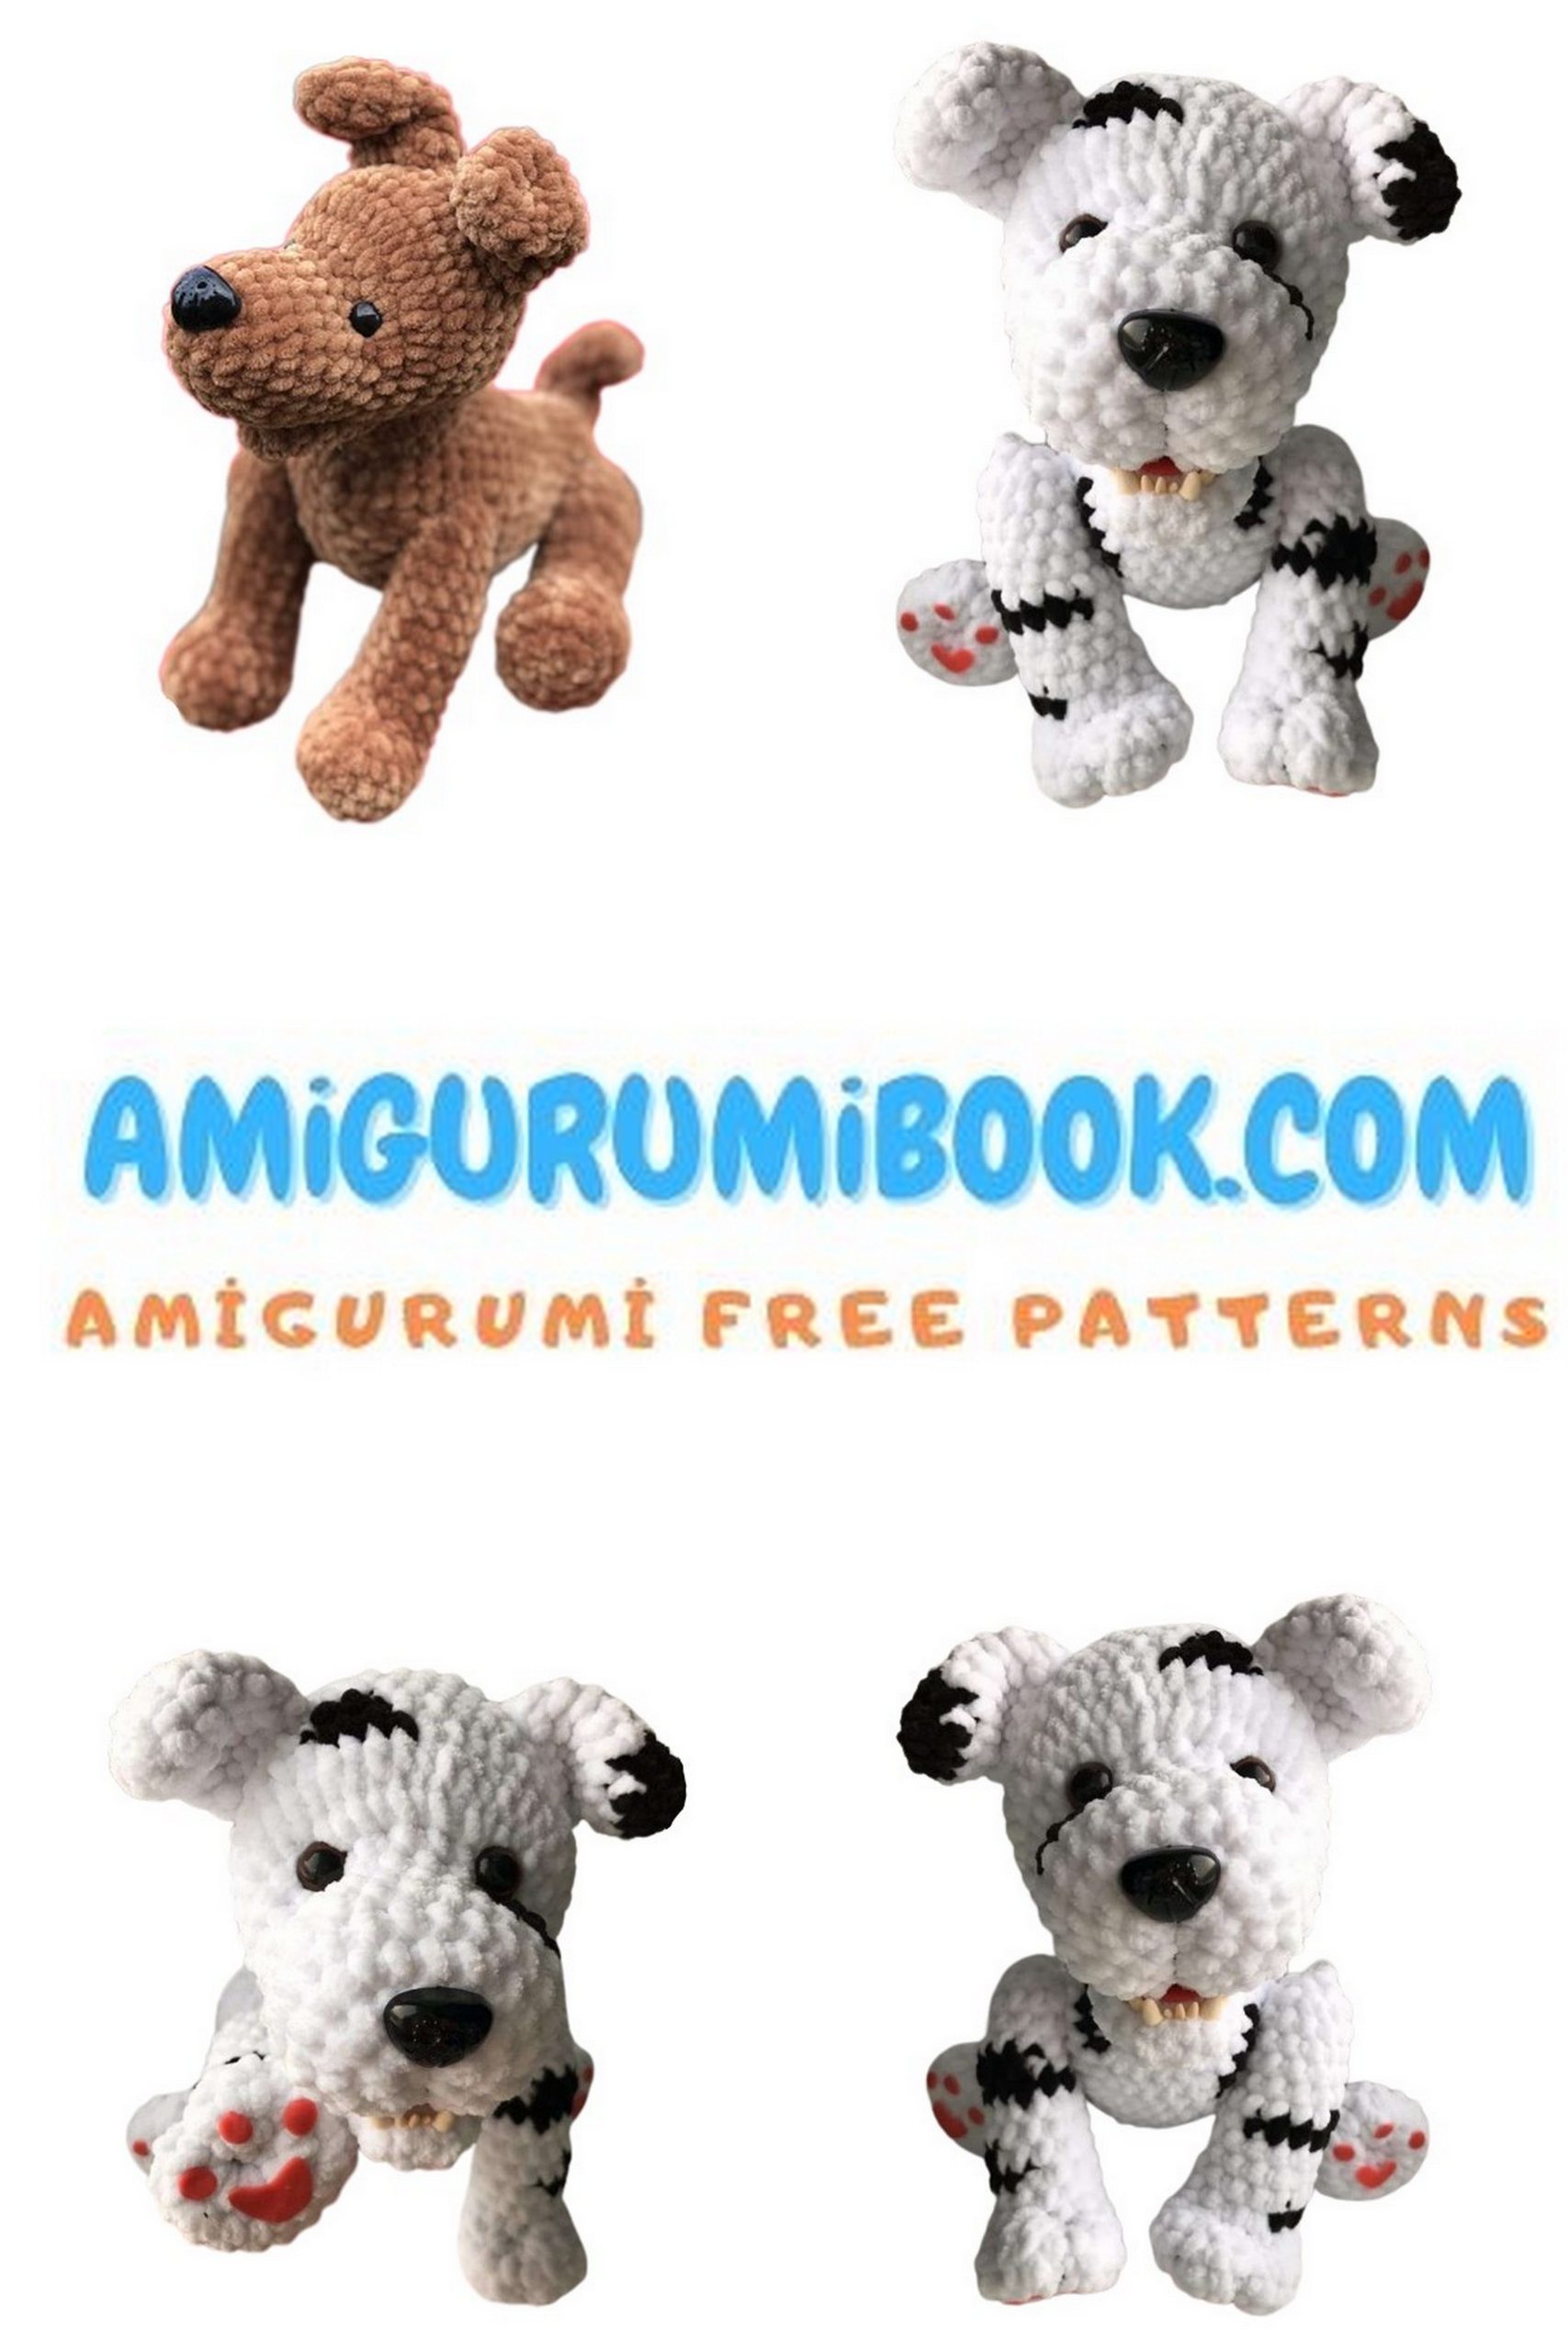
Create your own charming Dalmatian plush dog with this free amigurumi pattern, perfect for crafters of all skill levels. This step-by-step guide will help you bring to life an adorable spotted puppy that makes a delightful handmade gift or a cute addition to your collection. free crochet patterns
You may also like more amigurumi patterns.
Are you a fan of adorable amigurumi creations and Dalmatian dogs? If so, you’re in for a treat! Our “Dalmatian Plush Dog Amigurumi Free Pattern” is the perfect project for anyone looking to craft their very own huggable Dalmatian plush toy. Whether you’re an experienced amigurumi artist or just getting started with crocheting, this pattern is designed to be accessible to all skill levels.
Imagine the joy of holding your handmade Dalmatian plush – a charming addition to your collection of crocheted creations. This amigurumi project allows you to infuse your own personality into the final result, making it a unique and special gift for a loved one or a delightful addition to your own home decor.
In this pattern, we’ll provide step-by-step instructions, along with detailed images, to guide you through the process. The best part? It’s completely free! We believe in sharing the joy of crafting, and this Dalmatian Plush Dog pattern is our way of giving back to the creative community.
So, gather your crochet hooks and colorful yarn, and get ready to embark on a journey of creativity. Craft your very own Dalmatian Plush Dog Amigurumi and add a touch of handmade charm to your life. Let’s get started on this delightful crafting adventure together!
If you want to access 1000+ free amigurumi patterns, you can download our application from this link!
Materials Needed
Yarn: YarnArt Dolce in the main color (approximately 1/3 of a skein in a different color)
Crochet hook size 4
Stuffing
Matching yarn for sewing
Joint fasteners (if you want to make movable legs, 3 cm for front legs and 4 cm for back legs)
Safety eyes, 1.3 cm
Nose
Polymer clay (white, pink, red for teeth, paw pads, and tongue); you can replace it with felt
Collar/bow (or none – your choice)
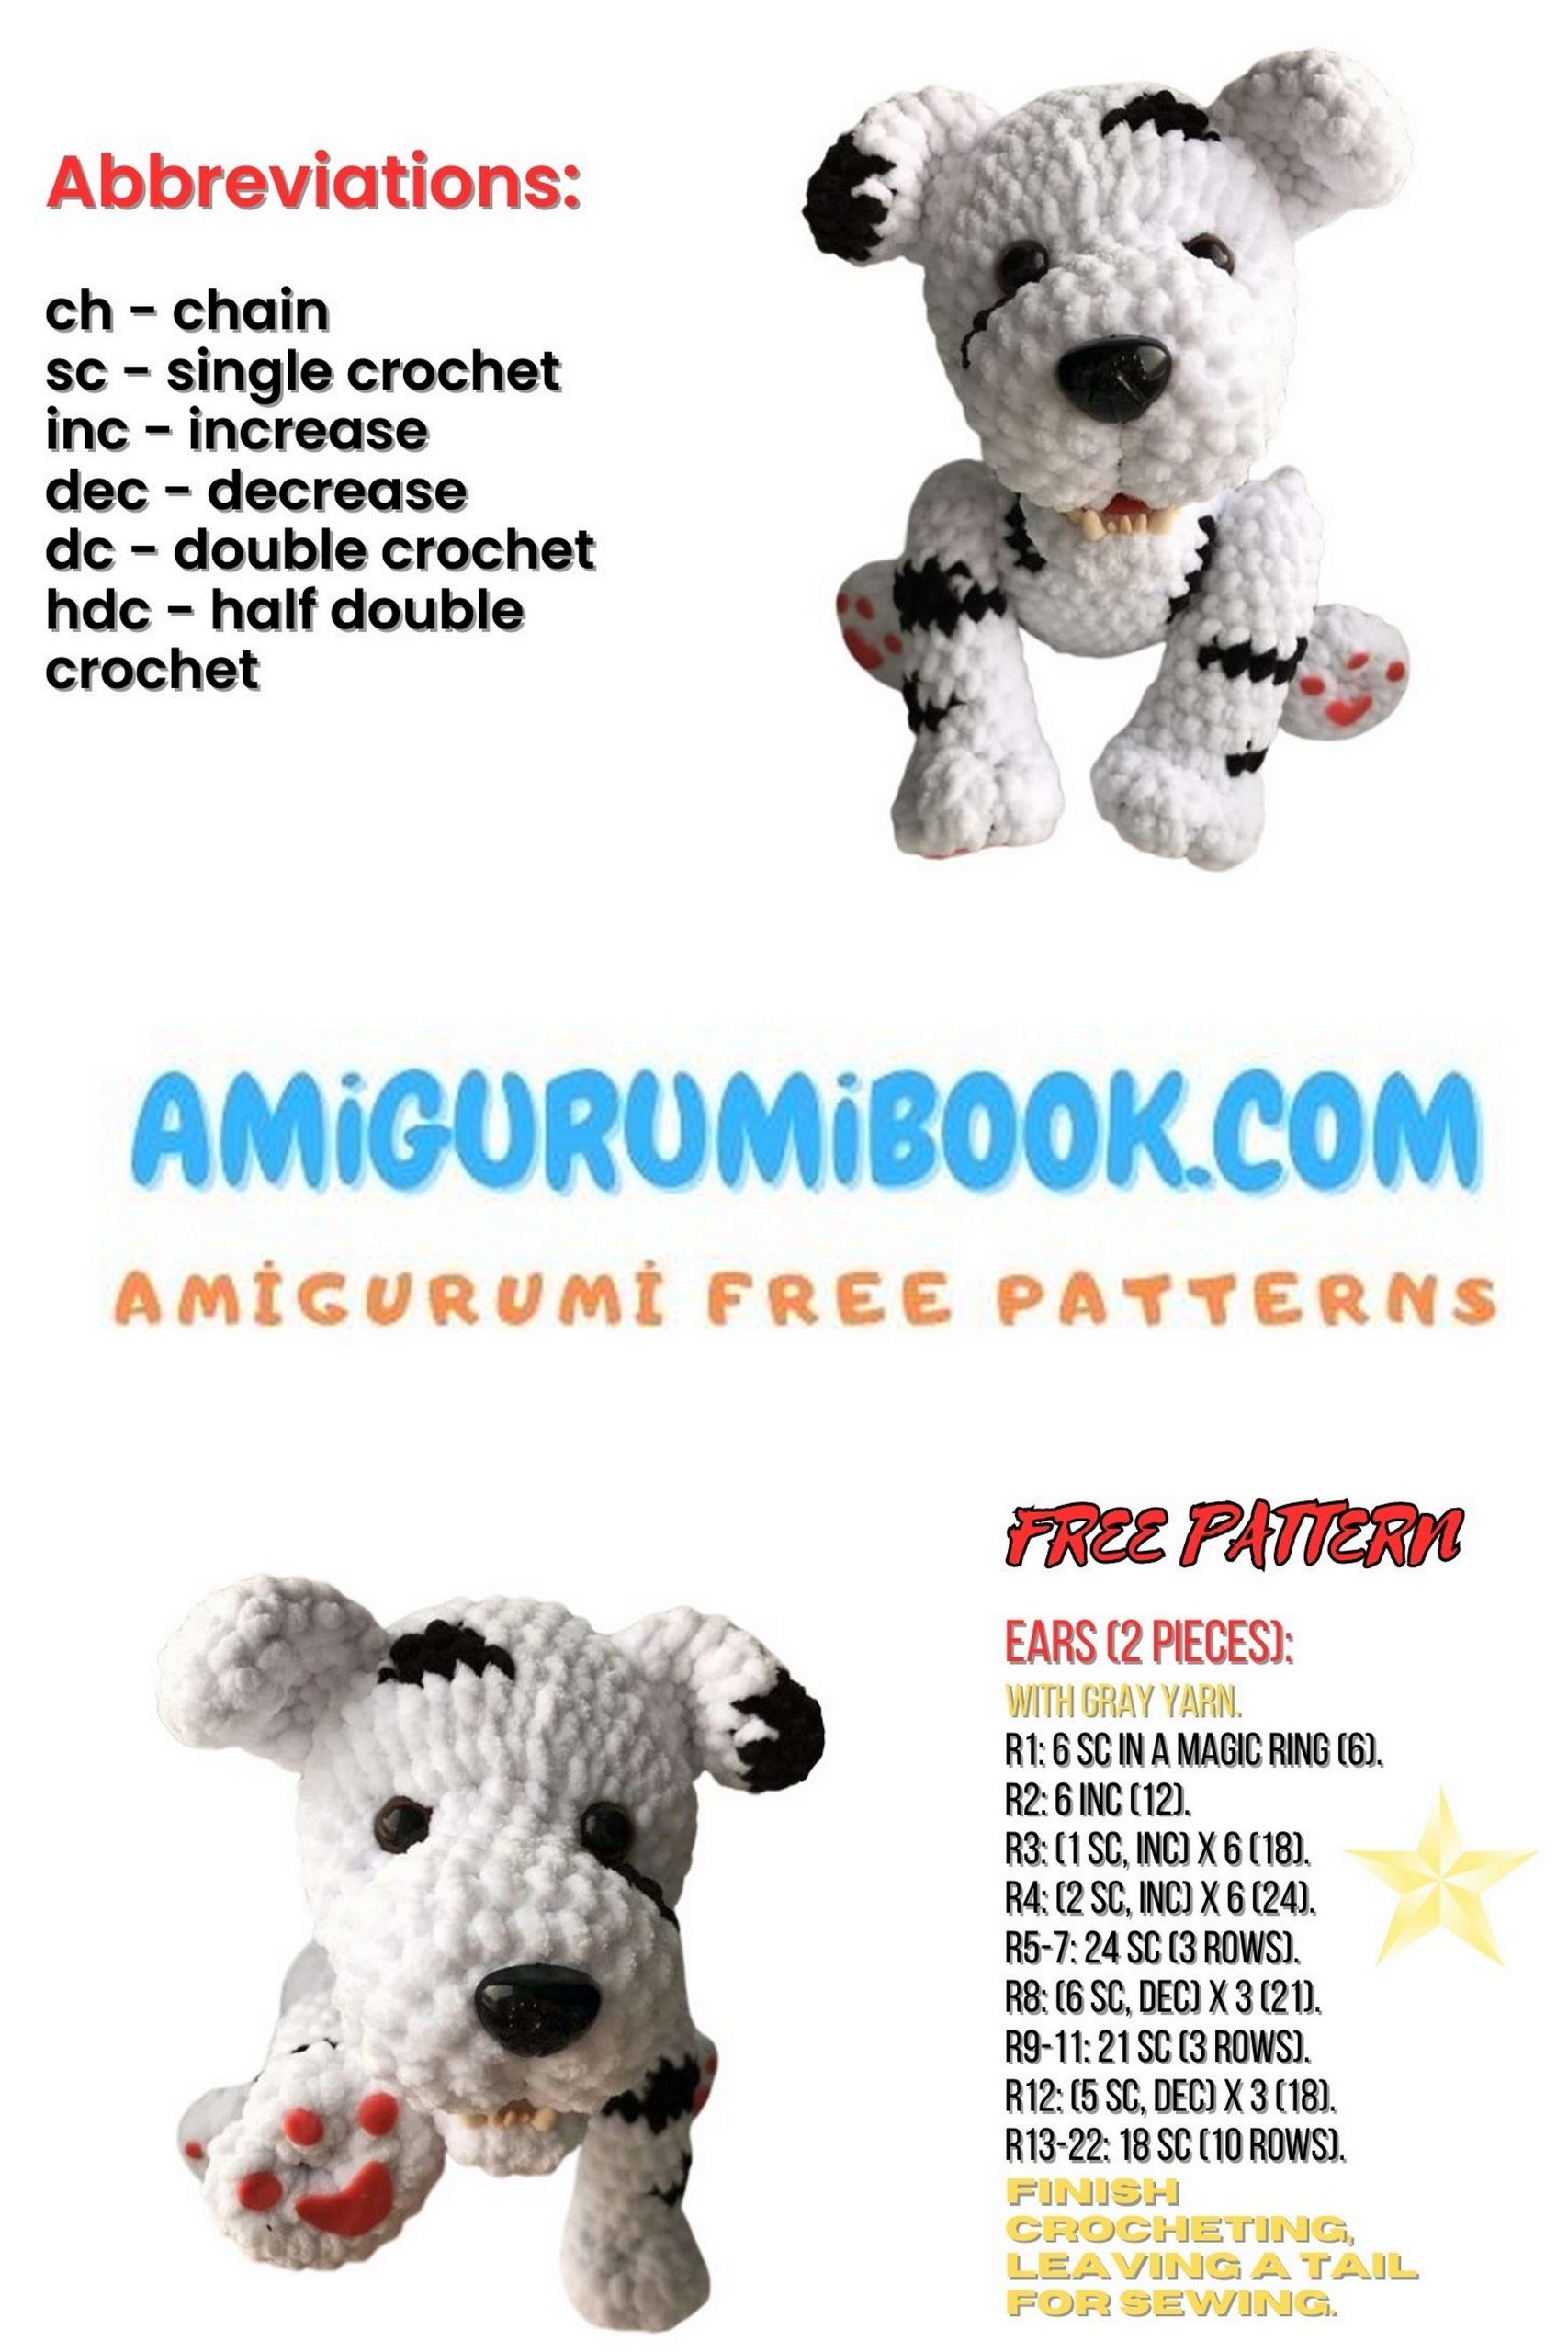
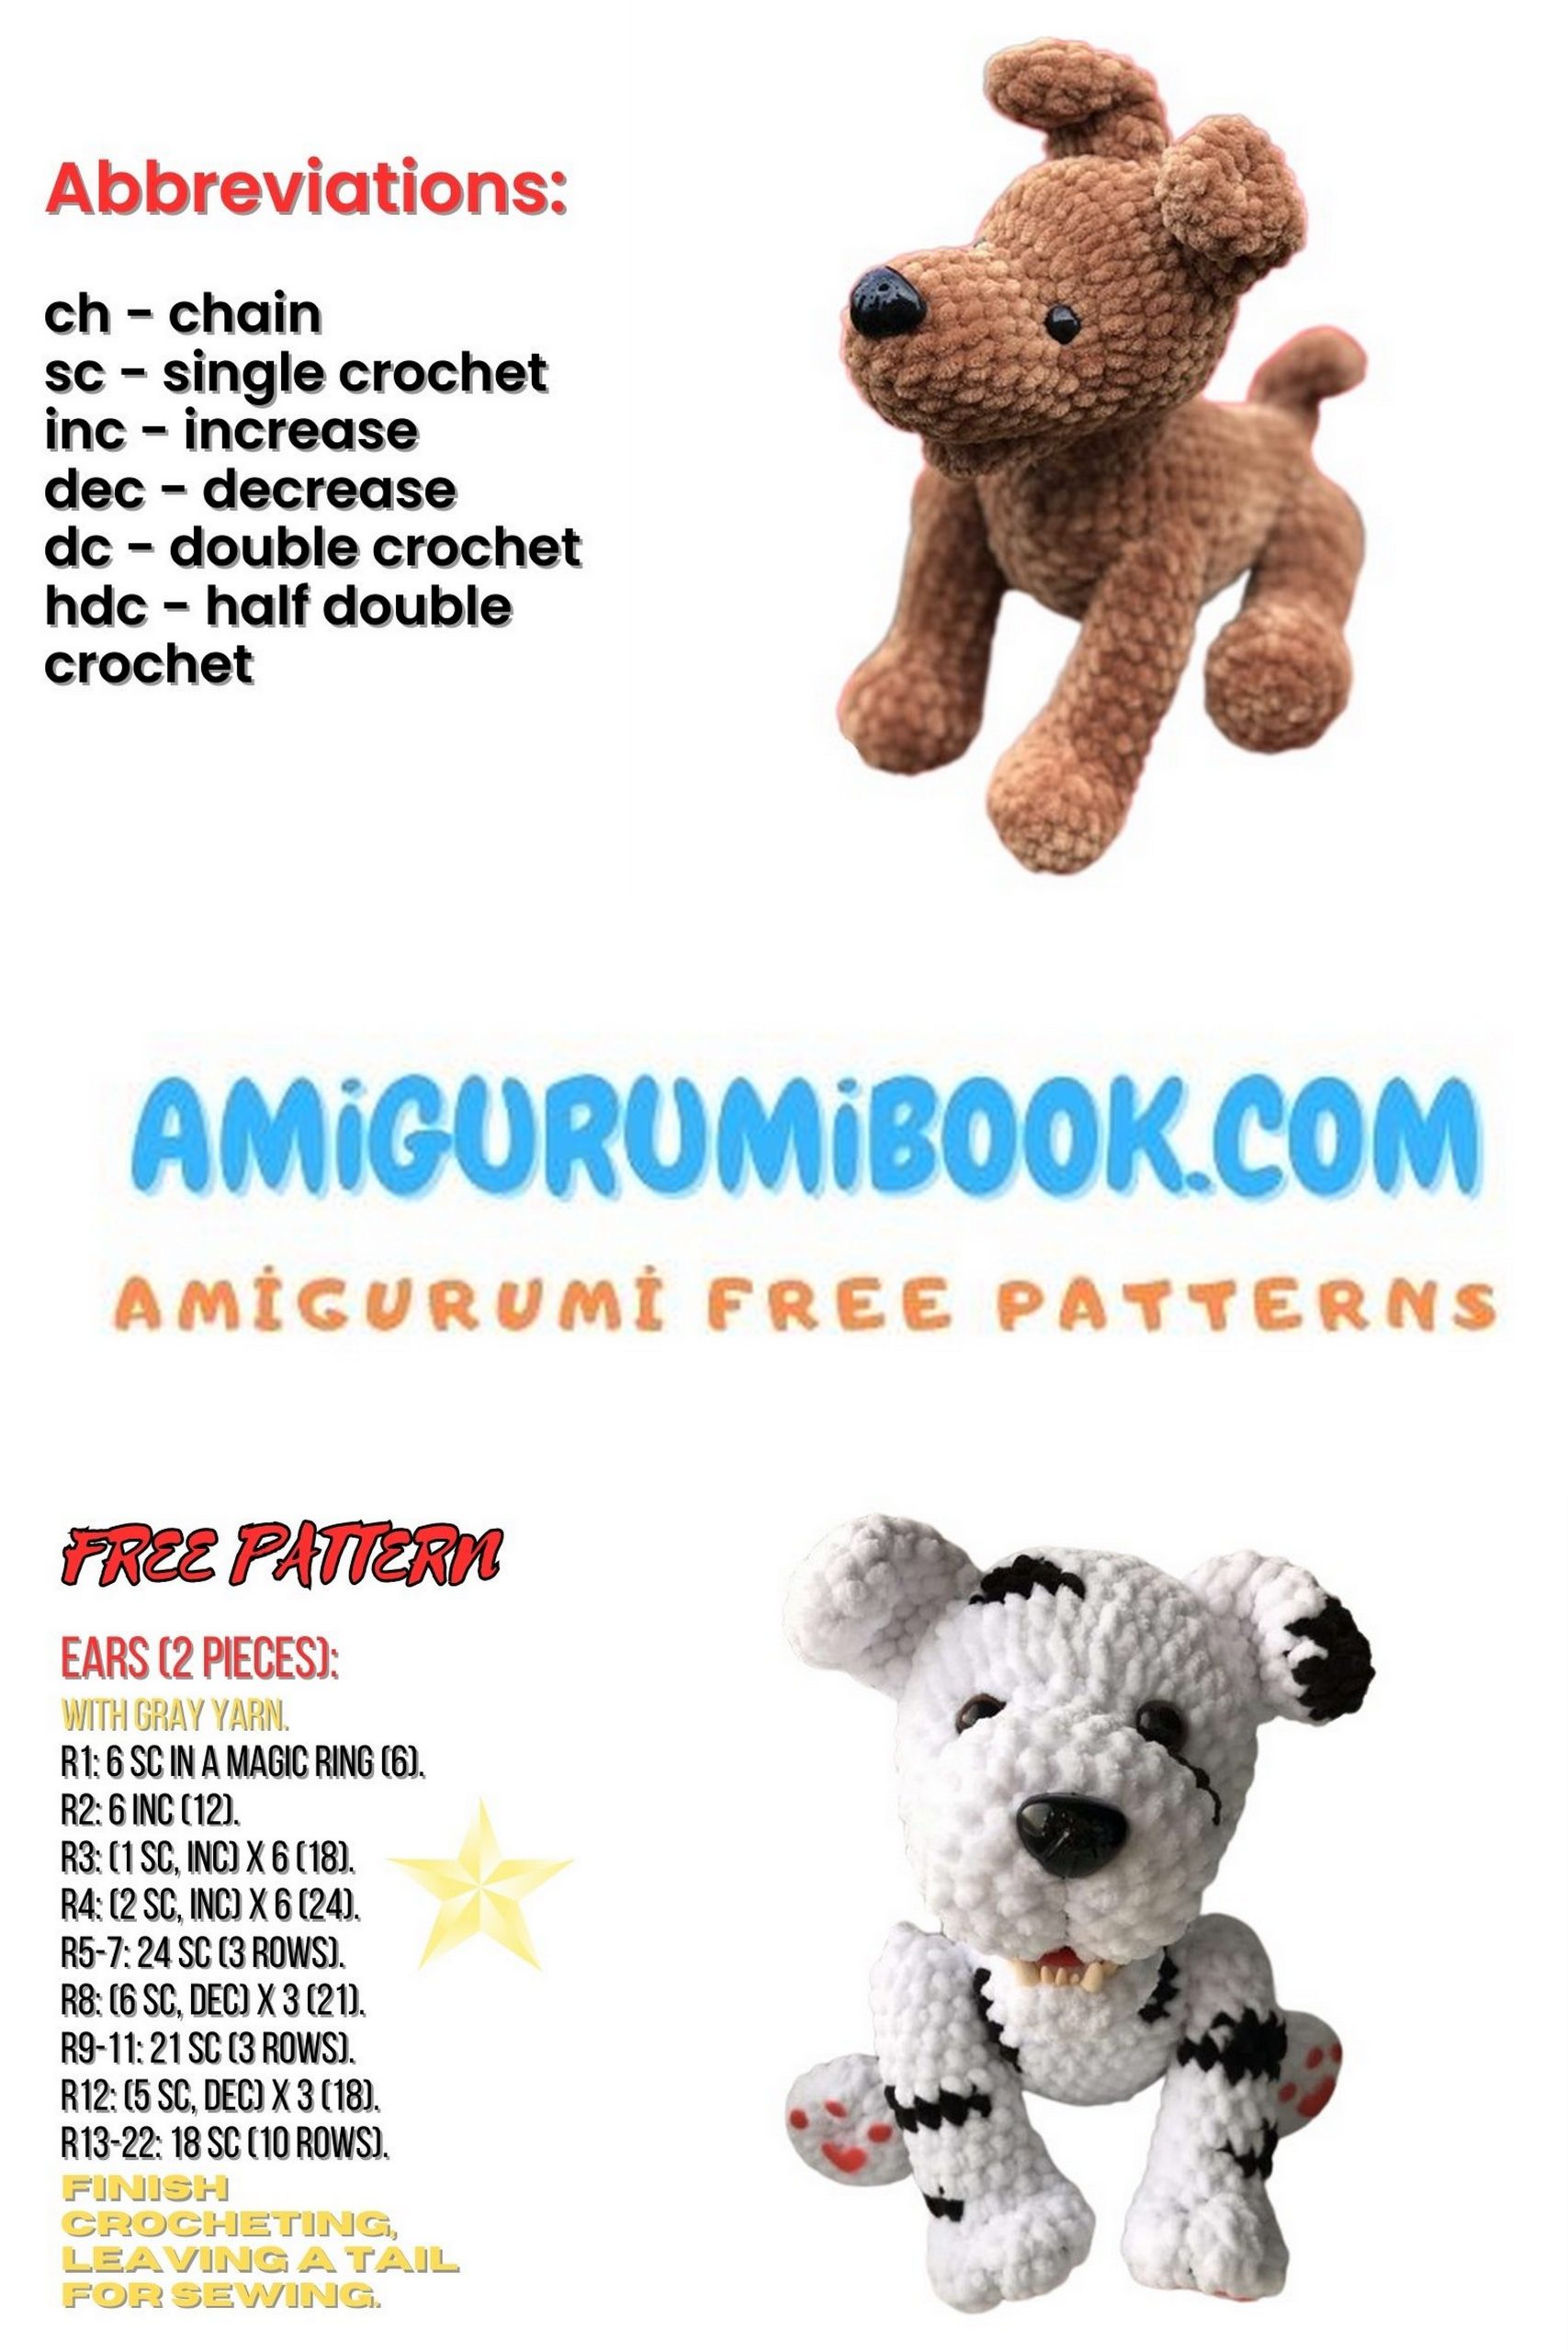
Abbreviations:
MC – magic circle (amigurumi ring);
sc – single crochet;
hdc – half double crochet;
inc – increase (2 sc in one stitch);
dec – decrease (single crochet two stitches together).
PATTERN

HEAD
1: 6 sc in a magic ring
2: inc × 6 (12)
3: (1 sc, inc) × 6 (18)
4: (2 sc, inc) × 6 (24)
5–8: 24 sc
9: (3 sc, inc) × 6 (30)
10: 10 inc, 20 sc (40)
11: 20 dec, 20 sc (40)
12–15: 40 sc
16: 6 sc, dec (35)
17: 35 sc
👉 Insert safety eyes and nose (if using screw fasteners):
- Eyes between 8–9,
- Nose centered between 2–3.
18: (3 sc, dec) × 7 (28)
19: (2 sc, dec) × 7 (22)
20: (1 sc, dec) × 7 (14)
21: 7 dec – close and hide yarn
EAR (make 2 – do not stuff)
1: 5 sc in a magic ring
2: inc × 5 (10)
3: 4 sc, inc (12)
4–5: 12 sc
6: 5 sc, inc (14)
7–10: 14 sc
NECK
1: ch 23, join with sl st to form a ring
2–4: 22 sc in the round
MOUTH
1: 6 sc in a magic ring
2: inc × 6 (12)
3–7: 12 sc
Do not stuff.
Fold, join the halves, and sew closed.
BODY
1: 6 sc in a magic ring
2: inc × 6 (12)
3: (1 sc, inc) × 6 (18)
4: (2 sc, inc) × 6 (24)
5: (3 sc, inc) × 6 (30)
6: (4 sc, inc) × 6 (36)
7–11: 36 sc
12: (4 sc, dec) × 6 (30)
13–15: 30 sc
16: (3 sc, dec) × 6 (24)
17–20: 24 sc
21: (2 sc, dec) × 6 (18)
22: 18 sc
23: (1 sc, dec) × 6 (12)
24: 6 dec
👉 Crochet until 20, insert joint fasteners.
Continue to 23, then stuff the body.
FRONT LEG (make 2)
1: 6 sc in a magic ring
2: inc × 6 (12)
3: (1 sc, inc) × 6 (18)
4–5: 18 sc
6: 3 dec, 12 sc (15)
7: 2 dec, 11 sc (13)
8–16: 13 sc
Stuff the piece.
Insert joint fastener between 16–17.
17: dec, 11 sc (12)
18: 6 dec (6)
19: 3 dec – close
BACK LEG (make 2)
1: 6 sc in a magic ring
2: inc × 6 (12)
3: (1 sc, inc) × 6 (18)
4–5: 18 sc
6: 3 dec, 12 sc (14)
7: 2 dec, 11 sc
8–11: 13 sc
12: 5 inc, 2 sc, 2 dec, 2 sc (16)
13: 3 sc, 4 inc, 3 sc, 3 dec (17)
14: 6 sc, inc, 10 sc (18)
15–16: 18 sc
17: sc, dec (12)
Insert joint fastener between 17–18.
18: 12 sc
19: sc, dec (6)
20: 3 dec
TAIL
1: 6 sc in a magic ring
2: 6 sc
3: sc, inc (9)
4–5: 9 sc
6: dec, 2 sc, 2 inc, 2 sc (10)
7: dec, 3 sc, inc, 3 sc (9)
8–10: 9 sc
11: sc, dec (6)
12: 3 dec – close and hide yarn
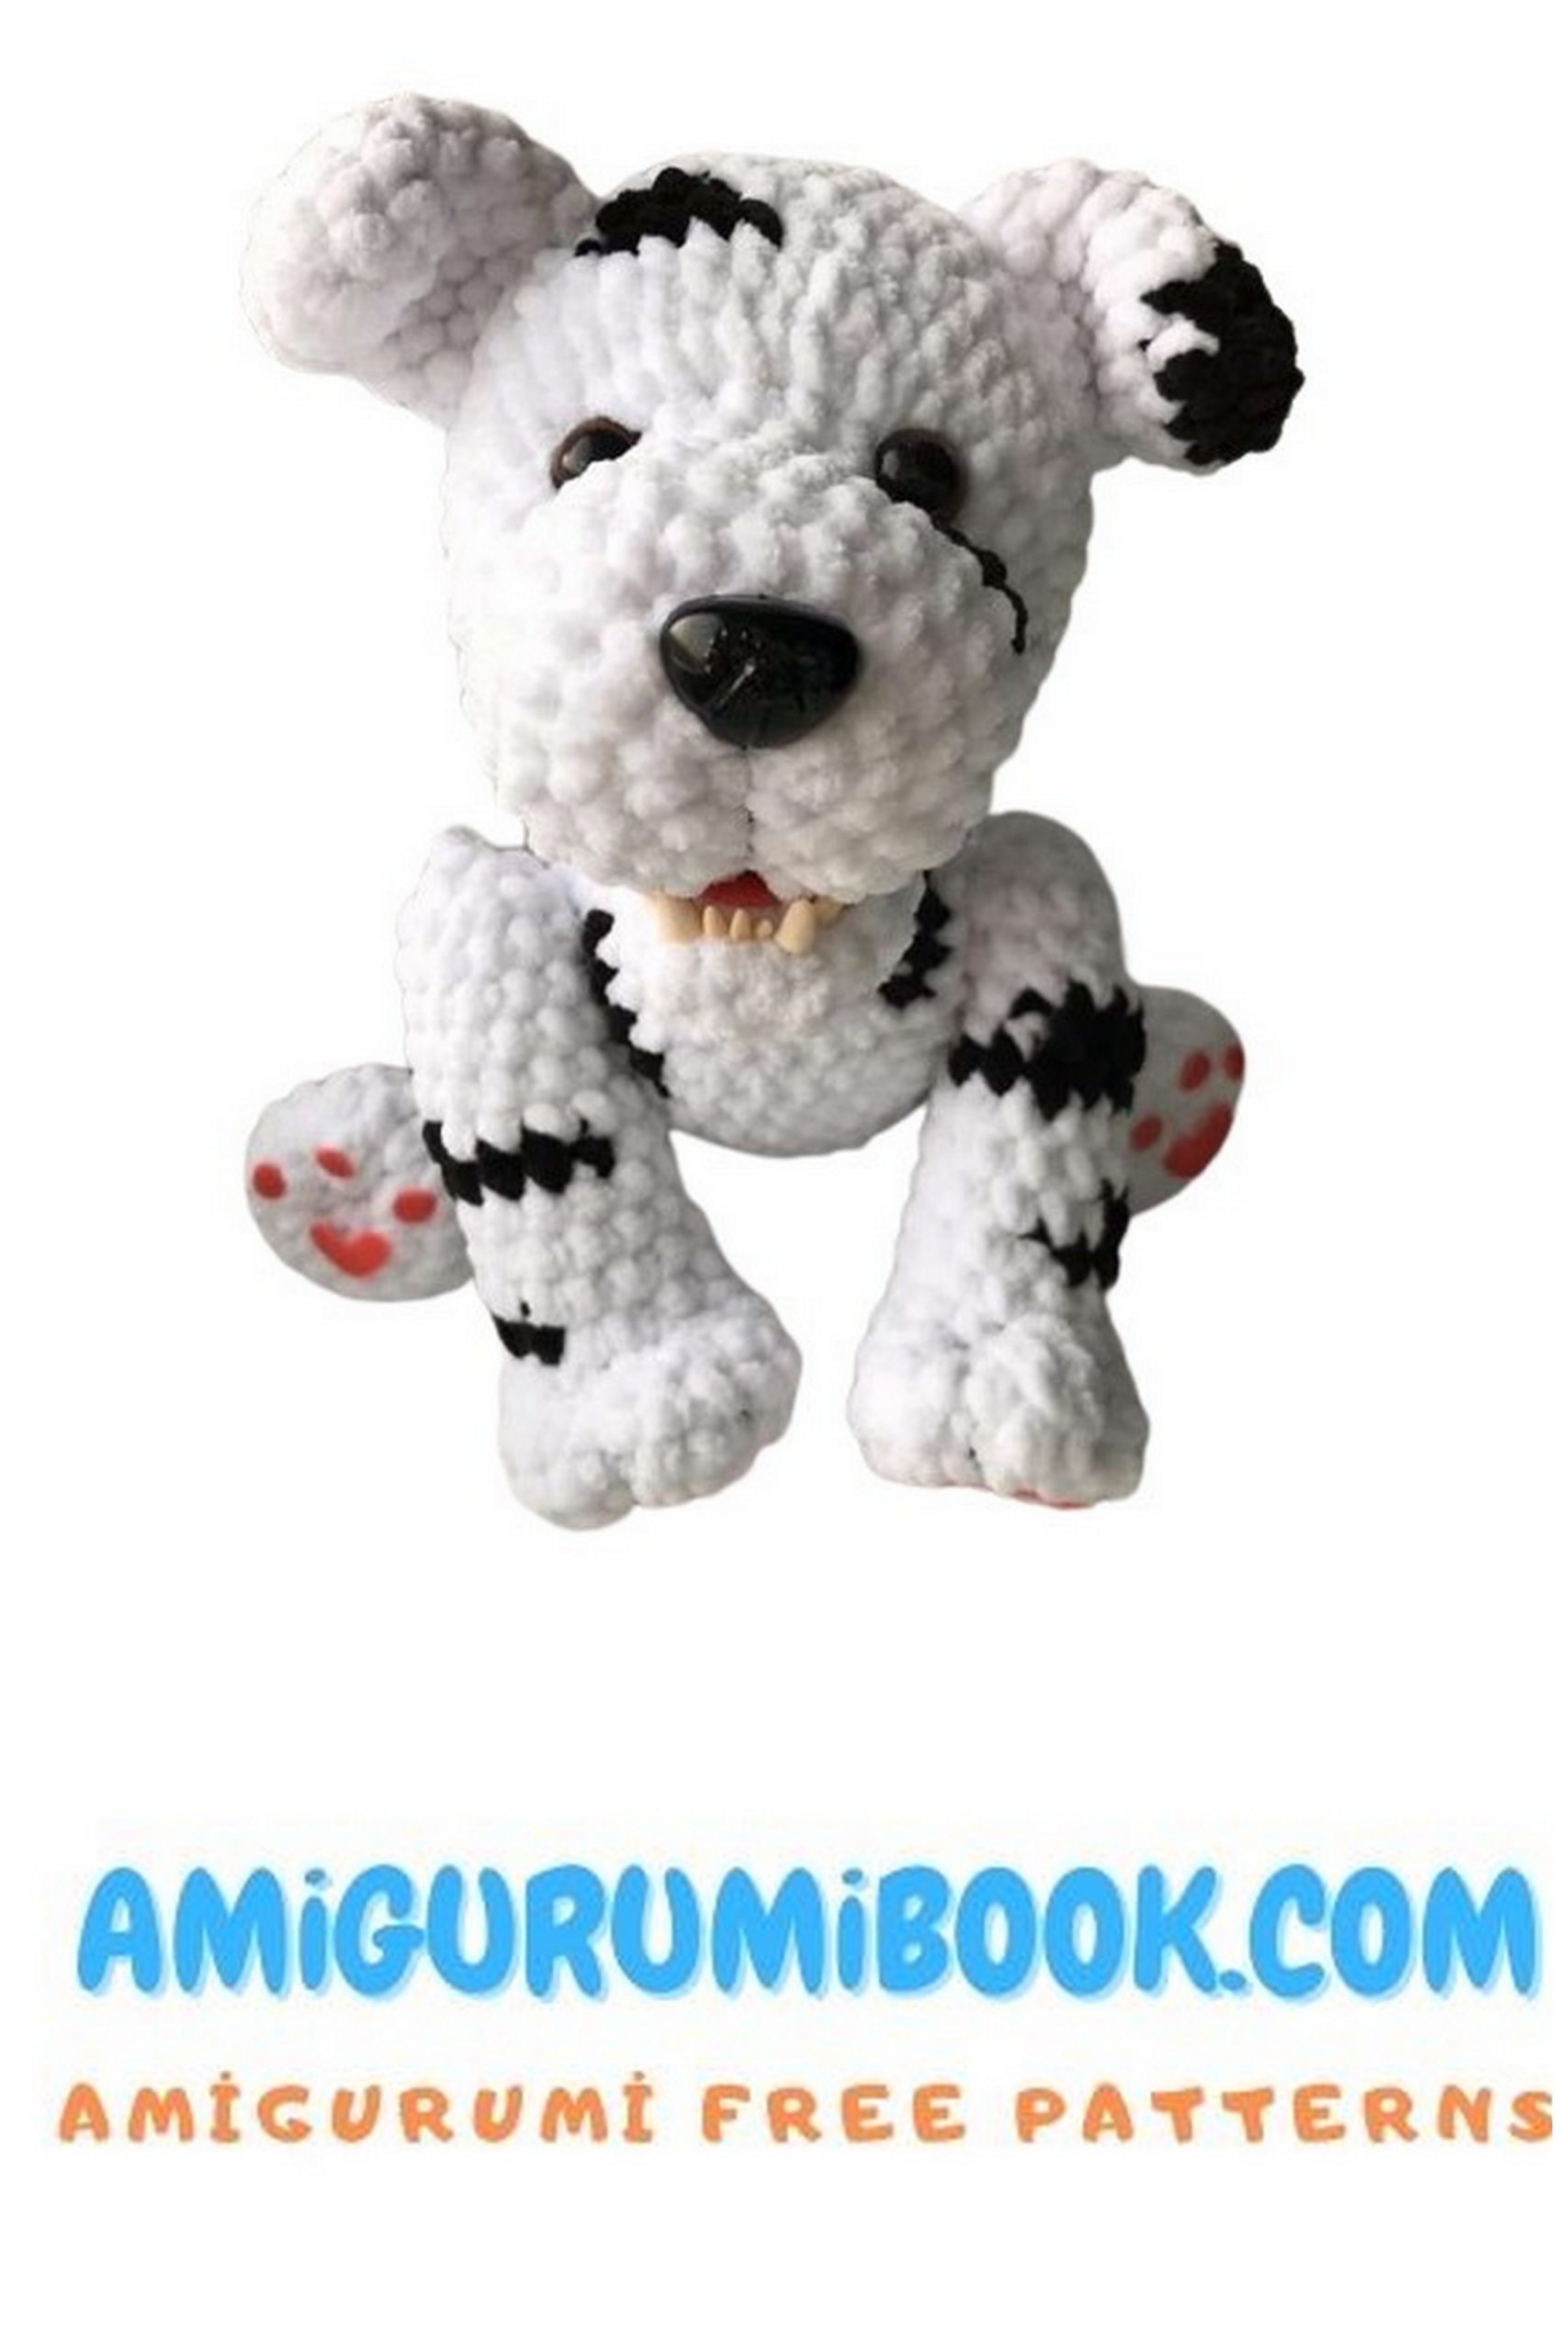
ASSEMBLY
- Attach front legs between 7–8, 15 stitches apart
- Attach back legs between 19–20, 12 stitches apart
- Stuff body firmly and finish closing
- Attach neck centered between 2–9
- Sew ears between 14–15, 6 stitches apart
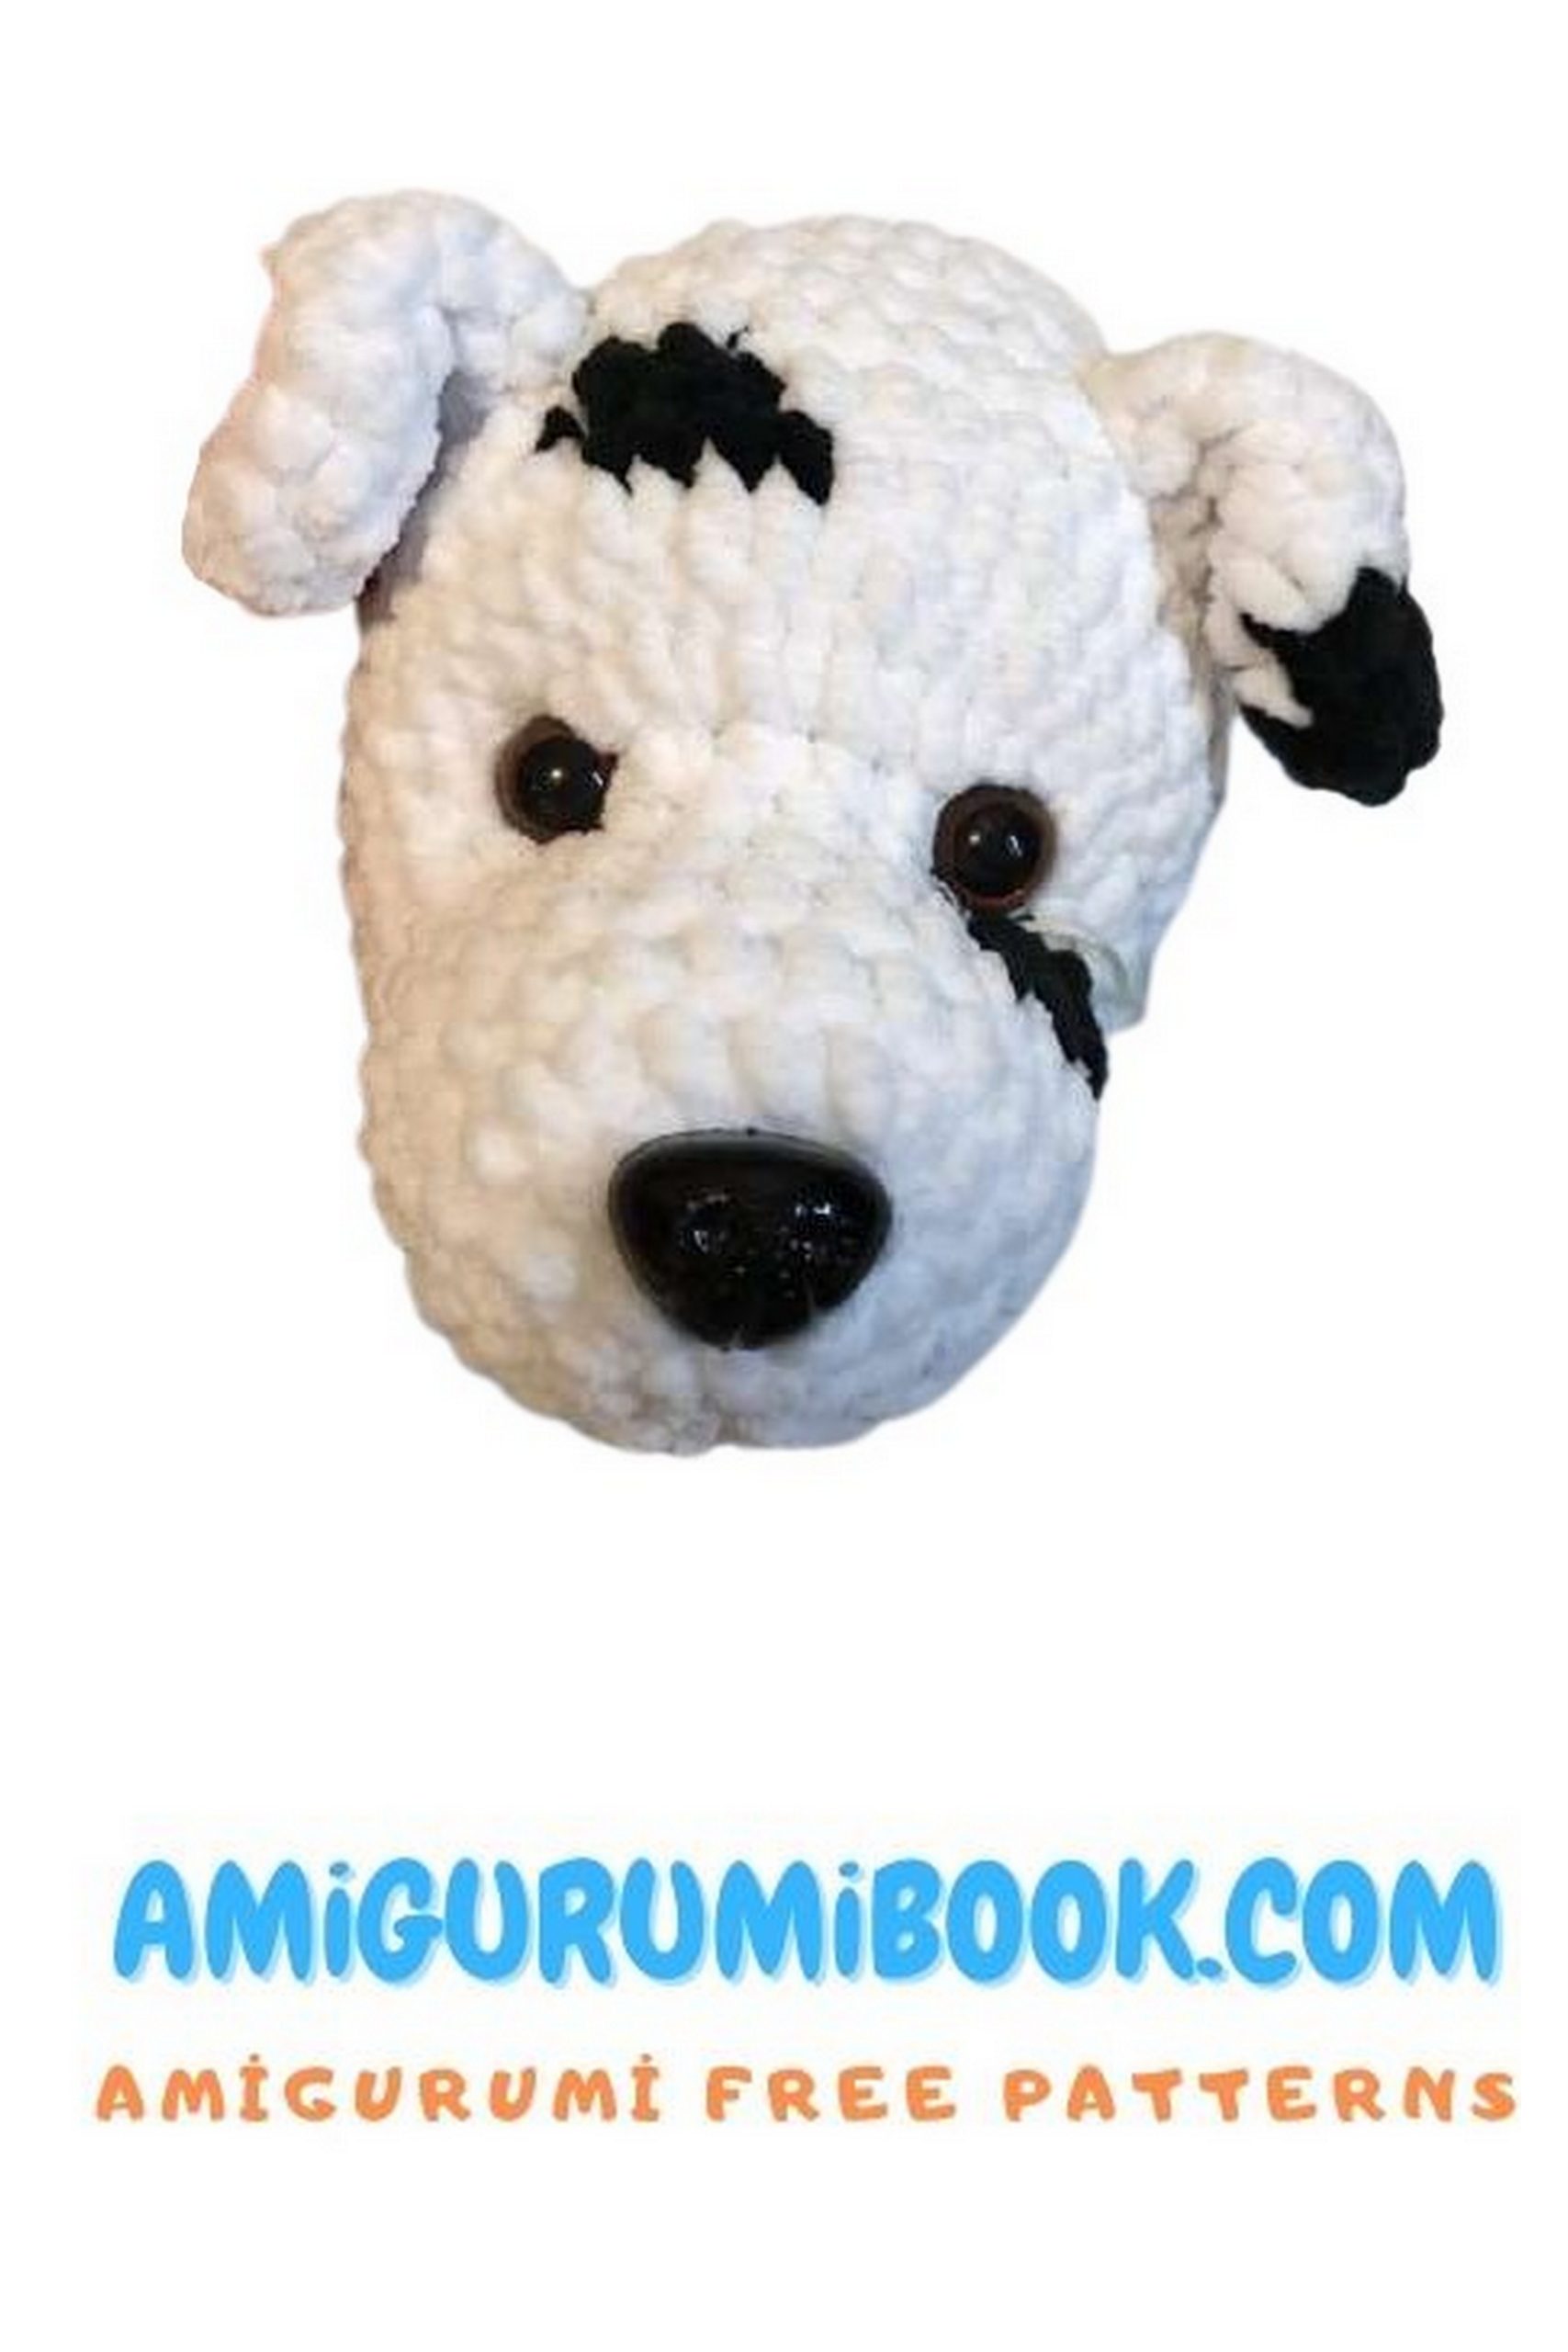
Face Shaping
- Locate 7 at the bottom of the head
- Insert needle at center → lower corner of right eye → back to 7
- Tighten gently
- With black thread, insert needle at 7 and bring it to the center of the nose
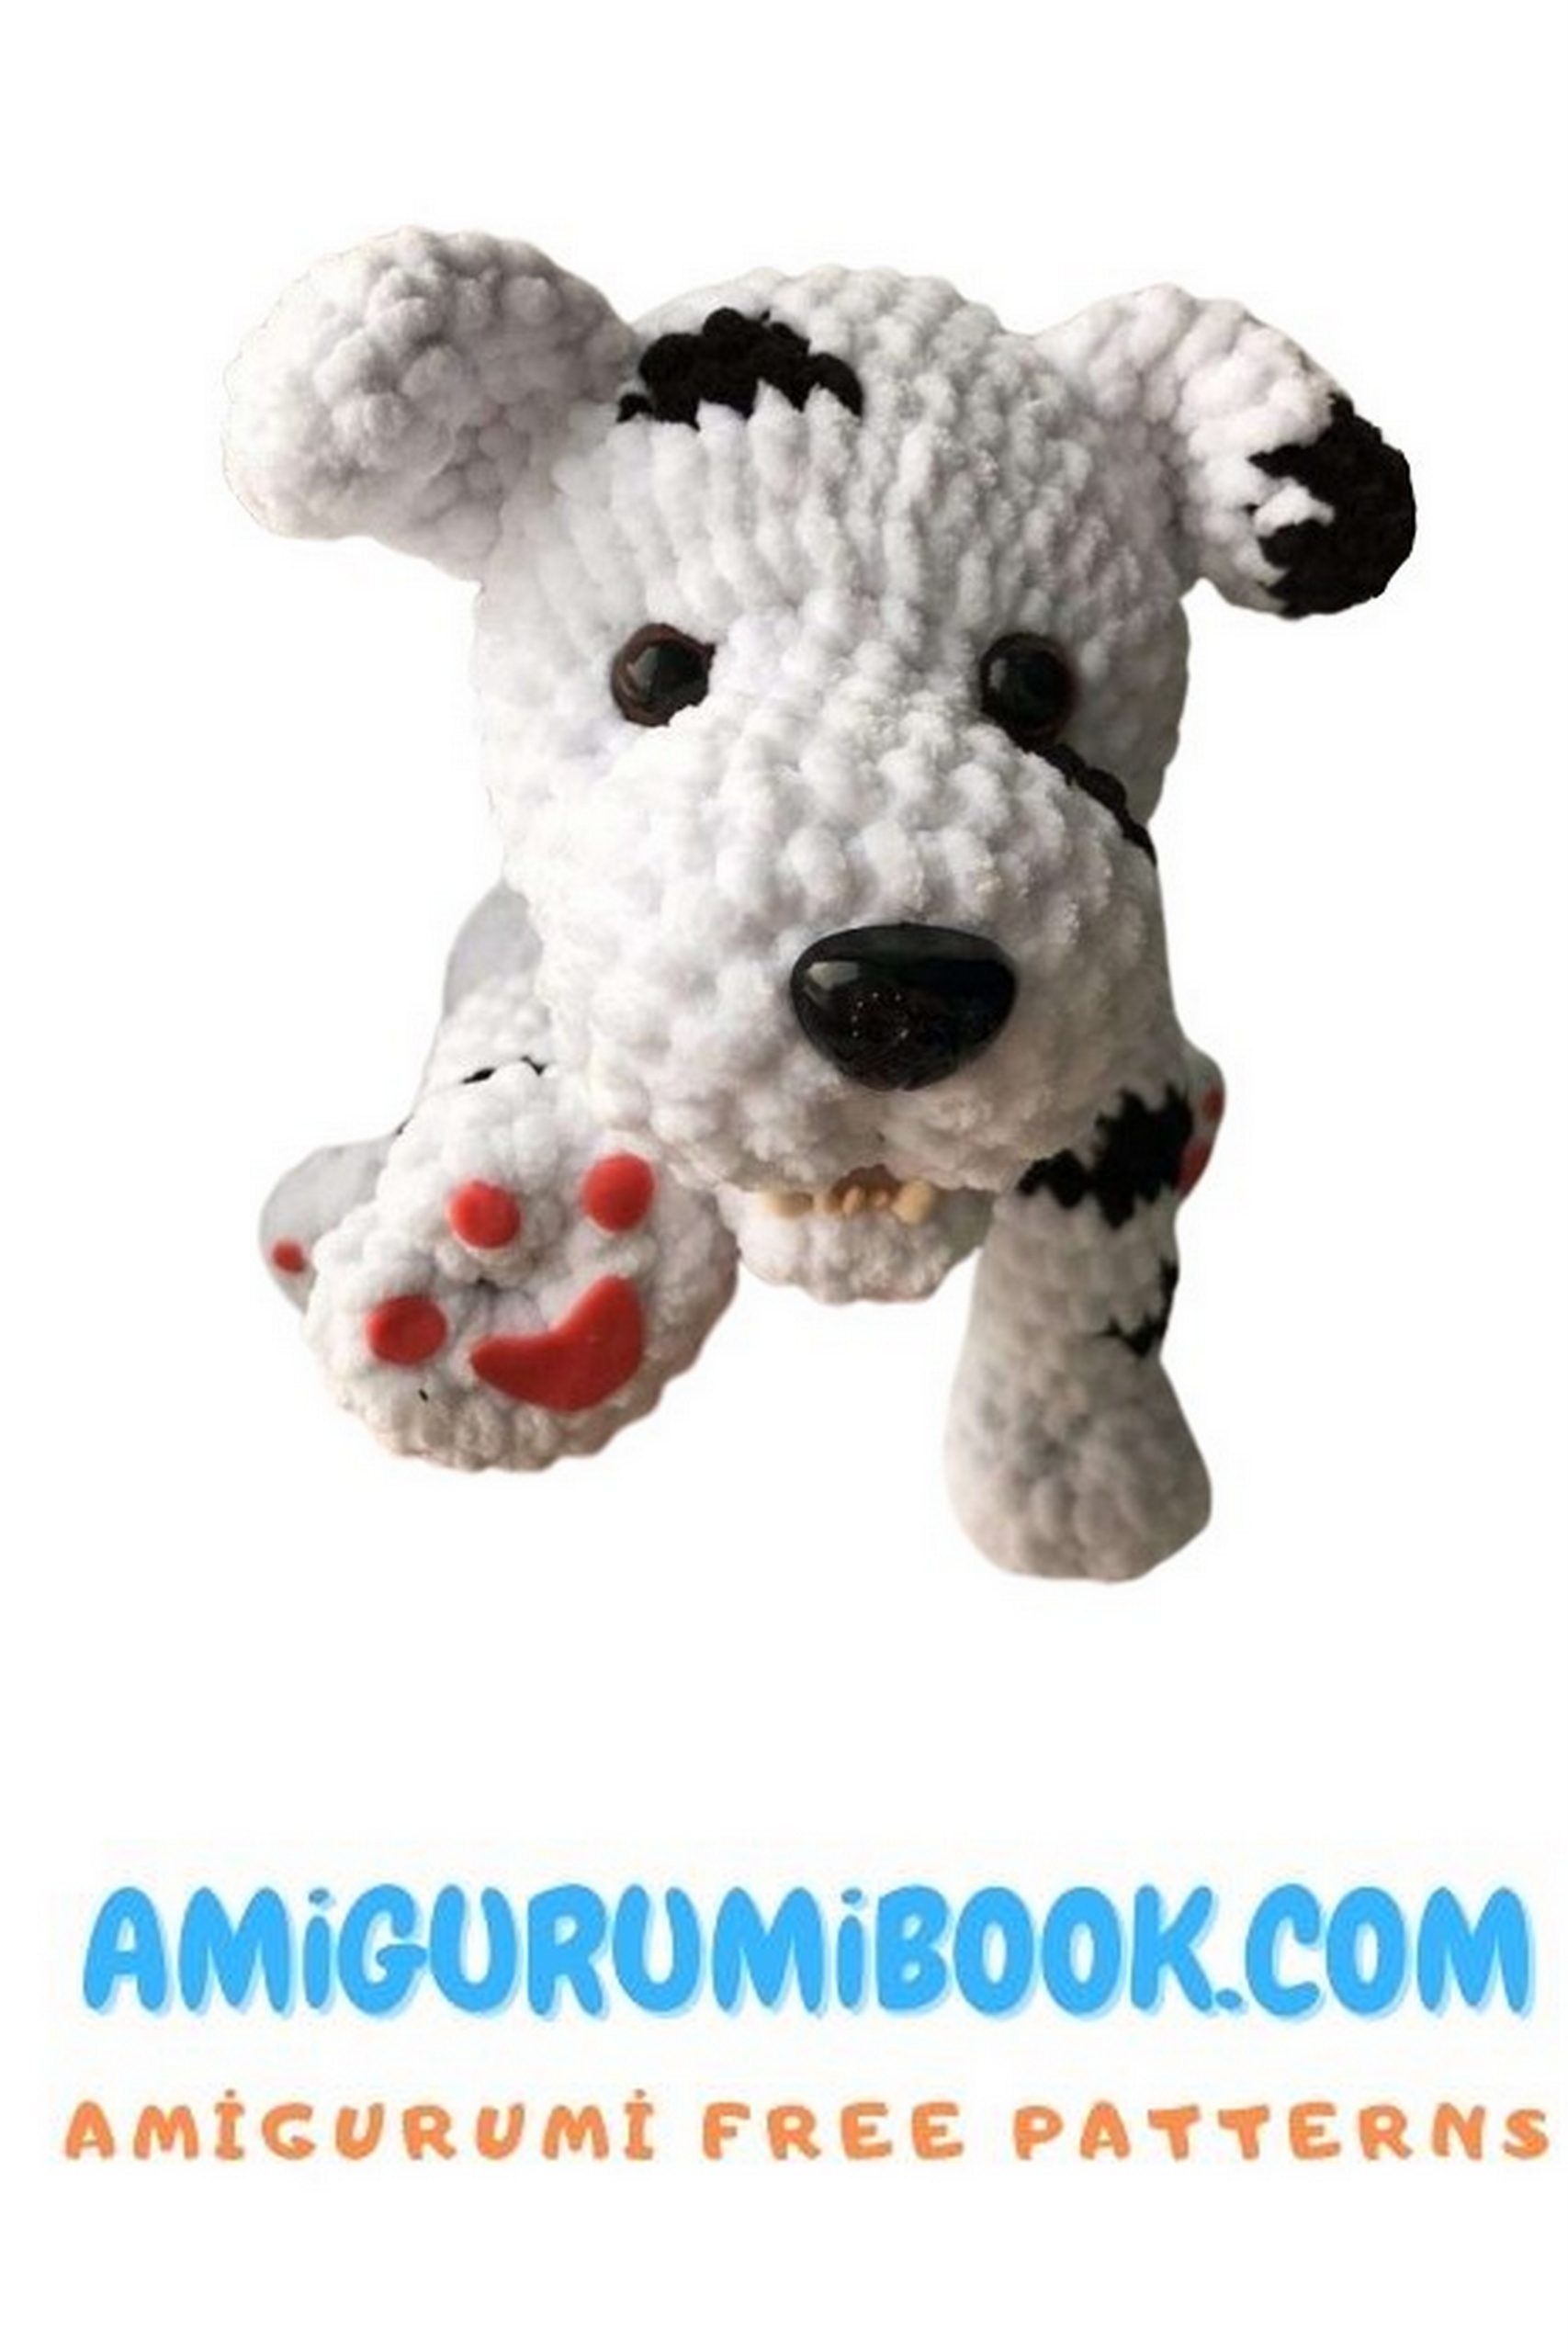
Details
Tighten paws and attach pads
Teeth and tongue: polymer clay
Paw pads: felt or clay
Attach tongue between 11–12
Sew head to body