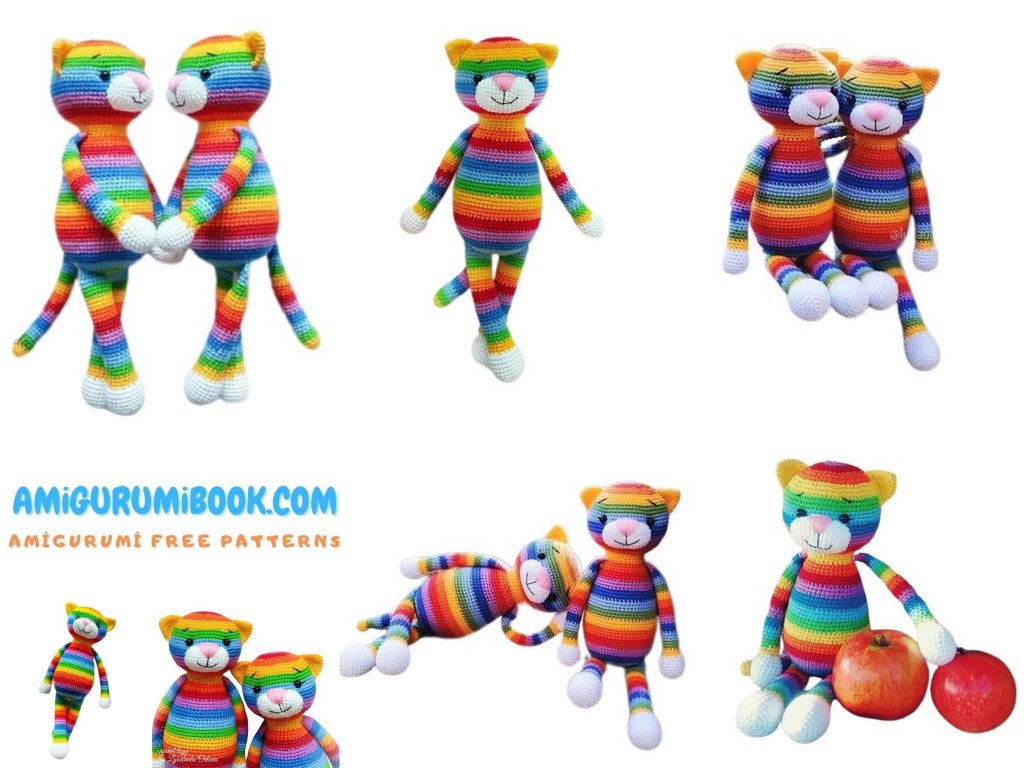
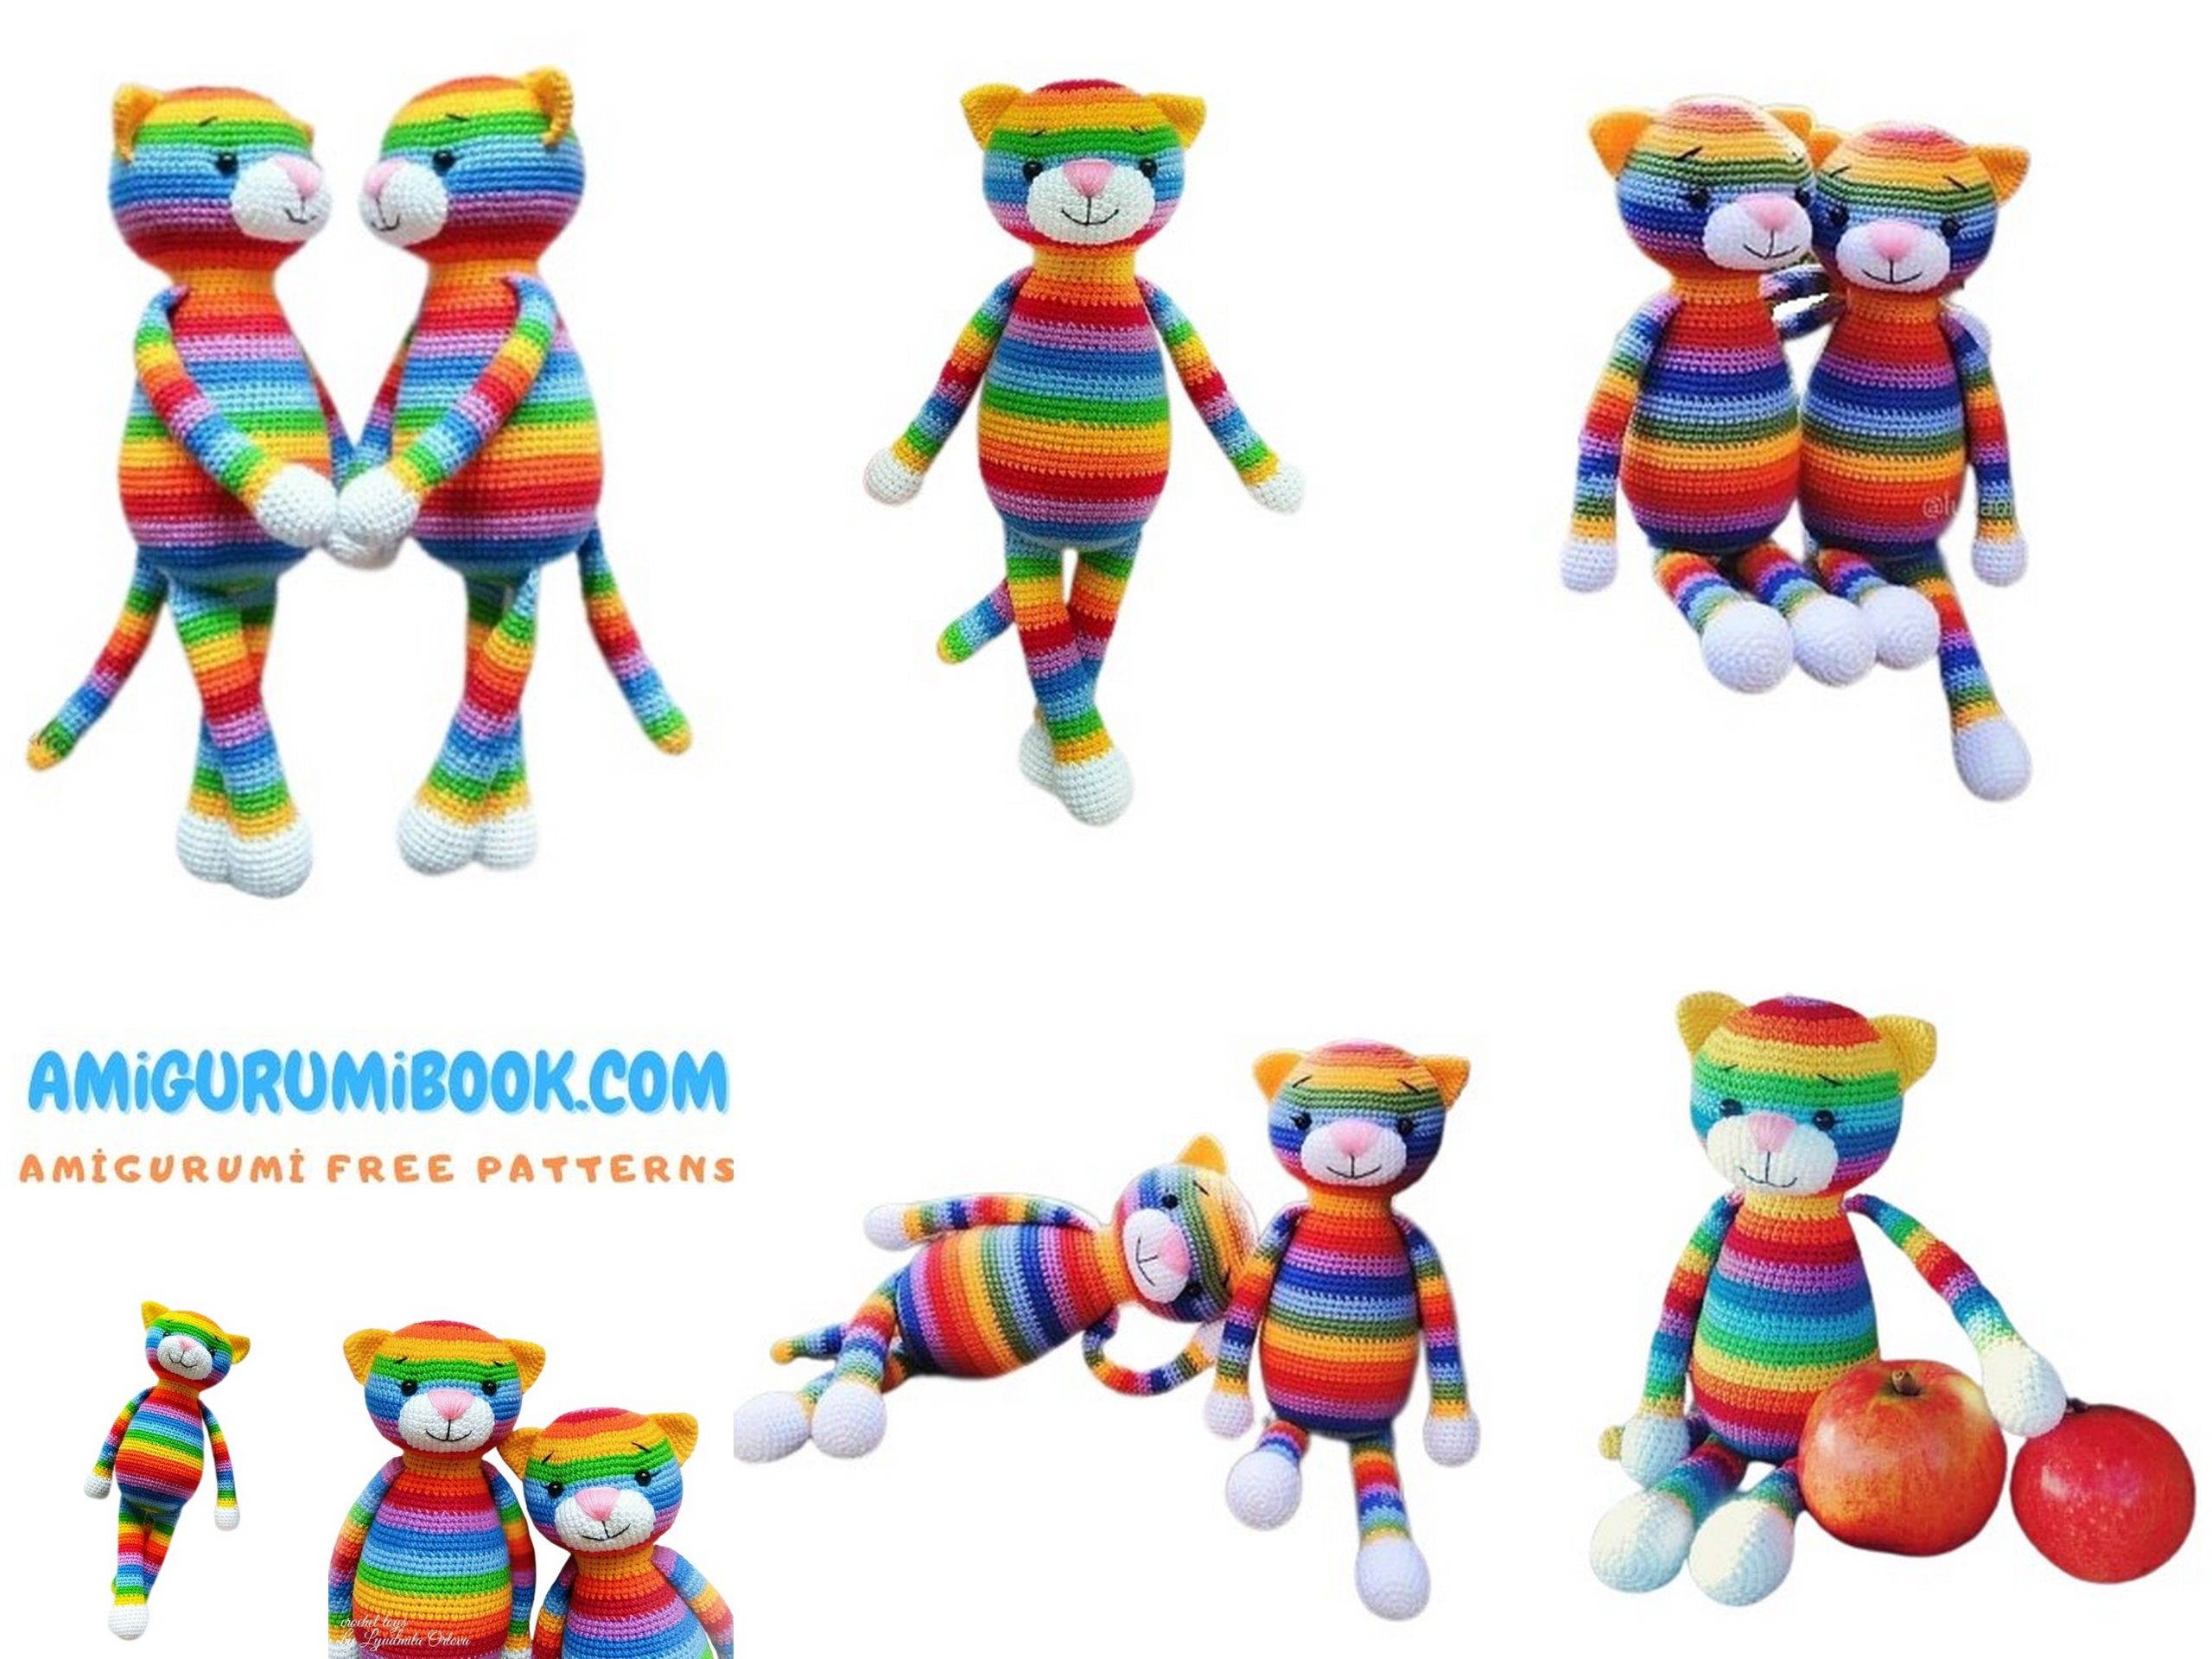
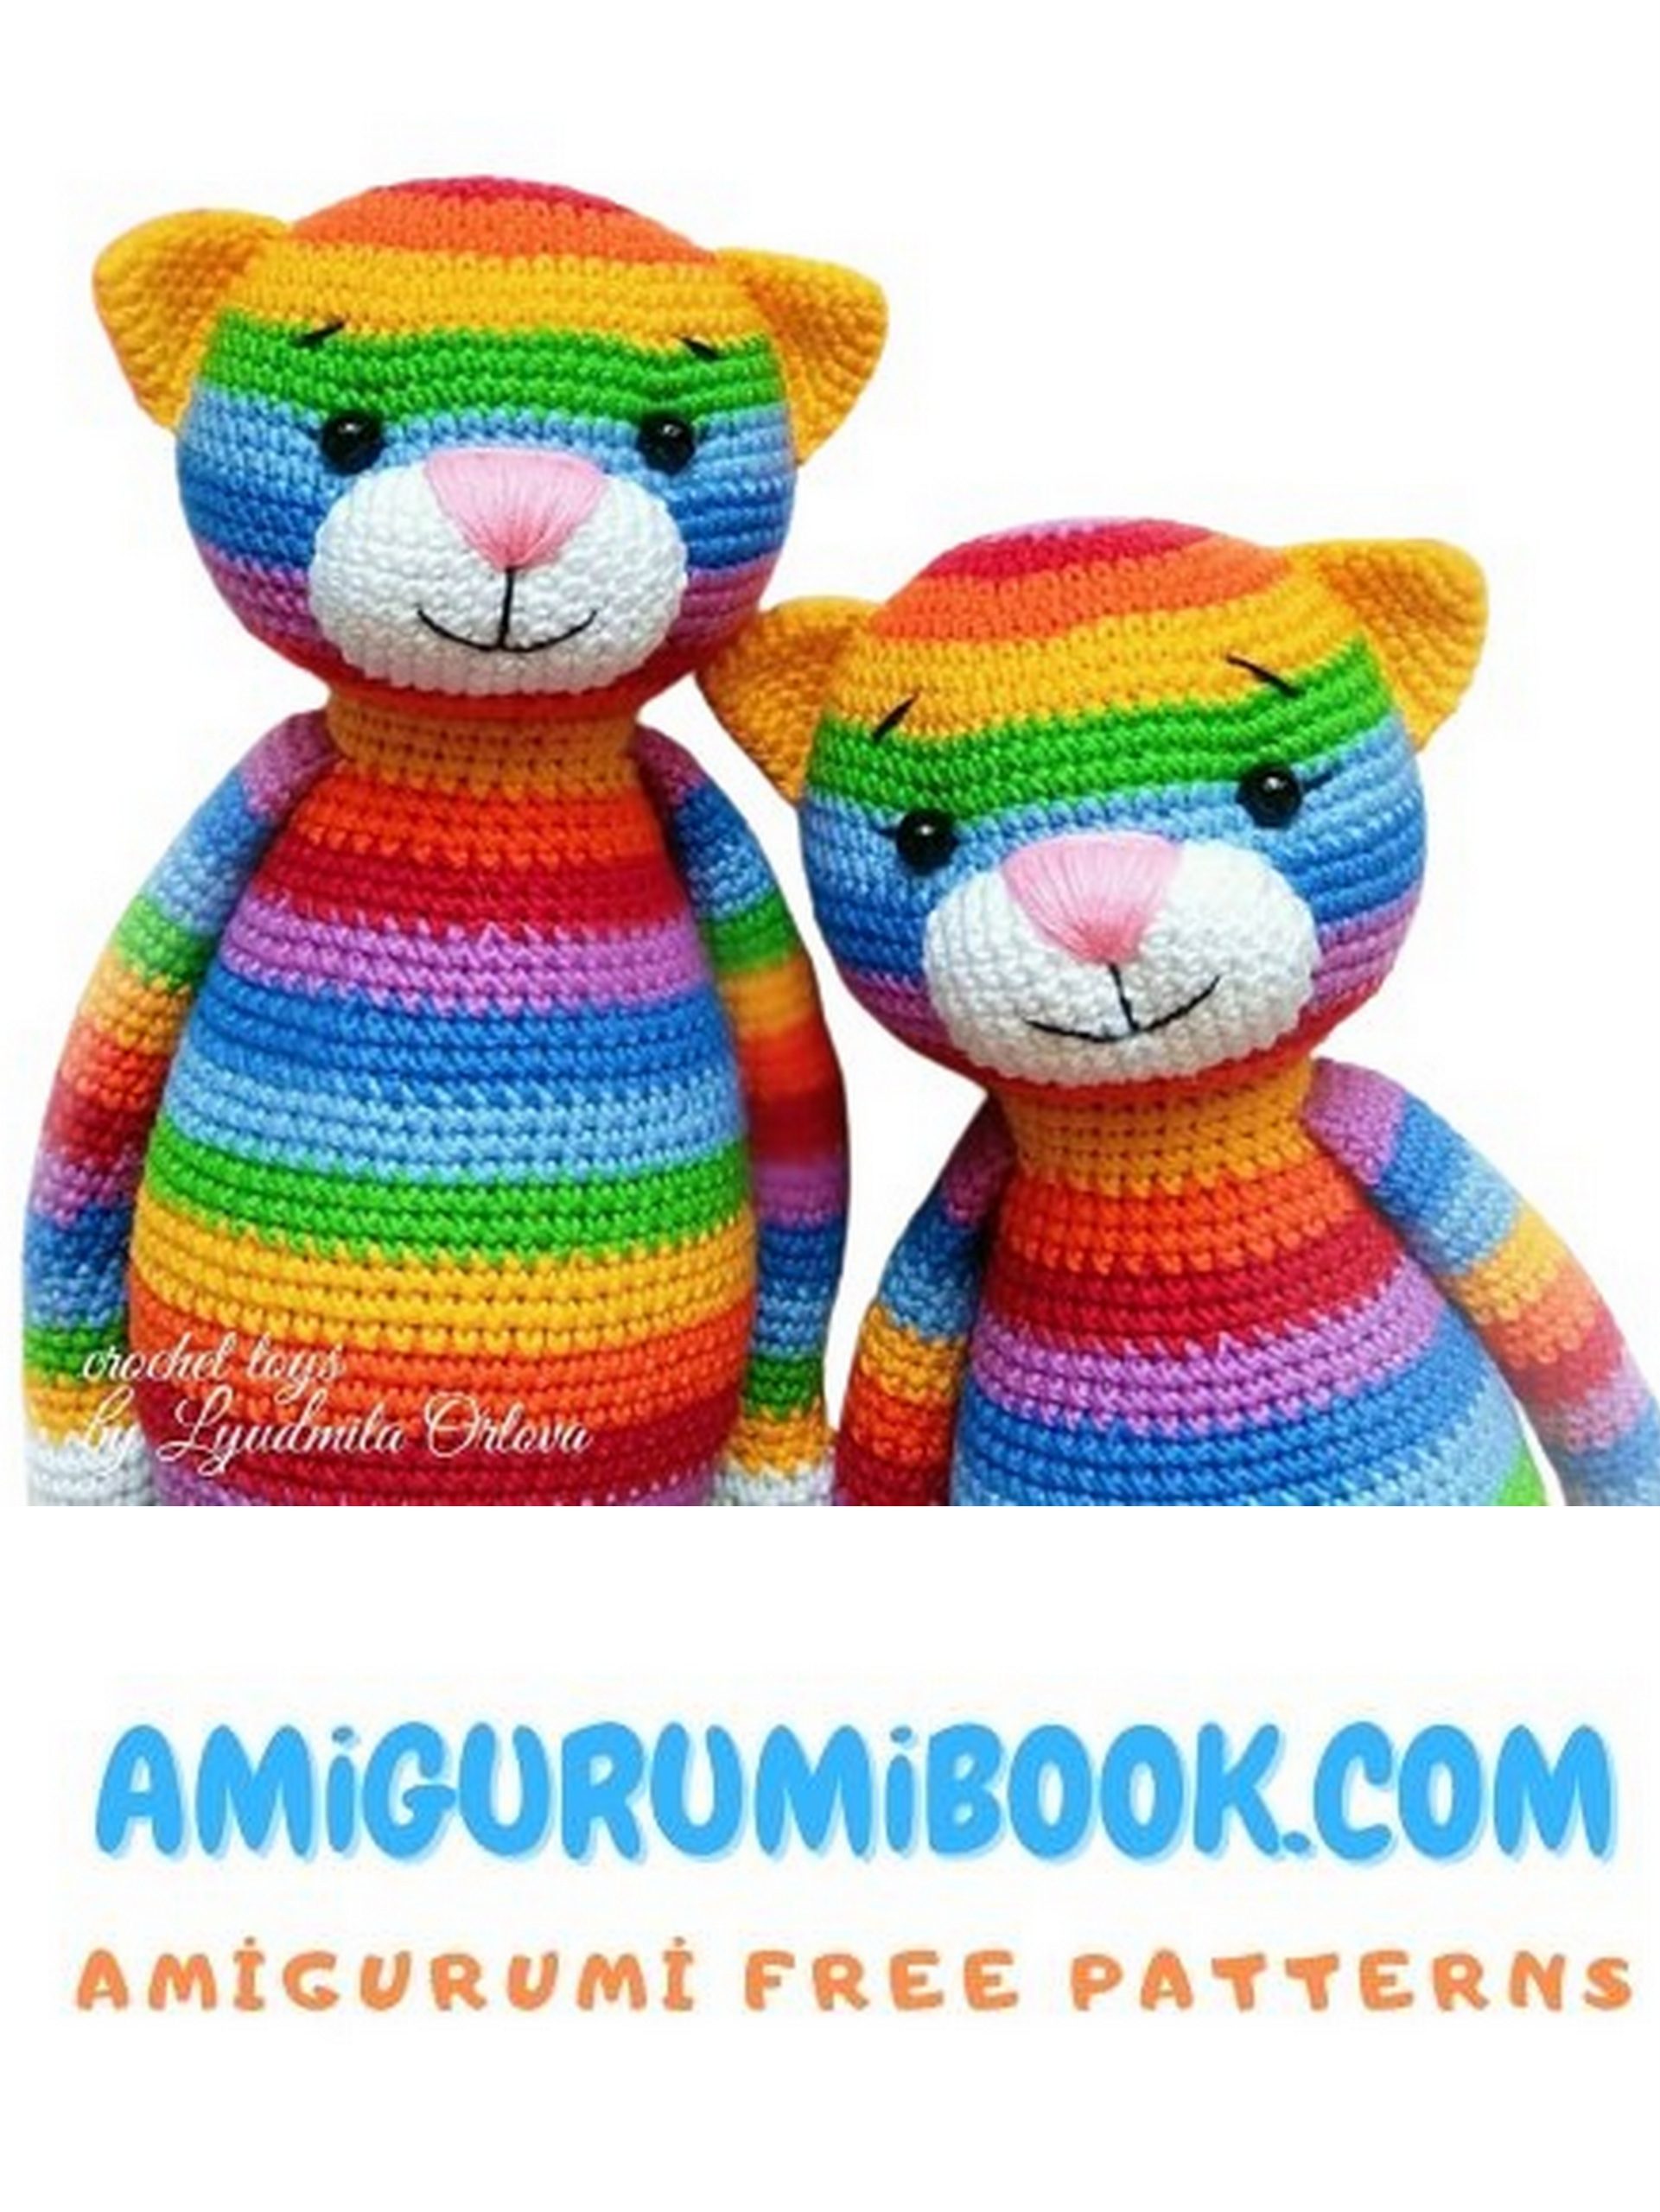
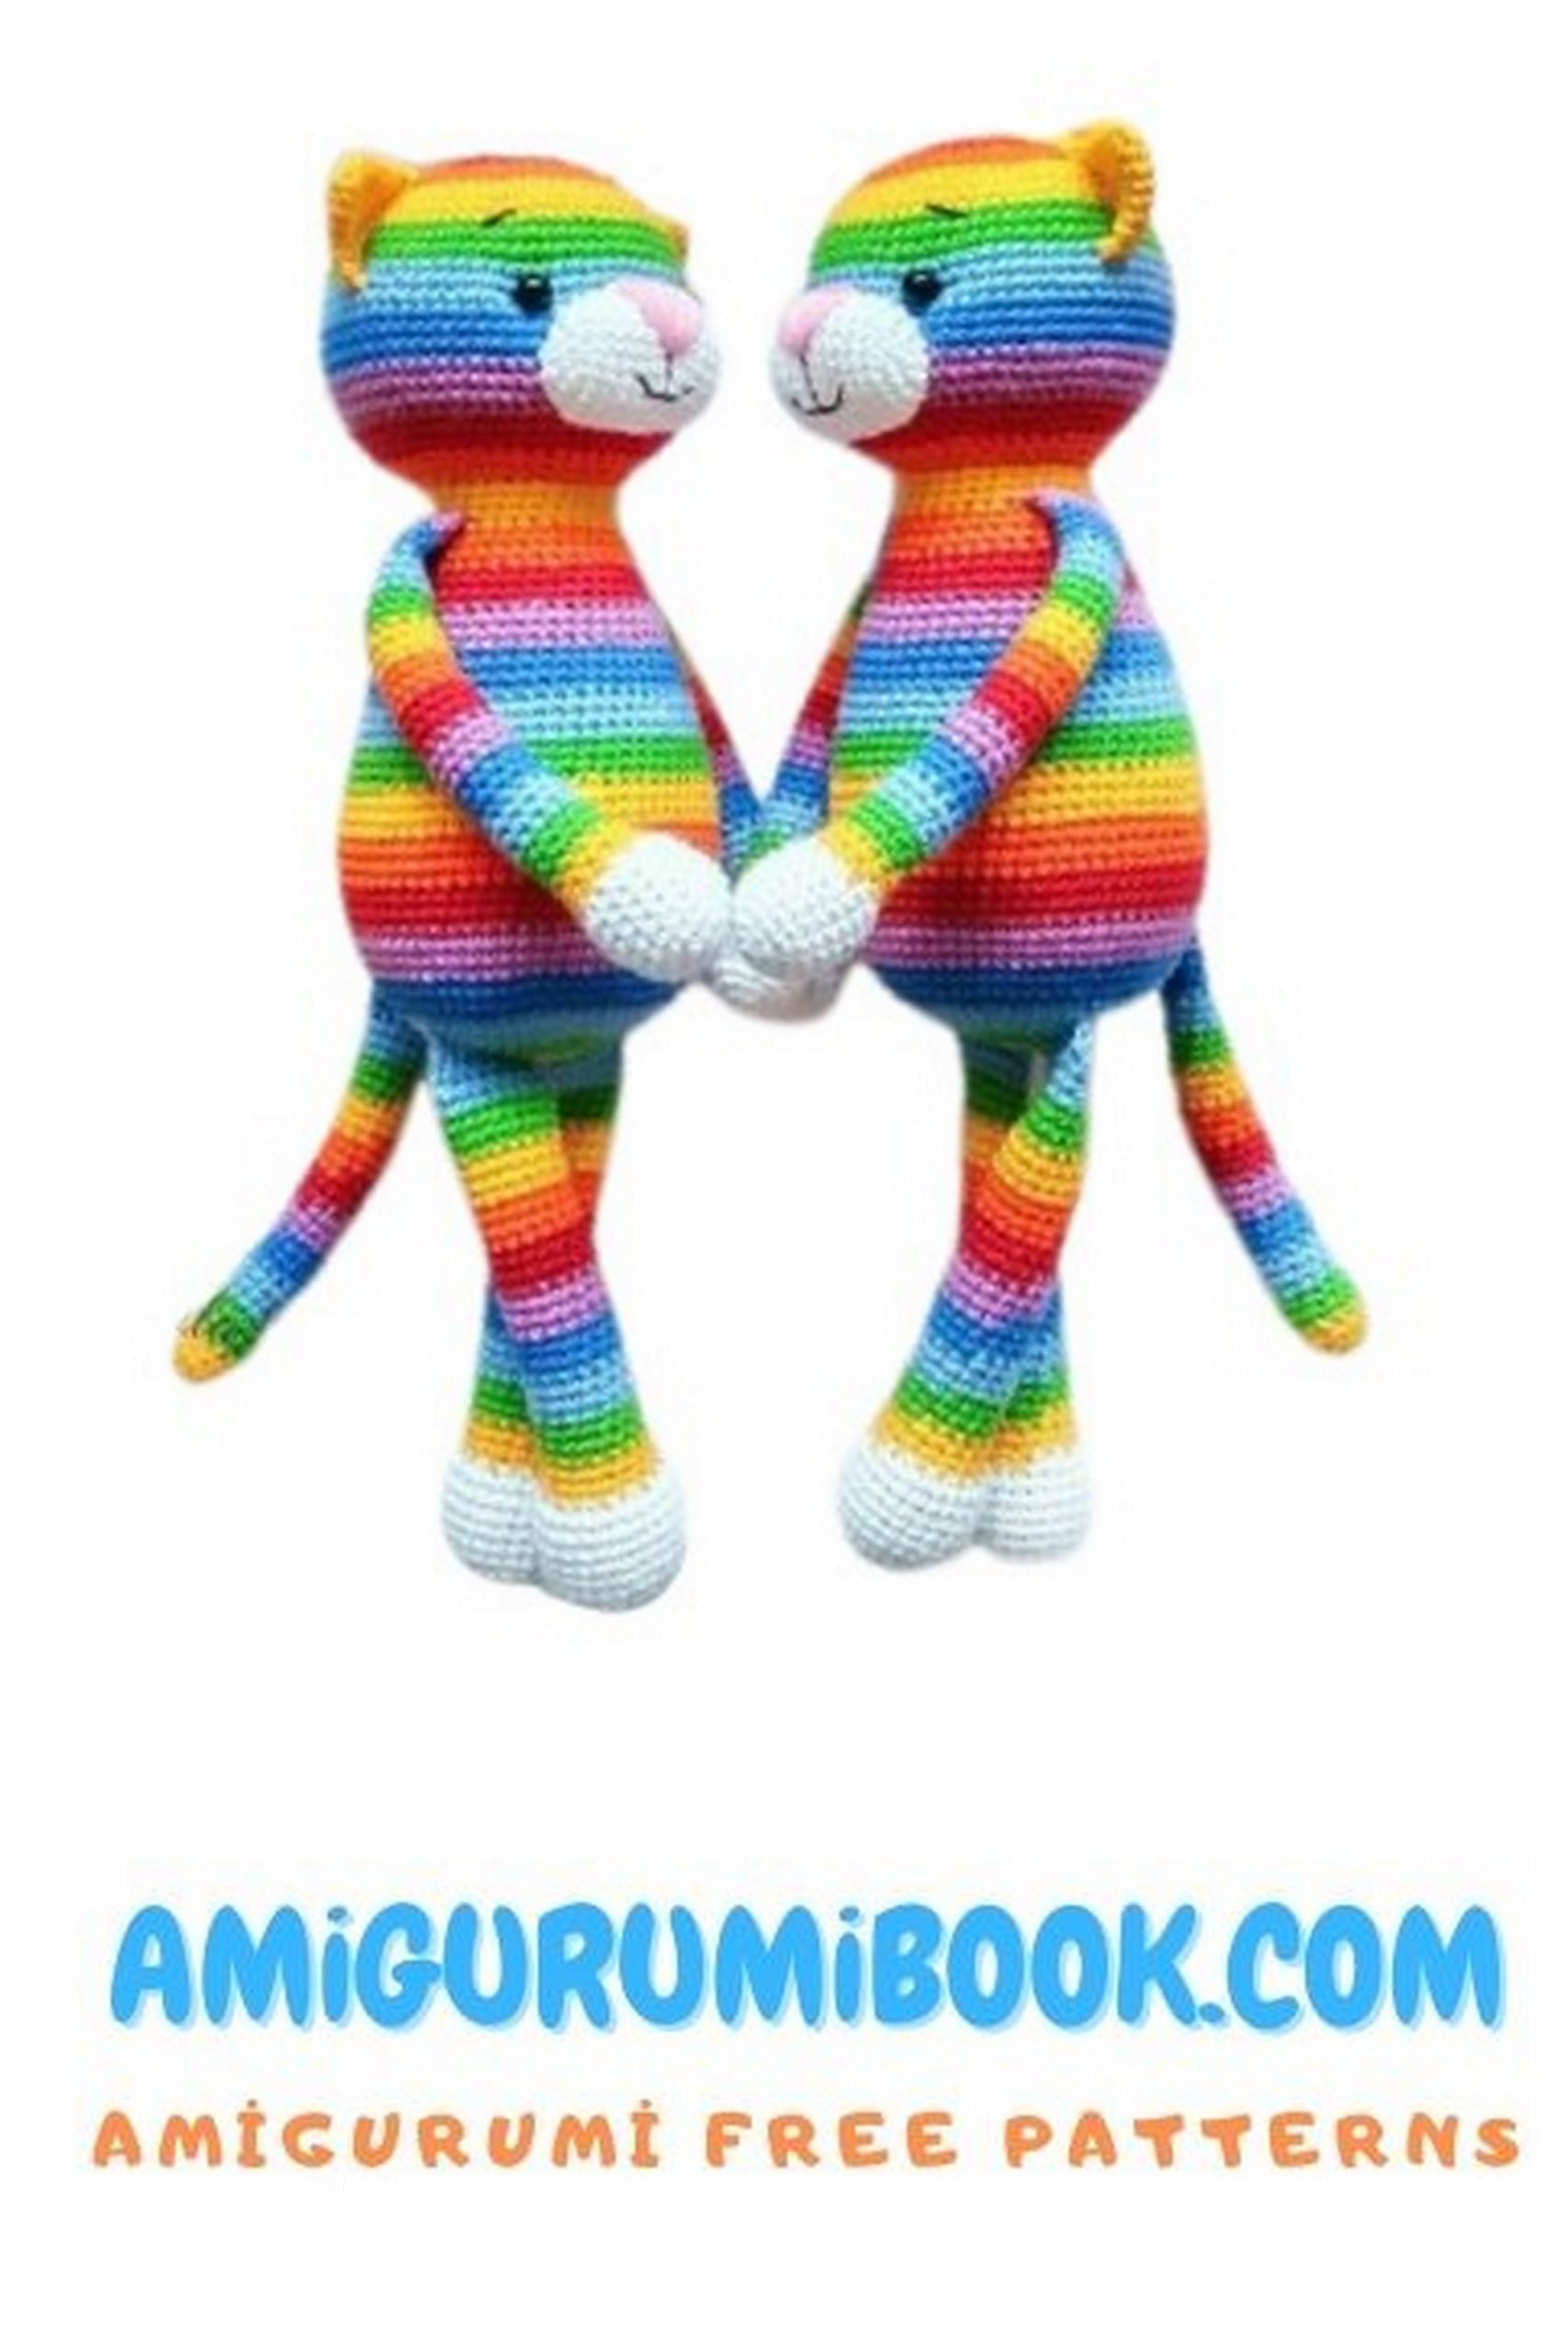
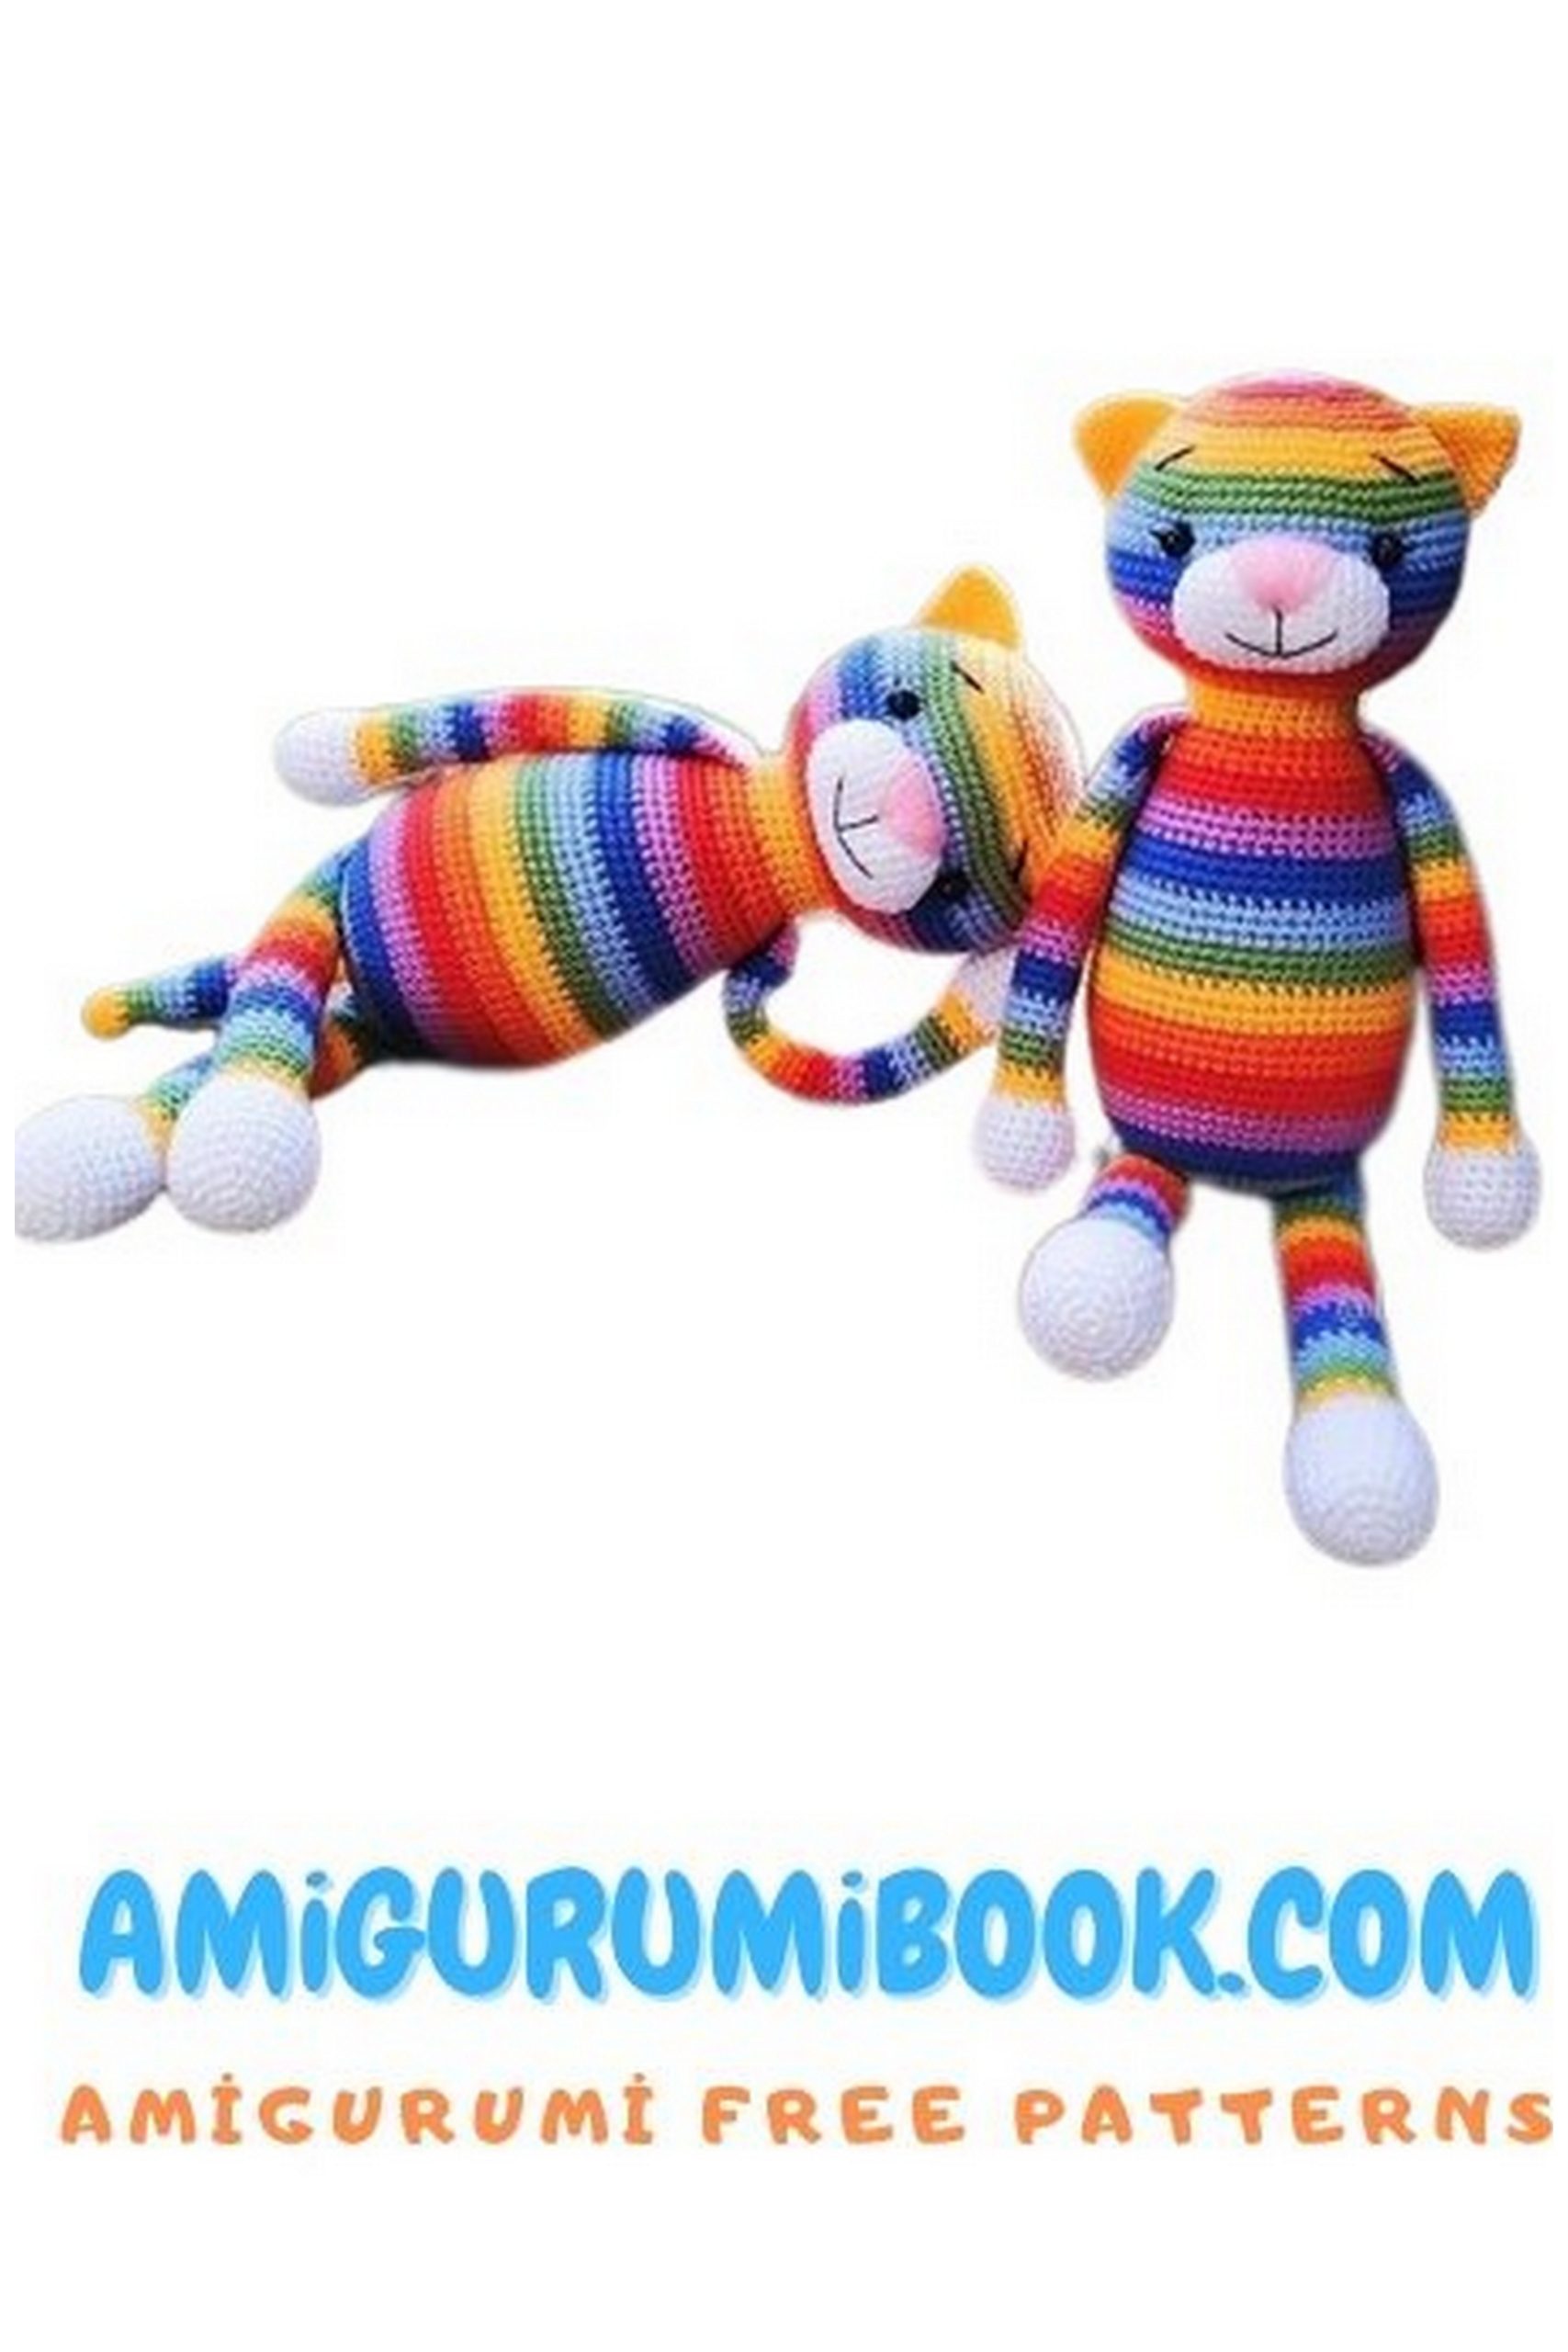
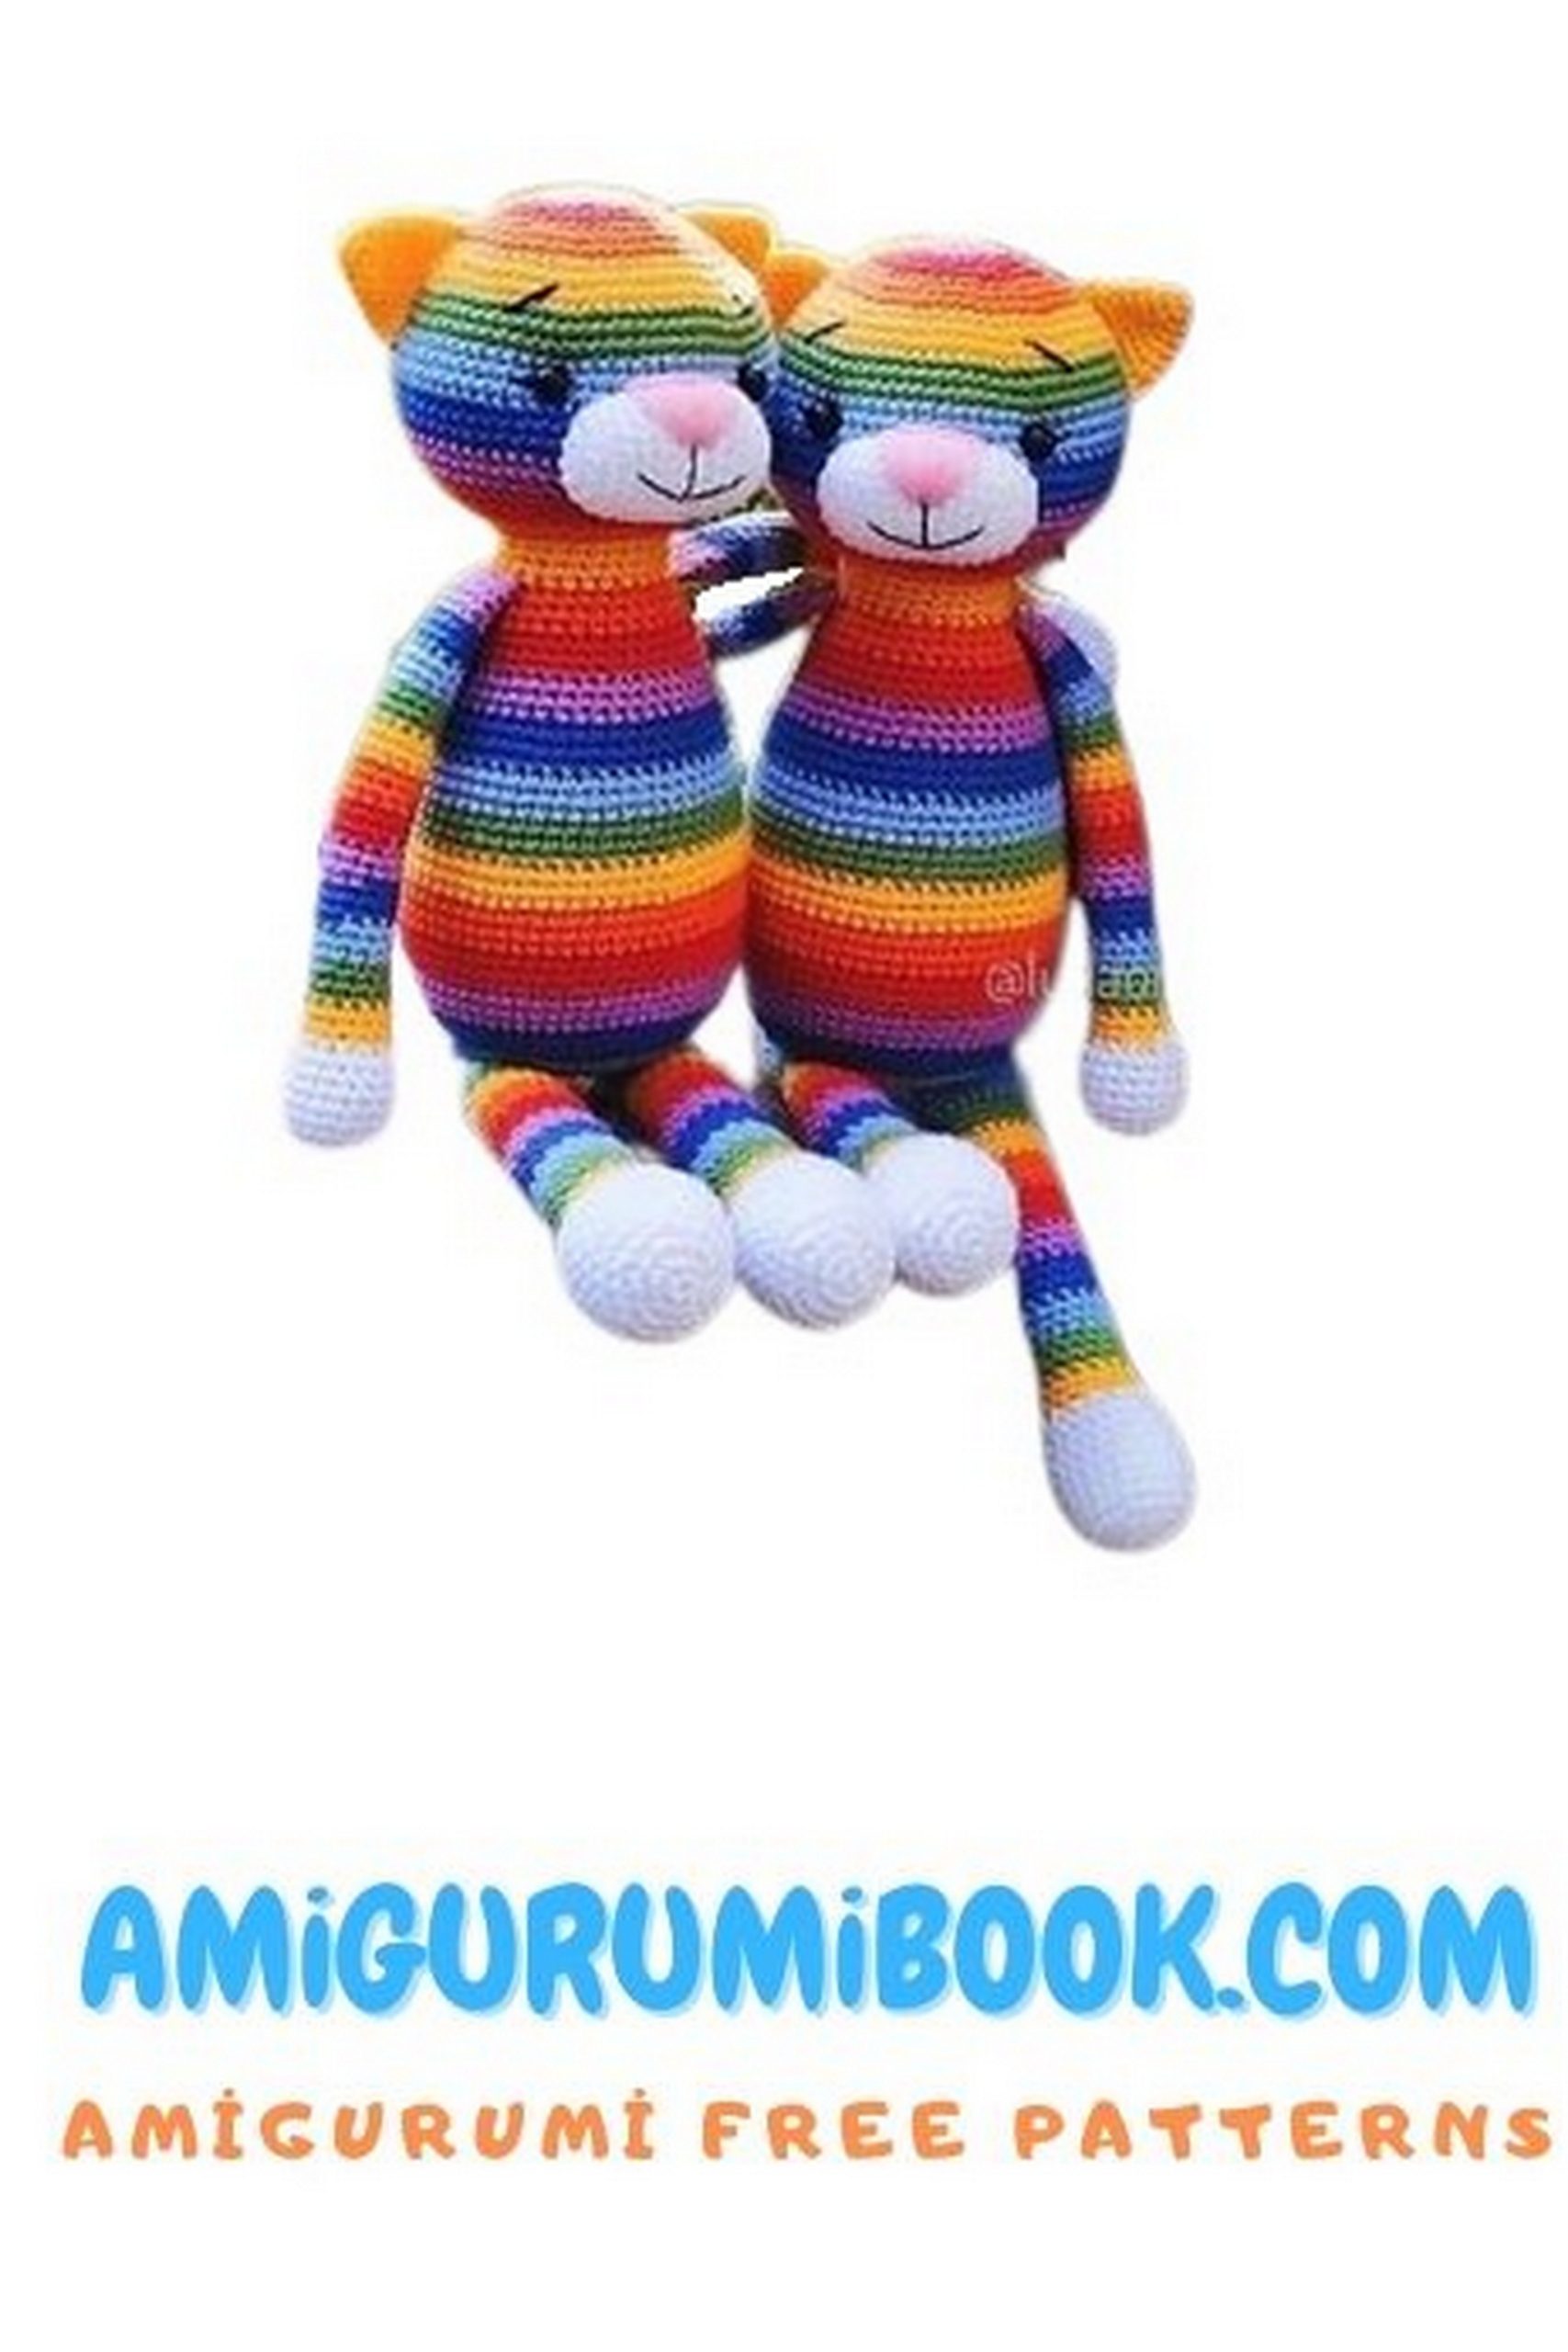
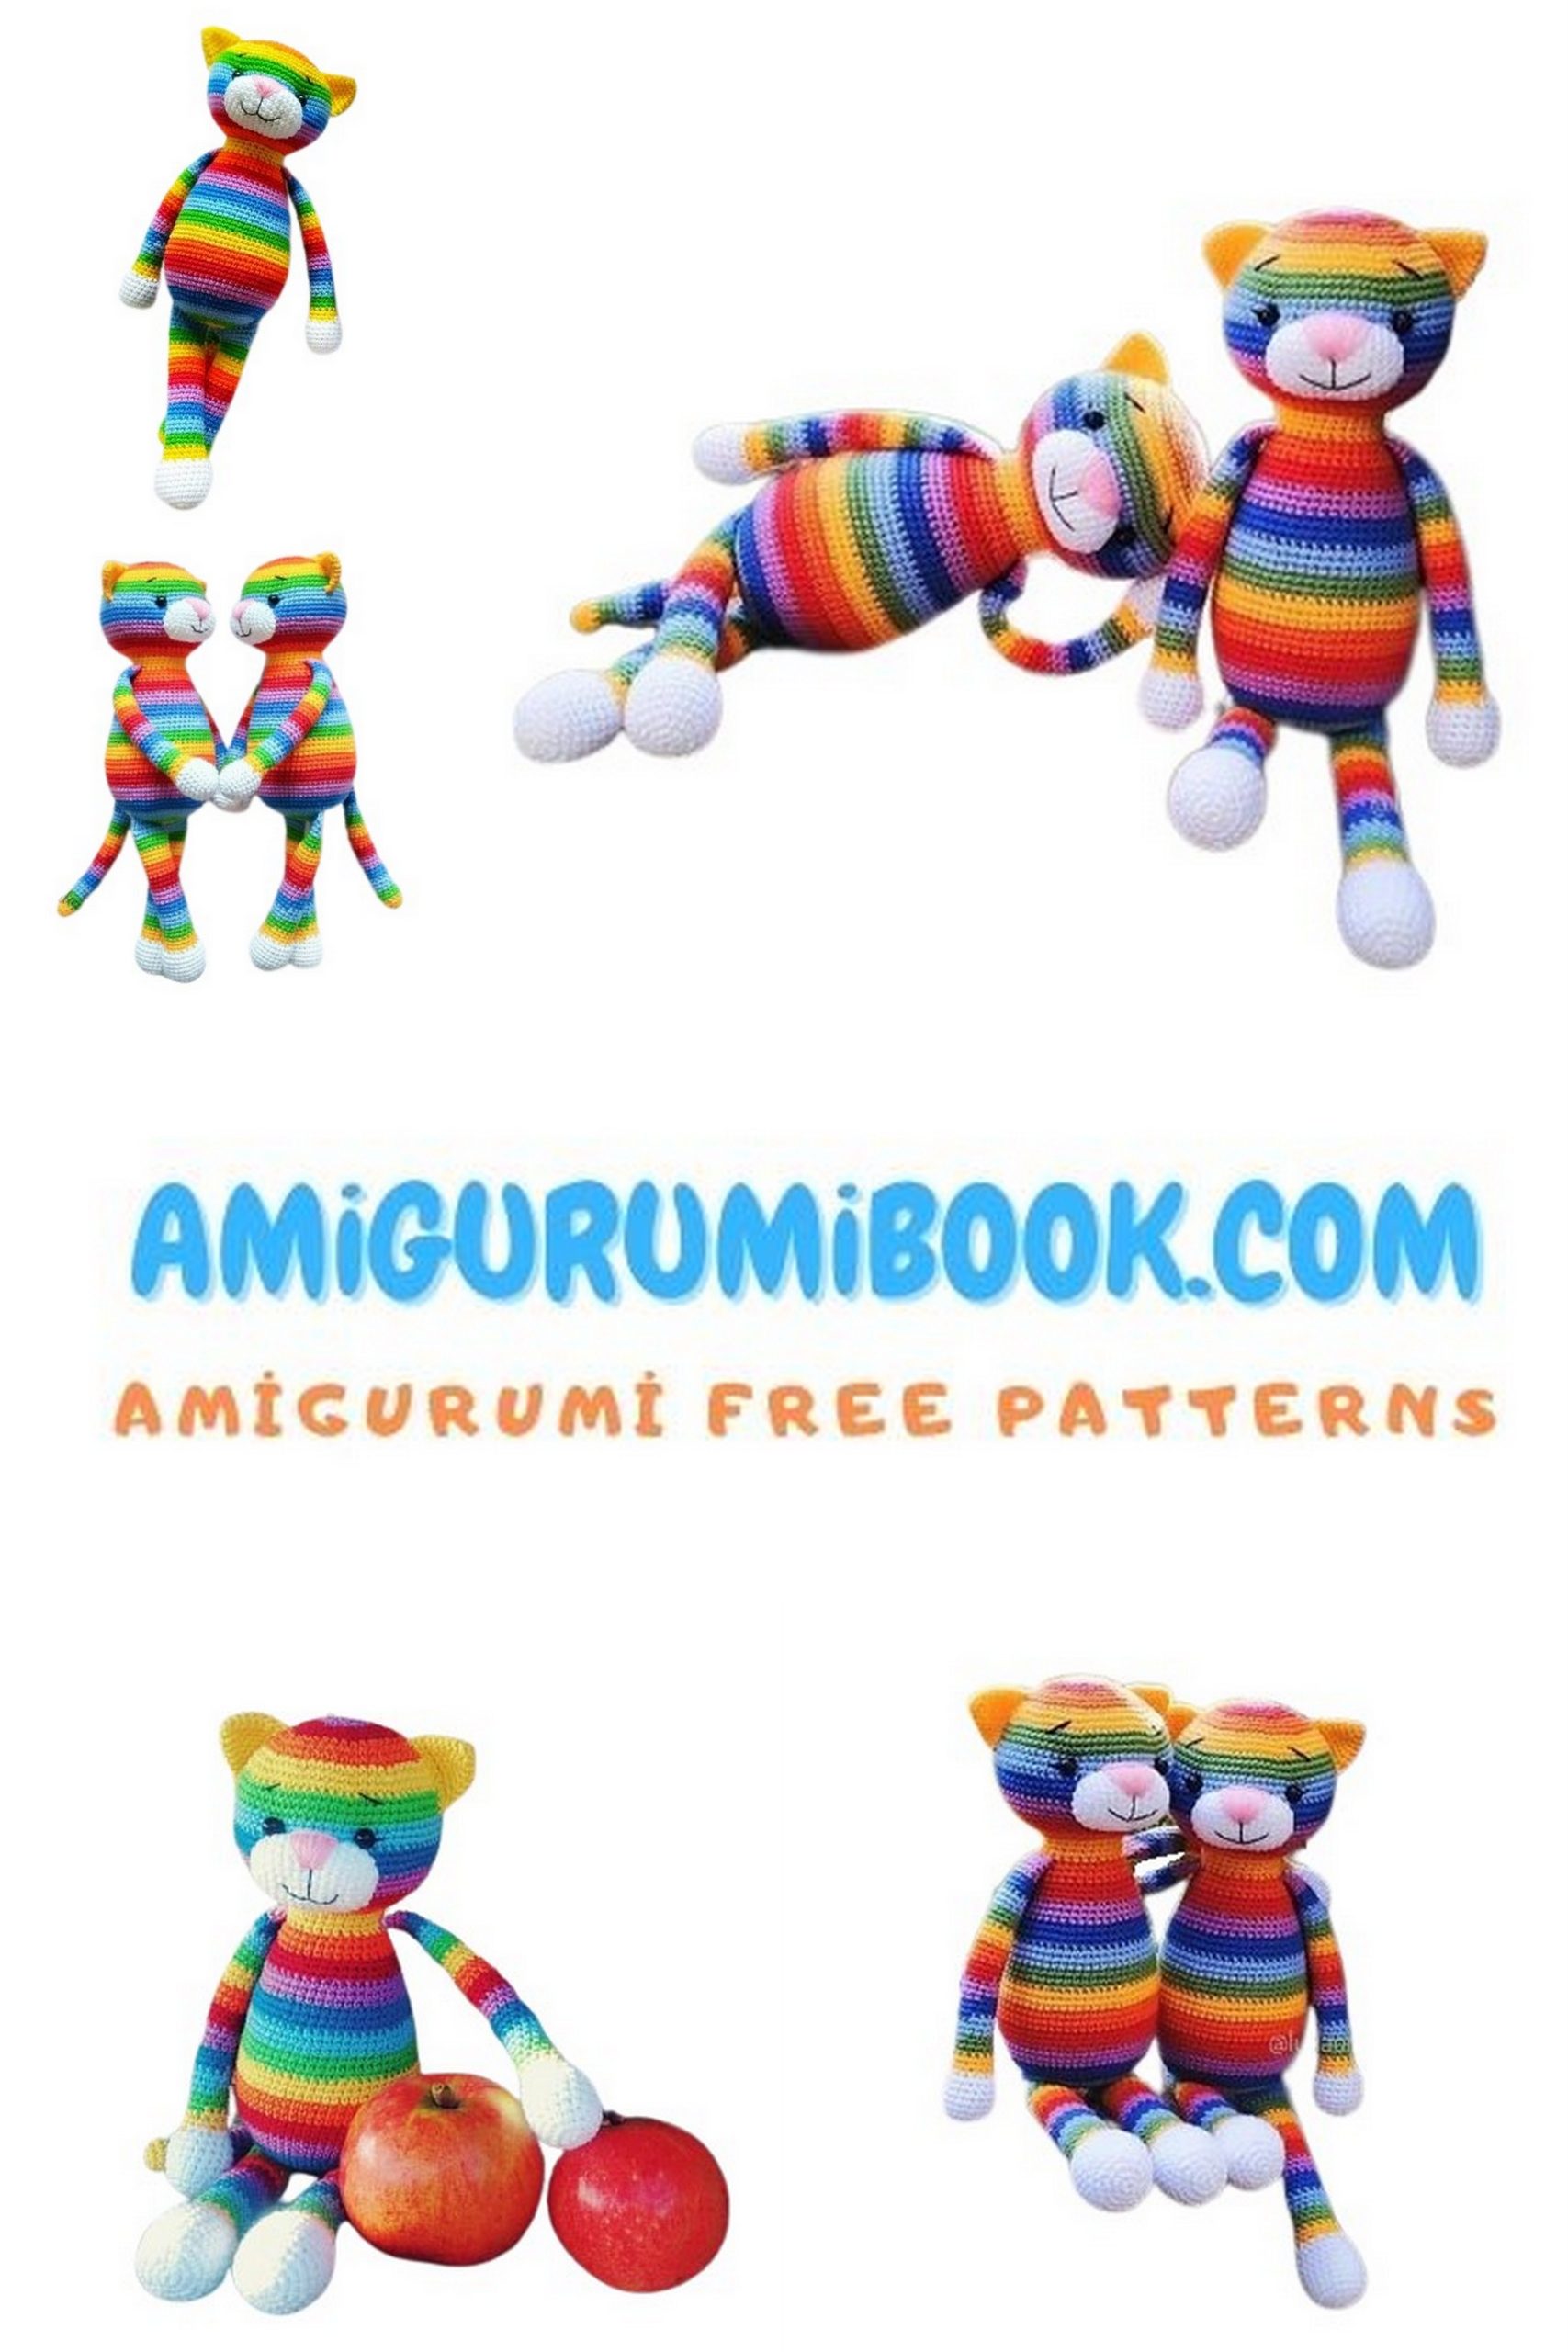
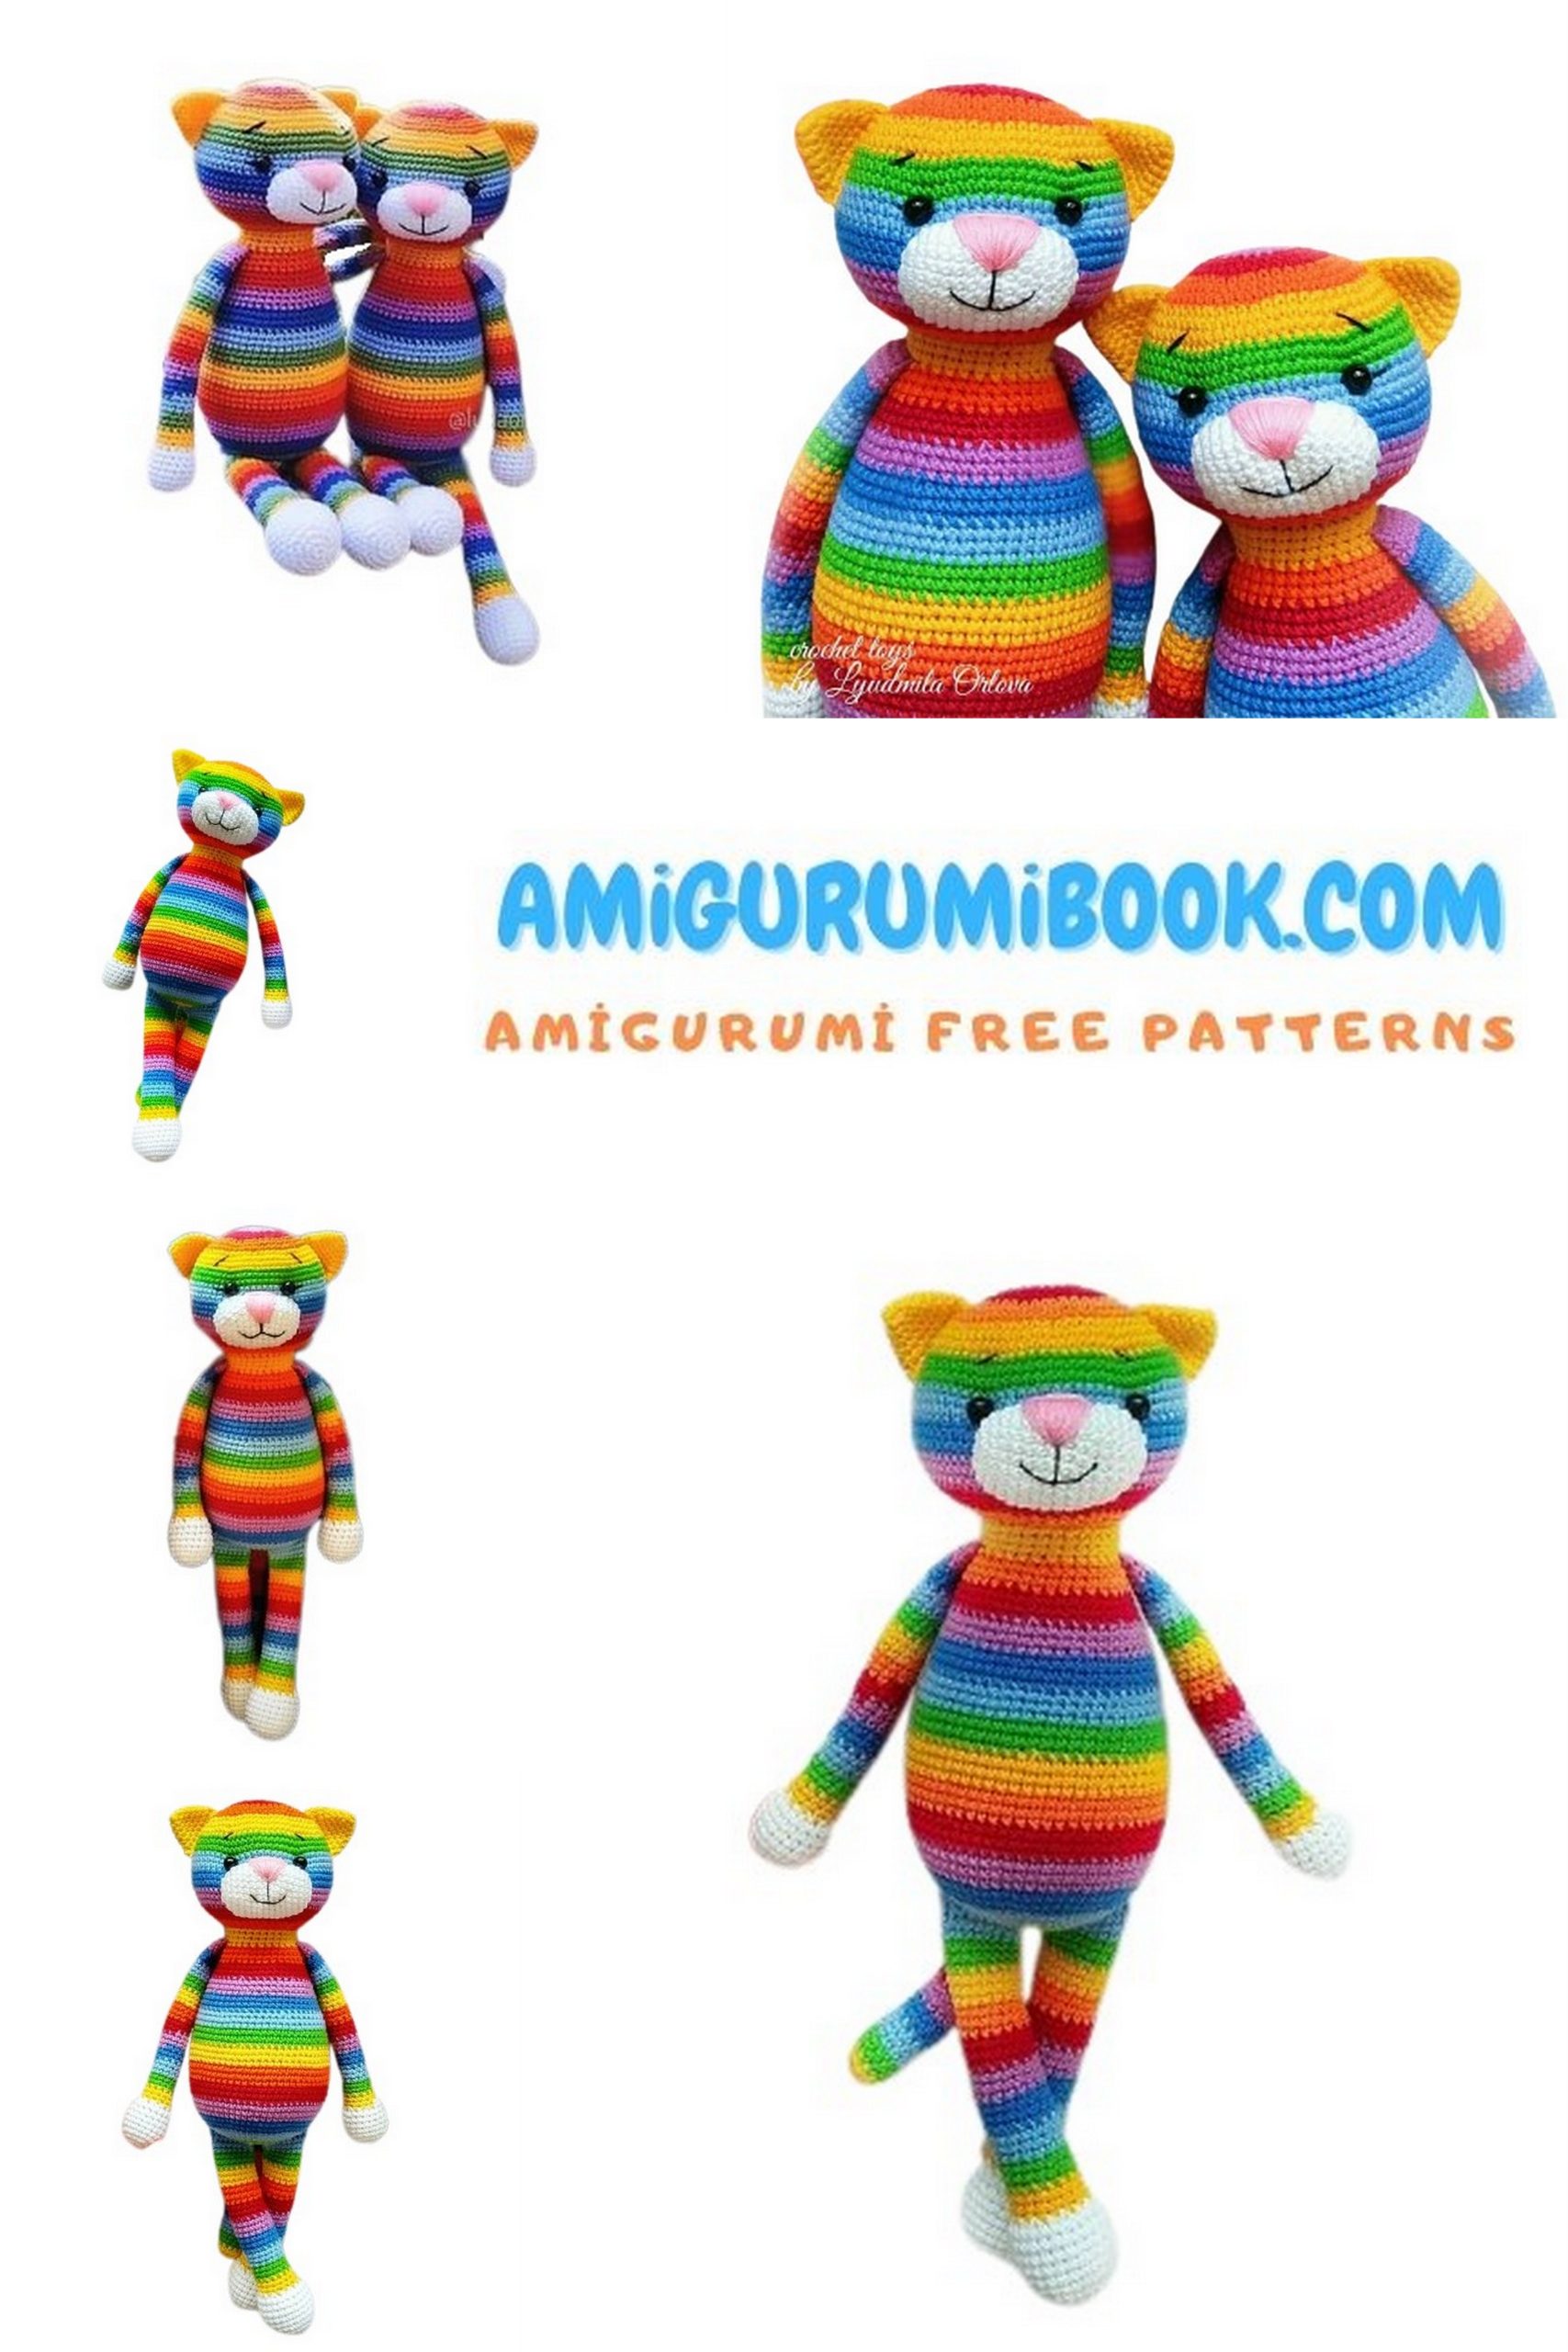
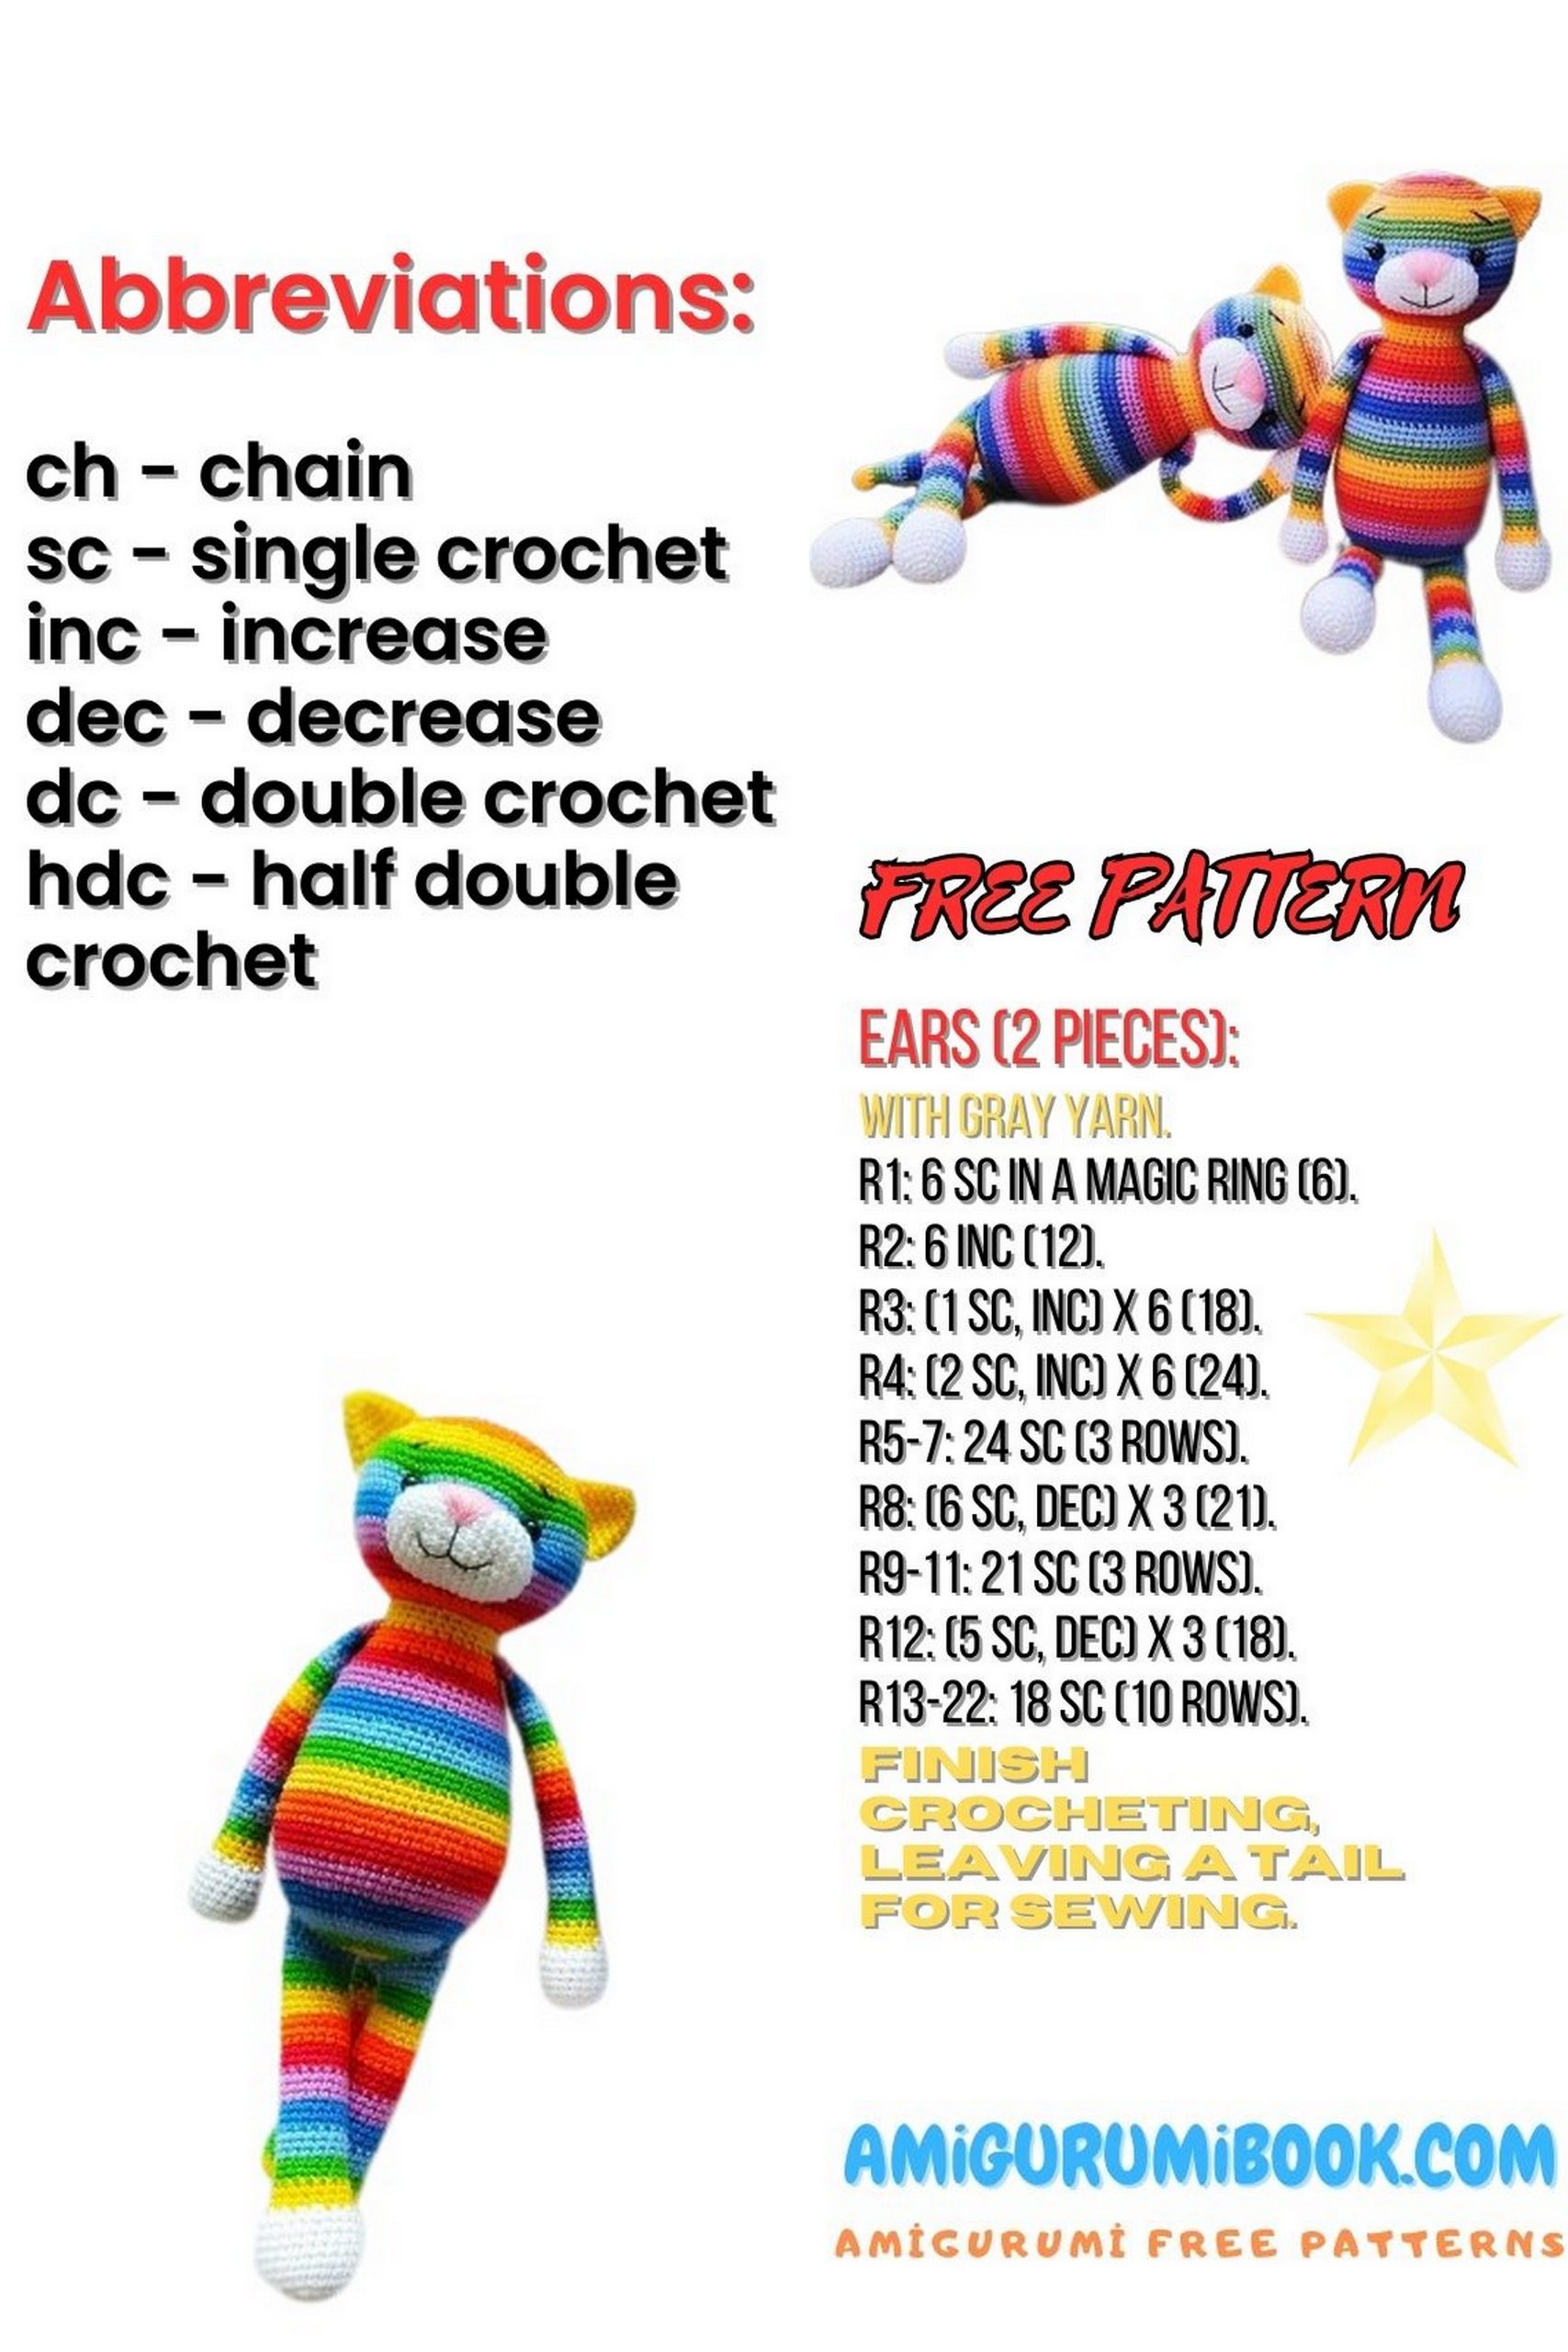
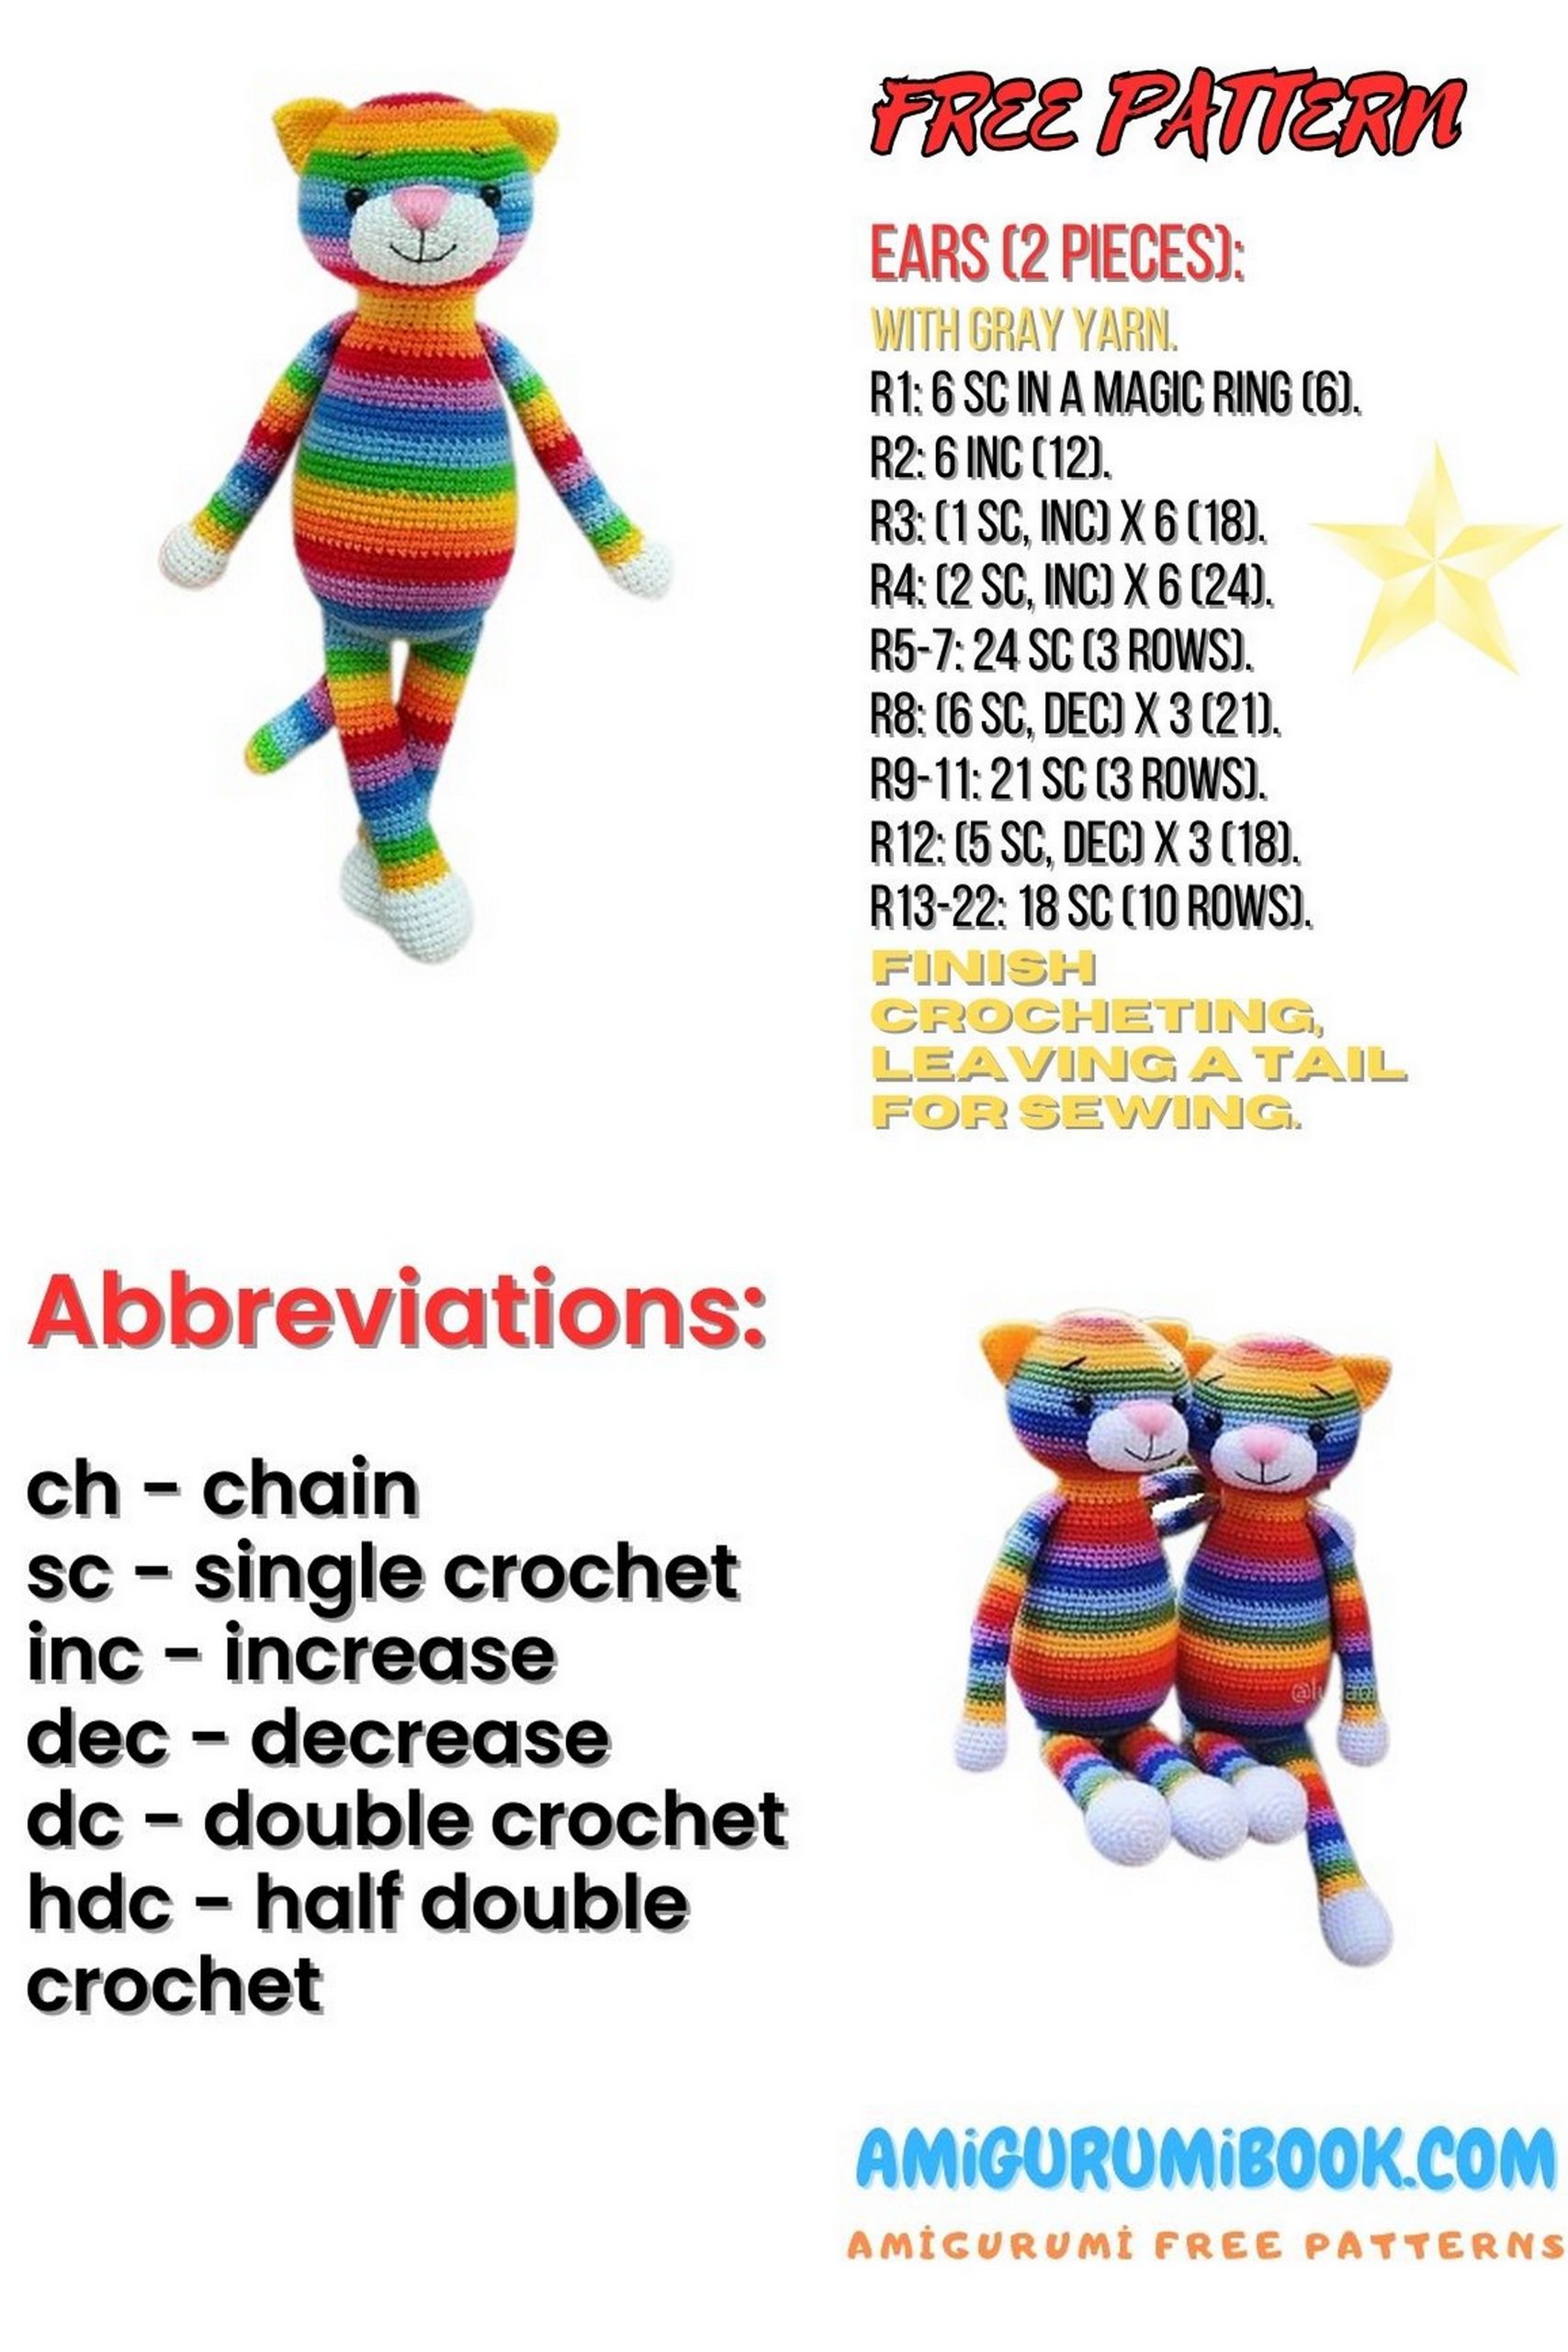
Create a colorful and adorable companion with this Rainbow Cat Amigurumi free pattern, perfect for both beginners and experienced crocheters. This charming project combines vibrant yarn and simple stitches to bring a playful feline to life. free crochet patternsYou may also like more amigurumi patterns.Hello, amigurumi enthusiasts! We’re excited to present you with a delightful project – a cute cat amigurumi that reflects the colors of the rainbow. With this free crochet pattern, you’ll find all the steps and instructions you need to create your very own colorful kitty. It’s a fantastic project for craft enthusiasts, and the result is an adorable handmade toy. So, get your yarn ready and start crafting this unique amigurumi creation!
If you want to access 1000+ free amigurumi patterns, you can download our application from this link!
Finished Size
Approx. 30 cm
Materials
- Yarn in 8 colors: white, red, orange, yellow, green, blue, navy blue, violet
(Lilac can be used instead of violet) - Semi-cotton yarn (Gazzal Baby Cotton, Vita Cotton Lira or similar)
- Crochet hook 2.0 mm
- Stuffing (polyester fiberfill / hollow fiber)
- Beads for eyes 8 mm
- Long needle, scissors
- Stuffing tool (wooden stick)
- Pink and black yarn for embroidery (nose, mouth, whiskers)
All parts are crocheted in a continuous spiral.
Stuff parts while crocheting unless otherwise stated.
Color changes are made in the last loop of the previous stitch.
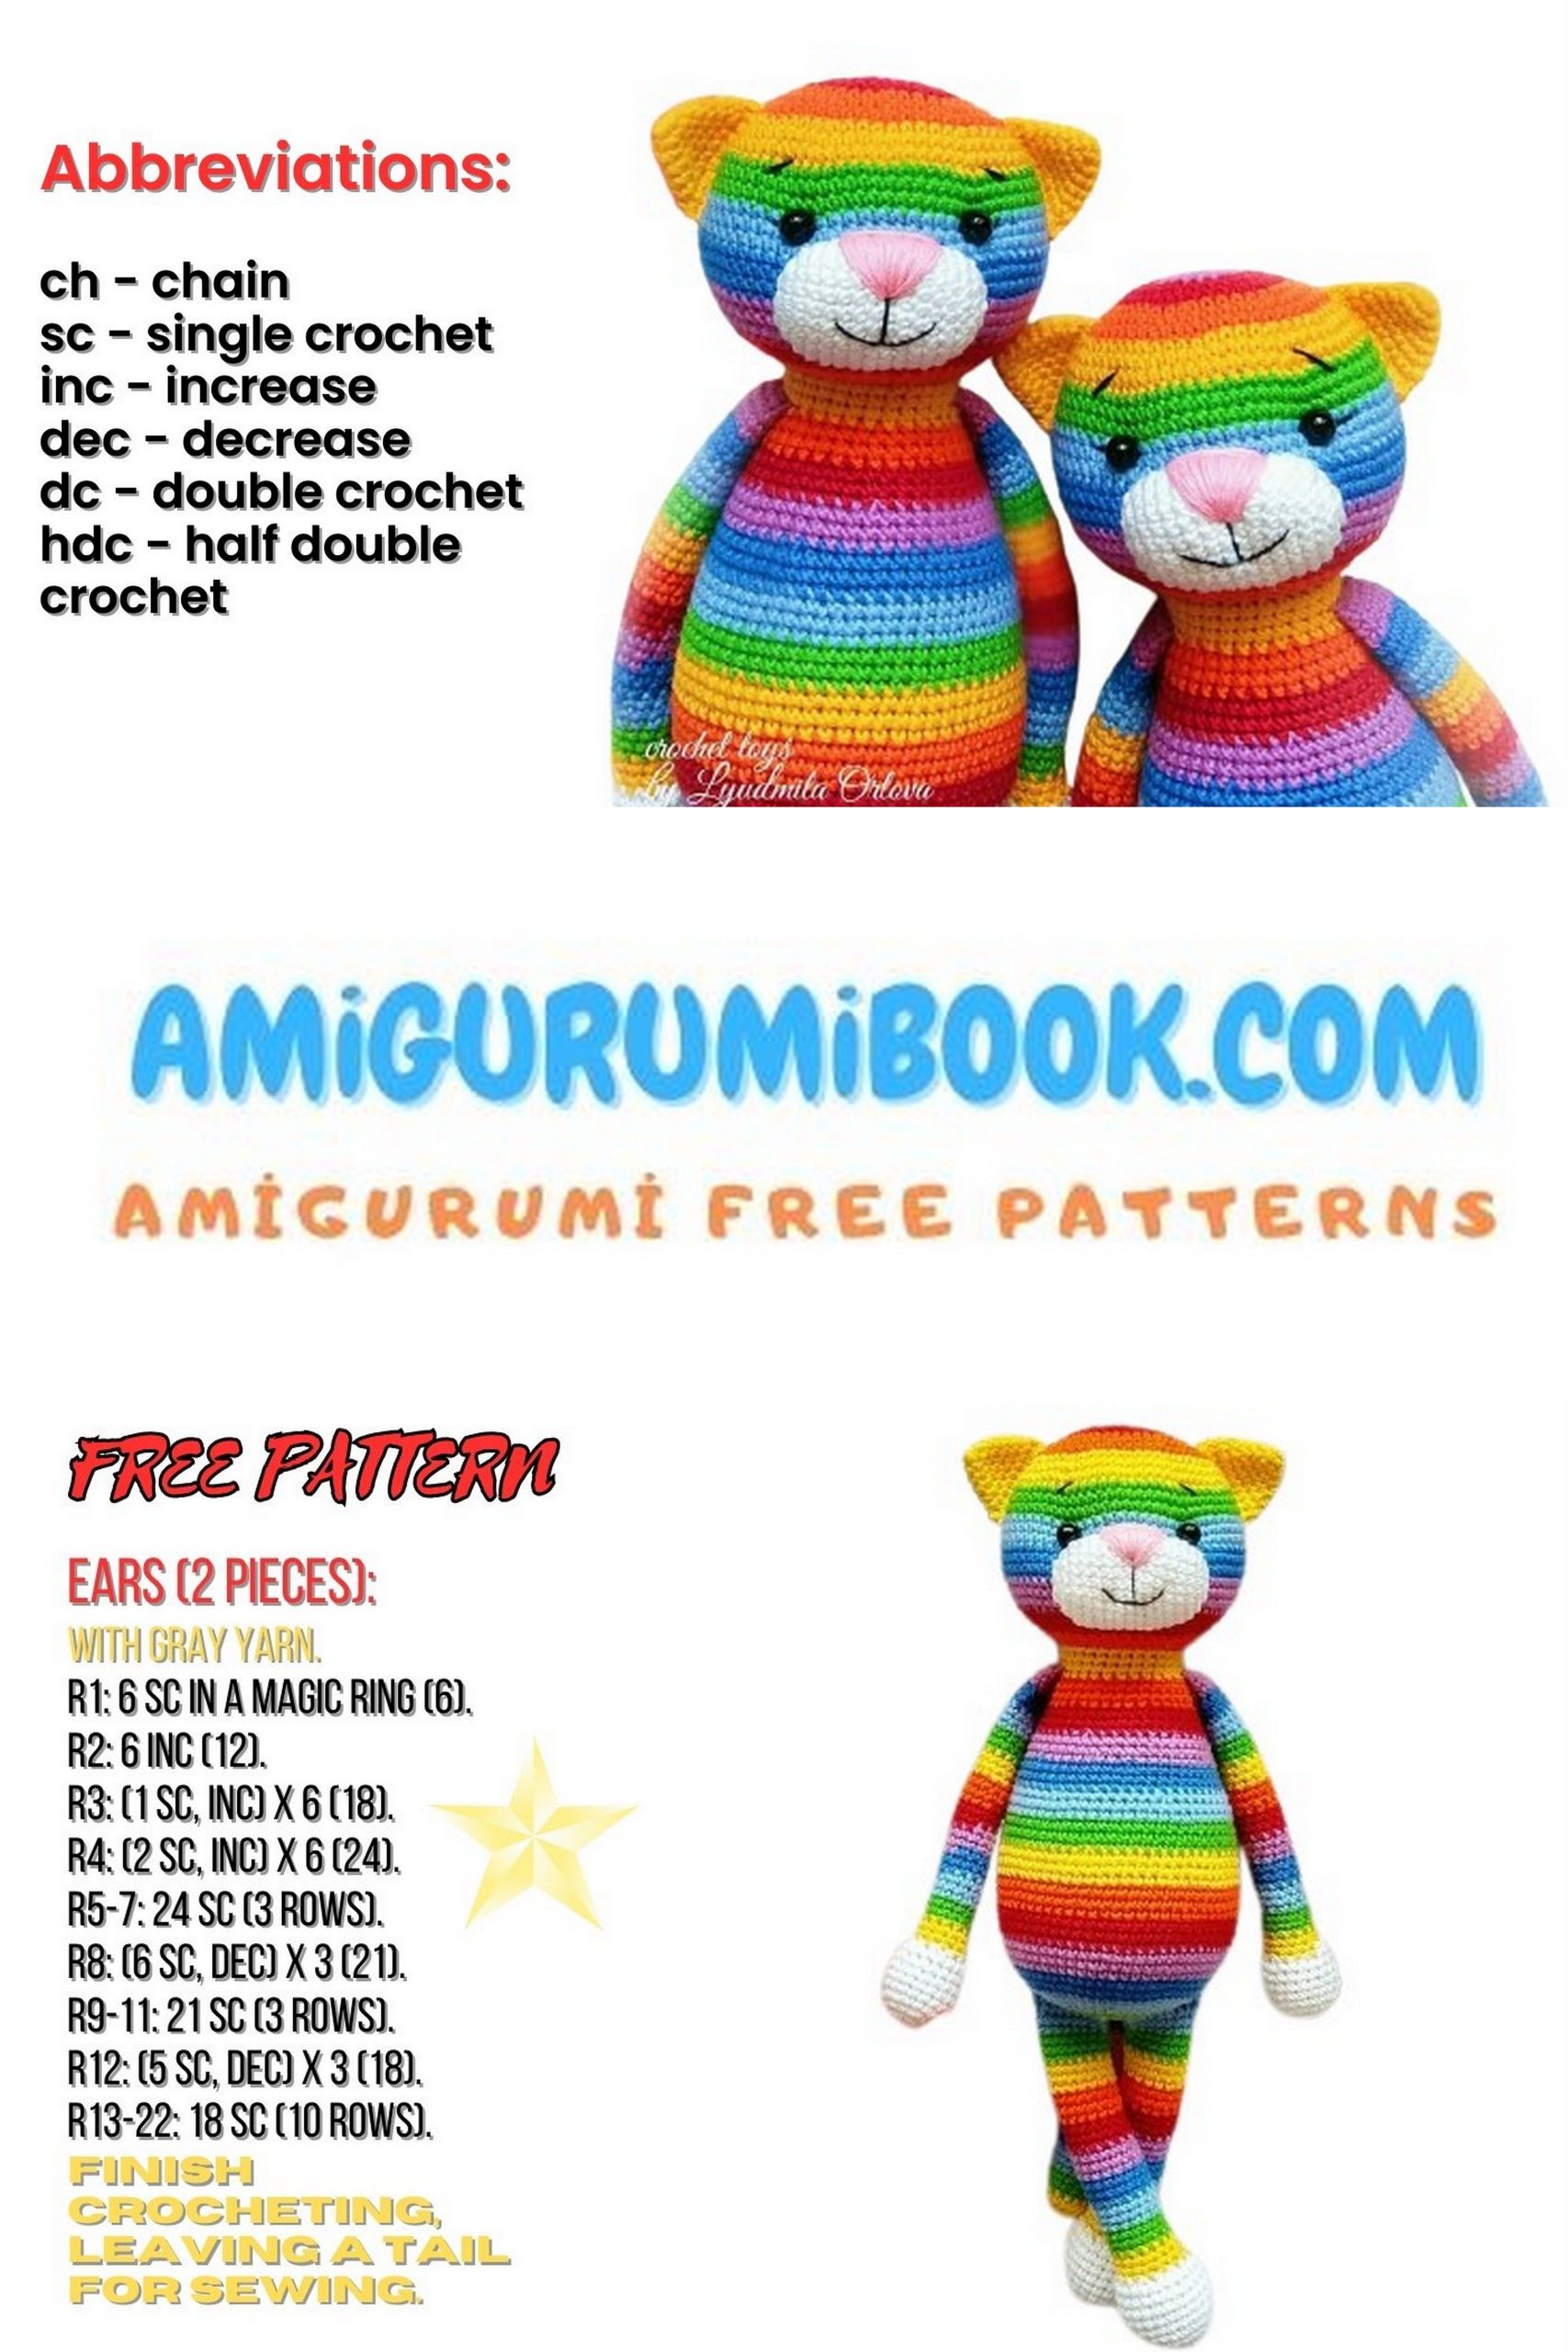
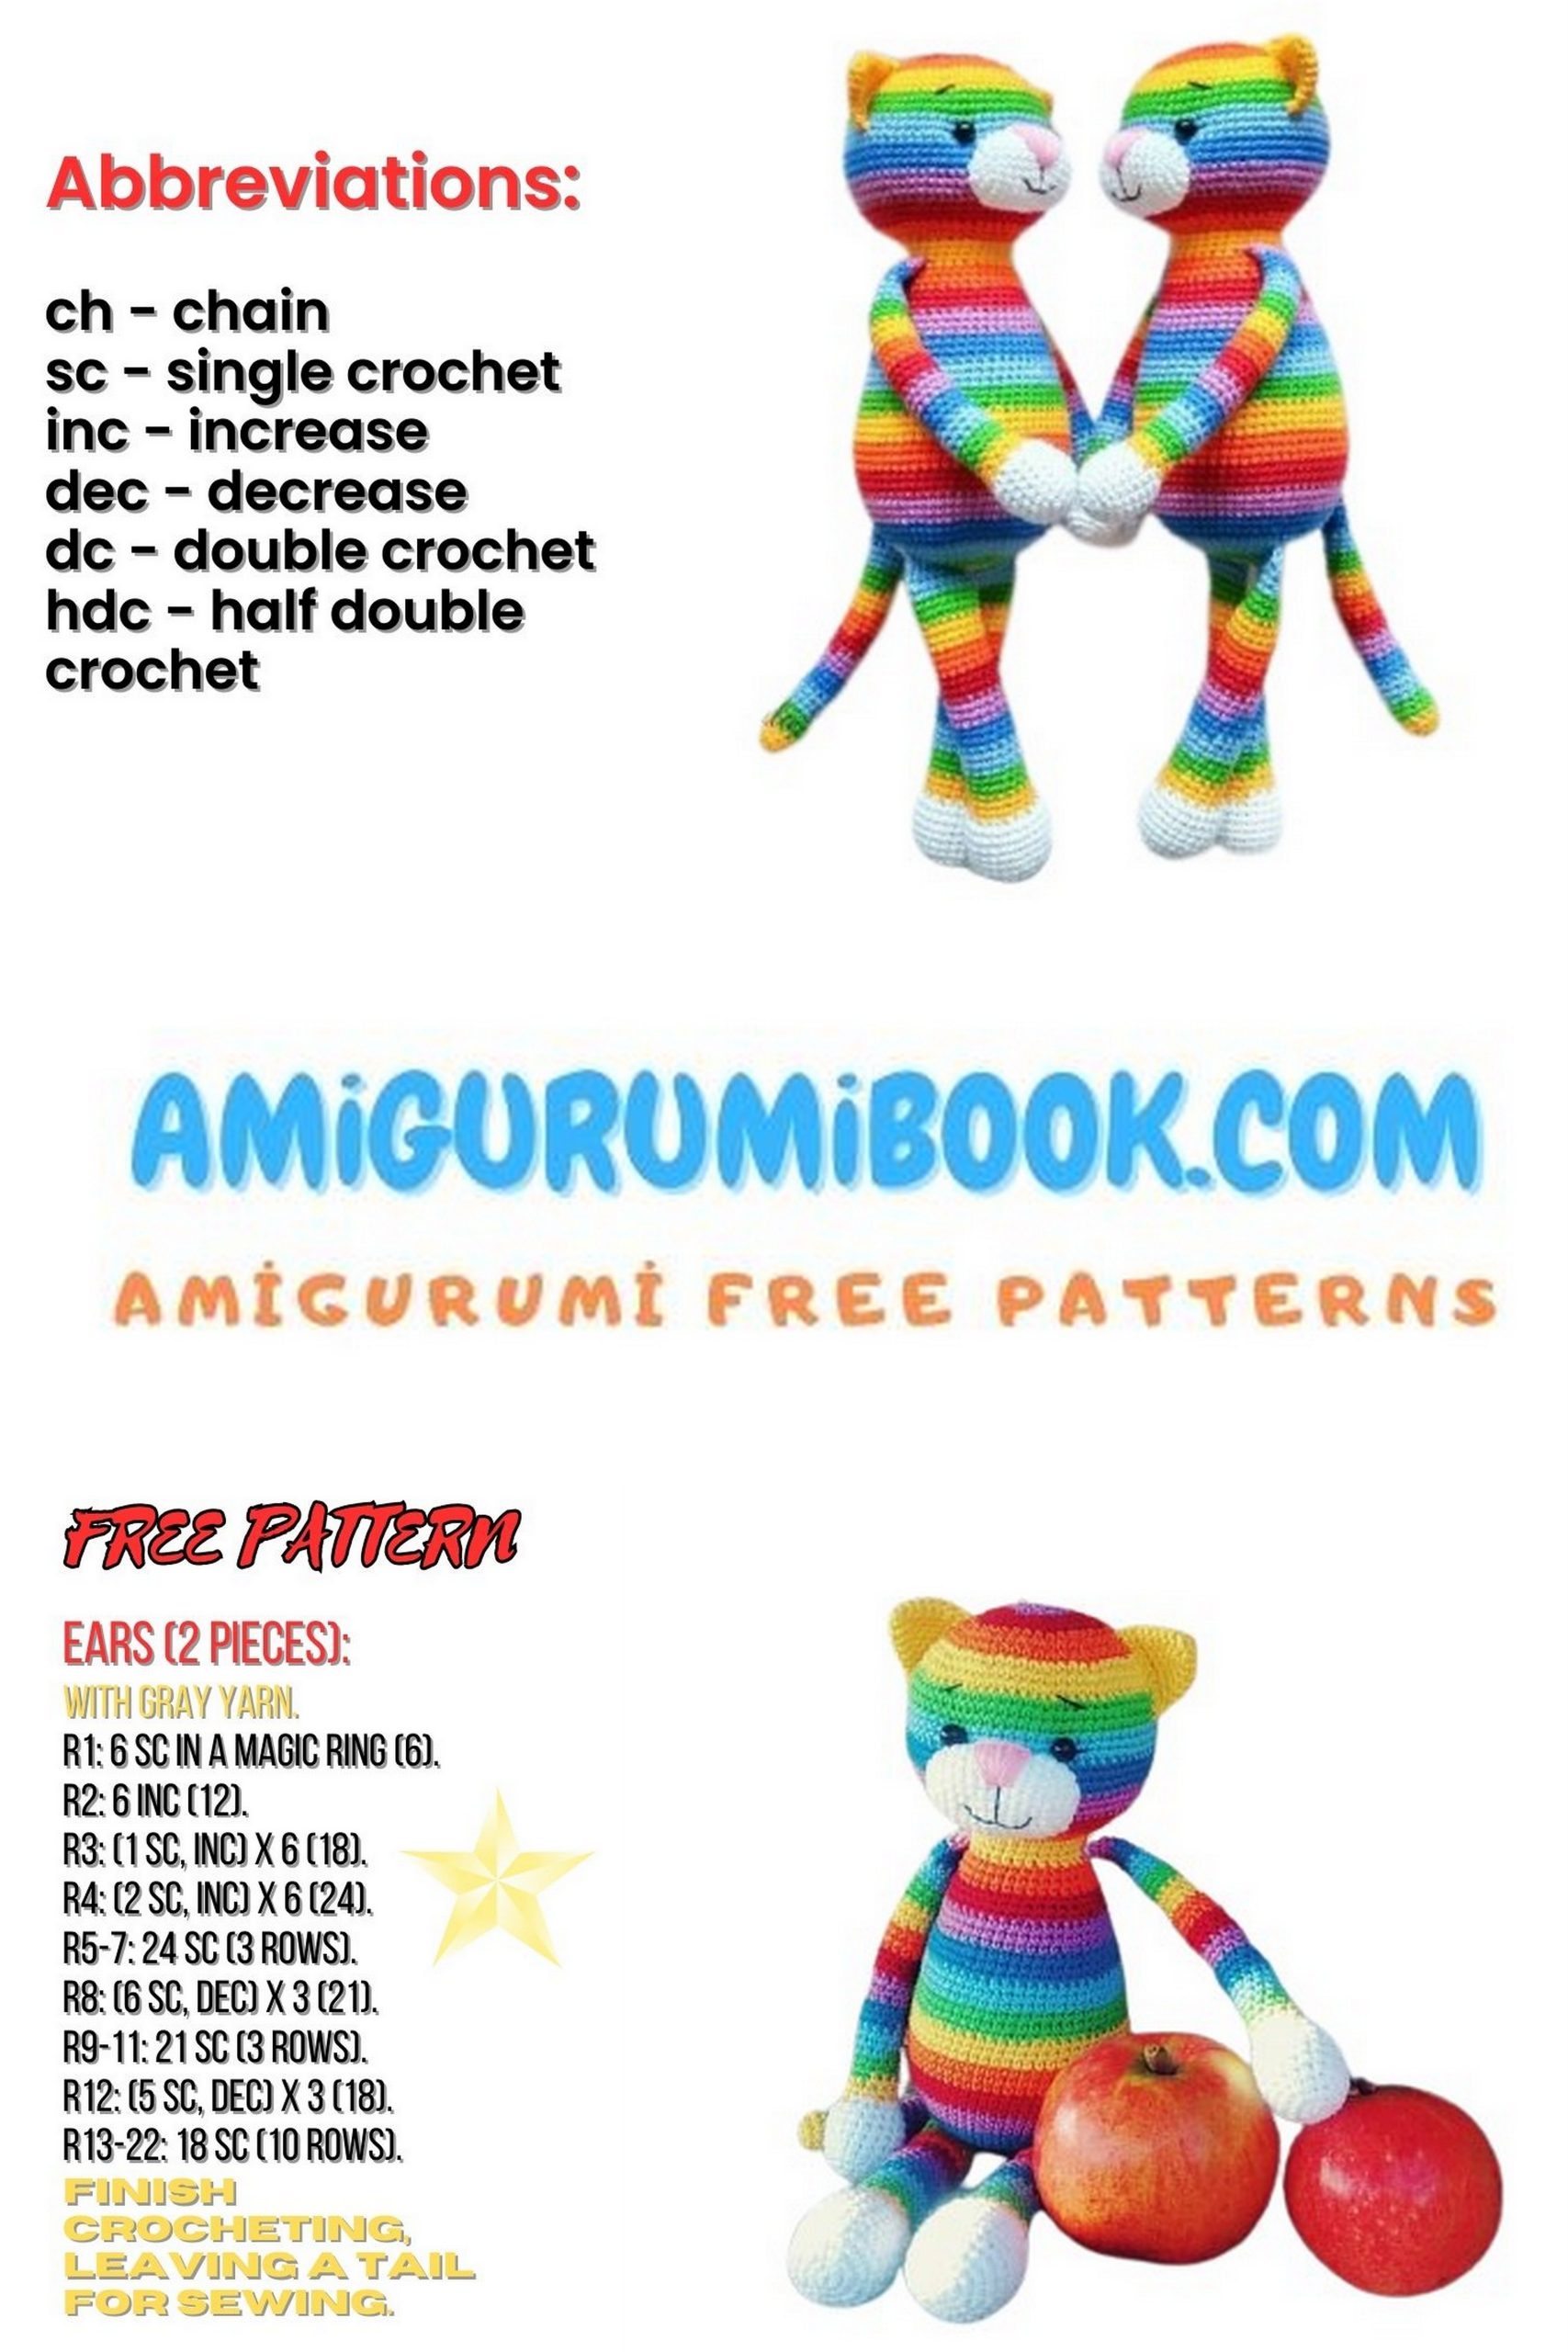
Abbreviations
dc – double crochet
MC – magic circle
sc – single crochet
inc – increase
dec – decrease
sl st – slip stitch
hdc – half double crochet
HEAD
Start with lilac (violet):
- 6 sc in MC
- inc in each st (12)
- (sc, inc) × 6 (18)
Change to red
- 1 sc, inc, (2 sc, inc) × 5, 1 sc (24)
- (3 sc, inc) × 6 (30)
- 2 sc, inc, (4 sc, inc) × 5, 2 sc (36)
to orange
- (5 sc, inc) × 6 (42)
- 3 sc, inc, (6 sc, inc) × 5, 3 sc (48)
- (7 sc, inc) × 6 (54)
Change to yellow
- 4 sc, inc, (8 sc, inc) × 5, 4 sc (60)
- (9 sc, inc) × 6 (66)
- 5 sc, inc, (10 sc, inc) × 5, 5 sc (72)
Change colors as follows
13–15. Green – 72 sc
16–18. Blue – 72 sc
19–21. Navy blue – 72 sc
22–23. Lilac – 72 sc
- 5 sc, dec, (10 sc, dec) × 5, 5 sc (66)
Change to red
- (9 sc, dec) × 6 (60)
- 4 sc, dec, (8 sc, dec) × 5, 4 sc (54)
- (7 sc, dec) × 6 (48)
Change to orange
- 3 sc, dec, (6 sc, dec) × 5, 3 sc (42)
- (5 sc, dec) × 6 (36)
- 2 sc, dec, (4 sc, dec) × 5, 2 sc (30)
Fasten off.
Stuff the head firmly.
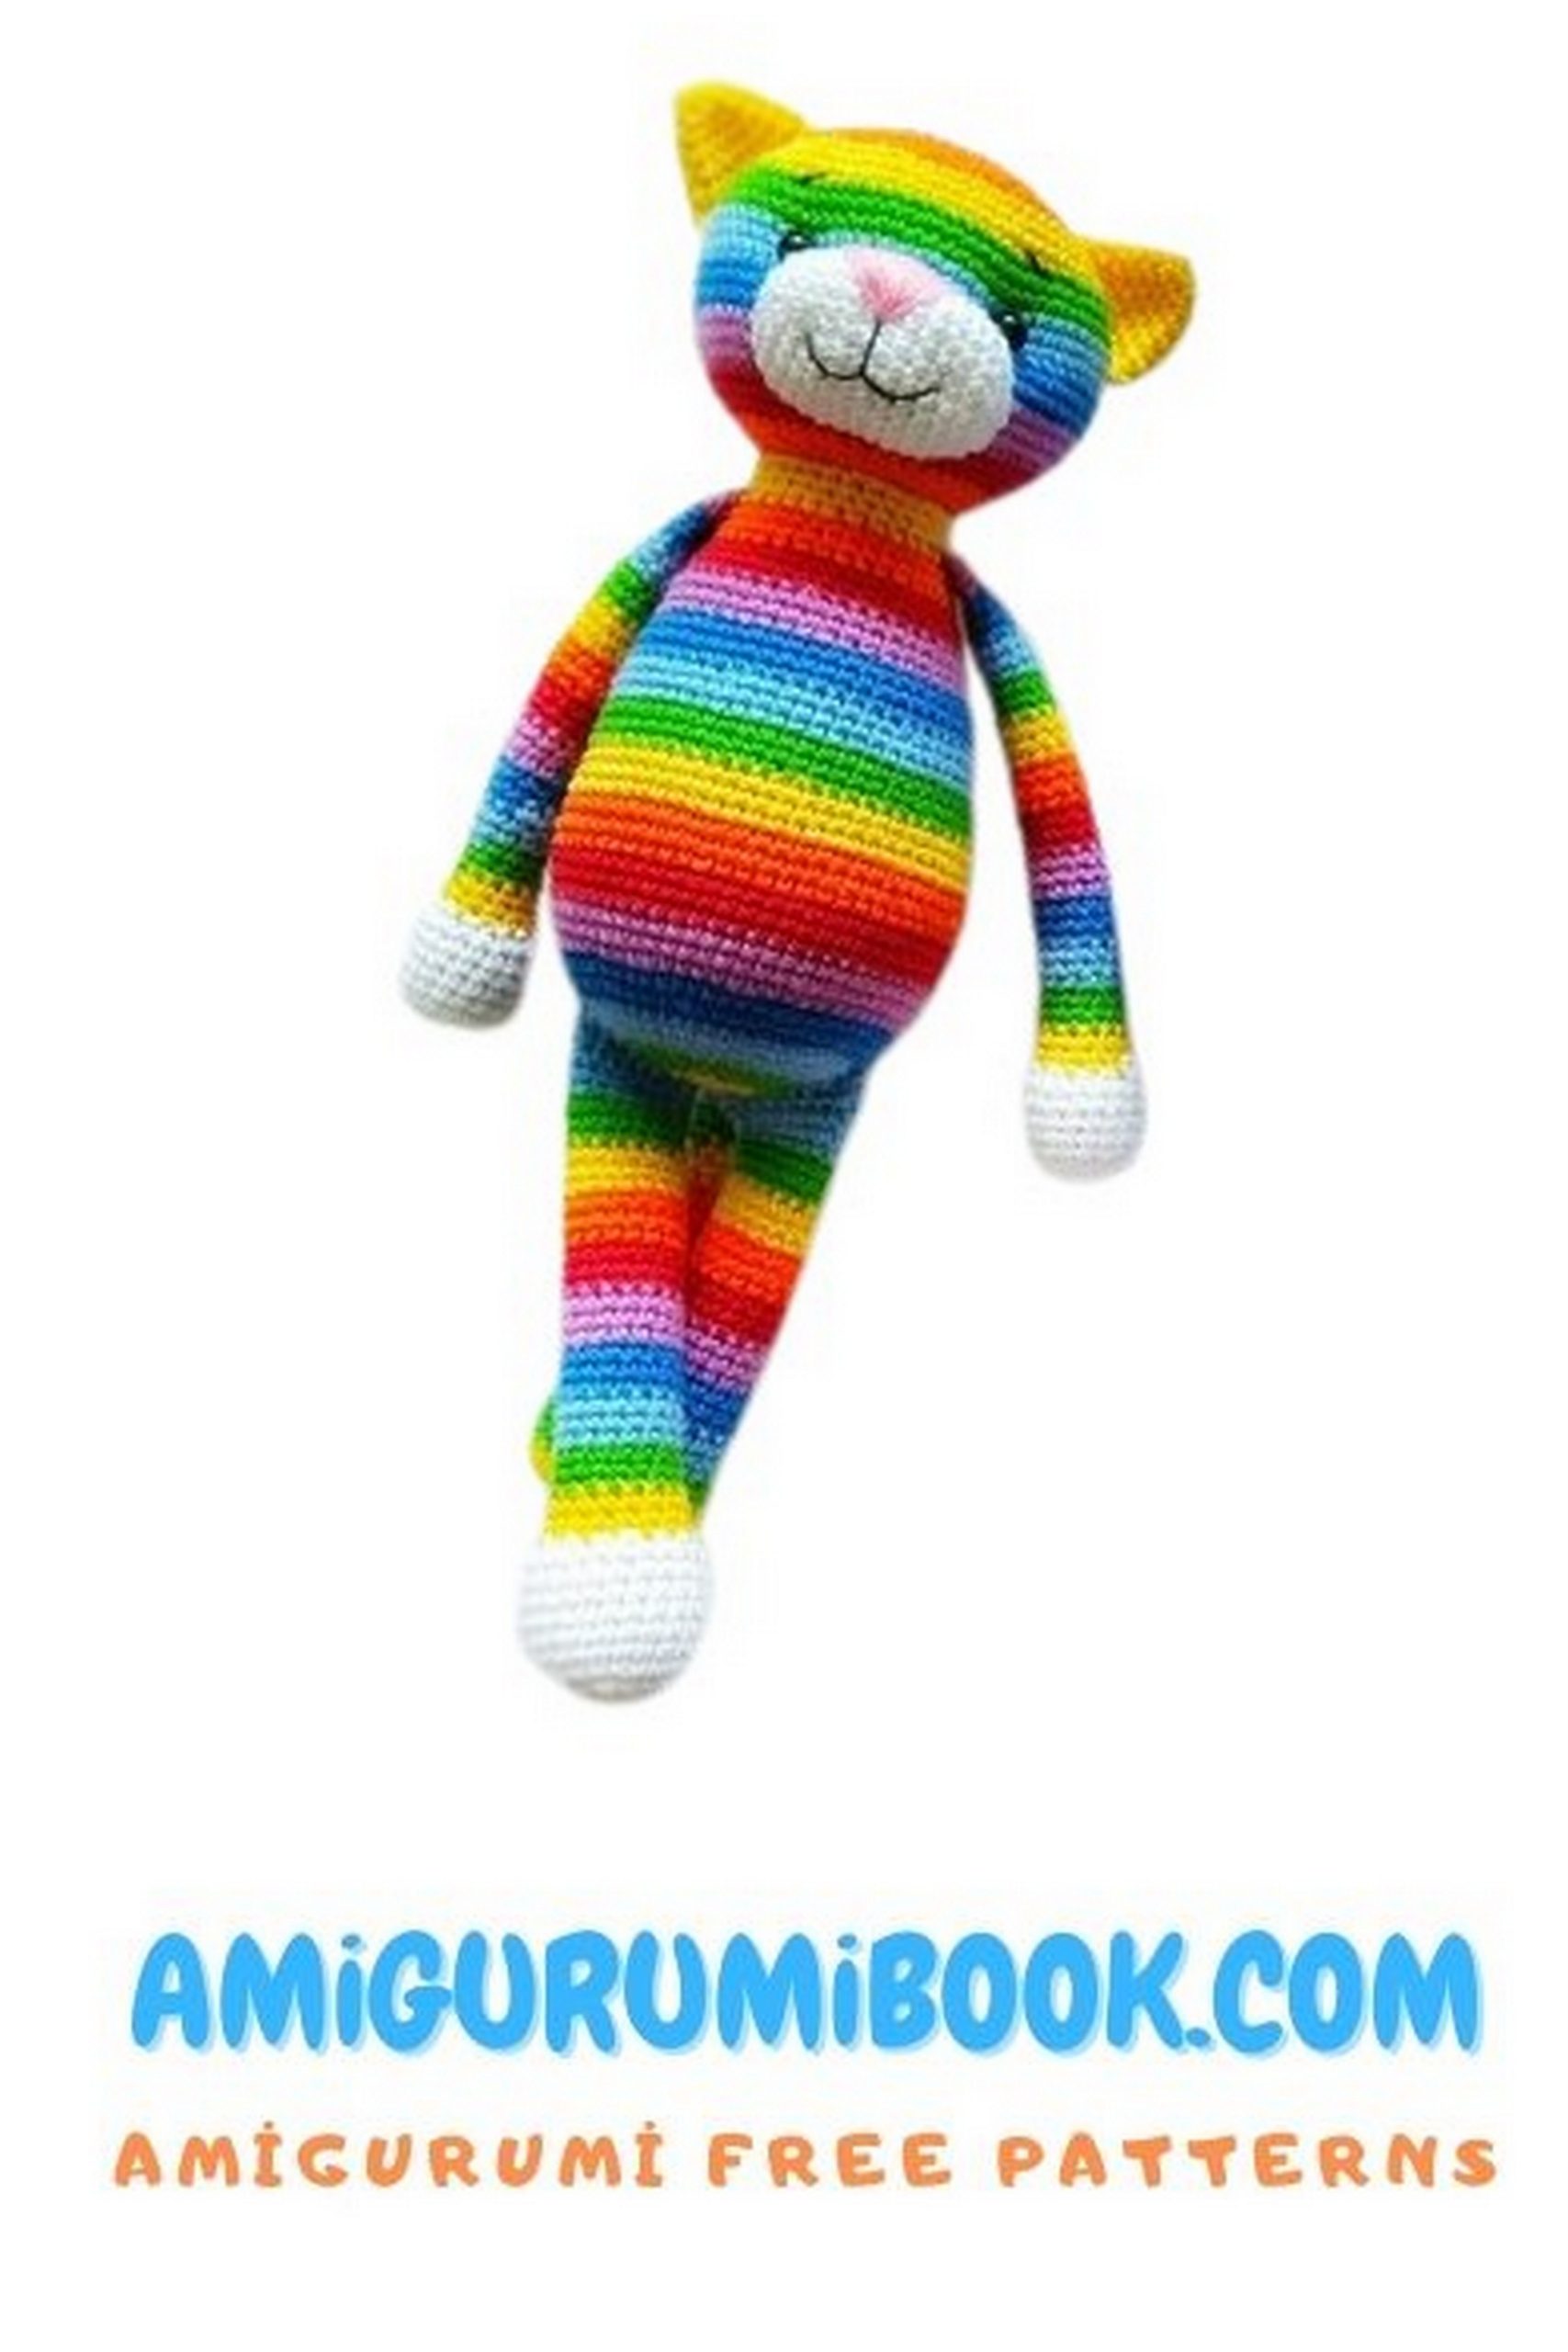
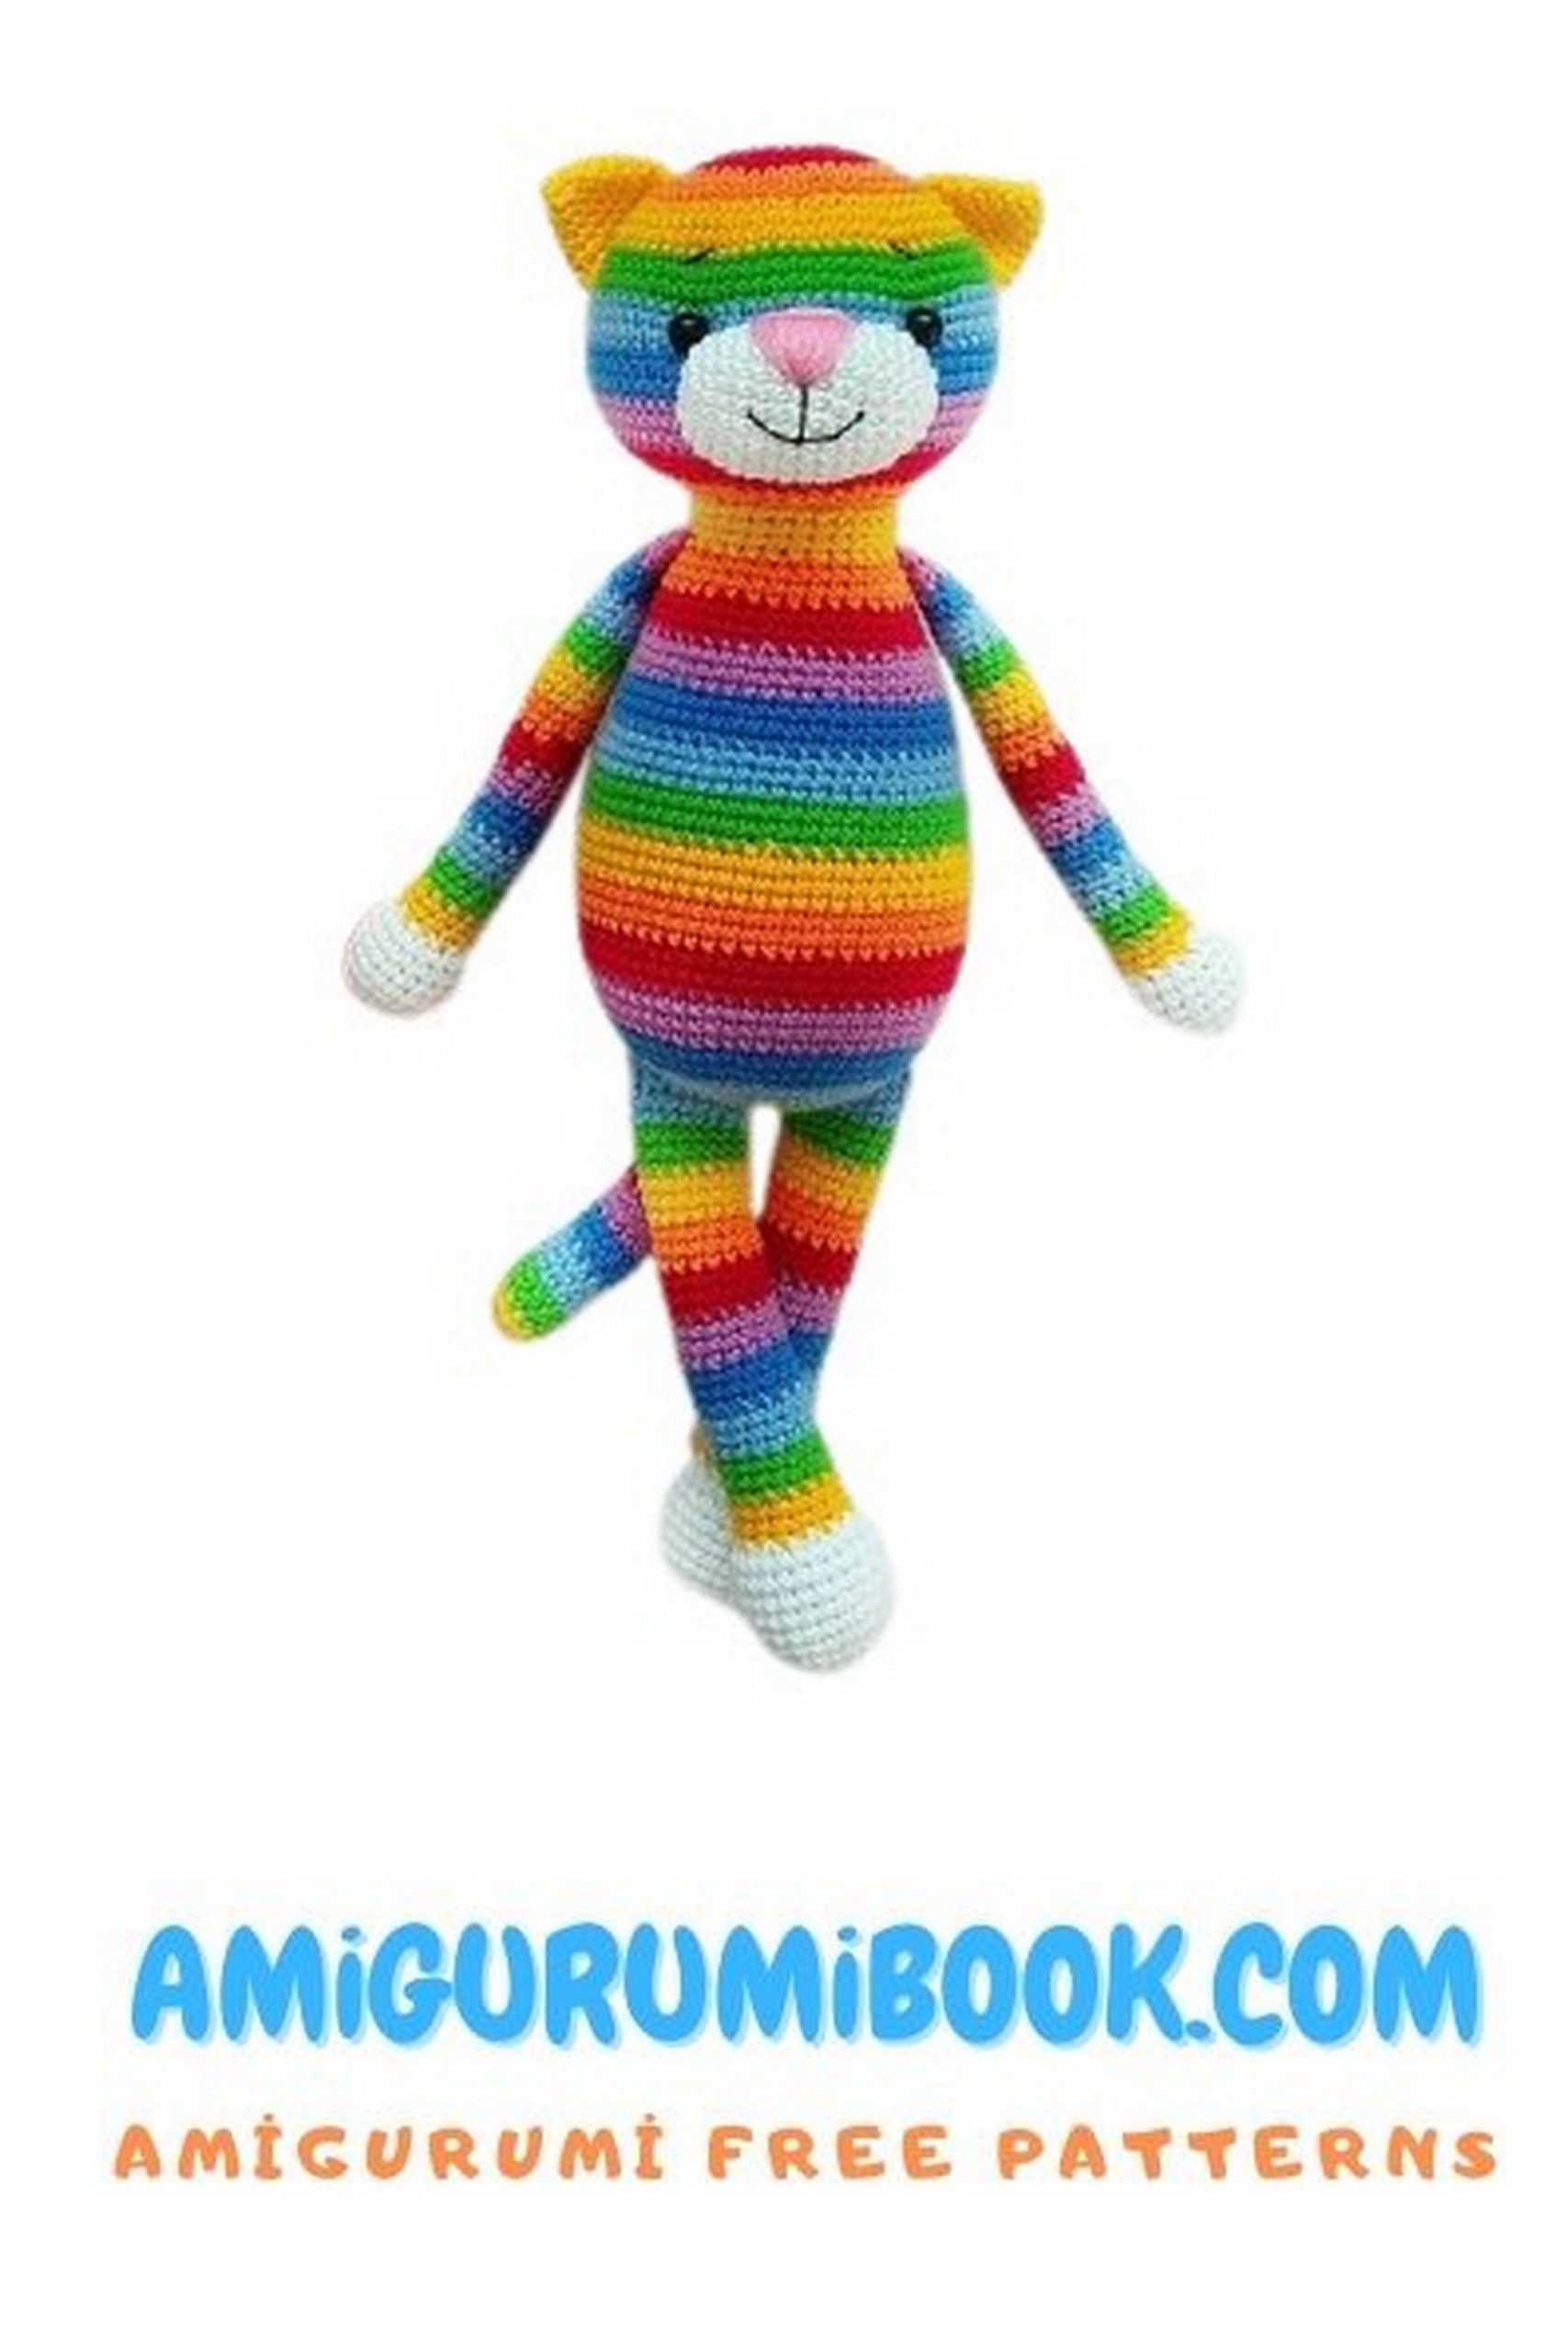
EARS (2 pcs) – Yellow
- 4 sc in MC
- inc in each st (8)
- (sc, inc) × 4 (12)
- (5 sc, inc) × 2 (14)
- (6 sc, inc) × 2 (16)
- (7 sc, inc) × 2 (18)
- (8 sc, inc) × 2 (20)
Fold in half and crochet 10 sc through both sides.
Do not stuff. Leave a tail for sewing.
MUZZLE – White
- 7 sc in MC
- inc in each st (14)
- (sc, inc) × 7 (21)
4–15. 21 sc - (sc, dec) × 7 (14)
- dec × 7 (7)
Do not stuff.
Pull tight and hide yarn.
BODY
Start with yellow:
- 6 sc in MC
- inc in each st (12)
- (sc, inc) × 6 (18)
Change to green
- 1 sc, inc, (2 sc, inc) × 5, 1 sc (24)
- (3 sc, inc) × 6 (30)
- 2 sc, inc, (4 sc, inc) × 5, 2 sc (36)
to blue
- (5 sc, inc) × 6 (42)
- 3 sc, inc, (6 sc, inc) × 5, 3 sc (48)
- (7 sc, inc) × 6 (54)
Change to navy blue
- 4 sc, inc, (8 sc, inc) × 5, 4 sc (60)
- (9 sc, inc) × 6 (66)
- 66 sc
Color changes
13–15. Lilac – 66 sc
16–18. Red – 66 sc
19–21. Orange – 66 sc
22–24. Yellow – 66 sc
- (9 sc, dec) × 6 (60)
26–27. 60 sc
Change to blue
28–29. 60 sc
30. 4 sc, dec, (8 sc, dec) × 5, 4 sc (54)
Change to navy blue
31–33. 54 sc
to lilac
- (7 sc, dec) × 6 (48)
35–36. 48 sc
Change to red
- 3 sc, dec, (6 sc, dec) × 5, 3 sc (42)
38–39. 42 sc
to orange
- (5 sc, dec) × 6 (36)
41–42. 36 sc
Change to yellow
- 2 sc, dec, (4 sc, dec) × 5, 2 sc (30)
44–46. 30 sc
Stuff firmly.
Fasten off, leave a long tail.
LEGS (2 pcs)
Start with white:
- 6 sc in MC
- inc in each st (12)
- (sc, inc) × 6 (18)
- 1 sc, inc, (2 sc, inc) × 5, 1 sc (24)
5–11. 24 sc
Color changes every 3 rows
- Yellow – (sc, dec) × 8 (16)
13–14. 16 sc
15–17. Green – 16 sc
18–20. Blue – 16 sc
21–23. Navy blue – 16 sc
24–26. Lilac – 16 sc
27–29. Red – 16 sc
30–32. Orange – 16 sc
33–35. Yellow – 16 sc
36–38. Green – 16 sc
39–40. Blue – 16 sc
Close one leg with 4 sc, 2 hdc, 2 dc.
Close the second leg in reverse order.
Do not stuff.
ARMS (2 pcs)
Start with white:
- 6 sc in MC
- inc in each st (12)
- (sc, inc) × 6 (18)
4–9. 18 sc - Yellow – (sc, dec) × 6 (12)
11–12. 12 sc
Change colors every 3 rows
13–15. Green
16–18. Blue
19–21. Navy blue
22–24. Lilac
25–27. Red
28–30. Orange
31–33. Yellow
34–36. Green
37–39. Blue
40–42. Navy blue
43–44. Lilac
Fold and join with 6 sc.
Do not stuff.
TAIL
Start with yellow:
- 6 sc in MC
- inc in each st (12)
- 12 sc
Change color every 3 rows until row 35.
Fold and join with 6 sc.
Do not stuff.
ASSEMBLY
- Sew muzzle between rows 17–26
- Insert eyes between rows 17–18, 11 sc apart
- Sew ears between rows 7–17, slightly curved
- Attach head to body (add neck stuffing)
- Sew legs centered, color changes at back
- Sew arms 3 rows below head
- Attach tail at center of lilac stripe
🎉 Your Rainbow Cat is finished!