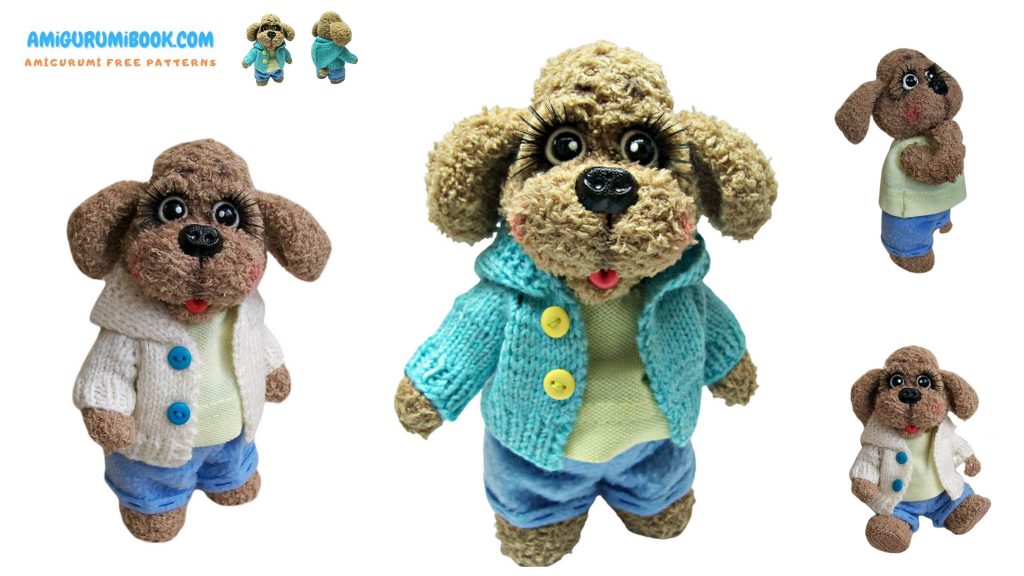
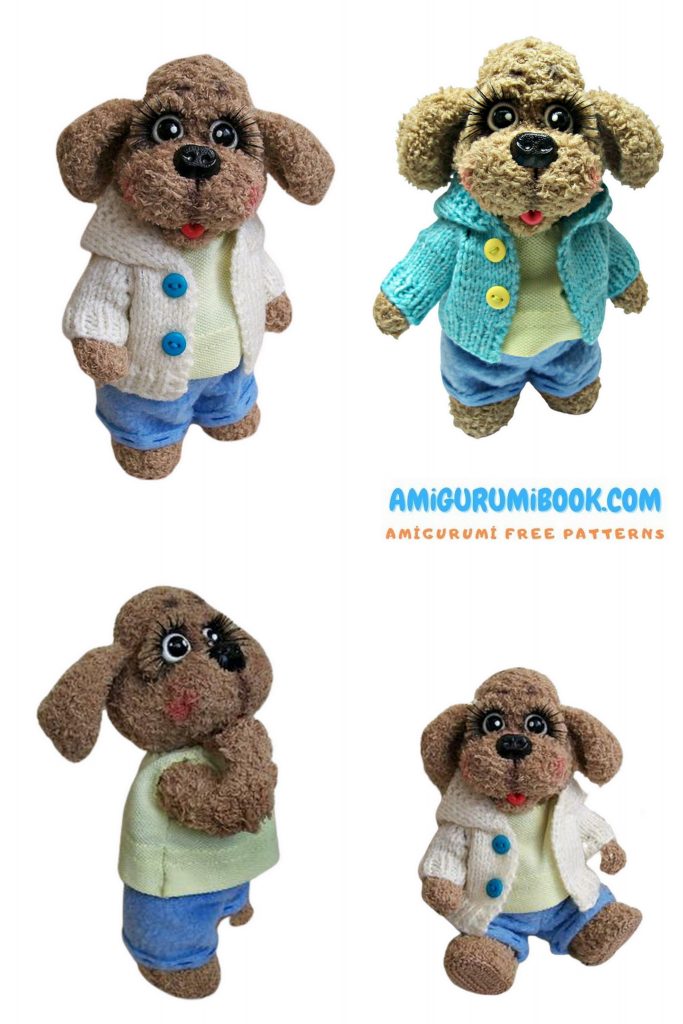
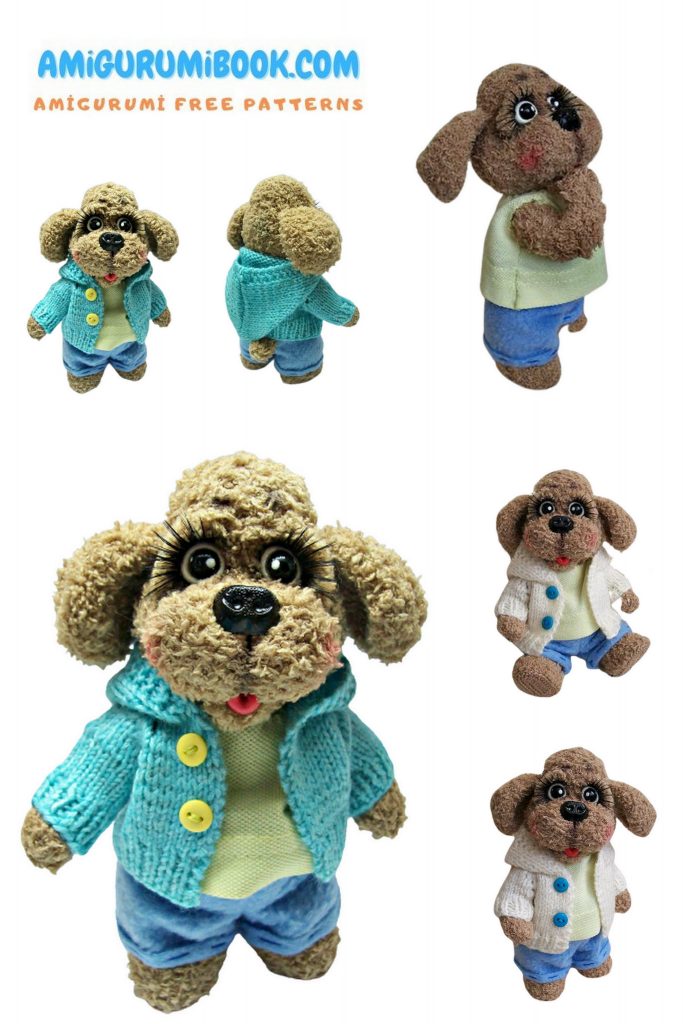
Discover the joy of crafting with this adorable fluffy cute dog amigurumi free pattern, perfect for beginners and experienced crocheters alike. This charming handmade toy makes a delightful gift or a cozy companion for any dog lover. free crochet patterns – Rosa Doll Amigurumi Free Pattern
You may also like more amigurumi patterns.
I continue to share amigurumi free patterns. Fluffy cute dog amigurumi free pattern is waiting for you in this article.
Abreviations:
SC – single crochet
İNC – increase
DEC – decrease
CH – chain
Descriptions.
You can knit from any yarn, from shaggy, from acrylic. My jerry is tied
from Kuzi Kldechochkin into one loose thread and suitable in thickness
acrylic.
Hook 1.75. Toy Height 16cm
PATTERN
BODY.
We knit the main yarn from the base up to the neck.
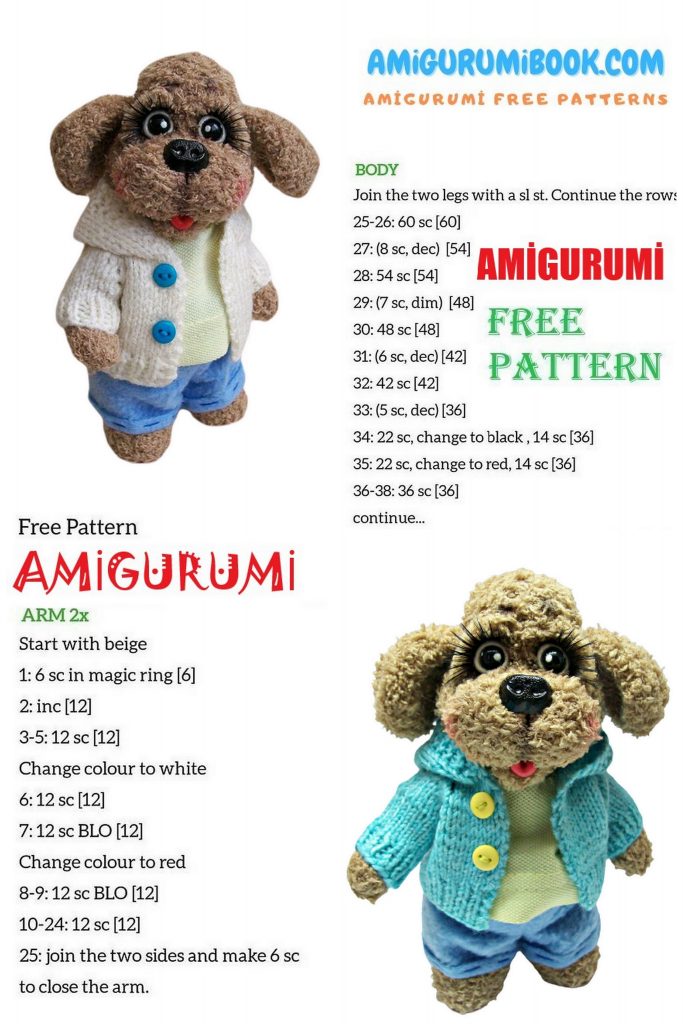
1p-6sc. into magic ring
2p-incx6 = 12sc
3p- (1sc, inc) x6 = 18sc
4p- (2sc, inc) x6 = 24sc
5p- (3sc, inc) x6 = 30sc
6p- (4sc, inc) x6 = 36sc
7p- (5sc, inc) x6 = 42sc
8p-12p-42 sc (5 rows)
13p- (5sc., Dec) x6 = 36sc
14p-36sc
15p- (4sc., Dec) x6 = 30sc
16p-20p- 30sc (5 rows)
21p- (3sc., Dec) x6 = 24sc
22p-24sc
23p- (2sc., Dec) x6 = 18sc
24p-18sc
Add filler, insert cotter pin.
25p- (1sc., Dec) x6 = 12sc
26p-decx6
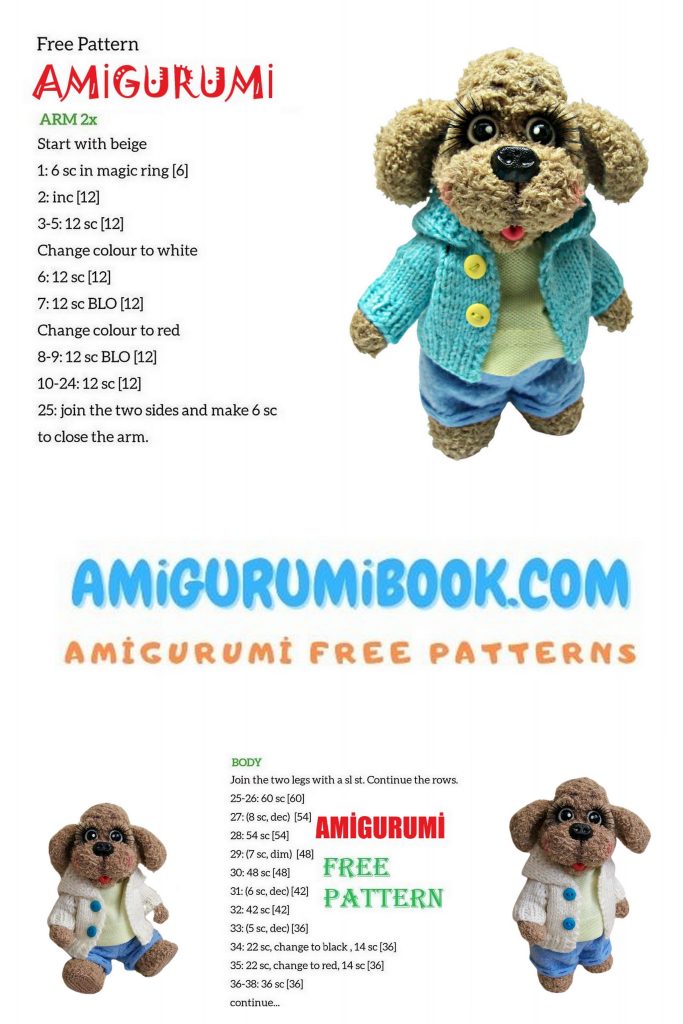
HEAD.
We knit the main yarn from the neck up to the crown.
1p-6sc. into magic ring
2p-inc x 6 = 12sc
3p-inc x 12 = 24sc
4p- (1sc., Inc.) X12 = 36sc
5p- (2sc., Inc.) X12 = 48sc
The item will be a little fold, do not worry, then everything will straighten up!
6p-13p- 48sc (8 rows)
Connect with the body. Insert cotter pin.
14p-16sc., 8 dec., 16sc = 40sc
Put a marker in the middle of decavs, this is the center of the muzzle.
15p-12sc., 8 dec., 12sc = 32sc
16p-dec., 28sc., Dec. = 30sc
17p-21p-30sc (6 rows)
22p-15 dec = 15sc
Fill the head with filler in small portions to fill
uniformly the entire space, especially highlight the cheeks.
23p- (1sc., Dec) x5 = 10sc
24p-decx5
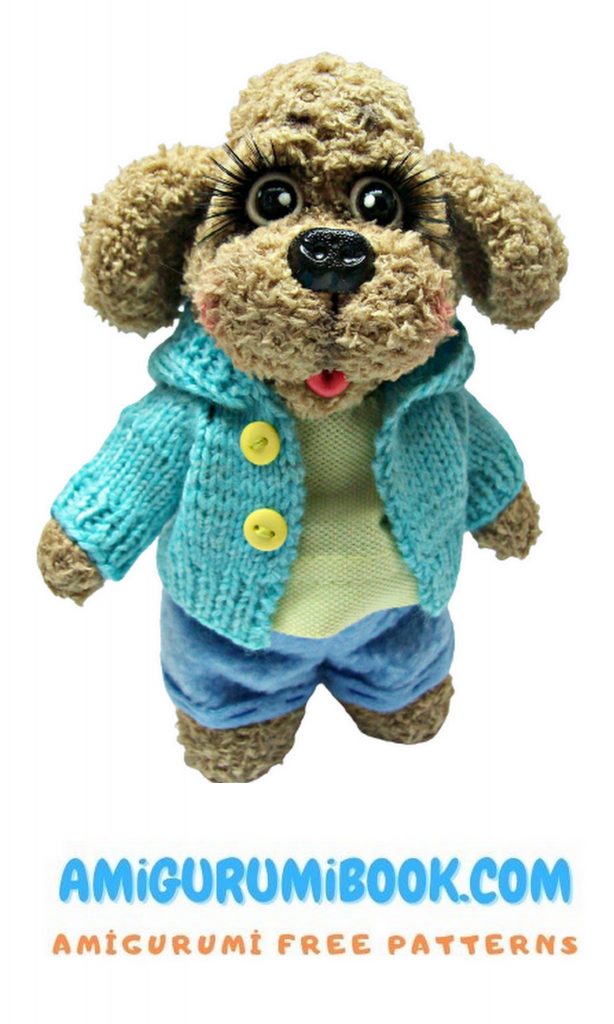
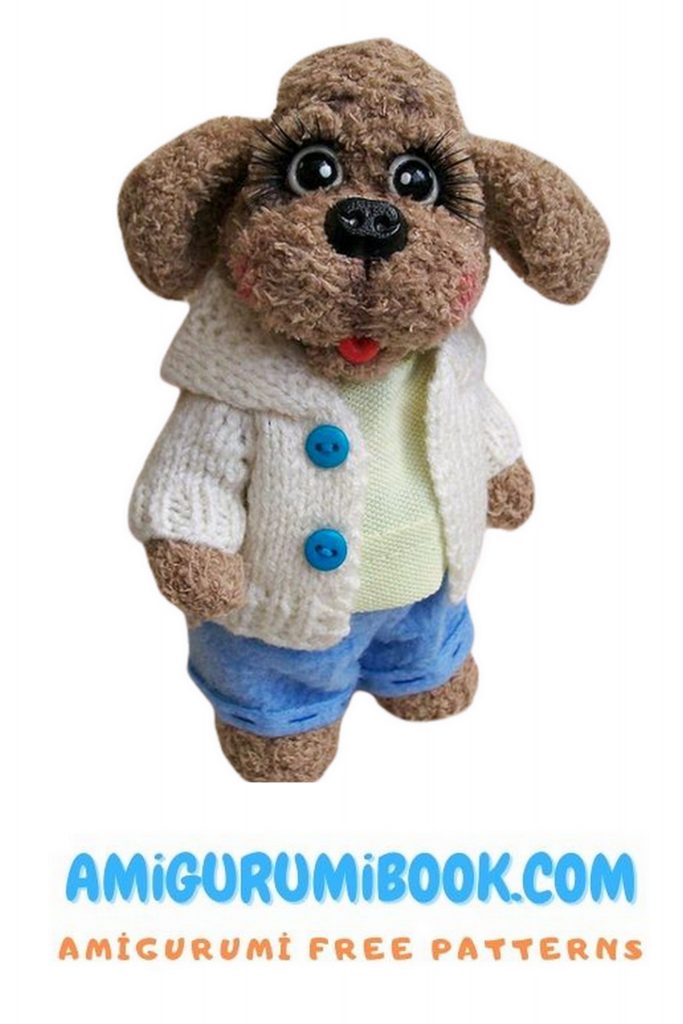
Ears 2 Details
We knit with the main yarn.
1p-6sc. into magic ring
2p-incx6 = 12sc
3p- (1sc, inc) x6 = 18sc
4p- (2sc, inc) x6 = 24sc
5p- (3sc, inc) x6 = 30sc
6p-8p-30sc (3 rows)
9p- (3sc., Dec) x6 = 24sc
10r-12r-24sc (3 rows)
13p- (2sc., Dec) x6 = 18sc
14p-15p-18sc
16p- (1sc., Dec) x6 = 12sc
17p-12sc
18p- fold the ear in half and knit it on both walls 6sc
Muzzle.
7CH
We start knitting in the second loop of the chain.
1p-inc., 4sc., 4sc in one base loop.,
4sc., Inc. = 16sc
2p- (1sc., Inc.) X8 = 24sc
3p- (3sc., Inc) x6 = 30sc
4p-5p-30sc
Break the thread.
DRAWINGS.
1. We will sew a muzzle from above on convex cheeks. Just focus on
a marker so that everything comes symmetrically. Sew half the muzzle and
add filler there, then sew up to the end. Muzzle to fill
medium, but not small, and then when tightened, it will strongly compress.
2. Start pulling. Insert the needle at the very bottom of the morden into the center. Here we have
there will be a mouth, and we withdraw into the right eye, retreat a couple of loops and again
return to the mouth, repeat all this with the left eye. Can one more time
walk along the same pattern of tightenings, to surely fix the facial expressions
dogs.
3.And now we take the black thread and drag the muzzle exactly in half.
Fix the thread in the place where we will have a “leather” nose, and right on top
down the muzzle down into the mouth, and then return to the nose.
tighten so that the muzzle is clearly divided in half.
nose. The latch will not be visible, so we glue the plastic nose.
4. Sew ears right above the cheeks, on both sides there are such bottlenecks.
5. Glue the nose. In the dimple, where we have a mouth, glue the tongue.
We knit the bottom yarn from the main yarn. 6sc knit in a circle and all the time
try on the tongue. It is necessary that the tongue lay flat on where.
where should be no less than the language, but no more than it, approximately
the same.
6. After the hooks, we got eye acne. The choice of peephole is yours.
Try on all your eyes and determine which eyes
most suitable for him. If such eyes were not found, that is, still
one option peephole. It is necessary to mold two balls from plastic so that they
fit your dog. Press black into these balls
half a sack, there will be such concave places. Here in these angles we
then glue half a sack after the plastic has hardened.
You can glue cilia to the finished eyes, and then eyes with
glue on the dog’s face with cilia.
I still knitted eyebrows. Since my yarn was wooly, I just knitted
a chain of 5 ch
Sew eyebrows, it is better to bobbin thread, suitable in color. But if
your yarn is very wooly, you can glue them with transparent glue,
only very carefully, without excess glue.
LEGS. 2 details.
We start knitting with finishing yarn (the color of the sole). If you want
the beast stood firm, it will be necessary to cut and paste the insoles from the dense material in the sole.
9 ch further knit around the chain
1p-7sc., 3sc in one loop of the base, on the other side of the chain
6sc., Inc. = 18sc
2p-inc. x 2., 4sc., inc.x5., 4sc., inc.x3 = 28sc
3p- 28sc
Cut the insoles. I put a few drops of clear glue on the insoles and
glued them to the bound feet. This will help the dog very steadily.
to stand!
We pass to the main yarn.
4p-28sc – we knit for the back walls.
5p-6p -28sc (2 rows)
7p-7sc., (Dec., 1sc.) X5.6sc = 23sc
8r-9r-23sc (2 rows)
Stack your foot.
10p-1sc., (1sc., Dec.) X7., 1sc. = 16sc
11p-12p-16sc (2 rows)
13p-dec., 14sc = 15sc
14p-15sc
15p- (3sc., Inc.) X3., 3sc = 18sc
16p-19p-18sc (4 rows)
20p- (1sc., Dec.) X6 = 12sc
Add filler.
21p-decx6
UPPER Paws. 2 details.
We knit with the main yarn.
1p-6sc. into magic ring
2p-incx6 = 12p
3p-7p-12sc (5 rows)
8p-inc., 10sc., Inc. = 14sc
9r-20r-14 sc (12 rows)
Cut a piece of wire to the length of the handle, bend the ends on both sides,
wrap with adhesive tape and insert into the handle.
Stuff around, but not tight.
21p-decavki before closing the hole.
TAIL.
We knit with the main yarn.
1p-6sc. into magic ring
2p-6sc
3p- (1sc., Inc.) X3 = 9sc
4p-9sc
5p-3sc in one loop, 8 sc = 11sc
6p-incx3., 8 sc. = 14sc
7p-14sc
Ponytail stuff.
ASSEMBLY.
The muzzle is framed.
We attach the upper handles and legs with a thread mount.
Sew the tail to the right place.
Jerry is ready !!!!!
Dress up the dog at your discretion and to your taste.
Panties, jumpsuit, or just a blouse.