
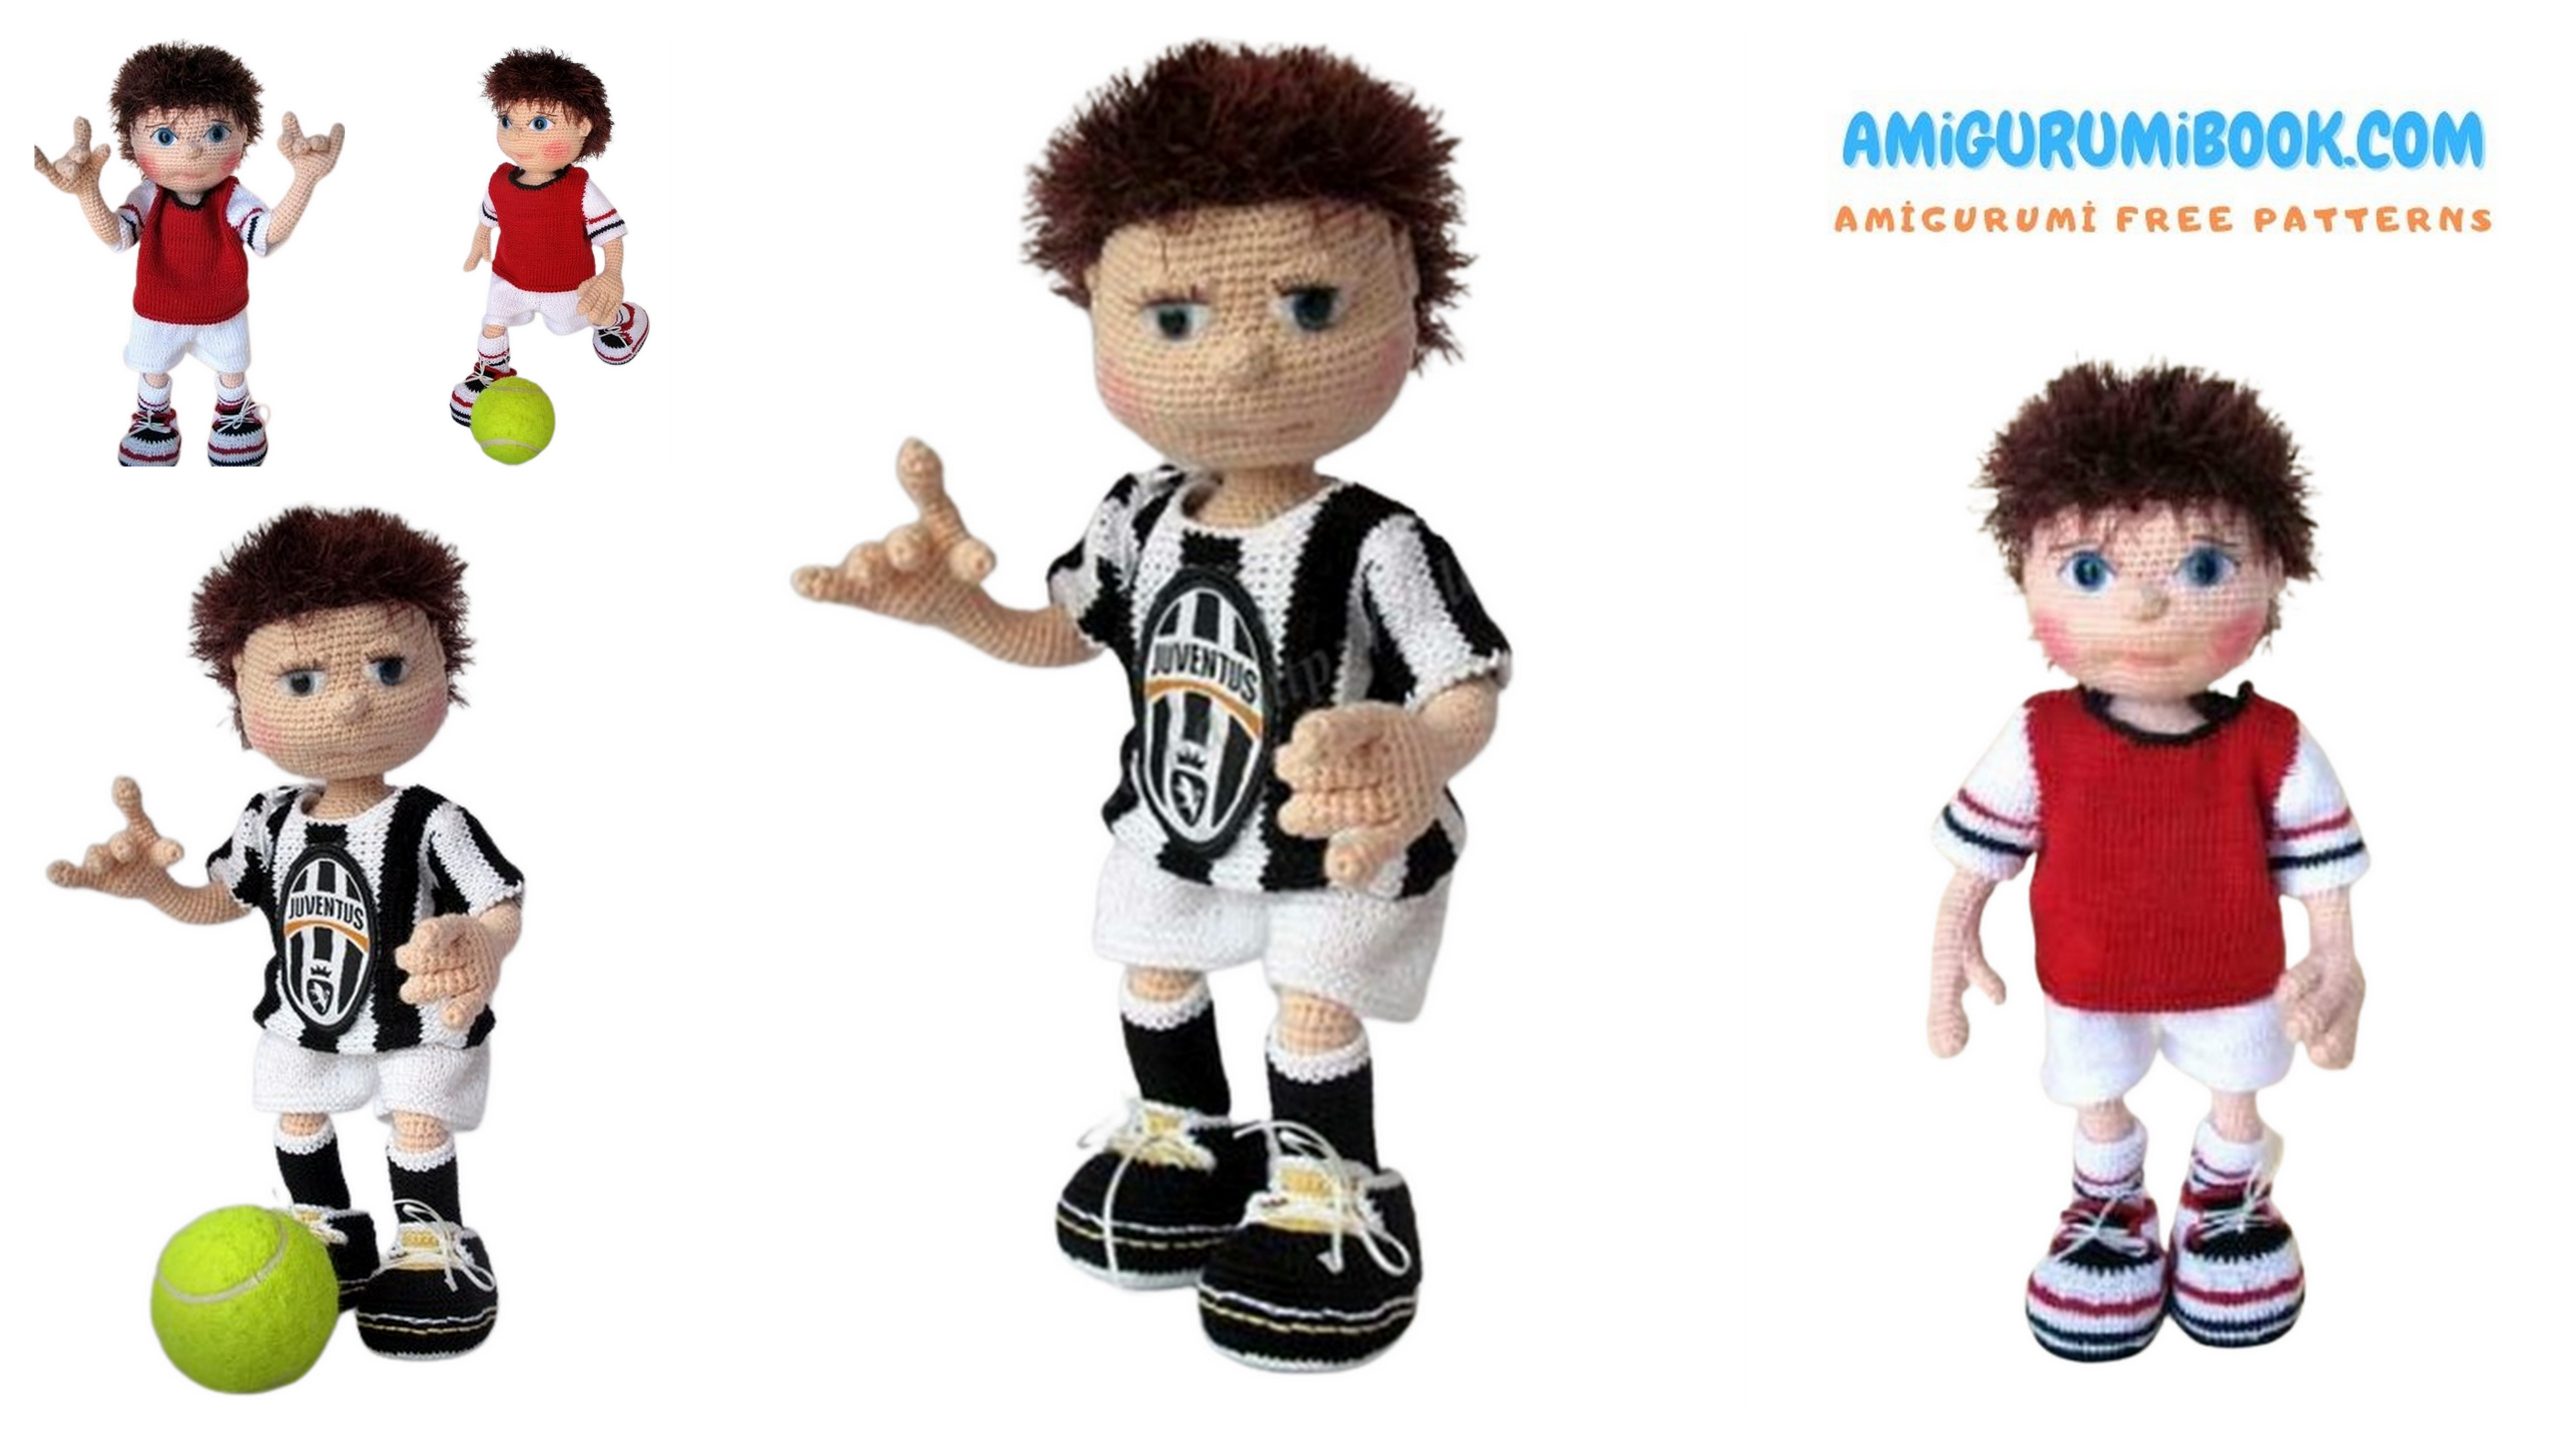
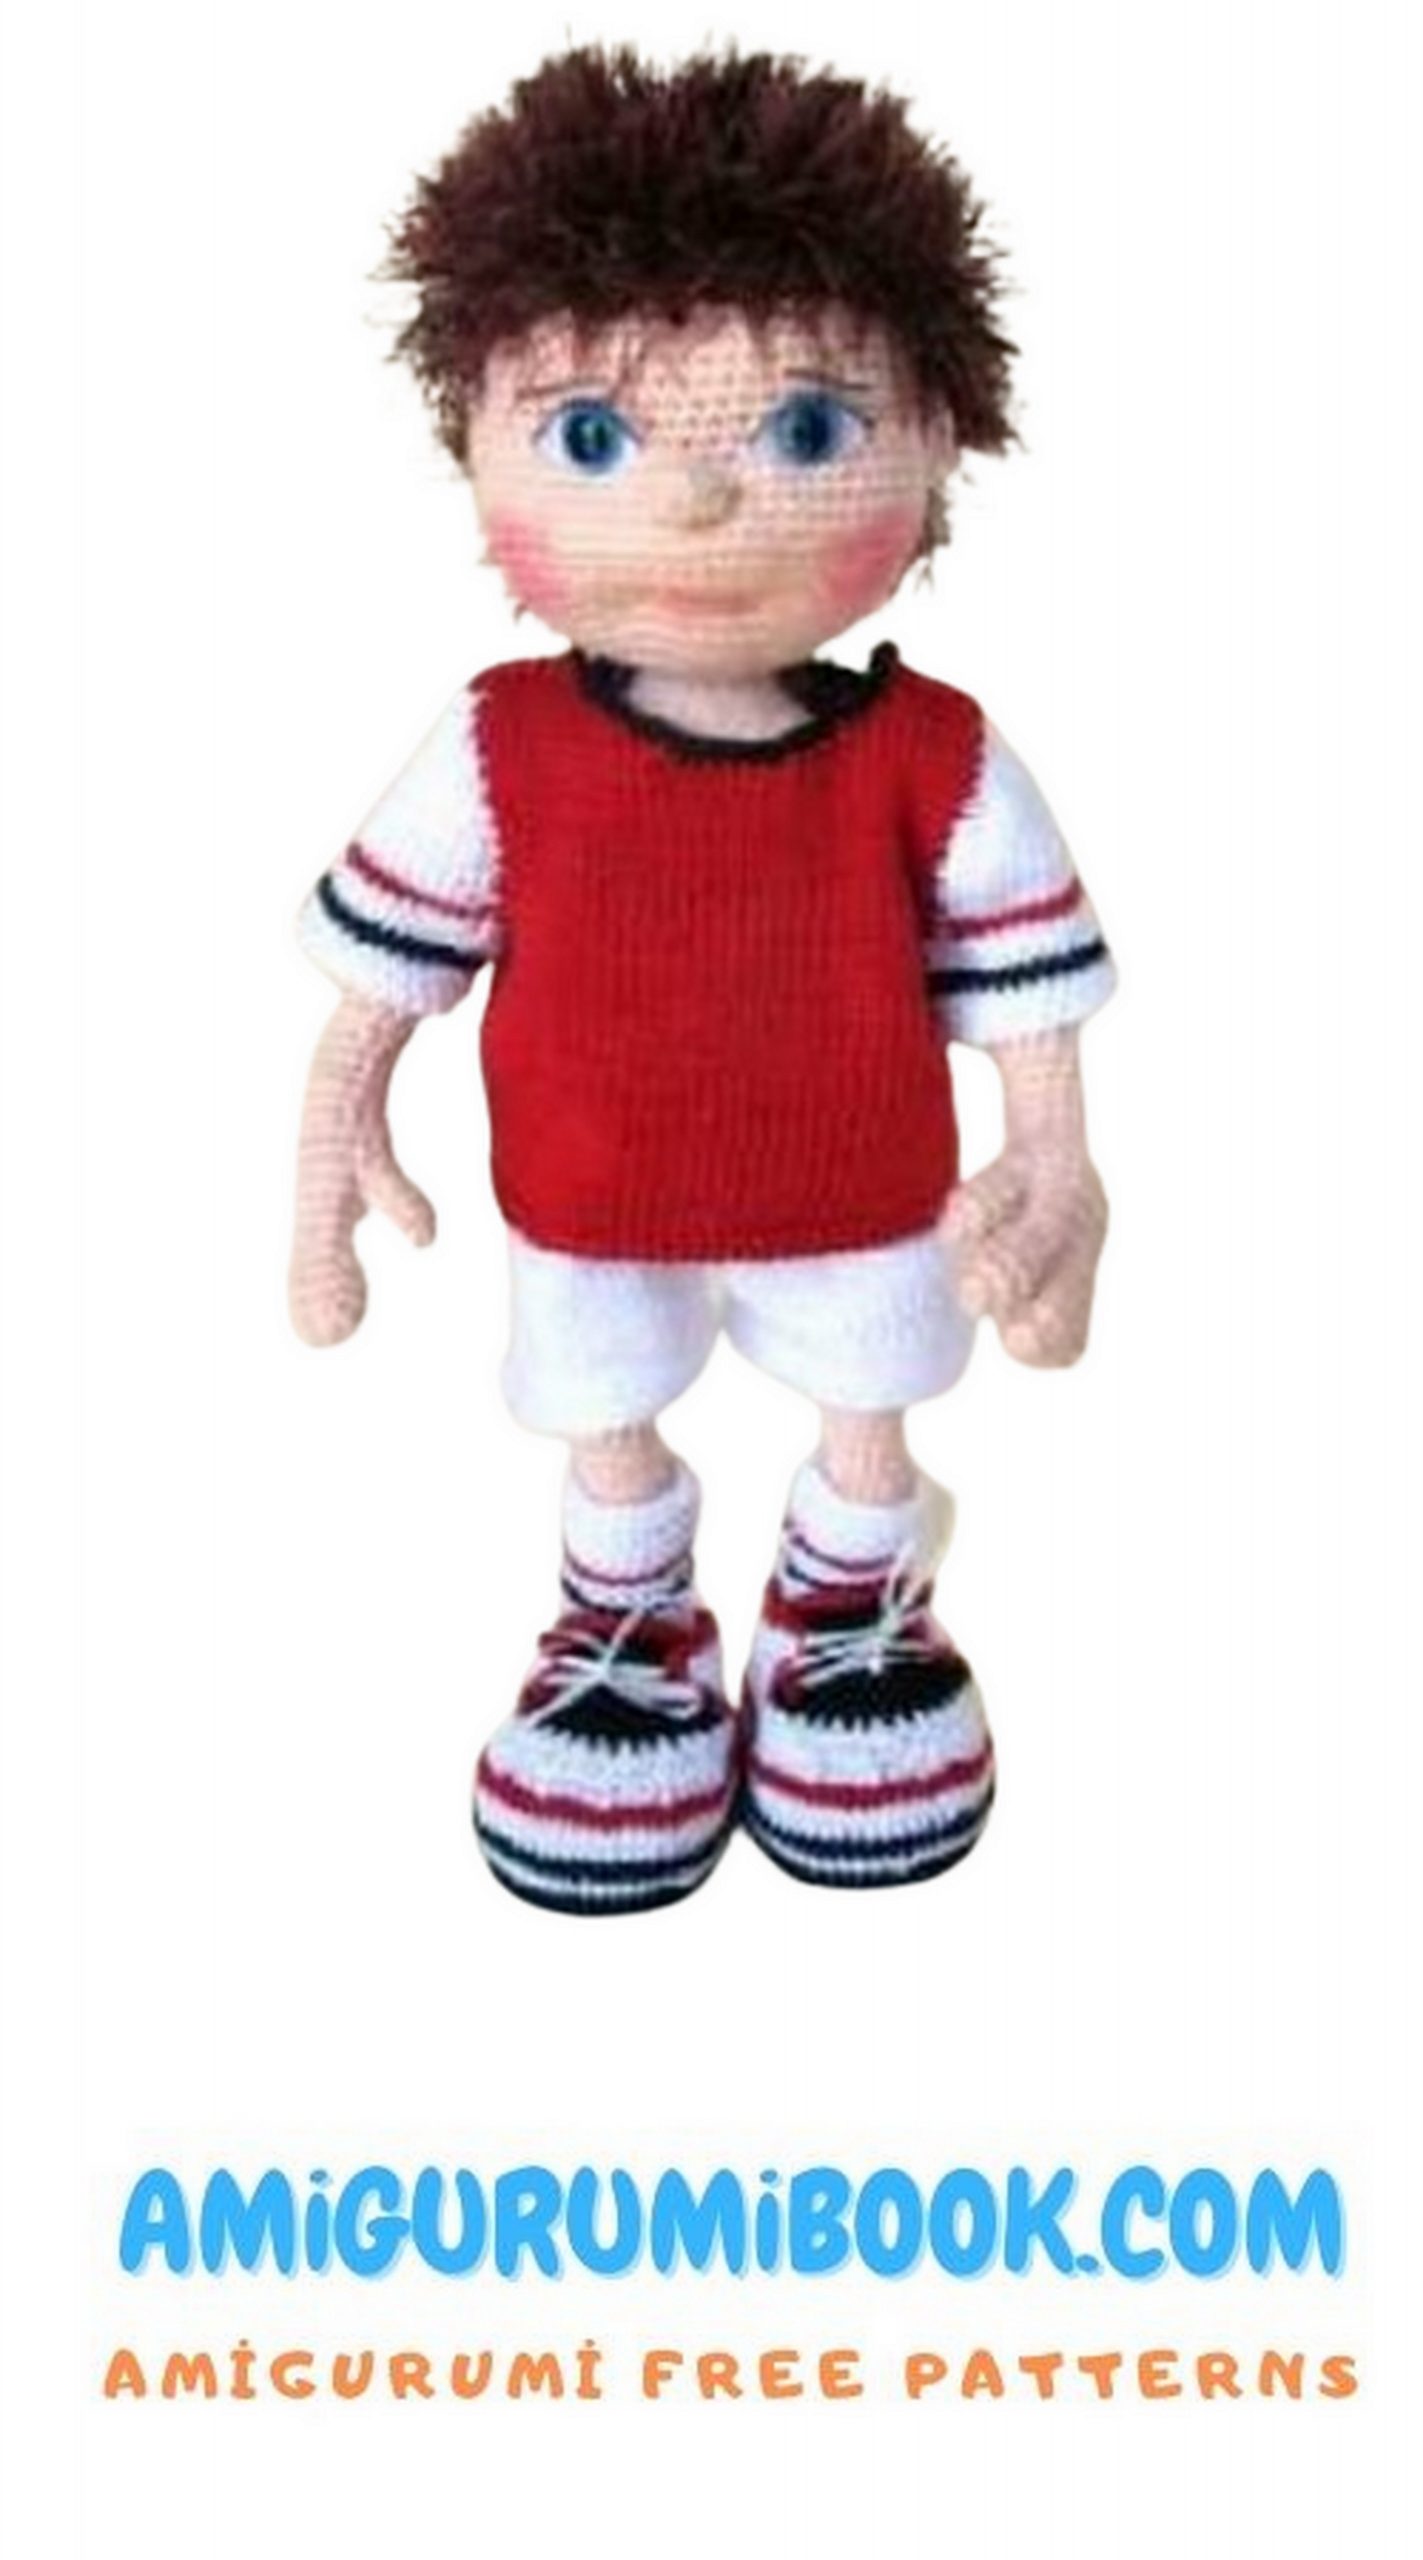
Creating a football player amigurumi is a fun and rewarding crochet project perfect for fans of the sport. This free pattern provides simple instructions to craft a charming miniature athlete, ideal for gifts or collectibles. free crochet patterns – Little Mouse Jerry Amigurumi Free Pattern – Create Your Adorable Crochet Friend!
You may also like more amigurumi patterns.
Football player amigurumi free pattern is waiting for you in this article. You can find Amigurumi free patterns on this site.
Materials
Threads: body – YarnArt Jeans color 21,
1 skein, clothes – “Begonia”;
Tools: hook 1, 75 for
dolls, hook 1.5 for shoes,
knitting needles 1.5 for clothing;
Wire for the frame;
cotter pins or bolts for fastening;
Cardboard or other durable
material for insoles;
Synthetic filler.
Abbreviations
Ch – chain
Sc – single crochet
Hdc – half double crochet
SL-ST – slip stitch
İnc – increase
Dec – decrease
PATTERN

Legs
You can knit your legs right away in colored golf, or you can use flesh thread, and leggings
tie later.
1 – 10 ch, inc in the second loop from the hook, 7 sc, 3
sc in 1 loop, 8 sc, inc in the thread between the last
and the first loop (more precisely, the loop that was the first from
hook) = 22
2 – İnc, 6 sc, 2 HDC, 3 incs from HDC, 2 HDC, 6 sc, 2
inc = 28
3 – 1 sc, inc, 6 sc, 2HDC, (1HDC, inc HDC) x 3, 2HDC, 6
sc, (inc, 1 sc) x 2 = 34
4 – (1 sc, inc) x 2, 6 sc, 2 HDC, (1HDC, inc HDC) x 5,
2HDC, 6 sc, (1sc, inc) x 2 = 43
5 – (2 sc, inc) x 2, 10 sc, (inc, 3 sc) x 3, inc, 10
sc, inc, 3 sc = 50
6 – 50 sc behind the back wall of the loop. If needed,
knit hdshift to mid-heel
7 – 15 sc, 20 HDC, 15 sc = 50
8 – 17 sc, 16 HDC, 17 sc
9 – 9 sc, 12 HDC, 19 sc, 1 hd
10 – 16 sc, (1HDC, dec from HDC) x 6, 16 sc = 44
11-14 sc, dec, (1HDC, dec HDC) x 4, 1HDC, dec, 13 sc = 38
12 – Dec, 8 sc, (1 sc, dec) x 6, 8 sc, dec = 30, insert
insole
13 – 9 sc, dec x 6, 9 sc = 24
14 – 6 sc, dec x 6, 6 sc = 18
From the wire, make a loop in the shape and size of the foot, bring the tip up, where
the leg will continue. Put in the leg. Stuff your feet, especially carefully –
sock.
There are two options for the frame:
1) knit a leg around the wire, then the wire
immediately should be long;
2) just knit the leg, and then insert the wire,
then it’s enough that the wire is only 1-2 cm
peeking out of the foot at this stage. In that
In this case, bend the wire end with a loop and
wrap with a plaster or teflon tape.
We stuff the rest of the leg during knitting,
if you knit around the wire.
15 – (1 sc, dec) x 6, = 12
16 – 20 – 12 sc
If we knit in golf, then in this place we attach a flesh-colored thread, a black thread
we don’t cut it (we leave it in front of the work), and we knit the 16th row behind the back wall.
21 – 2 sc, inc, 9 sc = 13 (İncavigation should go in the middle, so maybe
You need to knit like this: 1 sc, inc, 10 sc. Correct in the same way in
if necesl-stary, and the following two rows)
22 – 2 sc, inc, 10 = 14
23 – 2 sc, inc, 11 = 15
24 – 33 – 15 (you can lengthen or shorten your legs if desired).
Make offset loops to the middle of the back of the leg
(2-3) and drag the marker.
34 – Dec x 3, 3 sc, 3 Hdc (knee), 3 sc = 12
35 – İnc x 3, 9 sc = 15
36 – 15
37 – 3 sc, inc, 11 sc = 16
38 – 3 sc, inc, 12 = 17
39 – 17
40 – 5 sc, inc, 11 sc = 18
41 – 18
42 – 5 sc, inc, 12 sc = 19
43 – 19 sc
44 – 6 sc, inc, 12 sc = 20
45 – 54 – 20 sc, offset loops to the middle of the back (9 – 10)
Insert the wire with bent loops at the ends, fill the leg. In the knee is not tight
we stuff only to give shape. Shin and thigh we stuff tightly. Top
part we try to flatten a little to give a more realistic form.
55 – Dec, 6 sc, dec x 2, 6 sc, dec = 16
We insert the mount.
56 – Dec, 4 sc, dec x 2, 4 sc, dec = 12
57 – Dec x 6 = 6 through a hole to add a leg, then tighten the hole completely.
Knee socks
We return to the 16th row, where we left the black thread and begin to collect loops on it
front semi-loops 16 rows as follows:
1 row – (inc, 2 sc) x 4 = 16
2 – 5 – 16 sc
6 – 5 sc, inc, 8 sc, inc, 1sc
7 – 6 sc, inc, 9 sc, inc, 1sc
8 – 7 sc, inc, 10 sc, inc, 1sbn
9 – 22 sc + 3 hd shift. change the thread to white
1 – 22 sc – white row
1 – 22 sc – black row
12 – 22 sc – white row
13 – 22 sc – black row
14 – 15 – 2 white rows of 22 sc
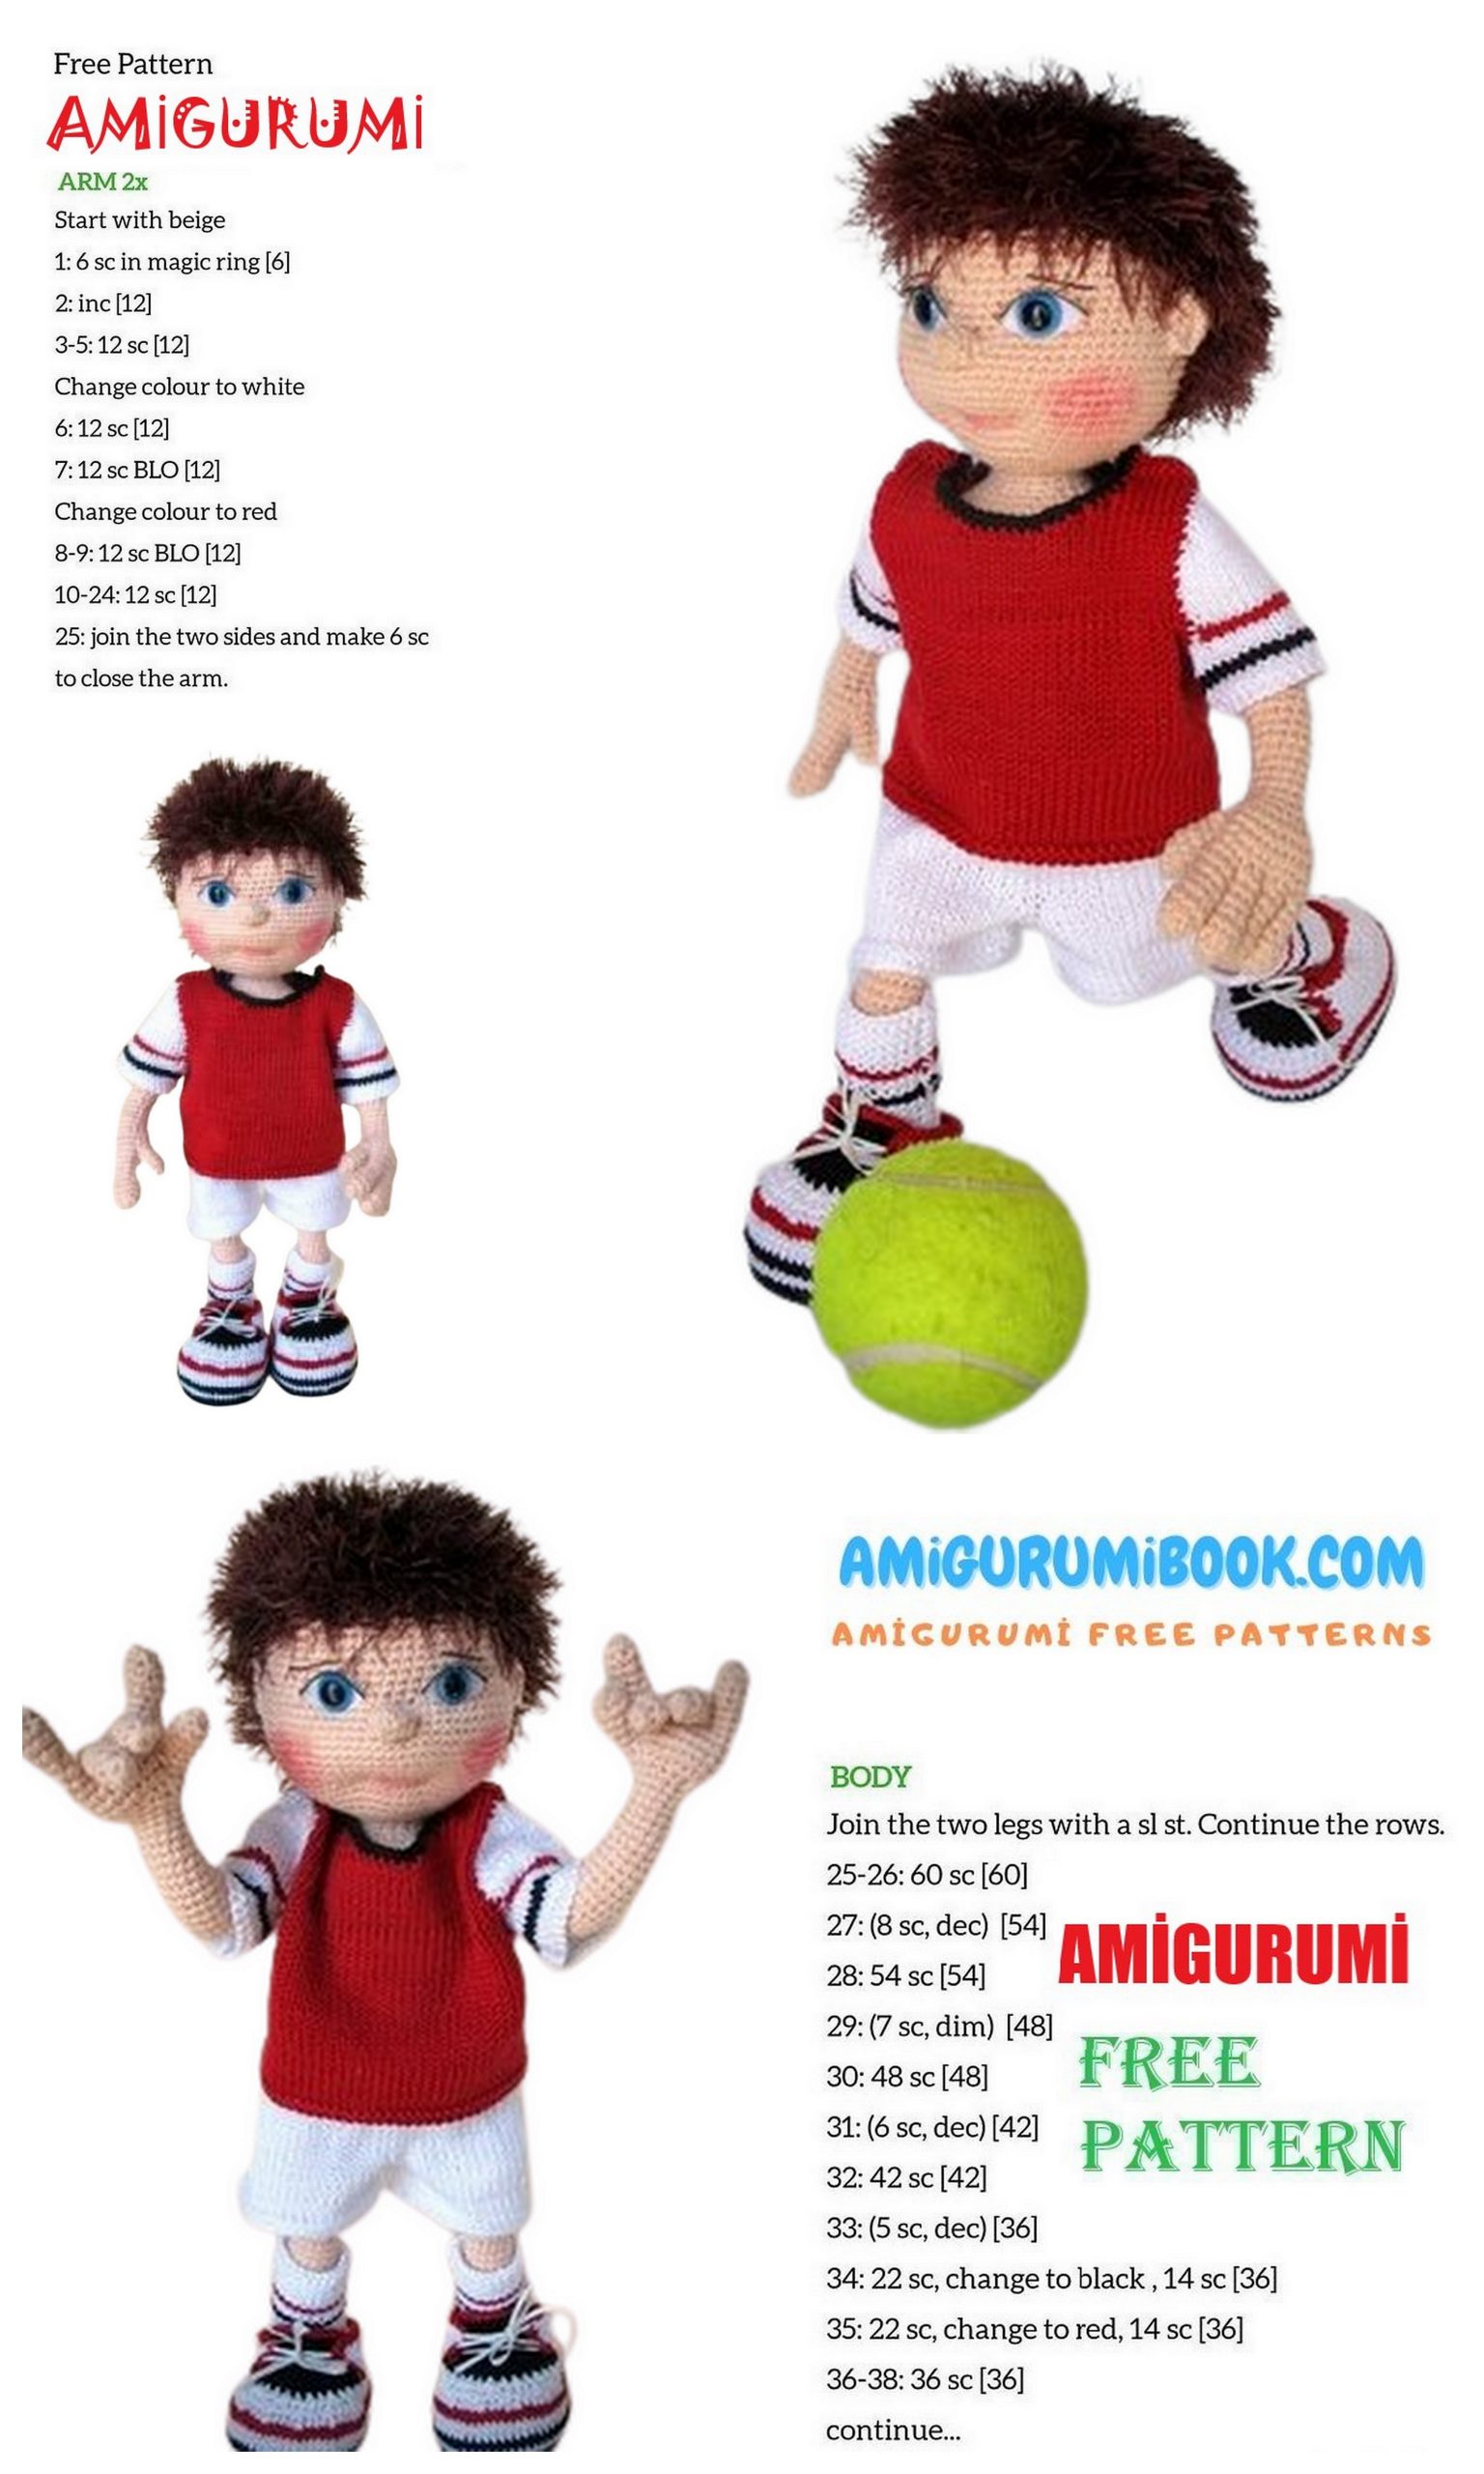
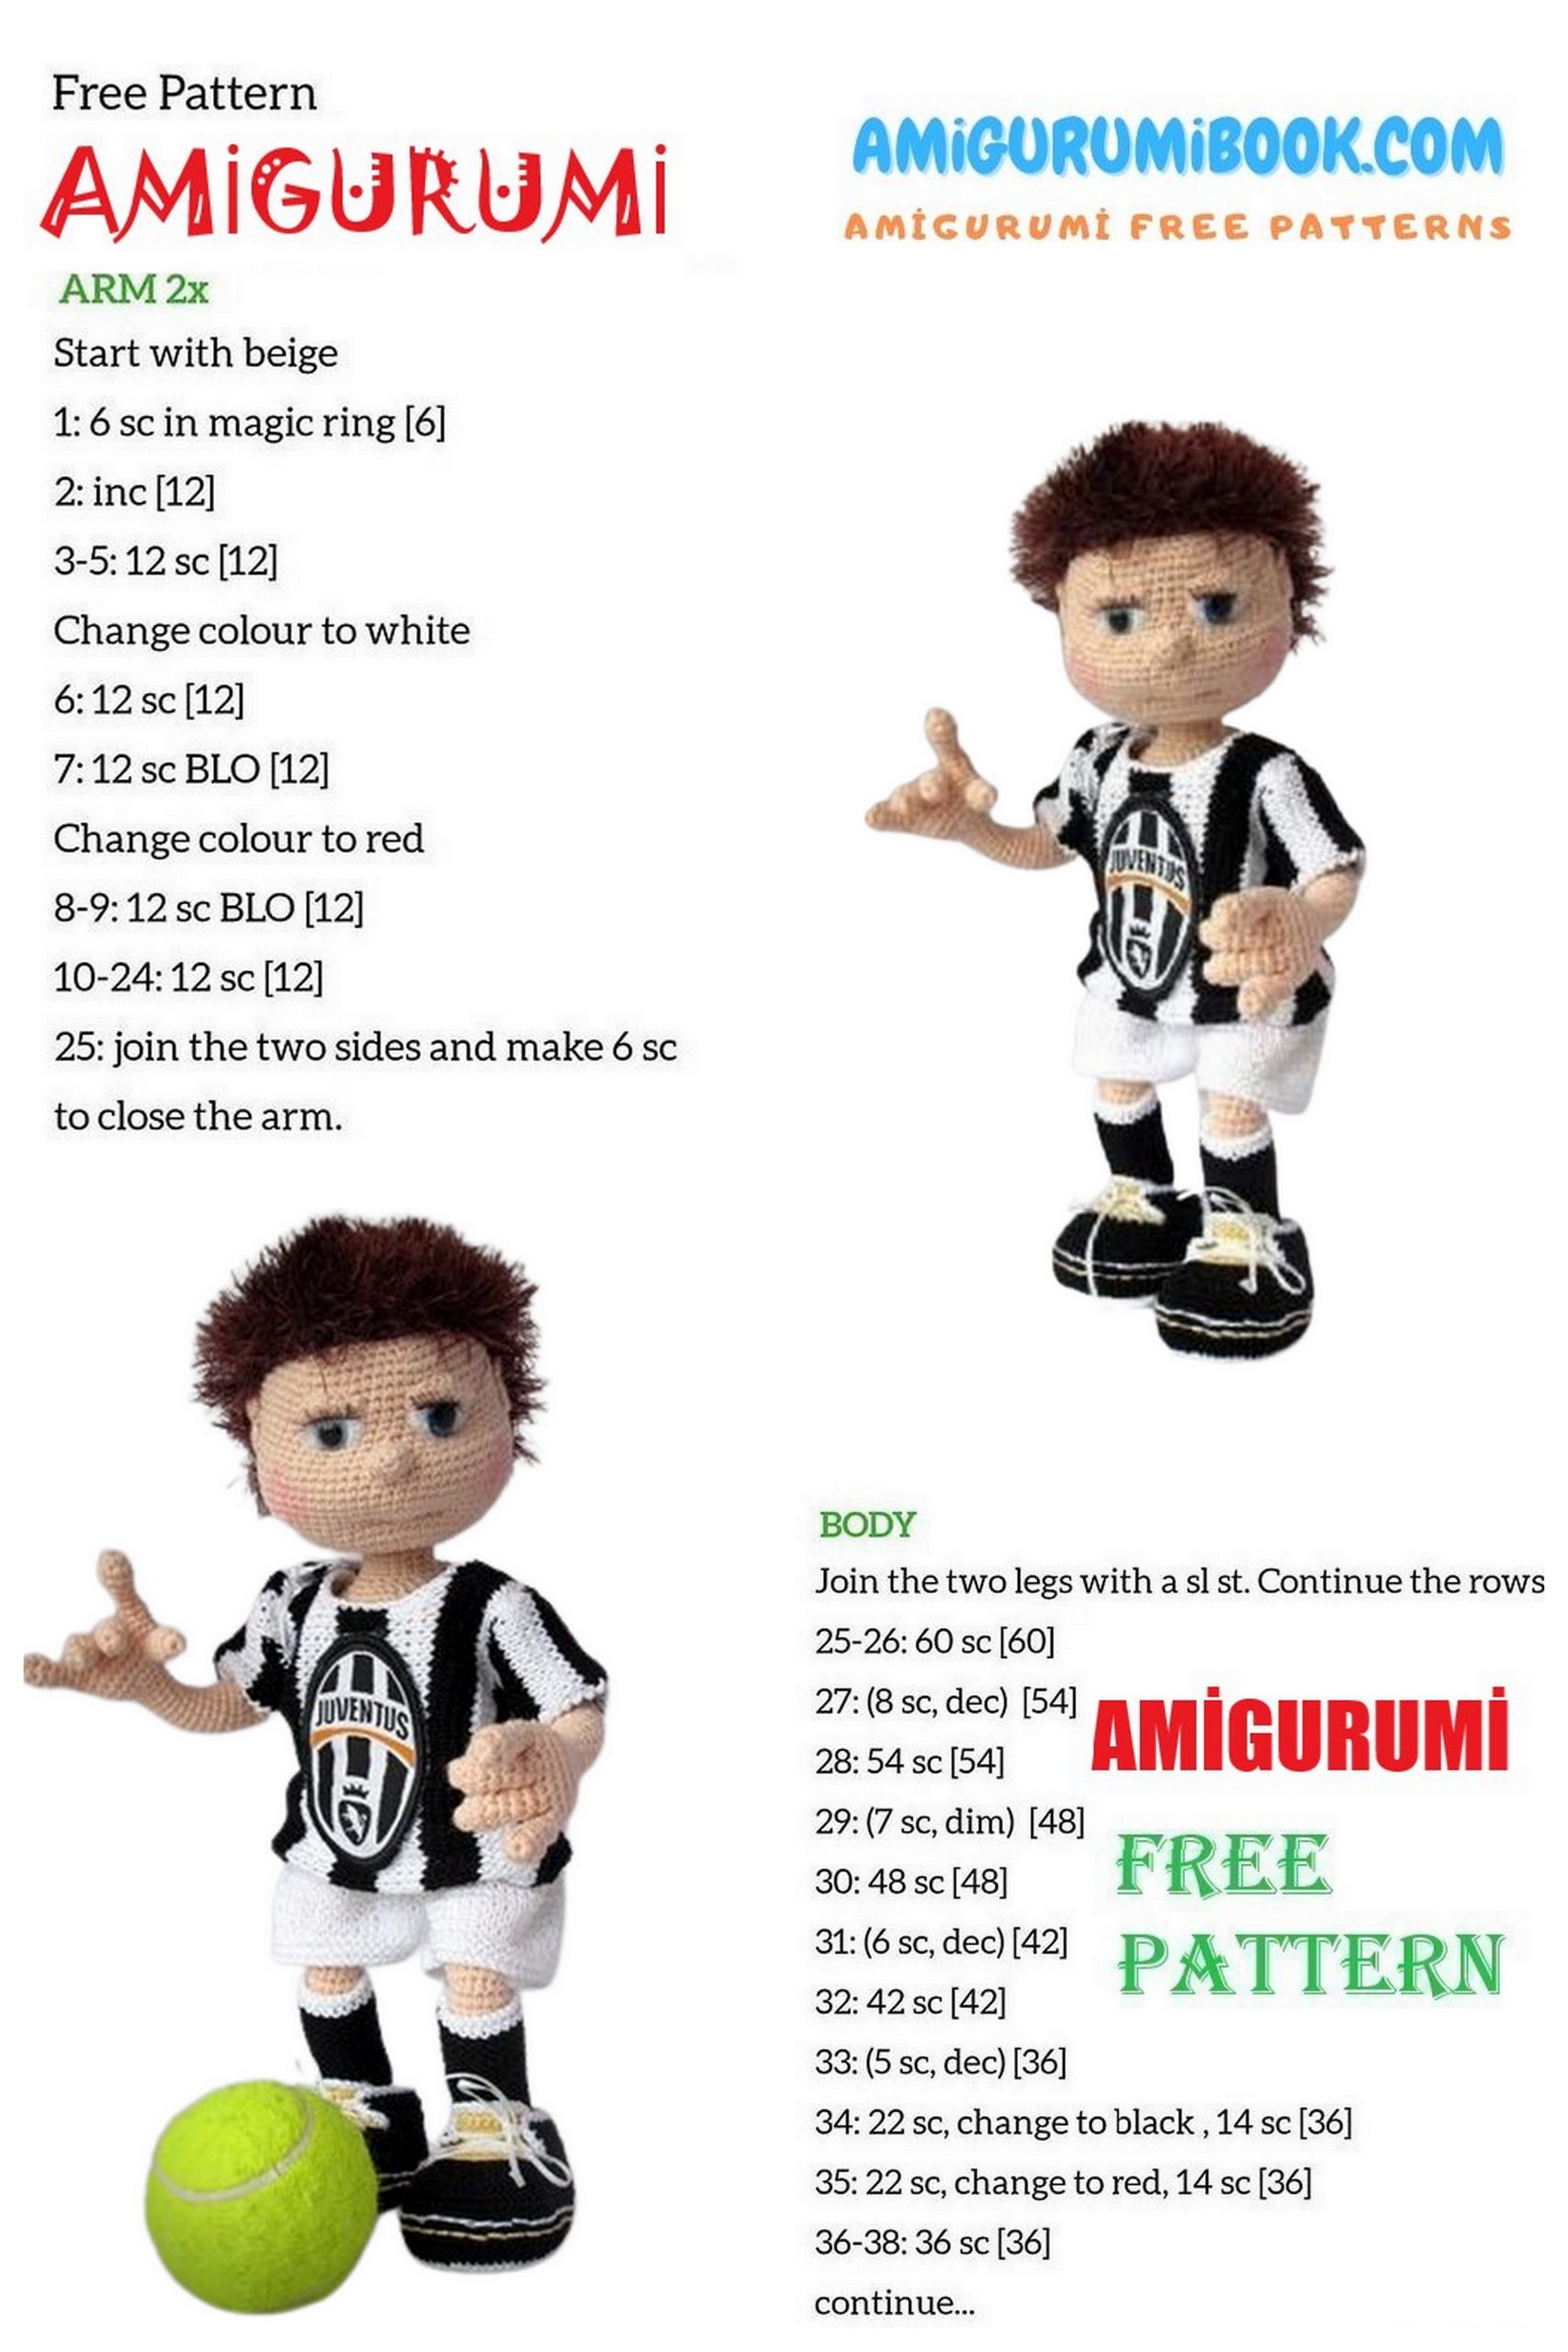
Hands
Fingers for a football player – 8 + 2 large (but on
actually – small )
1 – 6 sc into Magic ring
2 – (1 sc, inc) x 3 = 9
3 – 9 sc
4 – (1 sc, dec) x 3 = 6
5 – 7 – 6 sc (for the thumb – 5 – 6 row)
Collecting palms
1 – 3 sc on 1 finger, 3 sc on the second finger, 3 sc on the third finger, 6 sc on
fourth finger, 3 sc on the third finger, 3 sc on the second finger, 3 sc on
first finger = 24
2 – 3 – 24 sc
4 – 1 sc, 3 sc, capturing thumb loops, 20 sc
(for the second hand 8 sc, 3 sc on the finger, 13 sc) = 24
5 – 1 sc, remaining 3 sc on the thumb, 20 sc
(for the second hand: 8 sc, 3 sc on the finger, 13 sc) = 24
If you want your fingers to bend, we make a wire frame. There are two ways:
for each finger we take a separate thin
a wire, at the end we bend a loop, all
insert the wires into the fingers. The remaining
twist the tips together into a “bouquet”. One
bend the wire with an “accordion”, each turn –
in a separate finger.
leave the long end, knit around it
hand (or trim just above the wrist, okay
wrap the end with electrical tape or plaster, and
wire – insert the frame when we tie the whole arm)
6 – (1 sc, dec) x 8, 1 hdc = 16
7 – Dec, 4 sc, 2 dec, 4 sc, dec = 12
8-12 – 12 sc
13 – 1 sc, inc, 10 sc (for the second hand: 6 sc, inc, 5 sc) = 13
14 – 13 sc
15 – 2 sc, inc, 10 sc (for the second hand: 7 sc, inc, 5 sc) = 14
16 – 14 sc
17 – 3 sc, inc, 10 sc (for the second hand: 8 sc, inc, 5 sc) = 15
18 – 20 – 15sc
21 – 4 sc (1 sc, dec) x 2, 1 sc, 3 HDC, 1 sc (for the second hand: 1 sc, 3HDC, 1 sc, (1
sc, dec) x 2, 4 sc) – decavings go from the side of the thumb = 13
22 – 4 sc, 4 sl-st, 1 sc, 3HDC, 1 sc (for the other hand 1 sc, 3 HDC, 1 sc, 4 sl-st, 4 sc) =
thirteen
23 – 4 sc, (1 sc, inc) x 2, 5 sc (for the second hand: 4 sc, (1 sc, inc) x 2, 5 sc)
= 15
24 – 15sc
25 – 6 sc, inc, 8 sc (or 12 sc, inc, 2 sc) = 16
26 – 16 sc
27 – 7 sc, inc, 8 sc (or: 11 sc, inc, 4 sc) = 17
28 – 17sc
29 – 8 sc, inc, 8 sc (or: 13 sc, inc, 3 sc) = 18
30 – 35 – 18 sc
36 – 2 dec, 5 sc, 2dec, 5 sc (or: 5 sc, 2 dec, 5 sc, 2 dec) = 14 – dec
palm ribs
Insert fastener, cotter pin, bolt or
button so that the diameter of the disc is approximately
0.5 cm lesl-st than the width of the arm. Paste if
you want to fill the wire. Do not stuff tight at the elbow.
The forearm and shoulder are tight.
37 – 2 dec, 3 sc, 2 dec, 3 sc (or: 3 sc, 2 dec, 3
sc, 2 dec) = 10
38 – 5 dec, tighten the hole
Torso
1 – 6 sc into Magic ring
2 – 6 inc = 12
3 – (1 sc, inc) x 6 = 18
4 – (2 sc, inc) x 6 = 24
5 – (3 sc, inc) x 6 = 30
6 – (4 sc, inc) x 6 = 36
7 – (5 sc, inc) x 6 = 42
8 – (6 sc, inc) x 6 = 48
9 – 48 sc
10 – (7 sc, inc) x 6 = 54
11 – 15 – 54
16 – (2 sc, dec) x 3, 30 sc, (2sc, dec,) x 3 = 48
17 – 48 sc
18 – (2sc, dec) x 3, 24 sc, (2 sc, dec) x 3 = 42
19 – 23 – 42 sc, 1 hdc
Between 9 and 10 we fasten the legs next to each other.
24 – 8 sc, inc, (1sc, inc) x 2, 16 sc, inc, (1sc, inc) x 2, 8 sc = 48
25 – 27 – 48 sc
28 – 9 sc inc, (2 sc, inc) x 2, 16 sc, inc, (2 sc, inc) x 2, 9 sc = 54
29 – 35 – 54 sc
36 – 9 sc, dec, (2 sc, dec) x 2, 16 sc, dec, (2 sc,
dec) x 2, 9 sc = 48
37 – 8 sc, dec (1sc, dec) x 2, 16 sc, dec, (1sc, dec)
x 2 8 sc = 42
In about 36-37 row we fasten our hands in the area ofdecavocs,
which form the shoulders. Measure on your own
knitting. Thin arms – higher, thick – lower.
We start to stuff.
38 – 8 sc, 3 dec, 14 sc, 3 dec, 8 sc = 36 – fill
tight.
39 – (4 sc, dec) x 6 = 30
40 – (3 sc, dec) x 6 = 24
41 – (2 sc, dec) x 6 = 18
42 – (4 sc, dec) x 3 = 15
43 – 44 – 15 sc
45 – (1 sc, dec) x 6 = 12 (or 1 sc, dec) x 5)
46 – 6 dec (or 5 dec). Hole to tighten
Head
1 – 6 sc into Magic ring
2 – 6 inc = 12
3 – (1 sc, inc) x 6 = 18
4 – (2 sc, inc) x 6 = 24
5 – (3 sc, inc) x 6 = 30
6 – (4 sc, inc) x 6 = 36
7 – (5 sc, inc) x 6 = 42
8 – (6 sc, inc) x 6 = 48
9 – (7 sc, inc) x 6 = 54
10 – (8 sc, inc) x 6 = 60
11 – 60 sc
12 – (9sc, inc) x 6 = 66
13 – 66 sc
14 – (10sc, inc) x 6 = 72
15 – 19 – 72 sc
20 – 13 sc, dec, (2 sc, dec) x 11, 13 sc = 60
It is convenient to put the marker after 30 loops – here we will attach the nose.
21 – 23 – 60 sc, 1hd offset
24 – 12 sc, inc, (6 sc, inc) x 5, 12 sc = 66
25 – 29 – 66 sc
If we make a bolt fastening, we attach the head to the body. Fasten the bolt in the ring
Amigurumi 1 row.
30 – (9 sc, dec) x 6 = 60
31 – (8 sc, dec) x 6 = 54
32 – (7 sc, dec) x 6 = 48
33 – (6 sc, dec) x 6 = 42
34 – (5 sc, dec) x 6 = 36
35 – (4 sc, dec) x 6 = 30 – fill
the head
36 – (3 sc, dec) x 6 = 24
37 – (2 sc, dec) x 6 = 18
38 – (1 sc, dec) x 6 = 12 – add
detail
39 – 6 dec, pull off the hole
Ducks
Insert the needle into the chin as close to the neck as posl-stible
output in the 21th row, in the right eye, 1 – 2 loops up
and put in the chin for 1 – 2 loops away from
places of entry. Tighten, tie. Second eye –
also, the distance between the eyes is 8 – 10 stitches.
Then tightening the mouth. You can use the same thread or another,
as you prefer. Enter into the eye, go down about
to row 8 – 9, count 5 – 6 stitches from the center,
we withdraw the needle, we introduce through 10 – 12 loops in the same
row, we put in another eye, 1 – 2 loops to the side – and
in the opposite direction, tightening together. That is a screed
the mouth goes over the knitting.
In the eye we tighten the thread, tie it, hide the ends.
Proteins of the eyes are cut out of felt or rolled, fastened
eyes (if necesl-stary – we also pull back to the neck
heads).
Eyelids (2 pcs.)
Dial 8 ch, then we start knitting from the second loop from the hook: 1 sl-st, 1 sc, 1 HDC,
1DC, 1 HDC, 1 sc, 1 sl-st. Fasten the thread, leaving the end for sewing.
Glue cilia to the inside of the eyelid and sew over the eye. Can cilia
stick and later.
Nose
Dial 3 CH
1 – 1 sc to the second loop from the hook, 3 sc to the last, on the other side of chain 1
sc, 1 sc in the loop that was the first from the hook at the beginning of knitting (or in the thread before
first sc) = 6
2 – (1 sc, 1 inc) x 3 = 9
3 – 9 sc
4 – (1 sc, 1 dec) x 3 = 6, 1 sl-st, fasten the thread, break it off, leaving the end for sewing.
Sew in place of the marker.
You can knit the usual 6 loops into Magic ring or 6 sc in one loop of the chain
of 2 ch, but then a dense ring is formed that does not look very beautiful on the tip
nose.
The ears
6 sc into magic ring, not
pull together, rotate knitting.
2 lifting loops, 2 DC, 1 HDC, 3 sc.
Break the thread, leaving the end for
sewing on.
Second ear:
6 sc into magic ring, not
pull together, rotate knitting.
2 lifting loops, 2 DC, 1 HDC, 3 sc.
Break the thread, leaving the end for
sewing on. Sew to the head
The “left” side.
Hair
Hair can be done in any convenient way. I got from grasl-st, I knitted a standard
circle with a thick hook, constantly trying on. When the diameter has reached the right size, I
knitted in a circle without inconsistency, to the desired depth of shaggy “hats”. Then 3-4 rows
in rotary rows on half loops (i.e. if a circle of 60 loops, like mine, then
we knit only 30 sc). It will be hairs on the back of the head. When knitting hair is not necesl-stary
too much to monitor the number of loops, it’s not scary if you skip the loop, later it
can be added. For shaggy errors will not be visible. The main thing to follow
so that knitting does not tighten.
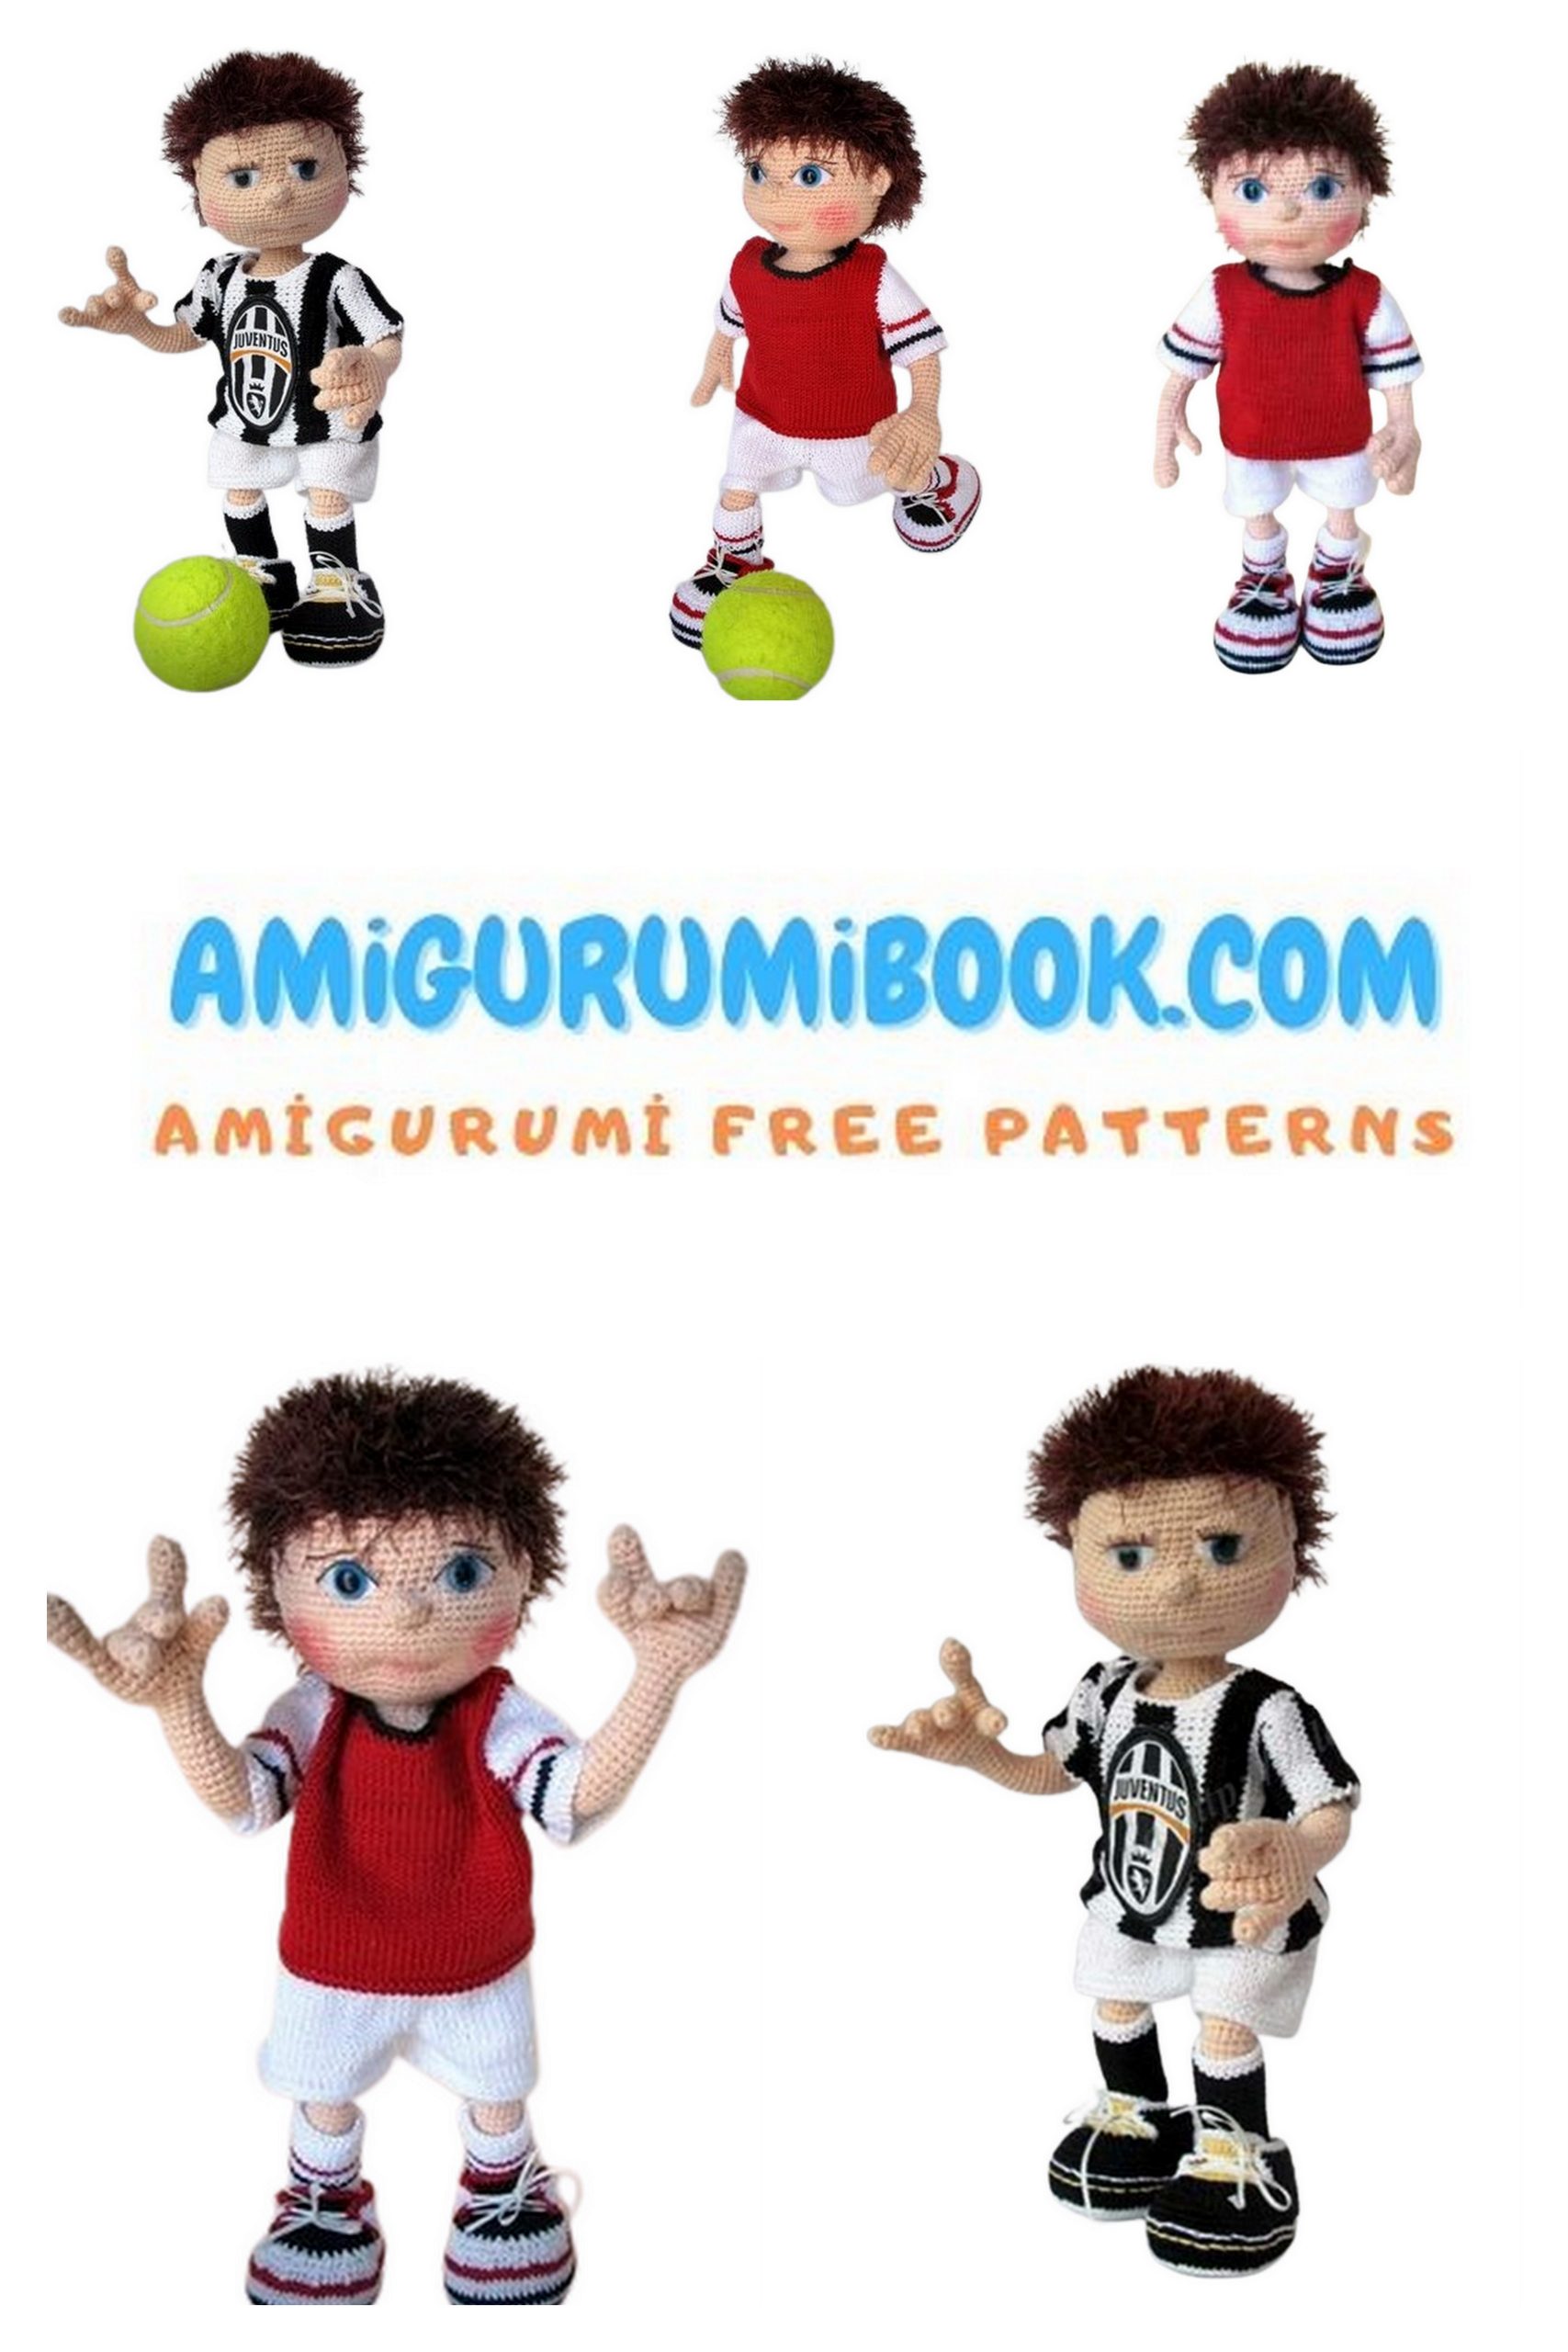
This should be a doll in the end:
Boots
The thread is Begonia. It is thinner than the main thread.
Shoes differ only in color. I will not write when to change the color, decide for yourself.
1 – 5 rows – according to the description of the legs, 1 hd shift.
6 – 4 sc, inc, 12 sc, (inc, 3 sc) x 4, inc, 11 sc, inc, 4 sc = 57
7 – 5 sc, inc, 12 sc, (inc, 4 sc) x 4, 12 sc, inc, 6 sc = 64
6 – 64 sc behind the back wall. Hd shift to mid-heel if needed.
9 – 16sc, 32 HDC, 16 sc
10 – 17 sc, 30HDC, 17 sc
11 – 20 sc, 24 HDC, 20 sc
12 – 13 – 64 sc, 1 hd offset (to the center of the heel).
Measure the boot, is there enough of such a glance. If not enough, knit so much more
how much do you need.
14 – dec, 15 sc, 2HDC, 1 dec HDC, (3HDC, dec HDC) -x-5, 1HDC, 15 sc, dec = 56
15 – 16 sc, (2HDC, dec HDC) x 6, 16 sc = 50
16 – 16 sc, (1HDC, dec HDC) x 6.1HDC, 15 sc = 44
We knit the bootleg:
17 – 15 sc, ch, turn
18 – 13 sc, 2dec, 13 sc
19 – 21 – 28 sc
Measure, knit to the desired height. If necesl-stary, make a rear decavage so that the backdrop
did not protrude.
We knit the tongue as follows:
On the remaining loops not knitted in front, we knit the tongue in rotary rows (
I am 11 rows).
Tie the boot.
Shorts (knitting needles)
Threads – Begonia.
Gather 70 loops so that there is a small tip for stitching the elastic, and
knit 1 cm hollow rubber band
1 – * 1 persons, 1 out *
2 – and all subsequent: 1 persons, 1loop to remove as wrong.
Having knitted the required number of rows, we knit a row of two loops together, not tight = 35 loops.
In the wrong row, we knit 2 from each loop, except for the hem. Distribute to 4
knitting and knit front stitch to the desired length (approximately to the groin). After the first
stitches of the first and third knitting needles and before the last stitch of the second and fourth knitting needles
make incavations in any convenient way in five rows. Divide the loops in half: 1 and 2
knitting needle – 1 leg, 3 and 4 knitting needle – second leg.
We knit the legs individually in a circle to the desired length, the last 4 rows –
garter stitch, in the fourth row we close the loop.
T-shirt (knitting needles)
Dial 80 loops, 2 rows knit with a garter stitch, then in a circle (20 loops per
spoke) – 25 rows of front stitch. Close 8 loops on armholes (8 close, 35
knit, 8 close, 35 knit). Next, we knit in front and back separately.
Back – 18 rows, then 8 shoulder loops, turn, 8 loops, turn, row to the end, 8
loops, turn, 8 loops, turn, row to the end. Get shoulders.
Before – we knit 12 rows, close the 6 center rows, tie the row to the end.
For the neck, decavate – 2 times 2 loops, 1 time – 1 loop.
Then knit 2 – 3 rows of garter stitch on the remaining 8 stitches. Can do
buttonhole, but I sew buttons, then the clasp is invisible.
The second shoulder is the same. Sew on the button on the shoulders, sew the edge where it will be
sew on a sleeve (put a garter stitch on the shoulder of the back, closing a circle
armholes)
Sleeve – 32 loops, 2 – 3 rows of garter stitch, 6 – 8 rows with front stitch. Close with both
ends of 4 loops. In the next row, close 1 loop on both sides, knit 8
rows straight, decavate at the beginning of the next four rows in 1 loop, in the next 2
rows – 2 loops, in the next two rows – 3 loops. Close the remaining 4 loops.
Ball
We knit the ball according to the schemes:
20 pcs hexagons – white thread (Figure 1)
12 pcs pentagons – black thread (Fig. 2)
We sew all the elements together (we focus on the asl-stembly diagram) and stuff
filler.
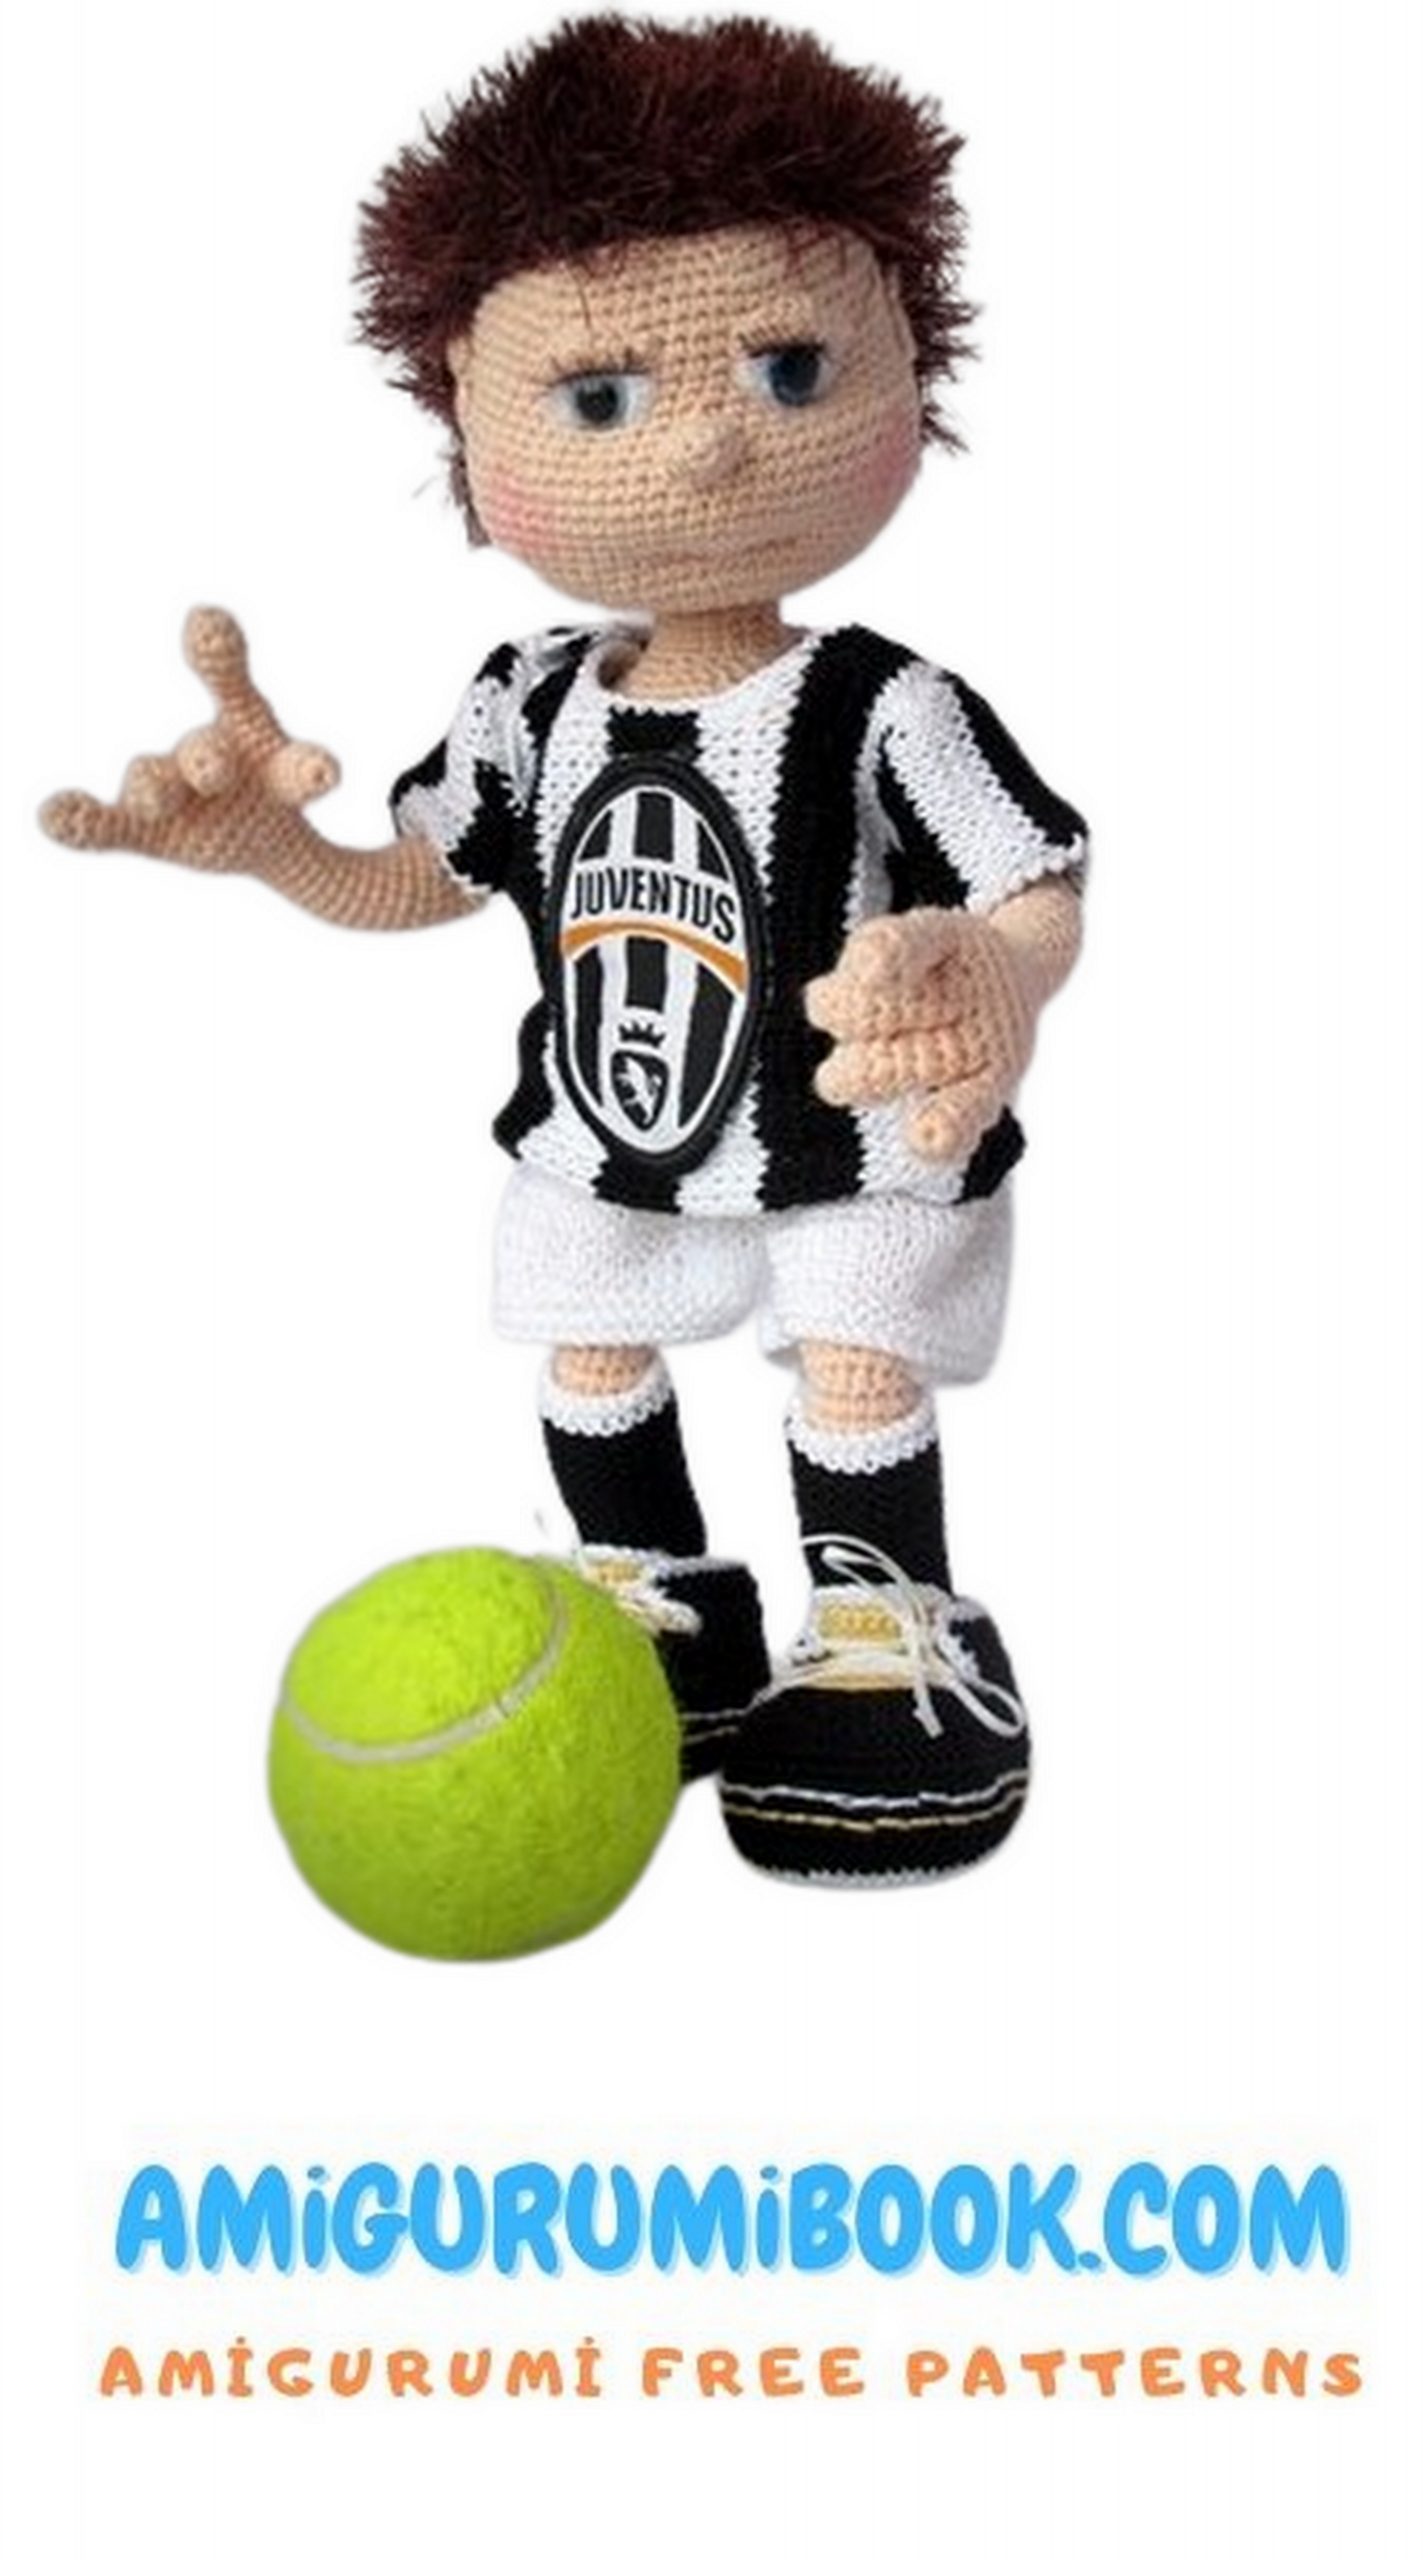
Gallery of finished work