
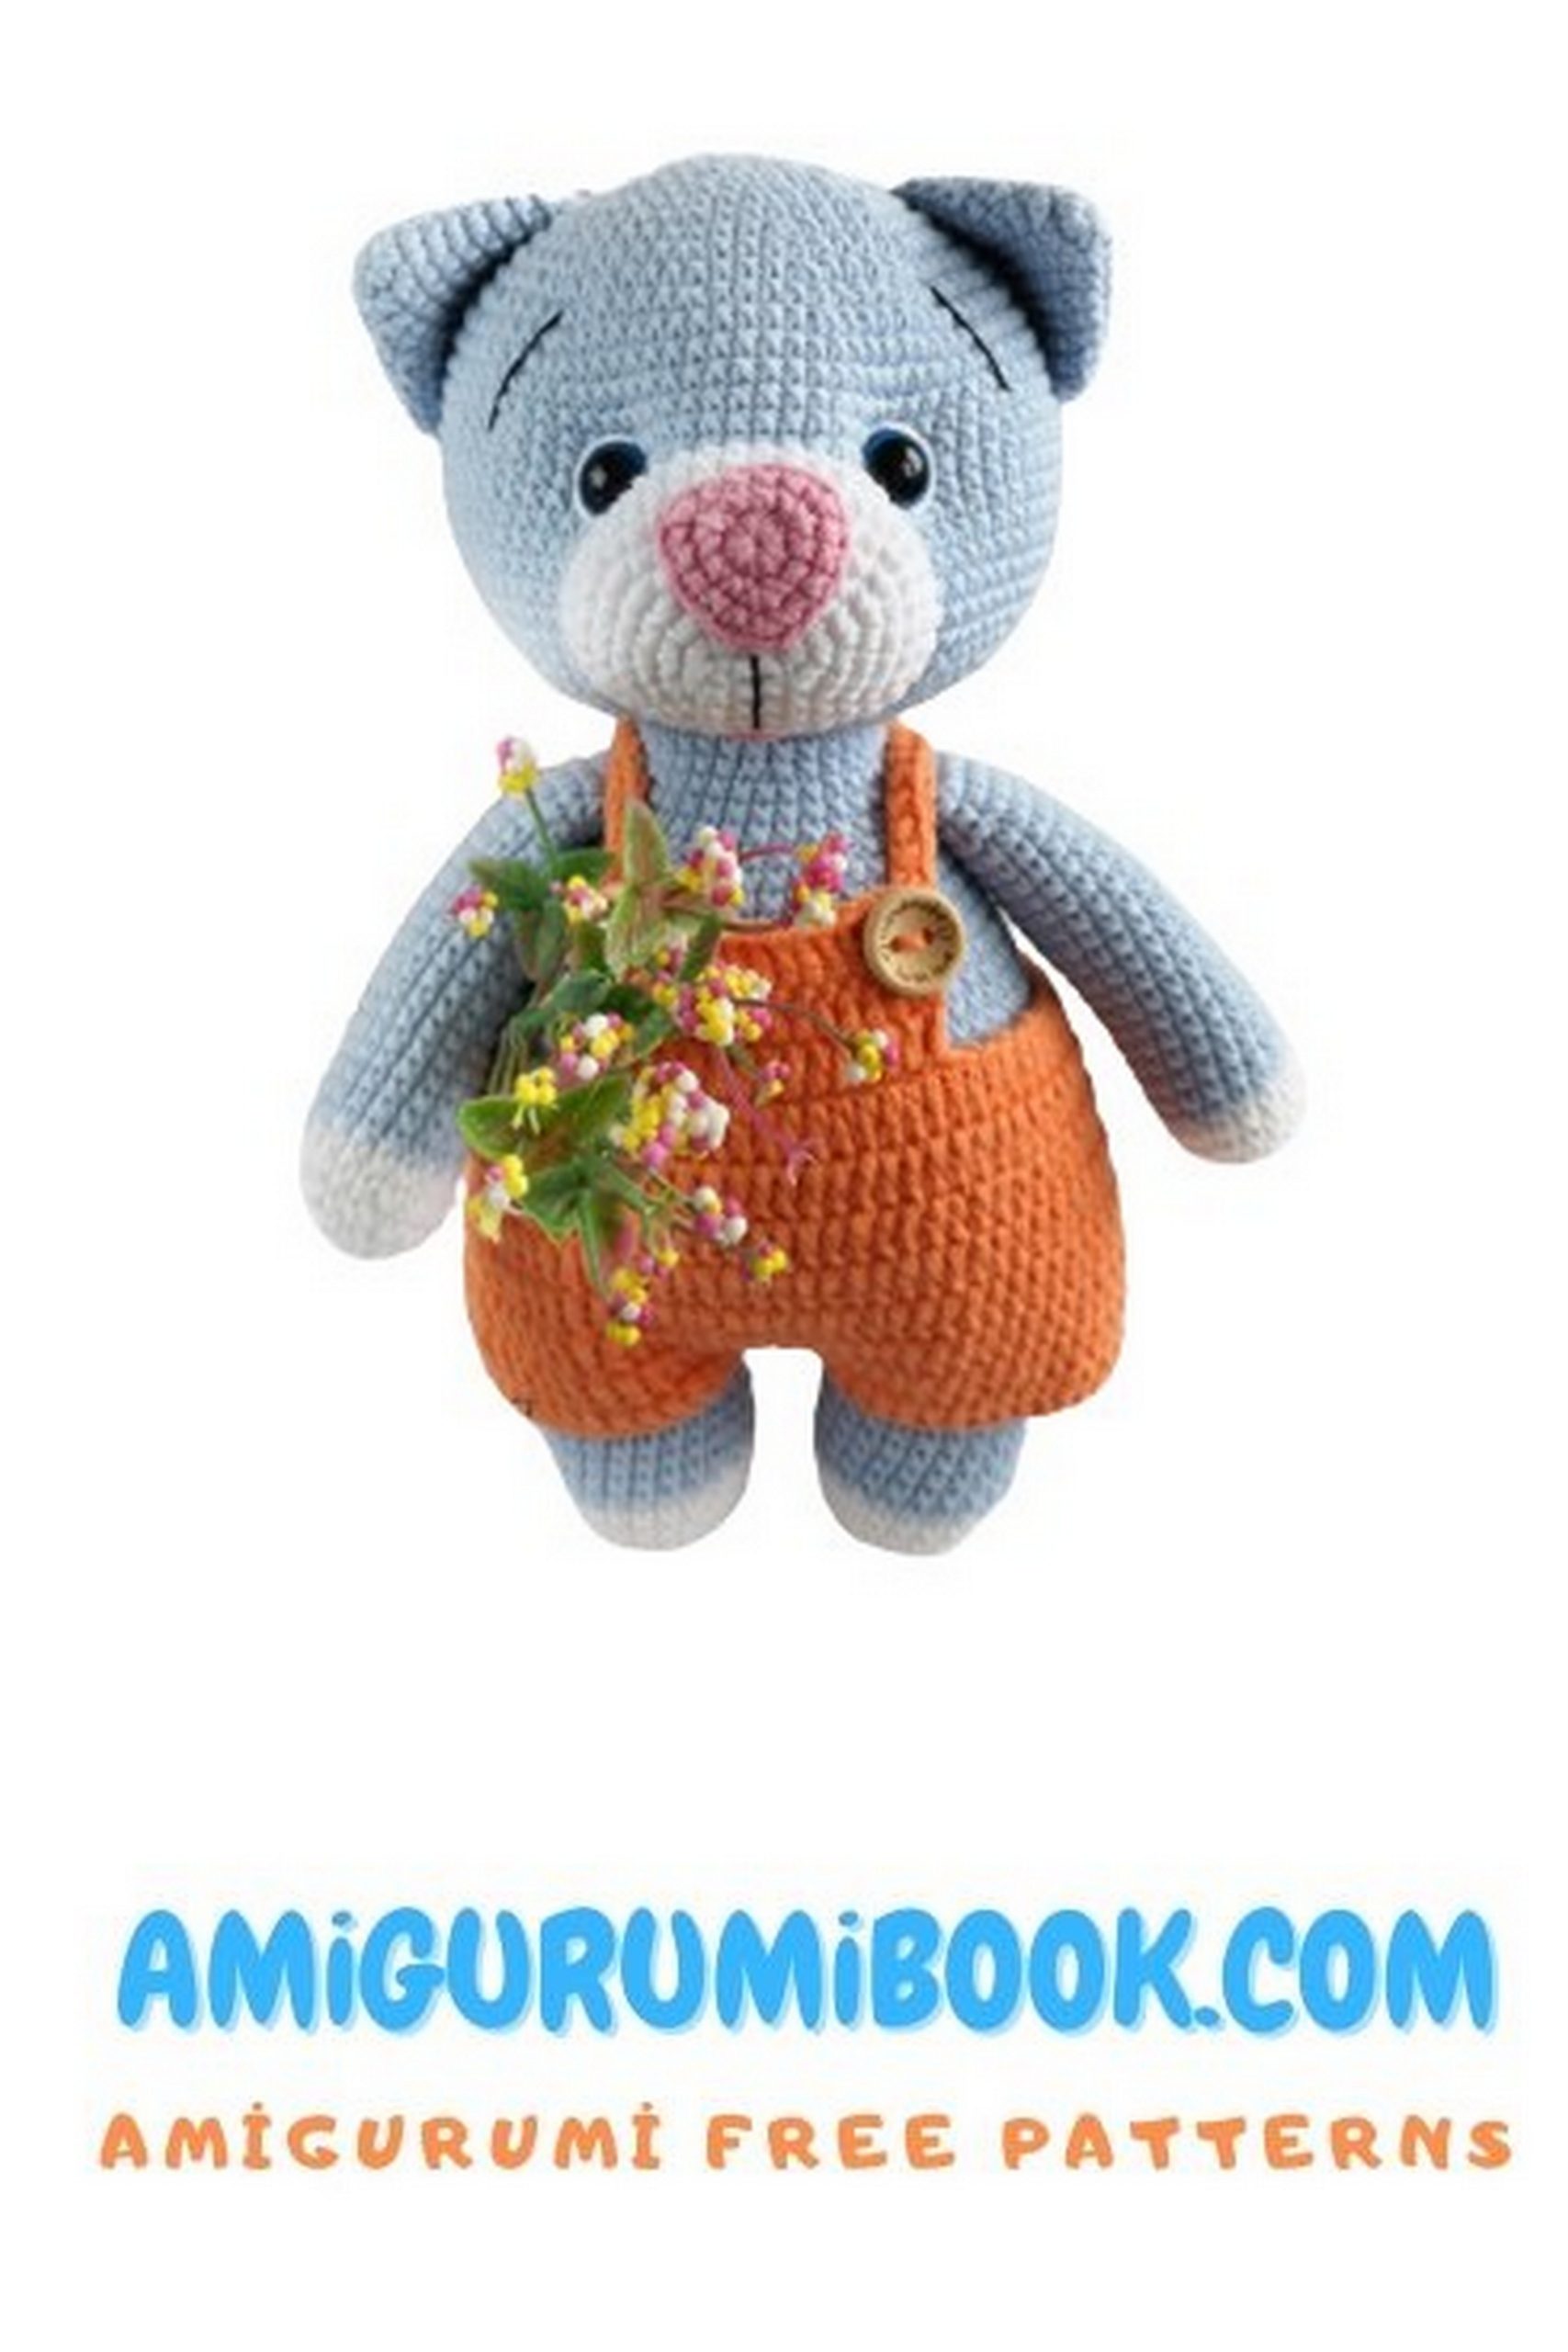
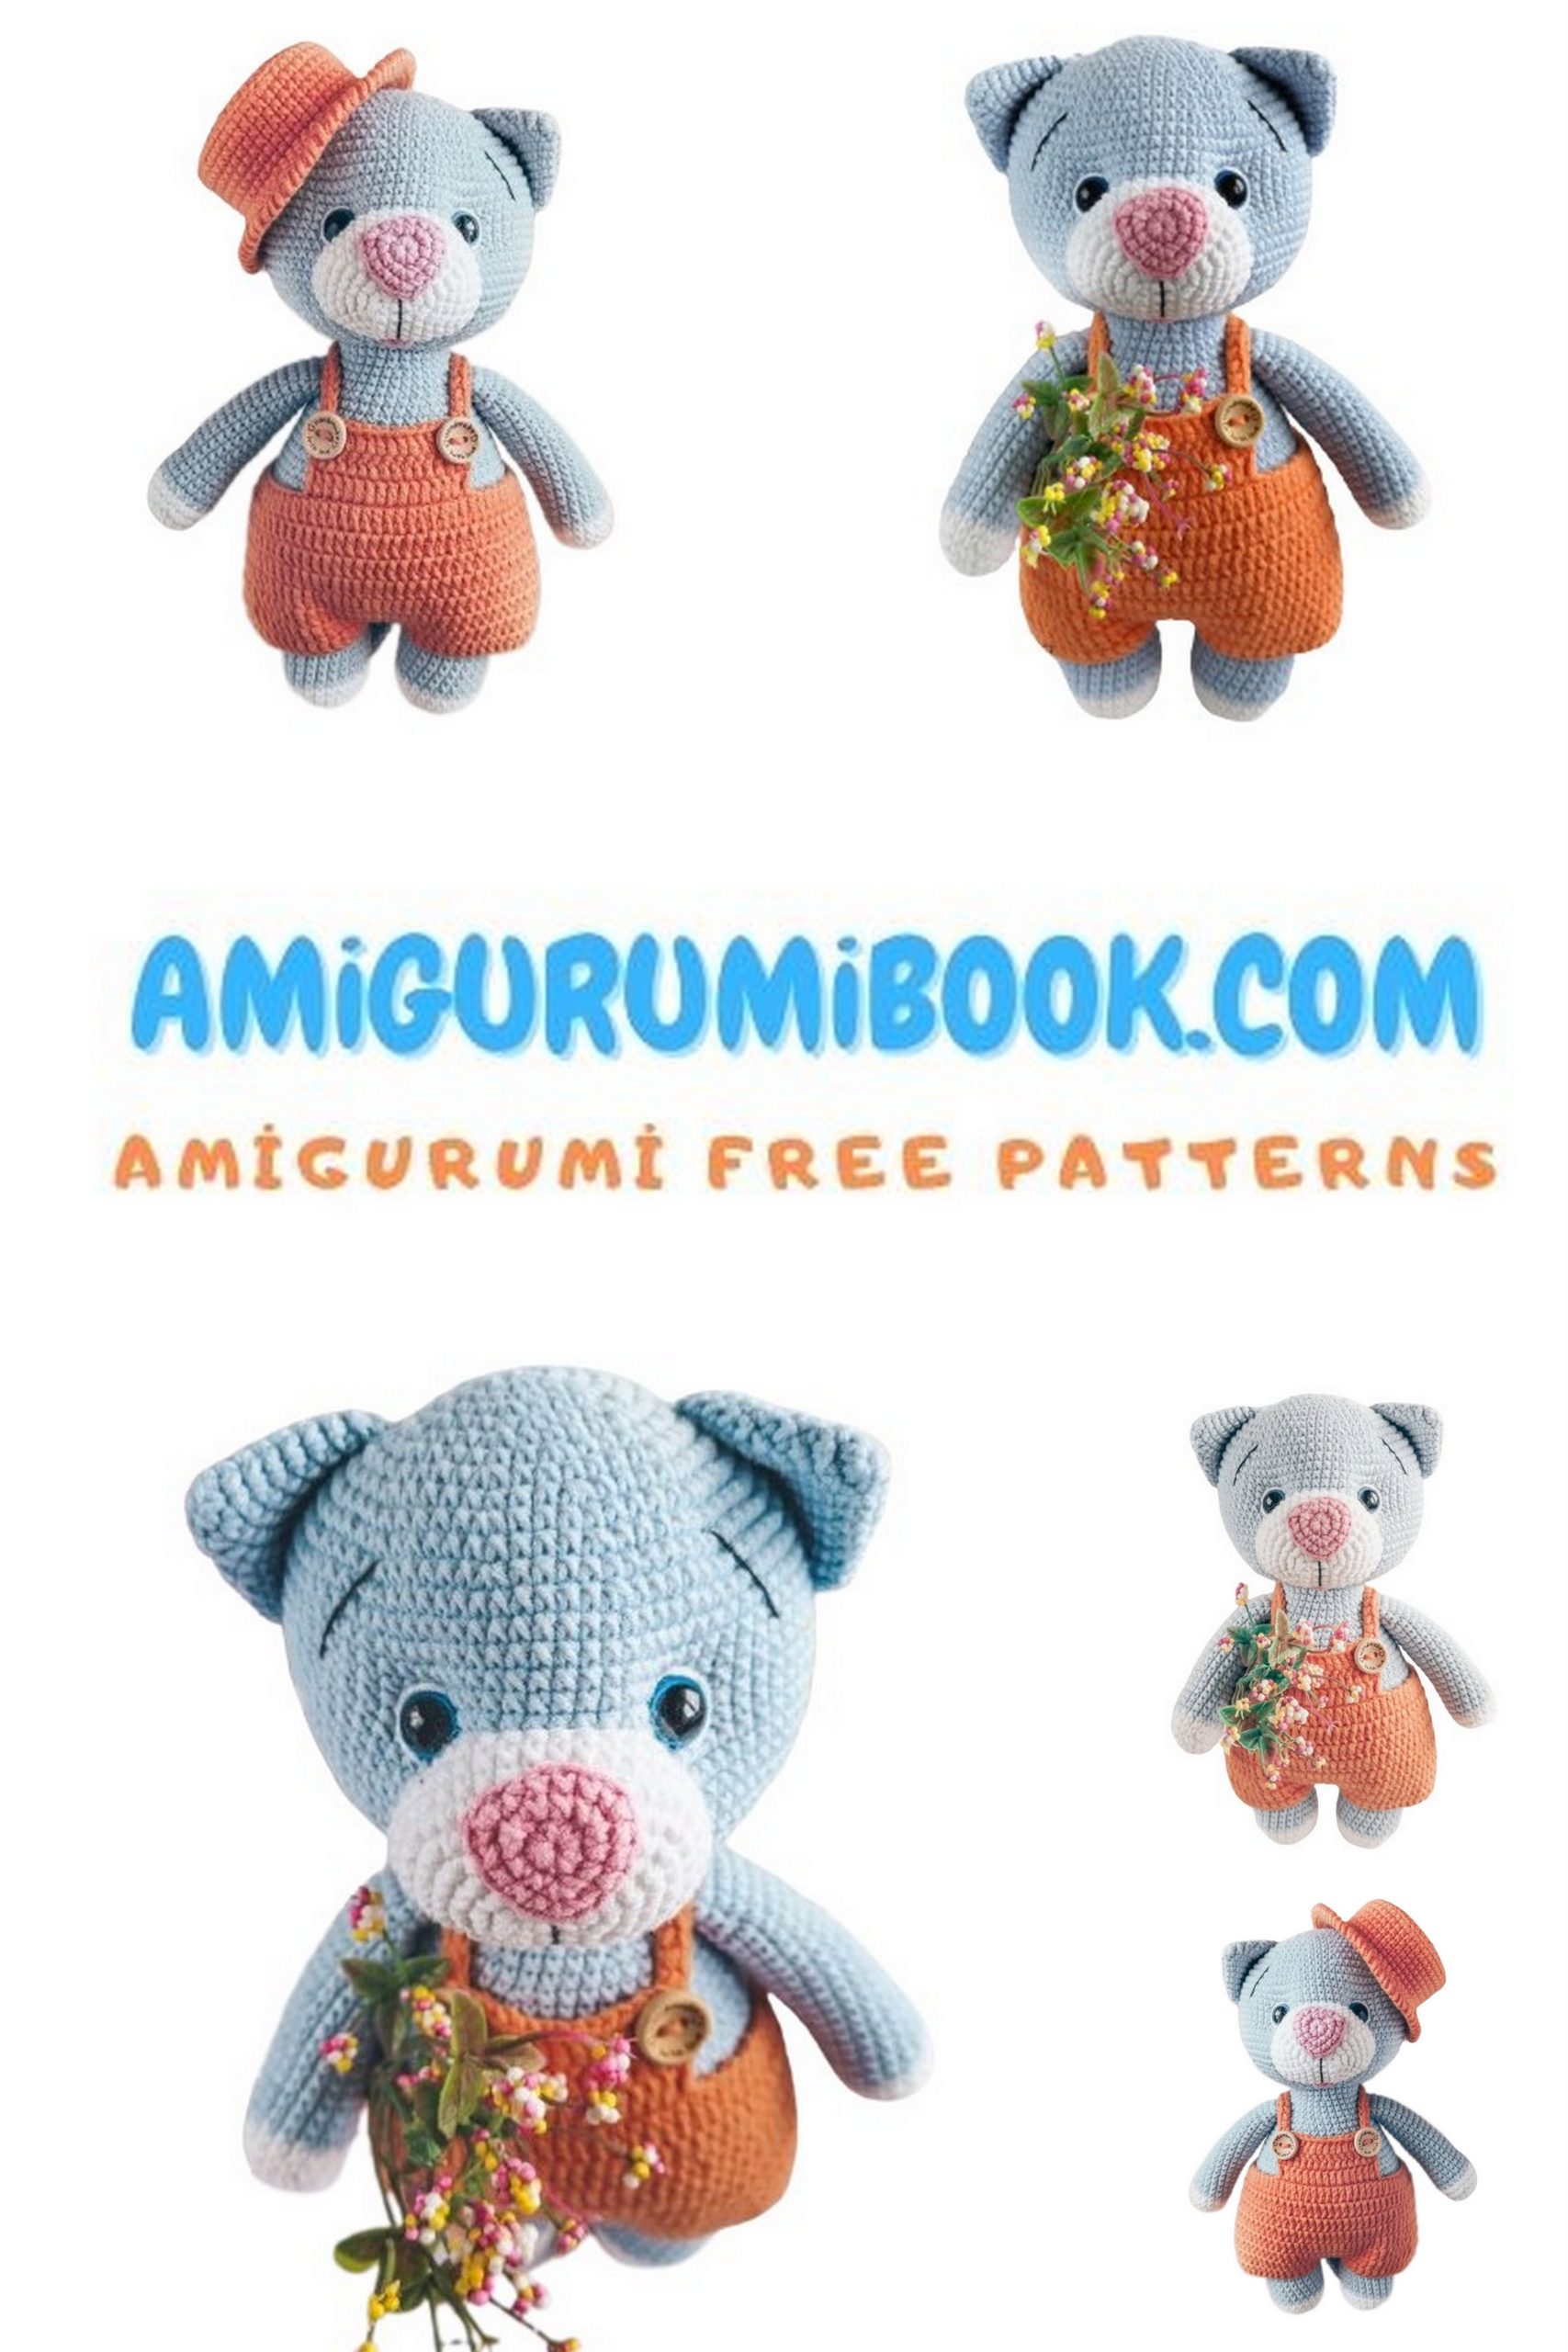
Creating adorable amigurumi kittens is a fun and rewarding craft project that anyone can enjoy. This free amigurumi cute kitten pattern provides easy-to-follow, step-by-step instructions to help you crochet your very own charming little feline friend. free crochet patterns
You may also like more amigurumi patterns.
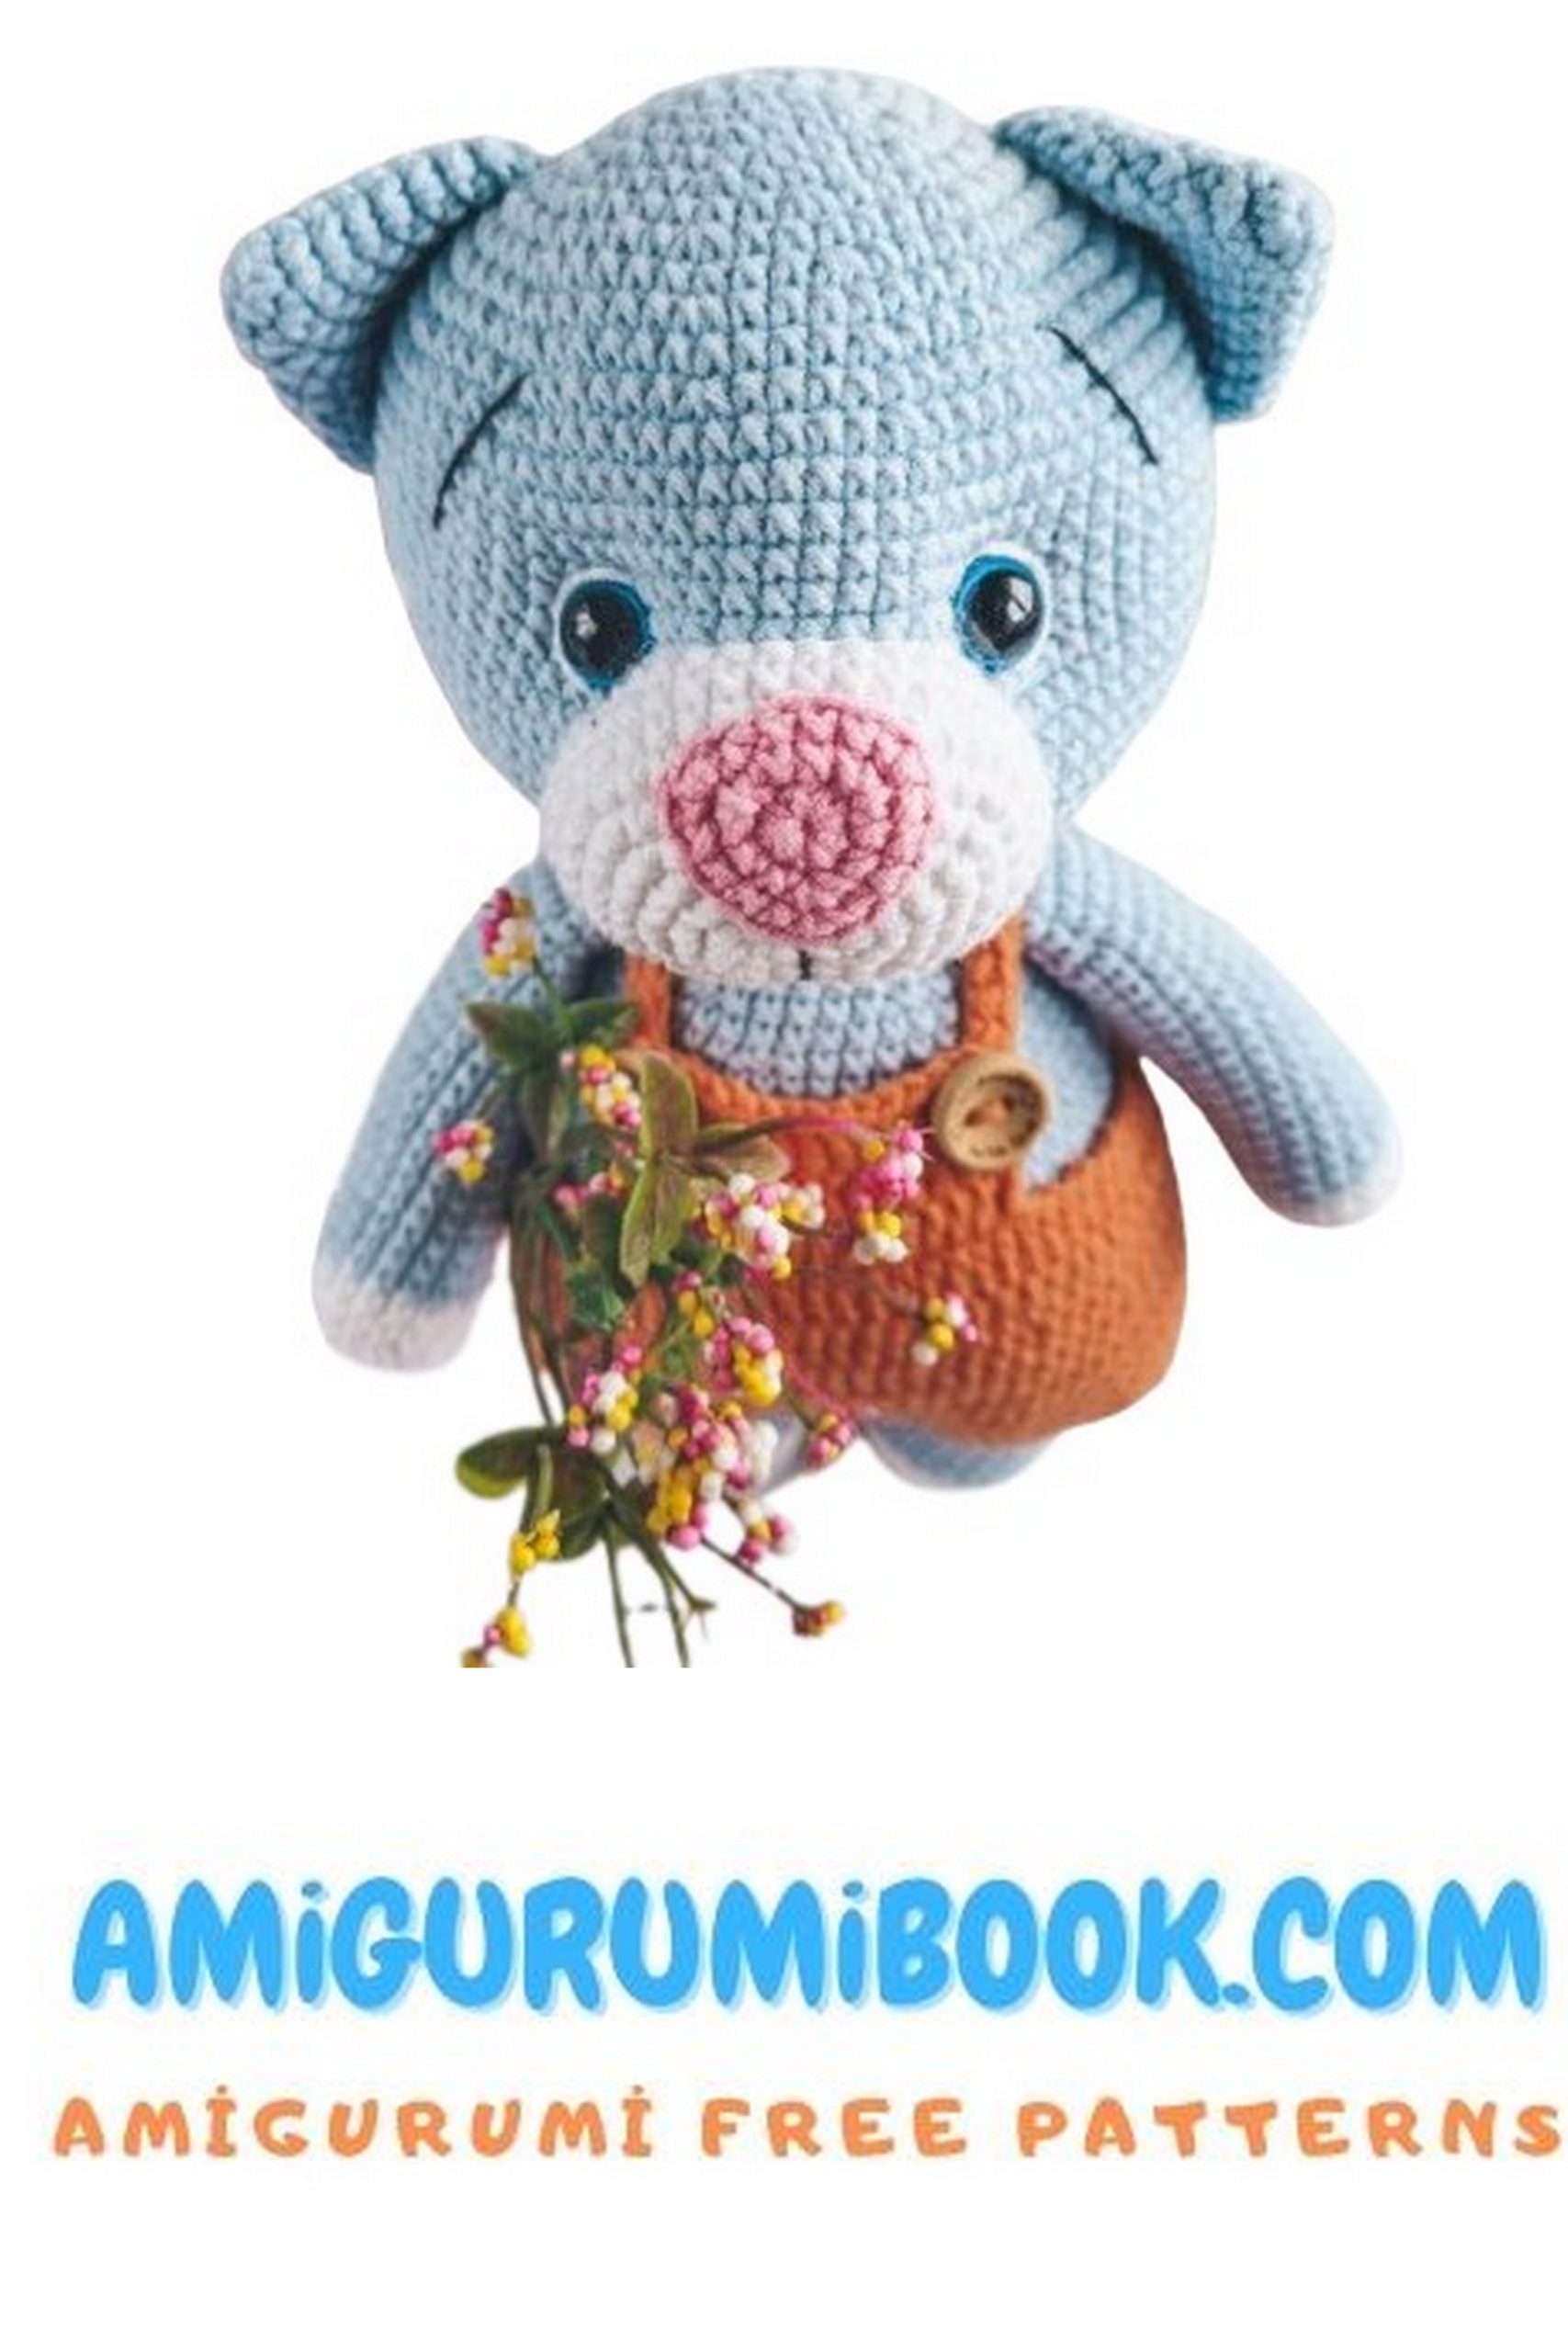
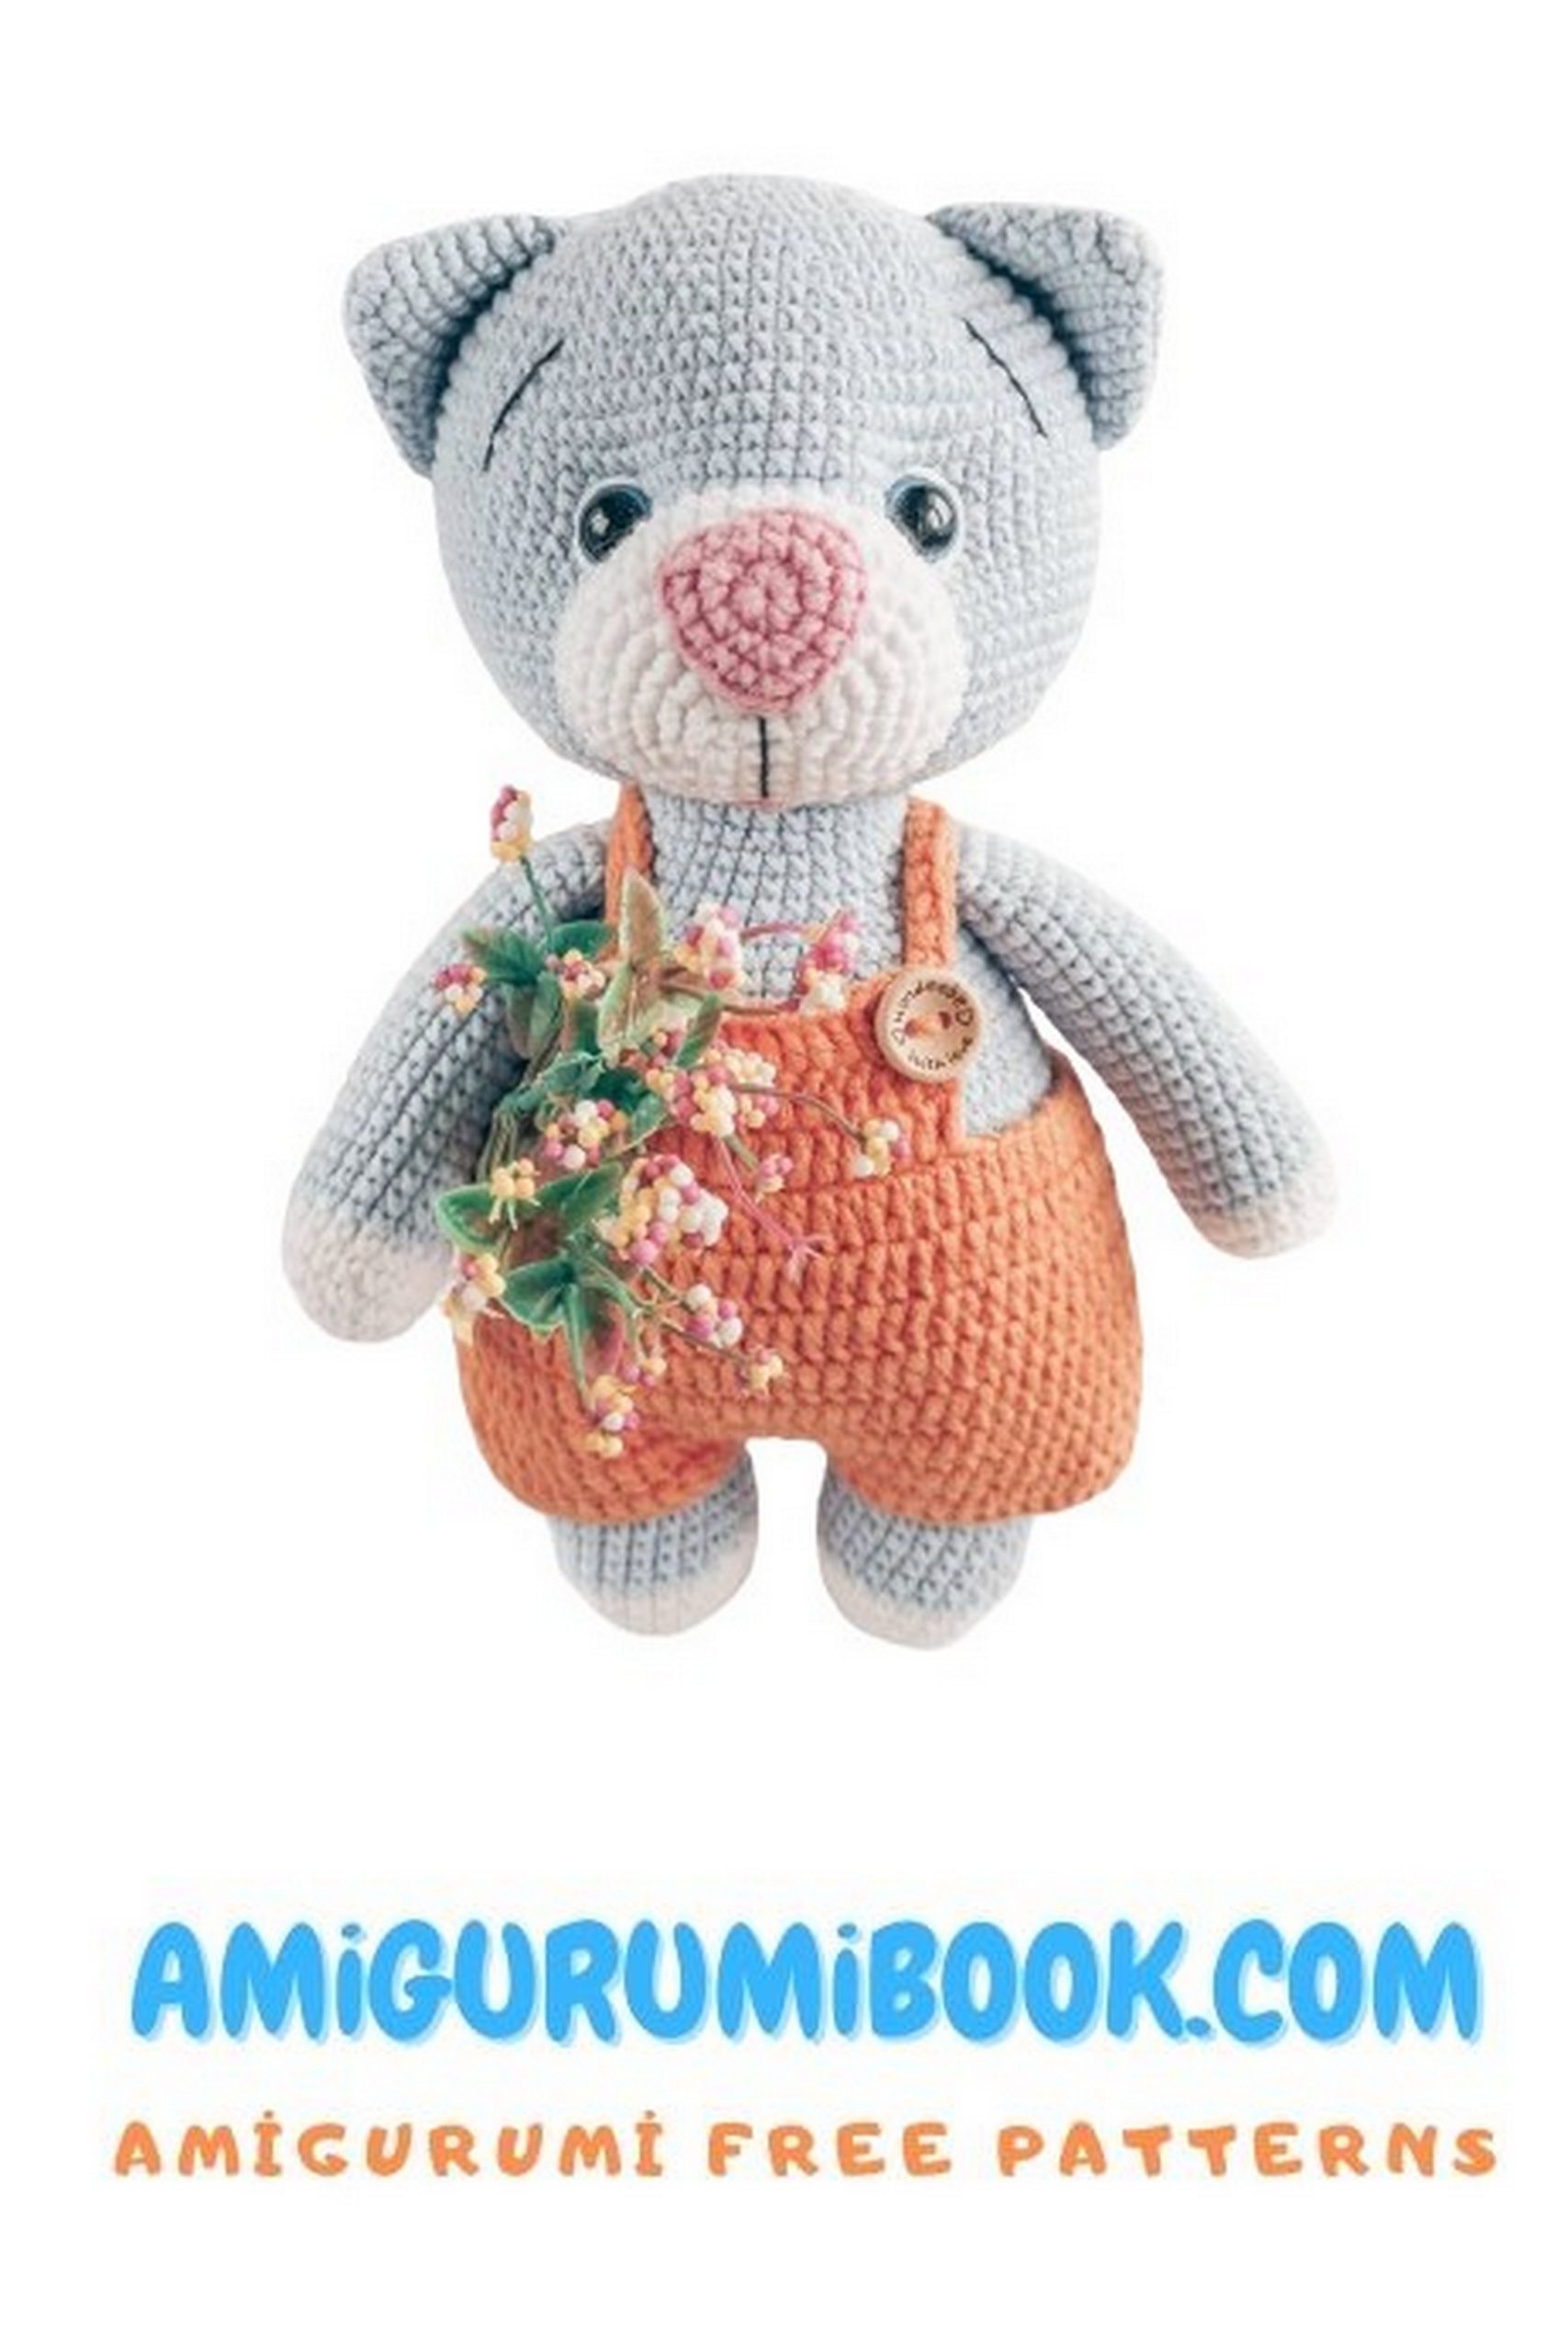
Welcome to the world of amigurumi! Today, we’re sharing a delightful free pattern for a cute kitten amigurumi. This pattern is a perfect choice for amigurumi enthusiasts. It can make a wonderful gift or home decor piece for cat lovers. By following this pattern, you can create an adorable amigurumi kitten. Additionally, we’ve included a meta description to help it stand out in Google search results.
Free Amigurumi Cute Kitten Pattern: Create a charming amigurumi kitten with step-by-step instructions. Enhance your crafting skills with this free pattern and add an adorable amigurumi companion to your home.
Materials Needed:
Yarn:
YarnArt Jeans 50g/160m, color: white (01) – less than half a skein
YarnArt Jeans 50g/160m, color: gray (49) – 1.5 skeins
YarnArt Jeans 50g/160m, color: blue (15) – half a skein
YarnArt Jeans 50g/160m, color: pink (36) – a small amount for the tongue
YarnArt Jeans 50g/160m, color: black (53) – for the nose
Filling
Tools: crochet hook No. 2, scissors, needle
16mm safety eyes
Using these materials will result in a toy size of 25 cm.
Abbreviations:
ch – chain
sc – single crochet
inc – increase
dec – decrease
sl st – slip stitch
(…) – the number in parentheses indicates the number of stitches in a row
(…)*n – repeat the instructions in parentheses n times
Note:
Crochet continuously in spirals, do not join at the end of the row with slip stitches, and do not turn unless specified in the description.
Use a marker or a piece of contrasting yarn at the beginning of a row.

PATTERN
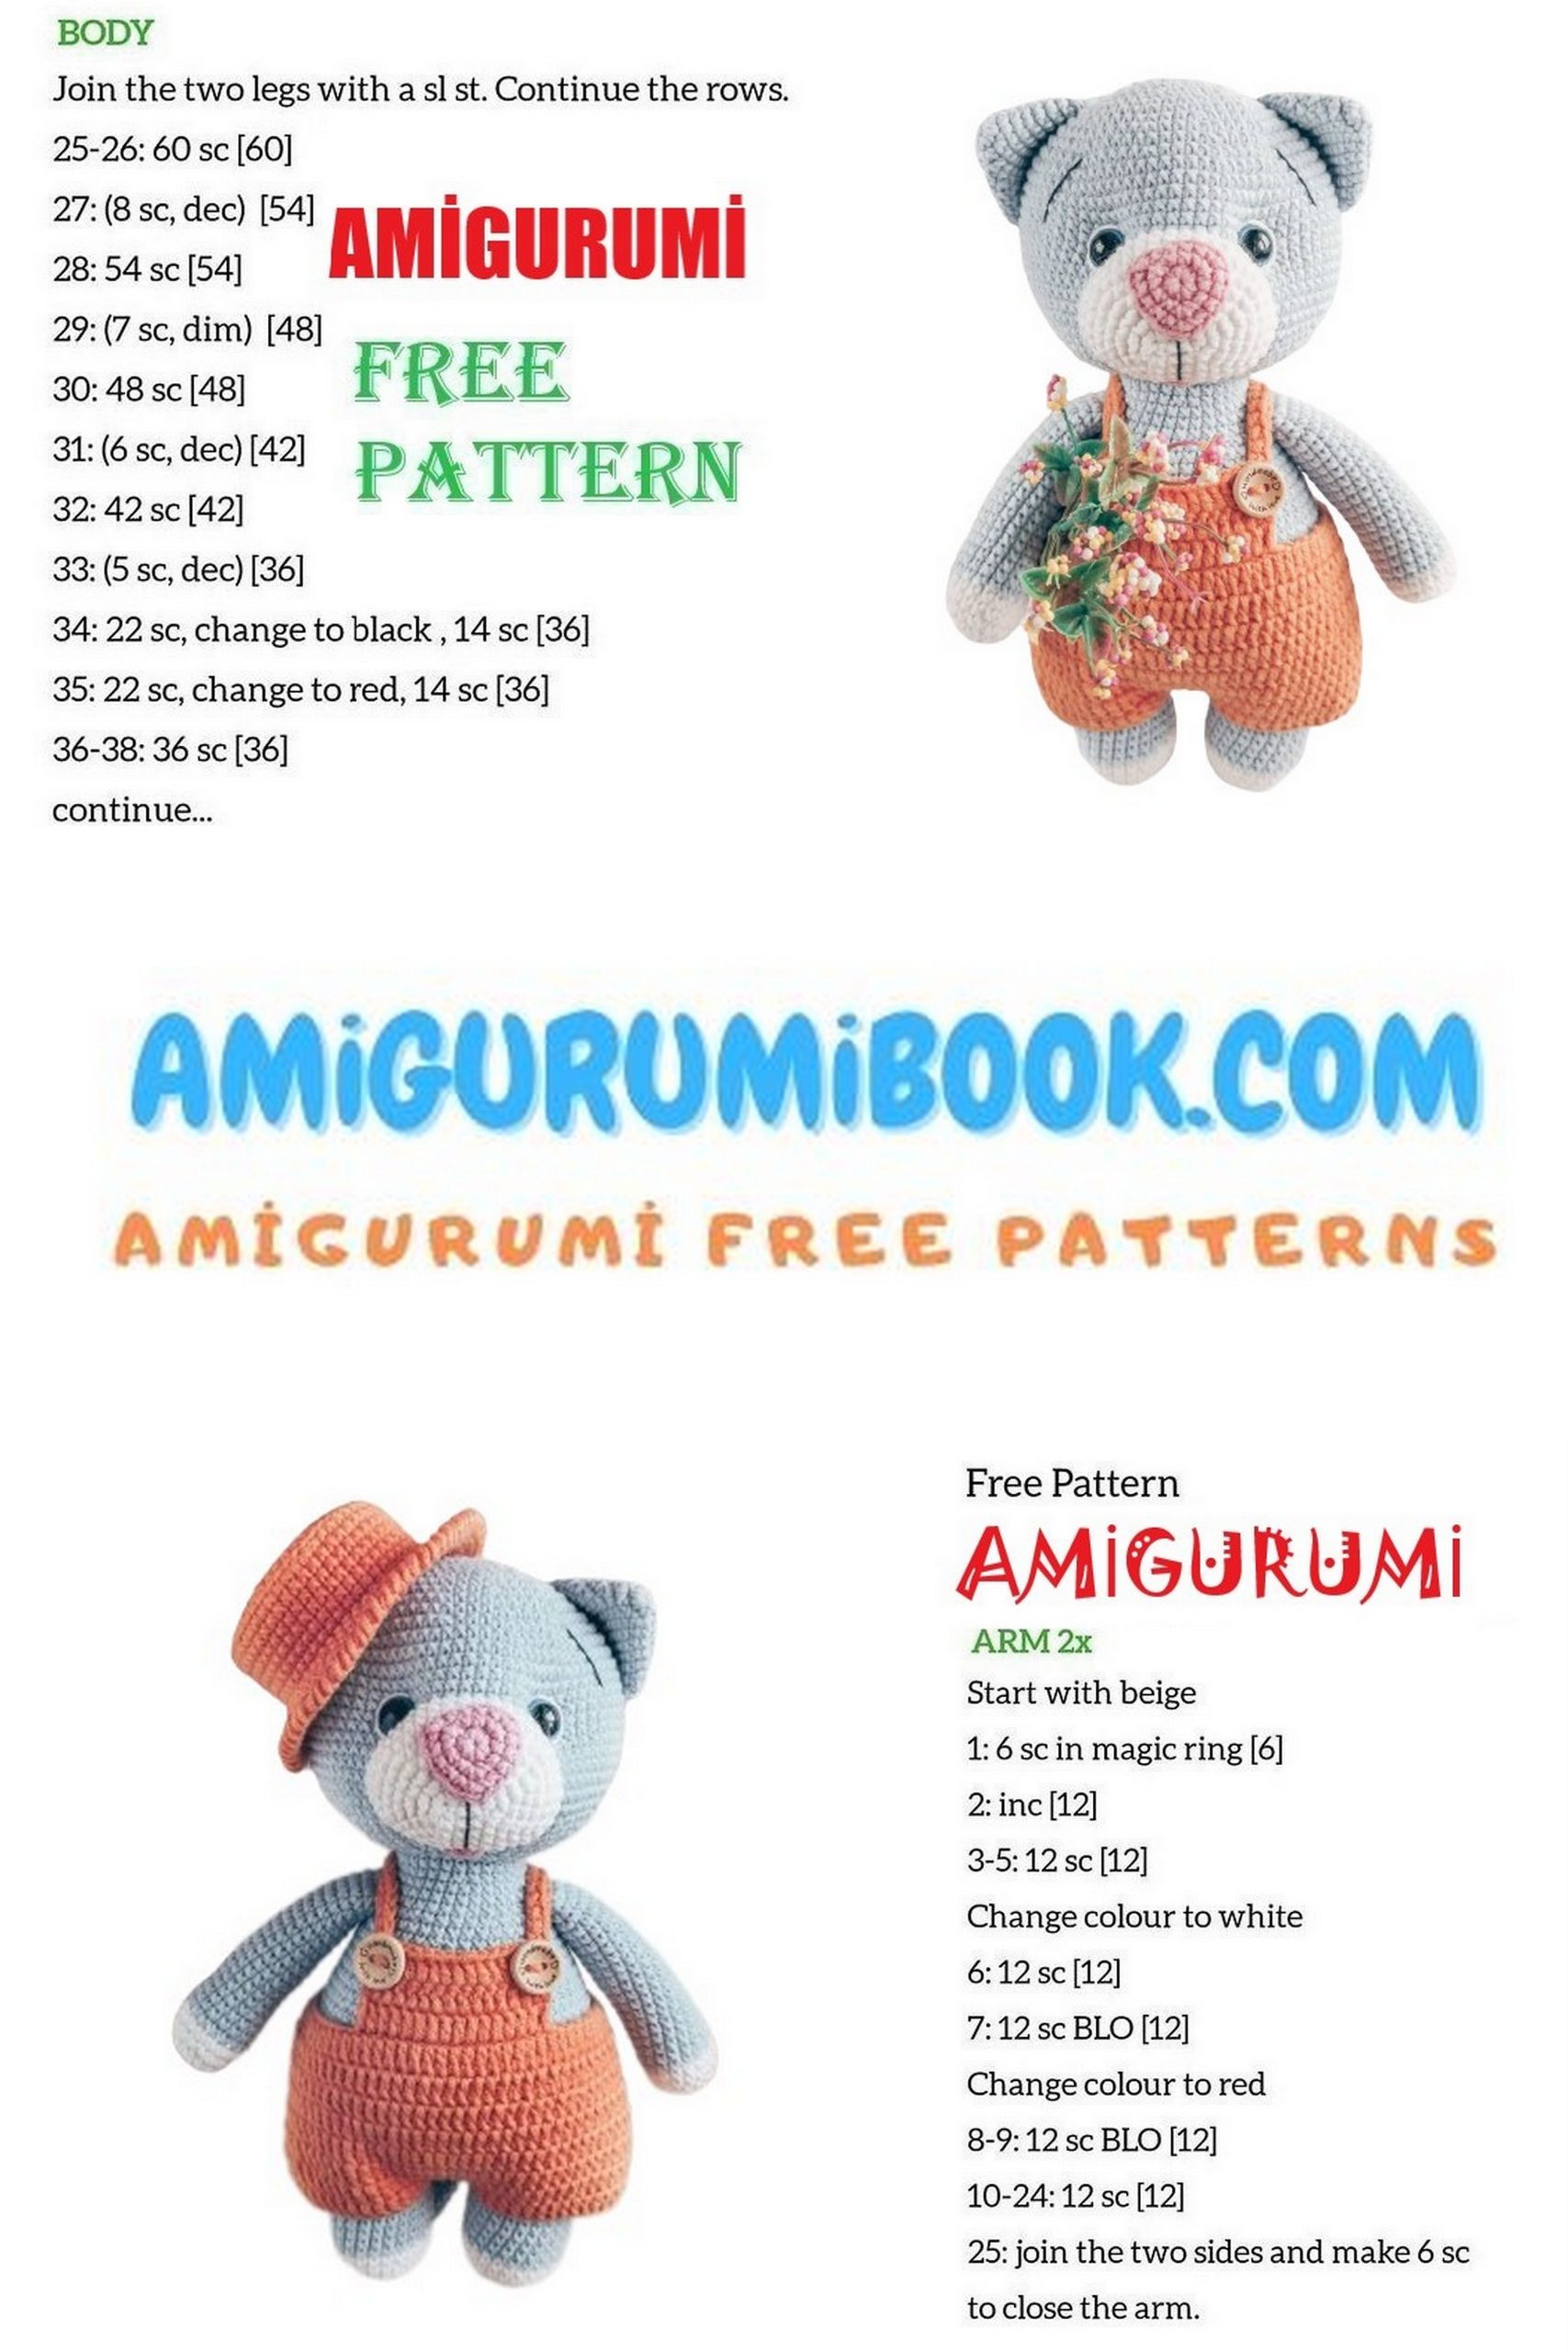
Legs and Body:
Begin with white yarn.
Row 1: 6 sc in magic ring (6)
Row 2: 6 inc (12)
Row 3: (1 sc, inc)*6 (18)
Row 4: 1 sc, inc, (2 sc, inc)*5, 1 sc (24)
Rows 5-6: 24 sc
Change to gray yarn.
Rows 7-13: 24 sc
Fasten off and cut the yarn.
Crochet the second leg the same way, but do not cut the yarn; continue crocheting.
Row 14: Make 3 ch, connect to the first leg, crochet 24 sc, 3 sc in air loops, 24 sc on the second leg, 3 sc on the opposite side of the chain (54).
Place a marker.
Row 15: 4 sc, inc, (8 sc, inc)*5, 4 sc (60)
Rows 16-17: 60 sc
Row 18: (9 sc, inc)*6 (66)
Rows 19-22: 66 sc
Row 23: 5 sc, inc, (10 sc, inc)*5, 5 sc (72)
Rows 24-28: 72 sc
Row 29: 5 sc, dec, (10 sc, dec)*5, 5 sc (66)
Rows 30-32: 66 sc
Row 33: (9 sc, dec)*6 (60)
Row 34: 60 sc
Row 35: 4 sc, dec, (8 sc, dec)*5, 4 sc (54)
Row 36: 54 sc
Row 37: (7 sc, dec)*6 (48)
Rows 38-39: 48 sc
Row 40: 3 sc, dec, (6 sc, dec)*5, 3 sc (42)
Row 41: 42 sc
Stuff the body.
Rows 42-45: 36 sc
Row 46: 2 sc, dec, (4 sc, dec)*5, 2 sc (30)
Row 47: 30 sc
Fasten off, leaving a tail for sewing.
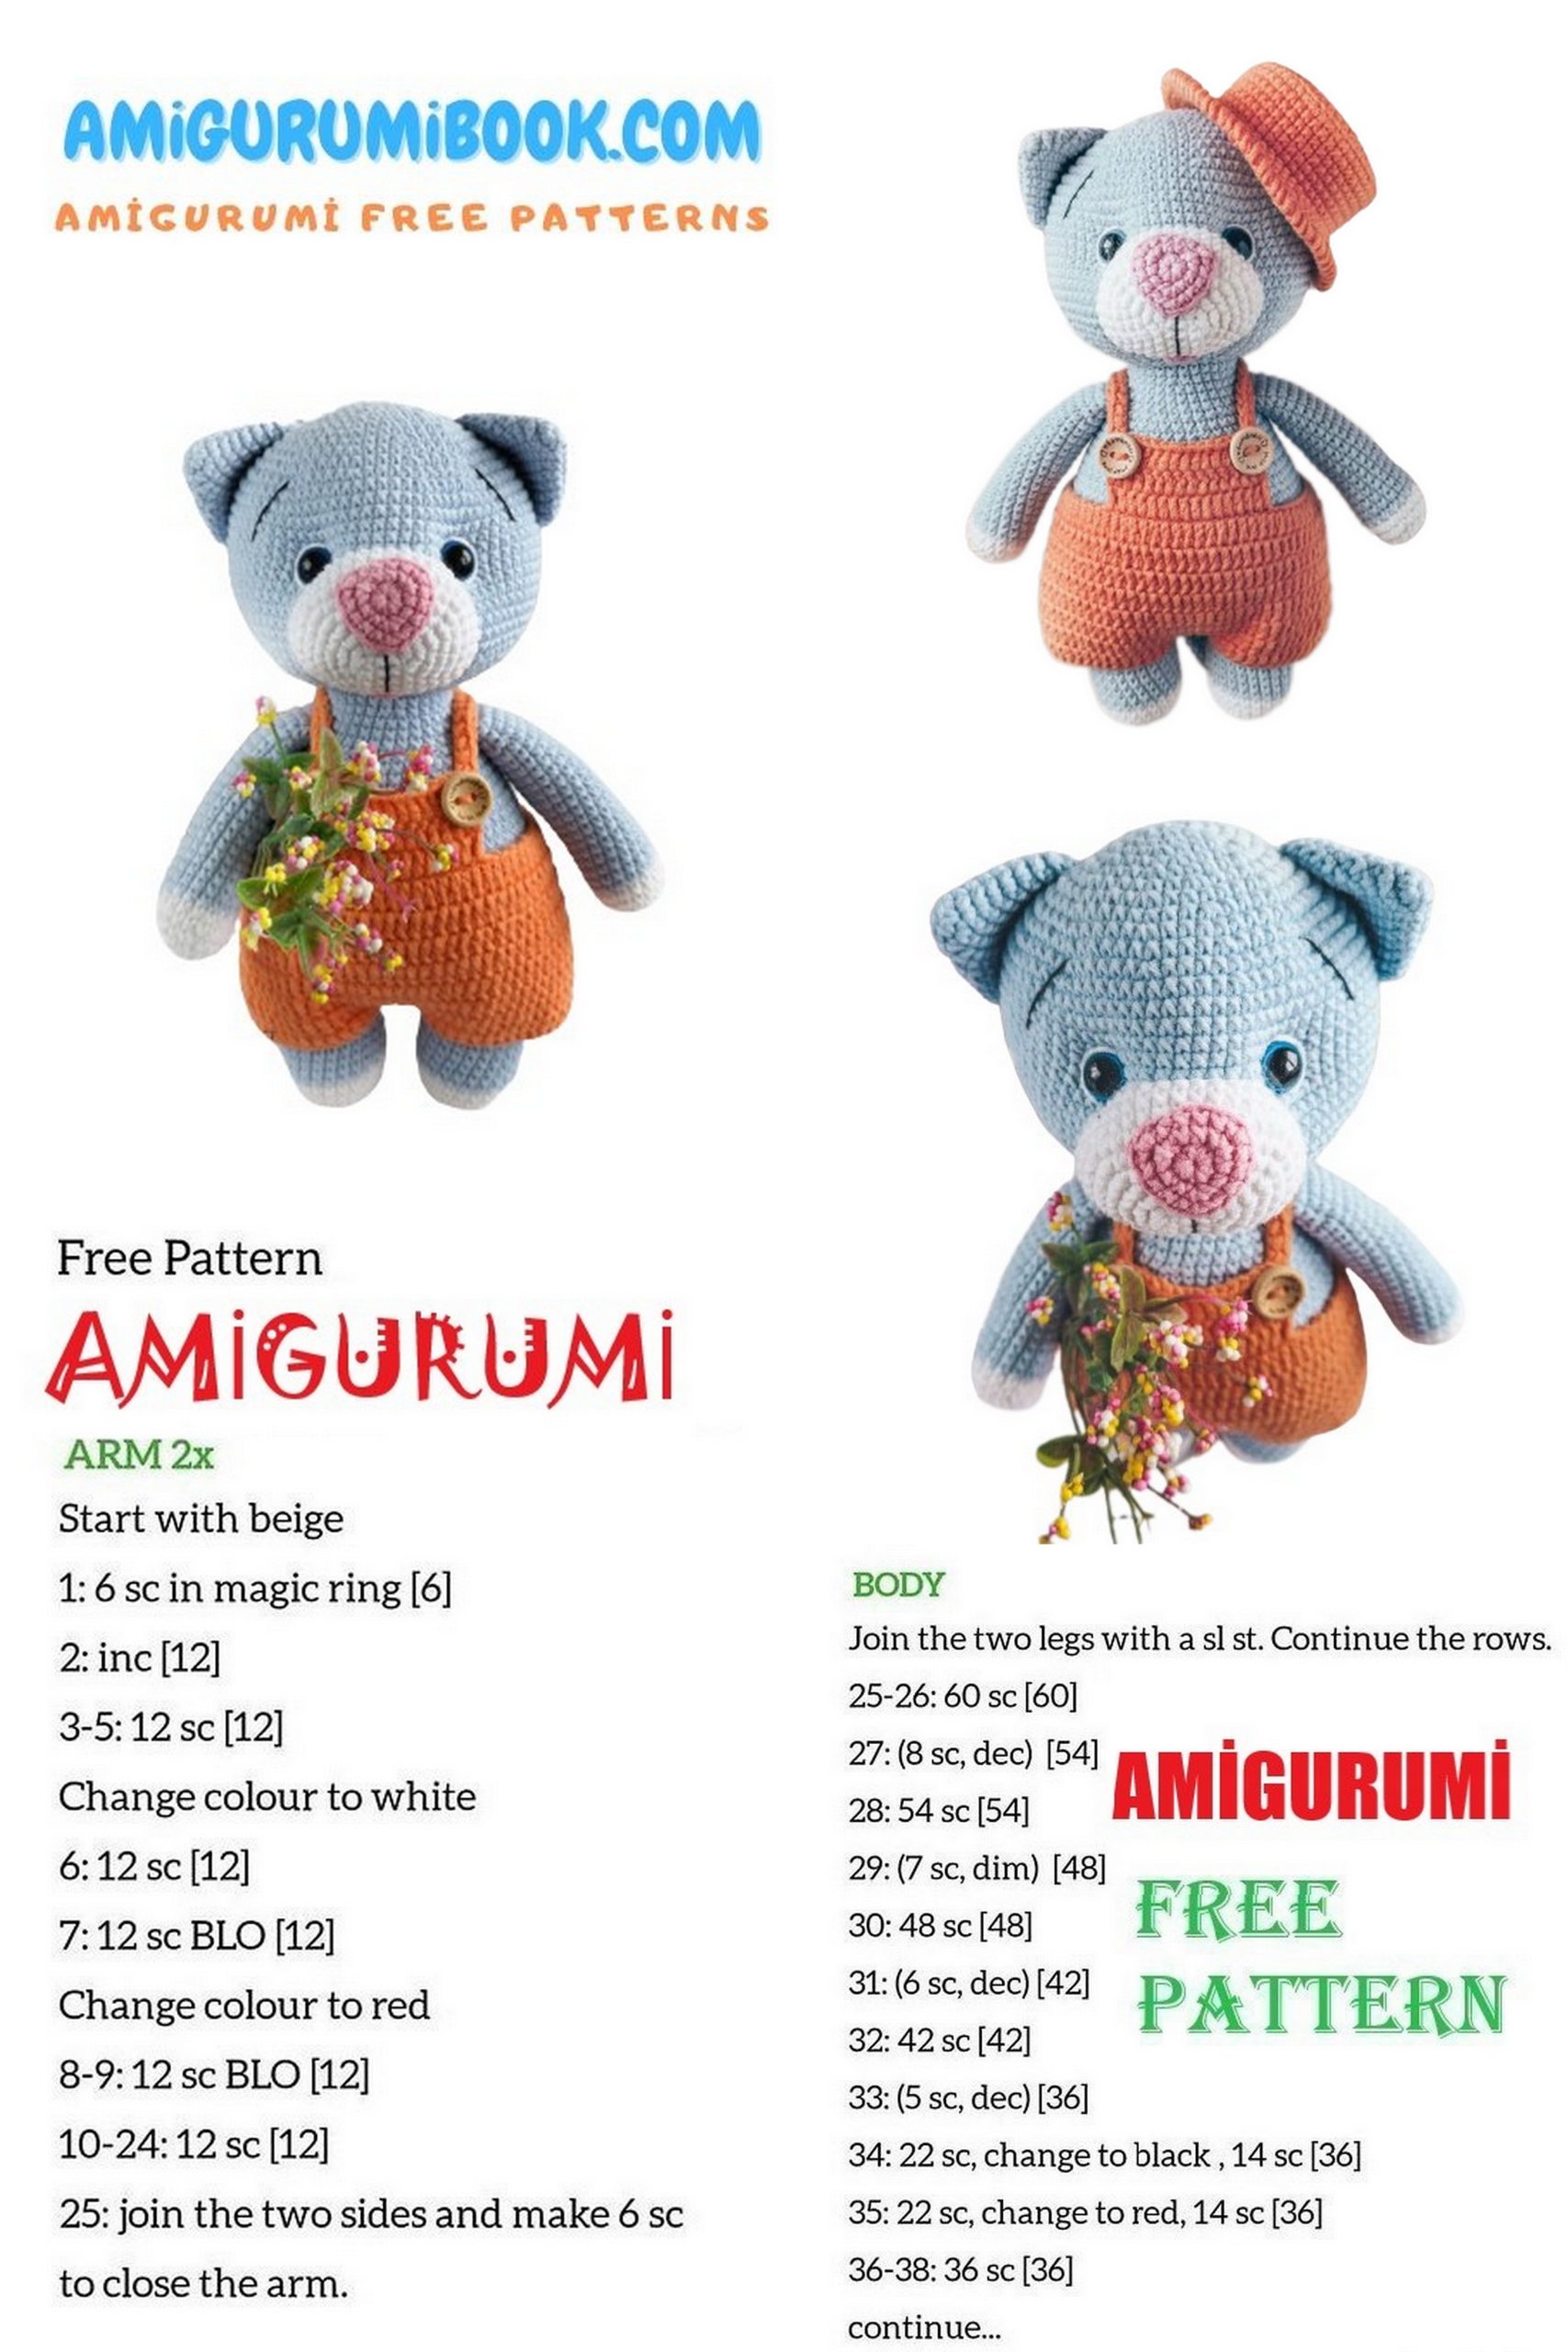
Arms:
Begin with white yarn.
Row 1: 6 sc in magic ring (6)
Row 2: 6 inc (12)
Row 3: (1 sc, inc)*6 (18)
Rows 4-5: 18 sc
Change yarn color to gray.
Rows 6-22: 18 sc (17 rows)
Row 23: (7 sc, dec)*2 (16)
Rows 24-25: 16 sc
Stuff the arms.
Fold them together and crochet 8 sc, leaving a tail for sewing.
Attach the arms to the body between rows 45 and 46 (preferably do this at the end when assembling the entire cat).
Head
Using gray yarn:
Row 1: 6 sc in magic ring (6)
Row 2: 6 inc (12)
Row 3: (1 sc, inc)*6 (18)
Row 4: 1 sc, inc, (2 sc, inc)*5, 1 sc (24)
Row 5: (3 sc, inc)*6 (30)
Row 6: 2 sc, inc, (4 sc, inc)*5, 2 sc (36)
Row 7: (5 sc, inc)*6 (42)
Row 8: 3 sc, inc, (6 sc, inc)*5, 3 sc (48)
Row 9: (7 sc, inc)*6 (54)
Row 10: 4 sc, inc, (8 sc, inc)*5, 4 sc (60)
Row 11: (9 sc, inc)*6 (66)
Row 12: 5 sc, inc, (10 sc, inc)*5, 5 sc (72)
Row 13: (11 sc, inc)*6 (78)
Rows 14-25: 78 sc (12 rows)
Row 26: (11 sc, dec)*6 (72)
Row 27: 5 sc, dec, (10 sc, dec)*5, 5 sc (66)
Row 28: (9 sc, dec)*6 (60)
Row 29: 4 sc, dec, (8 sc, dec)*5, 4 sc (54)
Row 30: (7 sc, dec)*6 (48)
Row 31: 3 sc, dec, (6 sc, dec)*5, 3 sc (42)
Row 32: (5 sc, dec)*6 (36)
Row 33: 2 sc, dec, (4 sc, dec)*5, 2 sc (30)
Fasten off, cut, and hide the yarn.
If you are using safety eyes, place them between rows 16 and 17. Leave a gap of 9 sc between the eyes (you will use this gap for a slight cinching). My safety eyes are glued on.
Tail
Begin with white yarn:
Row 1: 6 sc in magic ring (6)
Row 2: (1 sc, inc)*3 (9)
Rows 3-5: 9 sc
Change yarn color to gray.
Rows 6-22: 9 sc (17 rows)
Fold together and crochet 4 sc.
Ears
Using gray yarn:
Row 1: 6 sc in magic ring (6)
Row 2: (1 sc, inc)*3 (9)
Row 3: (2 sc, inc)*3 (12)
Row 4: (3 sc, inc)*3 (15)
Row 5: (4 sc, inc)*3 (18)
Row 6: (5 sc, inc)*3 (21)
Row 7: (6 sc, inc)*3 (24)
Row 8: (7 sc, inc)*3 (27)
Row 9: 27 sc
Fold together and crochet 13 sc.
Fasten off and leave a tail for sewing.
Muzzle
Using white yarn, make 5 ch.
Row 1: In the 2nd ch from the hook, 3 sc, 3 sc in the last ch, 2 sc, inc (10)
Row 2: Inc, 2 sc, 3 inc, 2 sc, 2 inc (16)
Row 3: 1 sc, inc, 2 sc, (1 sc, inc)*3, 2 sc, (1 sc, inc)*2 (22)
Row 4: 2 sc, inc, 2 sc, (2 sc, inc)*3, 2 sc, (2 sc, inc)*2 (28)
Row 5: 3 sc, inc, 2 sc, (3 sc, inc)*3, 2 sc, (3 sc, inc)*2 (34)
Row 6: 4 sc, inc, 2 sc, (4 sc, inc)*3, 2 sc, (4 sc, inc)*2 (40)
Rows 7-9: 40 sc (3 rows)
Fasten off and leave a long tail for sewing. Stuff lightly.
Attach the muzzle to the head of the cat using a needle and thread.
Tongue
Using pink yarn:
Row 1: 6 sc in magic ring (6)
Row 2: 6 inc (12)
Fasten off and sew the tongue to the muzzle.
Nose
Using black yarn:
Row 1: 9 sc in magic ring (9)
Row 2: 1 ch, 3 sc in one loop, 2 sc, 3 sc in one loop, 2 sc, 3 sc in one loop, 2 sc, sl st
Row 3: 1 ch, 3 sc in one loop, 4 sc, 3 sc in one loop, 4 sc, 3 sc in one loop, 4 sc, sl st
Fasten off, leave a tail for sewing, and attach the nose to the muzzle. Create a cinch for the eyes.
Attach the ears.
Attach the arms to the body between rows 45 and 46.
Attach the tail.
Bow
Chain 15.
Begin crocheting from the 2nd chain from the hook, make 14 sc, turn (14).
Rows 2-7: Ch 1 (does not count as a stitch), 14 sc, turn (14).
Single crochet around the edges of the bow, cut the yarn, and hide the end.
Take yarn in the color of the bow, make a knot on the wrong side. Wind the yarn around the center of the bow, secure the yarn on the wrong side, and sew the bow to the cat’s neck.
Shorts
Chain 75 and join to form a ring.
Row 1: Ch 3 (counts as a dc), make 74 hdc around the chain ring.
Row 2: Ch 3 (counts as a dc), make 74 hdc.
Row 3: Ch 3 (counts as a dc), ch 3, skip 3 stitches, start making 71 hdc.
Row 4: Ch 3 (counts as a dc), make 3 hdc in the ch-3 space, continue with 71 hdc.
Rows 5-8: Ch 3 (counts as a dc), make 74 hdc.
Leave a long tail for sewing. Sew the bottom and middle of the shorts.
Create suspenders by crocheting 10 sc, chain 43, and join with a slip stitch in the 45th sc. Turn, ch 1 (does not count as a stitch), make 43 sc in the chain. Join with a slip stitch. Cut the yarn and hide it.
For the second strap, attach the yarn to the 10th stitch from the end of the row. Chain 43, then make 43 sc in the chain. Join with a slip stitch.
Attach the tail at the level where the hole was created.
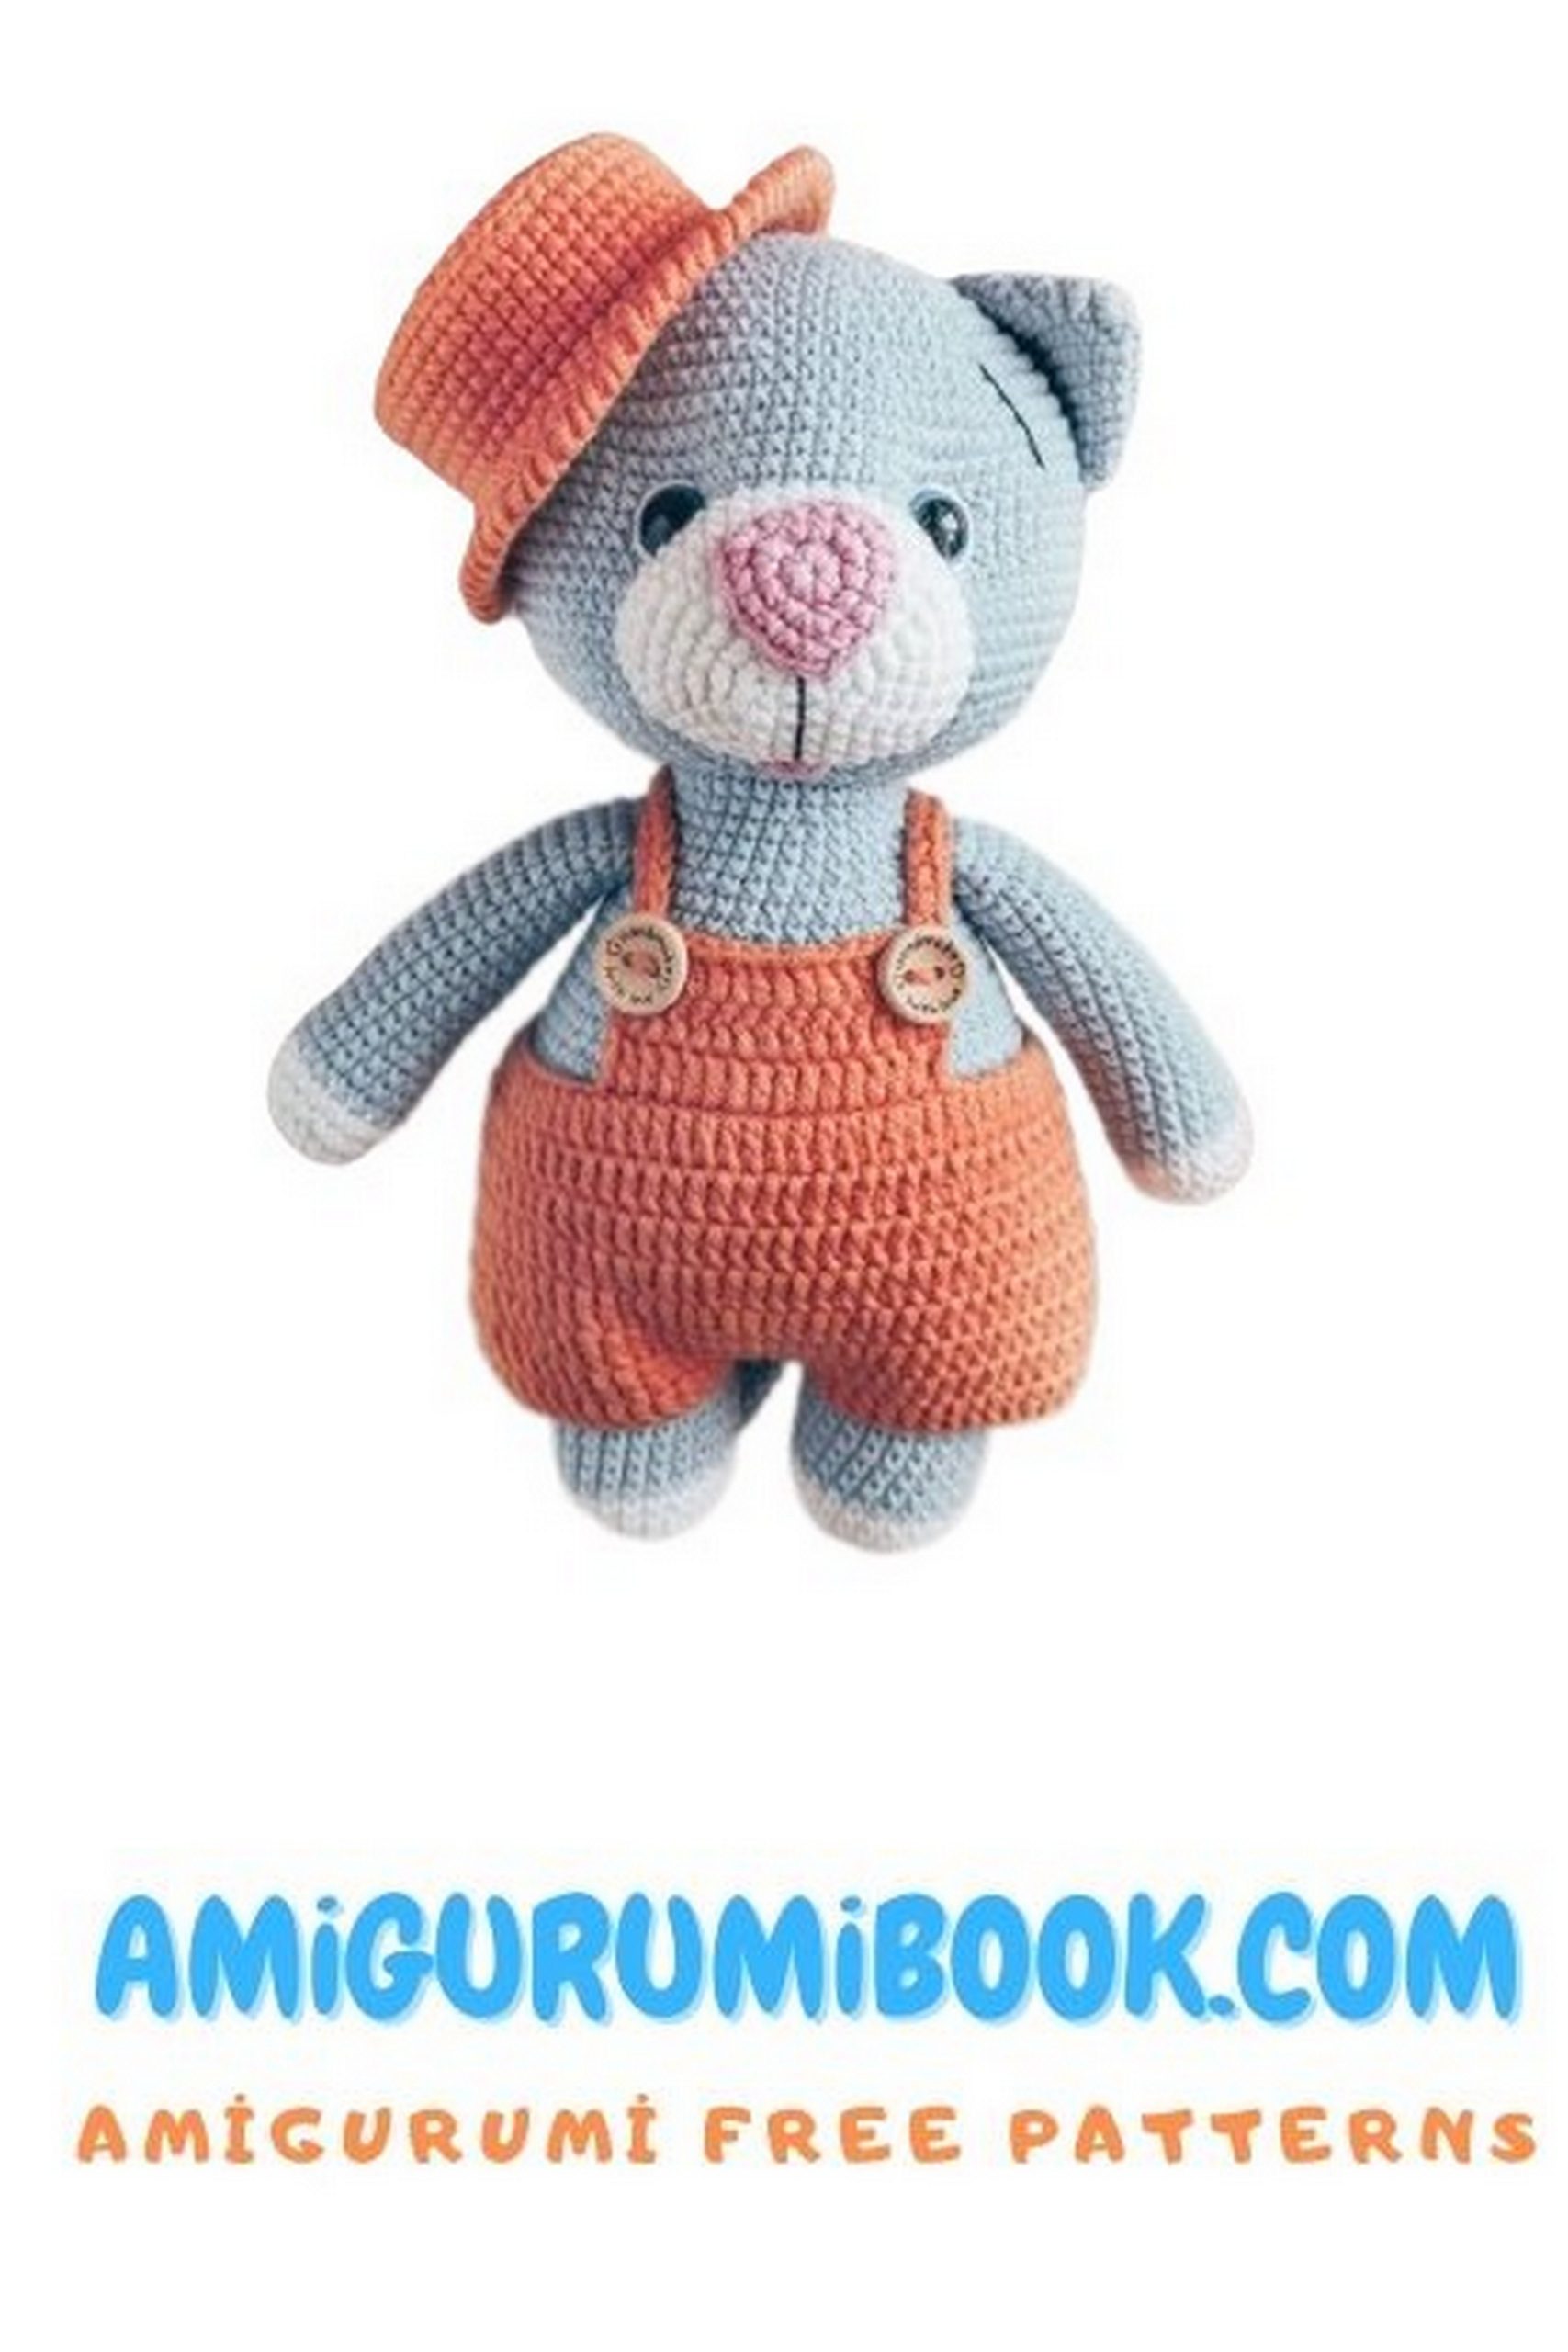
Hat
Row 1: 6 sc in a magic ring (6).
Row 2: 6 inc (12).
Row 3: (1 sc, inc)*6 (18).
Row 4: (2 sc, inc)*6 (24).
Row 5: (3 sc, inc)*6 (30).
Row 6: (4 sc, inc)*6 (36).
Row 7: (5 sc, inc)*6 (42).
Row 8: (6 sc, inc)*6 (48).
Row 9: 48 sc in the back loop only.
10-14: 48 sc (5 rows).
(7 sc, inc)*6 in the front loop only (54).
(8 sc, inc)*6 (60).
(9 sc, inc)*6 (66).
(10 sc, inc)*6 (72).
Crab stitch around the edge.
Basket
I crocheted the basket using Kamtex Aysedora yarn (50g/185m) in double strands, color beige (005). You can use any yarn.
Row 1: 6 sc in a magic ring (6).
Row 2: 6 inc (12).
Row 3: (1 sc, inc)*6 (18).
Row 4: (2 sc, inc)*6 (24).
Row 5: (3 sc, inc)*6 (30).
Row 6: (4 sc, inc)*6 (36).
Row 7: (5 sc, inc)*6 (42).
8-16: 42 sc (9 rows).
Crab stitch around the edge.
Chain 30 for the handle. Sew the handle to the basket.
Make a lining for the inside of the basket using green yarn (YarnArt Jeans, 160m, 50g).
Row 1: 6 sc in a magic ring (6).
Row 2: 6 inc (12).
Row 3: (1 sc, inc)*6 (18).
Row 4: (2 sc, inc)*6 (24).
Row 5: (3 sc, inc)*6 (30).
Row 6: (4 sc, inc)*6 (36).
Row 7: (5 sc, inc)*6 (42).
Row 8: (6 sc, inc)*6 (48).
Row 9: (7 sc, inc)*6 (54).
Attach the lining to the basket and lightly stuff the basket.
Flower and Leaf Patterns
You can find crochet patterns for the flower and leaf motifs online. You can search for “crochet flower pattern” and “crochet leaf pattern” to find suitable patterns.
Jumpsuit
Chain 75 and join to form a ring.
Row 1: Ch 3 (counts as a dc), make 74 hdc around the chain ring.
Row 2: Ch 3 (counts as a dc), make 74 hdc.
Row 3: Ch 3 (counts as a dc), ch 3, skip 3 stitches, start making 71 hdc.
Row 4: Ch 3 (counts as a dc), make 3 hdc in the ch-3 space, continue with 71 hdc.
Congratulations! Your kitty Timosha is ready! Thank you for crocheting along with me!