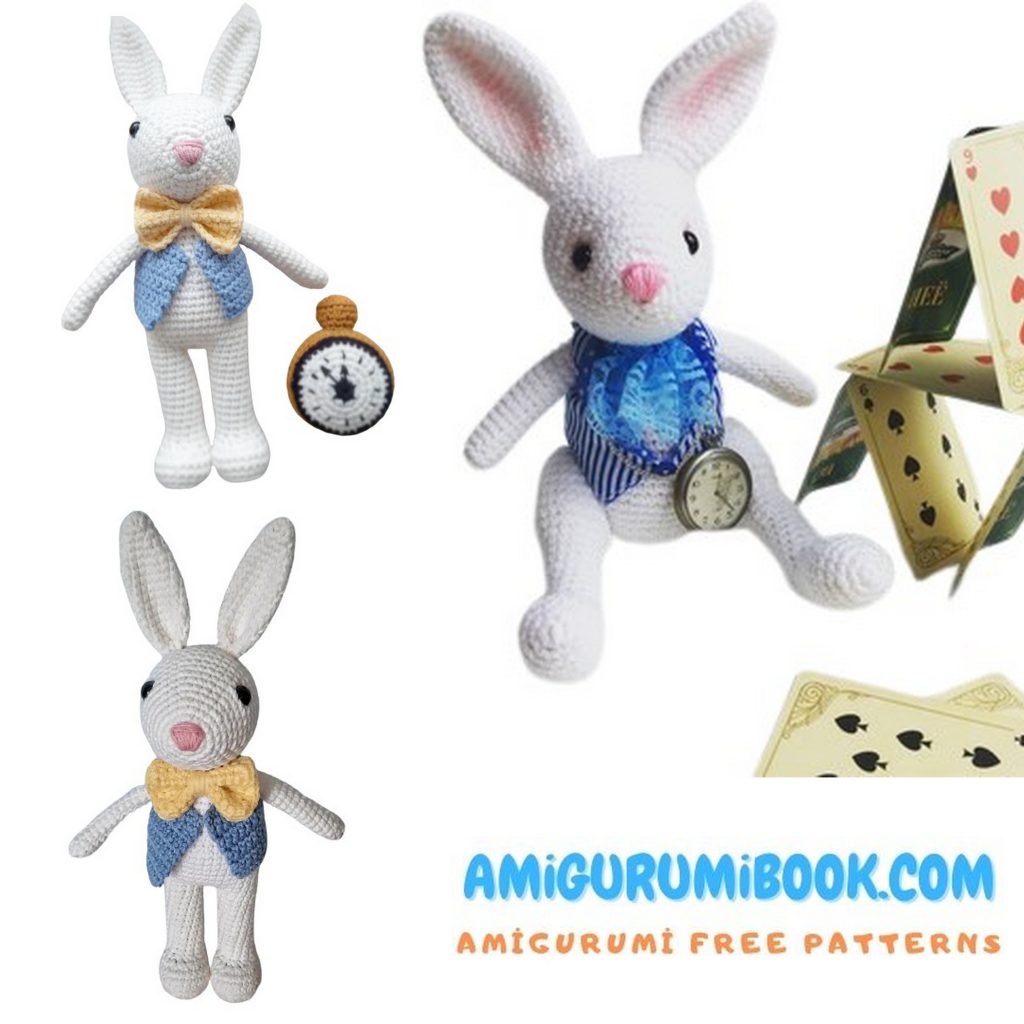
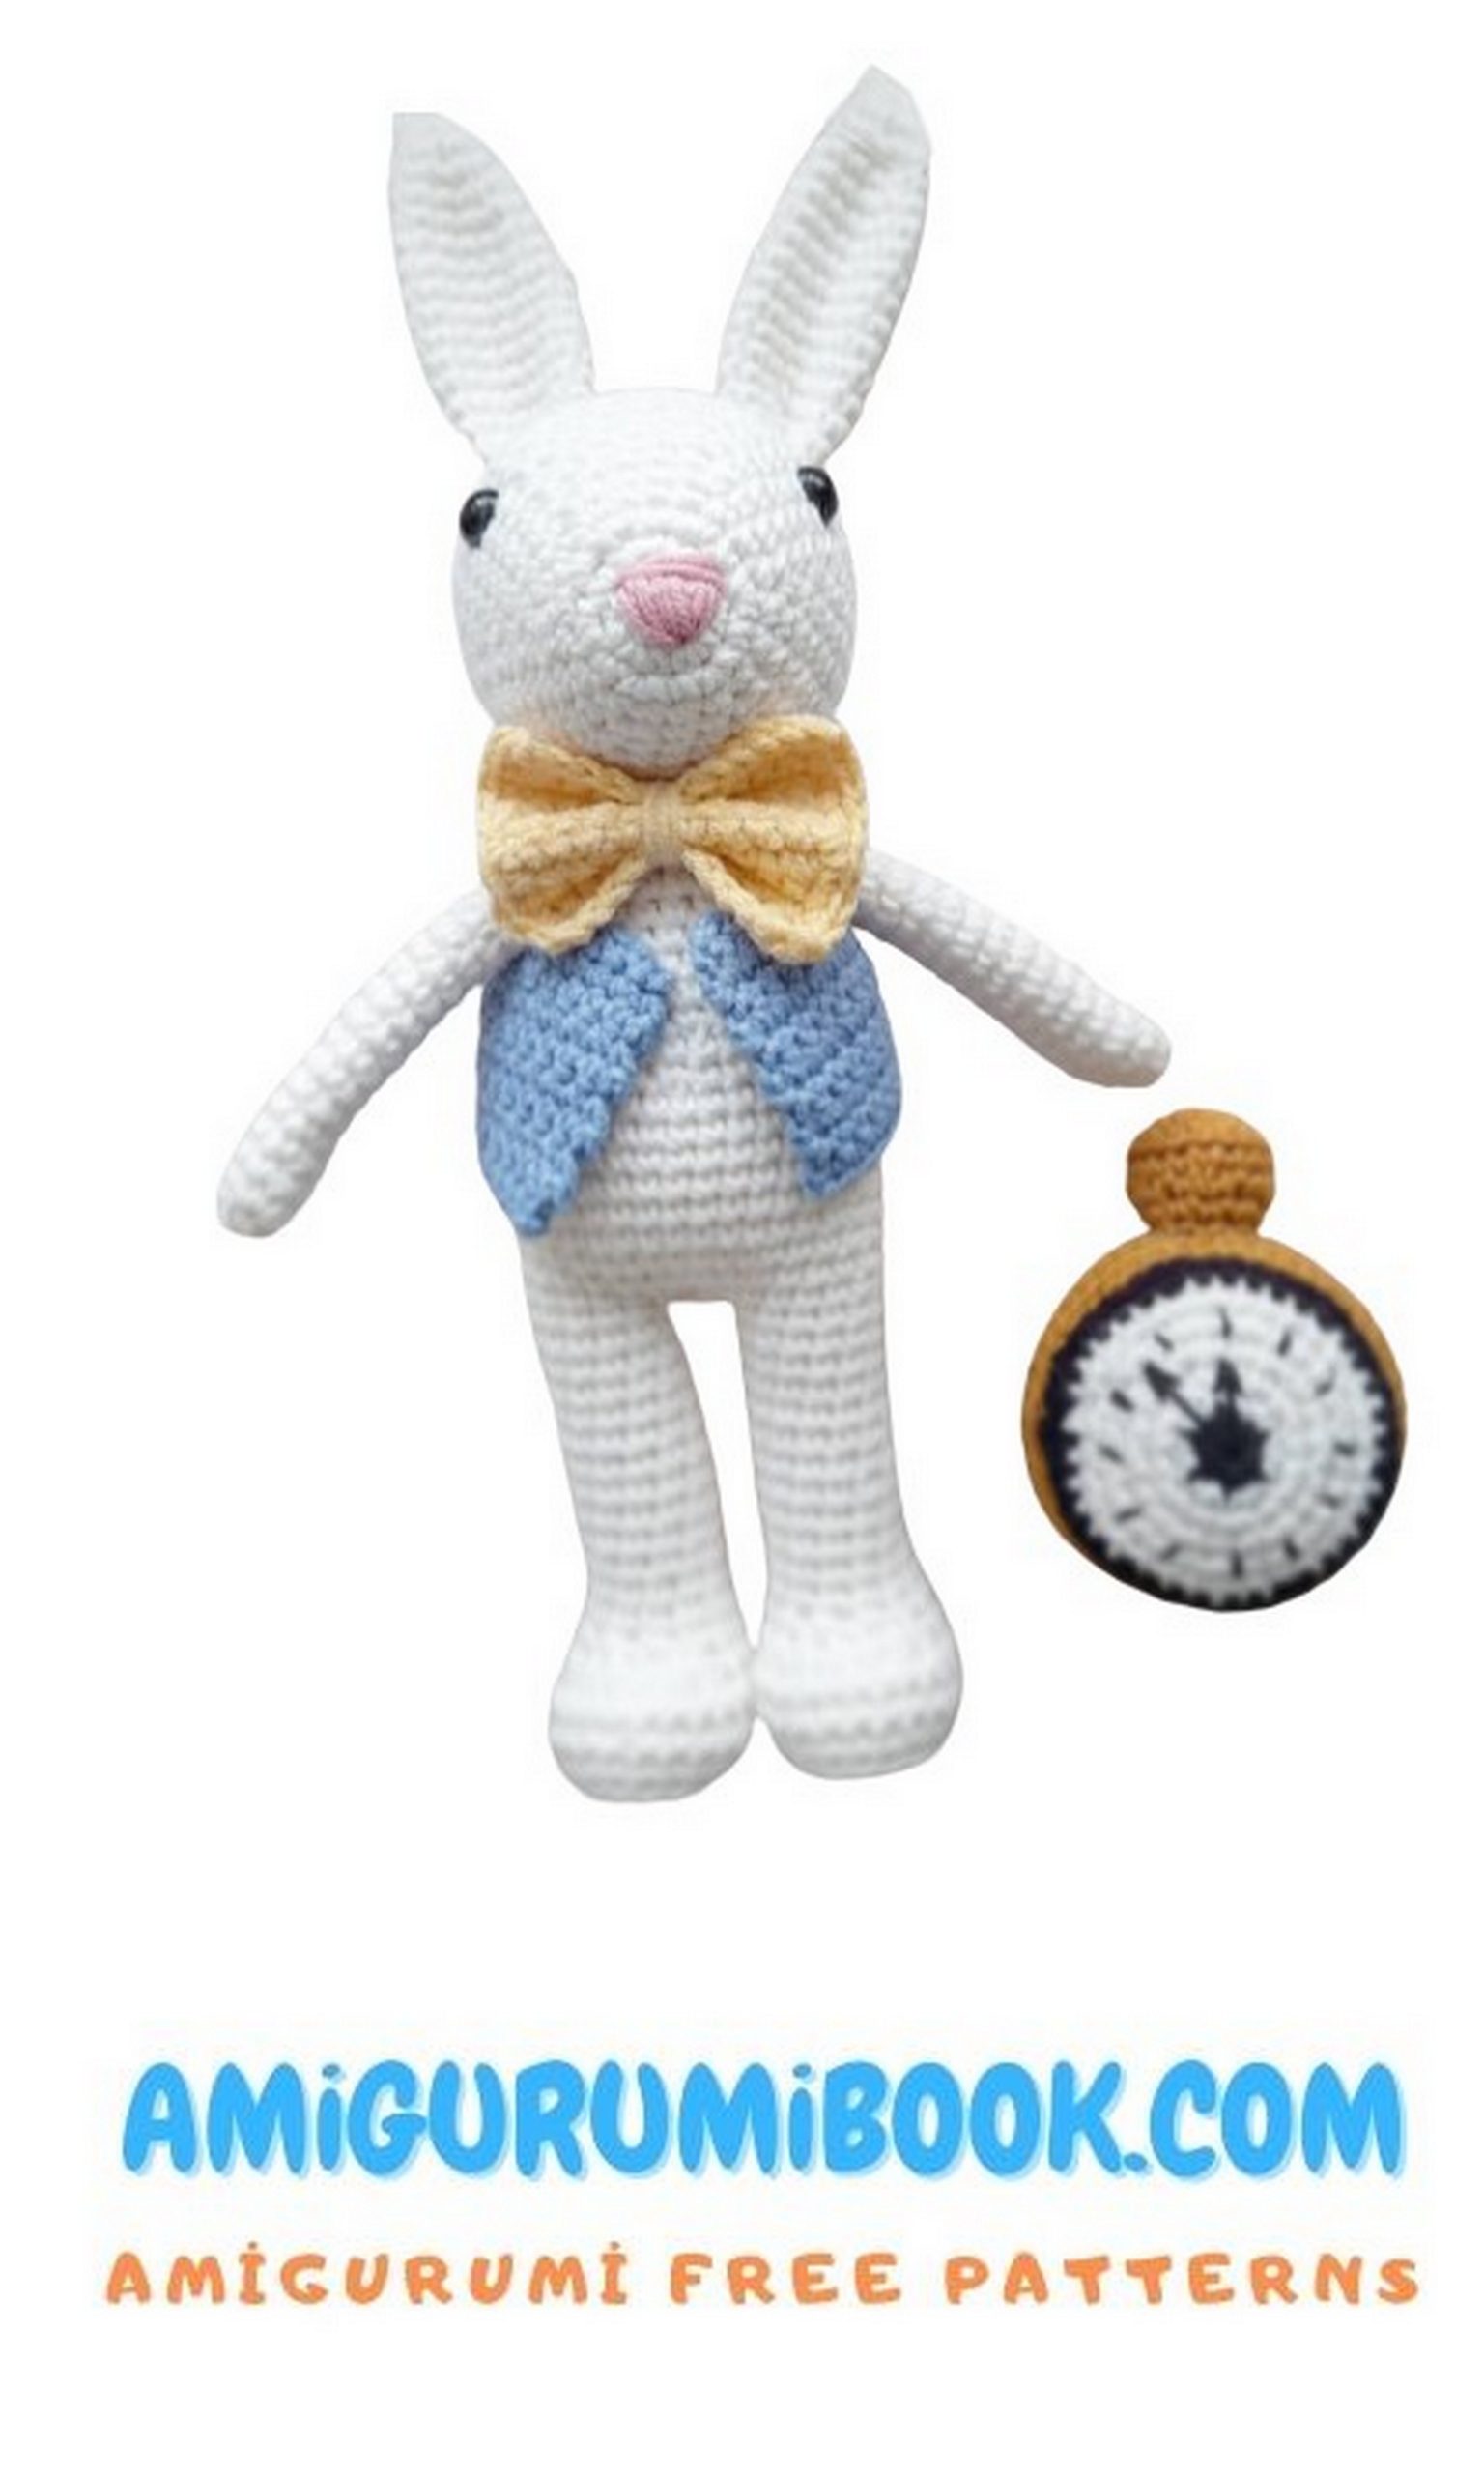
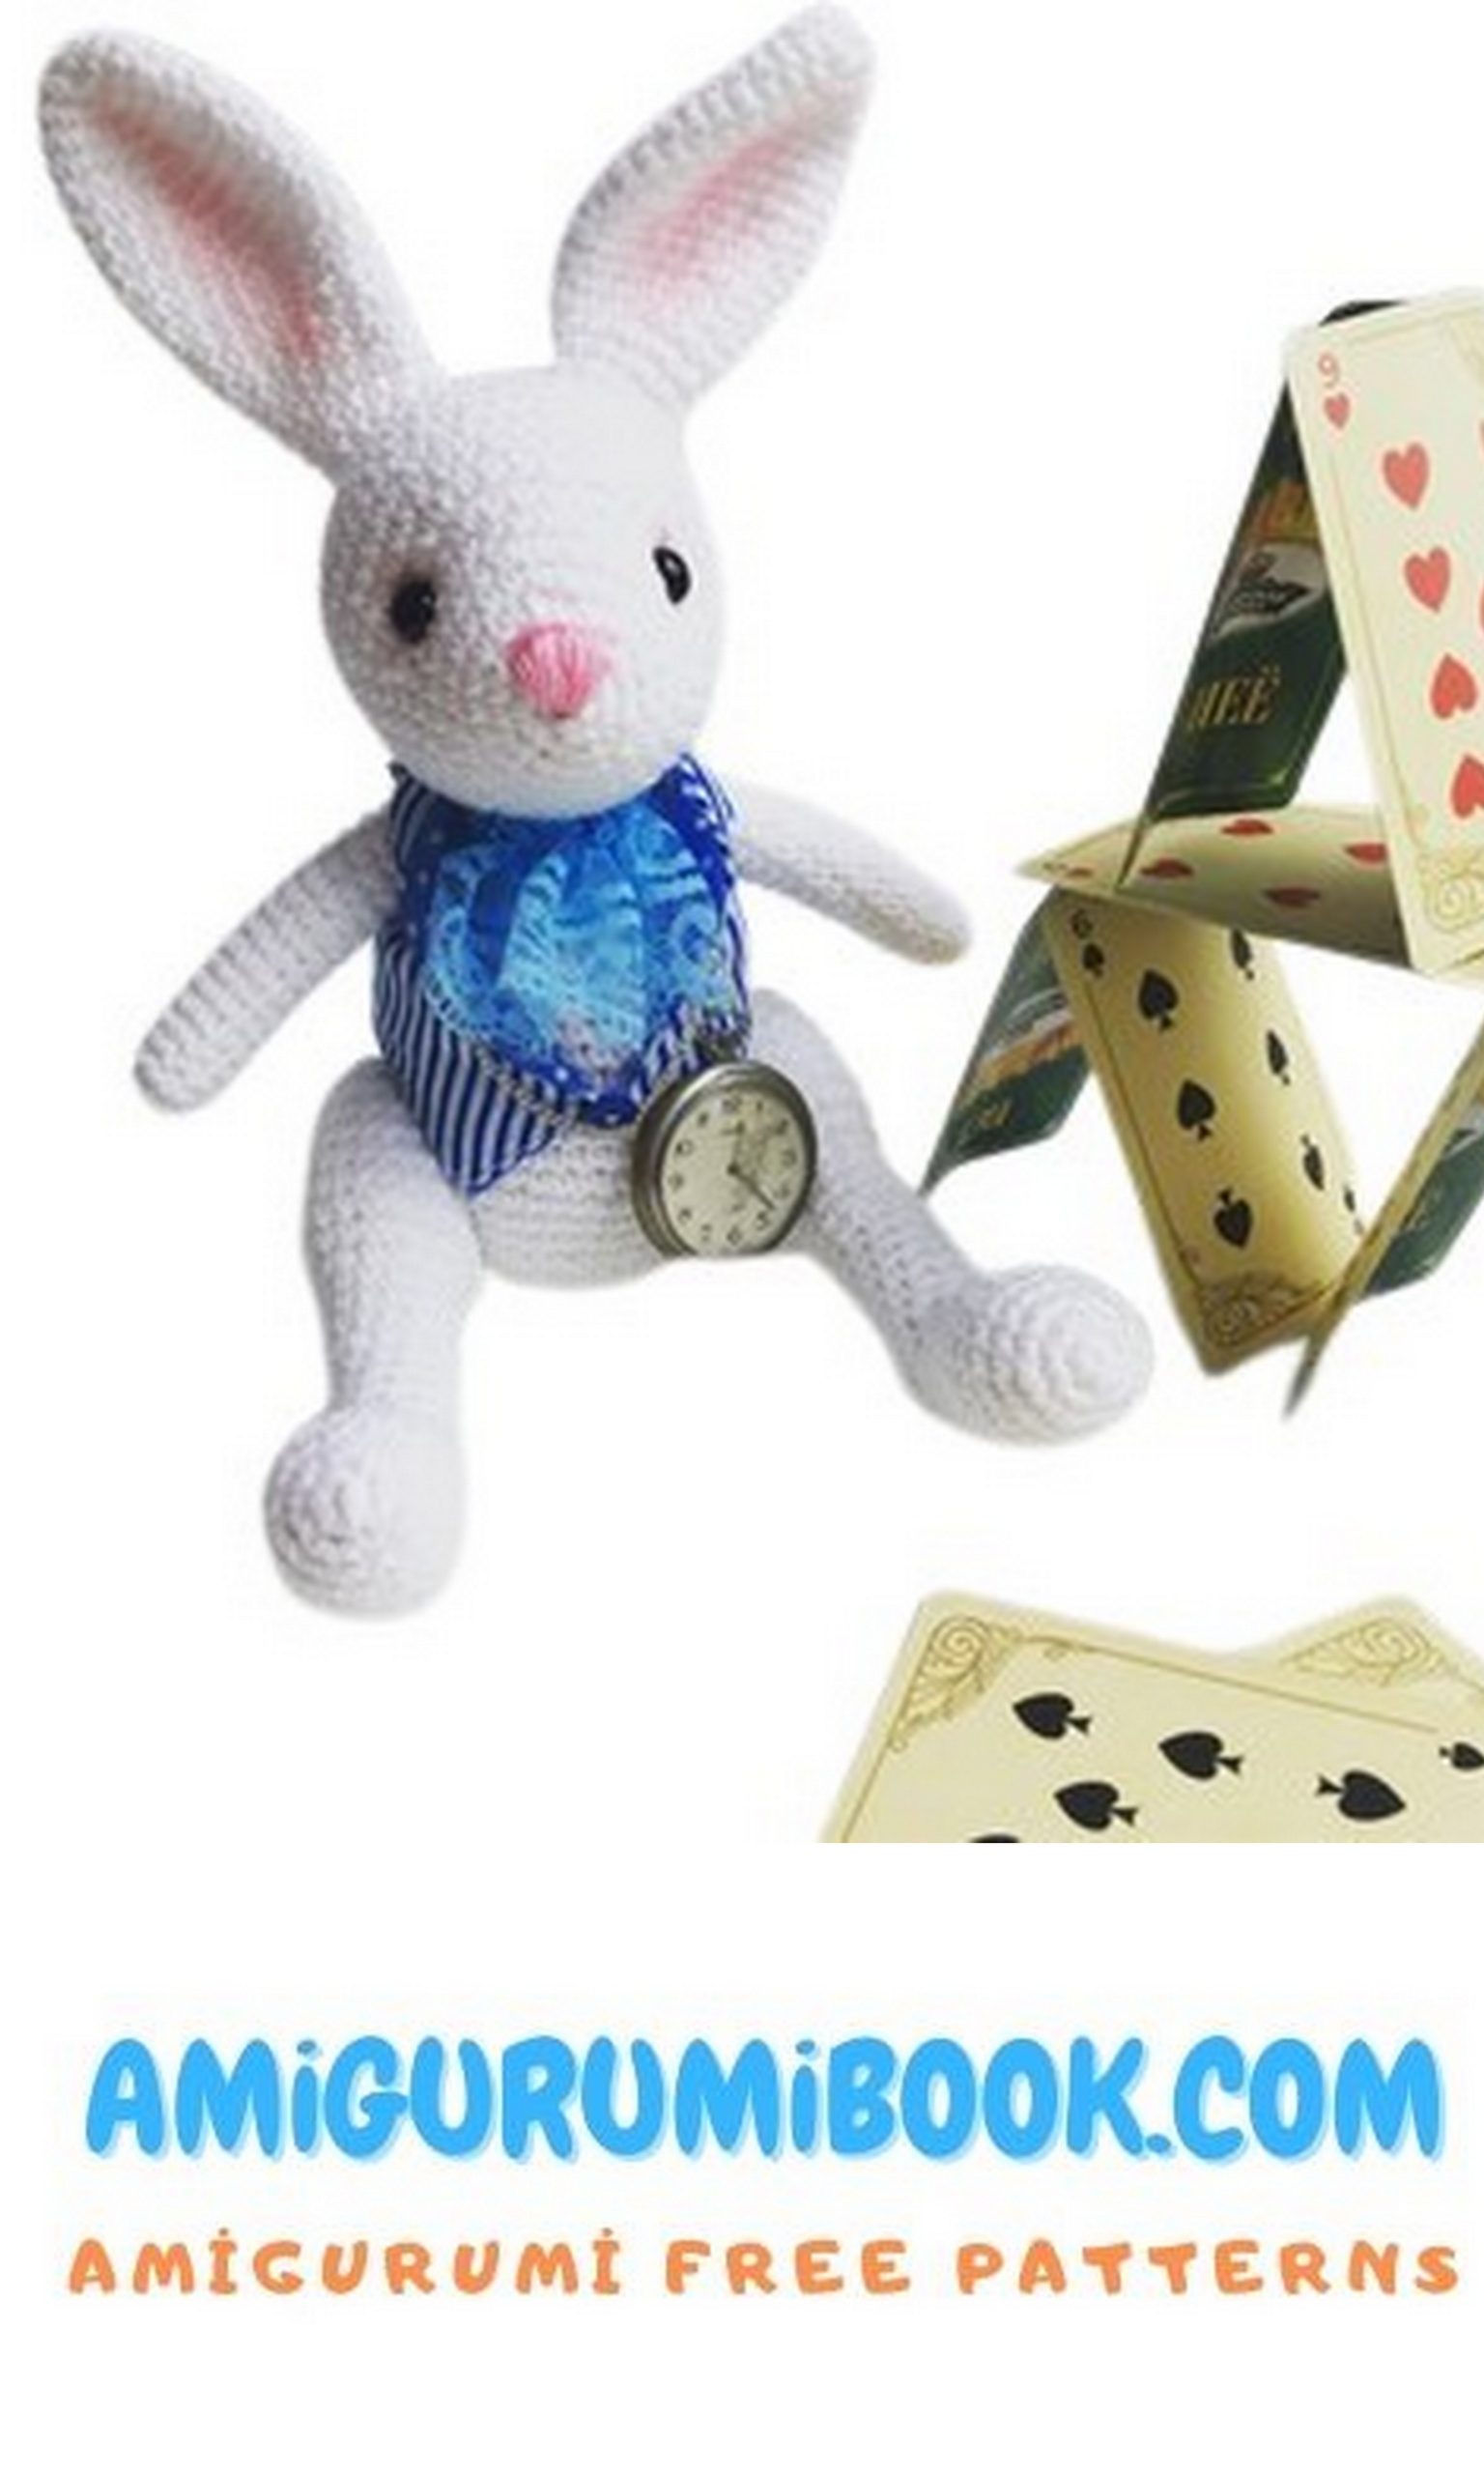
Say hello to your new lucky charm 🐰 This free amigurumi lucky bunny crochet pattern is perfect for creating a soft, cute, and heartwarming handmade toy that everyone will love.
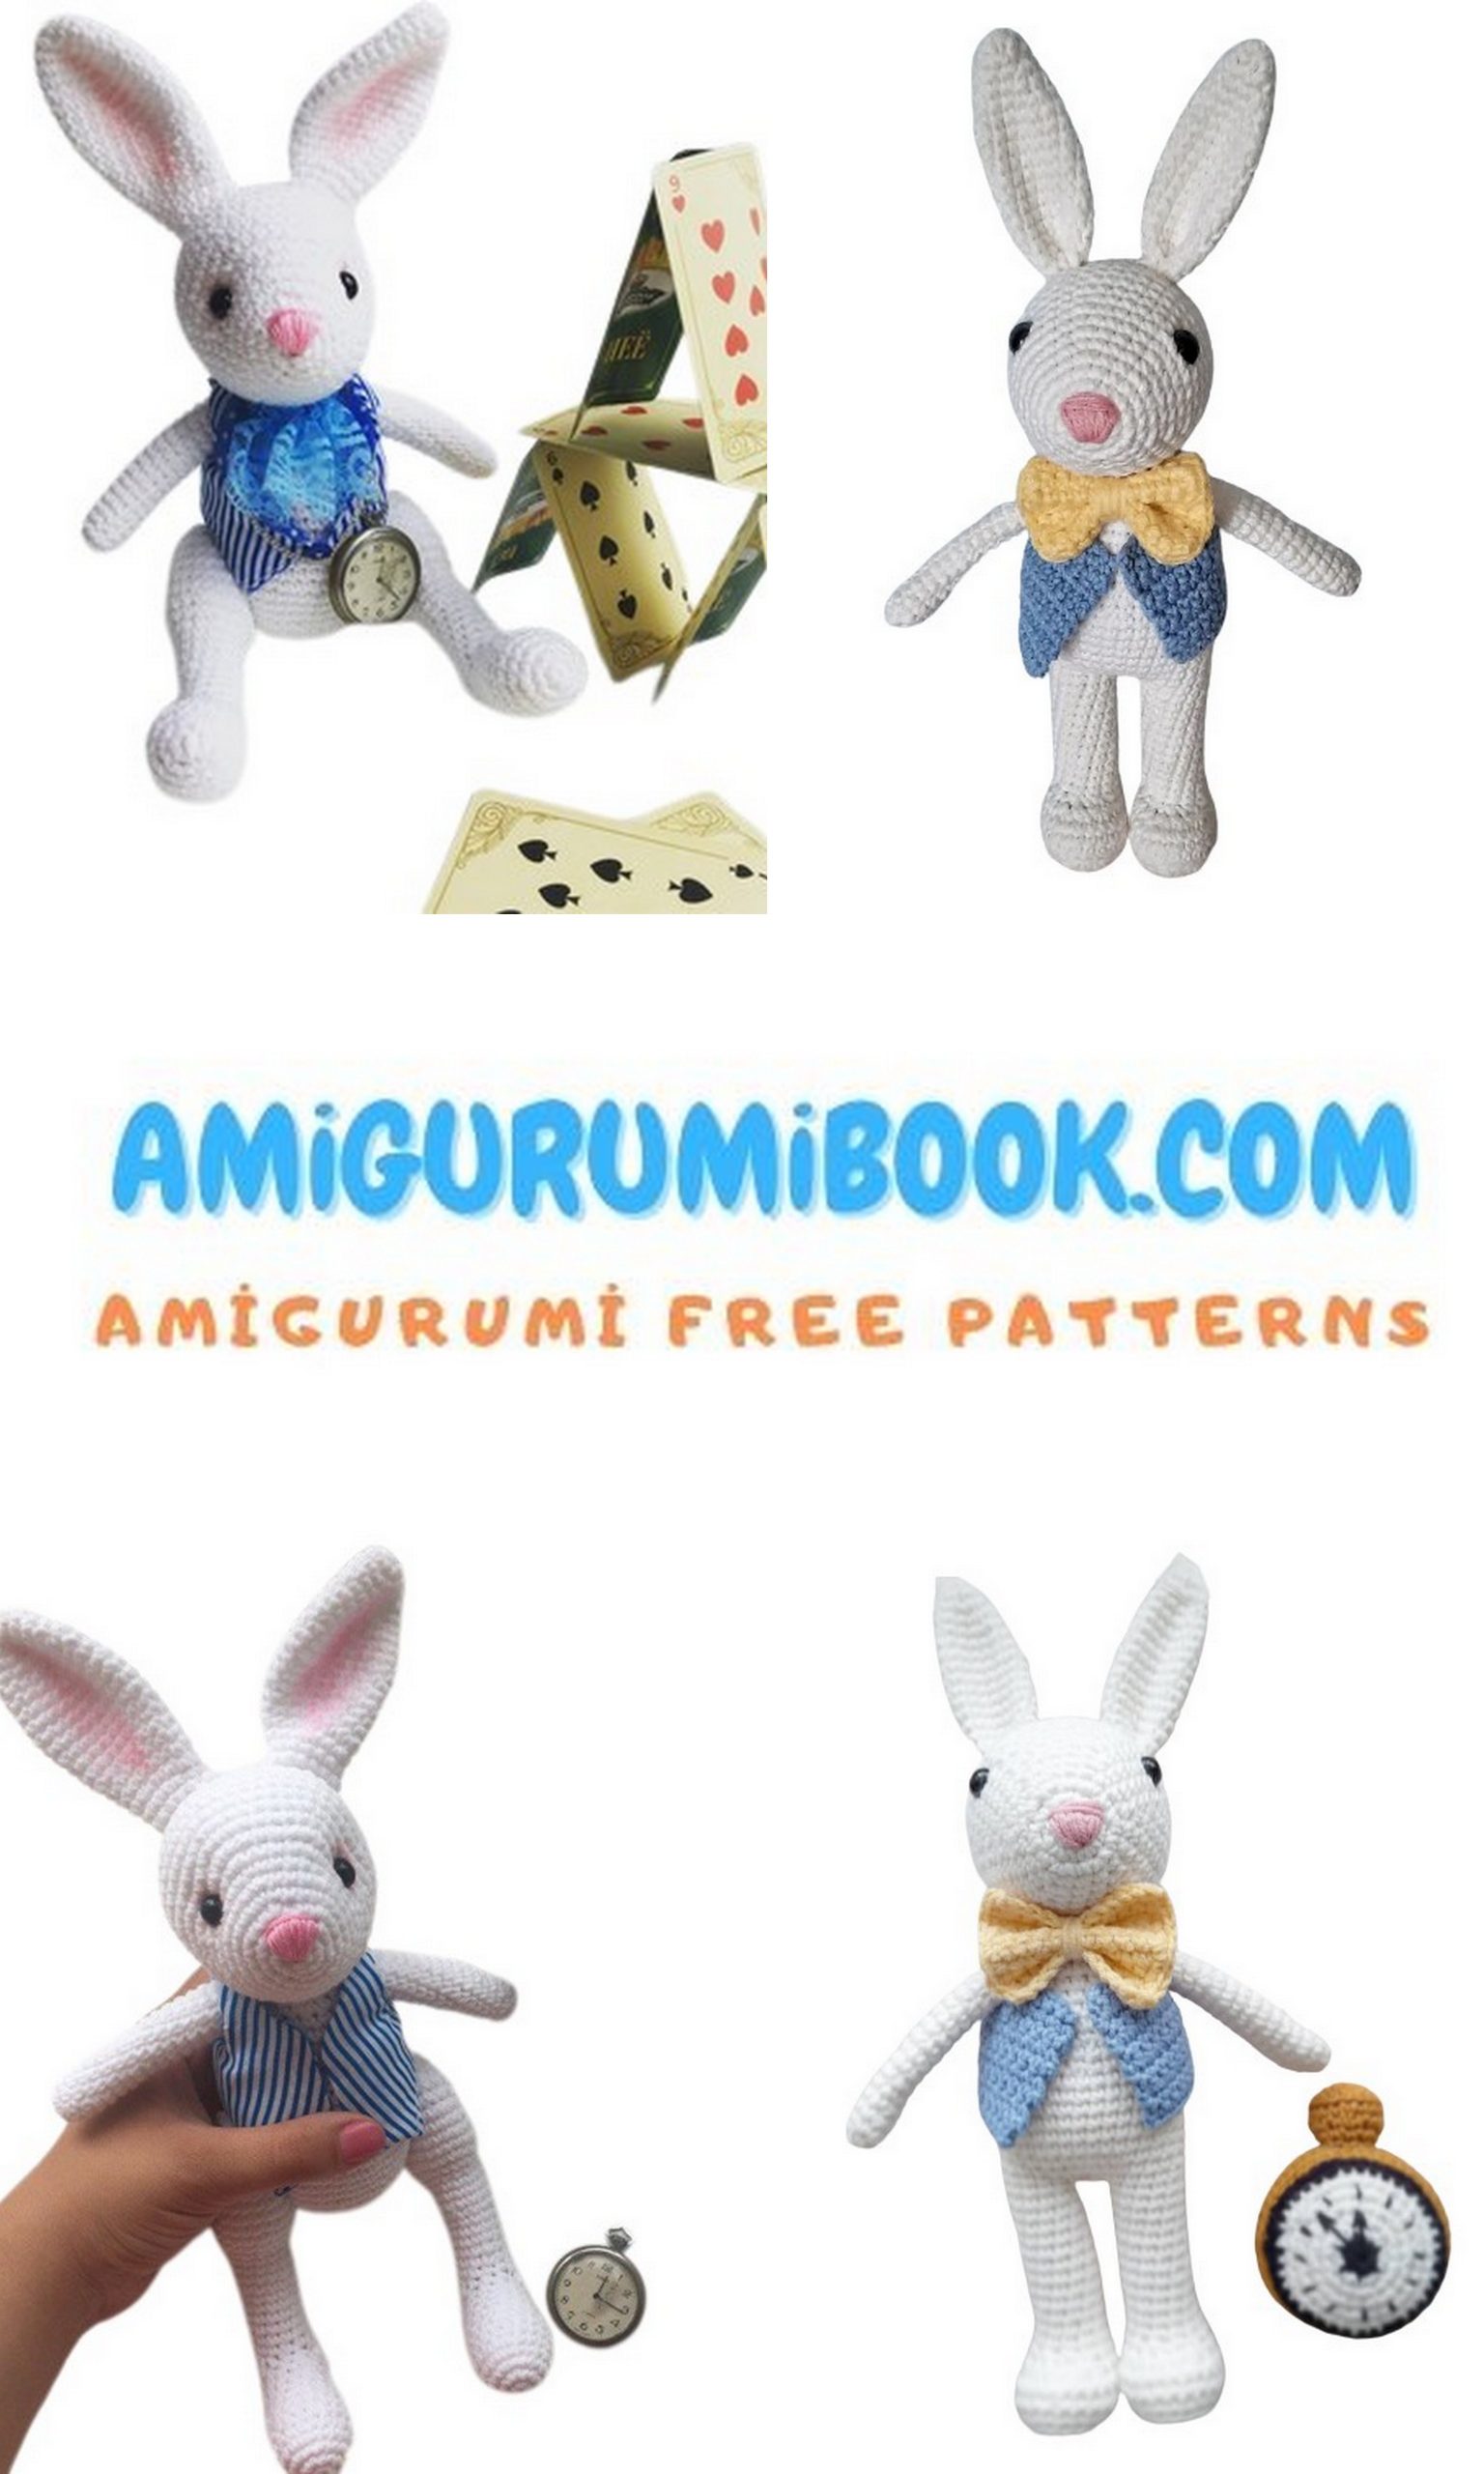
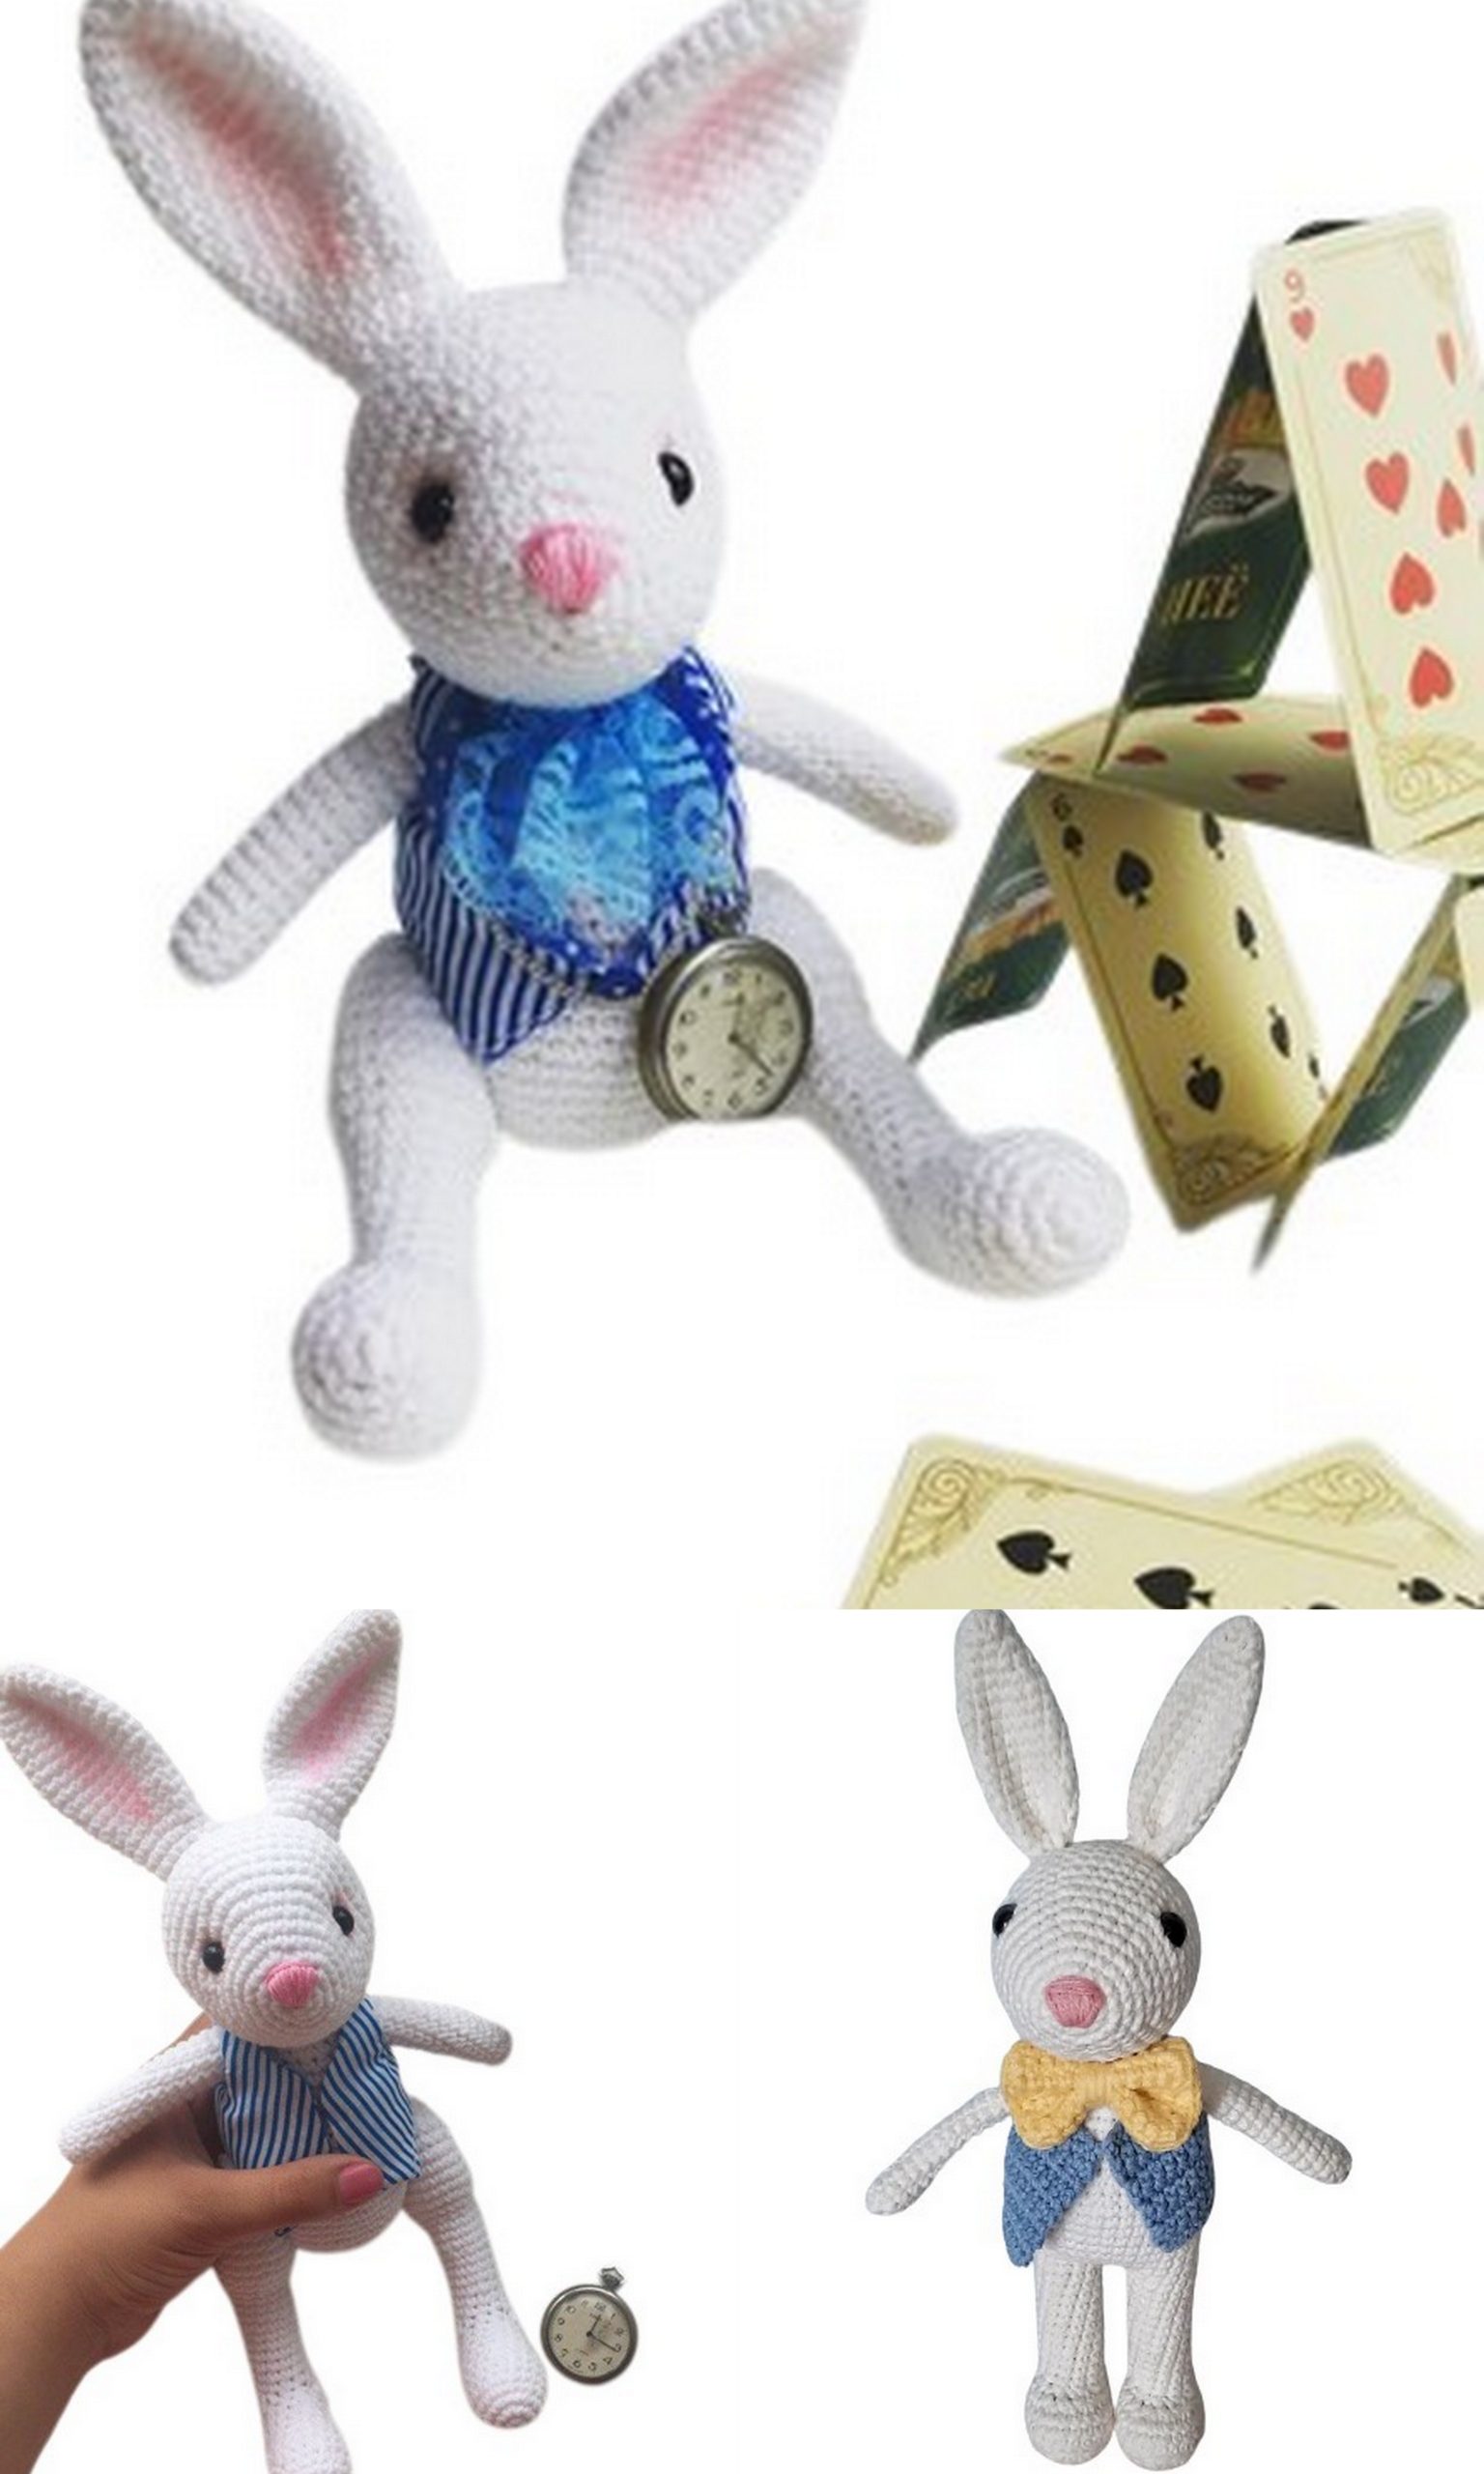
With its long floppy ears, gentle expression, and adorable details, this bunny is both fun to crochet and beautiful to display. The step-by-step instructions make it easy to follow, whether you’re a beginner or an experienced crocheter.
If you’re looking for a meaningful handmade gift or a cozy new addition to your collection, this lucky bunny is a perfect choice. Grab your yarn and start crocheting your own adorable bunny today! 🧶
If you want to access 1000+ free amigurumi patterns, you can download our application from this link!
🧵 Notes
- Work in continuous spiral rounds; do not join or turn unless stated
- Use a stitch marker to track the beginning of each round
- Stuff firmly to help the toy keep its shape
🧶 Materials & Tools
- YarnArt Jeans (Color 001 – White)
- Pale pink embroidery floss (for nose)
- Fiberfill stuffing (polyfill or holofiber)
- Crochet hook: 2.0 mm
- Safety eyes: 8 mm
- Sewing needle
- Scissors
- Decorative button
- 2 buttons (20 mm) for attaching legs
- Cotton fabric (25 × 25 cm)
- Soft pastel or blush (for cheeks)
- Decorative ribbon (0.5 cm × 15 cm)
- Lace ribbon (5 cm × 10–12 cm)
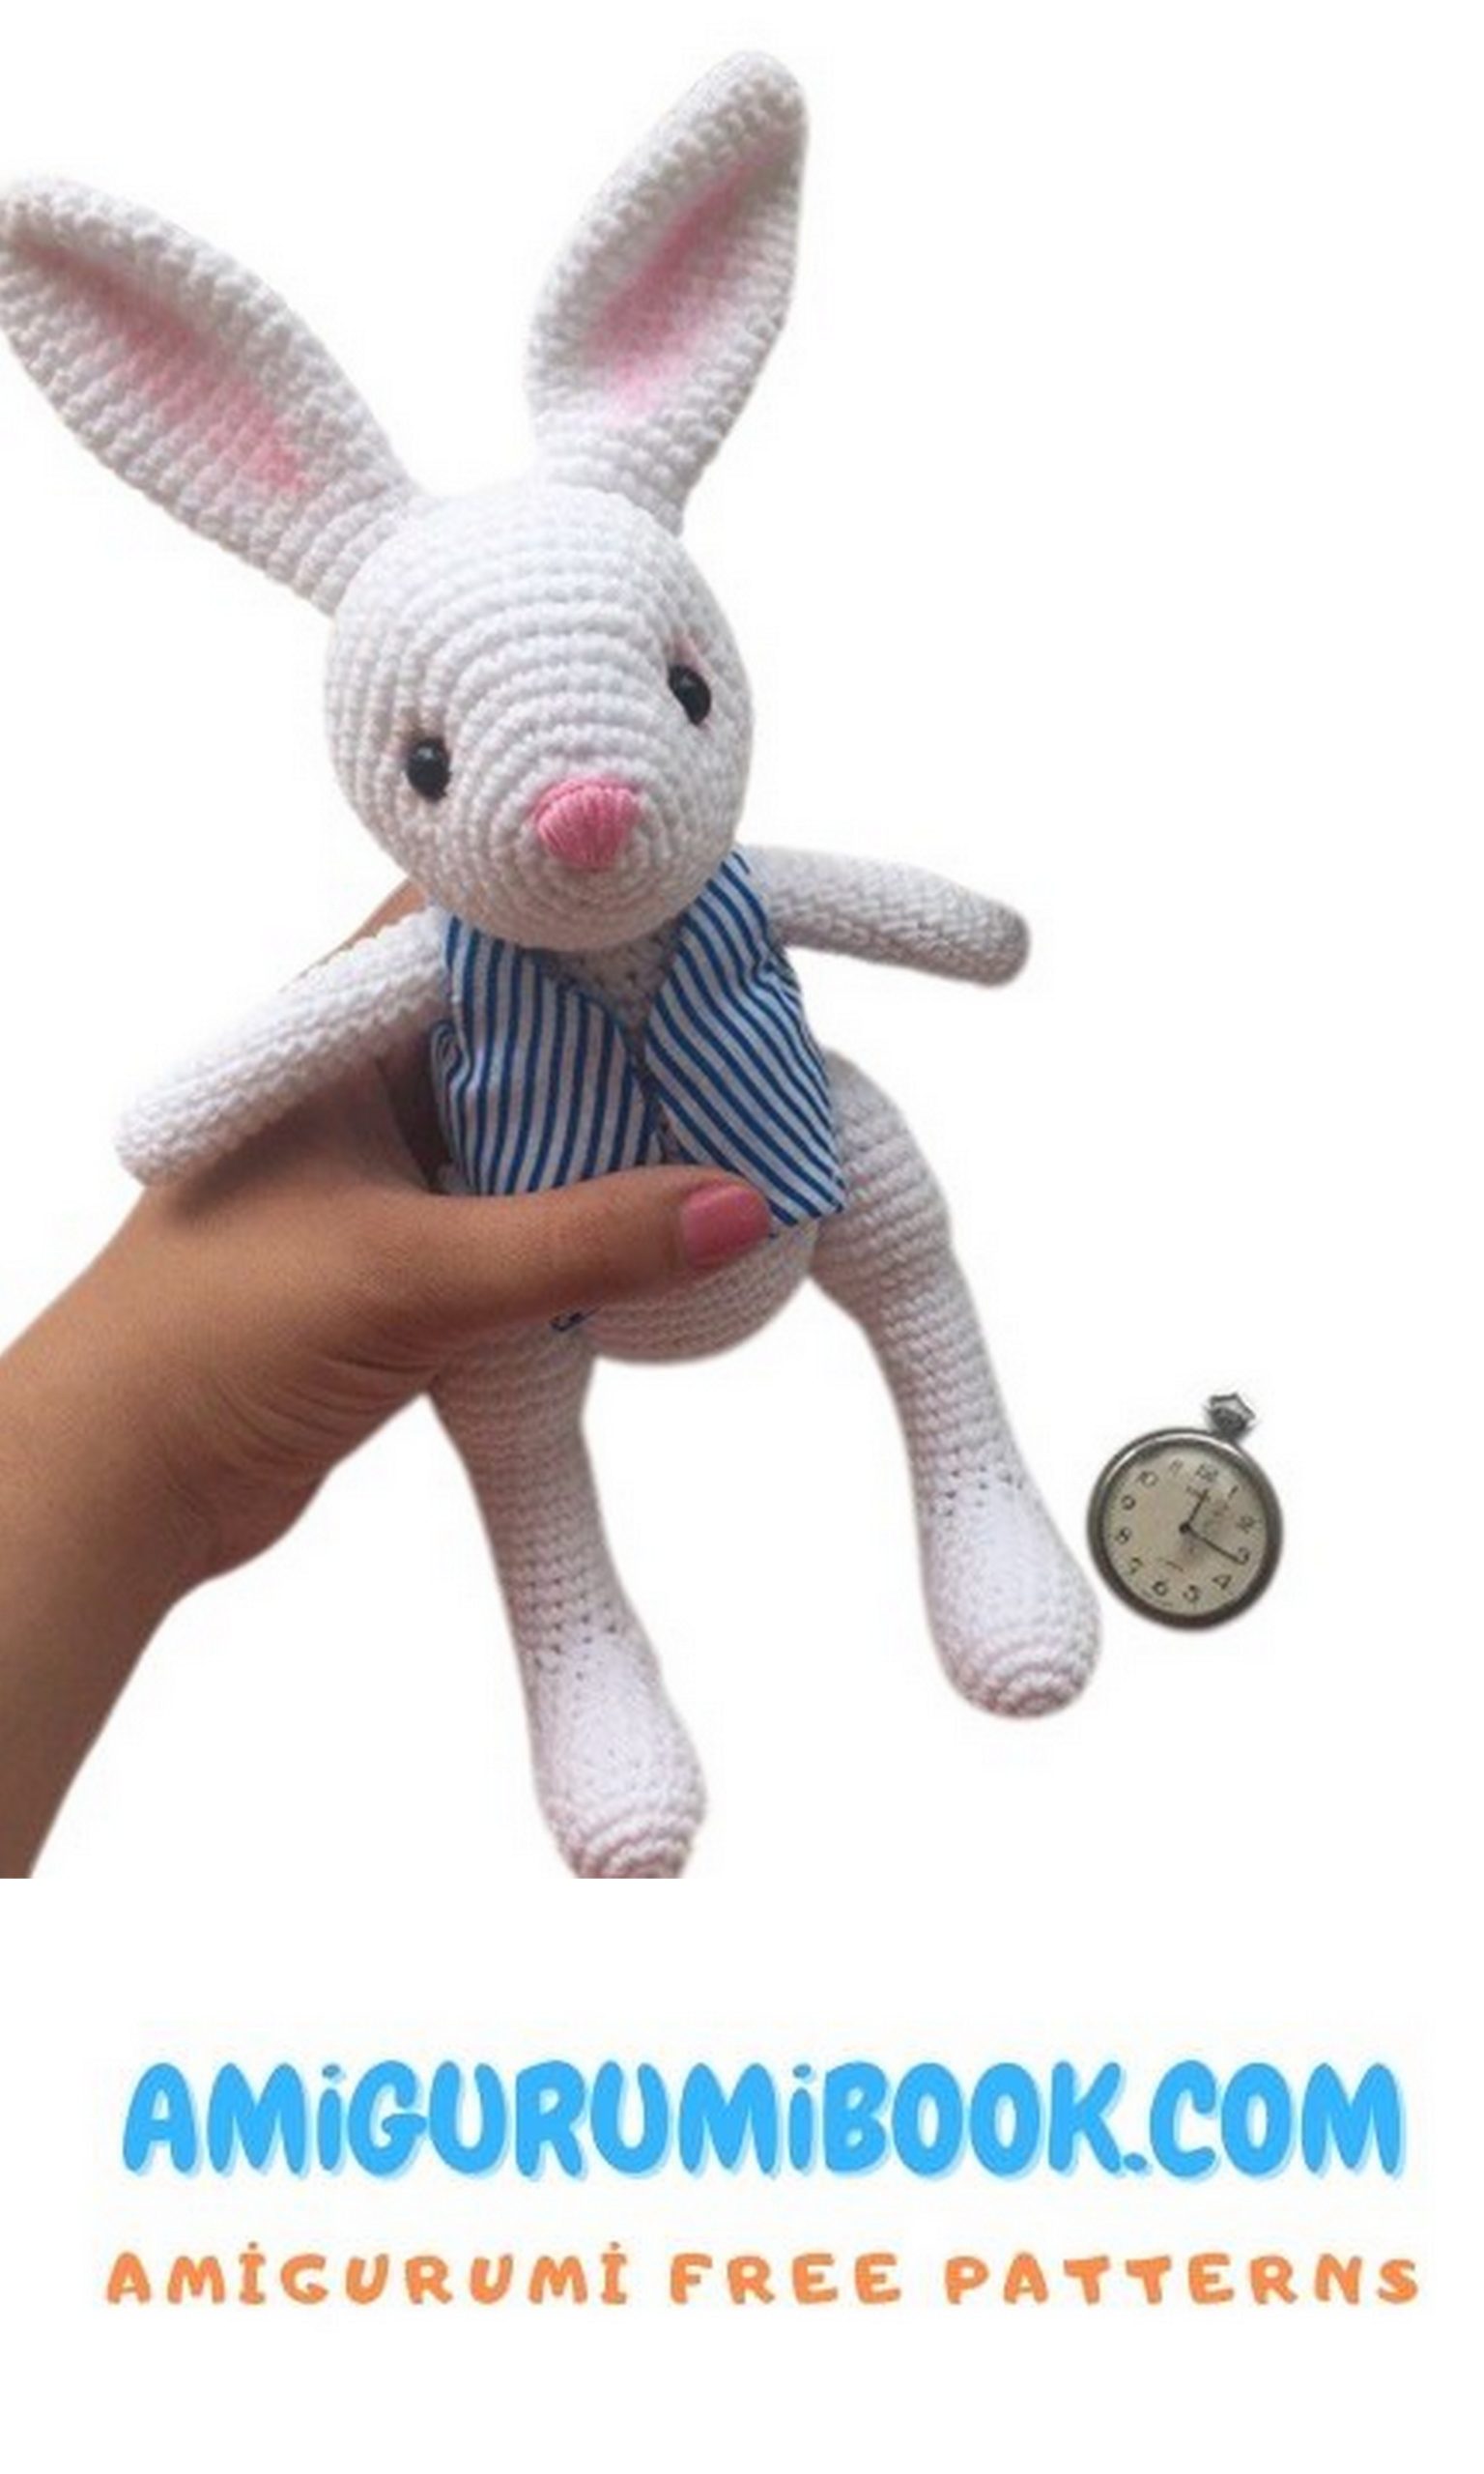
👉 Finished size:
Approx. 20 cm (without ears) / 25 cm (with ears)
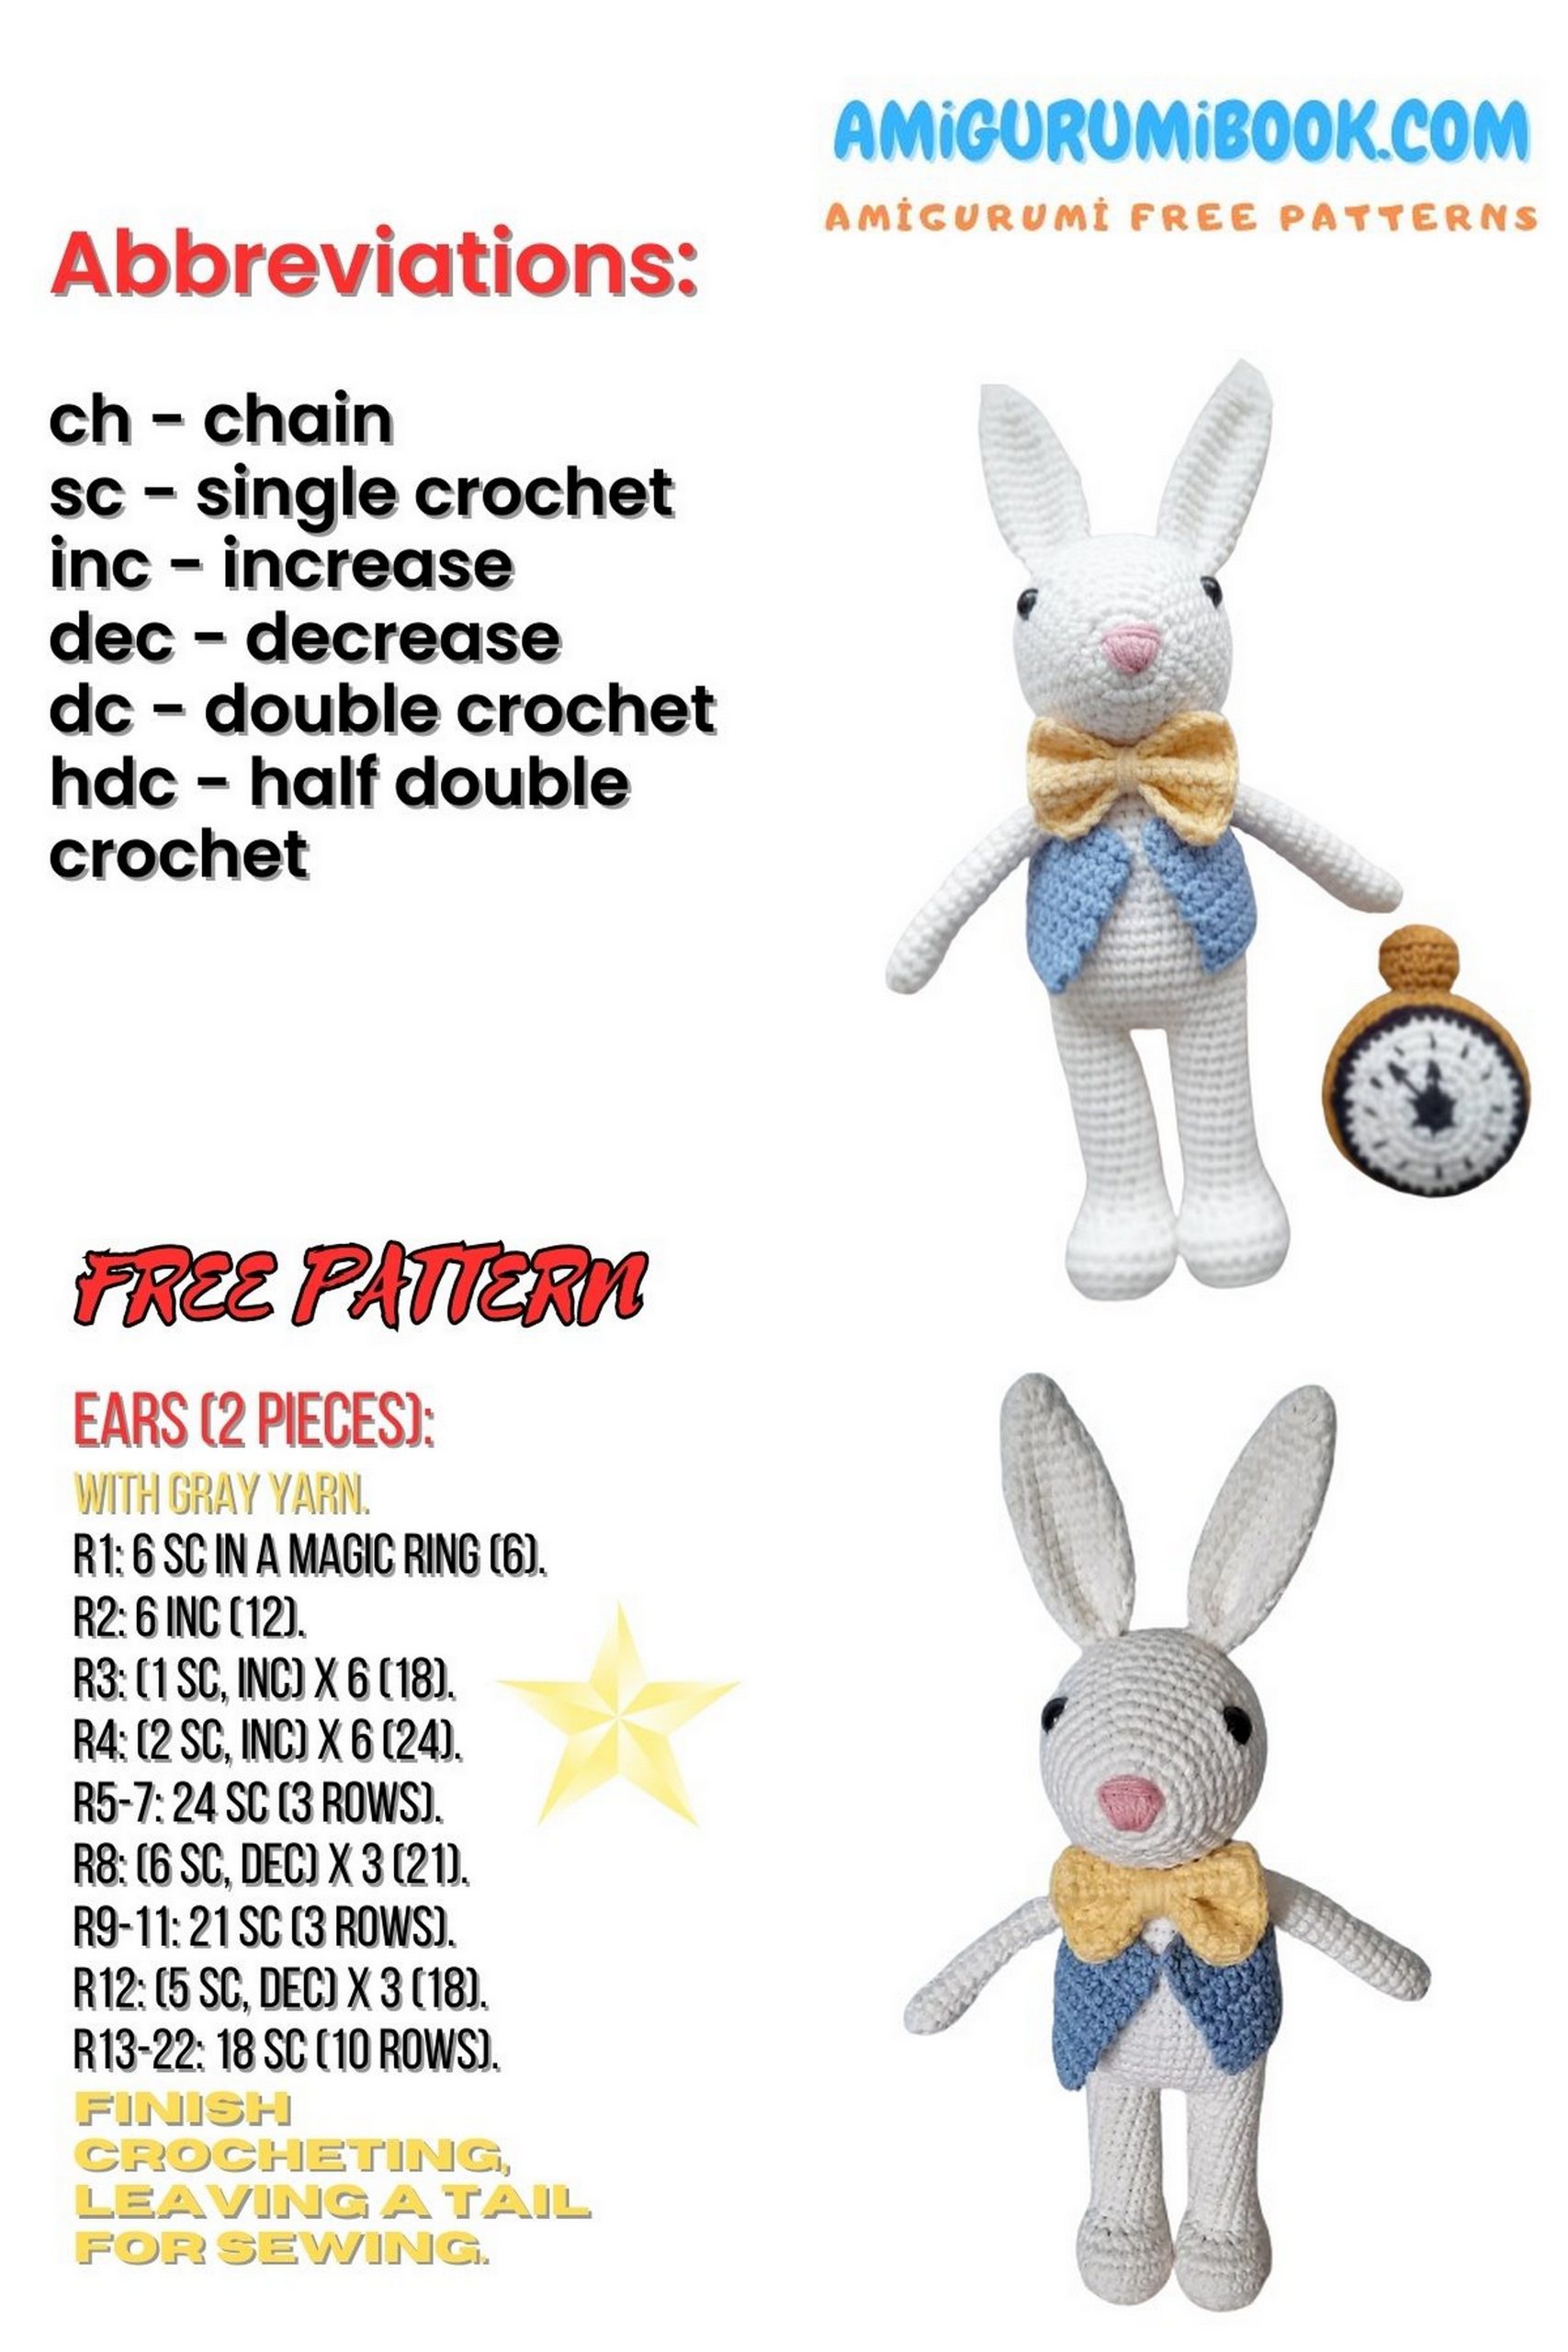
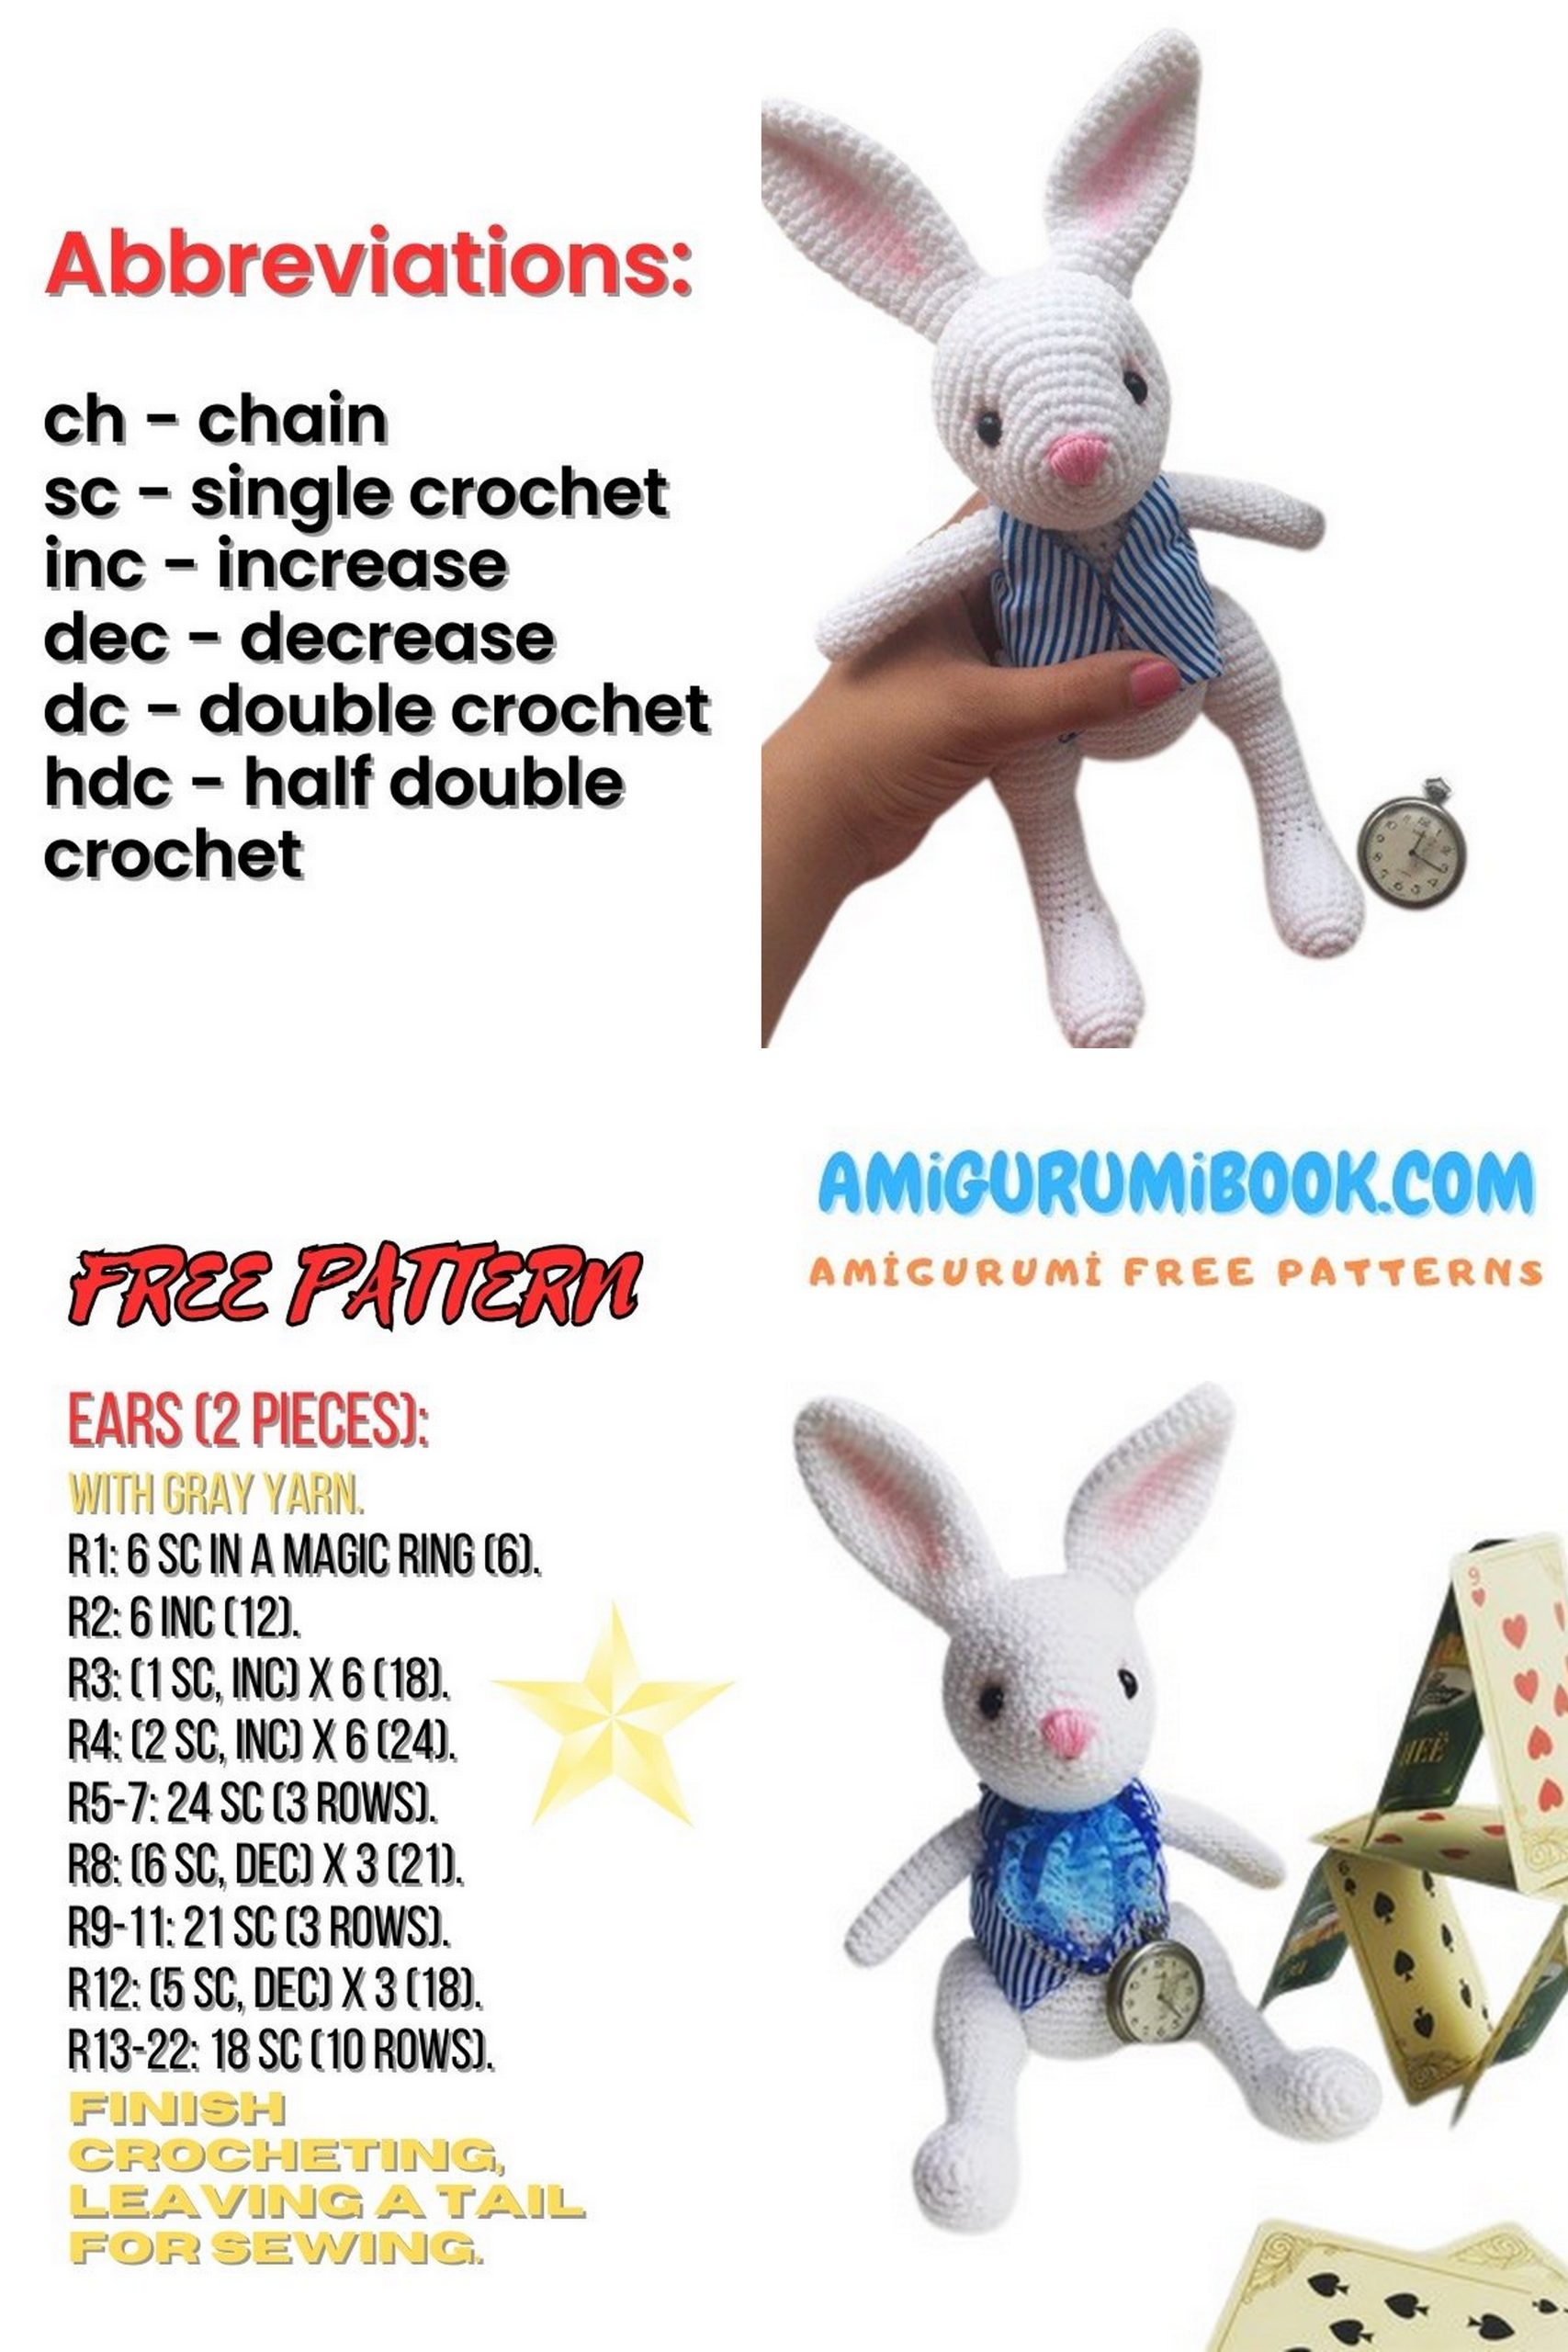
✂️ Abbreviations
- ch: chain
- sc: single crochet
- sl st: slip stitch
- inc: increase (2 sc in same stitch)
- dec: decrease (sc 2 stitches together)

🧸 Head
1: 6 sc in MR (6)
2: (inc) * 6 (12)
3: (1 sc, inc) * 6 (18)
4: (2 sc, inc) * 6 (24)
5: 24 sc
6: (3 sc, inc) * 6 (30)
7: 30 sc
8: (4 sc, inc) * 6 (36)
9: 36 sc
10: (5 sc, inc) * 6 (42)
11: 42 sc
12: (6 sc, inc) * 6 (48)
13: 48 sc
👉 Insert safety eyes between Rows 9–10 (15 stitches apart)
👉 Lightly shade the eye area with pastel before inserting
14–15: 48 sc
16: (6 sc, dec) * 6 (42)
17: 42 sc
18: (5 sc, dec) * 6 (36)
19: 36 sc
👉 Start stuffing (focus on eye shaping)
20: (4 sc, dec) * 6 (30)
21: (3 sc, dec) * 6 (24)
22: 24 sc
👉 Stuff firmly
23: (2 sc, dec) * 6 (18)
24: (1 sc, dec) * 6 (12)
25: 6 dec (6)
Close the opening and hide the yarn.
👉 Tighten stitches around the eyes if needed
👂 Ears (Make 2)
Do not stuff.
1: 6 sc in MR (6)
2: (inc) * 6 (12)
3: (3 sc, inc) * 3 (15)
4: 15 sc
5: (4 sc, inc) * 3 (18)
6–7: 18 sc
8: (5 sc, inc) * 3 (21)
9–11: 21 sc
12: (5 sc, dec) * 3 (18)
13–14: 18 sc
15: (4 sc, dec) * 3 (15)
16–17: 15 sc
18: (3 sc, dec) * 3 (12)
19–20: 12 sc
F.o., leave a tail for sewing.
Do not fold.
✨ Ear Placement & Details
- Sew ears between Rows 16–17
- Leave ~3 stitches between them
- Lightly shade inner ears with pink pastel
👉 Embroider the nose with embroidery floss
🧸 Body
1: 6 sc in MR (6)
2: (inc) * 6 (12)
3: (1 sc, inc) * 6 (18)
4: (2 sc, inc) * 6 (24)
5: (3 sc, inc) * 6 (30)
6: (4 sc, inc) * 6 (36)
7: (5 sc, inc) * 6 (42)
8: (6 sc, inc) * 6 (48)
9–15: 48 sc
16: (6 sc, dec) * 6 (42)
17–18: 42 sc
19: (5 sc, dec) * 6 (36)
20–21: 36 sc
22: (4 sc, dec) * 6 (30)
23–25: 30 sc
26: (3 sc, dec) * 6 (24)
27: 24 sc
28: (2 sc, dec) * 6 (18)
29–30: 18 sc
F.o., leave a long tail.
Stuff firmly.
🧵 Assembly
Align securely and fill neck area well
Sew body to head between Rows 12–18
🐾 Arms (Make 2)
1: 5 sc in MR (5)
2: (inc) * 5 (10)
3–18: 10 sc
19: 5 dec (5)
F.o., close and hide yarn.
🧵 Arm Attachment
- Attach arms between Rows 27–28 of the body
- Sew securely with thread
🦵 Legs (Make 2)
1: 6 sc in MR (6)
2: (inc) * 6 (12)
3: (1 sc, inc) * 6 (18)
4–8: 18 sc
9: (4 sc, dec) * 3 (15)
10–11: 15 sc
12: (3 sc, dec) * 3 (12)
👣 Foot Shaping
13: 6 sc, ch 1, turn, 6 sc, sl st to Round 12, ch 1, turn
14: 7 sc, sl st to Round 12, ch 1, turn
15: 8 sc, sl st to Round 12, ch 1, turn
16: 9 sc, 3 sc from Round 12 (12)
17–22: 12 sc
23: (3 sc, inc) * 3 (15)
24–26: 15 sc
27: (4 sc, inc) * 3 (18)
28: (2 sc, inc) * 6 (24)
29: (3 sc, inc) * 6 (30)
30–35: 30 sc
36: (3 sc, dec) * 6 (24)
37: (2 sc, dec) * 6 (18)
38: (1 sc, dec) * 6 (12)
39: 6 dec (6)
F.o., close and hide yarn.
🧵 Leg Attachment
Position between Rows 12–13 of the body
Attach legs using button joints
🐾 Tail
1: 6 sc in MR (6)
2: (inc) * 6 (12)
3: (1 sc, inc) * 6 (18)
4: (2 sc, inc) * 6 (24)
5: 24 sc
Lightly stuff the tail
F.o., leave a long tail for sewing.
🧵 Tail Attachment
Position it centered at the back
Sew the tail between Rows 8–16 of the body