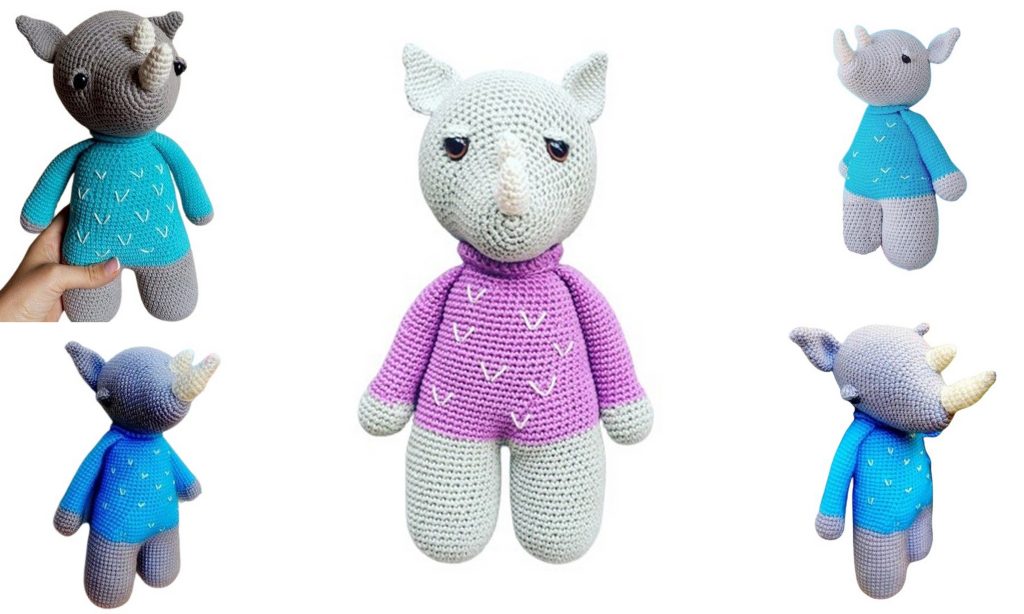
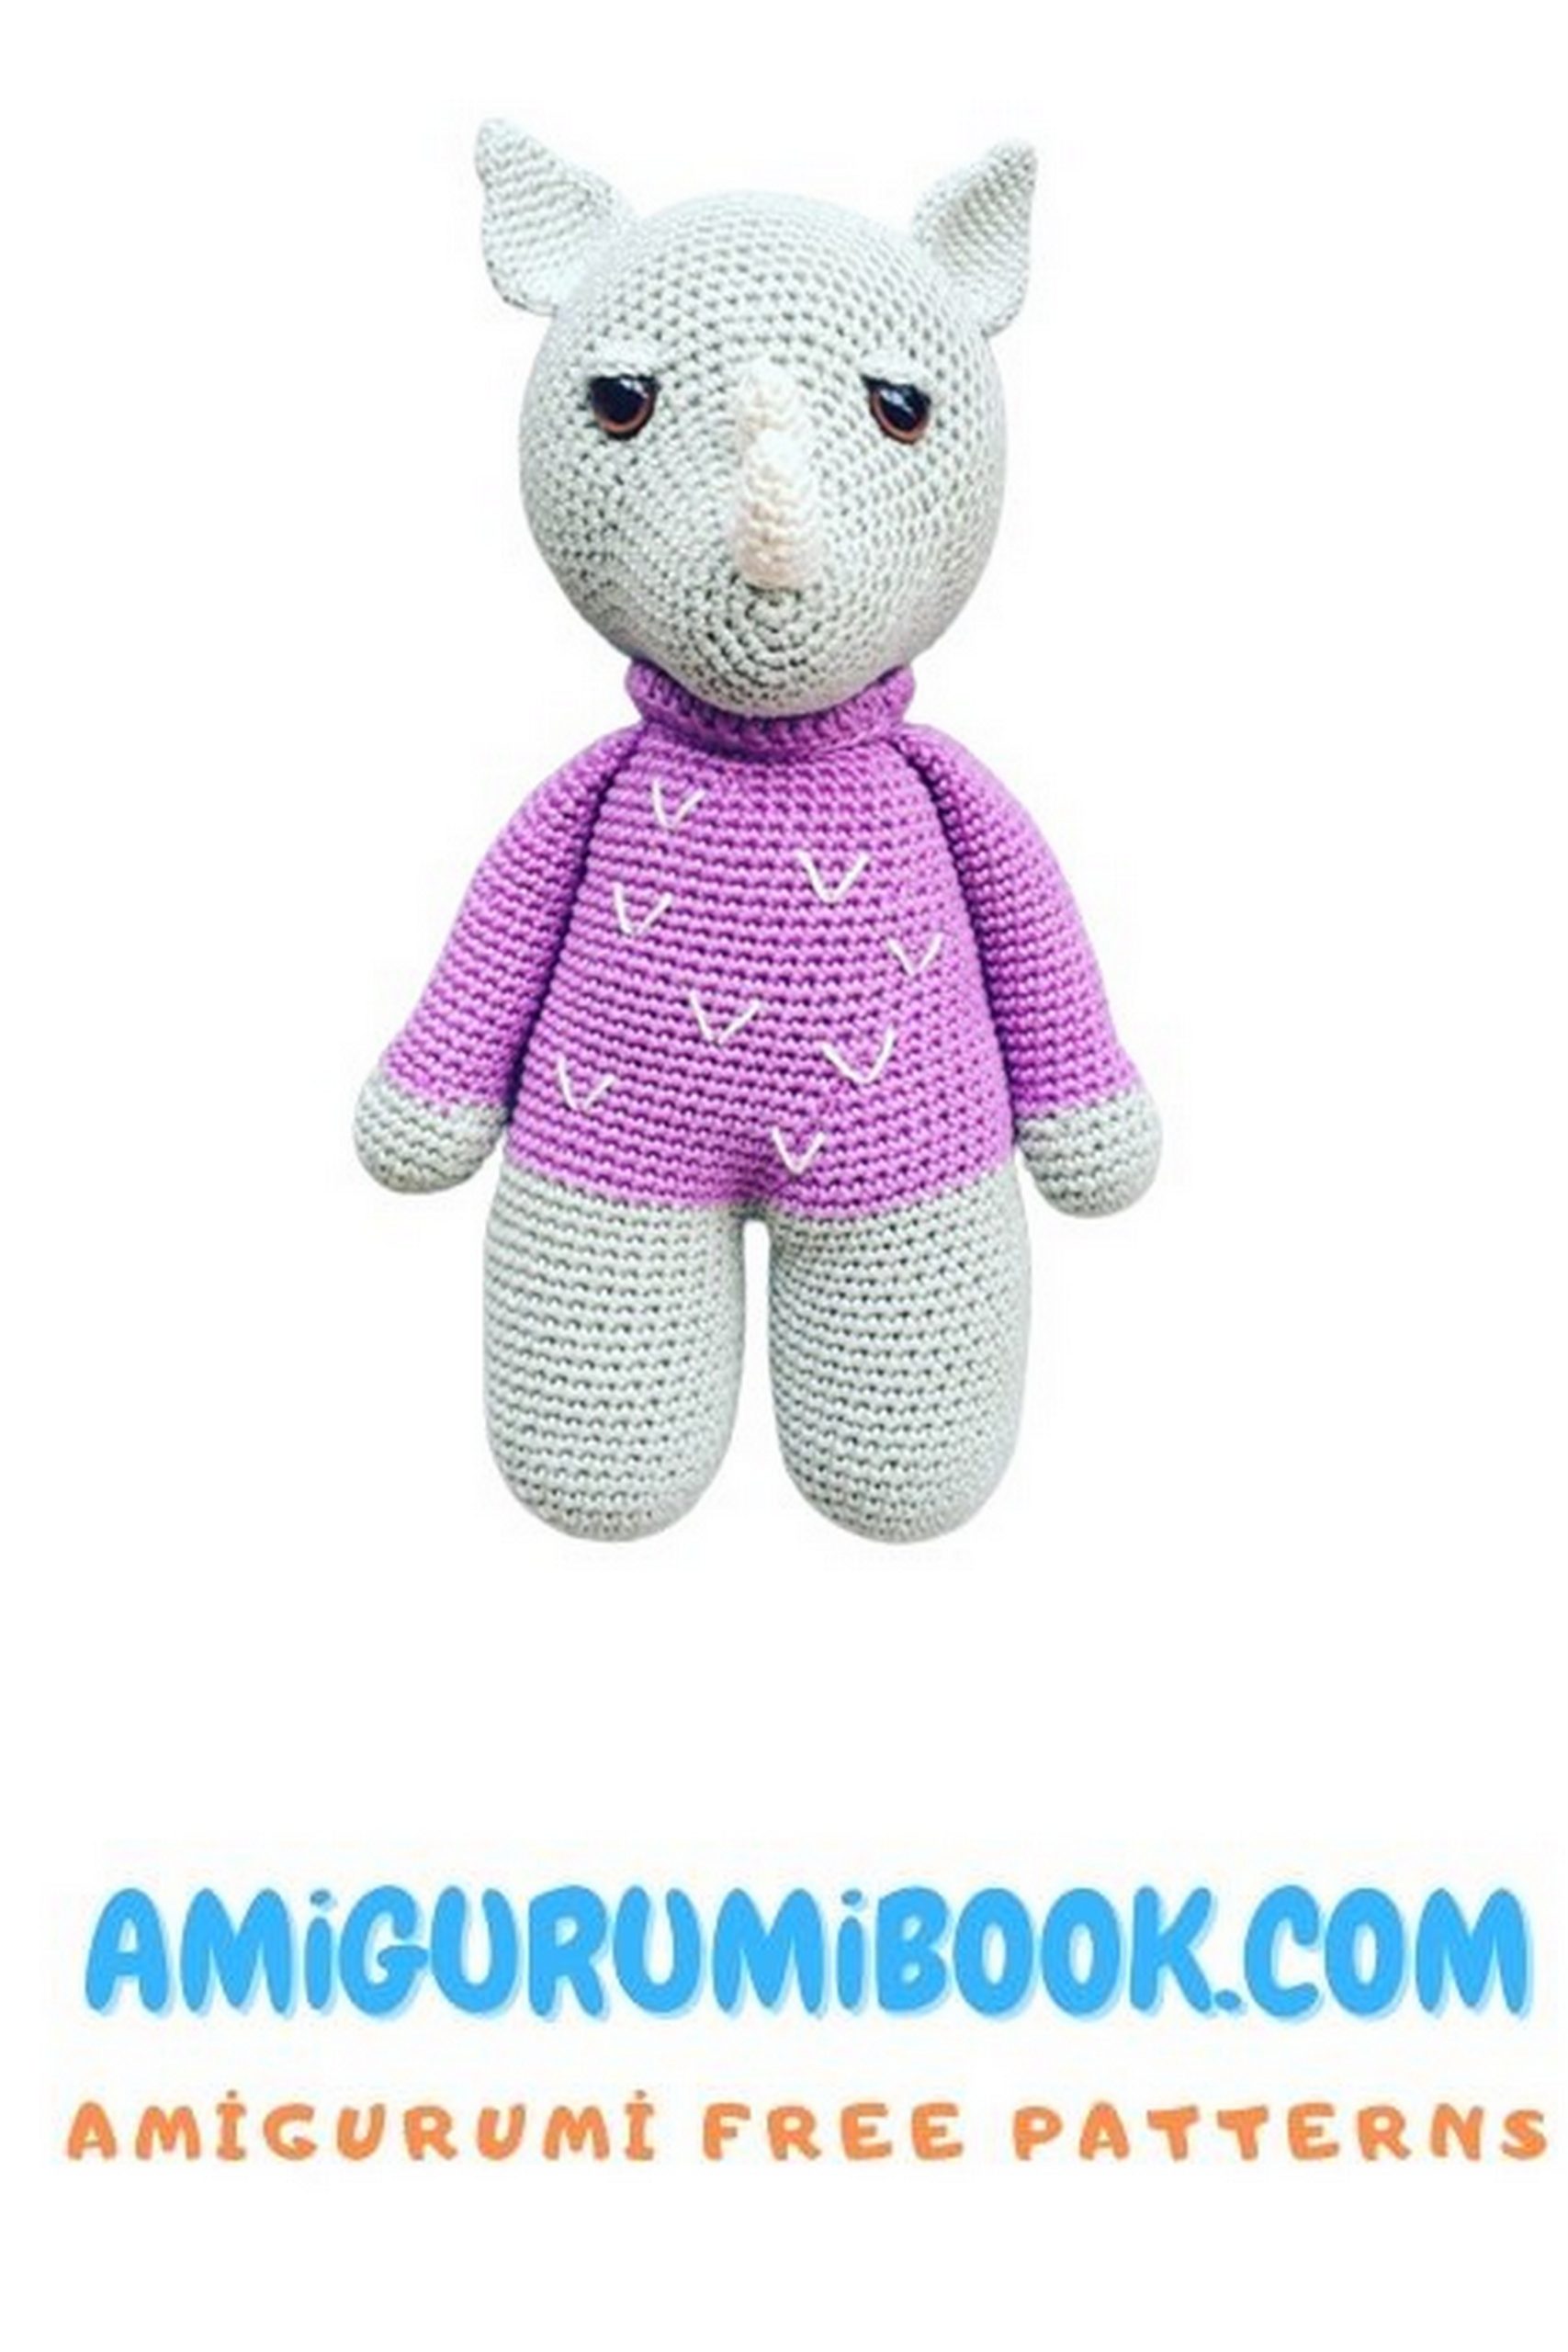
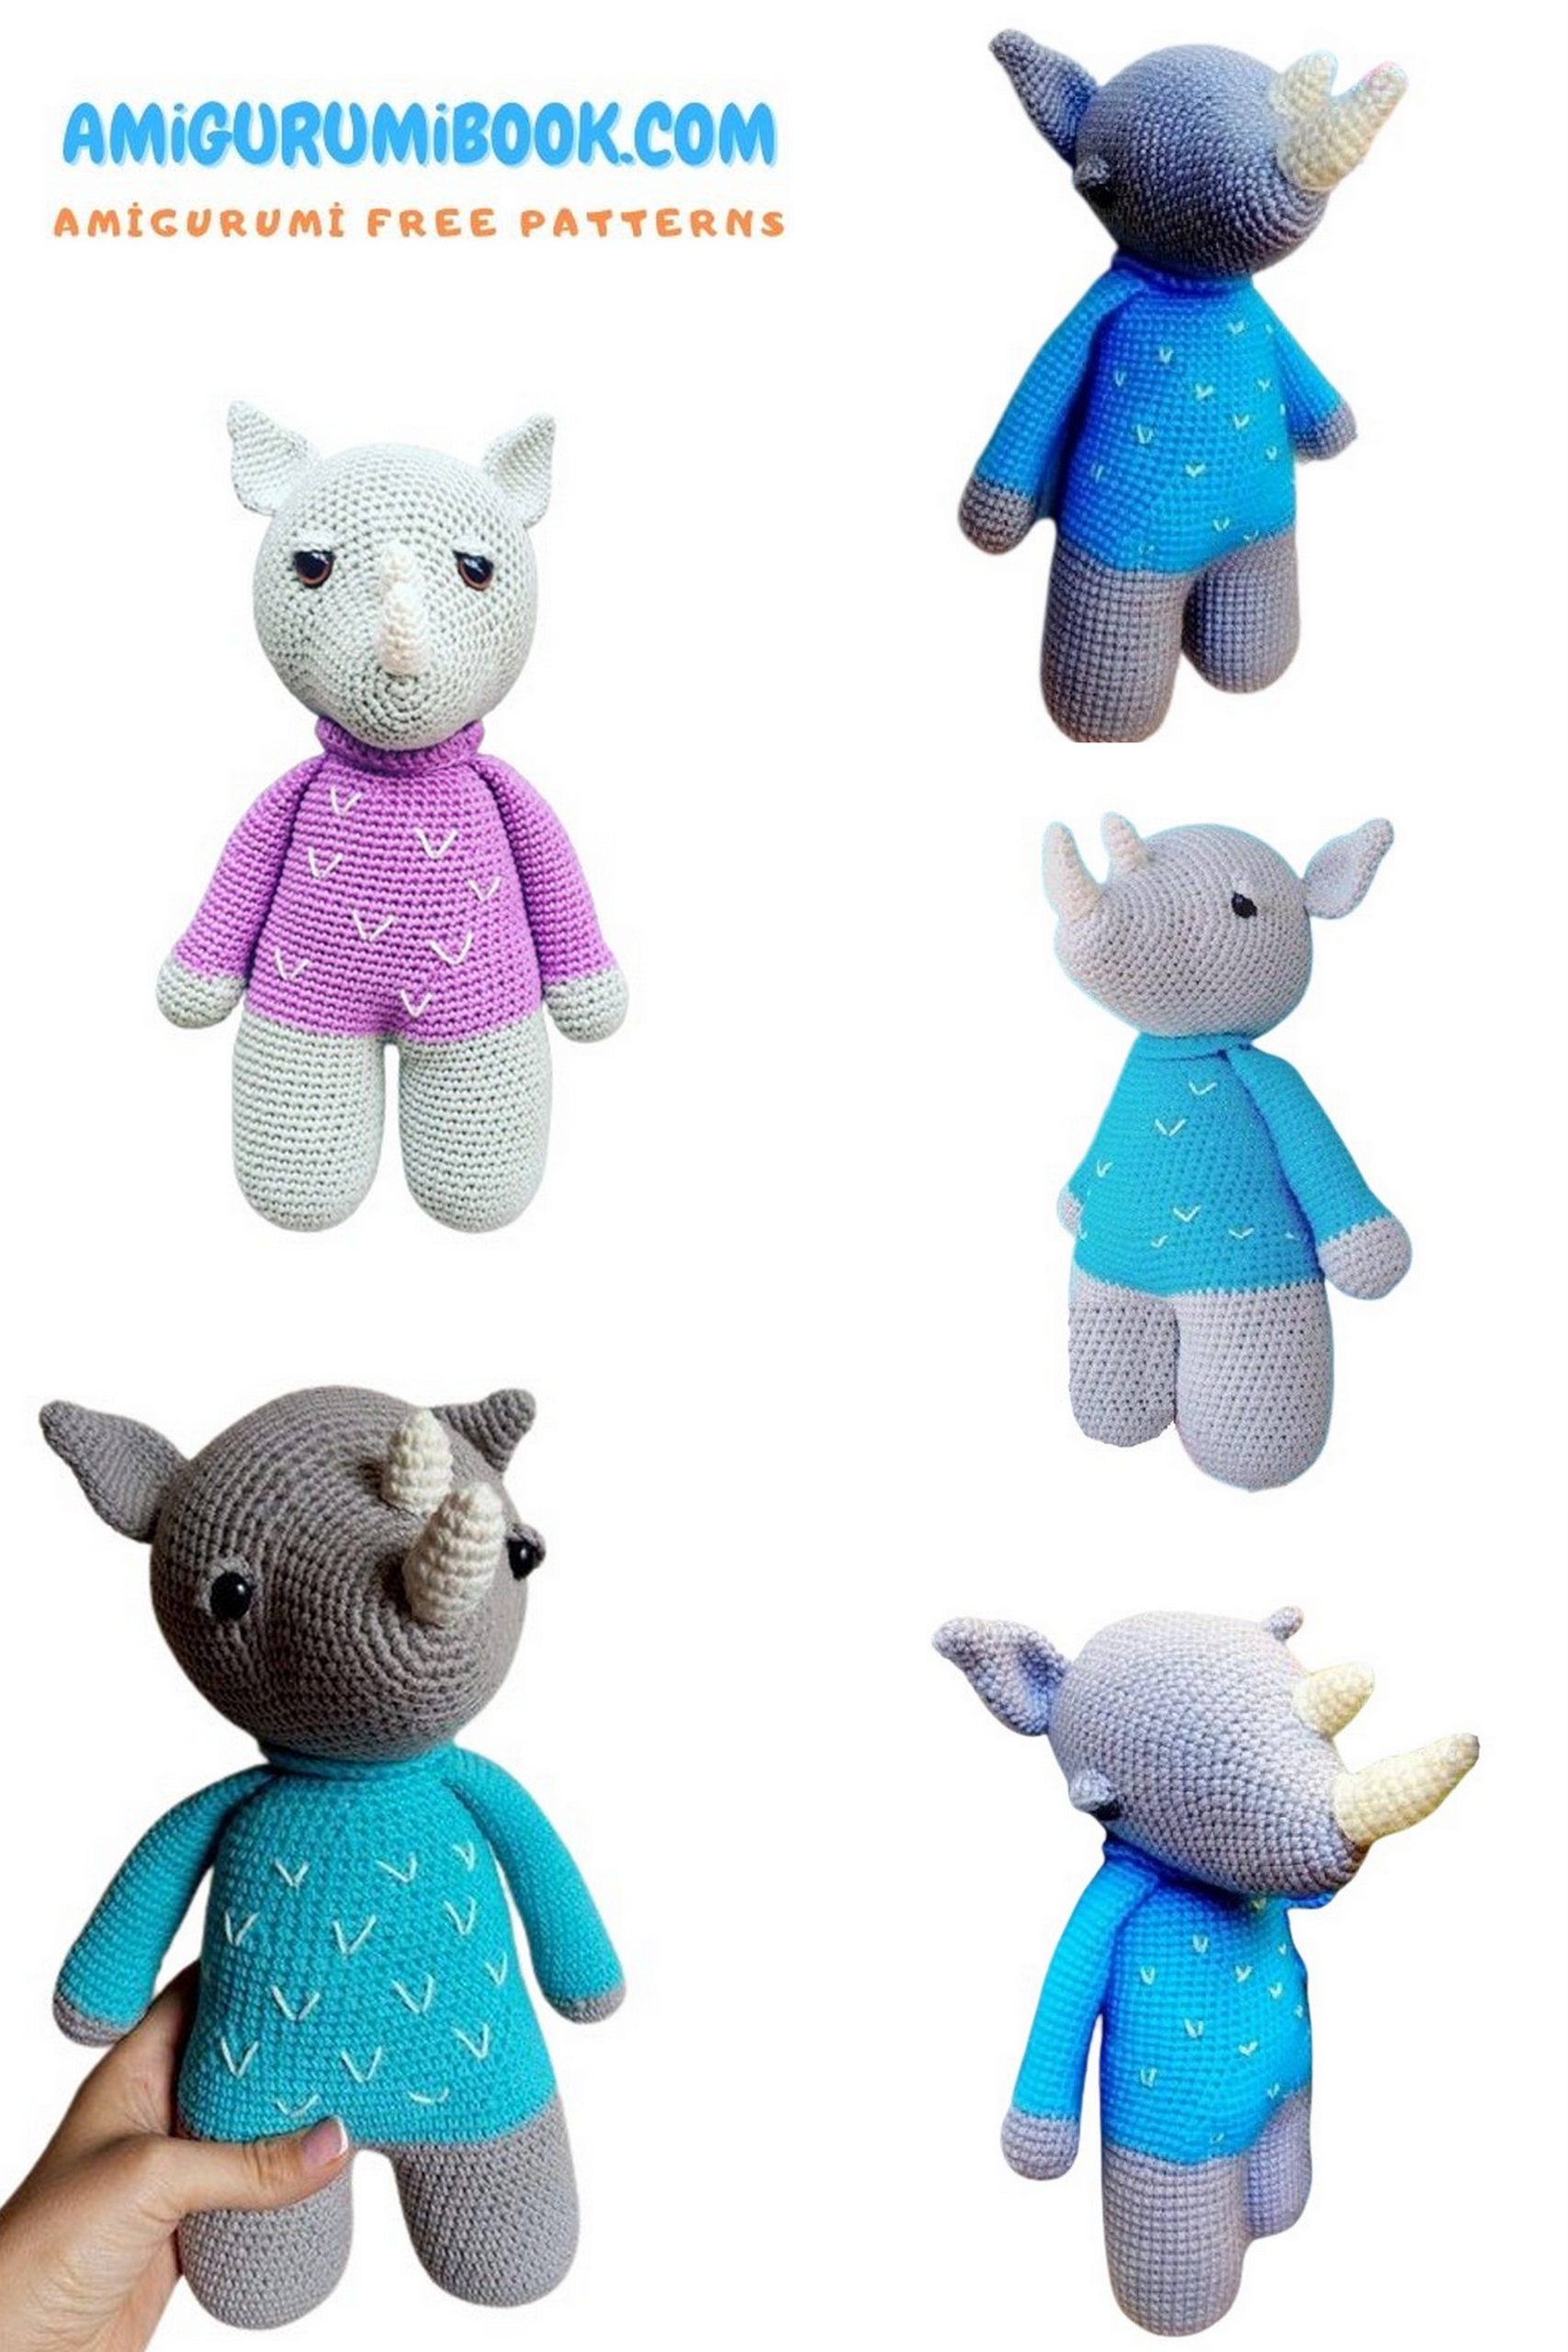
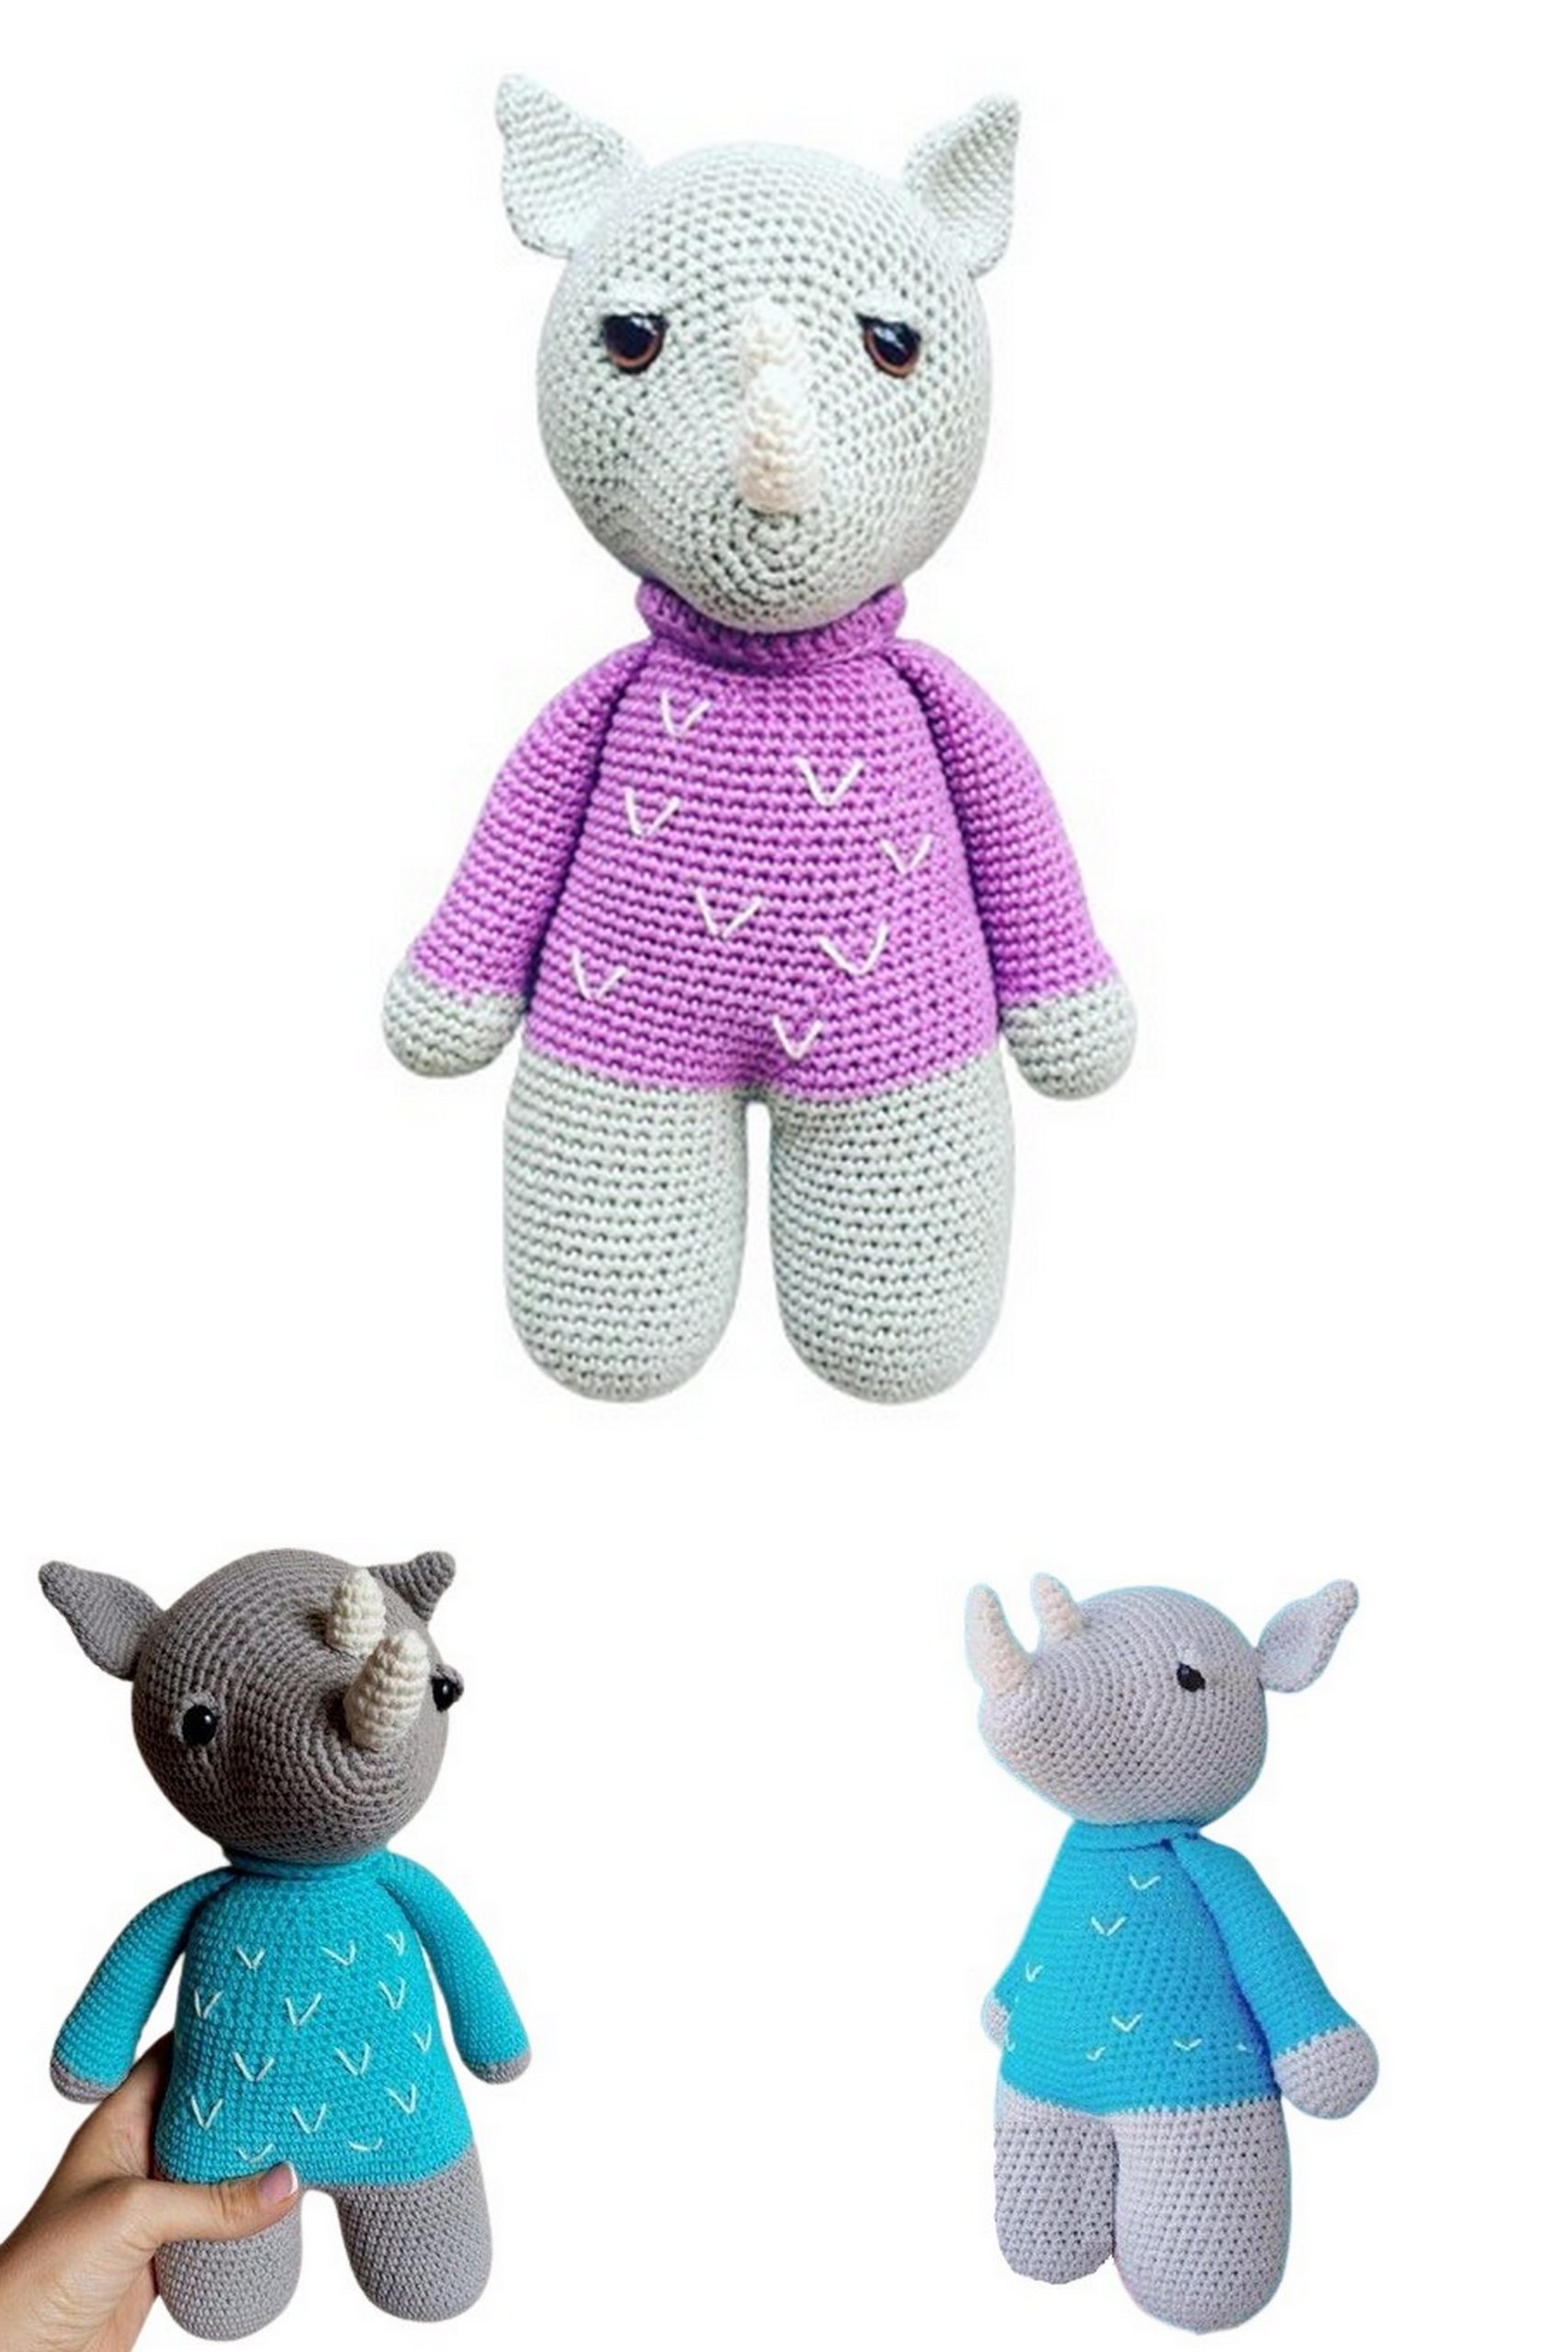
Discover the joy of crafting with this free amigurumi rhino pattern, perfect for both beginners and experienced crocheters. Create your own adorable rhinoceros plushie that makes a charming gift or a delightful addition to your handmade collection. free crochet patternsYou may also like more amigurumi patterns.Explore the world of amigurumi with our free and easy-to-follow rhinoceros crochet pattern. Whether you’re a seasoned amigurumi enthusiast or just starting out, this project is perfect for creating a cute and cuddly rhino plushie. In this step-by-step tutorial, we’ll walk you through the process of crafting your very own amigurumi rhino, from selecting the right yarn to adding those finishing touches. Get ready to embark on a creative journey that will bring a smile to your face and warmth to your heart!
If you want to access 1000+ free amigurumi patterns, you can download our application from this link!
MATERIALS
- Yarn in 3 colors:
- Color A: White
- Color B: Light Blue
- Color C: Grey
- Crochet hook suitable for your yarn thickness
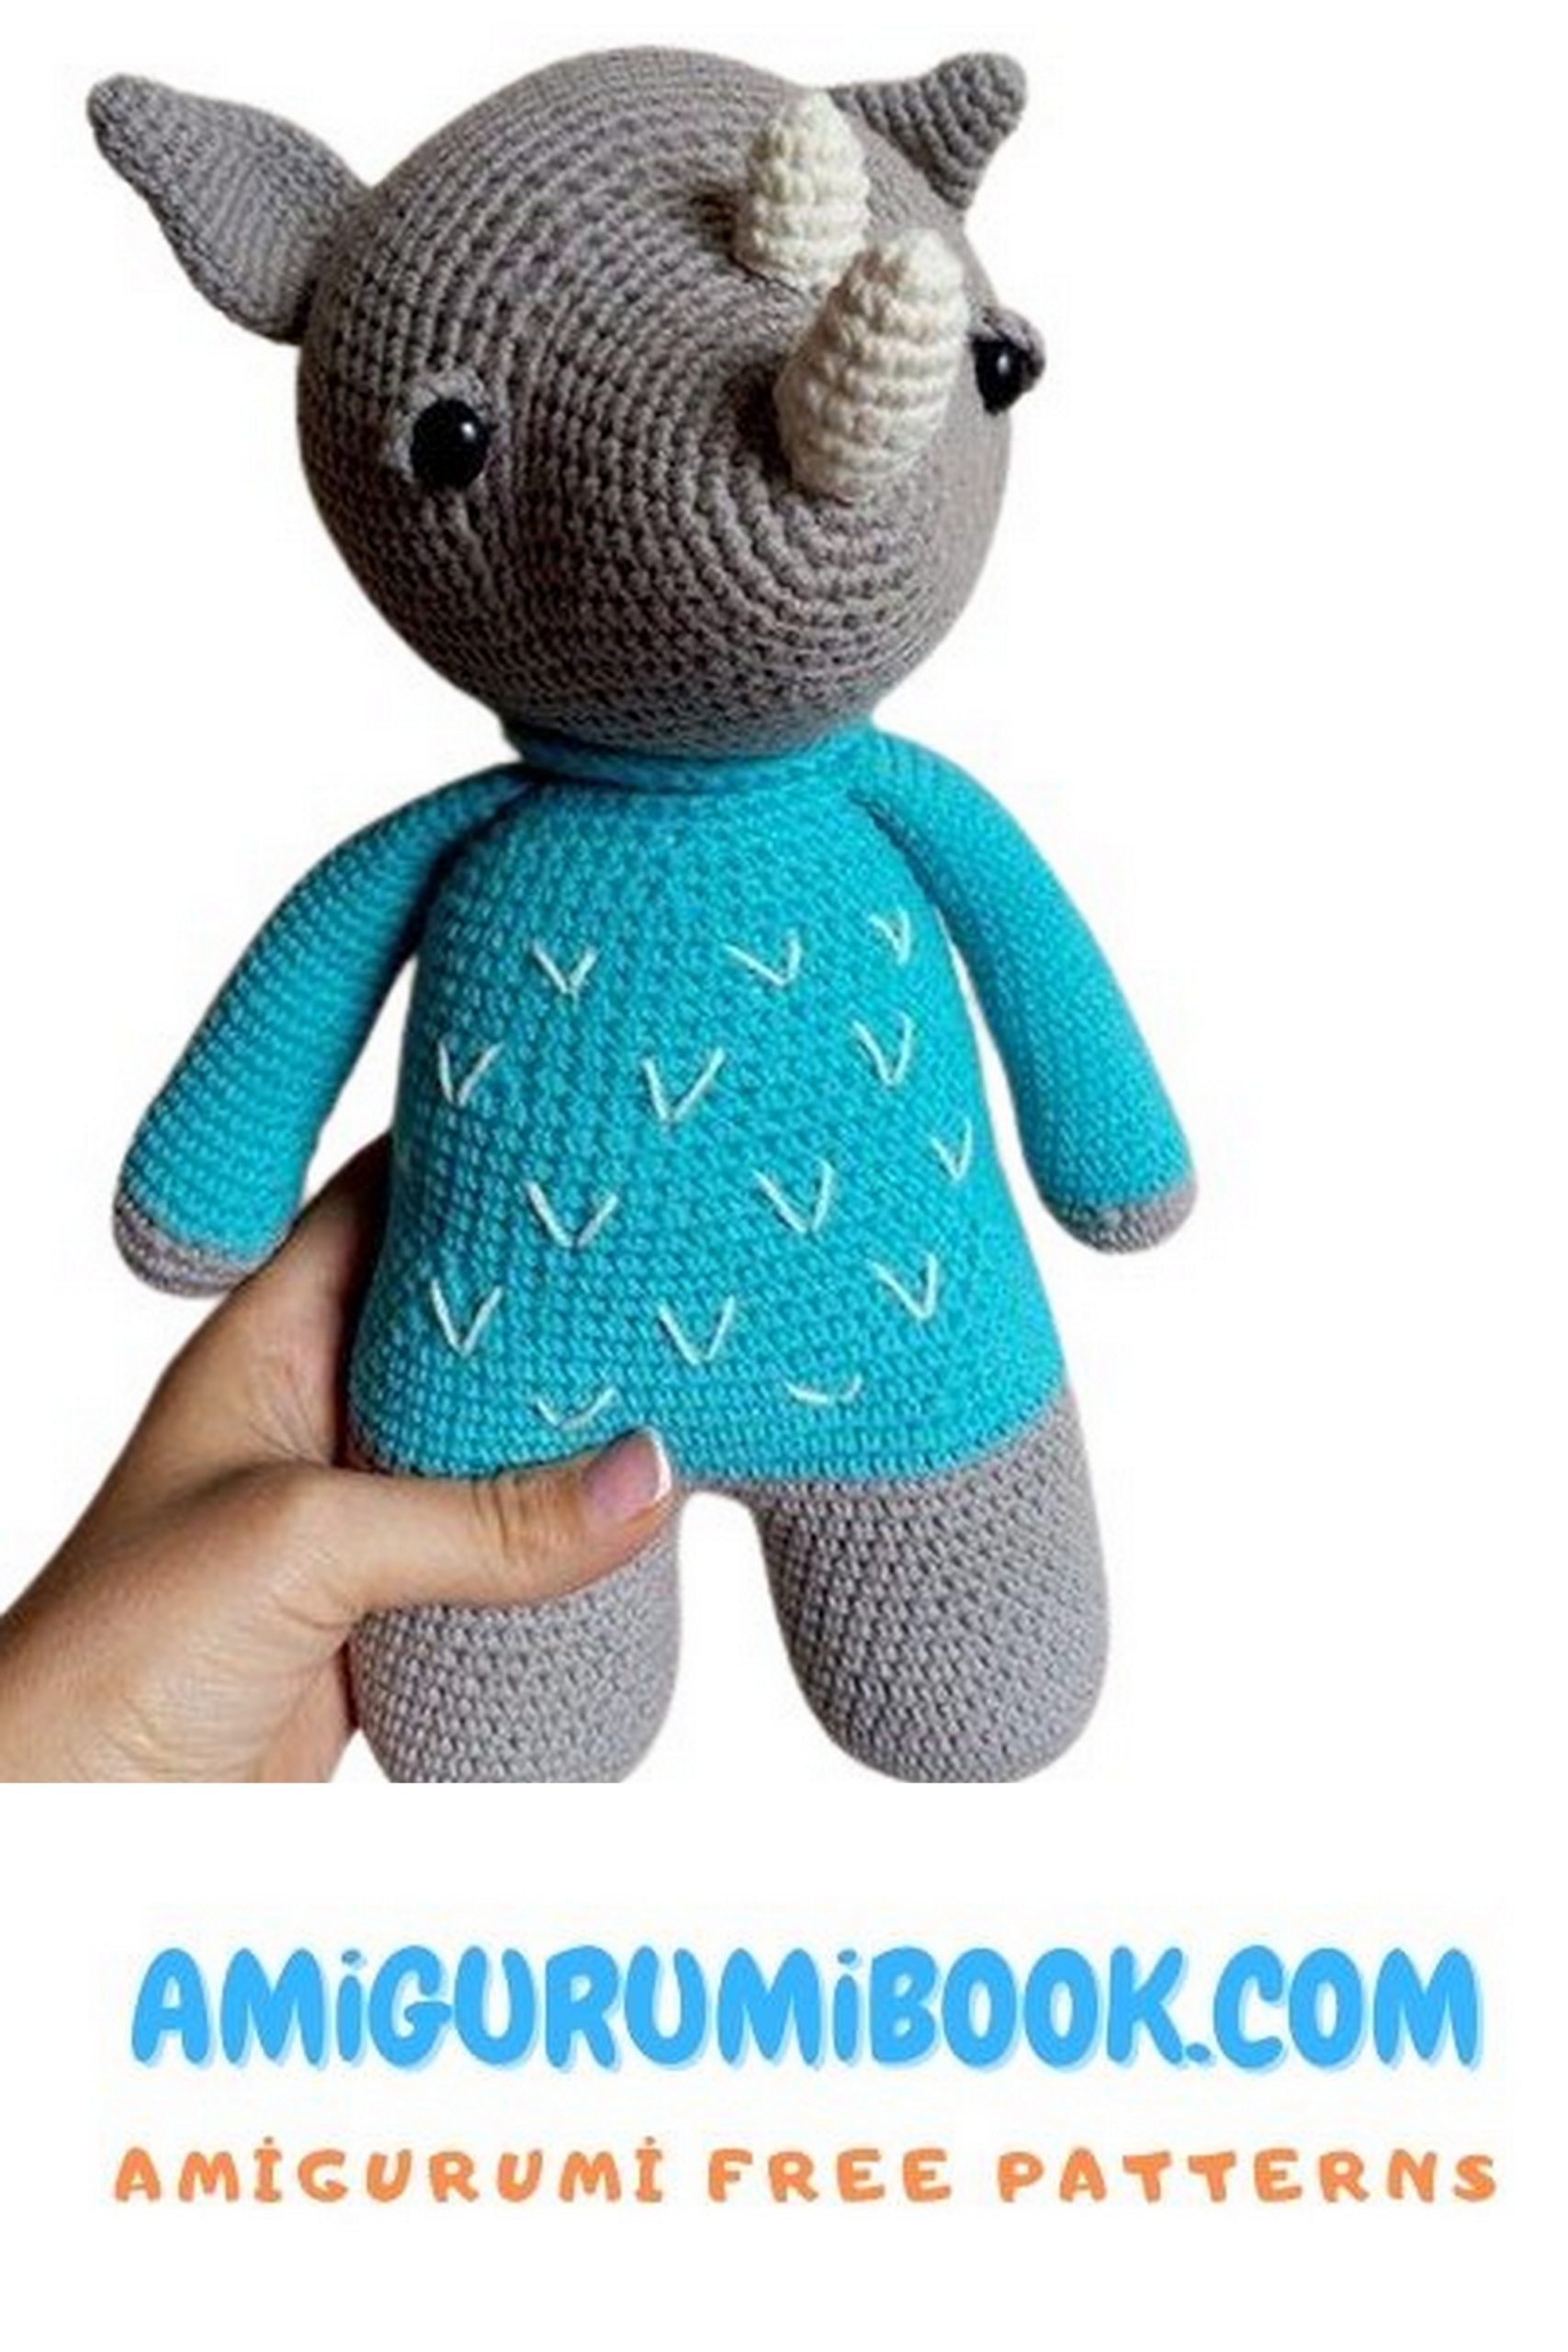
- Safety eyes (9 mm or preferably 12 mm)
- Fiberfill / stuffing
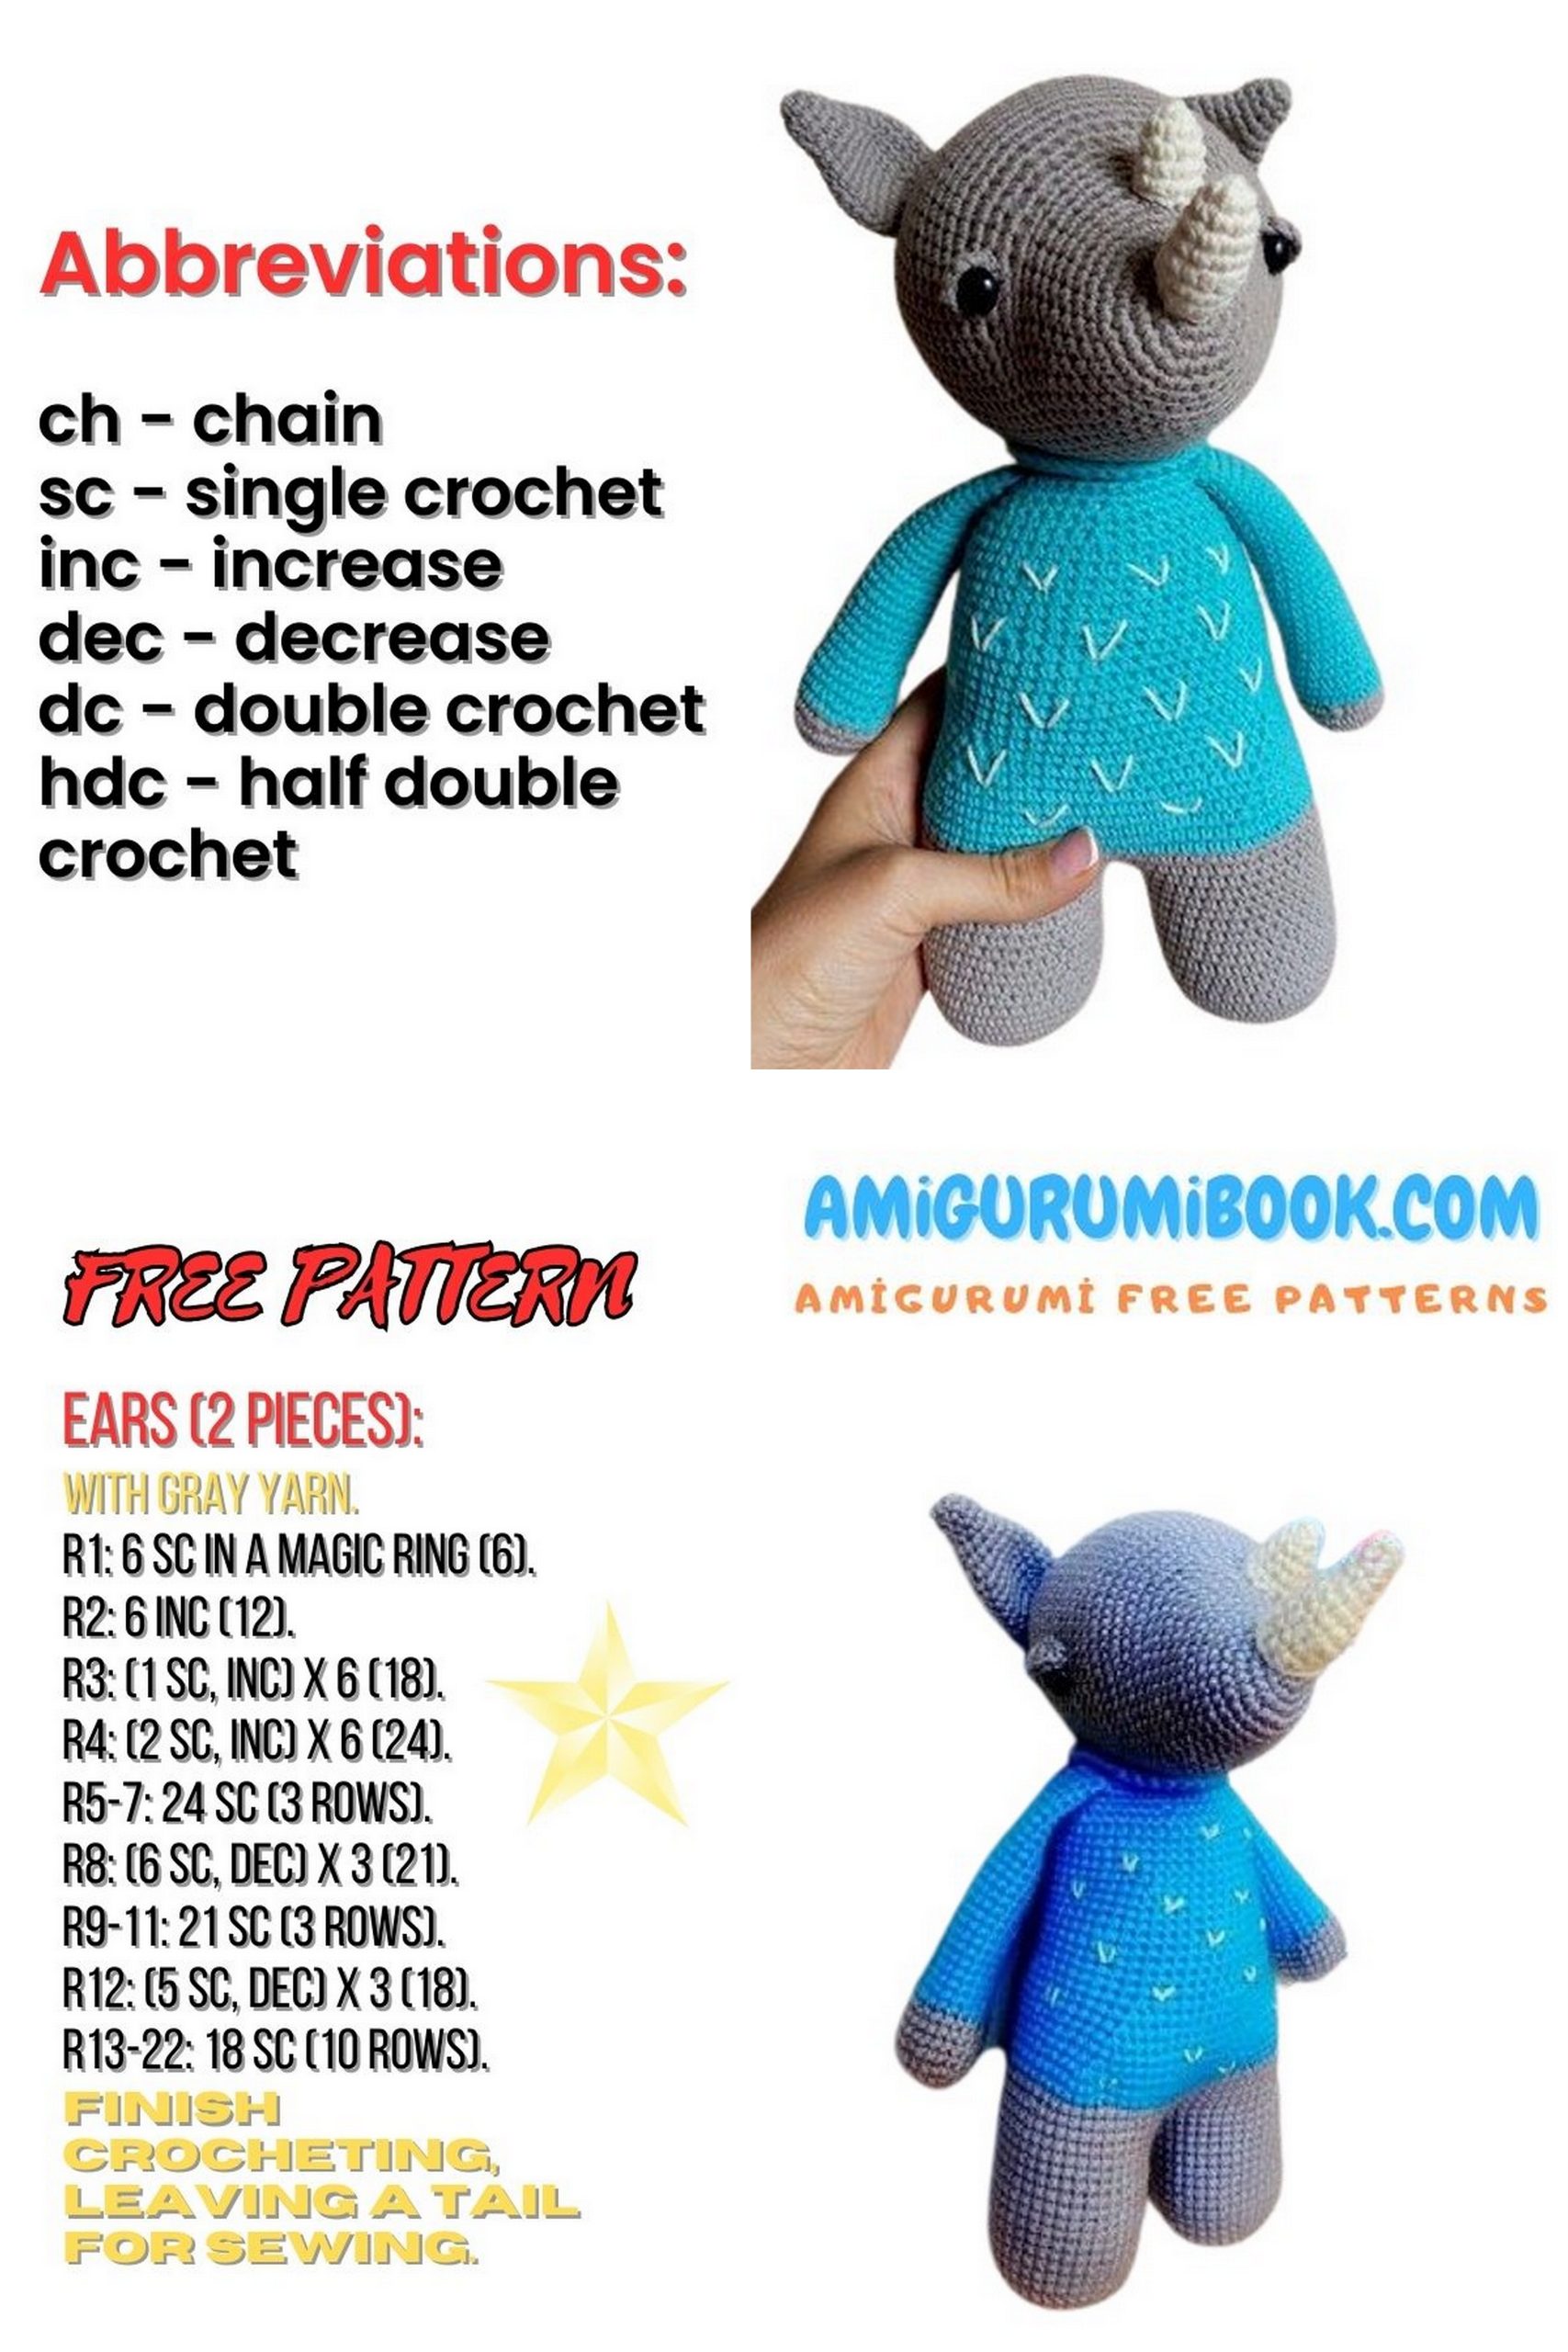
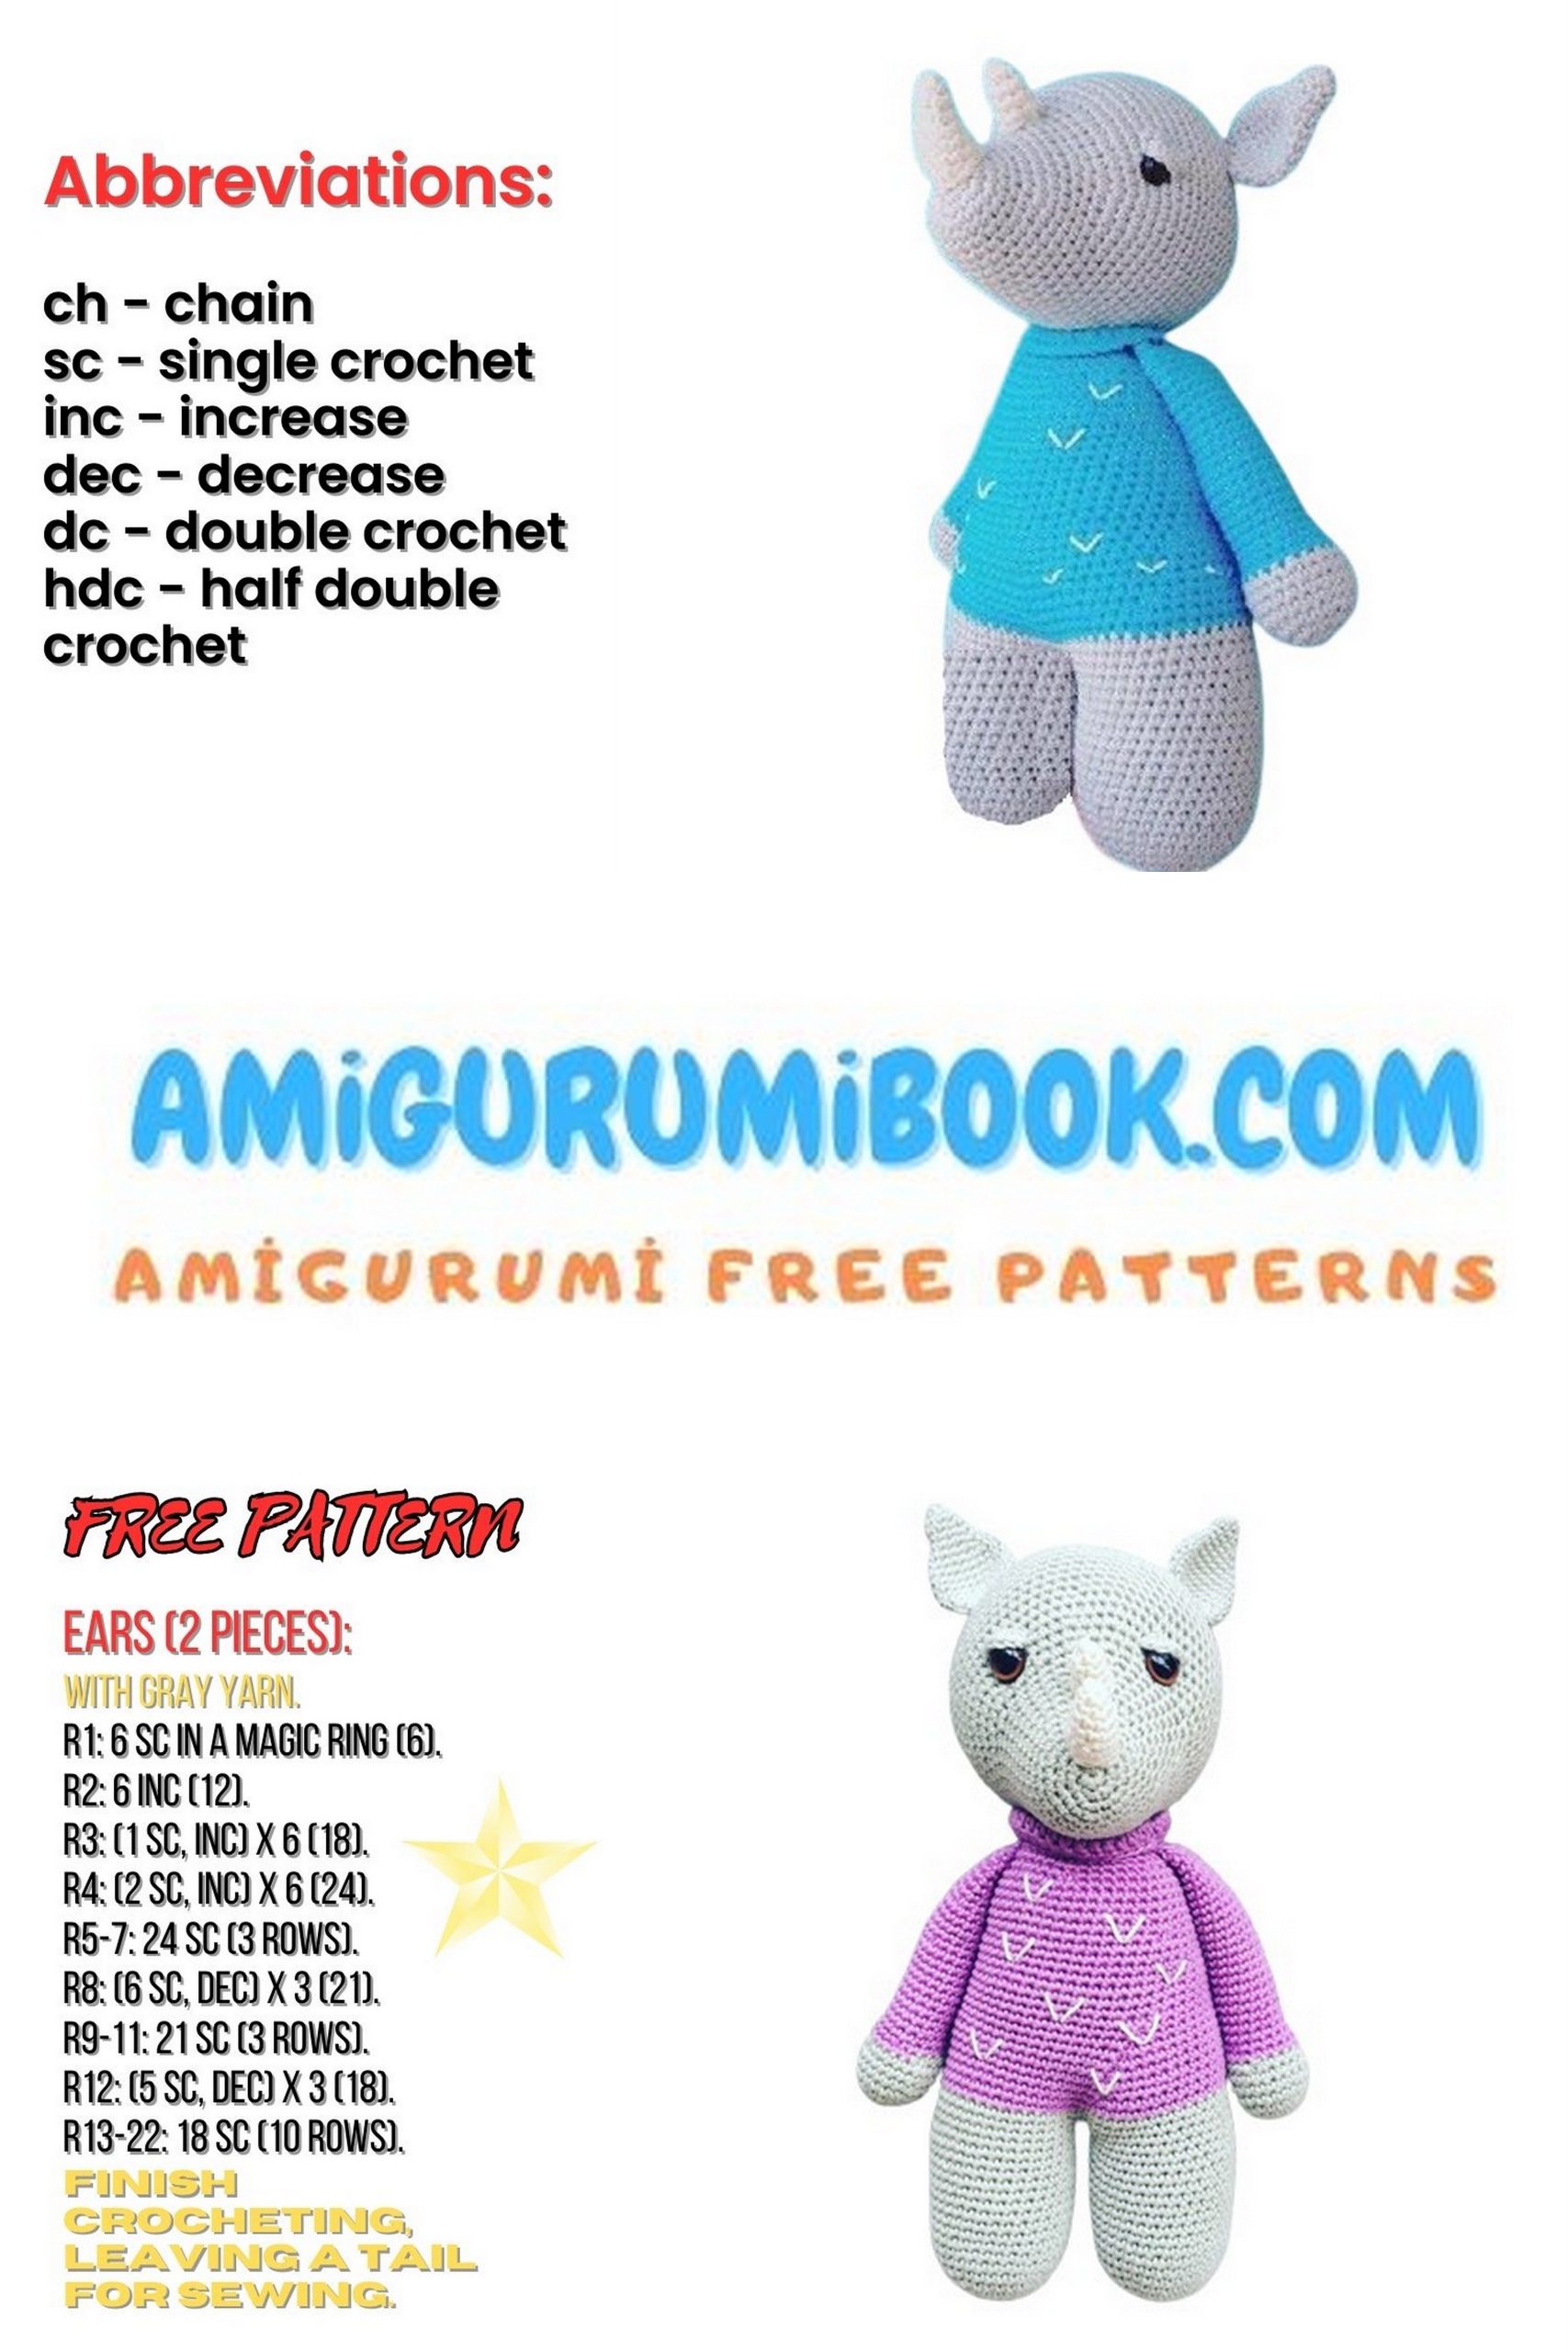
ABBREVIATIONS
(number) – Stitch count at the end of the row
MR – Magic Ring
sc – Single crochet
inc – Increase (2 sc in the same stitch)
dec – Decrease (sc2tog)
ch – Chain
sl st – Slip stitch
BLO – Back loop only
( … ) × n – Repeat instructions in brackets n times

LEGS (make 2)
Color C – Grey
- 6 sc in MR
- inc ×6 (12)
- (1 sc, inc) ×6 (18)
- (2 sc, inc) ×6 (24)
- (3 sc, inc) ×6 (30)
- (4 sc, inc) ×6 (36)
7–19. 36 sc
Make second leg.
- Join legs: attach yarn to first leg, ch 2, sc into second leg.
Continue in the round, making a 2-ch bridge on both sides – 76 sc
BODY
Continue with Color C – Grey
- 76 sc
- (17 sc, dec) ×4 (72)
- 72 sc
Change to Color B – Light Blue
24–25. 72 sc
26. (22 sc, dec) ×3 (69)
27. (21 sc, dec) ×3 (66)
28. 66 sc
29. (20 sc, dec) ×3 (63)
30. (19 sc, dec) ×3 (60)
31. (18 sc, dec) ×3 (57)
32. (17 sc, dec) ×3 (54)
33. (16 sc, dec) ×3 (51)
34–40. 51 sc
41. (15 sc, dec) ×3 (48)
42–47. 48 sc
48. (6 sc, dec) ×6 (42)
49. 42 sc
50. (5 sc, dec) ×6 (36)
51. 36 sc
52. (4 sc, dec) ×6 (30)
53. 30 sc
- Crochet counter-clockwise: (4 trc, inc) ×6 (36)
- 36 sc
Turn last two rows inside out.

HEAD
Color C – Grey
- 6 sc in MR
- inc ×6 (12)
- (1 sc, inc) ×6 (18)
- (2 sc, inc) ×6 (24)
- 24 sc
- 24 sc
- 6 sc, (1 sc, inc) ×6, 6 sc (30)
- 10 sc, 3 sc in 1 st, 7 sc, 3 sc in 1 st, 11 sc (34)
- 34 sc
- 34 sc
- 12 sc, 3 sc in 1 st, 8 sc, 3 sc in 1 st, 12 sc (38)
- 38 sc
- 5 sc (incomplete row)
- 11 sc, 3 sc in 1 st, 14 sc, 3 sc in 1 st, 11 sc (42)
- 9 sc, (1 sc, inc) ×12, 9 sc (54)
- 54 sc
- 9 sc, (2 sc, inc) ×12, 9 sc (66)
18–32. 66 sc
Insert eyes and stuff.
- (9 sc, dec) ×6 (60)
- (8 sc, dec) ×6 (54)
- (7 sc, dec) ×6 (48)
- (6 sc, dec) ×6 (42)
- (5 sc, dec) ×6 (36)
- (4 sc, dec) ×6 (30)
- (3 sc, dec) ×6 (24)
- (2 sc, dec) ×6 (18)
- (1 sc, dec) ×6 (12)
- dec ×6
Fasten off.
ARMS (Make 2)
Color C – Grey
1: 6 sc in MR
2: inc ×6 (12)
3: (1 sc, inc) ×6 (18)
4: (2 sc, inc) ×6 (24)
5–7: 24 sc
8: (4 sc, dec) ×4 (20)
➡️ Change to Color B – Light Blue
9: 20 sc
10: dec, 8 sc, dec, 8 sc (18)
11–20: 18 sc
21: dec, 16 sc (17)
22–25: 17 sc
26: dec, 15 sc (16)
27–30: 16 sc
31: dec, 14 sc (15)
➡️ Lightly stuff, fold flat, crochet 7 sc, sew/attach to the body.
EARS (Make 2)
Color C – Grey
1: 6 sc in MR
2: (1 sc, inc) ×3 (9)
3–4: 9 sc
5: (2 sc, inc) ×3 (12)
6: (3 sc, inc) ×3 (15)
7: (4 sc, inc) ×3 (18)
8: (5 sc, inc) ×3 (21)
9–12: 21 sc
13: (5 sc, dec) ×3 (18)
14: (4 sc, dec) ×3 (15)
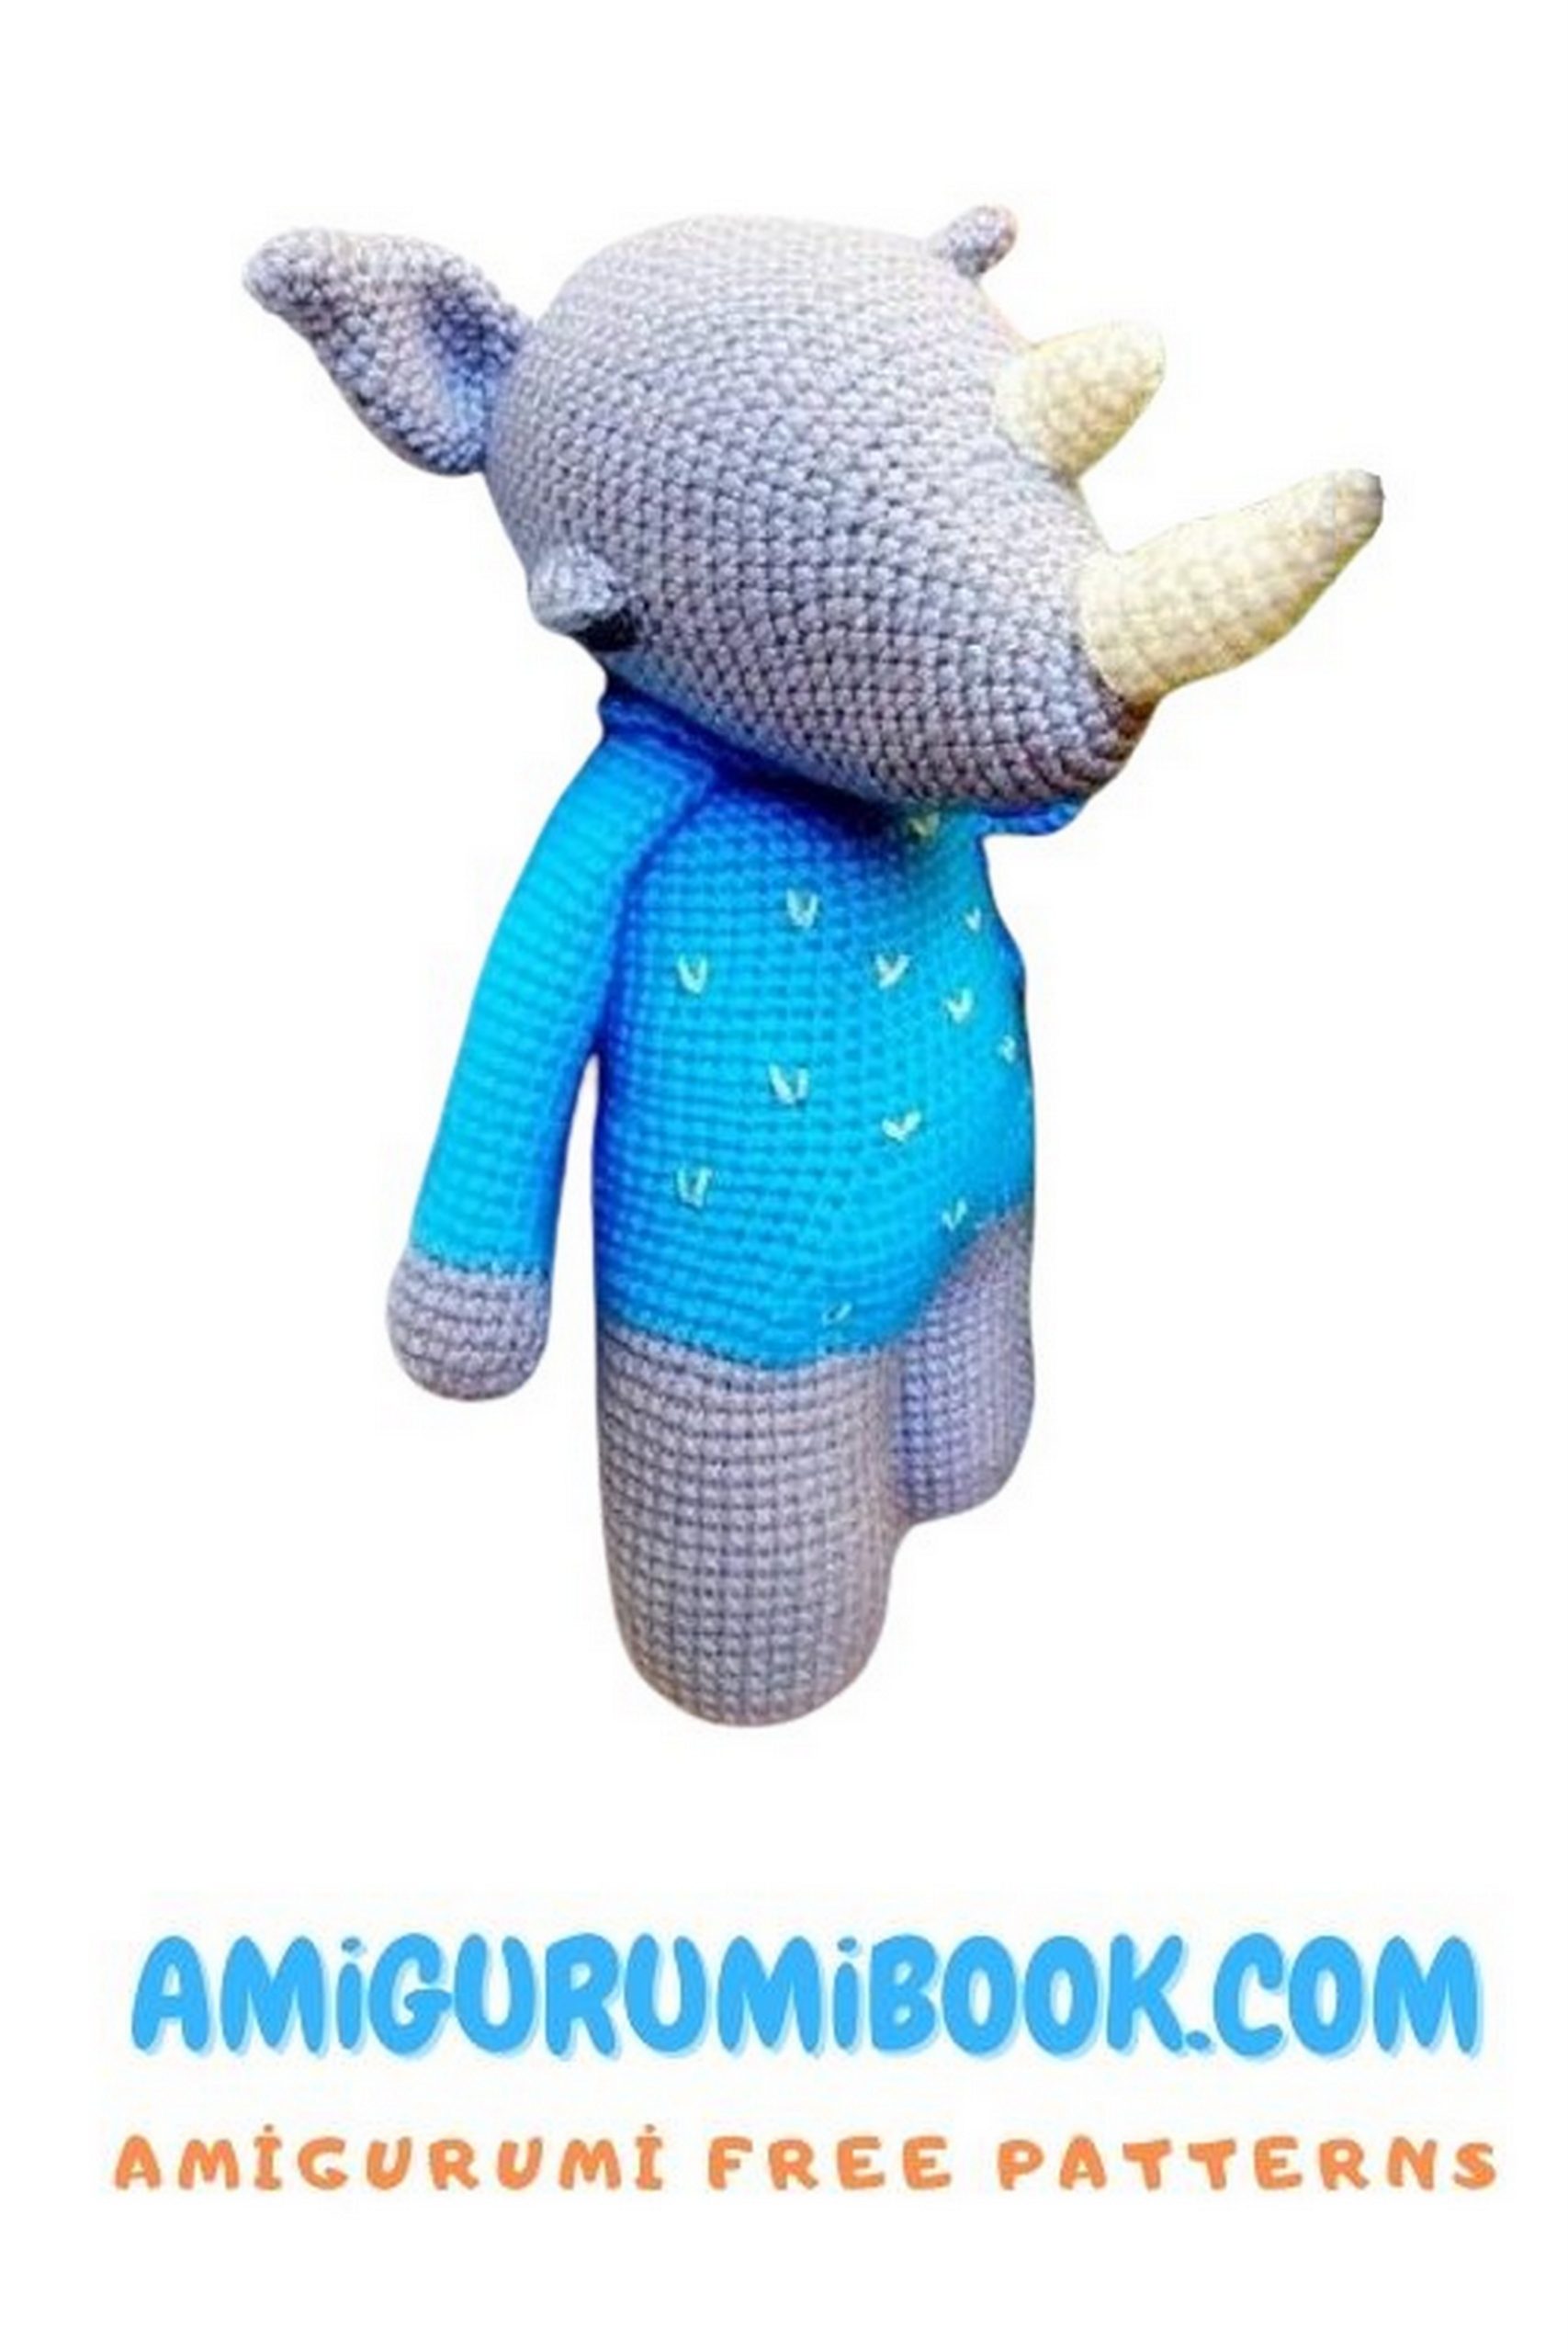
➡️ Fold flat, do not stuff, sew edges, pull slightly to form a small dimple.
EYELIDS (Make 2)
1: Ch 5
2: Starting from the 2nd ch from hook, 4 sc
3: Turn, 4 sc
Fasten off.
(Use for upper eyelids.)
BIG HORN
1: 4 sc in MR
2: (1 sc, inc) ×2 (6)
3: (2 sc, inc) ×2 (8)
4: (3 sc, inc) ×2 (10)
5: (4 sc, inc) ×2 (12)
6: 1 sc, 3 ch, 3 sc, 4 sl st, 1 sc (12)
7: 12 sc
8: Repeat Round 6
Fasten off, leave tail for sewing.
SMALL HORN
1: 4 sc in MR
2: (1 sc, inc) ×2 (6)
3: (2 sc, inc) ×2 (8)
4: (3 sc, inc) ×2 (10)
5: (4 sc, inc) ×2 (12)
Fasten off, leave tail for sewing.
Sew all parts in place, shape as needed, and your amigurumi is ready. Happy crocheting!