Get into the holiday spirit with a charming free amigurumi Christmas tree pattern that’s perfect for festive crochet fun. This easy-to-follow design is ideal for crafters of all skill levels looking to add a handmade touch to their holiday decor. free crochet patterns
You may also like more amigurumi patterns.
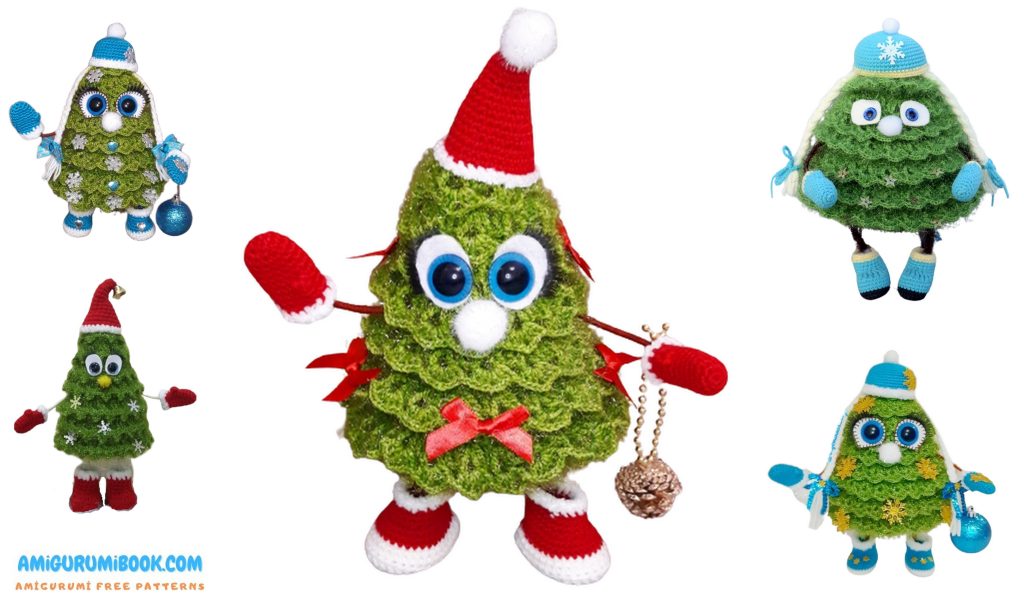
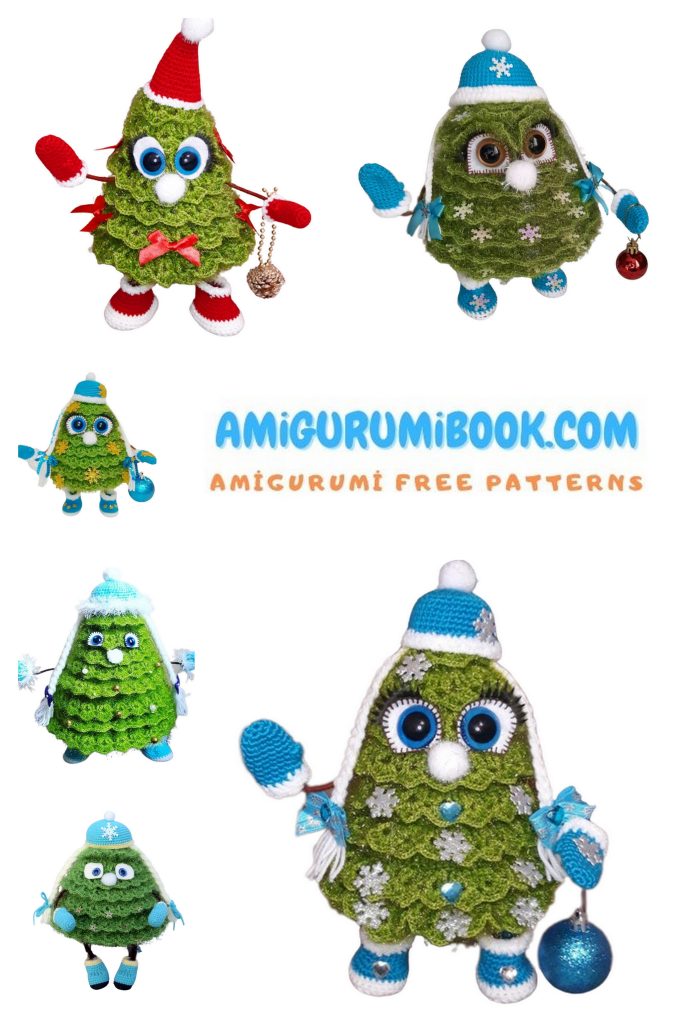
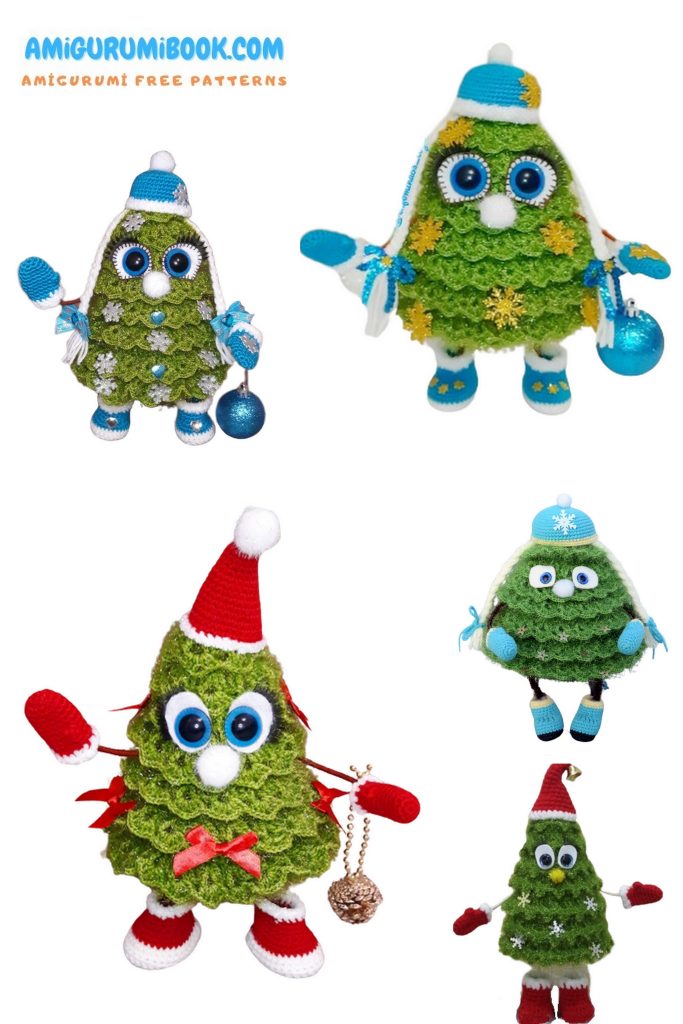
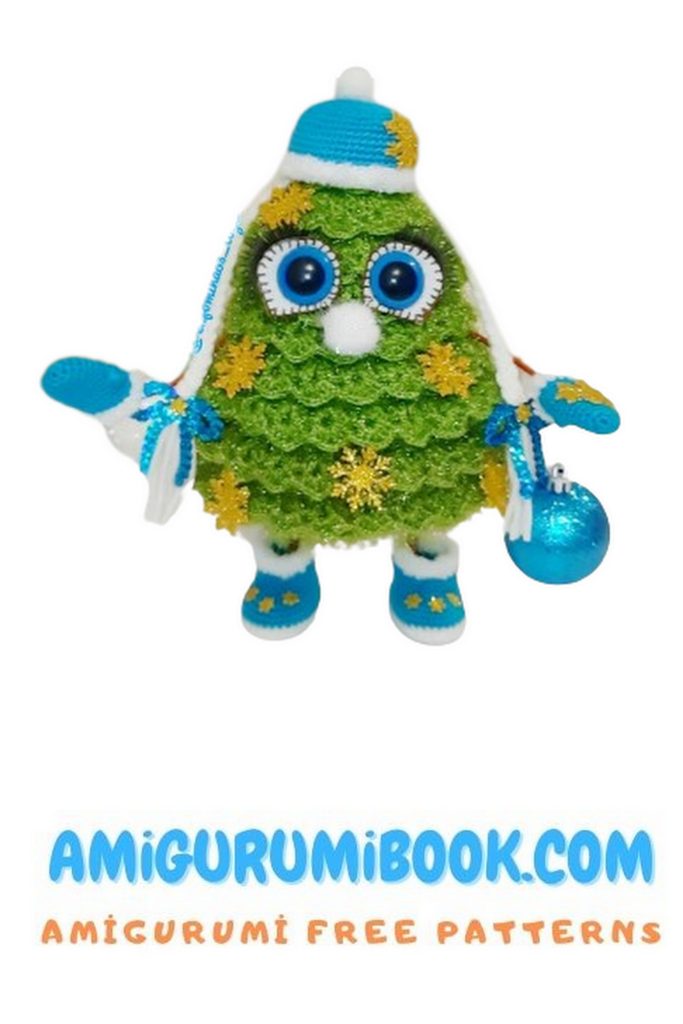
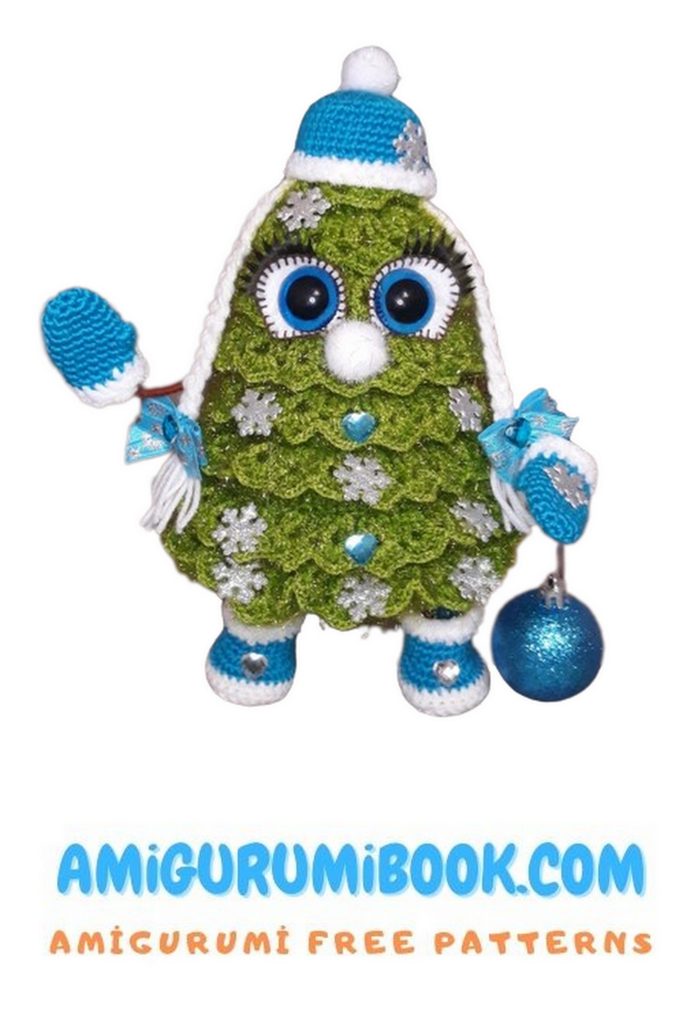
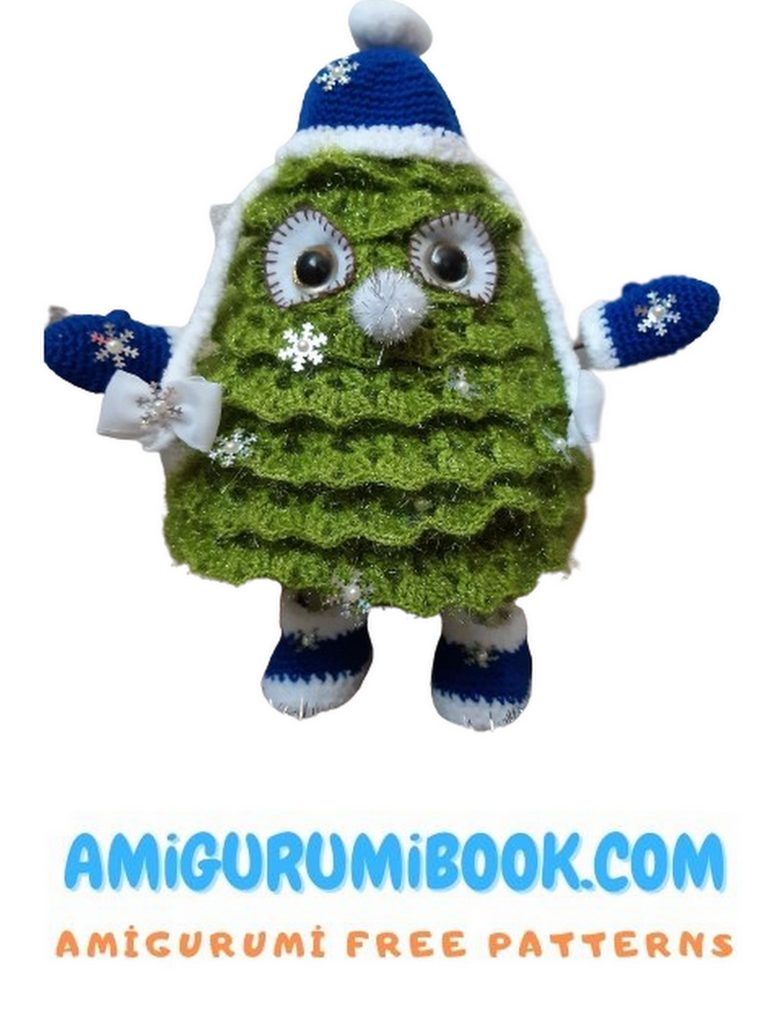
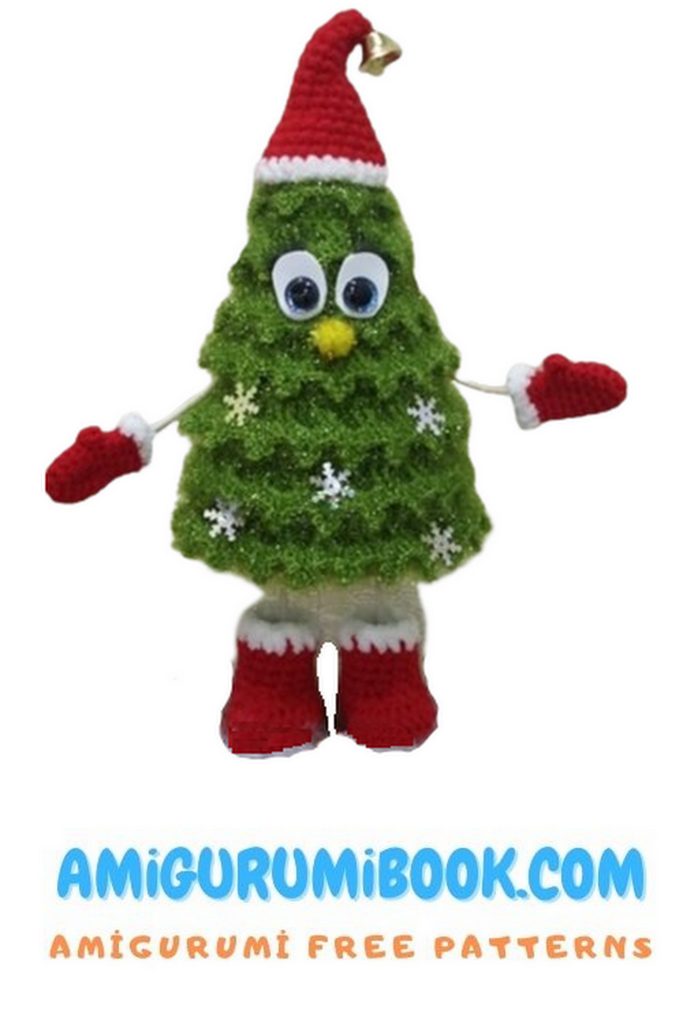
The holiday season is upon us, and what better way to add a touch of homemade charm to your decorations than by creating your very own Amigurumi Christmas Tree? Whether you’re an experienced crocheter or just starting out, this free pattern is perfect for spreading the festive joy.
With our easy-to-follow instructions, you can craft a delightful miniature Christmas tree that’s not only a fun project but also a wonderful addition to your holiday decor. Imagine a forest of these cute little trees adorning your mantel, or use them as delightful ornaments for your tree.
This pattern includes detailed guidance, a list of materials you’ll need, and clear step-by-step instructions, making it suitable for crocheters of all skill levels. Plus, the end result is a timeless and heartfelt decoration that can be treasured year after year.
So, gather your crochet hooks, select your favorite yarn in festive colors, and let’s get started on creating your own Amigurumi Christmas Tree. Spread the warmth and love of the holiday season with a touch of handmade magic. Happy crocheting!
Materials and Tools Needed:
Yarn Art Christmas yarn (100% polyamide, 50g/142m) in green color – approximately 2.5 skeins.
Crochet hook No. 2 (or No. 1.75).
Kamtex “Bambino” yarn (35% wool, 65% acrylic, 150m/50g) in turquoise color – a small amount (can use any other yarn for boots, hat, and mittens).
Kamtex “Bambino” yarn (35% wool, 65% acrylic, 150m/50g) in white color – a small amount (can use any other yarn for braids).
Kamtex “Bambino” yarn (35% wool, 65% acrylic, 150m/50g) in brown color – a small amount (can use any other yarn for arms and legs).
Alize Softy yarn in white color – a small amount (for “fluffy trim” on clothing).
White plastic or sturdy cardboard, 15×15 cm (for the base).
Aluminum wire for weaving, 2mm diameter, 1.5 meters.
White felt – a small amount (for eyes).
Doll eyes with blue irises, 25mm in diameter – 1 pair.
Either stick-on or doll eyelashes.
Brown “Iris” or “Mouline” threads – a small amount (for eyes).
Small white pom-poms, 1.5-2 cm in diameter – 2 pieces.
Hot glue.
Hollowfiber stuffing (or polyester fiberfill) – approximately 100-150g.
Adhesive tape or white cloth medical tape for wrapping wire ends – a small amount.
Super glue for attaching eyes and decorative elements – a small amount.
Scissors.
Large-eyed needle.
Weighting material (glass granules) for toys (optional).
Satin ribbons, rhinestones, snowflakes, small Christmas tree ornaments, bells, beads, and any other decorative elements for decorating the Christmas tree to your liking.
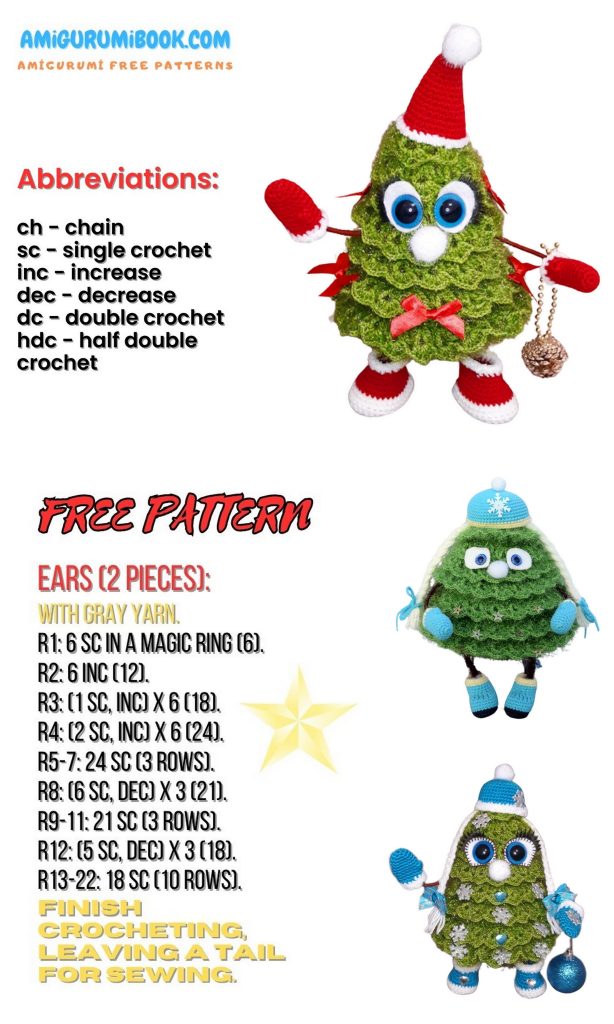
Abbreviations:
MR – magic ring (magic circle).
CH – chain.
CHSP – chain space.
SC – single crochet.
INC – increase (2 single crochets in the same stitch).
DEC – decrease (single crochet two stitches together).
HDC – half double crochet.
DC – double crochet.
TR – treble crochet.
DTR – double treble crochet.
SL ST – slip stitch.
PATTERN
Stage 1: Christmas Tree Base
Every Christmas tree has a conical base.
Work in a spiral using green Yarn Art Christmas yarn and a No. 2 crochet hook.
Row 1: 6 SC in MR (6).
Row 2: INC in each stitch around (12).
Row 3: 12 SC (12).
Row 4: (SC, INC) repeat 6 times (18).
Row 5: 18 SC through back loops only (BLO) (18).
Row 6: SC, INC, (2 SC, INC) repeat 5 times, SC (24).
Row 7: 24 SC through BLO (24).
Row 8: (3 SC, INC) repeat 6 times (30).
Row 9: 30 SC through BLO (30).
Row 10: 2 SC, INC, (4 SC, INC) repeat 5 times, 2 SC (36).
Row 11: 36 SC through BLO (36).
Row 12: (5 SC, INC) repeat 6 times (42).
Row 13: 42 SC through BLO (42).
Row 14: 3 SC, INC, (6 SC, INC) repeat 5 times, 3 SC (48).
Row 15: 48 SC through BLO (48).
Row 16: (7 SC, INC) repeat 6 times (54).
Row 17: 54 SC through BLO (54).
Row 18: 4 SC, INC, (8 SC, INC) repeat 5 times, 4 SC (60).
Row 19: 60 SC through BLO (60).
Row 20: (9 SC, INC) repeat 6 times (66).
Row 21: 66 SC through BLO (66).
Row 22: 5 SC, INC, (10 SC, INC) repeat 5 times, 5 SC (72).
Row 23: 72 SC through BLO (72).
Row 24: (11 SC, INC) repeat 6 times (78).
Row 25: 78 SC through BLO (78).
Row 26: 6 SC, INC, (12 SC, INC) repeat 5 times, 6 SC (84).
Row 27: 84 SC through BLO (84).
Row 28: (13 SC, INC) repeat 6 times (90).
Row 29: 90 SC through BLO (90).
Row 30: 7 SC, INC, (14 SC, INC) repeat 5 times, 7 SC (96).
Row 31: (24 SC, CH, skip SC, 46 SC, CH, skip SC, 24 SC) (96).
Note: Place markers at the holes created by the chains to help insert the arms later.
Row 32: (15 SC, INC) repeat 6 times (102).
Row 33: 102 SC (102).
Row 34: 8 SC, INC, (16 SC, INC) repeat 5 times, 8 SC (108).
Row 35: 108 SC (108).
Row 36: (17 SC, INC) repeat 6 times (114).
Row 37: 114 SC (114).
Row 38: 9 SC, INC, (18 SC, INC) repeat 5 times, 9 SC (120).
Row 39: 120 SC (120).
Row 40: (19 SC, INC) repeat 6 times (126).
Row 41: 126 SC (126).
Row 42: 126 SC (126).
Row 43: 126 SC (126).
Row 44: 126 SC (126).
Row 45: 126 SC (126).
Row 46: 126 SC (126).
Row 47: 126 SC (126).
Row 48: 126 SC (126).
Row 49: 126 SC (126).
Row 50: 126 SC (126).
Row 51: 126 SC (126).
Row 52: 126 SC (126).
Row 53: 126 SC (126).
Row 54: 126 SC (126).
Fasten off, cut the yarn, and hide the end (see photo 3 on page 5).


Stage 2: The Base
Continue crocheting in a spiral with green Yarn Art Christmas yarn using a size #2 crochet hook.
Row 1: 6 single crochet (SC) in the magic ring (CA). (6)
Row 2: 6 increase single crochet (INC SC). (12)
Row 3: (1 SC, 1 INC SC) repeated 6 times. (18)
Row 4: 1 SC, 1 INC SC, (2 SC, 1 INC SC) repeated 5 times, 1 SC. (24)
Row 5: (3 SC, 1 INC SC) repeated 6 times. (30)
Row 6: 2 SC, 1 INC SC, (4 SC, 1 INC SC) repeated 5 times, 2 SC. (36)
Row 7: (5 SC, 1 INC SC) repeated 6 times. (42)
Row 8: 3 SC, 1 INC SC, (6 SC, 1 INC SC) repeated 5 times, 3 SC. (48)
Row 9: (7 SC, 1 INC SC) repeated 6 times. (54)
Row 10: 4 SC, 1 INC SC, (8 SC, 1 INC SC) repeated 5 times, 4 SC. (60)
Row 11: (9 SC, 1 INC SC) repeated 6 times. (66)
Row 12: 5 SC, 1 INC SC, (10 SC, 1 INC SC) repeated 5 times, 5 SC. (72)
Row 13: Create 2 chain stitches, skip 2 SC, 9 SC, 1 INC SC, (11 SC, 1 INC SC) repeated 2 times, 2 chain stitches, skip 2 SC, 9 SC, 1 INC SC, (11 SC, 1 INC SC) repeated 2 times. (78)
Note: The 2 chain stitches and 2 skipped SCs form holes where the legs will be inserted (see photo 1 on page 8).
Row 14: 6 SC, 1 INC SC, (12 SC, 1 INC SC) repeated 5 times, 6 SC. (84)
Row 15: (13 SC, 1 INC SC) repeated 6 times. (90)
Row 16: 7 SC, 1 INC SC, (14 SC, 1 INC SC) repeated 5 times, 7 SC. (96)
Row 17: (15 SC, 1 INC SC) repeated 6 times. (102)
Row 18: 8 SC, 1 INC SC, (16 SC, 1 INC SC) repeated 5 times, 8 SC. (108)
Row 19: (17 SC, 1 INC SC) repeated 6 times. (114)
Row 20: 9 SC, 1 INC SC, (18 SC, 1 INC SC) repeated 5 times, 9 SC. (120)
Row 21: (19 SC, 1 INC SC) repeated 6 times. (126)
Fasten off the yarn, cut it, and hide the end (see photo 2 on page 8).
Cut a plastic or sturdy cardboard circle slightly smaller than the crocheted base (see photo 3 on page 8). Attach the base to the plastic circle by aligning the holes and using hot glue (see photos 4, 5, 6, and 7 on page 8).
Stage 3: Crocheting the Branches
Attach the green Yarn Art Christmas yarn to the first remaining loop from the 5th row where you crocheted in the back loops only (BLO) on the cone base. This is where you created the back loops (BLO).
Row 1: Chain 4, slip stitch 2 in the same loop, chain 3, 2 slip stitches in the same loop, chain 1, {(2 slip stitches in one loop, chain 3, 2 slip stitches in the same loop, chain 1)}, repeat this combination {…} to the end of the row. At the end of the row, slip stitch under the first chain-3 loop from the beginning of the row (see photos 1 – 3 on page 11).
Row 2: Under the first chain-3 loop from the previous row, {3 chain stitches, 2 half double crochet (HDC), 3 chain stitches, 3 HDC}, chain 1, under the next chain-3 loop, {3 HDC, 3 chain stitches, 3 HDC}, chain 1, and repeat this pattern {…} to the end of the row. At the end of the row, slip stitch into the first chain-4 loop from the beginning of the row, fasten off the yarn, cut it, and hide the end (see photos 4 – 7 on page 11).
Note:
In the first row of branches, you crochet in every 3rd loop created in the 5th row of the cone base.
You’ll make branches in every third row of loops on the cone. There will be a total of 9 rows of branches.
Stage 4: Making Legs, Arms, and Eyes
Legs:
Cut two pieces of wire, each 55 cm long.
Apply glue to the end of the wire, attach a brown thread, and wrap the thread around the entire length of the wire. At the end, secure the thread with glue. Do this for both pieces of wire.
Fold the wire in half, create a 4.5 cm loop at the end, and twist the ends together. Do this for both wire pieces.
Wrap tape or fabric medical tape around the looped ends to secure them (see photo 2 on page 12).
Arms:
Cut a piece of wire 40 cm long.
Apply glue to the end of the wire, attach a brown thread, and wrap the thread around the entire length of the wire. At the end, secure the thread with glue.
Set the arm wire aside (see photo 1 on page 12).
Eyes:
Cut two eye shapes from white felt, roughly 35×35 mm in size. You can see the shape in photo 3 on page 12.
Make small incisions in the center of the felt eye shapes.
Use brown “Iris” or “Mouline” threads to create an outline around the felt eye shapes with an overcast stitch (see photo 4 on page 12).
Insert 25 mm diameter blue safety eyes into the incisions on the felt eye shapes and attach them with clear super glue (see photo 5 on page 12).
Attach or glue eyelashes below the eyes (see photo 5 on page 12).
Stage 5: Assembly
Insert the wire legs into the holes made in the crocheted base of the tree. The legs should be about 5-6 cm long, and the rest of the wire should be inside the tree.
Secure the legs from the inside of the base first with tape (or fabric medical tape) by winding it around the base and the legs at the base. Then, for added security, pour hot glue around the legs (see photo 1 on page 14).
Twist the ends of the wire legs together and wrap them with tape or fabric medical tape to secure them (see photo 7 on page 14).
Stuff the top of the cone with filling until it reaches the level of the arms (see photo 3 on page 14).
Insert the wire arms into the holes made in the cone for the arms (as marked earlier with markers). The arms should be approximately 14 cm long (see photo 4 on page 14).
Secure the arms from the inside with hot glue to prevent them from moving, and let the glue dry (see photo 5 on page 14).
Create loops at the ends of the wire arms, approximately 3 cm long (see photo 6 on page 14).
Stuff the base-cone with filling.
Insert the base with legs inside the cone. Fill the cone with filling to the top (see photo 7 on page 14).
Join the base and cone by crocheting 126 single crochets (SC) through both the loops of the base and cone at the same time (see photo 8 on page 14).
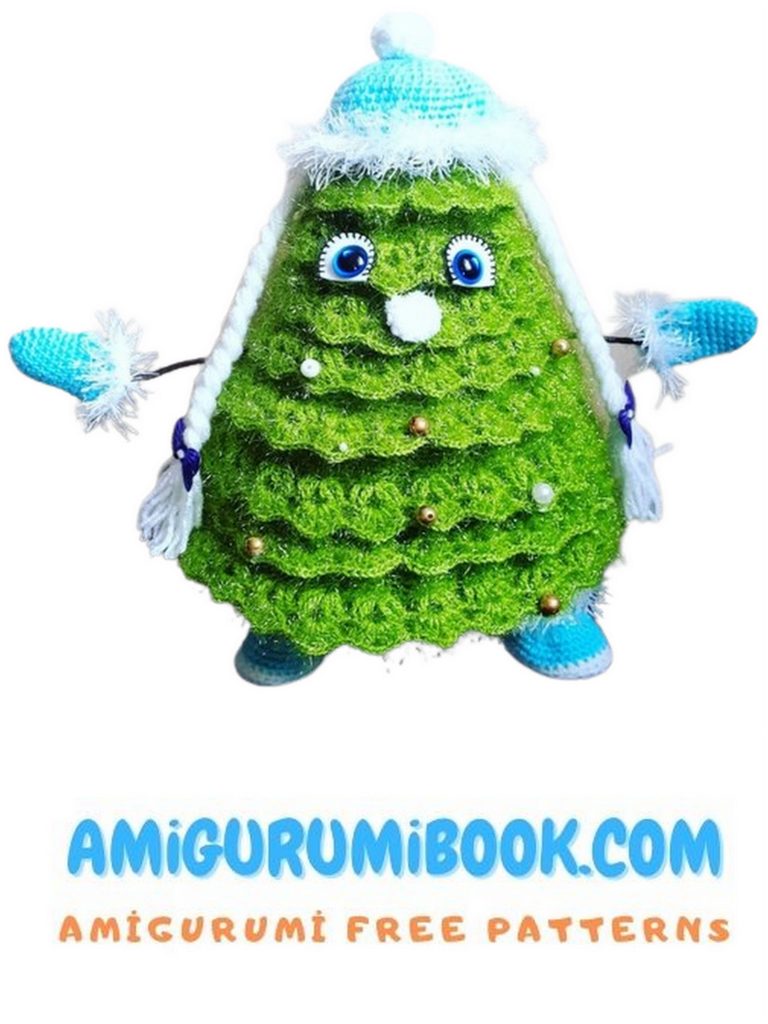
Attach the eyes between the third and fourth rows of branches (see photo 10 on page 14).
Slightly below the eyes, attach or glue a white pom-pom as a nose (see photo 10 on page 14).
The Christmas tree toy is now assembled and ready for finishing touches. Enjoy your crochet project!
Stage 6: Clothing for the Christmas Tree Toy
Mittens (2 pieces):
Using “Bambino” turquoise yarn and a size #2 crochet hook, crochet the mittens in a spiral.
Row 1: 6 single crochet (SC) in the magic ring. (6)
Row 2: 6 increase single crochet (INC SC). (12)
Row 3: (5 SC, 1 INC SC) repeated 2 times. (14)
Row 4: (6 SC, 1 INC SC) repeated 2 times. (16)
5-9 (5 rows): 16 SC. (16)
Row 10: 1 SC, 4 single crochet with single front post (SCF), 14 SC. (16)
11-13 (3 rows): 16 SC. (16)
Switch to white “Alize Softy” yarn to crochet the fluffy cuff of the mittens.
Row 14: 16 SC. (16)
Fasten off the yarn, cut it, and hide the end. Decorate the mittens as desired (see photo 1 on page 16).
Boots (2 pieces):
First, crochet the sole using white “Bambino” yarn and a size #2 crochet hook.
Row 1: Create a chain of 10 chain stitches + 2 chain stitches to turn, crochet 4 single crochet with single crochet front post (SCF) in the third chain from the hook, then crochet 8 single crochet, 5 SC in the last chain, 8 SC on the other side of the chain, slip stitch (26).
Row 2: 2 chain stitches, SC in the same stitch, 4 single crochet with single crochet front post (SCF), 8 SC, 5 SCF, 8 SC, slip stitch (36).
Row 3: Crochet 36 single crochet through the back loops (BLO).
Switch to turquoise “Bambino” yarn.
4-6 (3 rows): 36 SC. (36)
7. Row 7: 16 SC, 7 decrease SCF, 6 SC. (29)
Note: The decreases are located in the center of the tip of the boot, and you may need to adjust the stitches as needed.
8. Row 8: 15 SC, 4 decrease SC, 6 SC. (25)
9-11 (3 rows): 25 SC. (25)
Switch to white “Alize Softy” yarn to crochet the fluffy cuff of the boots.
12-13: 25 SC. (25)
Fasten off the yarn, cut it, and hide the end. Decorate the boots as desired (see photo 2 on page 16).
Hat:
Using “Bambino” turquoise yarn and a size #2 crochet hook, crochet the hat in a spiral.
Row 1: 6 SC in the magic ring. (6)
Row 2: 6 increase SC (INC SC). (12)
Row 3: (1 SC, 1 INC SC) repeated 6 times. (18)
Row 4: 1 SC, 1 INC SC, (2 SC, 1 INC SC) repeated 5 times, 1 SC. (24)
Row 5: (3 SC, 1 INC SC) repeated 6 times. (30)
Row 6: 2 SC, 1 INC SC, (4 SC, 1 INC SC) repeated 5 times, 2 SC. (36)
Row 7: (5 SC, 1 INC SC) repeated 6 times. (42)
Row 8: 3 SC, 1 INC SC, (6 SC, 1 INC SC) repeated 5 times, 3 SC. (48)
Row 9: (7 SC, 1 INC SC) repeated 6 times. (54)
10-15 (6 rows): 54 SC. (54)
Switch to white “Alize Softy” yarn to crochet the fluffy cuff of the hat.
16-17: 54 SC. (54)
Fasten off the yarn, cut it, and hide the end (see photo 3 on page 16).
Braids for the Hat:
Cut white yarn into pieces, each about 20 cm long. Prepare 18 such pieces.
Divide the pieces into sets of 9 for each braid.
Attach the ends of 9 strands with hot glue.
Braid the strands into a braid, grouping three strands together. Tie a knot at the end to prevent the braid from unraveling.
Trim the ends with scissors.
Decorate the end of the braid with a small bow.
Repeat the same process with the remaining 9 strands for the second braid (see photos 4 – 6 on page 16).
Attach the finished braids inside the hat with hot glue (see photo 7 on page 16).
Decorate the hat with a pompom and a snowflake (optional, see photo 8 on page 16).
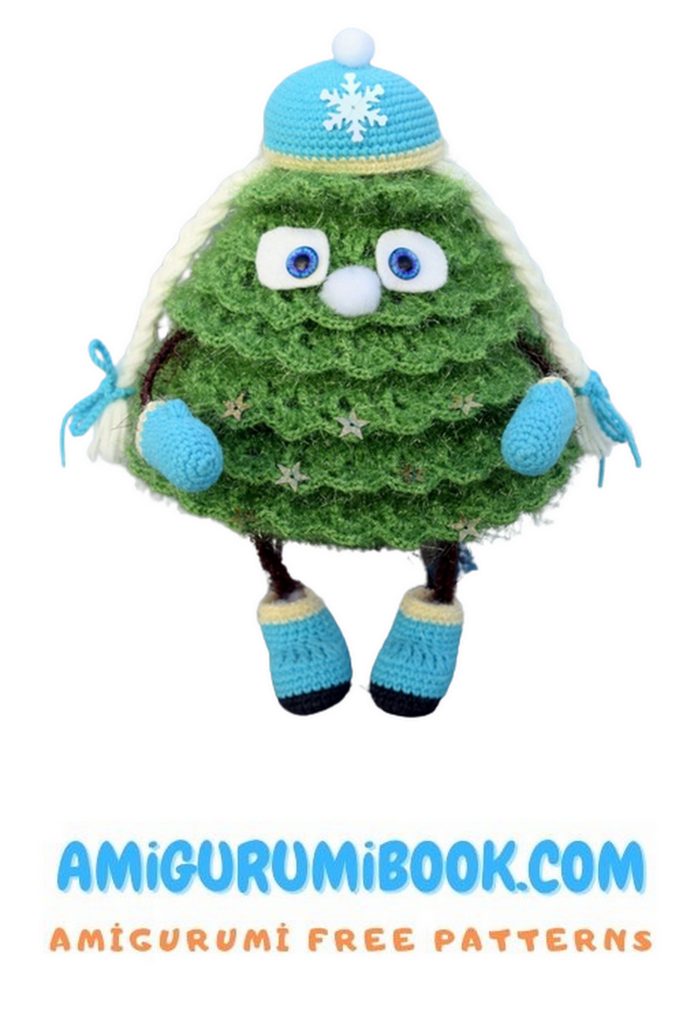
Put the boots on the tree’s legs, mittens on the hands, and the hat on the top. Secure the hat with hot glue if desired. Decorate the tree with snowflakes, rhinestones, ribbons, or other decorations as you like.
CONGRATULATIONS! Your Christmas Tree Toy is ready!