
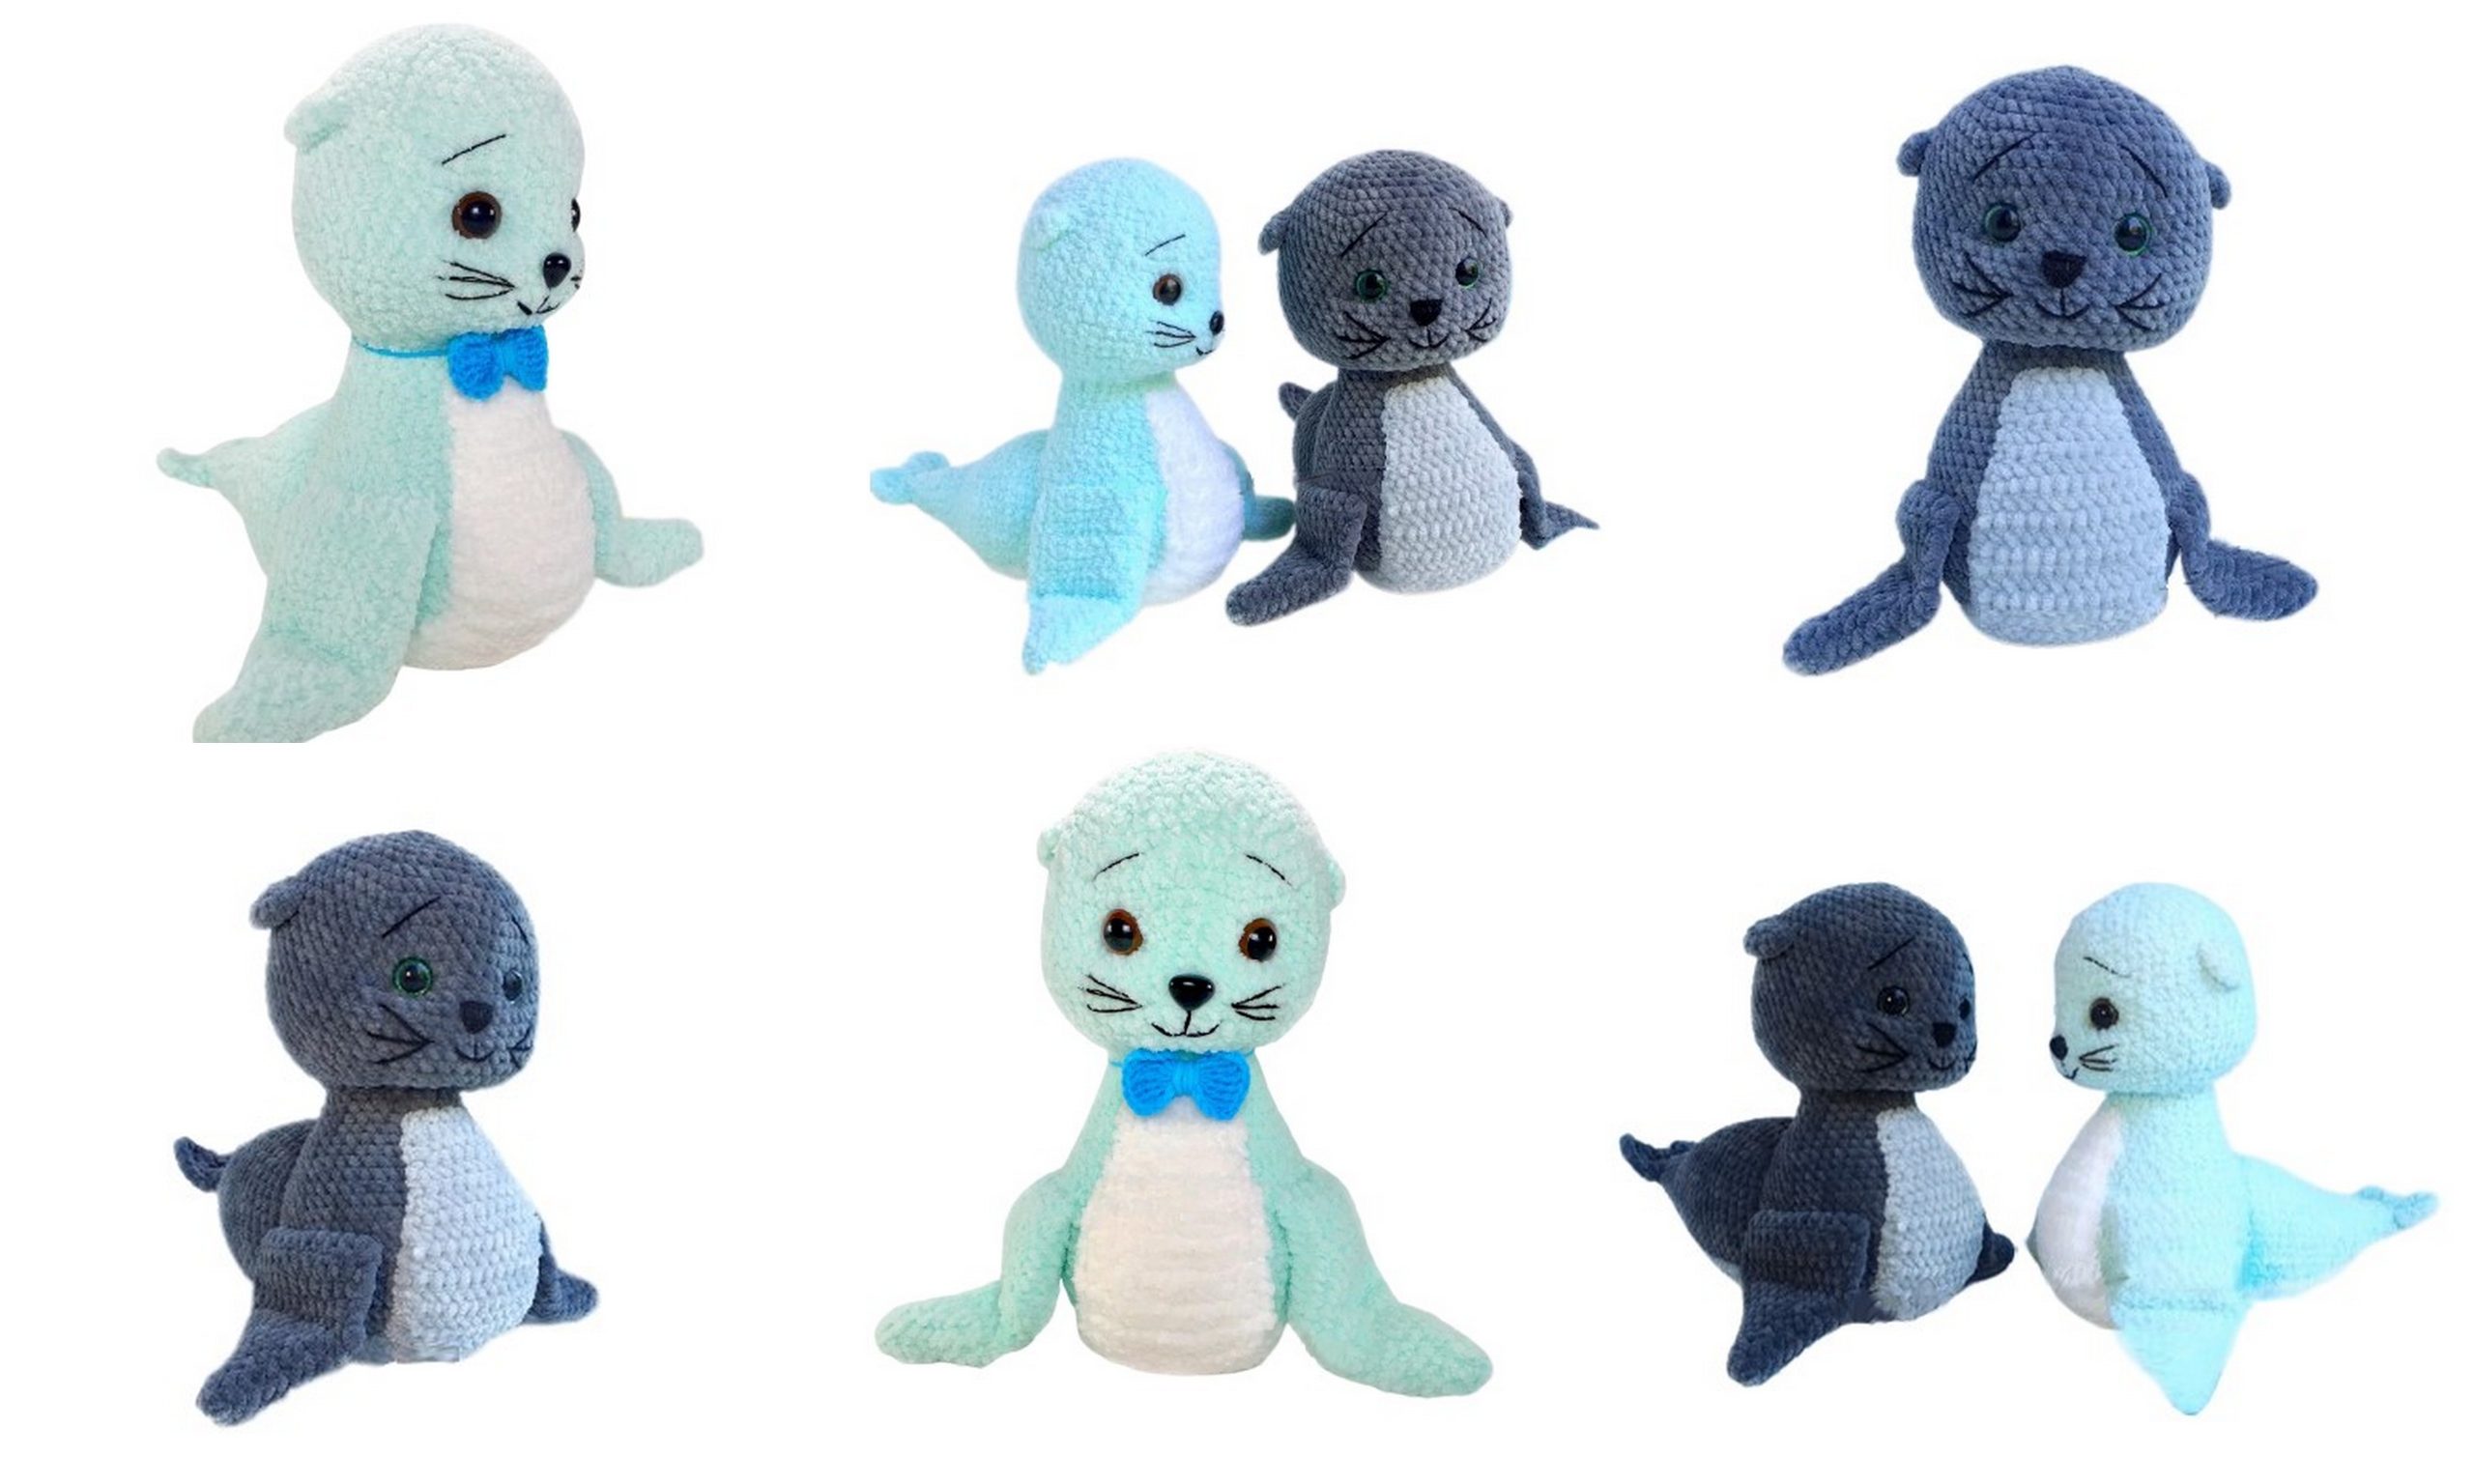
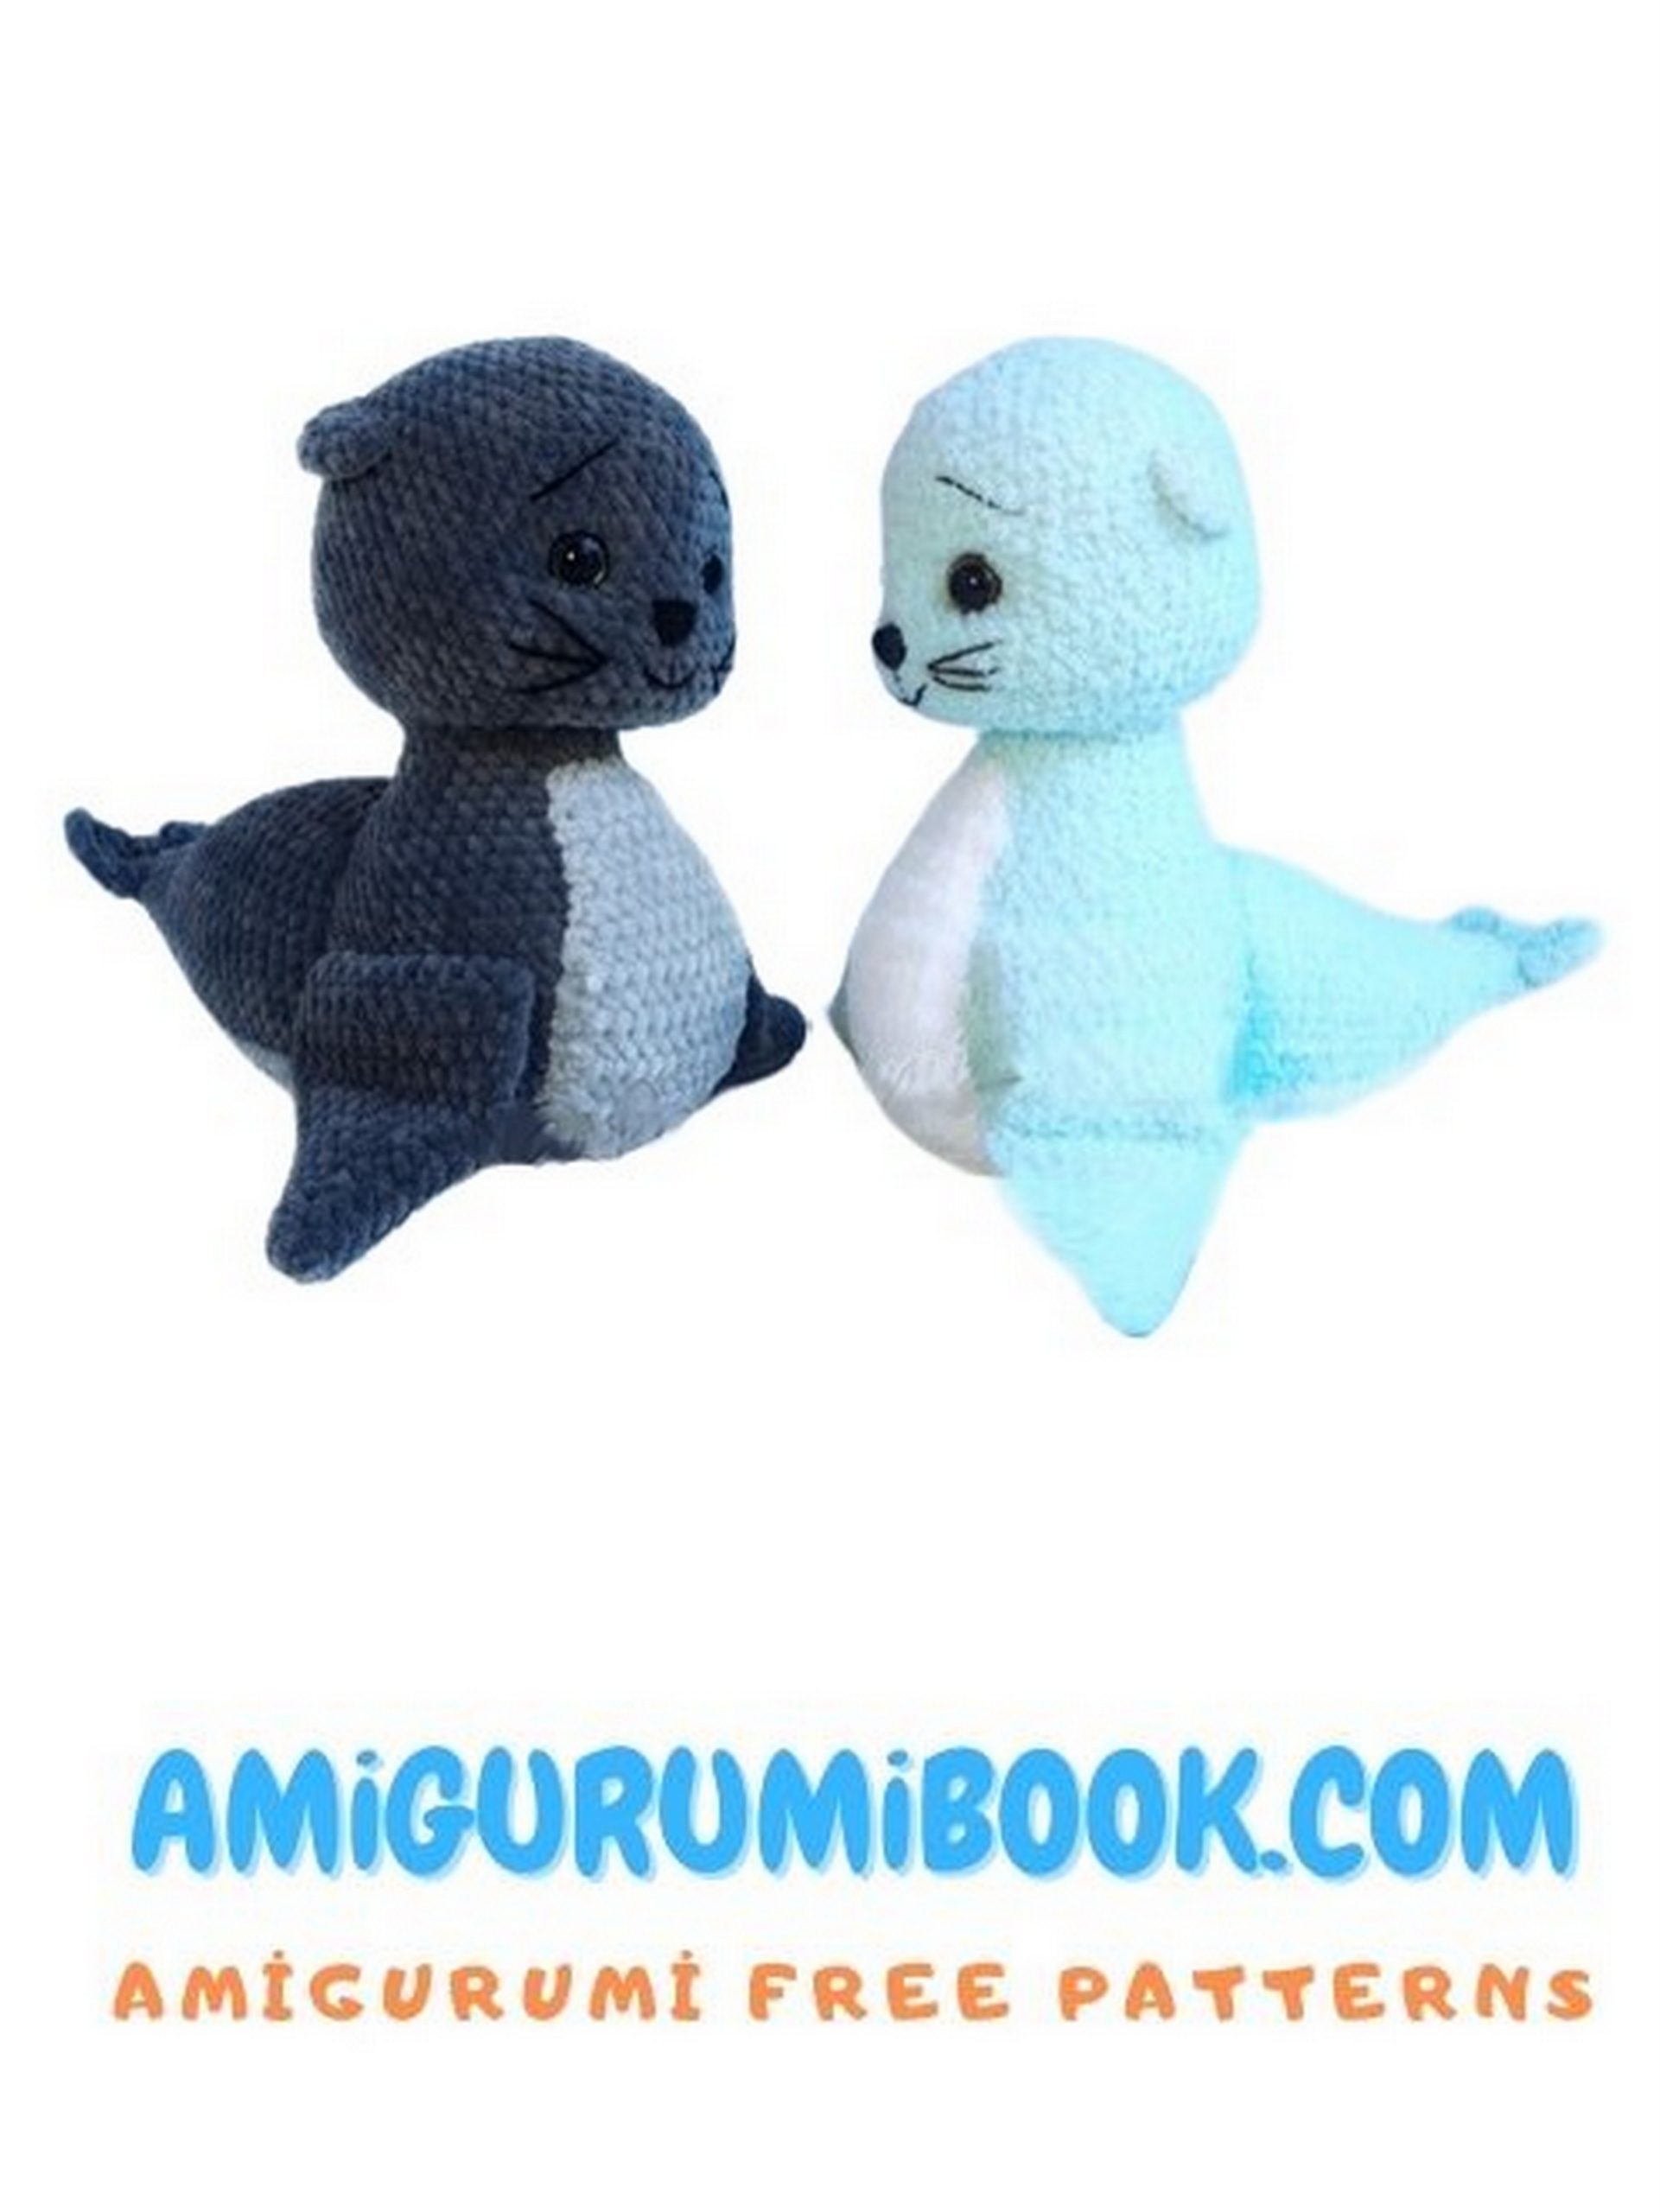
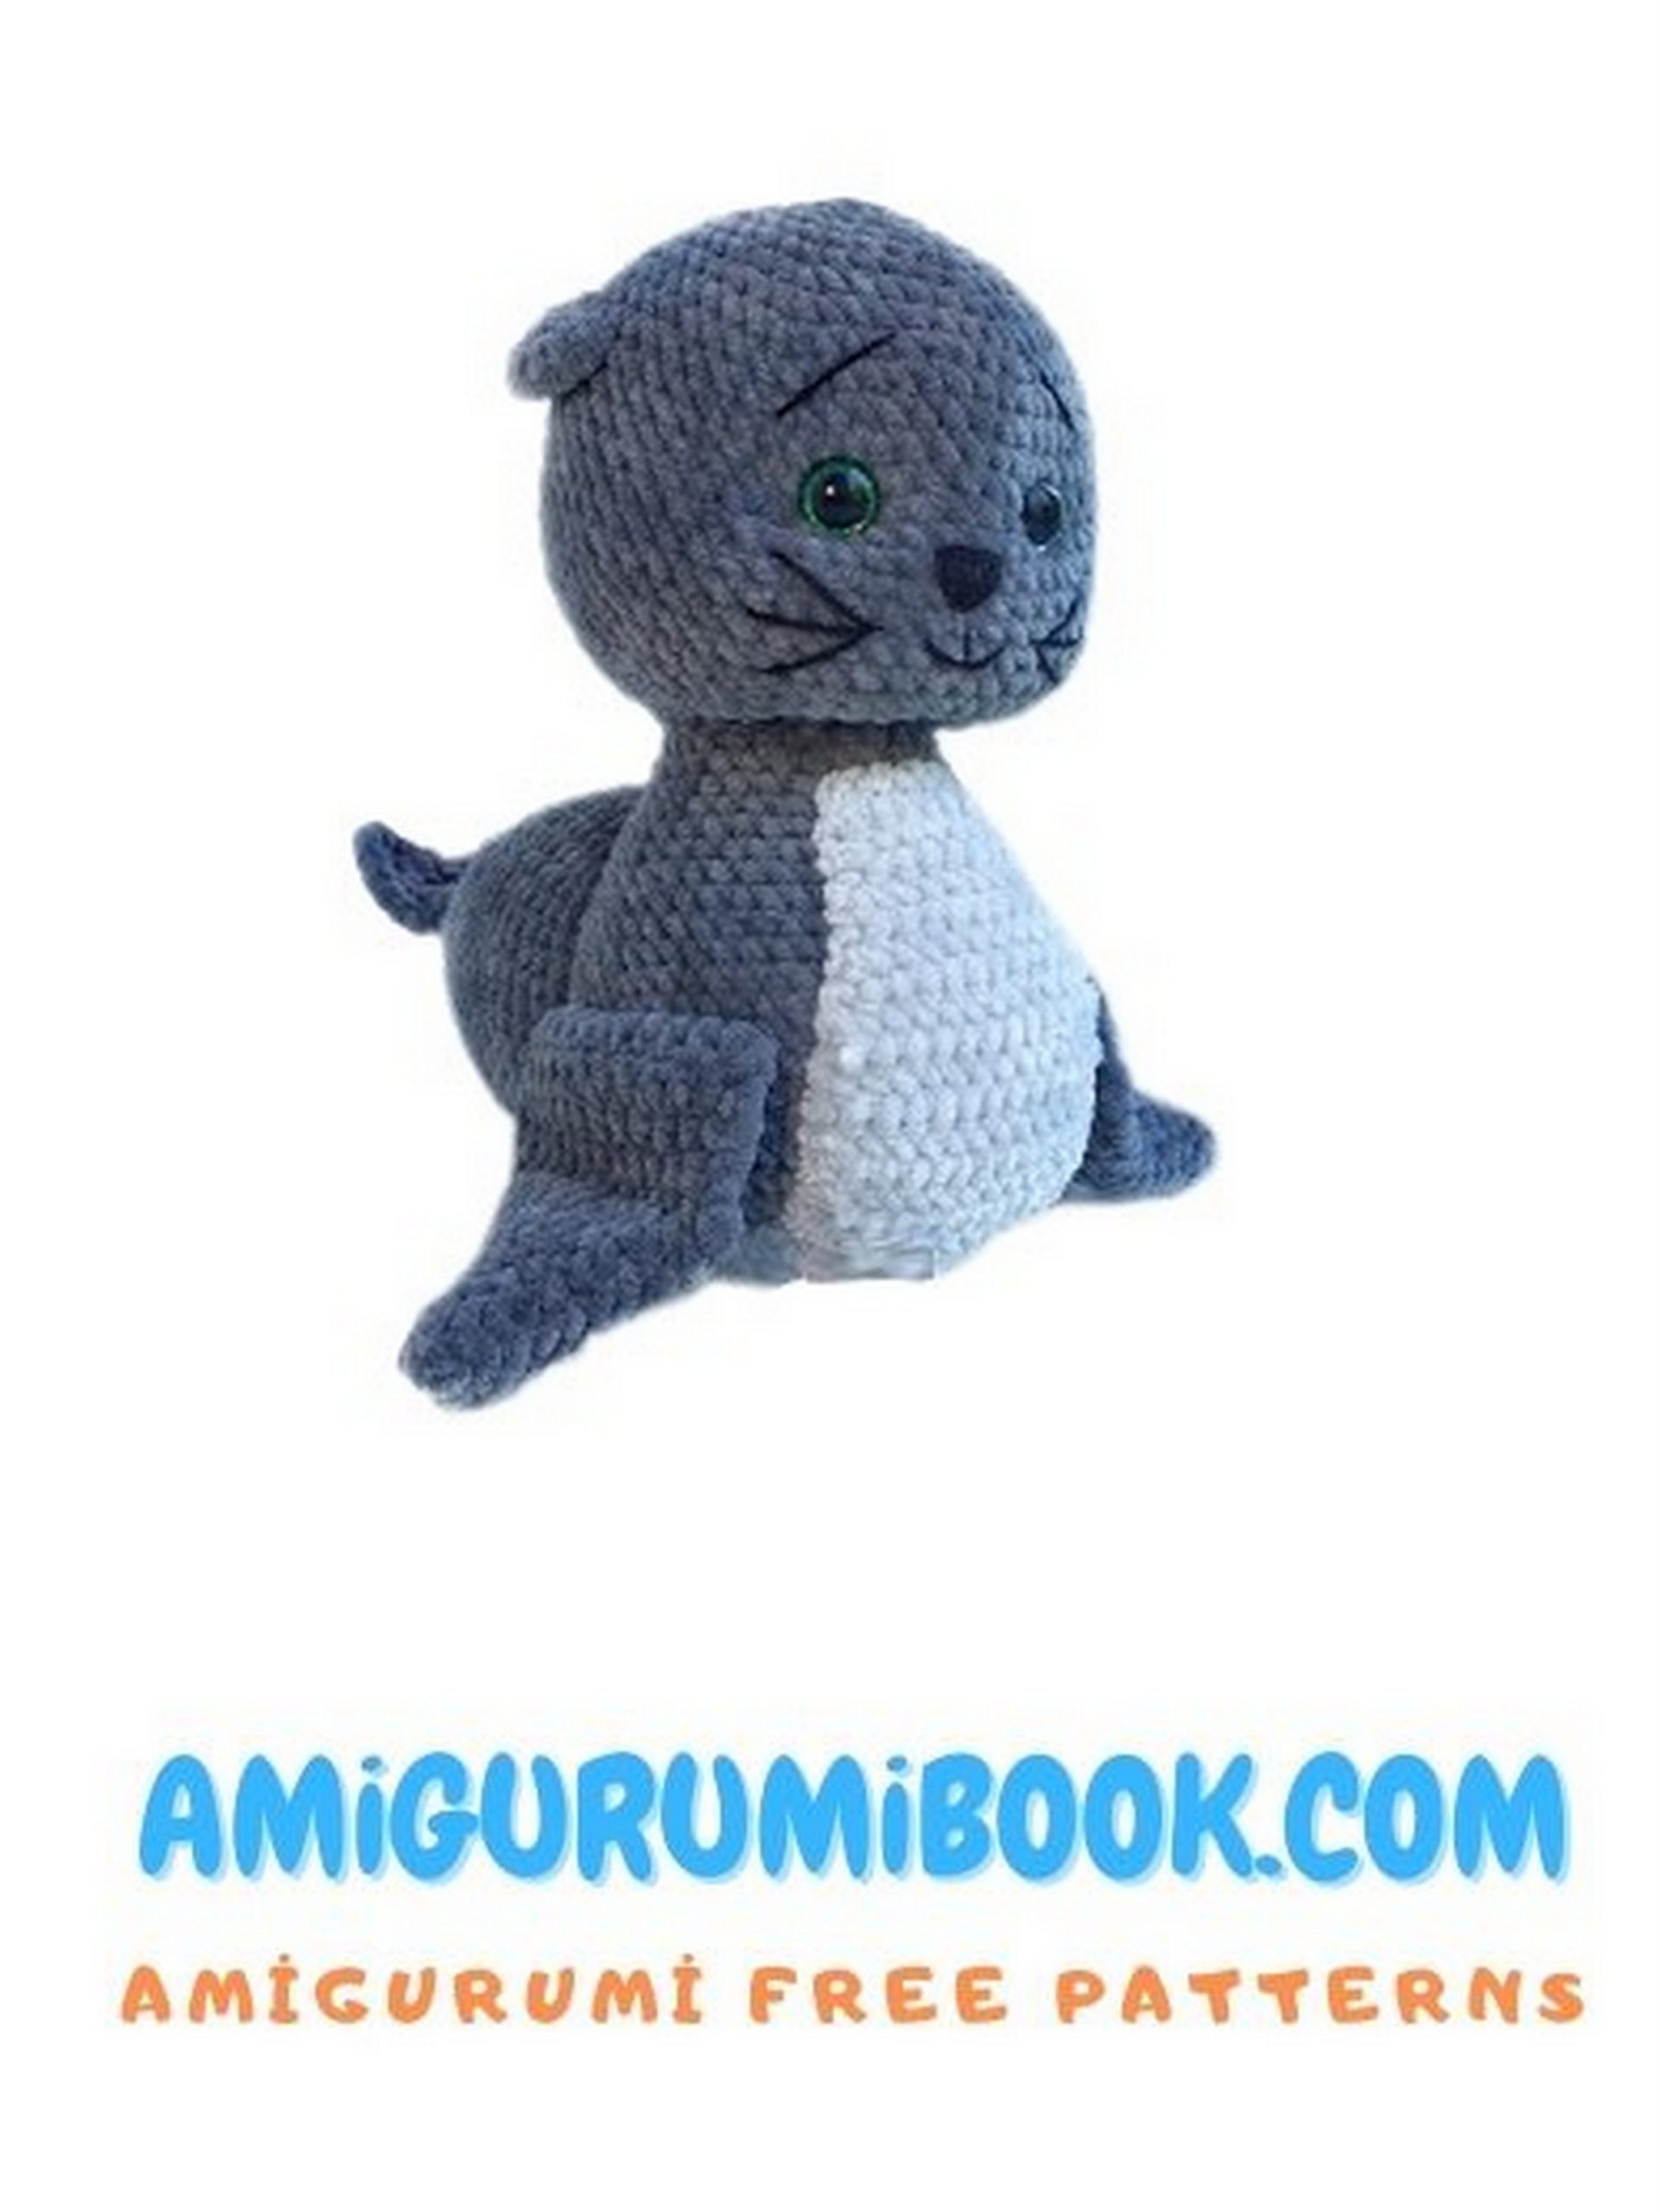
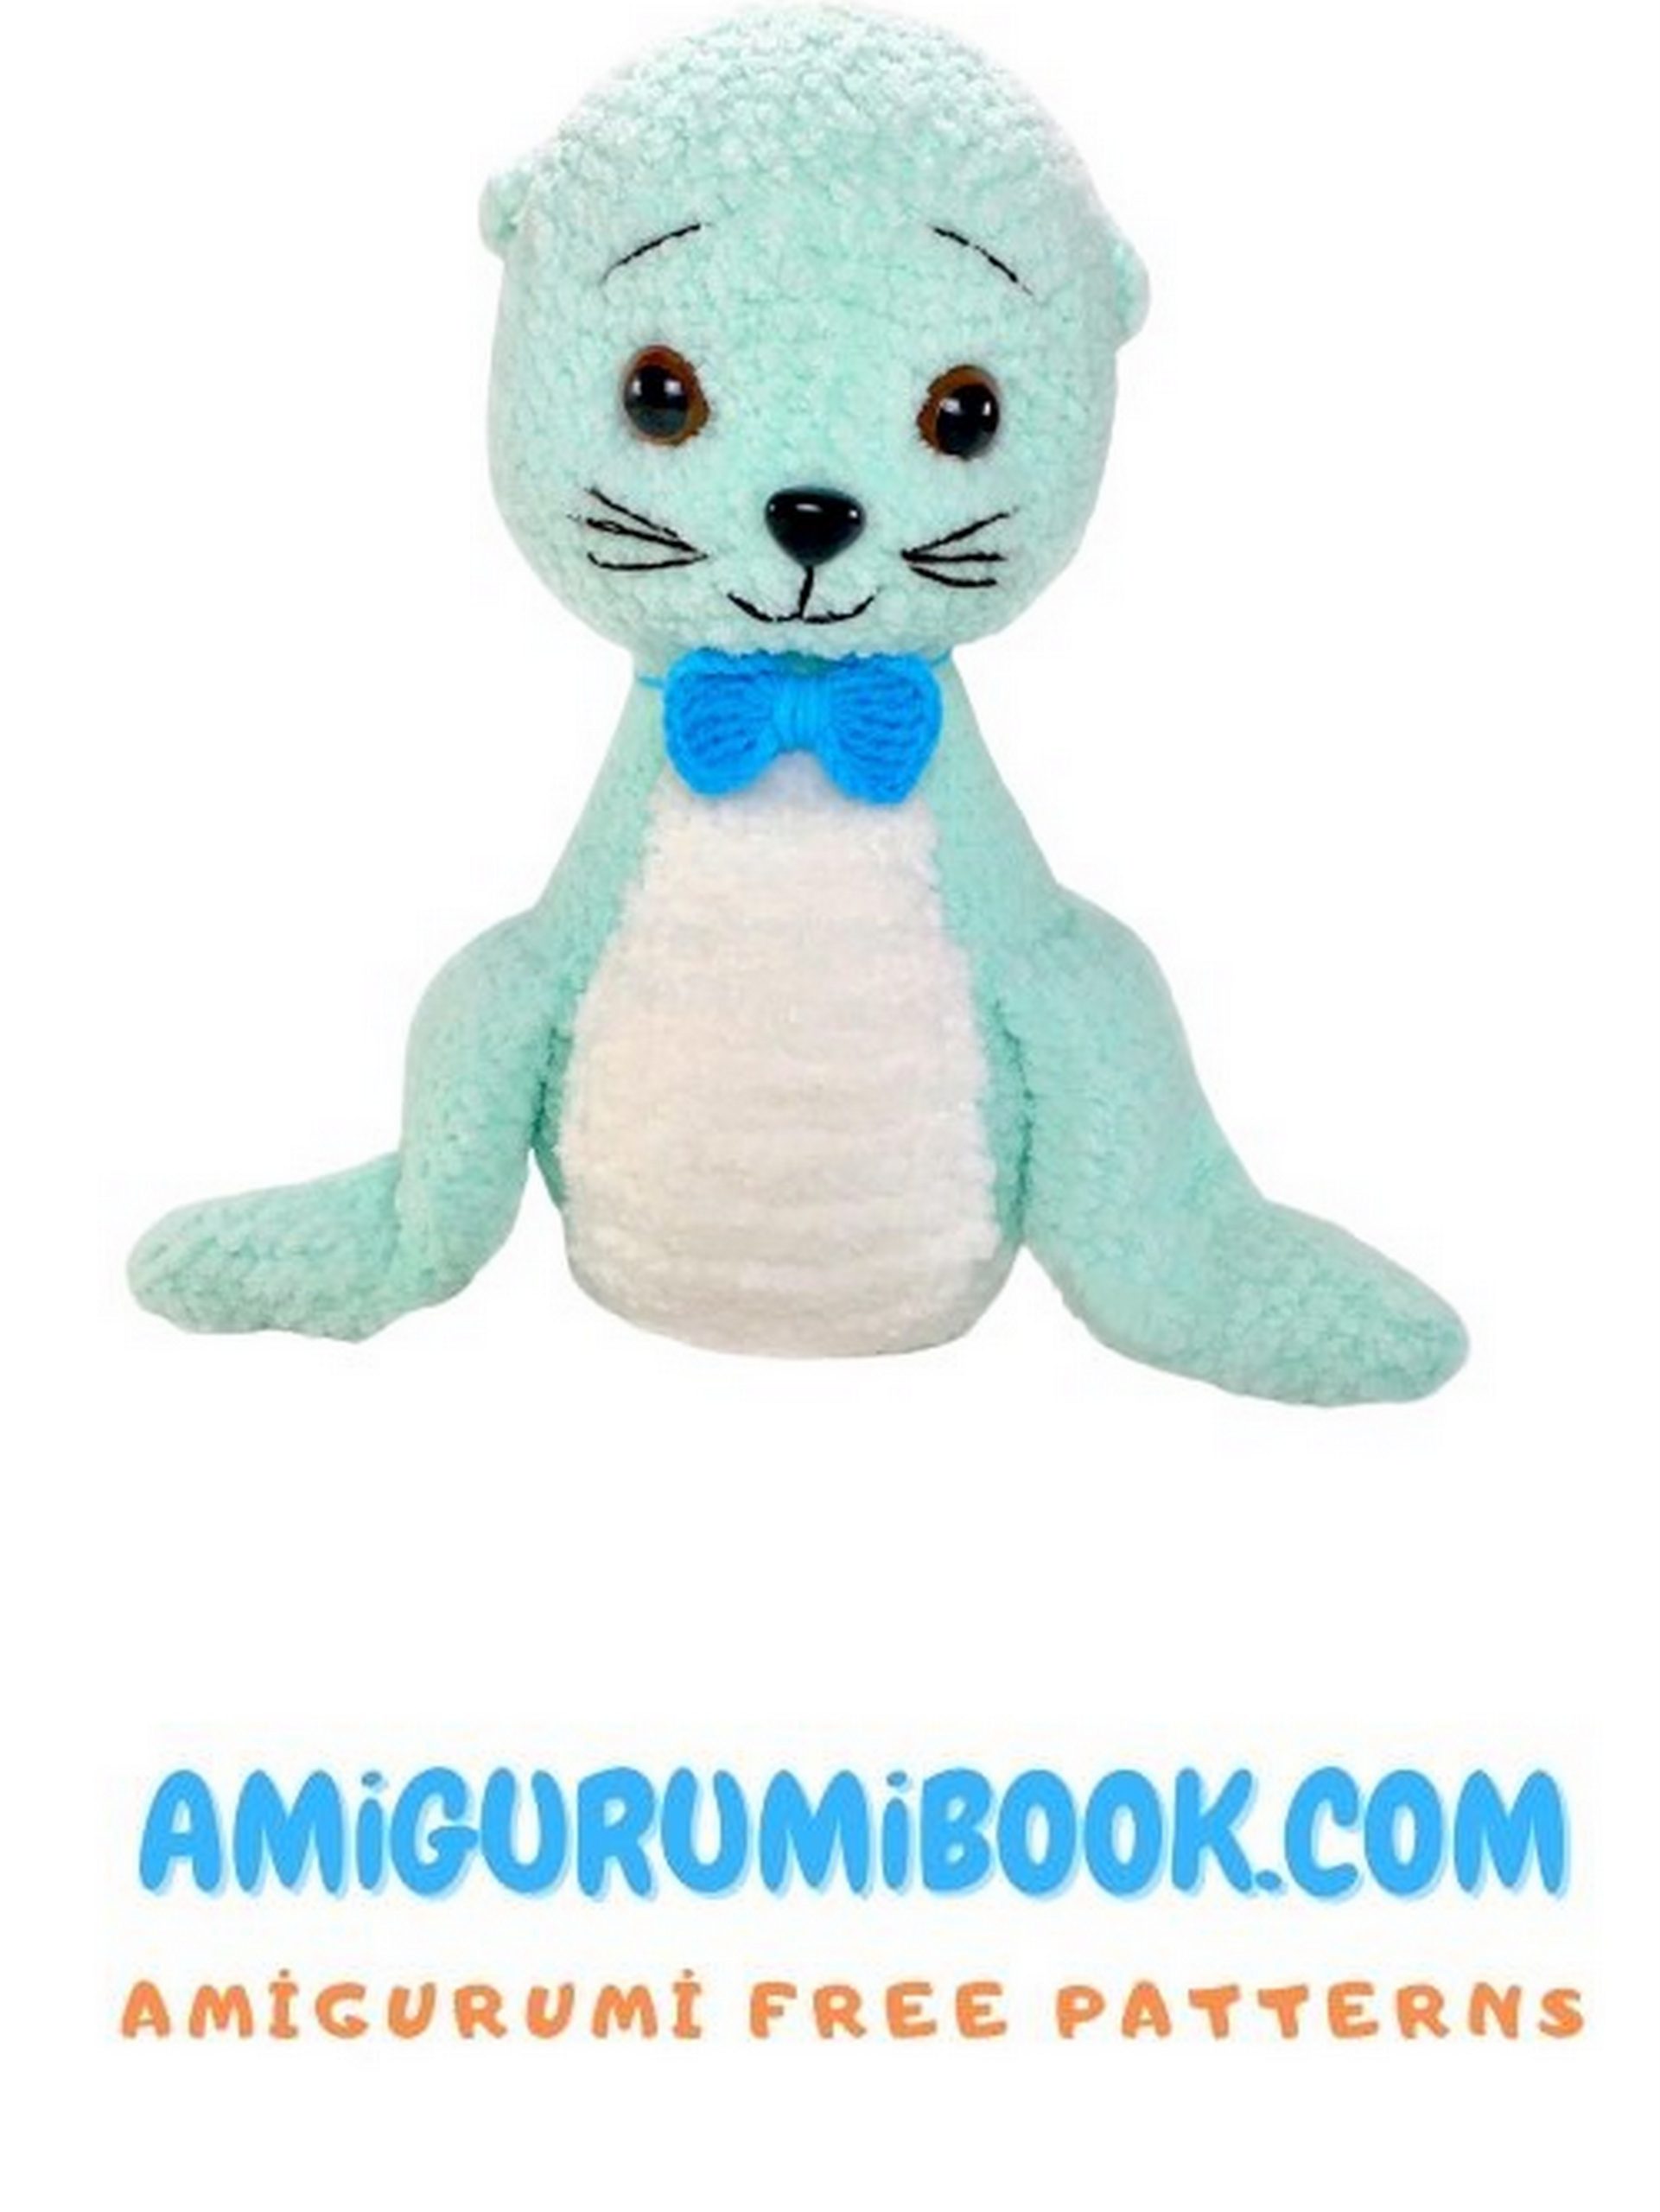
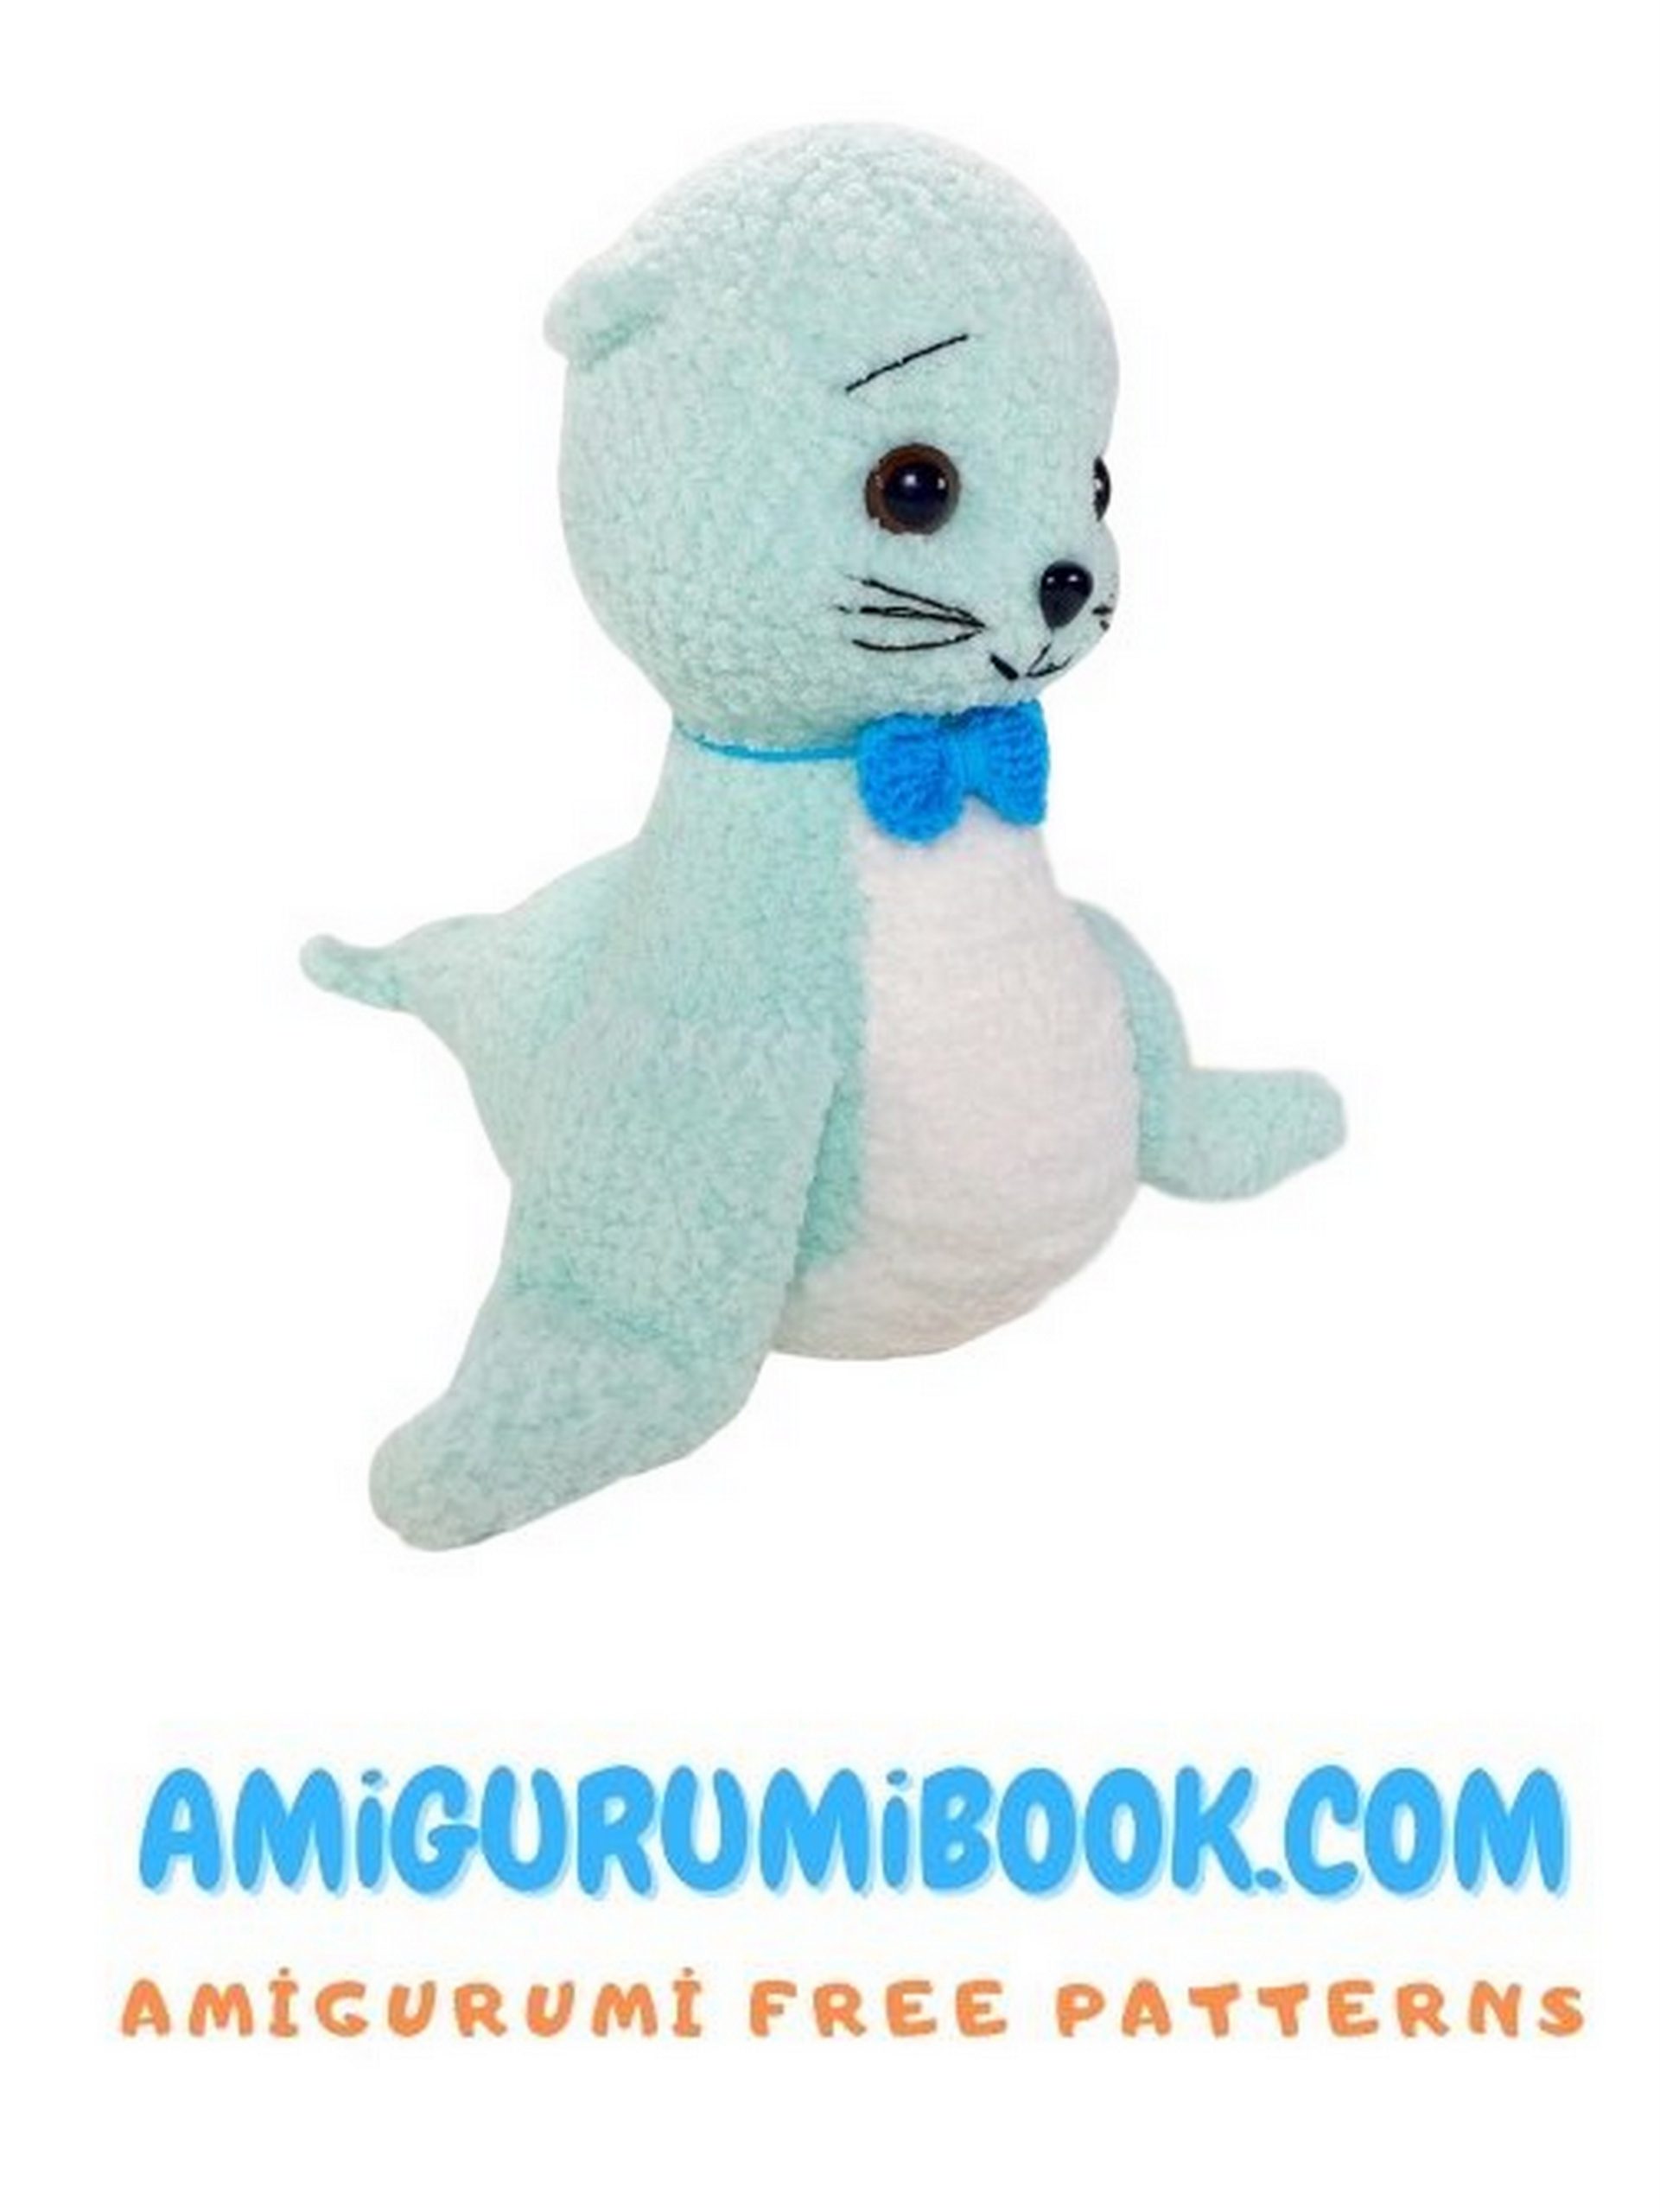
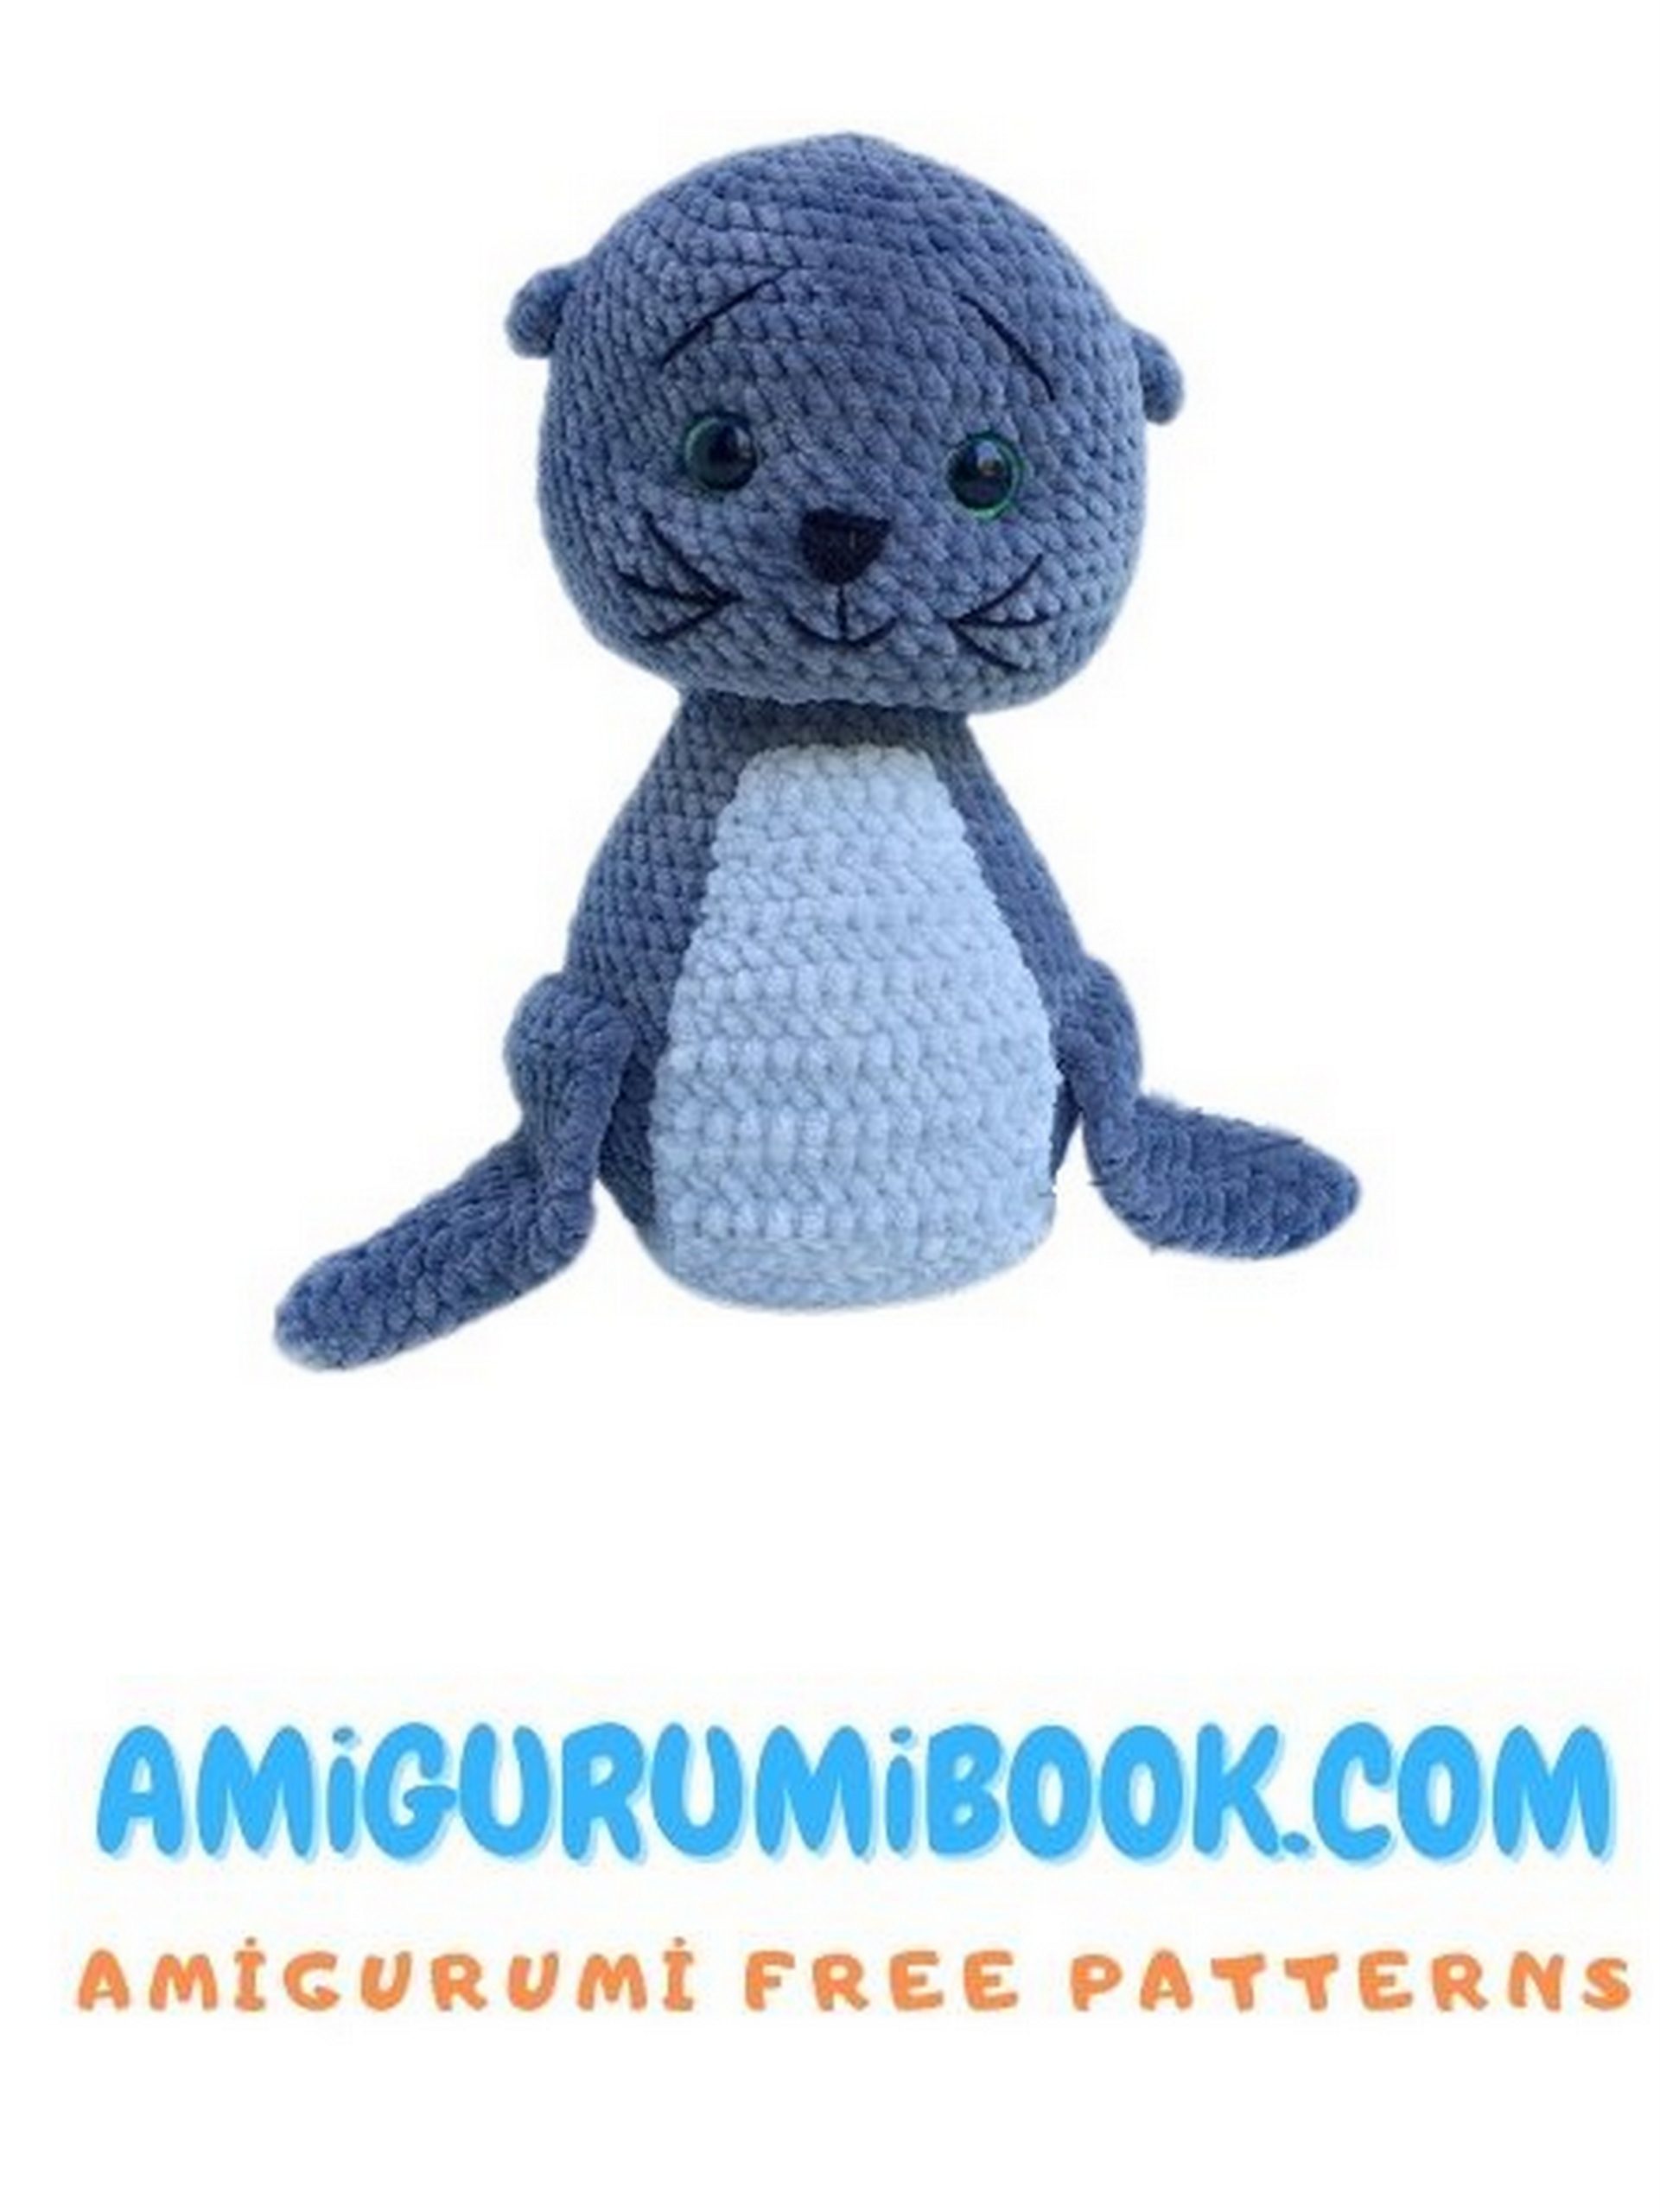
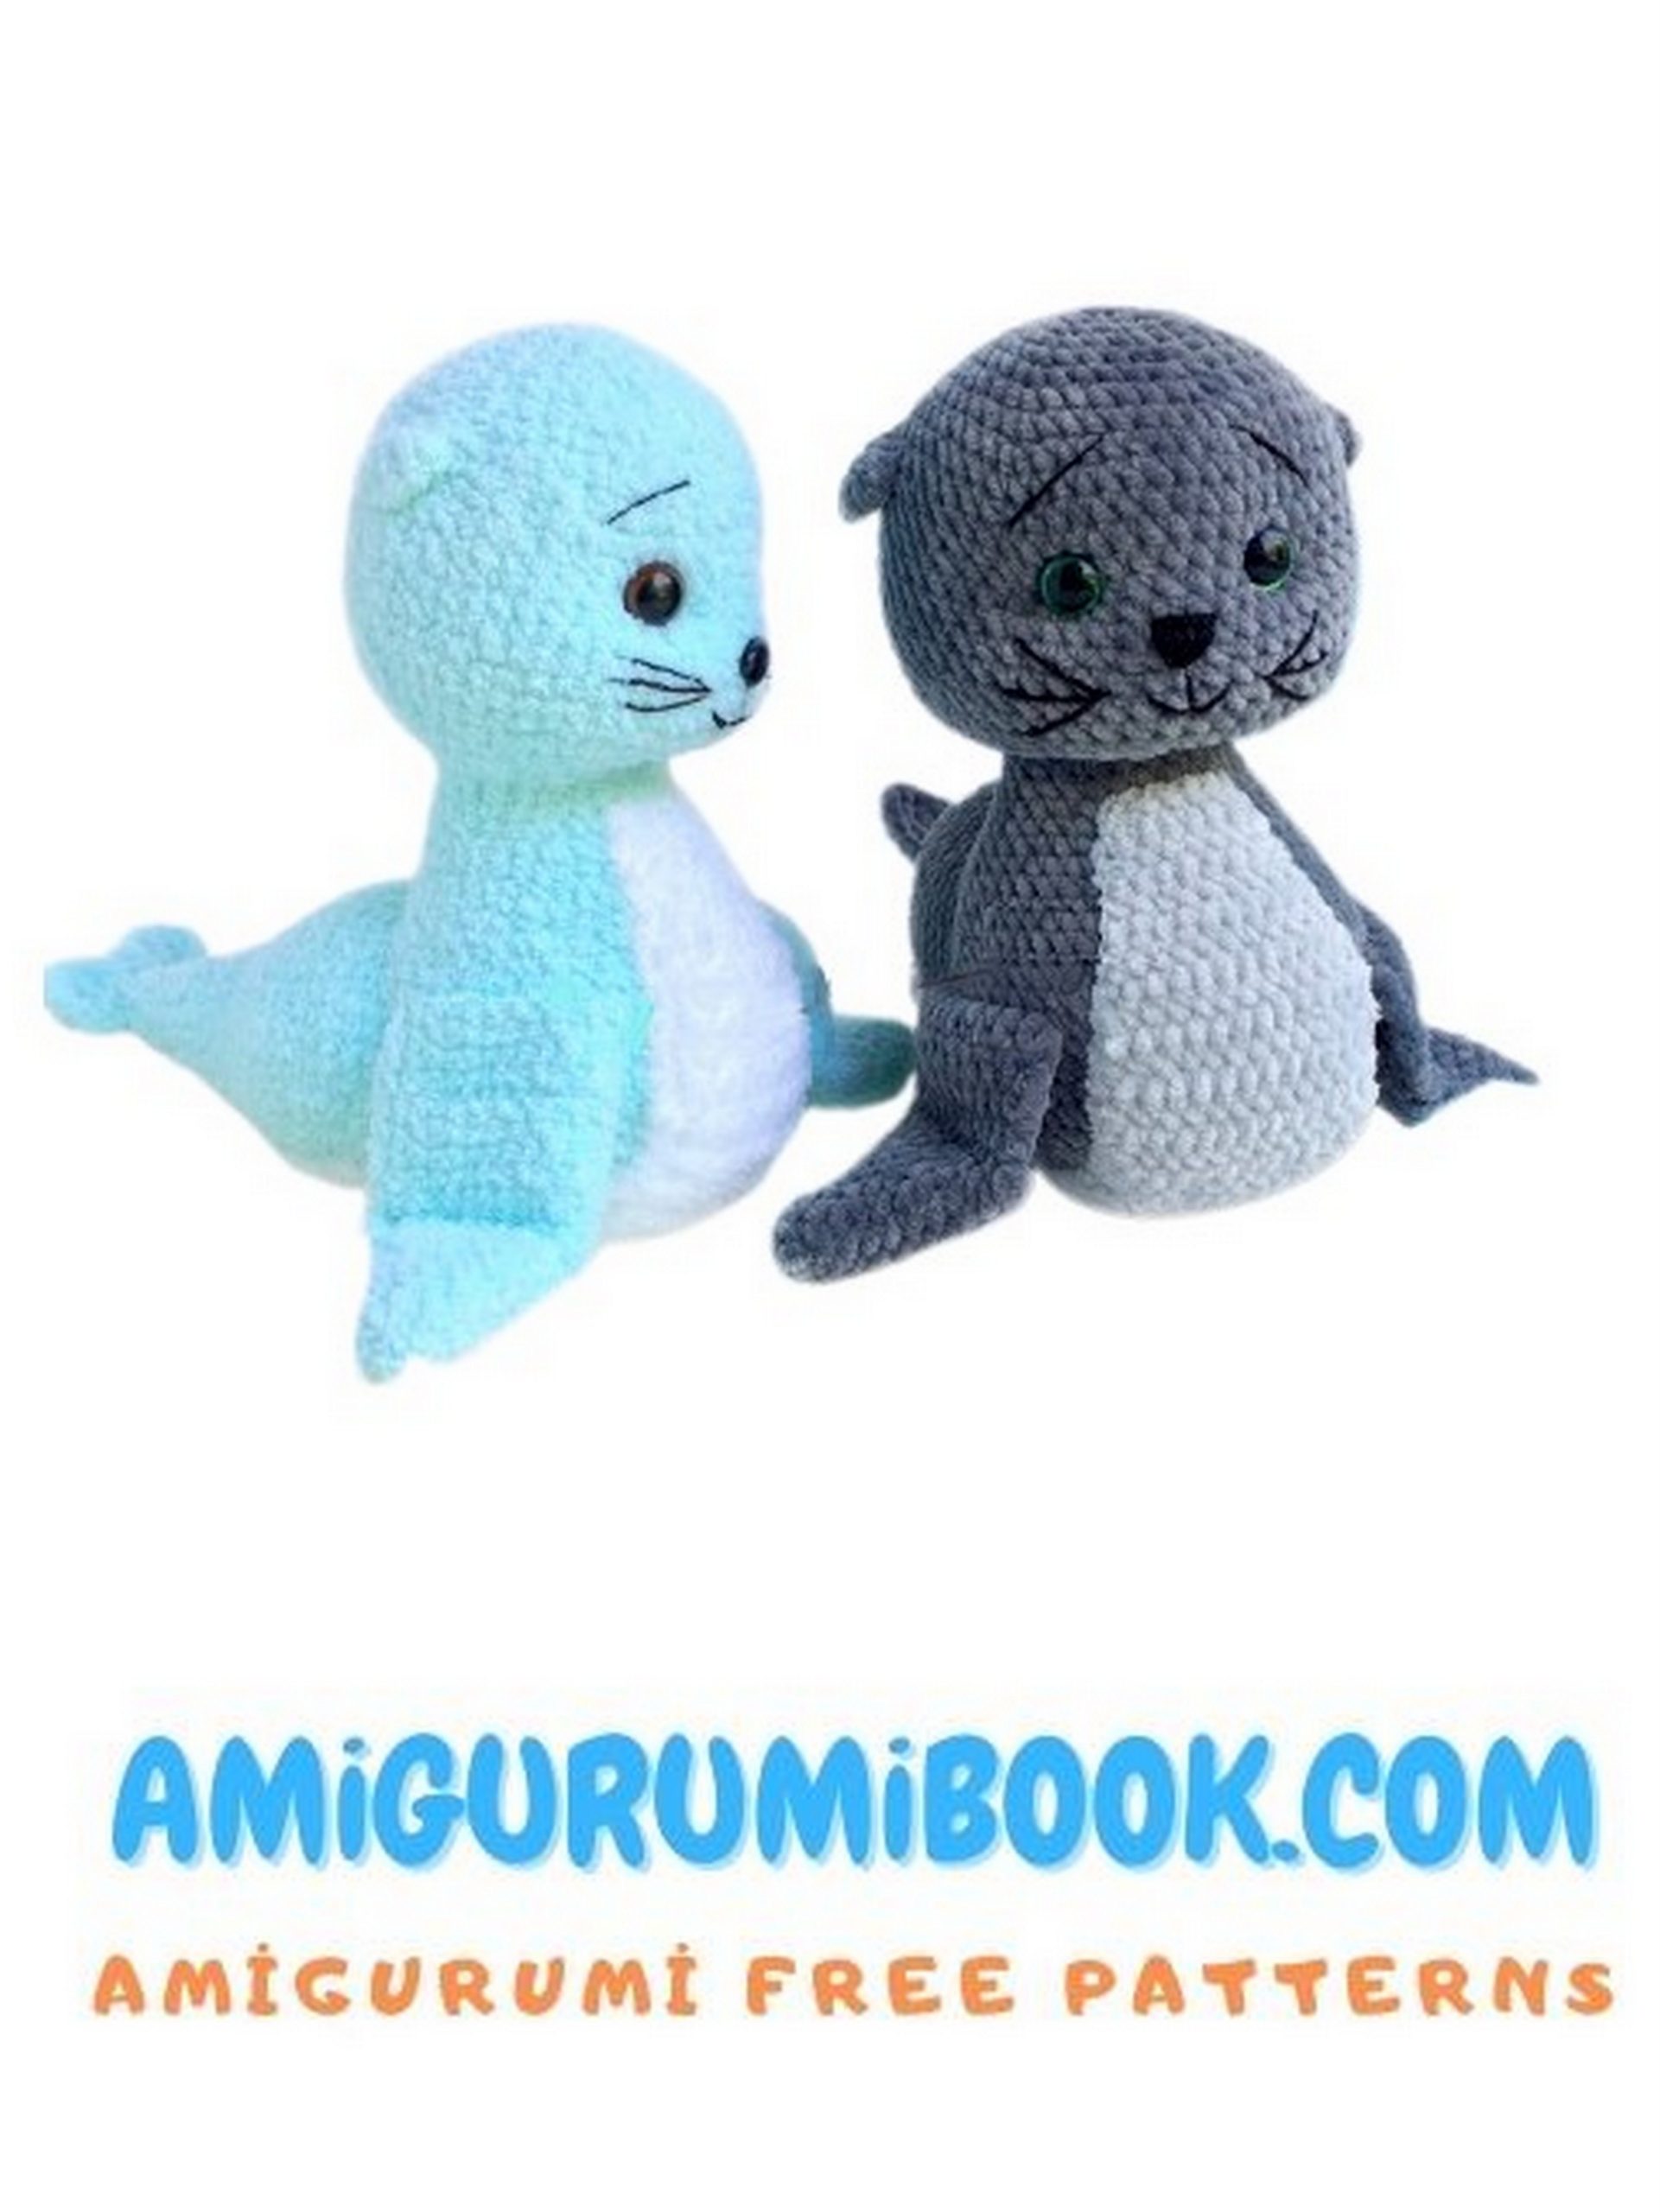
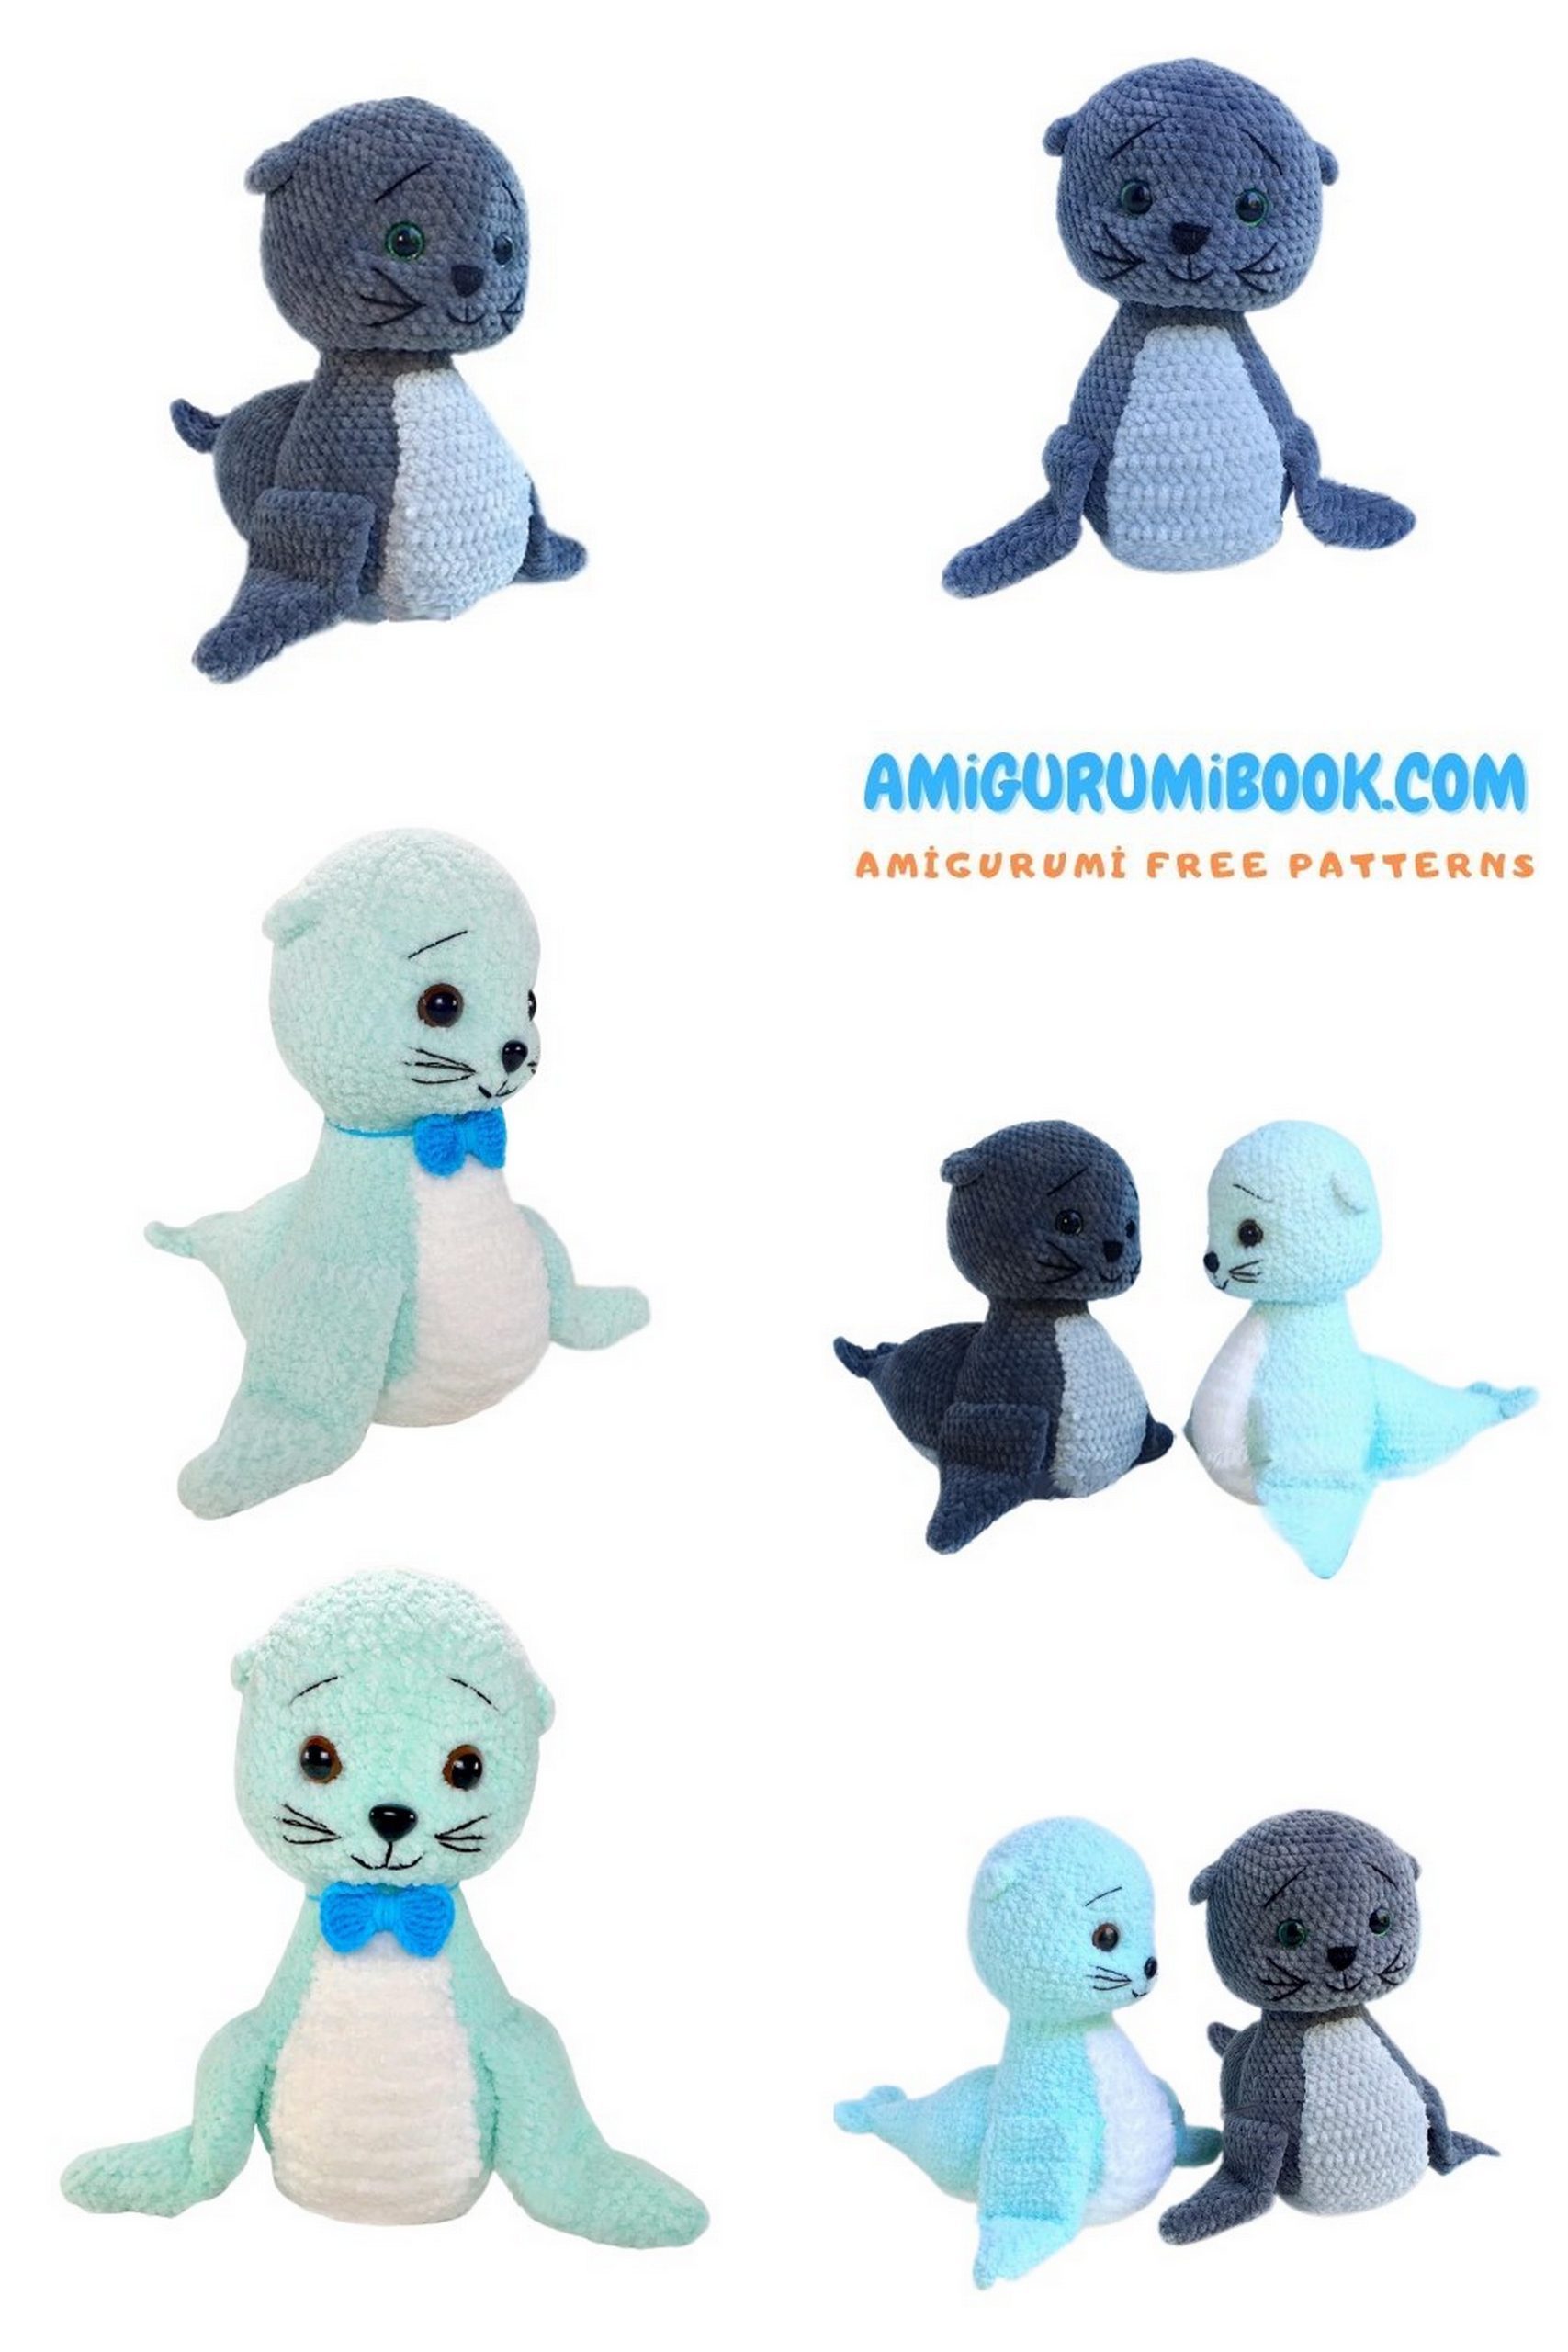
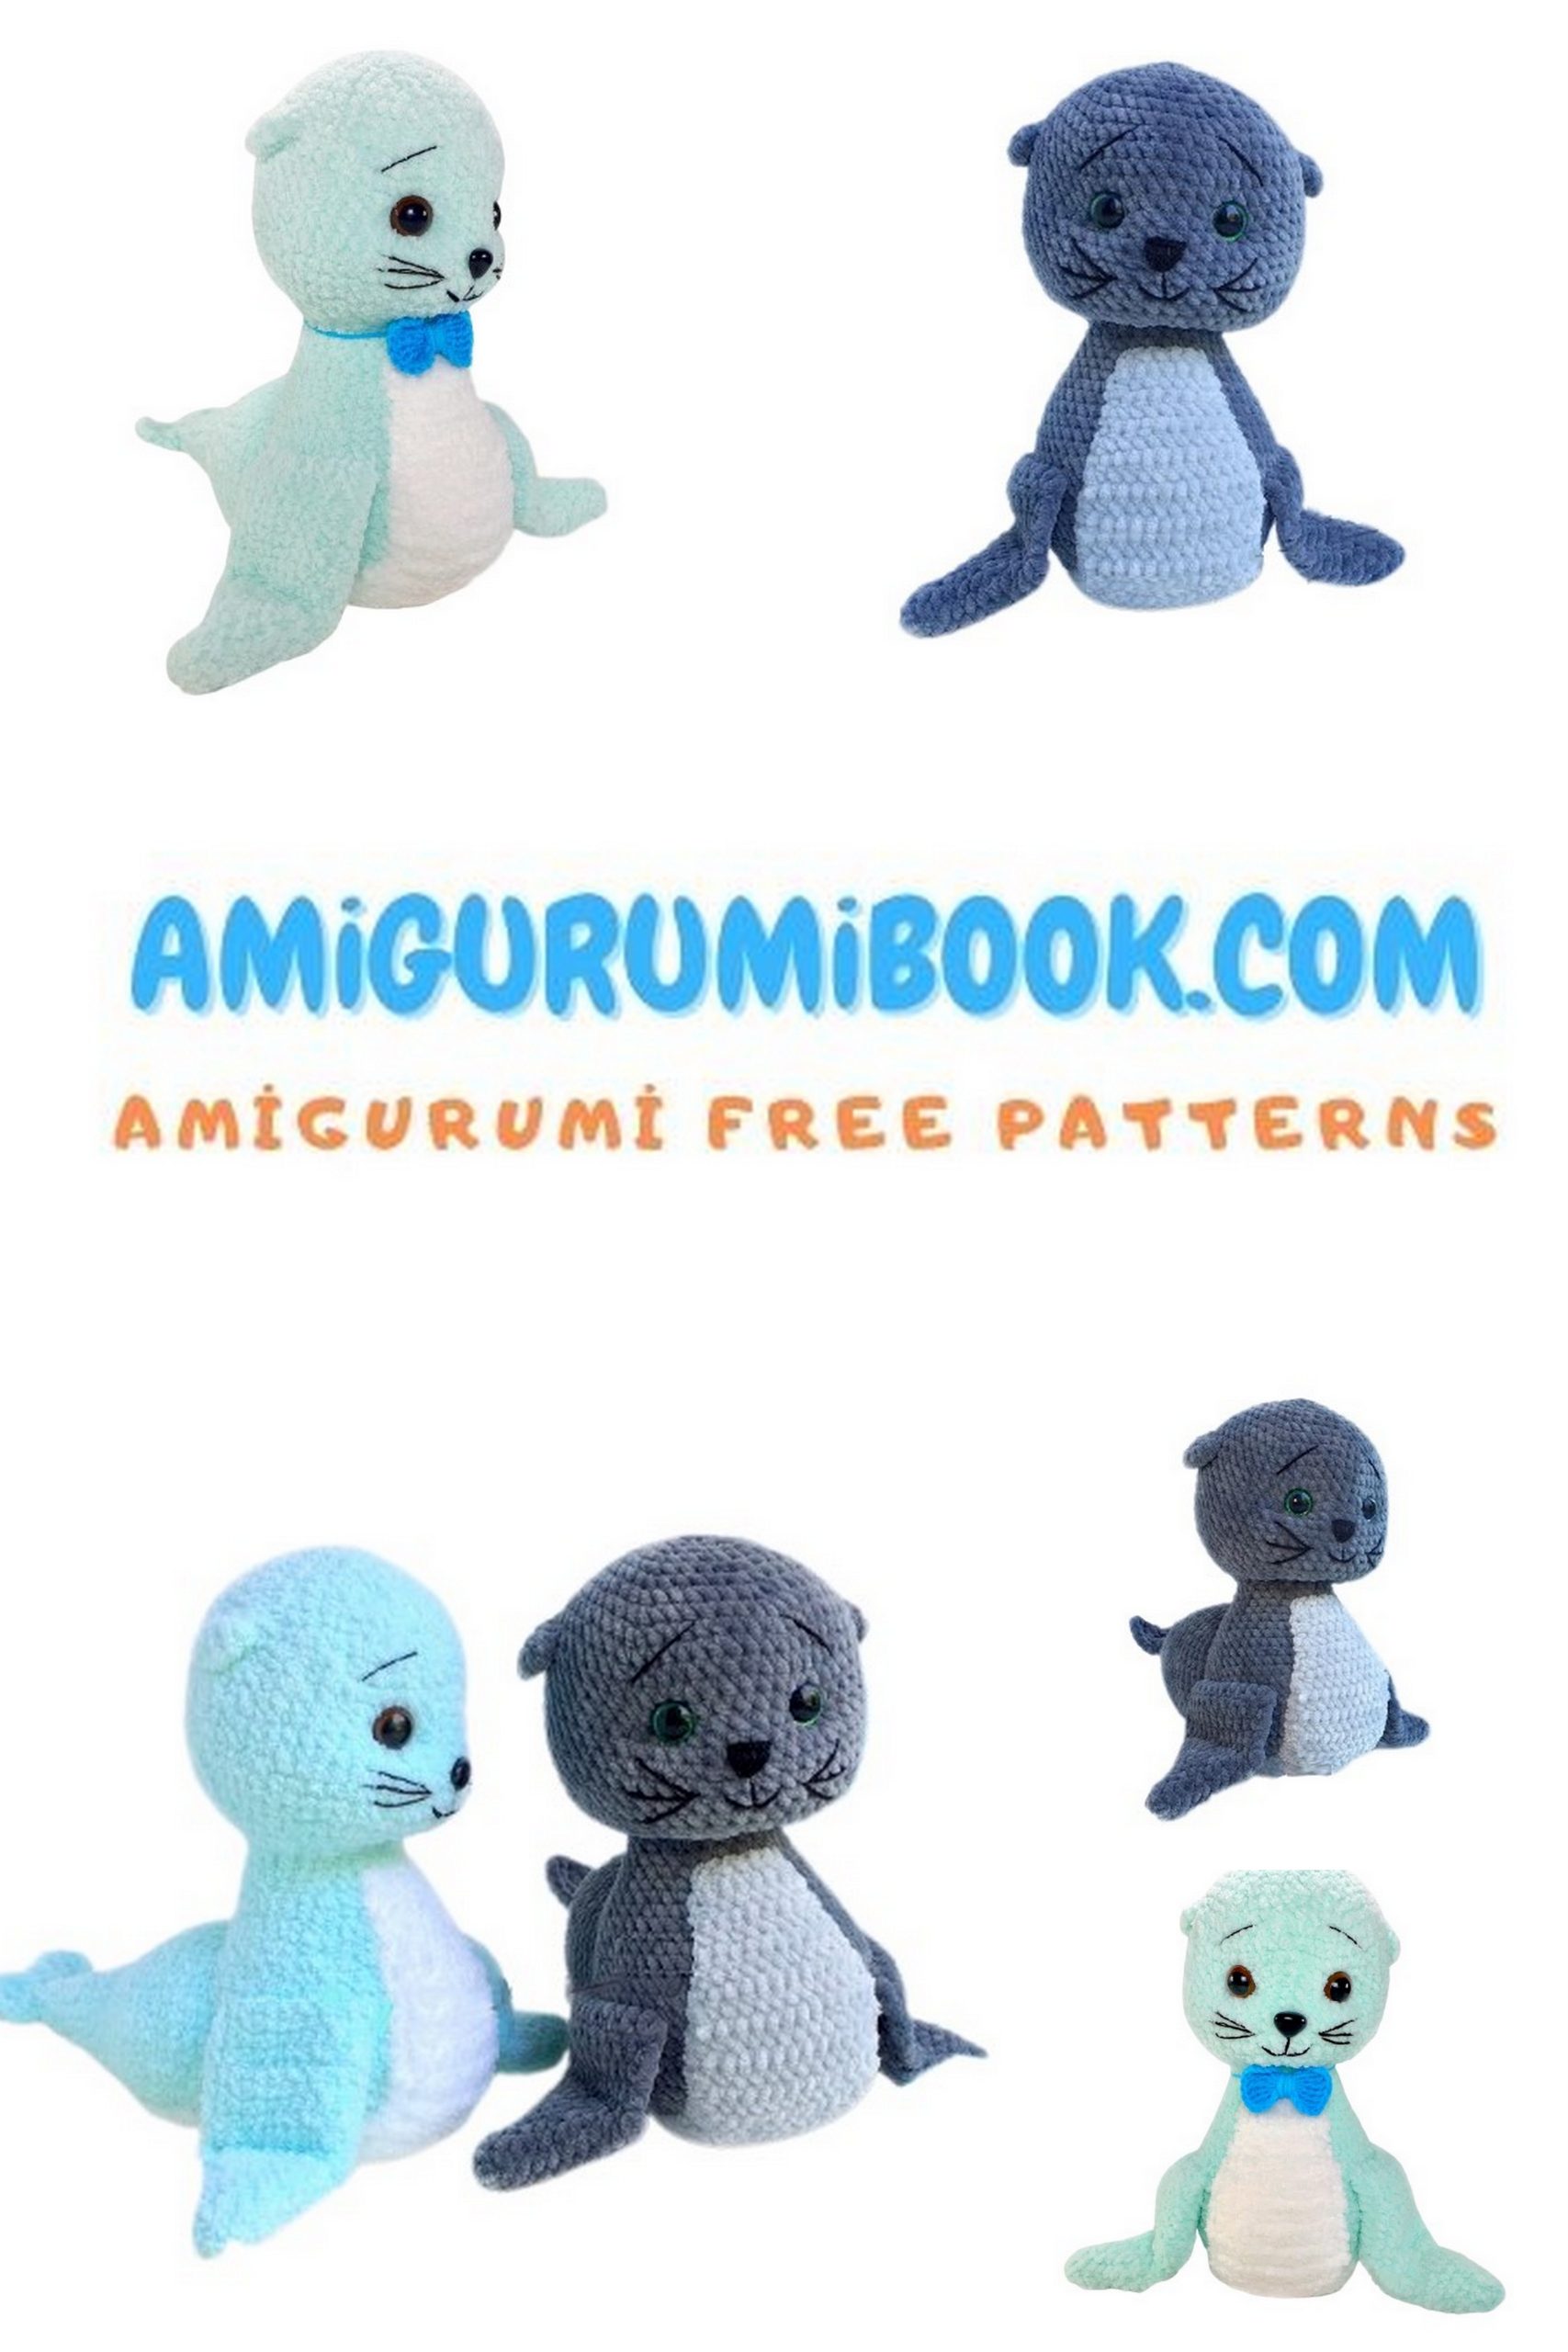
Looking for a soft and cuddly ocean-inspired project? This Free Amigurumi Seal Pattern is perfect for creating your very own adorable seal toy! Designed with plush yarn for a cozy finish, this seal features sweet embroidered details, cute flippers, and a charming tail that gives it personality.
Whether you’re an intermediate crocheter or ready to try something slightly more detailed, this pattern guides you step by step to craft a lovable seal that’s perfect as a gift, nursery decor piece, or handmade companion.
Grab your hook and let’s bring this sweet seal to life!
If you want to access 1000+ free amigurumi patterns, you can download our application from this link!
Materials
- Himalaya Dolphin Baby or Alize Softy Plus (1.5 skeins) – body
- Embroidery floss – muzzle
- 16 mm safety eyes
- 4 mm crochet hook
- Stuffing
- Dental floss (for sculpting & sewing)
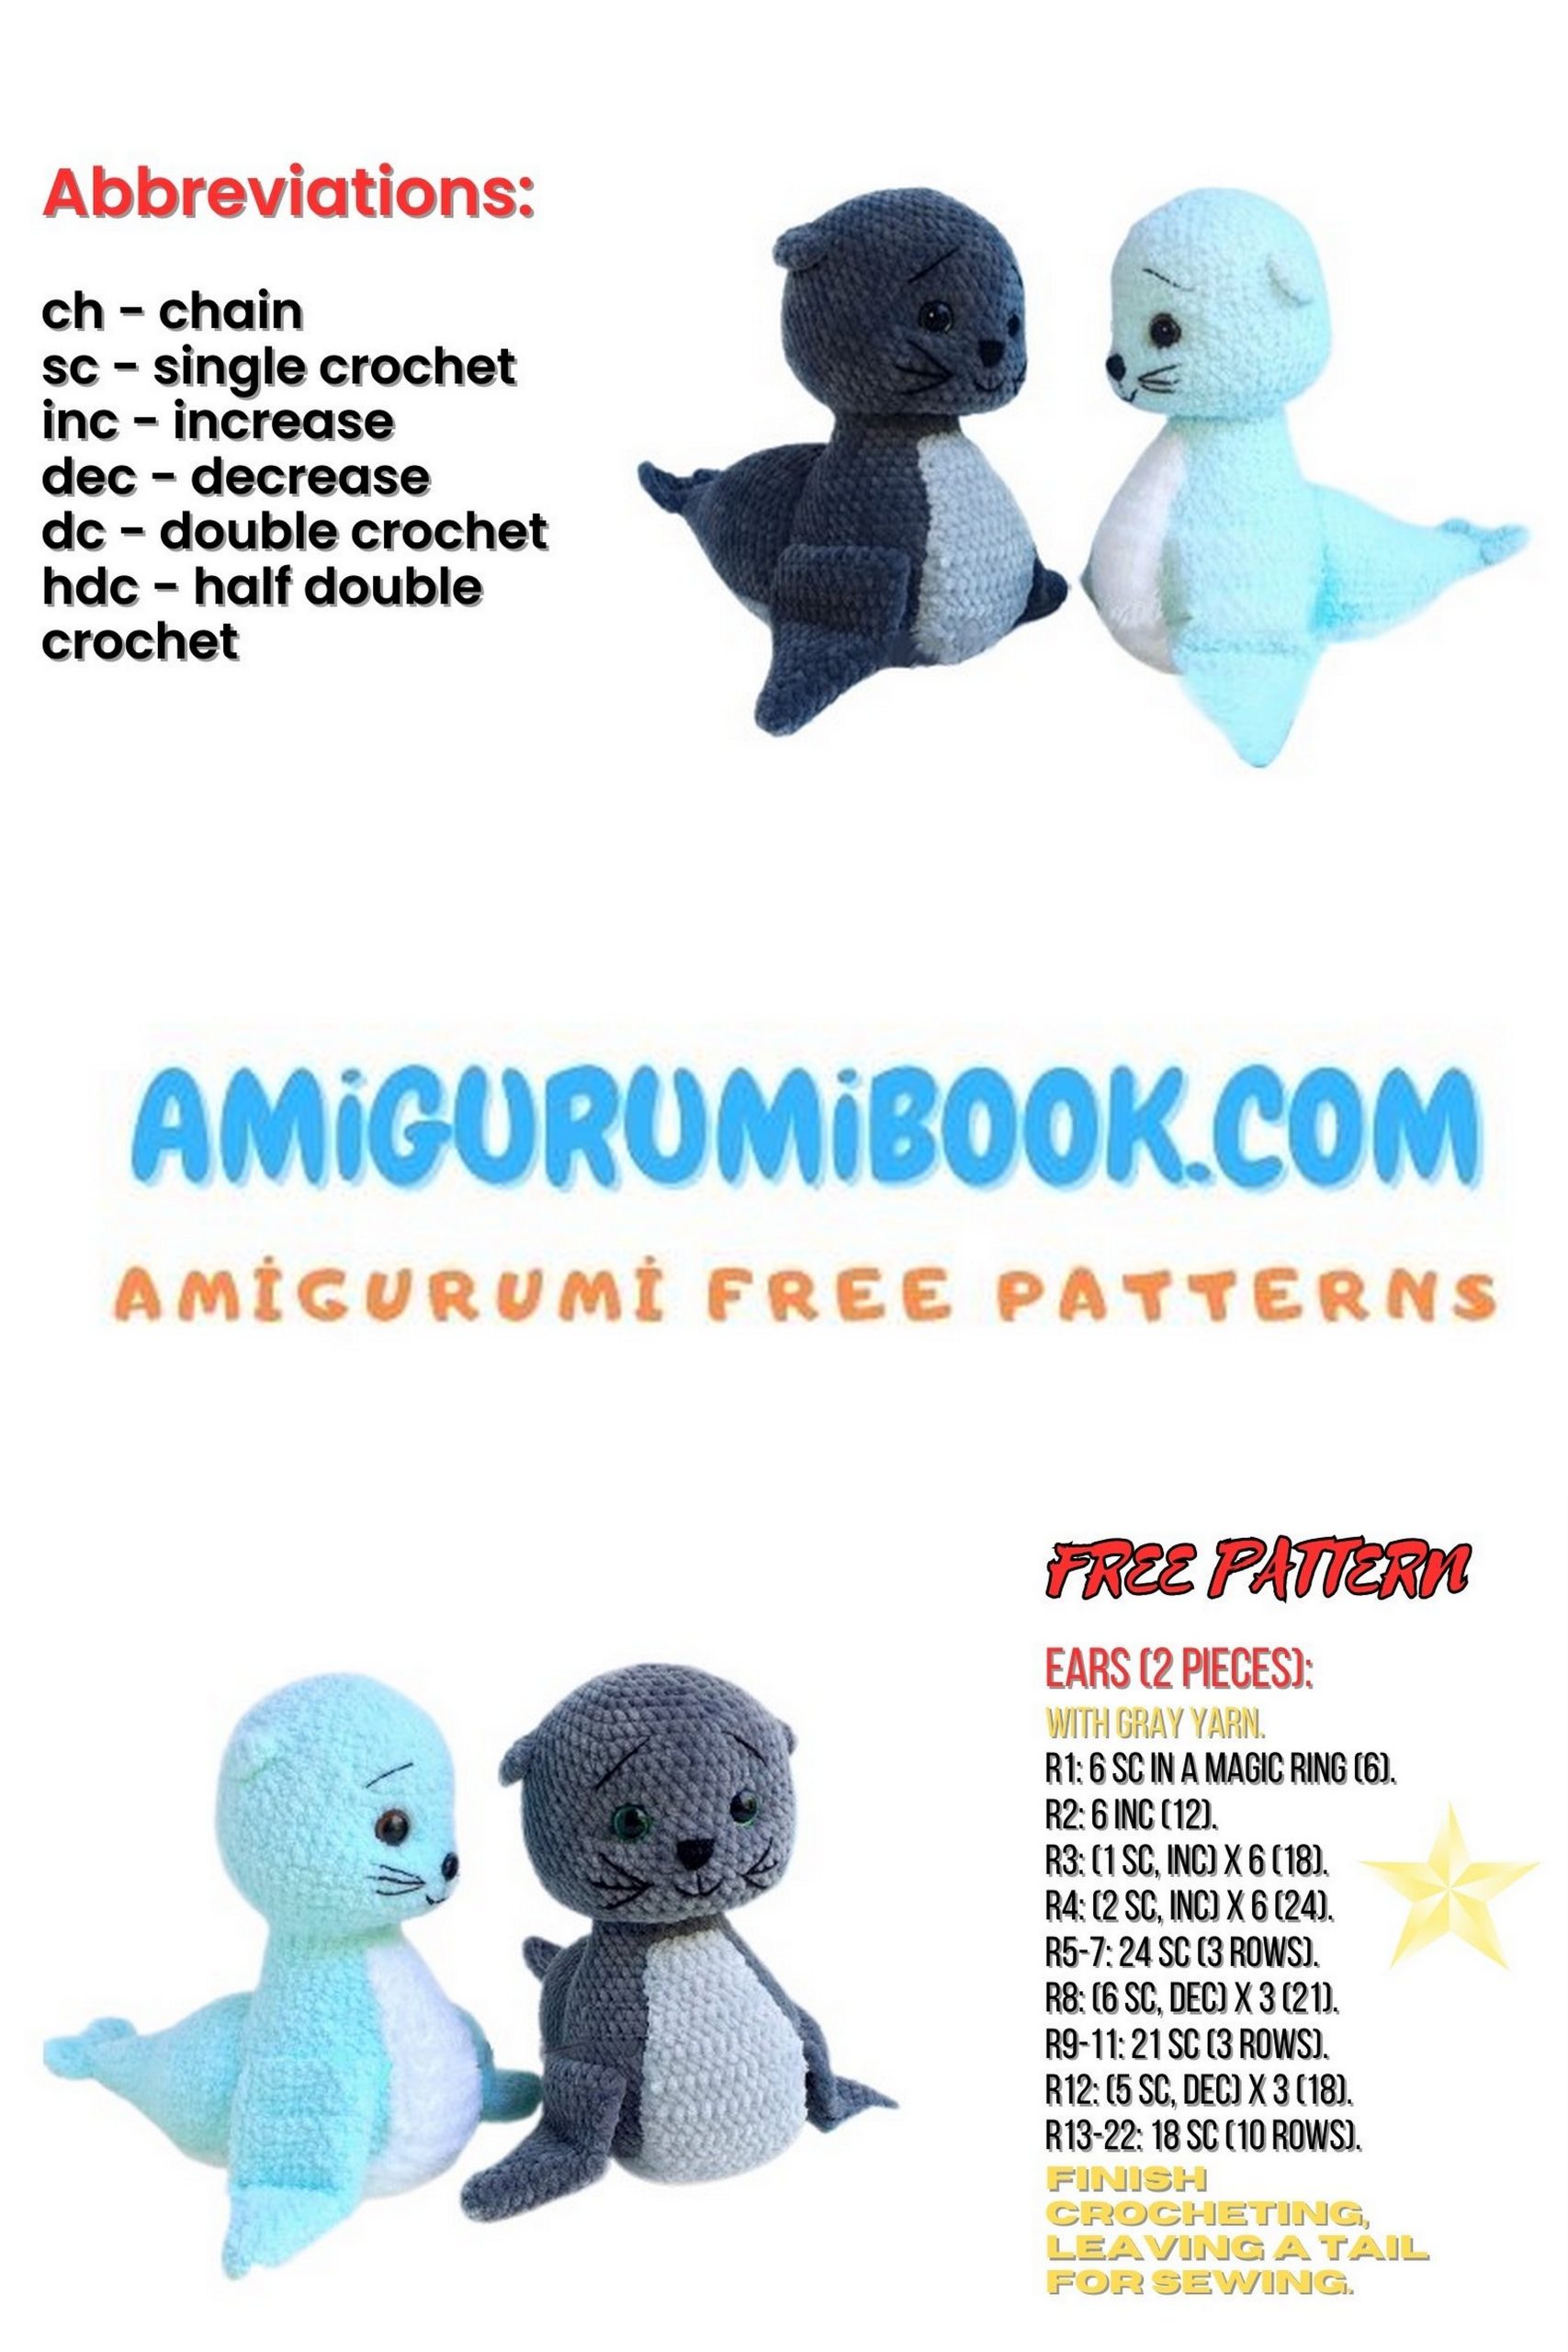
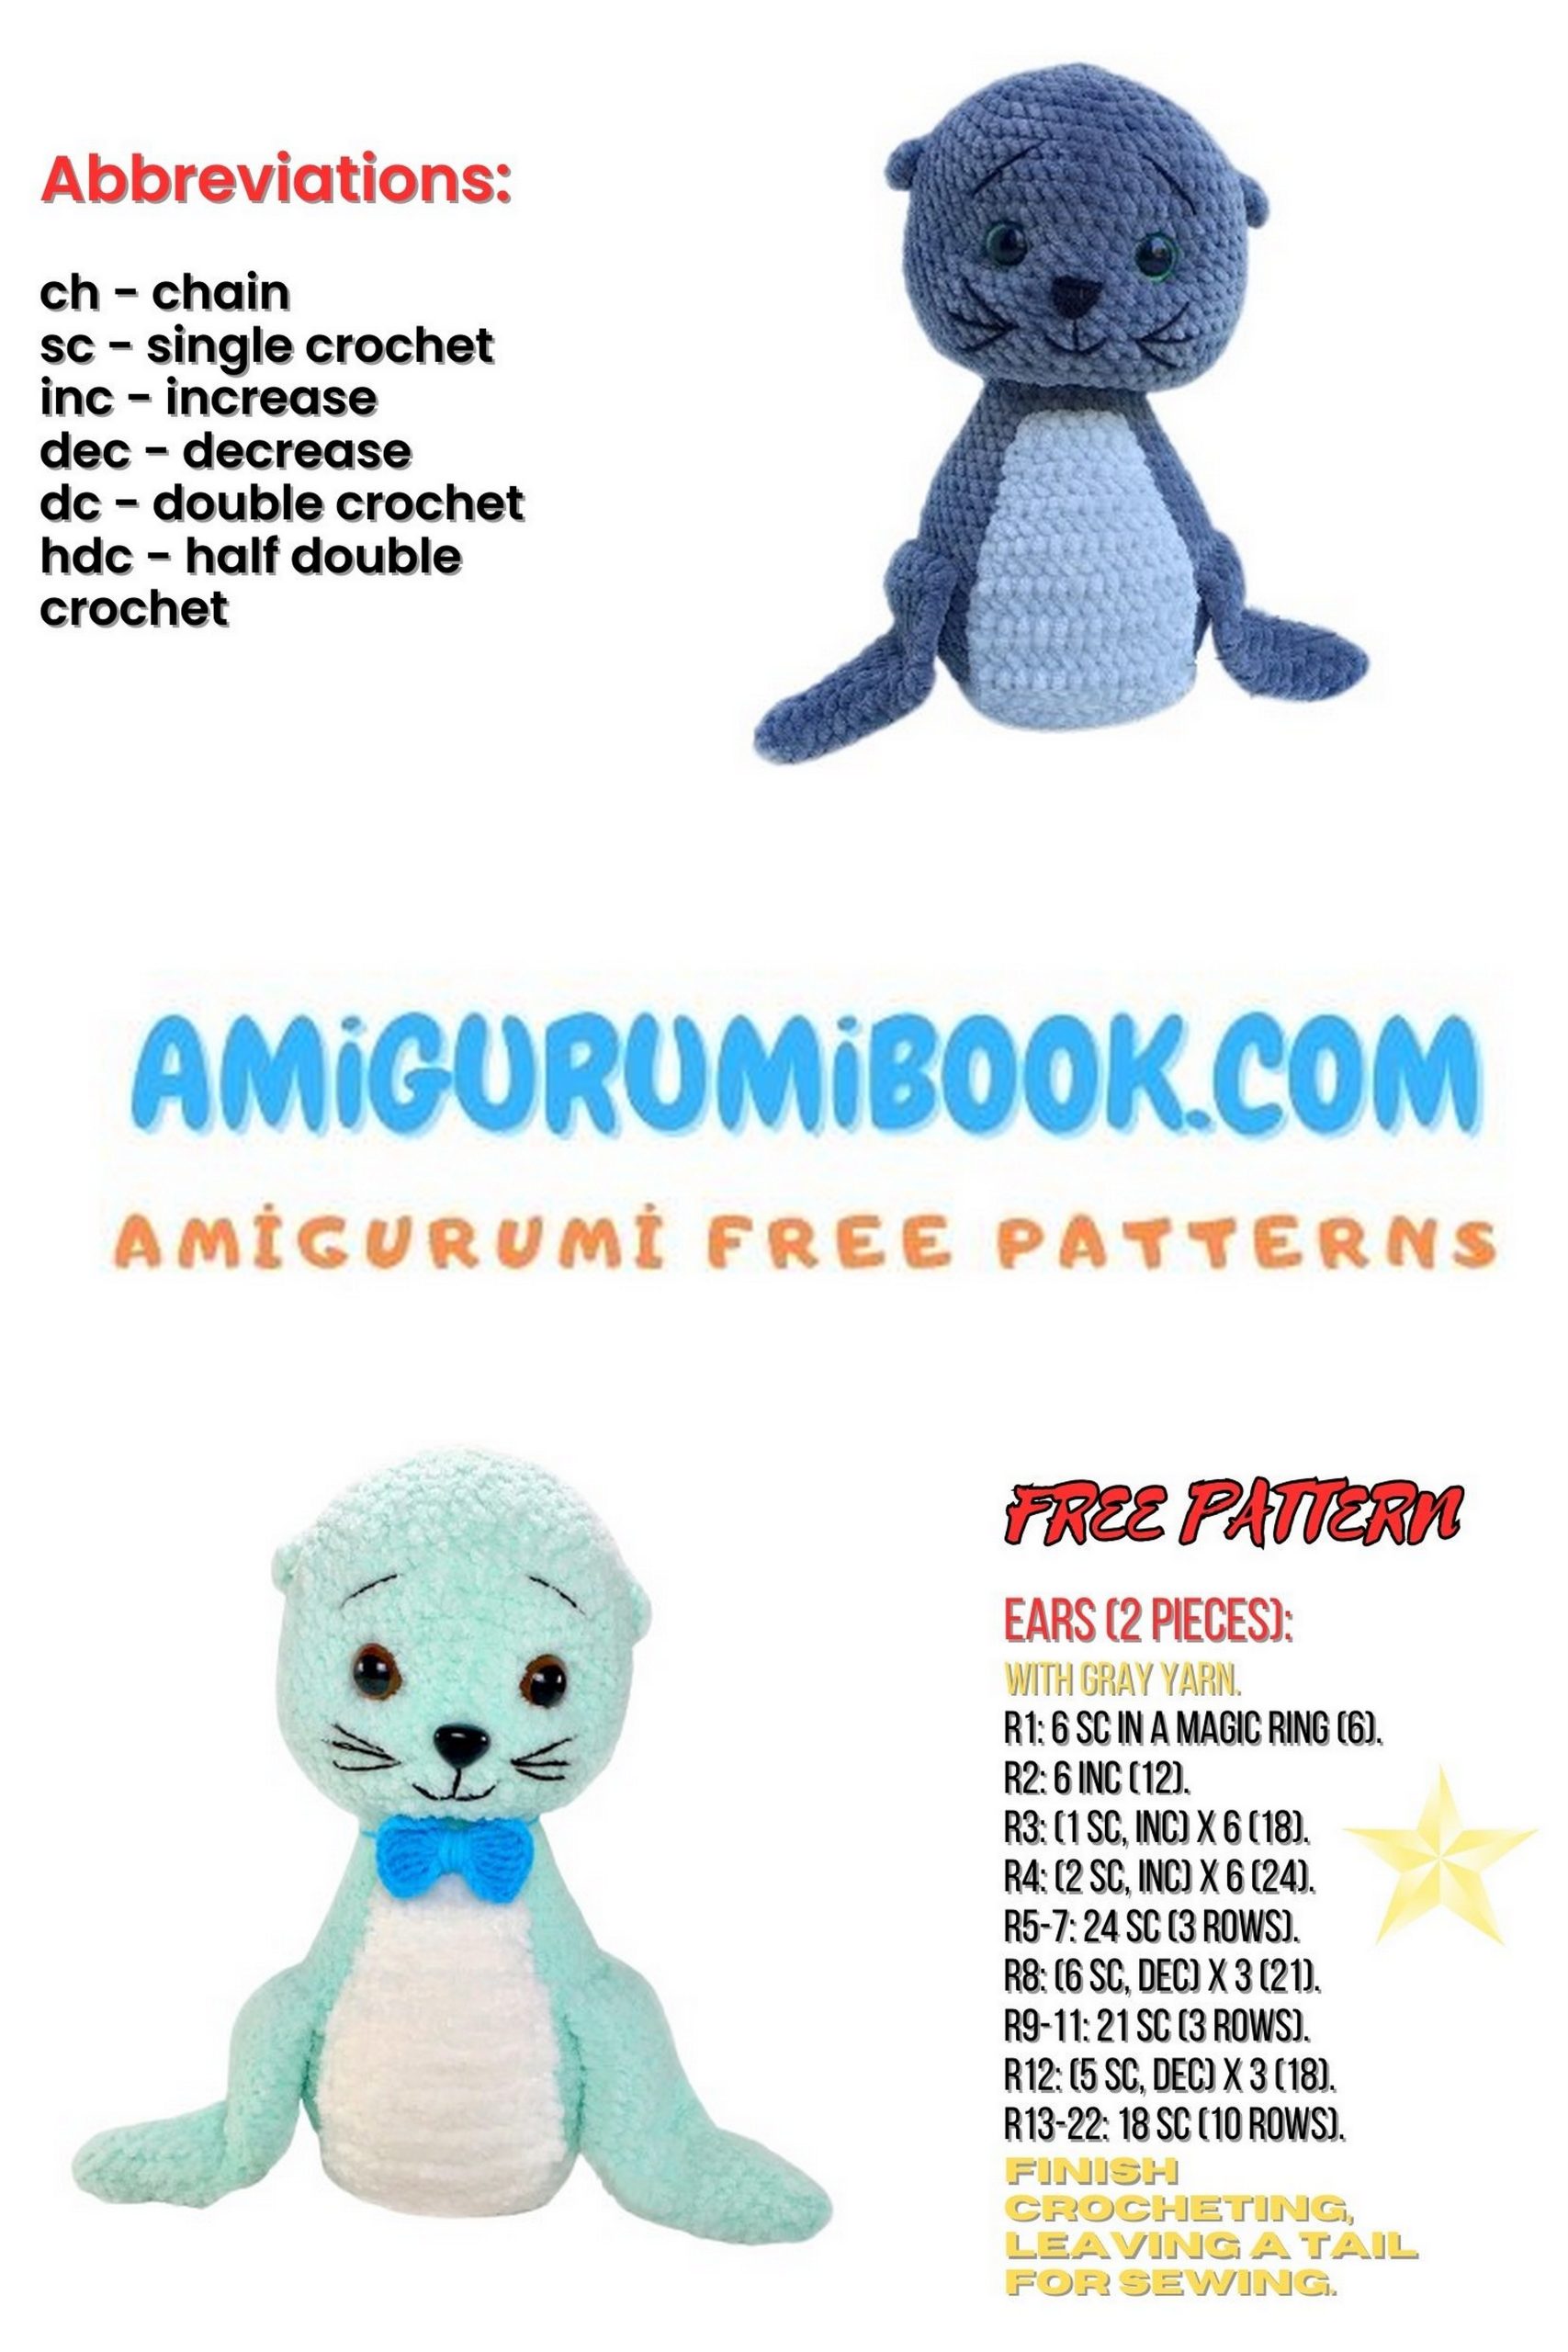
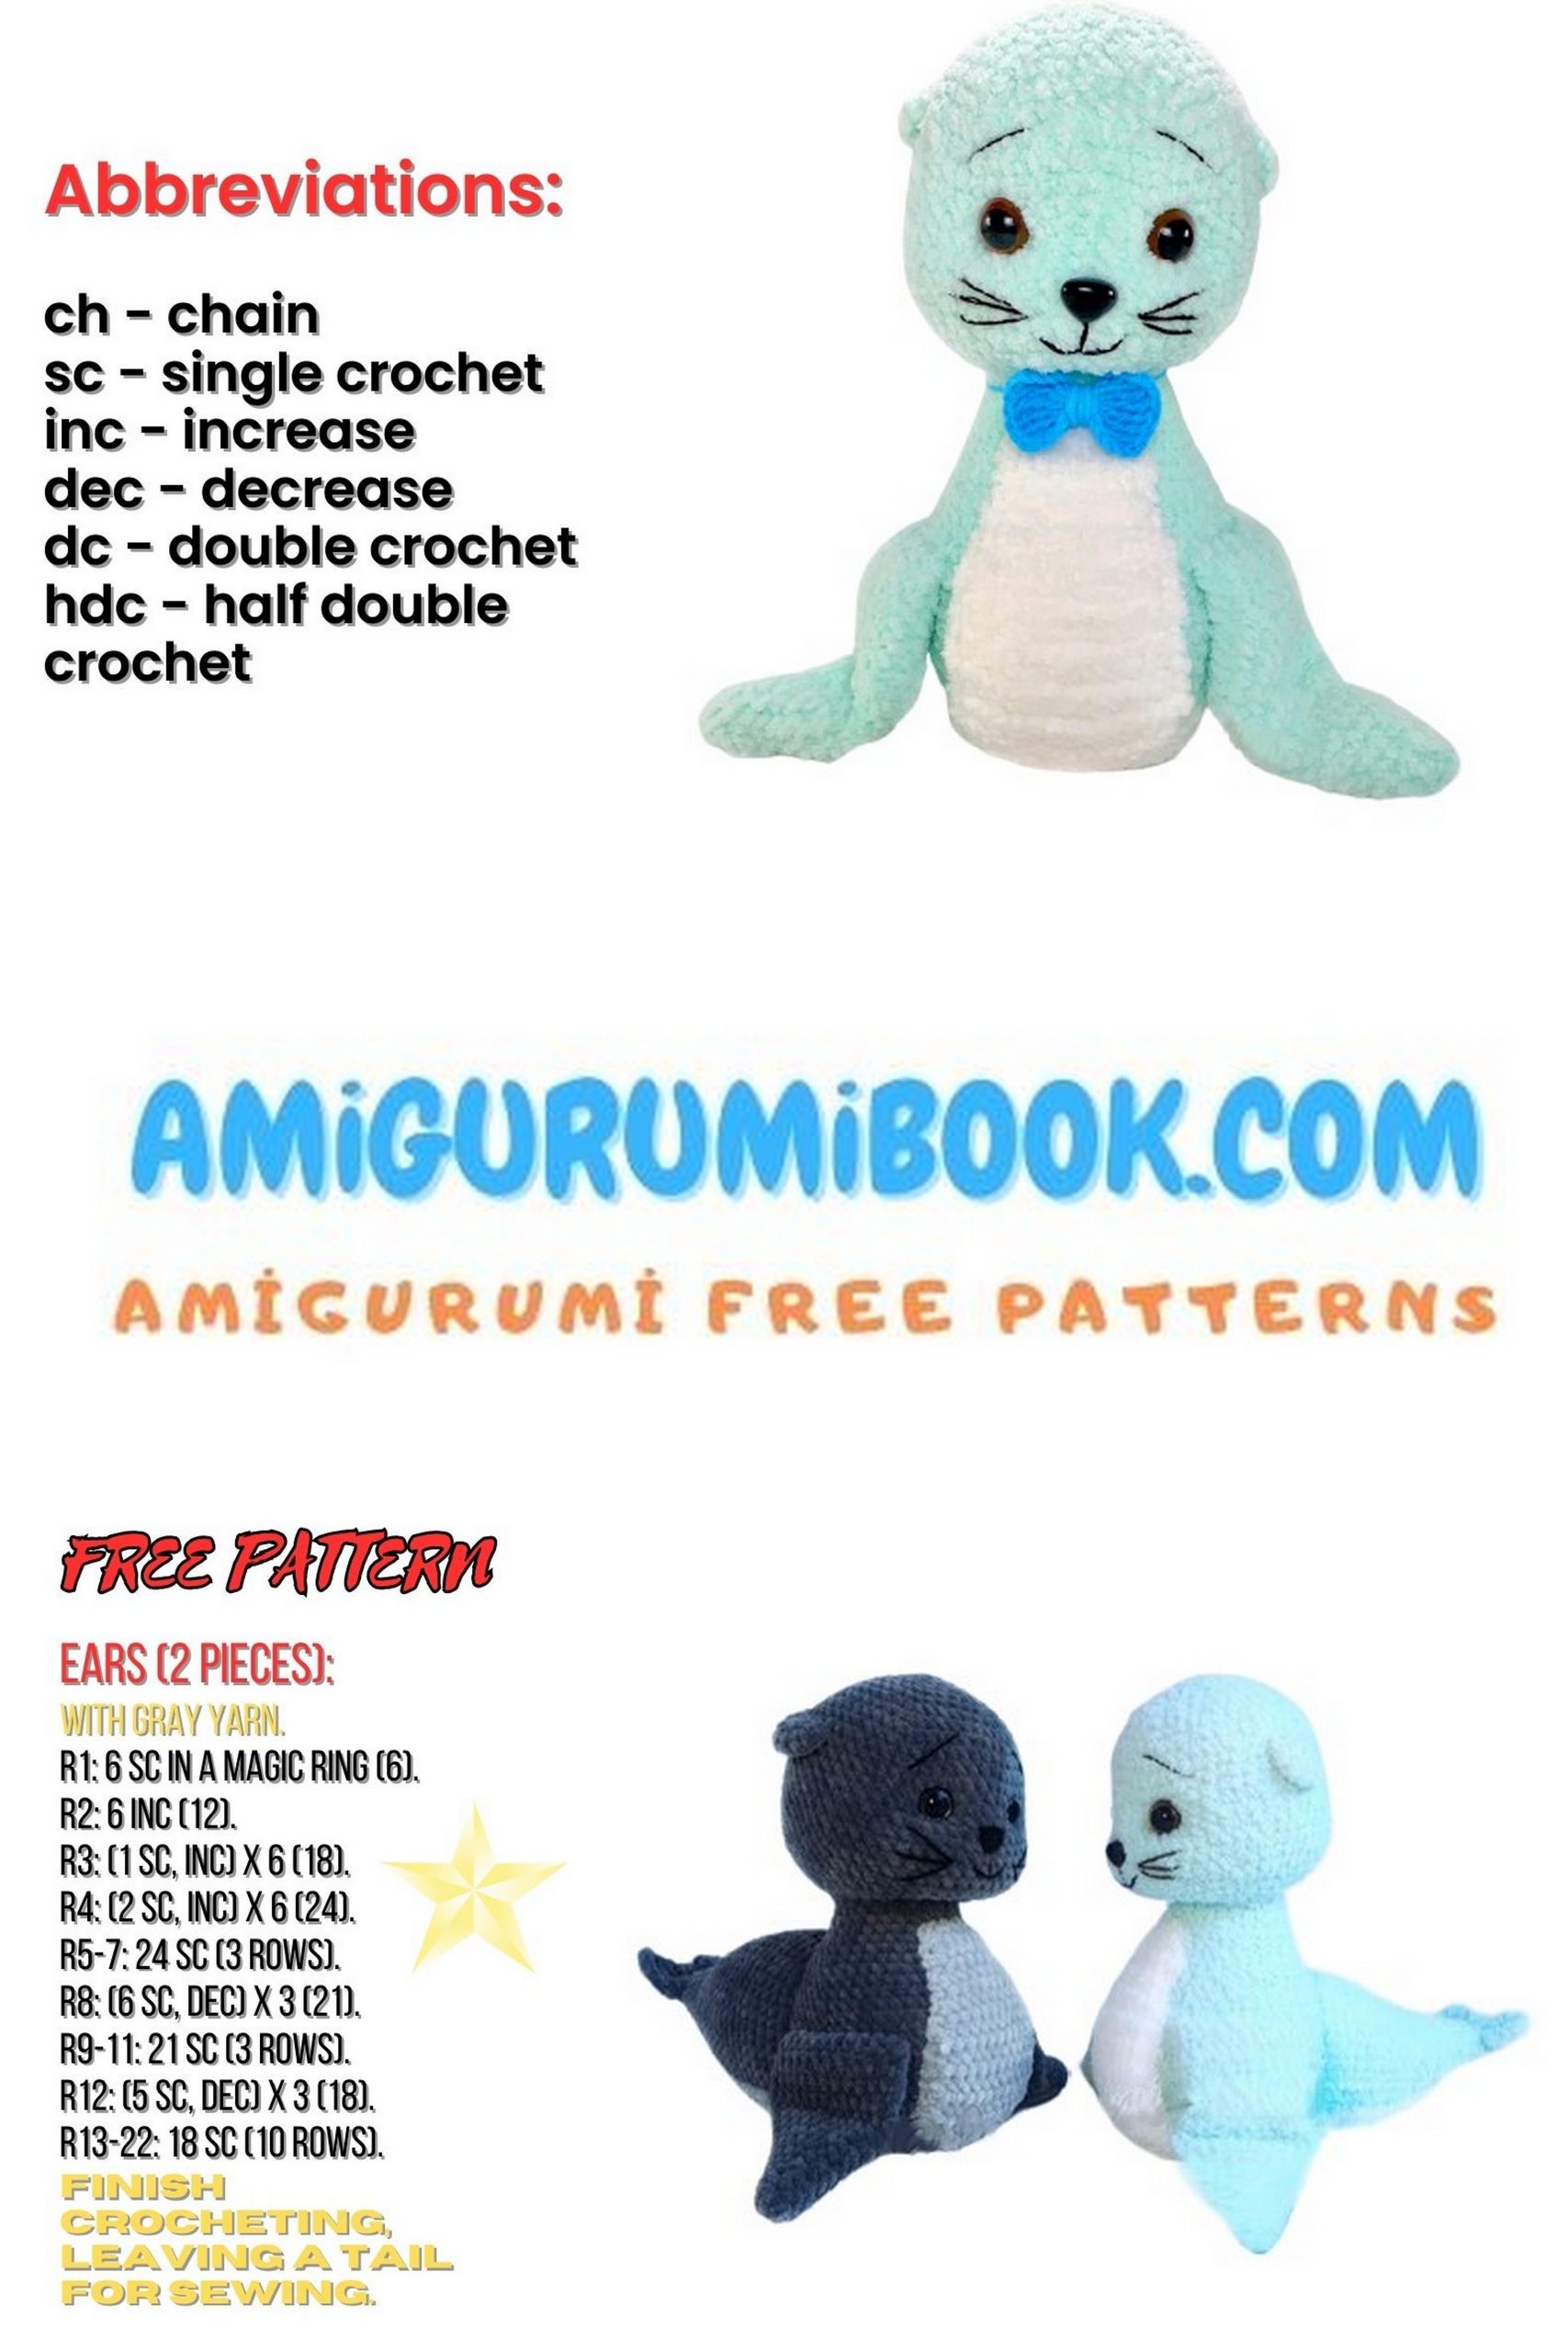
Abbreviations
MR – magic ring
ch – chain
sc – single crochet
inc – increase (2 sc in one stitch)
dec – decrease (sc2tog)
hdc – half double crochet
dc – double crochet
tr – treble crochet
dtr – double treble crochet
HEAD + BODY
(Crocheted as one piece)
1: 6 sc in MR (6)
2: 6 inc (12)
3: (1 sc, inc) ×6 (18)
4: (2 sc, inc) ×6 (24)
5: (3 sc, inc) ×6 (30)
6: (4 sc, inc) ×6 (36)
7: (5 sc, inc) ×6 (42)
8: (6 sc, inc) ×6 (48)
9: (7 sc, inc) ×6 (54)
10–21: 54 sc (12 rows)
Insert safety eyes between Rows 13–14 with 9 stitches between them.
If using a safety nose, insert it between Rows 17–18.
22: (7 sc, dec) ×6 (48)
23: (6 sc, dec) ×6 (42)
24: (5 sc, dec) ×6 (36)
25: (1 sc, dec) ×12 (24)
26–27: 24 sc (2 rows)
— Body shaping —
28: (3 sc, inc) ×6 (30)
29–30: 30 sc
31: (4 sc, inc) ×6 (36)
32: 36 sc
33: (5 sc, inc) ×6 (42)
34: 42 sc
35: (6 sc, inc) ×6 (48)
36: 48 sc
37: (7 sc, inc) ×6 (54)
38–45: 54 sc (8 rows)
Start stuffing firmly.
46: (7 sc, dec) ×6 (48)
47: (6 sc, dec) ×6 (42)
48: (5 sc, dec) ×6 (36)
49: (4 sc, dec) ×6 (30)
50: (3 sc, dec) ×6 (24)
51: (2 sc, dec) ×6 (18)
52: (1 sc, dec) ×6 (12)
53: 6 dec (6)
Pull hole closed and hide yarn tail.
TAIL
1: ch 4, starting in 2nd ch from hook: inc, 1 sc, 4 sc in last ch, 1 sc, inc (10)
2: 10 sc
3: (4 sc, inc) ×2 (12)
4: (5 sc, inc) ×2 (14)
5: (6 sc, inc) ×2 (16)
6: (7 sc, inc) ×2 (18)
7: (8 sc, inc) ×2 (20)
8: (9 sc, inc) ×2 (22)
9: (10 sc, inc) ×2 (24)
10: (11 sc, inc) ×2 (26)
11: (12 sc, inc) ×2 (28)
12: (13 sc, inc) ×2 (30)
13: (4 sc, inc) ×6 (36)
14: (5 sc, inc) ×6 (42)
15–17: 42 sc
18: (6 sc, inc) ×6 (48)
19–27: 48 sc
Stuff tail and sew to body.
Tail Decorative Tip
Attach yarn to tail tip:
- (6 ch, 1 dtr, 1 tr) in one stitch
- (1 tr, 1 dc) in next stitch
- (1 dc, 1 tr) in next stitch
- (1 tr, 1 dtr, 6 ch, sl st) in last stitch
Fasten off and hide yarn.
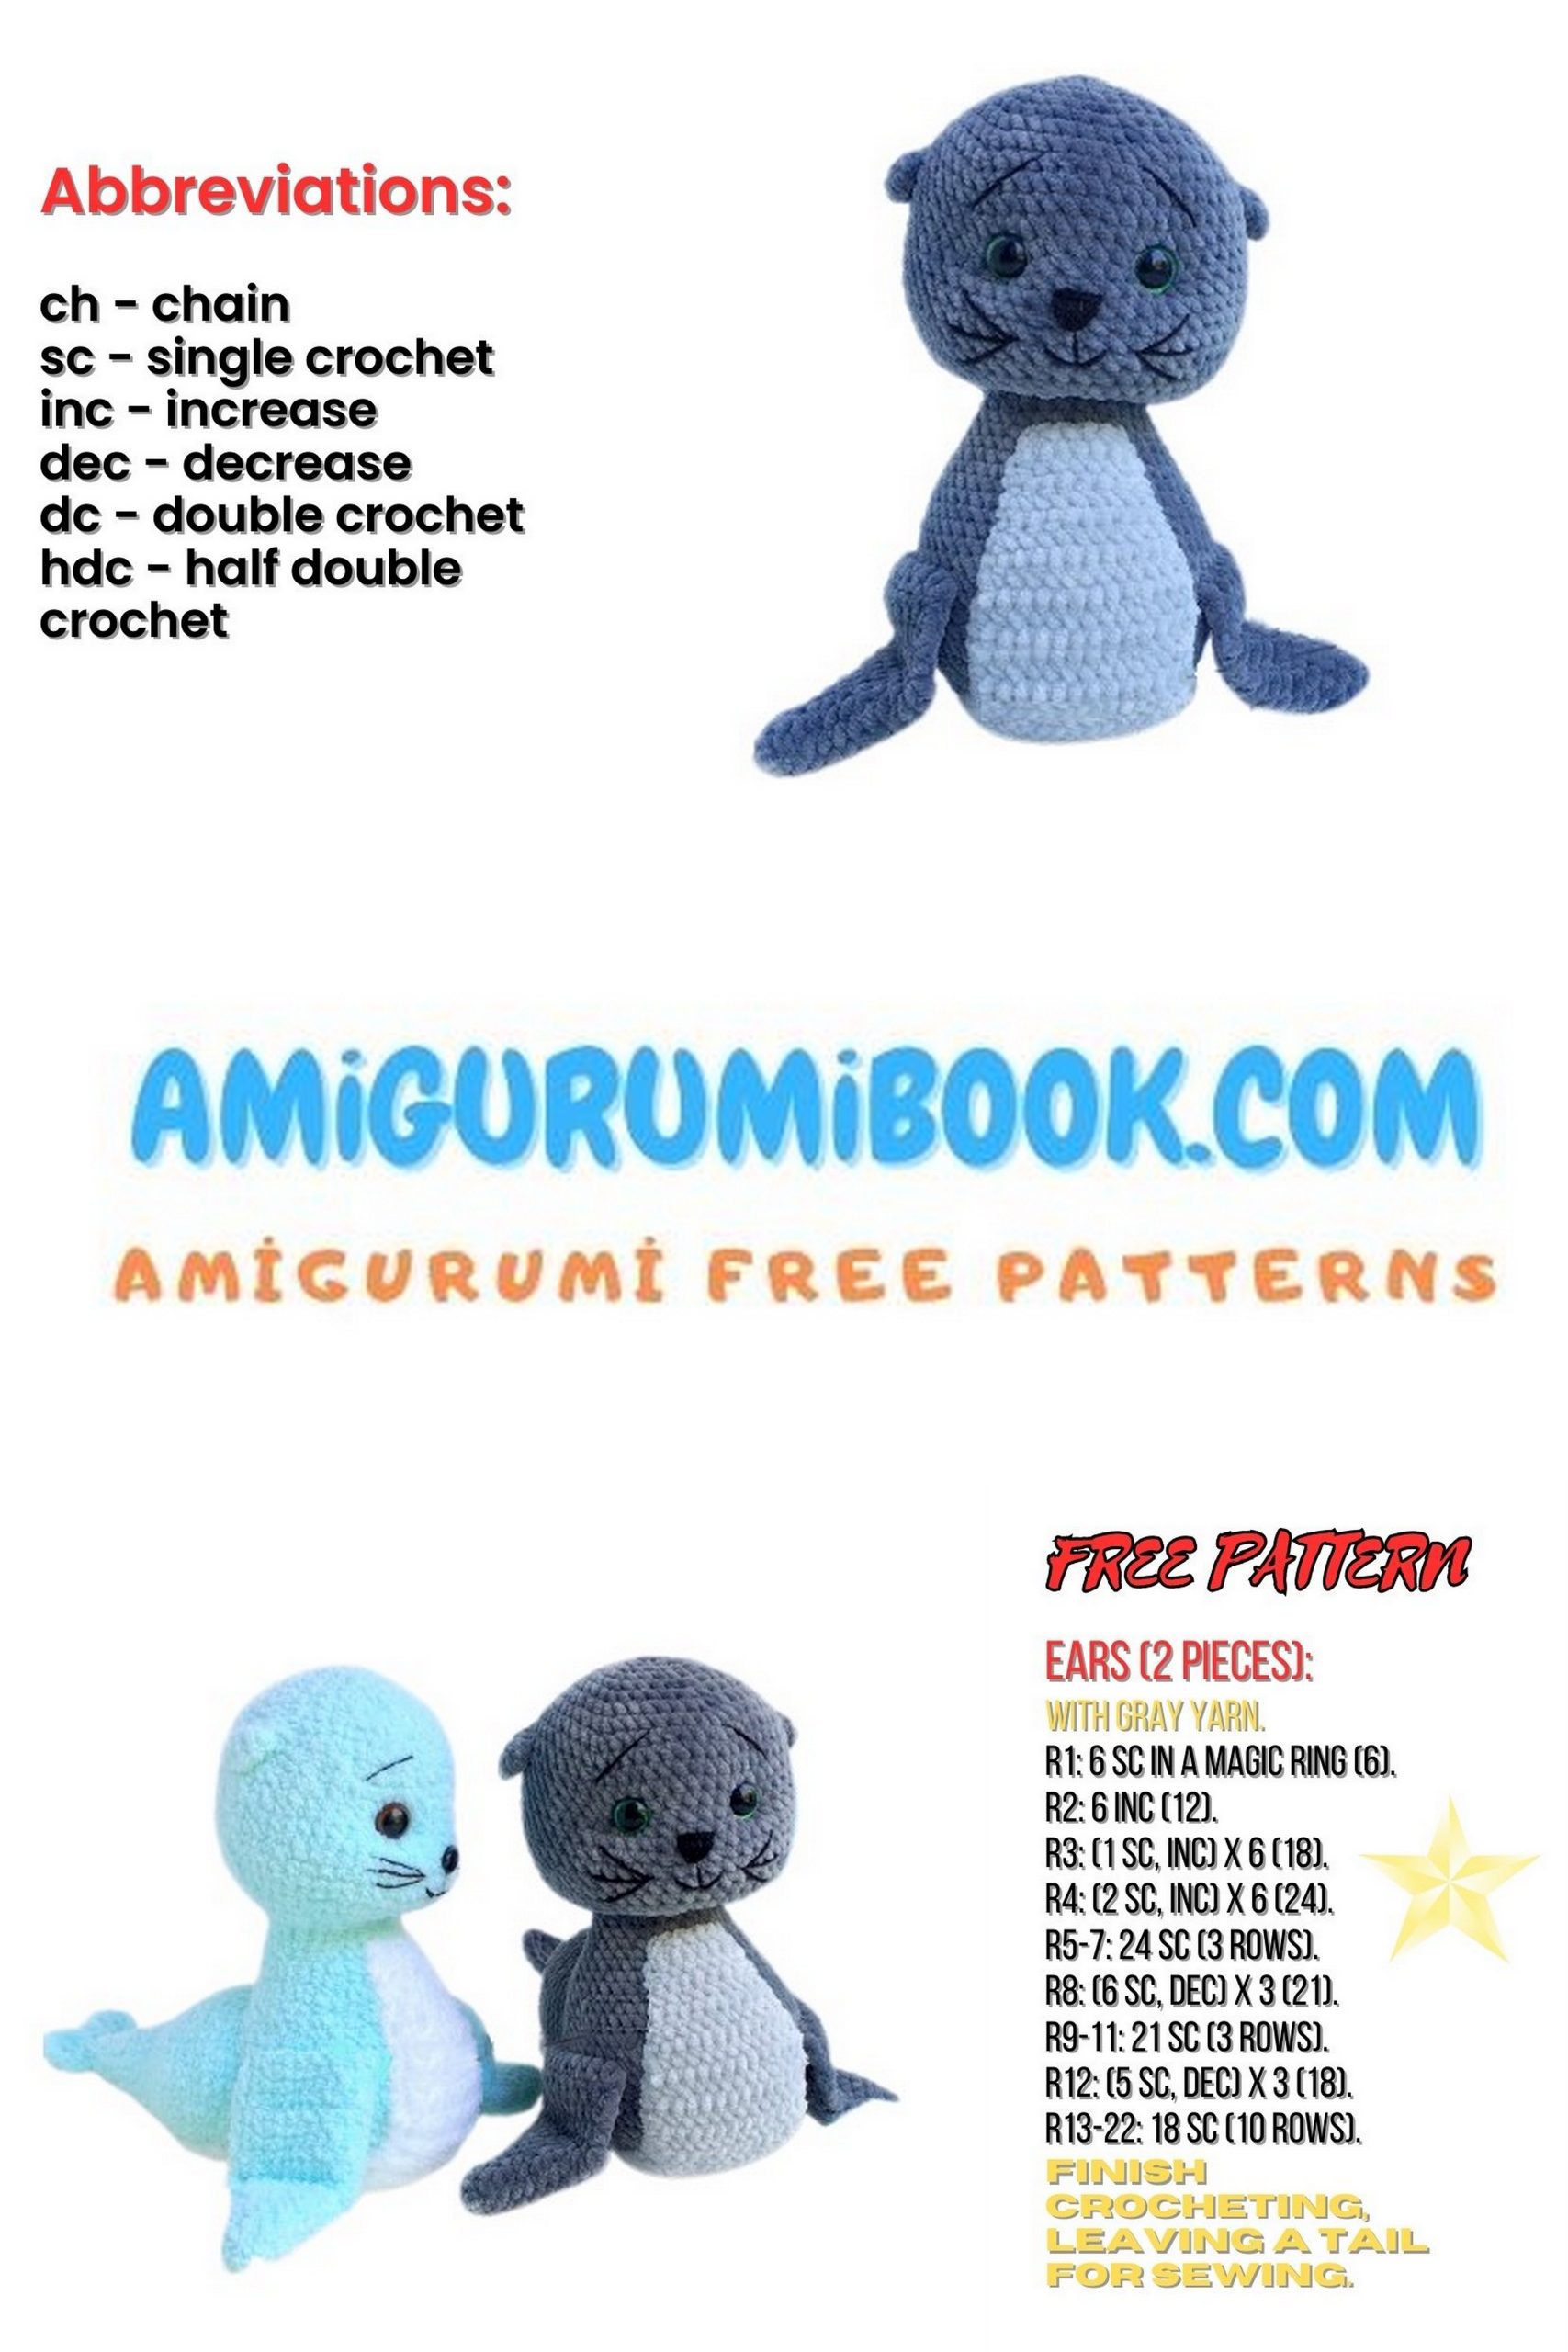
EARS (Make 2)
1: 6 sc in MR (6)
2: (1 sc, inc) ×3 (9)
Fasten off, leave tail for sewing.
Sew to head.
FLIPPERS (Make 2)
1: 6 sc in MR (6)
2: (1 sc, inc) ×3 (9)
3: 9 sc
4: (2 sc, inc) ×3 (12)
5: (5 sc, inc) ×2 (14)
6: (6 sc, inc) ×2 (16)
7: (7 sc, inc) ×2 (18)
8: (8 sc, inc) ×2 (20)
9: (9 sc, inc) ×2 (22)
10: (10 sc, inc) ×2 (24)
11: Fold flat and crochet through both layers: 12 sc
12–15: 12 hdc (4 rows)
Fasten off and sew to body.
BELLY
(Worked in rows)
1: ch 7, 6 sc starting from 2nd ch (6)
2: 6 sc
3: inc, 4 sc, inc (8)
4–5: 8 sc
6: inc, 6 sc, inc (10)
7: 10 sc
8: inc, 8 sc, inc (12)
9: 12 sc
10: inc, 10 sc, inc (14)
11–19: 14 sc
20: inc, 12 sc, inc (16)
21–38: 16 sc
39: dec, 12 sc, dec (14)
40: 14 sc
41: dec, 10 sc, dec (12)
42: 12 sc
43: dec, 8 sc, dec (10)
44: 10 sc
45: dec, 6 sc, dec (8)
46: 8 sc
47: dec, 4 sc, dec (6)
48: 6 sc
49: dec, 2 sc, dec (4)
50: 4 sc
Fasten off and sew to body.
Finishing the Seal’s Muzzle
Muzzle Tightening
- Thread dental floss (or strong thread) onto a long needle.
- Insert the needle between Rounds 25 and 26 at the back of the head.
- Bring the needle out under the right eye.
- Move 2 stitches to the side, insert the needle, and bring it out again at the back of the head (neck area).
- Move 1 stitch to the side at the back, insert the needle again, and bring it out under the left eye.
- Move 2 stitches to the side, insert the needle, and bring it out once more at the back of the head.
Gently pull the thread to create a soft indentation under the eyes.
Repeat the tightening once more if needed for a more defined muzzle.
Secure the thread firmly and hide the ends inside the head.
Embroidering the Seal’s Muzzle
- Using black embroidery floss, embroider a small triangular nose between the eyes.
- From the bottom tip of the nose, stitch a short vertical line downward (1–2 stitches).
- Add a gentle curved stitch on each side to form a soft smiling mouth.
- If desired, embroider a few short whisker lines on both sides of the muzzle.
Make sure the expression stays soft and cute — seals look sweetest with a subtle smile 😊