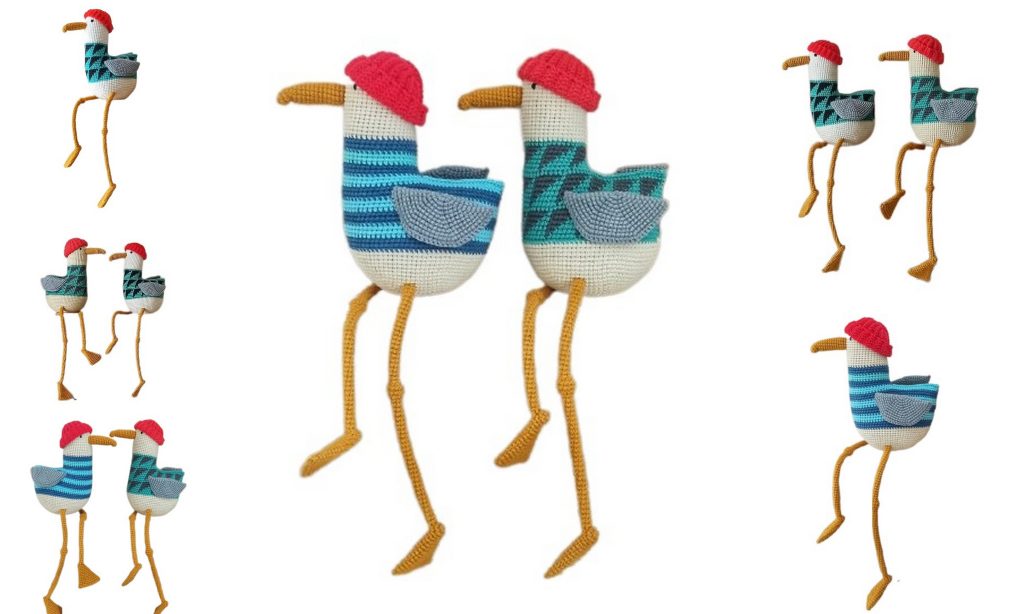
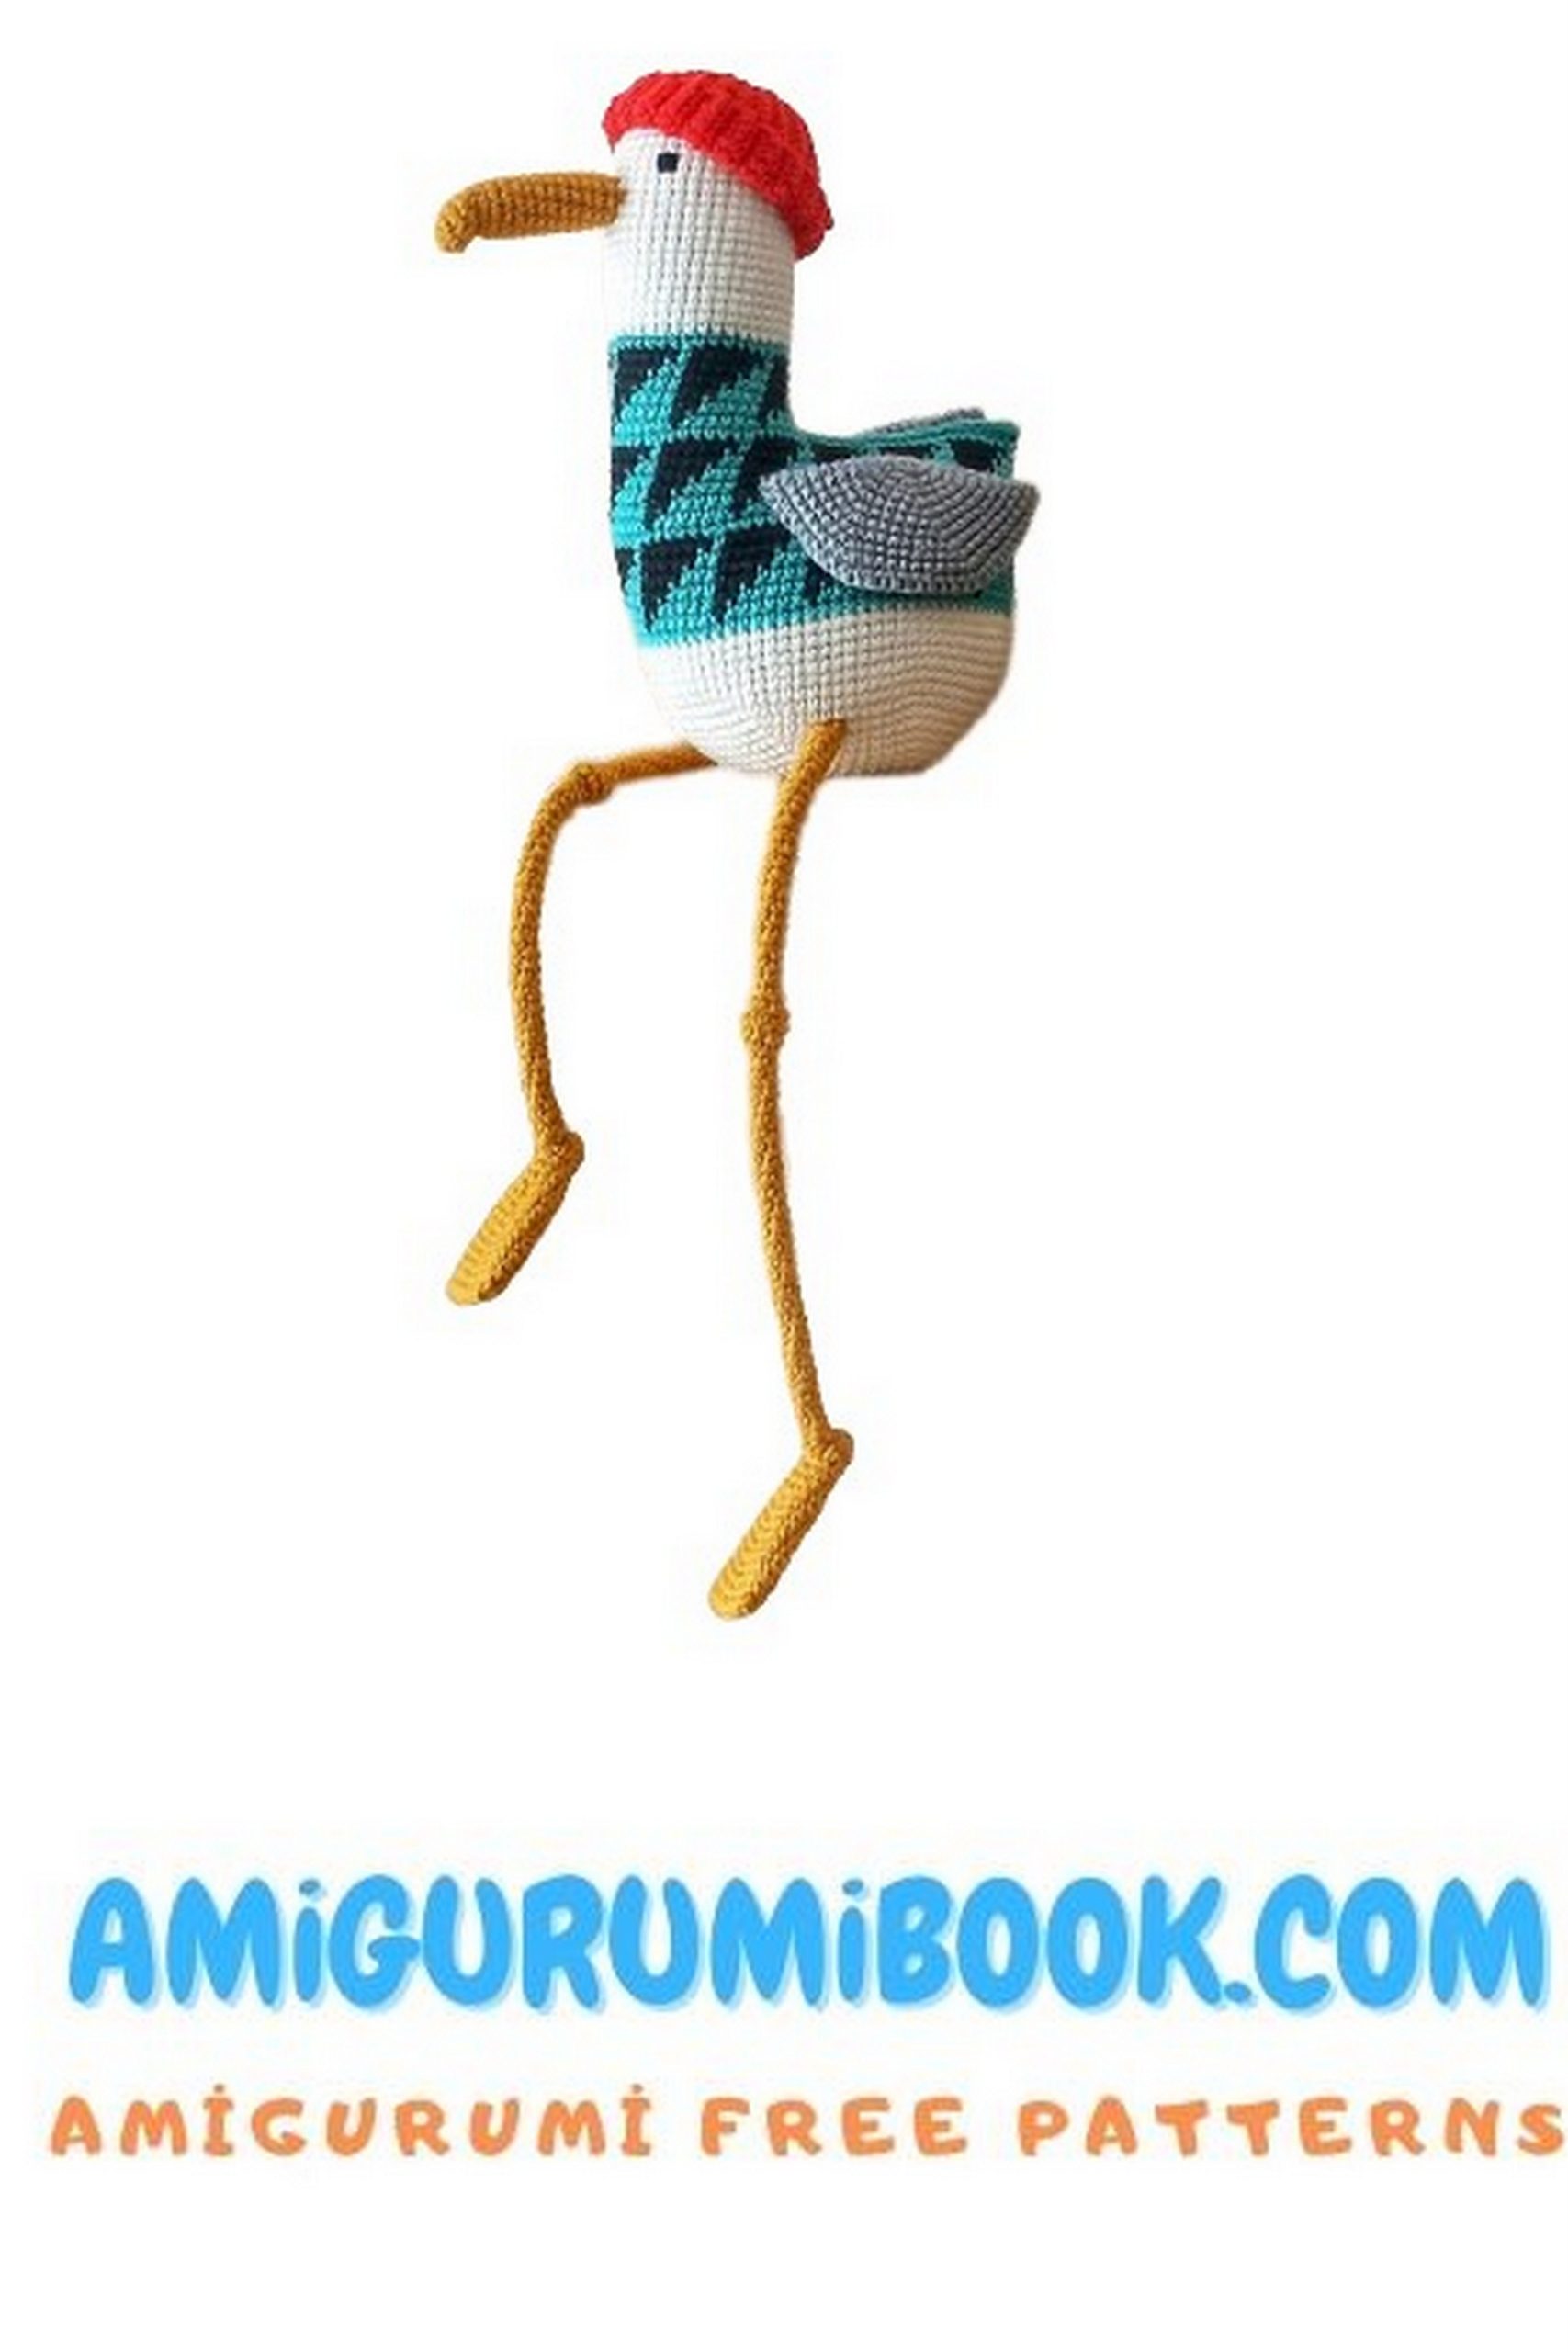
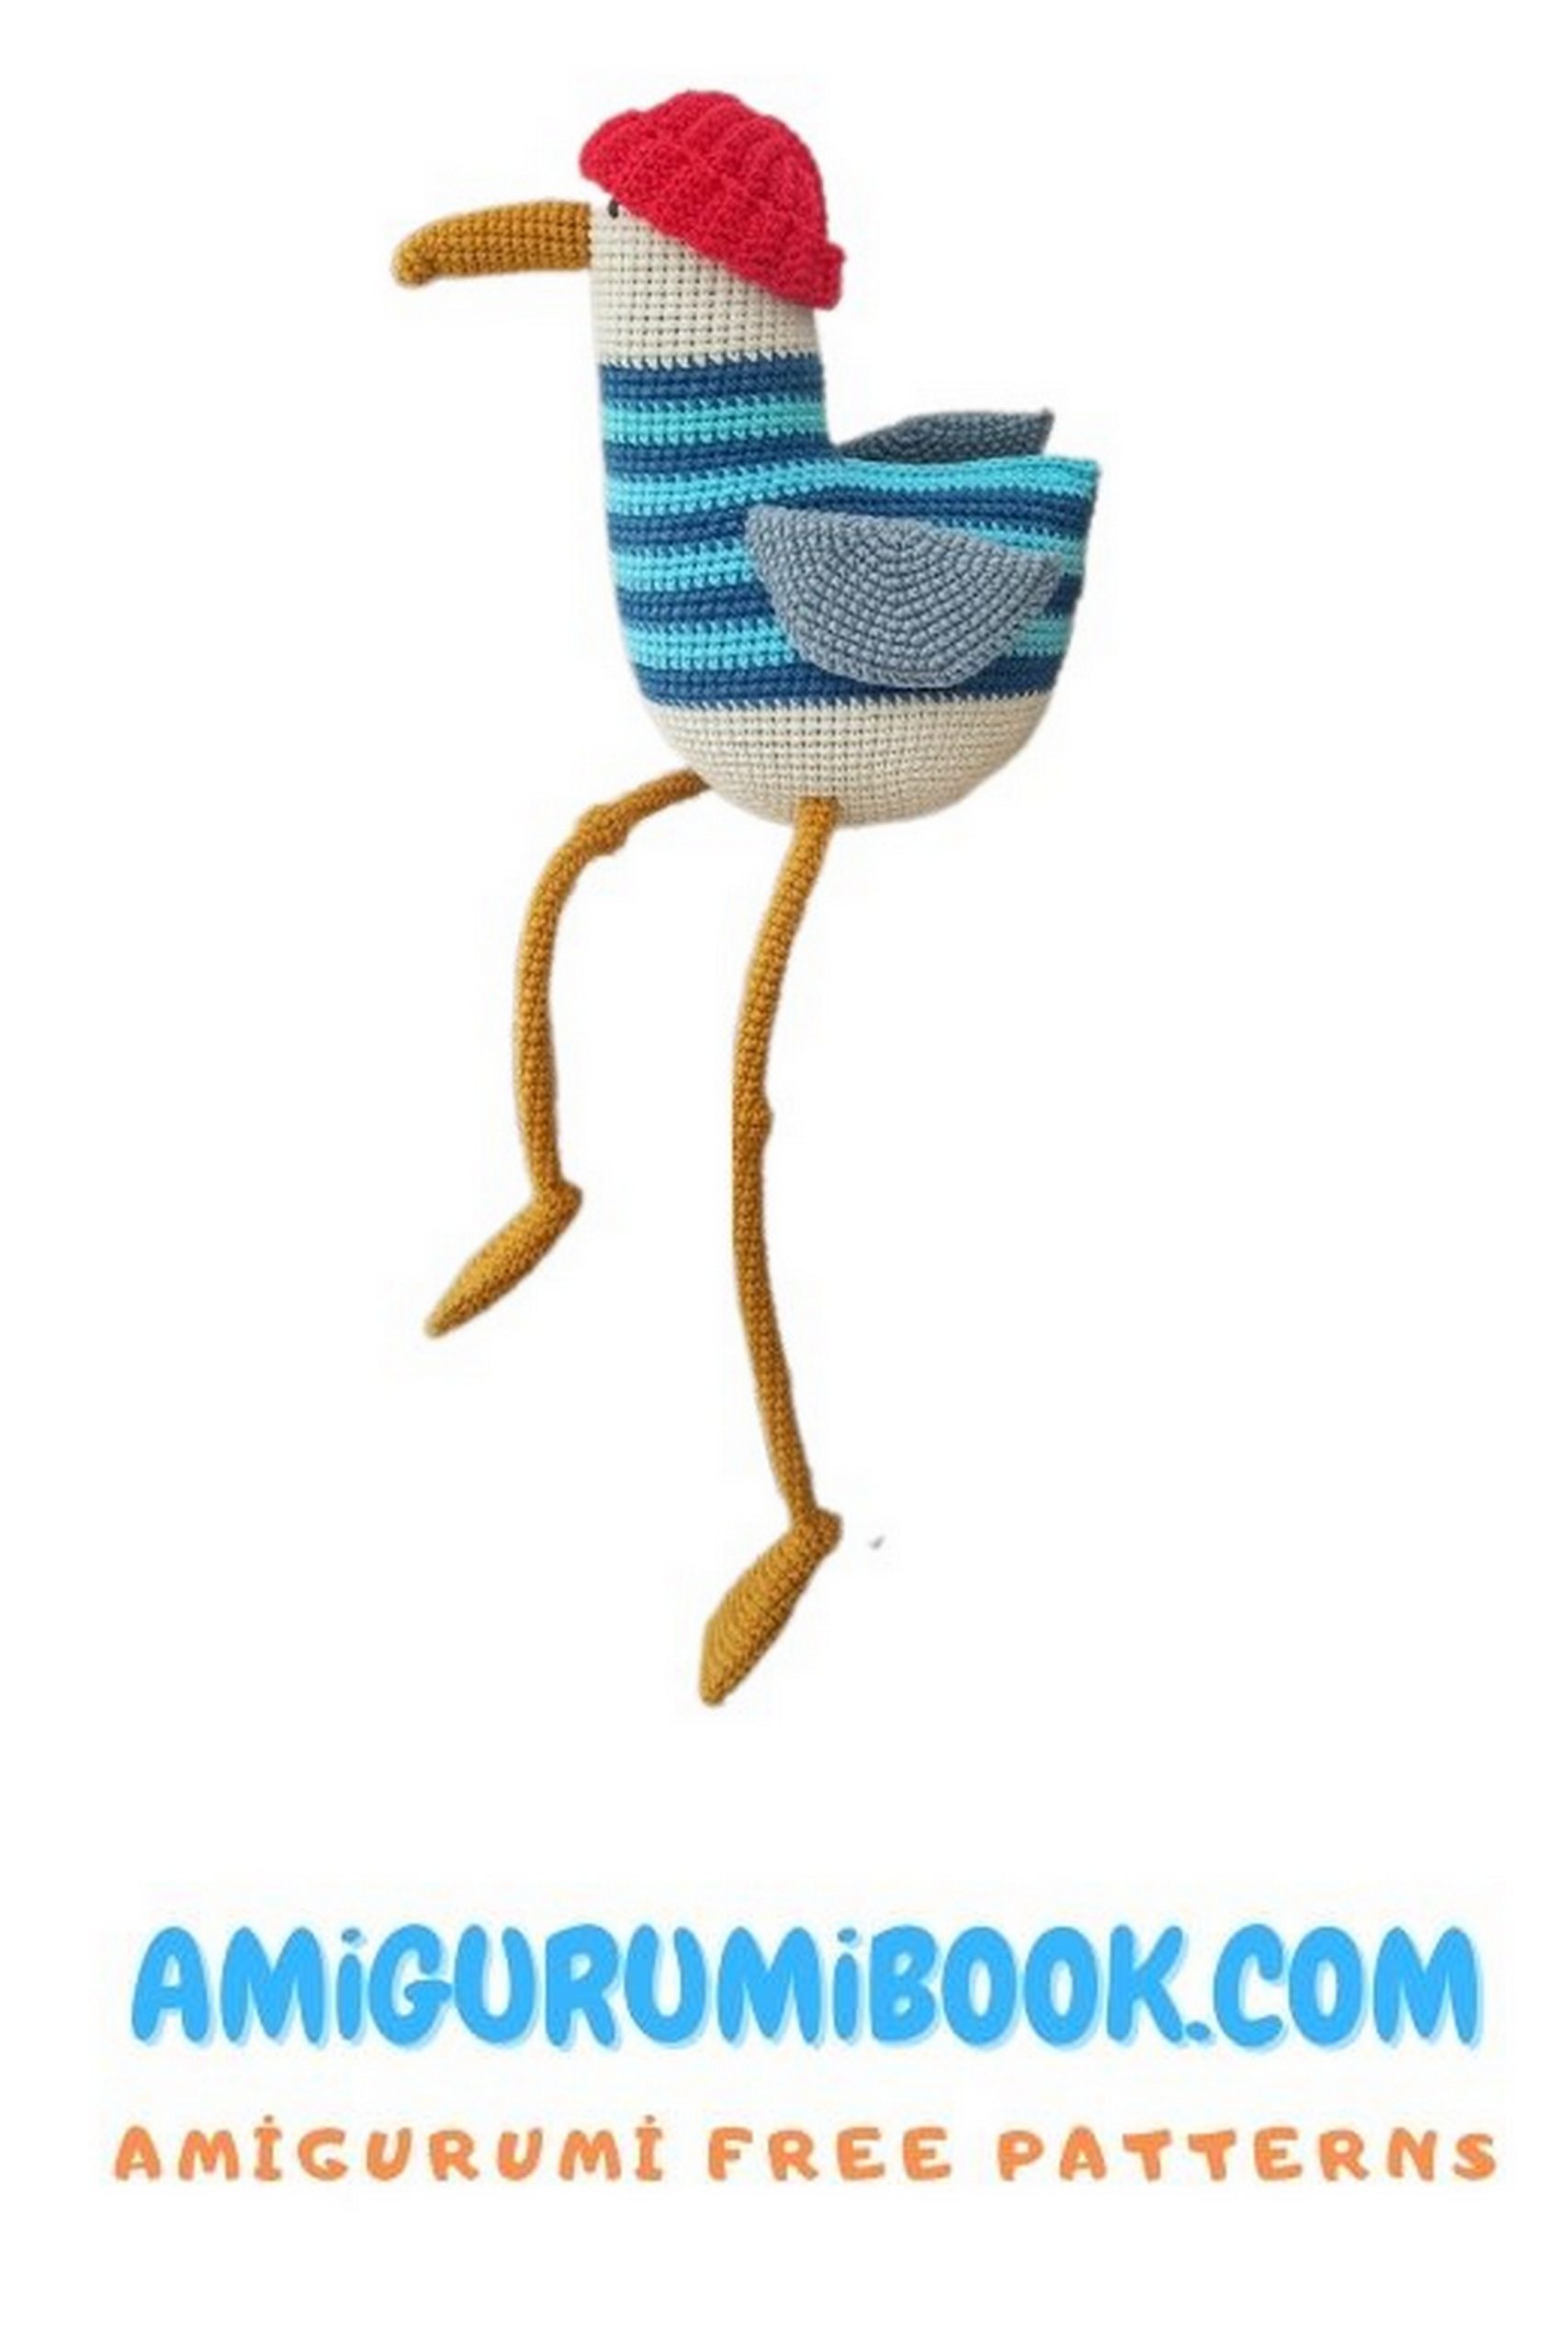
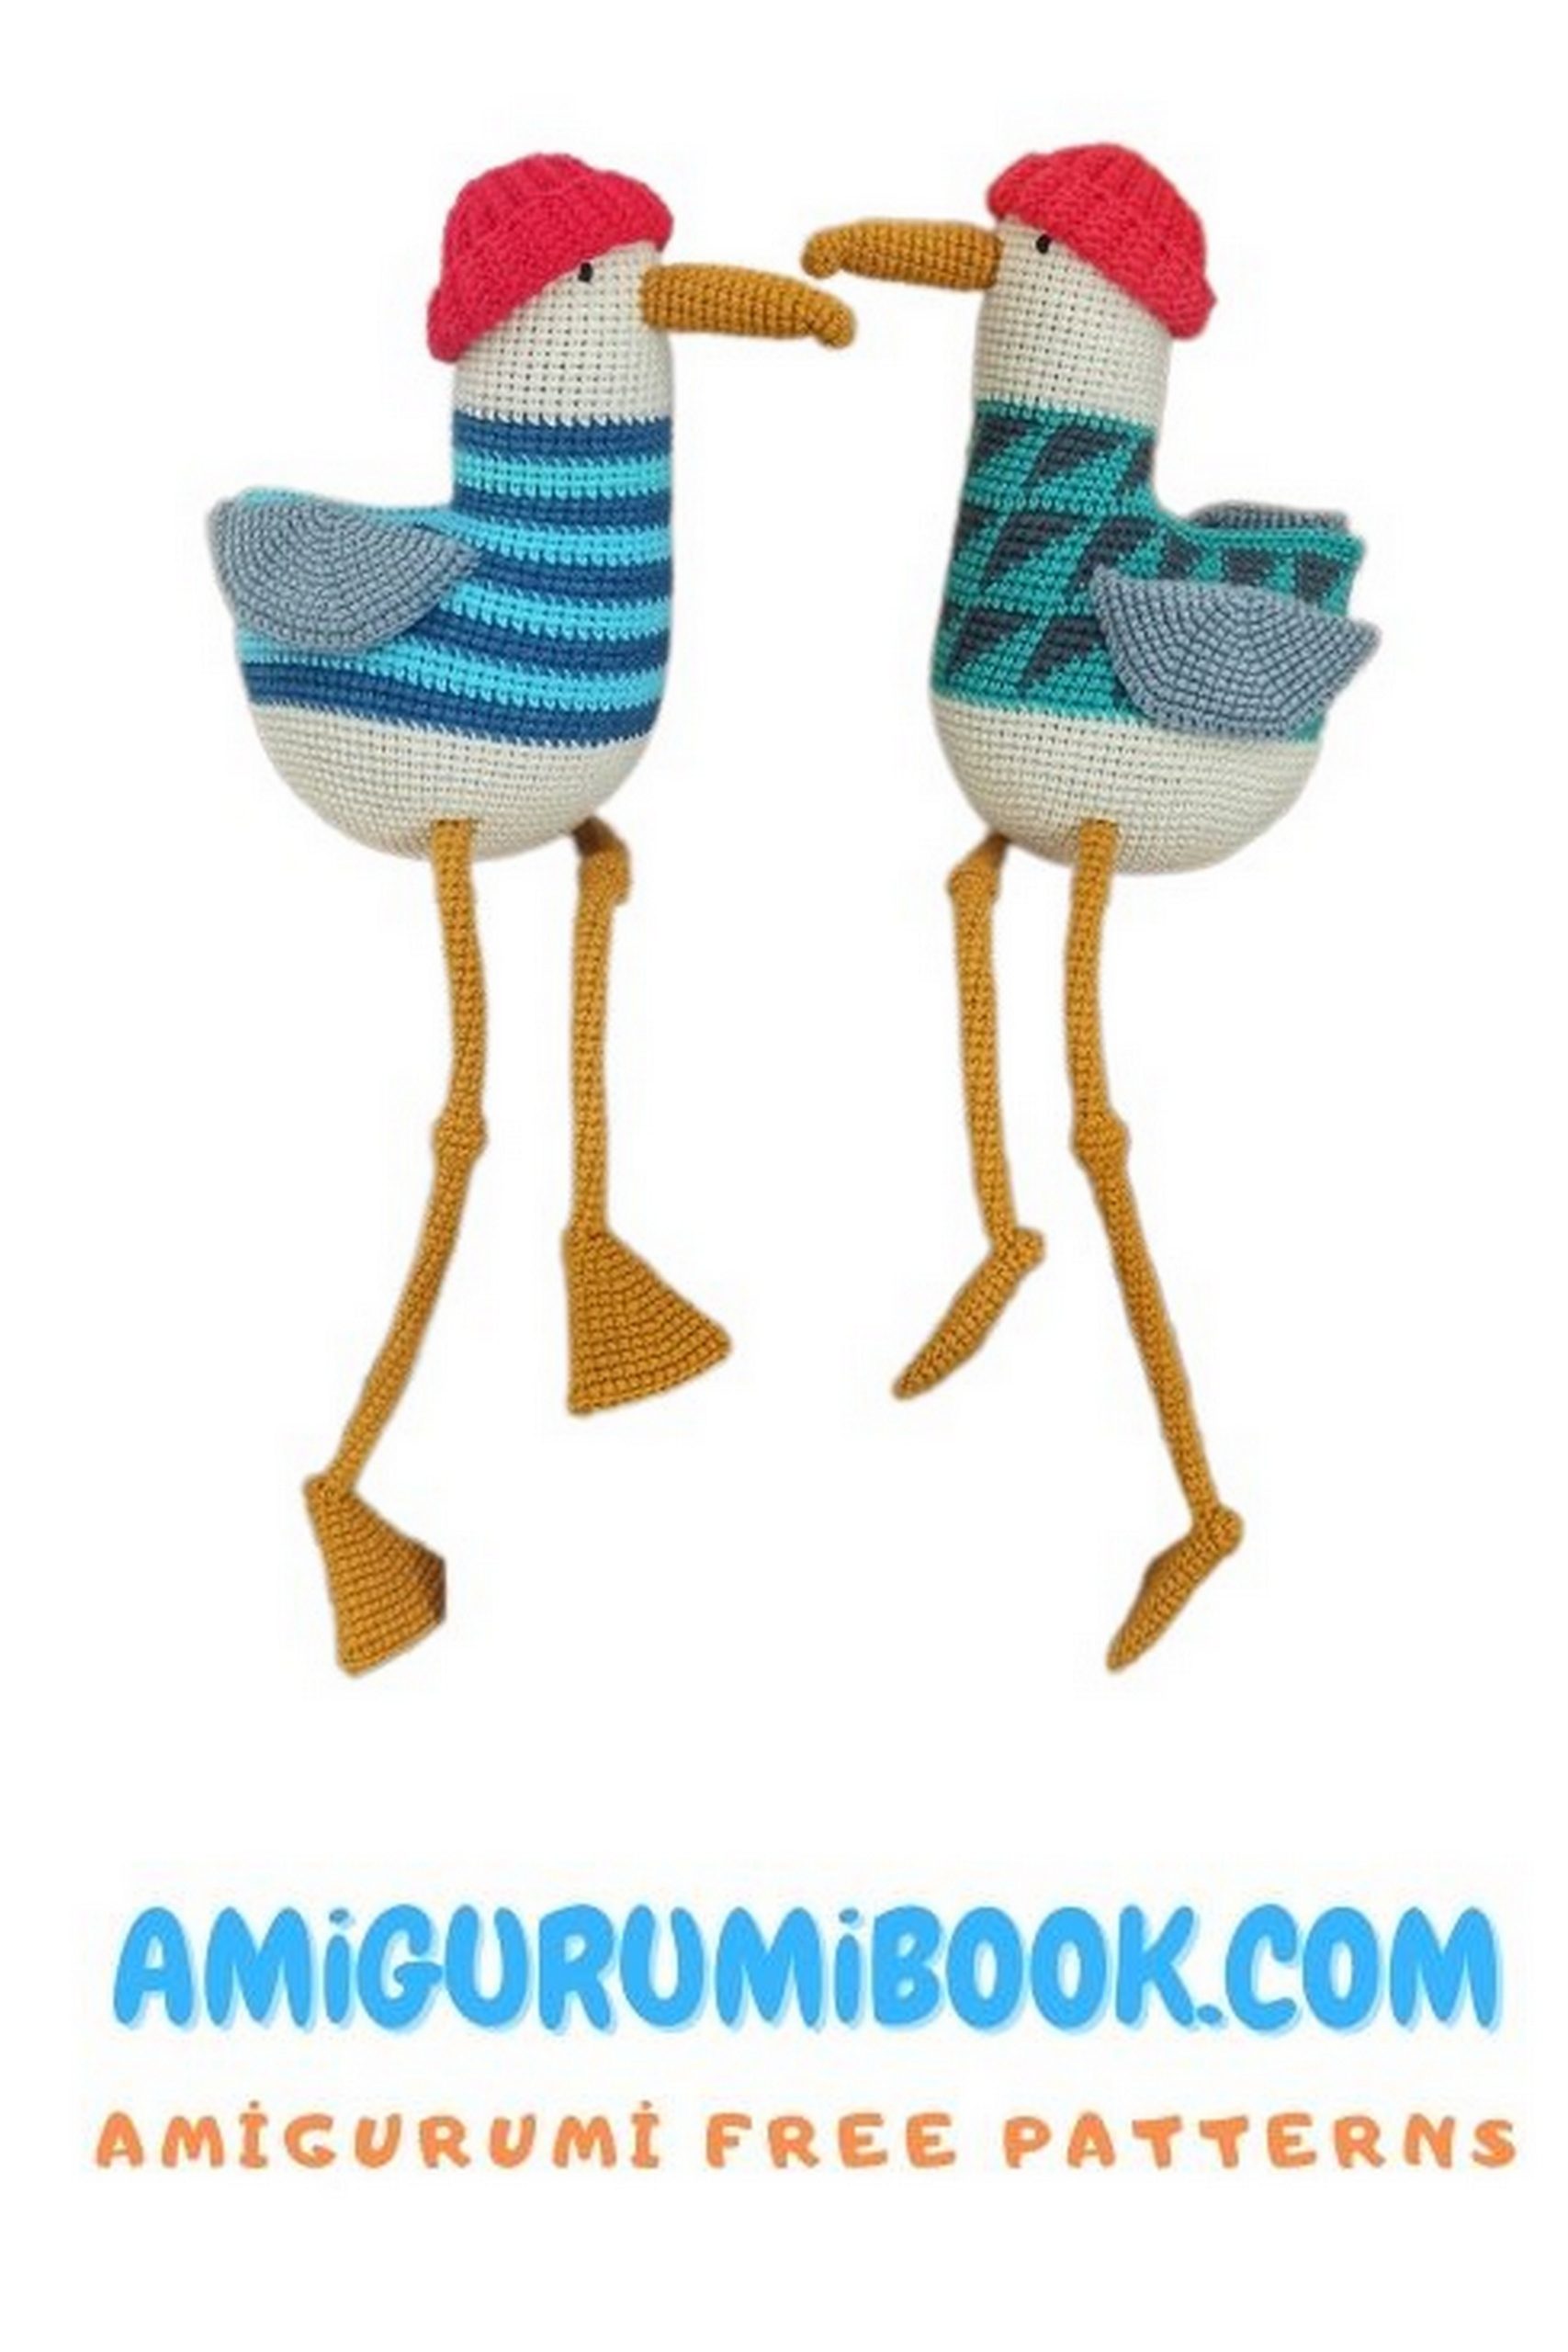
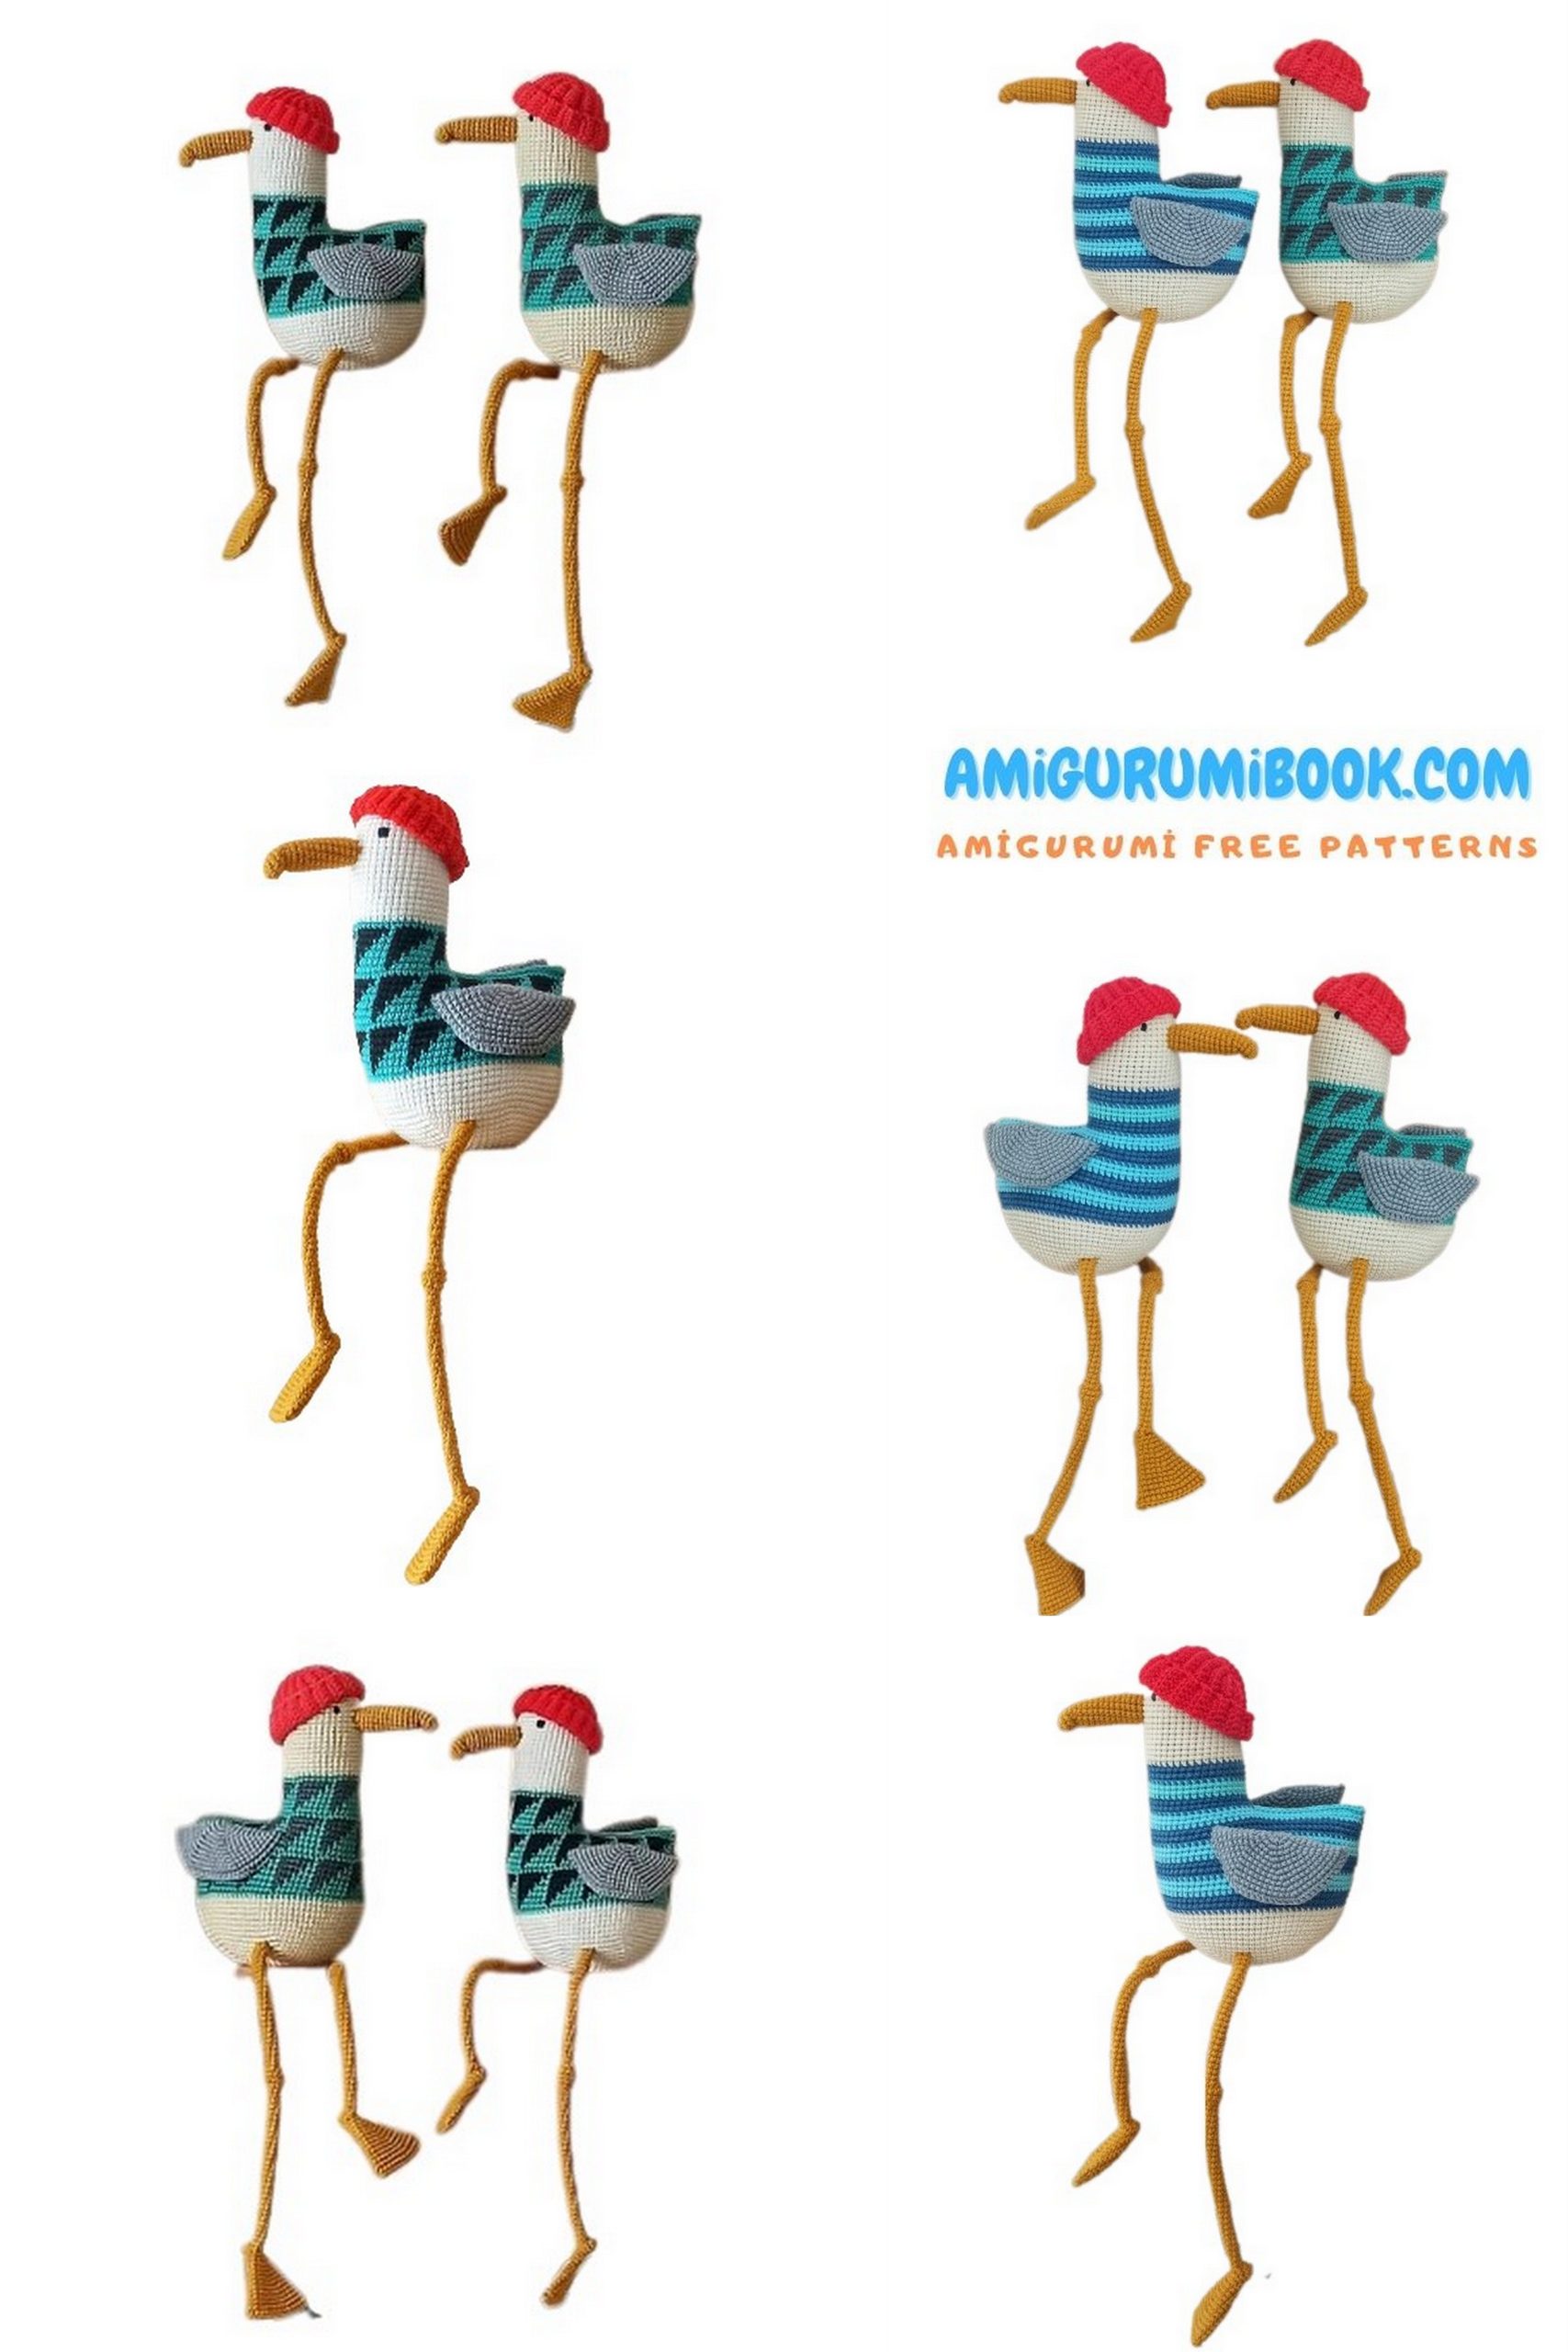
If you’re looking for a charming and meaningful crochet project, this Free Amigurumi Stork Pattern – Crochet Tutorial is the perfect choice. This beautifully designed amigurumi stork features elegant wings, a long curved beak, detailed feet, and a stylish cap, making it a standout handmade creation.
With step by step instructions, clear stitch structure, and easy assembly guidance, this amigurumi stork pattern is suitable for confident beginners and experienced crocheters alike. Whether you’re creating a nursery decoration, a thoughtful handmade gift, or adding a new bird design to your collection, this amigurumi stork will bring personality and character to your crochet projects.
If you want to access 1000+ free amigurumi patterns, you can download our application from this link!
🧶 Materials and Tools
To make this amigurumi project, you will need:
Yarn
Semi-cotton or cotton yarn such as:
- YarnArt Jeans (55% cotton, 45% acrylic, 50 g / 160 m)
- Gazzal Baby Cotton (60% cotton, 40% acrylic, 50 g / 165 m)
- Alize Bella (100% cotton, 50 g / 180 m)
Yarn Colors
- Mustard – beak and feet
- White or cream – body
- Gray – wings
- Black or dark gray – clothing details
- Turquoise or blue – clothing
- Red – cap
Tools & Supplies
- 2.0 mm crochet hook (or 2.5 mm depending on tension)
- Polyester fiberfill stuffing
- Yarn needle
- Scissors
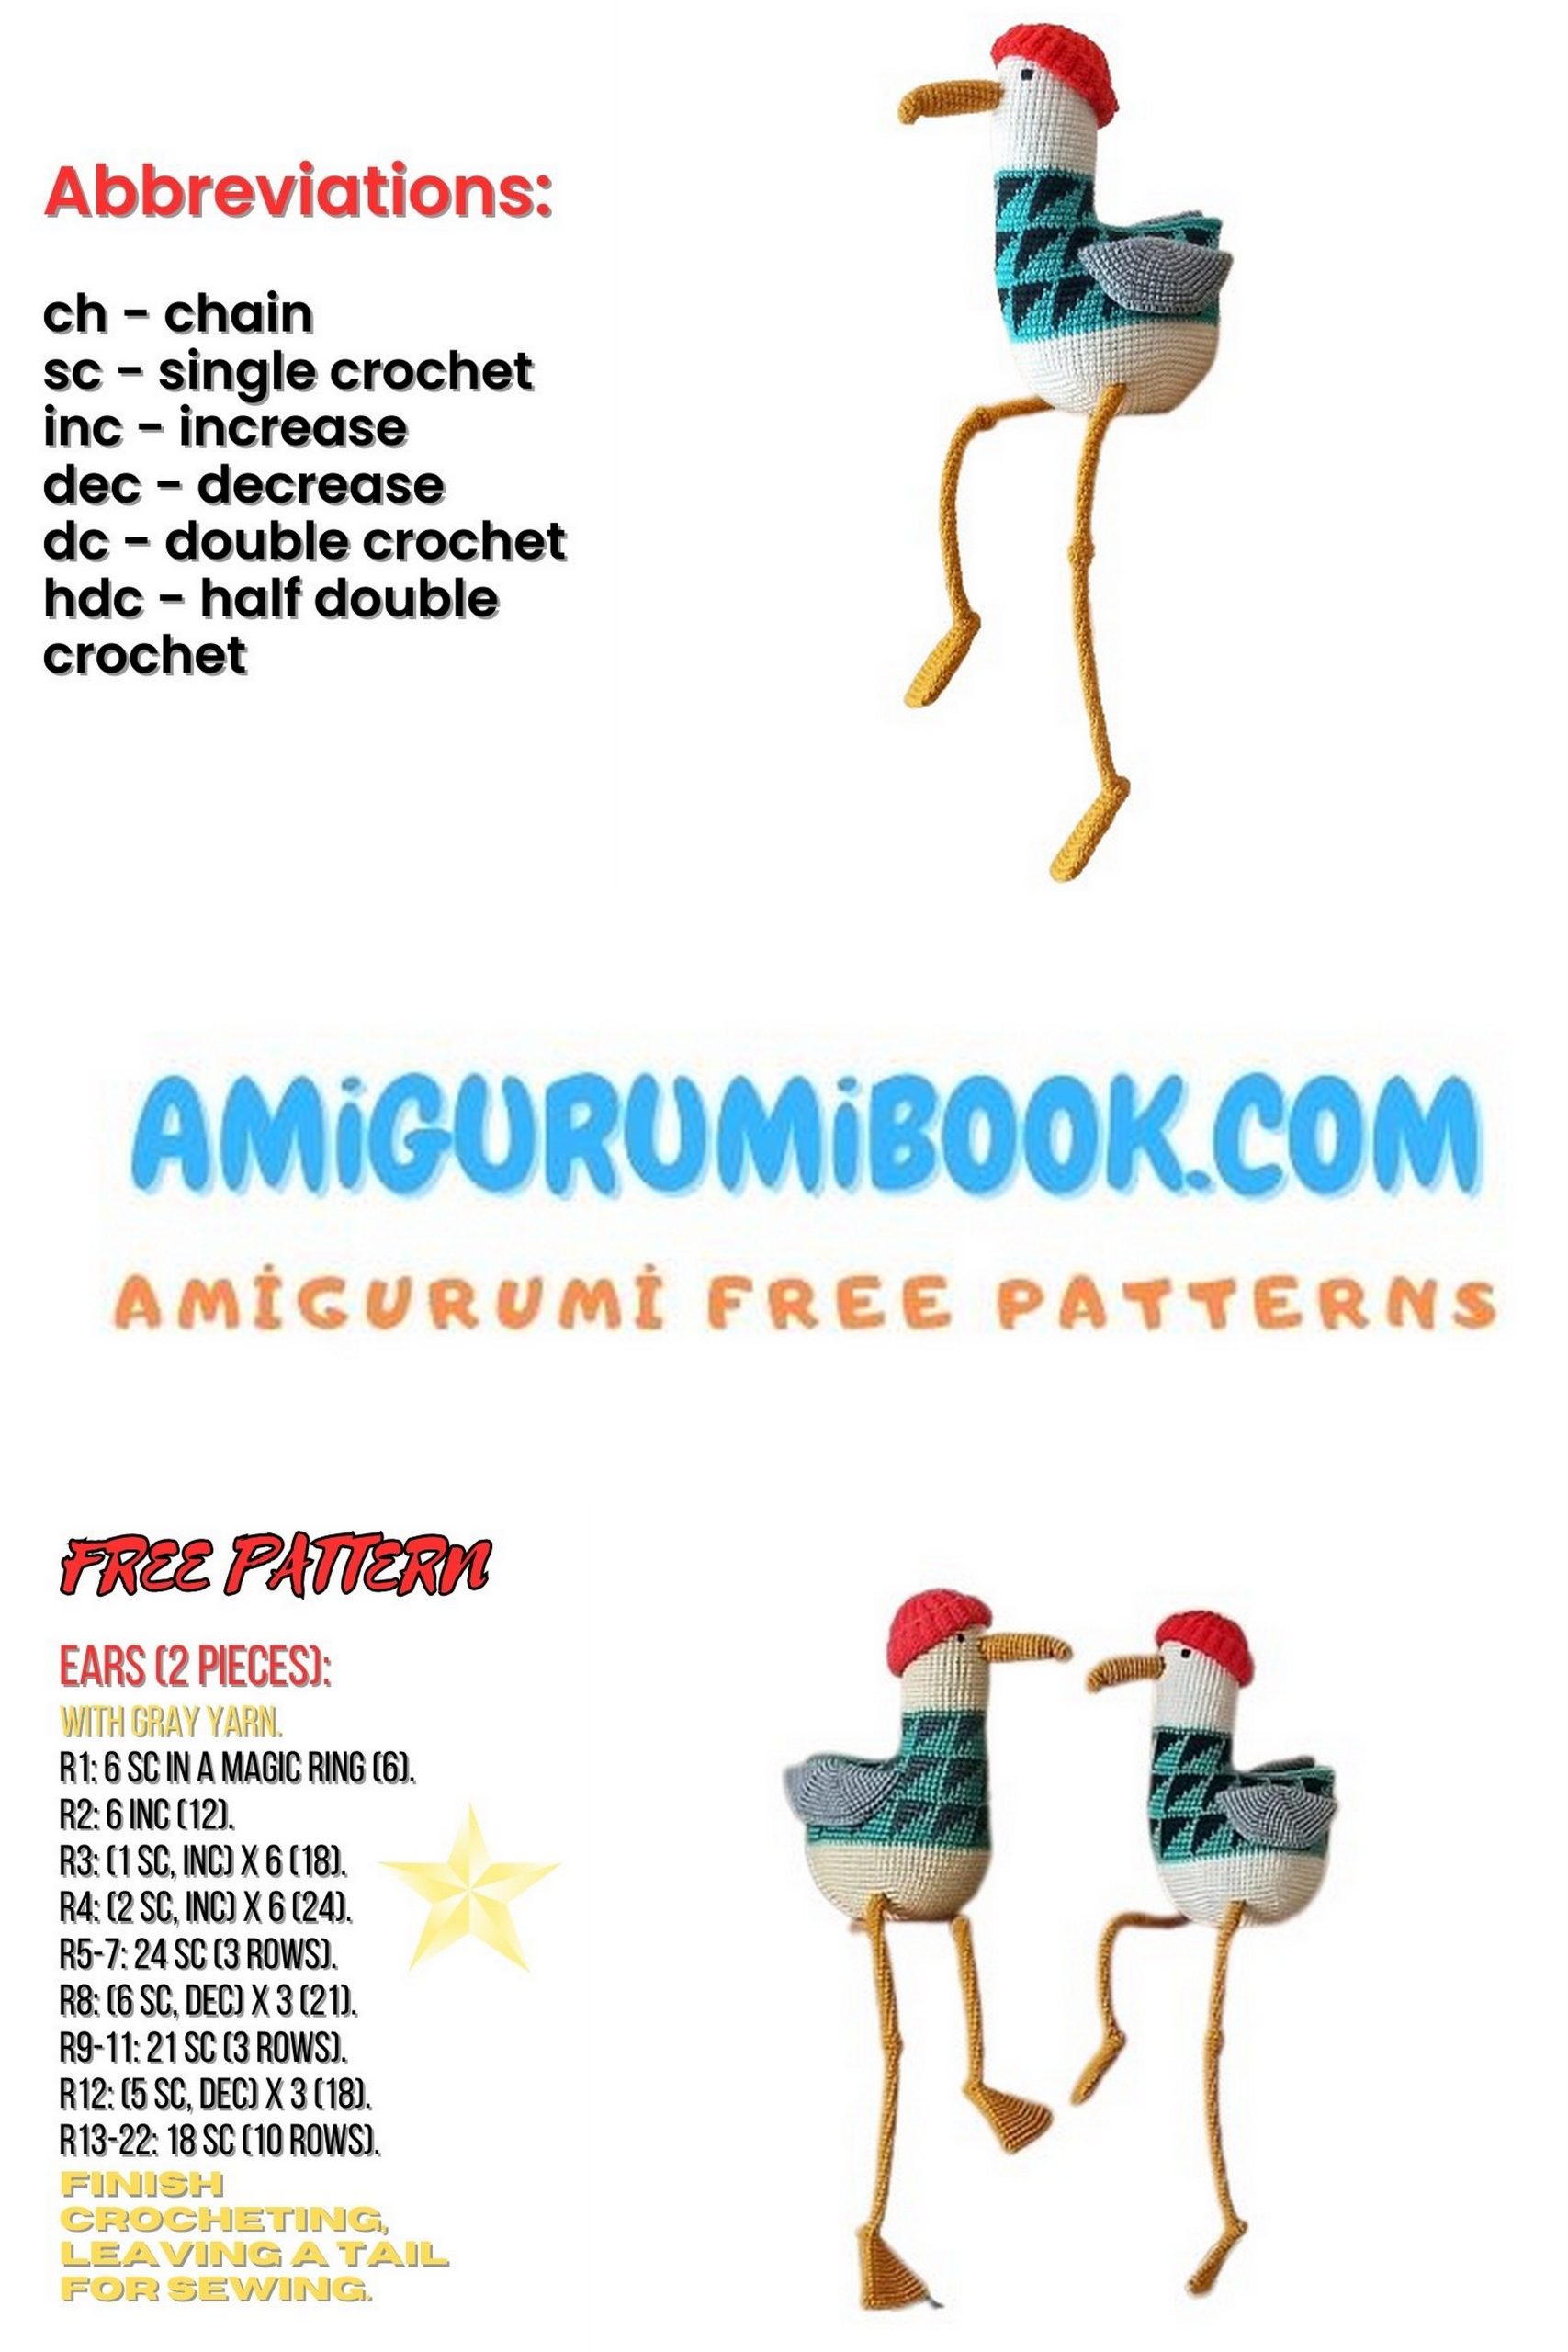
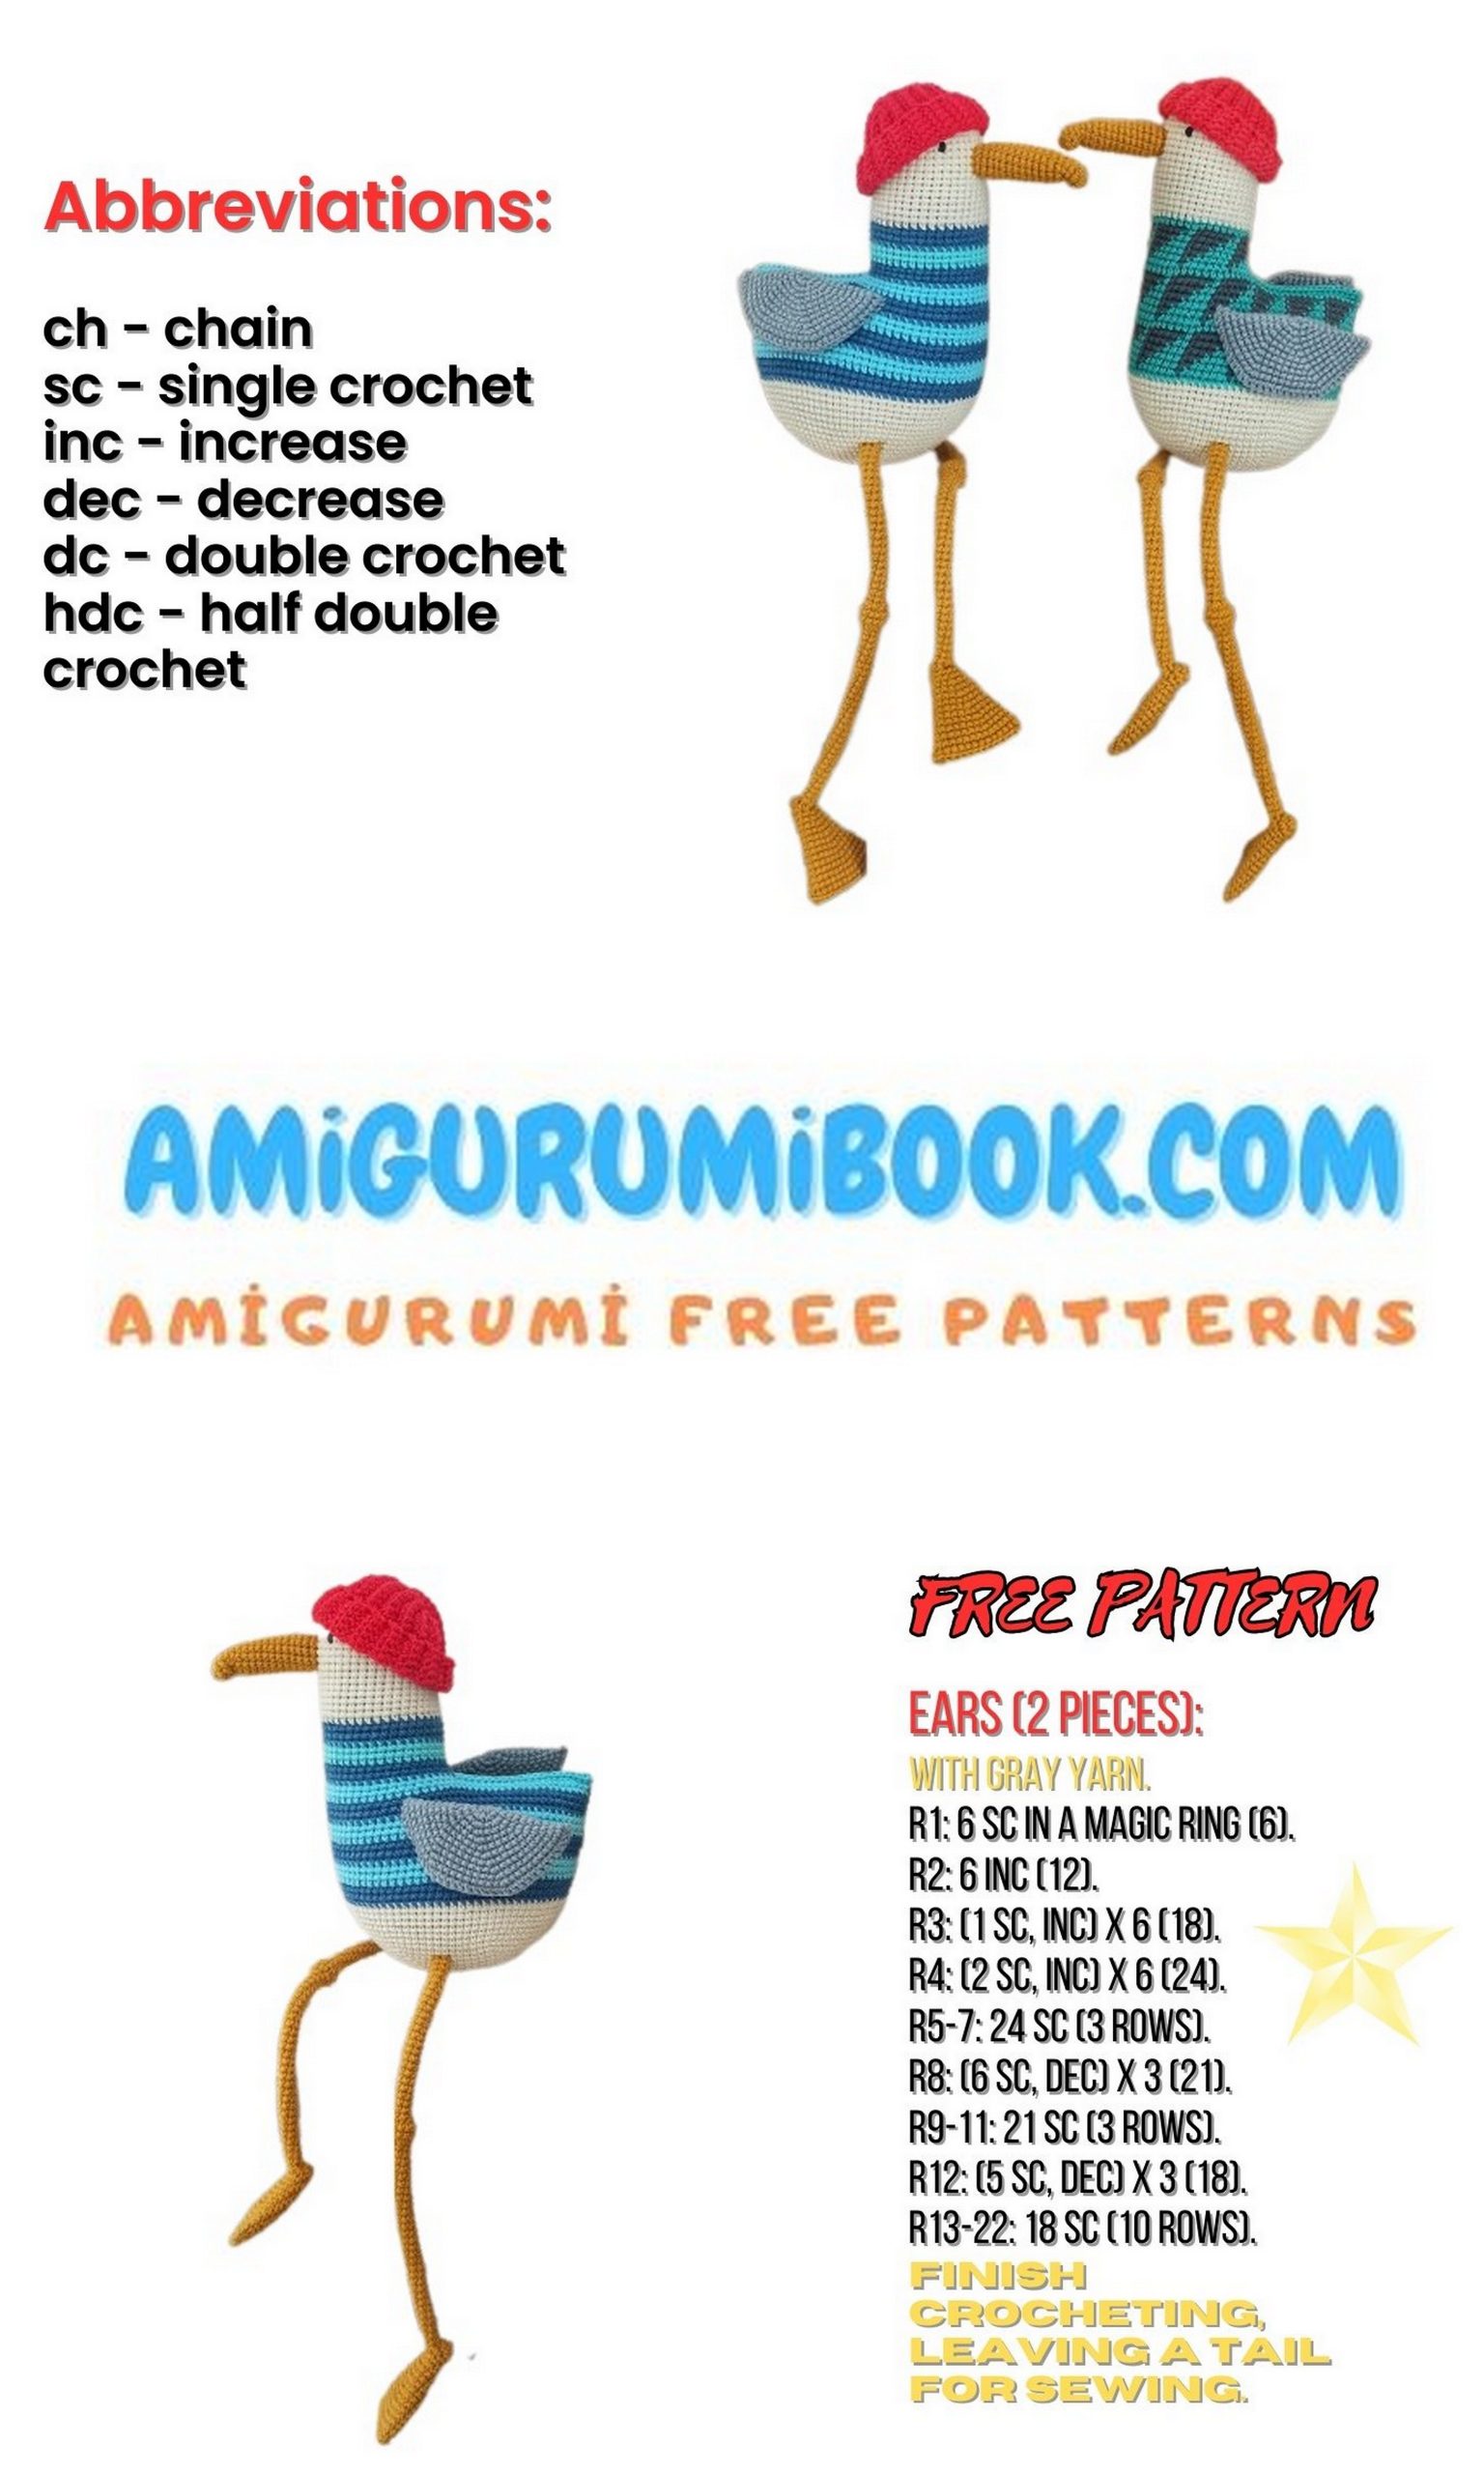
📖 Abbreviations
(…) × X – repeat instructions in parentheses X times
MC – magic circle
sc – single crochet
inc – increase (2 sc in one stitch)
dec – decrease (1 sc over 2 stitches)
ch – chain
sl st – slip stitch
(…) – number of stitches at the end of the round

Wings (Make 2)
Use gray yarn.
1: 6 sc in MC (6)
2: inc x 6 (12)
3: (1 sc, inc) x 6 (18)
4: (2 sc, inc) x 6 (24)
5: (3 sc, inc) x 6 (30)
6: (4 sc, inc) x 6 (36)
7: (5 sc, inc) x 6 (42)
8: (6 sc, inc) x 6 (48)
9: (7 sc, inc) x 6 (54)
10: (8 sc, inc) x 6 (60)
11: (9 sc, inc) x 6 (66)
12: Fold the piece in half, ch 1, and crochet 33 sc through both layers to close.
Fasten off and leave a long tail for sewing.
Beak
Use mustard yarn.
1: 6 sc in MC (6)
2: (1 sc, inc) x 3 (9)
3: 9 sc
4: (1 sc, dec) x 3 (6)
5: 6 sc
6: (1 sc, inc) x 3 (9)
7: (2 sc, inc) x 3 (12)
8–17: 12 sc (10 rounds)
Lightly stuff with polyester fiberfill.
Crochet 2 additional sc to shift the marker if needed.
Fasten off and leave a small tail for sewing.

Feet (Make 2)
Start with mustard yarn.
1: 6 sc in MC (6)
2: (1 sc, inc) x 3 (9)
3: 9 sc
4: (2 sc, inc) x 3 (12)
5: 12 sc
6: (3 sc, inc) x 3 (15)
7: 15 sc
8: (4 sc, inc) x 3 (18)
9: 18 sc
10: (5 sc, inc) x 3 (21)
11: 21 sc
12: (6 sc, inc) x 3 (24)
13: 24 sc
14: (7 sc, inc) x 3 (27)
15: 27 sc
16: Fold the piece in half and join both sides with 13 slip stitches.
Leg Shaft
Continue working from the folded edge.
Ch 6.
Working into the space between rounds 4–5 and 3–4, make 6 sc to form the leg opening.
1–30: 6 sc (30 rounds)
31: inc x 6 (12)
32–33: 12 sc
34: dec x 6 (6)
35–58: 6 sc (24 rounds)
Fasten off and leave a small tail for sewing.

Body and Head
Use white or cream yarn.
1: 6 sc in MC (6)
2: inc x 6 (12)
3: (1 sc, inc) x 6 (18)
4: (2 sc, inc) x 6 (24)
5: (3 sc, inc) x 6 (30)
6: (4 sc, inc) x 6 (36)
7: (5 sc, inc) x 6 (42)
8: (6 sc, inc) x 6 (48)
9: (7 sc, inc) x 6 (54)
10: (8 sc, inc) x 6 (60)
11: (9 sc, inc) x 6 (66)
12: (10 sc, inc) x 6 (72)
13: (11 sc, inc) x 6 (78)
14: (12 sc, inc) x 6 (84)
15–21: 84 sc (7 rounds)
Clothing Section
Switch to turquoise yarn.
22: 84 sc
Jacquard Pattern
23: (6 sc turquoise, 1 sc dark gray) x 12 (84)
24: (5 sc turquoise, 2 sc dark gray) x 12 (84)
25: (4 sc turquoise, 3 sc dark gray) x 12 (84)
26: (3 sc turquoise, 4 sc dark gray) x 12 (84)
27: (2 sc turquoise, 5 sc dark gray) x 12 (84)
28: (1 sc turquoise, 6 sc dark gray) x 12 (84)
29: 84 sc turquoise
30–36: Repeat rounds 23–29
Fasten off dark gray yarn.
Closing the Body
37: Fold the piece in half, ch 1, crochet 42 sc through both layers to close.
Continue working in the round on 42 stitches.
Attach dark gray yarn again if continuing the pattern.
Stuff firmly before proceeding.
38: (5 sc turquoise, 2 sc dark gray) x 6 (42)
39: (4 sc turquoise, 3 sc dark gray) x 6 (42)
40: (3 sc turquoise, 4 sc dark gray) x 6 (42)
41: (2 sc turquoise, 5 sc dark gray) x 6 (42)
42: (1 sc turquoise, 6 sc dark gray) x 6 (42)
43: 42 sc turquoise
Switch to white (or cream).
Head Shaping
44: dec, 38 sc, dec (40)
45–59: 40 sc (15 rounds)
Continue stuffing as you go.
60: (6 sc, dec) x 5 (35)
61: (5 sc, dec) x 5 (30)
62: (4 sc, dec) x 5 (25)
63: (3 sc, dec) x 5 (20)
64: (2 sc, dec) x 5 (15)
65: (1 sc, dec) x 5 (10)
66: dec x 5 (5)
Cut yarn, pull through remaining stitches, tighten, and hide the tail.
Cap
Use red yarn.
Ch 20.
The cap is worked in rows, using back loops only and short rows to create shaping.
Refer to your reference photo for shaping.
You may adapt the cap method as preferred.
Assembly and Decoration
- Position the wings on the sides of the body.
Secure them with pins first, then sew them firmly in place. - Sew the feet to the bottom of the body, making sure they are aligned and stable.
- Attach the beak to the front of the face.
Slightly bend the beak downward before sewing to give it a natural look. - Embroider the eyes using black thread.
Adjust the shape and expression as desired. - Place and secure the red cap on the head to complete the look.
Your amigurumi toy is now ready ✨🧶