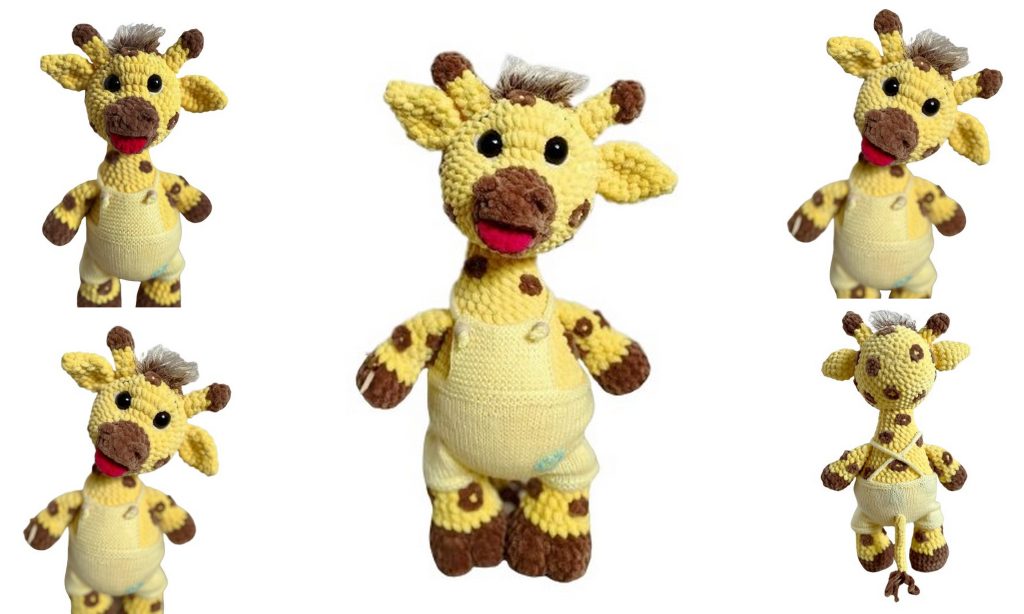
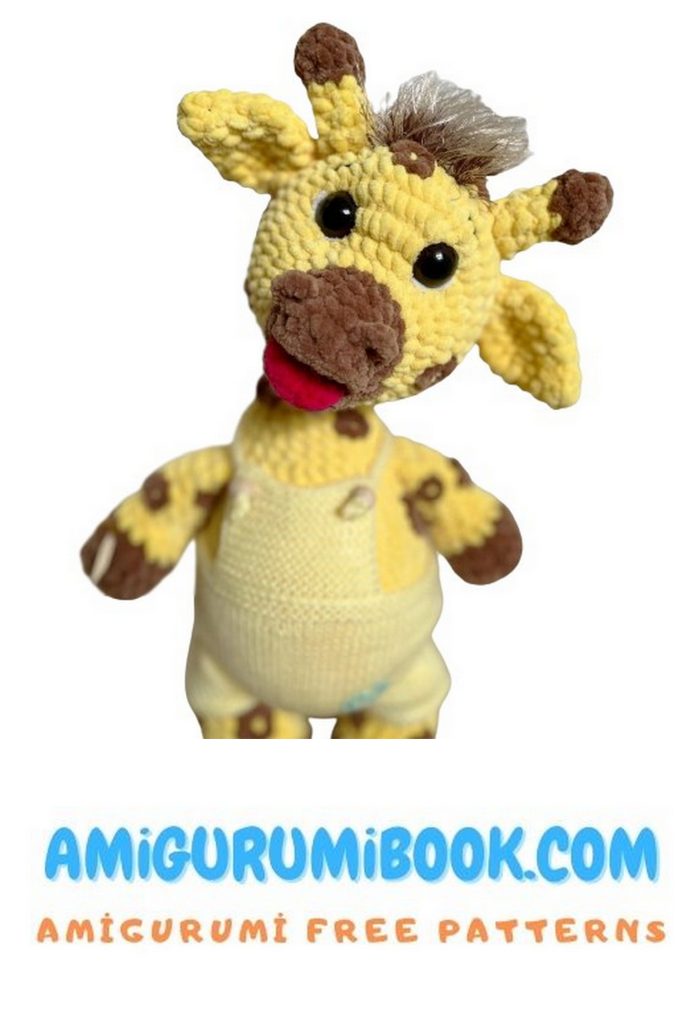
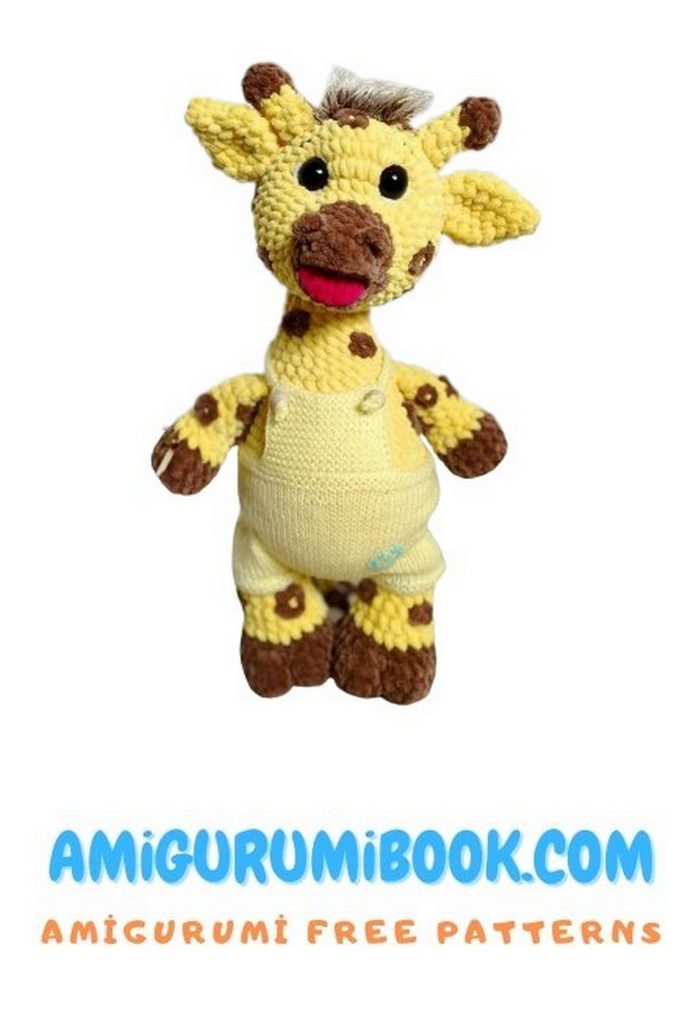
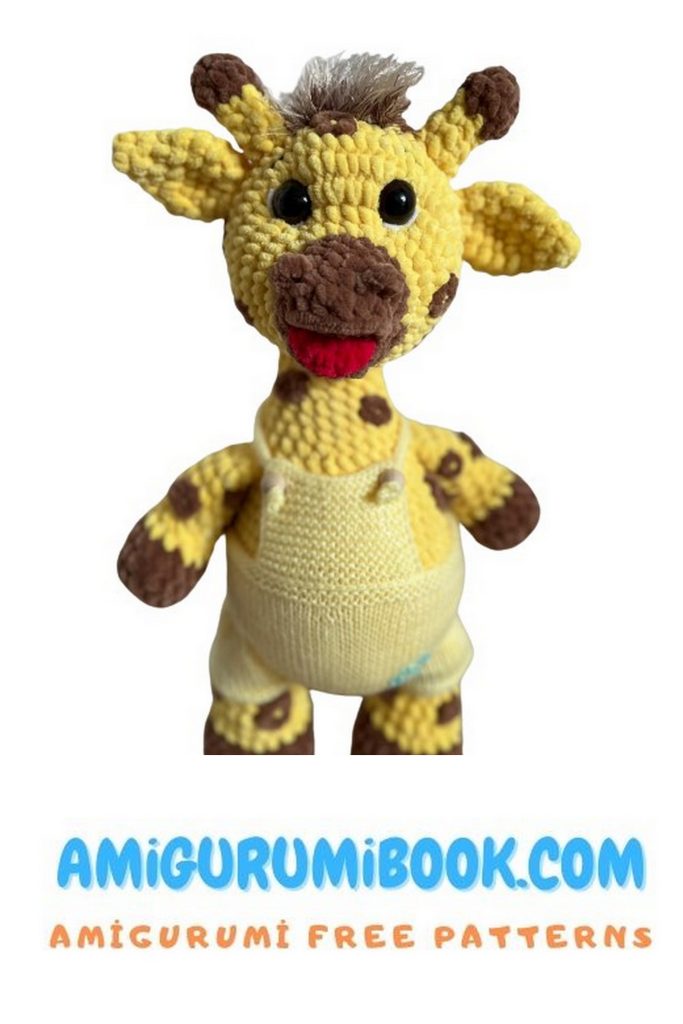
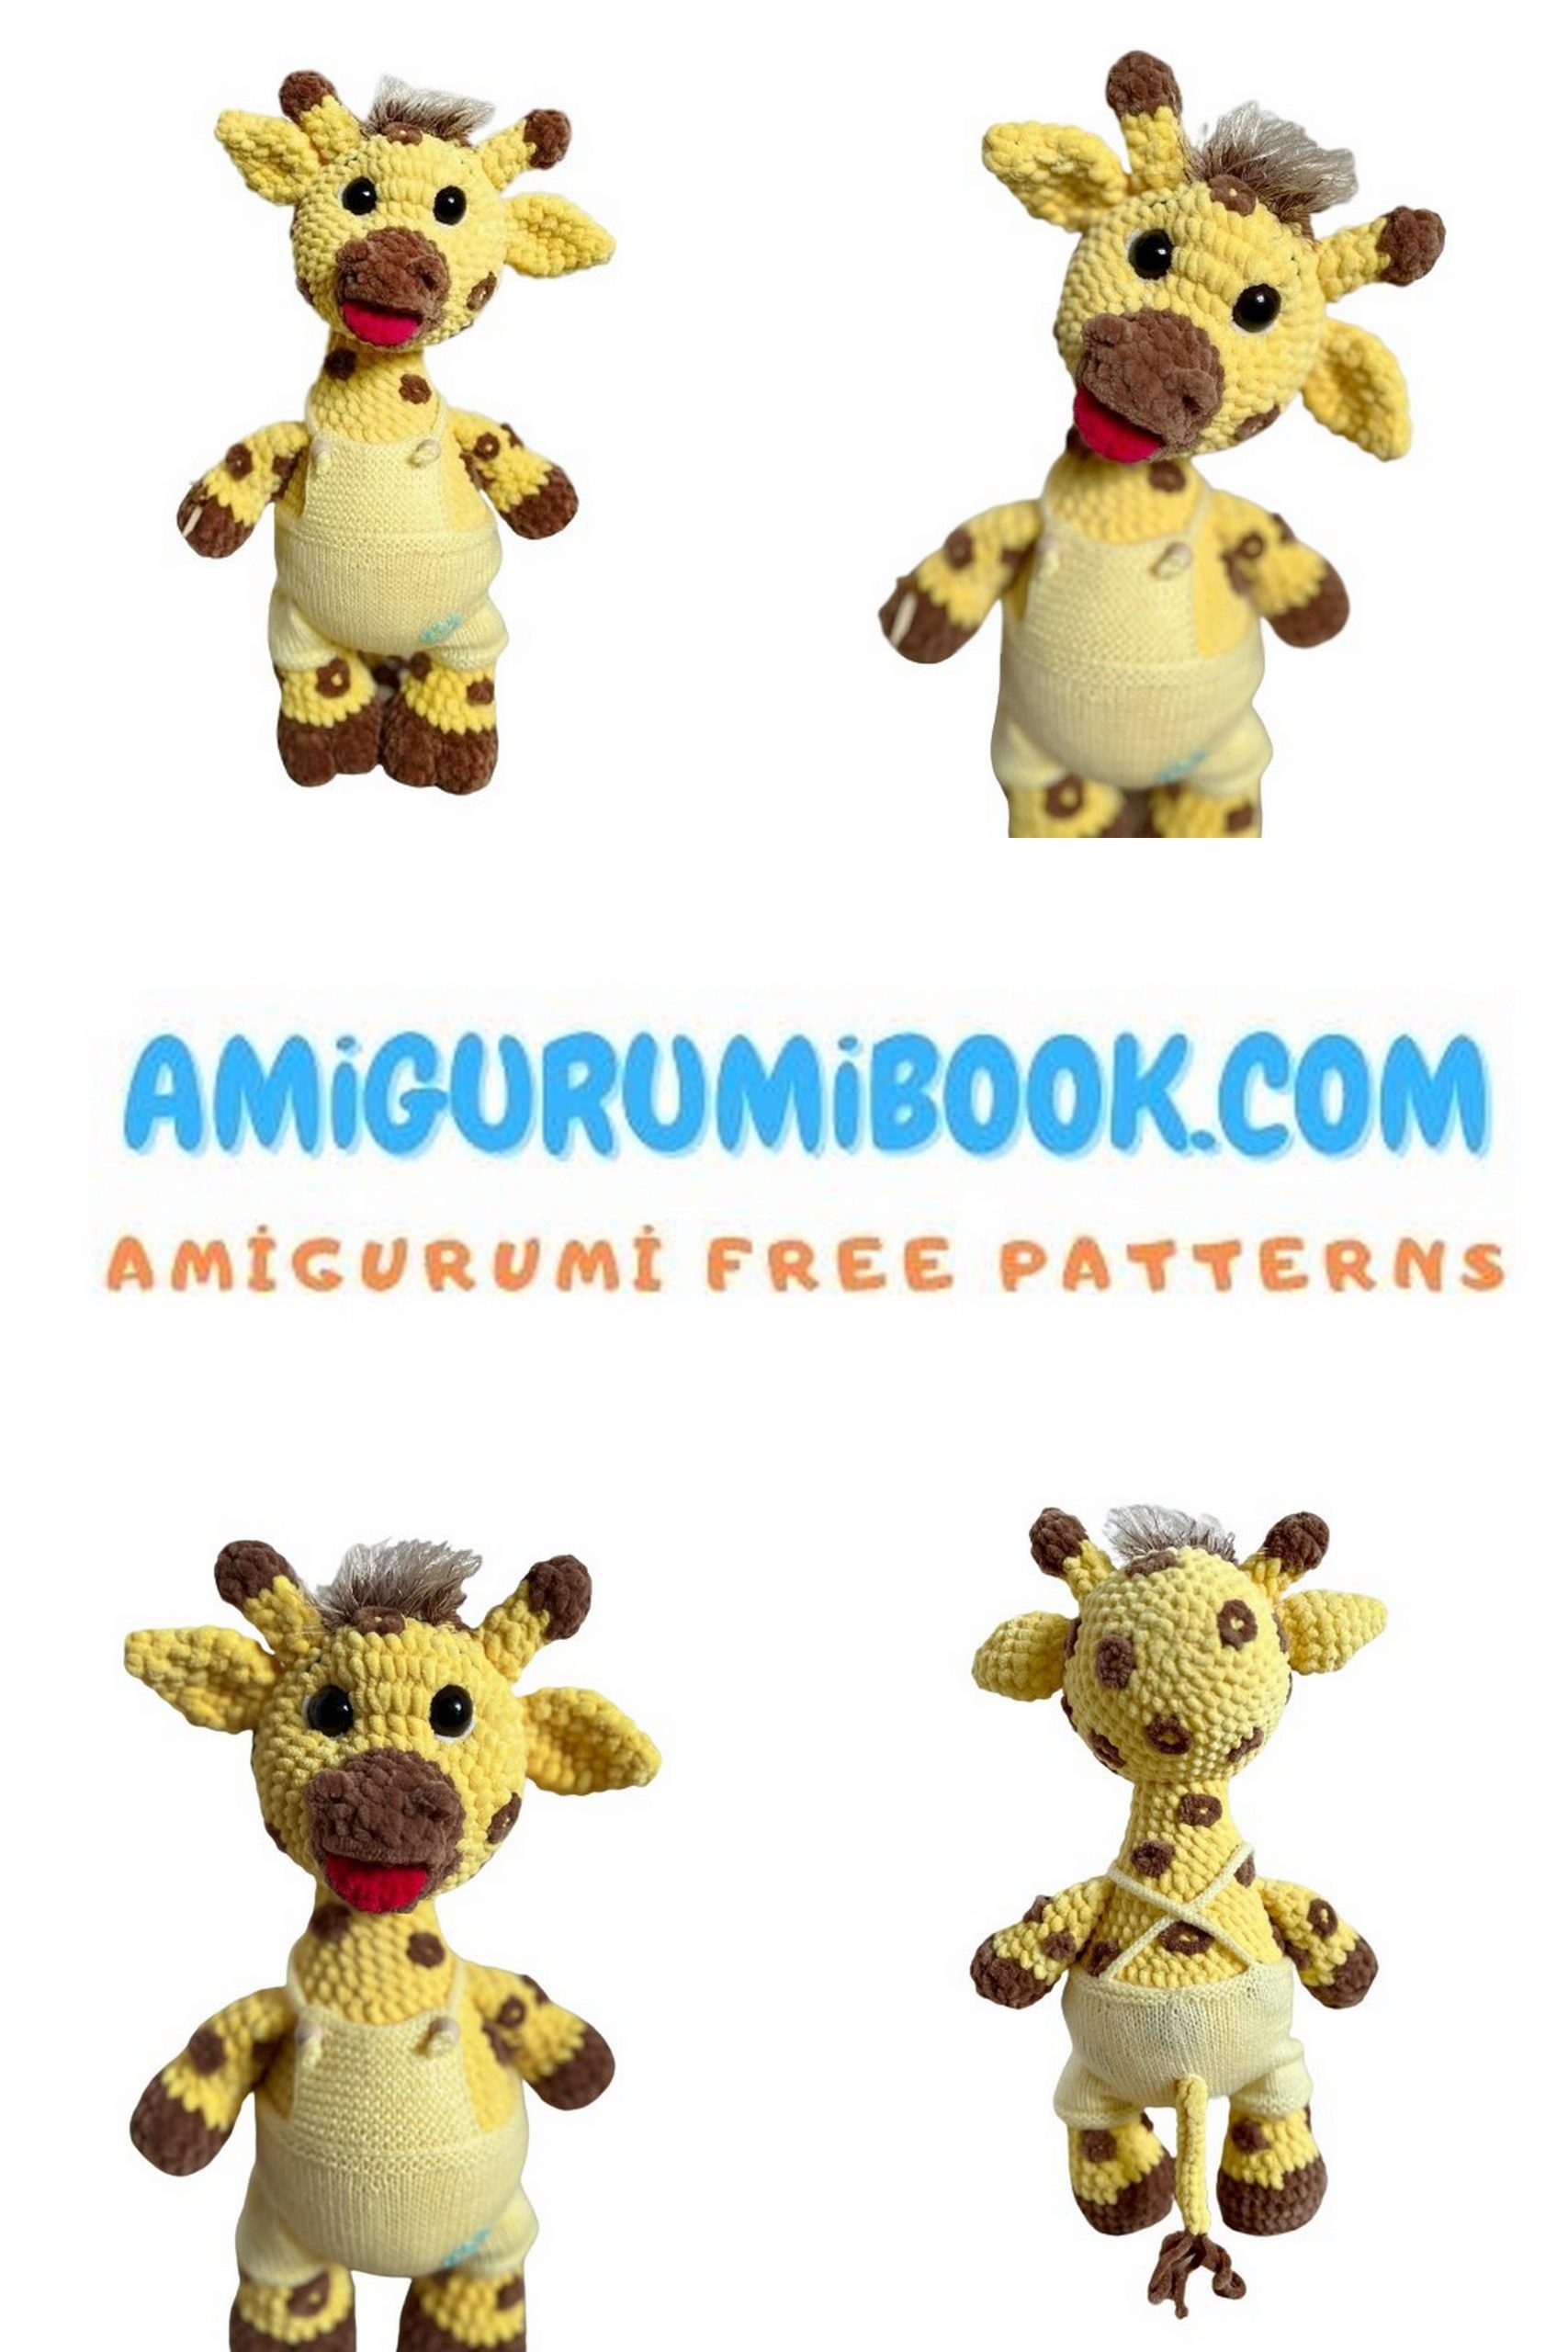
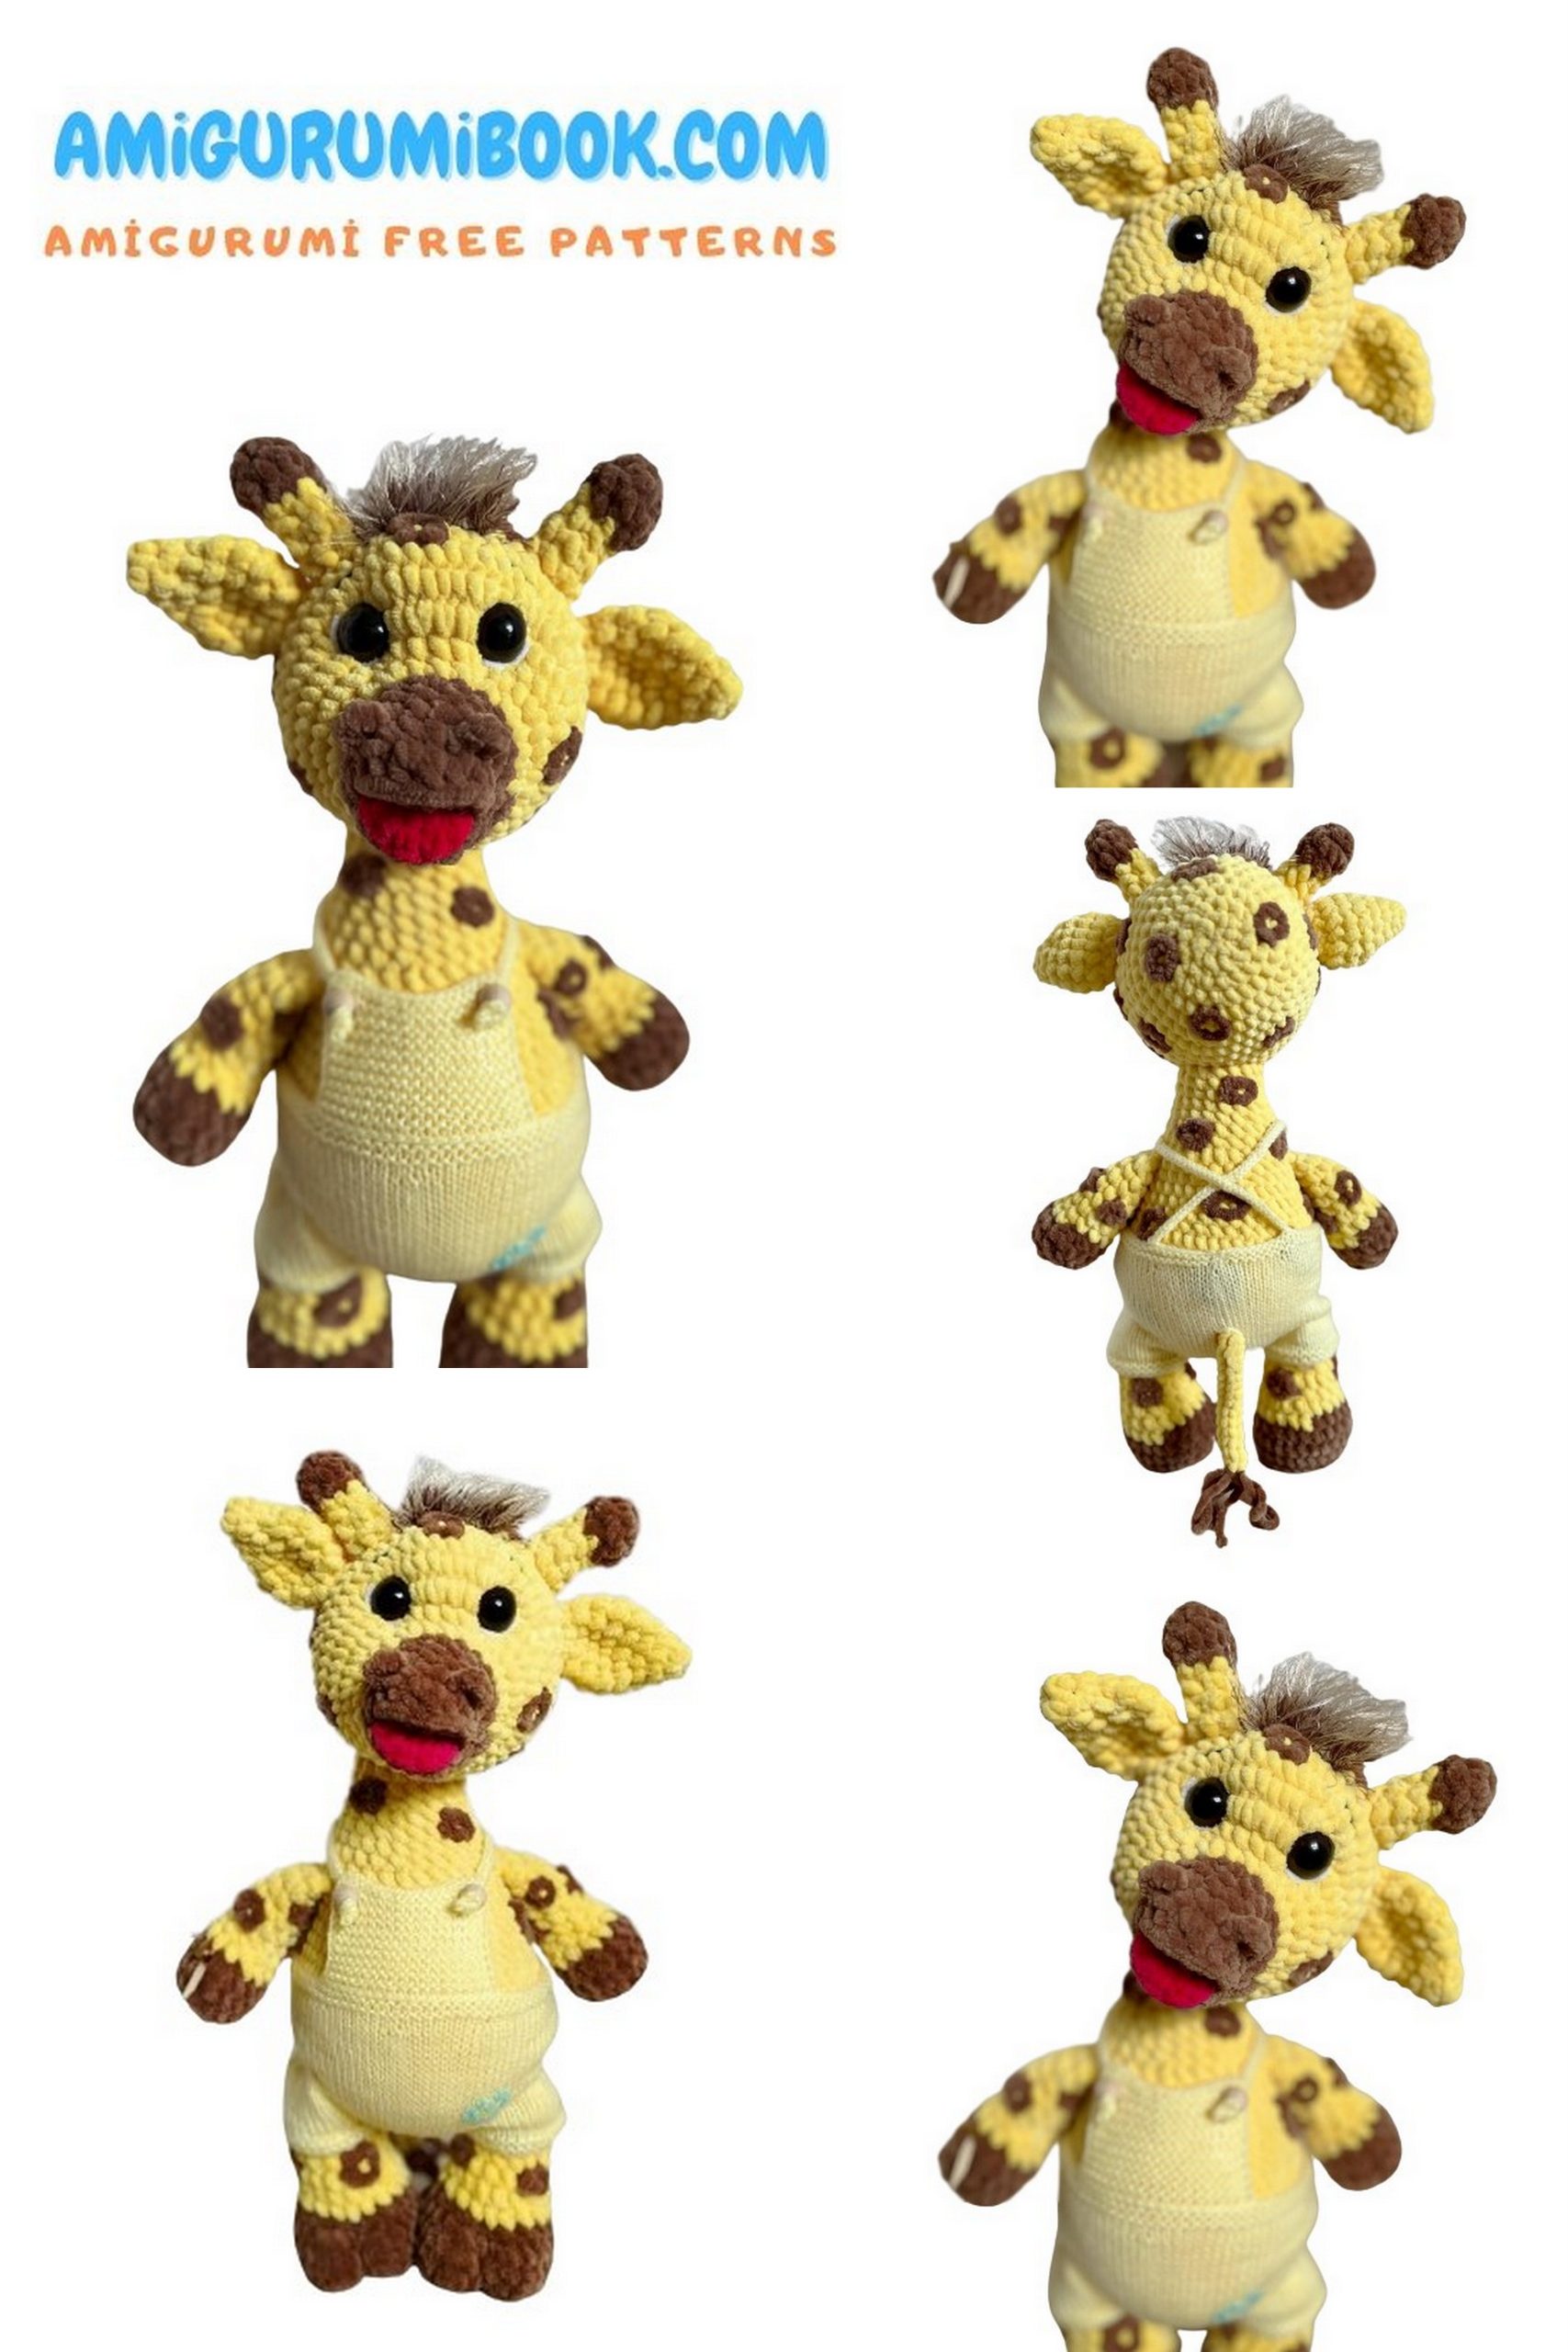
If you love crocheting soft plush toys, this Free Amigurumi Velvet Giraffe Pattern is a perfect project to try. This adorable crochet giraffe features a cuddly velvet texture, long legs, and charming details that make it an ideal handmade toy for kids, nursery decor, or a thoughtful DIY gift.
In this step-by-step crochet giraffe tutorial, you’ll learn how to create each part of the giraffe, including the body, head, legs, and cute little horns. The pattern is beginner-friendly and works beautifully with velvet yarn, giving the finished amigurumi a soft and plush look.
Grab your hook and yarn and start crocheting your own cute velvet giraffe amigurumi today.
If you want to access 1000+ free amigurumi patterns, you can download our application from this link!
Materials:
YarnArt DOLCE yarn in colors 761 (2 skeins), 765 (1 skein)
759 (a little bit for the tongue)
Alize velluto in color 62 (a small amount for eye details)
Пехорка Нежная in color 002 (for weighting the legs)
Alize травка in color 541 (for the bangs)
Stitch marker
4.5mm and 3.5mm crochet hooks
1.8mm safety eyes
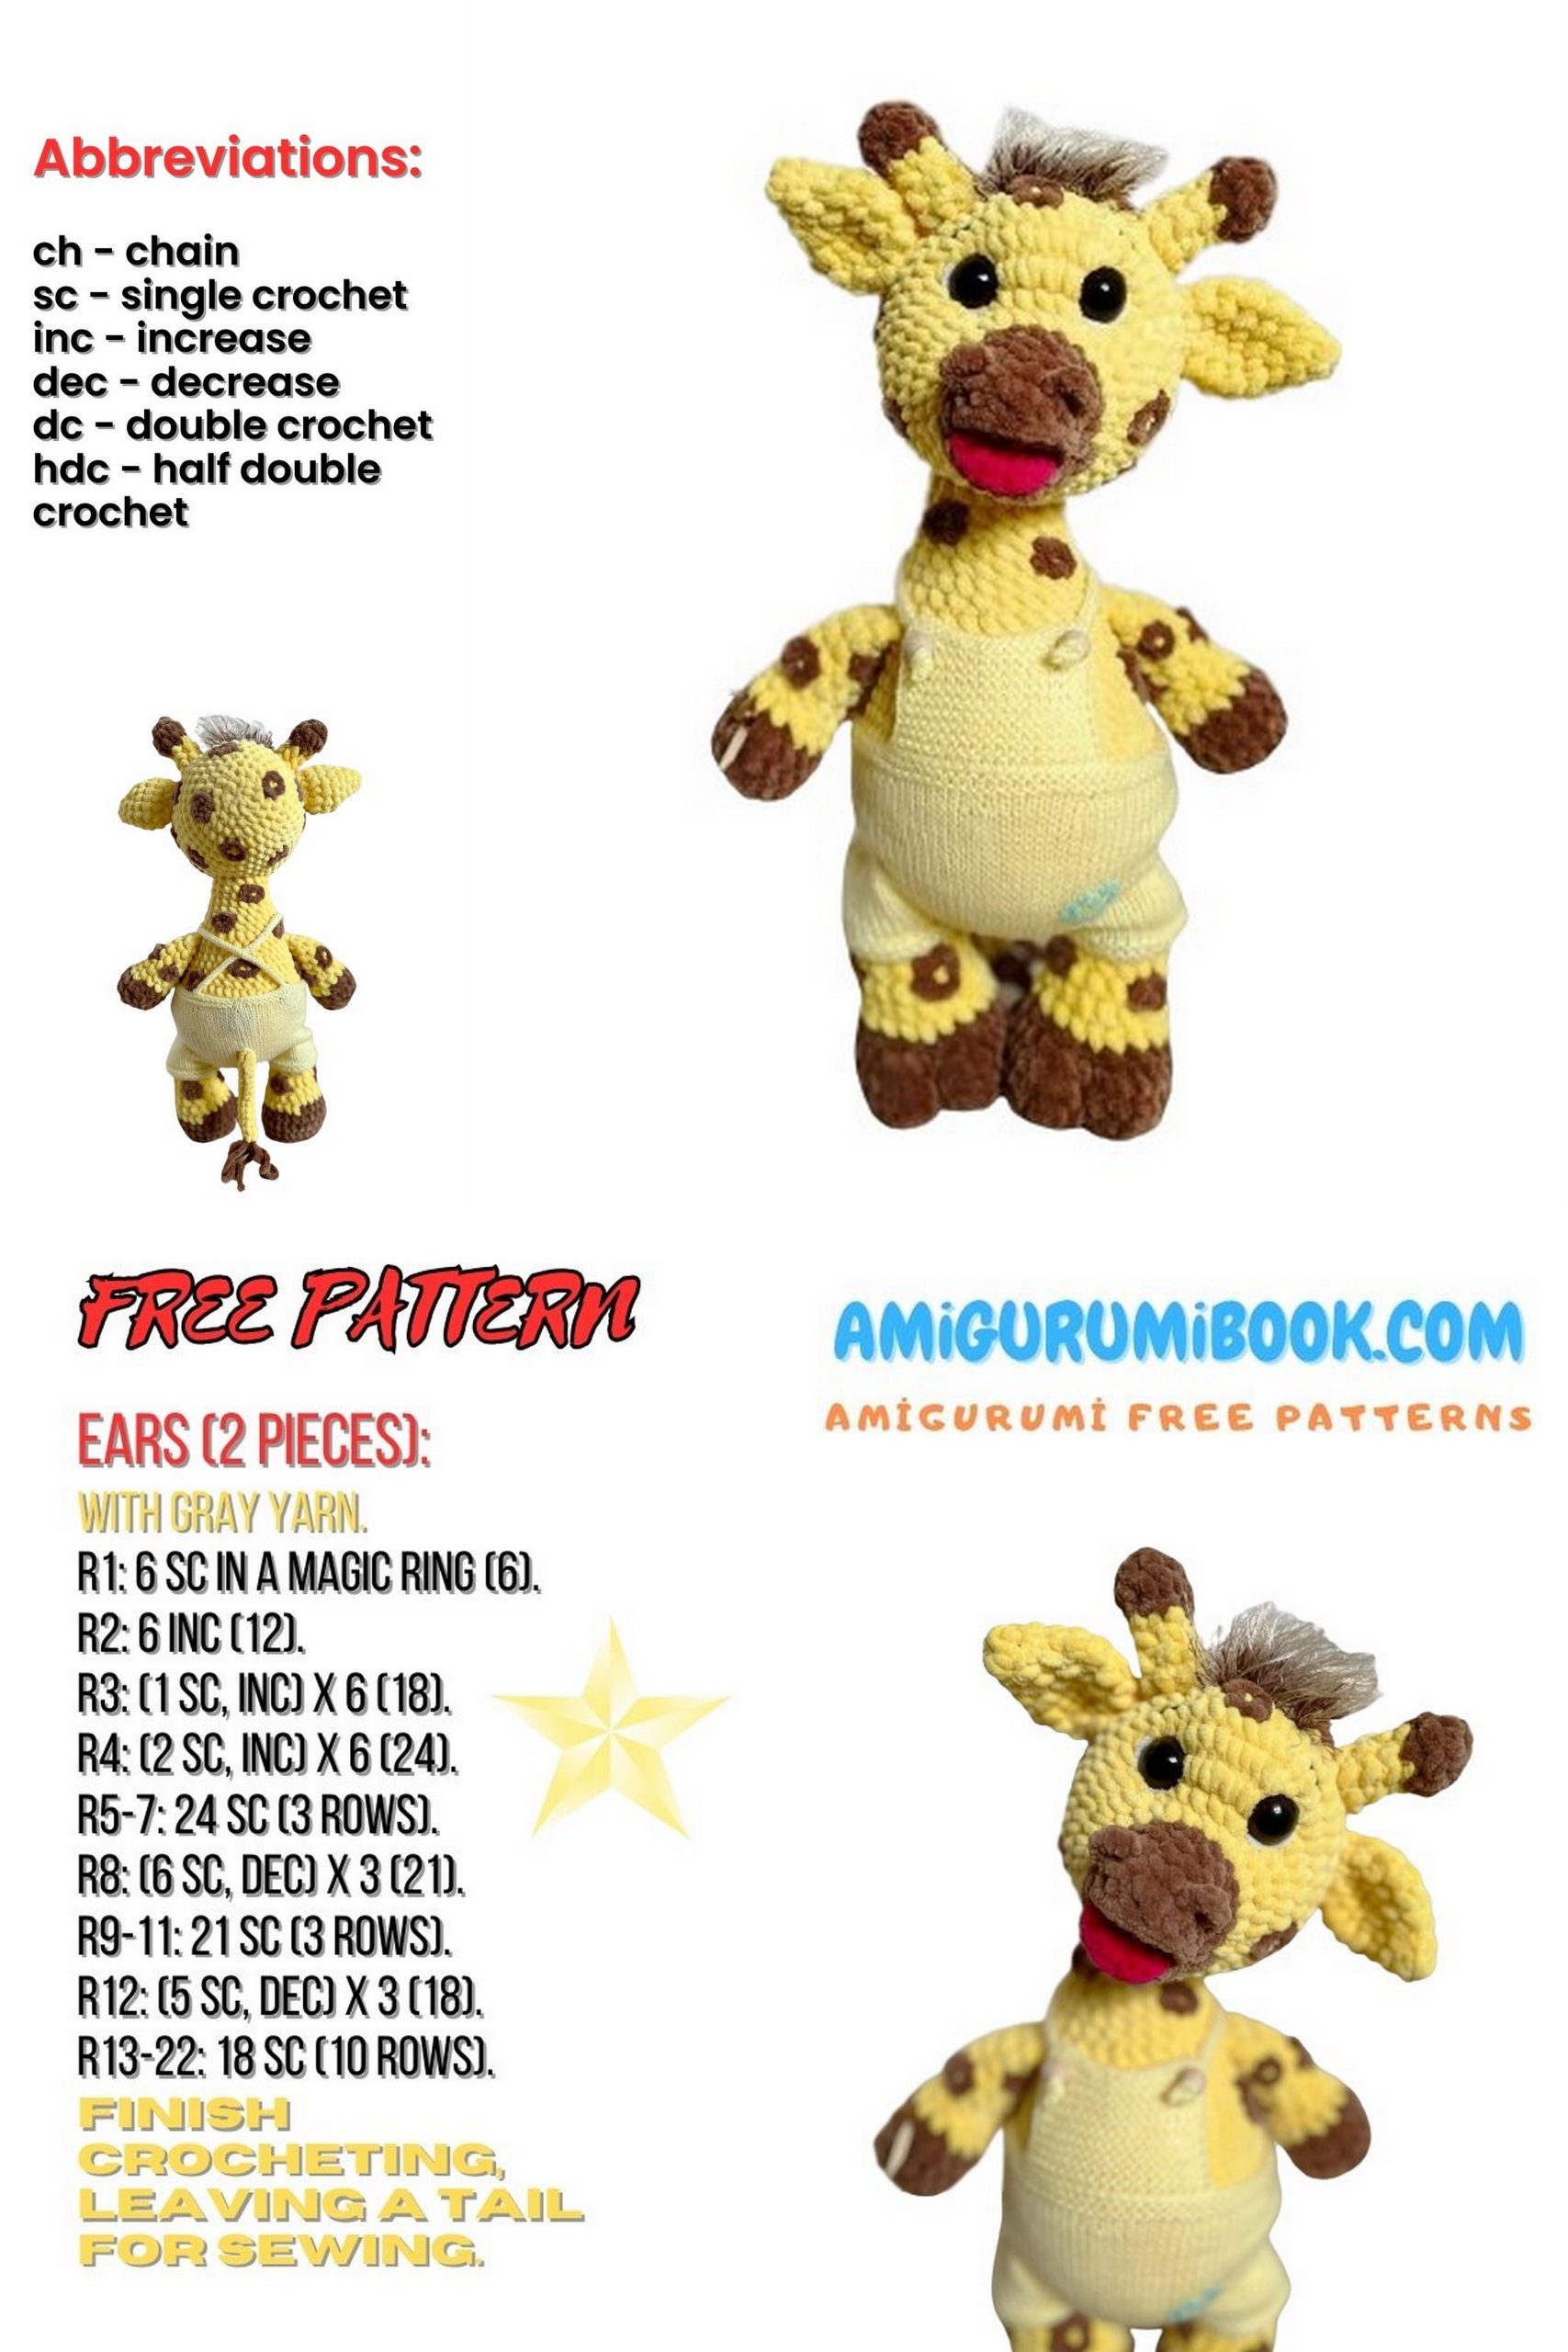
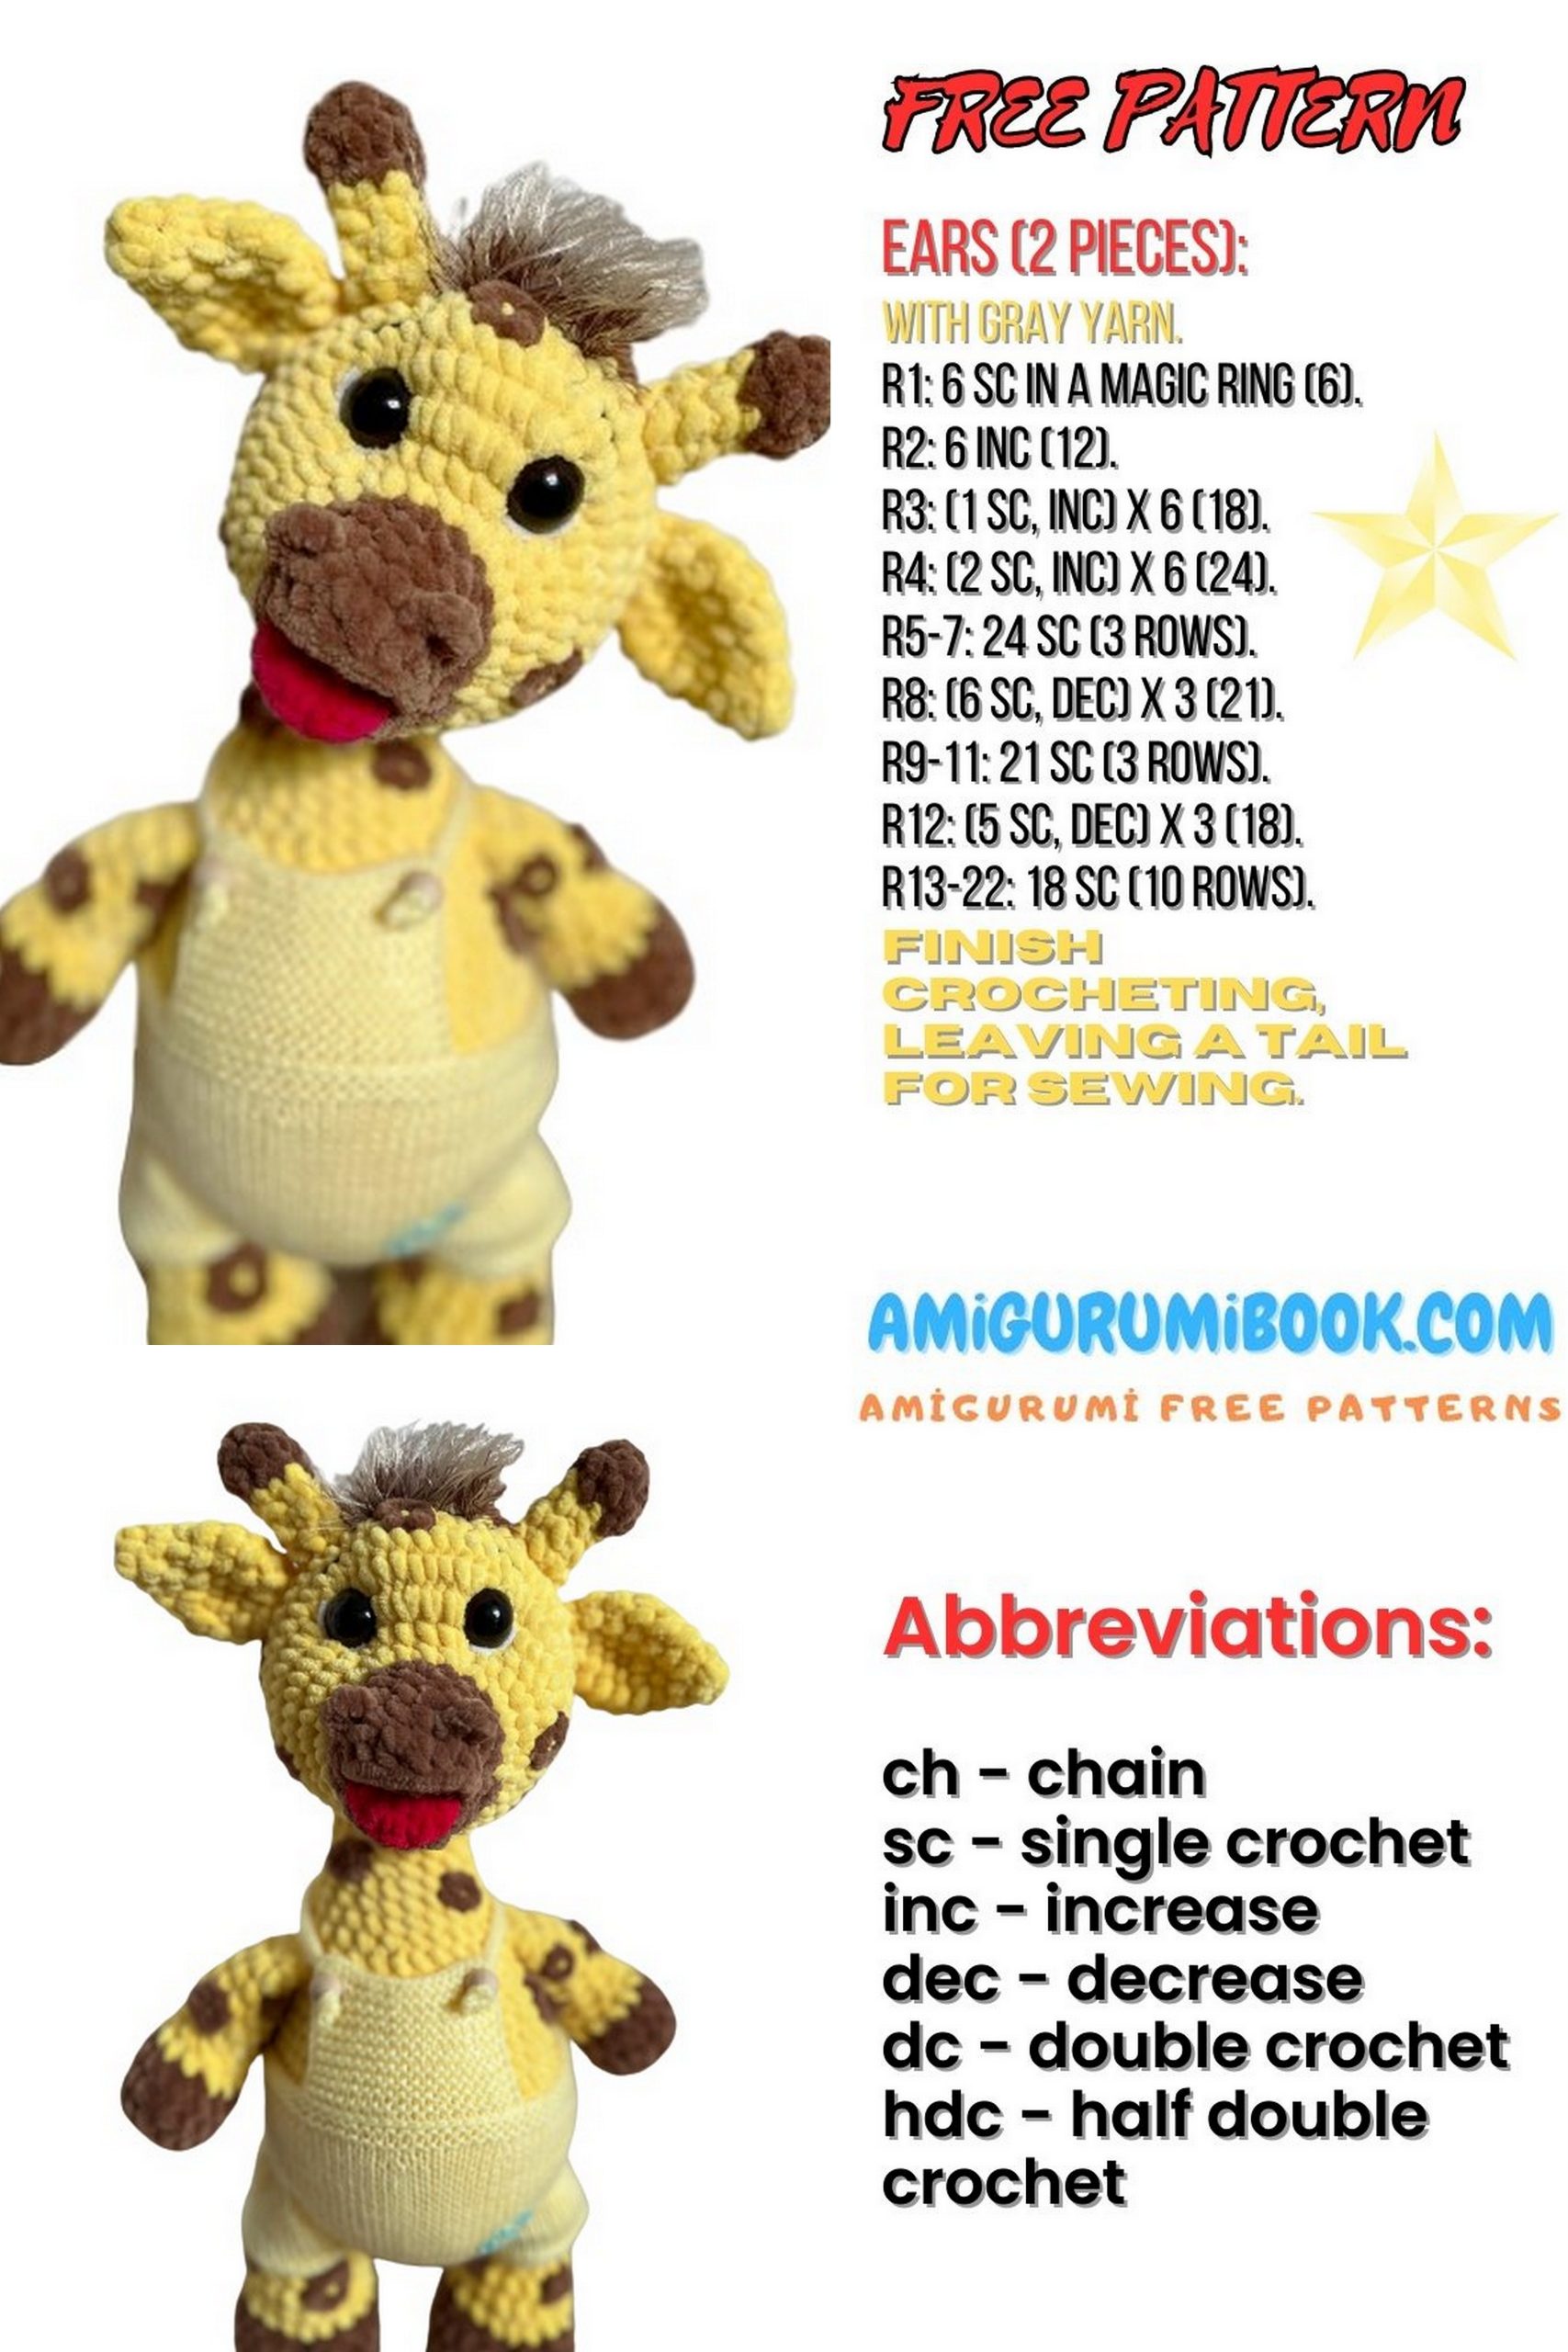
Abbreviations:
Sc – single crochet
sl-st – slip stitch
Ch – chain
Inc – increase
dec – decrease
PATTERN

Horns:
6 sc in magic ring (6)
(1 sc, inc)x3 (9)
1 round, change color while finishing the last stitch (9)
decх4, 1 sc (5)
(1 sc, inc)x4, 1 sc (7)
2 rounds (7)
Cut the yarn, leaving a tail for sewing.
Ears:
4 sc in magic ring (4)
(inc, 1 sc) twice (6)
(1 sc, inc)x3 (9)
(1 sc, inc)x4, inc (14)
3 rounds (14)
decх7 (7)
Cut the yarn, leaving a tail for sewing.
Nostrils:
3 sc in magic ring (3)
Pull the ring tight and leave a tip for sewing.
Tail:
Chain 15 (15)
Turn the work and single crochet 14 stitches starting from the second chain from the hook.
Make a tassel at the end of the tail (see MK – tutorial).
Head (Face):
Upper part of the face:
5 sc in magic ring (5)
ch, turn (marks the beginning of the row), incх5 (10)
The next row is worked by inserting the hook from the back and pulling it through the next loop (see MK).
ch, turn, 9 sc, 1 sc through the back loop (10)
Mark the first and last stitches with a thread, remove the loop from the hook, and leave it open. Insert the hook into the 4th sc from the right, pull the working yarn through, and work as follows:
ch, 2 sc, sl-st, leaving the loop open
Insert the hook into the 3rd sc from the right, ch, 4 sc, pick up the open loop and work an sl-st together with it
Insert the hook into the 2nd sc from the right, ch, 6 sc, pick up two open loops and work an sl-st (10)
Leave the loop open and cut the thread about 20 cm.
After completing the upper part of the face, sew on the nostrils.

Lower part of the face (pink color):
5 sc in magic ring (5)
Mark the beginning of the row with a thread, ch, turn, inc. 3 sc, inc
Change the thread color to the main one, ch, sc, and work the next row through the back loops (nemnu)
ch, 7 sc (7)
Mark the 1st and last stitch with a thread, remove the loop from the hook and leave it open. Insert the hook into the 2nd sc from the right, pull the working yarn through, and work as follows:
ch, 3 sc, pick up the open loop and work a sl-st
Insert the hook into the 1st sc from the right, ch, 5 sc, pick up two open loops and work an sl-st (7)
Leave the loop open, and cut the thread about 15 cm.
Fold the two parts and sew them together, rounding the sides (see MK for details).
Head and Body:
Now, we have a total of 17 stitches (10 on the upper part and 7 on the lower part). Insert your hook into the open loop from the lower part where the working yarn is, and add one loop to the same spot where you crocheted in the upper part. You now have 18 stitches, mark the beginning of the round and crochet in the round.
(2 sc, inc) six times (24)
Change the color to yellow by completing the last stitch.
24 sl-st (24)
(1 sc, inc. three times, 2 sc, (inc, 1 sc) three times, 10 sc (30)
(np, Сinc. 1 sc) four times, inc. 2 sc, inc. (1 sc, inc) four times (40)
11 sc, incх8, 21 sc (48)
6 sc (48)
At this point, start creating spots and insert the eyes between the 3rd and 4th rows from the face.
(6 sc, dec)х6 (42)
2 rounds (42)
(5 sc, dec)х6 (36)
1 round (36)
(4 sc, dec)х6 (30)
(3 sc, dec)х6 (24)
(2 sc, dec)х6 (18)
(1 sc, dec)х6 (12)
decх6 (6)
Insert the eyes, stuff, close the hole, sew on the ears and horns, and add weights (see tutorial).
Legs:
6 sc in magic ring (6)
Mark the beginning of the round with a thread, ch, turn,
incх6 (12)
ch, turn, incх11, 1 sc (23)
The next round is worked by inserting the hook into the loop and pulling it through the next, catching the working yarn and crocheting.
22 sc, 1 sc through the back loop (23)
Then, crochet the V-shaped edge by inserting the hook from the back and pulling it through the next loop (see tutorial).
6 sc, in the next sc (where the thread is), pull the loop to the back.
Turn the work and crochet 29 sc (the last sc is into the stitch with the thread).
2 sc, dec. 25 sc (28)
(5 sc, dec)х4 (24)
decх3, 18 sc (change color by crocheting in the 9th sc)
(5 sc, dec)х3 (18)
(4 sc, dec)х3 (15)
1 round (15)
(3 sc, dec)х3 (12)
4 sc (12)
Finish creating spots, stuff, and close the legs by crocheting 6 sc (see tutorial).
Arms:
8 sc in magic ring (8)
npx8 (16)
The next round is worked by inserting the hook into the loop and pulling it through the next.
(7 sc, inc) two times (18)
1 round (18)
(7 sc, dec)х2 (16)
Change color by completing the last stitch.
3 sc, dec, 2 sc, dec., 2 sc, dec. 3 sc (13)
4 sc, dec, 1 sc, dec, 4 sc (11)
2 rounds (11)
9 sc, dec (10)
2 rounds (10)
Finish creating spots, stuff, and close the arms by crocheting 5 sc (see tutorial).
Tail:
12 sc in magic ring (12)
npx12 (24)
(3 sc, inc) six times (30)
(4 sc, inc) six times (36)
(5 sc, inc) five times, then continue with the left leg: 5 sc, inc (42)
6 sc, inc, 6 sc, inc, 1 sc, then continue with the right leg: 5 sc, inc. (6 sc, inc) three times (48)
(11 sc, inc)x4 (52)
6 sc (52)
(dec. 3 sc) two times, (3 sc, dec) two times, (3 sc, dec)х3, 2 sc, Сdec. 3 sc) three times (42)
1 round (42)
dec. 3 sc, dec. 2 sc, dec. 3 sc, dec. 26 sc (38)
1 round (38)
dec, 3 sc, dec, 3 sc, dec, (4 sc, dec) two times, 2 sc, Сdec, 4 sc) two times (31)
At this point, attach the tail, finish creating spots, and crochet:
10 sc, 5 sc with the right hand, 11 sc, 5 sc with the left hand (31)
(8 sc, dec)х3, 1 sc (28)
(5 sc, dec)х4 (24)
1 round (24)
(6 sc, dec)х3 (21)
1 round (21)
(5 sc, dec)х3 (18)
2 rounds (18)
Stuff, cut the thread, leaving a tail for sewing (see tutorial).
Tail:
12 sc in magic ring (12)
npx12 (24)
(3 sc, inc) six times (30)
(4 sc, inc) six times (36)
(5 sc, inc) five times, then continue with the left leg: 5 sc, inc (42)
6 sc, inc, 6 sc, inc, 1 sc, then continue with the right leg: 5 sc, inc. (6 sc, inc) three times (48)
(11 sc, inc)x4 (52)
6 sc (52)
Congratulations, you’ve completed your amigurumi giraffe!