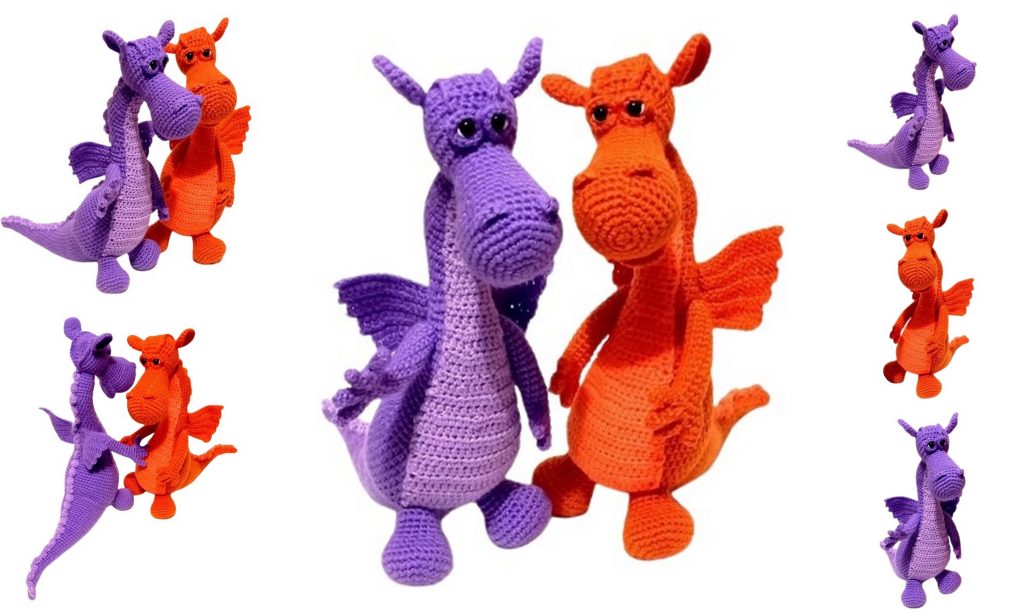
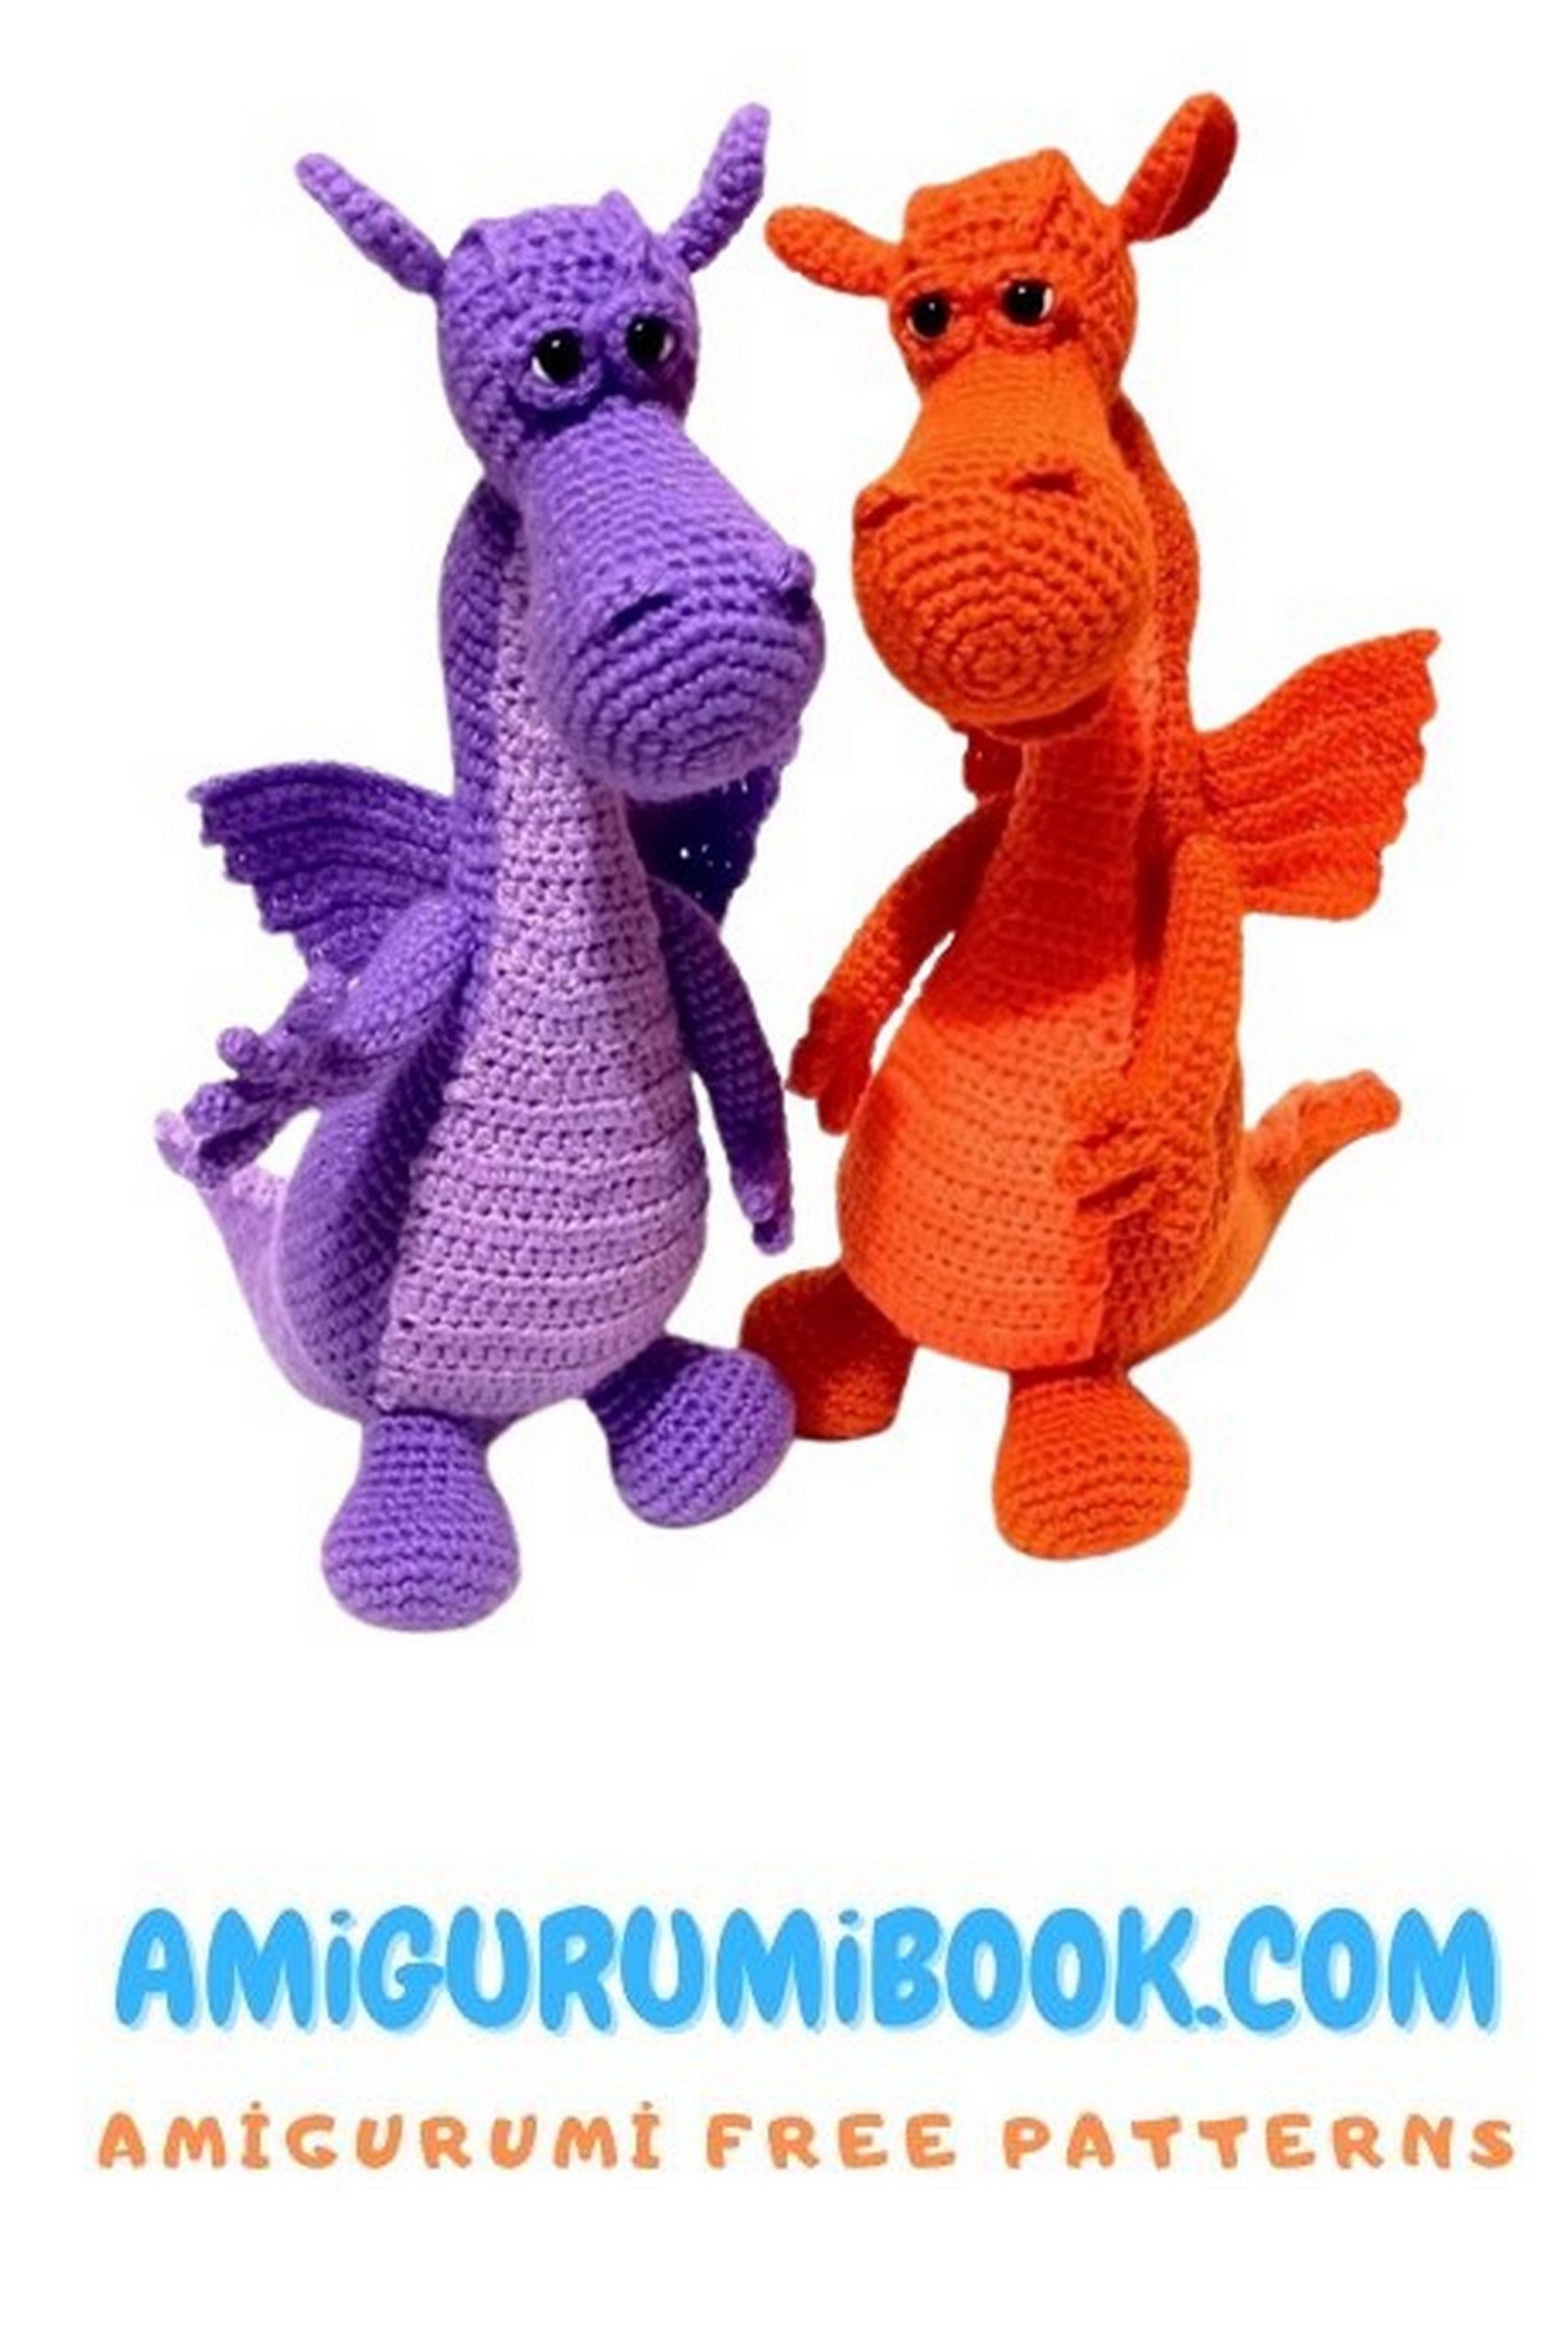
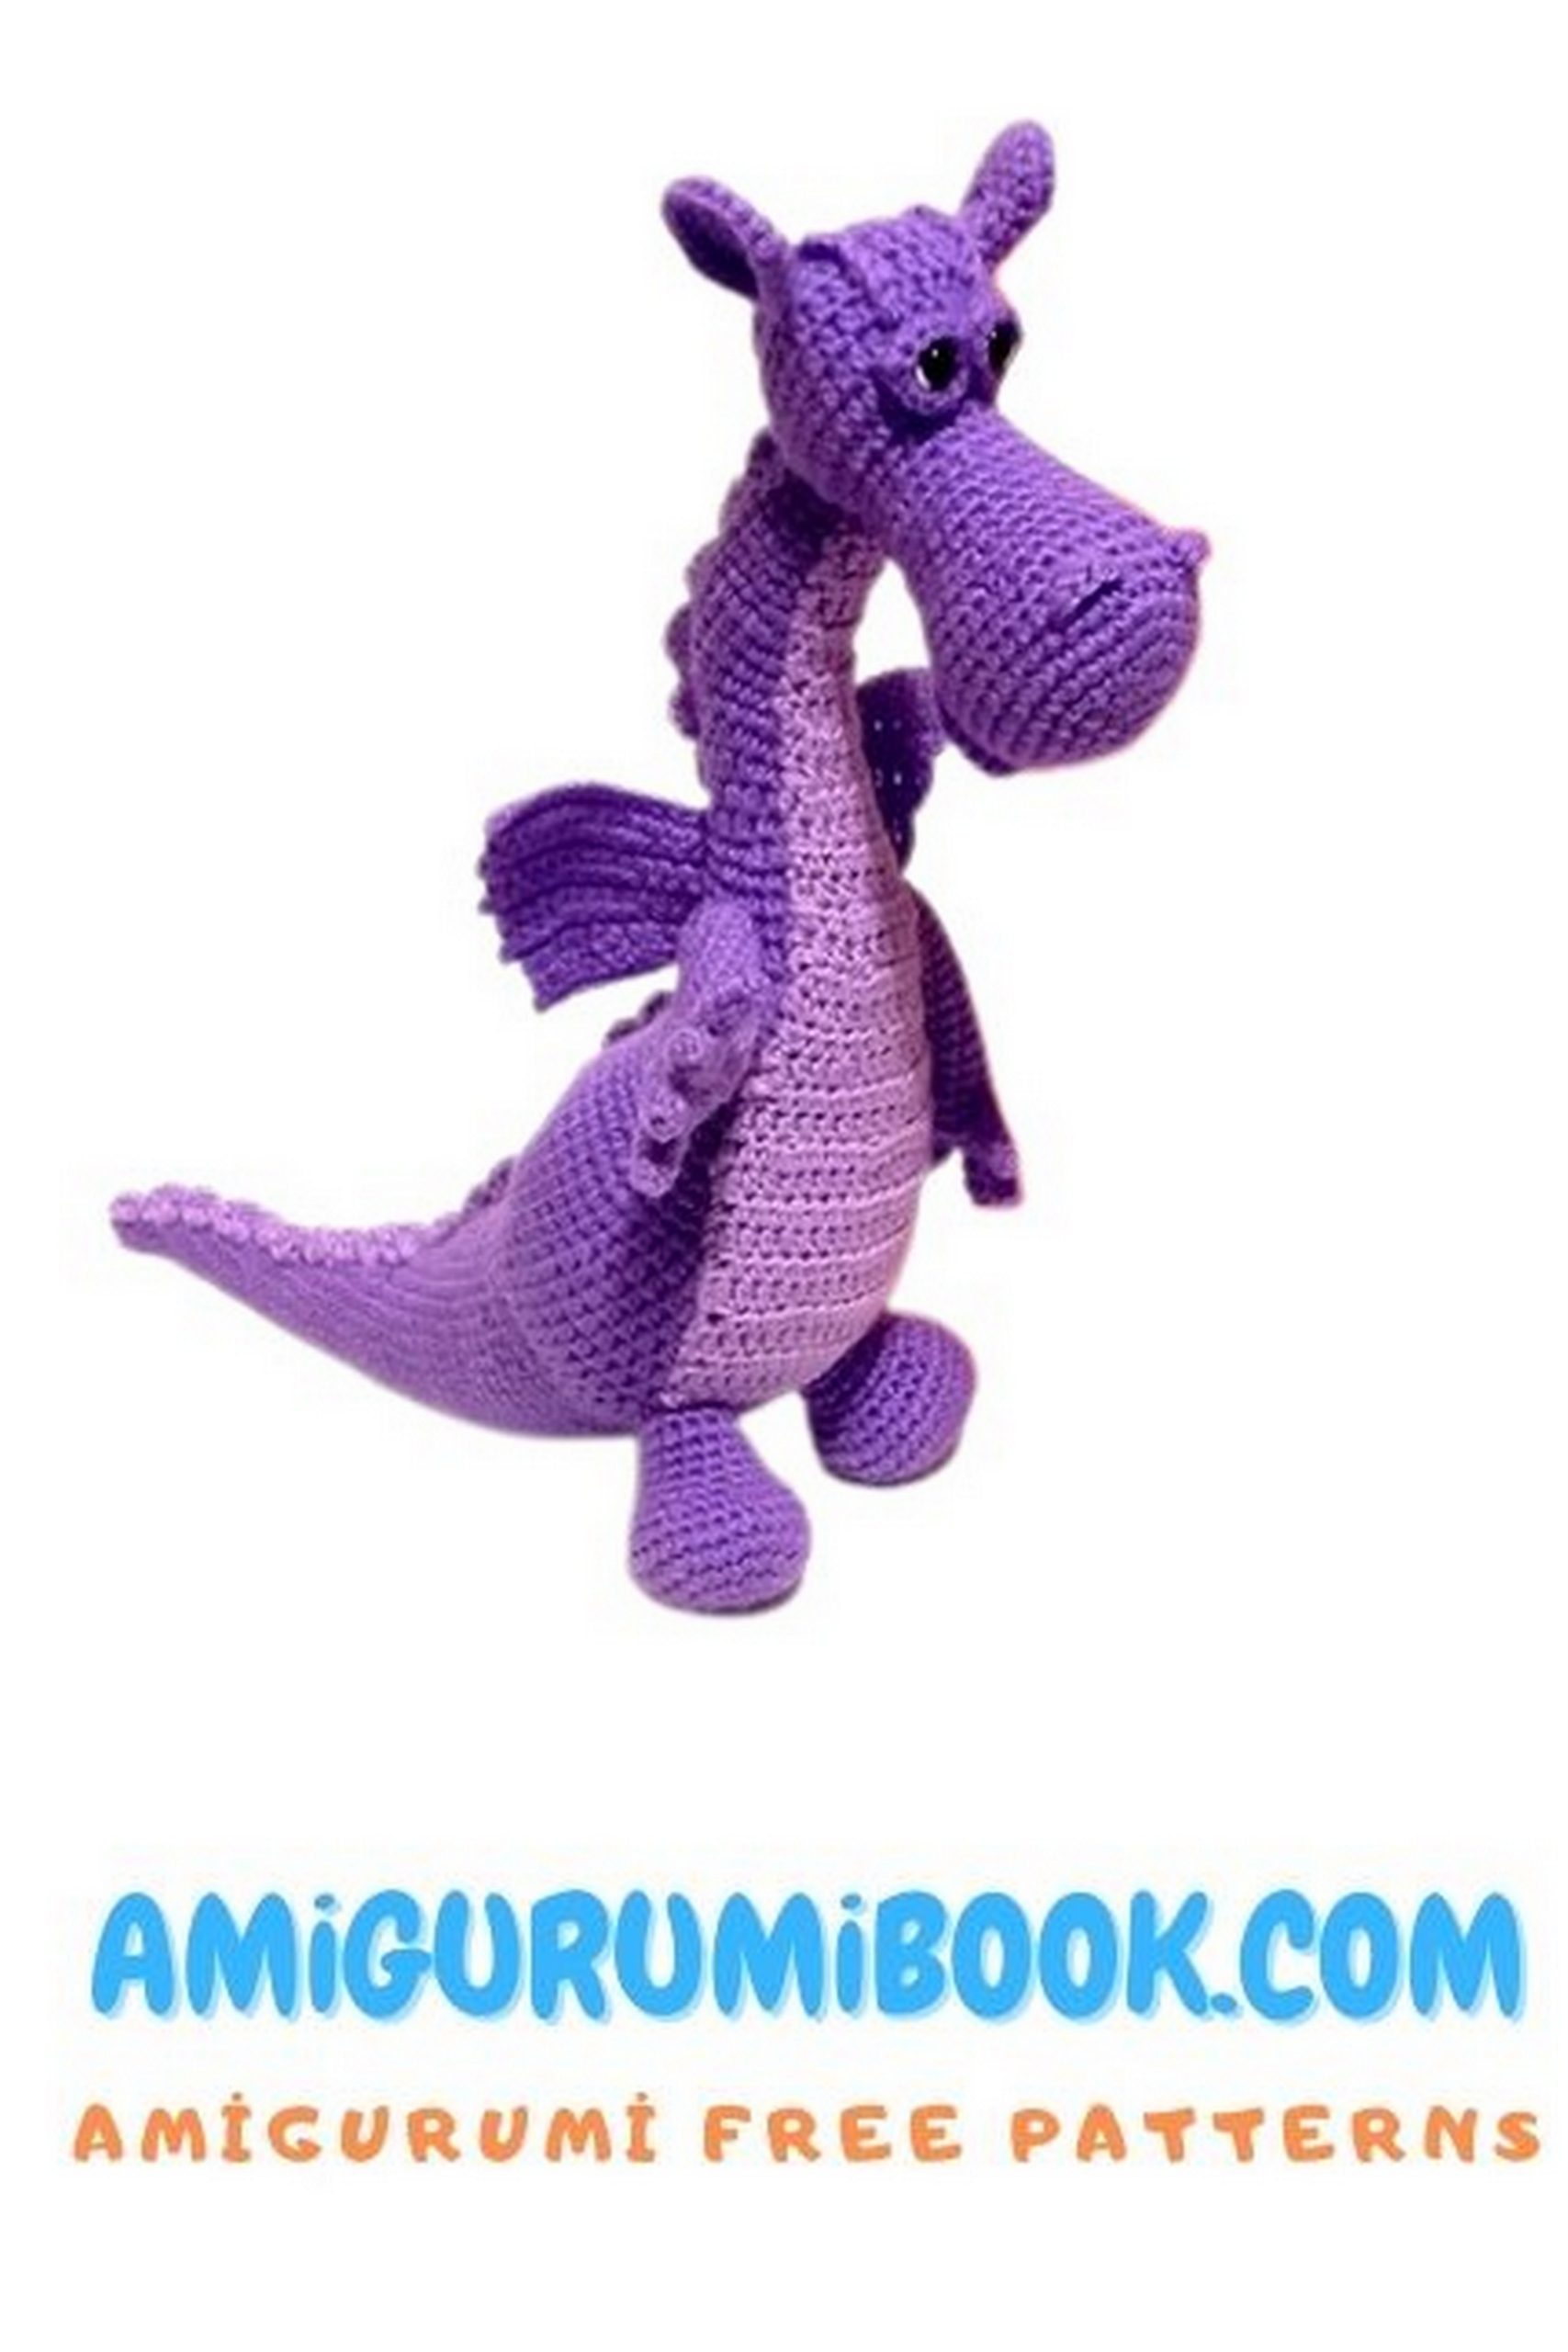
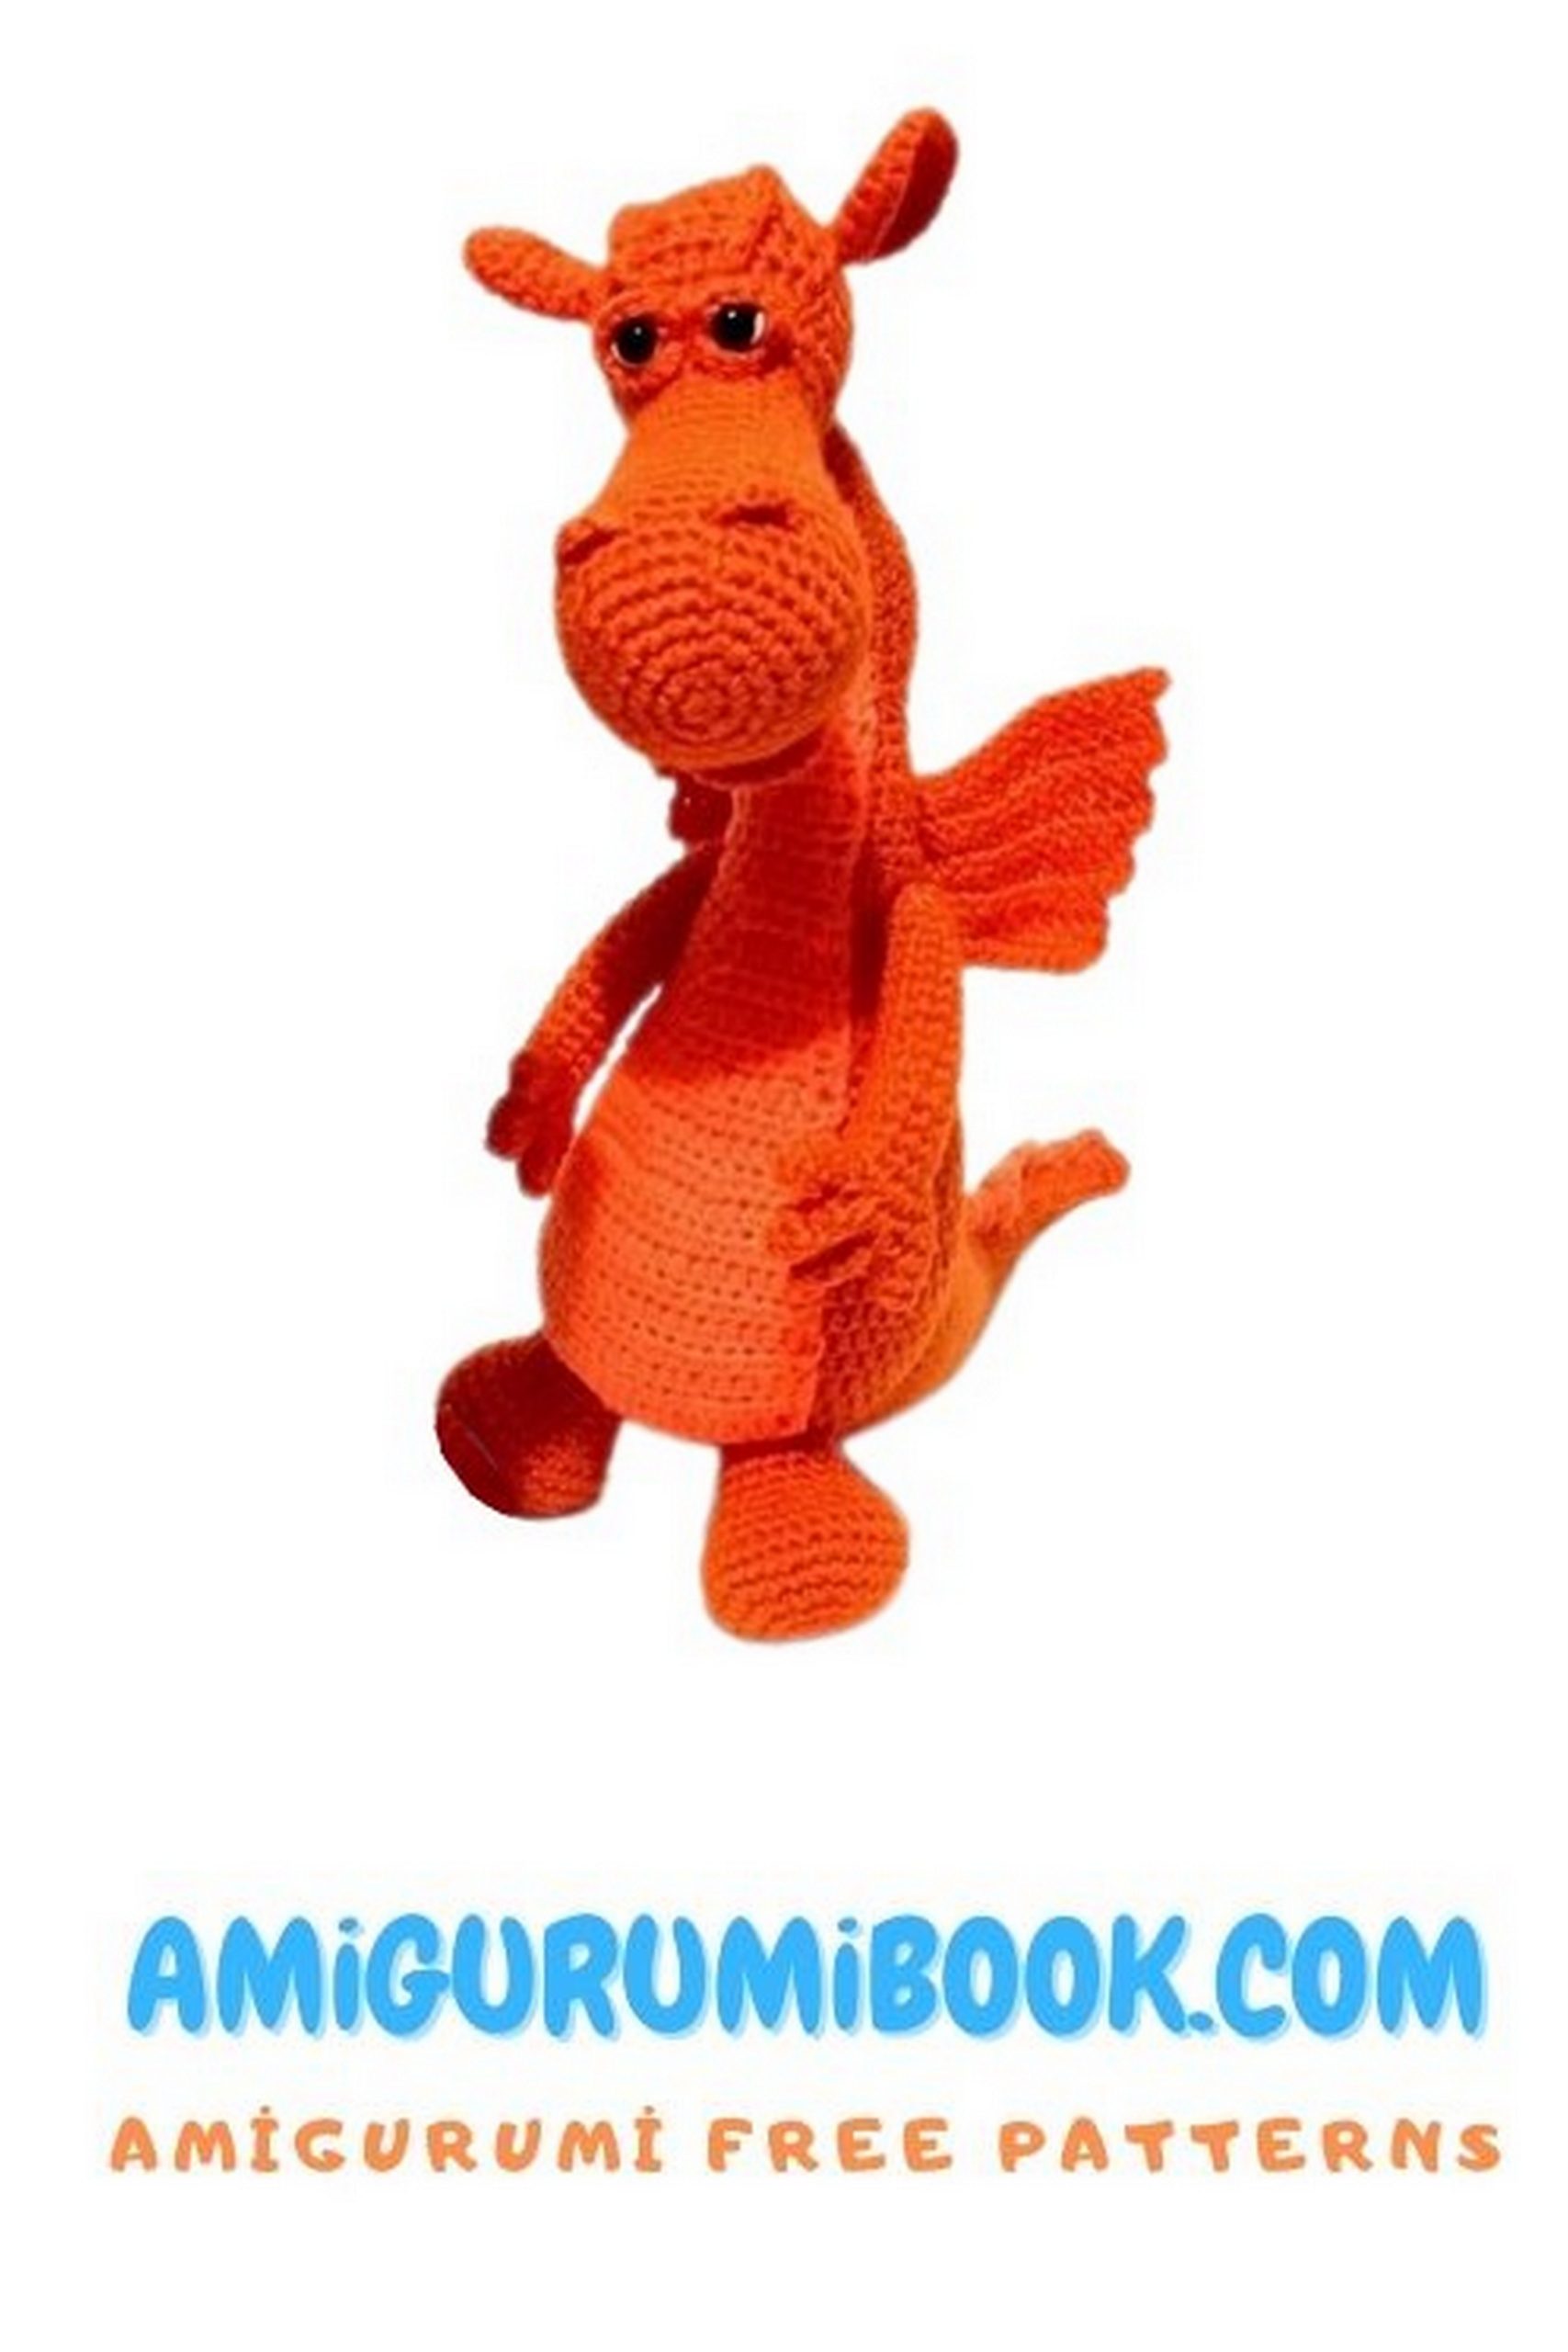
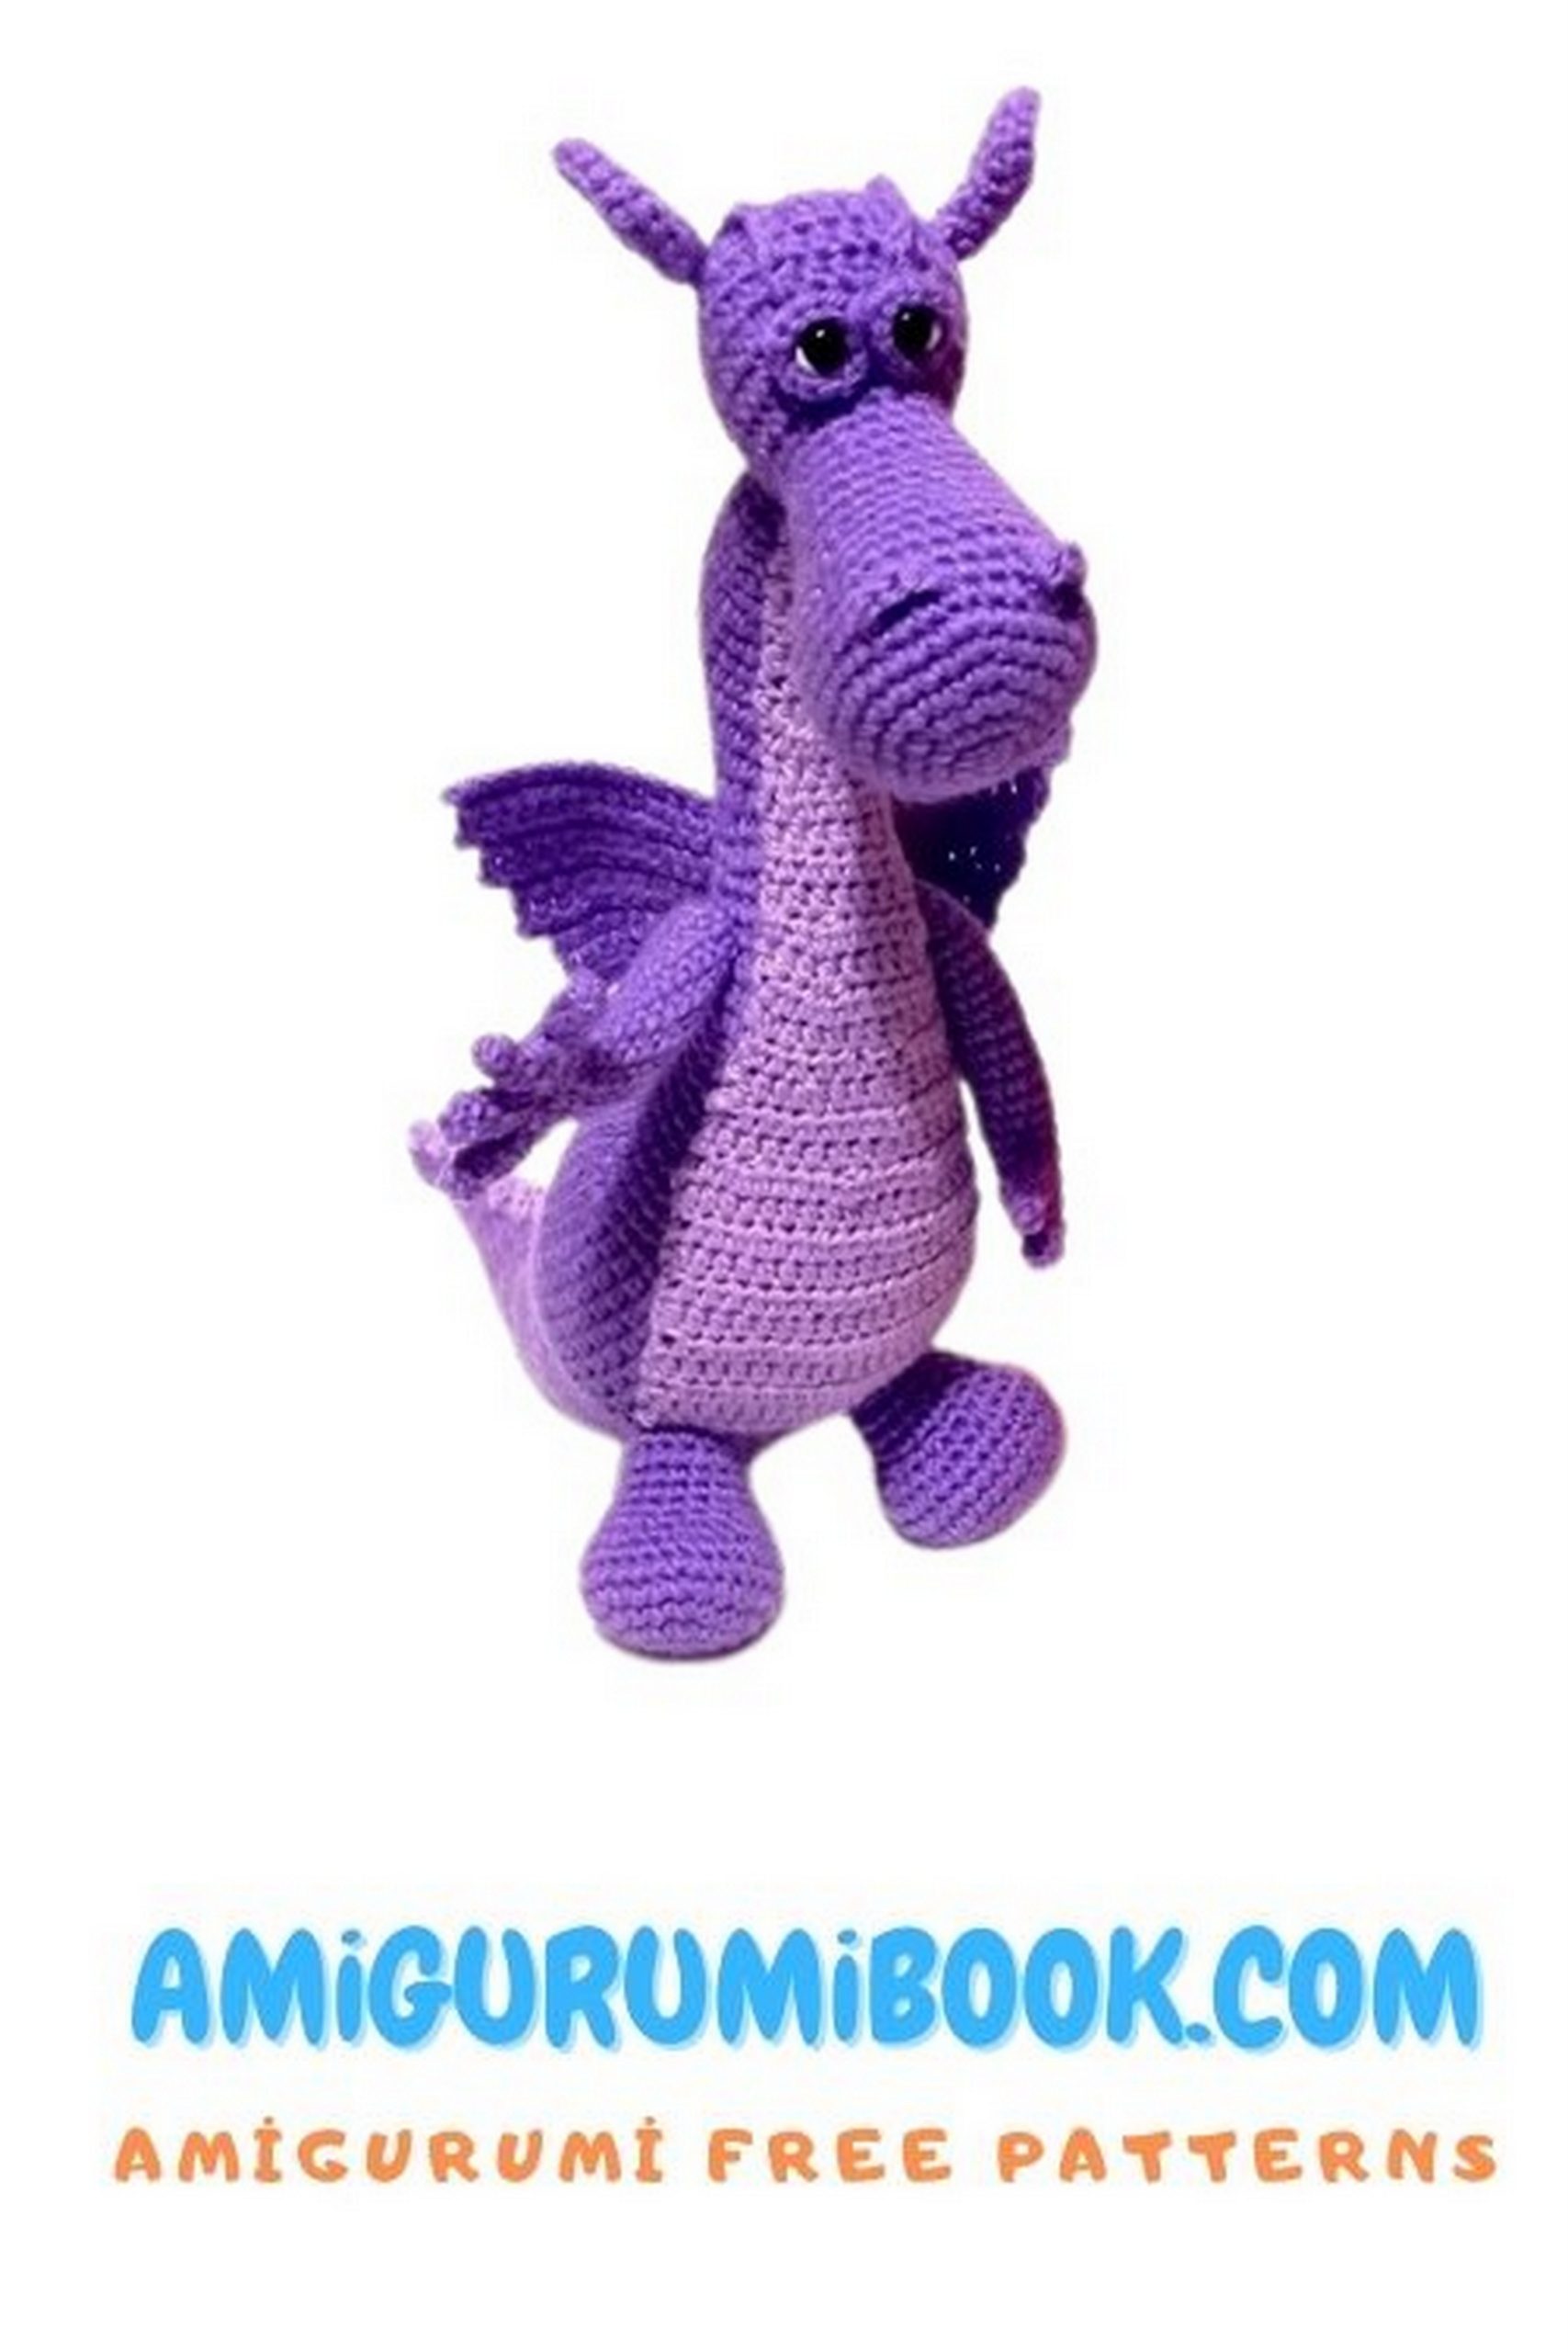
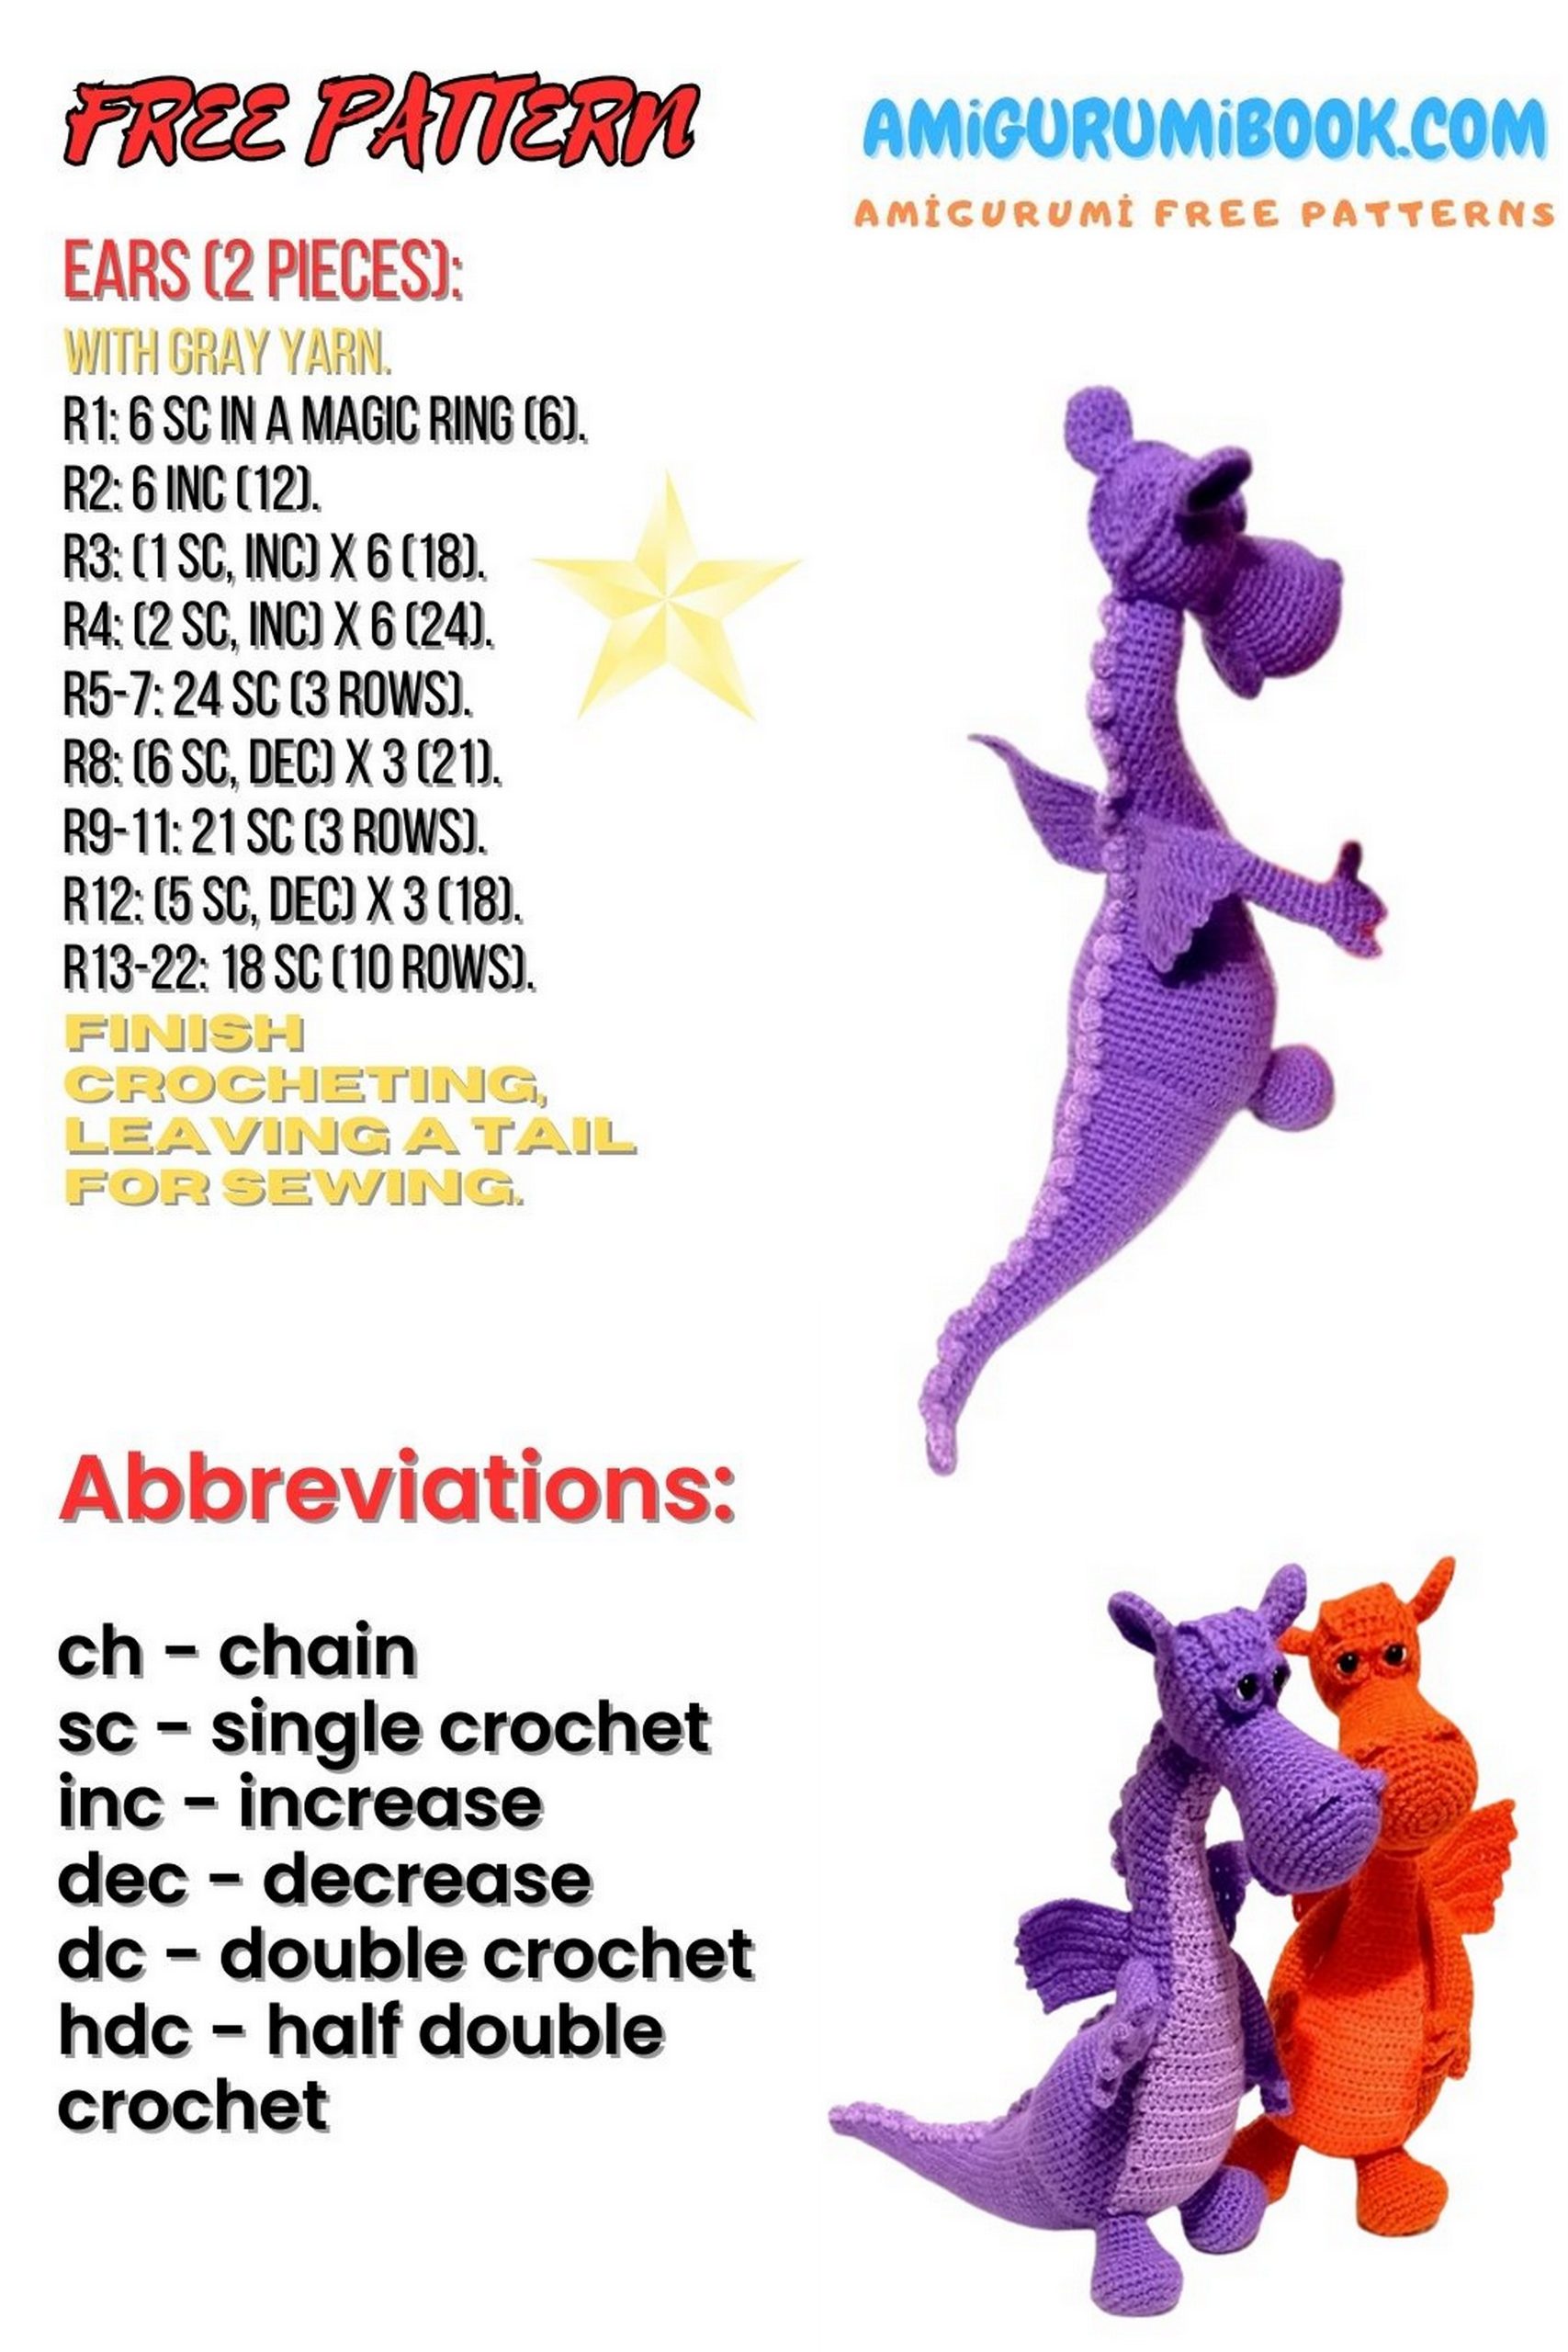
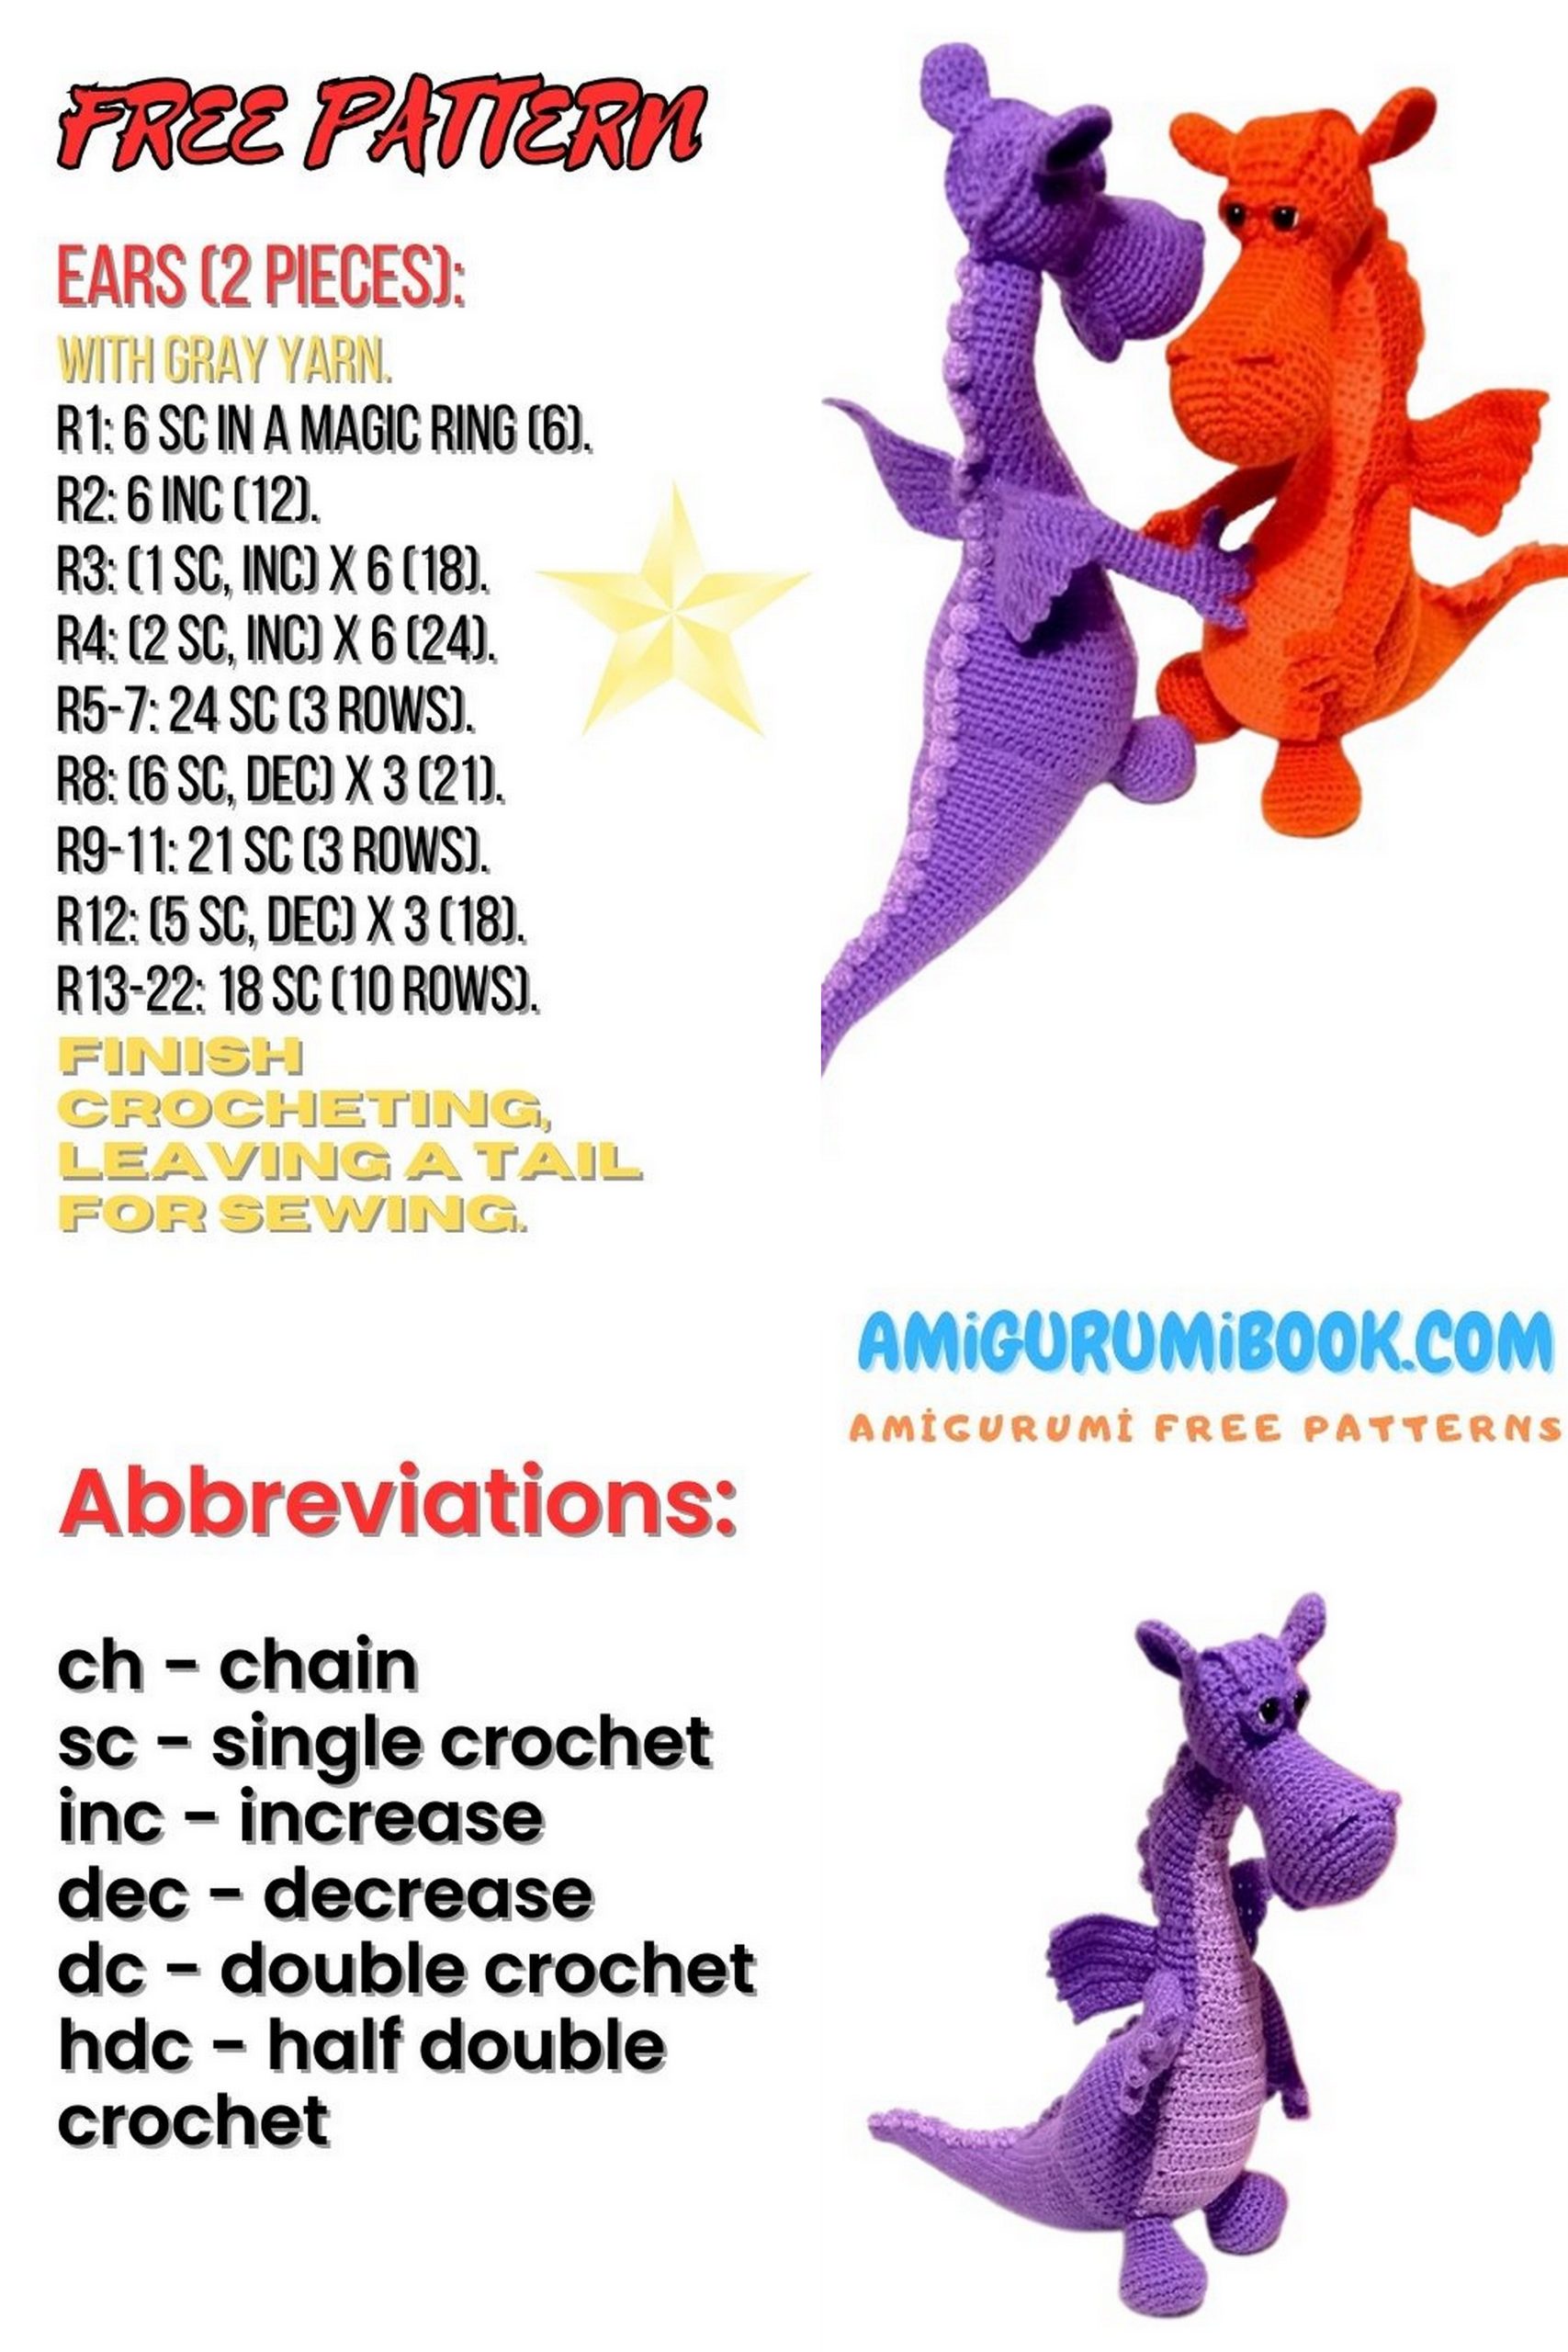
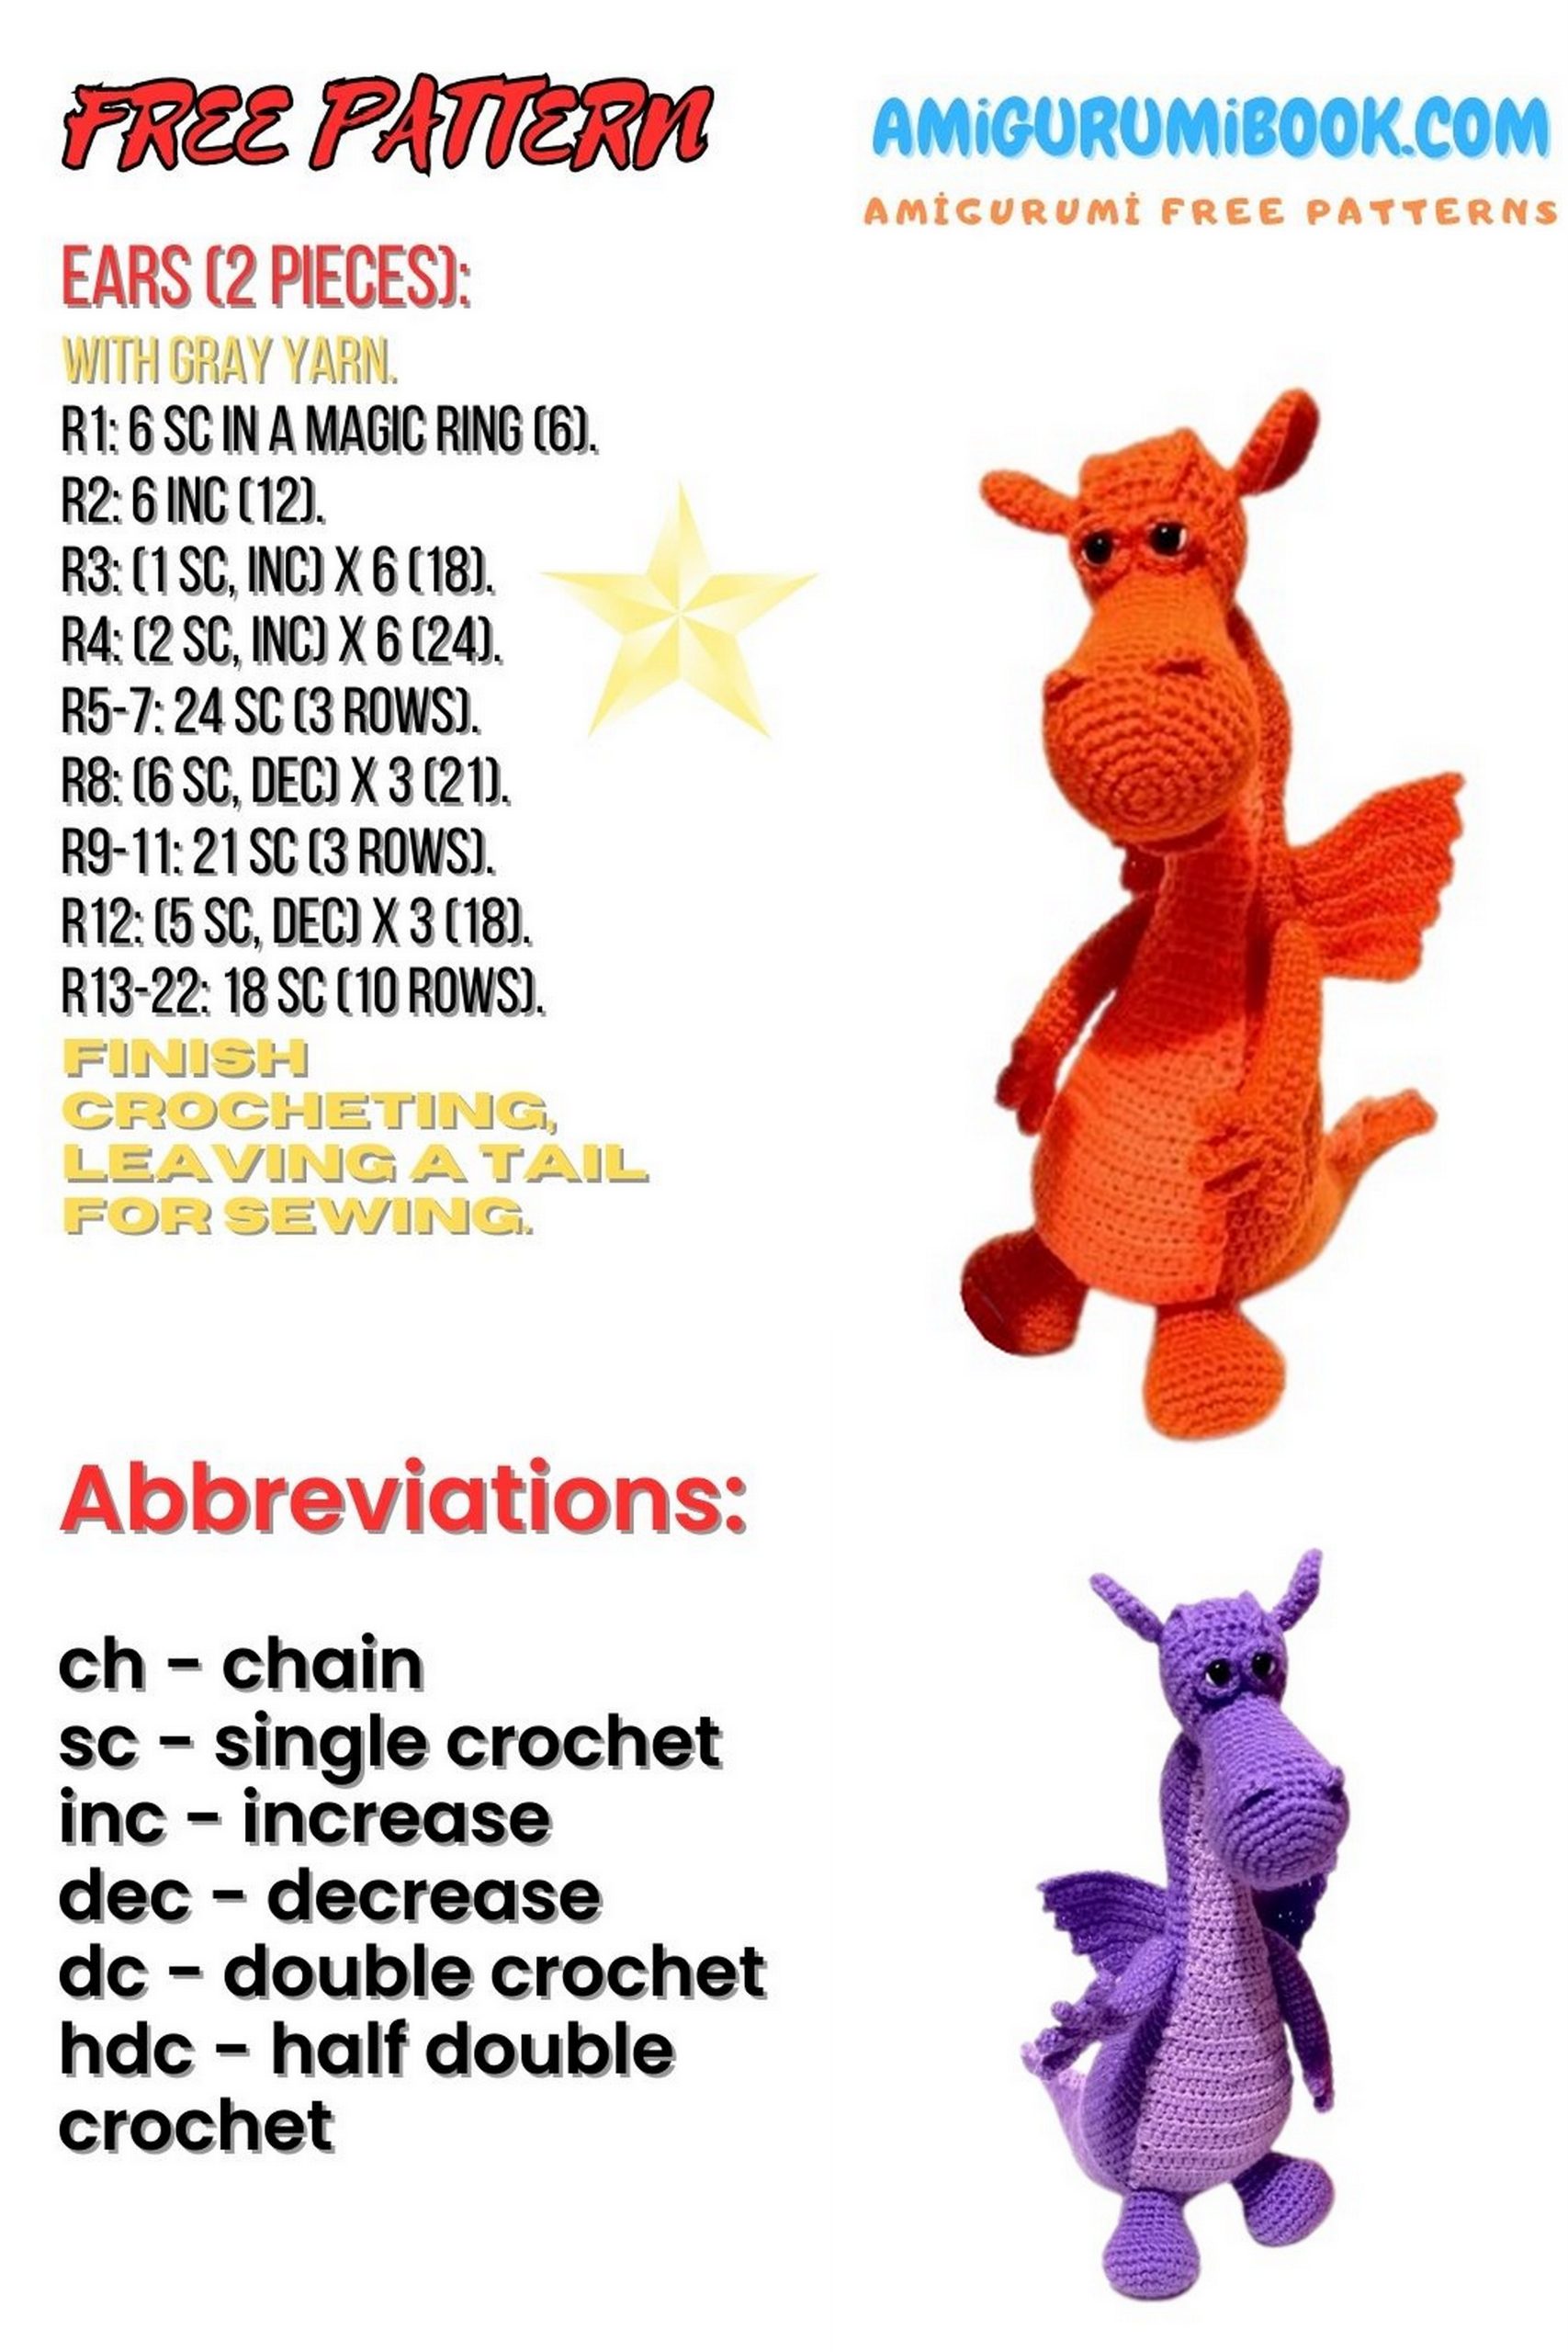
If you’ve been dreaming of creating a bold and majestic crochet project, this Free Big Dragon Amigurumi Pattern is exactly what you need. With its impressive size, detailed wings, expressive eyes, and powerful tail, this dragon makes a truly magical companion for fantasy lovers and amigurumi enthusiasts alike.
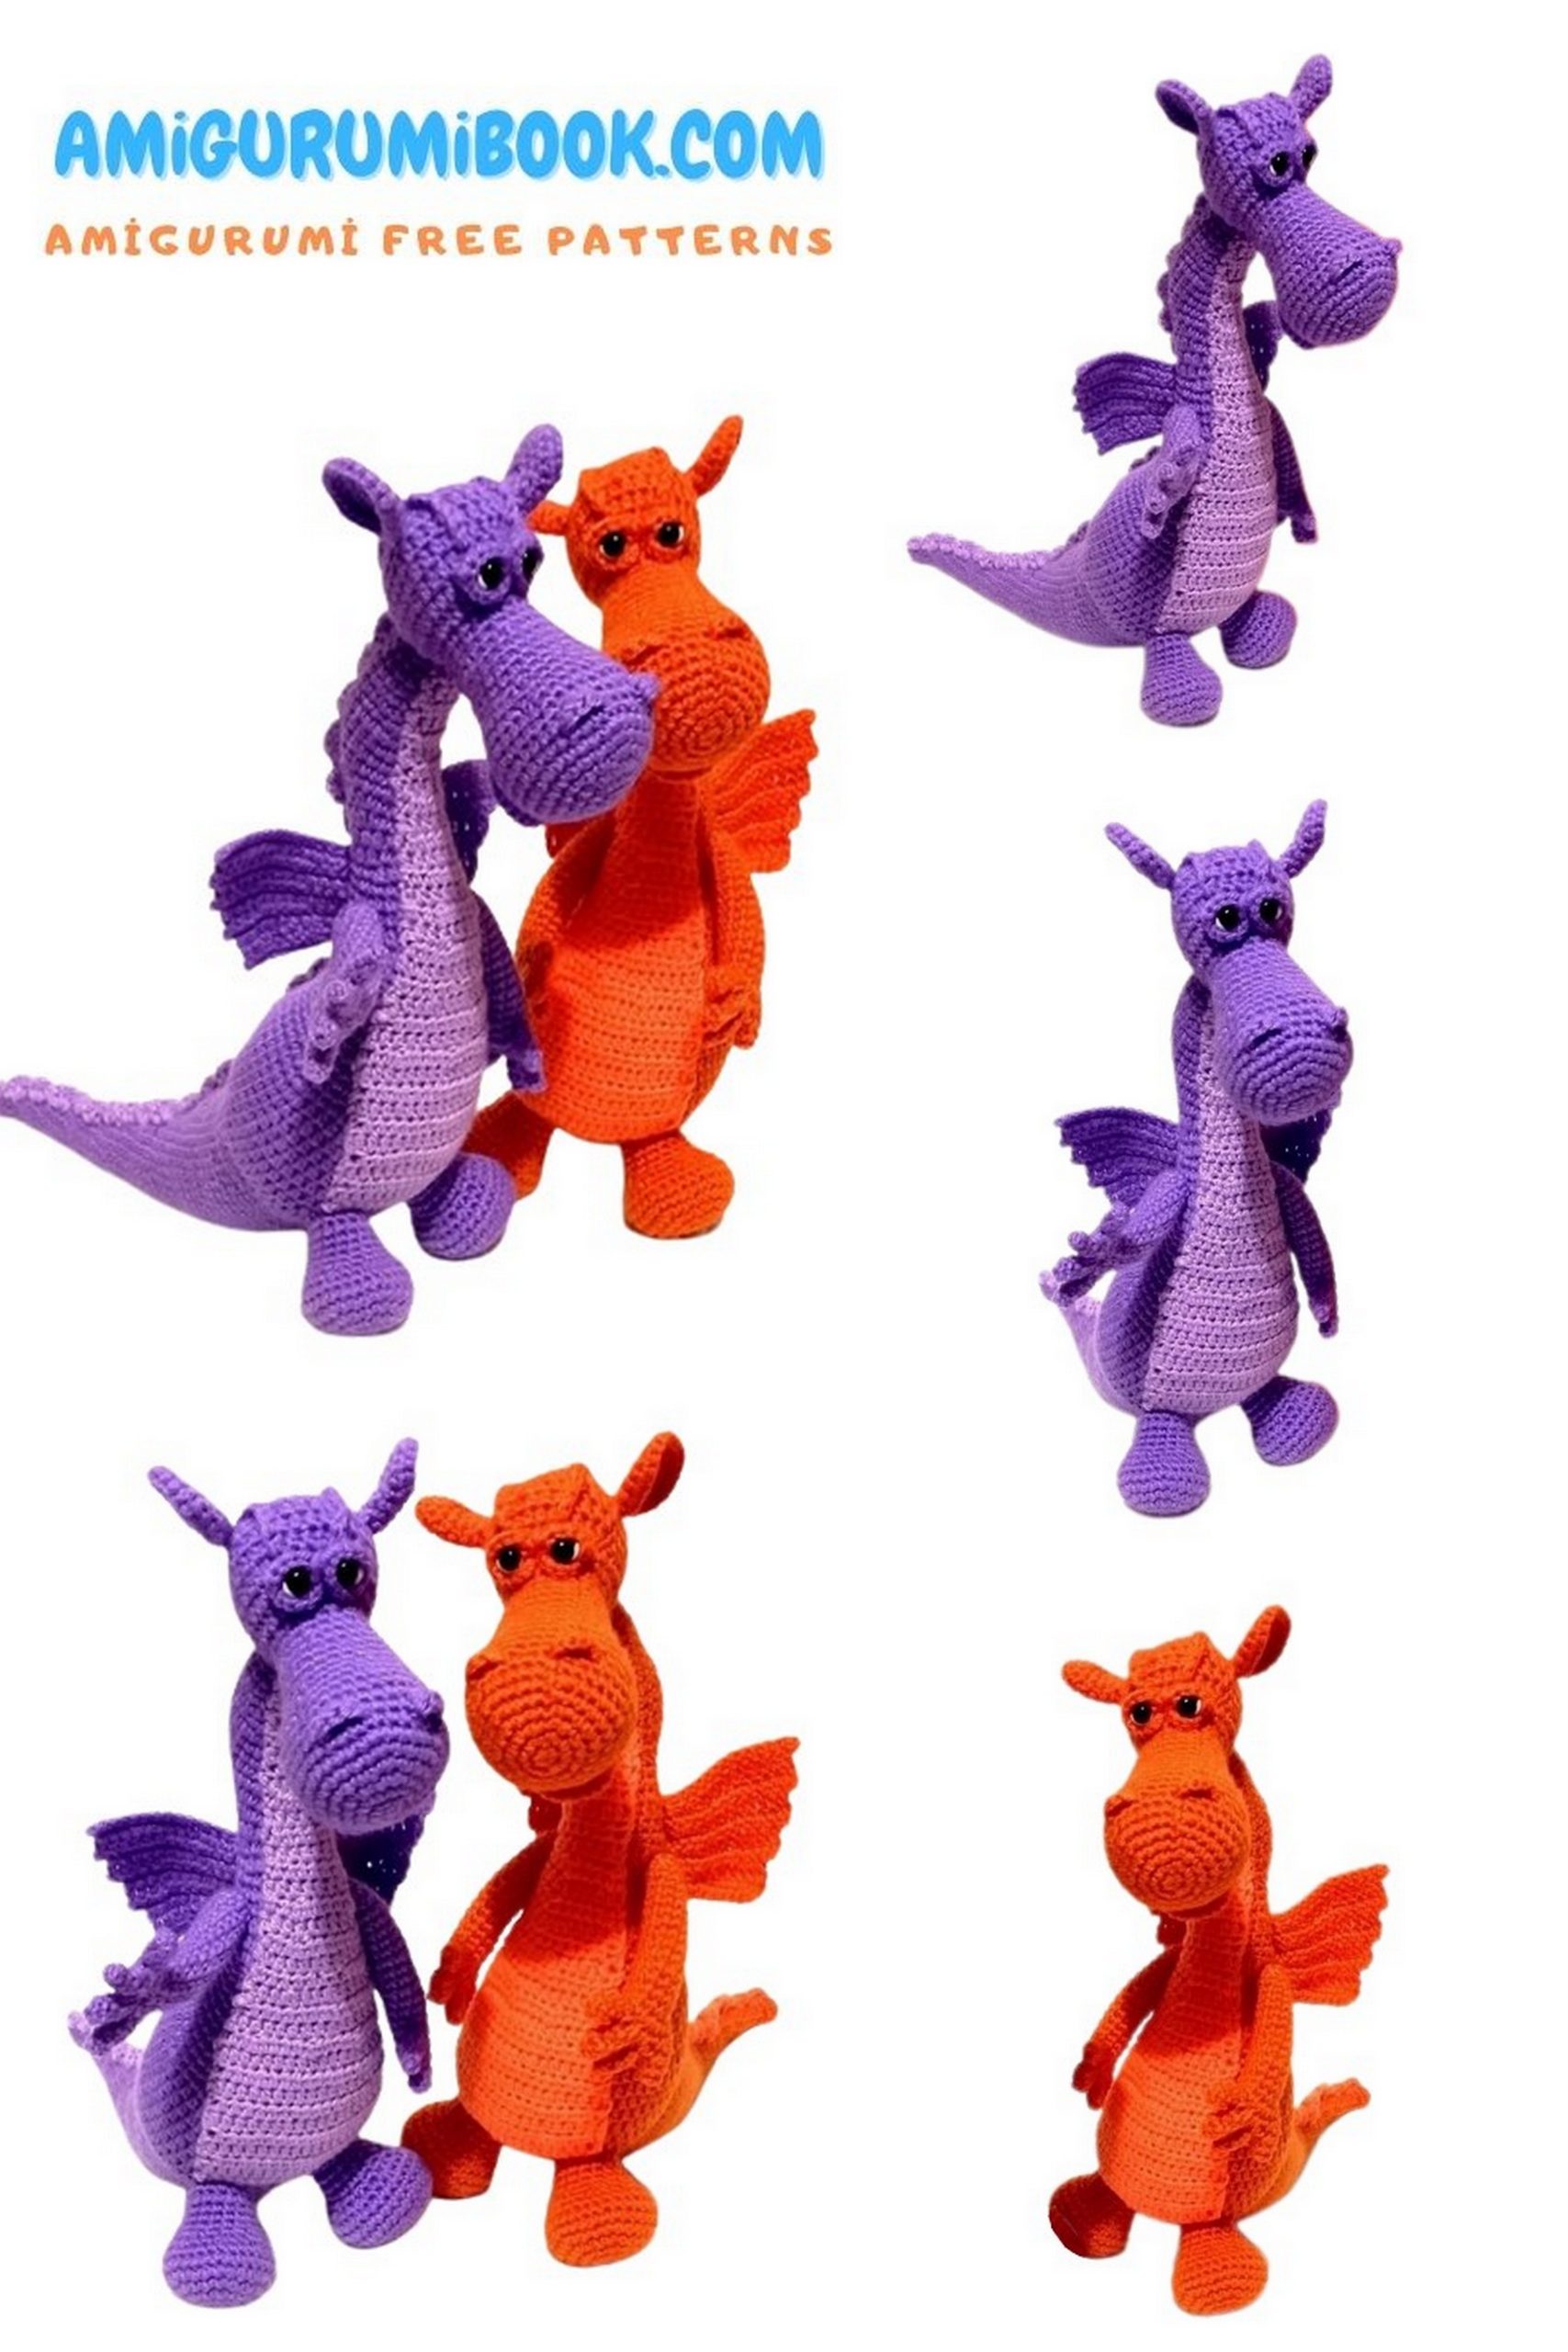
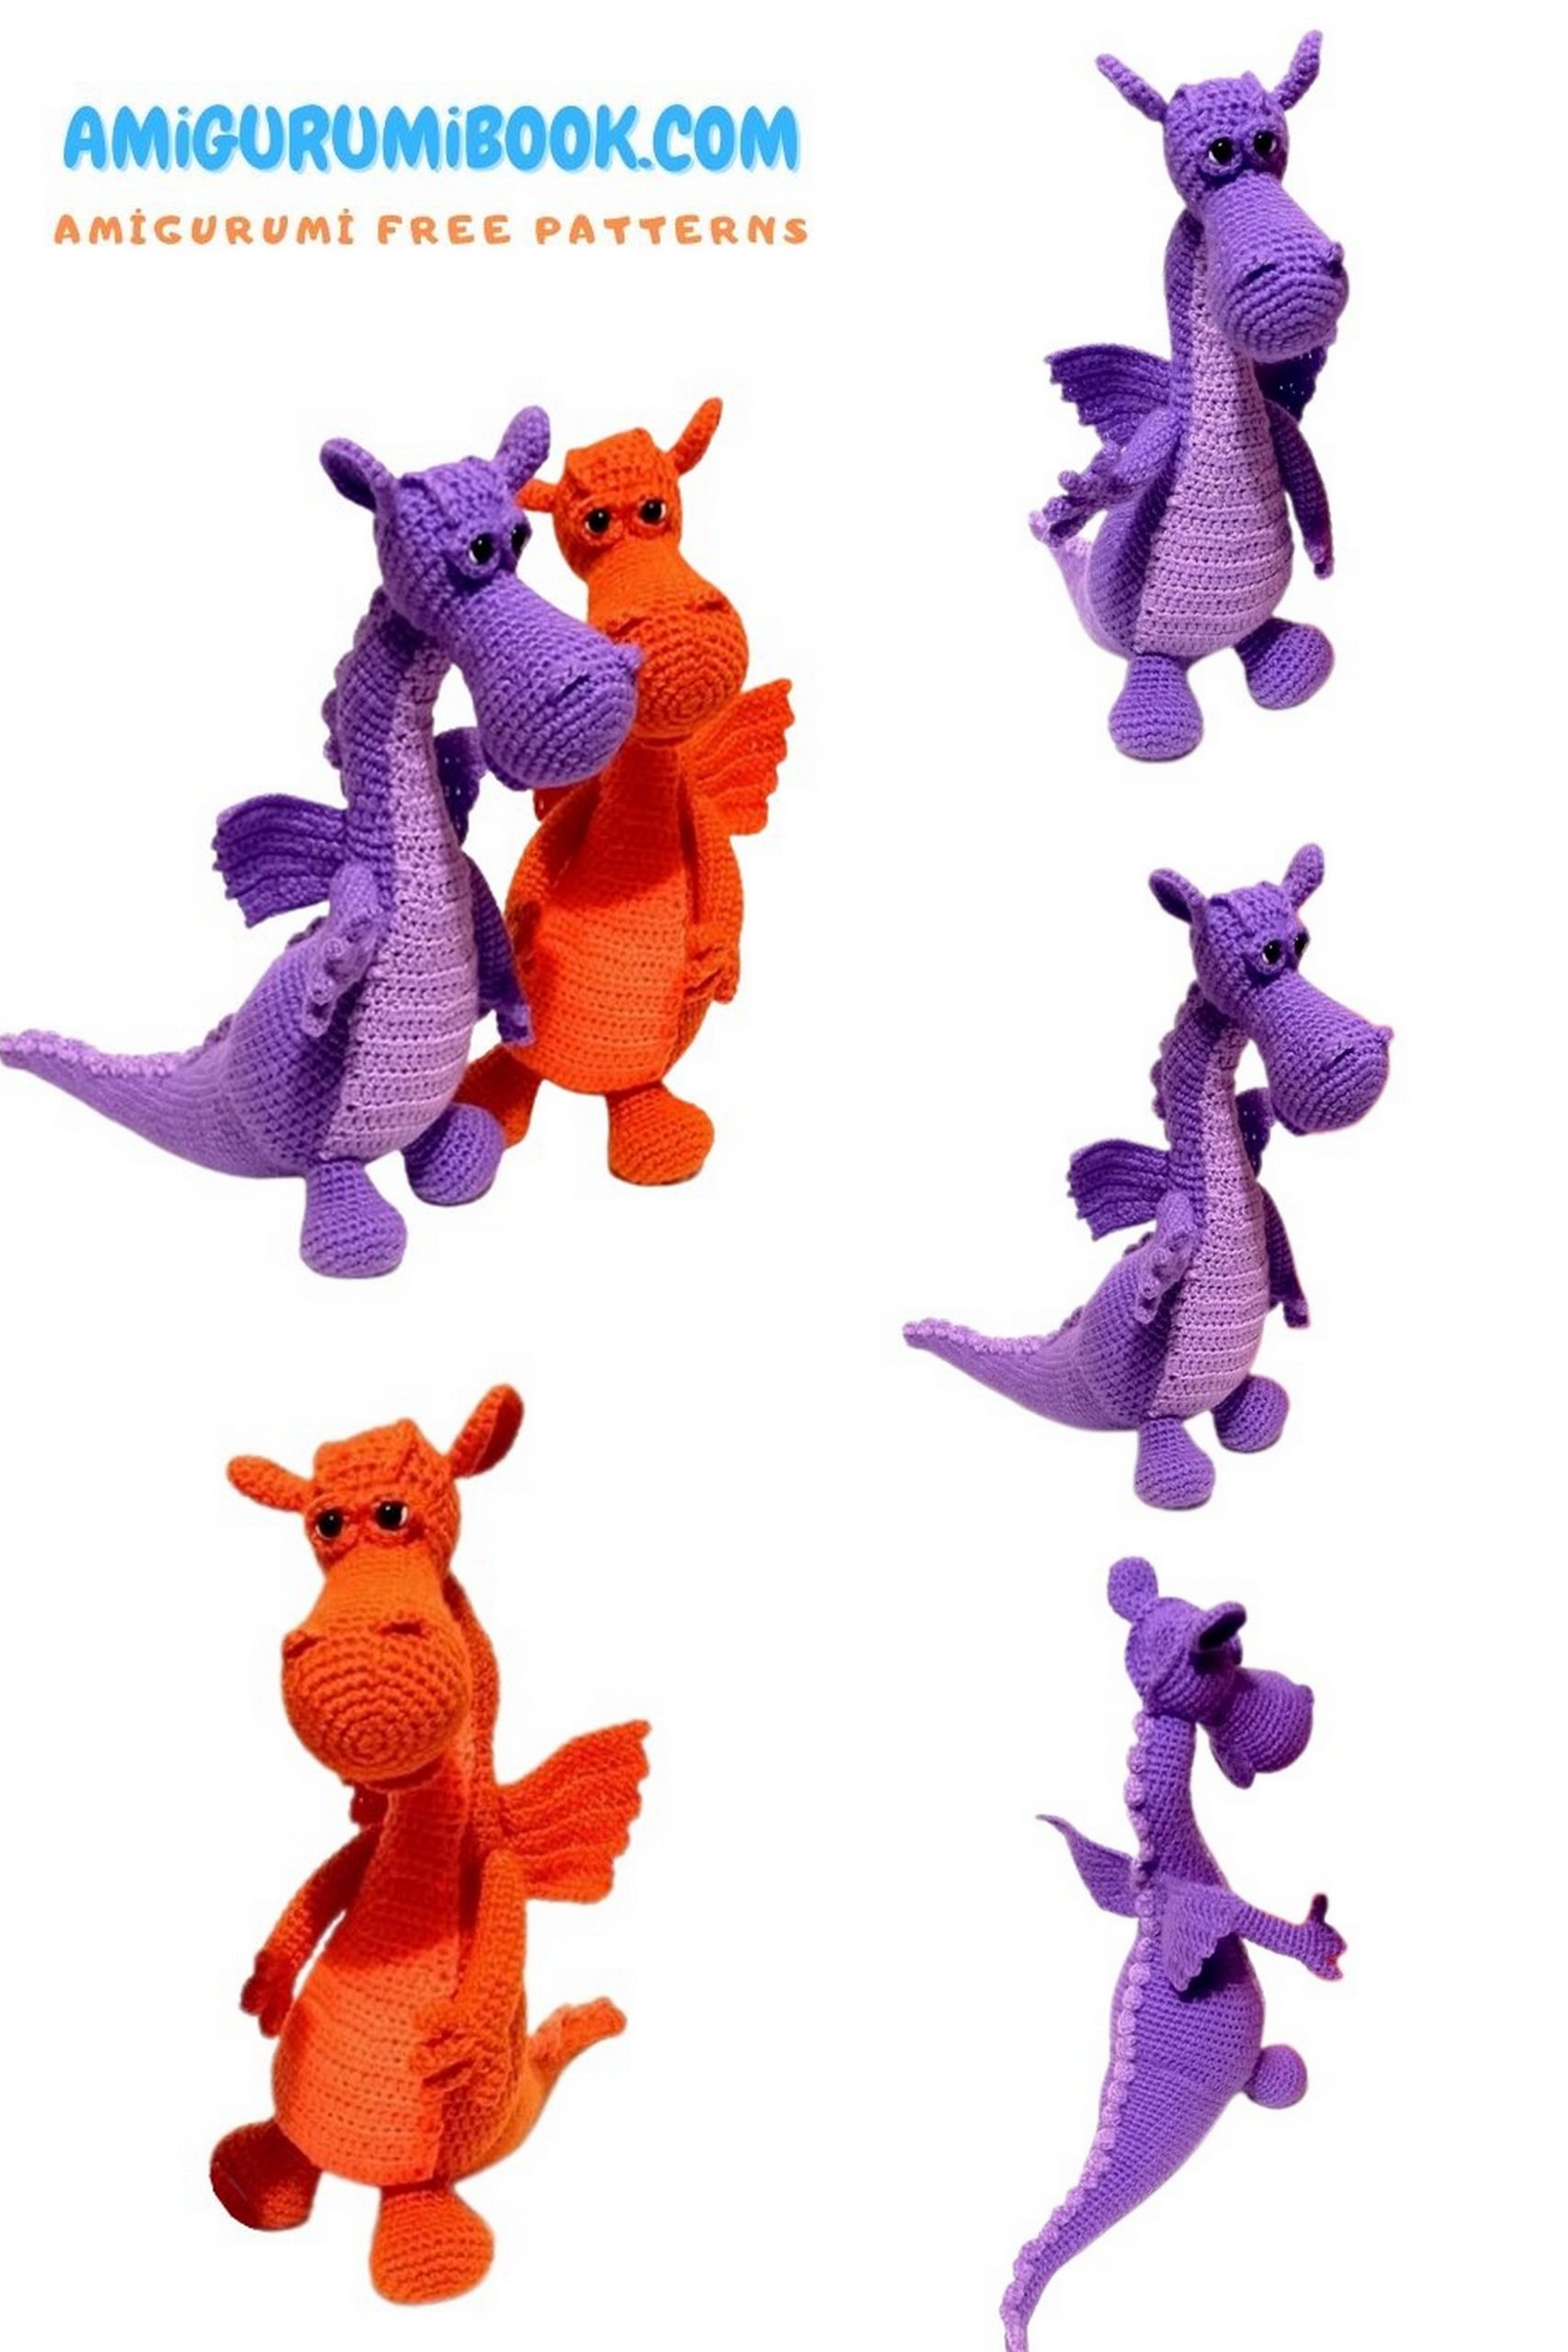
This step-by-step crochet tutorial guides you through shaping the body, sculpting the head, crafting dramatic wings, and adding those fierce or sleepy facial expressions that bring your dragon to life. Whether you choose vibrant red or customize it with your own color palette, this big dragon amigurumi will become a standout handmade masterpiece.
Grab your hook, pick your yarn, and let’s bring this magical creature to life stitch by stitch! 🐉✨
If you want to access 1000+ free amigurumi patterns, you can download our application from this link!
Size: 16-18 inches in height.
MATERIALS
Yarn
- 2 skeins Red Heart Super Saver
OR
1 large skein Red Heart Comfort
(Main color – head, body, tail, legs, arms, outer wings, head details) - Small amount of contrasting yarn
(Inner wings & spikes) - Small amount of white yarn
(Eyes)
Tools & Notions
Embroidered eyes
4.5 mm crochet hook
Polyester fiberfill stuffing
Tapestry needle (for sewing parts)
Scissors
Eyes of your choice:
Safety eyes
Half-beads
Felt circles
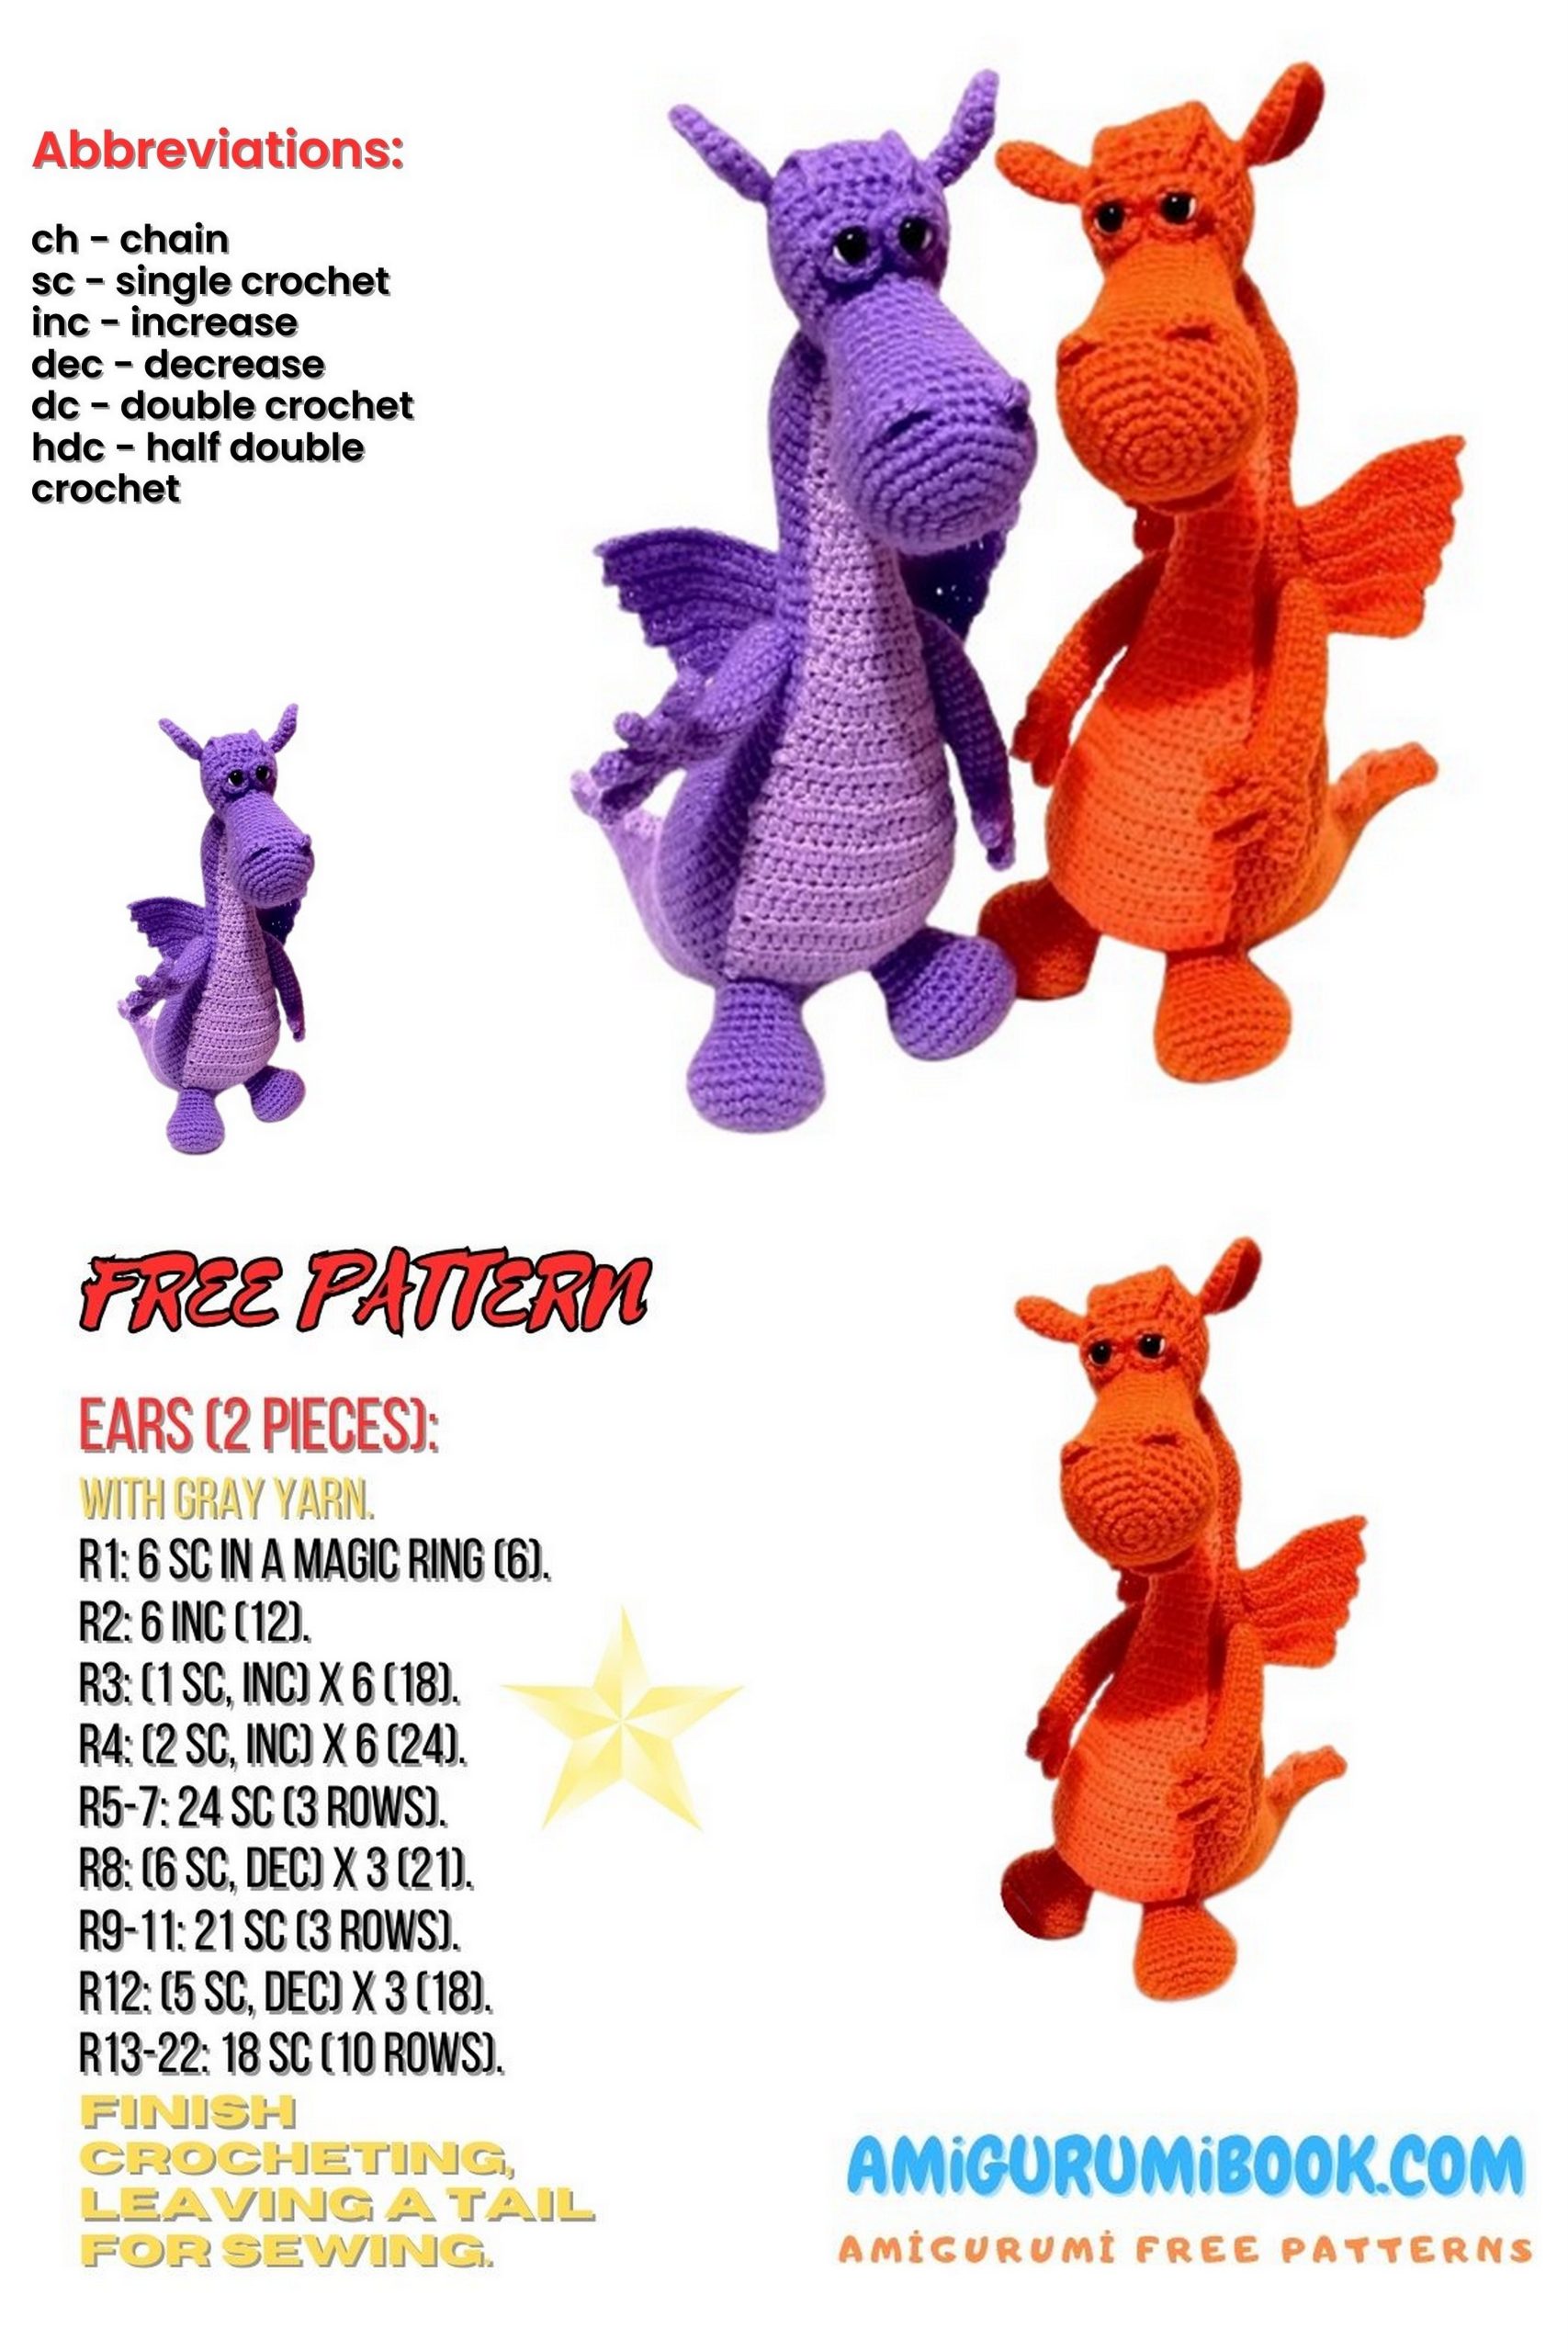
ABBREVIATIONS
MR – Magic Ring
sc – Single Crochet
sl st – Slip Stitch
ch – Chain
inc – Increase (2 sc in same stitch)
dec – Decrease (sc2tog)
hdc – Half Double Crochet
hdc inc – Half Double Crochet Increase (2 hdc in same stitch)
hdc2tog – Half Double Crochet 2 Together
fphdc – Front Post Half Double Crochet

BODY
Work from bottom to neck. Stuff firmly as you go.
1: MR, 6 hdc (6)
2: 6 hdc inc (12)
3: 12 hdc inc (24)
4: (hdc inc, 1 hdc) × 12 (36)
5: (5 hdc, hdc inc) × 6 (42)
6: (6 hdc, hdc inc) × 6 (48)
7: (7 hdc, hdc inc) × 6 (54)
8: 27 hdc, 27 sc (54)
9–15: Repeat Round 8 (54)
16: 3 sc, 21 hdc, 30 sc (54)
17: 4 sc, 18 hdc, (6 sc, dec) × 4, dec (50)
18: (8 sc, dec) × 5 (45)
19: 5 sc, 15 hdc, 25 sc (45)
20: (3 sc, dec) × 5, 20 sc (40)
21: (8 sc, dec) × 4 (36)
22: 6 sc, 12 hdc, 18 sc (36)
23: Repeat Round 22 (36)
24: (4 sc, dec) × 6 (30)
25: 30 sc (30)
→ Stuff and shape firmly.
26: 8 sc, 10 hdc, 12 sc (30)
27–29: Repeat Round 26 (30)
30: (3 sc, dec) × 6 (24)
31: 24 sc (24)
32: (4 sc, dec) × 4 (20)
33: 6 sc, 8 hdc, 6 sc (20)
34: 6 hdc, 8 sc, 6 hdc (20)
35: Repeat Round 34 (20)
36: 6 hdc, 2 sc, 2 dec, 4 sc, 4 hdc (18)
37: 7 hdc, 8 sc, 3 hdc (18)
→ Stuff and shape again.
38: 5 hdc inc, 2 hdc, 2 sc, dec, 7 sc (22)
39: 13 hdc, 2 sc, 2 dec, 3 sc (20)
40: 10 hdc, 10 sc (20)
41–42: Repeat Round 40 (20)
43: (8 sc, dec) × 2 (18)
→ Stuff firmly, especially neck area.
44–47: 18 sc (18)
48: (4 sc, dec) × 3 (15)
49: 15 sc (15)
50: (3 sc, dec) × 3 (12)
Sl st, fasten off leaving a long tail.
HEAD
Repeat sequences marked × to complete the round.
Stuff as you go.
1: MR, 6 hdc (6)
2: 6 hdc inc (12)
3: (1 sc, inc) × 6 (18)
4: (2 sc, inc) × 6 (24)
5: (3 sc, inc) × 6 (30)
6: (4 sc, inc) × 6 (36)
7–11: 36 sc (36)
12: (4 sc, dec) × 6 (30)
13: 30 sc (30)
14: (3 sc, dec) × 6 (24)
15–18: 24 sc (24)
19: (2 sc, dec) × 6 (18)
20–21: 18 sc (18)
Snout / Muzzle Shaping Section
22: 6 hdc in fphdc, 12 hdc inc (36)
23: 12 hdc2tog in fphdc, 24 sc (36)
24: 12 hdc2tog, (4 sc, dec) × 4 (32)
25: 12 hdc2tog, 20 sc (32)
→ Stuff and shape the snout firmly.
26–27: Repeat Round 25 (32)
28: 32 sc (32)
29: (6 sc, dec) × 4 (28)
30: (5 sc, dec) × 4 (24)
31: (2 sc, dec) × 6 (18)
→ Stuff the head firmly.
The hdc section forms the top shaping — mold carefully.
32: (1 sc, dec) × 6 (12)
Sl st, fasten off leaving a long tail.
Finish stuffing and close the opening neatly.
Hide yarn inside the head.
NOSTRILS (Make 2)
Insert hook between Rounds 6–7 or 7–8
(adjust placement depending on stuffing tightness).
1: Ch 1
2: 3 sl st in next st
3: 3 sl st in next st
4: Sl st in next st
Fasten off.
Distance between nostrils: 4 stitches.
Shape gently and hide yarn ends inside the head.
EARS (Make 2)
Repeat sequences marked × to complete the round.
1: MR, 6 hdc (6)
2: 6 hdc inc (12)
3: (1 sc, inc) × 6 (18)
4: (2 sc, inc) × 6 (24)
Sl st, fasten off leaving a long tail.
Assembly:
Fold ear at the base. Sew bottom closed so:
• One edge remains folded
• The other edge stays open
⚠ Fold ears in opposite directions for symmetry.
Sew securely to the head.
UPPER EYELID (Fierce Dragon Look) – Make 2
Leave a long starting tail for sewing.
1: Ch 8
2: From 2nd ch from hook: 7 sc (7), ch 1, turn
3: 1 sc, 1 hdc, 3 hdc inc, 1 hdc, 1 sl st
Fasten off leaving long tail.
LOWER EYELID (Fierce Dragon) – Make 2
Leave a long starting tail for sewing.
1: Ch 8
2: From 2nd ch from hook:
1 sc, 5 hdc inc, 1 sl st (7)
Fasten off, leave long tail.
Attach upper + lower eyelids to the head before sewing the eye in place.
EYE (Fierce Dragon) – Make 2
1: MR, 6 sc (6)
2: 6 hdc inc (12)
3: 12 sc (12)
Sl st, fasten off.
Sew eye between eyelids.
Embroider vertical pupil (or slit pupil for aggressive look).
✔ Stitch math correct: 6 → 12 → 12
UPPER EYELID (Sleepy Dragon) – Make 2
Leave long tail.
1: Ch 8
2: From 2nd ch from hook:
1 sc, 5 sl st inc, 1 sl st
Fasten off, leave long tail.
LOWER EYELID (Sleepy Dragon) – Make 2
1: Ch 6
Fasten off, leave long tail.
(Simple curved line effect)
EYE (Sleepy Dragon) – Make 2
1: MR, 6 sc (6)
Sl st, fasten off.
Sew in place.
Glue or embroider small pupil.
MOUTH
Repeat sequences marked × to end of round.
1: MR, 6 sc (6)
2: 6 hdc inc (12)
3: (1 sc, inc) × 6 (18)
4: (2 sc, inc) × 6 (24)
Now work partial rows for shaping.
5: 5 sc, ch 1, turn
6: 5 sc, ch 1, turn
7: 5 sc, ch 1, turn
8: 5 sc, ch 1, turn
9: 5 sc
Sleepy Dragon
Fasten off, leave long tail.
Sew as simple closed mouth.
Fierce Dragon
After Row 9:
10: Ch 1, 5 sc down side,
Ch 1, 1 sc in base round,
5 sc up other side
Fasten off, leave long tail.
This creates raised open snout edge.
ARMS (Make 2)
Repeat sequences marked × to end of round.
1: MR, 6 sc (6)
2: (2 sc, inc) × 2 (8)
3: (3 sc, inc) × 2 (10)
4–16: 10 sc (10)
17: 10 hdc inc (20)
18: Form 4 fingers (see shaping method/video)
Fasten off, leave long tail for sewing.
✔ Stitch math correct: 6 → 8 → 10 → 20
LEGS (Make 2)
1: MR, 6 sc (6)
2: 6 hdc inc (12)
3: (1 sc, inc) × 6 (18)
4: (2 sc, inc) × 6 (24)
5: (3 sc, inc) × 6 (30)
6–8: 30 sc (30)
9: 2 sc, dec repeatedly until 6 stitches remain before marker, 6 sc (24)
10: (1 sc, dec) × 8 (16)
11–14: 16 sc (16)
Sl st, fasten off, leave long tail.
Stuff and shape firmly.
✔ 30 → 24 → 16 correct decrease logic.
TAIL
1: MR, 6 sc (6)
2–6: 6 sc (6)
7: (2 sc, inc) × 2 (8)
8–10: 8 sc (8)
11: (3 sc, inc) × 2 (10)
12–14: 10 sc (10)
15: (4 sc, inc) × 2 (12)
16–18: 12 sc (12)
19: (3 sc, inc) × 3 (15)
20–22: 15 sc (15)
23: (4 sc, inc) × 3 (18)
24–26: 18 sc (18)
27: (2 sc, inc) × 6 (24)
28–30: 24 sc (24)
31: (3 sc, inc) × 6 (30)
32–34: 30 sc (30)
35: (4 sc, inc) × 6 (36)
36–38: 36 sc (36)
39: (5 sc, inc) × 6 (42)
40–42: 42 sc (42)
43: (6 sc, inc) × 6 (48)
44–46: 48 sc (48)
Sl st, fasten off, leave long tail.
Fold tail slightly and sew along spine so thickness tapers toward tip.
Tail Spikes (Contrasting Color)
Attach yarn at tail tip.
Beginning:
sc, sl st, sc, sl st around.
Then continue along spine:
(2 ch, 3 sc, sc, sl st) repeat to end.
ABDOMEN (Contrasting Color Panel)
For sl st rows: ch 2, start from 3rd st from hook.
For sc rows: ch 1, start from 2nd st from hook.
1: Ch 21
2: 20 sl st (20)
3–11: 20 sc (20)
12: (3 sc, dec) × 4 (16)
13–14: 16 sl st (16)
15: (2 sc, dec) × 4 (12)
16–17: 12 sl st (12)
18: (4 sc, dec) × 2 (10)
19: 10 sl st (10)
20: (3 sc, dec) × 2 (8)
21–25: 8 sl st (8)
26: (2 sc, dec) × 2 (6)
27–33: 6 sl st (6)
34: (1 sc, dec) × 2 (4)
35–36: 4 sl st (4)
Fasten off, leave tail for sewing.
✔ Decrease logic consistent and symmetrical.
OUTER WING (Body Color) – Make 2
1: Ch 16
2: From 2nd ch: 15 sc (15)
Ch 2, turn
3: From 3rd st: 11 sl st
Ch 3, turn
4: From 4th st: 9 sl st, dec
Ch 2, turn
5: From 3rd st: 7 sl st
Ch 3, turn
6: From 4th st: 5 sl st, dec
Now work around edge:
3 dec along slope
sc in corner
15 sc along base
Continue sc evenly around to start.
Fasten off, leave long tail.
INNER WING (Contrasting Color) – Make 2
1: Ch 14
2: From 2nd ch: 13 sc (13)
Ch 2, turn
3: From 3rd st: 9 sl st
Ch 3, turn
4: From 4th st: 7 sl st, dec
Ch 2, turn
5: From 3rd st: 5 sl st
Ch 3, turn
6: From 4th st: 3 sl st, dec
Work around edge:
3 dec along slope
sc in corner
13 sc along base
Continue sc evenly around.
Fasten off.