
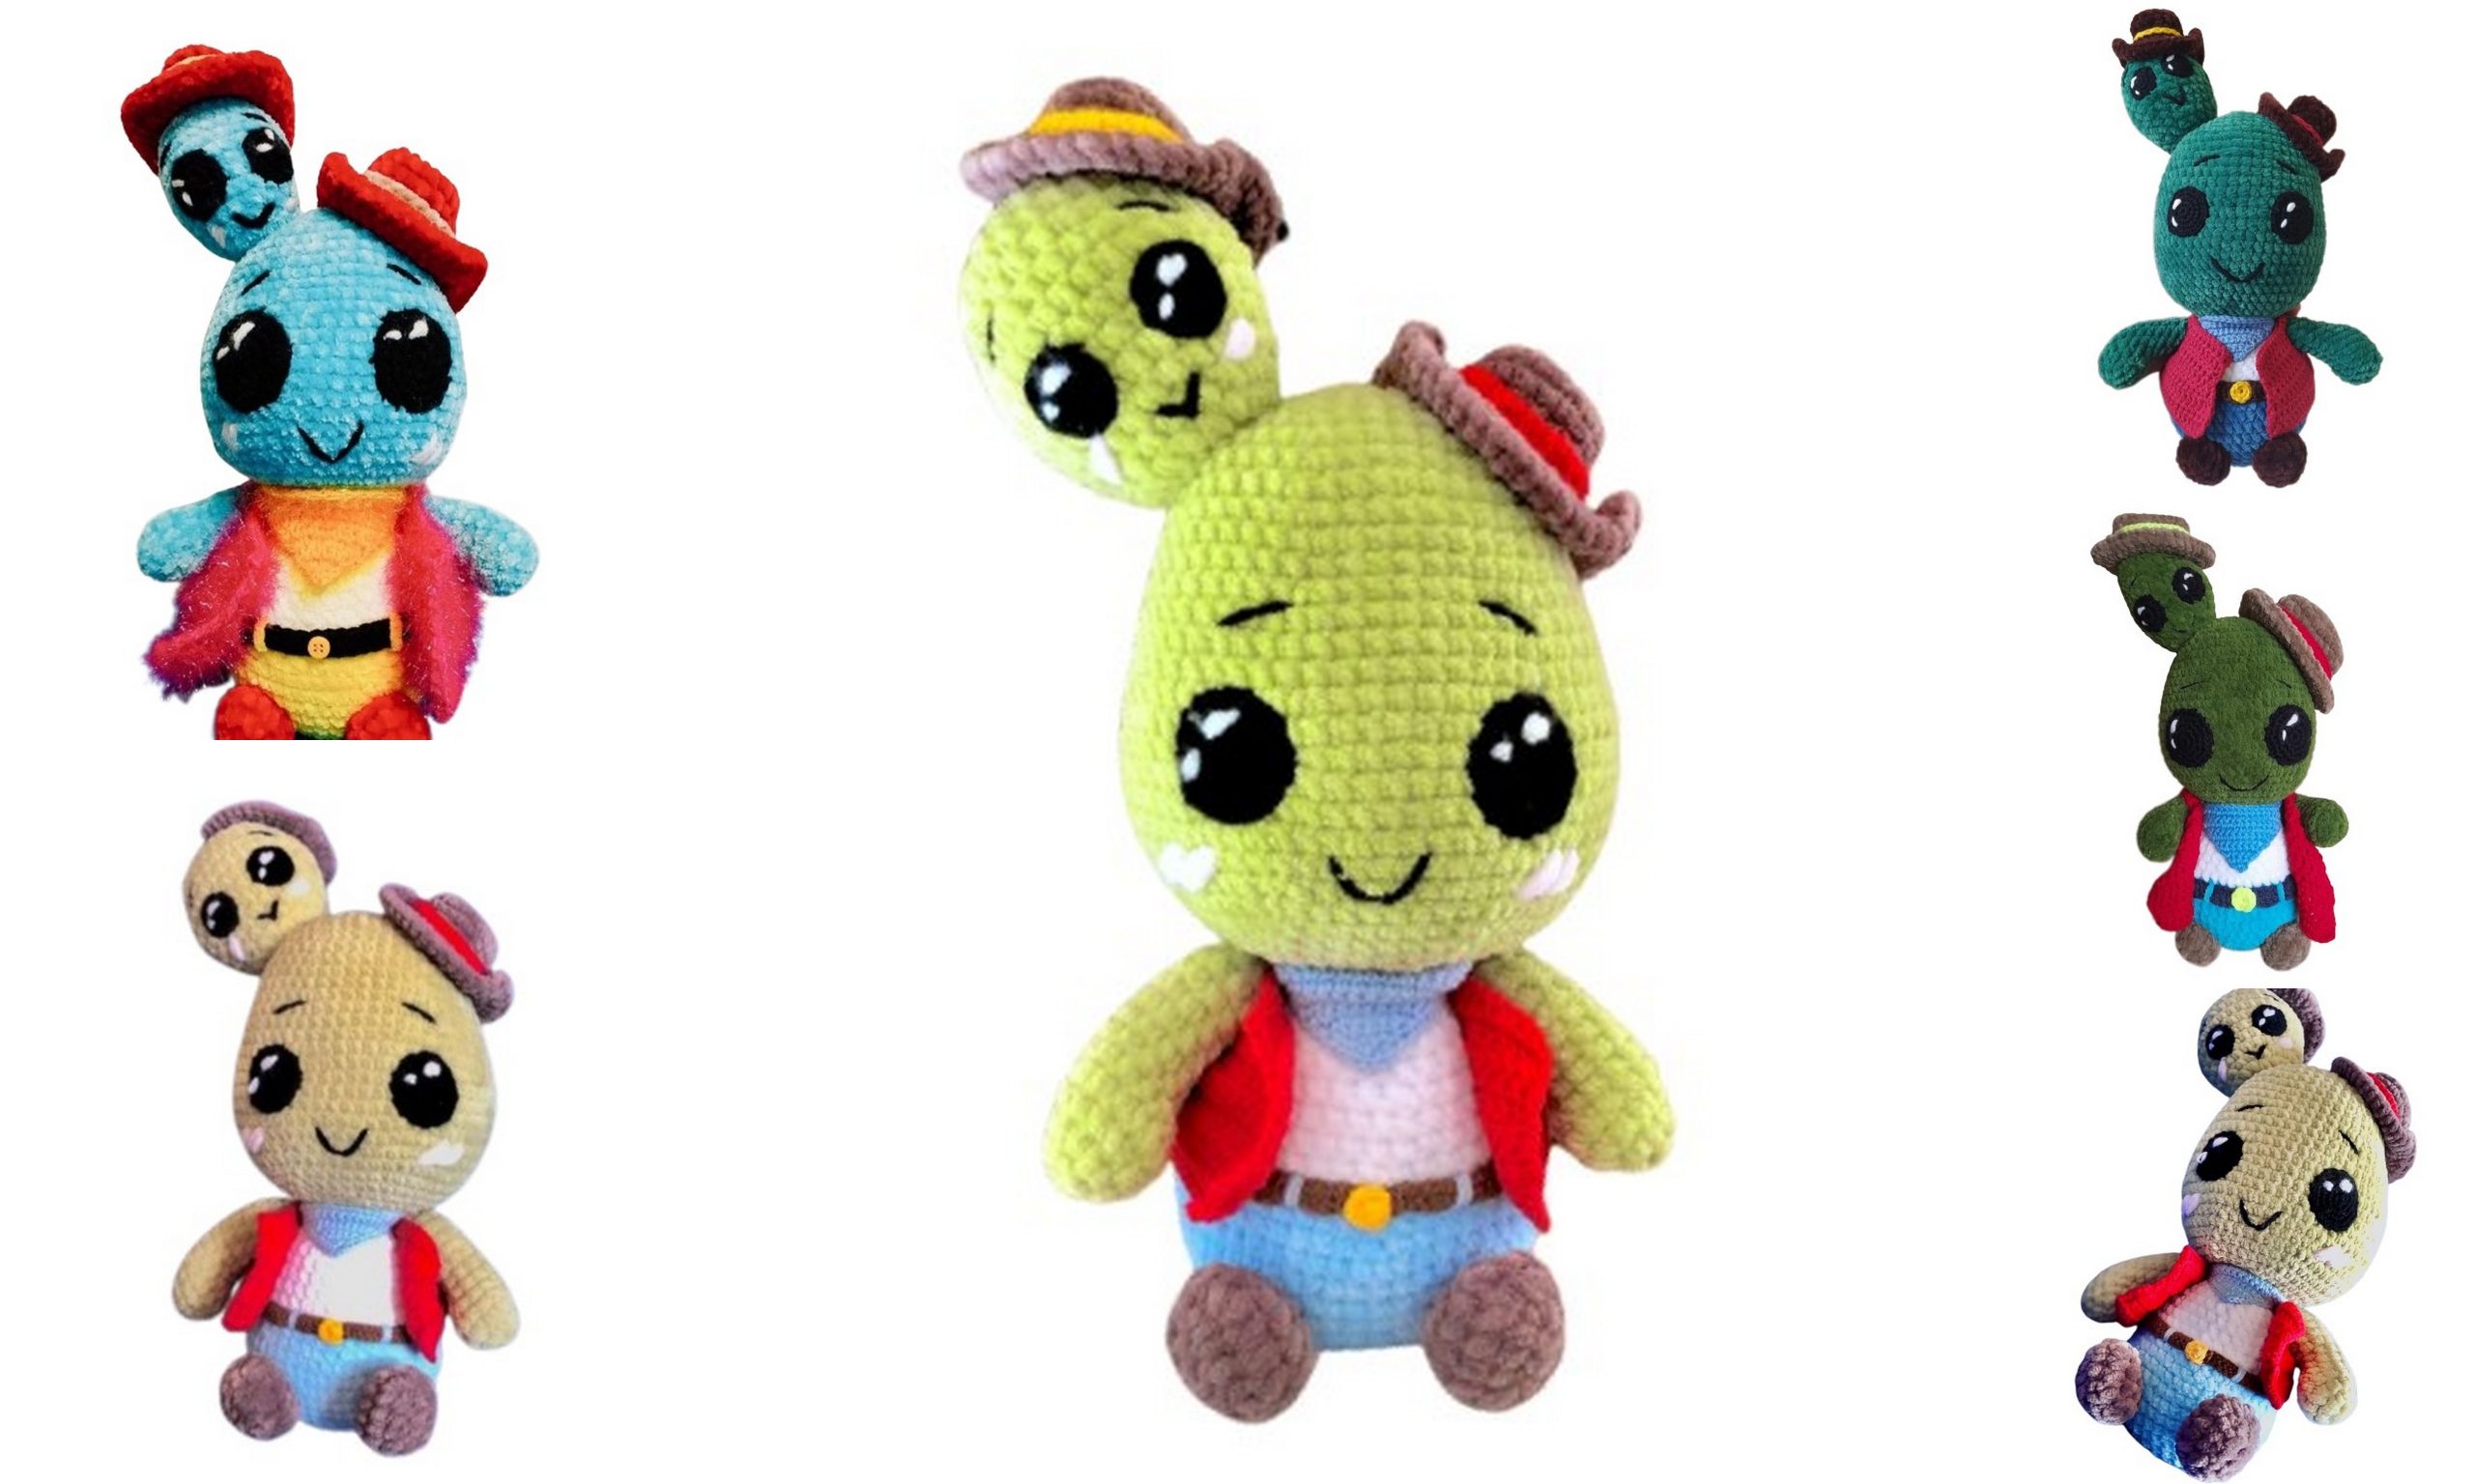
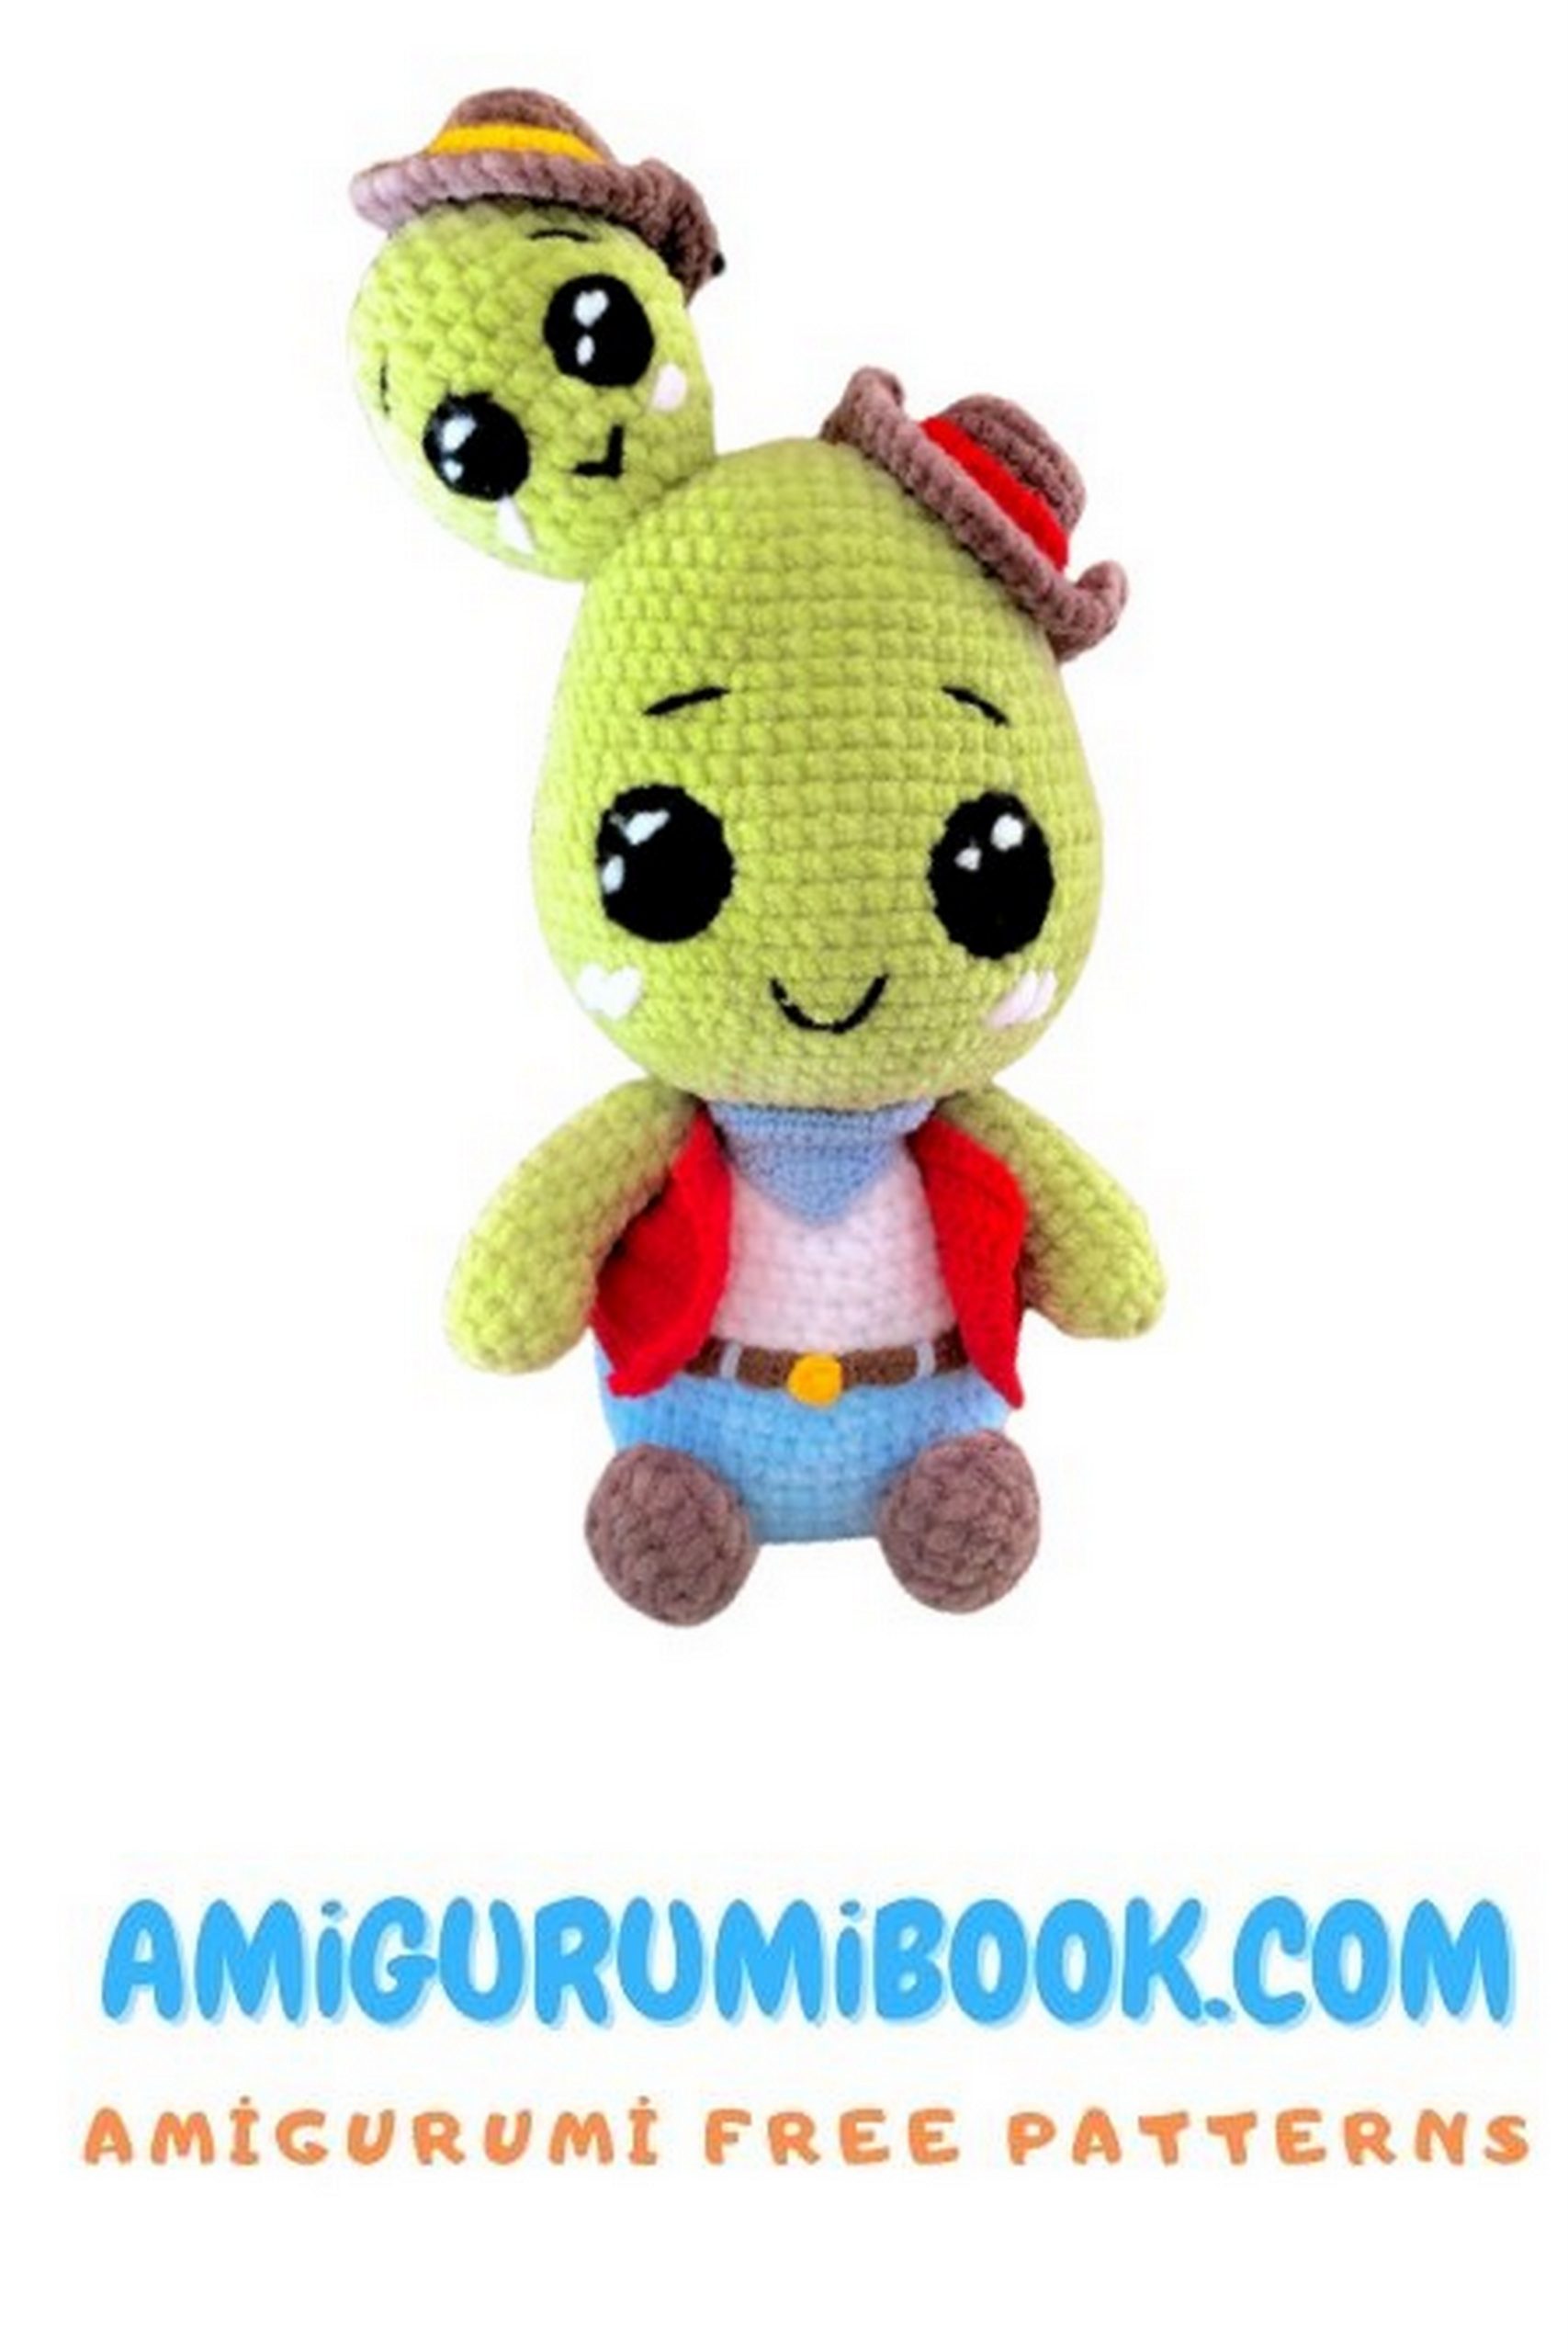
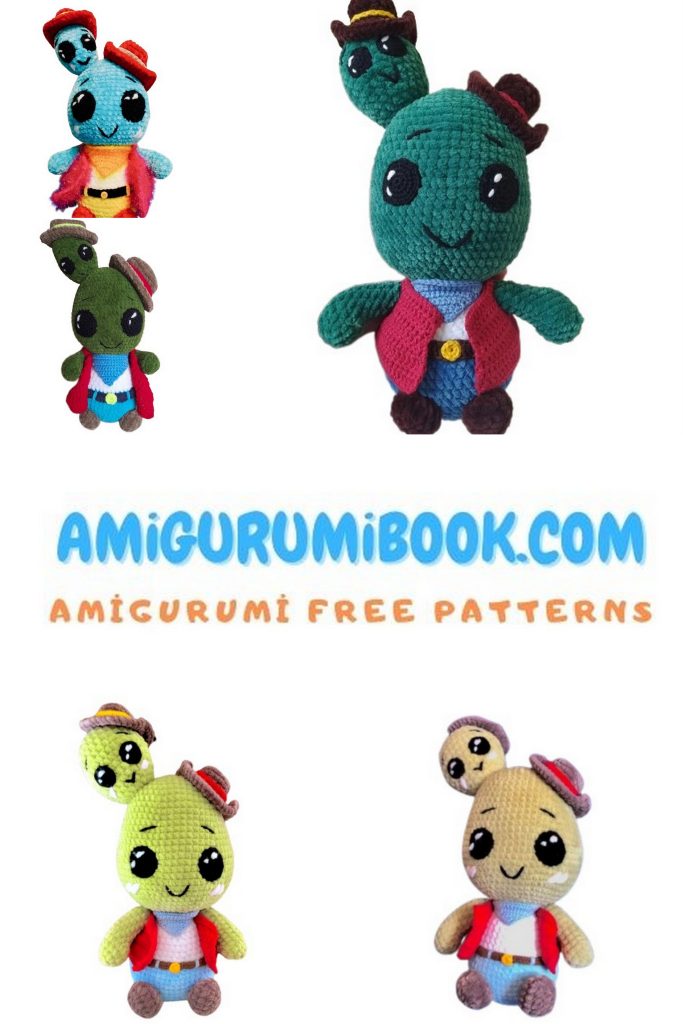
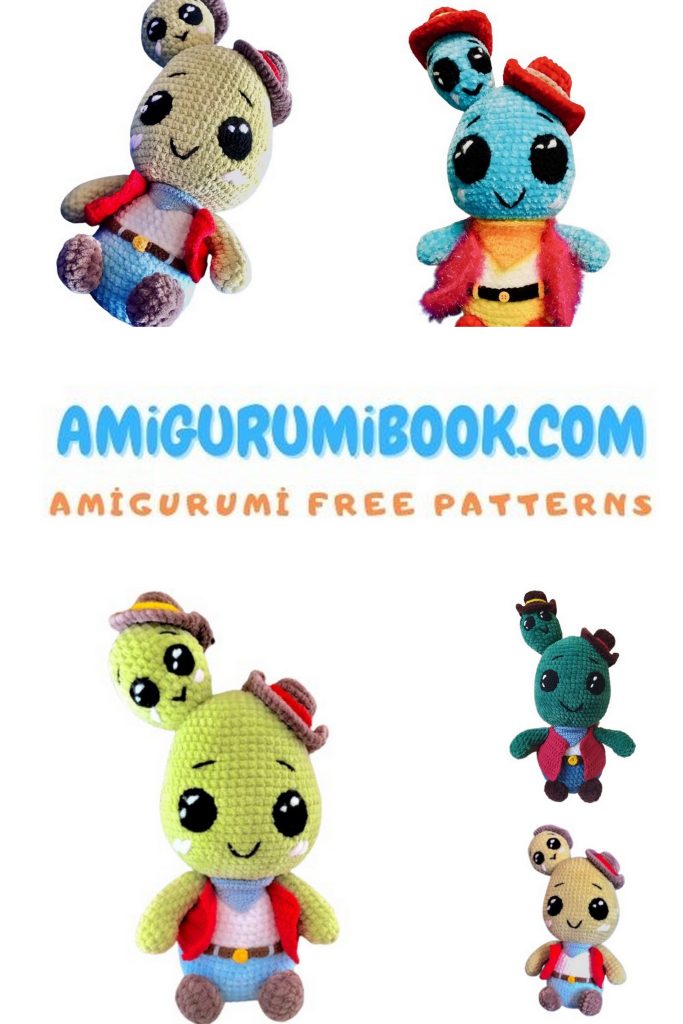
Bring a touch of the Wild West into your home with this free cowboy cactus amigurumi pattern, perfect for crafters of all skill levels. This charming, handmade cactus toy combines rustic charm with playful design, making it a delightful addition to your collection or a unique gift for friends. free crochet patterns
You may also like more amigurumi patterns.
Welcome to the wild and whimsical world of amigurumi crafting! If you’re searching for a unique and fun project, our free Cowboy Cactus Amigurumi pattern is the perfect choice. Amigurumi, the art of crocheting or knitting cute stuffed animals, gets a delightful twist with this western-themed cactus character.
In this post, we’ll provide you with all the details you need to create your own Cowboy Cactus Amigurumi, from the materials you’ll require to the stitches you’ll use. Whether you’re a seasoned amigurumi enthusiast or a beginner eager to learn, this pattern is designed to be accessible and enjoyable for crafters of all skill levels.
So, saddle up, grab your yarn and crochet hook, and get ready to embark on a fun amigurumi adventure as we guide you through the process of making your very own cowboy cactus toy. Let’s lasso some creativity and start crafting!
If you want to access 1000+ free amigurumi patterns, you can download our application from this link!
List of Necessary Materials
Plush yarn Himalaya Dolphin baby* 100g/120m.
Semi-cotton yarn Yarnart Jeans* 50g/160m.
Yarn for sewing the eyes Pekhorka Children’s novelty* 50g/200m.
Crochet hooks 4mm, 2mm.
Sewing pins for attaching small parts before sewing.
Polyester fiberfill.
Needle with a wide eye for sewing parts.
Marker (pin) to mark the beginning of a row.
Scissors.
Any thin knitting needles for securing parts before sewing.
Lighter for singeing the ends of plush yarn.
*Colors used in knitting:
Himalaya Dolphin baby: White, blue, green, brown, light pink.
Yarnart Jeans: Red, blue, yellow, brown.
Pekhorka Children’s novelty: Black, white.
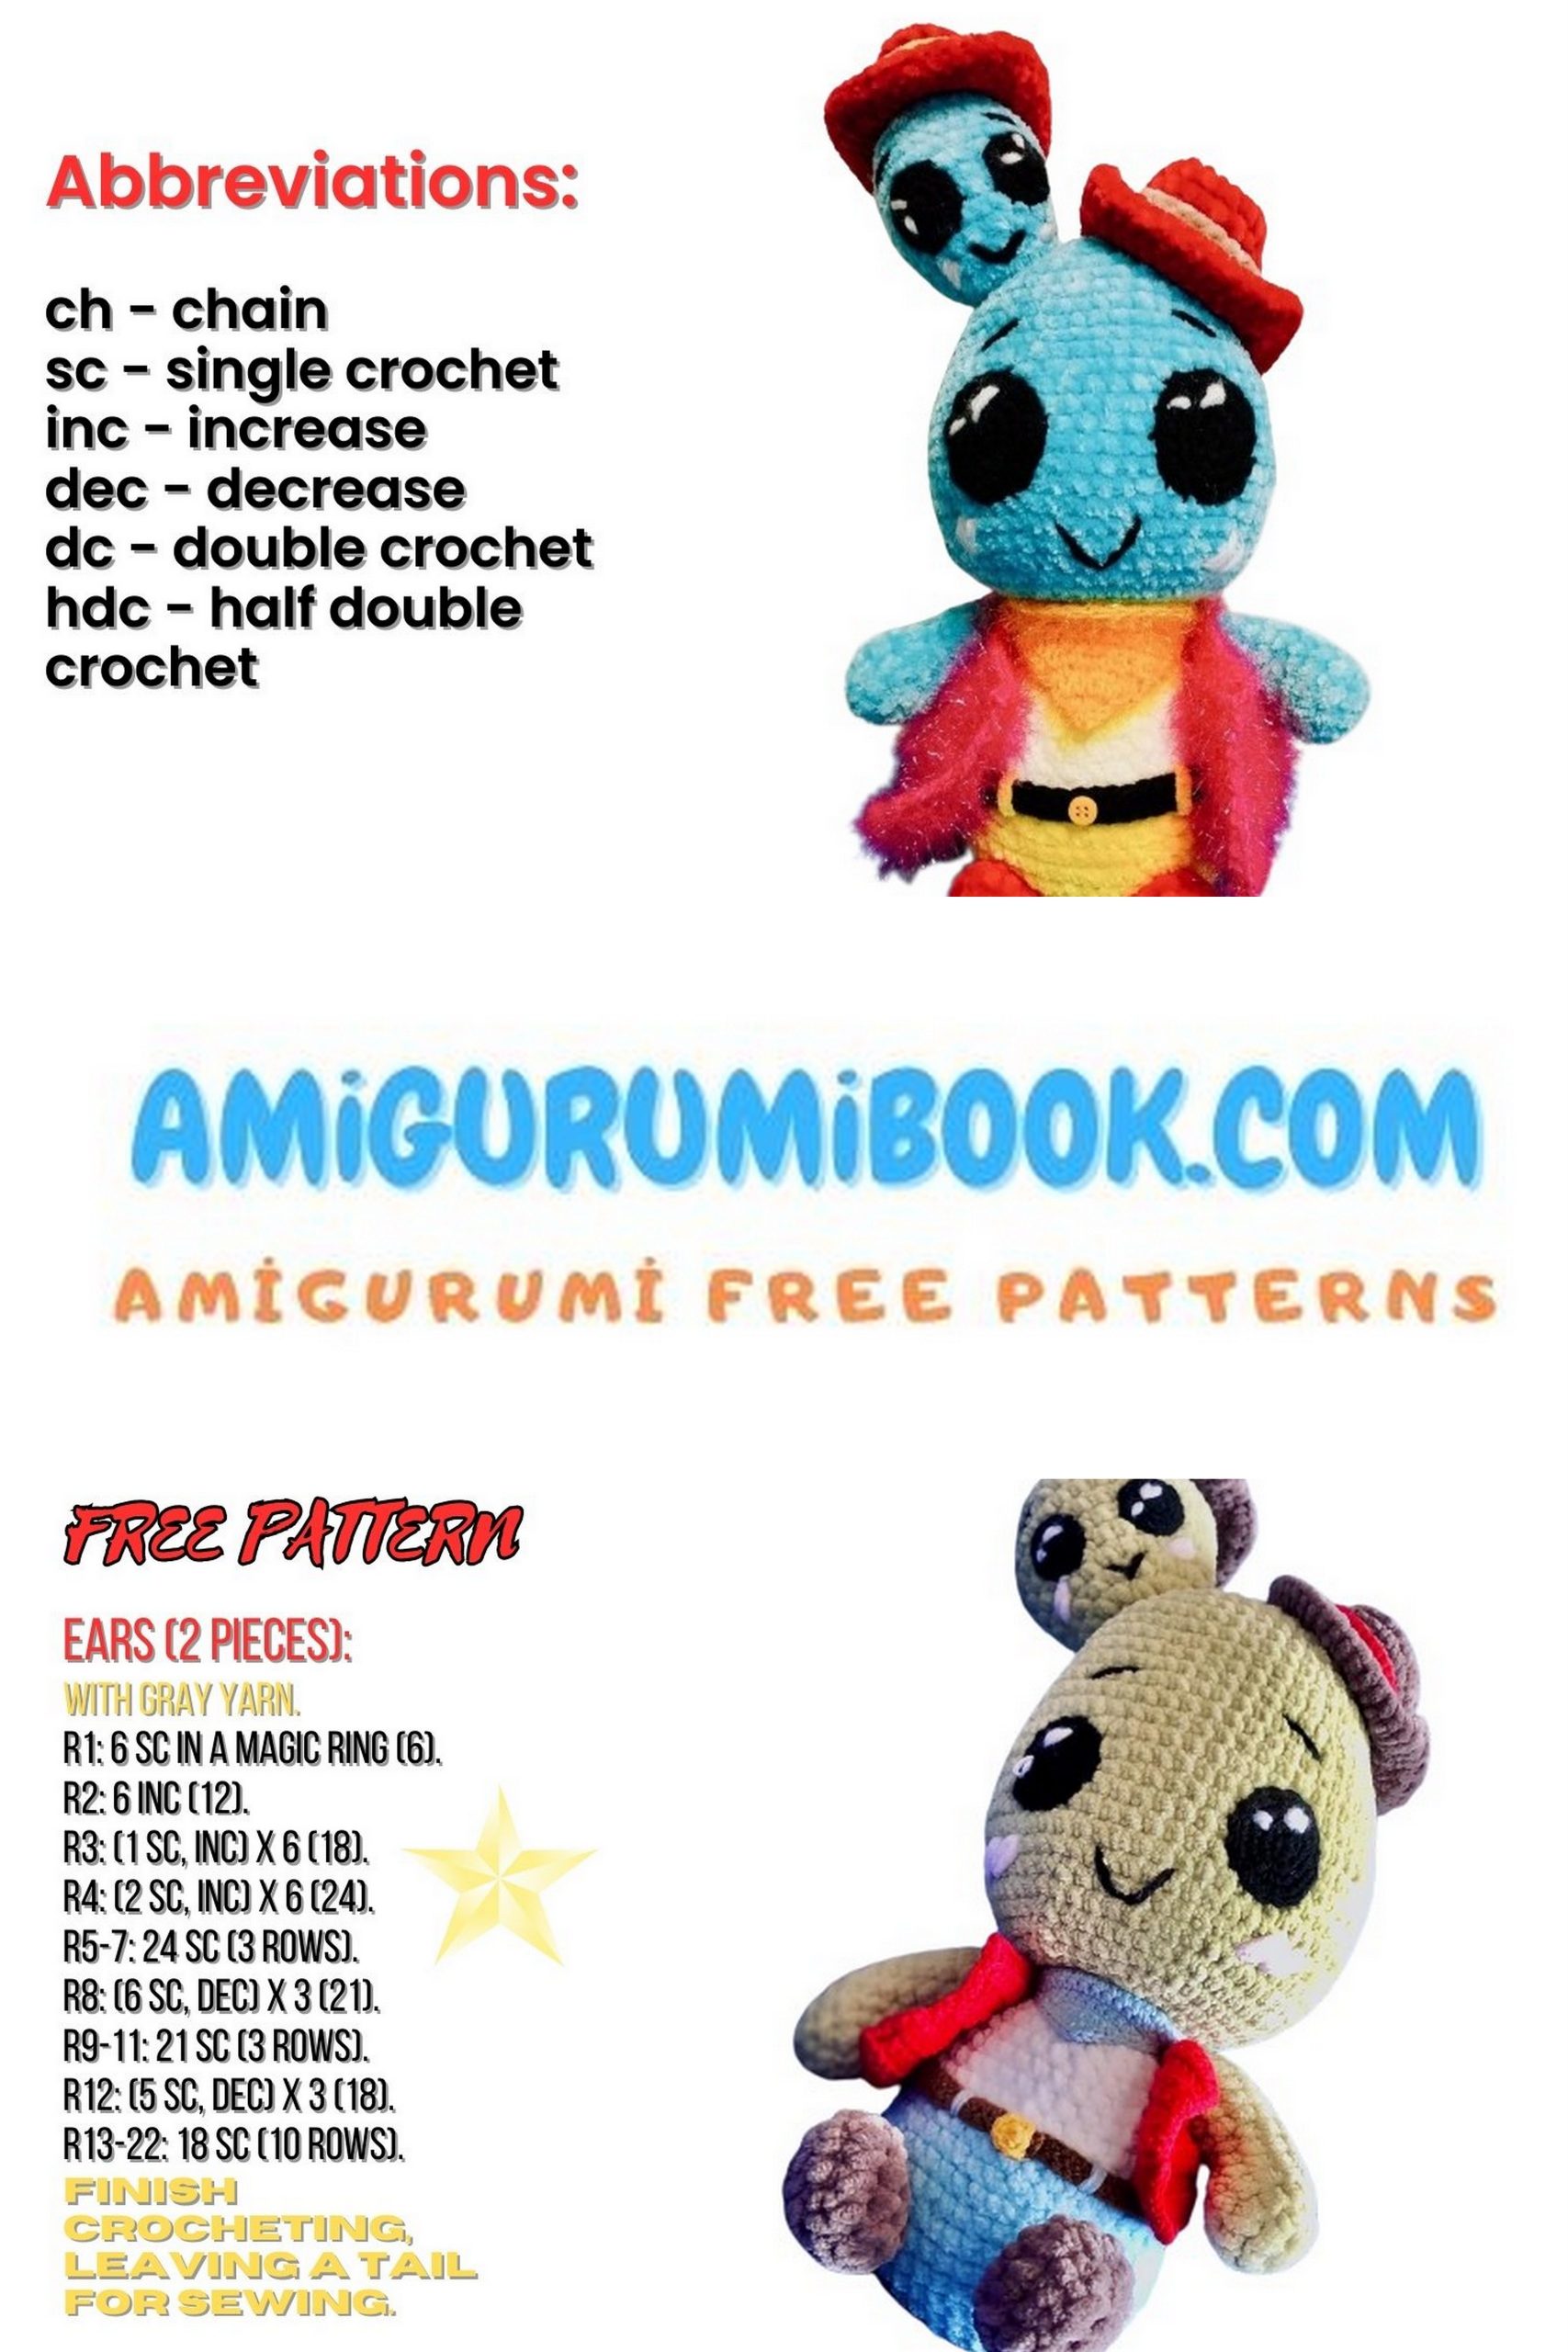
Abbreviations:
VP – chain stitch
SC – slip stitch
MR – magic ring
SC – single crochet
INC – increase
DEC – decrease
HDC – half double crochet
DC – double crochet
TR – treble crochet
ST – stitch
(…) * 6 – repeat the instructions in parentheses 6 times.
IMPORTANT INFORMATION!
The size of the toy depends on the crochet hook you use and the tightness of your stitches. If you typically crochet loosely, I recommend using a 3.5mm hook or crocheting more tightly.
For the green cowboy, you’ll need slightly less than one skein of the main color and less than half a skein of additional colors. The toy’s height will be approximately 24-25 cm without the mini cactus and 29-30 cm with it.
Large Head
Crochet with green yarn.
1 Row: Chain 5.
2 Row: Start crocheting in the second chain from the hook: 3 SC, 3 SC in one chain, 3 SC, 3 SC in one chain (12).
Place a marker in the fifth stitch. After the first 3 SC, insert the marker into the first SC of this row.
Crochet (3 SC, 3 SC in one chain, 3 SC) in the fifth chain with the pink marker. Crochet 3 SC in the fifth chain and remove the marker.
3 Row: 3 SC, 3 INC, 3 SC, 3 INC (18).
4 Row: 3 SC, (1 SC, INC) * 3, 3 SC, (1 SC, INC) * 3 (24).
5 Row: 3 SC, (2 SC, INC) * 3, 3 SC, (2 SC, INC) * 3 (30).
6 Row: (4 SC, INC) * 6 (36).
7 Row: (5 SC, INC) * 6 (42).
8 Row: 42 SC.
9 Row: (6 SC, INC) * 6 (48).
10-11 Row: 48 SC (2 rows).
12 Row: (7 SC, INC) * 6 (54).
13-15 Row: 54 SC (3 rows).
16 Row: (8 SC, INC) * 6 (60).
17-22 Row: 60 SC (6 rows).
23 Row: (8 SC, DEC) * 6 (54).
24 Row: 54 SC.
25 Row: (7 SC, DEC) * 6 (48).
26 Row: (6 SC, DEC) * 6 (42).
27 Row: (5 SC, DEC) * 6 (36).
28 Row: (4 SC, DEC) * 6 (30).
29 Row: (3 SC, DEC) * 6 (24).
30 Row: (2 SC, DEC) * 6 (18).
At this stage, it’s time to stuff the head with fiberfill. Be careful not to overstuff, as you don’t want the head to become too firm.
31 Row: (1 SC, DEC) * 6 (12).
32 Row: 6 DEC (6).
Cut the thread, leaving a small tail for sewing.
Small Head
Crochet with green yarn.
The first 4 rows are the same as for the large head.
1 Row: Chain 5.
2 Row: Start crocheting in the second chain from the hook: 3 SC, 3 SC in one chain, 3 SC, 3 SC in one chain (12).
3 Row: 3 SC, 3 INC, 3 SC, 3 INC (18).
4 Row: 3 SC, (1 SC, INC) * 3, 3 SC, (1 SC, INC) * 3 (24).
5-6 Row: 24 SC (2 rows).
7 Row: (3 SC, INC) * 6 (30).
8-9 Row: 30 SC (2 rows).
10 Row: (3 SC, DEC) * 6 (24).
11-12 Row: 24 SC (2 rows).
13 Row: (2 SC, DEC) * 6 (18).
14 Row: 18 SC.
At this stage, it’s time to stuff the head with fiberfill. Leave a small tail, approximately 15-20 cm, for sewing.
Eyes for Large and Small Heads
Crochet with Pekhorka Children’s novelty yarn in black.
Large Eyes (Make 2)
1 Row: 8 MR.
2 Row: 8 INC (16).
3 Row: (1 SC, INC) * 8 (24).
4 Row: (2 SC, INC) * 8 (32).
5 Row: 2 SC.
Leave a small tail, approximately 10 cm, for sewing.
Small Eyes (Make 2)
1 Row: 6 MR.
2 Row: 6 INC (12).
3 Row: (1 SC, INC) * 6 (18).
4 Row: 2 SC.
Leave a small tail, approximately 10 cm, for sewing.
Embroider highlights on the eyes, and the eyes are ready.
Body
Begin crocheting with blue yarn.
1 Row: Chain 8.
2 Row: Start crocheting in the second chain from the hook: 6 SC, 3 SC in one chain, 6 SC, 3 SC in one chain (18).
3 Row: 6 SC, 3 INC, 6 SC, 3 INC (24).
4 Row: 6 SC, (1 SC, INC) * 3, 6 SC, (1 SC, INC) * 3 (30).
5 Row: 6 SC, (2 SC, INC) * 3, 6 SC, (2 SC, INC) * 3 (36).
6 Row: 6 SC, (3 SC, INC) * 3, 6 SC, (3 SC, INC) * 3 (42).
7 Row: 42 SC.
8 Row: (6 SC, INC) * 6 (48).
9-10 Row: 48 SC (2 rows).
11 Row: (6 SC, DEC) * 6 (42).
12 Row: 42 SC.
Switch to white yarn.
13 Row: 42 SC, +2 turning chains (work 2 SC and move the marker to the next stitch; this is now the new beginning of the row).
14 Row: (5 SC, DEC) * 6 (36).
15-16 Row: 36 SC (2 rows).
17 Row: (4 SC, DEC) * 6 (30).
18-19 Row: 30 SC (2 rows).
20 Row: (3 SC, DEC) * 6 (24).
21 Row: (2 SC, DEC) * 6 (18).
22 Row: 2 SC.
Cut the thread and tightly stuff the body with fiberfill. This is necessary to prevent deformation when tightening the thread for attachment.
Arms and Legs
Legs (Make 2)
Crochet with brown yarn.
1 Row: Chain 5.
2 Row: Start crocheting in the second chain from the hook: 3 SC, 3 SC in one chain, 3 SC, 3 SC in one chain (12).
3 Row: 3 SC, 3 INC, 6 SC (15).
4 Row: 15 SC.
5 Row: 4 SC, 3 DEC, 5 SC (12).
At this stage, it’s time to stuff the leg with fiberfill.
6 Row: 6 DEC.
Leave a small tail for sewing.
Hands (Make 2)
Crochet with green yarn.
1 Row: Chain 6.
2 Row: 6 SC (12).
3 Row: (3 SC, INC) * 3 (15).
4 Row: 15 SC.
5 Row: 4 SC, 3 DEC, 5 SC (12).
6 Row: 4 SC, 2 DEC, 4 SC (10).
7-12 Row: 10 SC (6 rows).
Stuff the hand with fiberfill. Cut the thread, use a needle to close the hole, and hide the tail of the yarn.
Headwear
Crochet in brown yarn.
When making loops in the magic ring, leave a longer tail; you will need it later.
Large Hat
1 Row: Chain 9.
2 Row: 9 SC (18).
3 Row: (2 SC, INC) * 6 (24).
4 Row: Work 24 SC in the back loop of the stitches.
5 Row: 24 SC.
6 Row: (3 SC, INC) * 6 (30).
7-9 Row: 30 SC (3 rows).
8 Row: (1 SC, INC) * 15 (45).
9 Row: 8 SC, 6 INC, 16 SC, 6 INC, 8 SC, 1 SS (57).
10 Row: SS.
Cut the yarn, hide the yarn tail.

Small Hat
1 Row: Chain 6.
2 Row: 6 SC (12).
3 Row: (1 SC, INC) * 6 (18).
4 Row: Work 18 SC in the back loop of the stitches.
5 Row: (2 SC, INC) * 6 (24).
6-8 Row: 24 SC (3 rows).
9 Row: (1 SC, INC) * 12 (36).
10 Row: 6 SC, 6 INC, 12 SC, 6 INC, 5 SC, SS (48).
11 Row: SS.
Cut the yarn, hide the yarn tail.
Hat Decoration:
Push the top inside the hat, turn the hat upside down, and gather the center for sewing.
Ensure that the folded edges of the hat are even on both sides.
Use the yarn tail left from the magic ring to sew the top in half as shown in the photo.
Hat Band
For the small hat:
Chain 50 stitches, check if it’s long enough and adjust the number of stitches as needed, join the chain into a circle with a slip stitch, make two chain stitches for the turning chain, and work 50 slip stitches along the chain.
For the large hat:
Chain 68 stitches and crochet in the same way as for the small hat.
Attach the bands, leaving a gap on the upper edge. Count two rows from the edge, and sew along the lower row of the band, so the upper edge of the band remains free.
Vest
Crochet in turning rows.
Vest Edge (Make 2)
1 Row: Chain 22.
Starting from the third chain from the hook, crochet:
2-4 Row: 20 SC (3 rows).
5 Row: 2 chain stitches, 18 SC, decrease in SC (19).
6 Row: 2 chain stitches, decrease in SC, 10 SC, 2 half double crochet, 2 single crochet, 3 slip stitches (18).
7 Row: Chain stitch, 4 slip stitches, 2 single crochet, 2 half double crochet, 10 SC (18).
8 Row: 2 chain stitches, 8 SC, 2 half double crochet (10).
9 Row: 8 chain stitches, starting from the third chain, crochet: 3 half double crochet, 3 SC, continue crocheting as usual with 10 SC (16).
Back of the Vest
1 Row: Chain 32.
Starting from the third chain from the hook, crochet:
2-5 Row: 30 SC (4 rows).
6 Row: 2 chain stitches, decrease in SC, 26 SC, decrease in SC (28).
7 Row: 2 chain stitches, decrease in SC, 24 SC, decrease in SC (26).
8 Row: 2 chain stitches, decrease in SC, 5 SC, decrease in SC, 8 SC, decrease in SC, 5 SC, decrease in SC (22).
9 Row: 2 chain stitches, decrease in SC, 7 SC, 2 decrease in SC, 7 SC, decrease (18).
Assemble the parts with slip stitches. Optionally, you can edge the edges.
Scarf and Belt
Belt
Chain 82 stitches, check if it’s long enough and adjust the number of stitches as needed, join the chain into a circle with a slip stitch, make two chain stitches for the turning chain, and work 82 slip stitches along the chain.
Belt Buckle
Crochet with yellow yarn, make 8 SC in a ring, tighten and join with a slip stitch, it’s ready.
Scarf
Crochet in turning rows with a turn at the end of each row.
1 Row: 2 chain stitches.
2 Row: Increase in the first stitch.
3 Row: Chain stitch, 2 increases (4).
4 Row: Chain stitch, increase, 2 SC, increase (6).
5 Row: Chain stitch, increase, 4 SC, increase (8).
6 Row: Chain stitch, increase, 6 SC, increase (10).
7 Row: Chain stitch, increase, 8 SC, increase (12).
8 Row: Chain stitch, increase, 10 SC, increase (14).
9 Row: Chain stitch, increase, 12 SC, increase (16).
10 Row: Chain stitch, increase, 14 SC, increase (18).
Now crochet the scarf ties.
11 Row: Chain stitch, 18 SC, 20 chain stitches, starting from the third chain from the hook, crochet 18 slip stitches, a half double crochet, a single crochet, and 16 slip stitches.
Start the next row without turning.
12 Row: 20 chain stitches, starting from the third chain from the hook, crochet 16 slip stitches, a half double crochet, a single crochet, and a slip stitch.
Assembly of the Head and Finishing:
Now you can attach the small head to the large head as follows:
Sew the small head to the large head on the left side, placing it between rows 2-8. Try to attach it evenly to the side; otherwise, it may seem like the head is tilting backward or forward.
Attach the eyes:
On the large head, attach the eyes between rows 15-20, with a distance of 7-8 single crochets between the eyes.
On the small head, attach the eyes between rows 7-11, with a distance of 3-4 single crochets between the eyes.
Attach the hats and start embroidering the smiles and eyebrows.
Sew the head to the body. Secure the head to the body using pins and make sure it’s even. Don’t confuse the back and the belly; the marker should be on the back.
Sew the legs between rows 4-7, with a distance of 6 single crochets between the legs.
Next, attach the arms using thread attachment.
When attaching the arms, orient yourself to the vest sleeves.
Don’t sew the belt; just secure it with thread in the color of the “pants,” and then attach the belt buckle to hide the connection.
Put on the vest, tie the scarf.
Congratulations! Your wonderful Green Cowboy is ready!