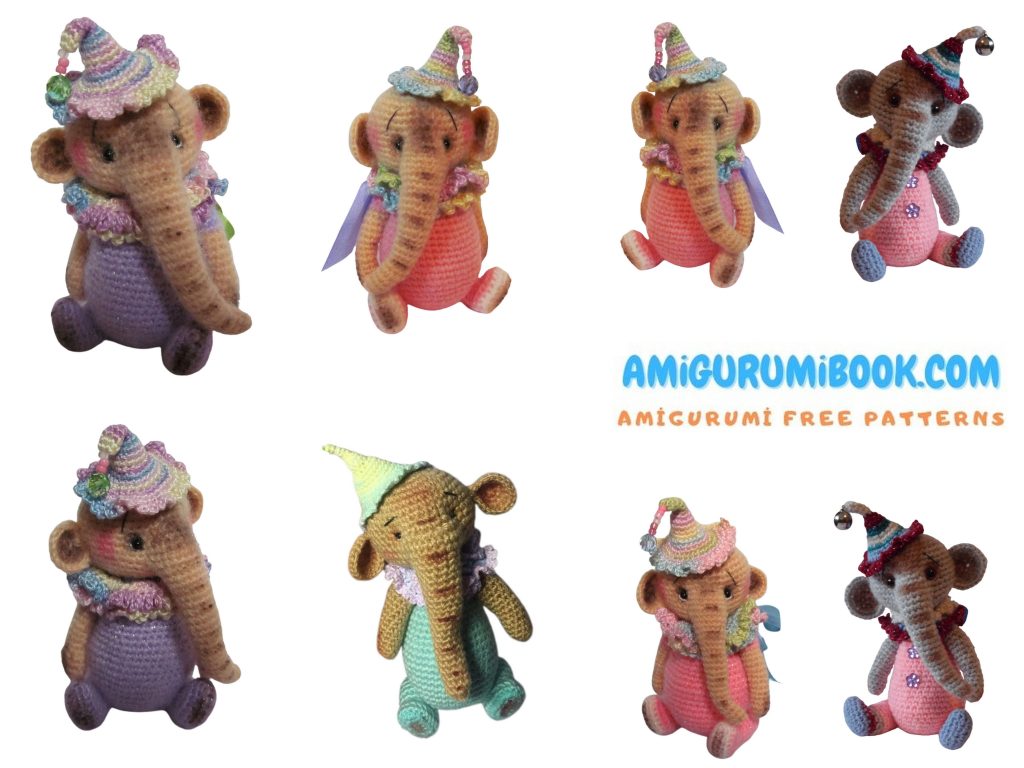
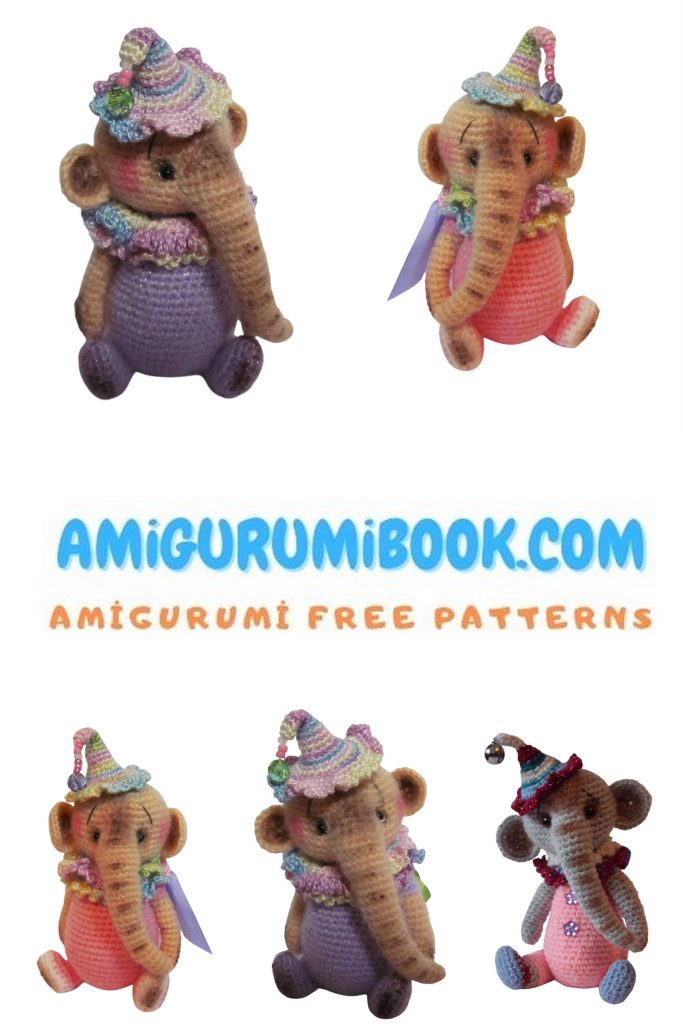
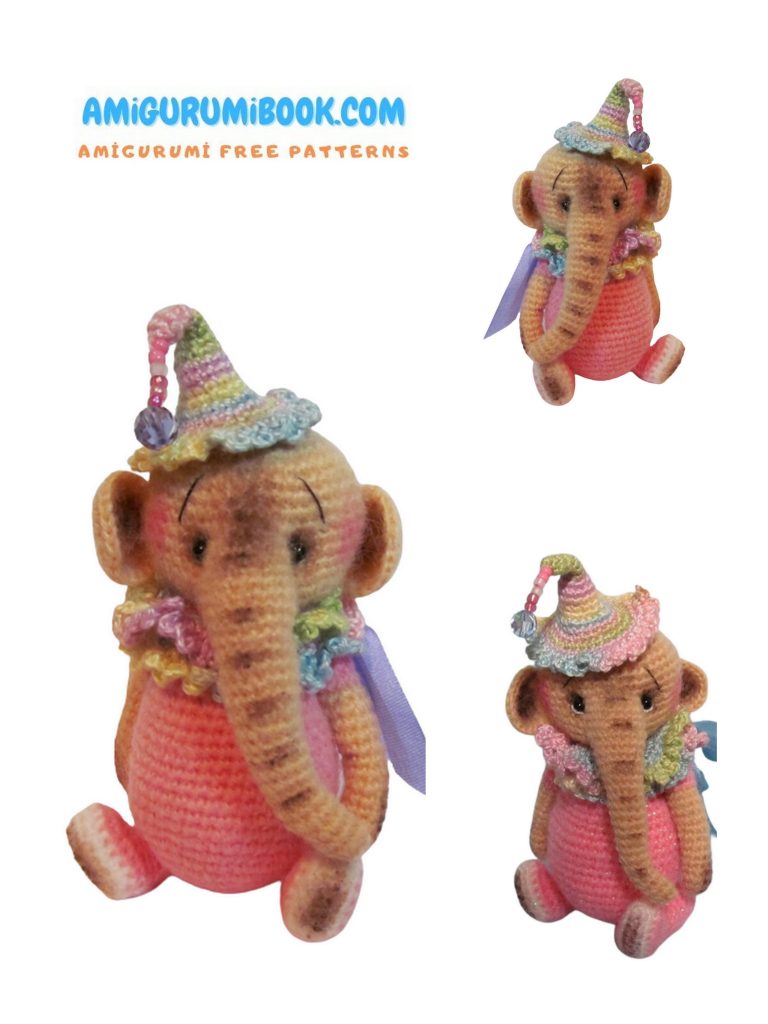
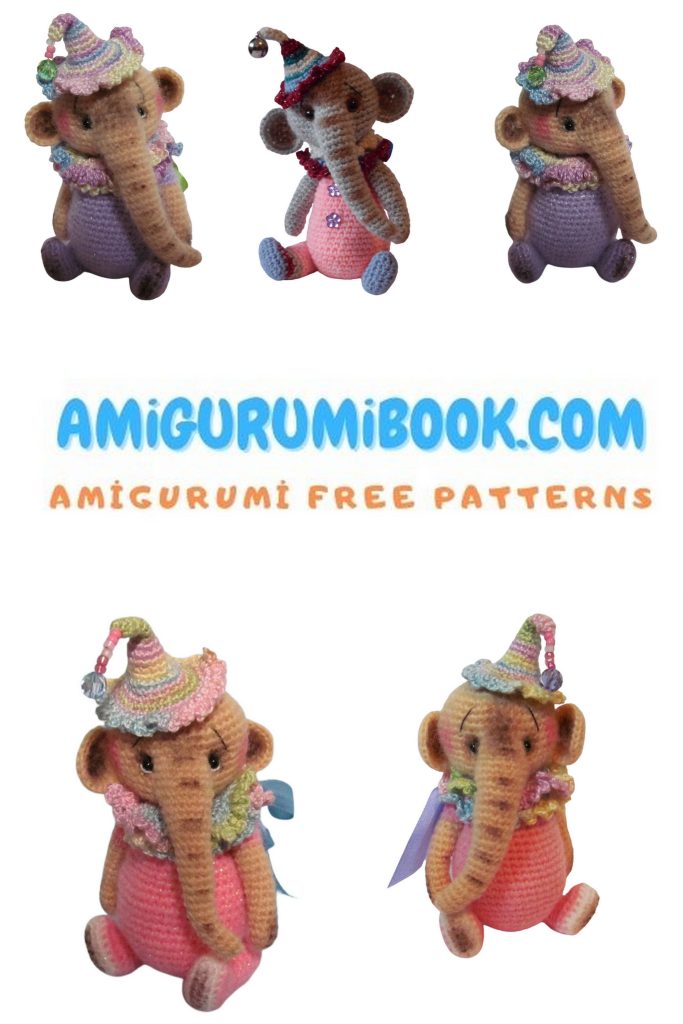
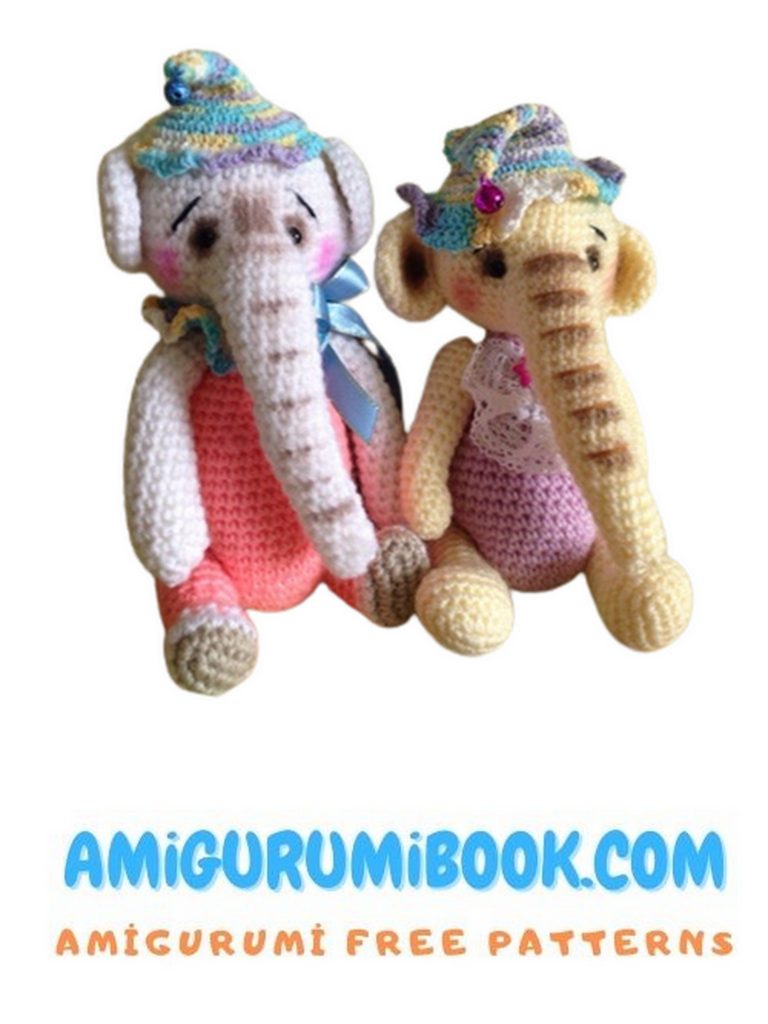
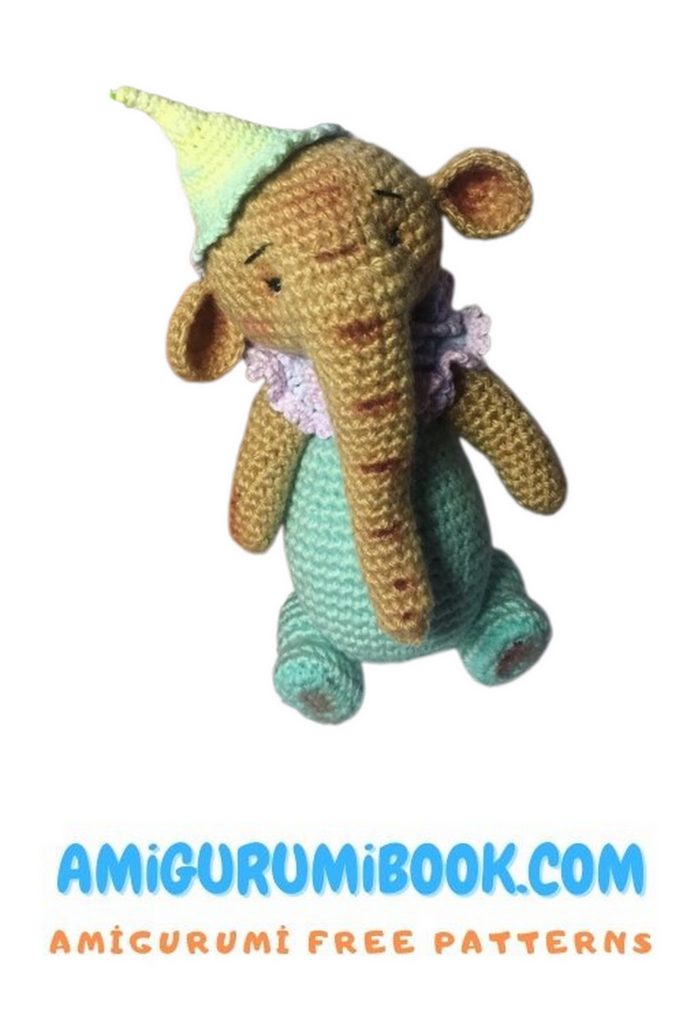
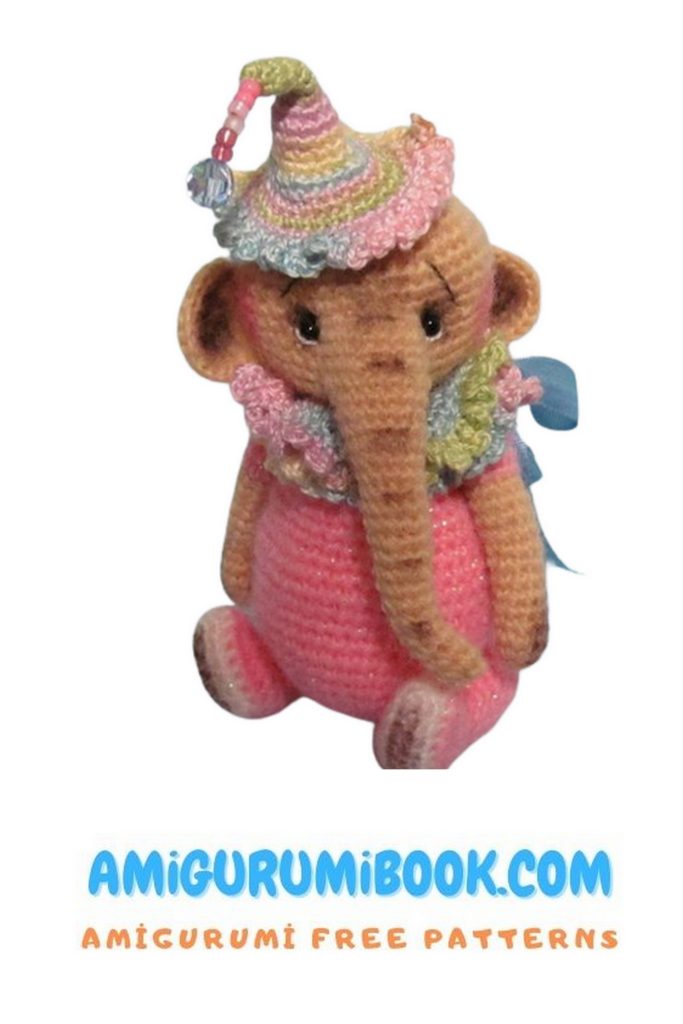
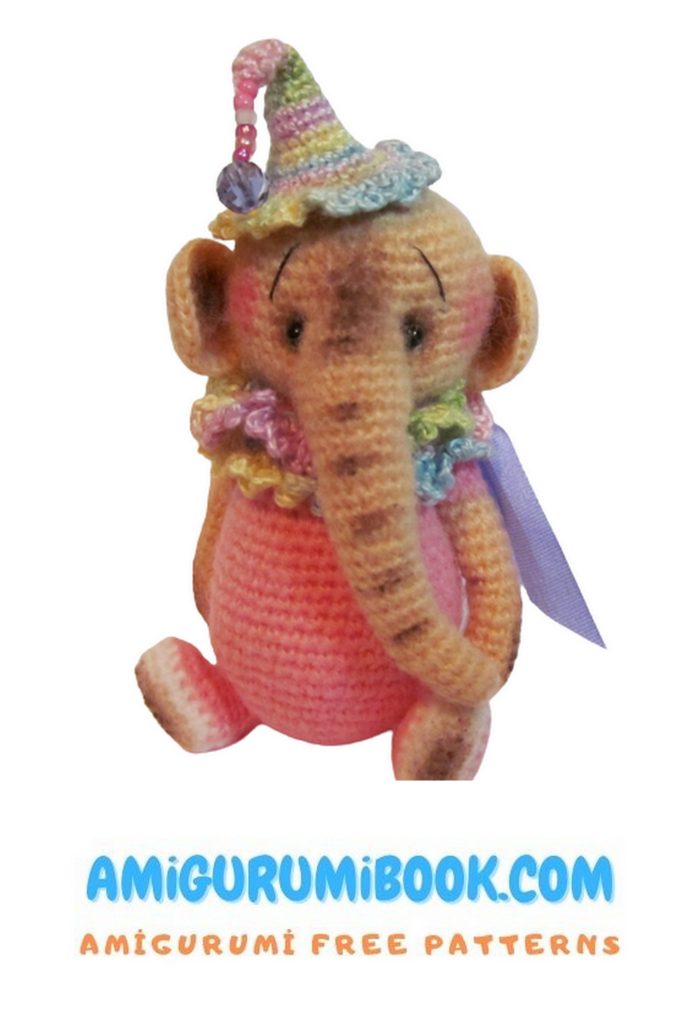
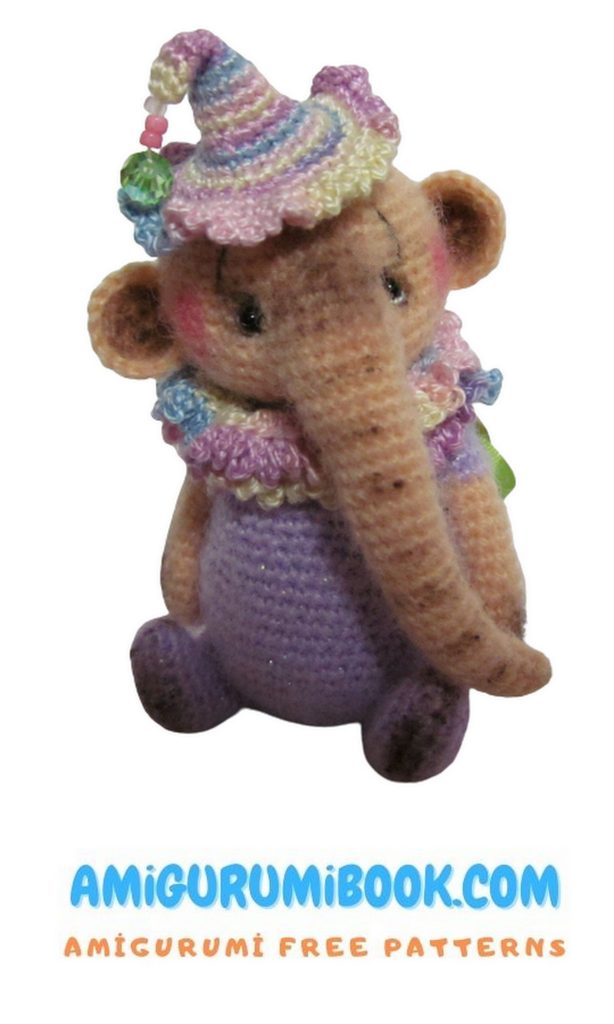
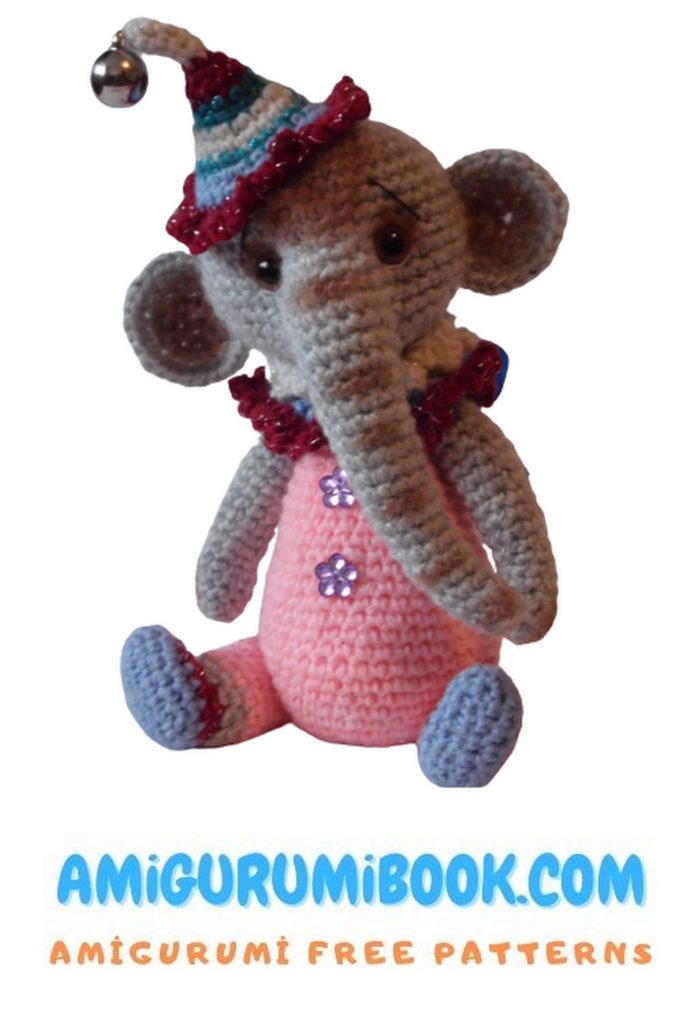
Looking for a charming and beginner-friendly elephant project? This Free Elephant Joanna Amigurumi Pattern is the perfect crochet tutorial to create an adorable handmade toy. With her sweet trunk, floppy ears, and optional cute accessories like a hat and collar, Elephant Joanna is a delightful addition to any amigurumi collection.
This step-by-step crochet tutorial walks you through the body, head, trunk shaping, and assembly details to ensure a beautifully balanced result. Whether you’re making a thoughtful handmade gift or adding a soft safari friend to your decor, this elephant amigurumi pattern is easy to follow and incredibly rewarding to complete.
Grab your hook and yarn, and start crocheting your own adorable Elephant Joanna today
If you want to access 1000+ free amigurumi patterns, you can download our application from this link!
🧶 Materials
To make Elephant Joanna, you will need:
- Sport or DK weight yarn (cotton or cotton-blend recommended)
- Main color (light gray)
- Small amount of contrasting color (for inner ears)
- 2.0–2.5 mm crochet hook
- 8–10 mm safety eyes
- Black embroidery thread (for eyelashes and eyebrows)
- Polyester fiberfill (stuffing)
- Yarn needle (for sewing parts)
- Scissors
- Stitch marker
📖 Abbreviations
(12) – Number of stitches at the end of the round
MR – Magic Ring
CH – Chain
SC – Single Crochet
INC – Increase (2 SC in one stitch)
DEC – Decrease (invisible decrease recommended)
SL ST – Slip Stitch
BLO – Back Loops Only
(…) × n – Repeat instructions n times
🐘 Body
(Crocheted from the base to the neck)
Work in continuous rounds.
1: 6 sc in MR (6)
2: 6 inc (12)
3: (1 sc, inc) × 6 (18)
4: (2 sc, inc) × 6 (24)
5: (3 sc, inc) × 6 (30)
6: (3 sc, inc) × 10 (40)
7–17: sc in each st around (40) — 11 rounds
18: (2 sc, dec) × 10 (30)
19–22: sc in each st around (30) — 4 rounds
23: (3 sc, dec) × 6 (24)
24–25: sc in each st around (24) — 2 rounds
26: (2 sc, dec) × 6 (18)
27: sc in each st around (18)
28: (1 sc, dec) × 6 (12)
29: (1 sc, dec) × 4 (8)
Fasten off and leave a long tail for sewing to the head.
💡 Start stuffing the body firmly from around round 15.
💡 Shape the lower body well before the neck section to keep balance.
🐘 Head
(The head and trunk are crocheted together from the top to the neck.)
Work in continuous rounds.
1: 6 sc in MR (6)
2: 6 inc (12)
3: (1 sc, inc) × 6 (18)
4: (2 sc, inc) × 6 (24)
5: (2 sc, inc) × 12 (36)
✔ Burada (1 sc, inc) × 12 olamazdı → 36 vermez.
Doğrusu (2 sc, inc) × 12.
6: sc in each st around (36)
7: 7 sc, 3 inc, 15 sc, 3 inc, 8 sc (42)
8–10: sc in each st around (42) — 3 rounds
11: 20 sc, 2 inc, 20 sc (44)
12: 20 sc, 4 inc, 20 sc (48)
13–14: sc in each st around (48) — 2 rounds
🐘 Trunk Opening Section
⚠ These rounds form the trunk opening. Pay attention.
15: 19 sc, 5 ch, skip 10 sc, 19 sc (43)
(48 − 10 + 5 = 43 ✔ correct)
16: sc around, working into the 5 chain stitches (43)
17: 8 sc, 3 dec, 15 sc, 3 dec, 8 sc (37)
✔ 43 − 6 = 37 correct
18: (2 sc, dec) × 9 (27)
✔ 37 → 27 (doğru sayı 27’dir, 28 değil)
19: (2 sc, dec) × 7 (21)
20: (1 sc, dec) × 7 (14)
21: 7 dec (7)
💡 Stuff the head firmly as you go.
💡 Do NOT close the neck opening yet. Leave it open until the trunk is completed and the eyes are attached. The sculpting and eye placement are done through this opening.
Fasten off and leave a long tail for sewing to the body.

🐘 Legs (Make 2)
Work in continuous rounds.
1: Ch 7. Starting from 2nd ch from hook:
4 sc, 3 sc in last ch,
continue on the opposite side: 4 sc, inc (14)
2: inc, 4 sc, 3 inc, 4 sc, 2 inc (20)
3: sc in each st around (20)
4: 4 sc, 6 dec, 4 sc (14)
5: 3 sc, 4 dec, 3 sc (10)
6: inc, 9 sc (11)
7: 2 sc, (inc, 2 sc) × 3, 1 sc (15)
✔ Evet, orijinalde (inc, 2 sc) × 4 yazılması hatalı.
Doğru formül ×3 olmalı ki 15 çıksın.
8–13: sc in each st around (15) — 6 rounds
14: 7 dec, 1 sc (8)
Stuff the legs as you go.
Cut yarn, close the opening tightly and weave in the end.
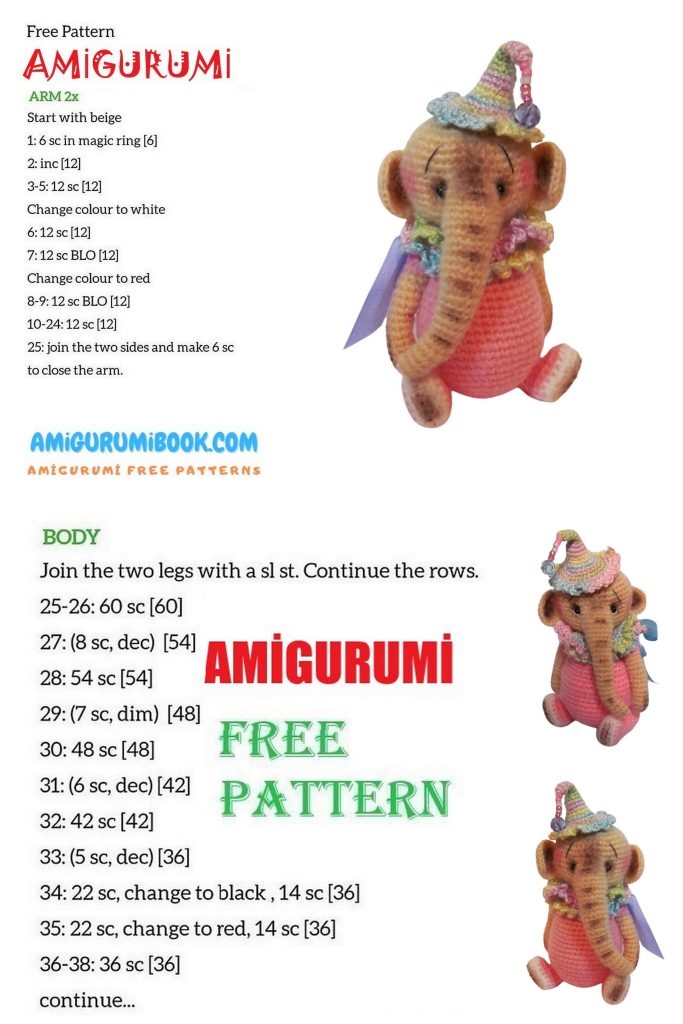
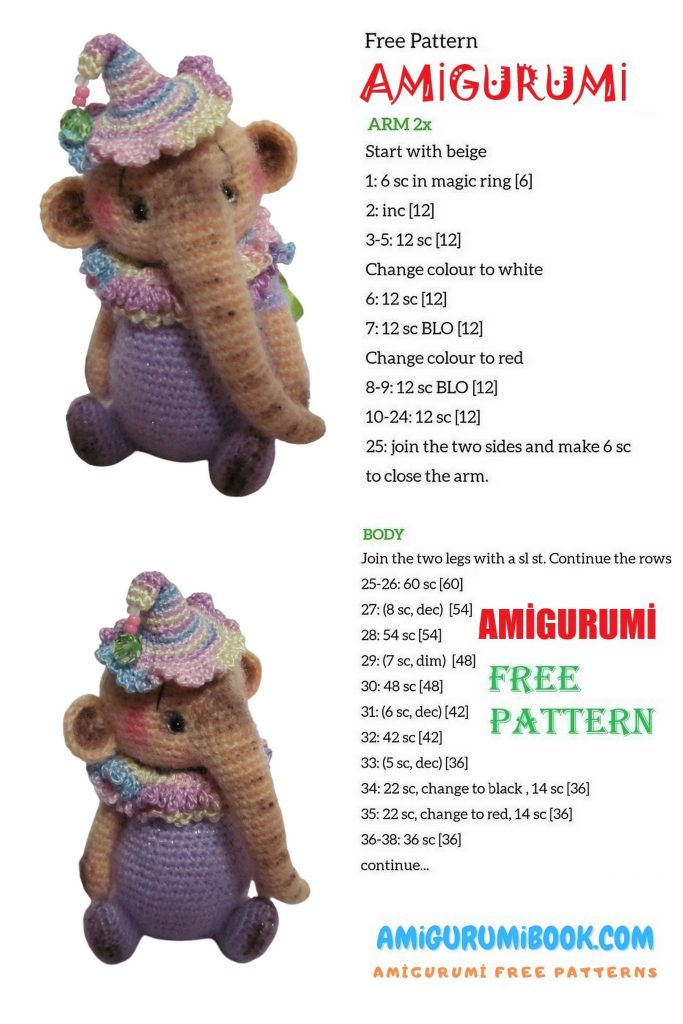
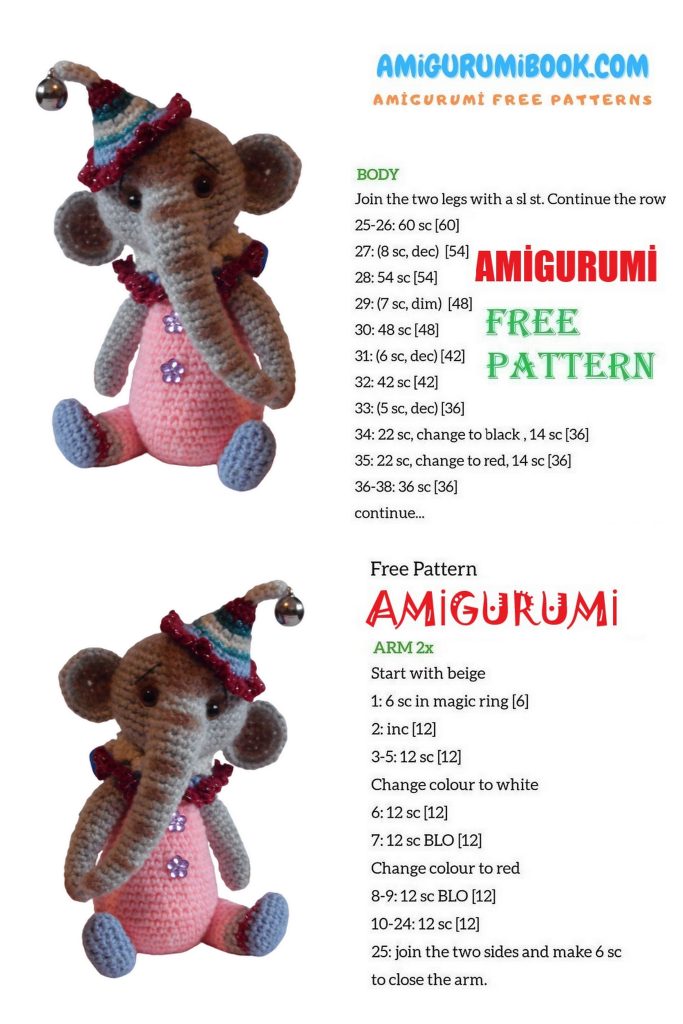
🐘 Arms (Make 2)
1: 5 sc in MR (5)
2: 5 inc (10)
3–5: sc in each st around (10) — 3 rounds
6–7: 2 sl st, 8 sc (10)
✔ Bu slip stitch kısmı kolun hafif içe kıvrılmasını sağlar.
8–9: sc in each st around (10) — 2 rounds
10: inc, 9 sc (11)
11: sc in each st around (11)
12: inc, 10 sc (12)
13–17: sc in each st around (12) — 5 rounds
18: (1 sc, dec) × 4 (8)
Stuff lightly as you go.
Fasten off, close the opening and leave a tail for sewing.
💡 If making a shirt, change yarn color after Round 13.

🐘 Trunk
(Worked in a spiral)
⚠ The trunk is crocheted into the opening created in Head Row 15.
Round 1: Attach yarn to the trunk opening.
Work 10 sc into the skipped stitches and 5 sc into the chain stitches (15)
2–3: sc in each st around (15)
4: dec, 13 sc (14)
5–6: sc in each st around (14)
7: dec, 12 sc (13)
8–9: sc in each st around (13)
10: dec, 11 sc (12)
11–12: sc in each st around (12)
13: dec, 10 sc (11)
14: sc in each st around (11)
15: dec, 9 sc (10)
16–17: sc in each st around (10)
18: (1 sc, dec) × 4 (8)
✔ Decrease progression düzgün
✔ 15 → 8 kademeli incelme doğru
Fasten off, close the opening tightly.
🐘 Ears (Make 2)
(Worked in rows, turning at the end of each round)
1: 5 sc in MR (5), ch 1, turn
2: 5 inc (10), ch 1, turn
3: (1 sc, inc) × 5 (15), ch 1, turn
4: (2 sc, inc) × 5 (20)
Sl st to finish.
Leave a long tail for sewing.
💡 Do not stuff. Slightly flatten before sewing.
🎀 Collar
Ch 40.
Starting from 3rd ch from hook, sc in each chain.
Then work (sc, ch 3, sc) in each stitch across to create a decorative edging.
Fasten off.
Add a ribbon and tie around the neck.
🎩 Hat
(Worked in the round)
1: 5 sc in MR (5)
2–6: sc in each st around (5) — 5 rounds
7: 5 inc (10)
8–10: sc in each st around (10) — 3 rounds
11: 10 inc (20)
12–13: sc in each st around (20) — 2 rounds
14: (4 sc, inc) × 4 (24)
15: sc in each st around (24)
16: Work edging: (sc, ch 3, sl st) in each stitch around
Fasten off and weave in ends.
🐘 Assembly & Finishing
1️⃣ Attach the Trunk
If you haven’t already, firmly shape the trunk and secure the opening tightly. Make sure the decreases are centered so the trunk curves naturally downward.
2️⃣ Insert and Secure the Eyes
Attach the safety eyes between the appropriate head rounds (usually around rounds 10–13).
If sculpting is needed, use strong thread to slightly indent the eye area for a more expressive look.
3️⃣ Sew the Head to the Body
Make sure both pieces are firmly stuffed.
Align the neck openings carefully and sew the head securely to the body using a yarn needle and whip stitch.
Reinforce the seam to keep the head stable.
4️⃣ Attach the Legs
Position the legs evenly at the bottom of the body so the elephant can sit properly.
Sew them securely and check balance before tightening completely.
5️⃣ Attach the Arms
Sew the arms slightly below the head on both sides of the body.
Make sure they are aligned symmetrically.
6️⃣ Sew the Ears
Flatten the ears slightly and attach them to both sides of the head, approximately between rounds 8–14.
Angle them slightly backward for a cute effect.
7️⃣ Add the Collar and Hat
Tie the decorative collar around the neck.
Place the hat on the head and sew it lightly in place so it doesn’t slip.
8️⃣ Final Touches
Embroider eyebrows if desired.
Weave in all yarn tails securely and hide them inside the body.
Gently shape the toy with your hands to even out the stuffing.