
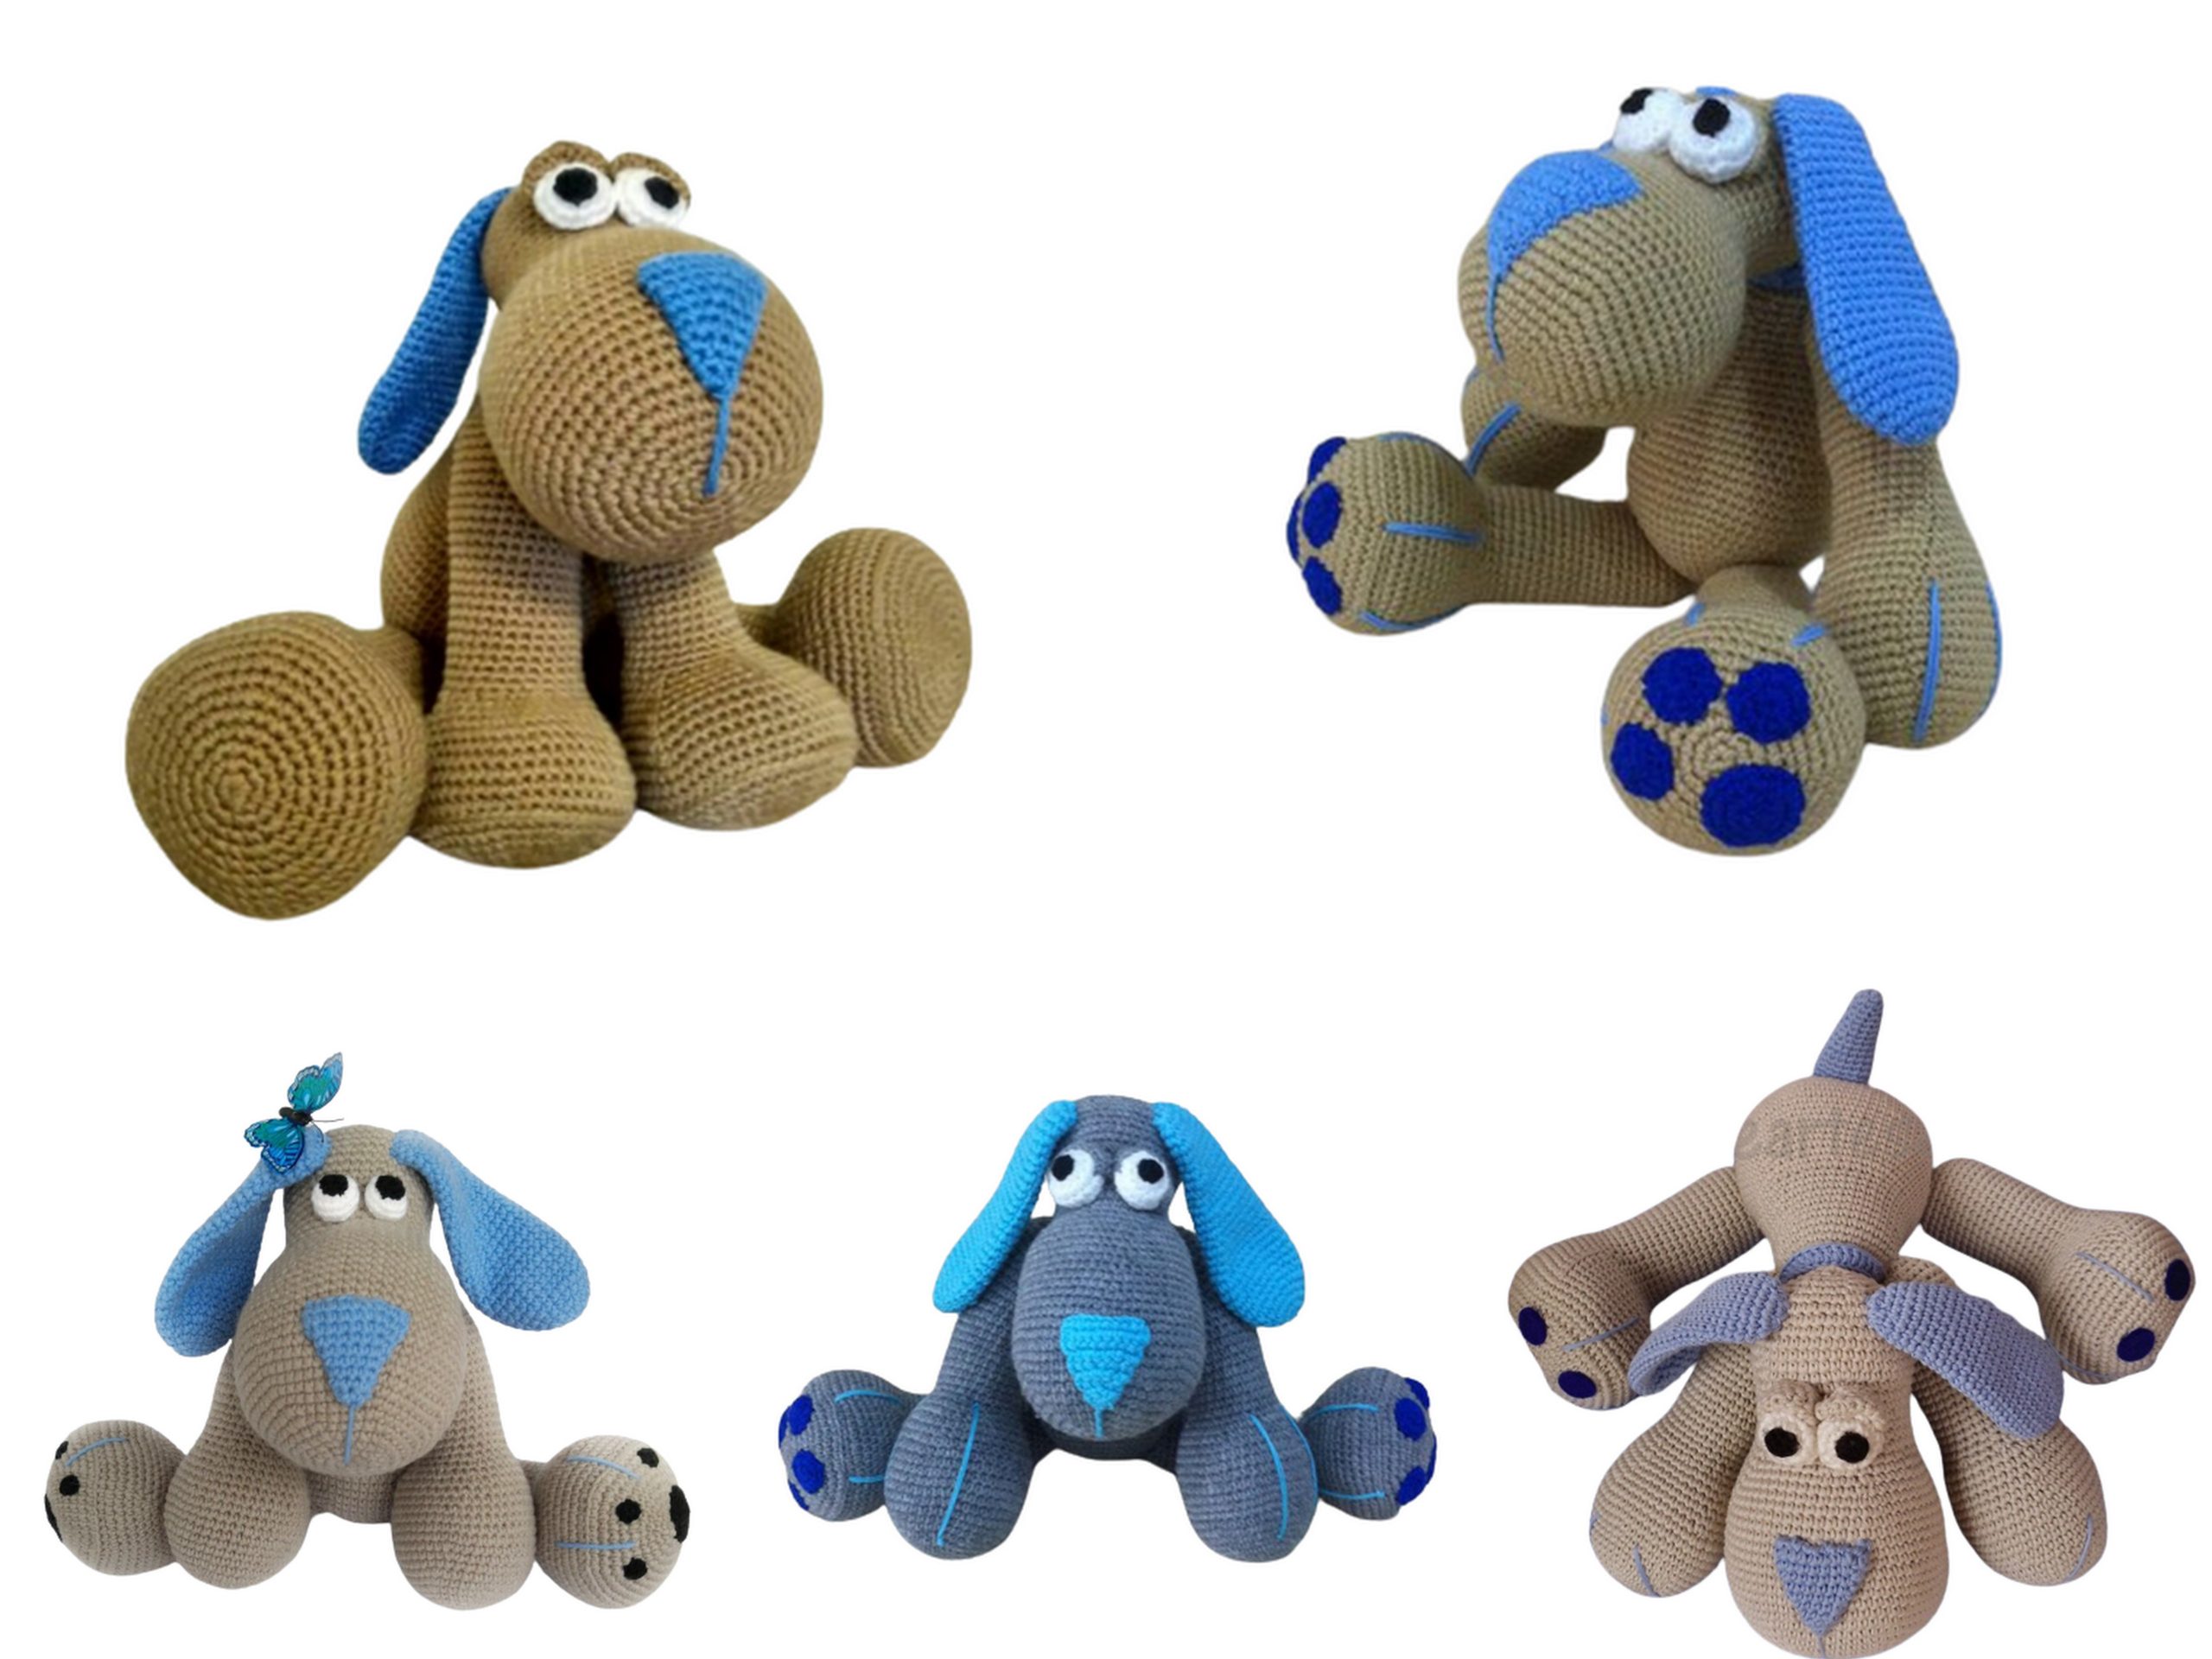
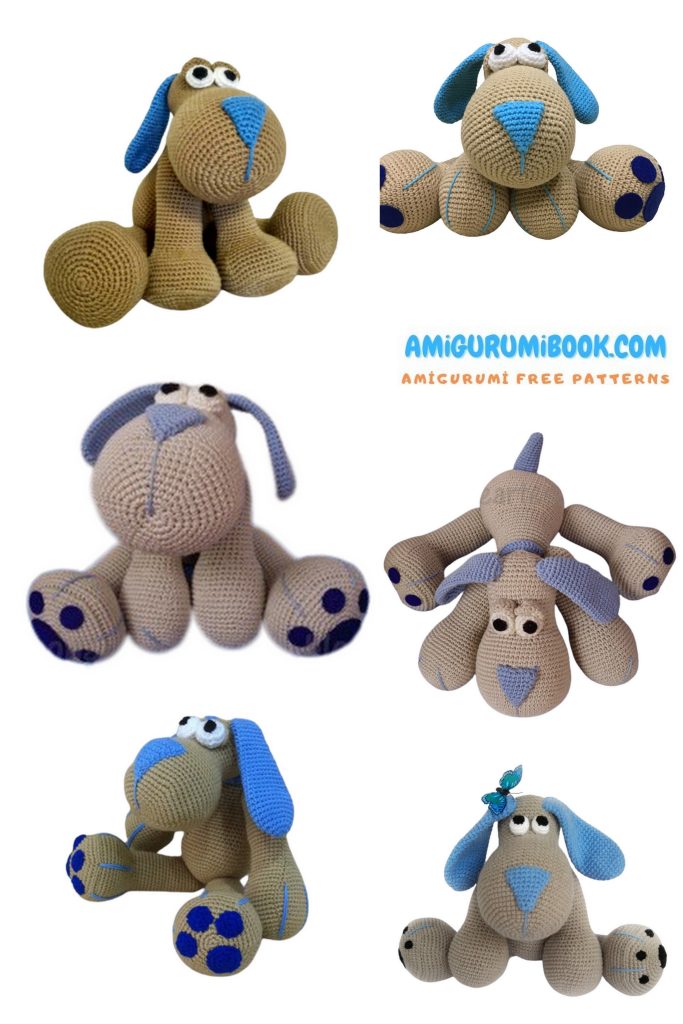
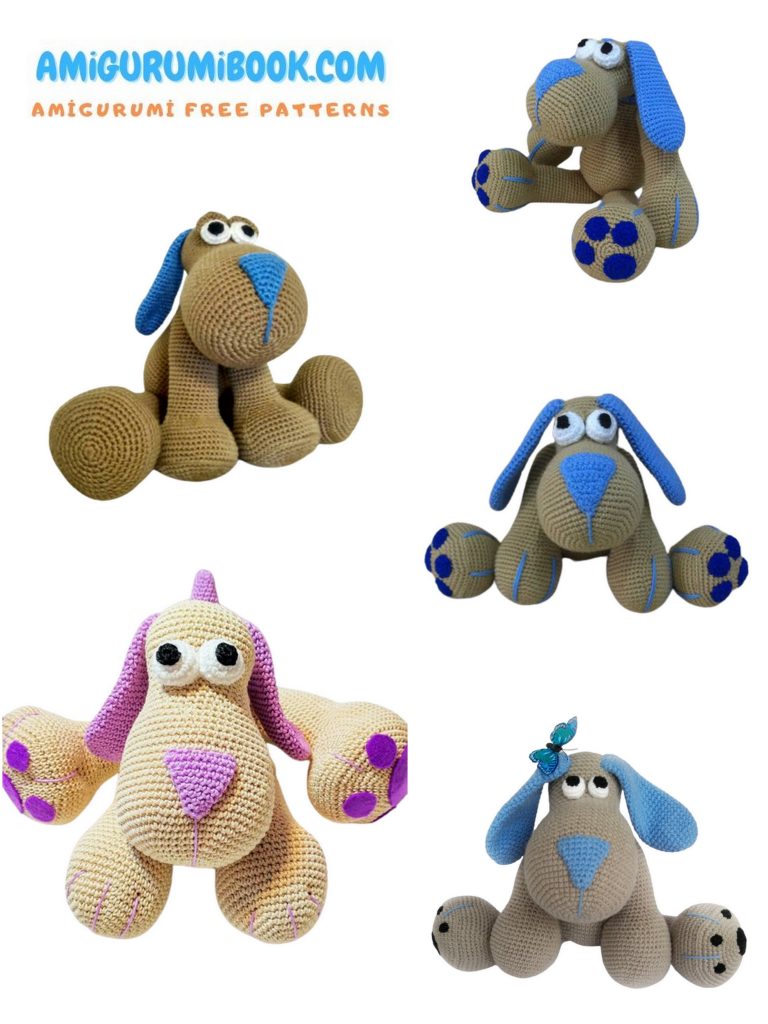
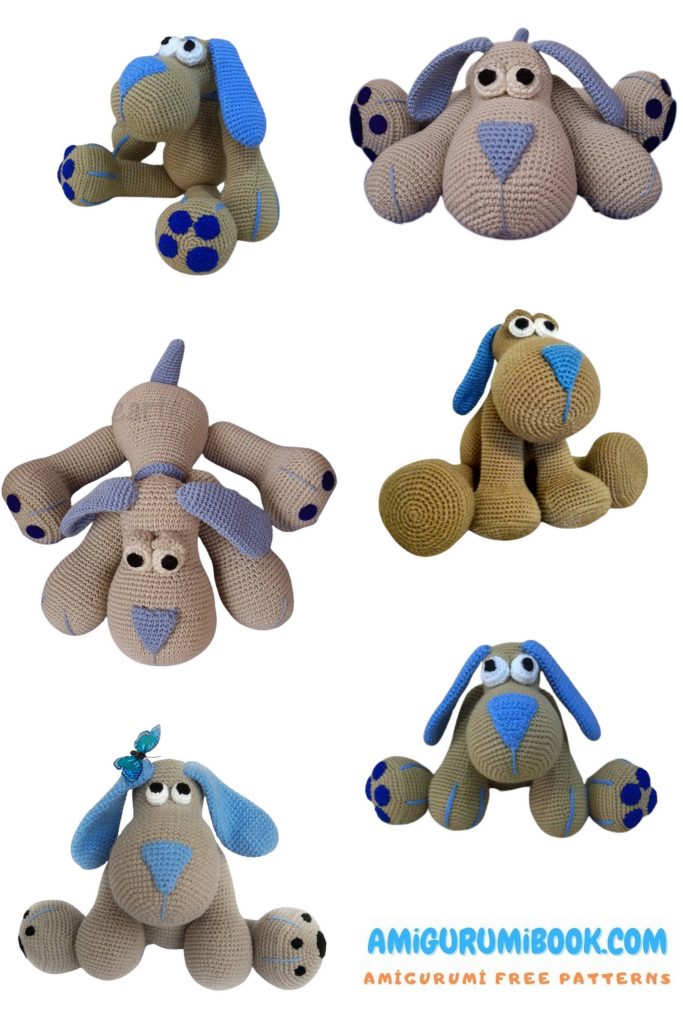
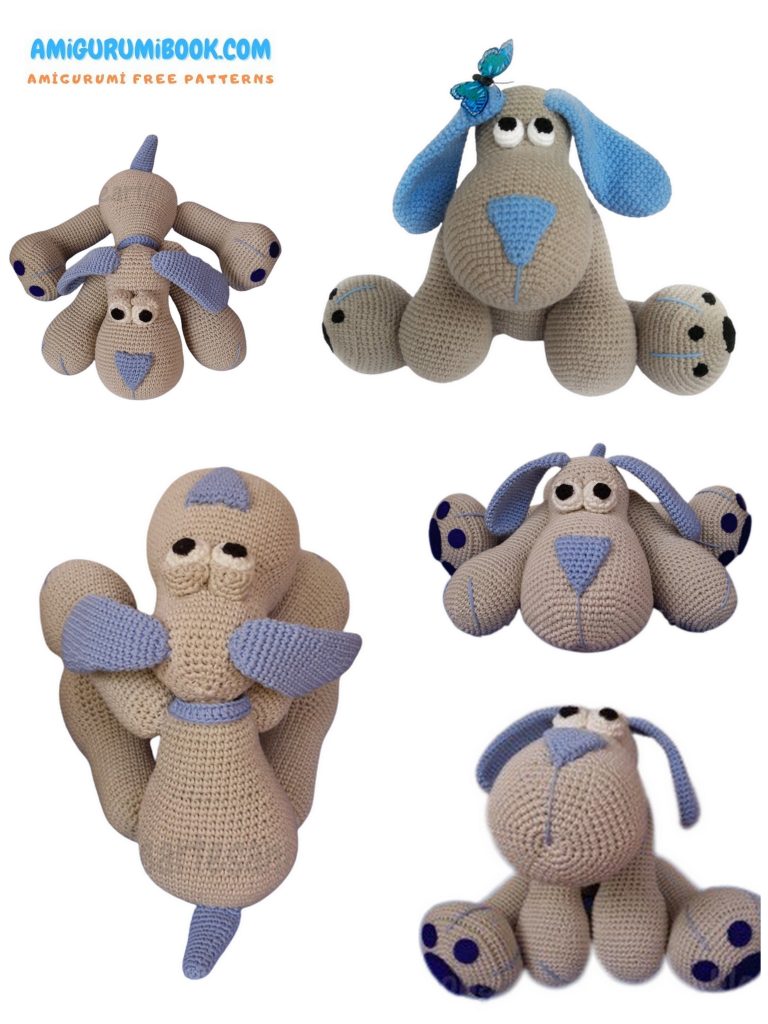
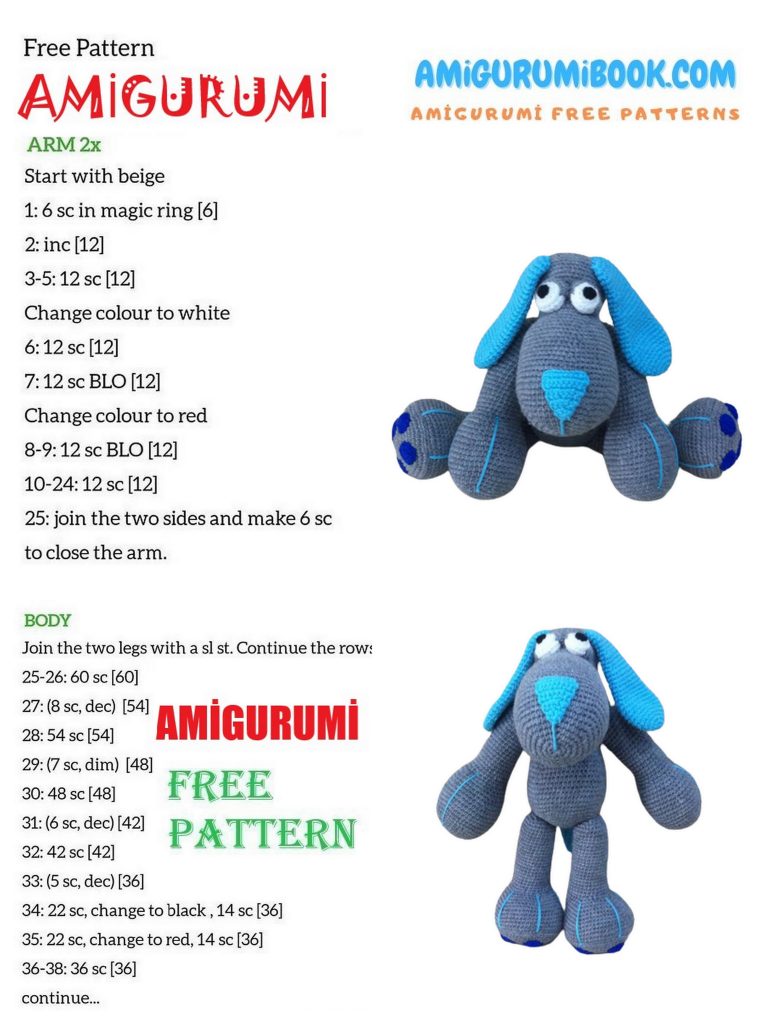
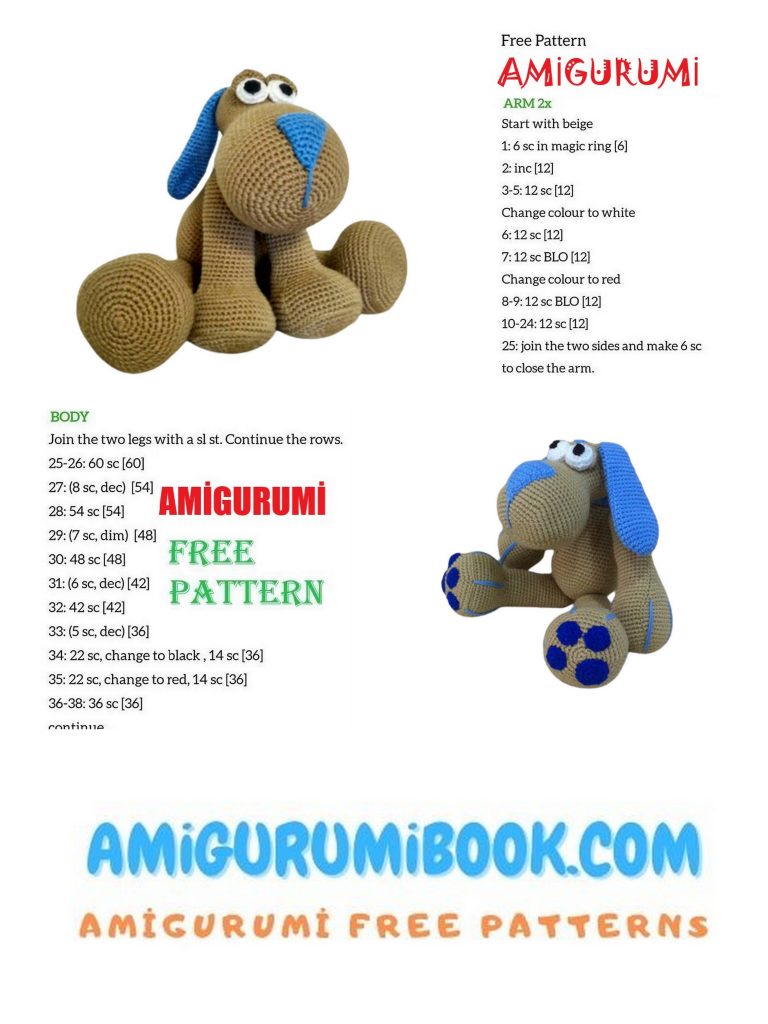
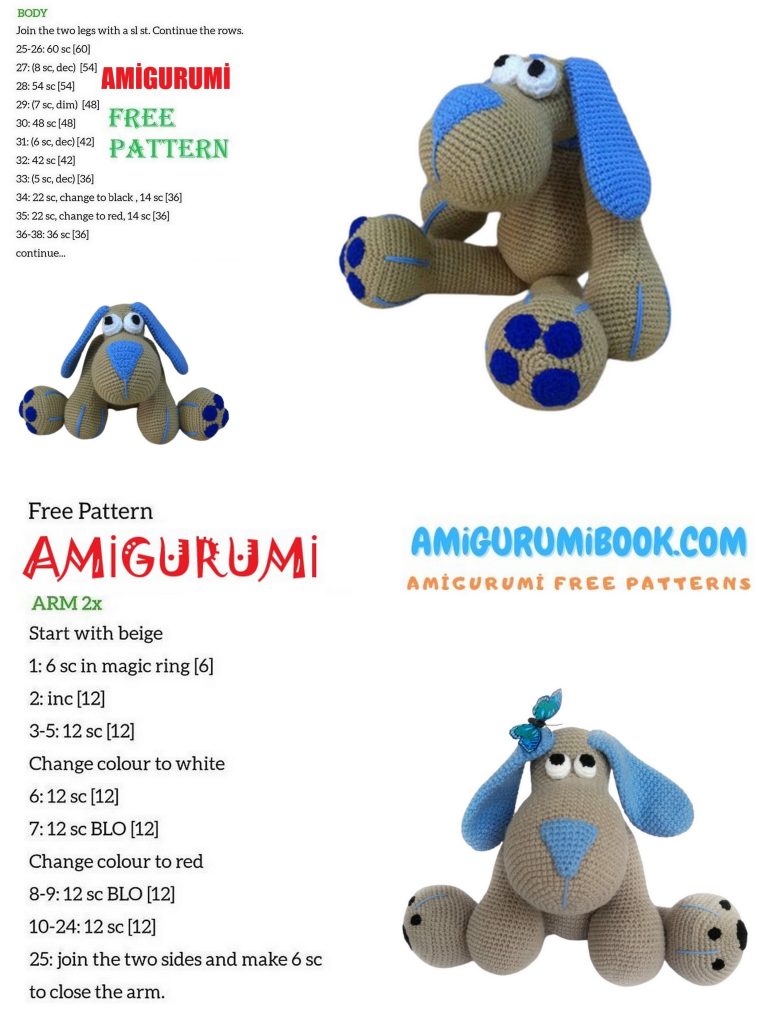
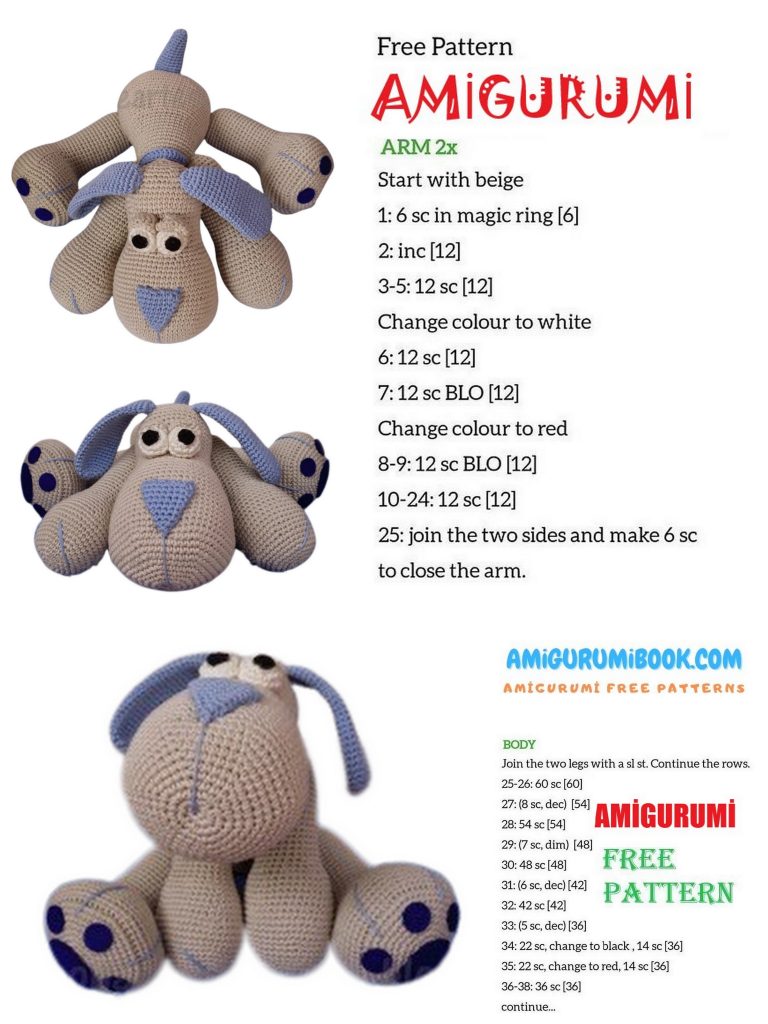
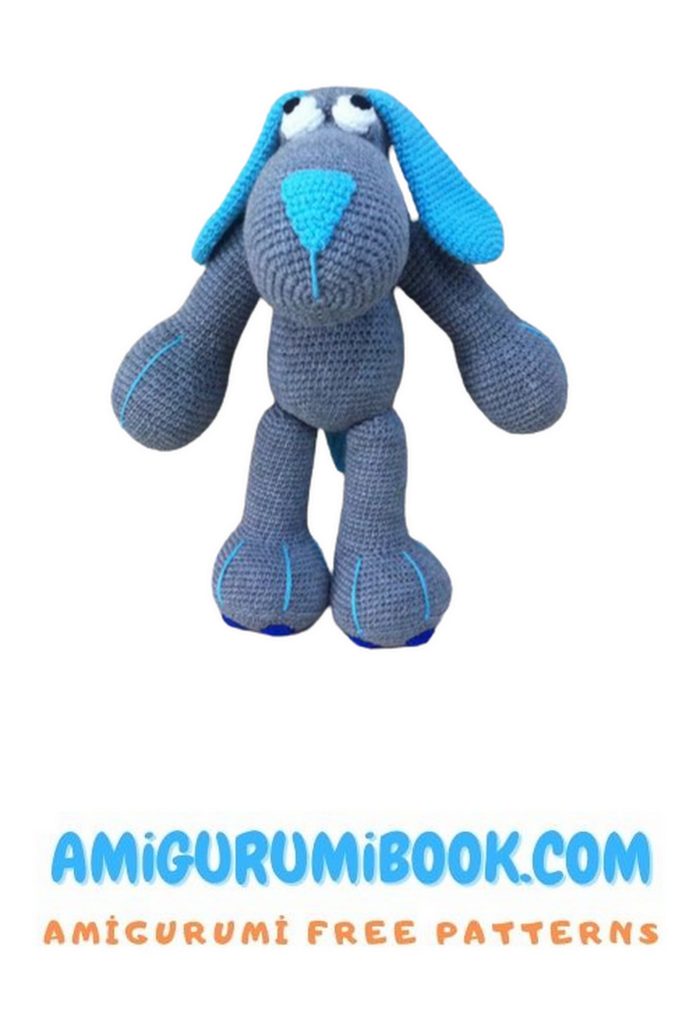
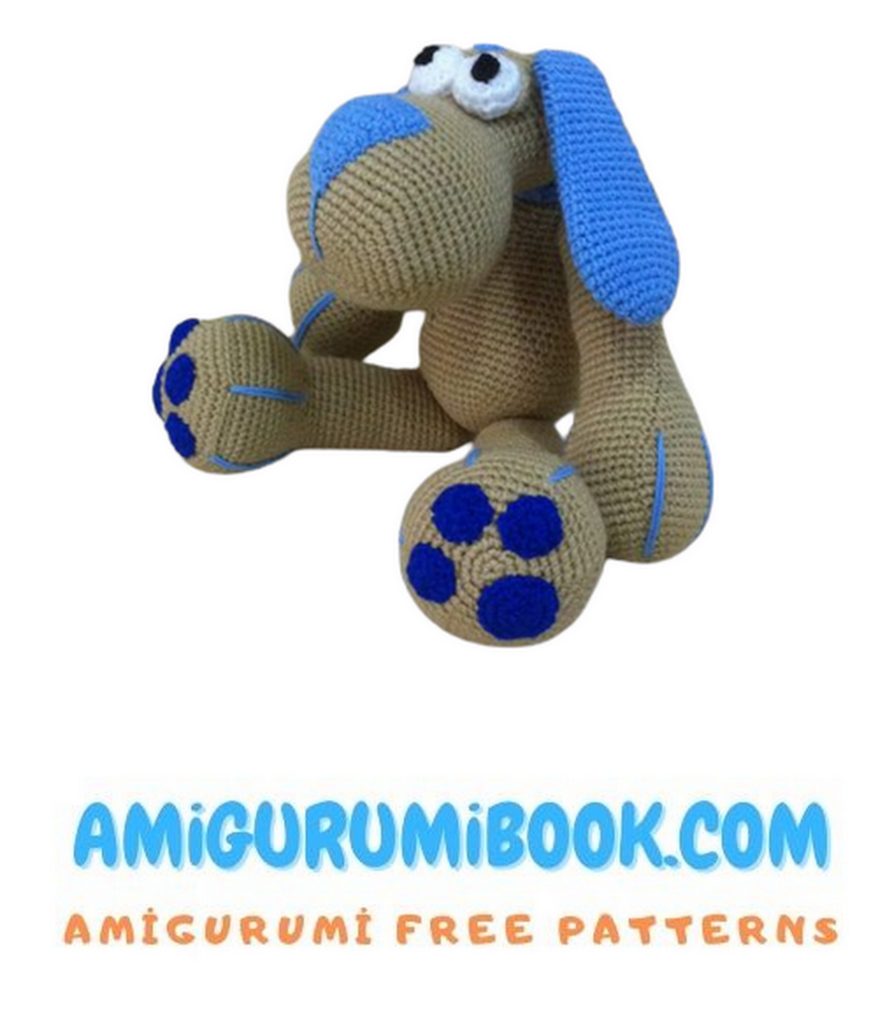
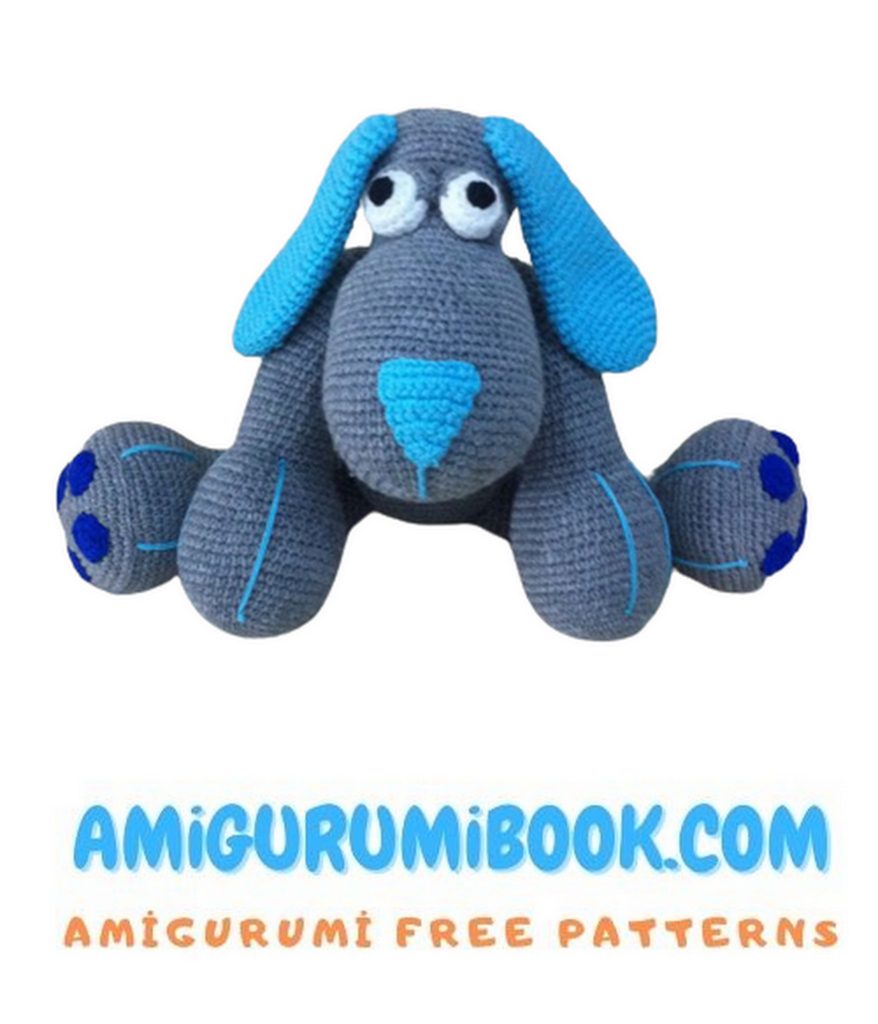
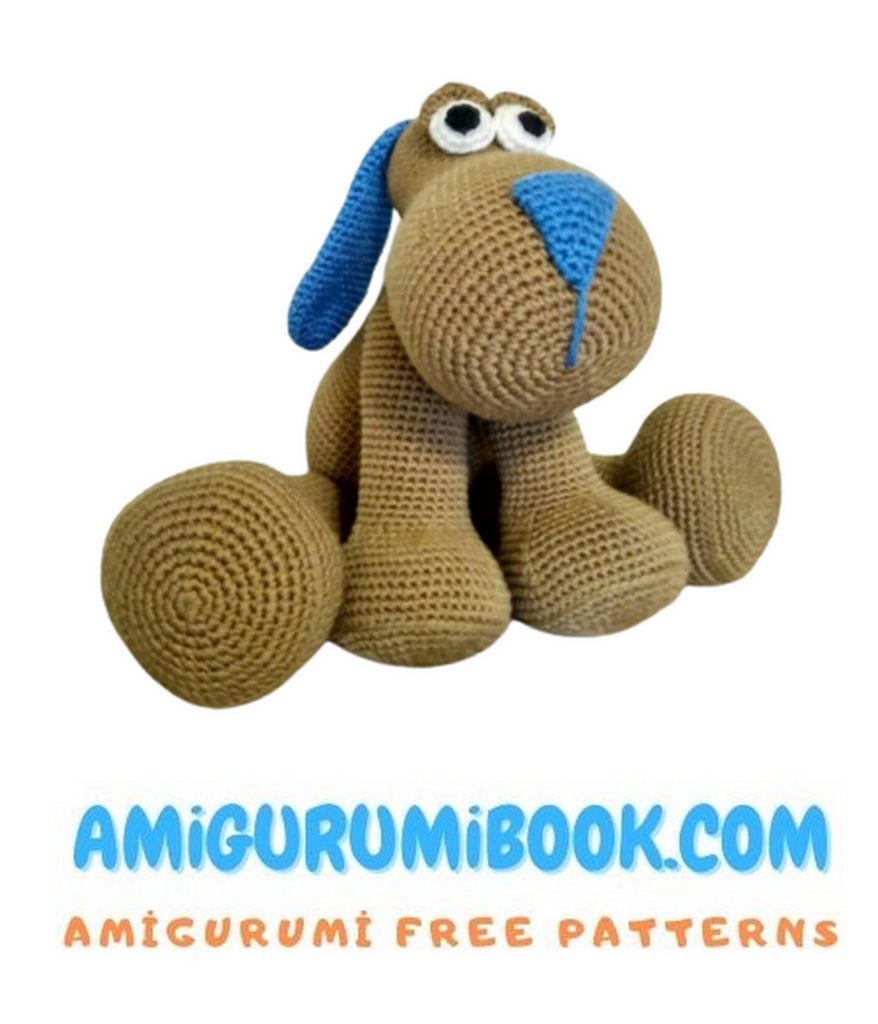
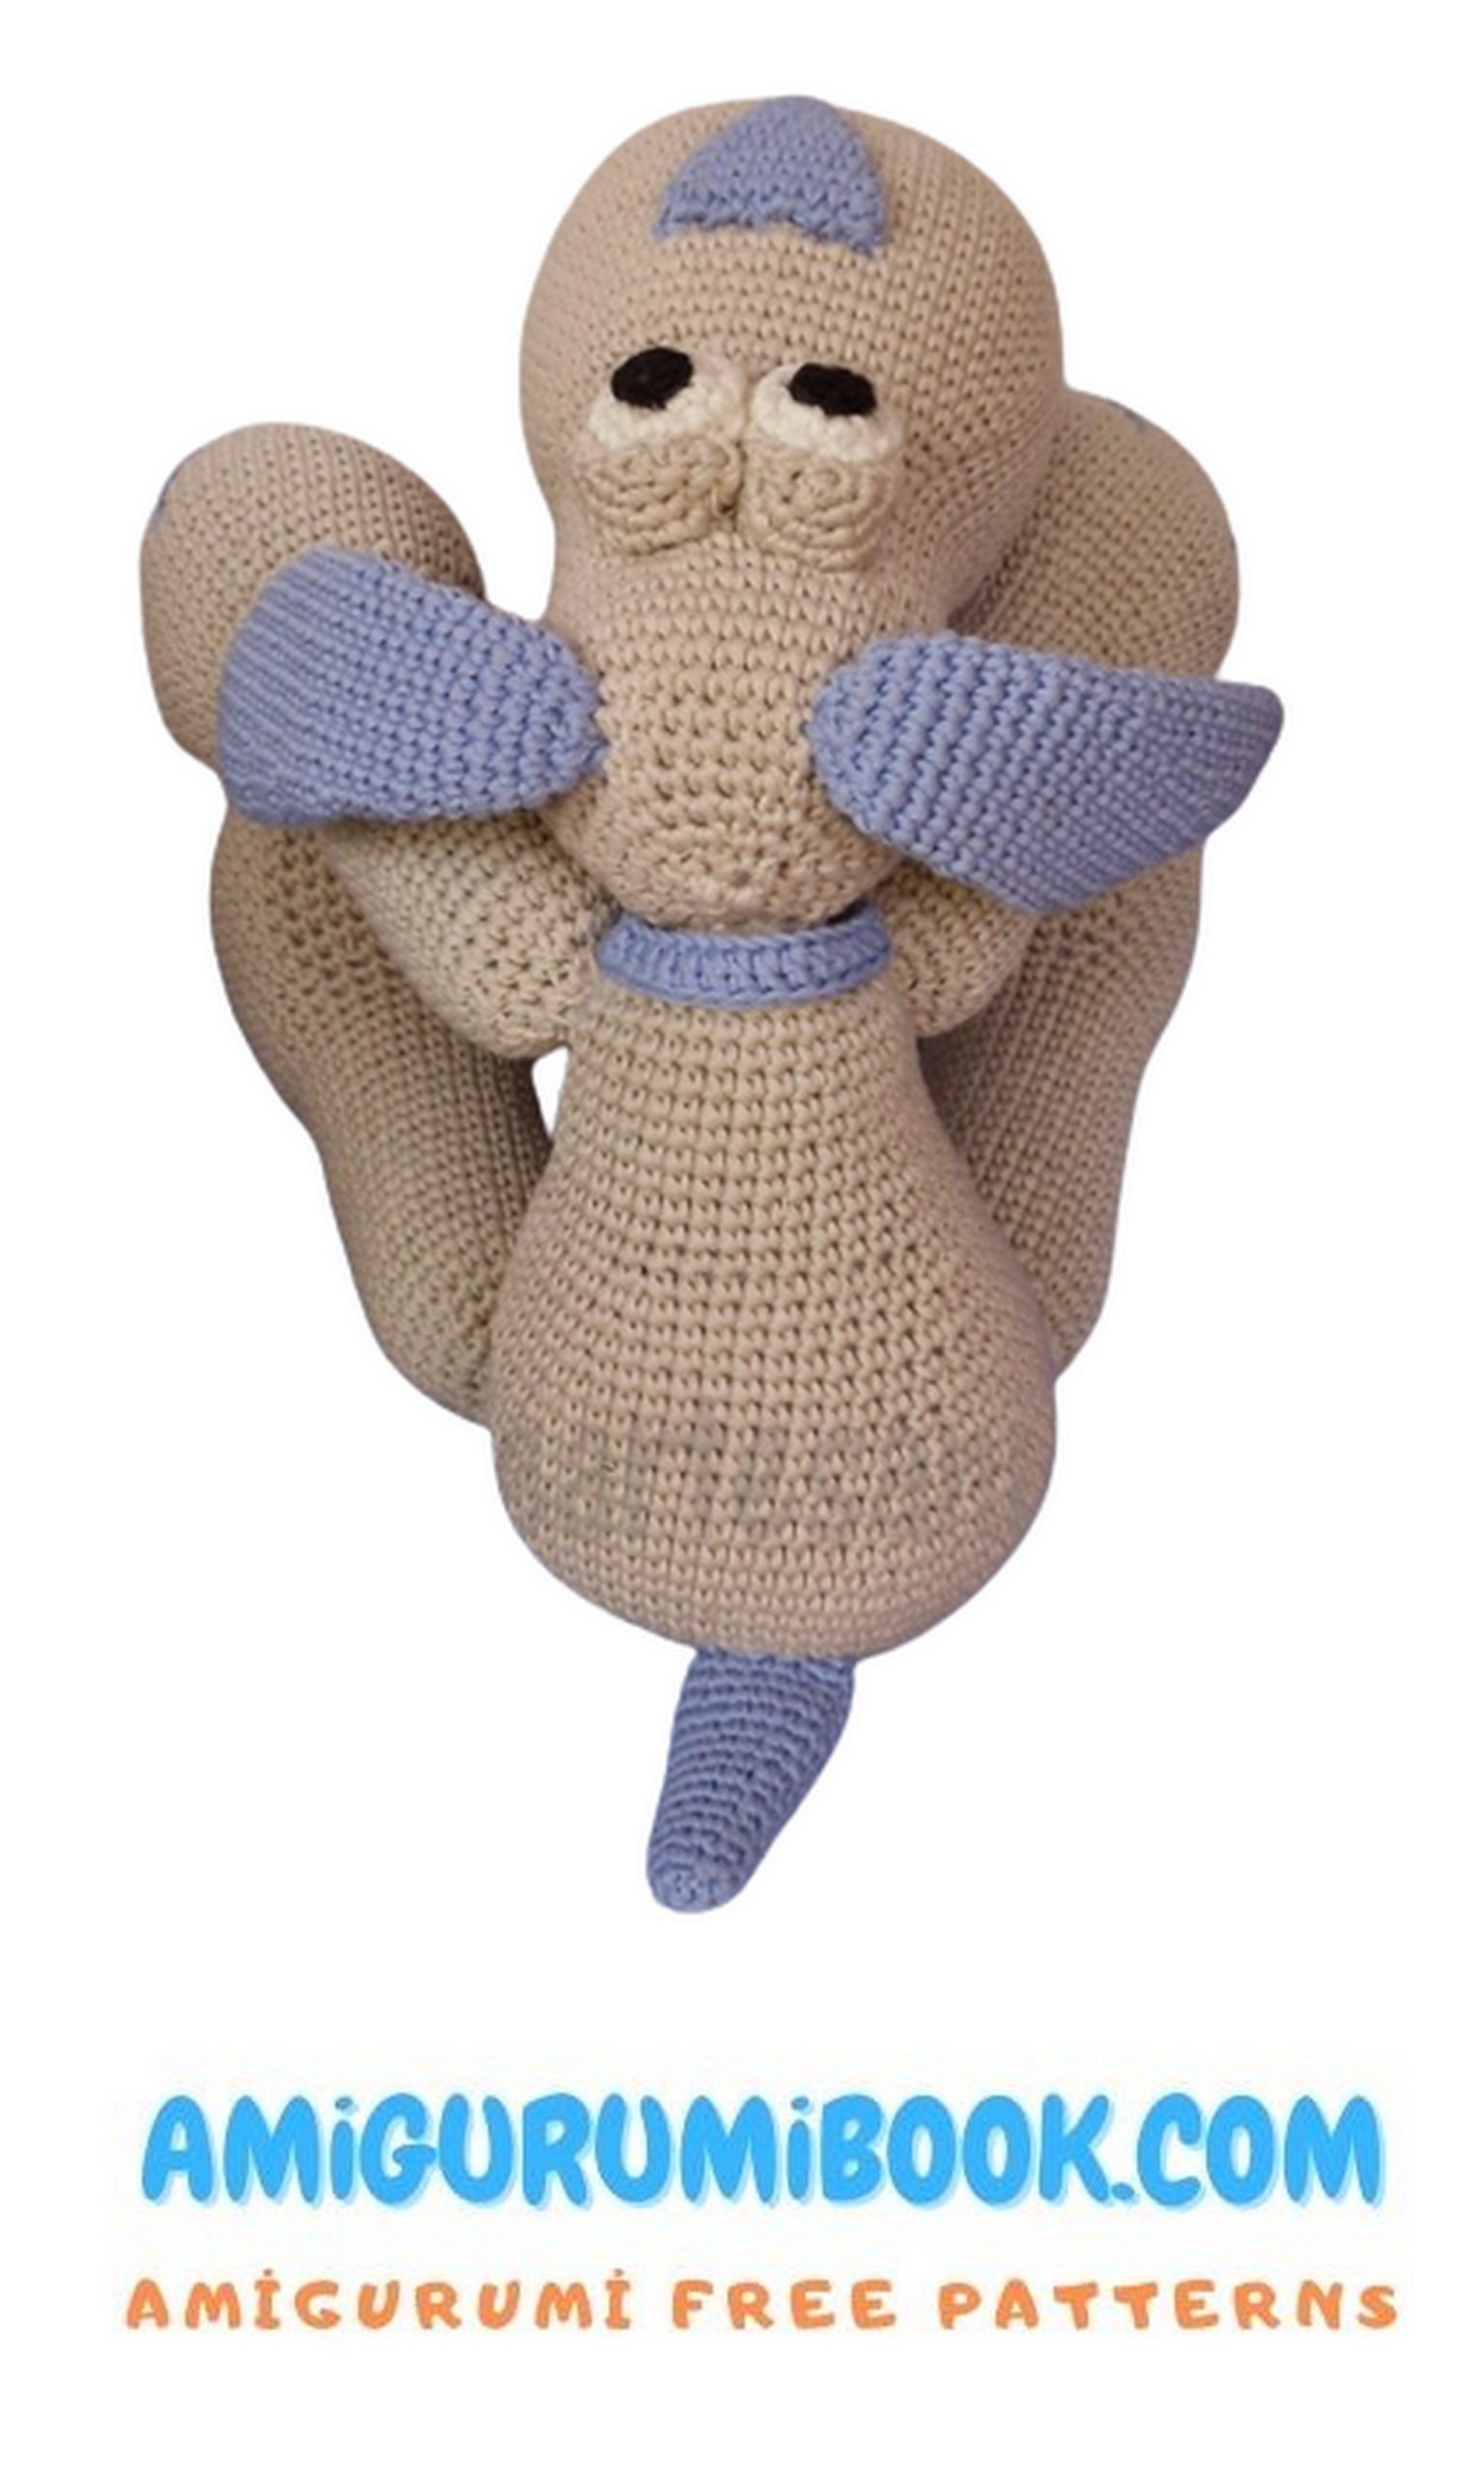
This fat lazy dog amigurumi is the definition of cozy and cute 🐶 With its chubby body, relaxed pose, and adorable sleepy vibe, it’s one of those crochet projects that instantly makes you smile.
If you’re looking for a fun and relaxing crochet project, this free pattern is a perfect choice. The step-by-step instructions are easy to follow, making it suitable for both beginners and experienced crocheters who want a satisfying result.
Whether you’re creating a handmade gift or adding a soft and lovable character to your collection, this lazy dog will quickly become a favorite. Grab your yarn and enjoy bringing this adorable pup to life! 🧶
If you want to access 1000+ free amigurumi patterns, you can download our application from this link!
🧶 Materials & Tools
- Yarn in 4 colors:
• Beige (body)
• Secondary color (ears, tail, nose)
• Black (details)
• White (eyes) - Crochet hook suitable for your yarn
- Fiberfill stuffing
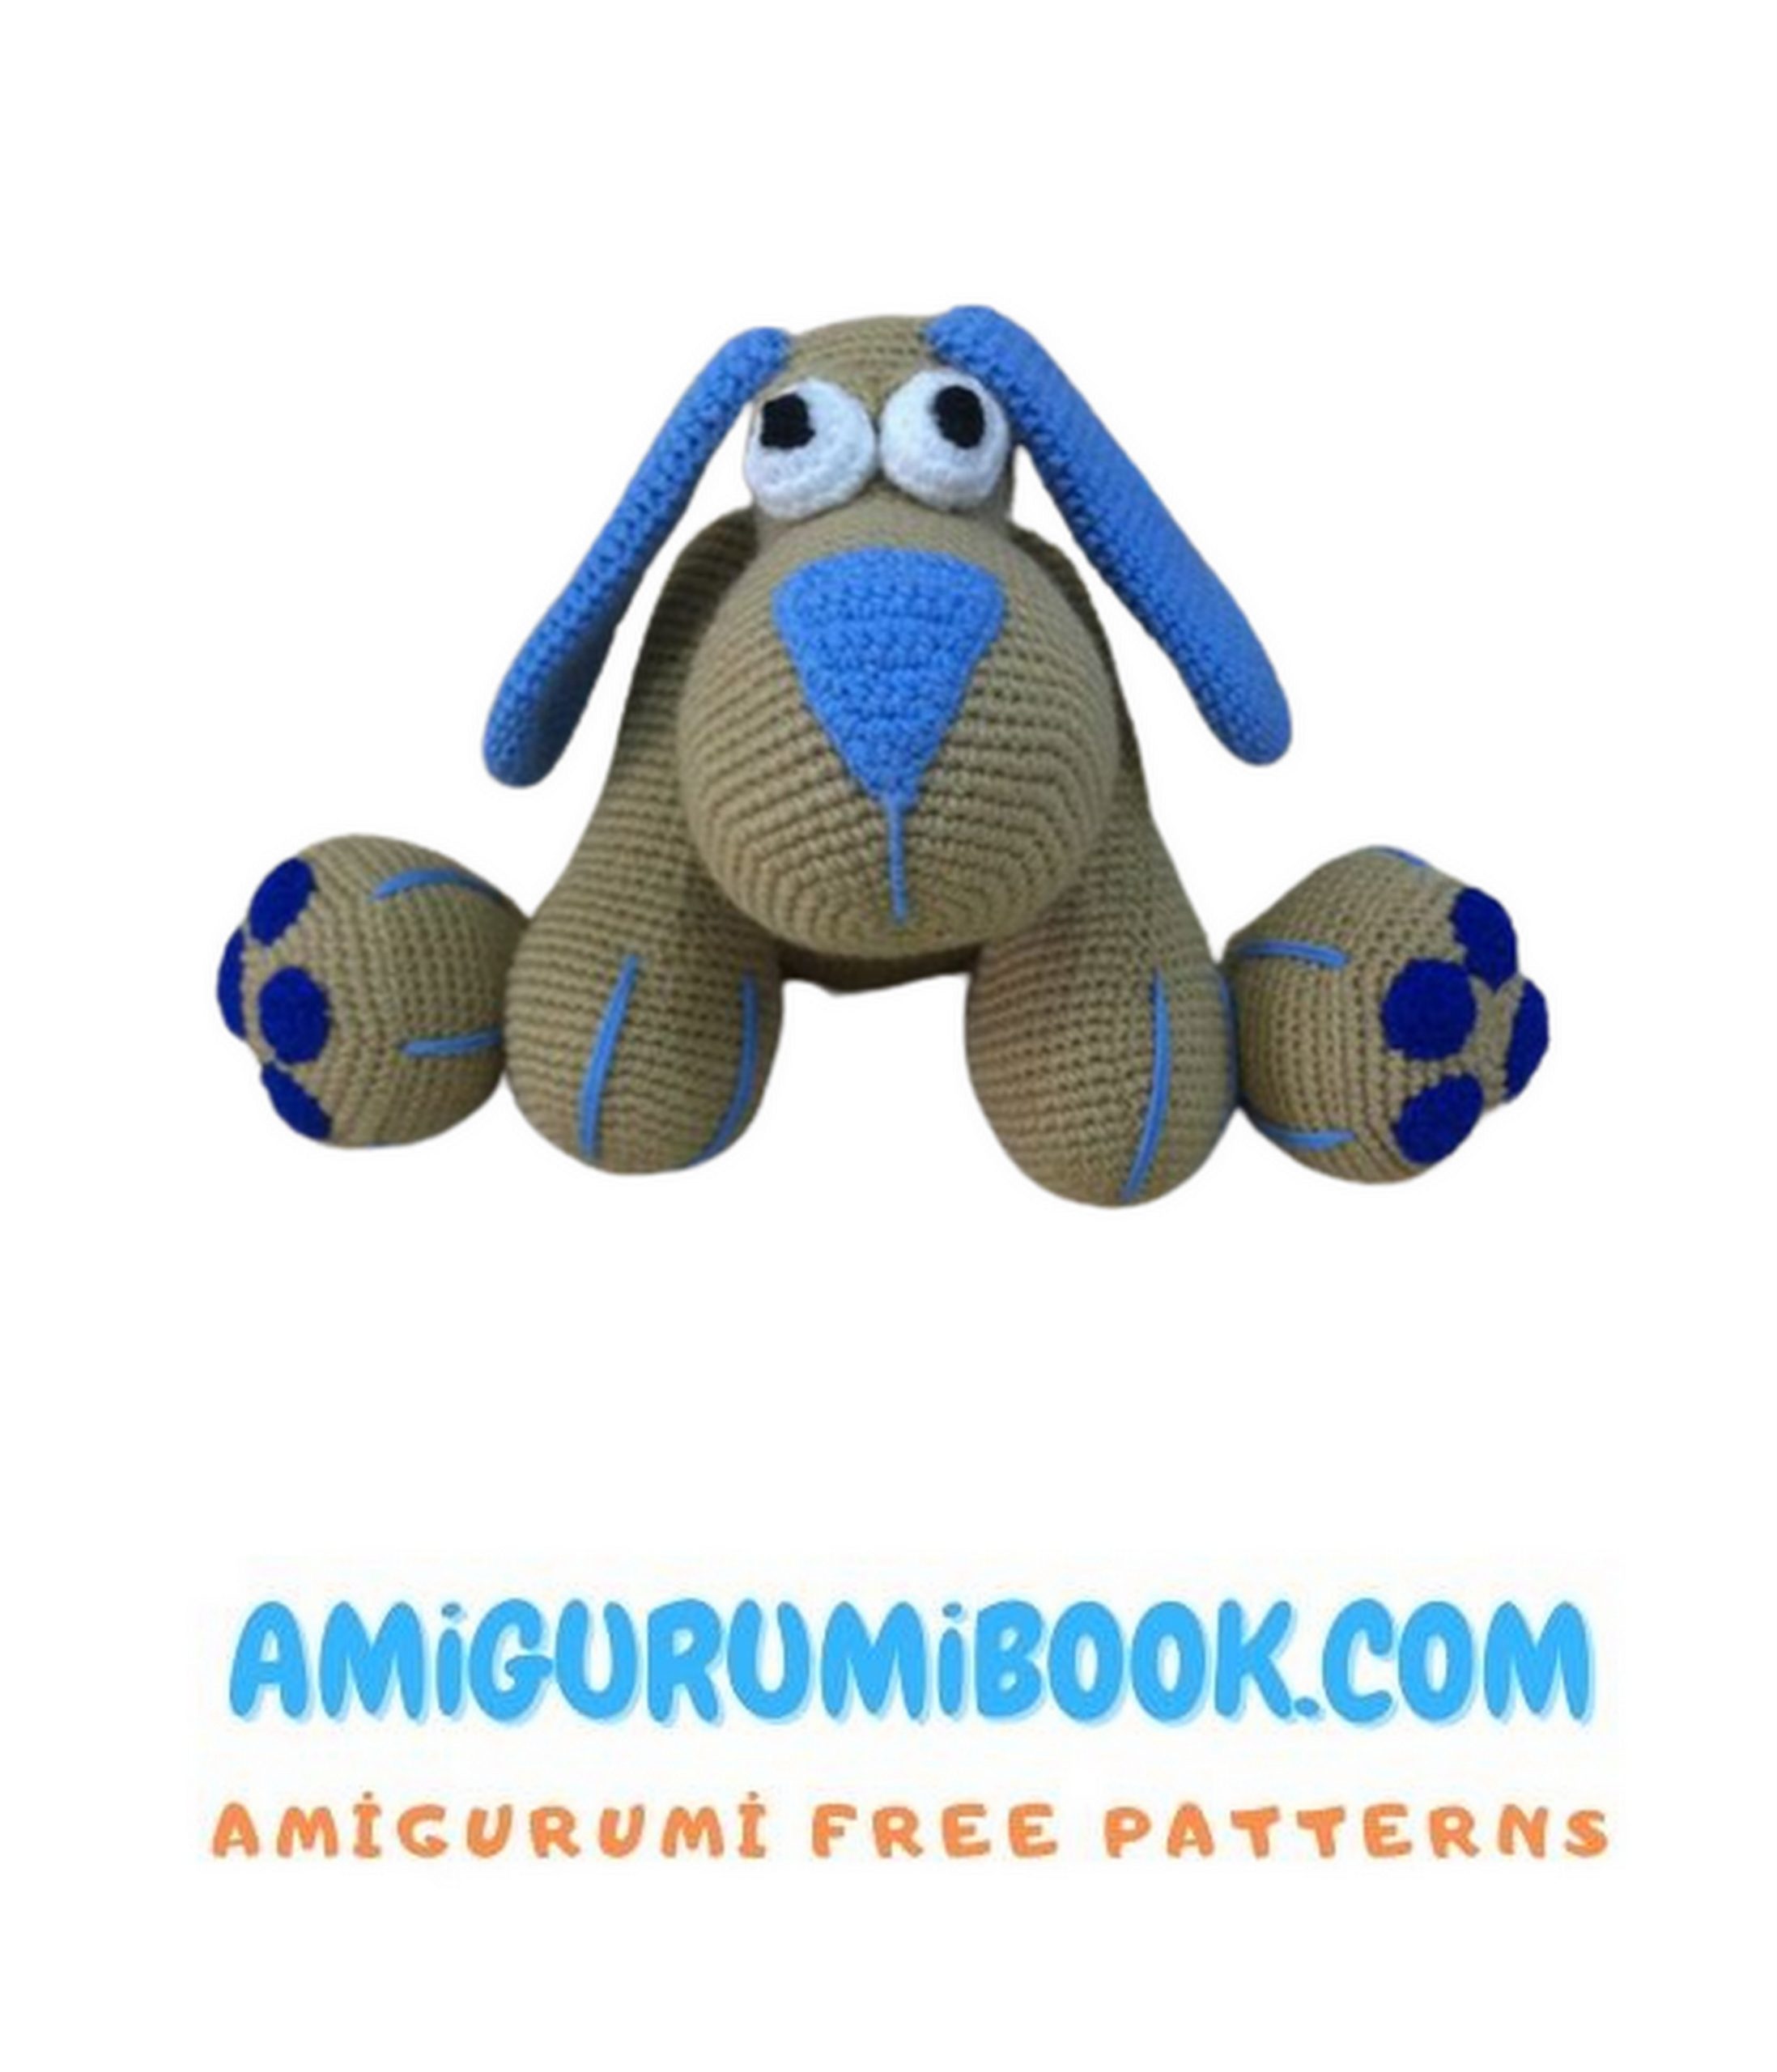
- Small felt circles (for paw details)
- Yarn needle
- Scissors
✂️ Abbreviations
- MR: magic ring
- sc: single crochet
- inc: increase (2 sc in same stitch)
- dec: decrease (sc 2 stitches together)
- sl st: slip stitch
- ch: chain
🧵 Notes
Stuff the toy as you go
Work in continuous spiral rounds
Crochet through both loops unless stated otherwise
Turn the piece right side out after the first few rounds
PATTERN
🧸 Head
With beige yarn:
1: 6 sc in MR (6)
2: (inc) * 6 (12)
3: (1 sc, inc) * 6 (18)
4: (2 sc, inc) * 6 (24)
5: (3 sc, inc) * 6 (30)
6: (4 sc, inc) * 6 (36)
7: (5 sc, inc) * 6 (42)
8: (6 sc, inc) * 6 (48)
9: (7 sc, inc) * 6 (54)
10: (8 sc, inc) * 6 (60)
11: (9 sc, inc) * 6 (66)
12–15: 66 sc
16: 31 sc, dec, 31 sc, dec (64)
17: 64 sc
18: 30 sc, dec, 30 sc, dec (62)
19: 62 sc
20: 29 sc, dec, 29 sc, dec (60)
21: 60 sc
22: 28 sc, dec, 28 sc, dec (58)
23: 58 sc
24: 27 sc, dec, 27 sc, dec (56)
25: (12 sc, dec) * 4 (52)
26: (11 sc, dec) * 4 (48)
27: (6 sc, dec) * 6 (42)
28: (5 sc, dec) * 6 (36)
29–34: 36 sc
Stuff the head
35: (5 sc, inc) * 6 (42)
36: (6 sc, inc) * 6 (48)
37–41: 48 sc
42: (dec, 6 sc) * 6 (42)
43: (dec, 5 sc) * 6 (36)
44: (dec, 4 sc) * 6 (30)
45: (dec, 3 sc) * 6 (24)
46: (dec, 2 sc) * 6 (18)
47: (dec, 1 sc) * 6 (12)
48: 6 dec (6)
Stuff firmly and close.
👀 Eyes
Pupils (Make 2)
With black yarn:
1: 6 sc in MR (6)
F.o., leave a tail for sewing.
Eye Whites (Make 2)
With white yarn:
1: 6 sc in MR (6)
2: (inc) * 6 (12)
3: (inc, 1 sc) * 6 (18)
4: 18 sc
5: (dec, 1 sc) * 6 (12)
F.o., leave a tail for sewing.
Eyelids (Make 2)
With beige yarn:
1: 6 sc in MR (6)
2: (inc) * 6 (12)
3: (1 sc, inc) * 6 (18)
4: 18 sc
5: (dec, 1 sc) * 6 (12)
F.o., leave a tail for sewing.
🧵 Assembly (Eyes)
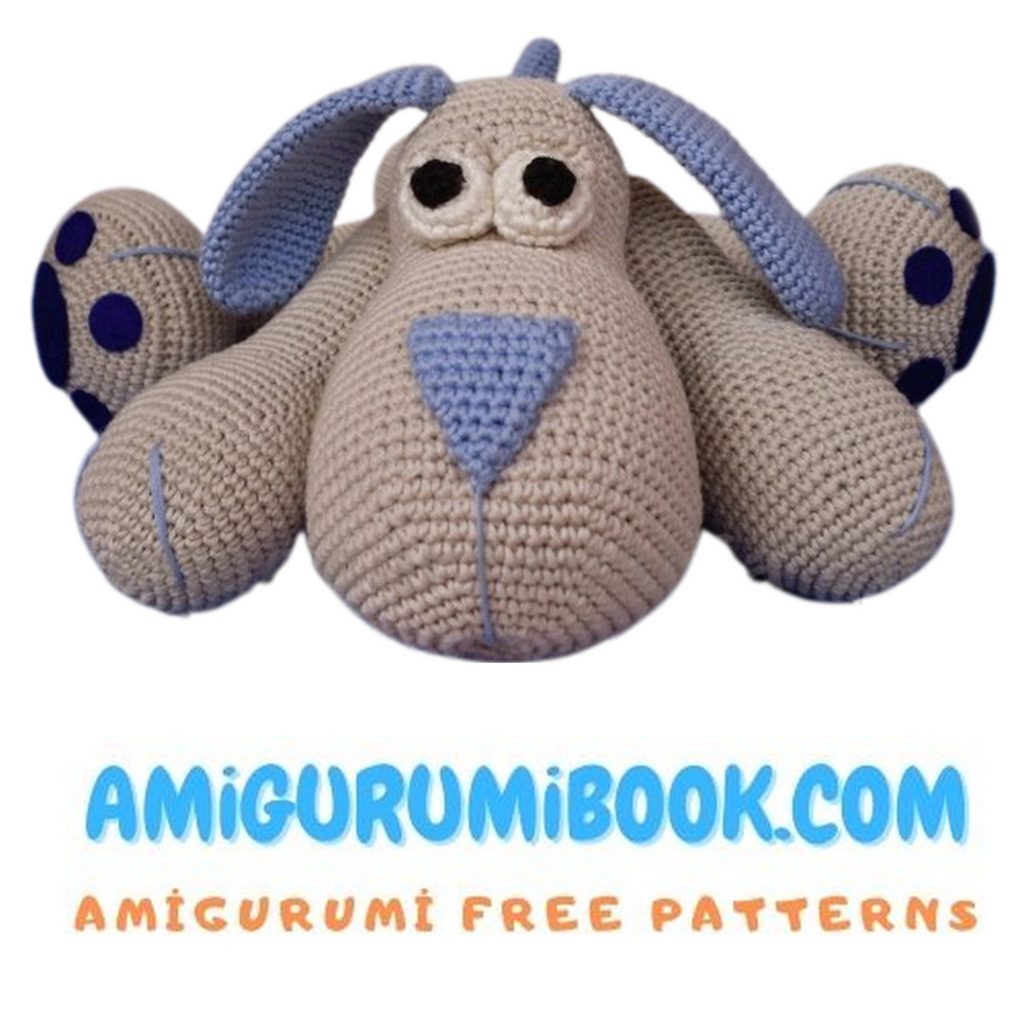
Sew the pupils slightly off-center for a peeking expression
Attach the eyelids to the head
🐽 Nose
With second color yarn:
1: 4 sc in MR (4)
2: (inc, 1 sc) * 2 (6)
3: (inc, 2 sc) * 2 (8)
4: (inc, 3 sc) * 2 (10)
5: (inc, 4 sc) * 2 (12)
6: (inc, 5 sc) * 2 (14)
7: (inc, 6 sc) * 2 (16)
8: (inc, 7 sc) * 2 (18)
9: (inc, 8 sc) * 2 (20)
F.o., leave a long tail for sewing.
Flatten into a triangular shape.
👂 Ears (Make 2)
With second color yarn:
1: 6 sc in MR (6)
2: (inc) * 6 (12)
3: (inc, 1 sc) * 6 (18)
4: 18 sc
5: (inc, 2 sc) * 6 (24)
6–10: 24 sc
11: (dec, 10 sc) * 2 (22)
12–14: 22 sc
15: (dec, 9 sc) * 2 (20)
16–18: 20 sc
19: (dec, 8 sc) * 2 (18)
20–22: 18 sc
23: (dec, 7 sc) * 2 (16)
24–26: 16 sc
27: (dec, 6 sc) * 2 (14)
28: (dec, 5 sc) * 2 (12)
29: 6 dec (6)
F.o., leave a tail for sewing.
🧸 Body
With beige yarn:
1: 6 sc in MR (6)
2: (inc) * 6 (12)
3: (inc, 1 sc) * 6 (18)
4: (inc, 2 sc) * 6 (24)
5: (inc, 3 sc) * 6 (30)
6: (inc, 4 sc) * 6 (36)
7: (inc, 5 sc) * 6 (42)
8: (inc, 6 sc) * 6 (48)
9: (inc, 7 sc) * 6 (54)
10: (inc, 8 sc) * 6 (60)
11: (inc, 9 sc) * 6 (66)
12–14: 66 sc
15: (31 sc, dec) * 2 (64)
16: 64 sc
17: (14 sc, dec) * 4 (60)
18: 60 sc
19: (13 sc, dec) * 4 (56)
20: 56 sc
21: (12 sc, dec) * 4 (52)
22: 52 sc
23: (11 sc, dec) * 4 (48)
24: 48 sc
25: (10 sc, dec) * 4 (44)
26: 44 sc
27: (9 sc, dec) * 4 (40)
28: 40 sc
29: (18 sc, dec) * 2 (38)
30: 38 sc
31: (17 sc, dec) * 2 (36)
32: 36 sc
33: (16 sc, dec) * 2 (34)
34: 34 sc
35: (15 sc, dec) * 2 (32)
36: 32 sc
37: (14 sc, dec) * 2 (30)
38: 30 sc
39: (13 sc, dec) * 2 (28)
40: (12 sc, dec) * 2 (26)
41: (11 sc, dec) * 2 (24)
42: (dec) * 12 (12)
43: (dec) * 6 (6)
Stuff firmly, F.o.
🐾 Front Legs (Make 2)
1: 6 sc in MR (6)
2: (inc) * 6 (12)
3: (inc, 1 sc) * 6 (18)
4: (inc, 2 sc) * 6 (24)
5: (inc, 3 sc) * 6 (30)
6: (inc, 4 sc) * 6 (36)
7: (inc, 17 sc) * 2 (38)
8: (inc, 18 sc) * 2 (40)
9: (inc, 19 sc) * 2 (42)
10: (inc, 13 sc) * 3 (45)
11: (inc, 14 sc) * 3 (48)
12–14: 48 sc
15: (10 sc, dec) * 4 (44)
16: 44 sc
17: (9 sc, dec) * 4 (40)
18: 40 sc
19: (8 sc, dec) * 4 (36)
20: 36 sc
21: (2 sc, dec) * 9 (27)
22–41: 27 sc
42: (7 sc, dec) * 3 (24)
43: (2 sc, dec) * 6 (18)
44: (1 sc, dec) * 6 (12)
F.o., stuff.
🦵 Rear Legs (Make 2)
1: 6 sc in MR (6)
2: (inc) * 6 (12)
3: (inc, 1 sc) * 6 (18)
4: (inc, 2 sc) * 6 (24)
5: (inc, 3 sc) * 6 (30)
6: (inc, 4 sc) * 6 (36)
7: (inc, 5 sc) * 6 (42)
8: (inc, 6 sc) * 6 (48)
9: (inc, 7 sc) * 6 (54)
10: (inc, 8 sc) * 6 (60)
11: 60 sc in BLO
12–14: 60 sc
15: (18 sc, dec) * 2, 20 sc (58)
16: (17 sc, dec) * 2, 17 sc (56)
17: (16 sc, dec) * 2, 16 sc (54)
18: (15 sc, dec) * 2, 15 sc (52)
19: (14 sc, dec) * 2, 14 sc (50)
20: (13 sc, dec) * 2, 8 sc, (dec, 8 sc) * 2, 13 sc (46)
21: (12 sc, dec) * 2, 7 sc, (dec, 7 sc) * 2, 12 sc (42)
22: (5 sc, dec) * 6 (36)
23: (dec, 4 sc) * 6 (30)
24–43: 30 sc
44: (dec, 3 sc) * 6 (24)
45: (dec, 2 sc) * 6 (18)
46: (dec, 1 sc) * 6 (12)
F.o., stuff.
🐕 Tail
With secondary color:
1: 6 sc in MR (6)
2: (inc, 2 sc) * 2 (8)
3: 8 sc
4: (inc, 3 sc) * 2 (10)
5: 10 sc
6: (inc, 4 sc) * 2 (12)
7: 12 sc
8: (inc, 5 sc) * 2 (14)
9: 14 sc
10: (inc, 6 sc) * 2 (16)
11–15: 16 sc
F.o., stuff.
🧣 Collar
Ch 30
Row 1: 30 sc
🧵 Assembly
Attach felt pads
Sew head to body
Attach ears and legs
Sew tail to back
Wrap and sew collar
Embroider paw details