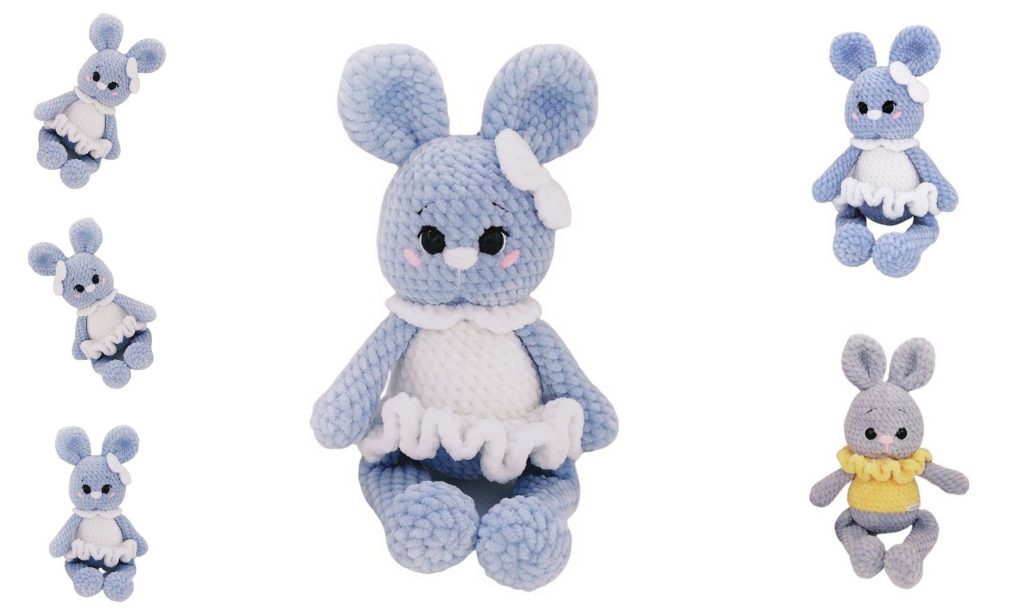
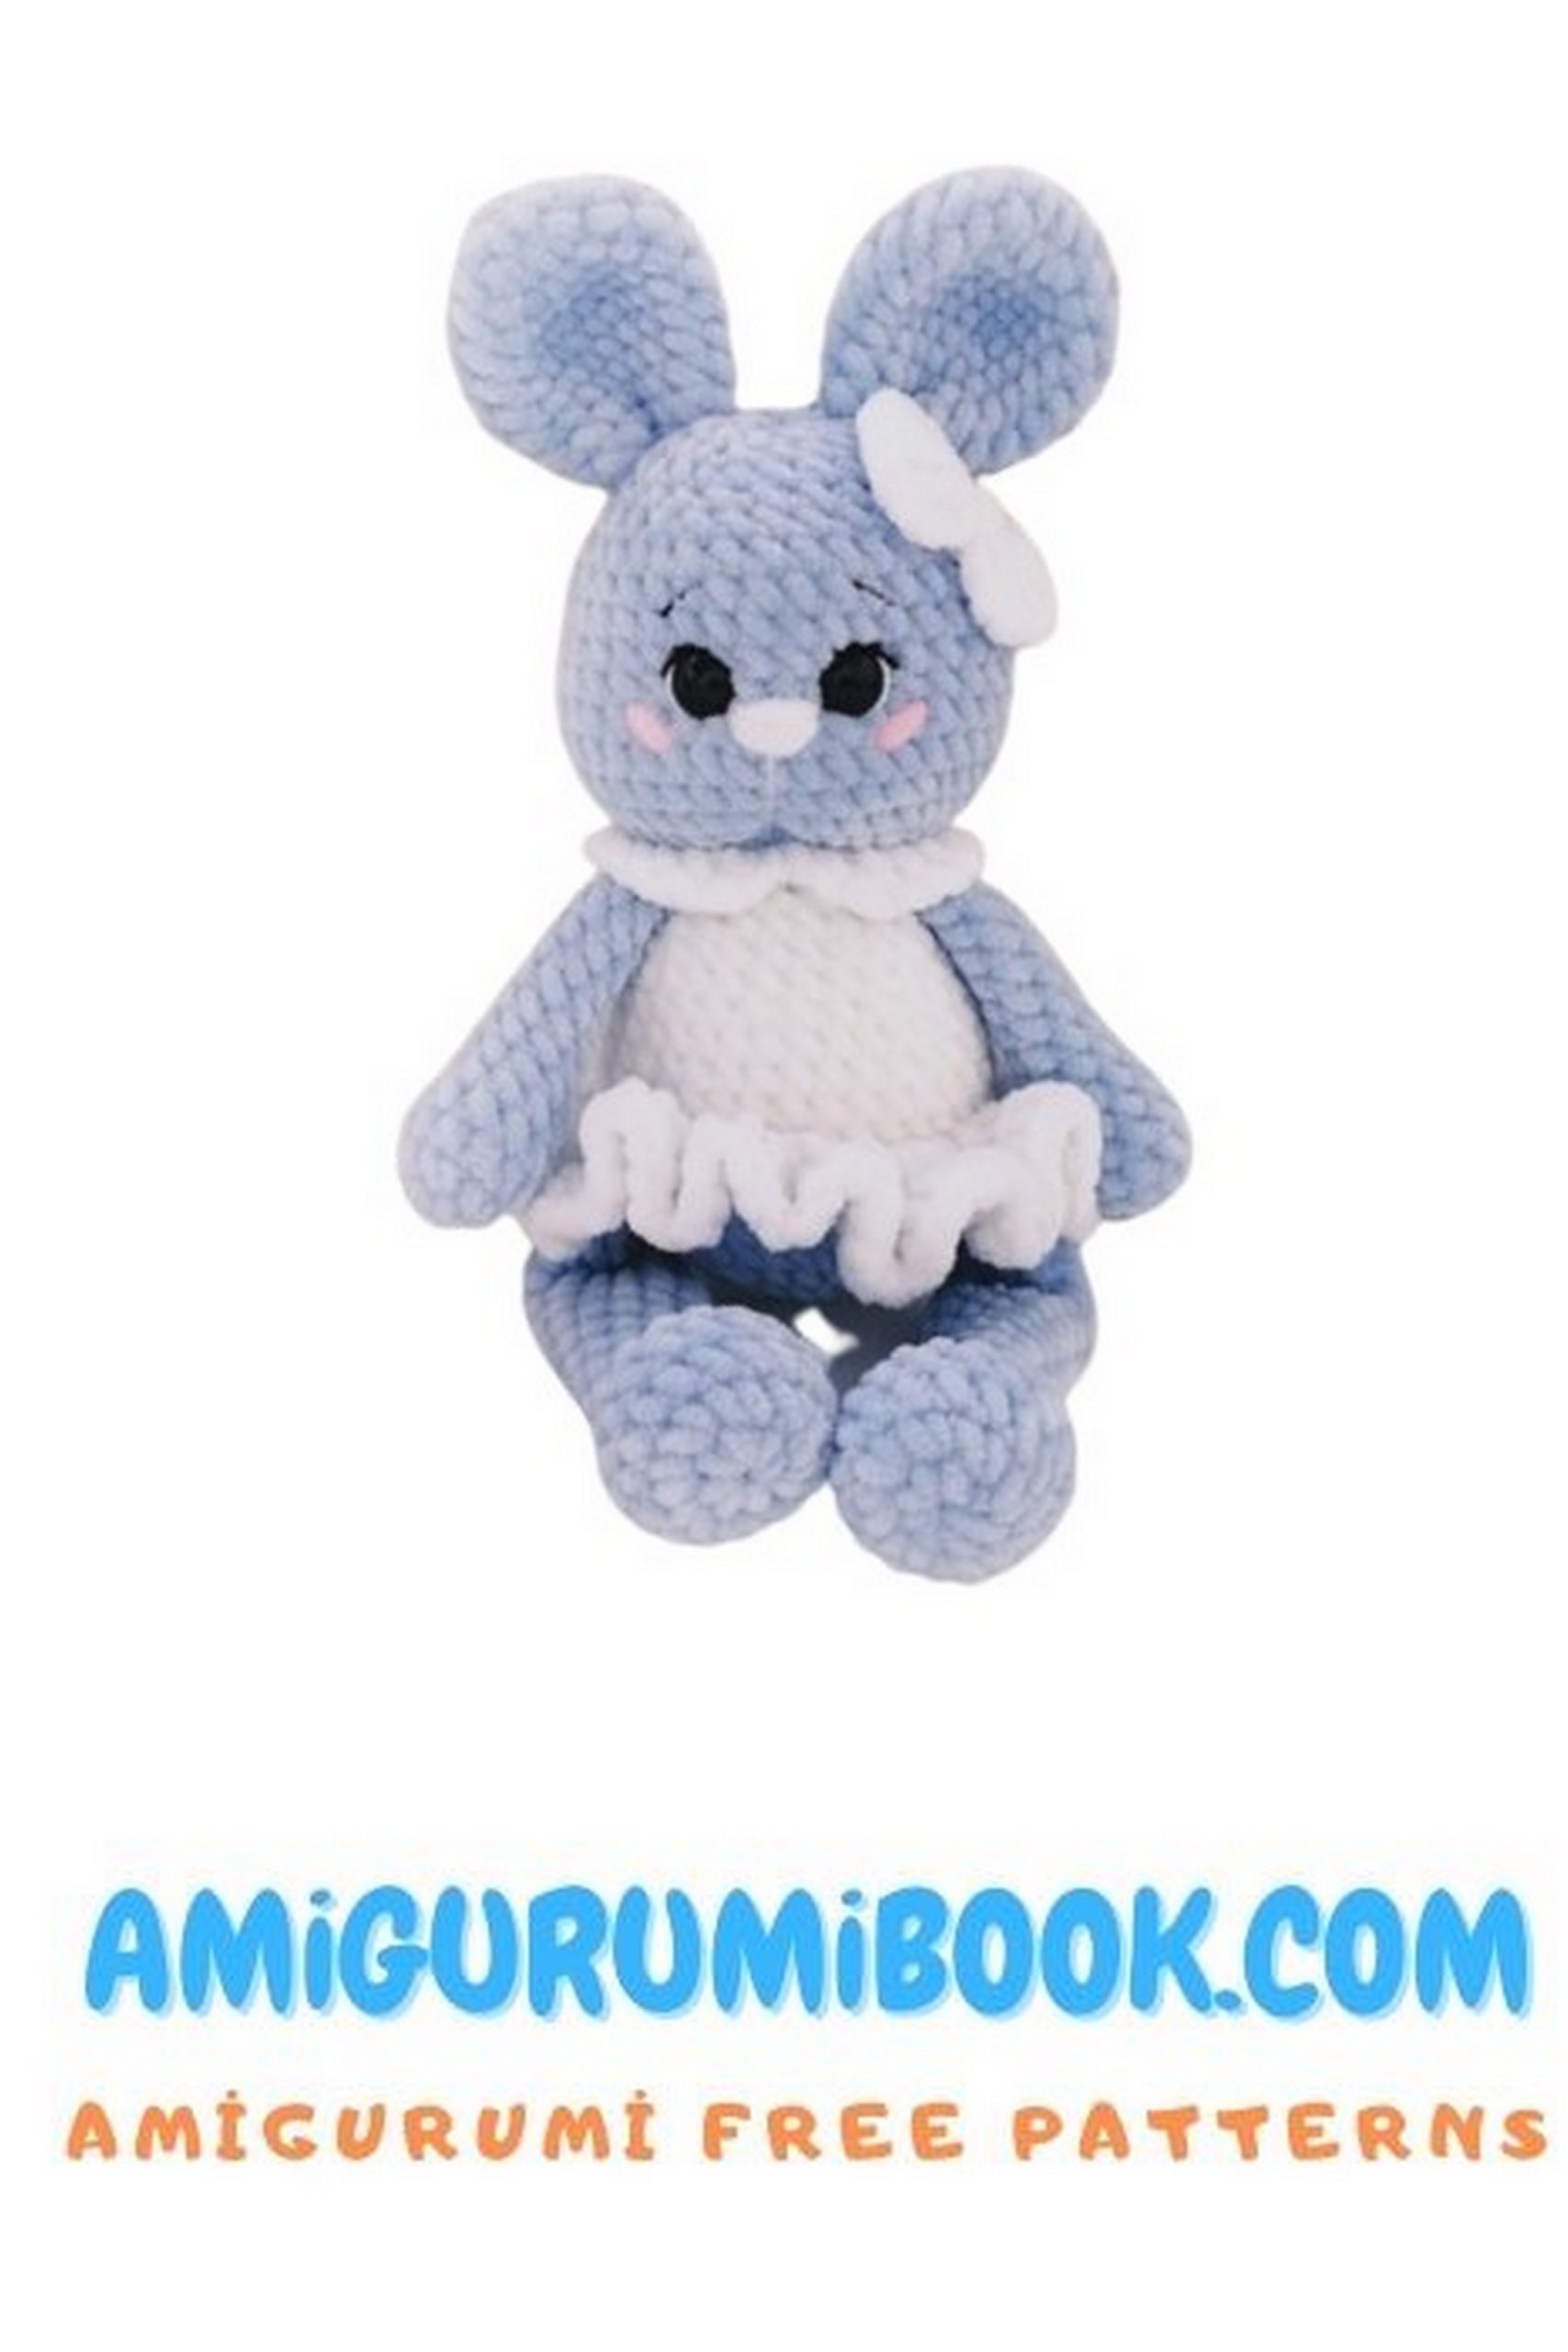
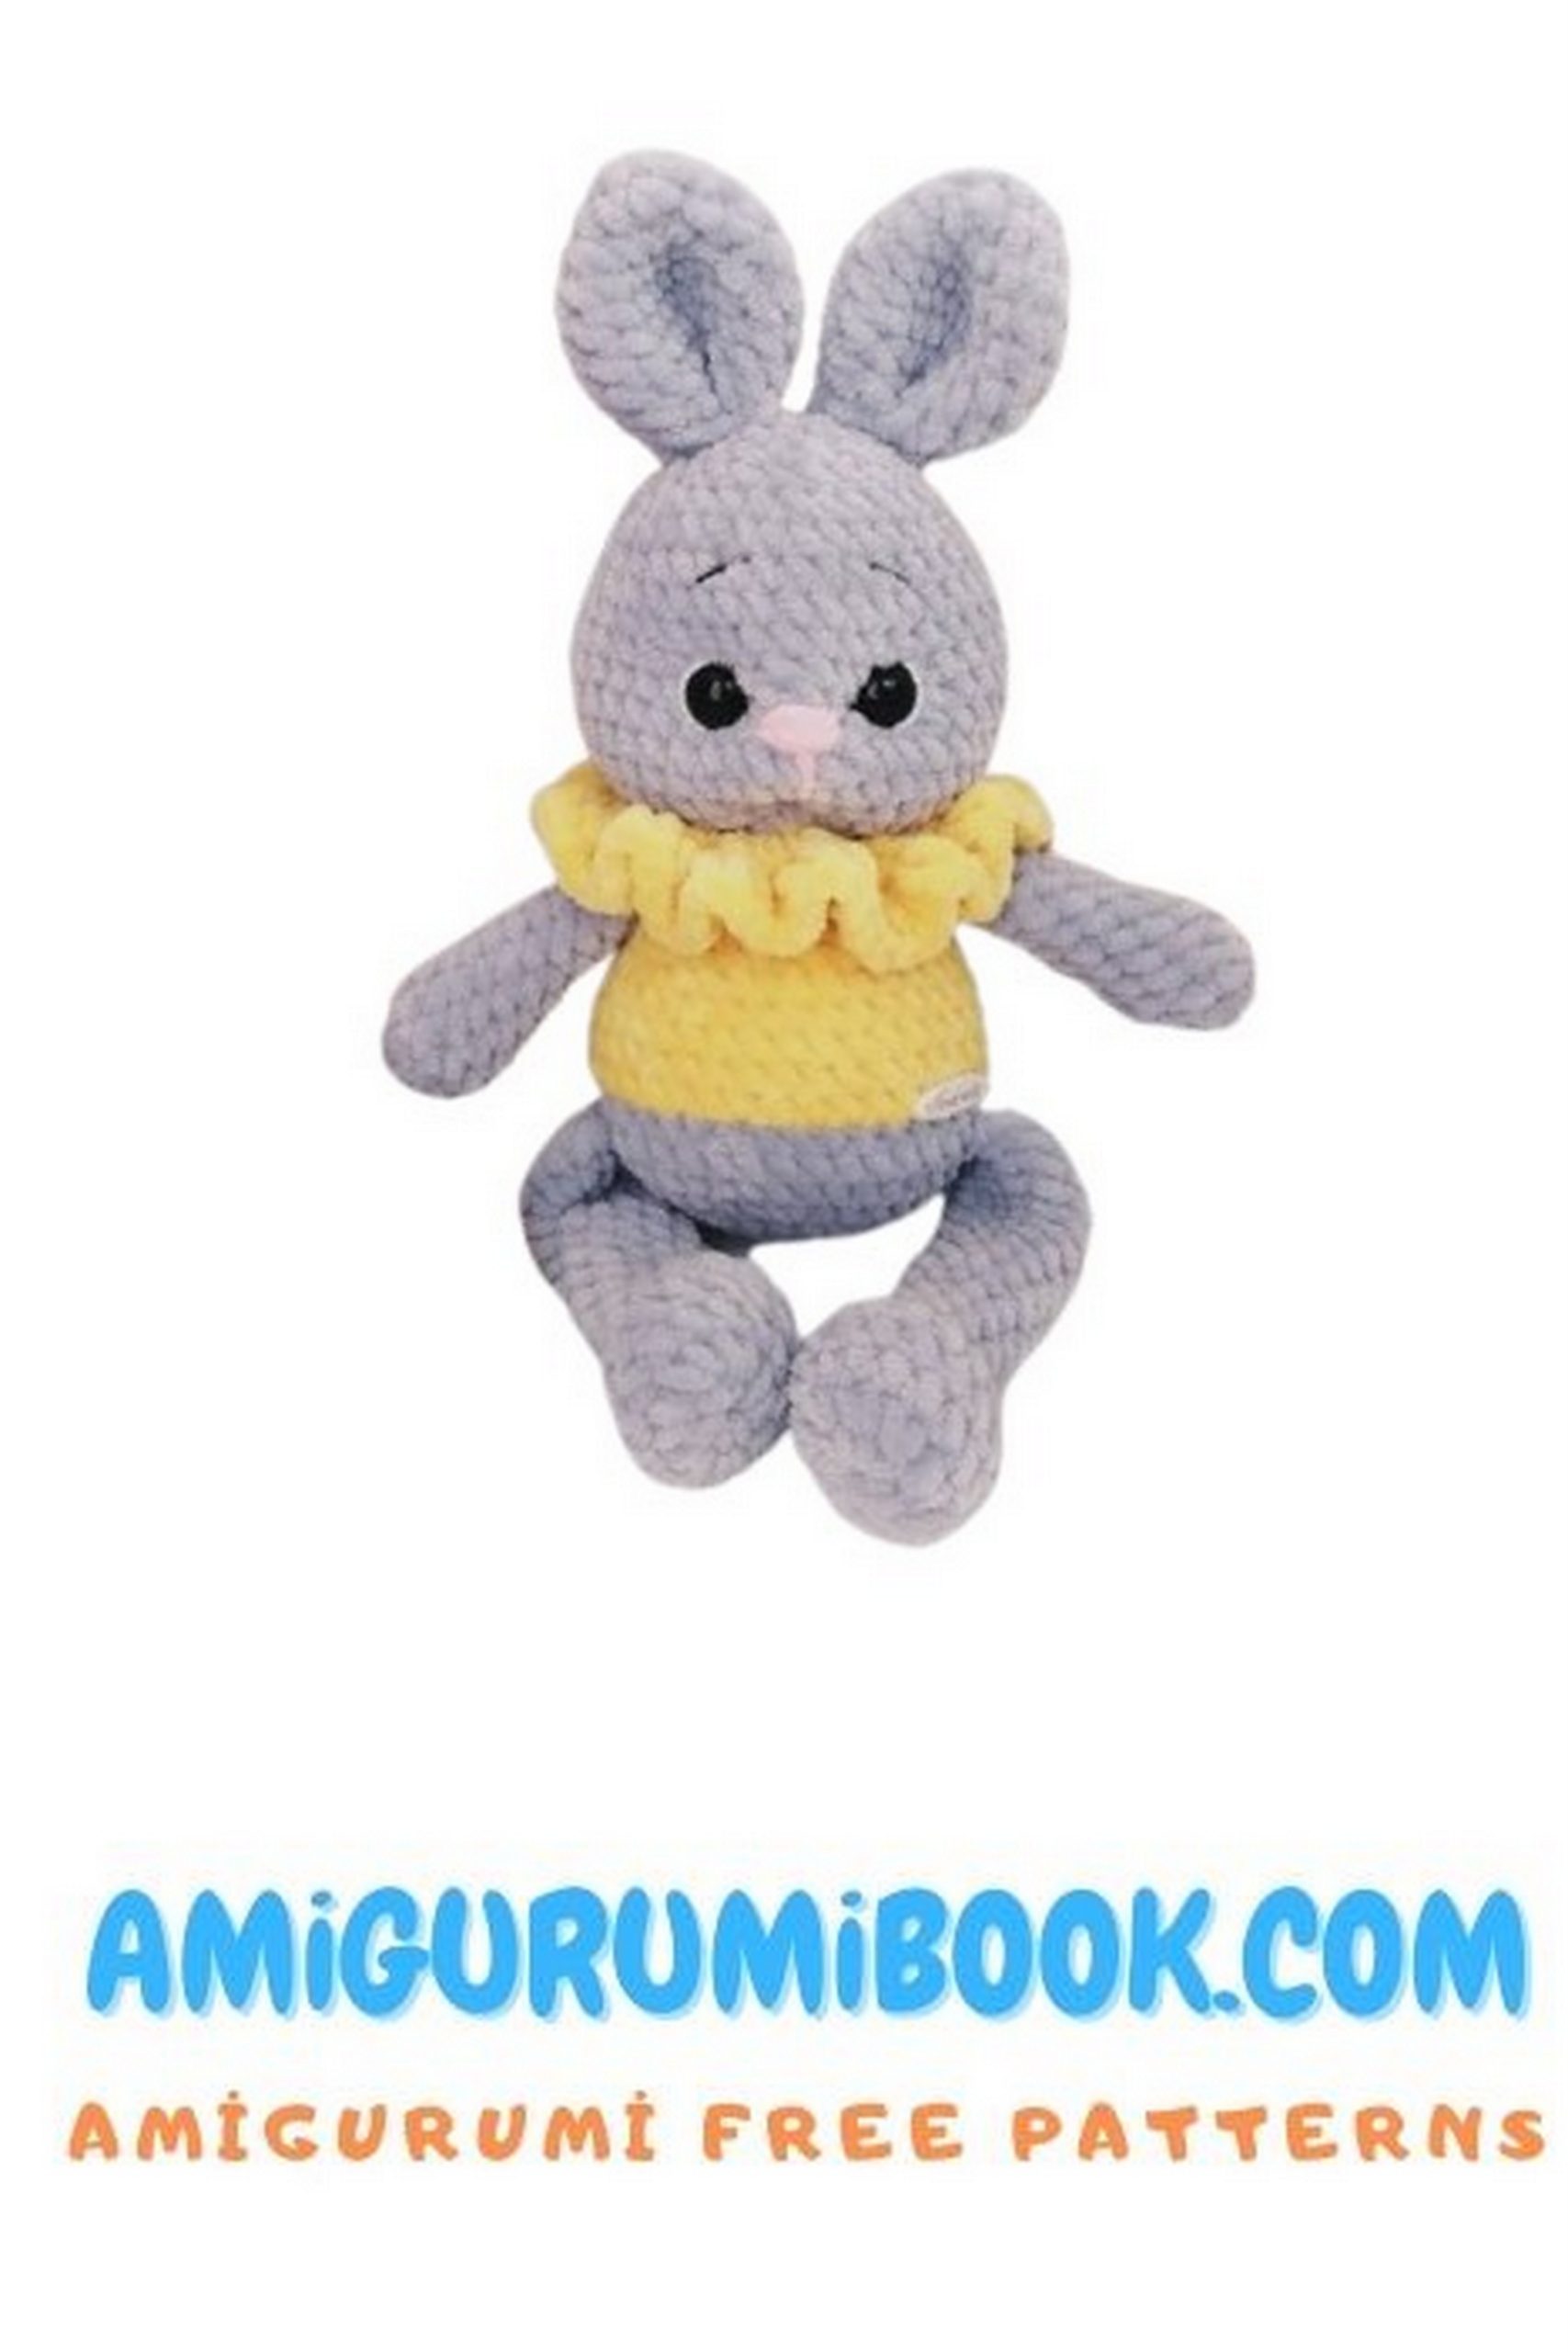
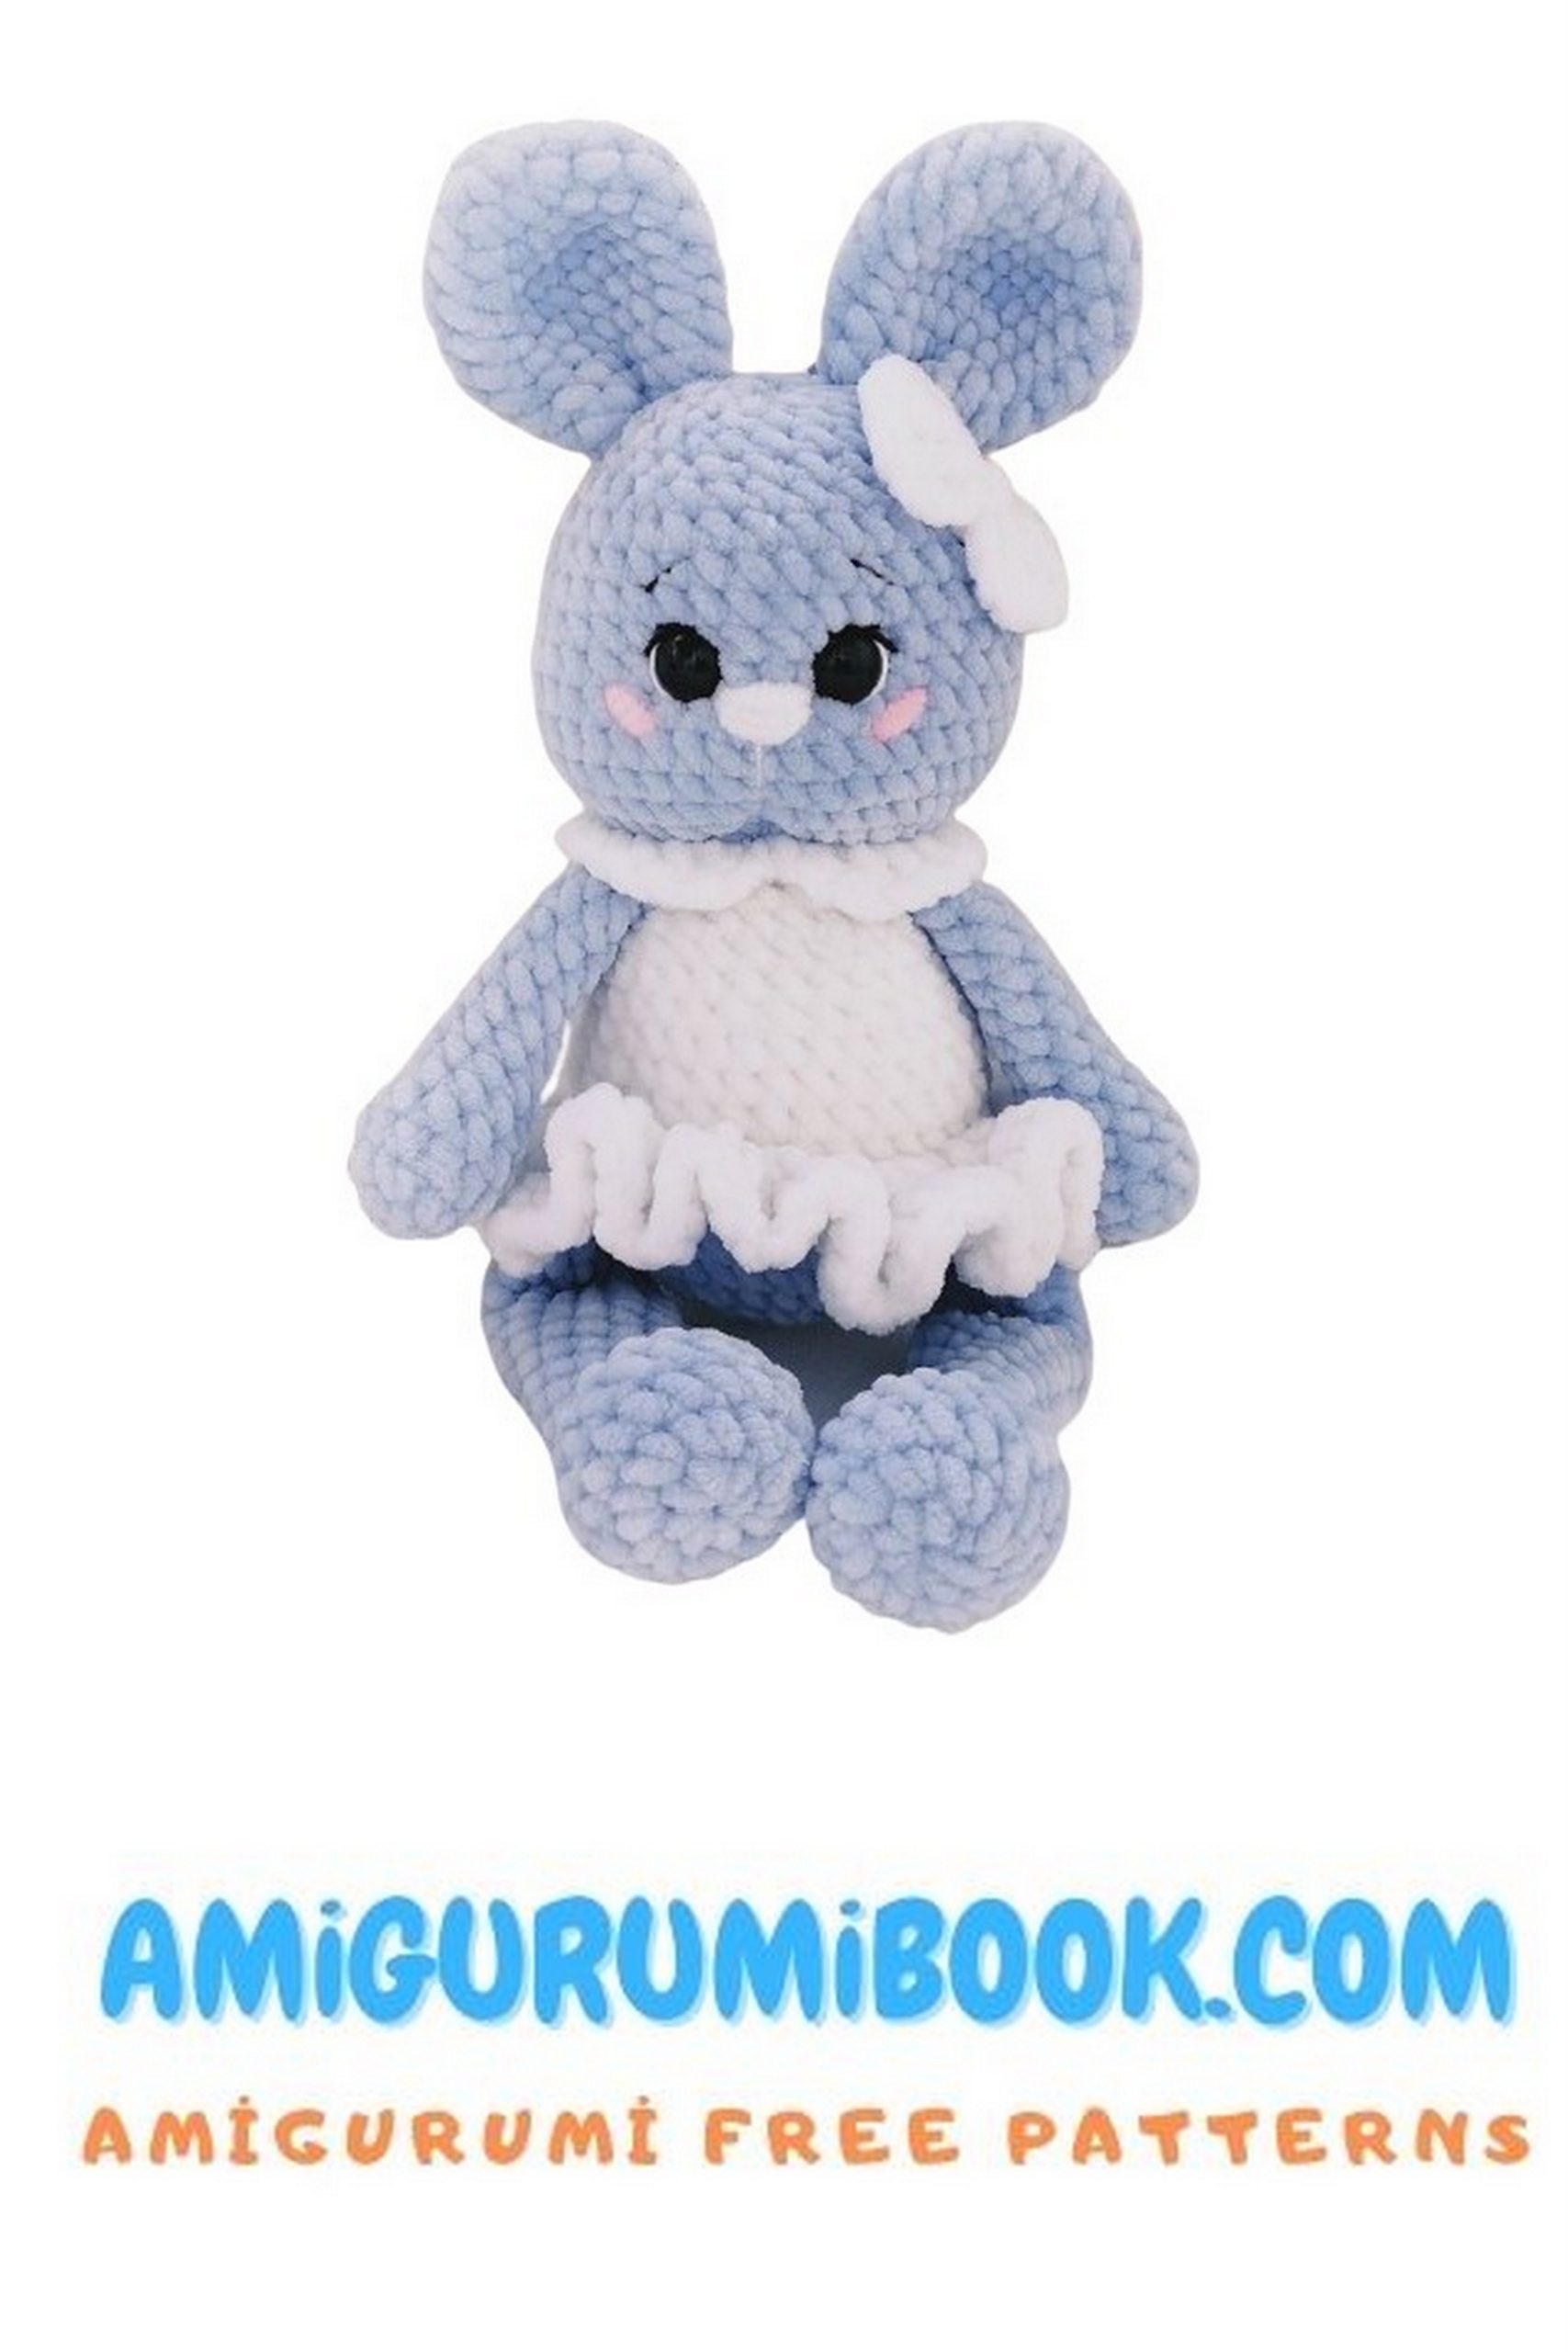
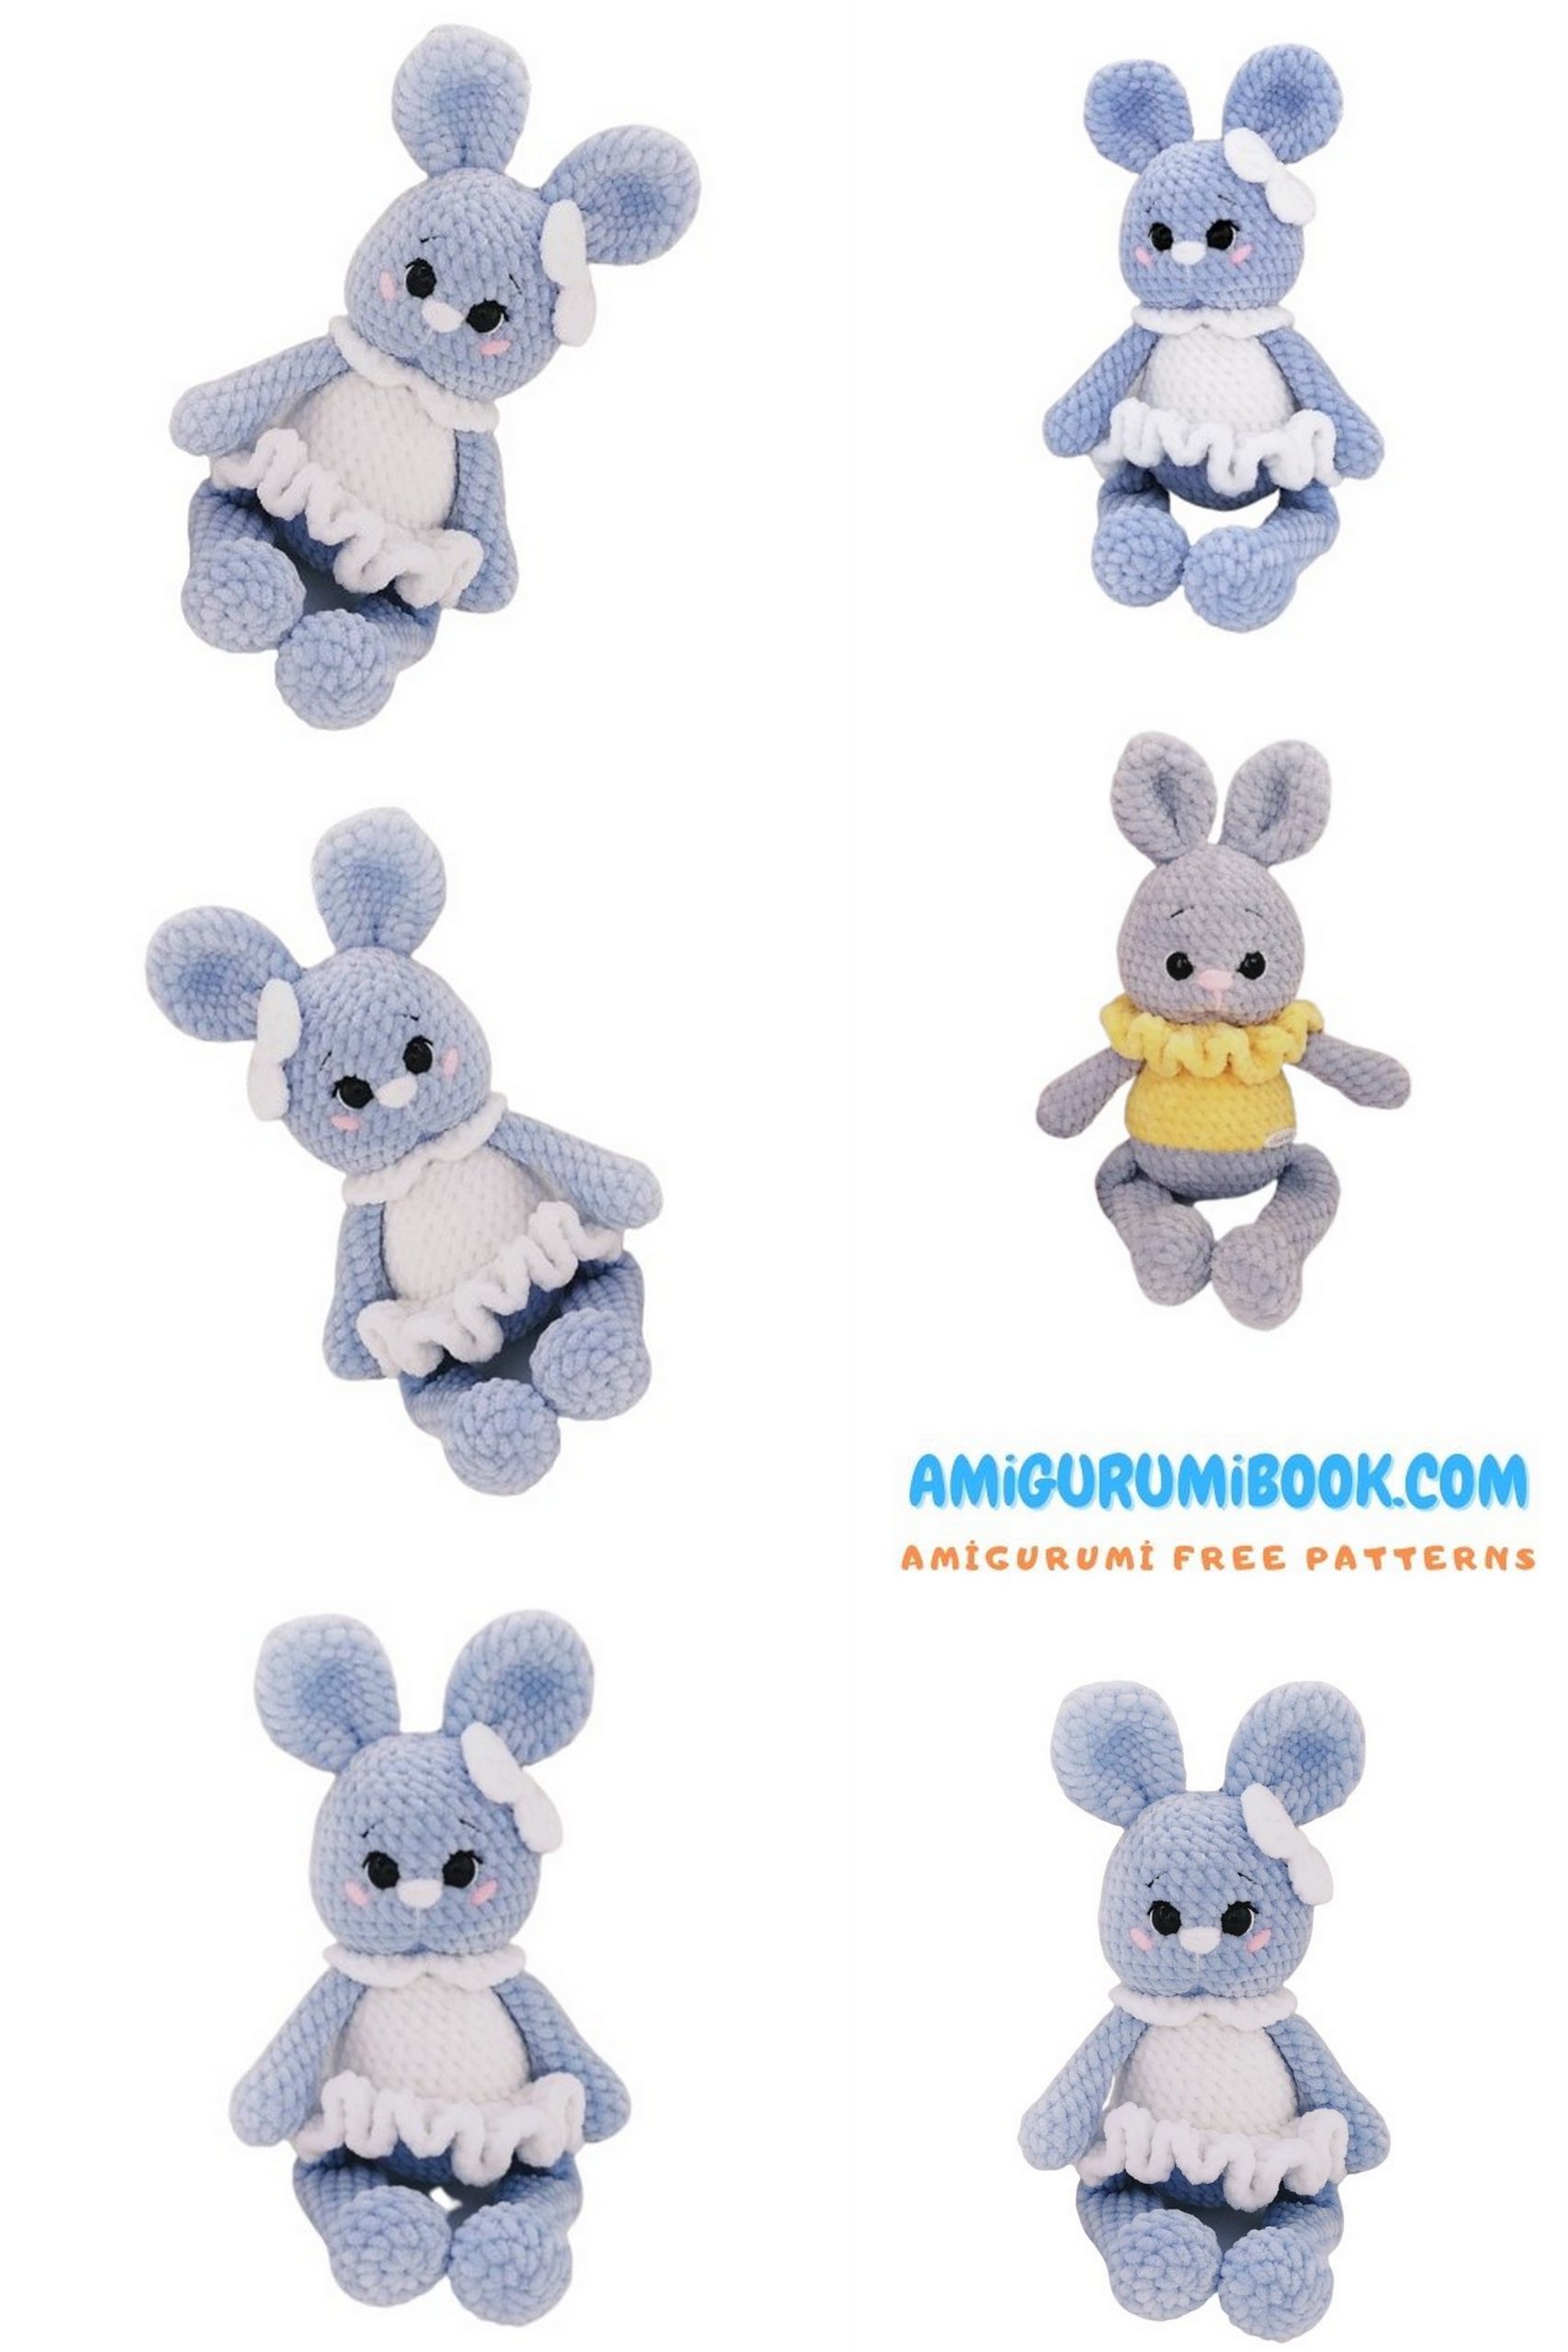
Welcome to the cozy world of amigurumi crochet! If you’re searching for a project that combines charm and softness, you’re in for a treat with our free Long-Legged Velvet Bunny Amigurumi pattern. This delightful amigurumi bunny free pattern guides you through creating your very own adorable velvet bunny with long, floppy legs that are perfect for cuddling. Whether you’re an experienced crocheter or a beginner looking for a new challenge, this pattern is sure to bring joy to your crafting experience. Join us as we embark on a crochet adventure filled with soft stitches, plush velvet, and endless smiles!
A great suggestion for your amigurumi bunny collection. You will also love the amigurumi overalls bunny content.
If you want to access 1000+ free amigurumi patterns, you can download our application from this link!
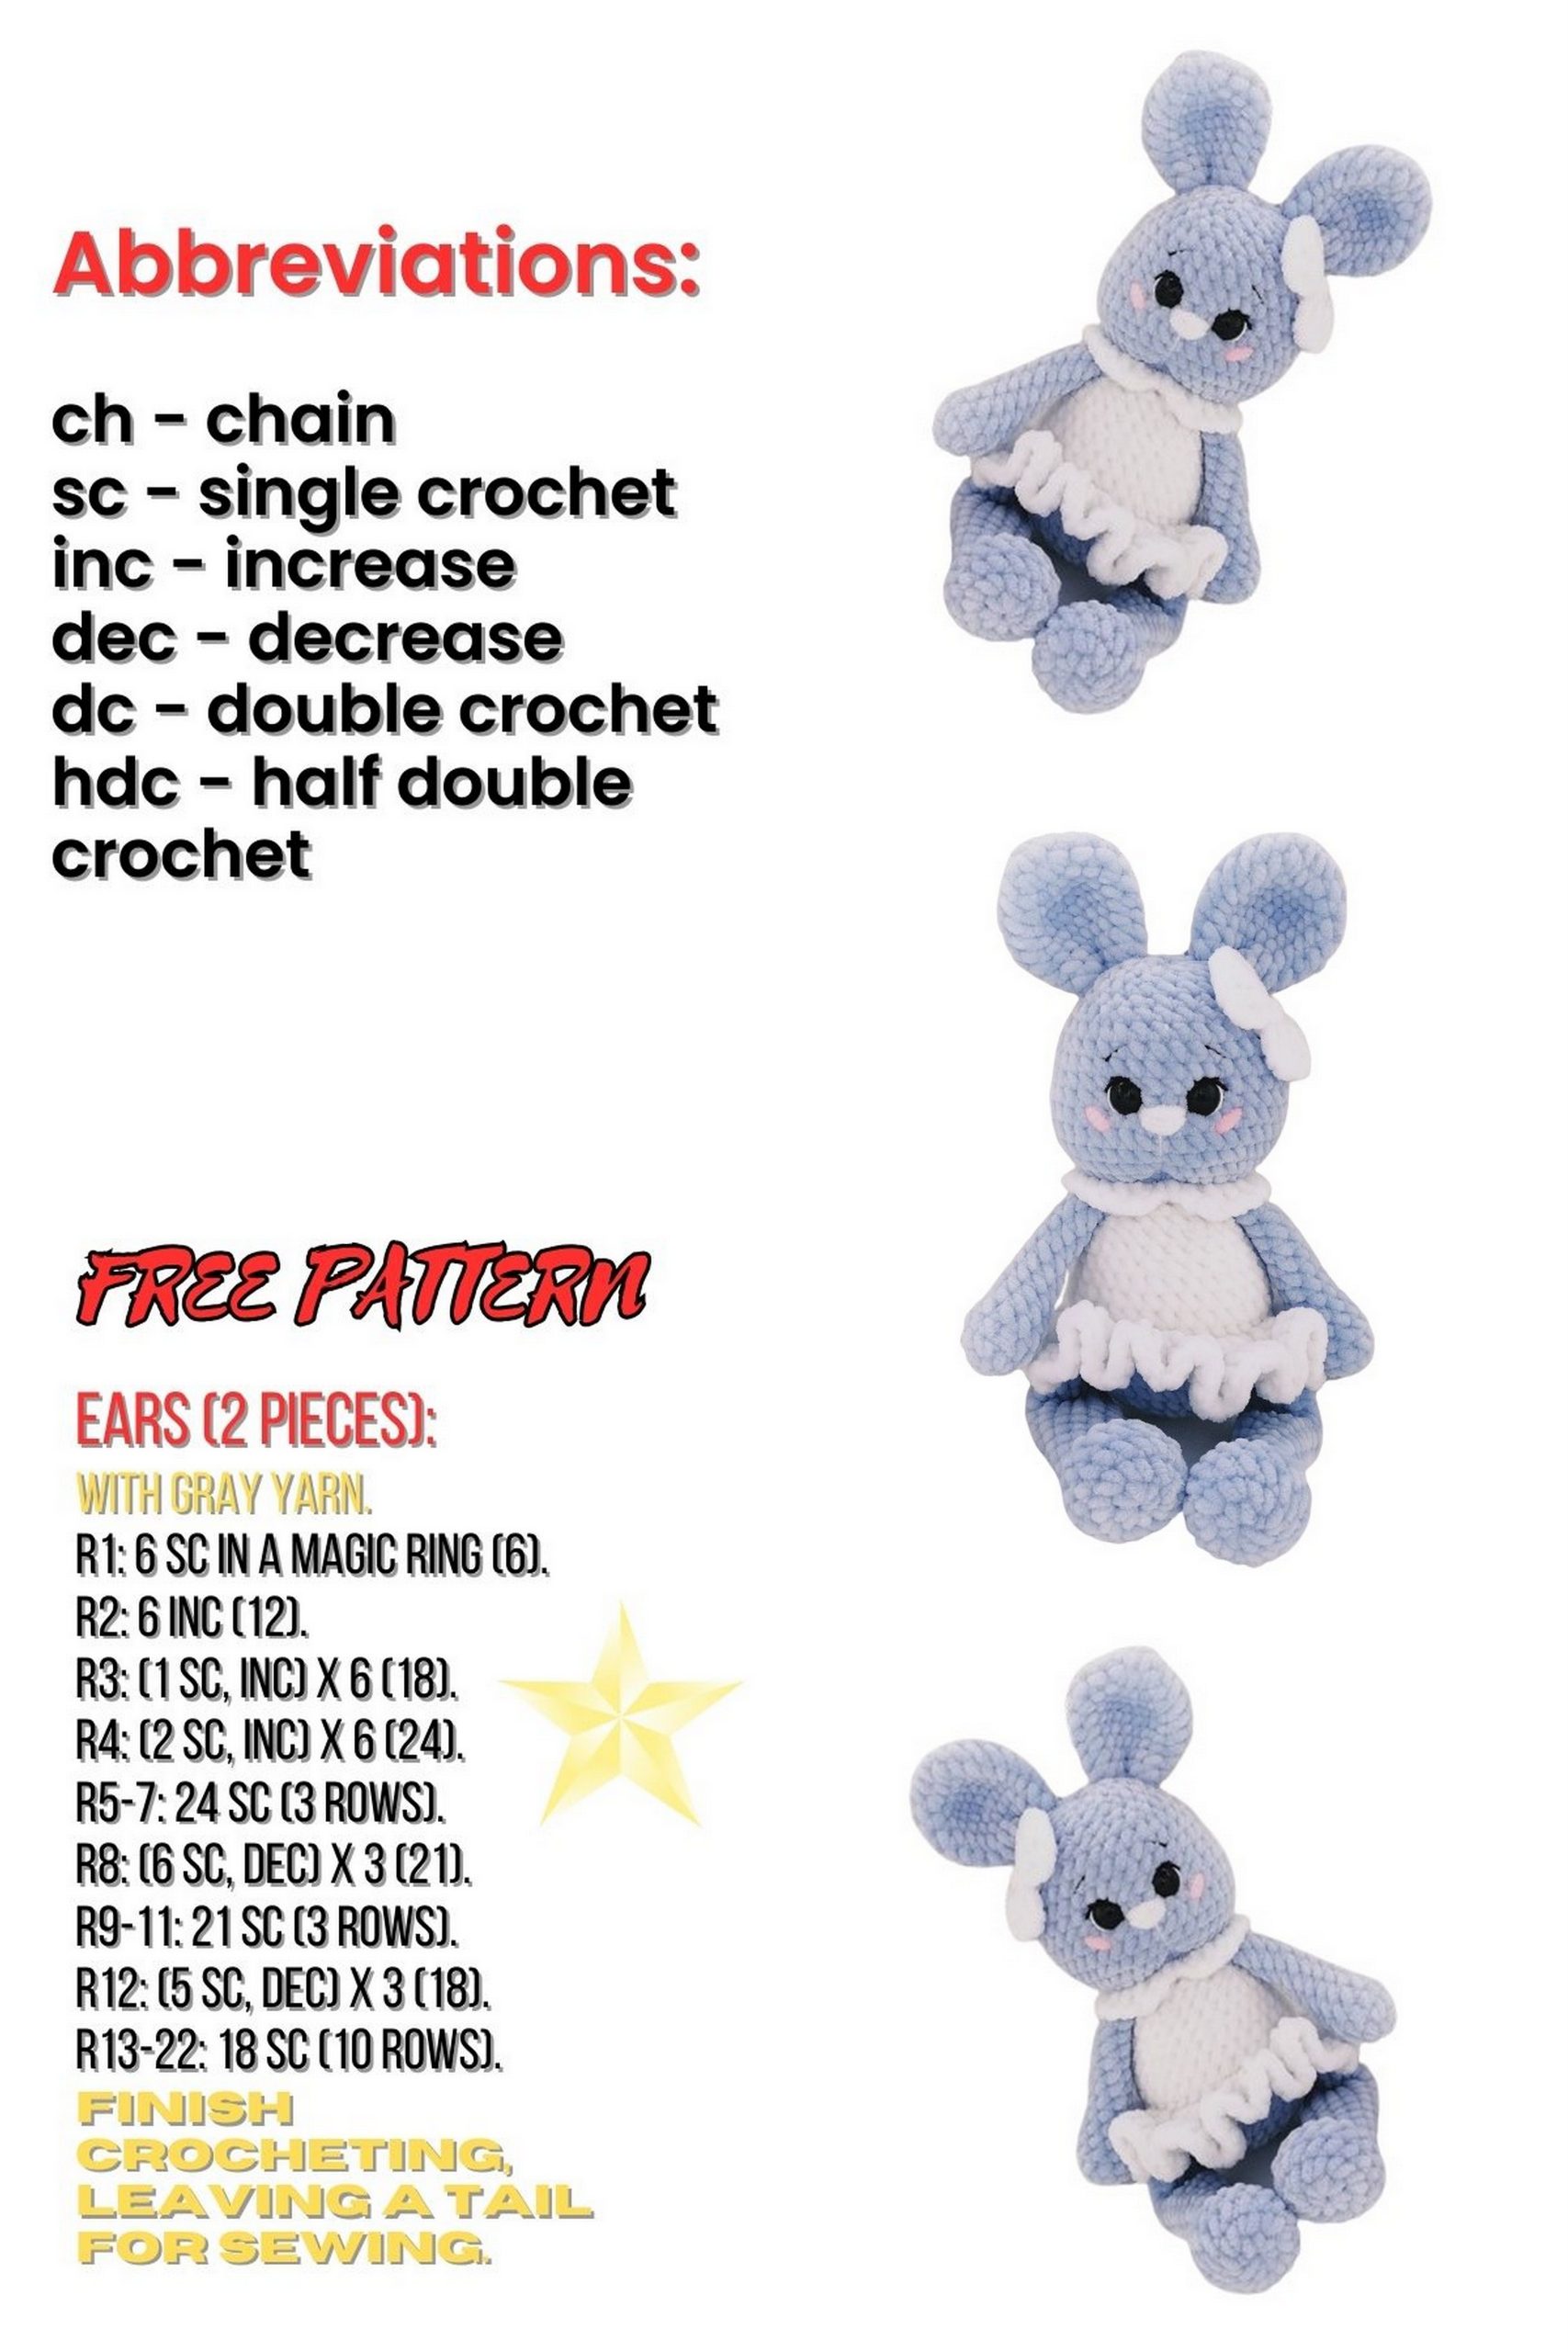
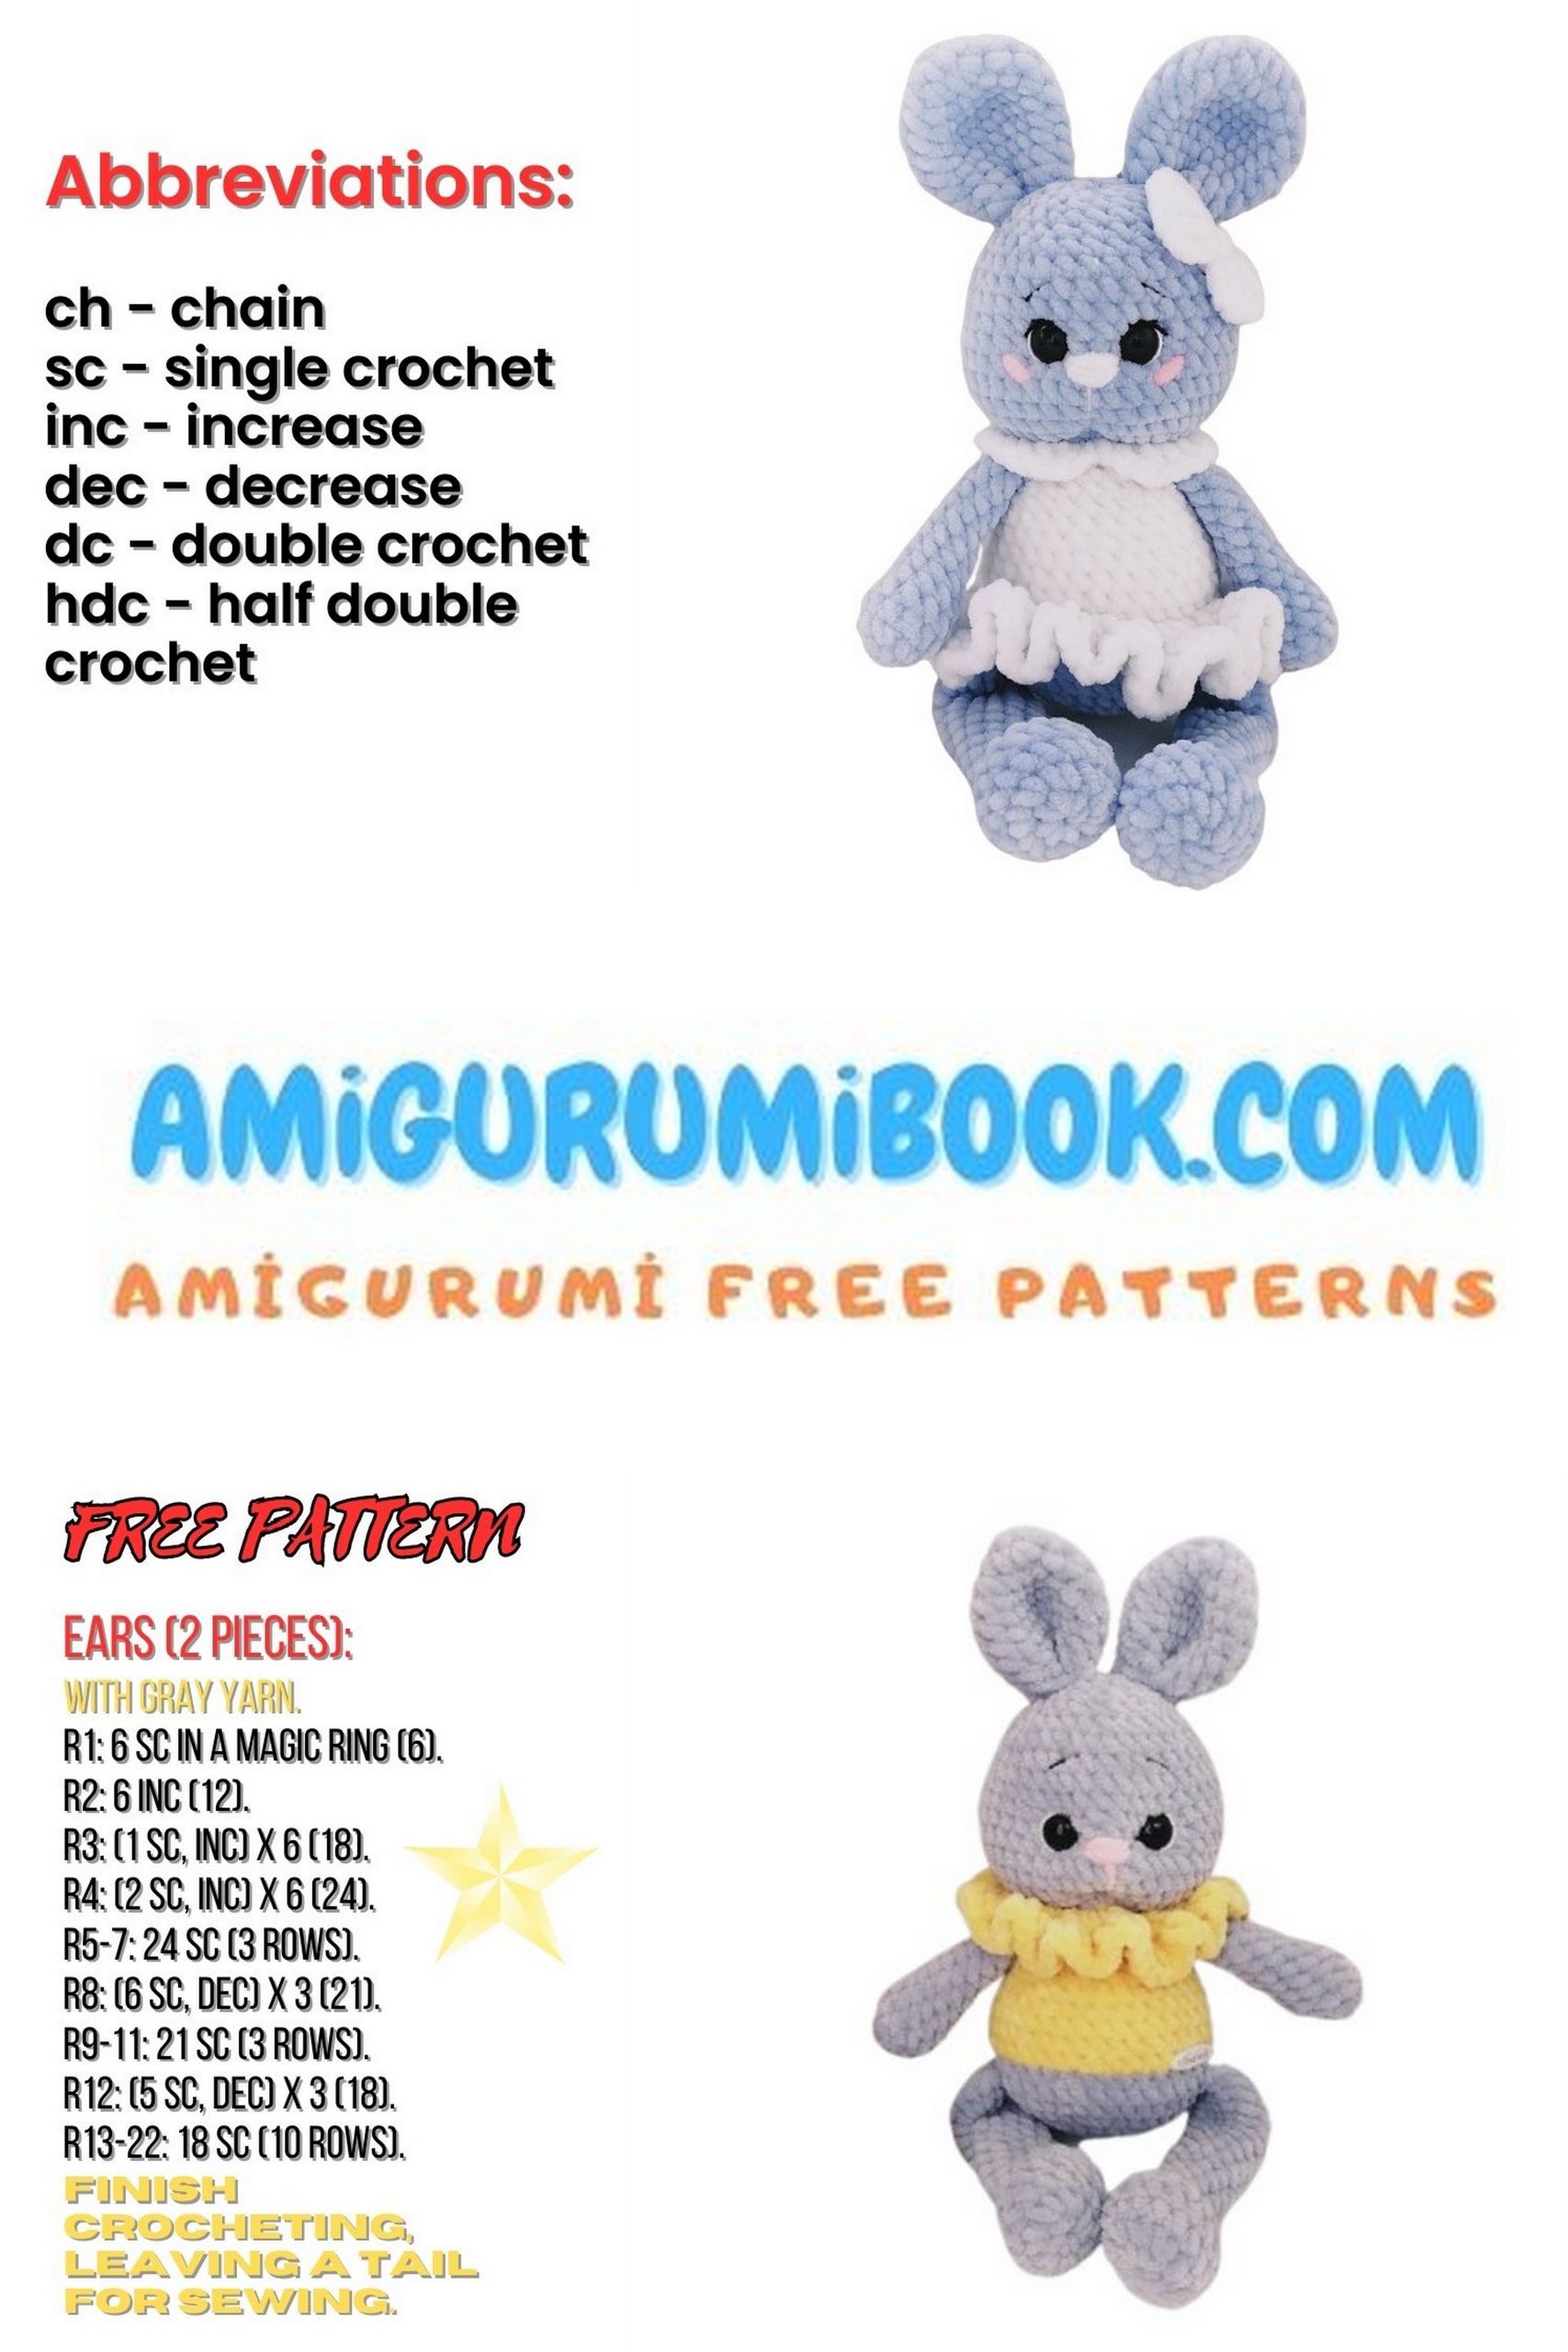
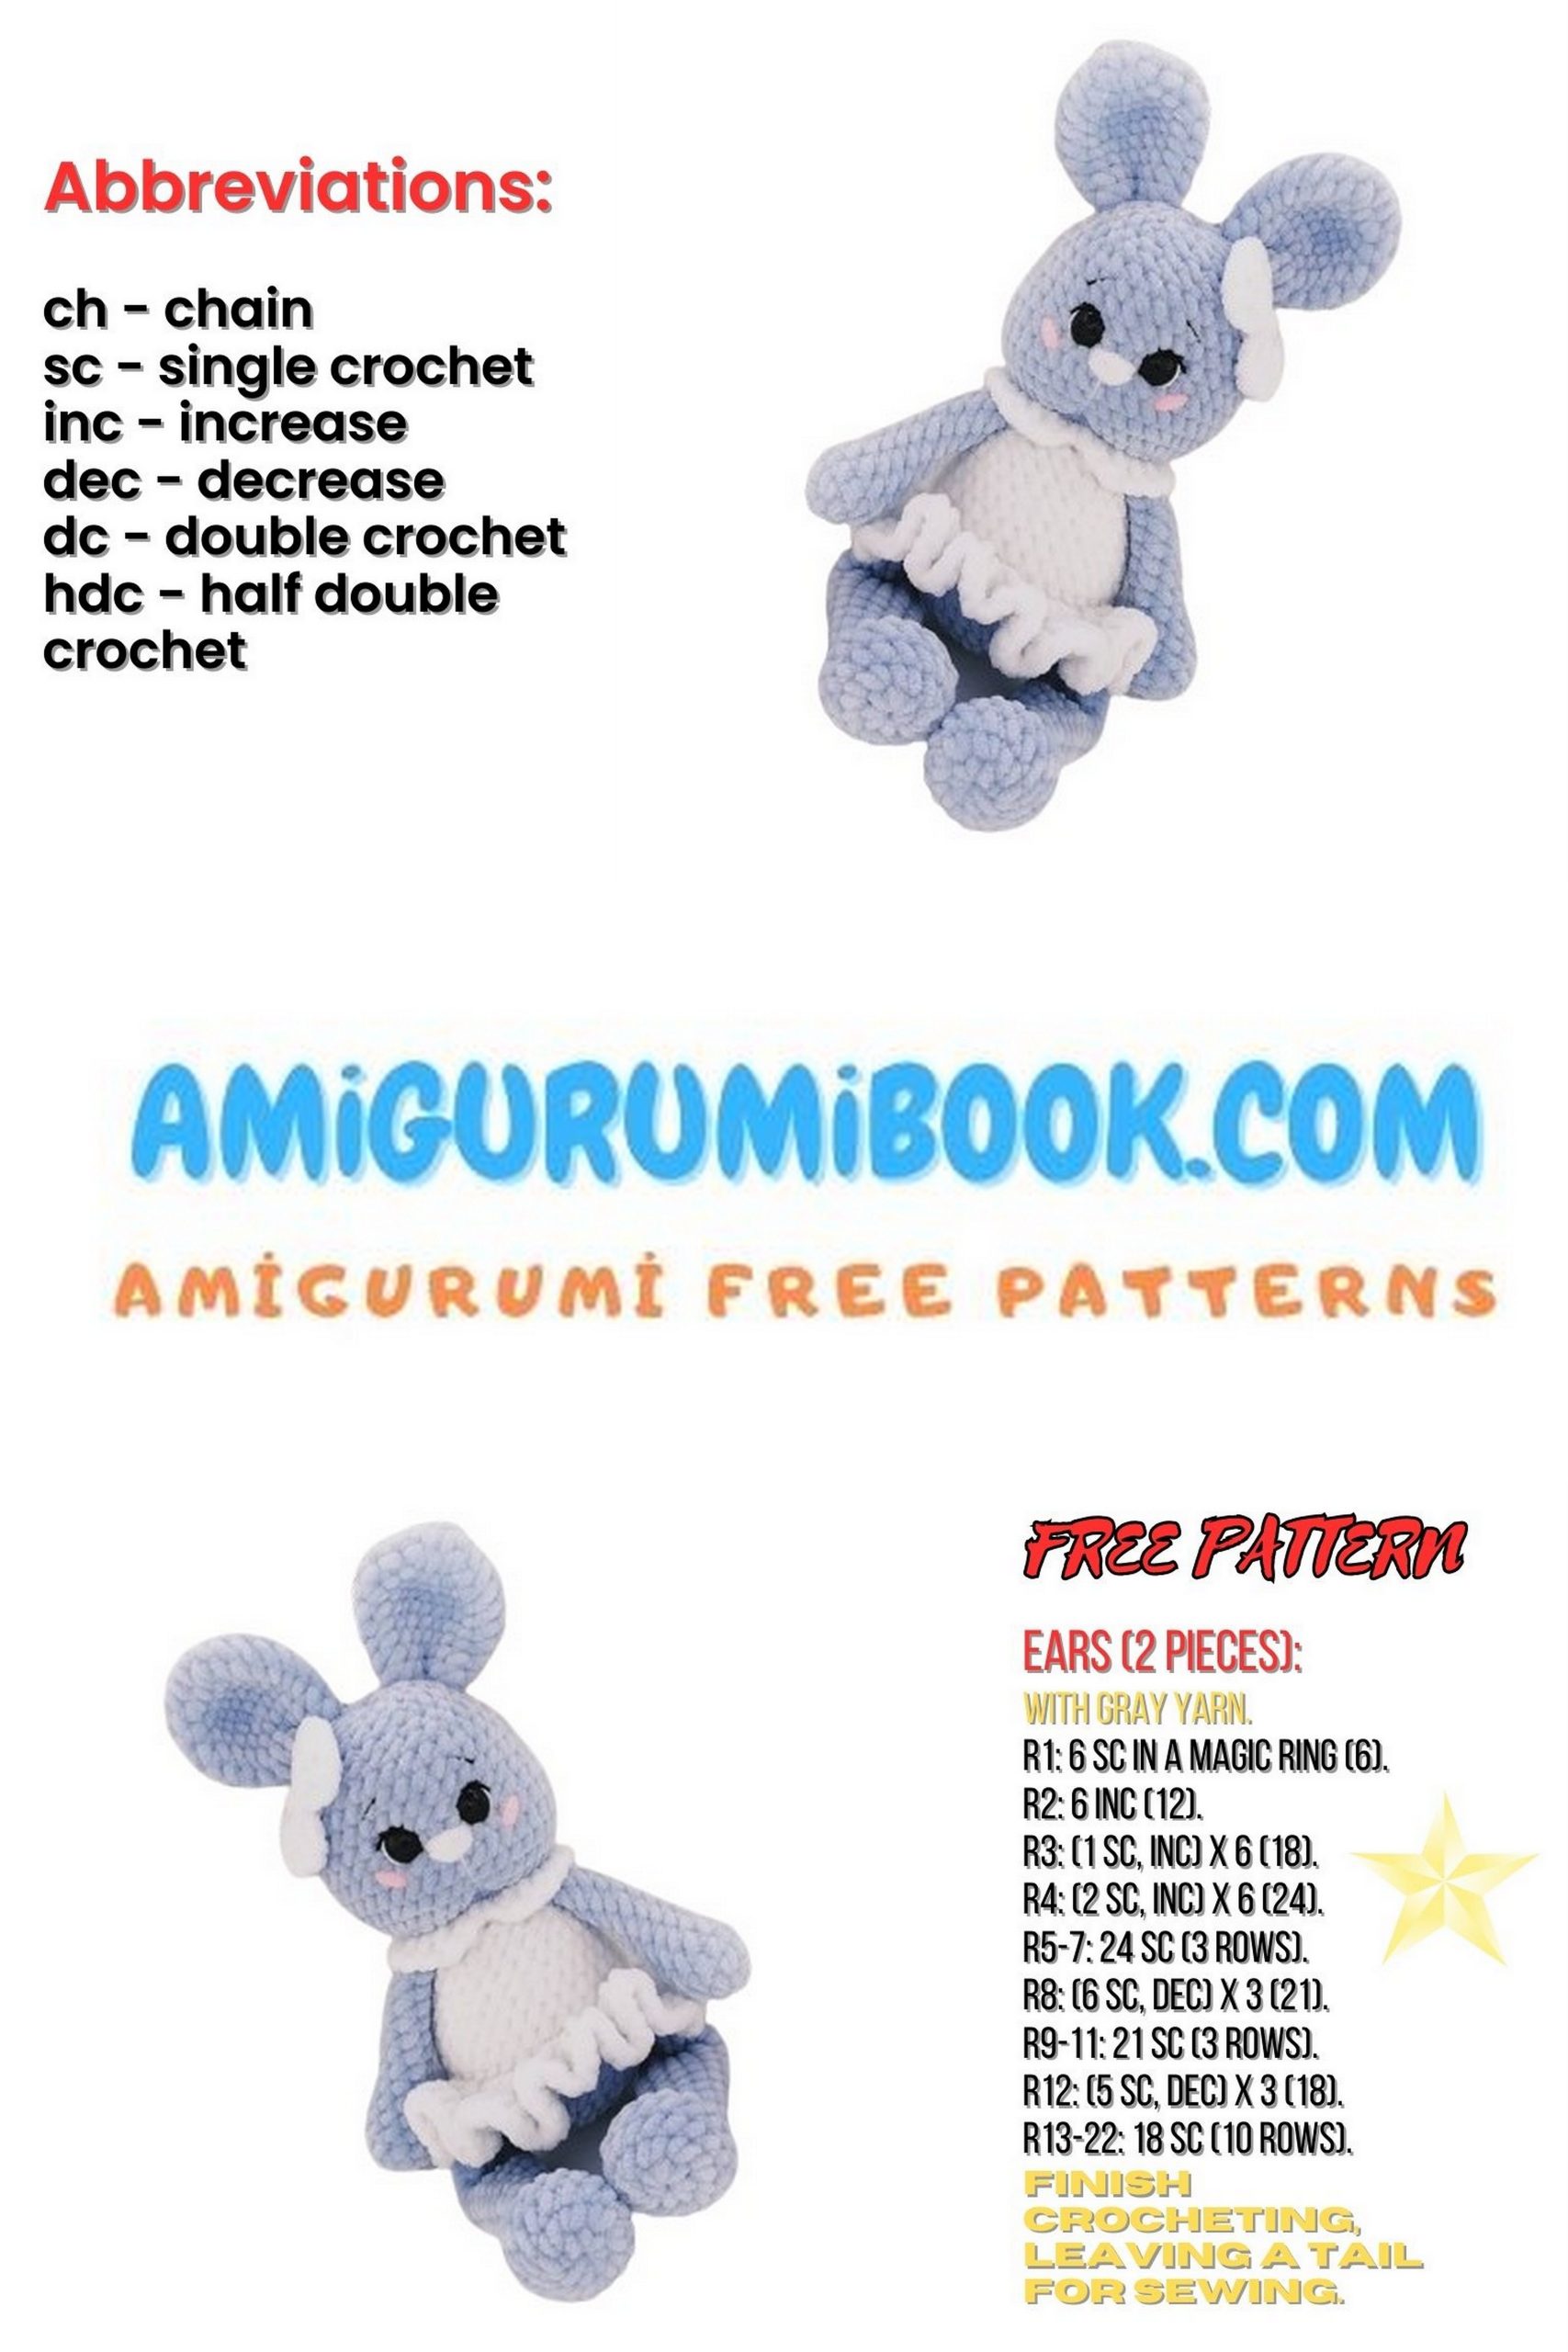
Abbreviations:
ch – chain stitch
sc – single crochet
hdc – half double crochet
dc – double crochet
inc – increase
dec – decrease
sl st – slip stitch
Materials:
Plush yarn Himalaya Dolphin Baby, YarnArt Dolce
Crochet hook No. 4
Toy stuffing
Safety eyes with a diameter of 12 mm
Cotton thread for embroidery and shaping the muzzle
Needle, scissors, marker
When using these materials, the height of the toy is 30 cm.

PATTERN
Velvet Bunny Legs
1: 2 ch, 8 sc in second ch from hook
2: 8 inc = 16 sc
3 – 5: 16 sc
6: 4 sc, 4 dec, 4 sc = 12 sc
7 – 21: 12 sc (15 rows)
After the 11th row, tightly stuff the lower part of the leg. Fold in half and crochet 6 sc. Fasten off and hide the yarn.
Velvet Bunny Arms
1: 2 ch, 5 sc in second ch from hook
2: 5 inc = 10 sc
3 – 14: 10 sc (12 rows)
Stuff only the palm, fold in half and crochet 5 sc. Fasten off and hide the yarn.
Velvet Bunny Ears
1: 2 ch, 6 sc in second ch from hook
2: 6 inc = 12 sc
3: (1 sc, inc)*6 = 18 sc
4: (2 sc, inc)*6 = 24 sc
4 – 7: 24 sc (3 rows)
8: (2 sc, dec)*6 = 18 sc
9 – 11: 18 sc (3 rows)
Make a sl st, fasten off the yarn, leaving a long tail for sewing.

Velvet Bunny Body – Head
Stuff as you crochet.
1: 2 ch, 6 sc in second ch from hook
2: 6 inc = 12 sc
3: (1 sc, inc)*6 = 18 sc
4: (2 sc, inc)*6 = 24 sc
5: (3 sc, inc)*6 = 30 sc
6: (4 sc, inc)*6 = 36 sc
7: 36 sc
8: Incorporate legs: 6 sc, 6 sc with leg, 12 sc, 6 sc with leg, 6 sc = 36 sc
9: 36 sc
Change color for dress color.
10: 36 sc
11: 36 sc through back loops
12: 9 sc, dec, 14 sc, dec, 9 sc = 34 sc
13: 7 sc, dec, 16 sc, dec, 7 sc = 32 sc
14: 32 sc
15: 13 sc, dec, 2 sc, dec, 13 sc = 30 sc
16: 4 sc, dec, 18 sc, dec, 4 sc = 28 sc
17: 7 sc, dec, 10 sc, dec, 7 sc = 26 sc
18: 5 sc, dec, 12 sc, dec, 5 sc = 24 sc
19: Incorporate arms: 5 sc, 5 sc with arm, 6 sc, 5 sc with arm, 3 sc = 24 sc
20: (2 sc, dec)*6 = 18 sc
21: 18 sc
Attention
Without cutting the yarn, crochet the necessary number of sc so that the marker is in the middle of the back of the body (I crocheted 4 sc). Change to main color.
22: 18 inc = 36 sc
23: (5 sc, inc)*6 = 42 sc
24 – 28: 42 sc (5 rows)
29: 9 sc, dec, 20 sc, dec, 9 sc = 40 sc
30: 9 sc, dec, 18 sc, dec, 9 sc = 38 sc
31: 10 sc, dec, 14 sc, dec, 10 sc = 36 sc
32: 36 sc
33: (4 sc, dec)*6 = 30 sc
34: (3 sc, dec)*6 = 24 sc
Place safety eyes between rows 28 and 29, with a distance of 5 sc between them.
35: 24 sc
36: (2 sc, dec)*6 = 18 sc
37: (1 sc, dec)*6 = 12 sc
38: 6 dec = 6 sc
Pull the hole closed, fasten off and hide the yarn.

Velvet Bunny Tail
1: 2 ch, 6 sc in second ch from hook
2: (1 sc, inc)*3 = 9 sc
3: 9 sc
Make a sl st, fasten off the yarn, leaving a long tail for sewing. Slightly stuff the bunny’s tail and sew it to the body, making sure the color transition is not noticeable.
Collar
Make a chain of 29 ch, sc in second ch from hook, hdc, 24 dc, hdc, sc
Put the collar on the bunny, sew the edges. You can sew a few stitches to secure the collar.
Skirt
Attach yarn to the back loop of the 11th row of the body.
1: 2 ch, in each back loop crochet 2 hdc = 72 hdc, sl st.
2: 2 ch, in each stitch crochet 2 hdc = 144 hdc, sl st. Fasten off and hide the yarn.

Bow
Make a chain of 5 ch, in the base loop crochet 4 dc, make 4 ch, crochet a sl st, then make 4 ch, 4 dc, sl st. Fasten off and leave a long tail for sewing.
Sew the ears and bow to the head, shape the muzzle as desired.
The bunny is ready! Enjoy your crocheting and have neat stitches!