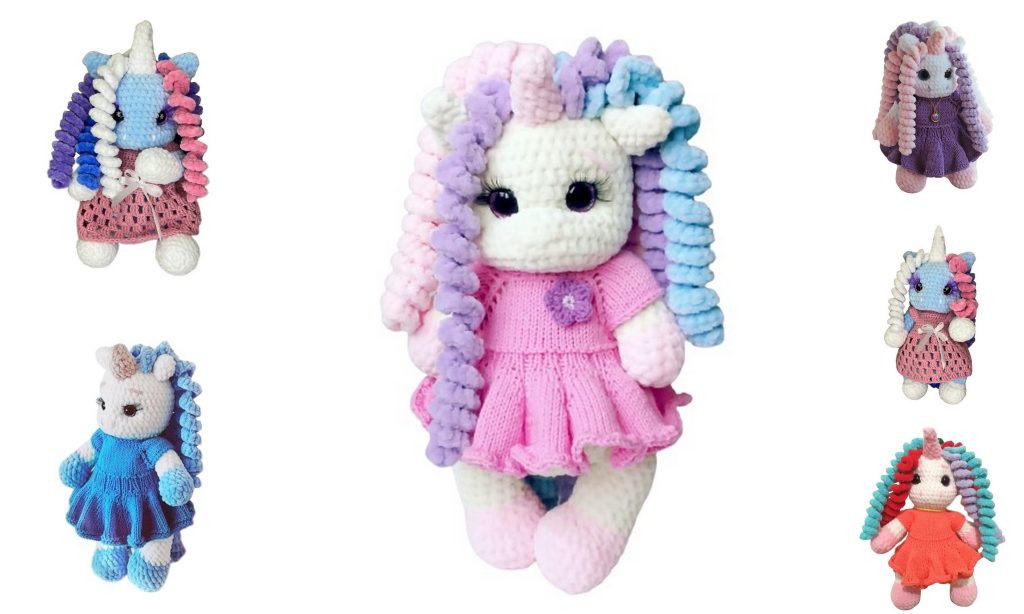
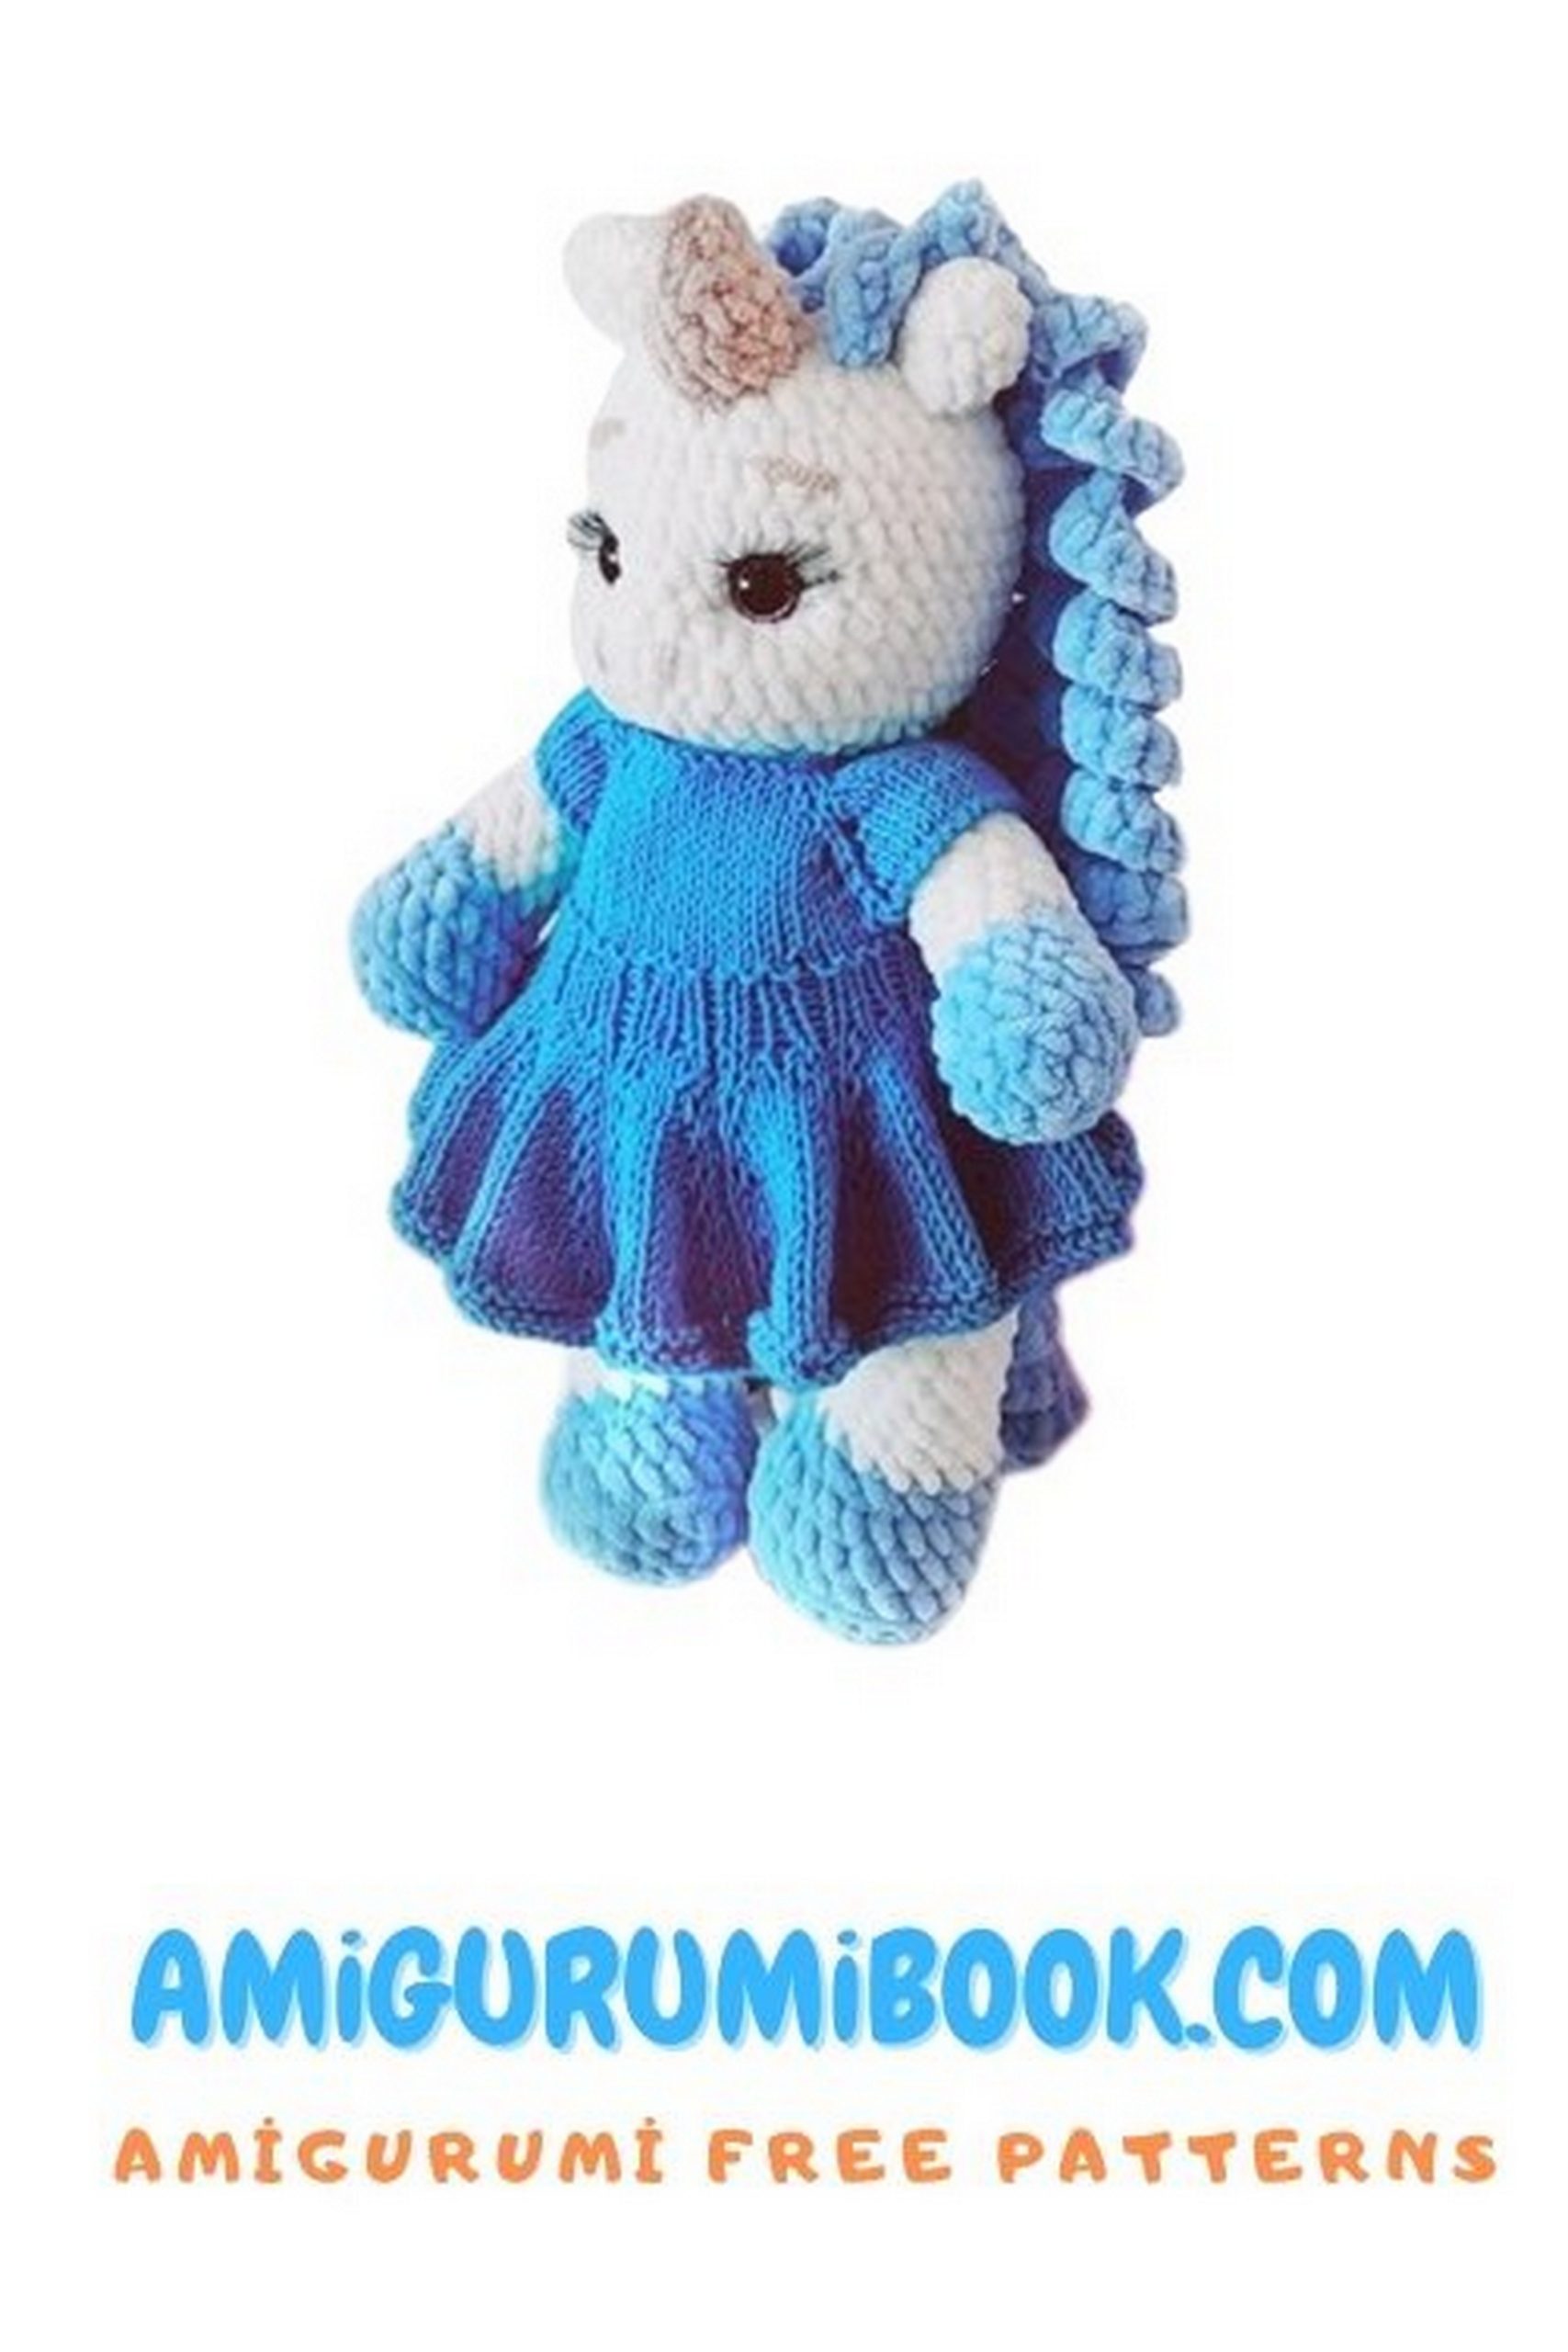
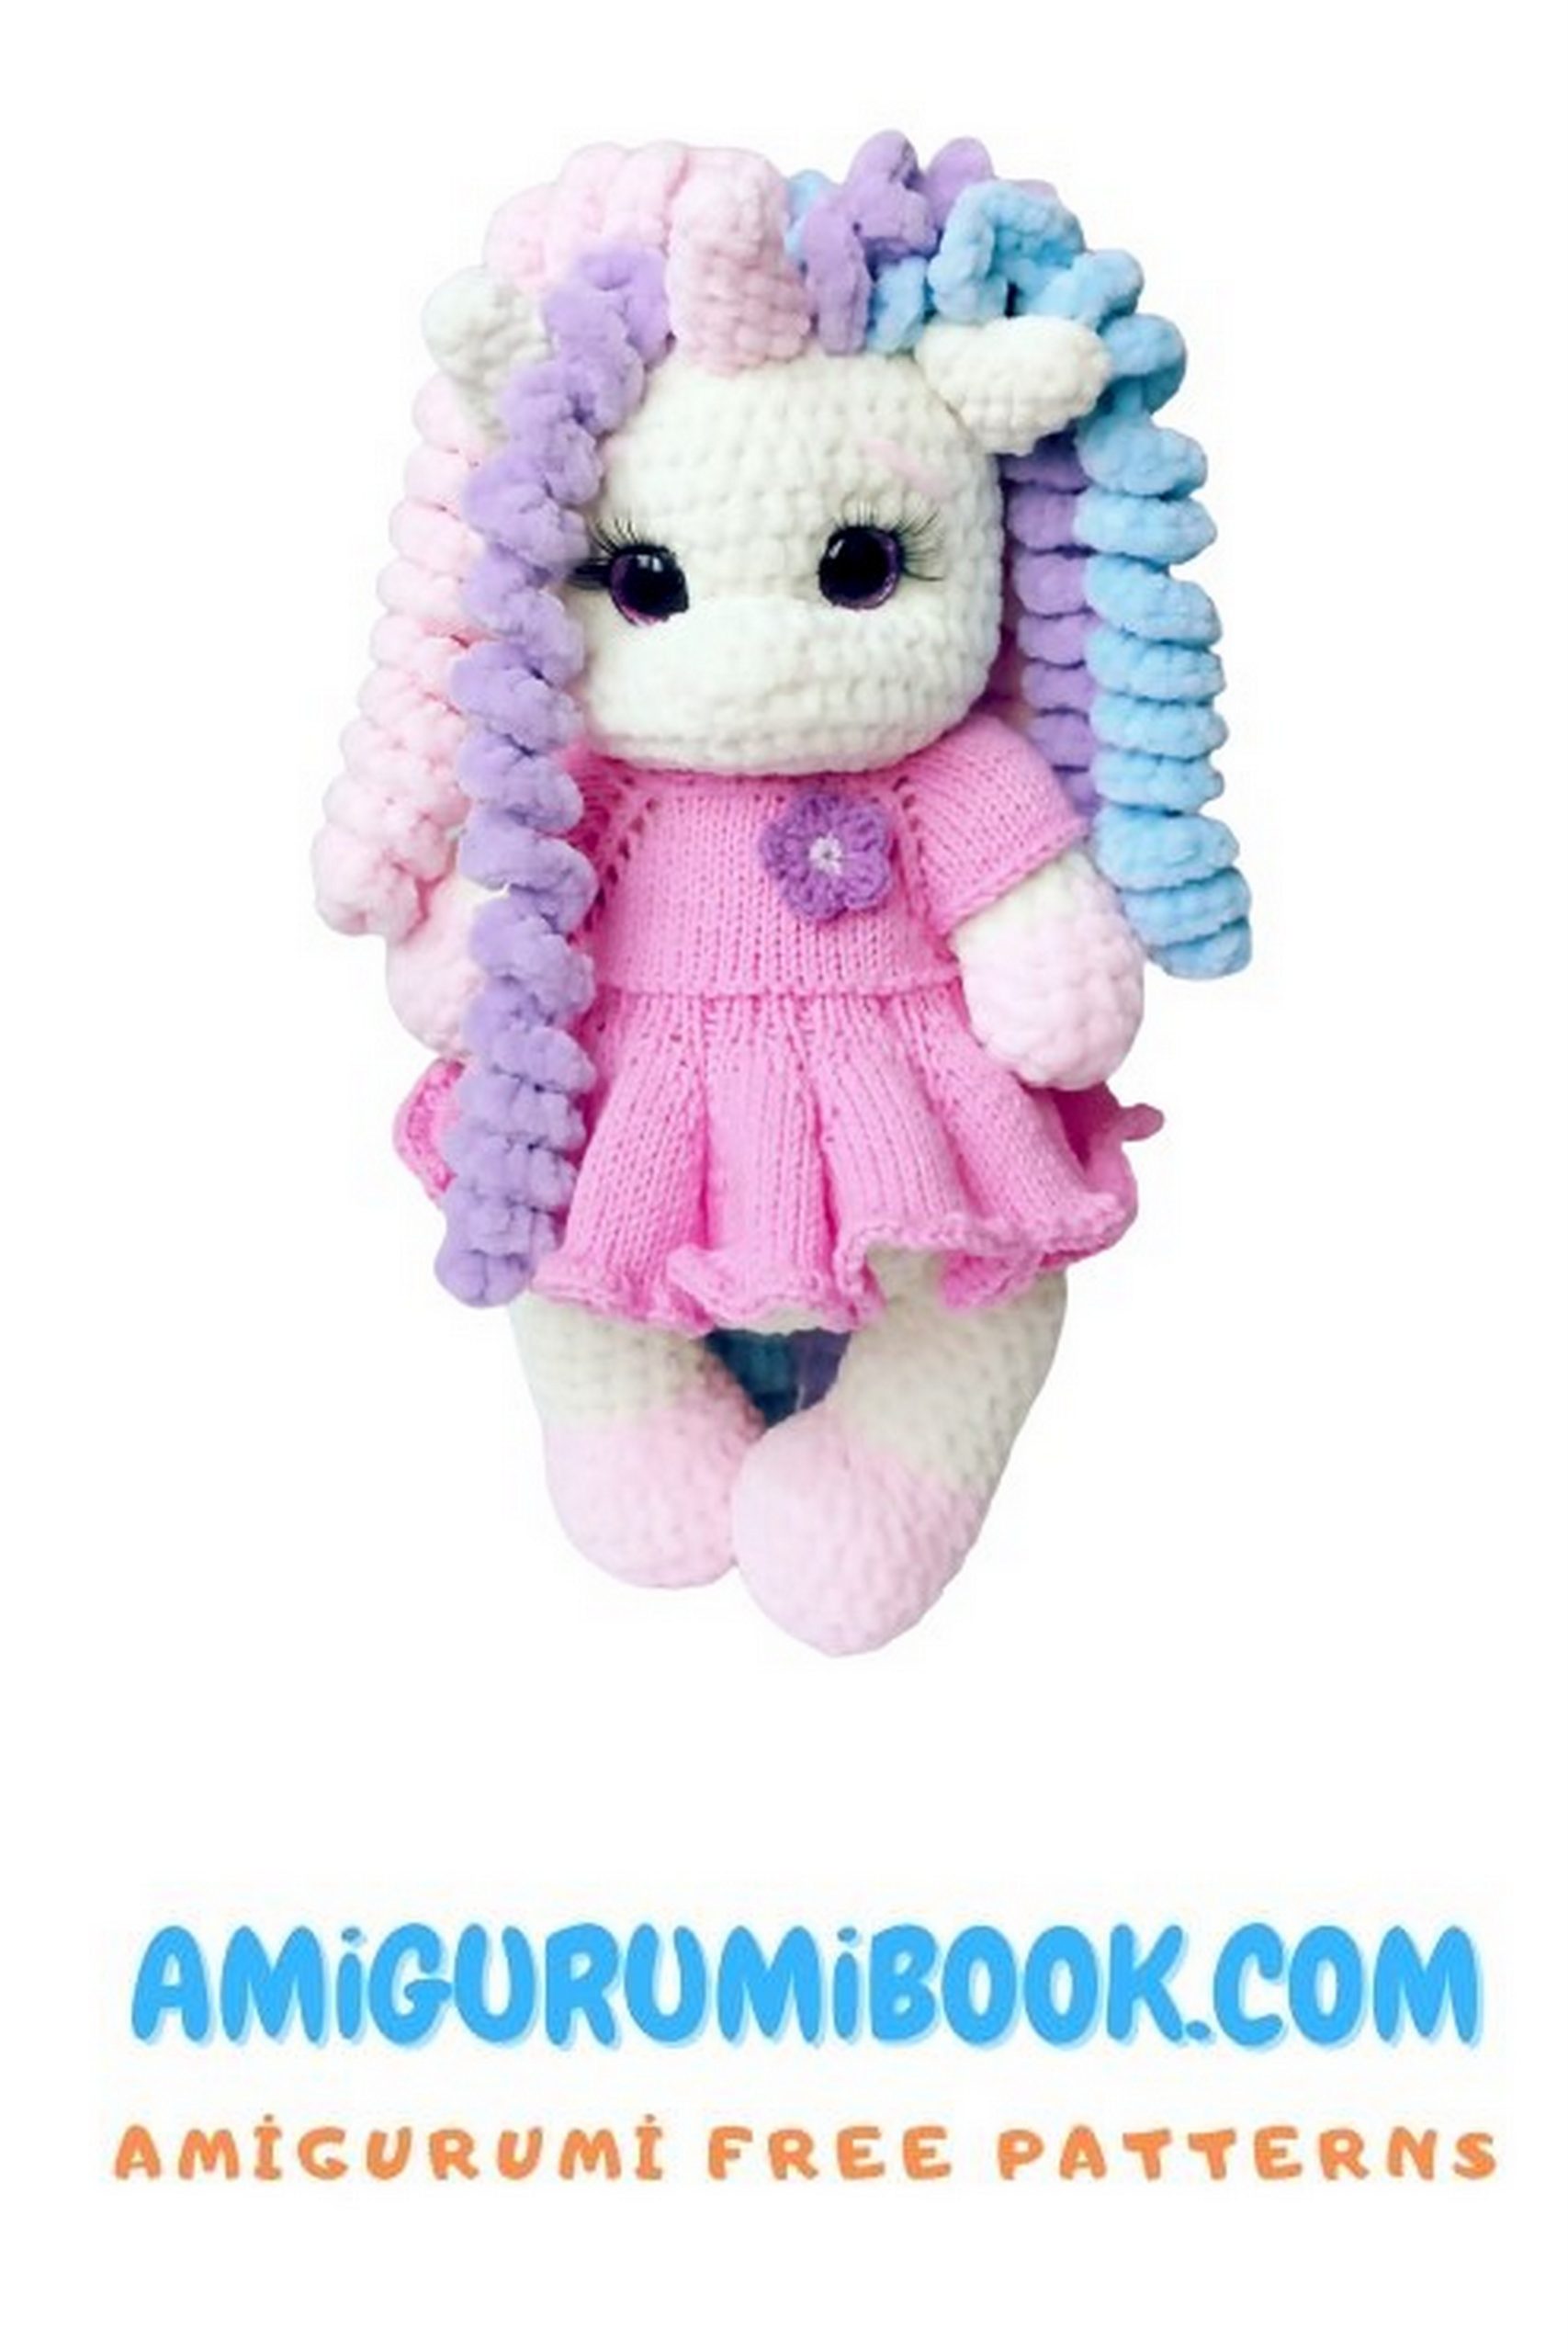
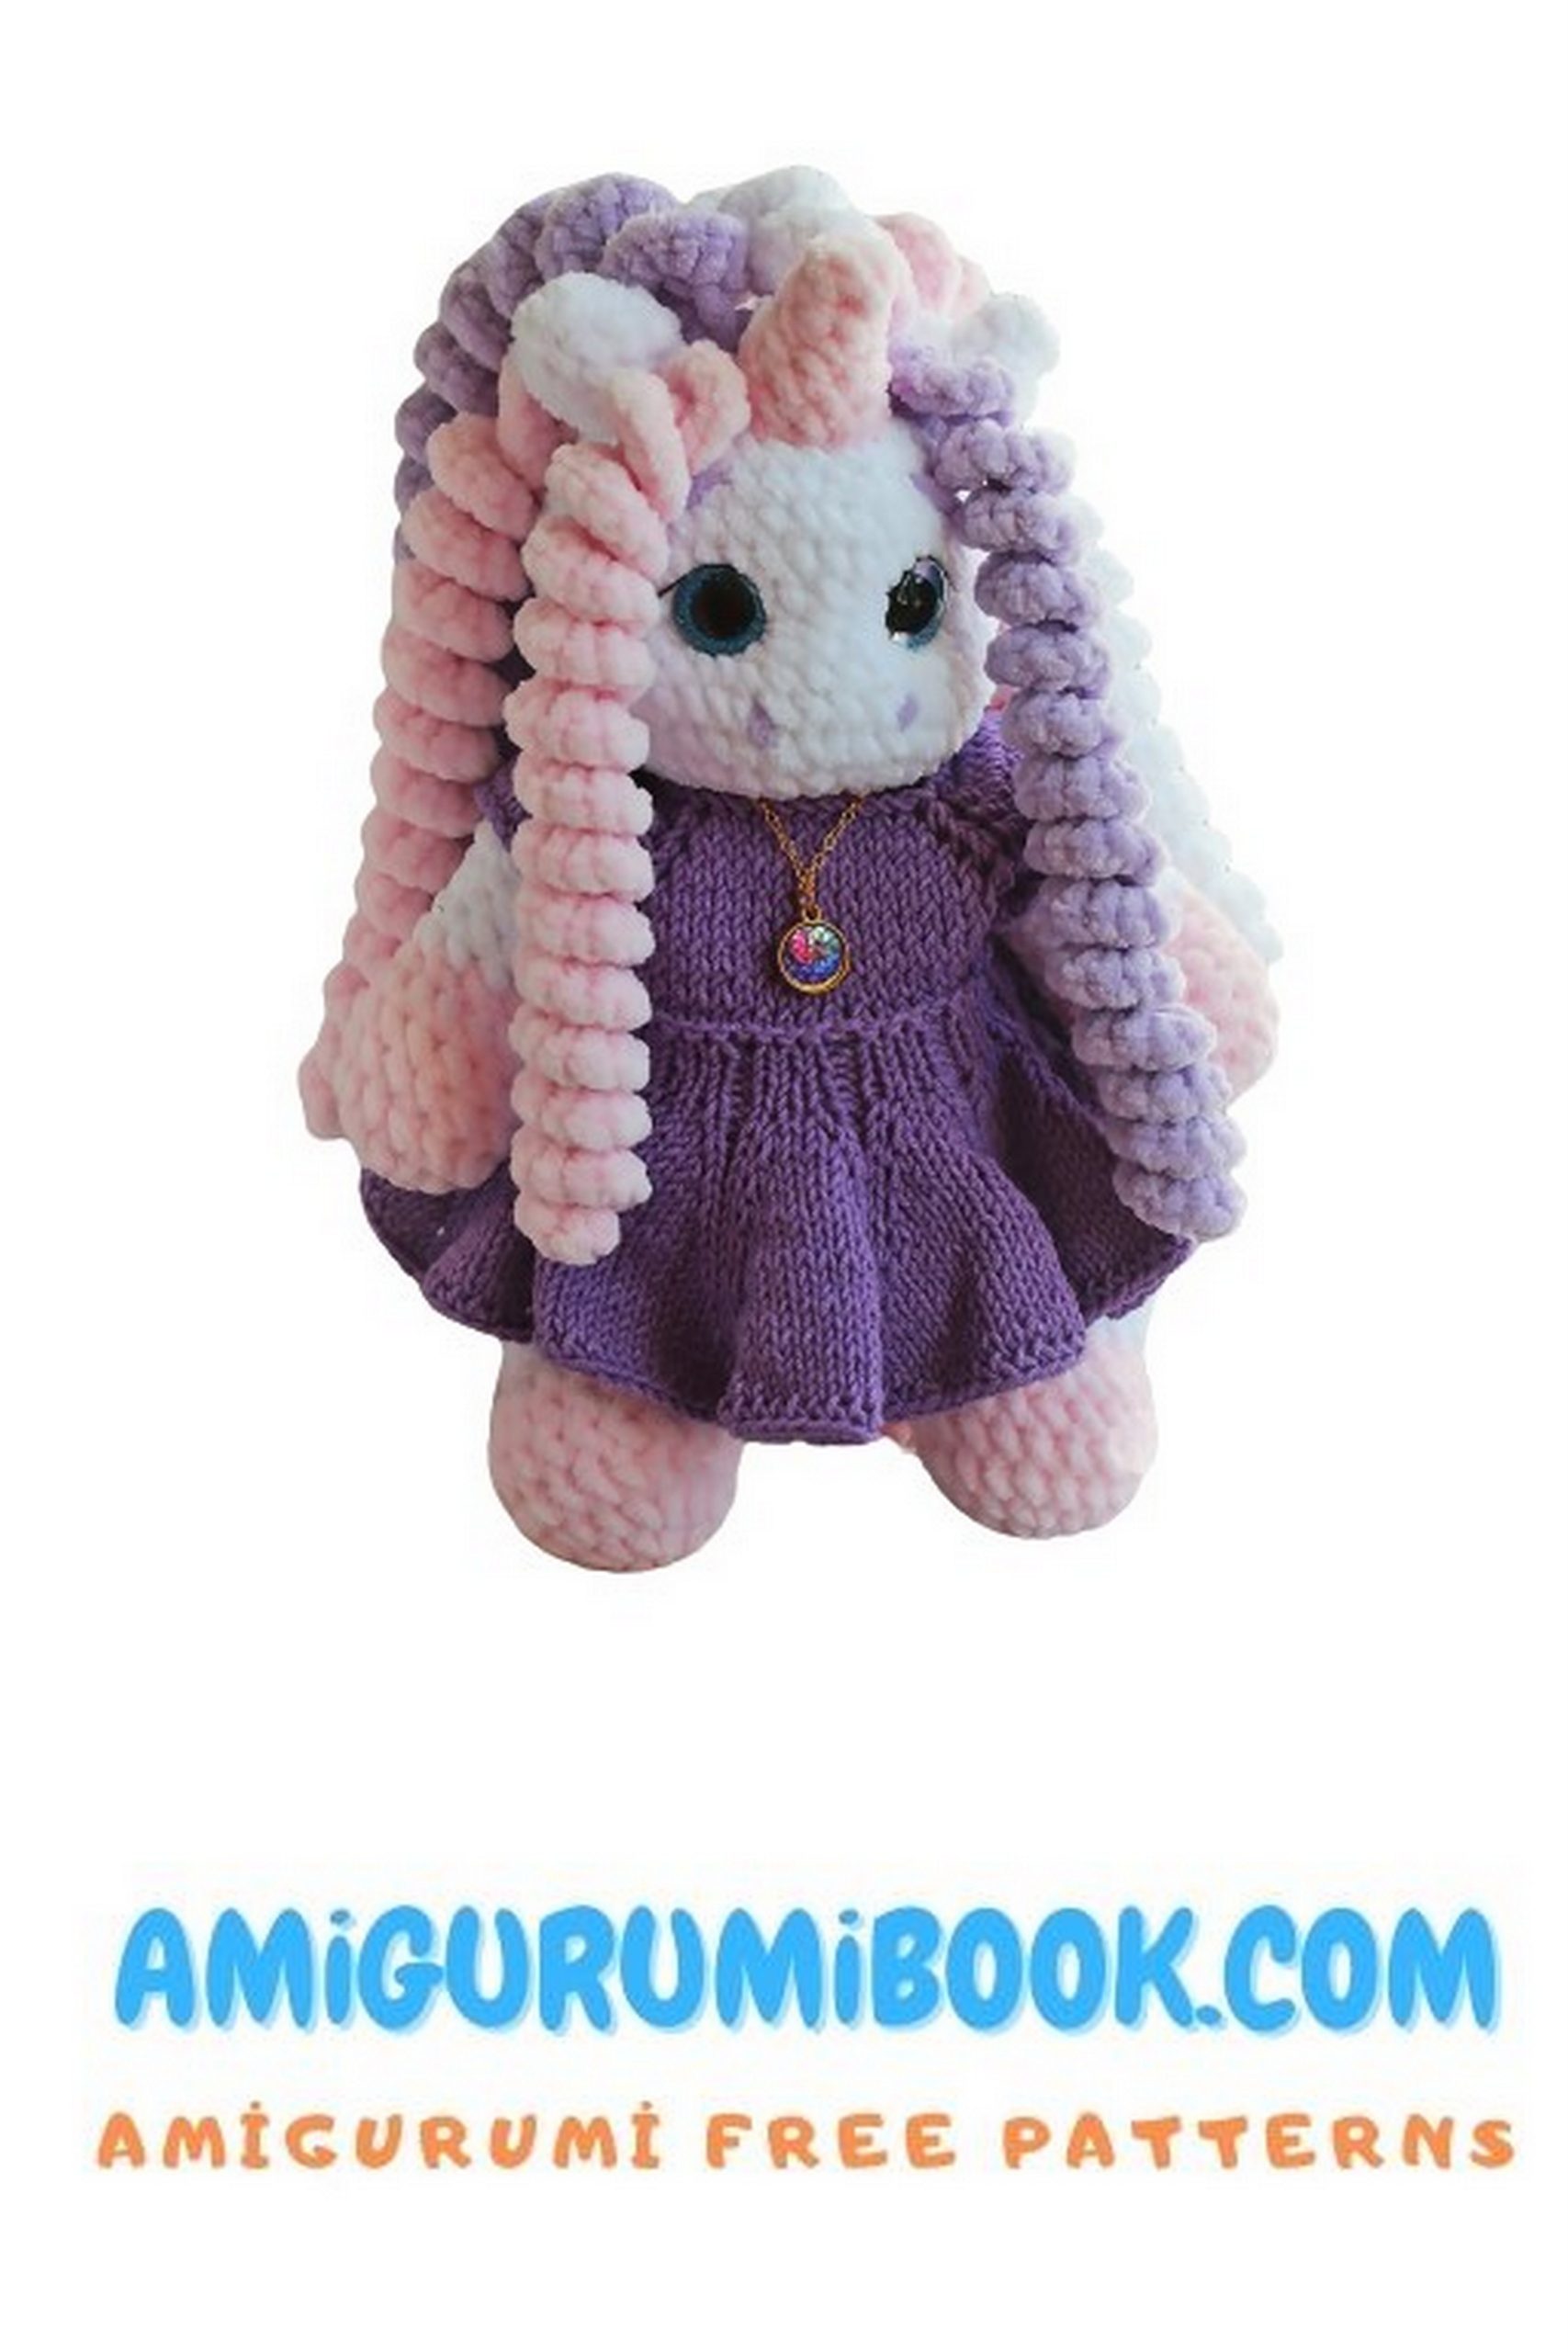
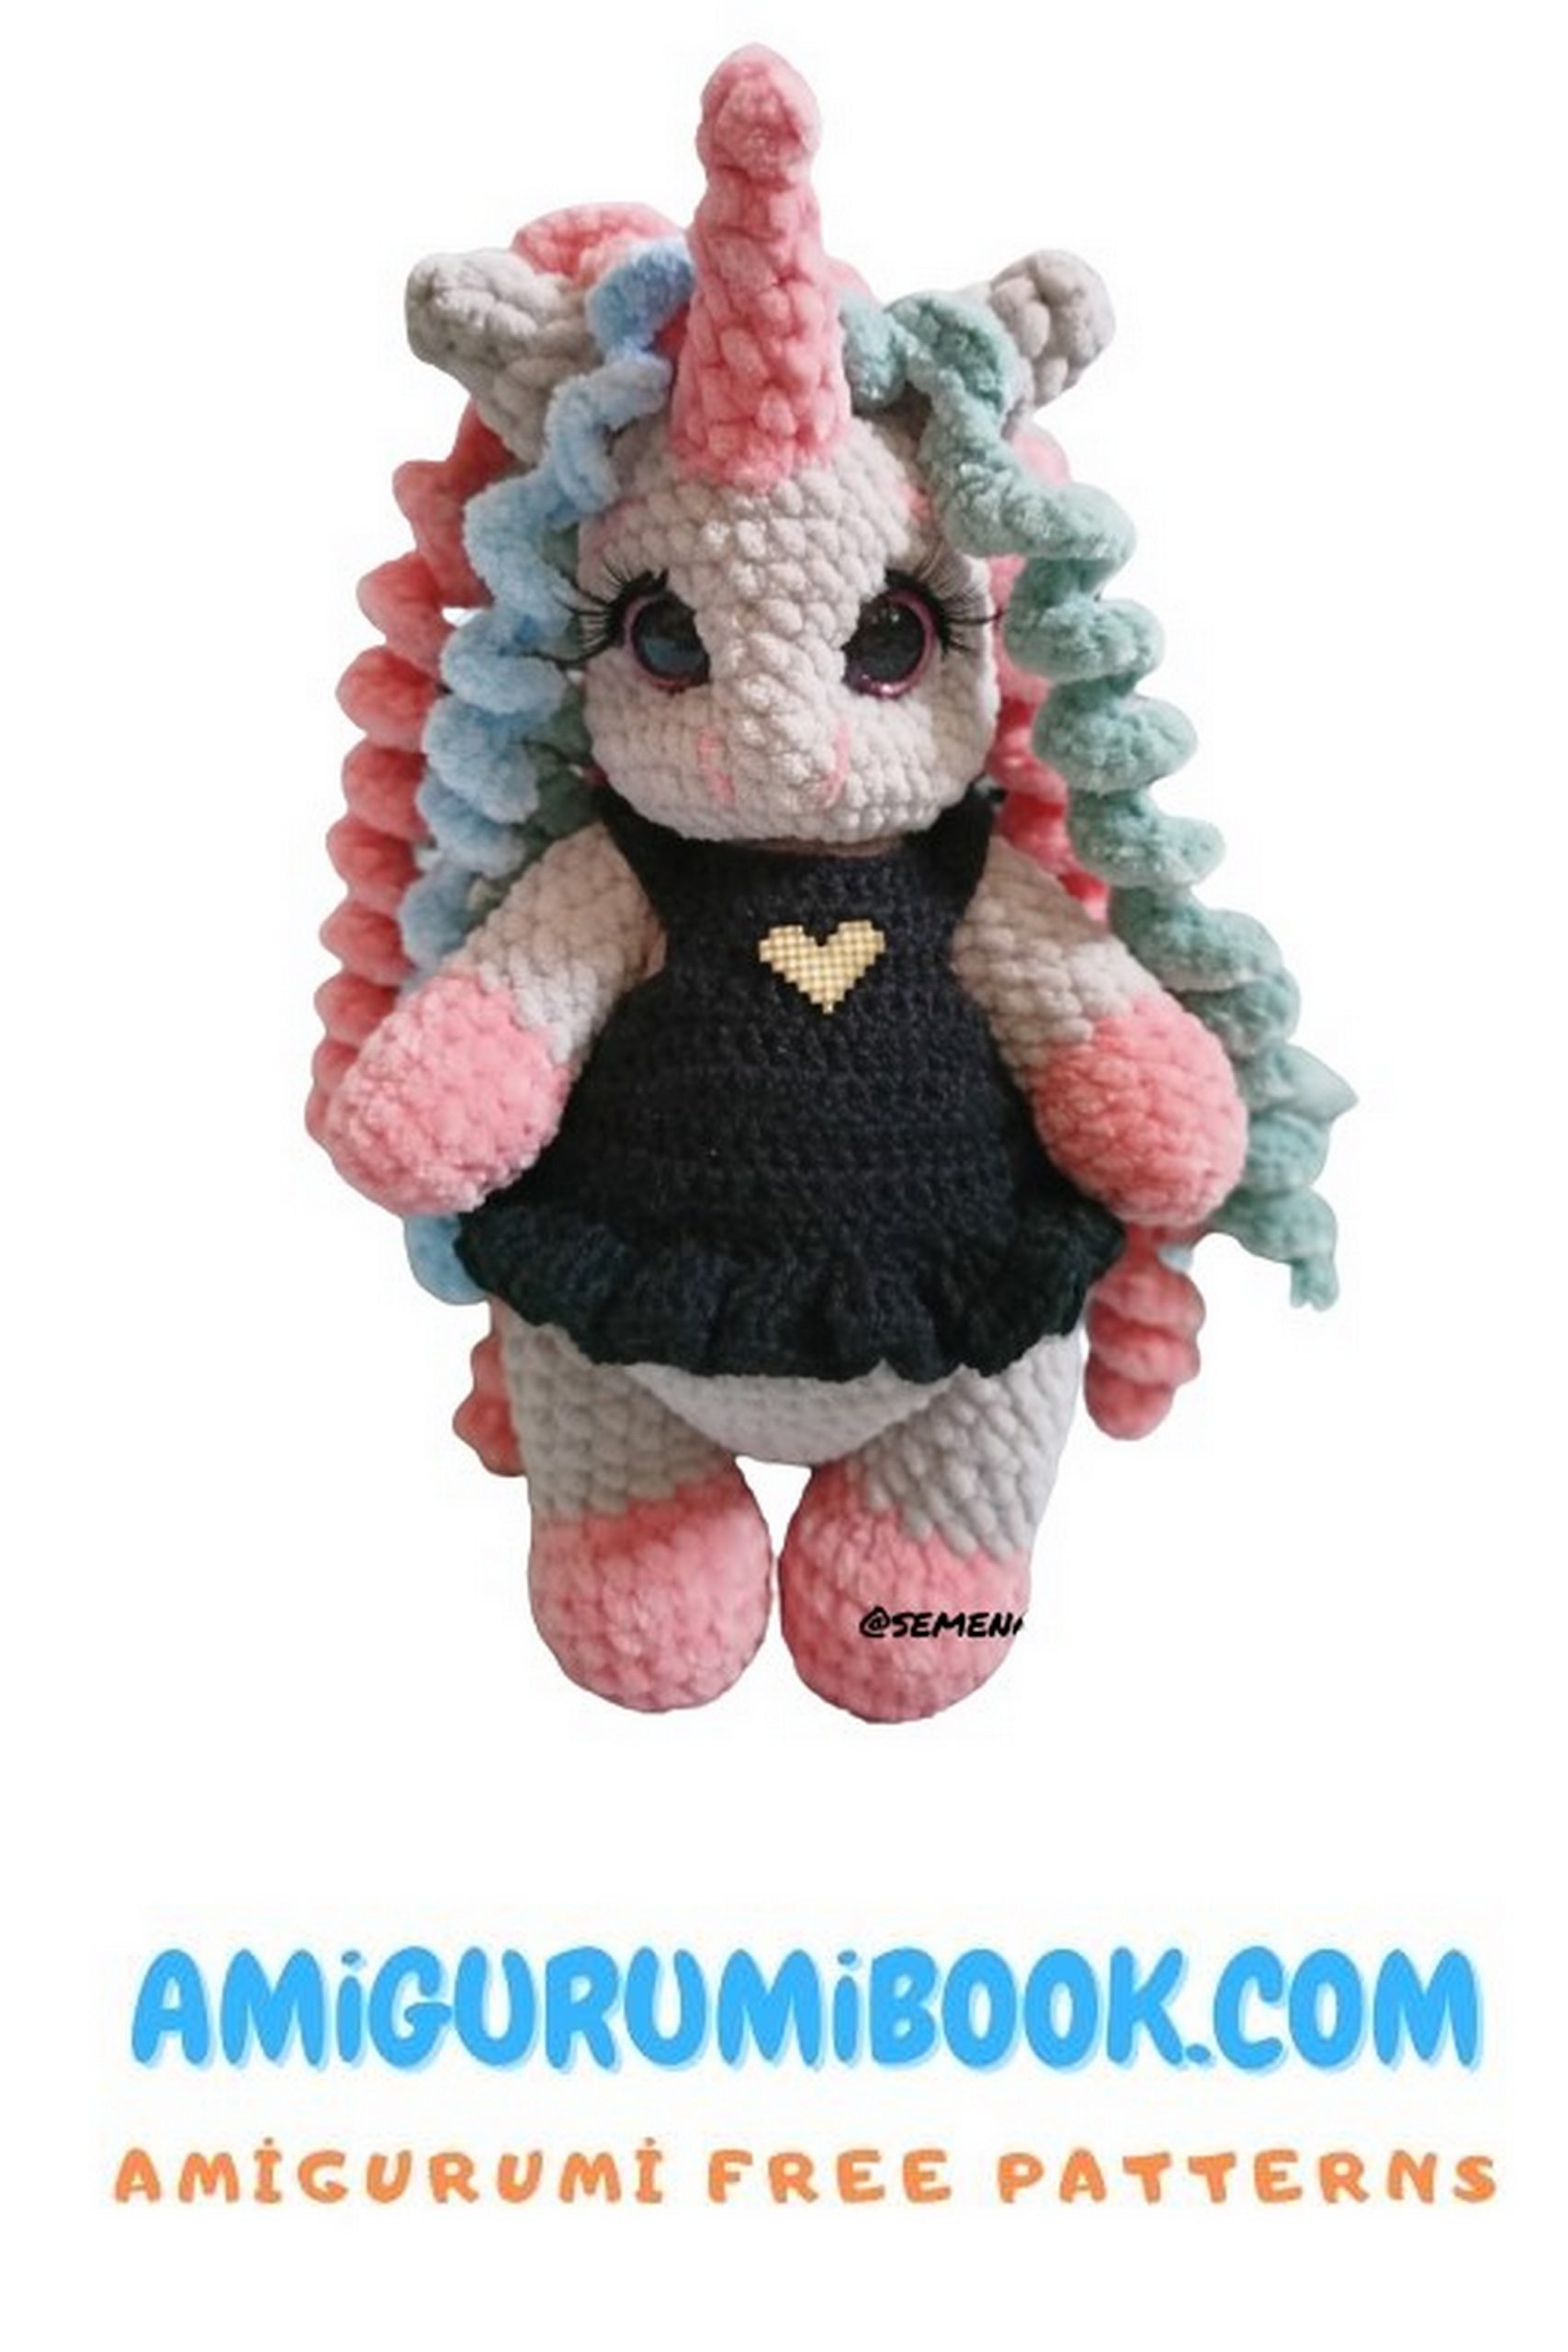
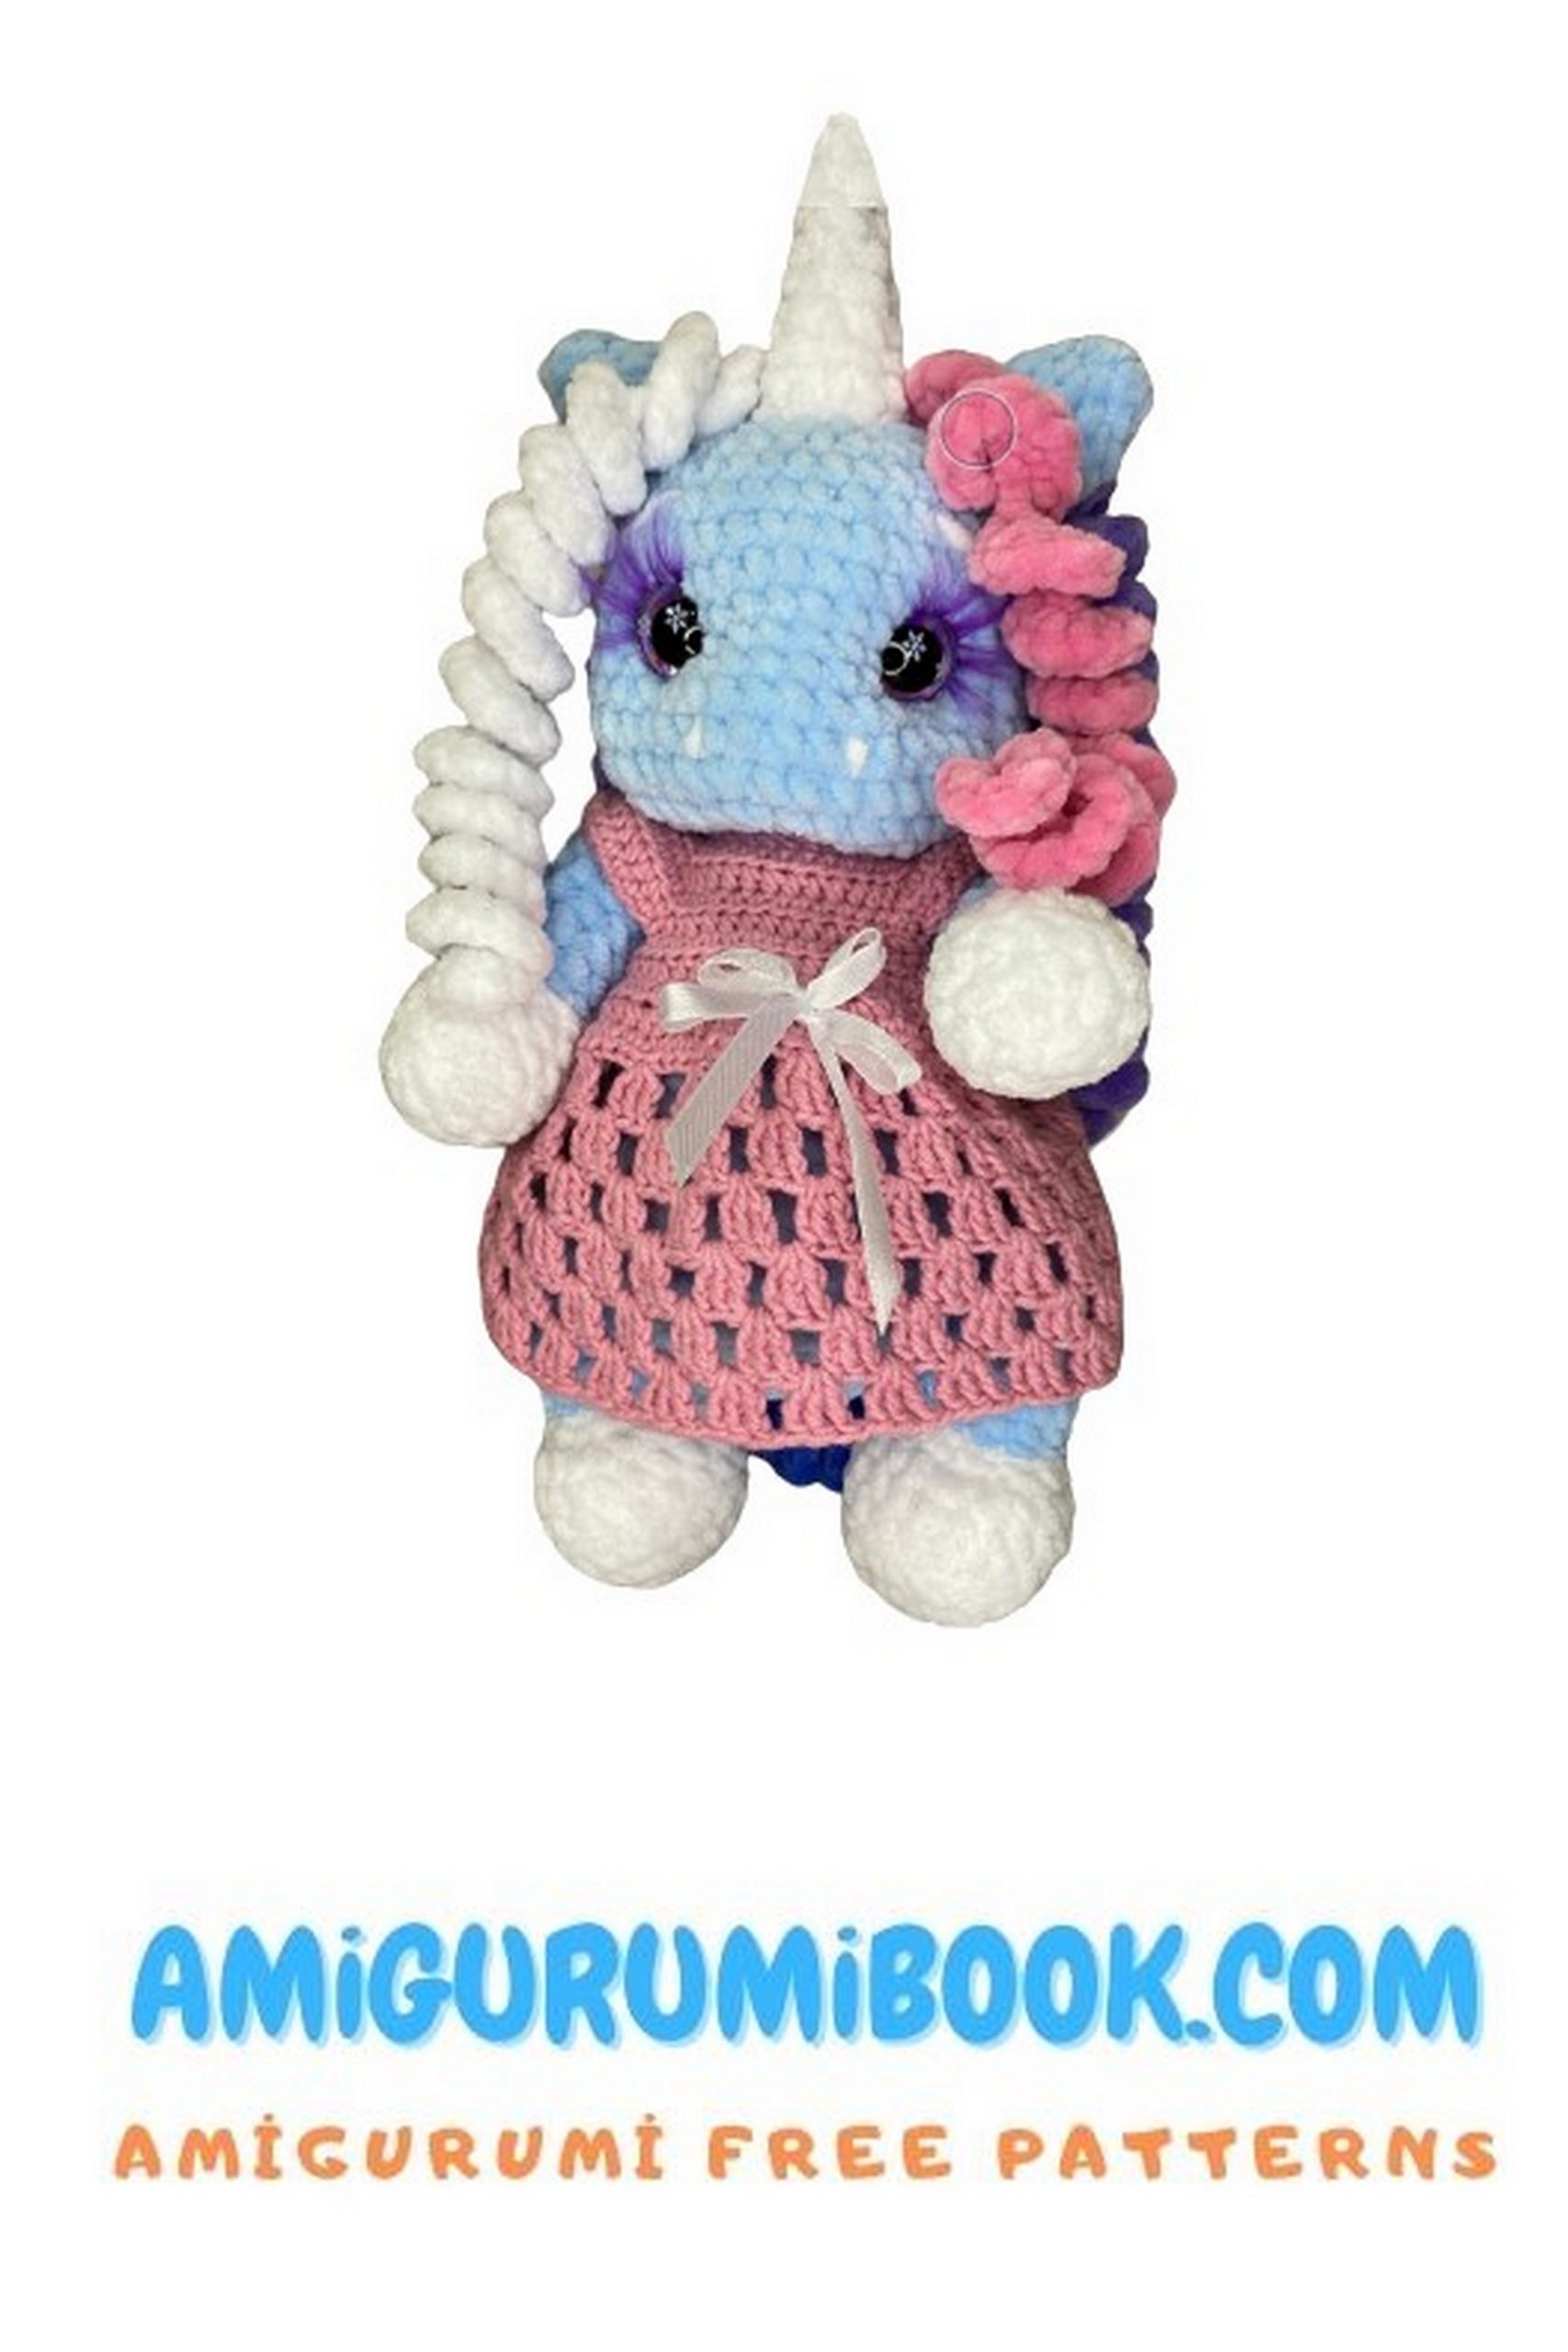
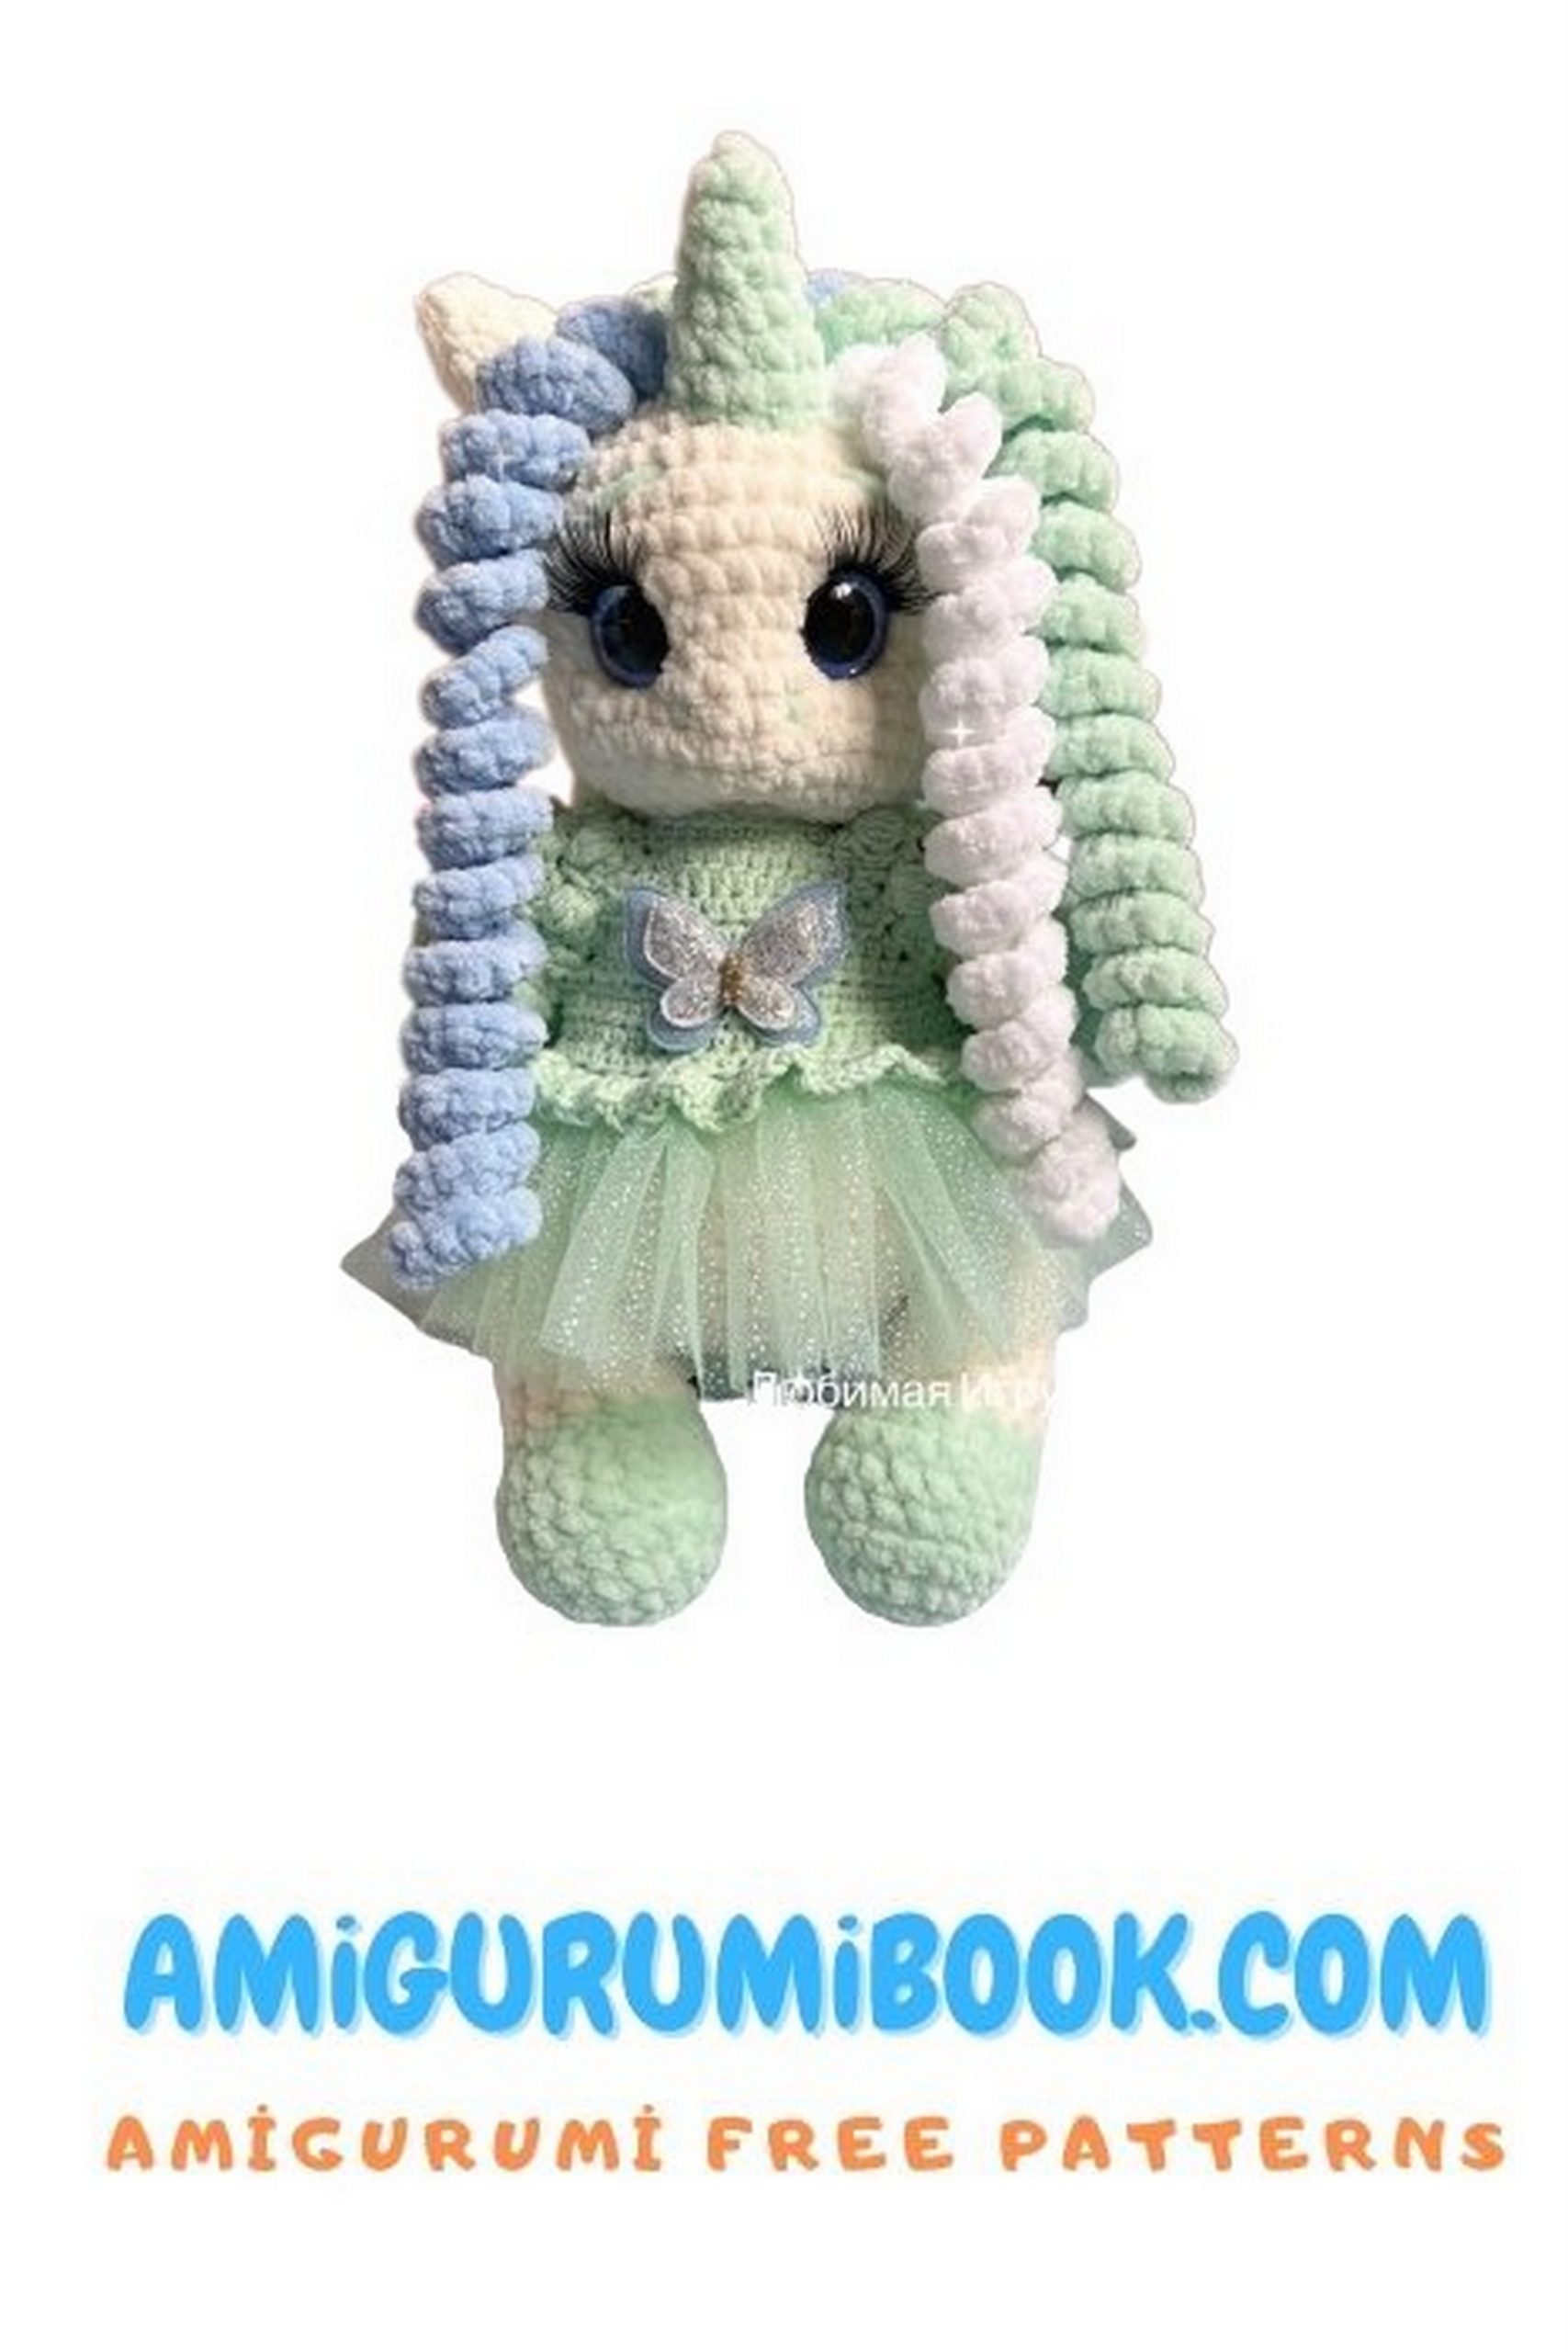
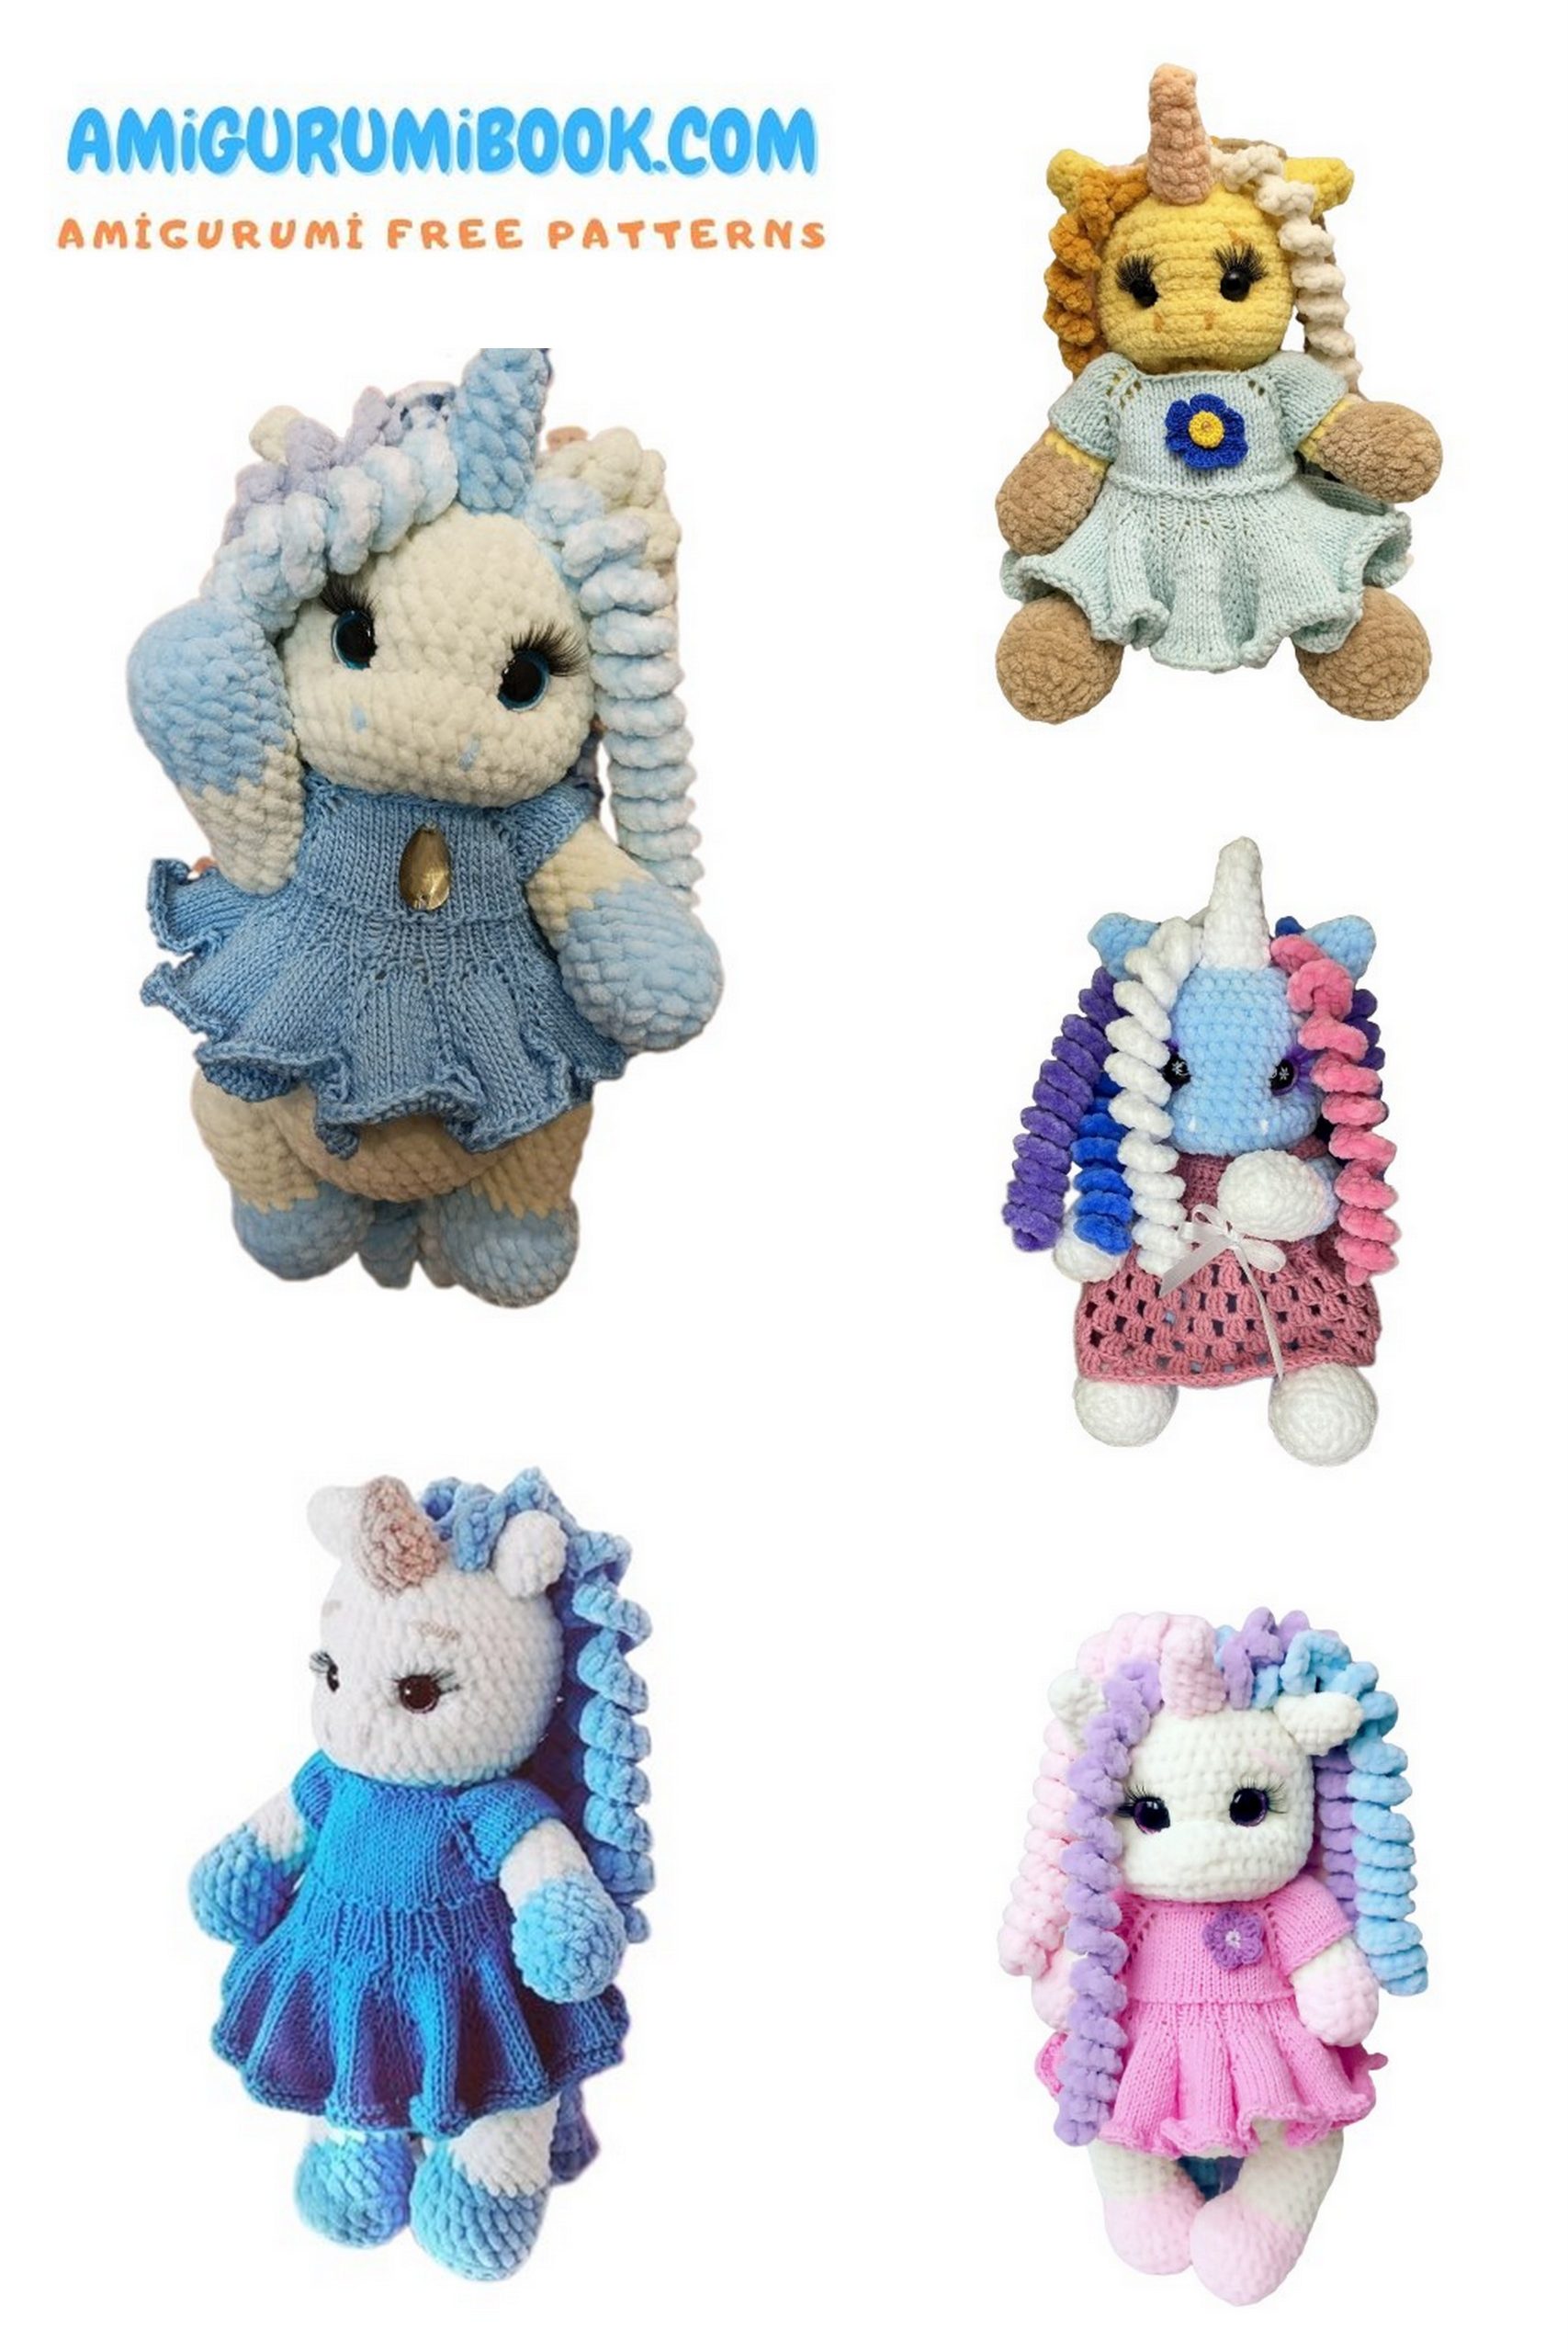
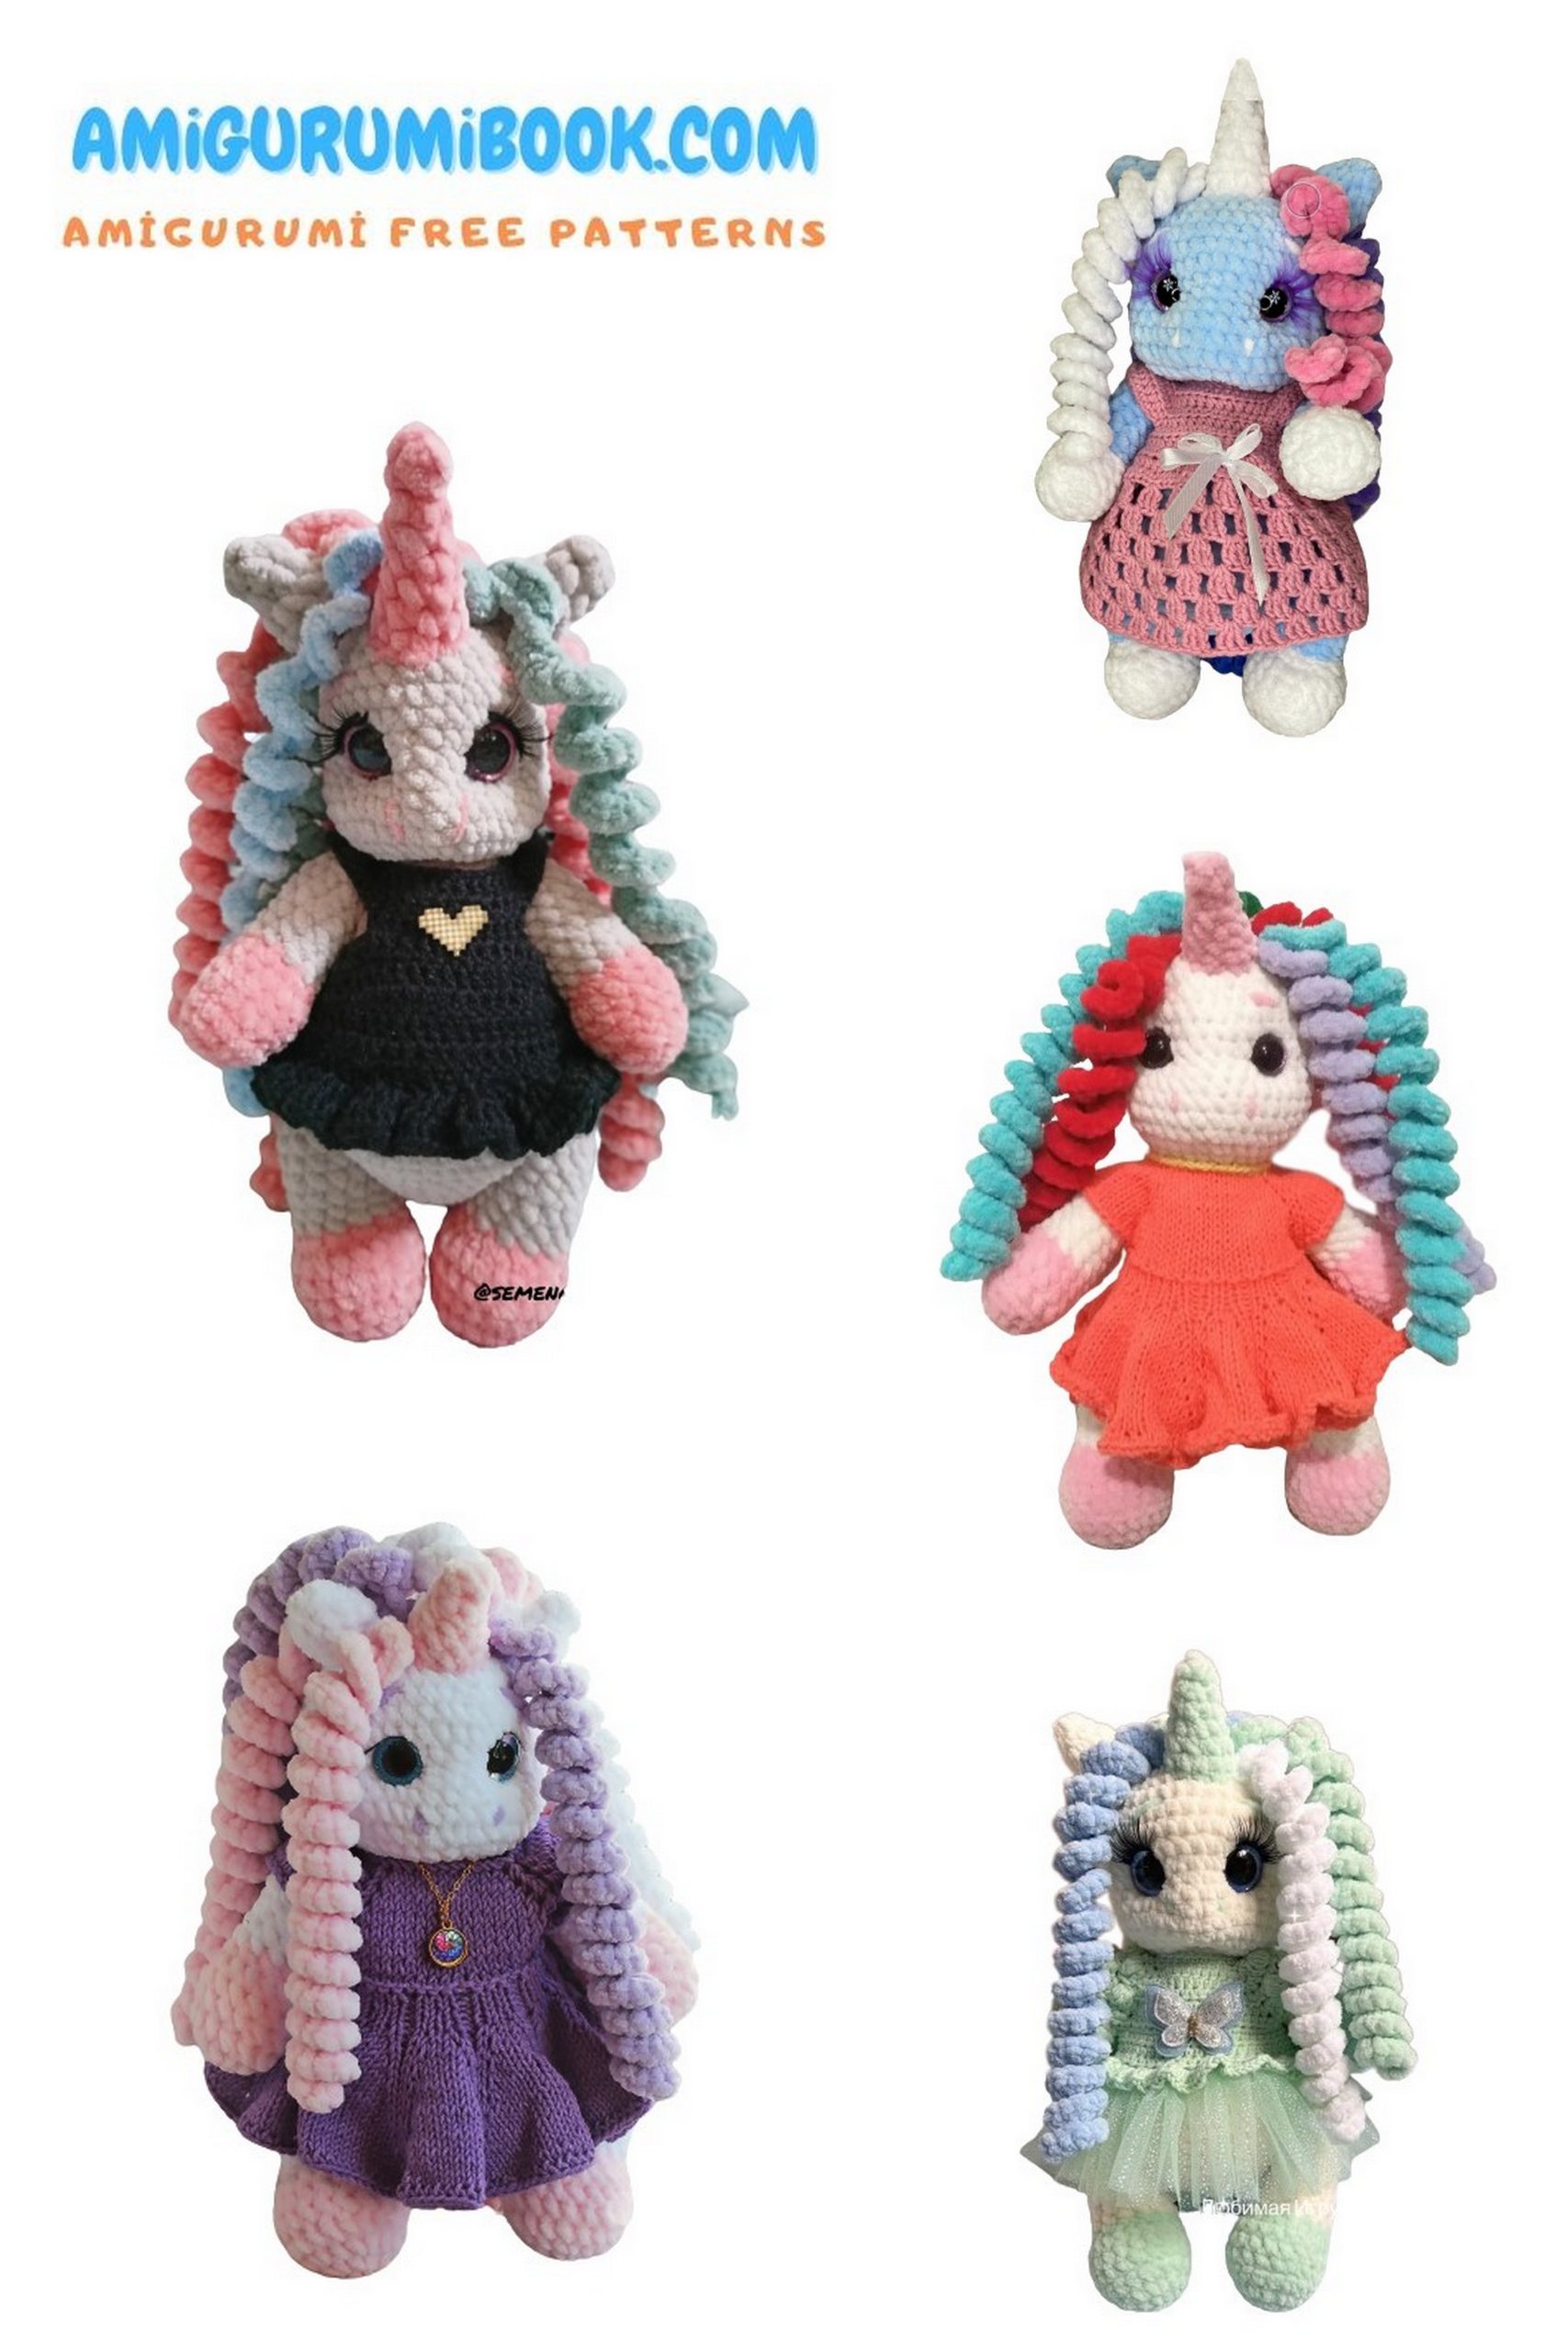
Discover the charm of creating your own adorable marshmallow unicorn with this free amigurumi pattern. Perfect for beginners and experienced crafters alike, this pattern guides you step-by-step to make a soft, whimsical toy that’s sure to delight. free crochet patterns
You may also like more amigurumi patterns.
Welcome to the enchanting world of crochet, where dreams and creativity come to life! If you’re a fan of adorable amigurumi creations and unicorns, you’re in for a treat. Our free Marshmallow Unicorn Amigurumi pattern is here to guide you through the delightful process of crafting your very own magical unicorn companion.
Unicorns have always held a special place in our hearts, symbolizing grace, beauty, and wonder. With this pattern, you’ll have the chance to capture the essence of these mythical creatures in yarn and stuffing. Whether you’re a seasoned crocheter or just starting out on your crochet journey, our detailed instructions will make this project a breeze.
Imagine gifting this handmade amigurumi unicorn to a loved one or keeping it as a cherished addition to your collection of crochet creations. The possibilities are as endless as your imagination. So, grab your crochet hook and favorite yarn, and let’s embark on a magical crafting adventure together!
In the following sections, you’ll find a list of materials you’ll need and step-by-step instructions to create your Marshmallow Unicorn Amigurumi. Get ready to bring a little bit of magic into your world!
If you want to access 1000+ free amigurumi patterns, you can download our application from this link!
MATERIALS
- Plush yarn: Himalaya Dolphin Baby or Wolans Bunny Baby
- Additional colors for mane & tail curls
- Crochet hook 4.0 mm
- Safety eyes 18 mm (trapezoid)
- Eyelashes
- Plastic joints: 20 mm (2 pcs), 15 mm (2 pcs)
- Polyester fiberfill
- Long needle (for sculpting & tightening)
- Scissors
- Moment Crystal glue
ABBREVIATIONS
BLO – back loop only
MR – magic ring
ch – chain
sc – single crochet
inc – increase
dec – decrease
hdc – half double crochet
FLO – front loop only

HEAD
1: 6 sc in MR (6)
2: inc ×6 (12)
3: (1 sc, inc) ×6 (18)
4: (2 sc, inc) ×6 (24)
5: (3 sc, inc) ×6 (30)
6: (4 sc, inc) ×6 (36)
7: (5 sc, inc) ×6 (42)
8–14: 42 sc
15: (5 sc, dec) ×6 (36)
16: 36 sc
17: (4 sc, dec) ×6 (30)
18: (3 sc, dec) ×6 (24)
19: (2 sc, dec) ×6 (18)
20: (1 sc, dec) ×6 (12)
21: dec ×6 (6)
22: dec ×3 (3)
➡️ Eyes between 11–12, 6 sc apart
➡️ Stuff firmly, do not overfill
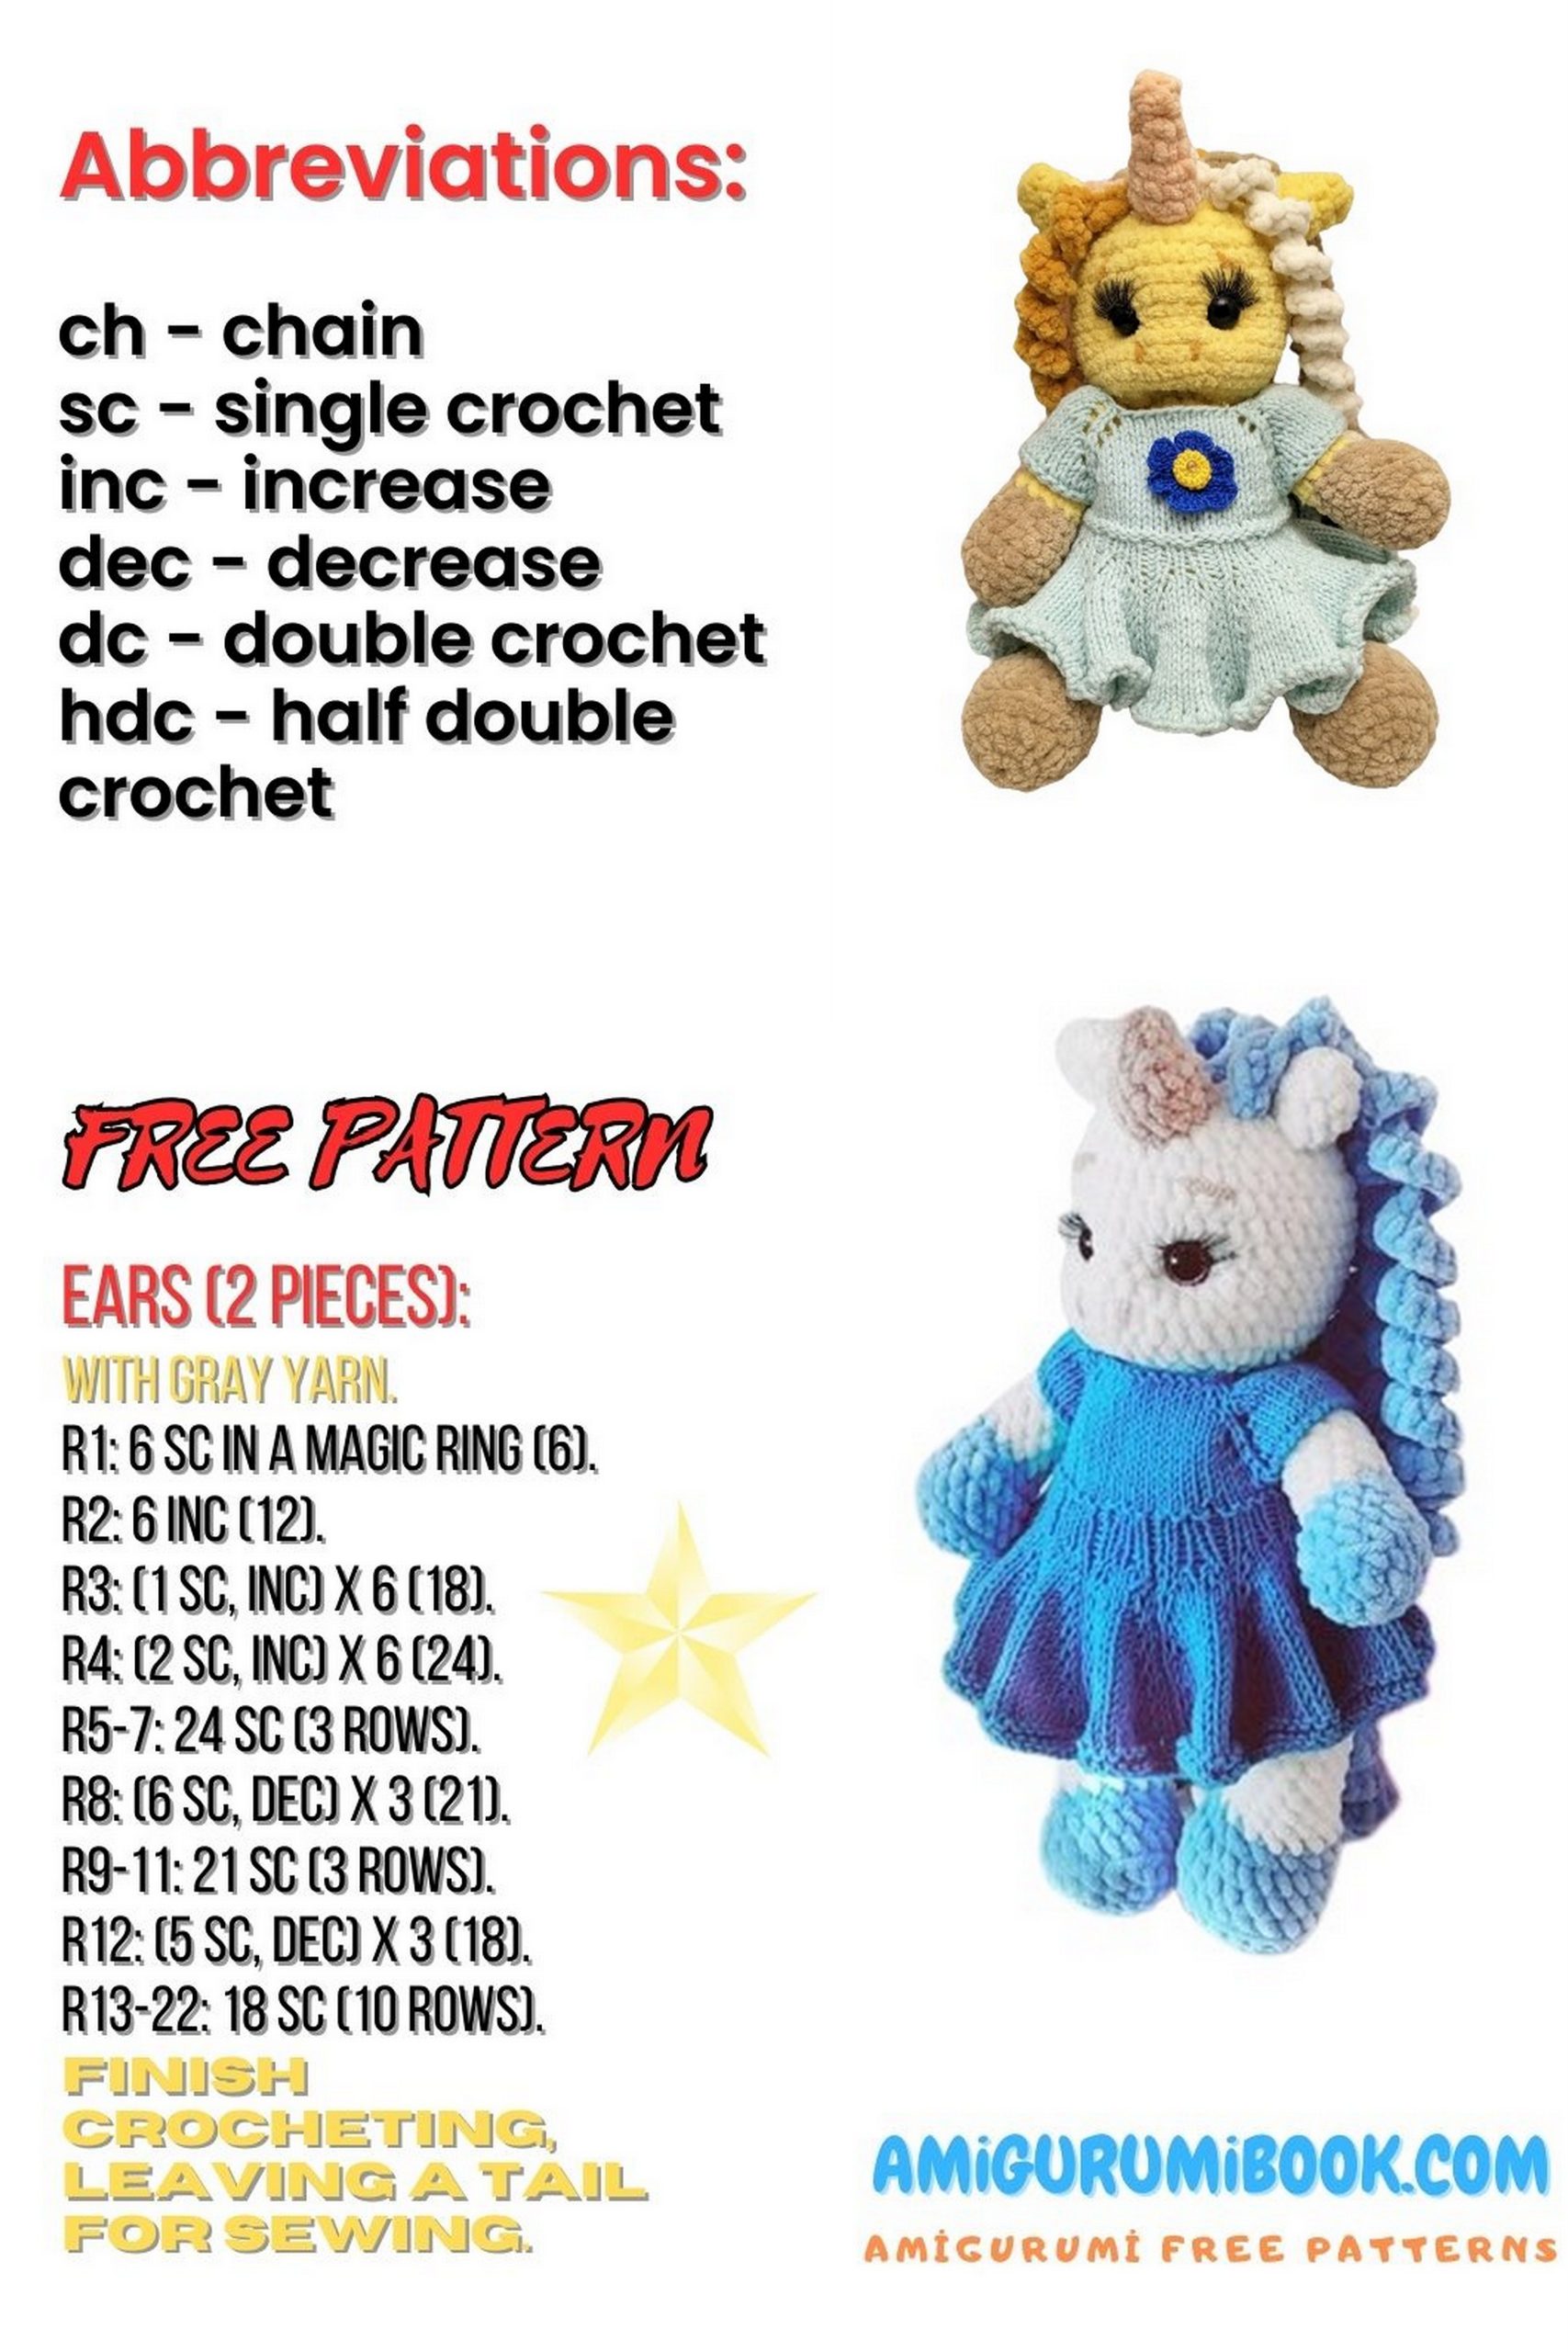
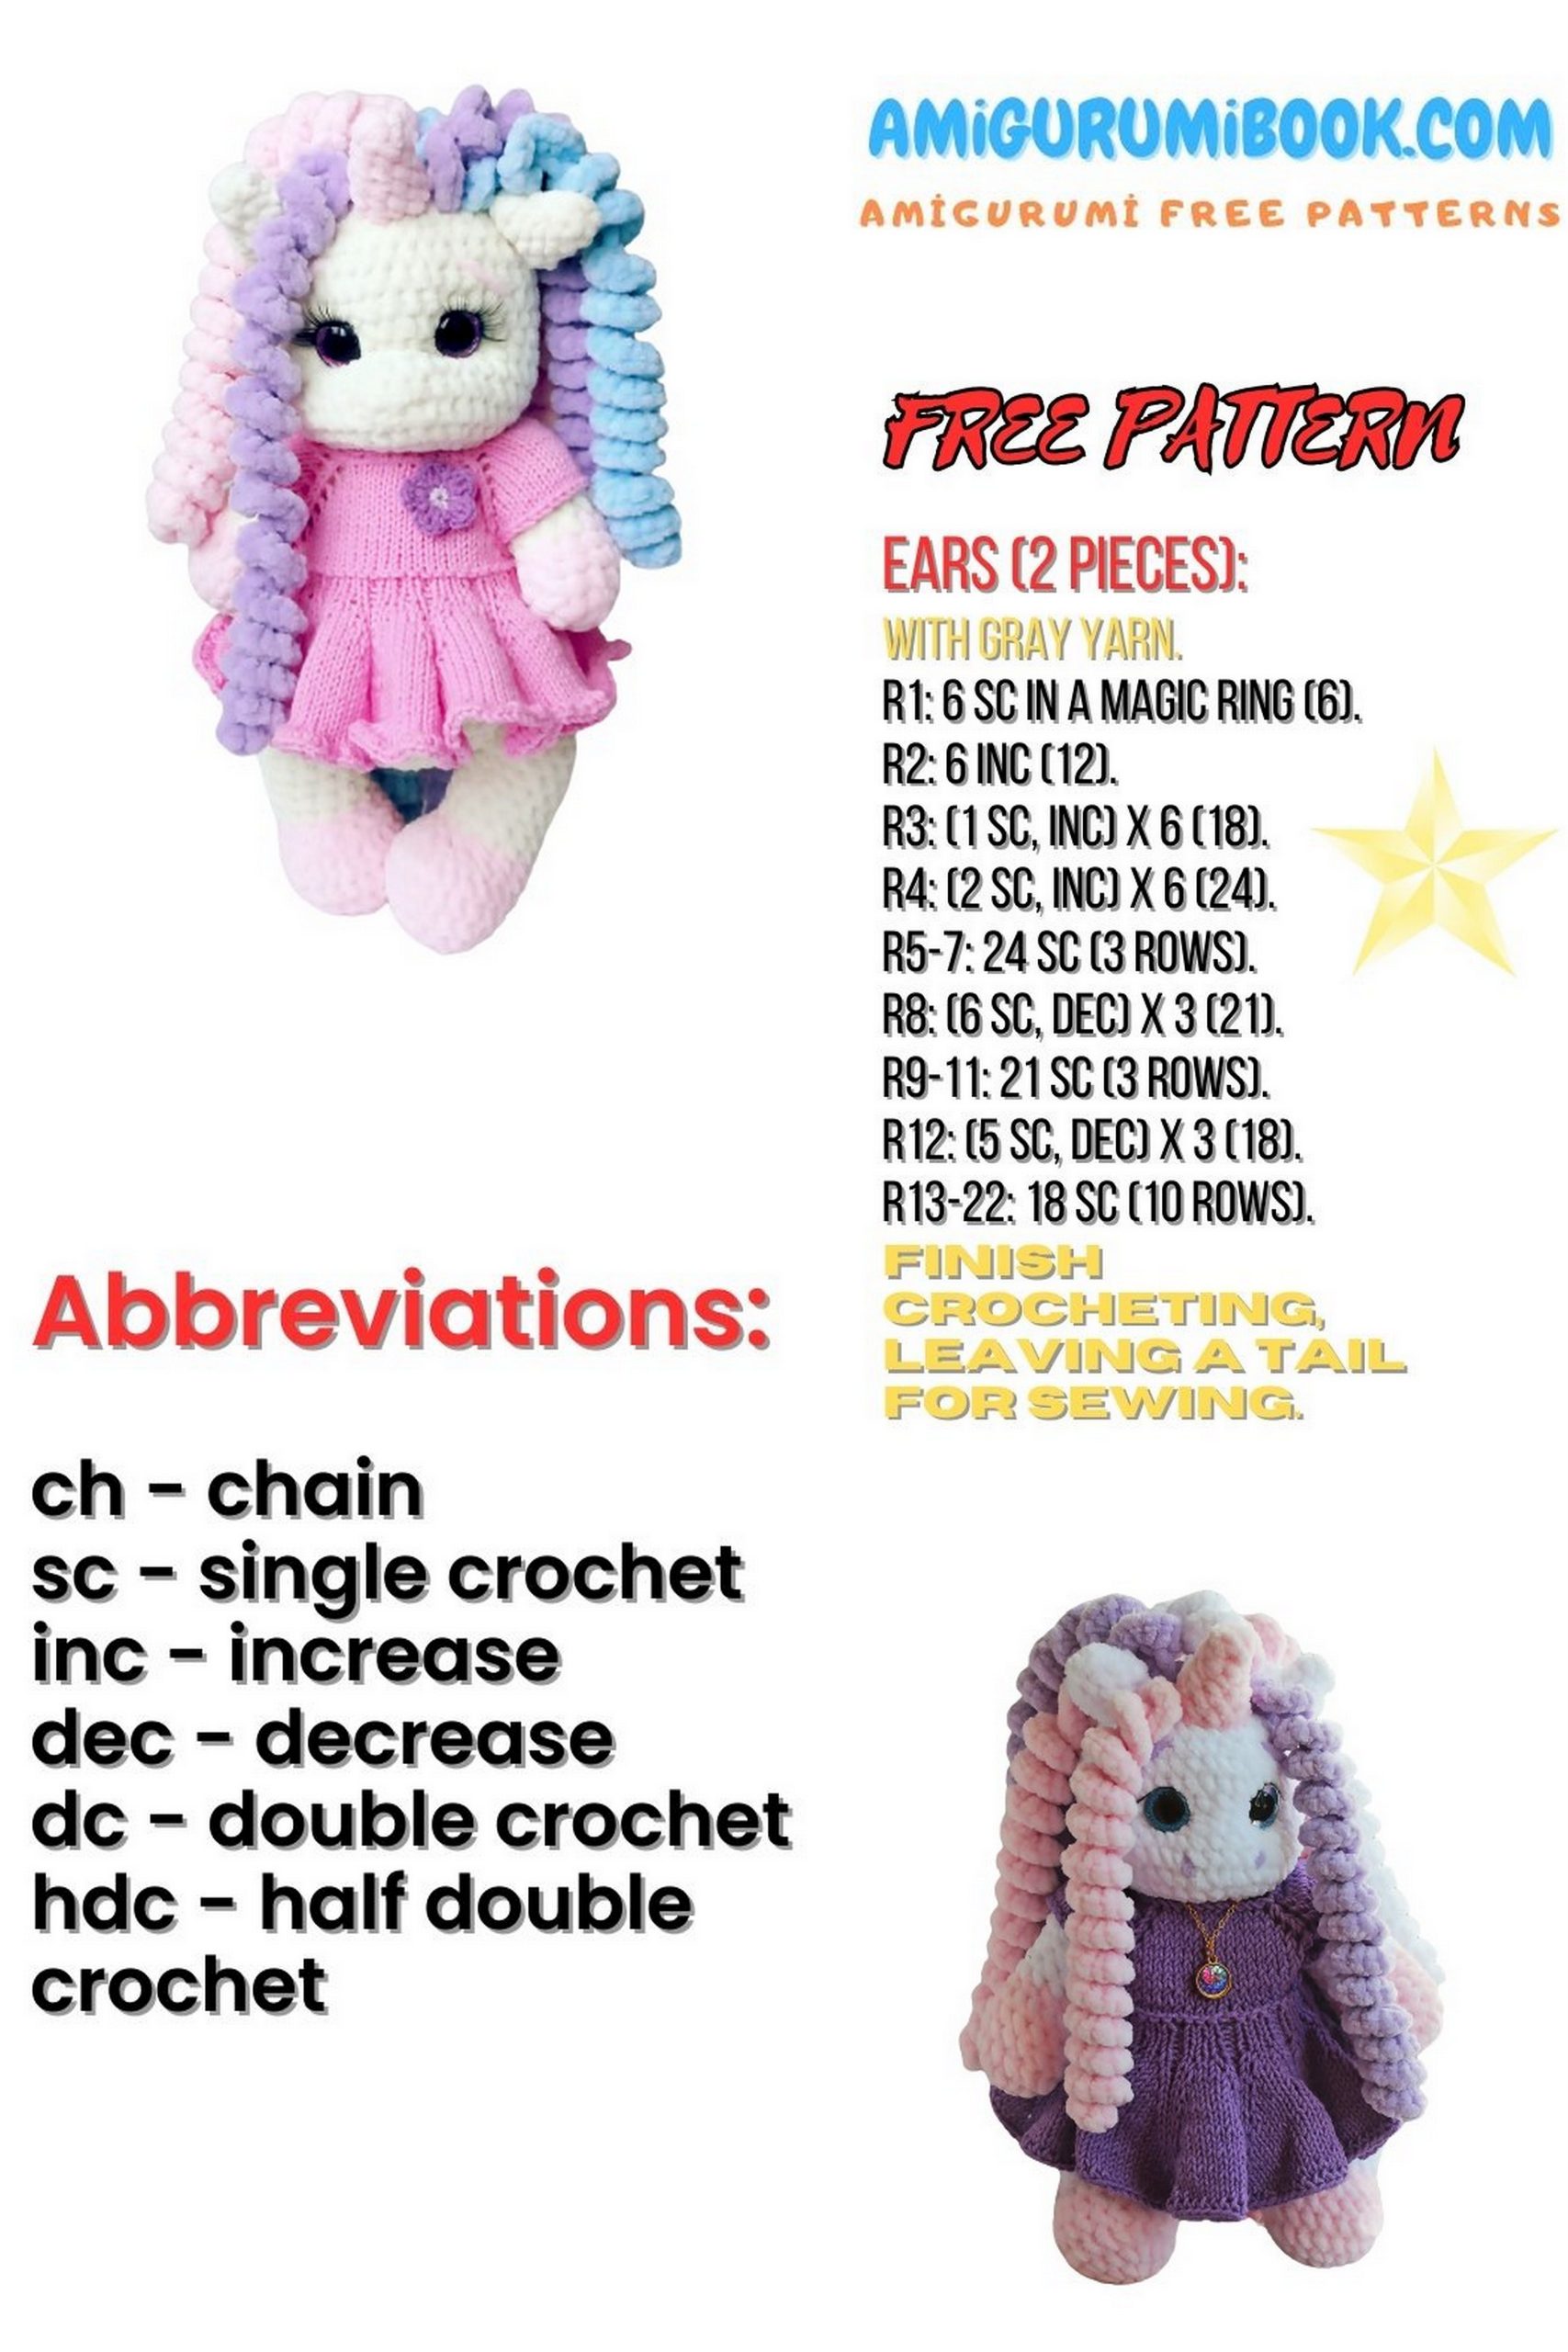
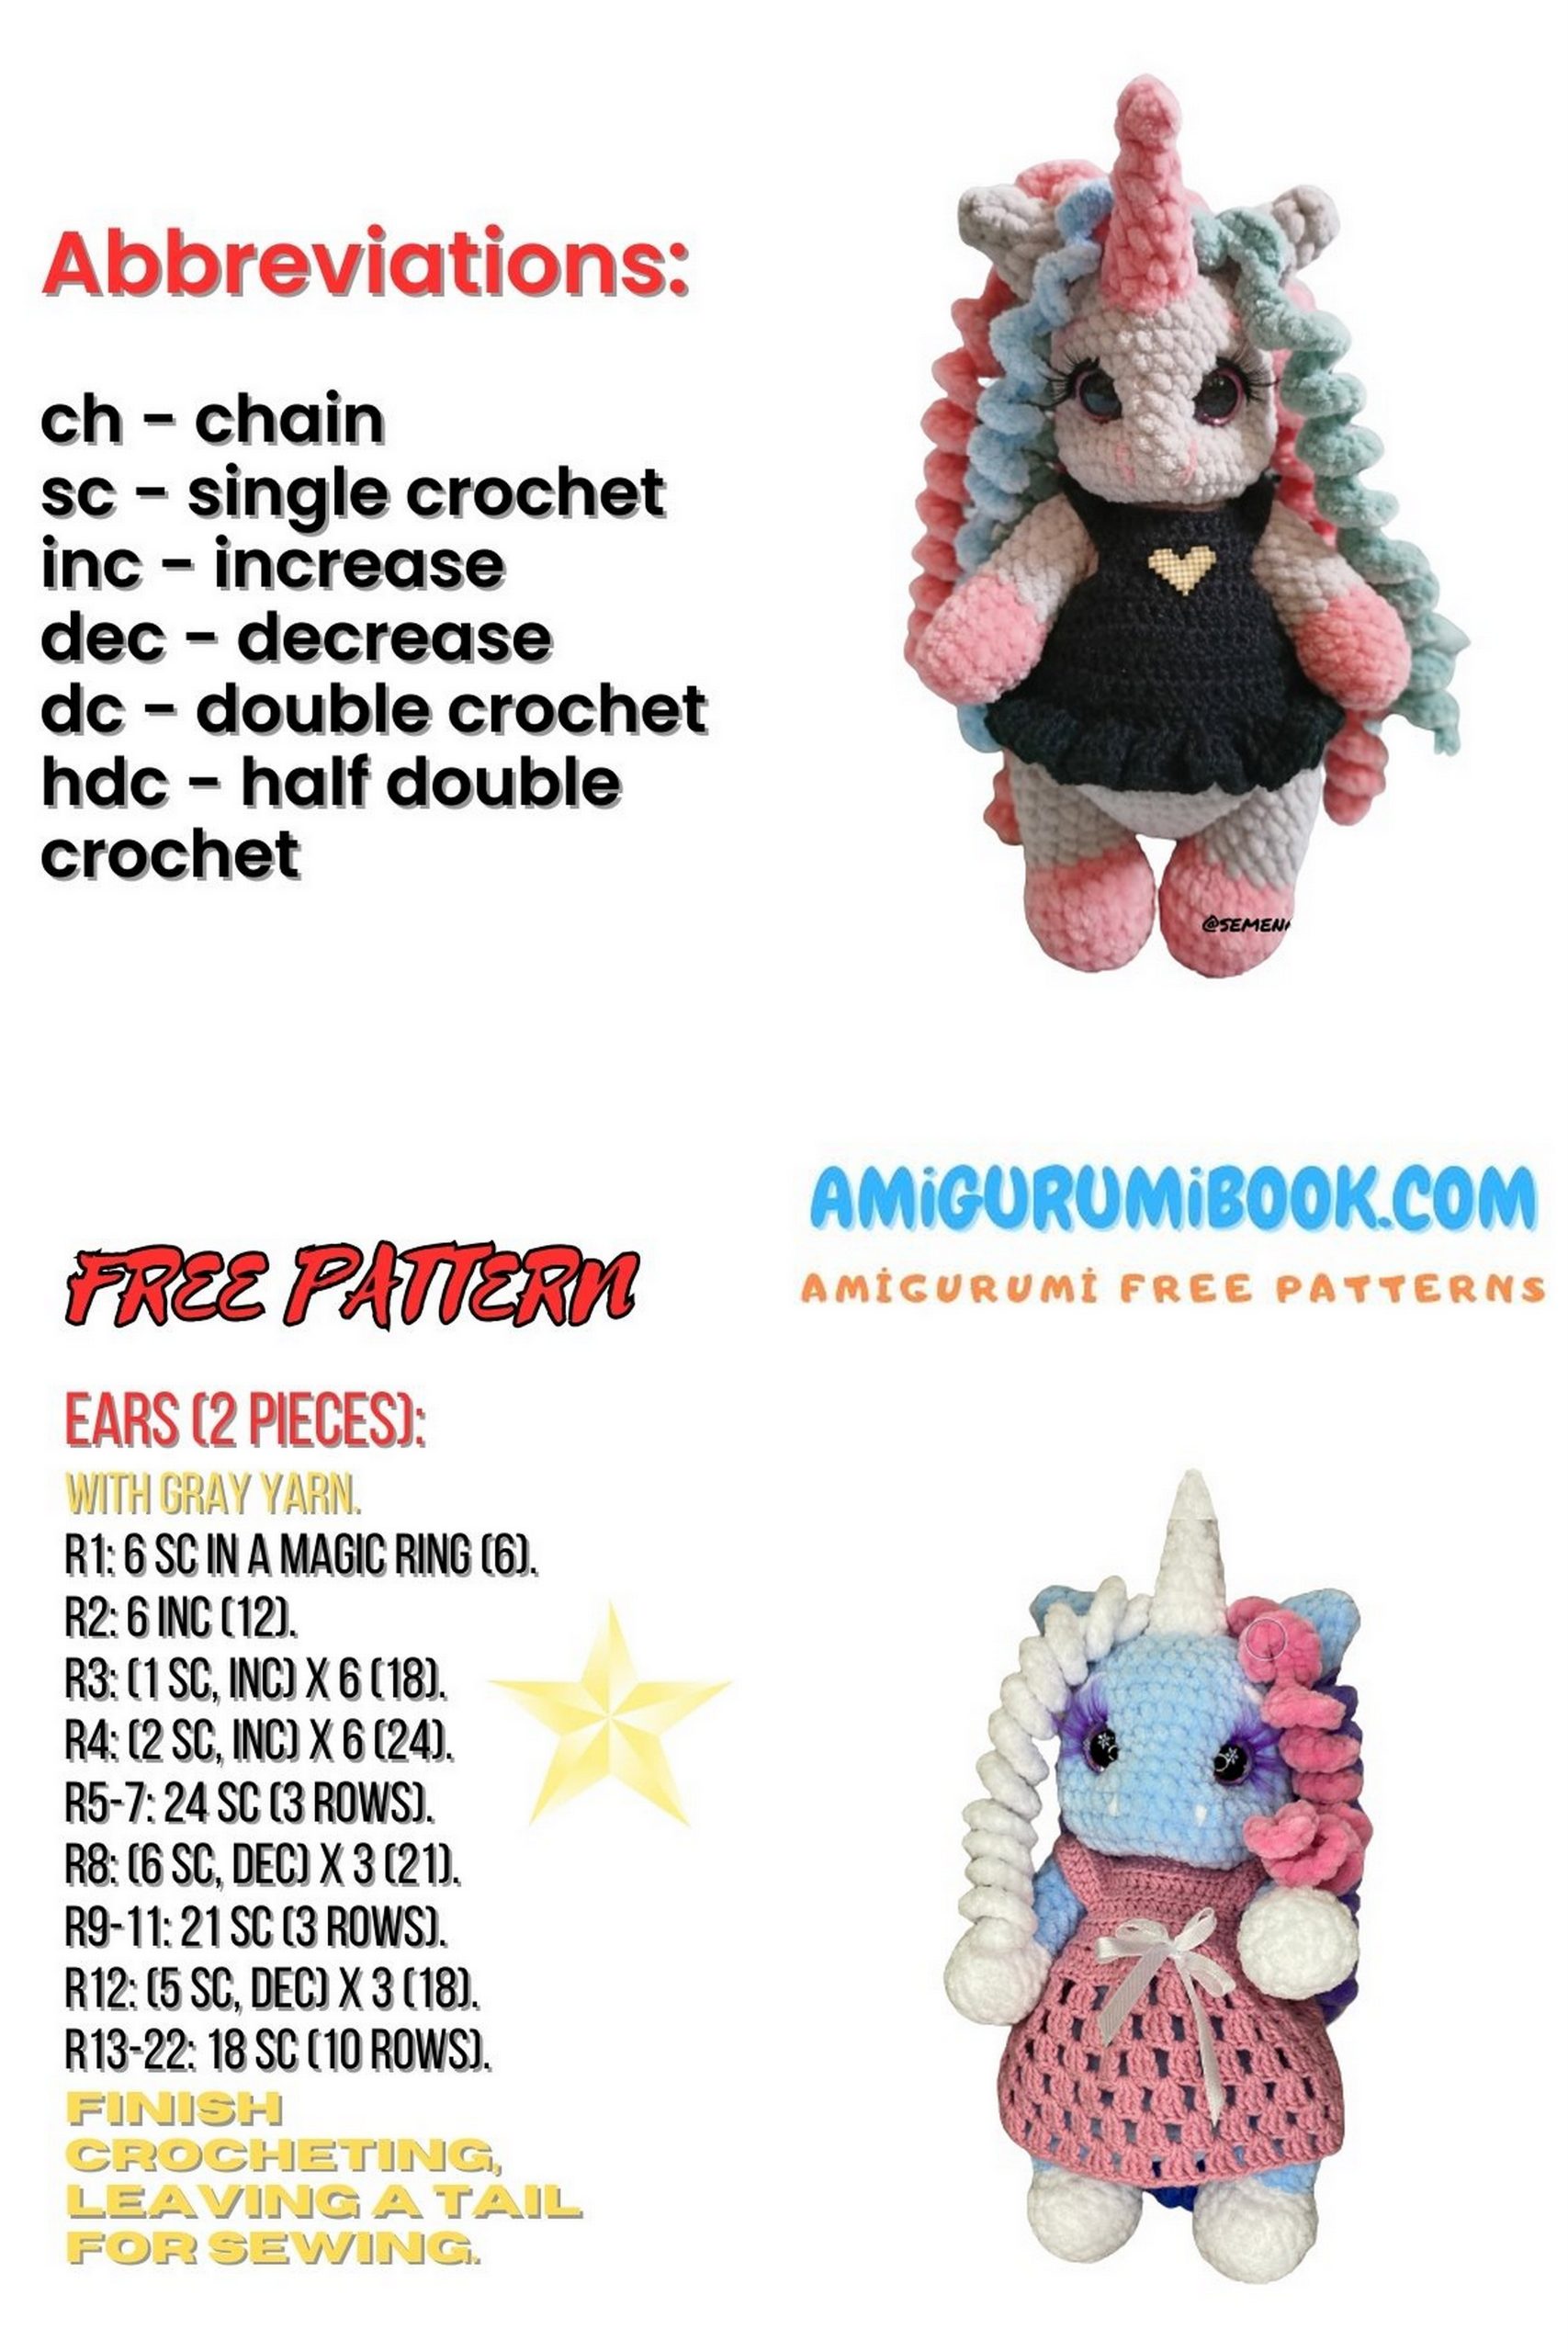
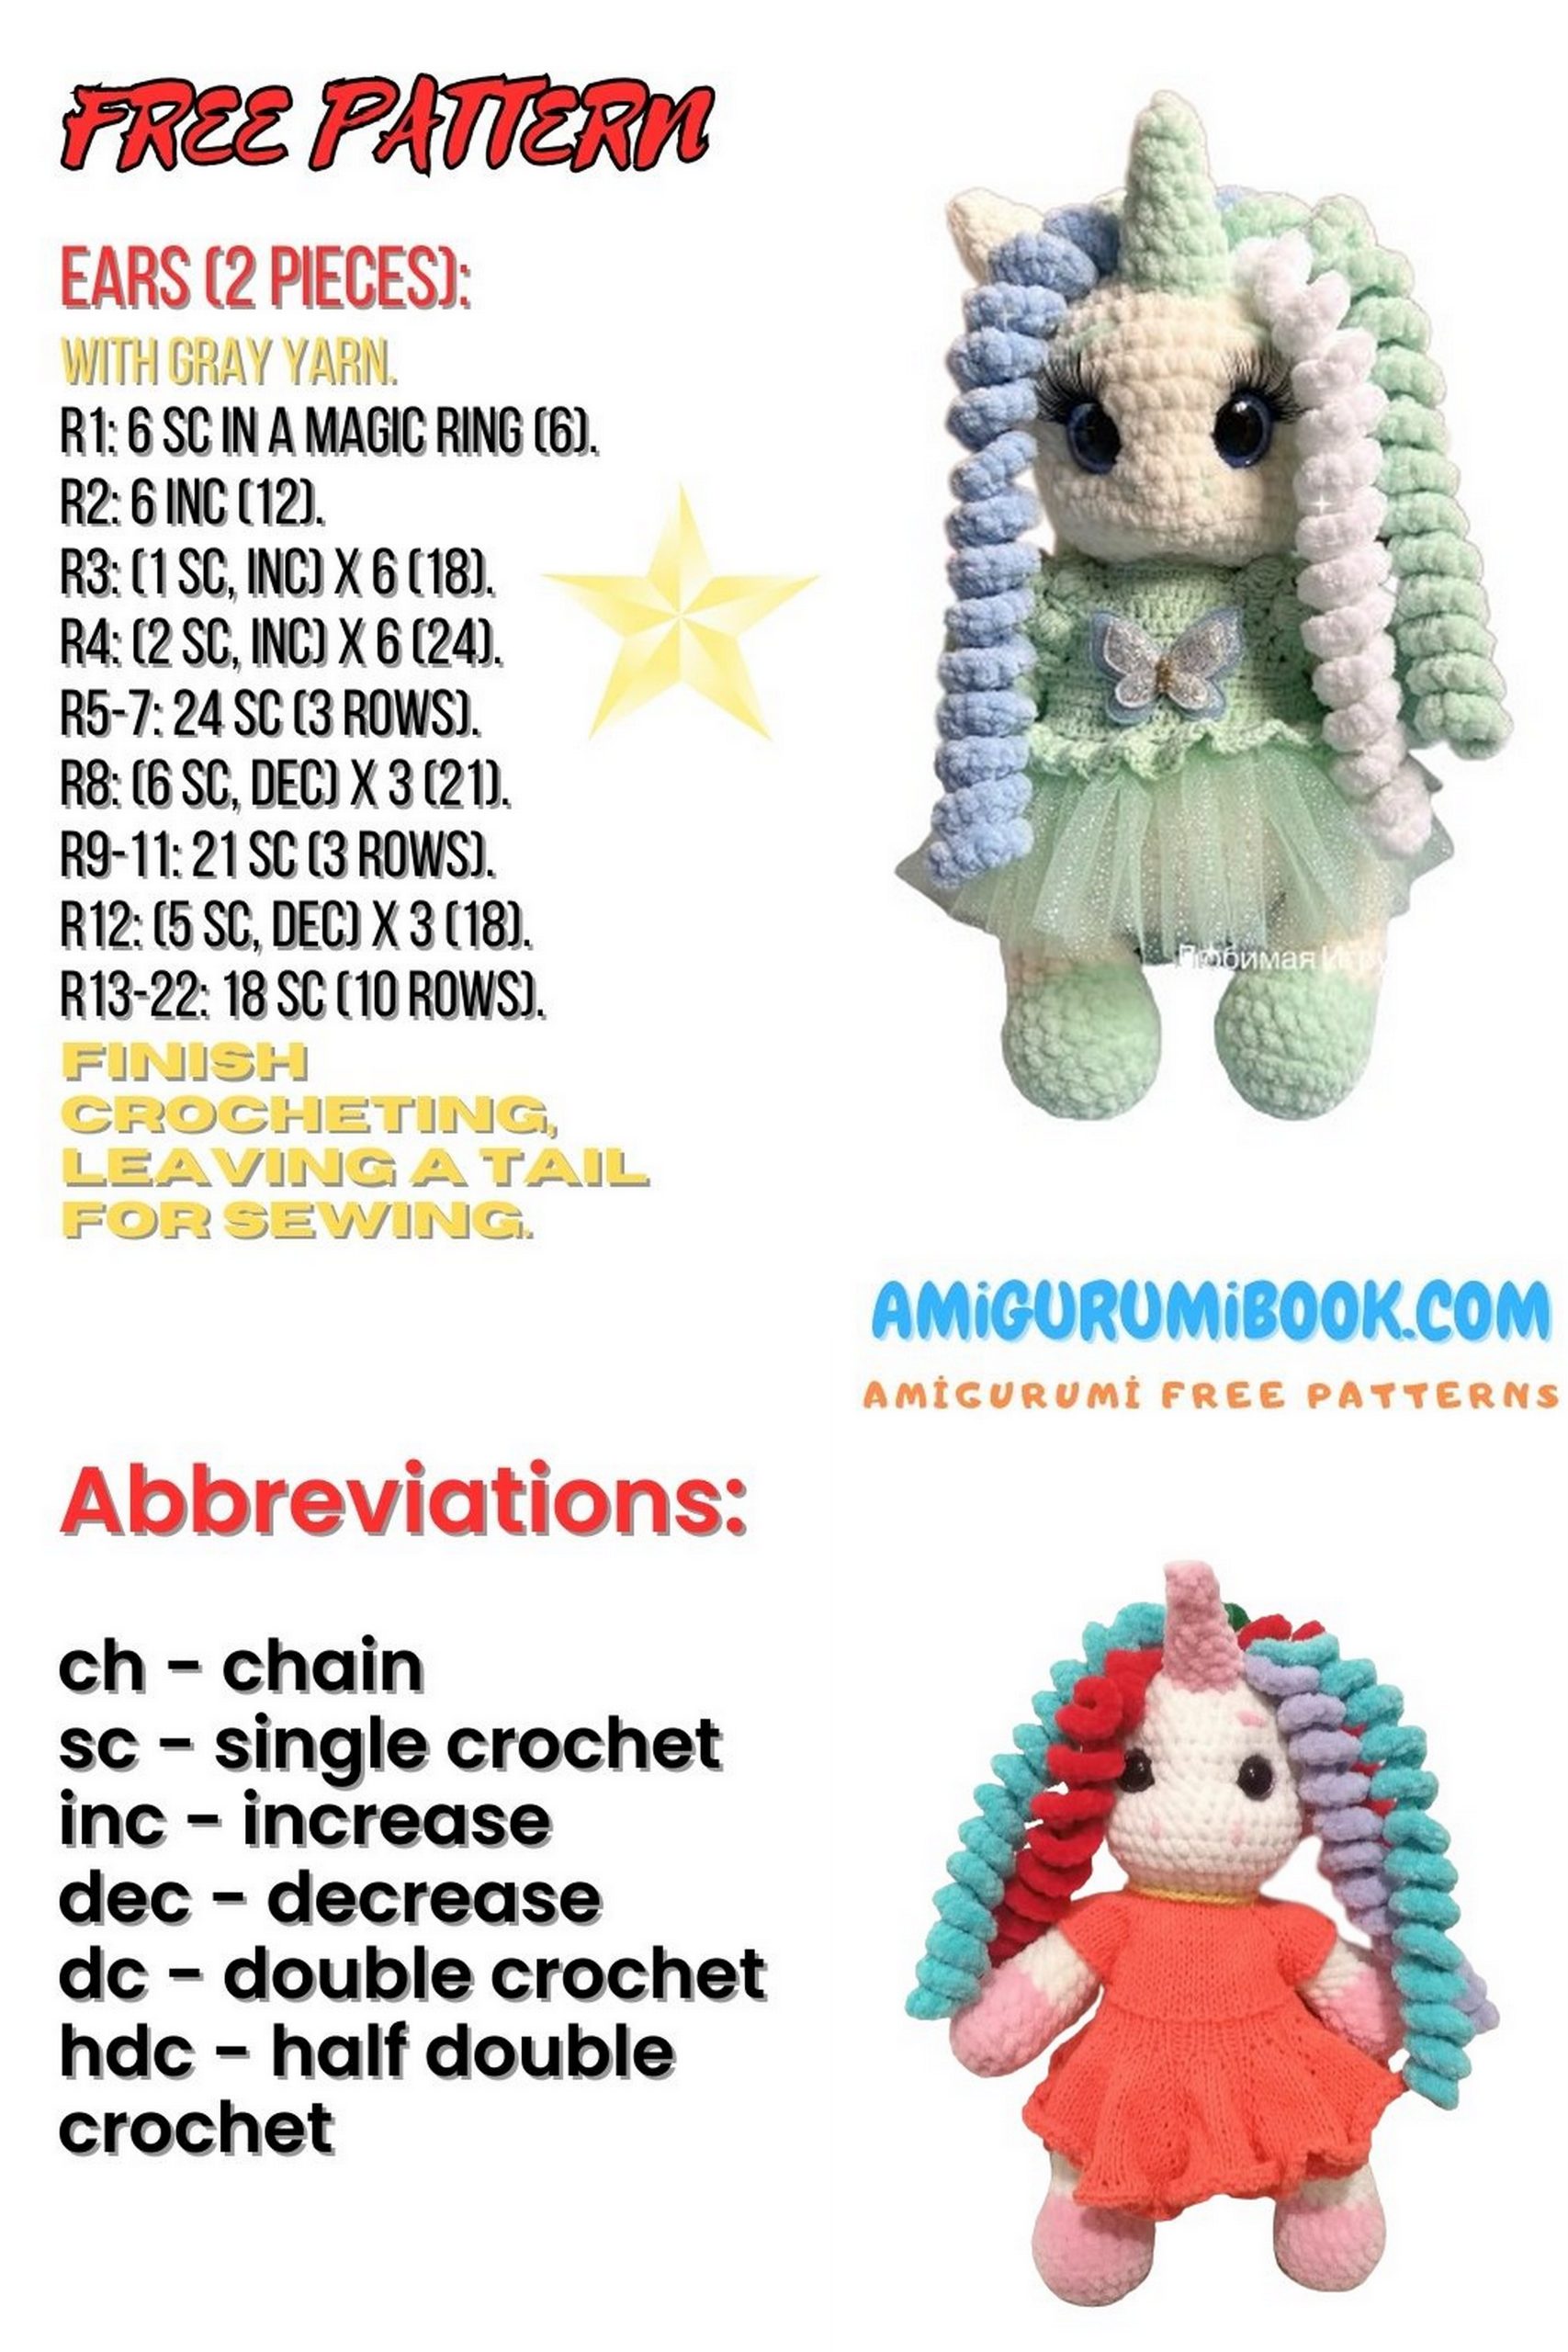
EARS (make 2)
1: 5 sc in MR (5)
2: 5 sc
3: (1 sc, inc) ×5 (10)
4–5: 10 sc
6: dec, 3 sc, dec, 2 sc (8)
Fasten off, do not stuff, leave long tail for sewing.
HORN
1: 4 sc in MR (4)
2: 4 sc
3: (1 sc, inc) ×3 (6)
4: 6 sc
5: (1 sc, inc) ×3 (9)
6: 9 sc
7: (2 sc, inc) ×4 (12)
Stuff firmly and sew between 16–20 on head.
LEGS (make 2)
1: 6 sc in MR (6)
2: inc ×6 (12)
3: (1 sc, inc) ×6 (18)
4: (5 sc, inc) ×3, 6 sc (21)
5: 21 sc in BLO
6–7: 21 sc
8: (5 sc, dec) ×2, 4 sc (15)
Switch to main color
9–15: 15 sc
16: (1 sc, dec) ×5 (10)
17: dec ×5 (5)
➡️ Insert joint between 14–15
➡️ Make left & right leg
ARMS (make 2)
1: 6 sc in MR (6)
2: inc ×6 (12)
3: (3 sc, inc) ×3, 3 sc (15)
4: 15 sc in BLO
5–6: 15 sc
7: (4 sc, dec) ×2, 5 sc (12)
Switch to main color
8–14: 12 sc
15: (1 sc, dec) ×4 (8)
16: dec ×4 (4)
➡️ Insert joint between 13–14
BODY
1: 6 sc in MR (6)
2: inc ×6 (12)
3: (1 sc, inc) ×6 (18)
4: (2 sc, inc) ×6 (24)
5: (3 sc, inc) ×6 (30)
6: (4 sc, inc) ×6 (36)
7: (5 sc, inc) ×6 (42)
8–12: 42 sc
13: (5 sc, dec) ×6 (36)
14–17: 36 sc
18: 10 sc, (sc, dec), 11 sc (31)
19: 14 sc, dec, 15 sc (30)
20: 30 sc
21: (3 sc, dec) ×6 (24)
22: 24 sc
23: (2 sc, dec) ×6 (18)
24: 18 sc
➡️ Attach legs between 7–8
➡️ Attach arms between 20–21
MANE CURLS (10–11 pcs)
- ch 51
- 3 hdc in 2nd ch and each ch
- sl st to finish
Attach tightly around horn.
TAIL CURLS (5 pcs)
- ch 31
- 3 hdc in 2nd ch and each ch
- sl st to finish
Attach between 10–12.
ASSEMBLY
- Sculpt face & smile
- Embroider eyes, eyebrows, smile
- Sew ears, horn, head, arms, legs
- Attach mane & tail curls
🎉 Your Zephyr is ready!
MATERIALS NEEDED
- YarnArt Jeans yarn (50 g / 160 m) – 1 skein
- Double-pointed needles – size 3
- Circular needles – size 3
- Crochet hook – 2.5 mm
- Wide-eyed needle
- Button
- Dress for a 30 cm toy
ABBREVIATIONS
- k – knit
- p – purl
- edge – edge stitch (slip first stitch, purl last stitch)
- yo – yarn over
- k2tog – knit two stitches together
- * – repeat to the end of the row
DRESS – KNITTING INSTRUCTIONS
Cast on 42 stitches using the long-tail cast-on method.
The yoke is worked in turning rows.
👉 The first 3 stitches and the last 3 stitches of each row form the placket.
When switching to circular knitting, the placket edges will overlap.
YOKE (FLAT KNITTING)
1: k, 2 p, 36 p, 2 p, k
2: k, 5 p, k, 8 k, k, 10 k, k, 8 k, k, 5 k, k
3: k, 2 p, 44 p, 2 p, k
4: Buttonhole row
k, k, 3 k, k, 10 k, k, 12 k, k, 10 k, k, 6 k, k
5: k, 2 p, 52 p, 2 p (yo, k), k
6: k, 7 k, k, 12 k, k, 14 k, k, 12 k, k, 7 k, k
7: k, 2 p, 60 p, 2 p, k
8: k, 8 k, k, 14 k, k, 16 k, k, 14 k, k, 8 k, k
9: k, 2 p, 68 p, 2 p, k
10: k, 9 k, k, 16 k, k, 18 k, k, 16 k, k, 9 k, k
11: k, 2 p, 76 p, 2 p, k
12: k, 10 k, k, 18 k, k, 20 k, k, 18 k, k, 10 k, k
13: k, 2 p, 84 p, 2 p, k
14: k, 11 k, k, 20 k, k, 22 k, k, 20 k, k, 11 k, k
15: k, 2 p, 92 p, 2 p, k
JOIN TO CIRCULAR KNITTING
16:
Join work in the round.
Switch to circular needles (98 stitches total).
- Slip last 3 stitches onto an auxiliary needle
- Overlap placket edges (buttonhole side on top)
- Knit placket stitches together in pairs
- You should have 3 stitches left
Then:
11 k, close sleeve stitches, 24 k, close sleeve stitches, 11 k
➡️ 49 stitches remain
BODY PATTERN (IN THE ROUND)
17: p all stitches, purl last 2 together → 48 sts remain
Pattern repeat = 4 stitches
18–22: k3, p1, *
23: k1, k1, k1, p1, *
24: work pattern, knit yo as crossed knit, k5, p1, *
25: k1, k3, k1, p1, *
26, 28, 30, 32, 34, 36, 38, 40, 42: work pattern
27: k1, k5, k1, p1, *
29: k1, k7, k1, p1, *
31: k1, k9, k1, p1, *
33: k1, k11, k1, p1, *
35: k1, k13, k1, p1, *
37: k1, k15, k1, p1, *
39: k1, k17, k1, p1, *
41: k1, k19, k1, p1, *
BOTTOM EDGE
42:
Single crochet border around hem:
- 1 sc from each stitch
- 1 sc from each space between stitches
👉 Total sc = 2 × stitch count
This creates a soft wavy edge.
FINISHING
- Sew on the button
- Hide all yarn ends
- Optional: decorate with a small crochet or fabric flower
✨ Dress is complete!