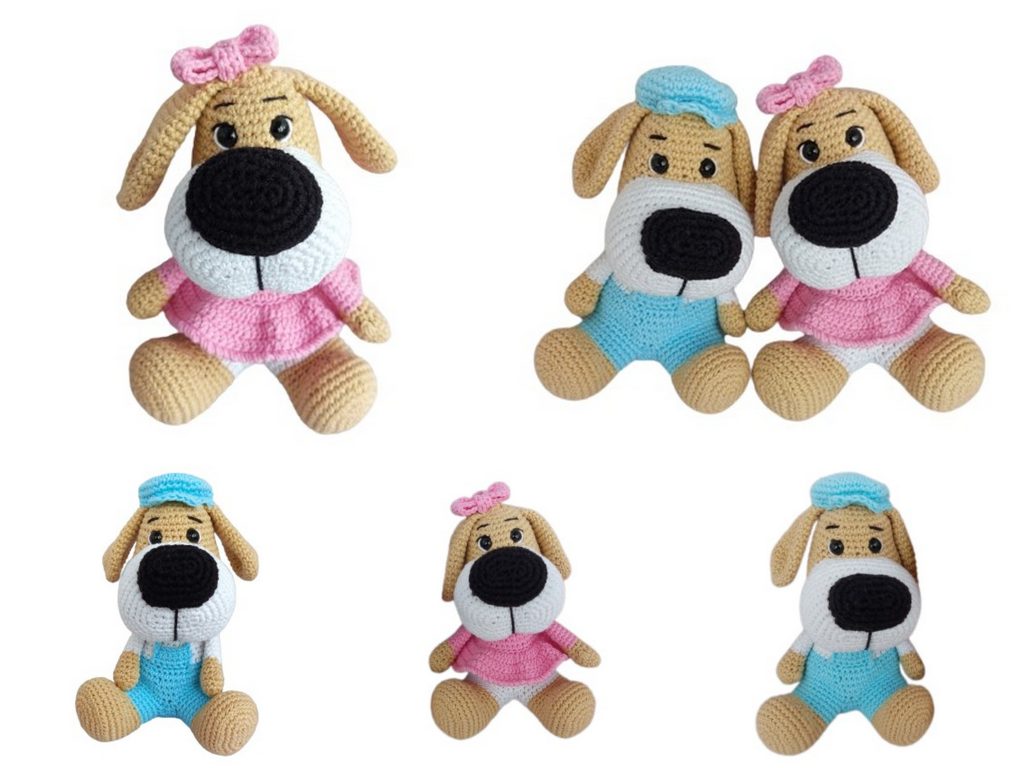
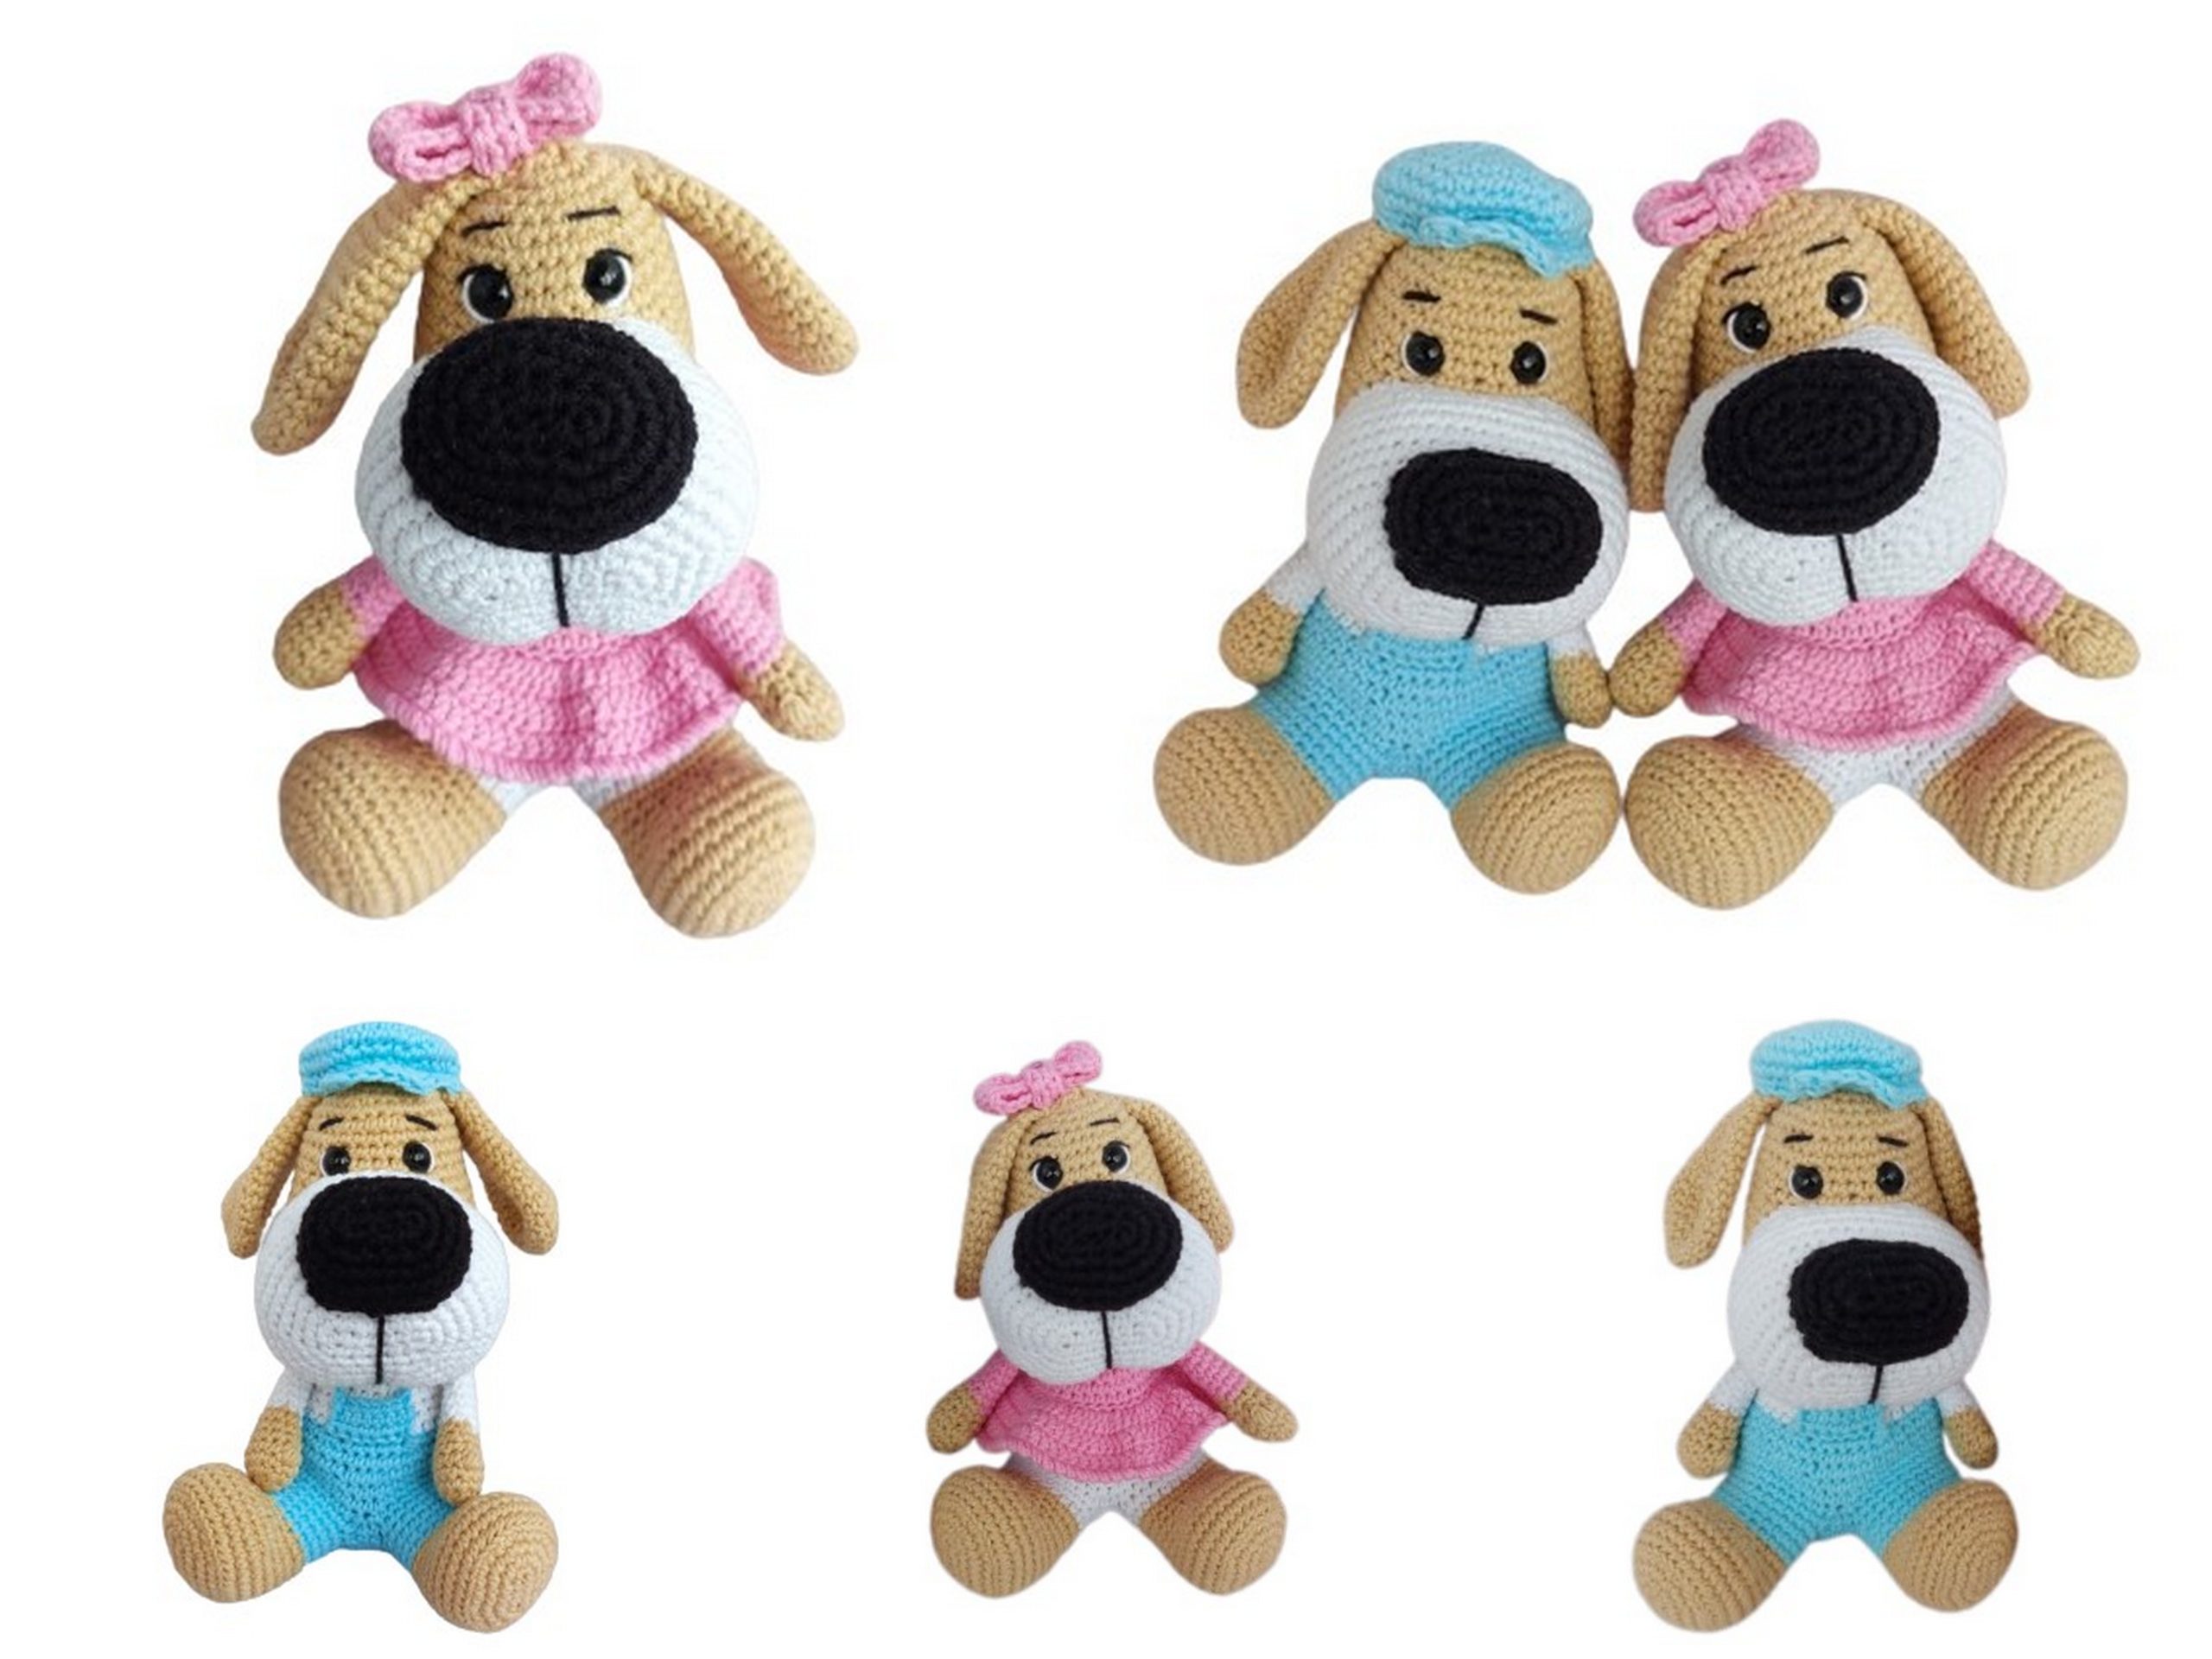
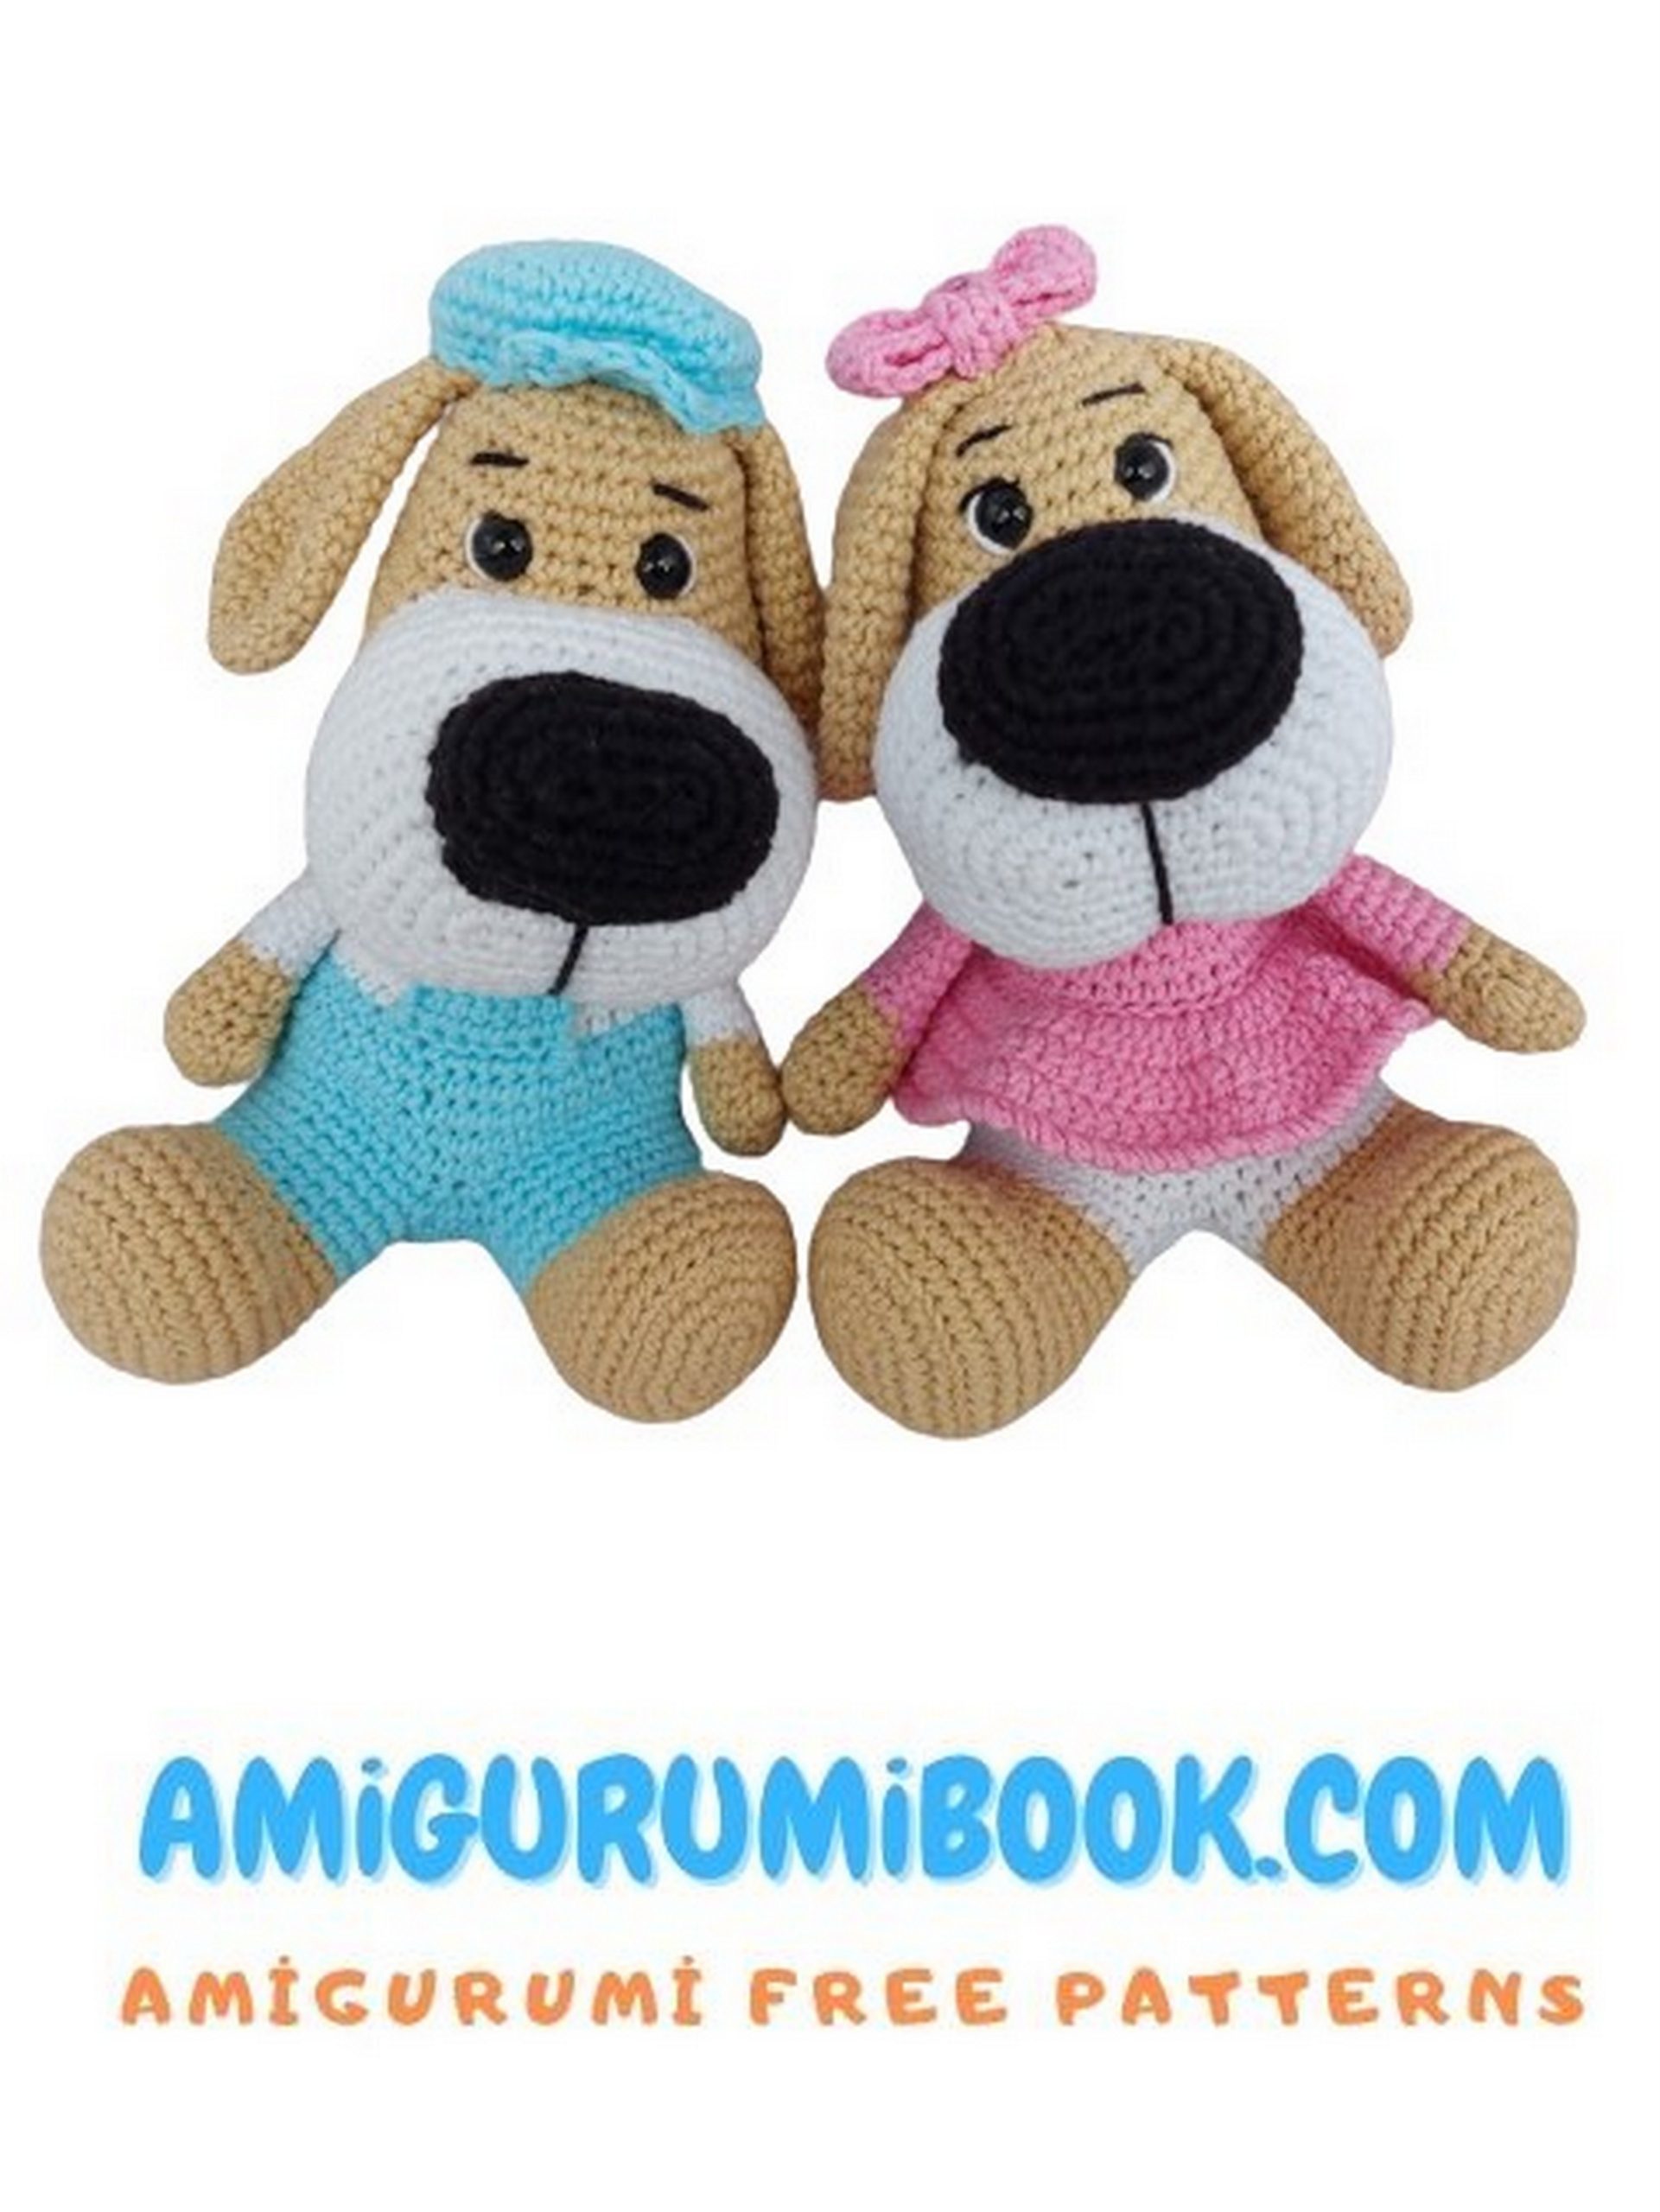
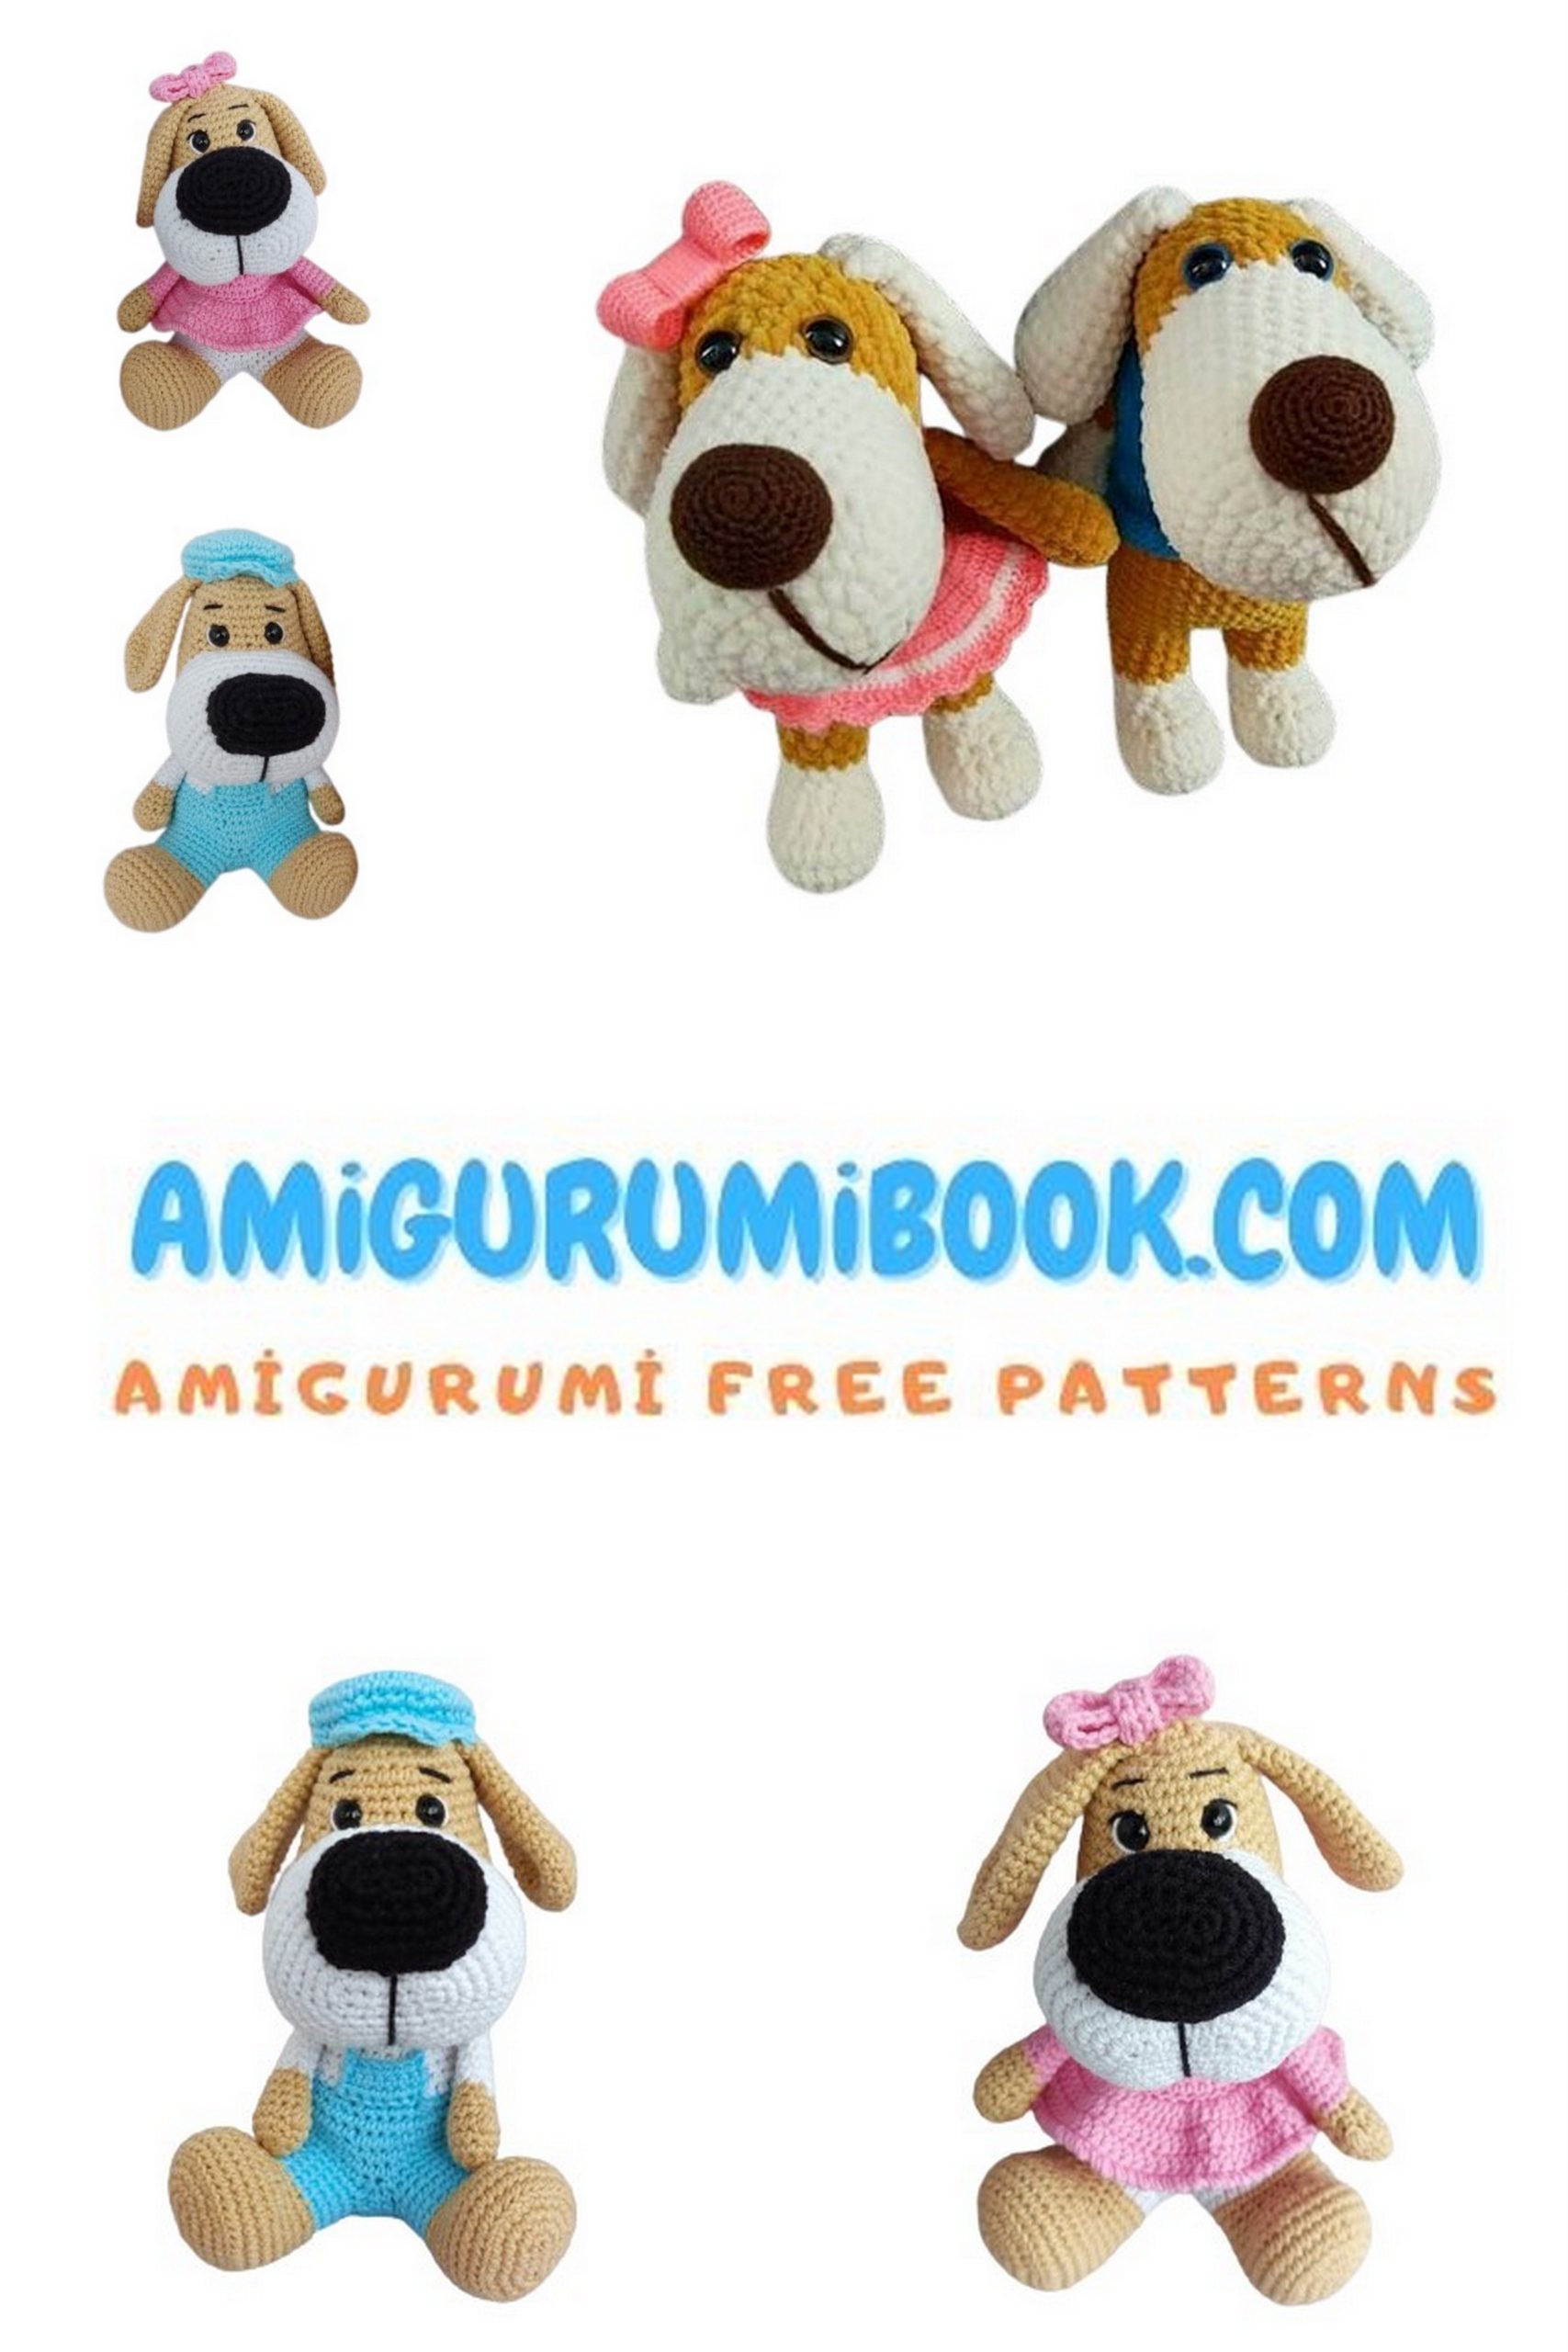
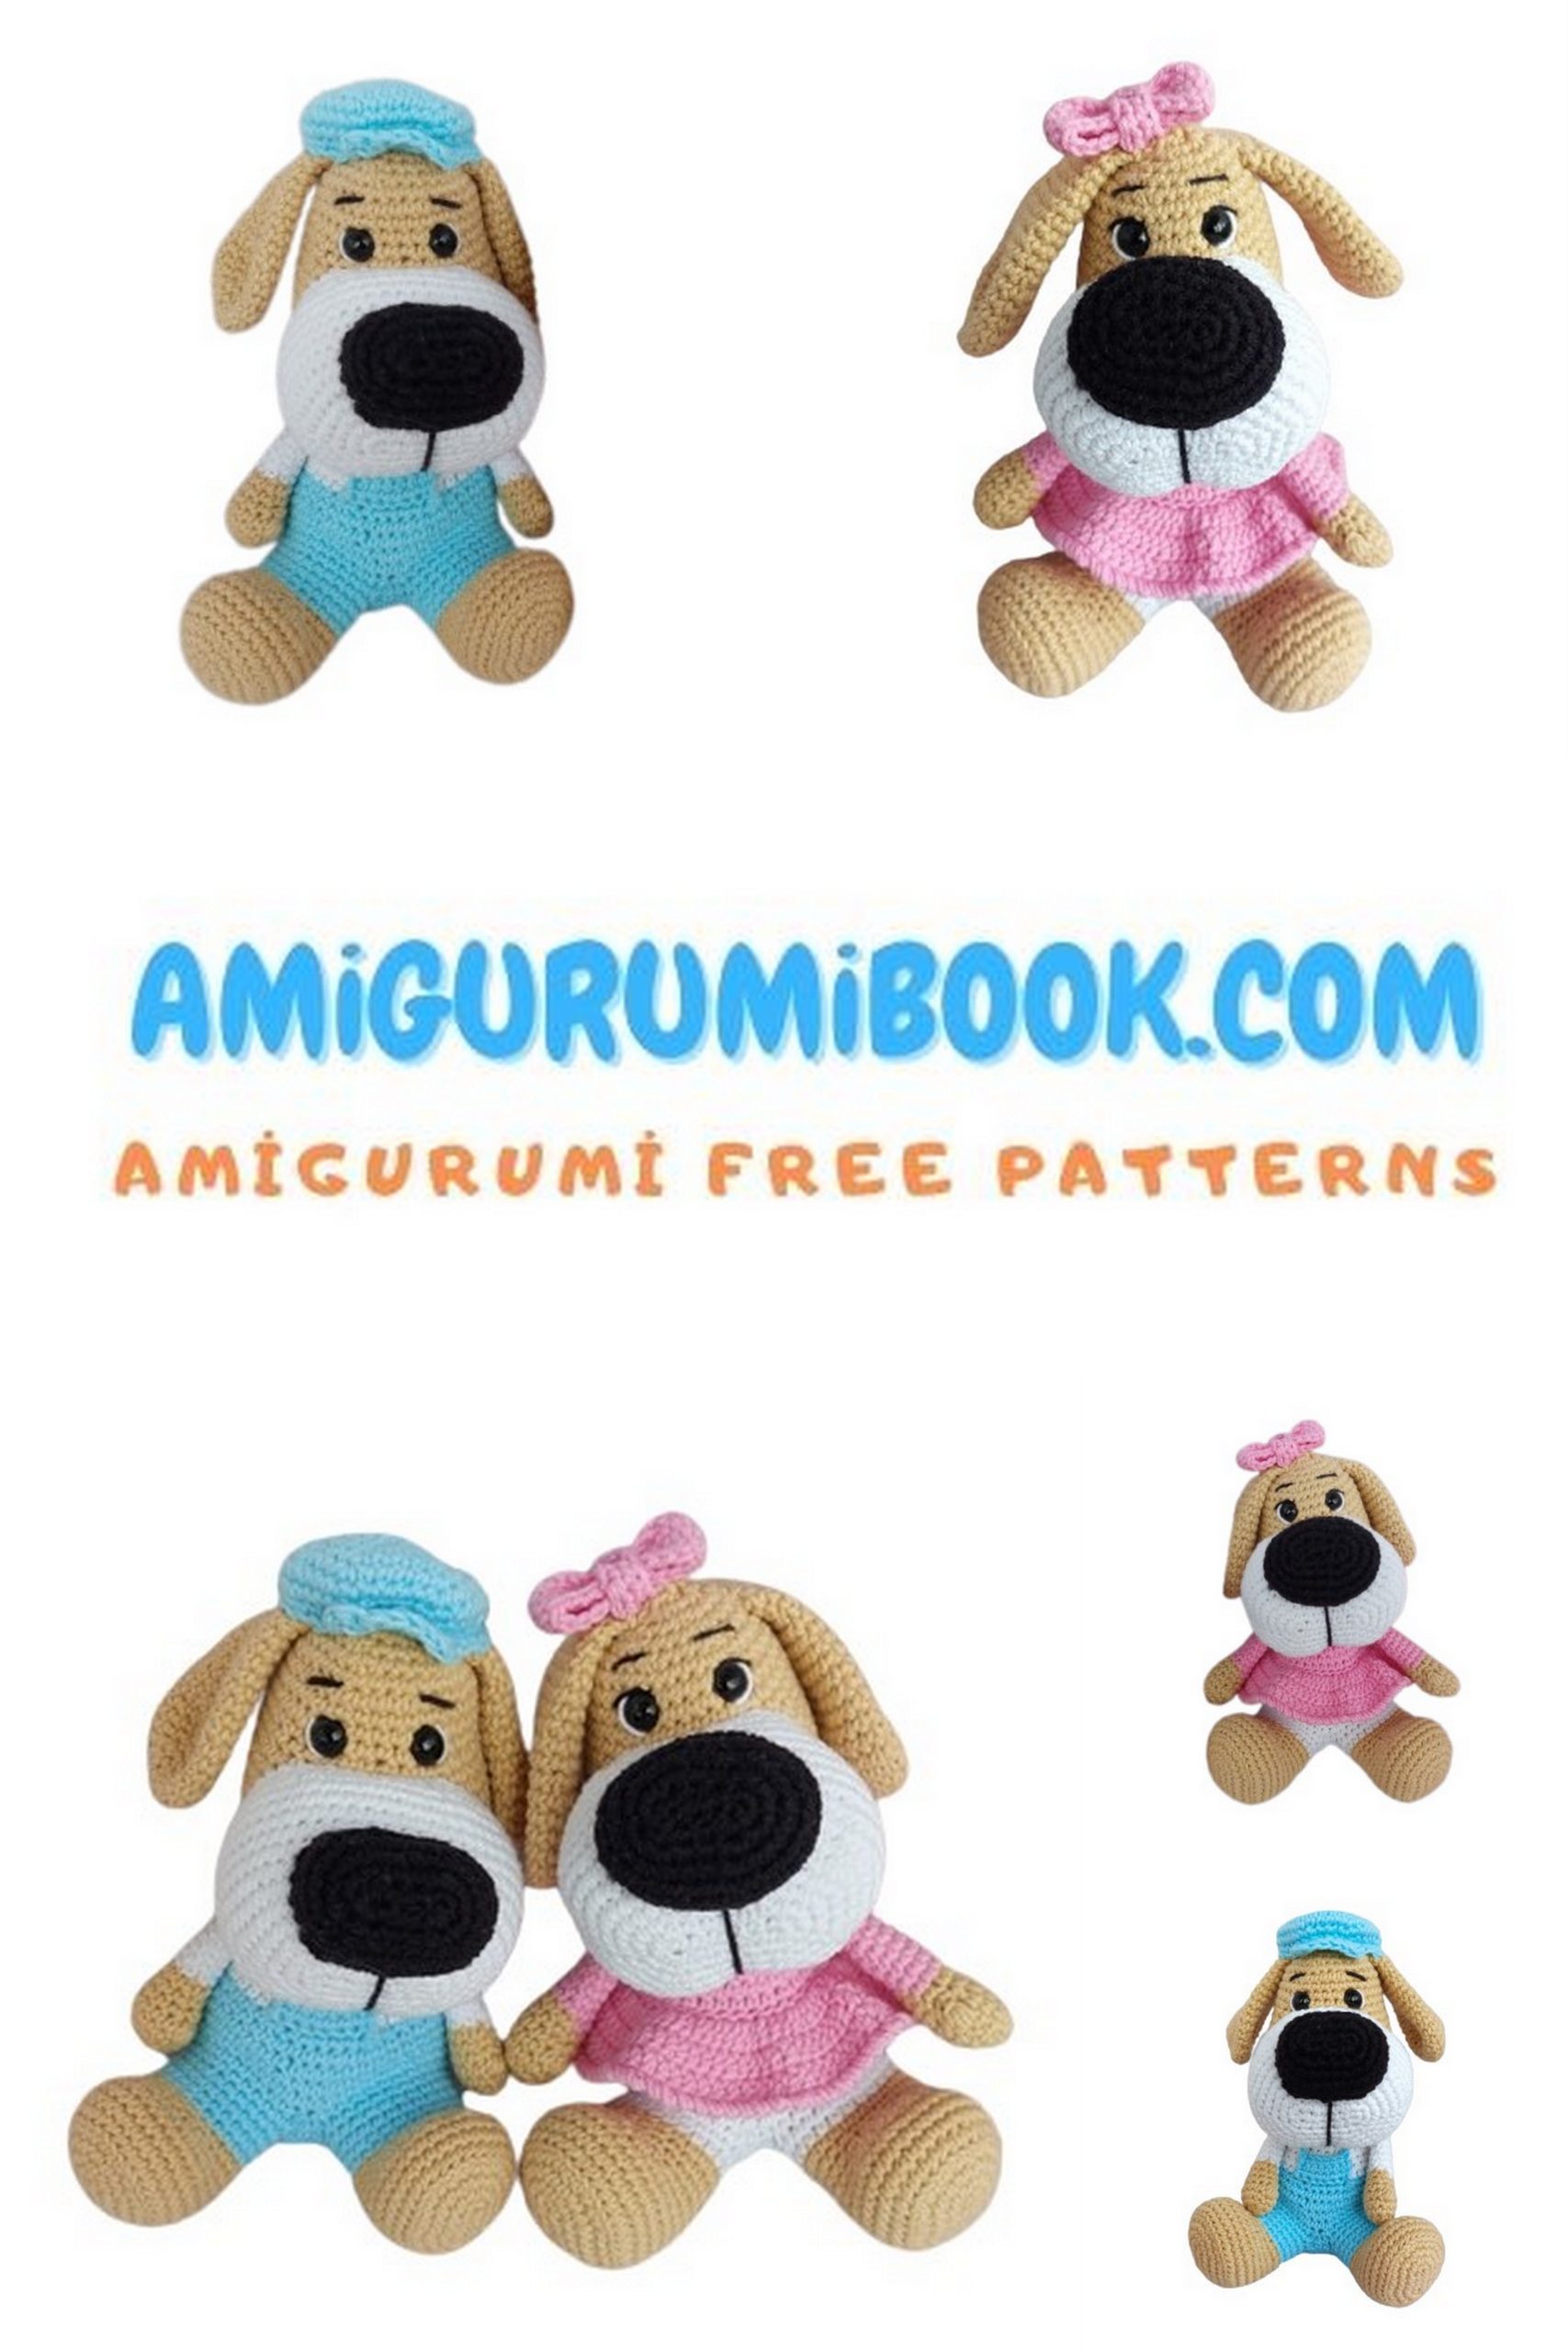
If you are looking for a cute couple project, this Free Mr and Mrs Dog Amigurumi Pattern – Crochet Tutorial is the perfect choice. These adorable puppy dolls are designed with sweet details, removable outfits, and charming accessories that make them ideal for gifts, nursery decor, or handmade collections.
This step-by-step crochet tutorial will guide you through creating both the boy and girl versions, including their clothing, bows, cap, and facial features. The pattern uses basic stitches and clear shaping techniques, making it suitable for confident beginners and experienced amigurumi makers alike.
Whether you want to make a thoughtful handmade present or add a lovable dog couple to your amigurumi collection, this free pattern will help you create a heartwarming pair full of personality and charm.
🧶 Materials
For this pattern, YarnArt Jeans semi-cotton yarn was used. You may substitute with a similar sport/DK weight yarn. Please note that changing the yarn may affect the final size and proportions of the toy.
If you want to access 1000+ free amigurumi patterns, you can download our application from this link!
Main Color
- Beige (07)
Clothing Colors
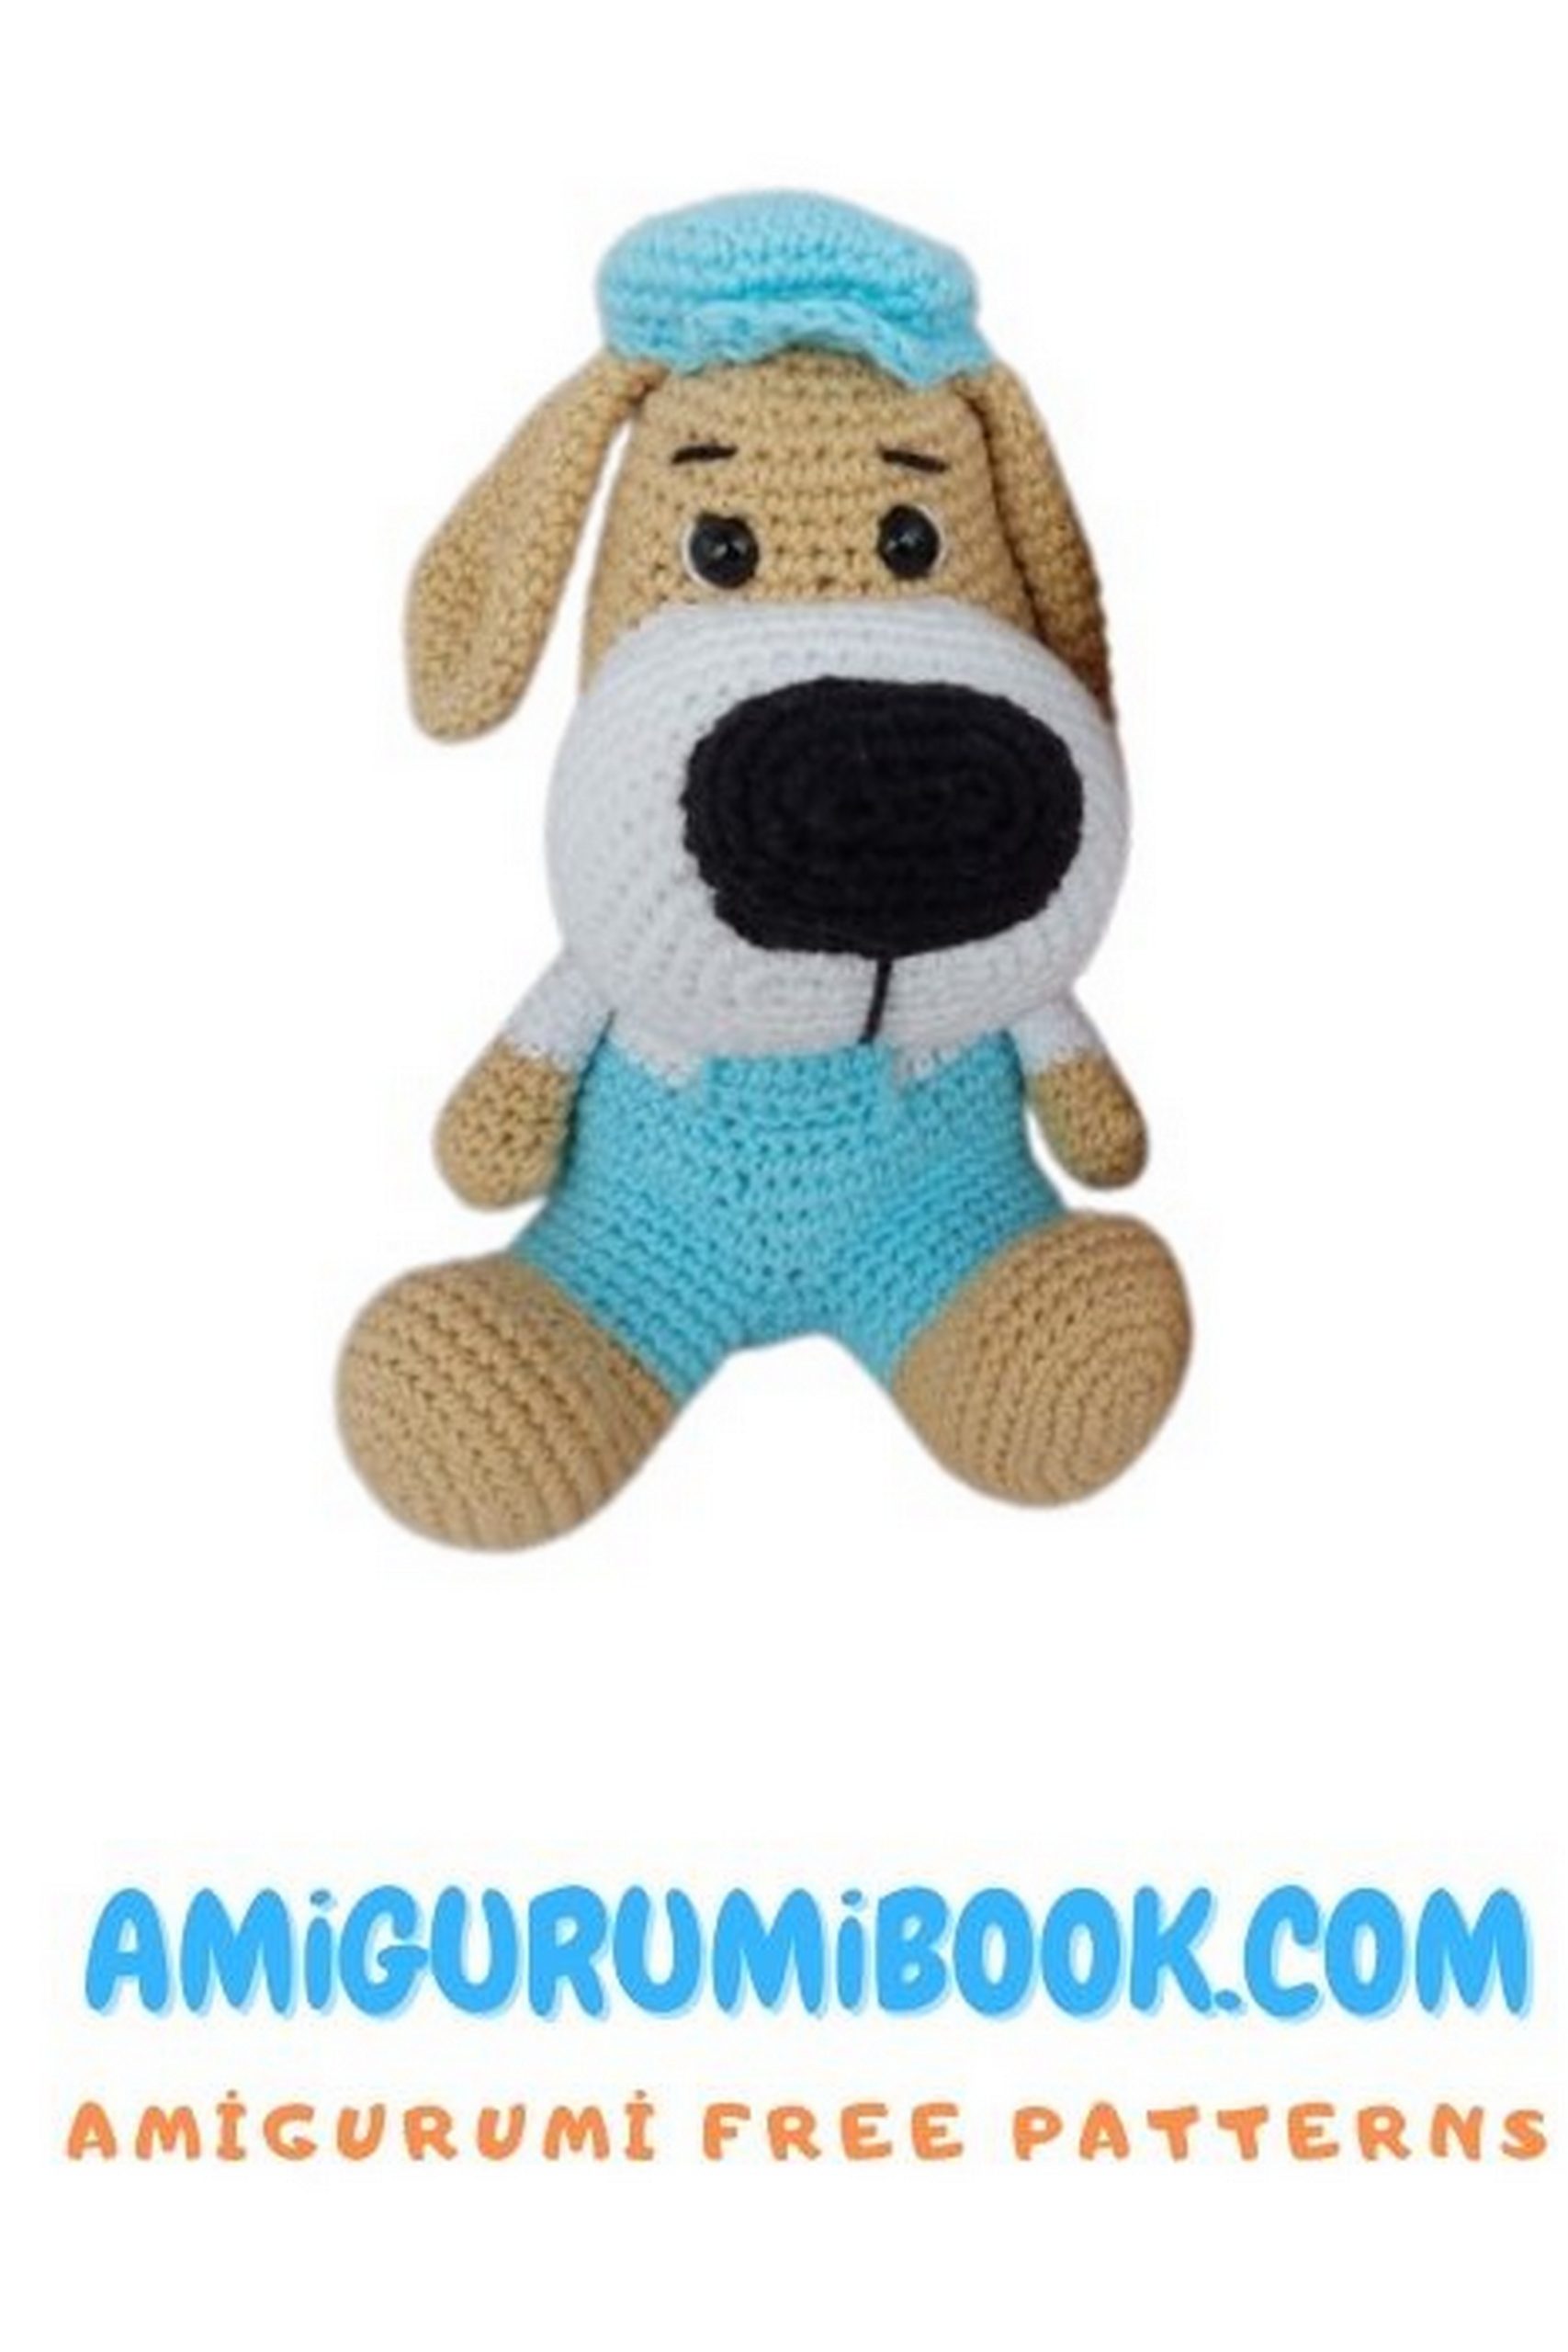
Boy Version
- Jumpsuit & cap – Blue (76)
- Sweater – White (01)
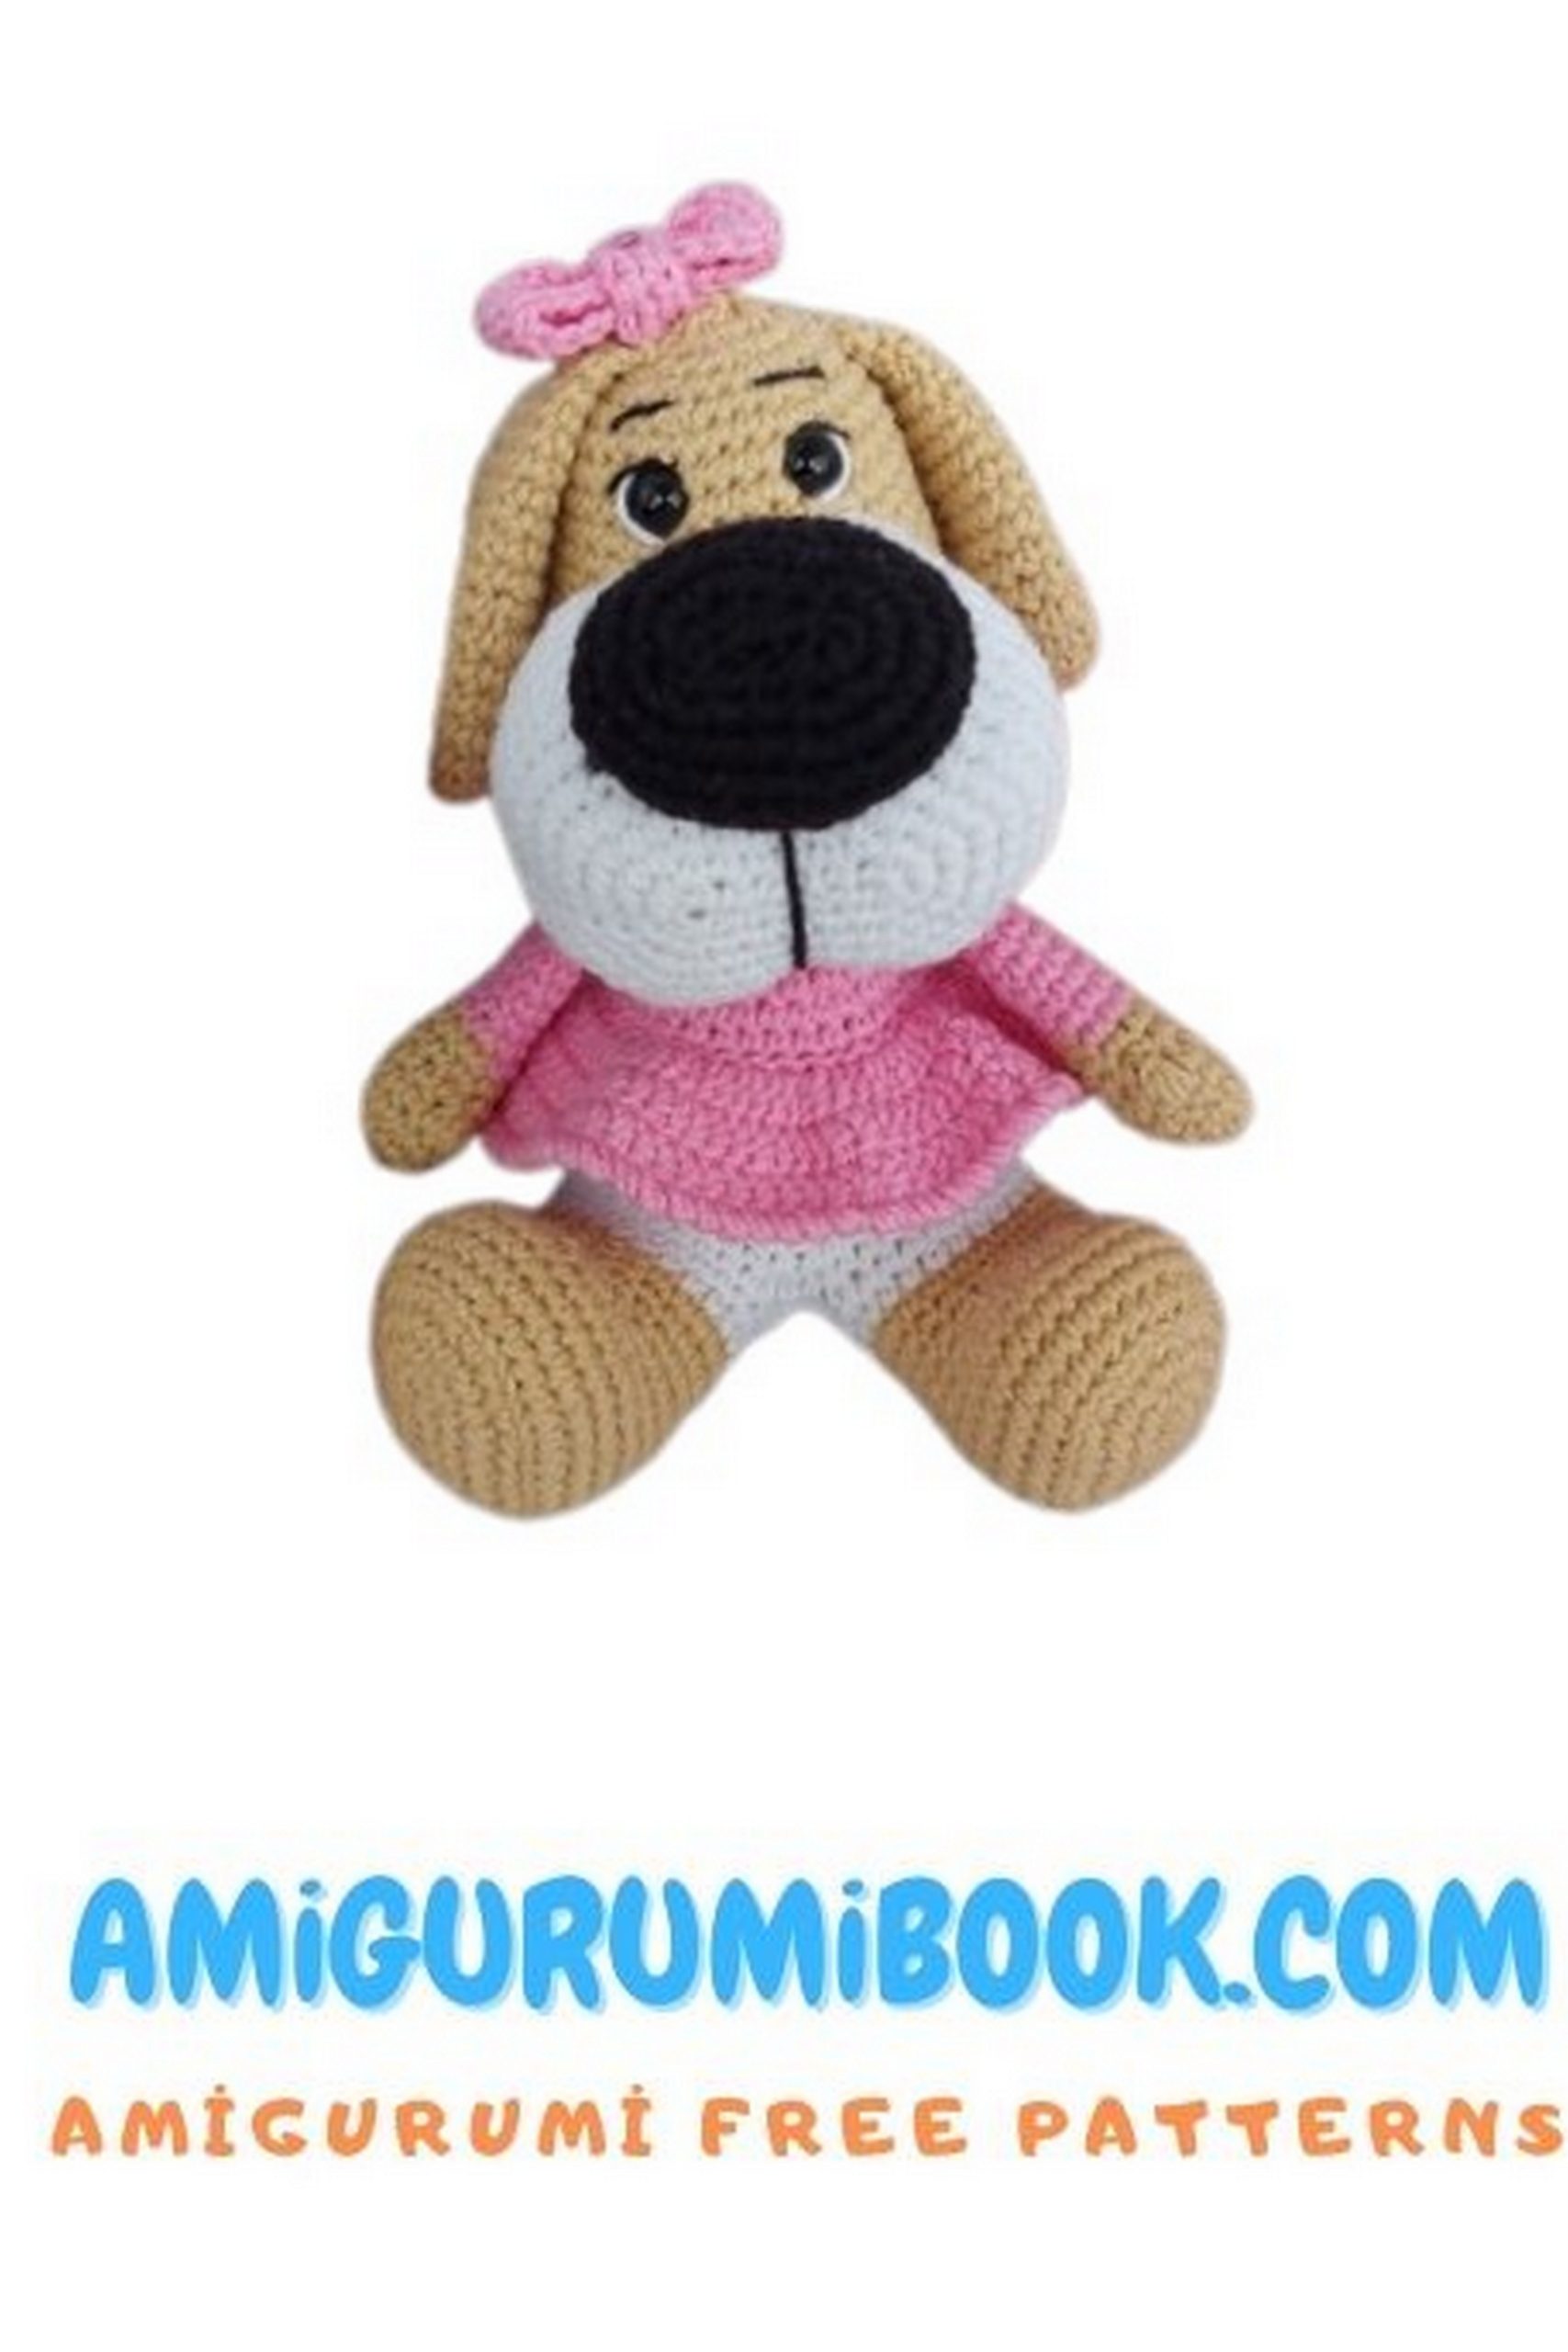
Girl Version
- Dress & bows – Pink (20)
- Underwear – White (01)
Additional Colors
- White (01) – for eye embroidery and muzzle
- Black (53) – for eyebrows and nose
Yarn Consumption
- Main color: less than one skein
- Secondary colors: small amounts (less than half a skein each)
🪡 Tools & Supplies
- 2 mm crochet hook
- 8 mm safety eyes
- Tapestry needle (wide eye)
- Fiberfill / polyester stuffing
- Stitch markers
- Scissors
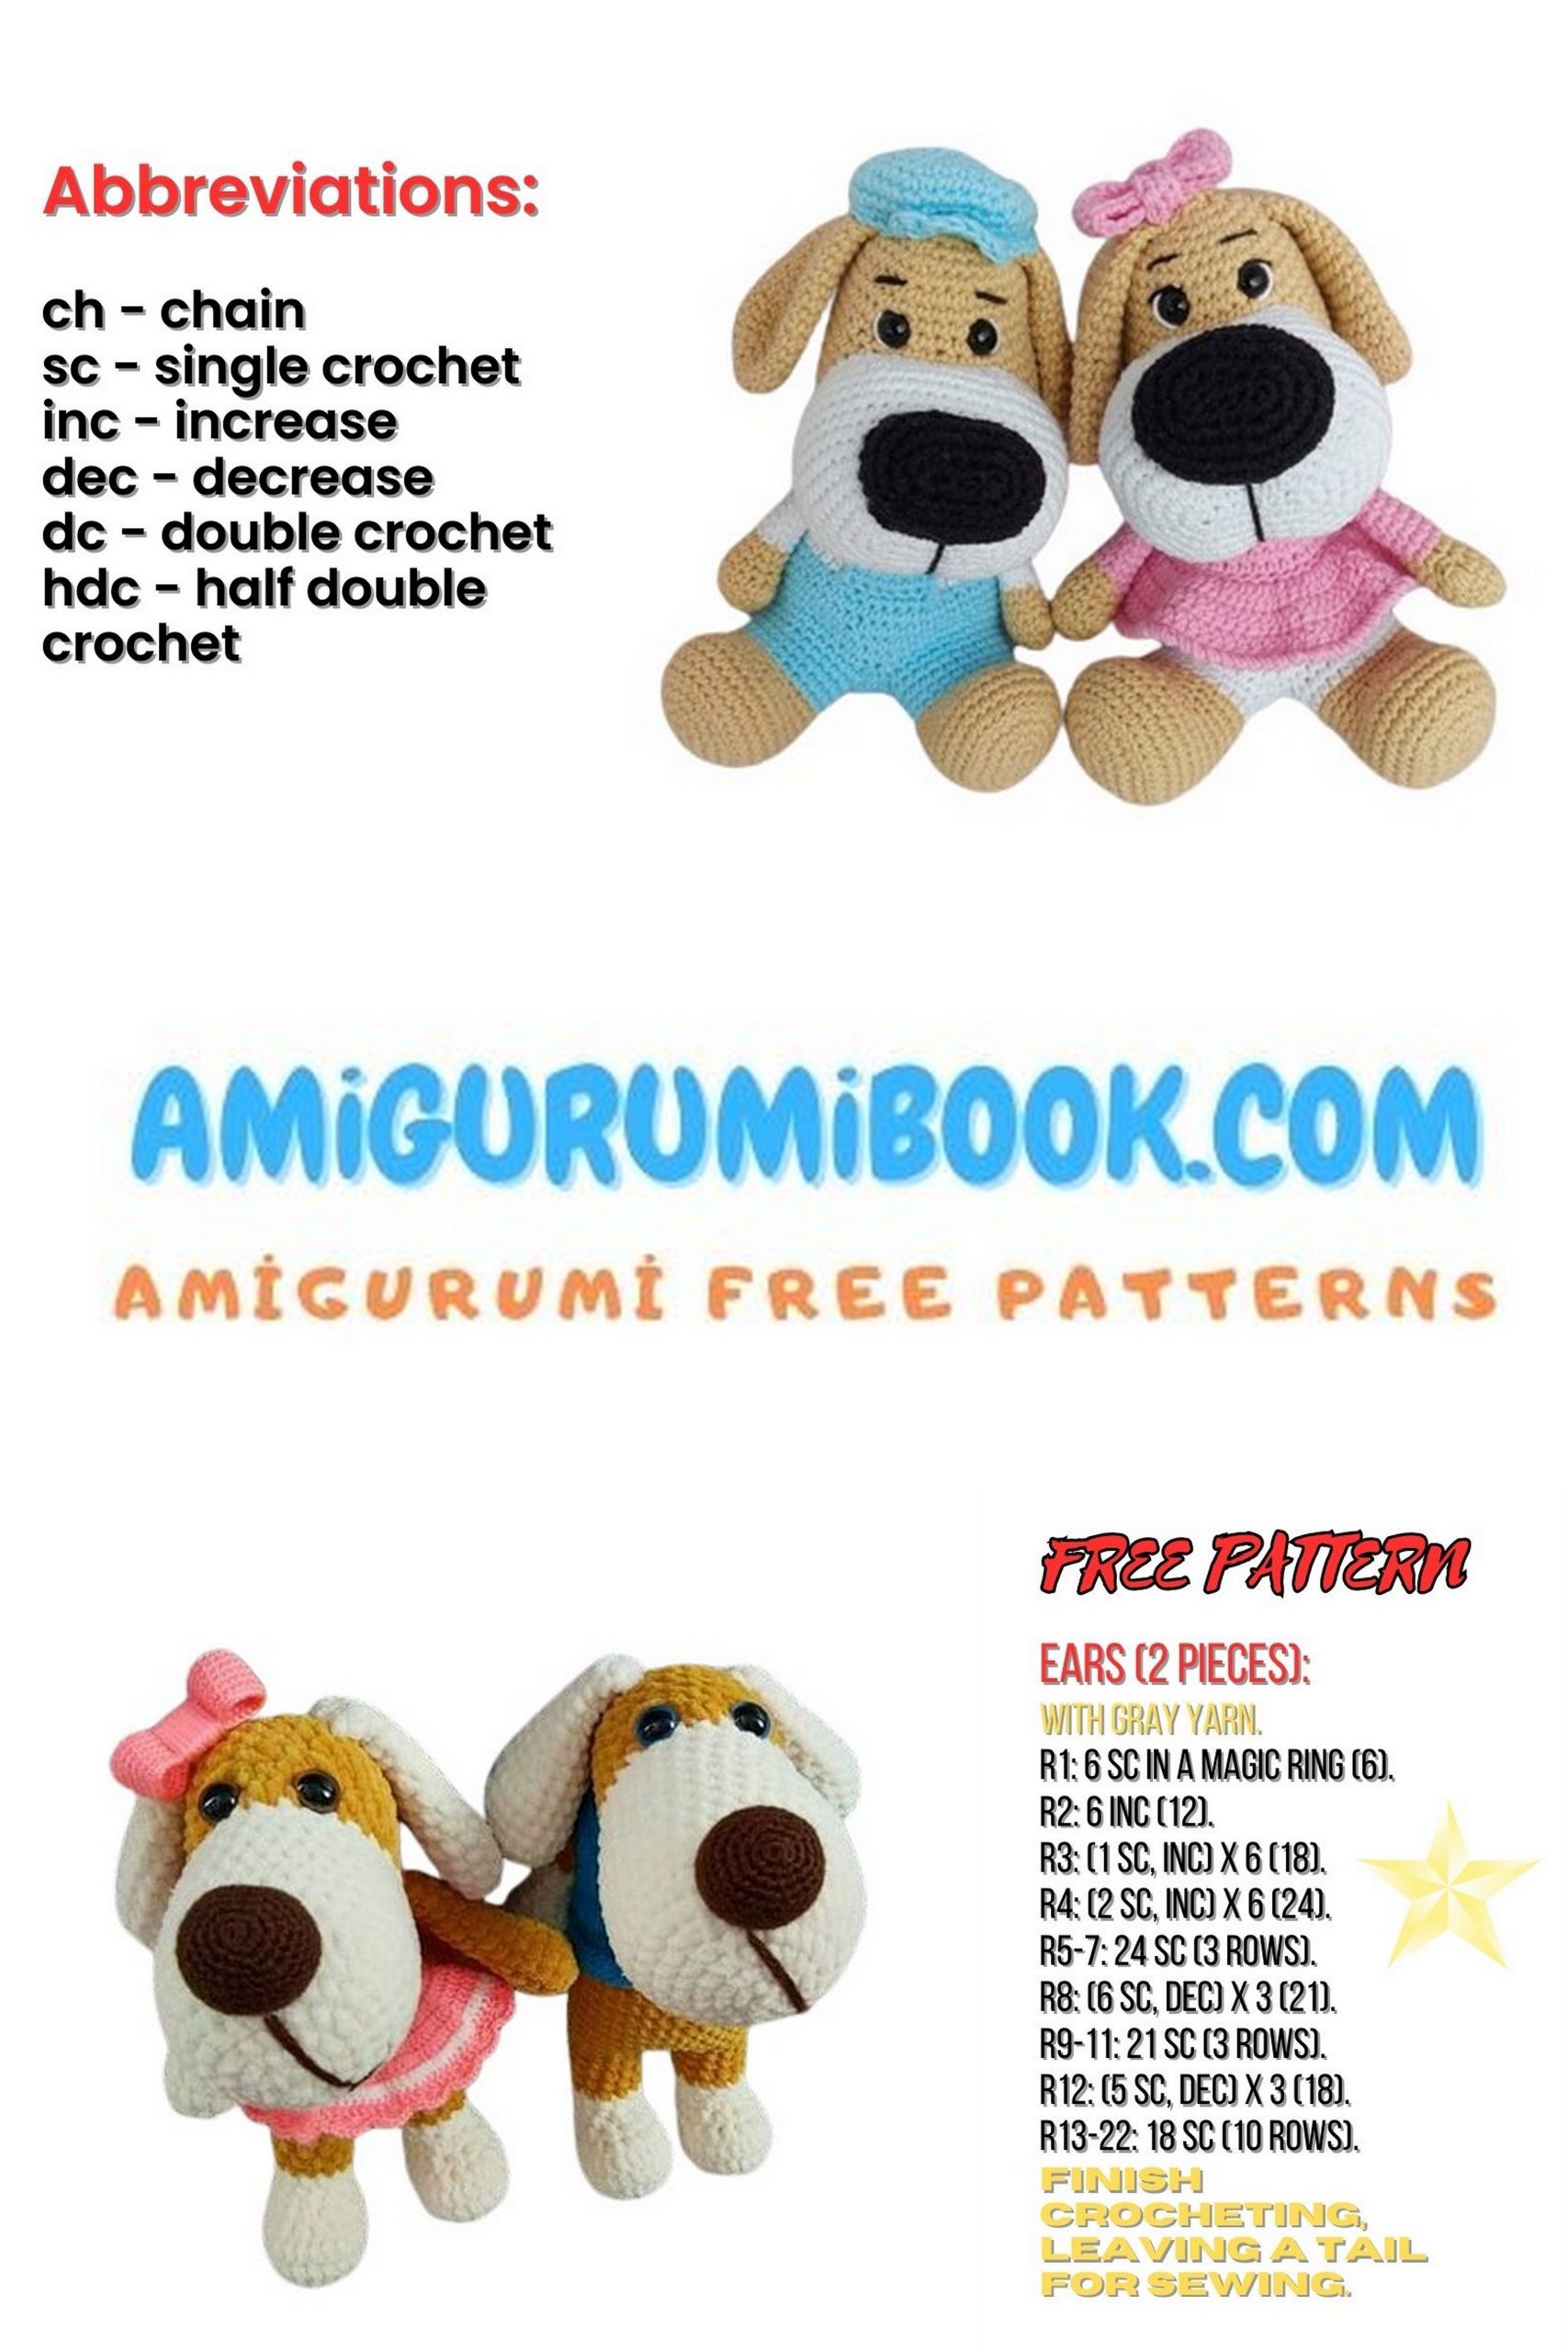
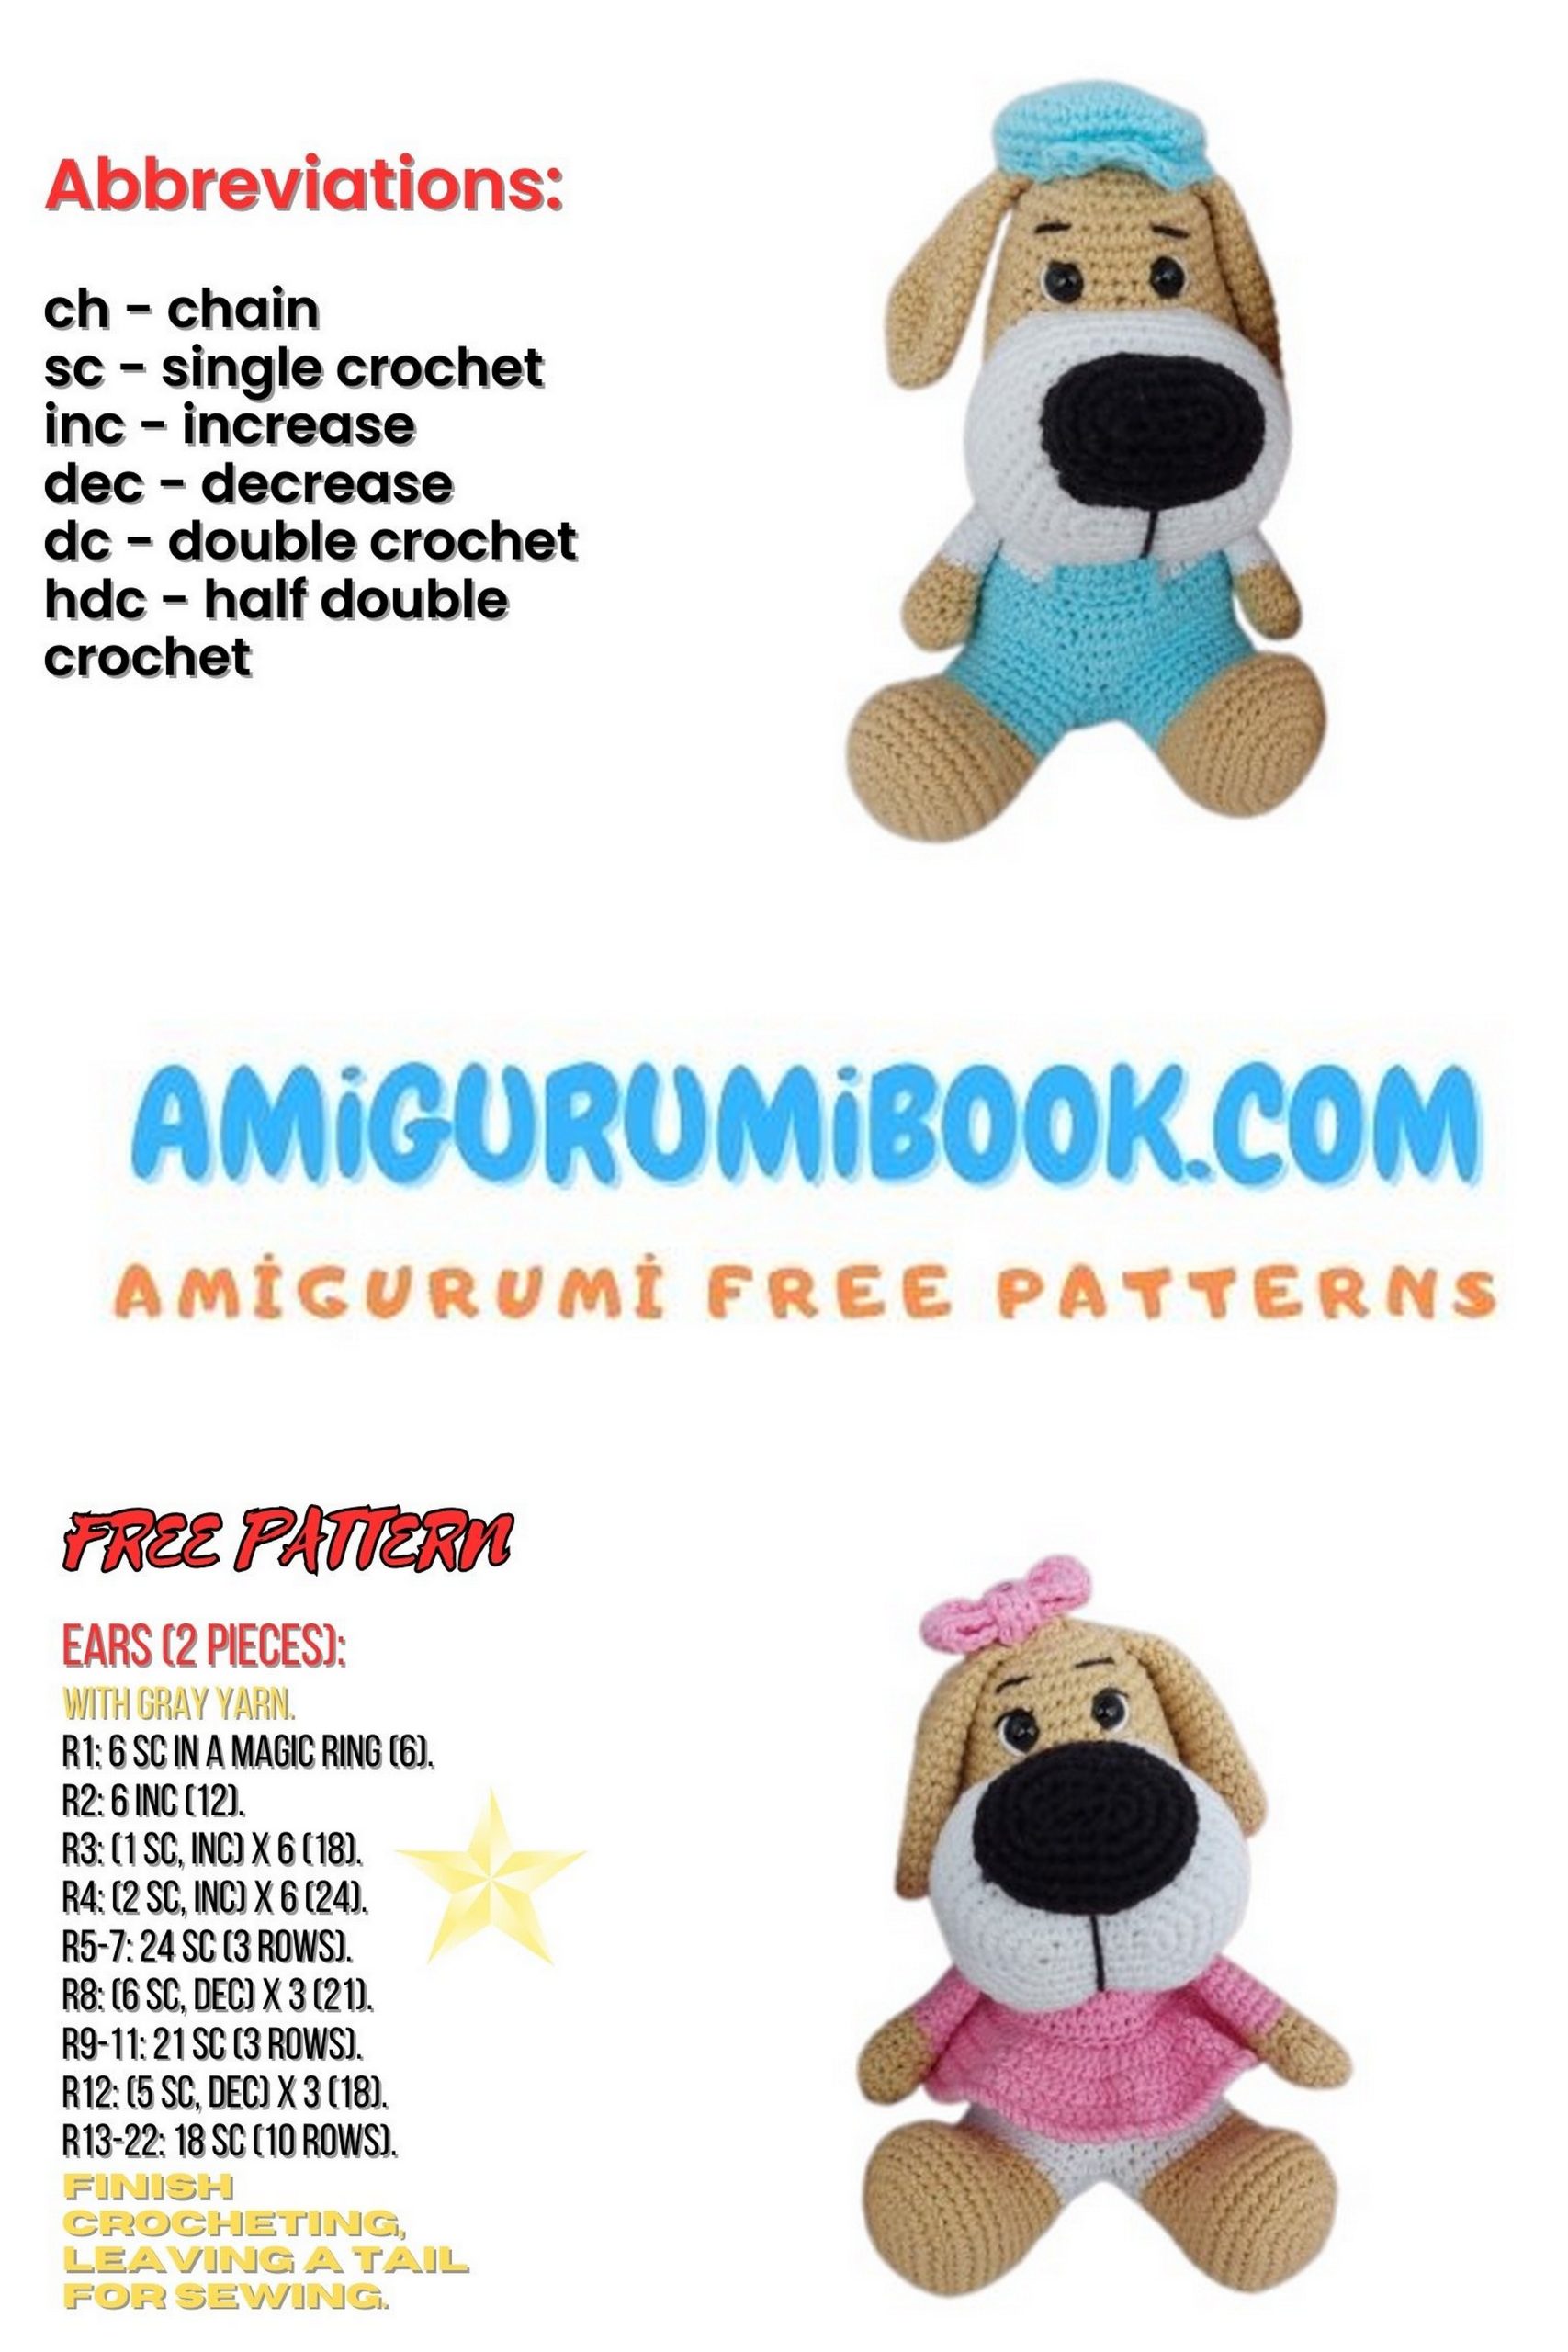
📖 Abbreviations
( ) – number of stitches in the round
ch – chain
mr – magic ring
sc – single crochet
inc – increase
dec – decrease
hdc – half double crochet
sl st – slip stitch
🖐 Hands (2 pieces)
Start with the main body color.
1: 6 sc in mr (6)
2: 6 inc (12)
3–4: 12 sc (12)
Creating the fingers
5: 3 hdc worked together in one stitch (cluster), 11 sc (12)
6: (dec, 4 sc) x 2 (10)
7: 10 sc (10)
Lightly stuff only the lower part of the hand (approximately up to step 7). Do not overfill, otherwise the fingers may spread outward.
Color change
- Boy version: change to sweater color (white)
- Girl version: change to dress color (pink)
8–18: 10 sc (10)
Adjust stitches if necessary so the fingers face forward evenly.
Fold the piece in half and crochet 5 sc through both layers to close.
Fasten off and cut the yarn.
The hands will be attached later.
👣 Legs (2 pieces)
Start with the main body color.
Ch 5.
1: Starting from the 2nd ch from hook:
inc, 2 sc, 4 sc in one stitch, 2 sc, inc (12)
2: 2 inc, 2 sc, 4 inc, 2 sc, 2 inc (20)
3: (1 sc, inc) x 2, 2 sc, (1 sc, inc) x 4, 2 sc, (1 sc, inc) x 2 (28)
4: (2 sc, inc) x 2, 2 sc, (2 sc, inc) x 4, 2 sc, (2 sc, inc) x 2 (36)
5: 36 sc in back loops only (36)
6–8: 36 sc (36)
9: 11 sc, (1 sc, dec) x 5, 10 sc (31)
10: 11 sc, 5 dec, 10 sc (26)
11: 26 sc (26)
Boy Version
Change to jumpsuit color (blue).
12–15: 26 sc (26)
Girl Version
Continue with body color.
12–13: 26 sc (26)
Change to underwear color (white).
14–15: 26 sc (26)
Stuff firmly but evenly.
Fasten off leaving a long tail for sewing.
Legs will be attached during assembly.

🤍 Muzzle
Crochet the muzzle with white yarn.
Ch 7.
1: In the 2nd ch from hook:
inc, 4 sc, 4 sc in one stitch, 4 sc, inc (16)
2: 2 inc, 4 sc, 4 inc, 4 sc, 2 inc (24)
3: (1 sc, inc) x 2, 4 sc, (1 sc, inc) x 4, 4 sc, (1 sc, inc) x 2 (32)
4: (2 sc, inc) x 2, 4 sc, (2 sc, inc) x 4, 4 sc, (2 sc, inc) x 2 (40)
5: (3 sc, inc) x 2, 4 sc, (3 sc, inc) x 4, 4 sc, (3 sc, inc) x 2 (48)
6: (4 sc, inc) x 2, 4 sc, (4 sc, inc) x 4, 4 sc, (4 sc, inc) x 2 (56)
7–12: 56 sc (56)
13: dec, 26 sc, dec, 26 sc (54)
14: (7 sc, dec) x 6 (48)
15: (6 sc, dec) x 6 (42)
Stuff firmly but evenly.
Fasten off and leave a long tail for sewing.
🖤 Nose
Crochet the nose with black yarn.
Ch 5.
1: In the 2nd ch from hook:
inc, 2 sc, 4 sc in one stitch, 2 sc, inc (12)
2: 2 inc, 2 sc, 4 inc, 2 sc, 2 inc (20)
3: (1 sc, inc) x 2, 4 sc, (1 sc, inc) x 4, 4 sc, (1 sc, inc) x 2 (28)
4–6: 28 sc (28)
7: (5 sc, dec) x 4 (24)
Stuff lightly.
Fasten off and leave a long tail for sewing.
👂 Ears (2 pieces)
Crochet with the main body color.
1: 6 sc in mr (6)
2: 6 inc (12)
3: (1 sc, inc) x 6 (18)
4: (2 sc, inc) x 6 (24)
5–6: 24 sc (24)
7: (6 sc, dec) x 3 (21)
8–9: 21 sc (21)
10: (5 sc, dec) x 3 (18)
11–12: 18 sc (18)
13: (4 sc, dec) x 3 (15)
14–15: 15 sc (15)
16: (3 sc, dec) x 3 (12)
17–18: 12 sc (12)
Fold the piece in half and crochet 6 sc through both layers to close.
Do not stuff.
Leave a long tail for sewing.
Ears will be attached to the head later.
🧍 Body
Start with:
- Boy version: jumpsuit color (blue)
- Girl version: underwear color (white)
1: 8 sc in mr (8)
2: 8 inc (16)
3: (1 sc, inc) x 8 (24)
4: (2 sc, inc) x 8 (32)
5: (3 sc, inc) x 8 (40)
6: (4 sc, inc) x 8 (48)
7: (5 sc, inc) x 8 (56)
8: 56 sc (56)
Attaching the Legs
Fold each leg so the decrease section faces upward.
Mark 13 stitches at the bottom of each leg.
9: 14 sc along the body,
13 sc through the bottom of the first leg,
2 sc along the body,
13 sc through the bottom of the second leg,
14 sc along the body (56)
10: 14 sc along the body,
13 sc around the top of the first leg,
2 sc along the body,
13 sc around the top of the second leg,
14 sc along the body (56)
11: 26 sc, 2 dec, 26 sc (54)
12: 54 sc (54)
13: (7 sc, dec) x 6 (48)
14–15: 48 sc (48)
16: (6 sc, dec) x 6 (42)
17: 42 sc (42)
Stuff the lower body firmly, pushing filling into the legs.
Color Change
- Boy version: change to sweater color (white)
- Girl version: change to dress color (pink)
18: 42 sc (42)
19: (5 sc, dec) x 6 (36)
20: 36 sc (36)
21: (4 sc, dec) x 6 (30)
22–23: 30 sc (30)
24: (3 sc, dec) x 6 (24)
Attaching the Arms
Position the beginning of the step at the center of the back.
Attach arms so the fingers face forward.
25:
4 sc,
5 sc through arm and body stitches together,
6 sc along the body,
5 sc through second arm and body stitches together,
4 sc (24)
26: (2 sc, dec) x 6 (18)
27: (1 sc, dec) x 6 (12)
Stuff the body firmly.
Change to the main body color and continue crocheting the head.
Head
Continue with the main body color.
1: (1 sc, inc) x 6 (18)
2: (2 sc, inc) x 6 (24)
3: (3 sc, inc) x 6 (30)
4: (4 sc, inc) x 6 (36)
5: (5 sc, inc) x 6 (42)
6: (6 sc, inc) x 6 (48)
7–12: 48 sc (48)
13: (6 sc, dec) x 6 (42)
14–15: 42 sc (42)
16: (5 sc, dec) x 6 (36)
17–21: 36 sc (36)
Do not cut the yarn.
Facial Features
Sew the muzzle centered between steps 3–4 and 15–16 of the head.
Stuff the muzzle as you sew it.
Attach the nose to the upper part of the muzzle, leaving a 2–3 step gap from the center top of the muzzle.
Lightly stuff while sewing.
Create the mouth using black yarn.
Bring the needle out below the nose at the center of the muzzle.
Insert at the bottom of the muzzle and bring the needle back inside the head.
Pull gently to shape the mouth, tie securely, and hide the ends.
Insert safety eyes 2 steps above the mouth.
Space them approximately 5–6 sc apart.
Continue crocheting.
Stuff the head firmly.
22: (4 sc, dec) x 6 (30)
23: (3 sc, dec) x 6 (24)
24: (2 sc, dec) x 6 (18)
25: (1 sc, dec) x 6 (12)
26: 6 dec (6)
Cut yarn, close the opening, and hide the end.
Embroider eye highlights with white yarn.
Embroider eyebrows 2 steps above the eyes.
For the girl version, you may add eyelashes.
Sew the ears between steps 22–23.
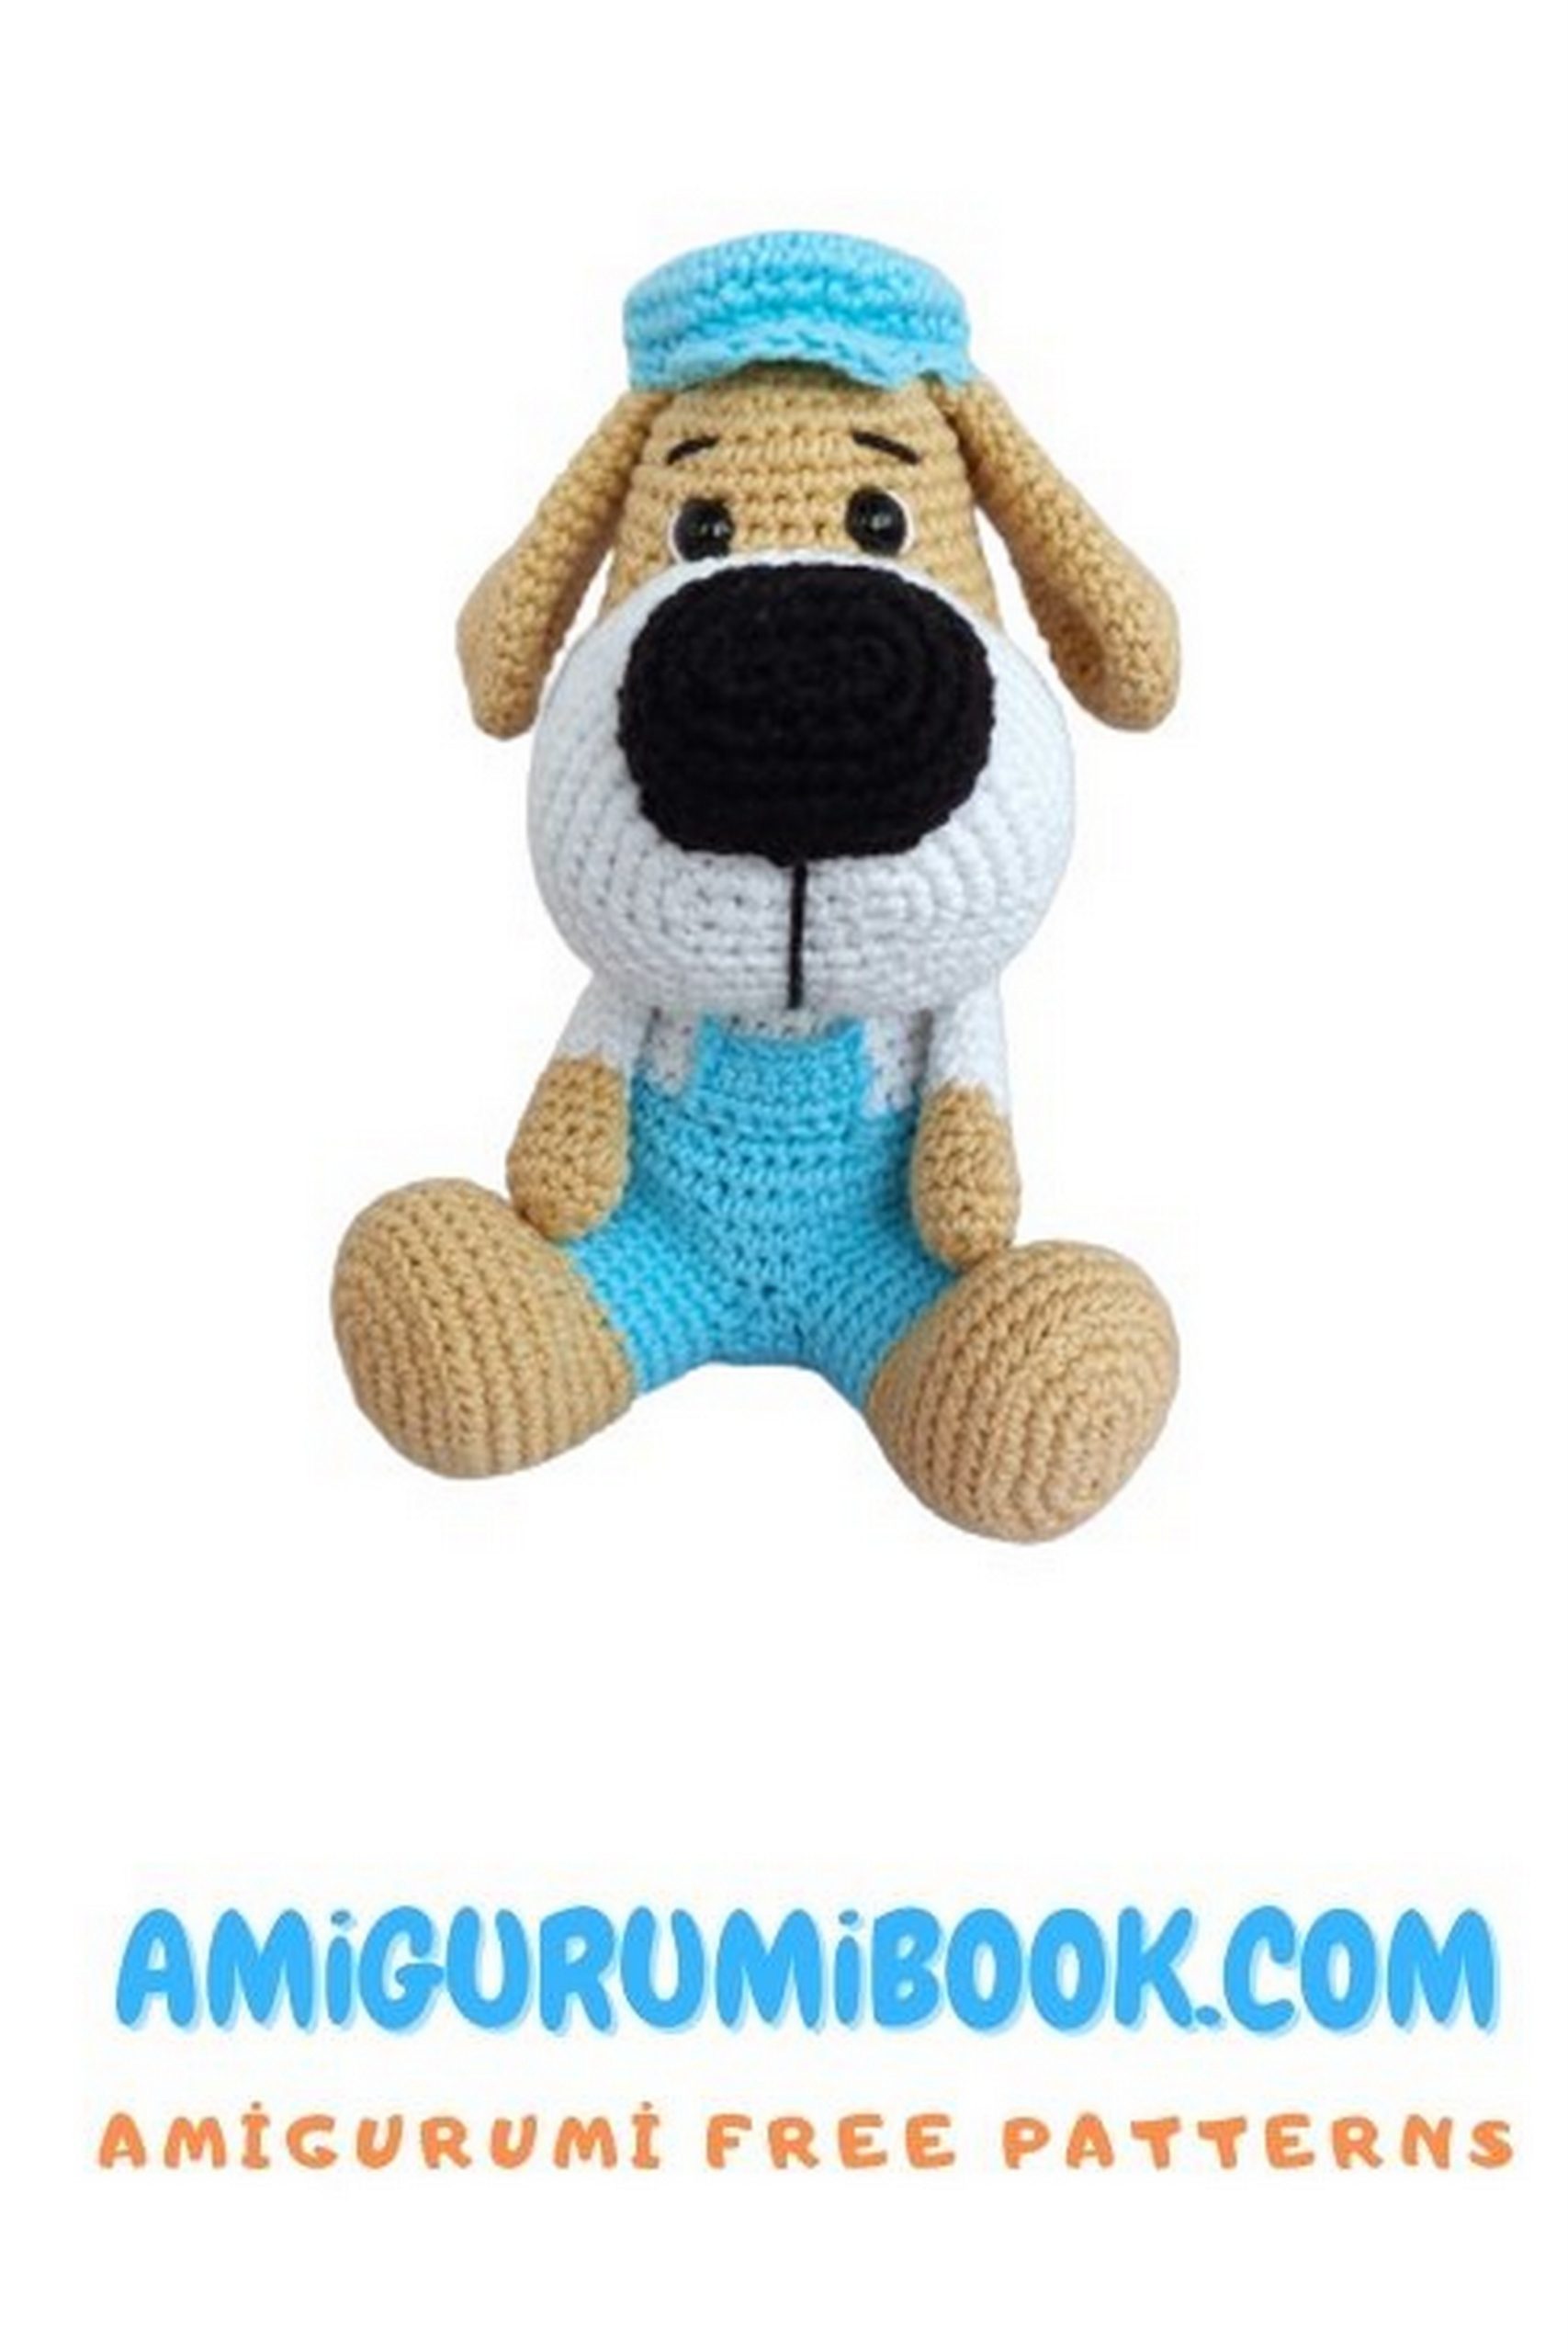
👦 Boy Version
Cap
1: 6 sc in mr (6)
2: 6 inc (12)
3: (1 sc, inc) x 6 (18)
4: (2 sc, inc) x 6 (24)
5: (3 sc, inc) x 6 (30)
6: (4 sc, inc) x 6 (36)
7–8: 36 sc (36)
9: (7 sc, dec) x 4 (32)
Visor
1: 8 sc in front loops only, ch 1, turn
2: 8 sc in front loops only
3: dec, 4 sc, dec
Work 3–4 sl st along the edge.
Fasten off leaving a long tail.
Sew the cap between steps 23–24 in front and 19–20 at the back.
Tilt slightly and cover part of the ears.
👧 Girl Version
Bows (2 pieces)
Large Bow
Ch 20, join to form ring.
1–4: ch 1, 20 sc, sl st
Fasten off.
Small Bow
Ch 9, join to form ring.
1–3: ch 1, 8 sc, sl st
Fasten off.
Insert the large bow into the small ring and shape it.
Sew onto the head.
👖 Overalls
At step 17–18 (last pants color step), locate center front.
Leave 3 sc on both sides.
Crochet 4 steps of 7 sc for each leg.
Without cutting yarn:
Chain 20, attach at back skipping 3 sc from center.
Work 7 sl st along body.
Chain 20 and attach to opposite side.
Straps cross at the back.
👗 Dress
Locate steps 18–19 on the body.
Turn toy inside out.
Attach dress color at the back.
1: ch 1, 42 sc around, sl st
2: ch 2, 2 hdc in each stitch in back loops only, sl st (84)
3–4: 84 hdc
Finish with crab stitch (reverse single crochet).
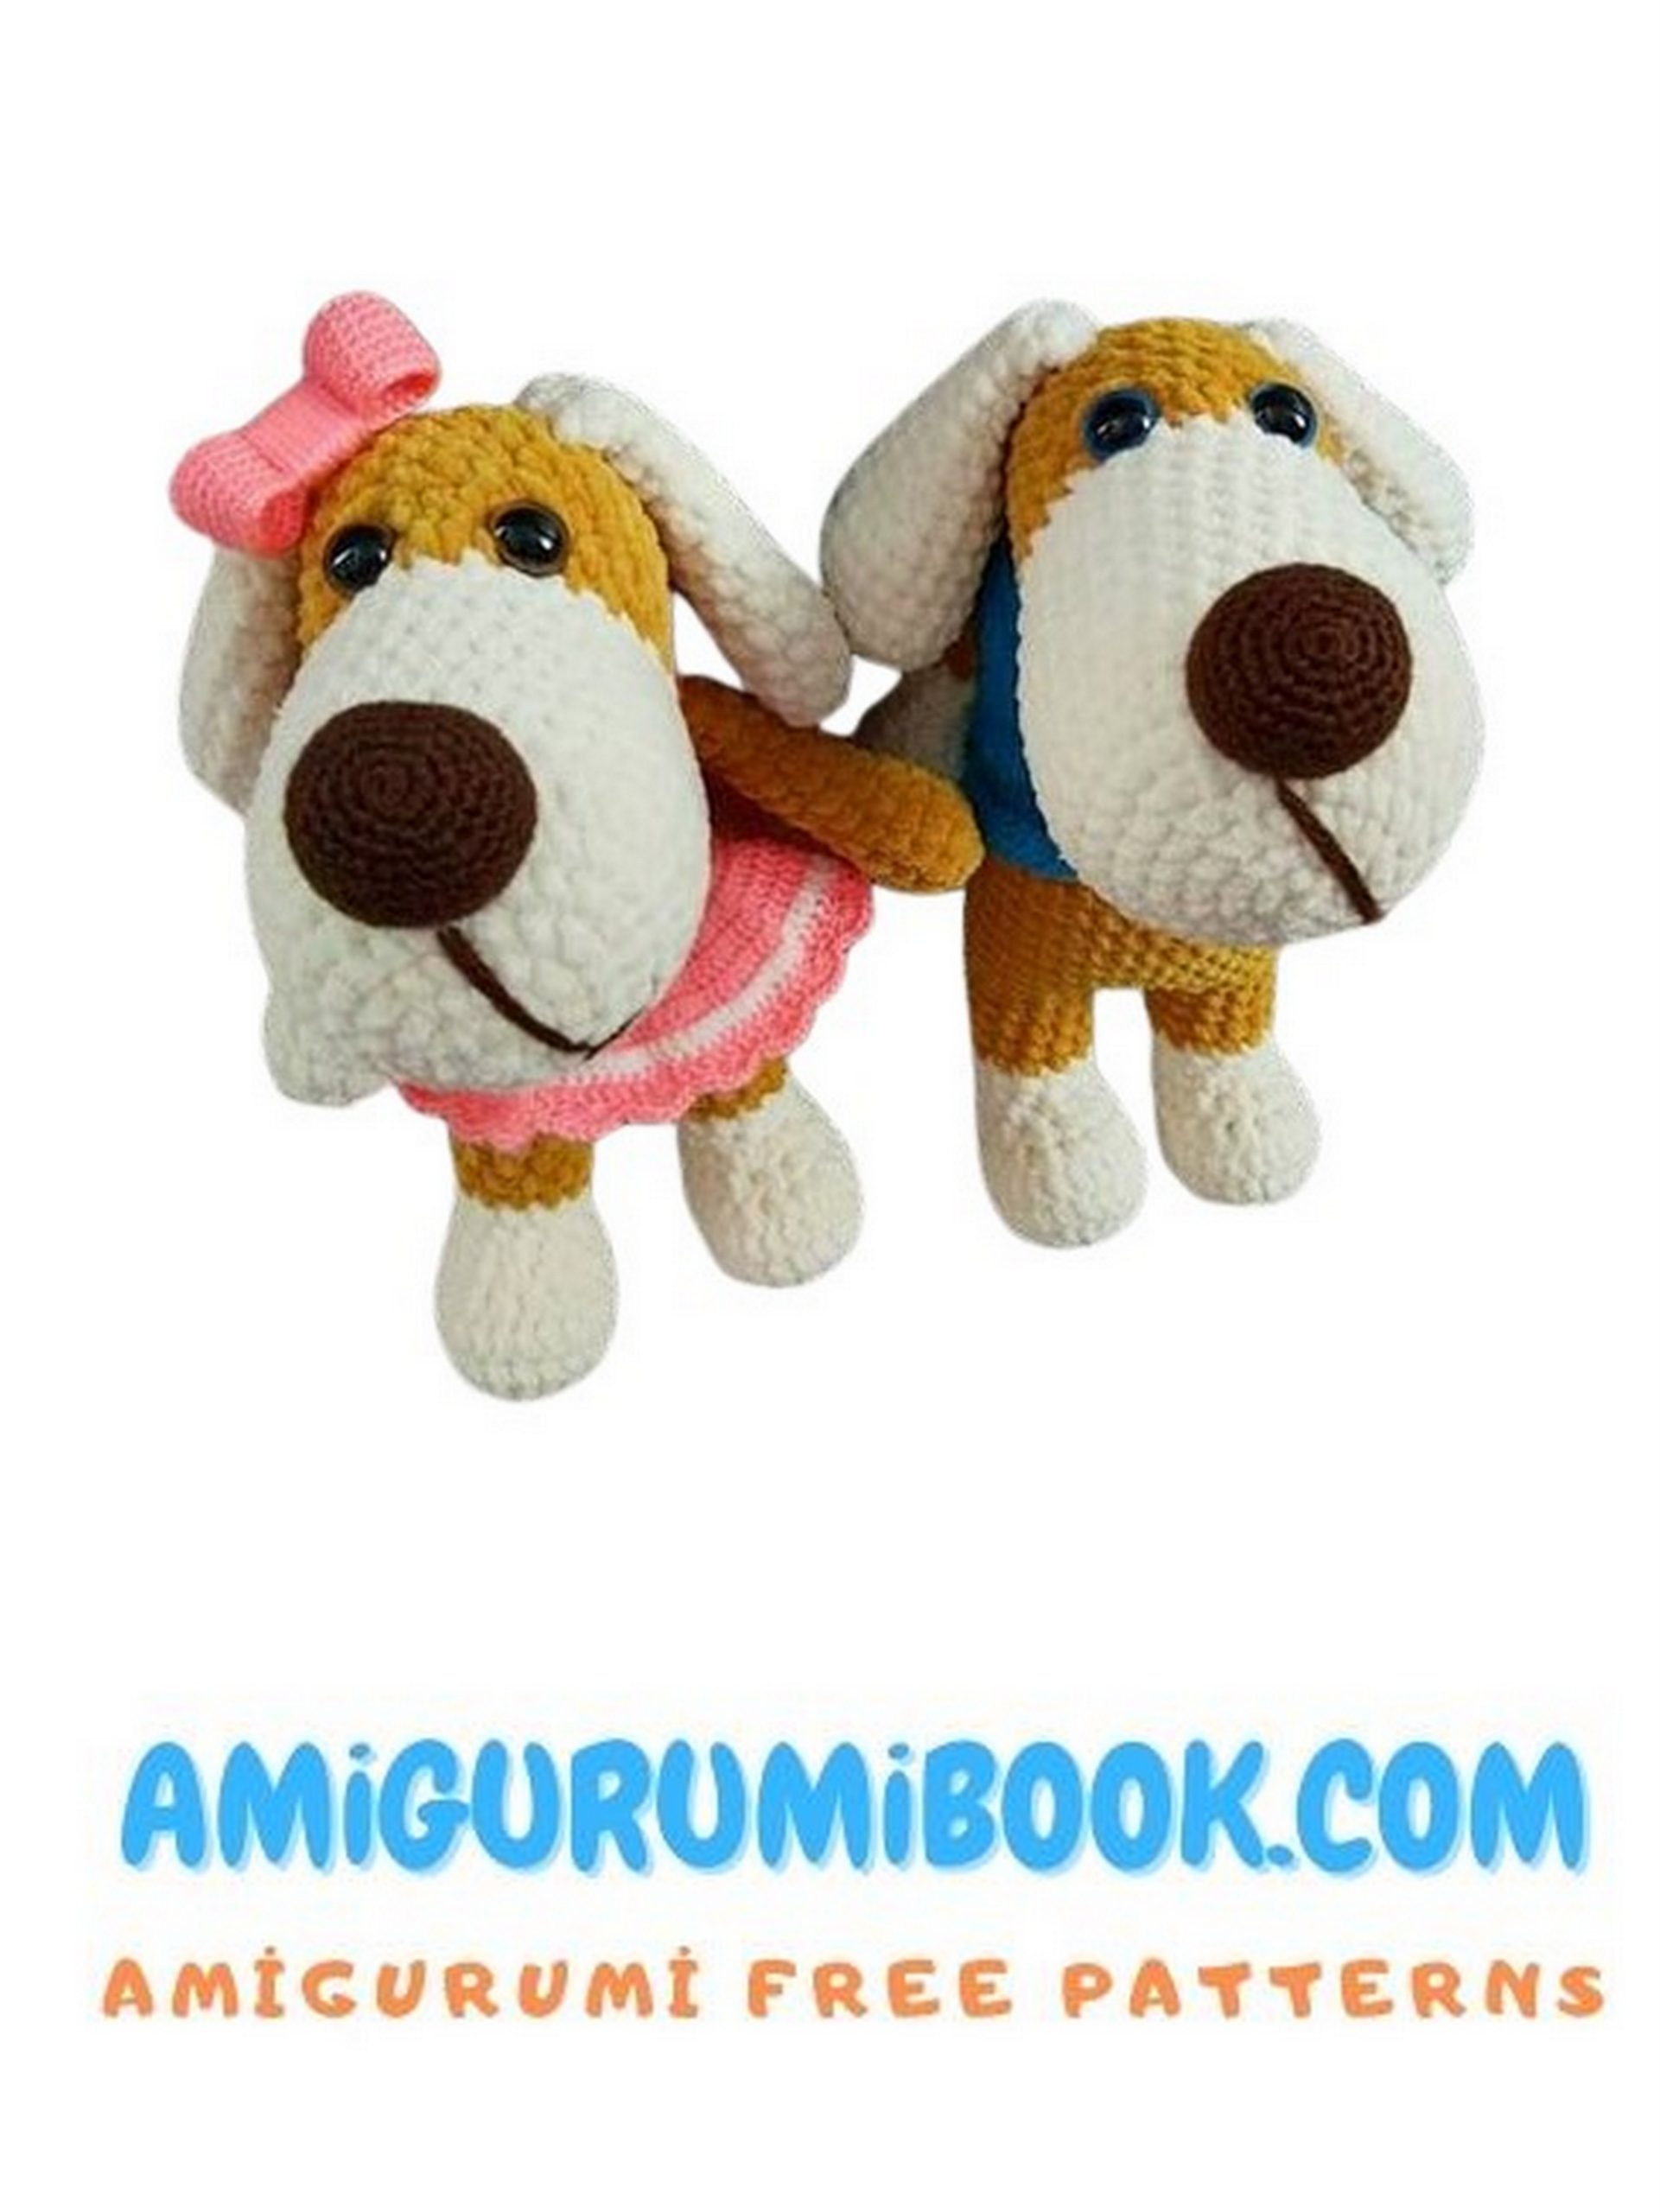
🐶 The Puppy Is Ready!